
Bagger Makeover
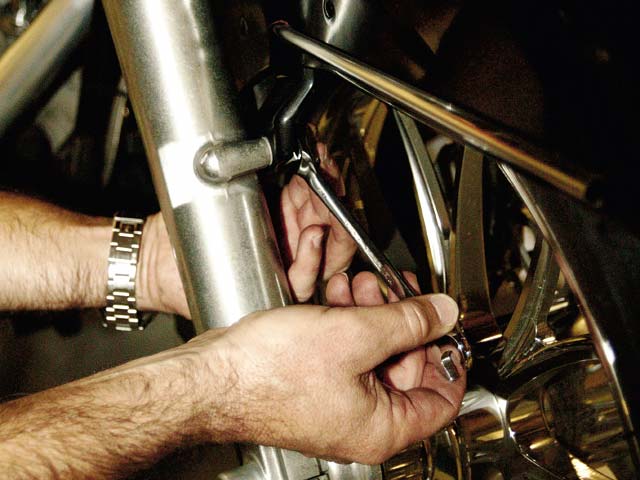
Step one is to start somewhere, we chose the front fender. After removing the fender trim light, we went to the mounting bolts and found that a small bracket folds over the retaining nuts and must be bent out of the way before getting things loose.
A good look at the bracket and nuts that needed to come off each side.
When lifting the fender off, the wiring for the light, that needs to be cut off, will be encountered.
In the rare event this bike becomes a historical classic, we put some shrink wrap on the wires and tucked them up in the fairing, should someone ever want to restore it to stock.
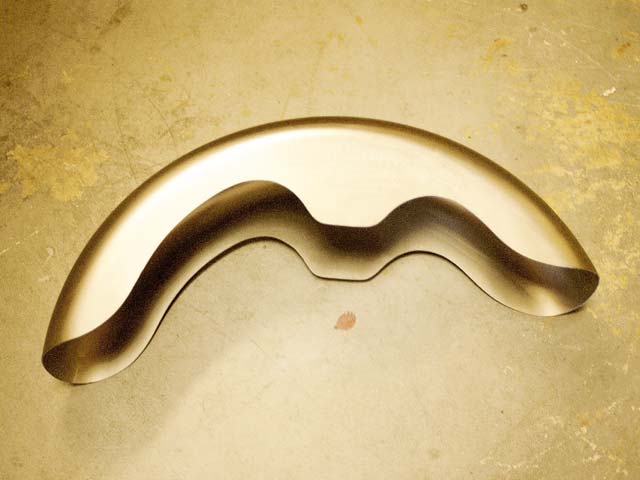
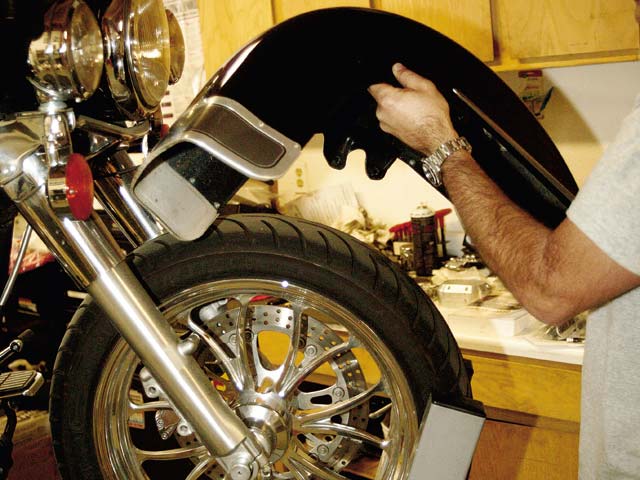
The RWD (Russ Wernimont Designs) fender is a beautifully shaped one-piece design; we went with a 6.25-inch version. Although designed to fit 16-inch wheels, it will work just fine with our 18-inchers.
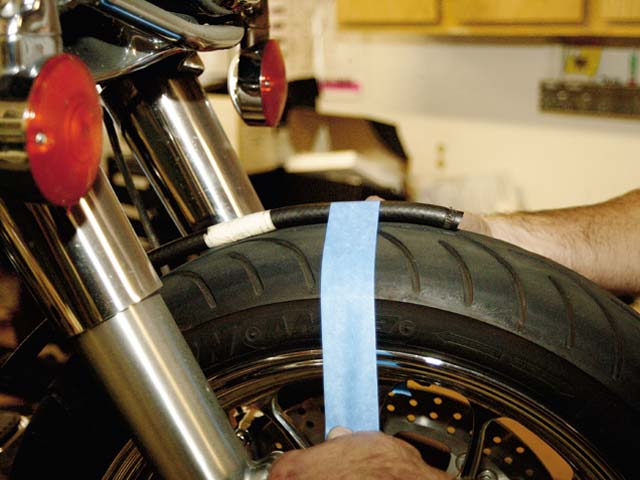
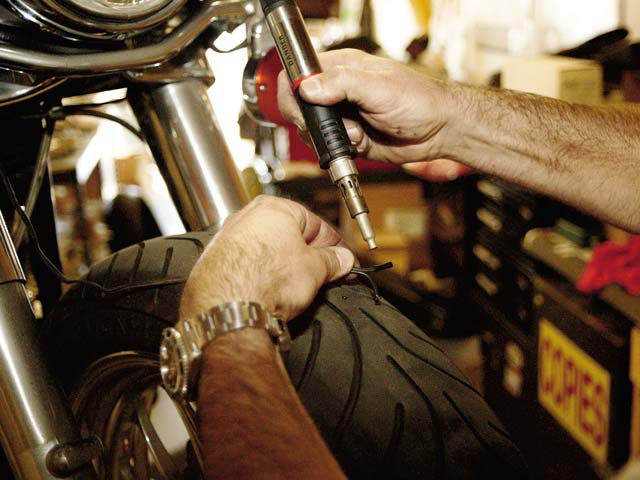
Just like when building a full custom, a blank fender requires allowance for tire expansion when positioning it. We used a length of fuel line and some tape to hold it in place…
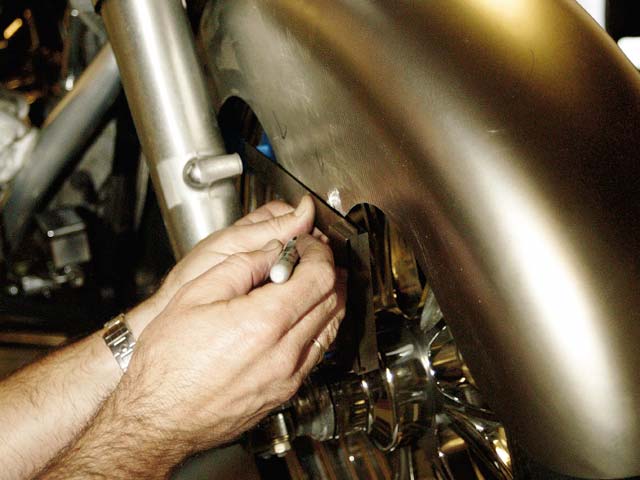
…before we slid the fender in place and went to work marking the mounting holes.
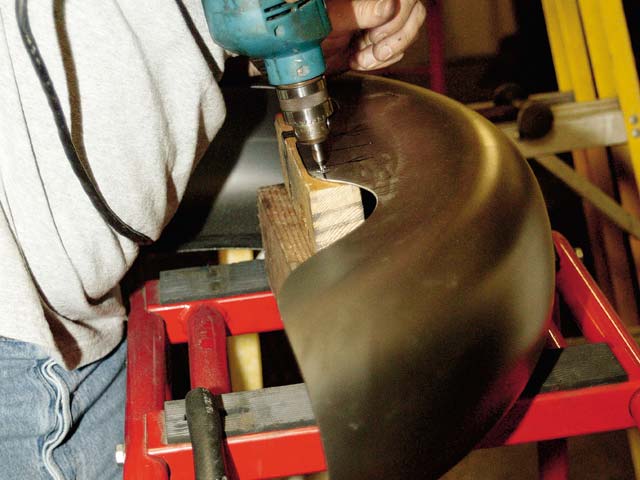
With the fender secured to a work station and some wood blocks to reinforce it, we drilled the four mounting holes.
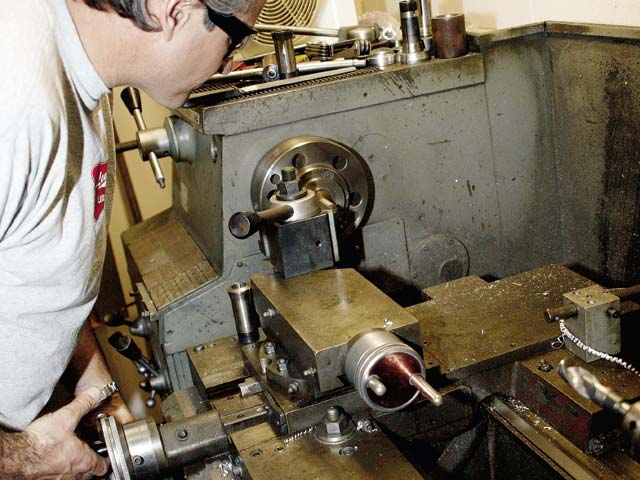
Not satisfied with finding pre-made fender spacers, Murrow fired up the lathe from his AB Tech business, to cut four 0.8125-inch pieces.
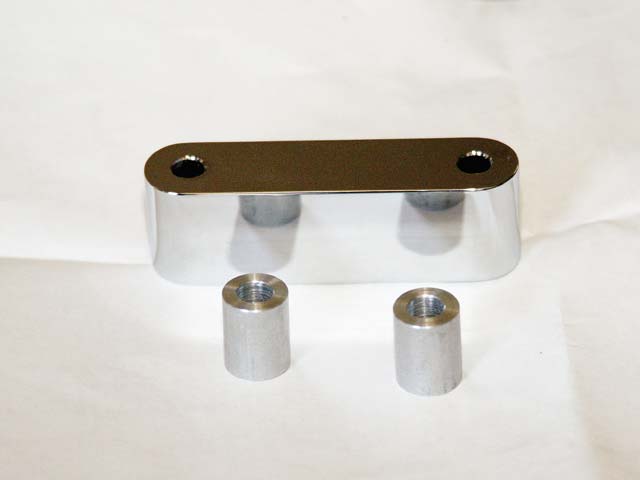
AB Tech makes many different versions of this fender spacer. These temporary slugs will be replaced by the real thing by the time the paint work is done, but a new design is required for TC bagger model legs.
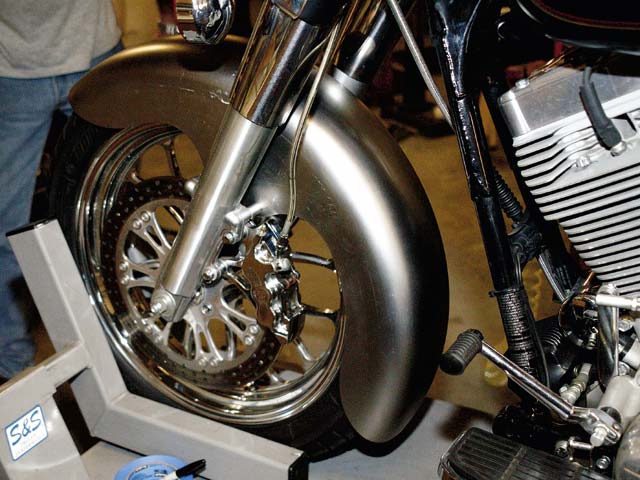
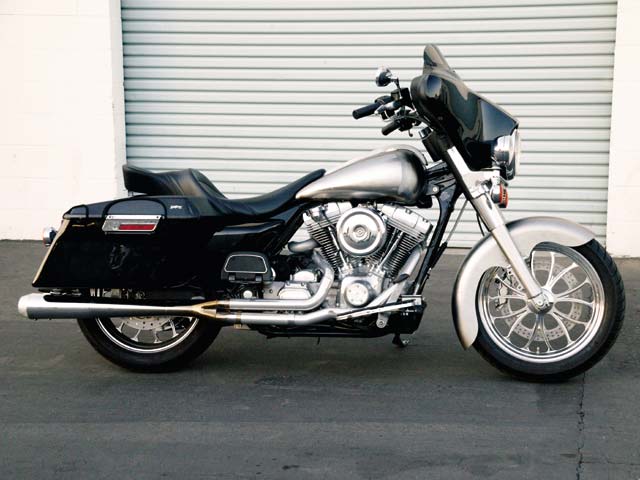
Needless to say the new RWD fender makes a billion-percent upgrade to the look of the front of the bagger. It’s cleaner, smoother, and much more stylish.
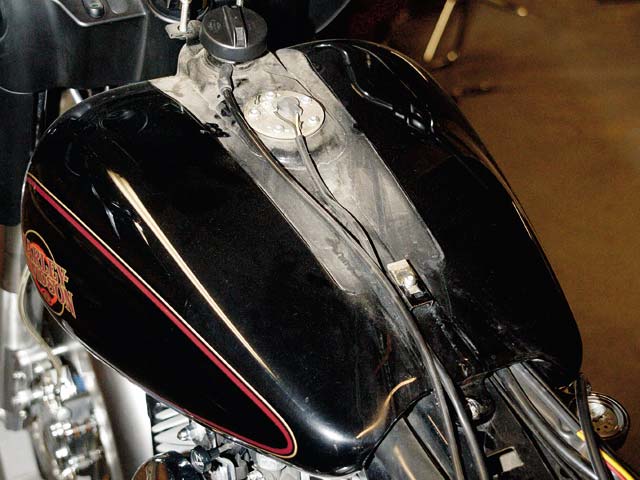
The gas tank comes off by draining the fuel, removing the fuel sensor, and lifting it off the bike. When removing the fuel valve, be gentle with the vacuum line.
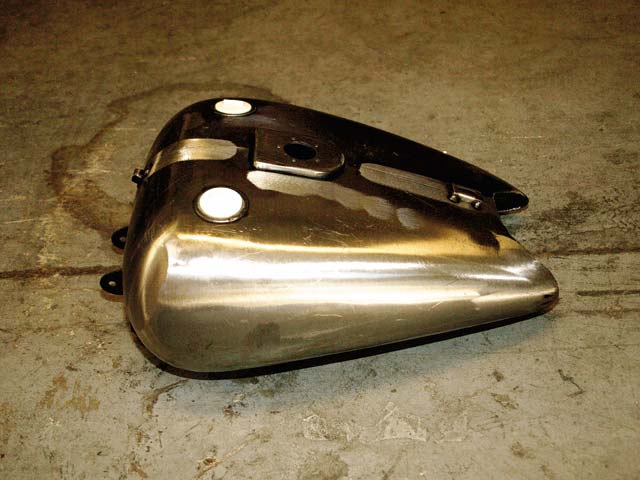
The new Drag Specialties tank is an incredible bolt-on piece available for carbureted models. The only modification that goes along with adding its 2-inch stretch shape is the front of your seat needing to be cut back to fit the pocket.

As we slid the tank in place, we were immediately impressed with how perfectly it fit the existing mounting positions.
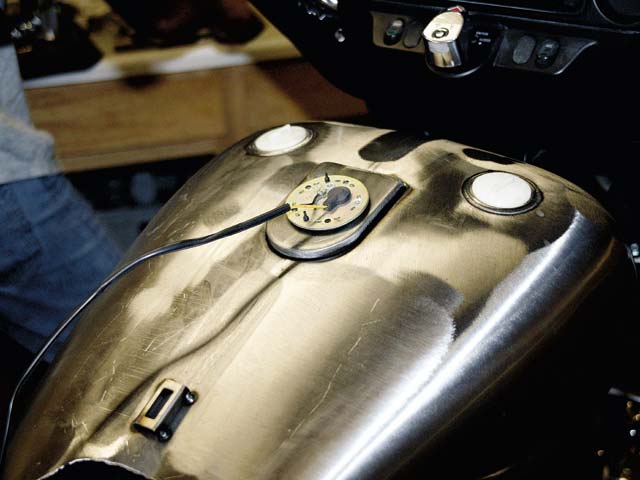
Included with the kit is a new fuel-sending unit gasket and a cover panel, in case you decide to eliminate the fuel gauge. Obviously, before adding fuel to the tank, it must be thoroughly rinsed out; we suggest applying a sealant to the inside to prevent any metal debris from ever coming loose and blocking a fuel line
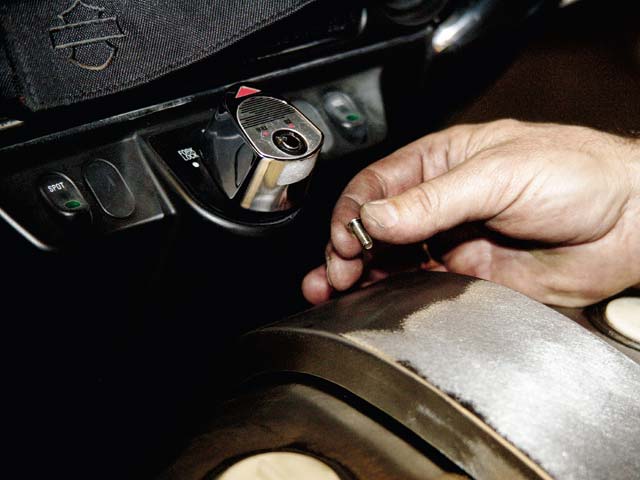
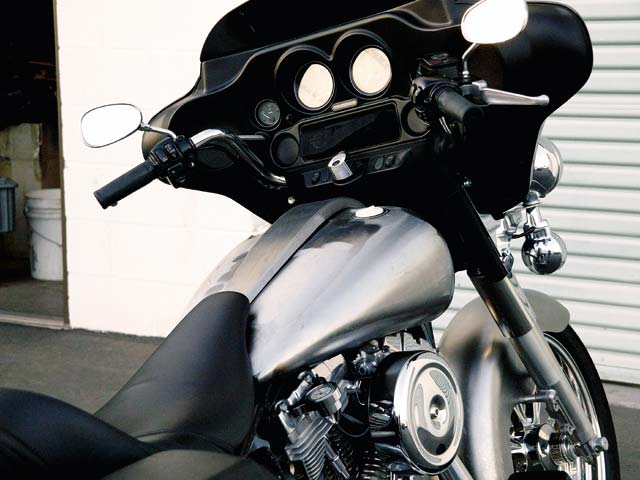
The dash comes with rubber trim to cover its edges and installation hardware. We plan to spend a few minutes with a belt grinder evening out the panel edges before paint, but it shouldn’t take more than 30 minutes to make it perfect — very impressive for a bolt-on custom tank.
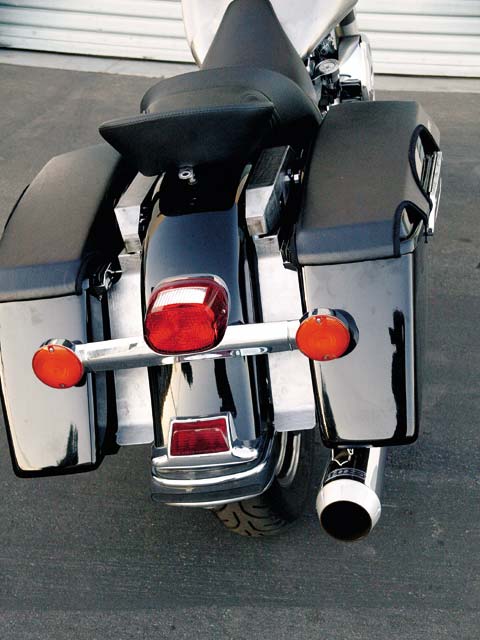
We then moved to the rear for the filler panels. First, the saddlebags came off.
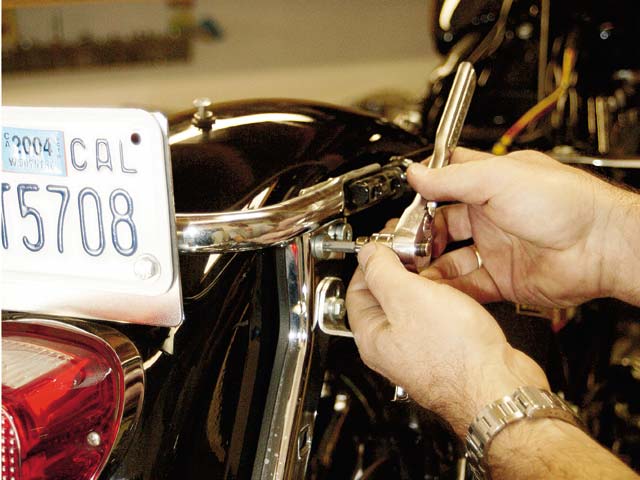
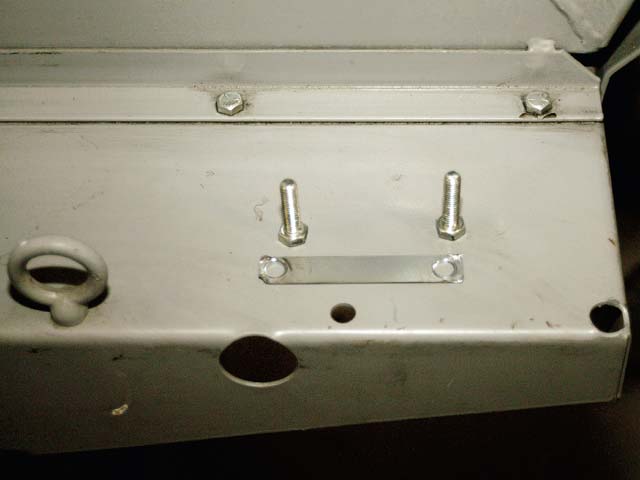
When reading the catalog information (which we did not) for the filler panels, it explains that the stock license plate mount must be removed, and find a new mount found. We were not prepared for this part of the conversion.
This small bracket replaces the license plate bar on both sides.
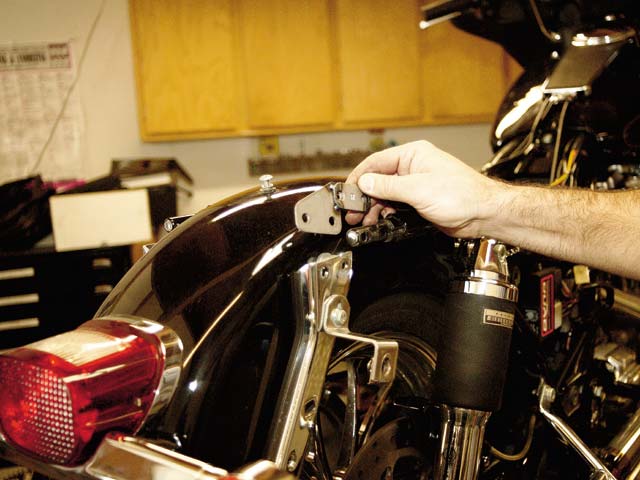
Using the included hardware, the filler panels install with zero modifications.

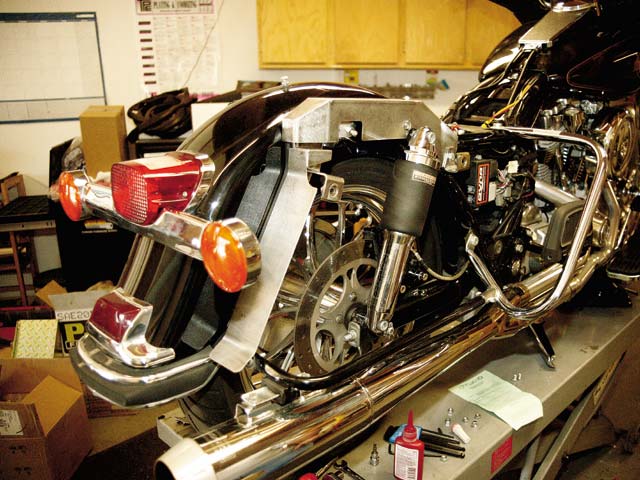
At this stage, we decided it would be a good time to install a set of Carlini rear bag guard eliminator brackets.
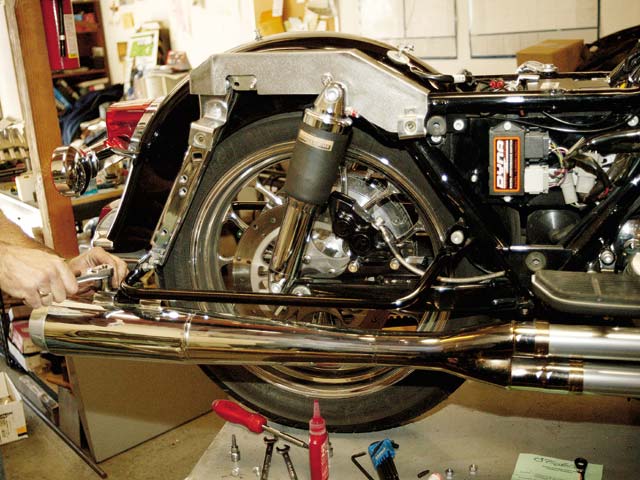
While we will give up the additional bag protection, the change offers more passenger footroom and a cleaner look.
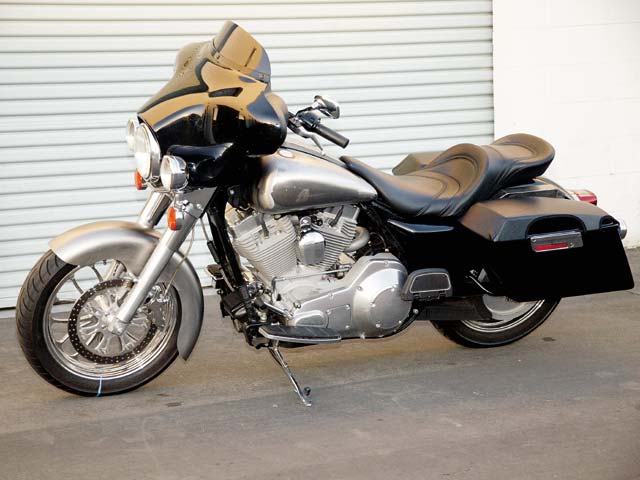
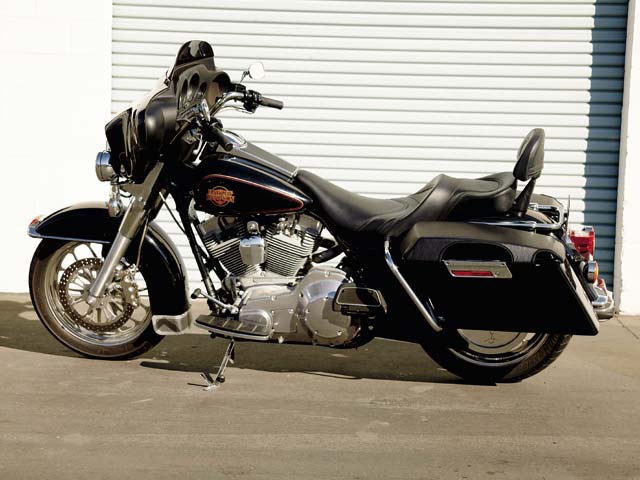
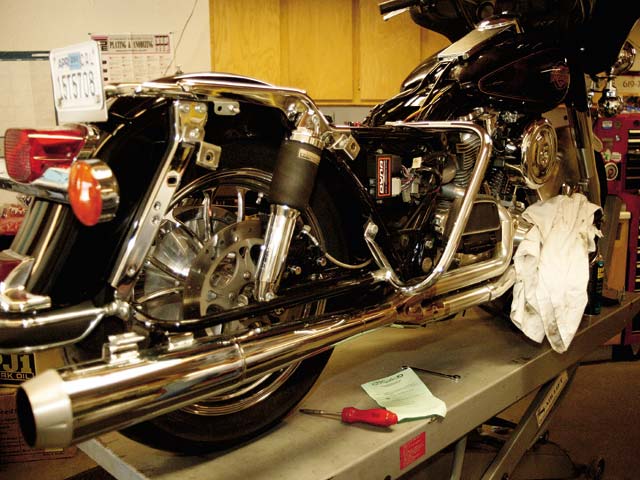
More and more we are finding that the second bike in most custom owners’ garages comes from the bagger line. Could be a Road King, could be an FLHTCUI, but baggers are quickly getting past the old man’s bike stigma and becoming a hot property. We, of course, felt we could make an FLHT a lot hotter and much more befitting of a HOT BIKE staff member, so HOT BIKE Ad Sales Manager Craig Murrow’s ’01 FLHT went under the parts catalog.
We decided that while custom is cool, there was no reason why we couldn’t do everything we wanted to Murrow’s ride with bolt-on parts from the Drag Specialties catalog. So, we ordered a very cool one-piece gas tank, 6.25-inch RWD steel front fender, and raw metal framerail covers to fill in between the bags and rear fender. Sure, paint would be required, but really no changes that can’t happen in a modestly equipped garage are necessary. Take a look at what we accomplished in less than eight hours.
And here’s the finished result. Pretty dramatic, huh?


