
Hill Country Handlebar Swap Part 1 of 3
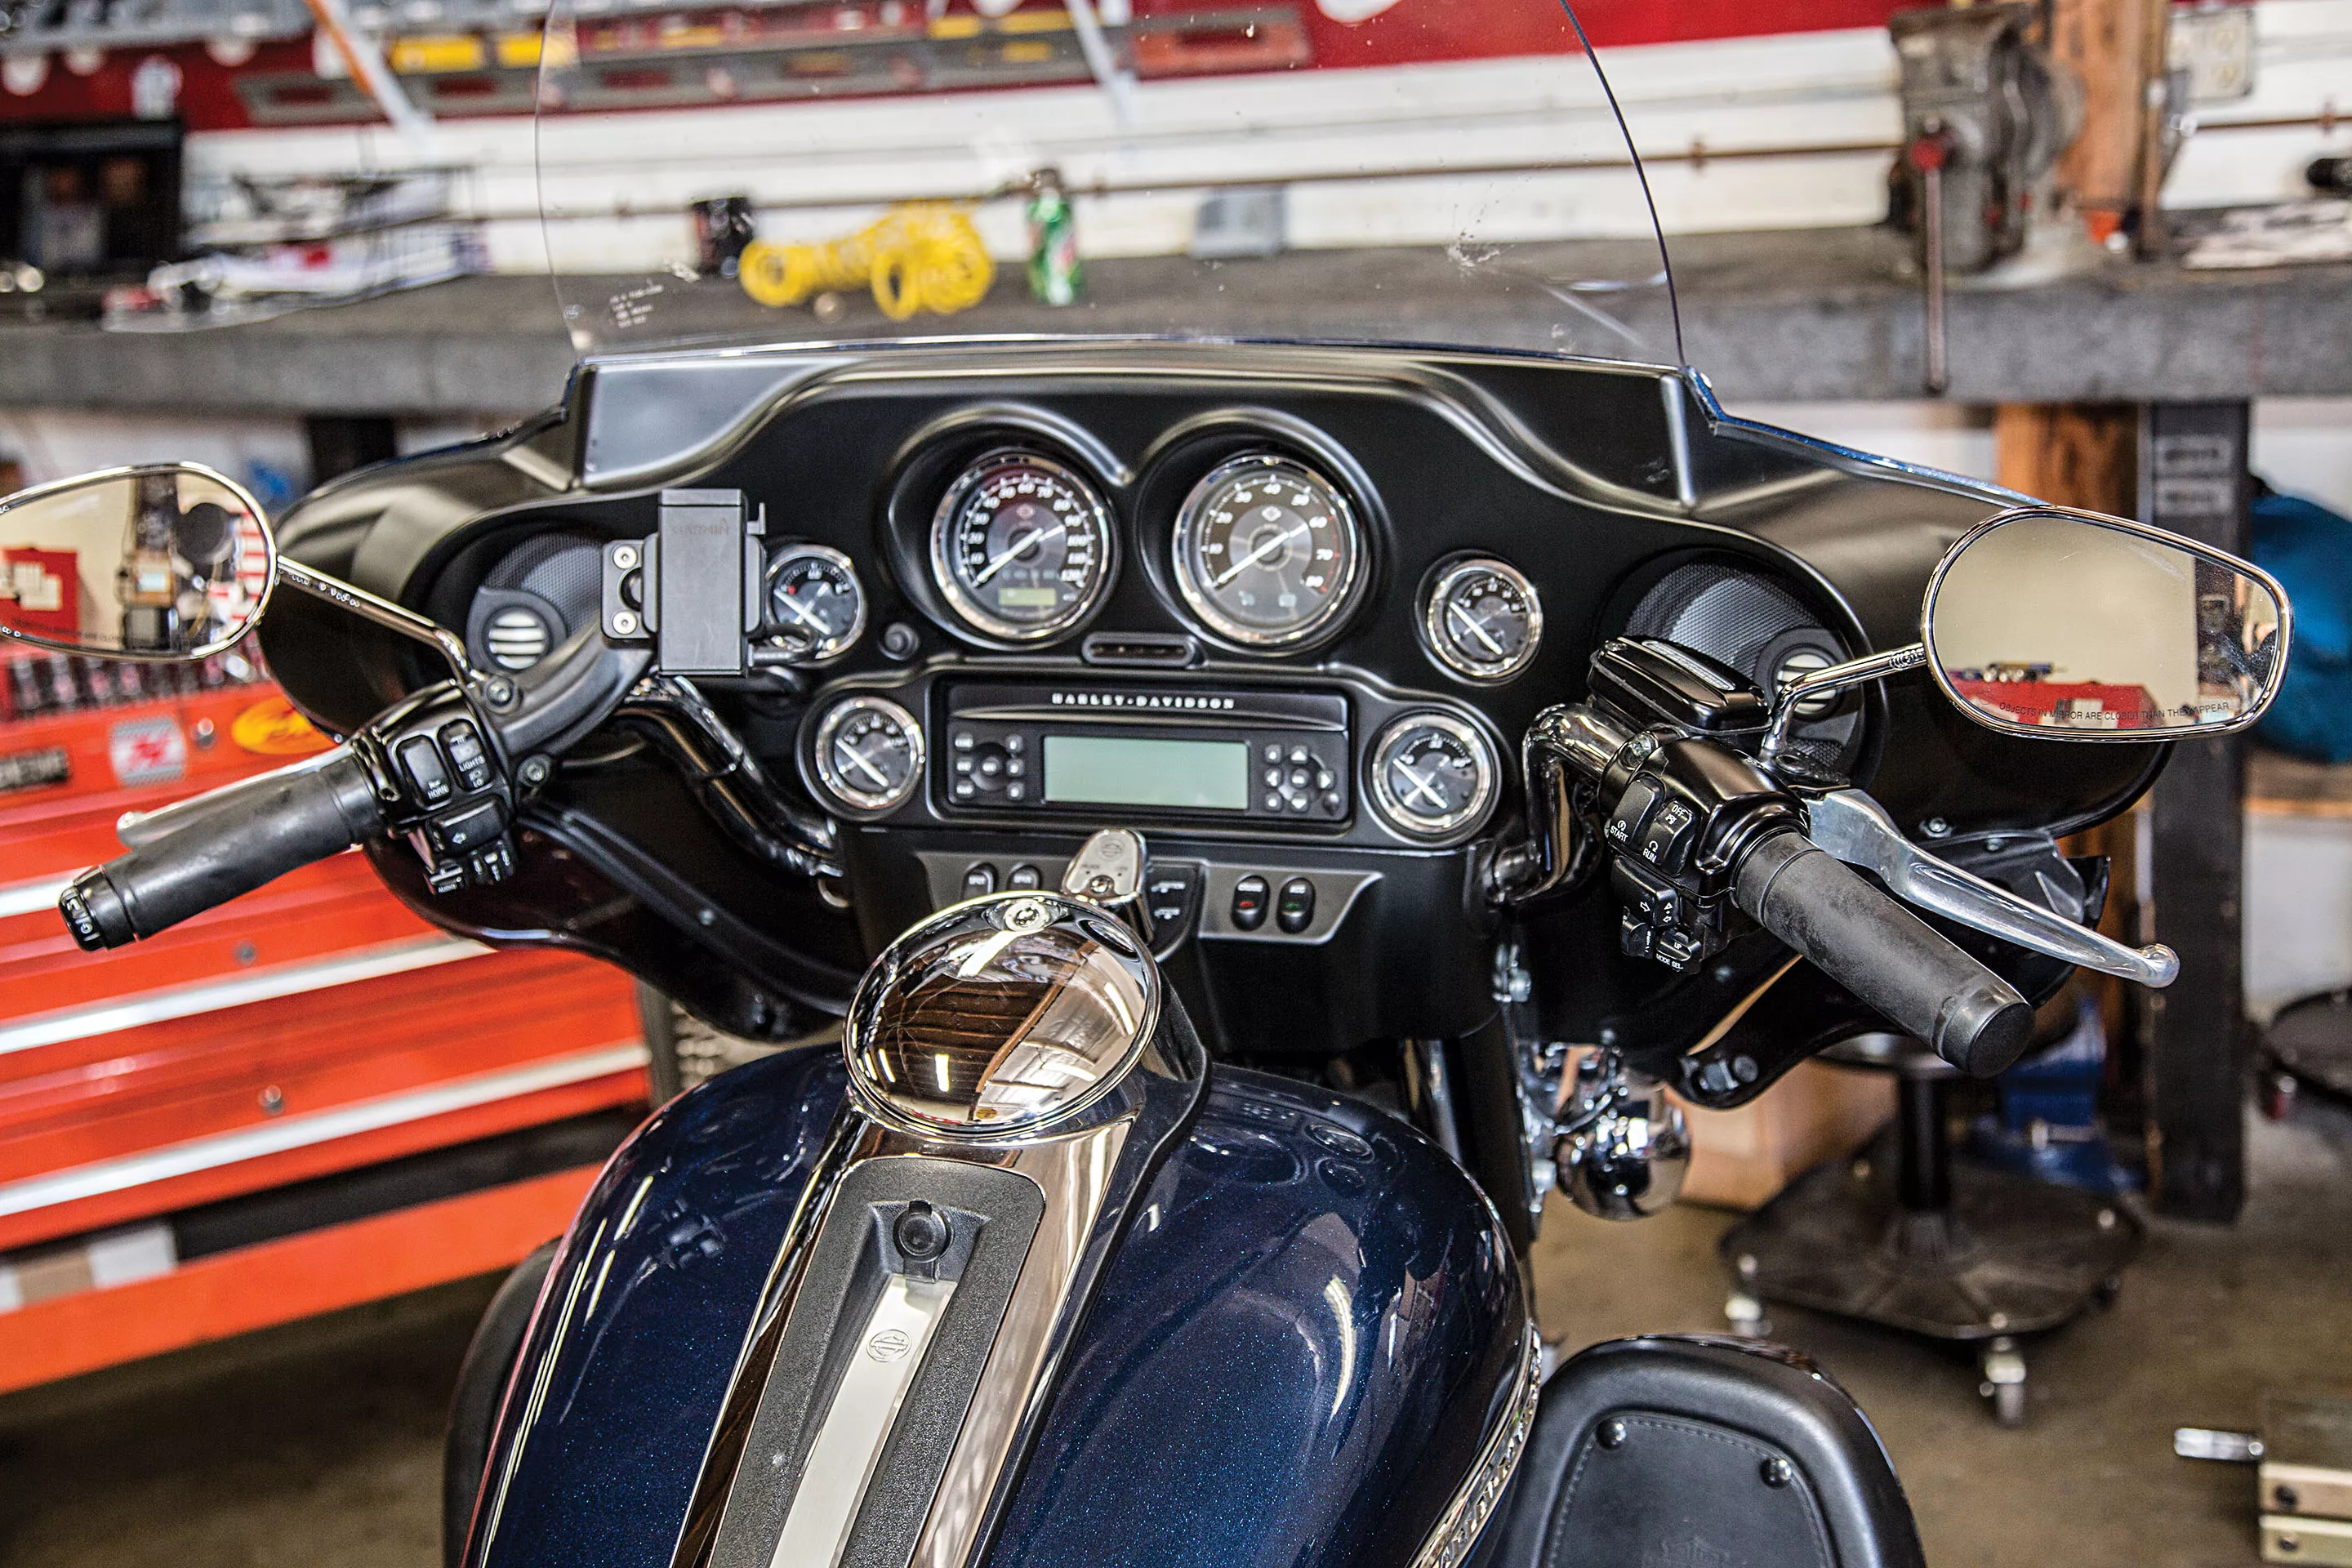
Here are the stock controls for our 2012 Ultra Classic. Stock bars are meant to fit a large portion of the population. Our bike owner John DiMassa is 6-foot-2 and needed a bit more height and width for optimal comfort.
Words and Photos: John Zamora
One of the most common upgrades to any motorcycle is a bar swap. The type and size of bars define the motorcycle and often the rider behind them. For that reason, bars come in all shapes and sizes imaginable and range in price from $40 swap-meet specials to more than $1,000 for pre-wired chrome units. It’s important to remember that when you change the size and location of the bars, it’s also necessary to change the brake and clutch lines and control wires that are attached to them. Short cables on a longer bar won’t reach (obviously), but too much slack from overly long cables can become bunched up or snag on other parts of the motorcycle. There is also the matter of the wires that must be extended or shortened to fit the modified height of the bars. Wire extensions can be manually done, or kits with prewired bars are also available.
If you have ever taken a bike to a shop and asked for a quote for a bar swap, you might be in for a big surprise. With the necessary removal of the front fairing and brake and cable swap that came with our Hill Country Kit, it still required almost a full day from start to finish with the meticulous and extremely skilled mechanic Kazoo from Freedom Performance behind the wrench. Gaining access to the bolts is an extensive process, and a good portion of the bike must be disassembled to reach that point. Don’t be surprised if your local shop quotes you with a large labor cost. This job could be done at home with basic tools if you have the patience and time to carefully disassemble everything and put it back without missing any steps along the way. For that reason also, this is a quick overview of the process, and a proper shop manual is necessary to accomplish each portion.
For our 2012 Ultra Classic, we wanted to improve the look and style of the bars with a small increase in height. The owner, John DiMassa, is a tall guy and wanted the extra height, so he chose 12-inch Hill Country apes to better fit his size with chrome accessories. He didn’t want to go overly tall because that defeats the purpose of the protection of the fairing if your knuckles are up and sticking out.
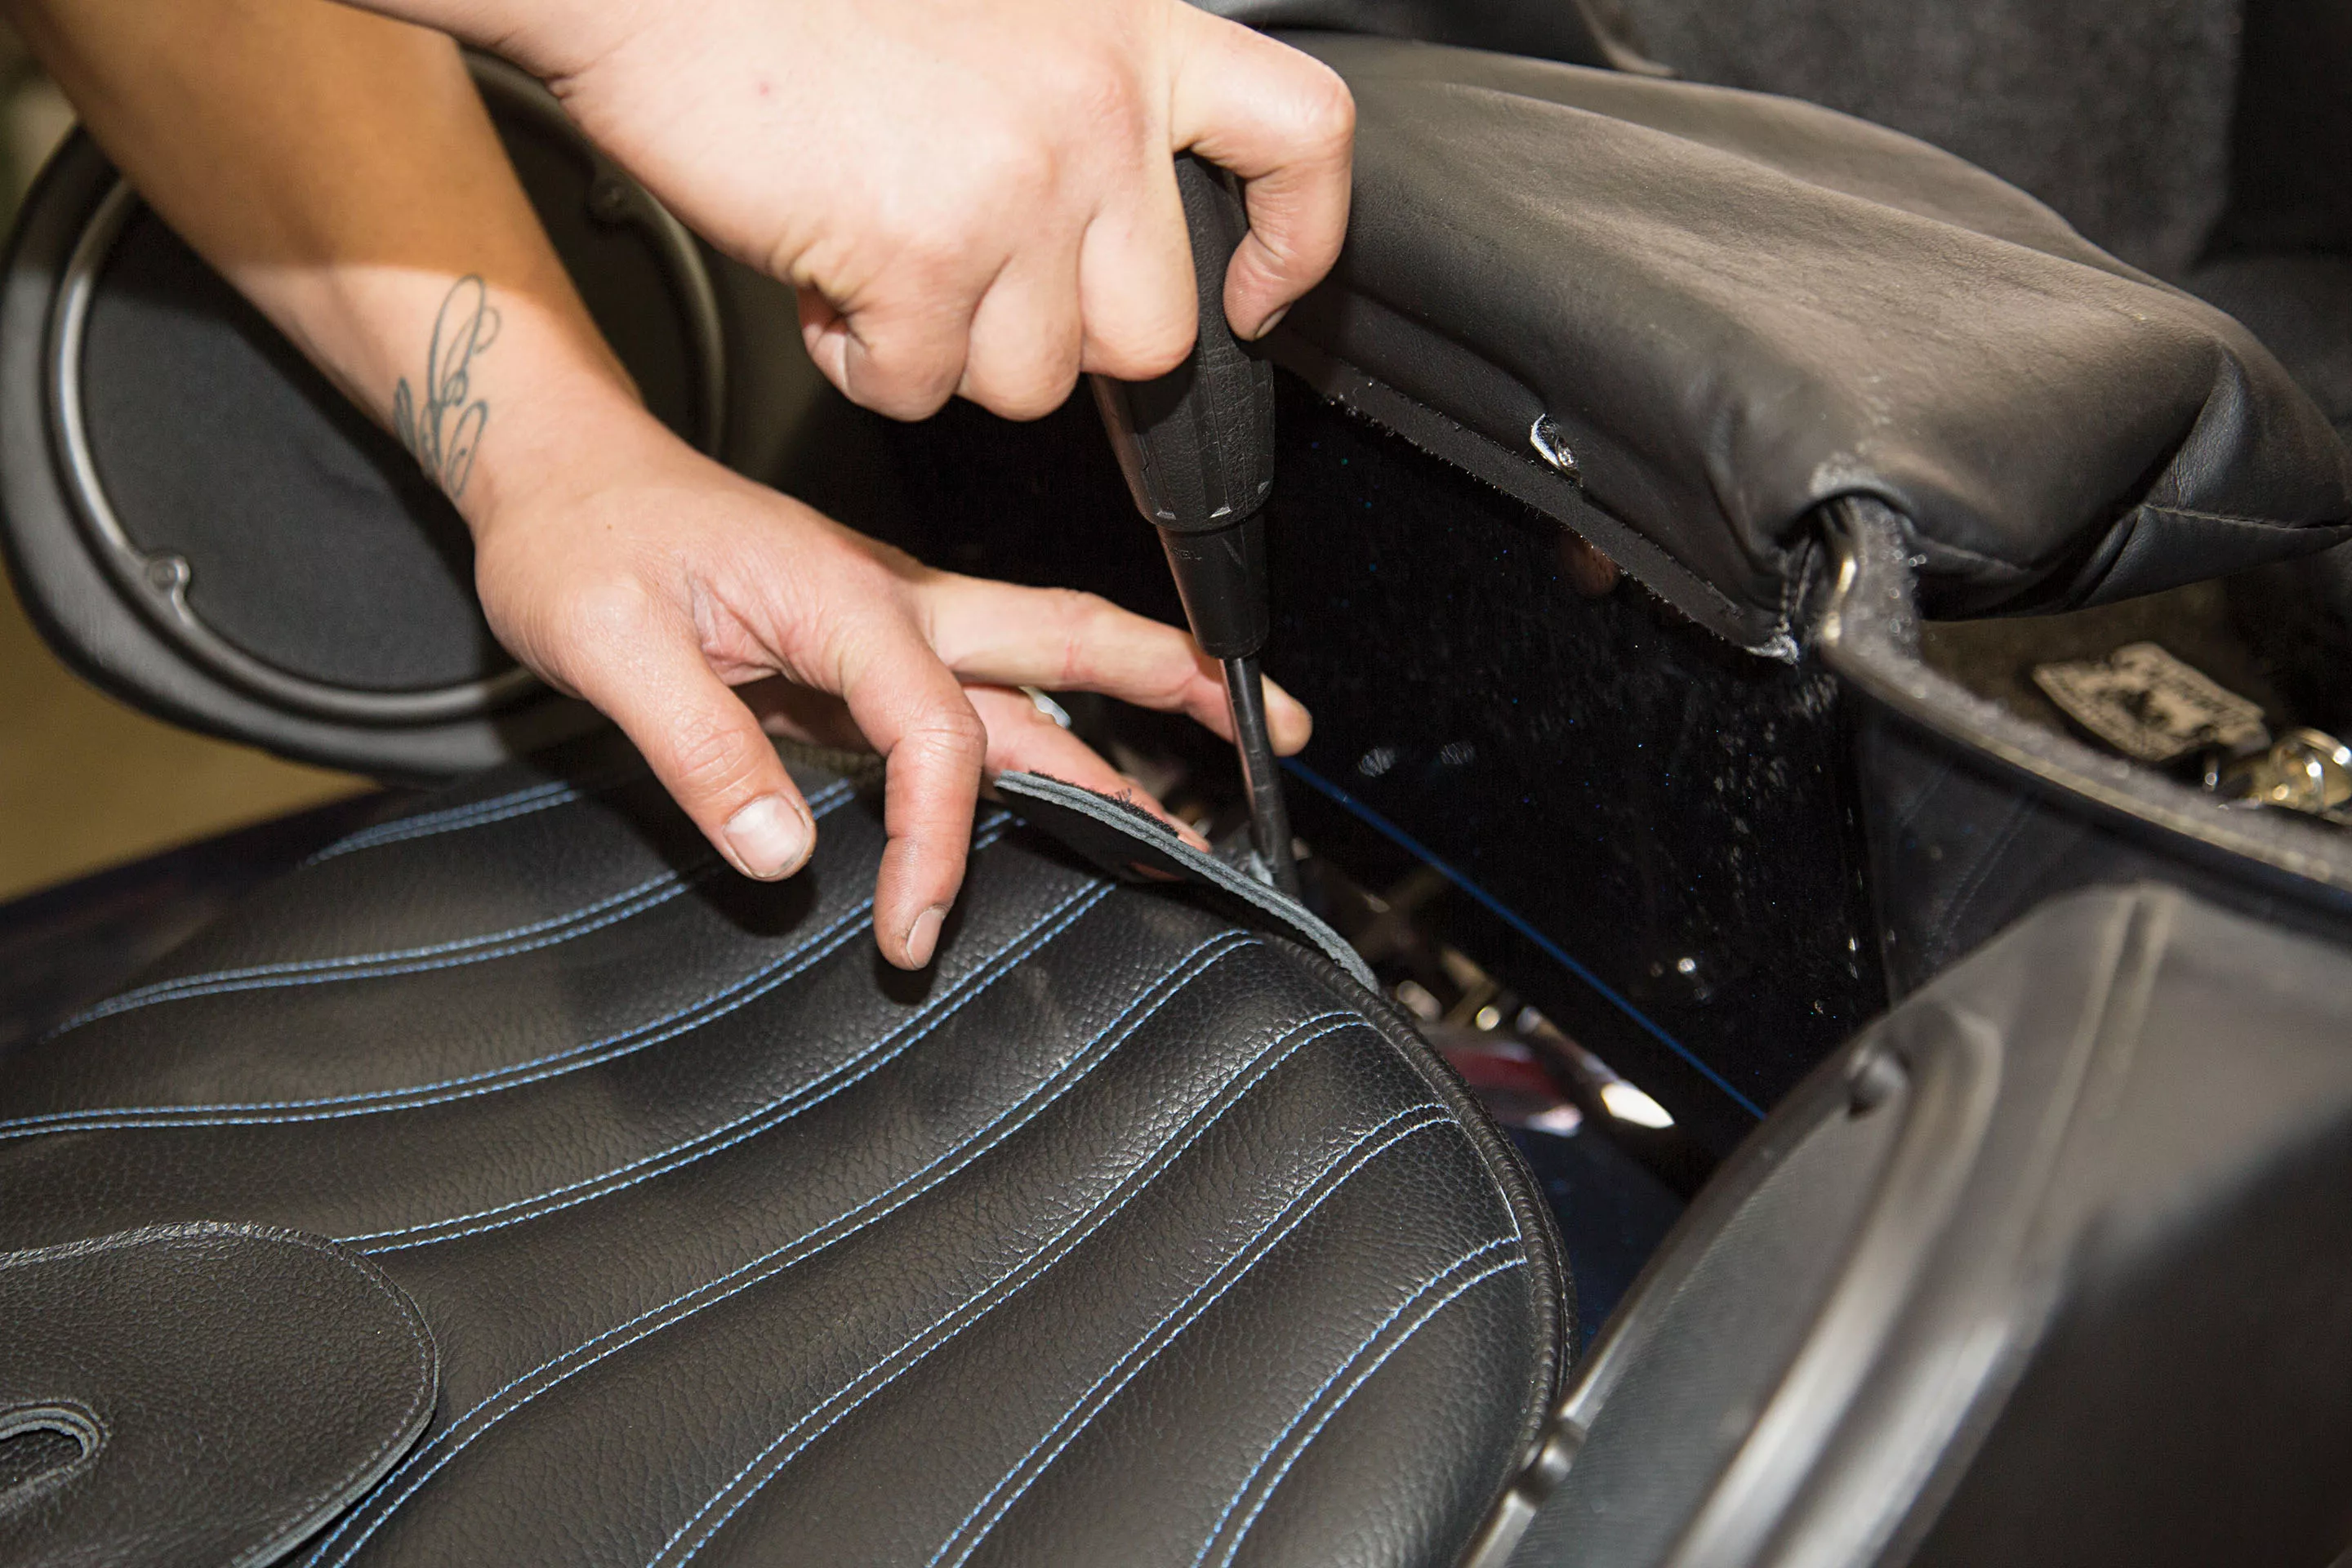
The seat was removed with the single screw under the passenger rest.
Words and Photos: John Zamora
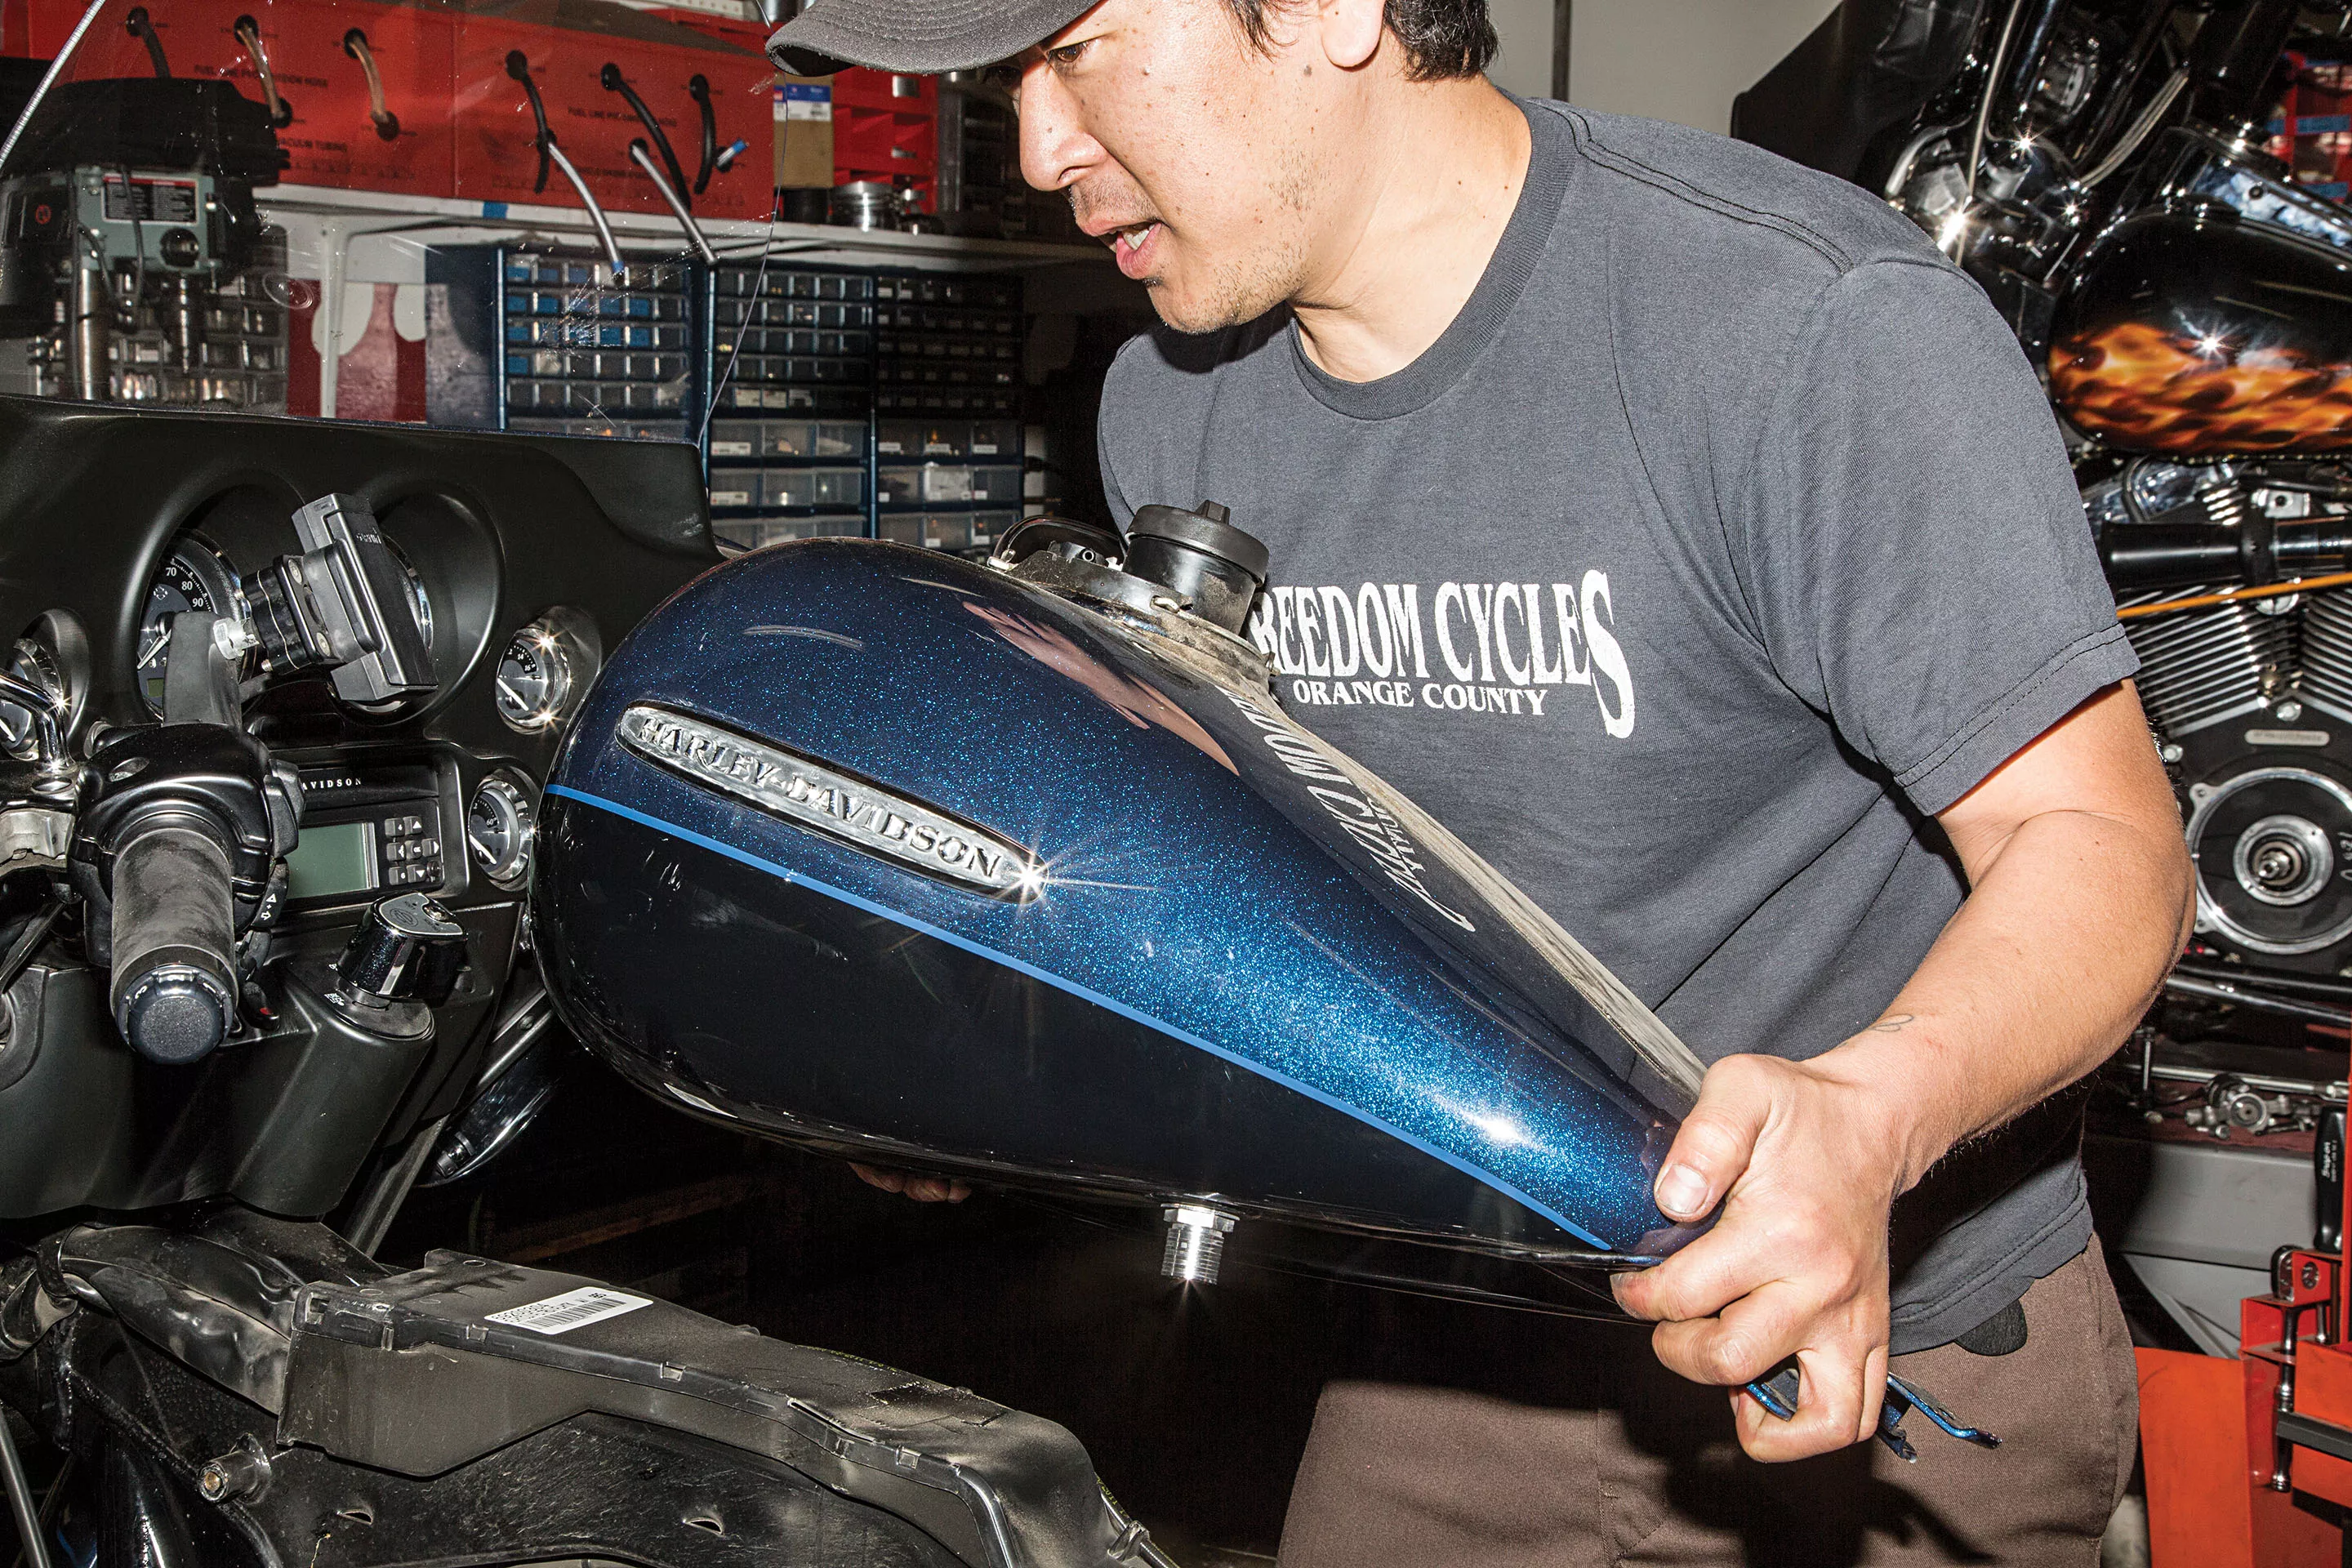
Next the gas tank and dash were set aside.
Words and Photos: John Zamora
RELATED | MORE TECH
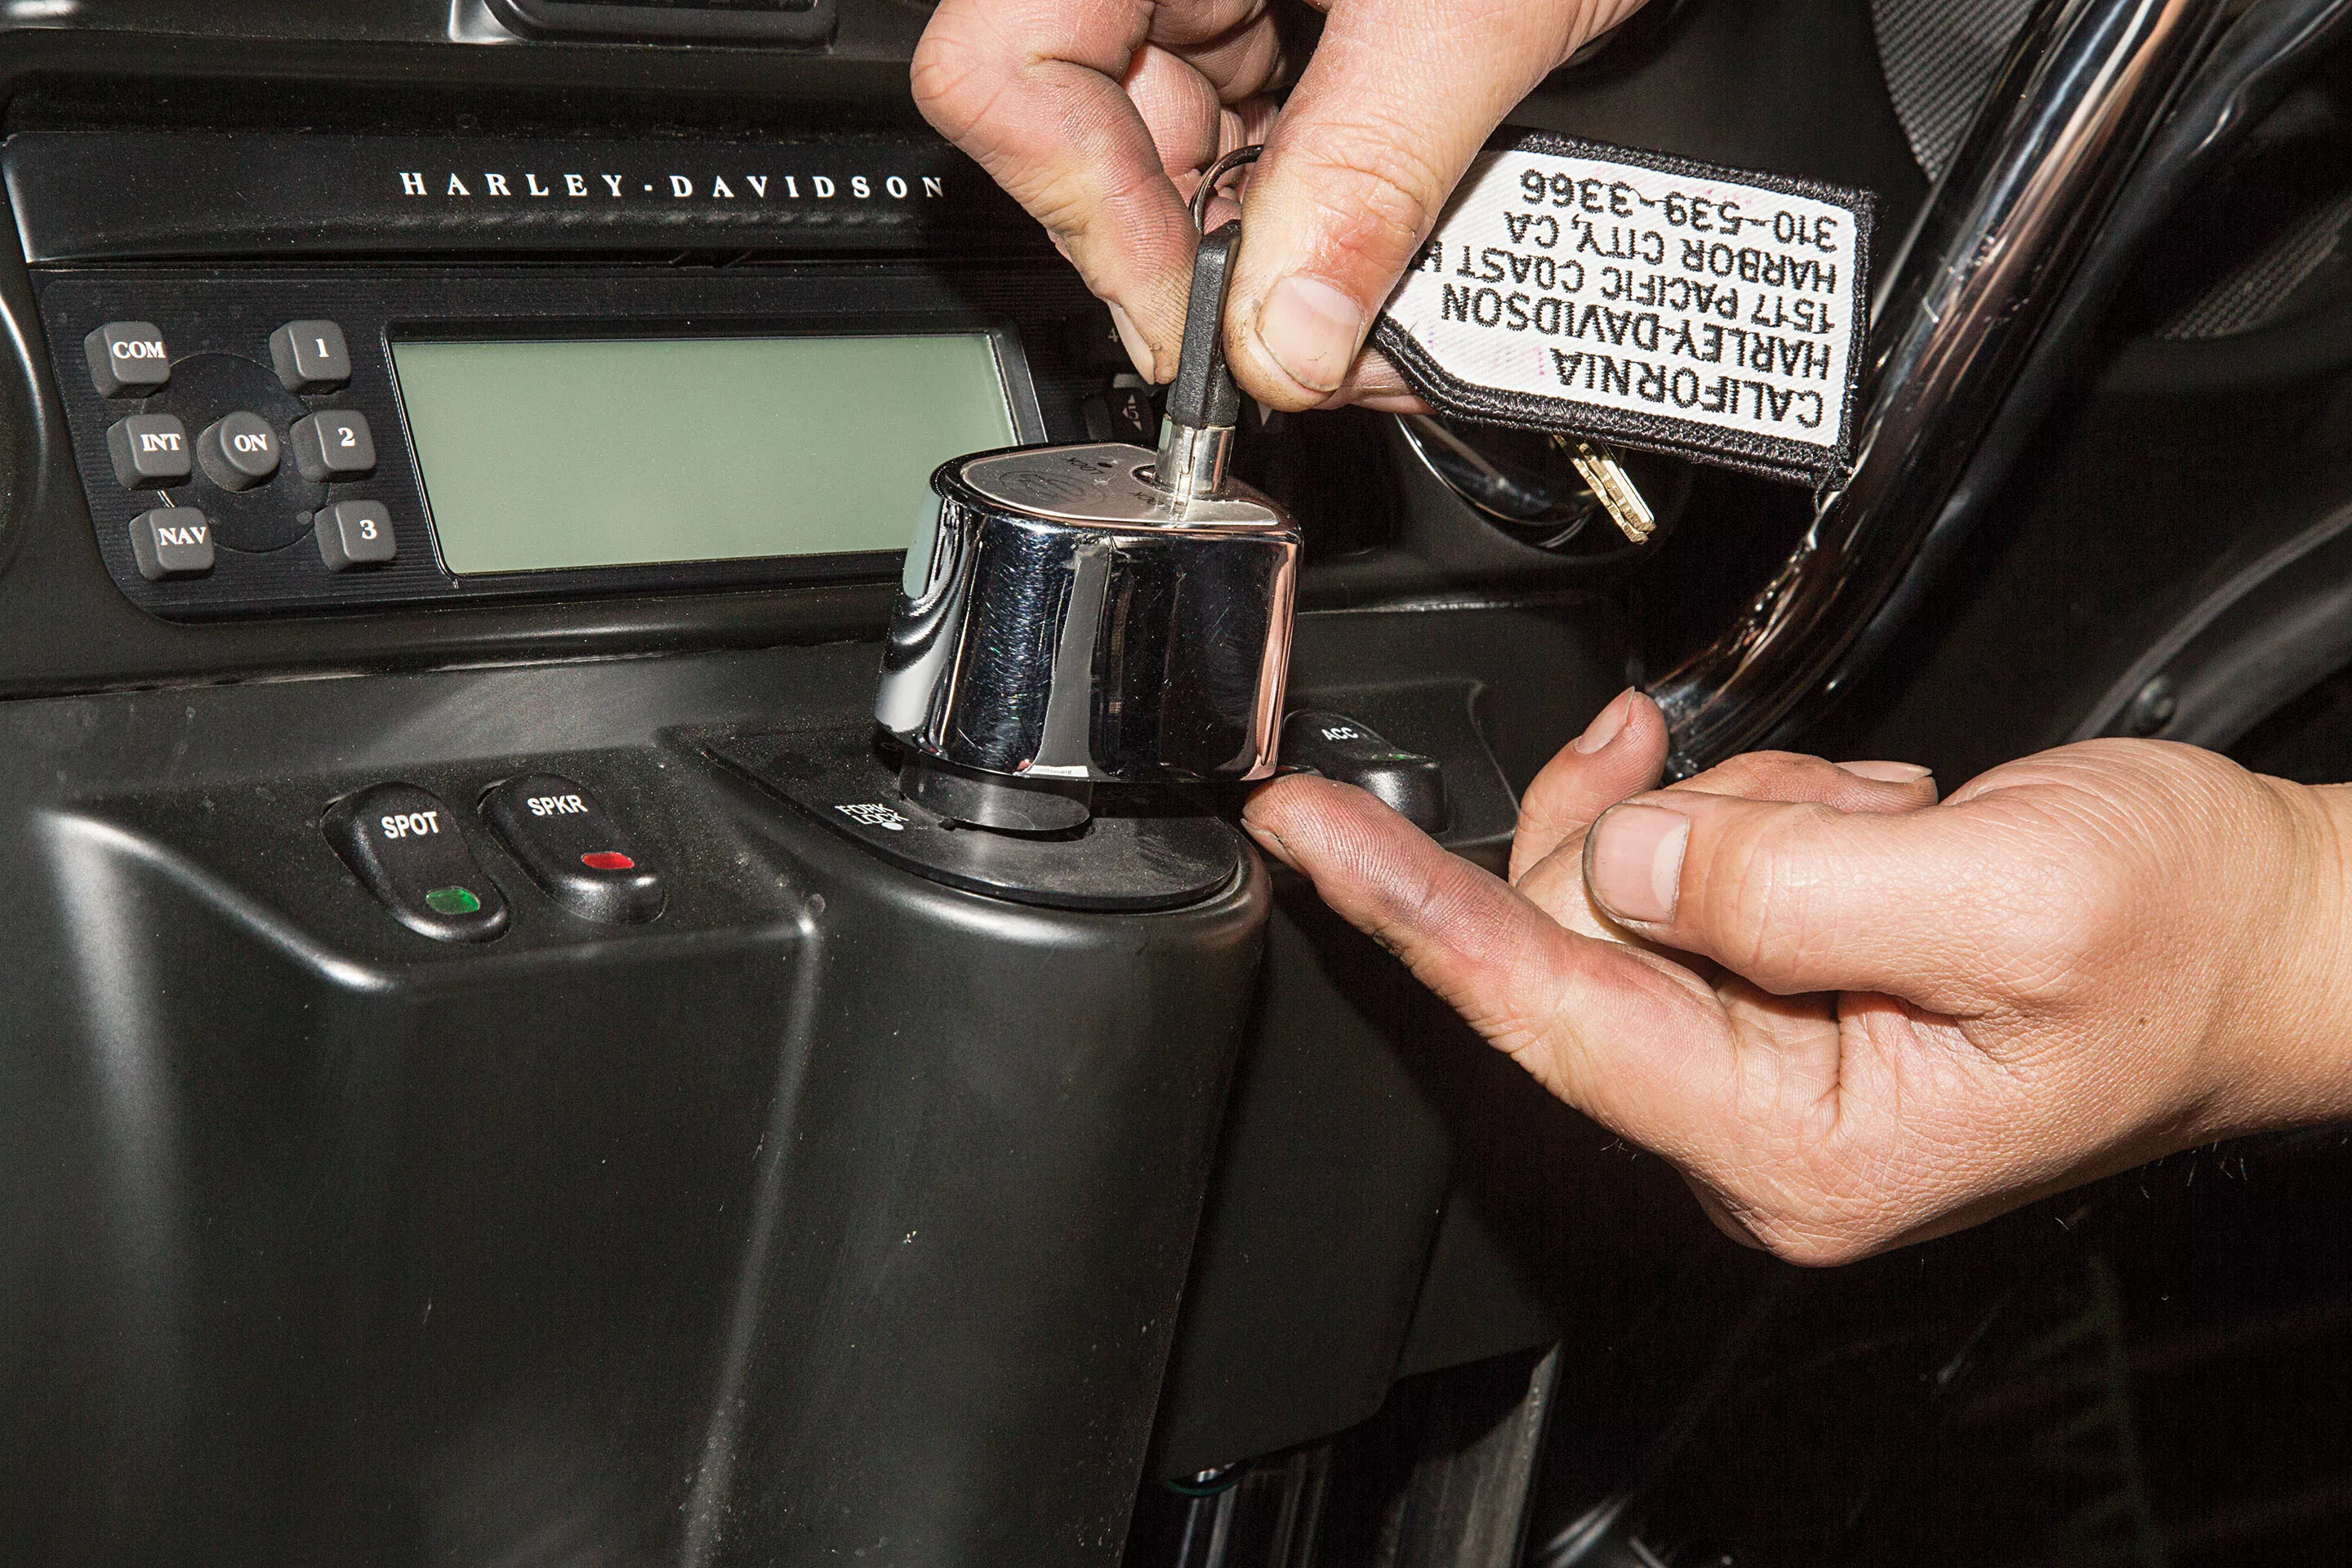
The key assembly was removed by turning the switch counterclockwise to the “fork lock” position and inserting the key to the “unlock” position and pushing a small button underneath. This will allow the switch to pop straight up. Be careful not to lose any of the spring and parts. The dash and inner fairing can now be set aside.
Words and Photos: John Zamora
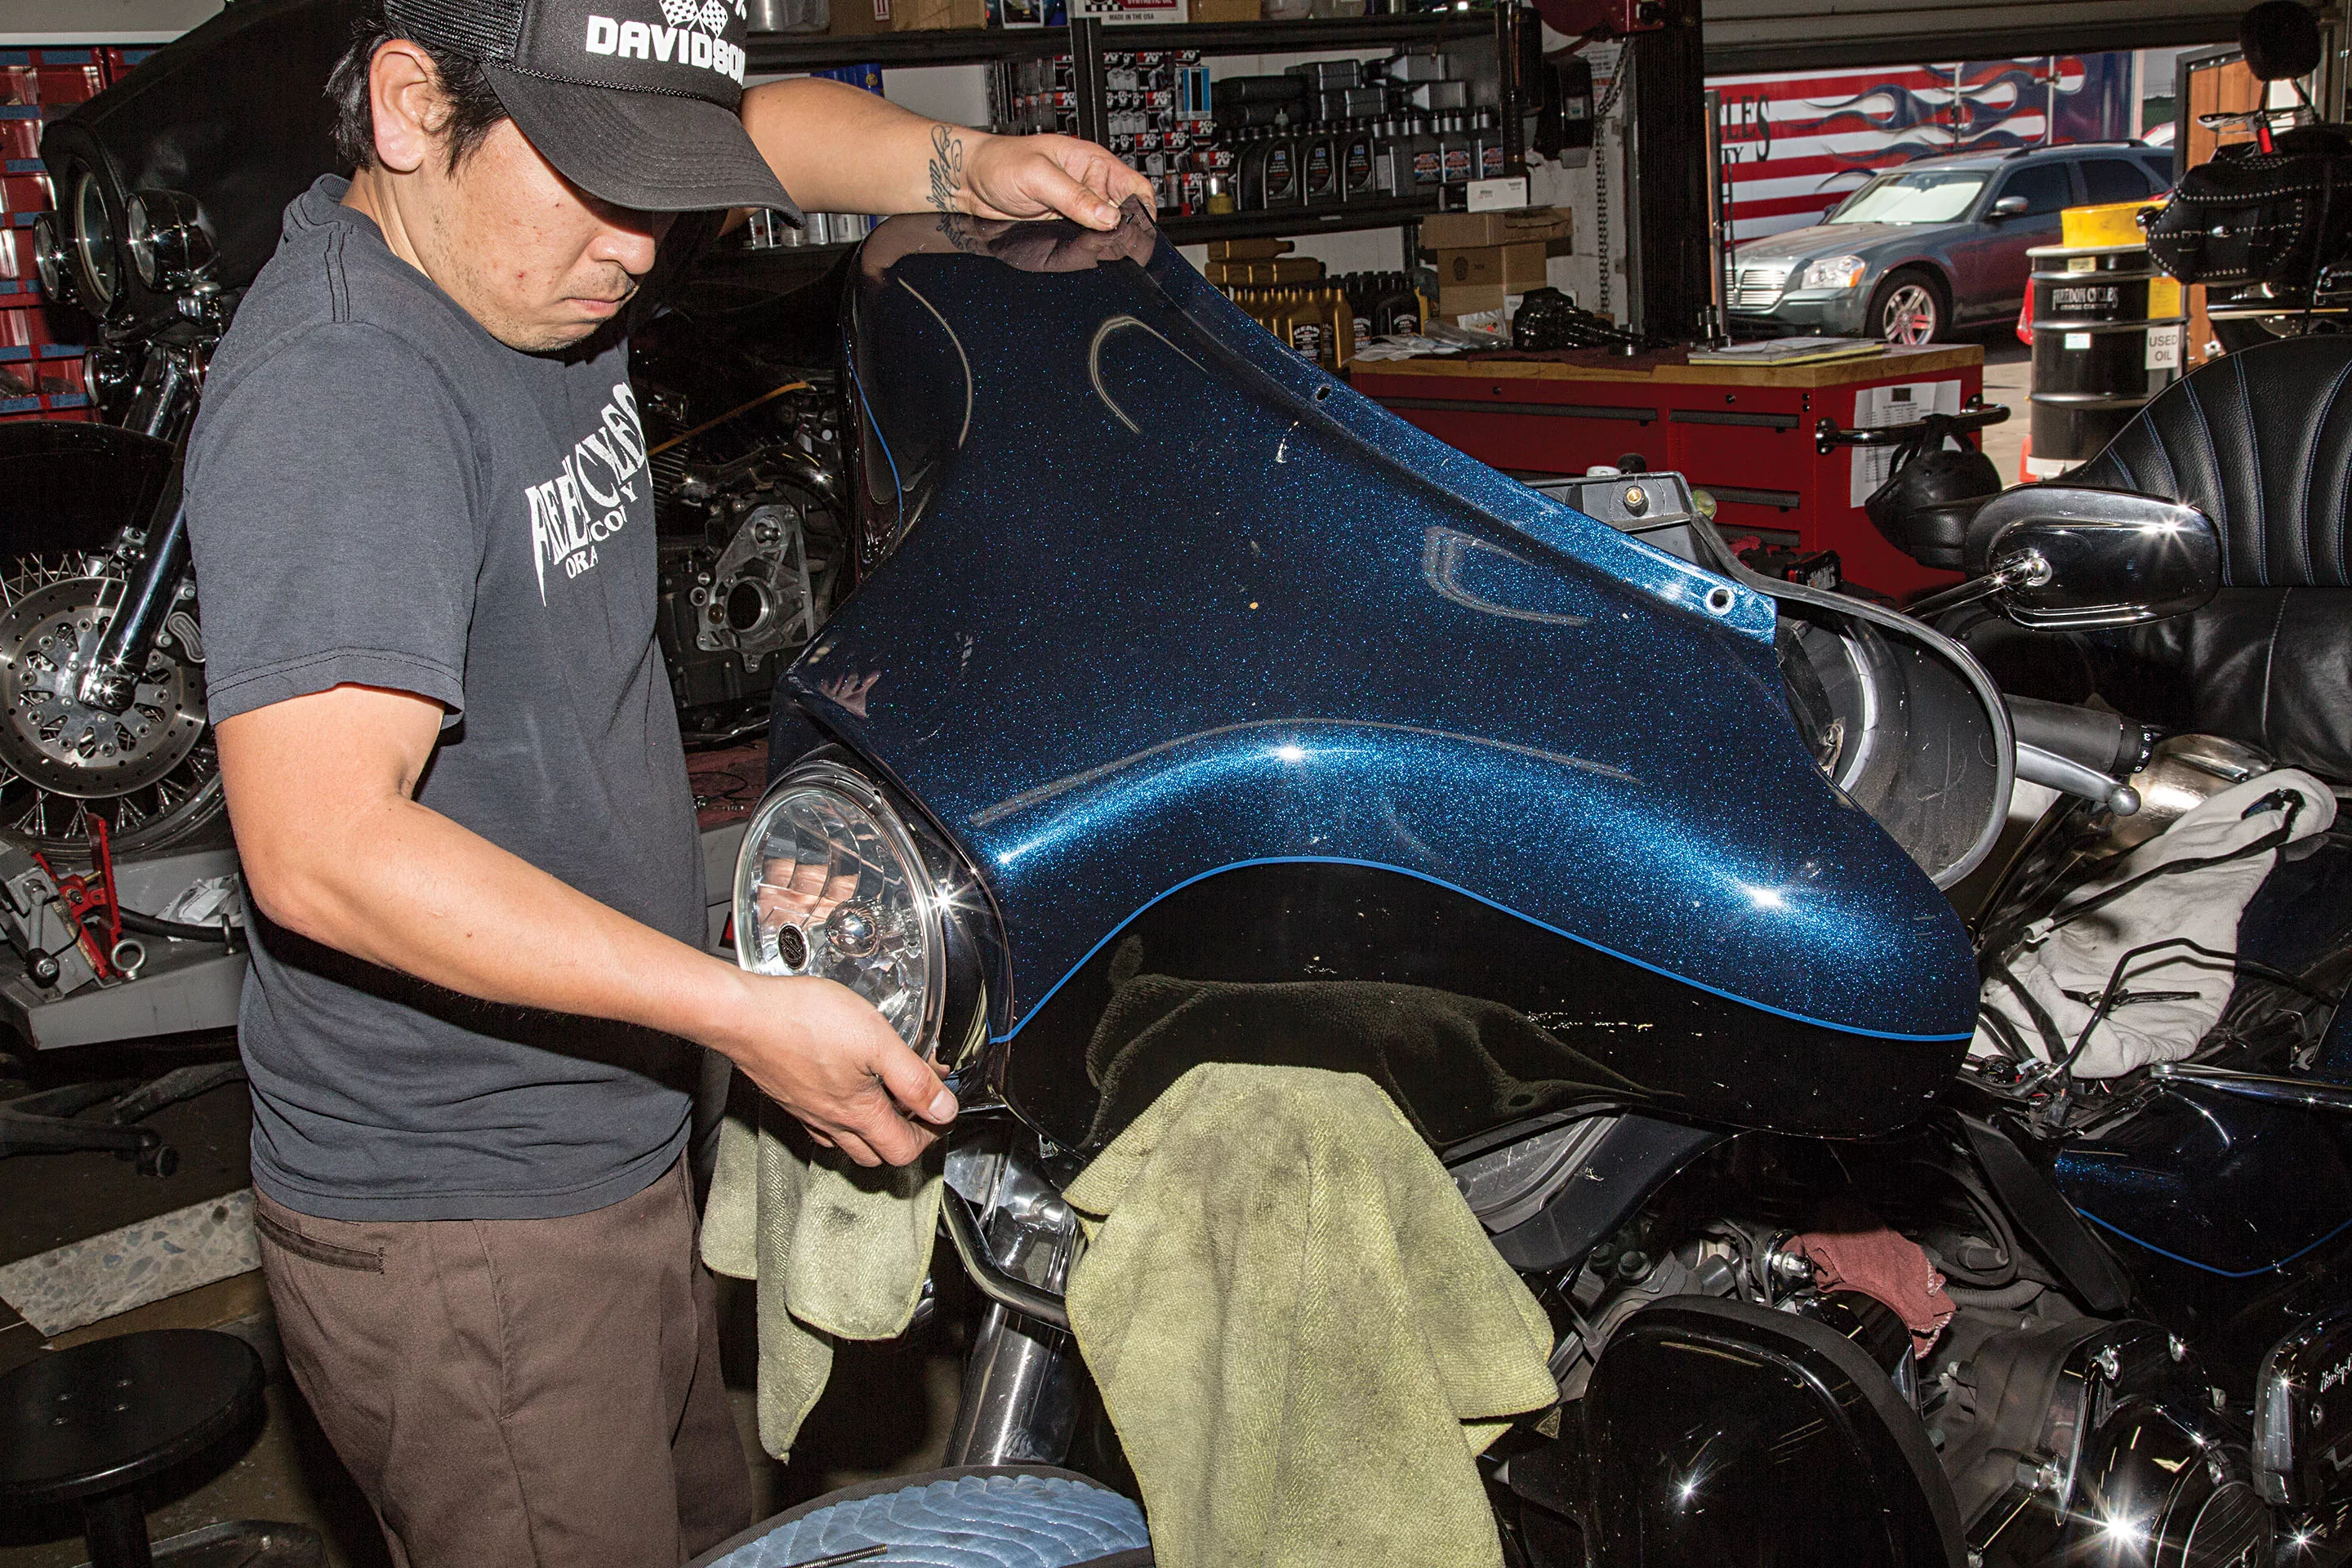
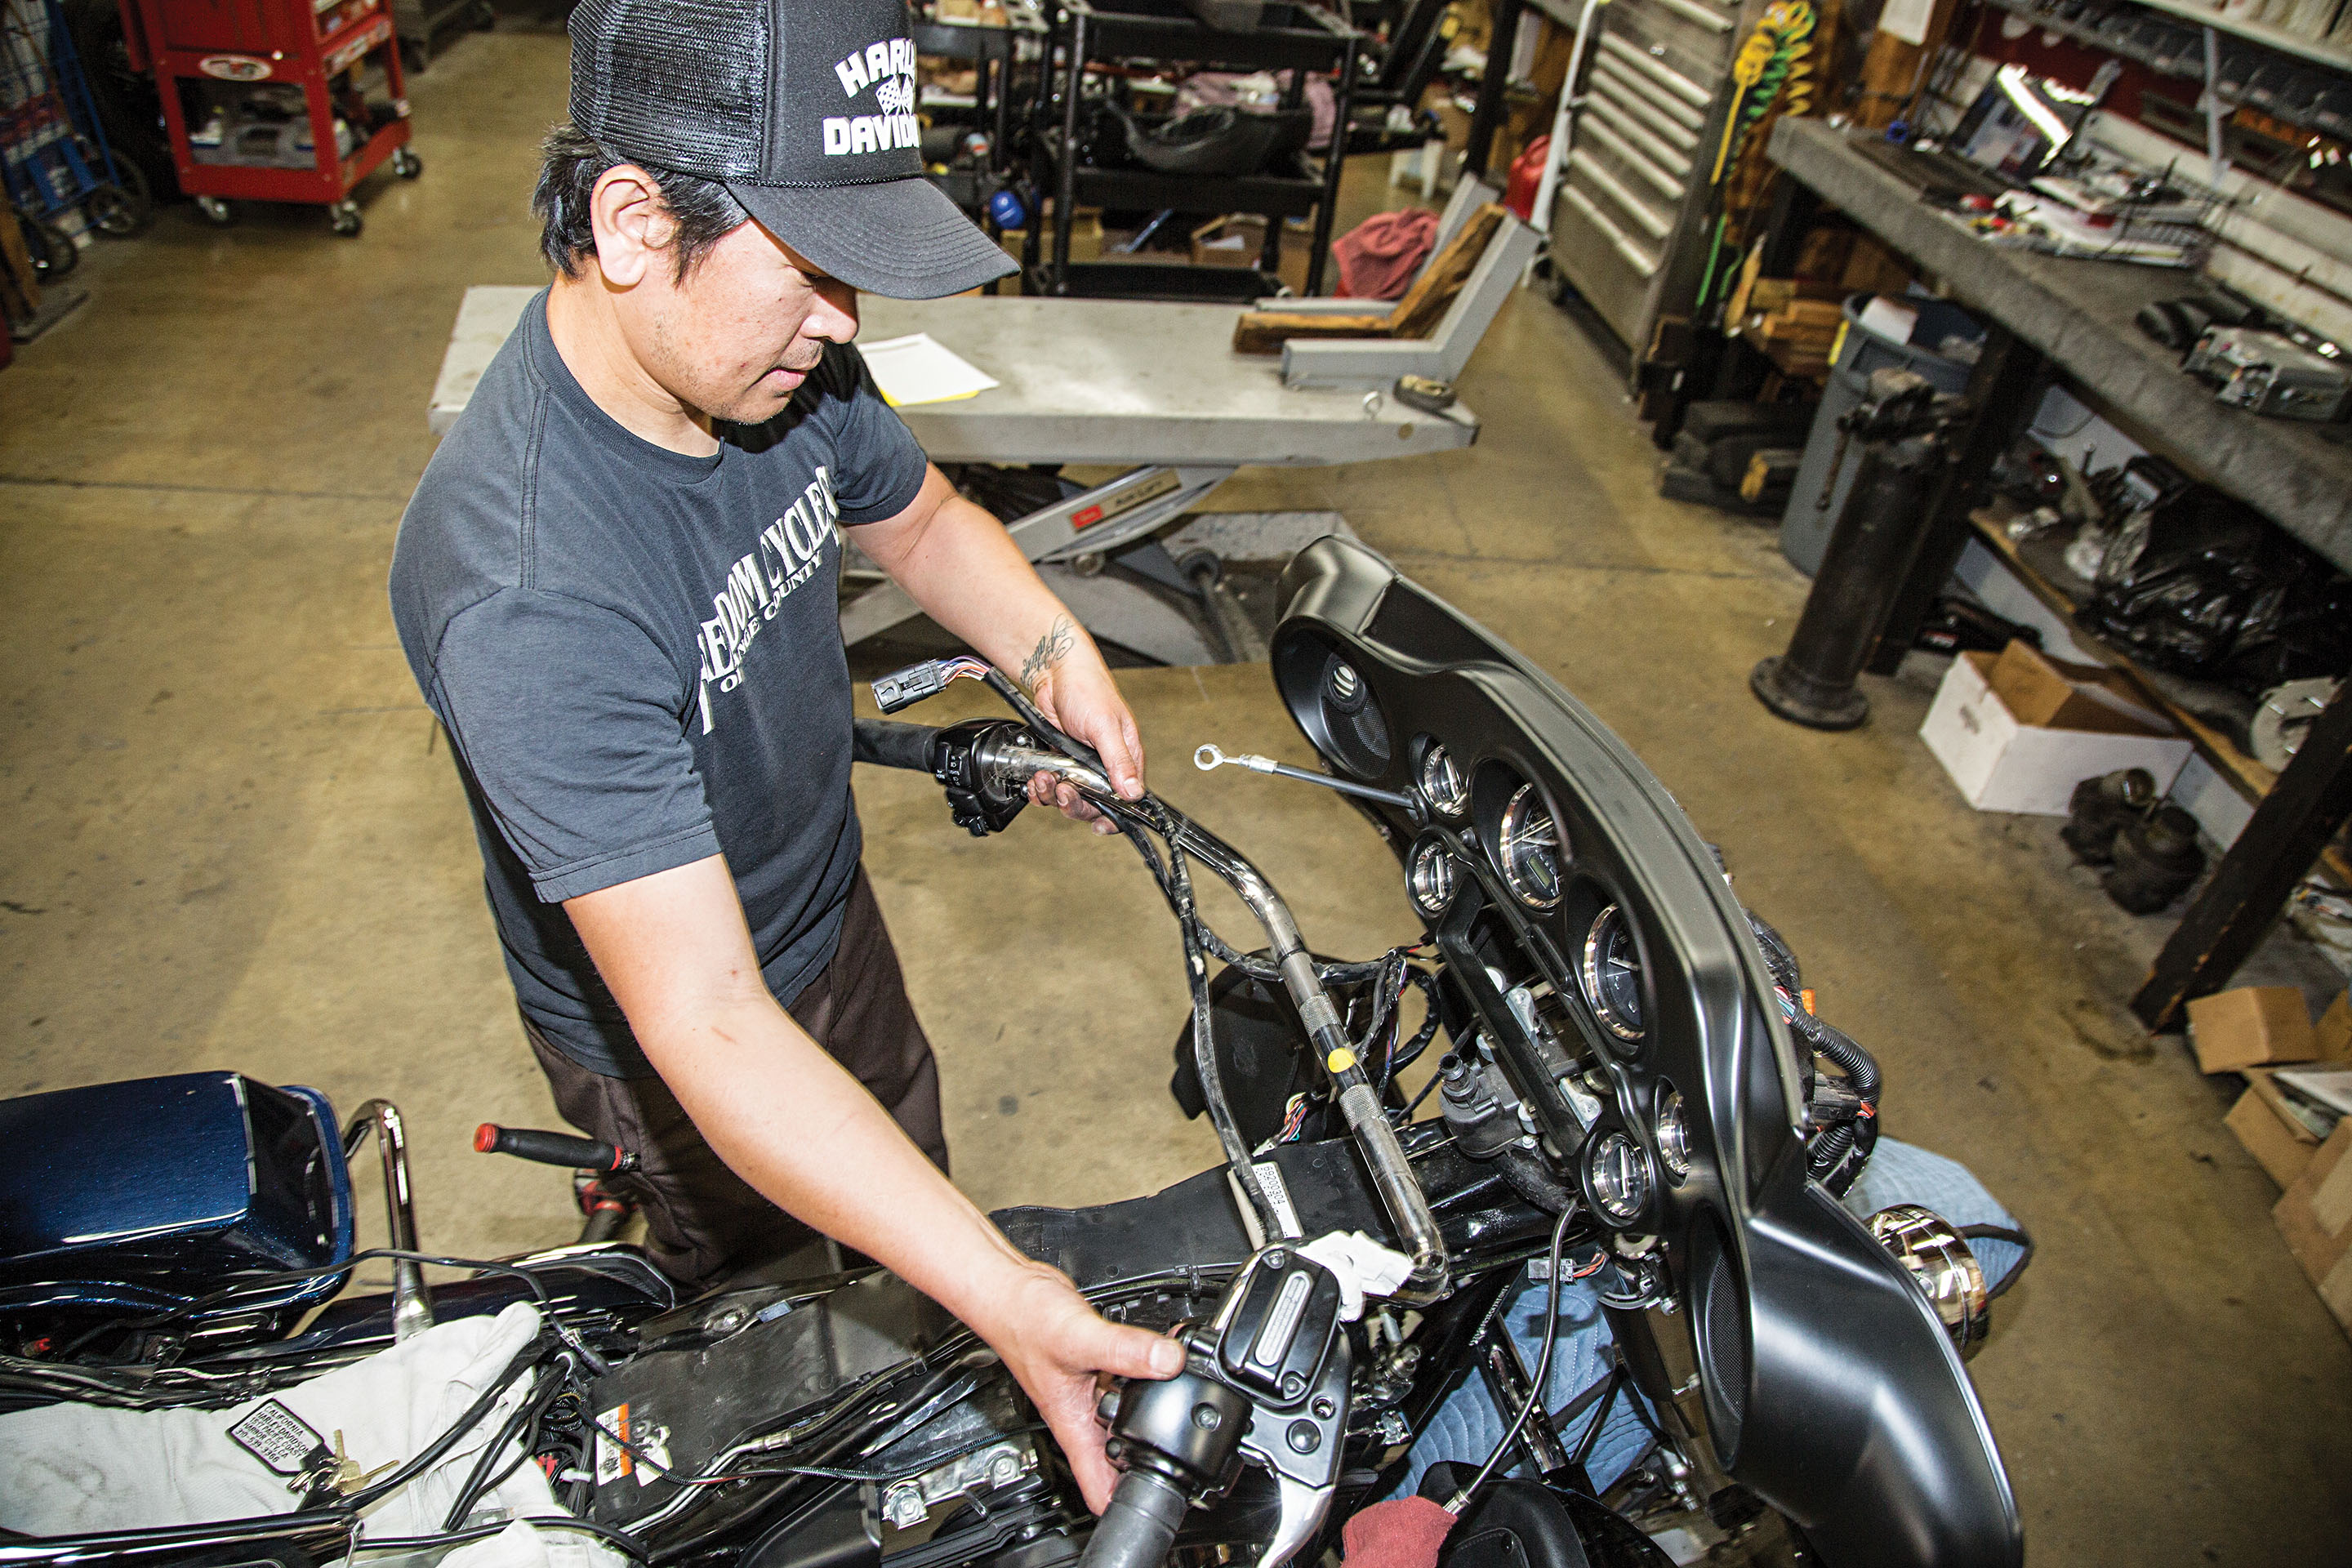
Remove the windshield and outer fairing and disconnect the headlight. This will expose the mass of wiring that lies behind it.
Words and Photos: John Zamora

Disconnect the clips and take off the stock radio. It’s never a bad idea to mark where the clips go with a Sharpie for help with reassembly.
Words and Photos: John Zamora
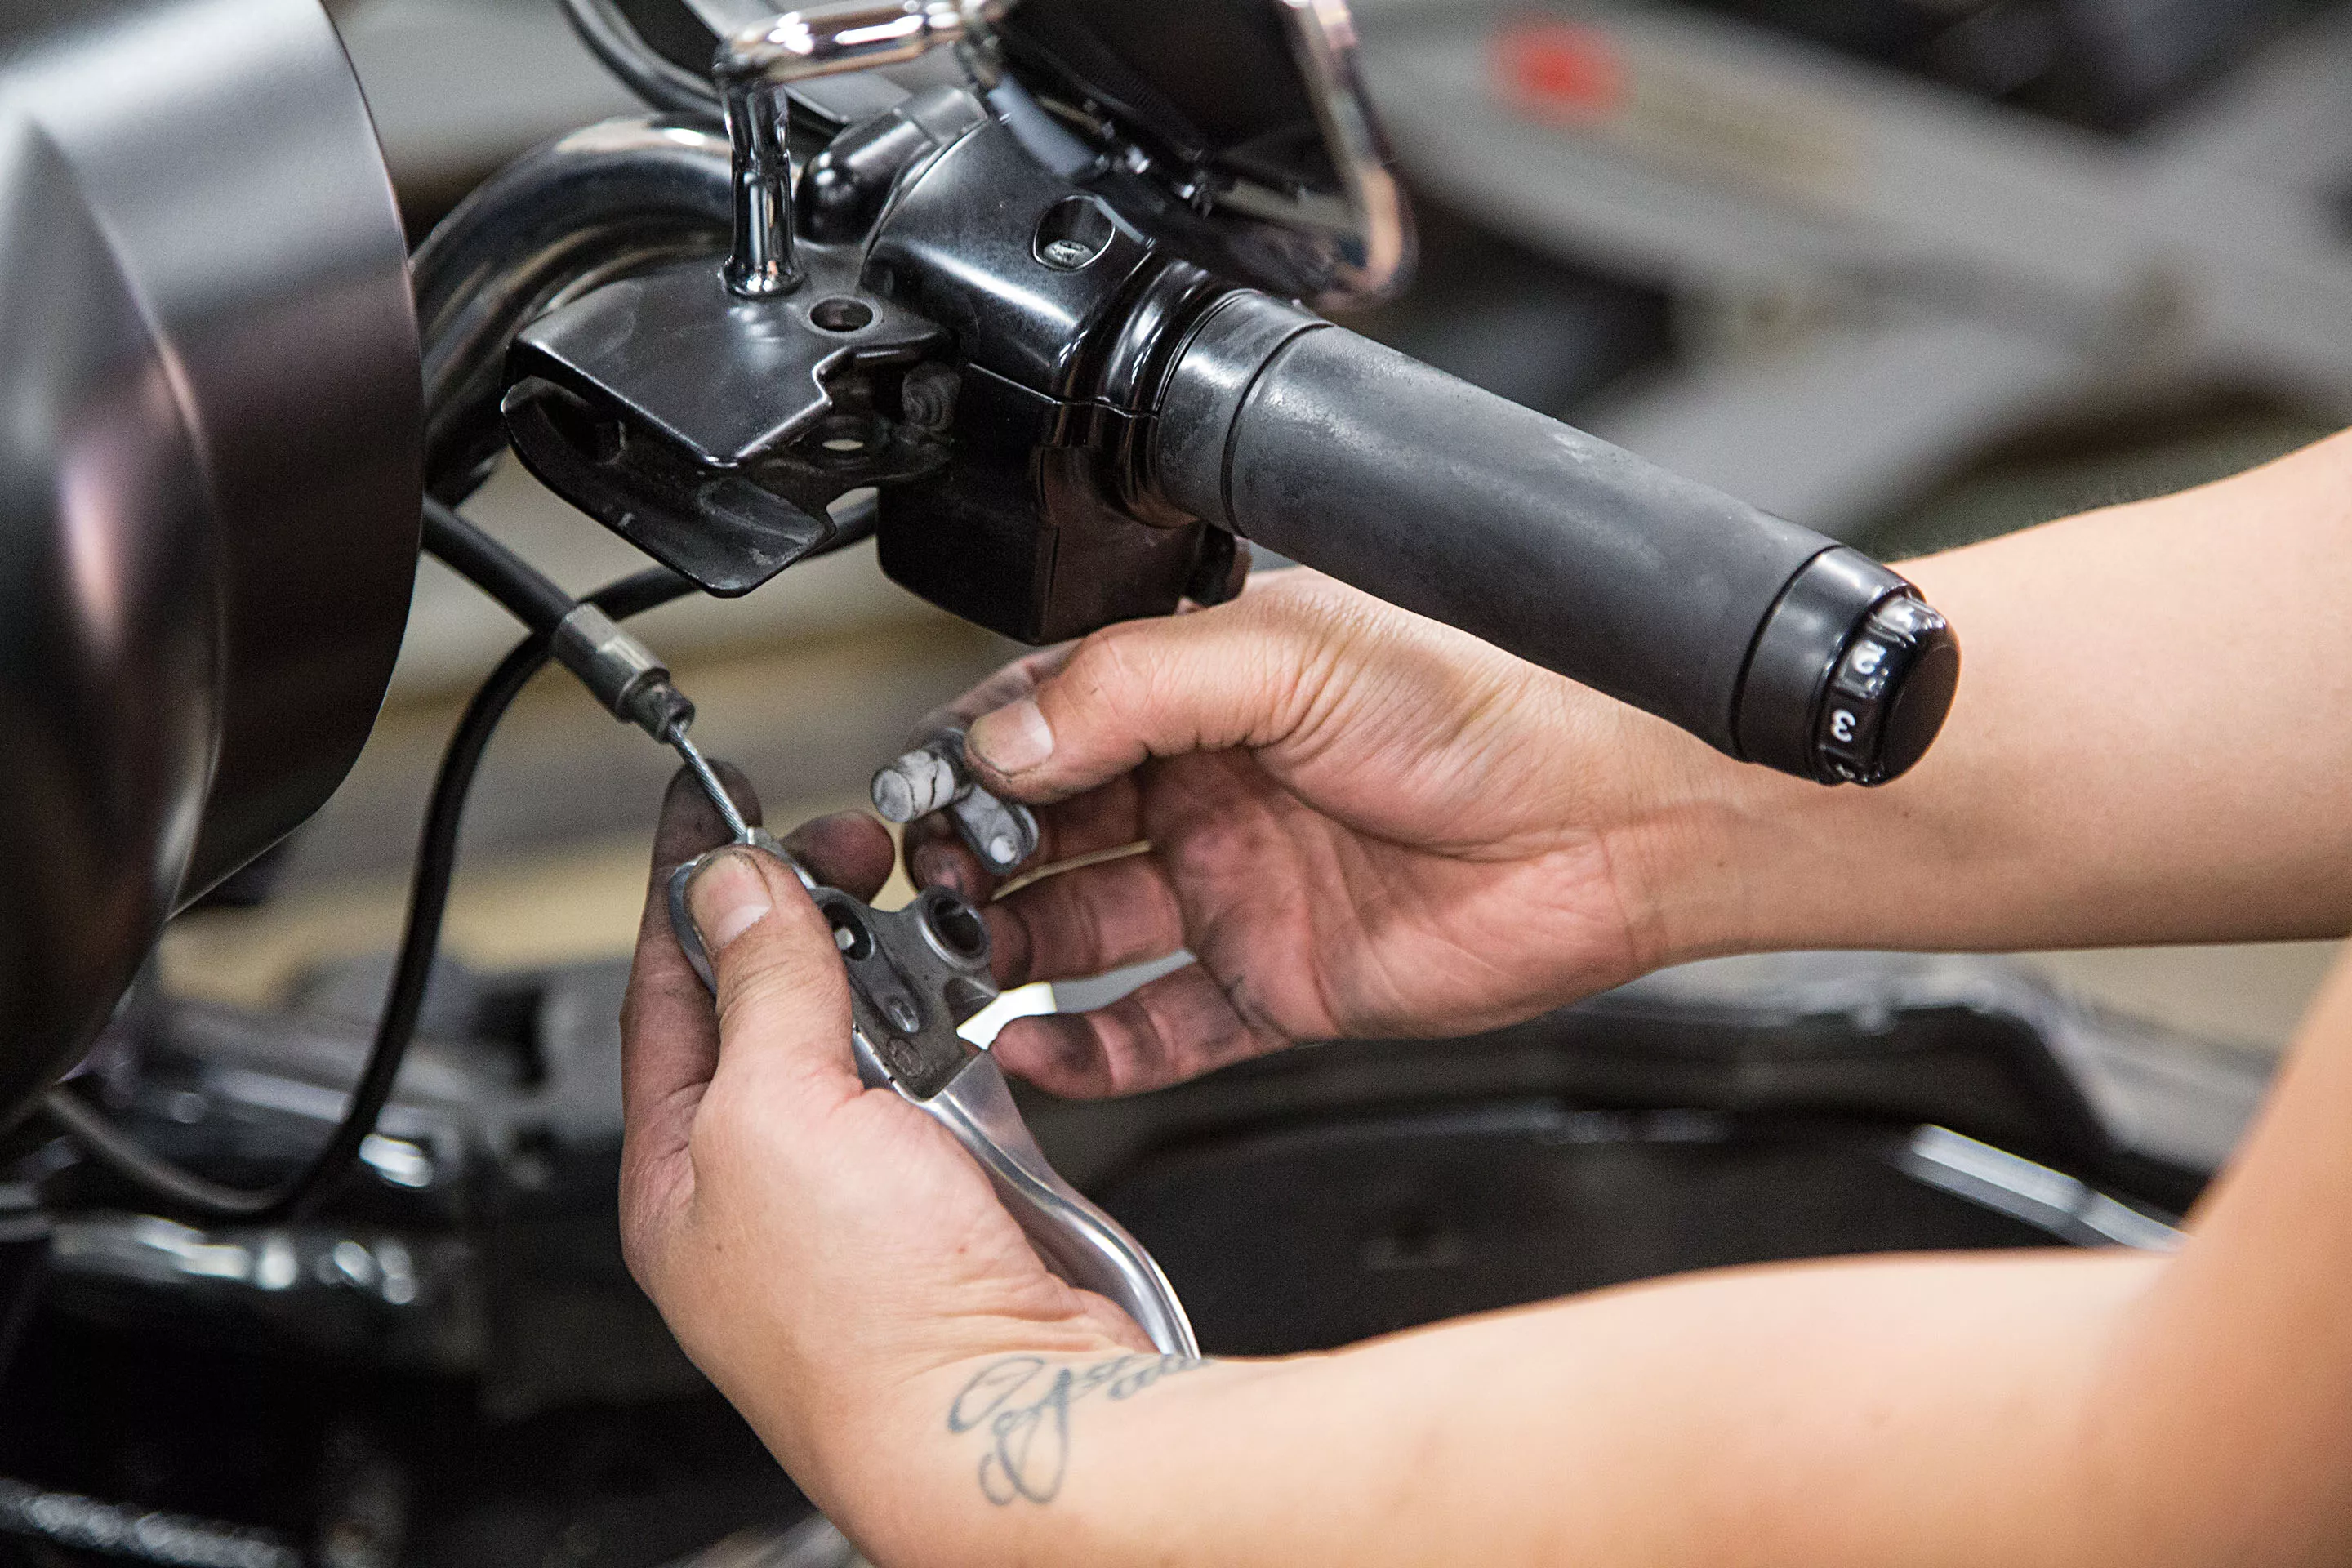
The bar-mounted clutch assembly is next to be taken apart. Remove the cable from the lever assembly, as it will be replaced.
Words and Photos: John Zamora
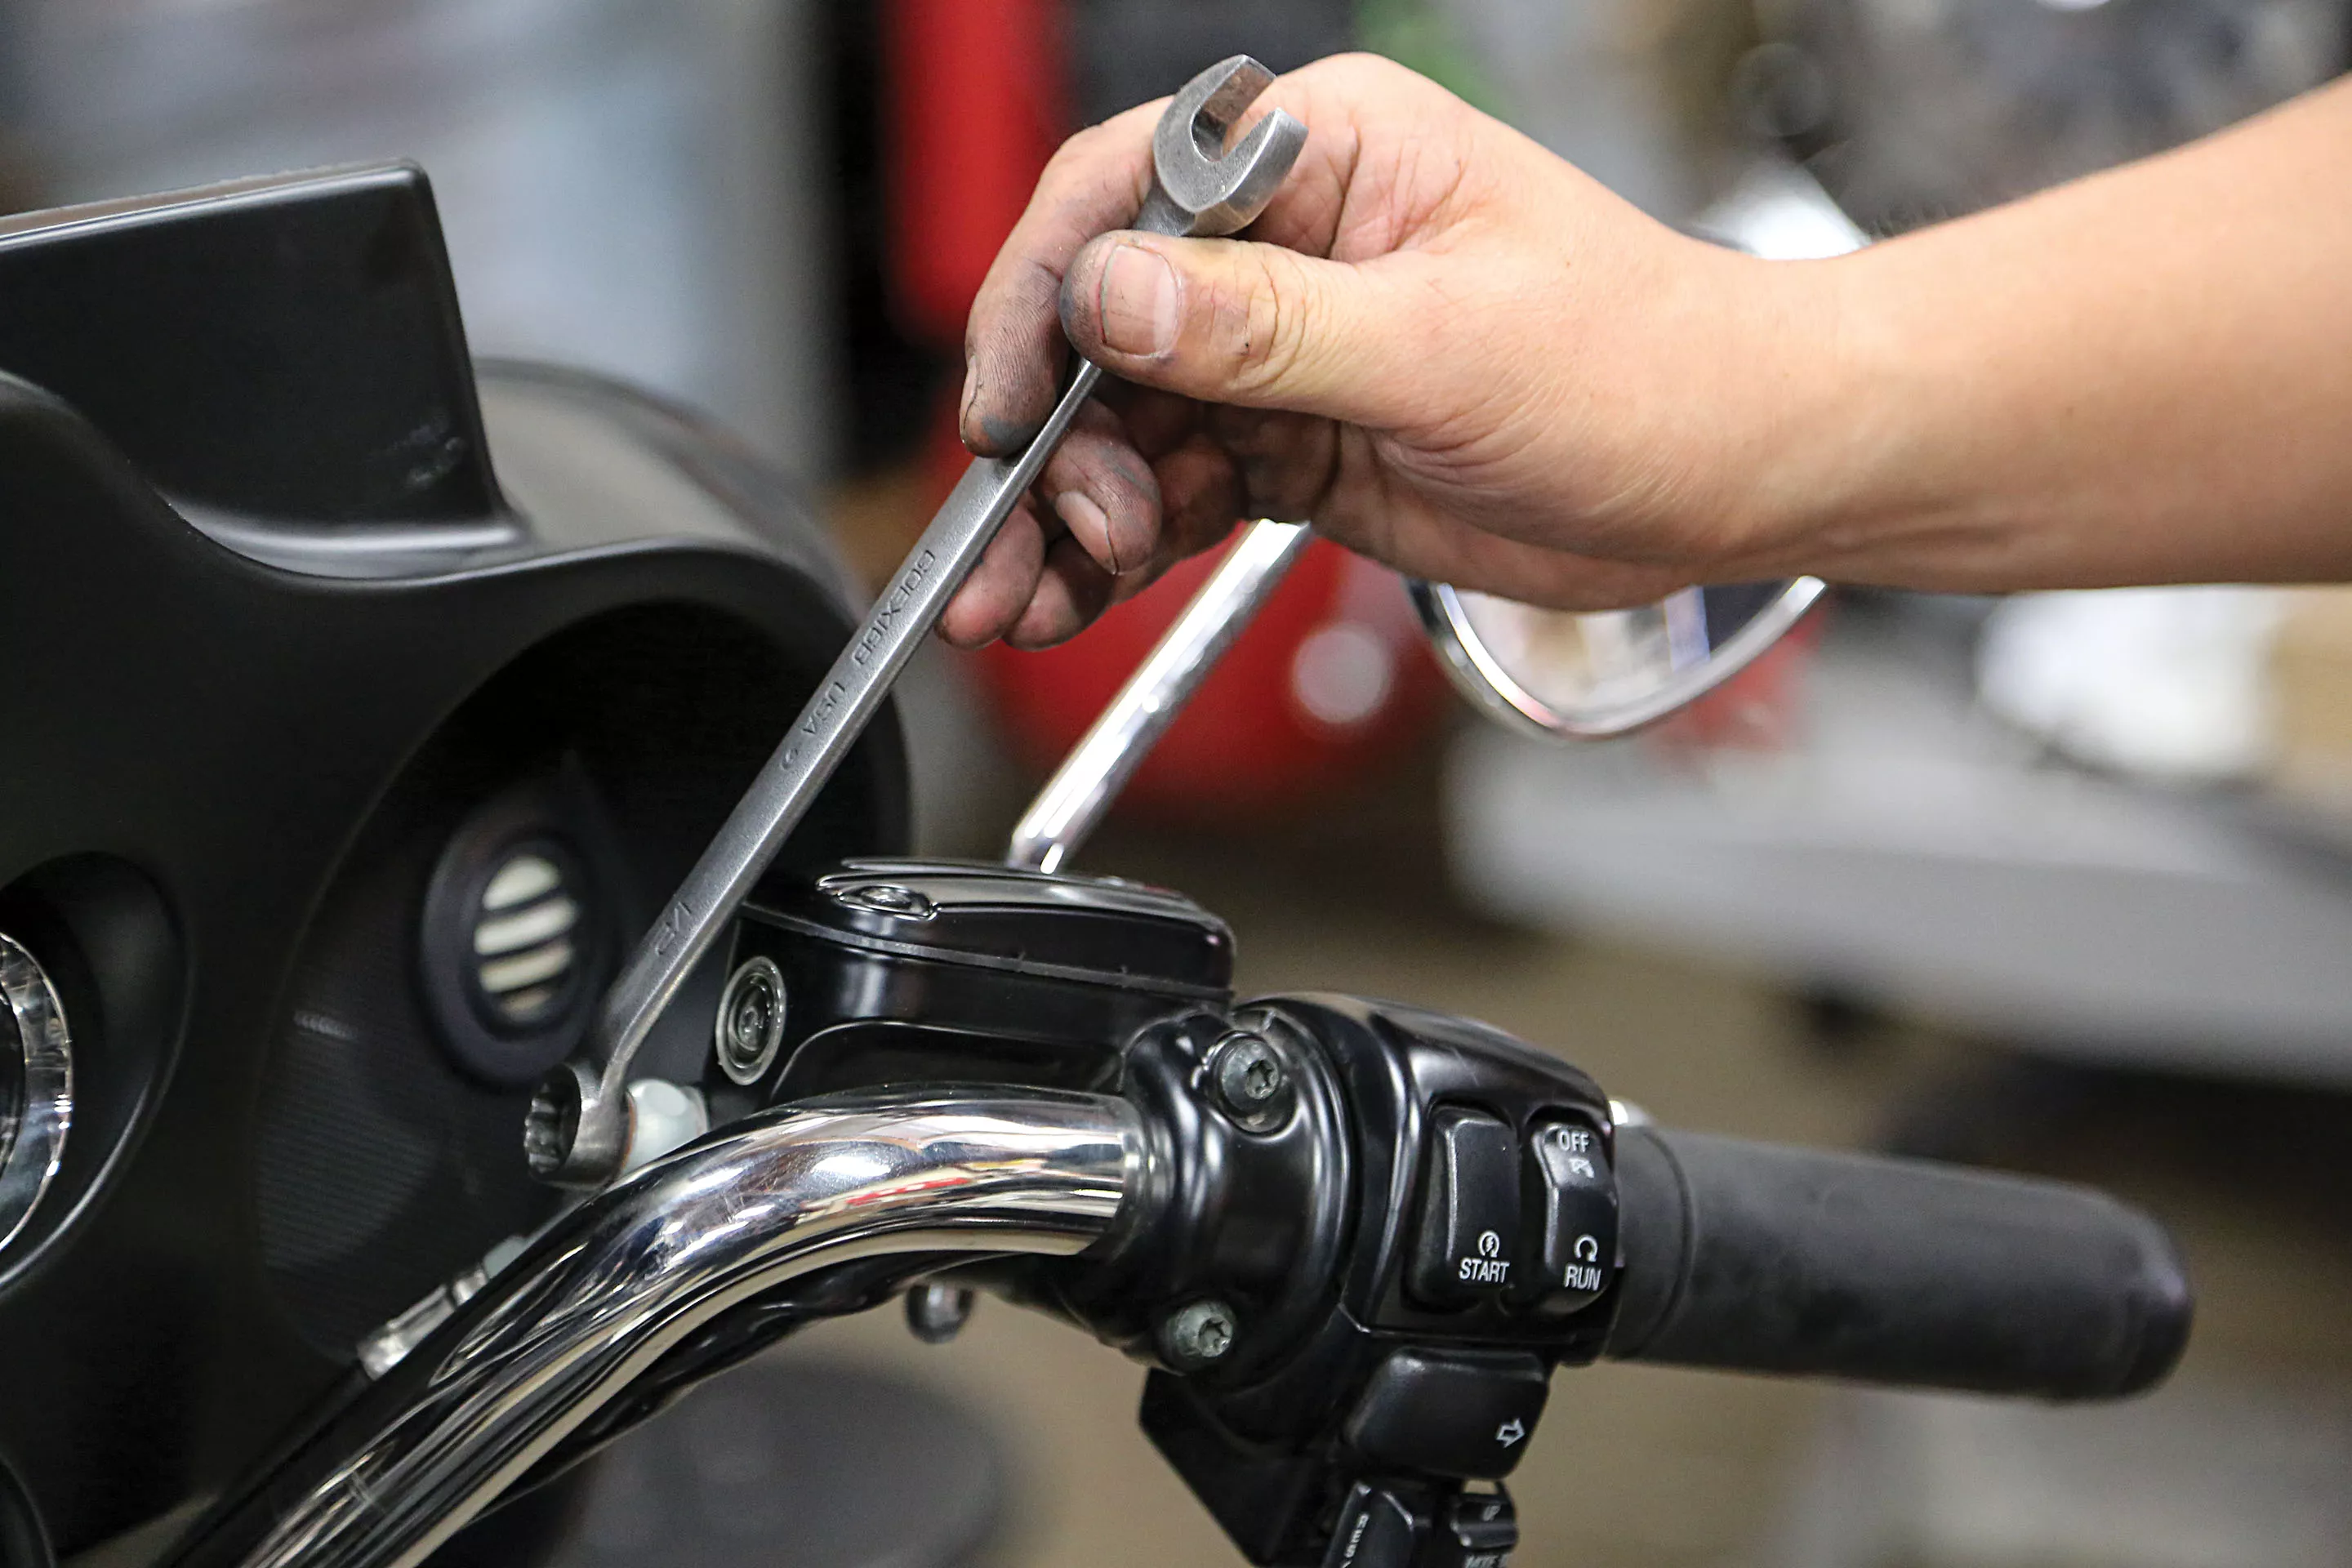
Remove the brake lines from the stock master cylinder. Make sure not to spill any brake fluid. The Hill Country bars come equipped with new clutch and brake master cylinders so they won’t be used.
Words and Photos: John Zamora
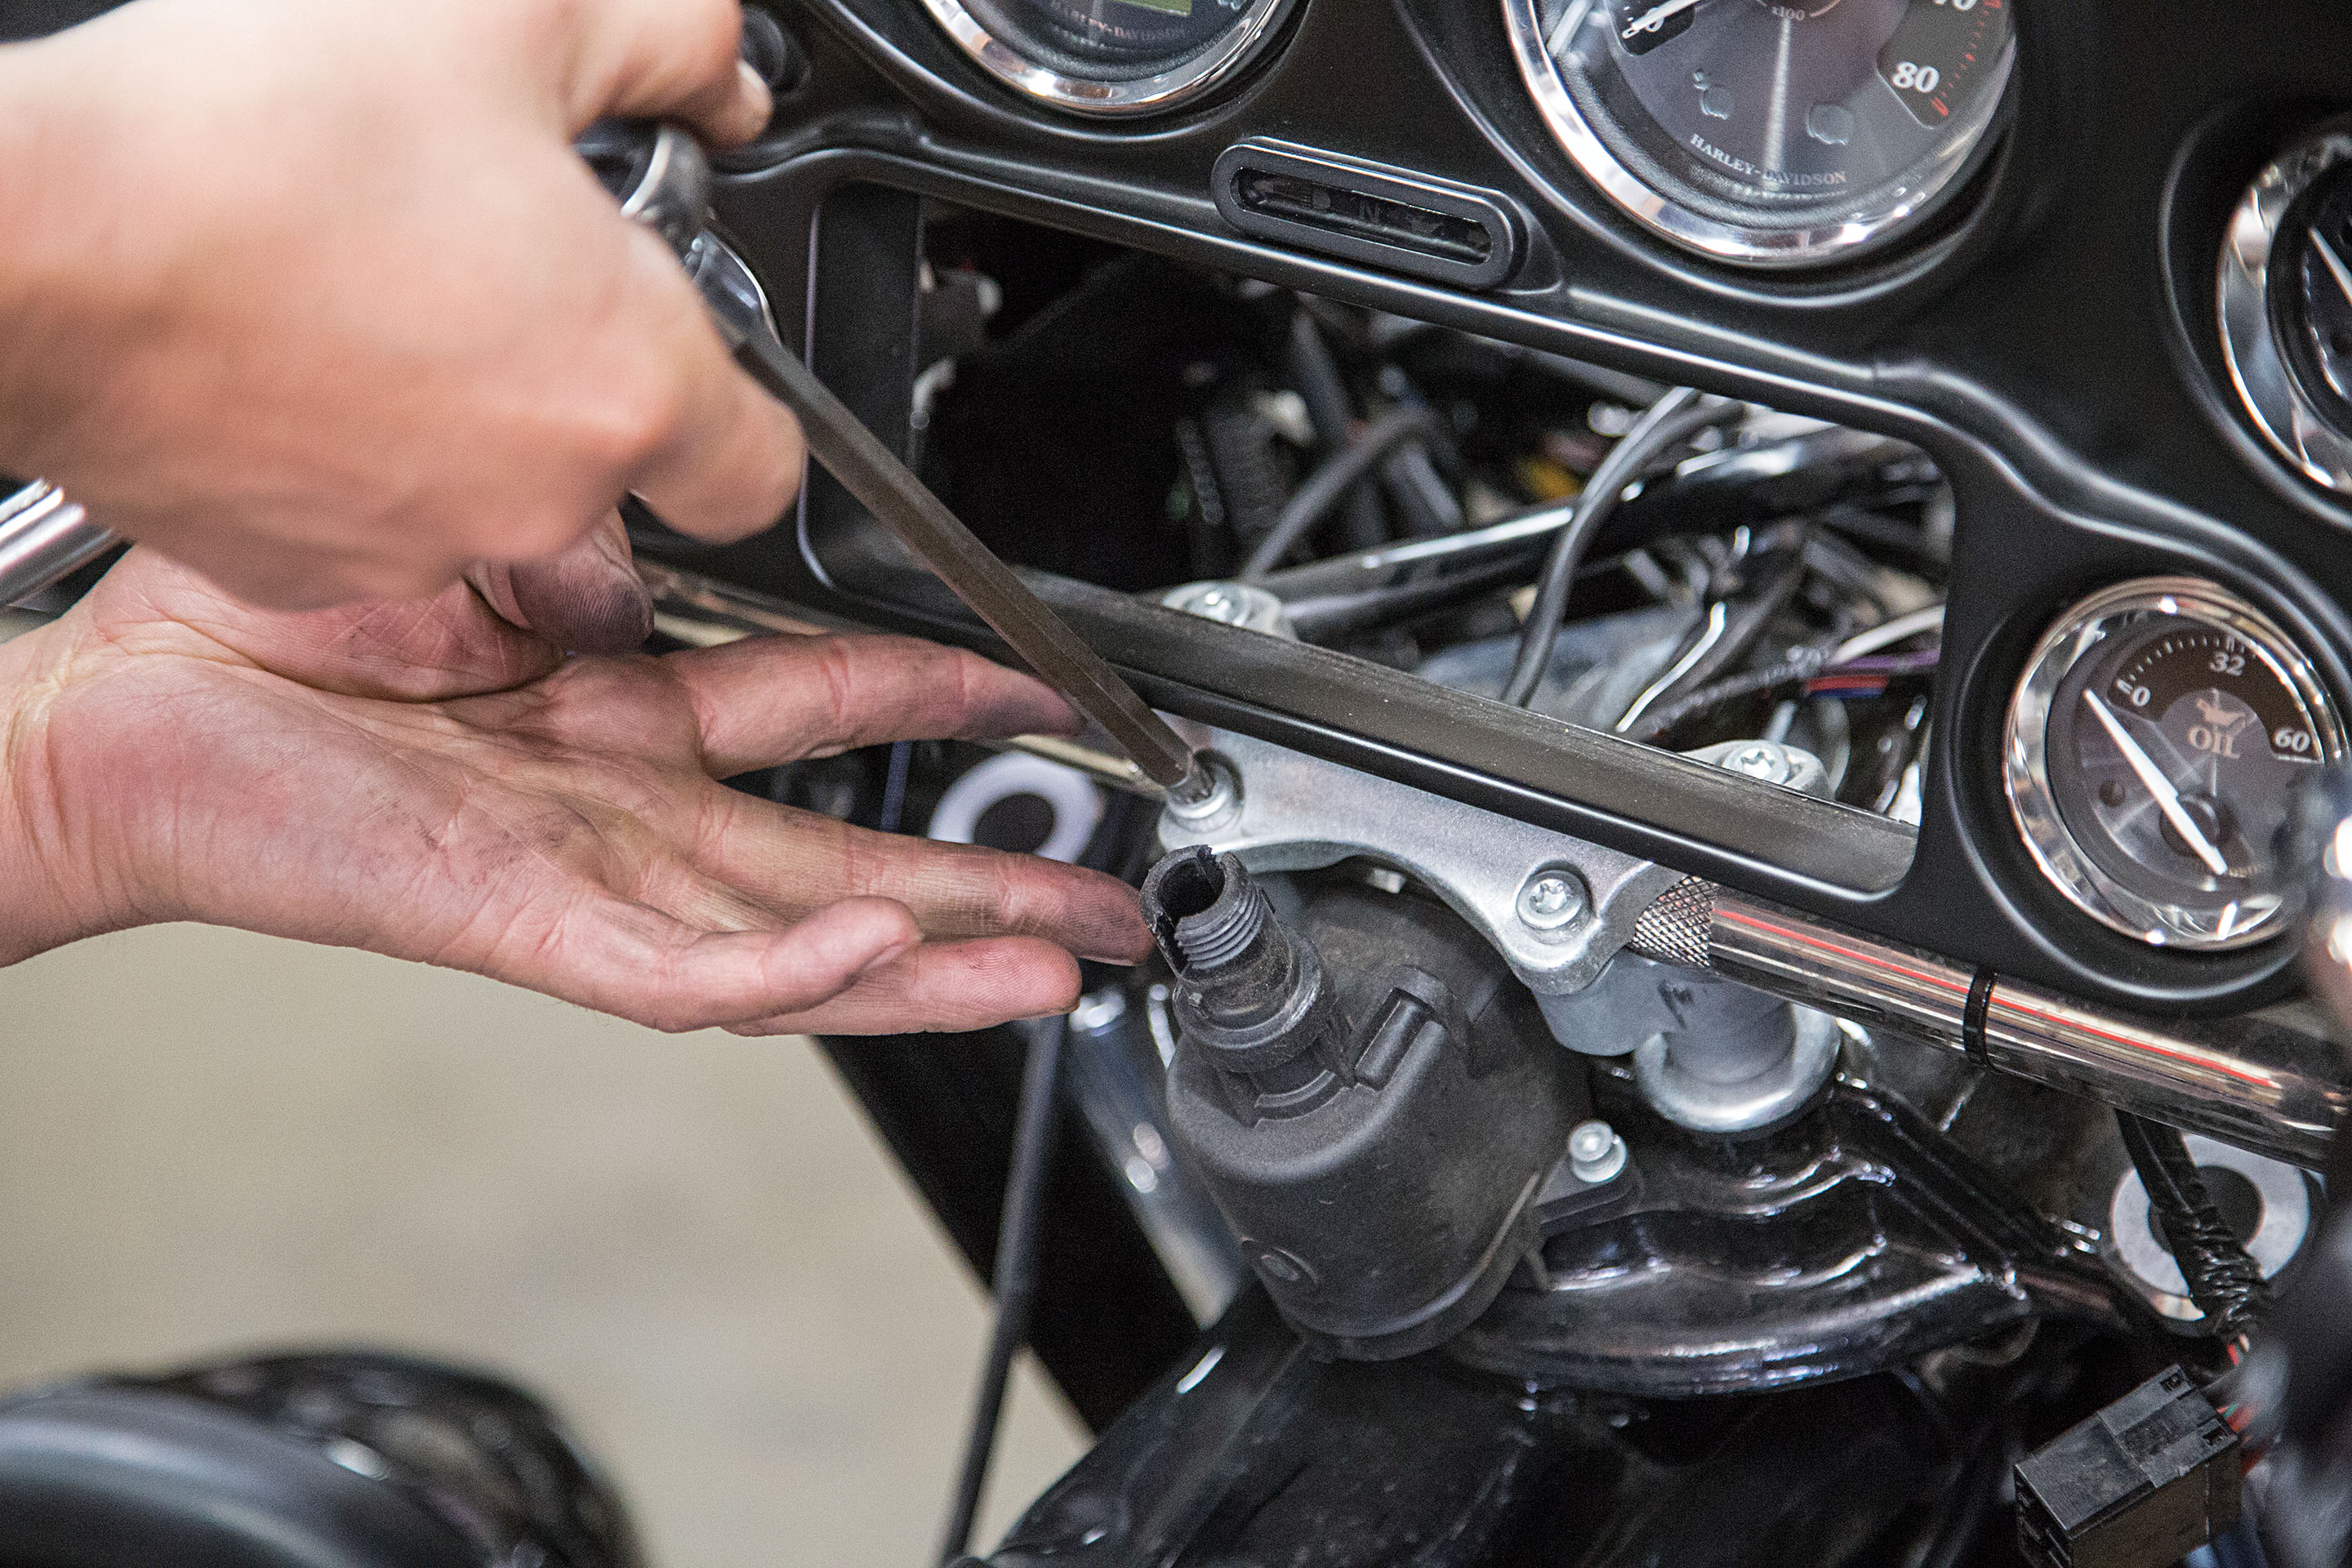
Finally, the fruit of our labor: The four bolts that hold on the bars are visible and accessible.
Words and Photos: John Zamora
The stock bar assembly can now be removed and placed on the eBay pile. There is still some value to these, so be careful to throw these in the trash pile.
Words and Photos: John Zamora
Sources:
")


