
Mega Bagger Lighting with Clearwater LEDs
Whether it’s so you can see the road better or for others on the road to see you, it’s a good idea to take advantage of the newest technology in über-bright lights. Deciding to upgrade your bike’s peepers to either halogen, HID, or LED can leave a rider in tizzy fits. So, we are going to give your brain a break and tell you just how we majorly upgraded our bike with supplementary lighting that was both mega bright and super easy to install.
Instead of messing with tearing apart the fairing or wiring up a bunch of repurposed car lights to our bagger, we ordered up Clearwater Lights’ Erica LED kit ($849). These lights have six LEDs per housing and each shoot out 6,000 lumens of light at about 60 watts of power. These lights are great for bikes because they have wide, circular beams, meaning there is light both spotted on the road as well as along the tree line. Yes, these lights are powerful and border on illegal when all 12,000 lumens are in full effect, but Clearwater includes a volume control knob in the kit, so you aren’t always riding around with your lights cranked to 11.
There are two portions of the Erica kit installation. The first was the mechanical and the second was the electrical. Clearwater supplied a great manual, which made every step of the installation easy to compete in a rather short amount of time with a few common hand tools. Here’s how we did it.
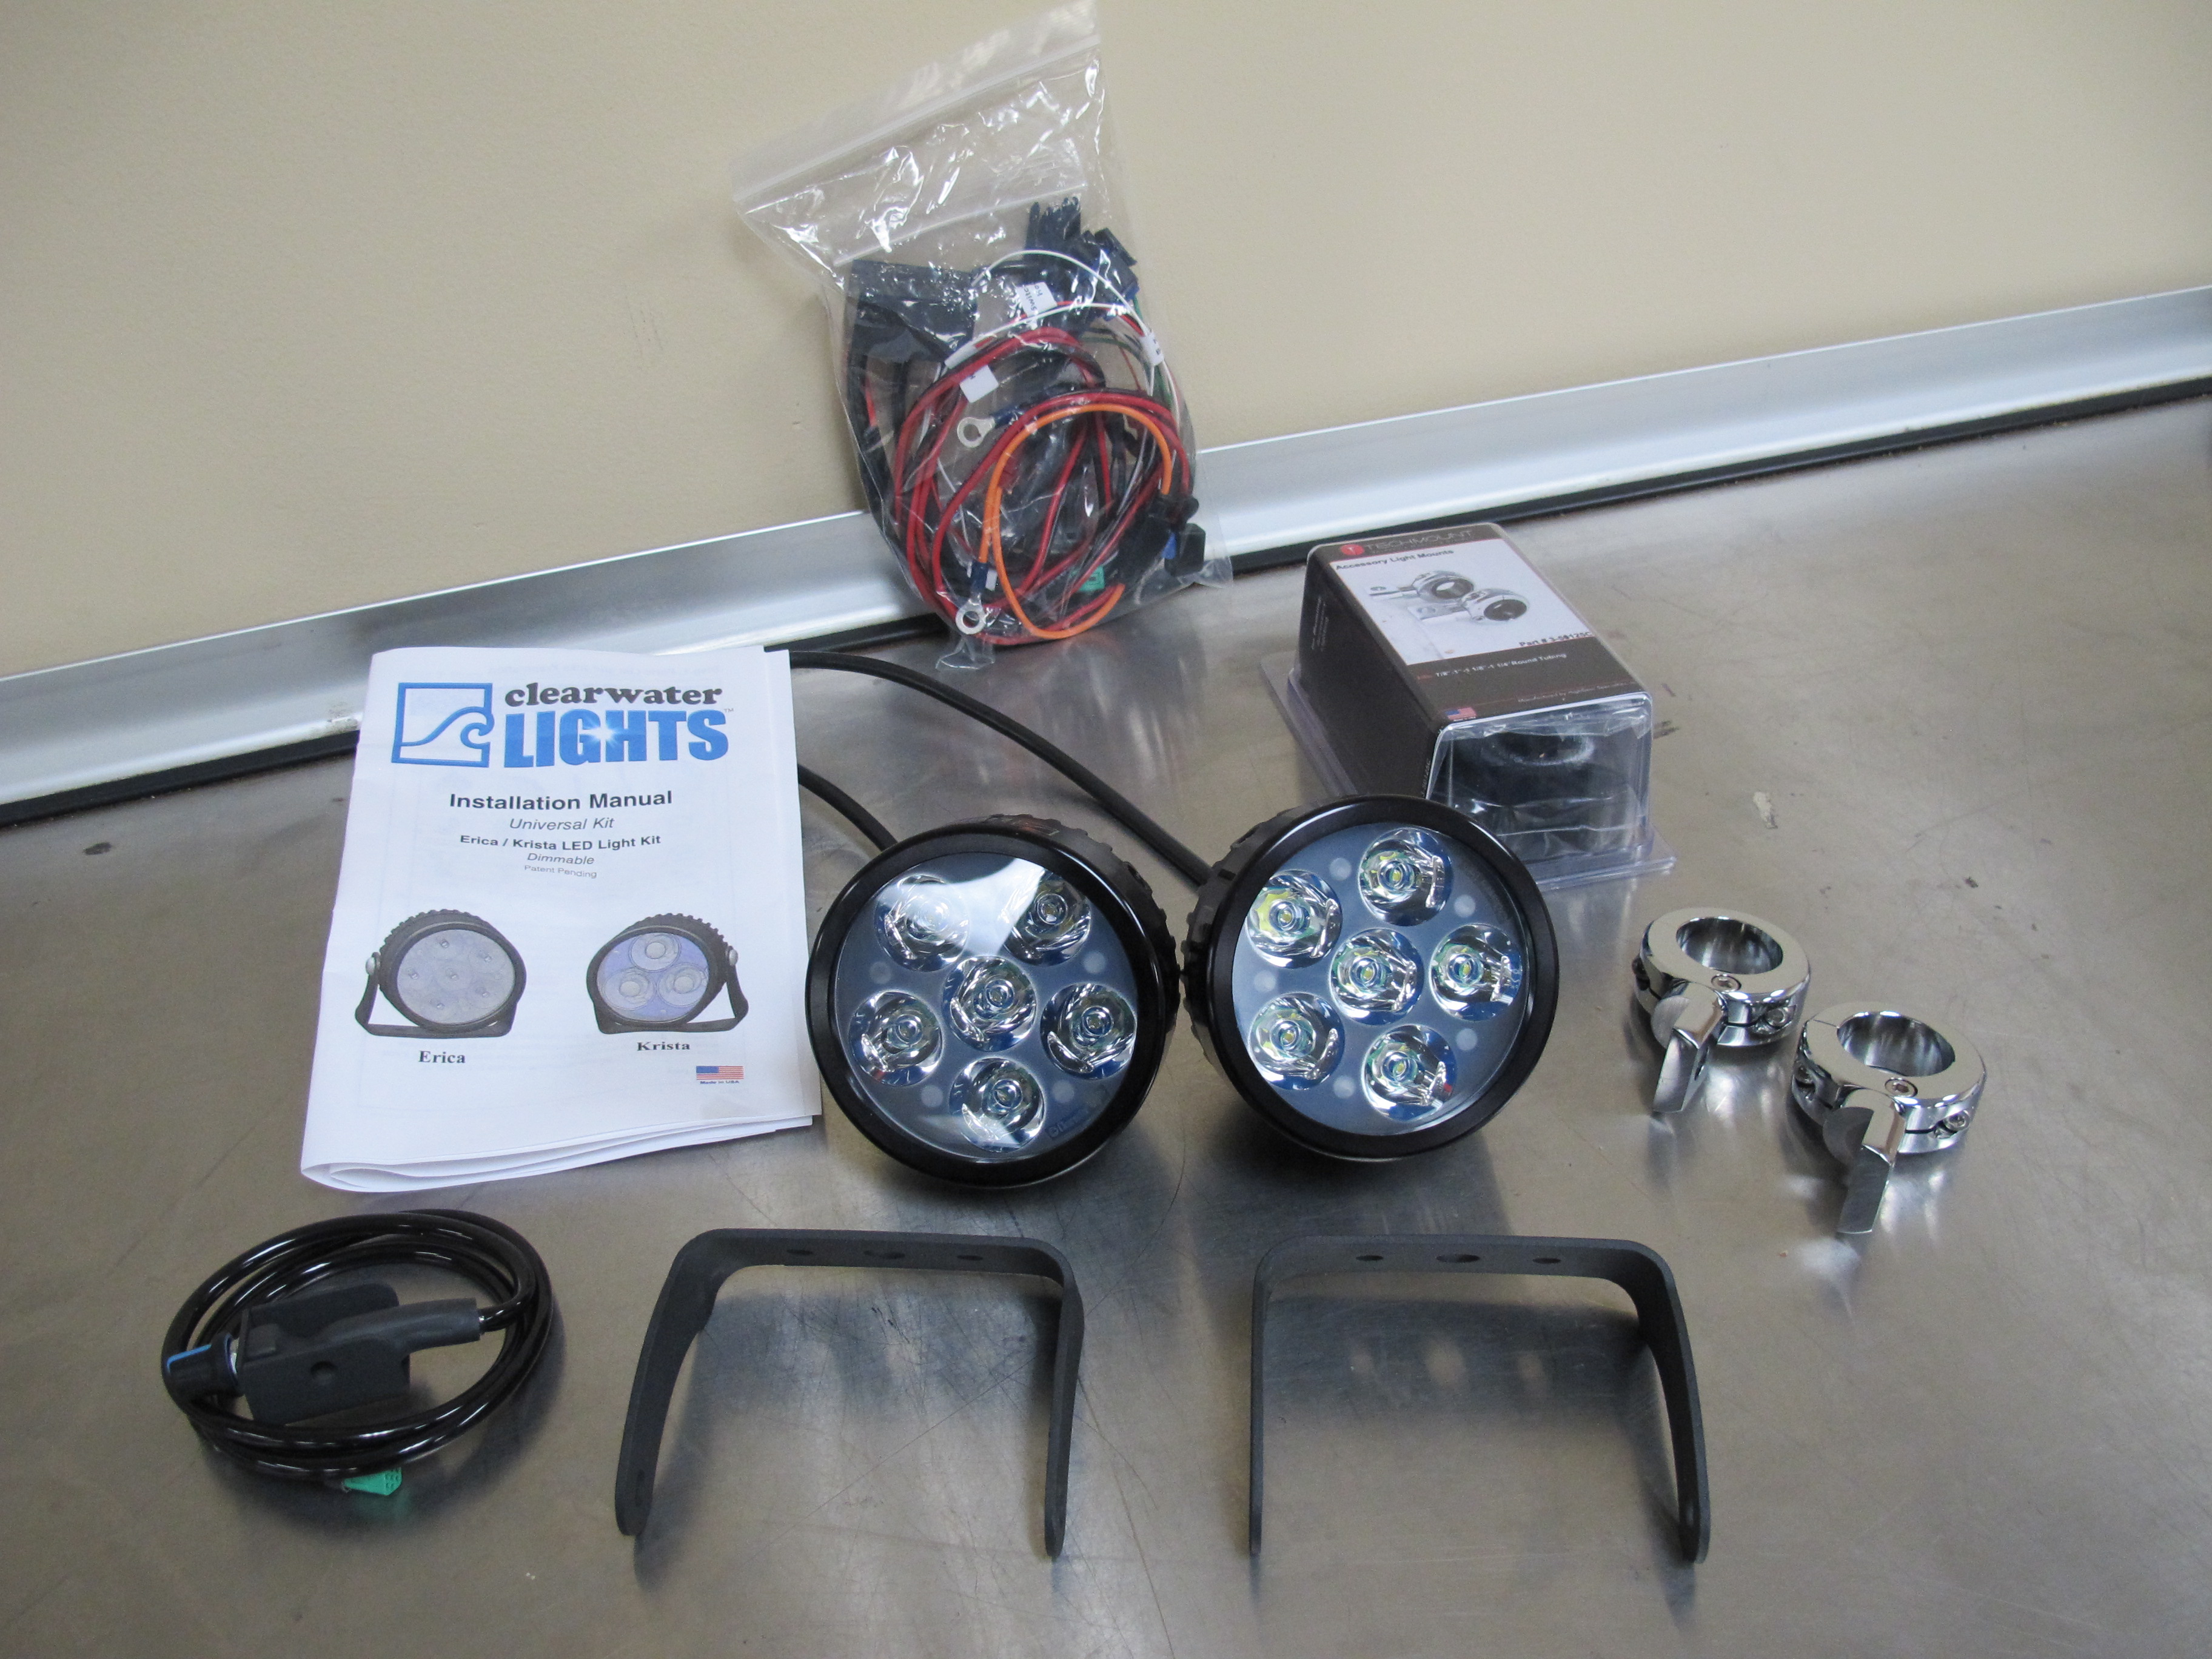
The Cleawater Lights kit comes complete with everything needed to install the Erica kit on our 2013 Road Glide.
Photos: Jeff G. Holt
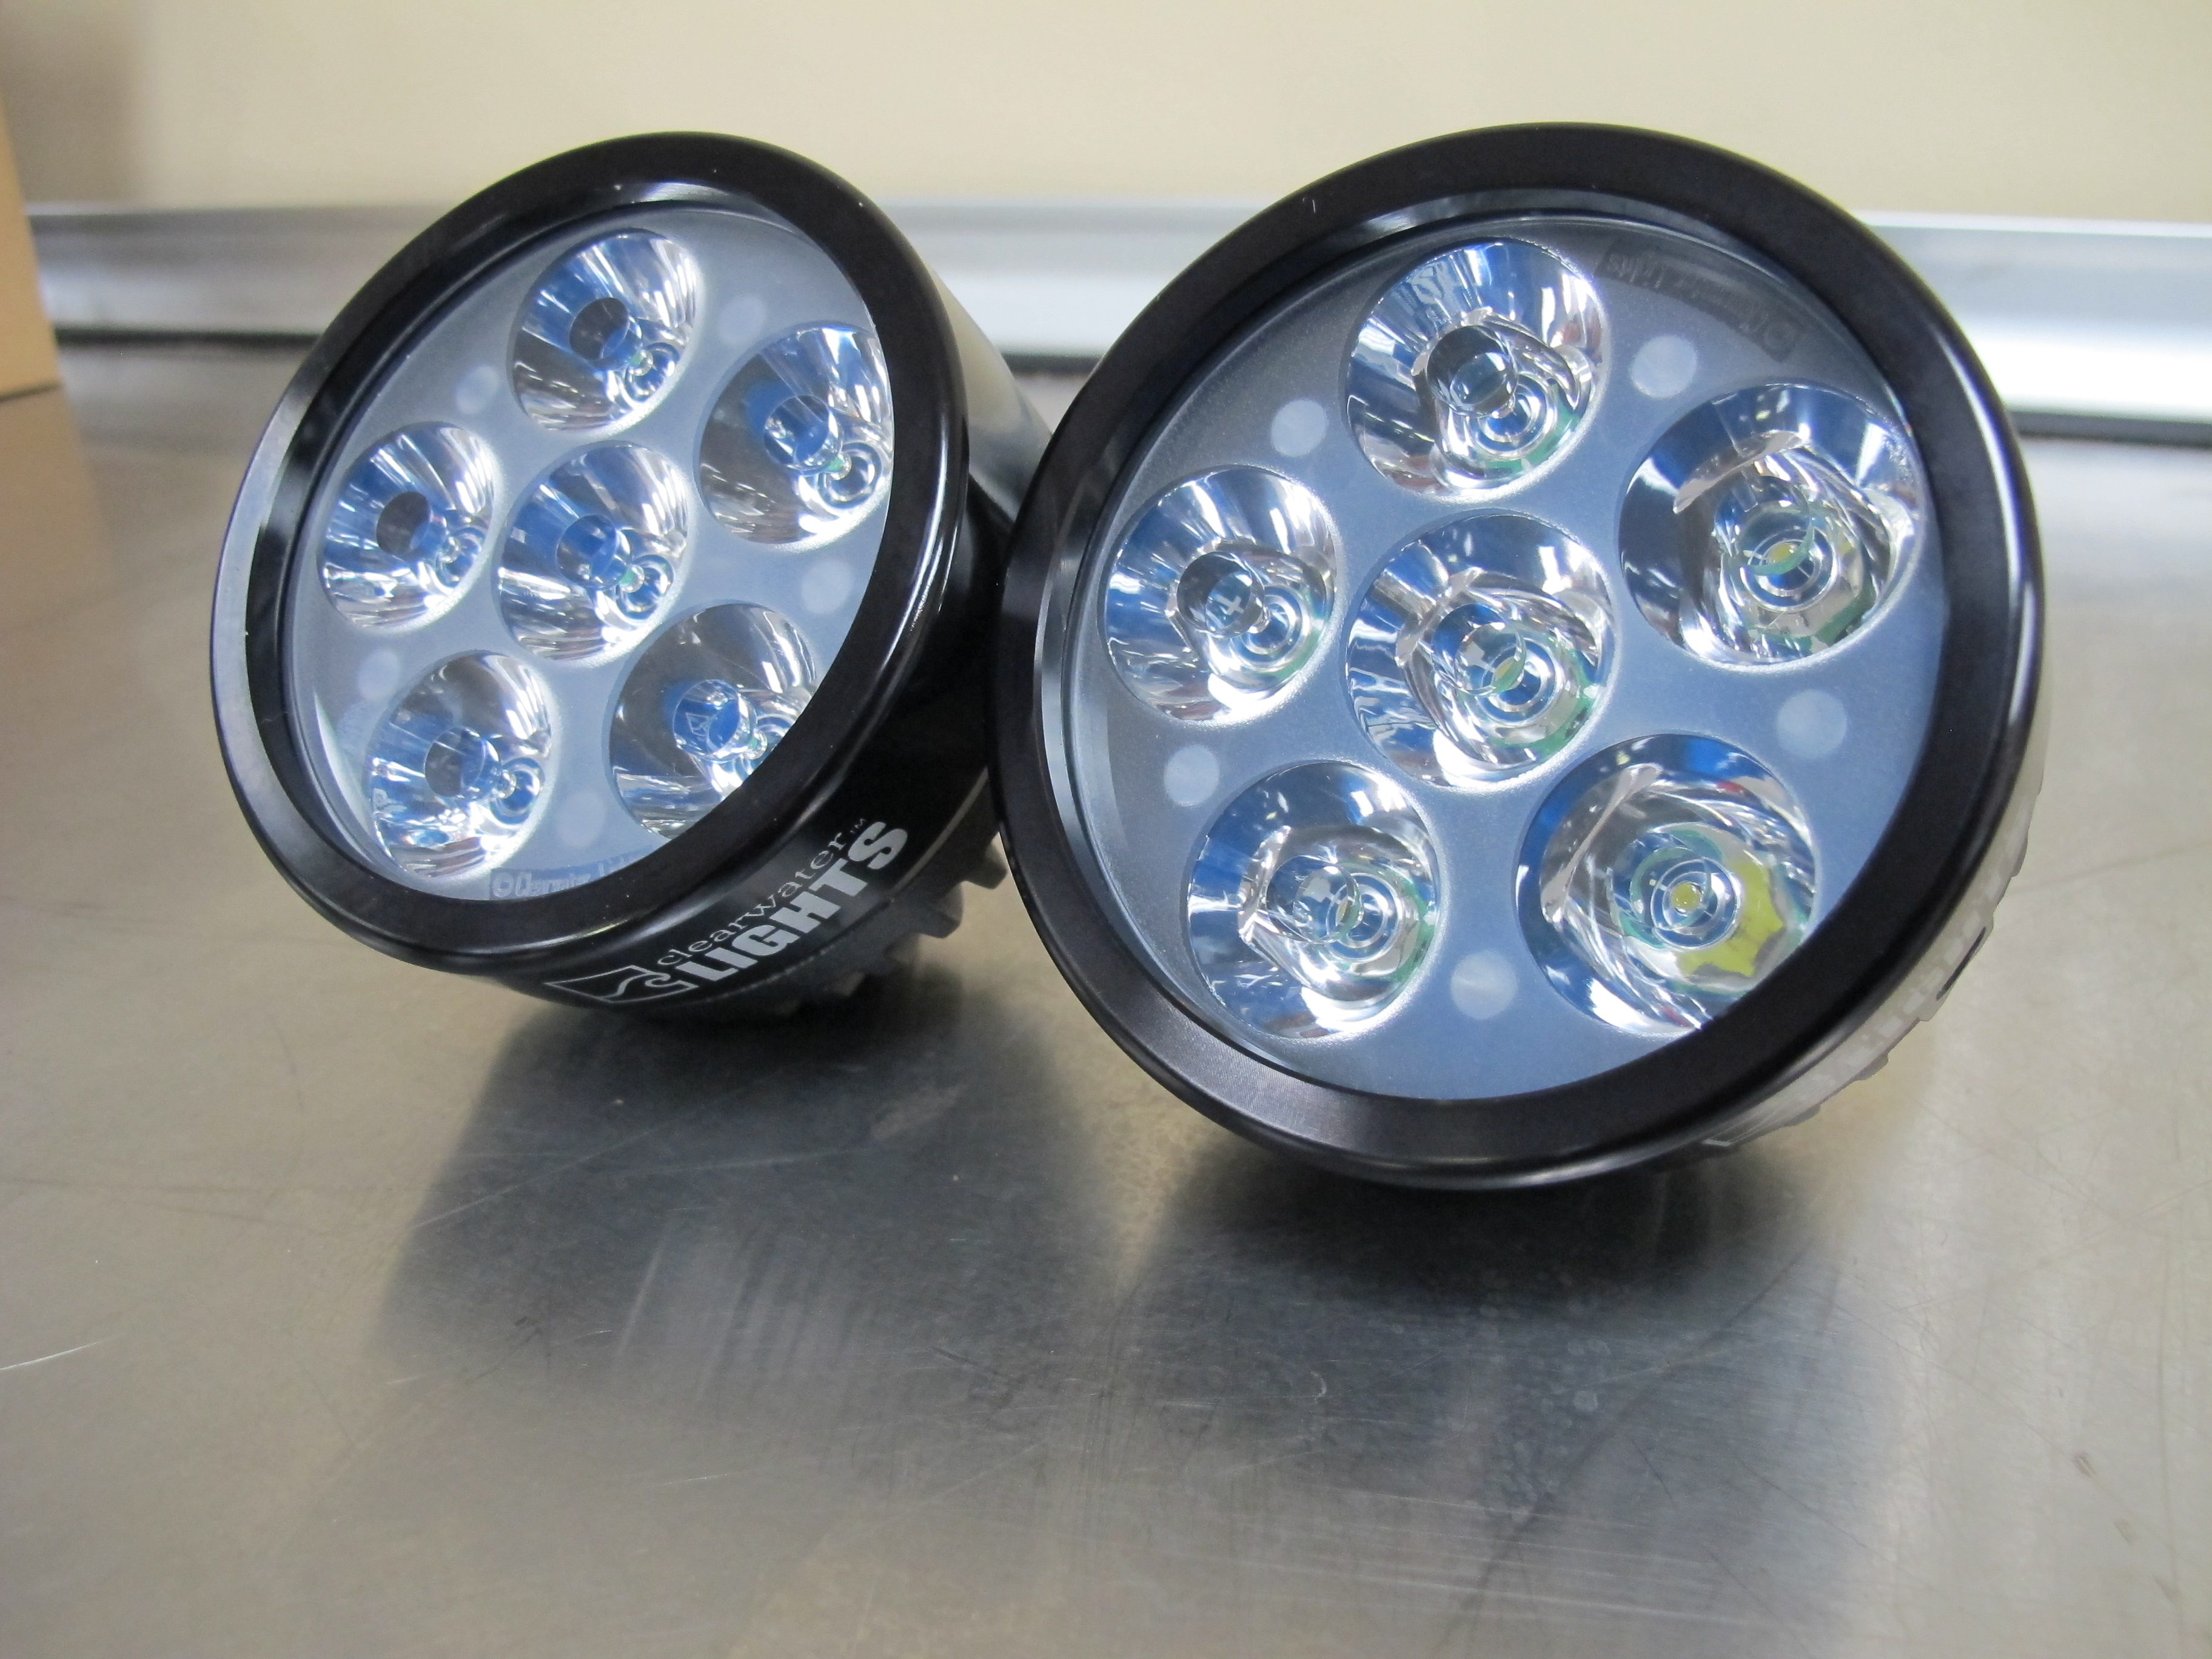
The heart of the Erica kit is these two 7-ounce 3.73-inch lights that each house six powerful LEDs with custom-tooled optics.
Photos: Jeff G. Holt
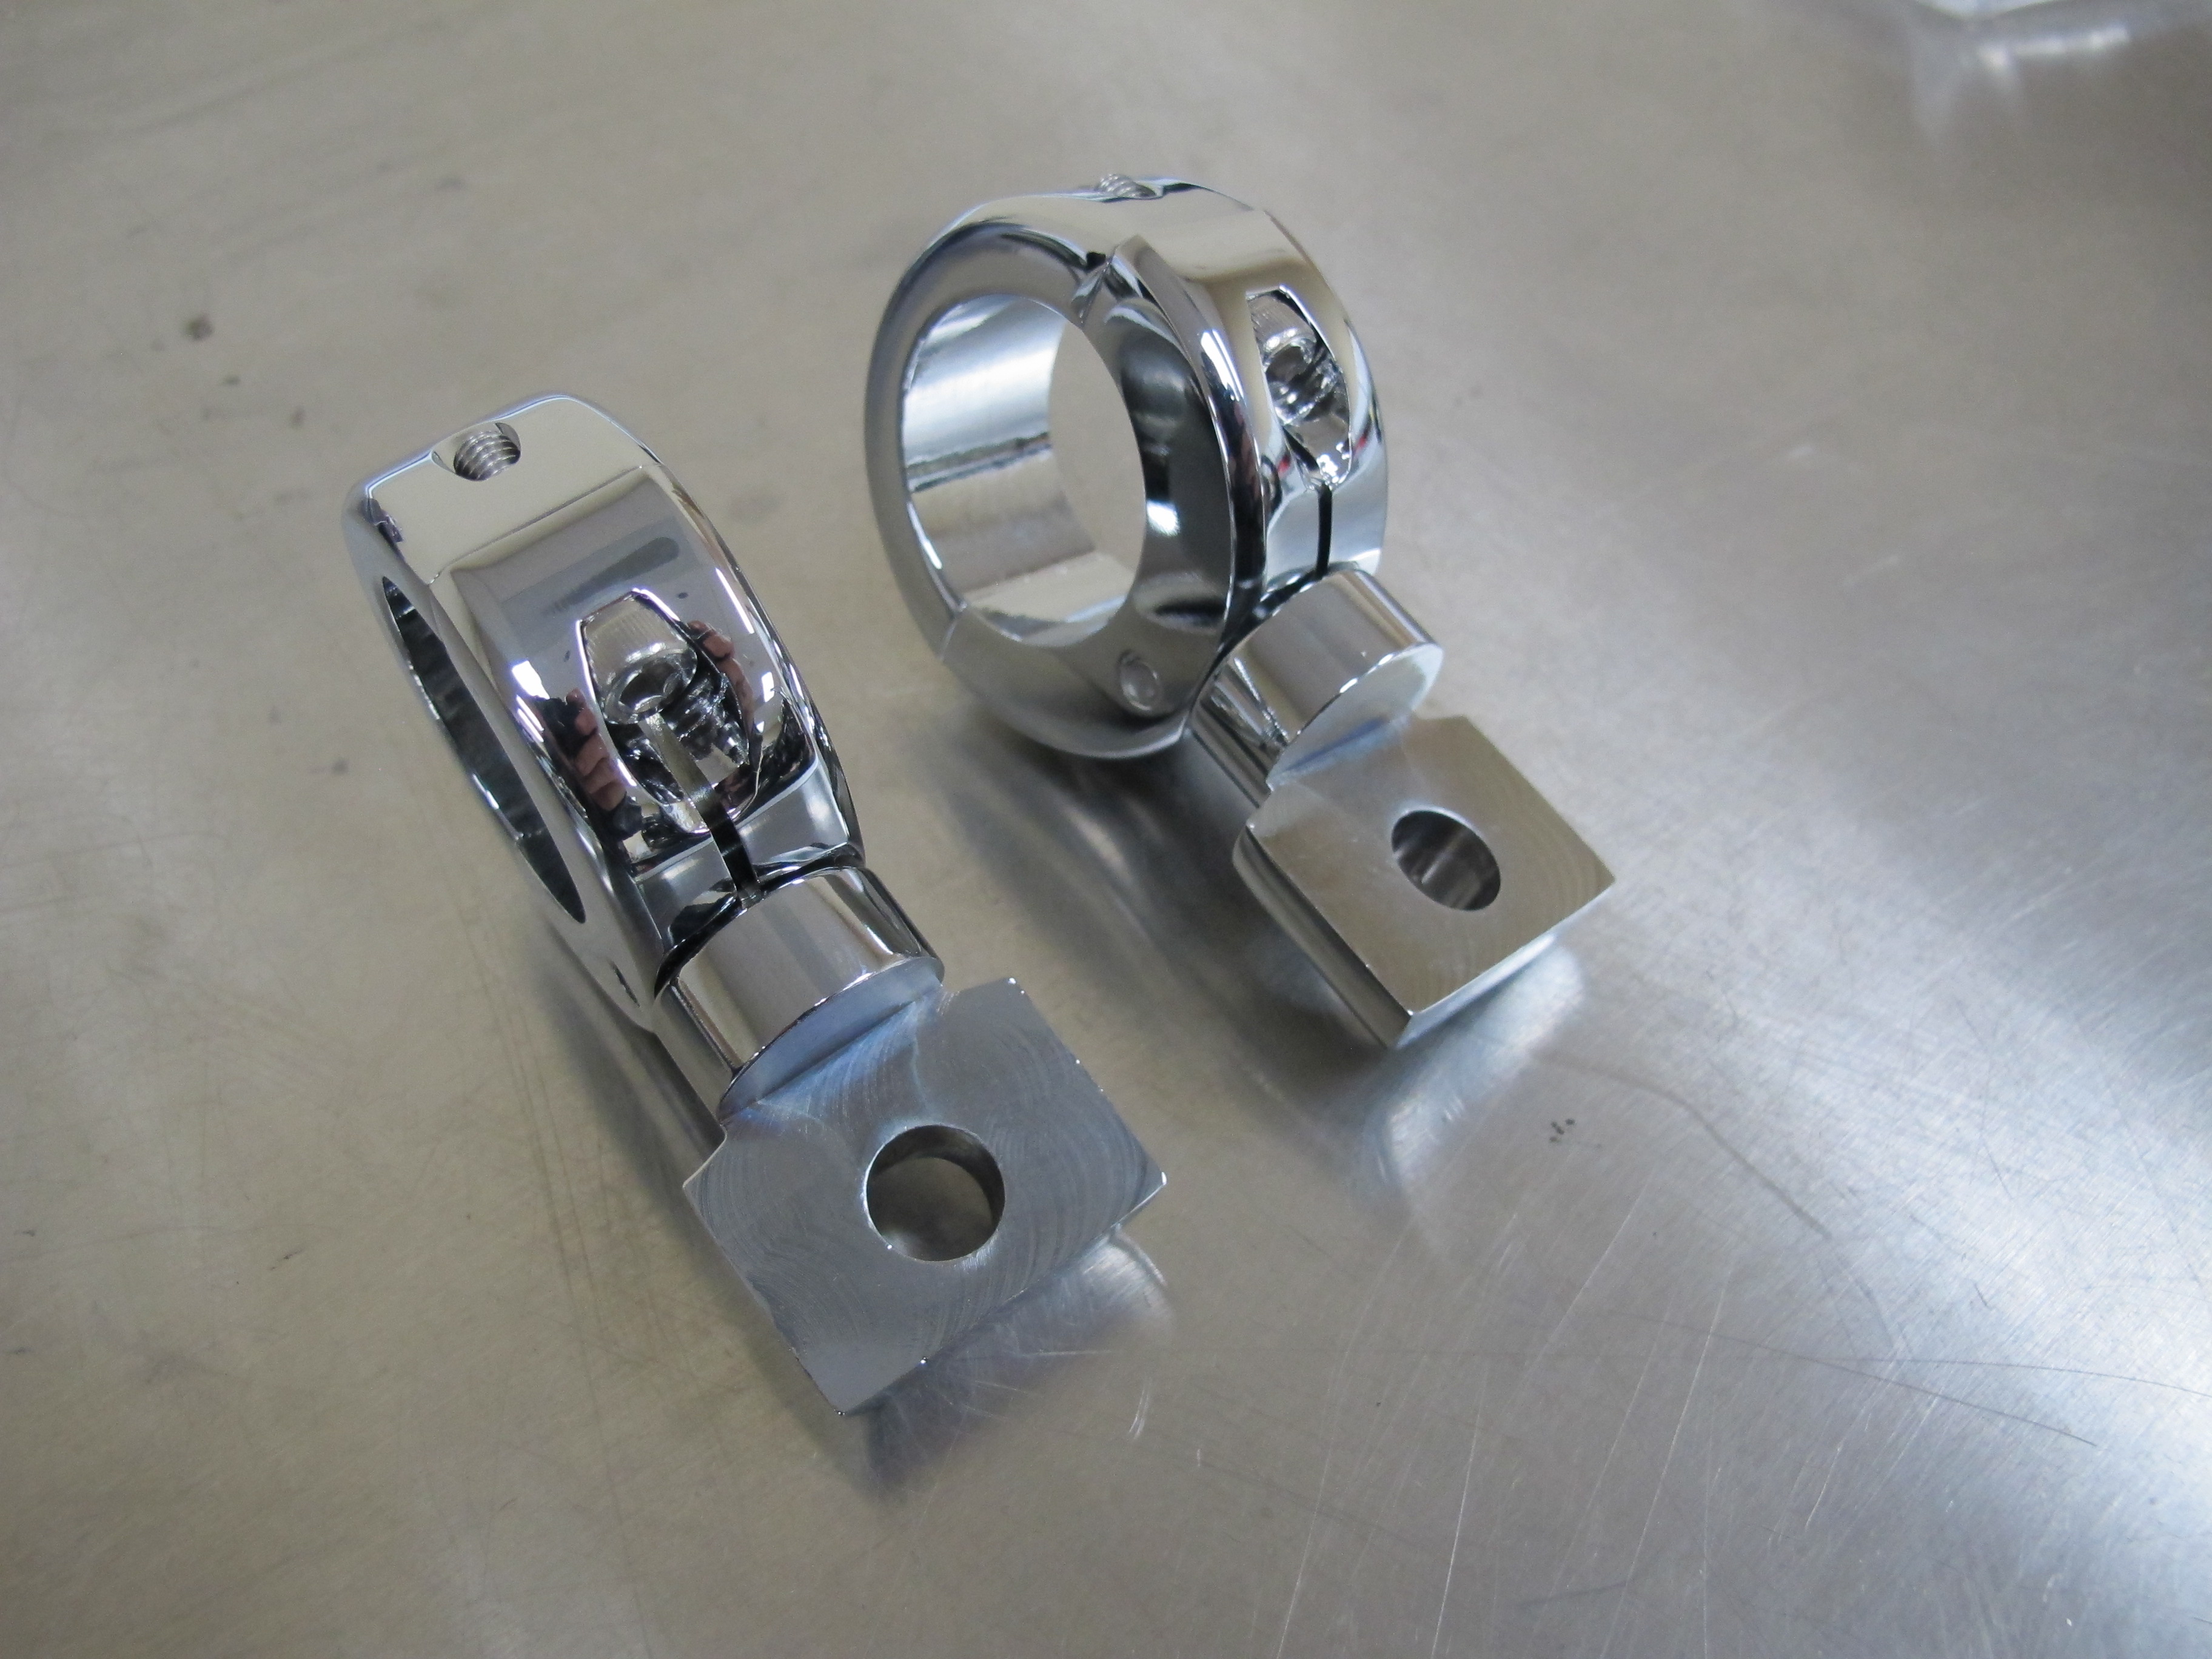
We are installing the Erica kit on our engine guard using these nice chrome clamps, which are included in the kit.
Photos: Jeff G. Holt
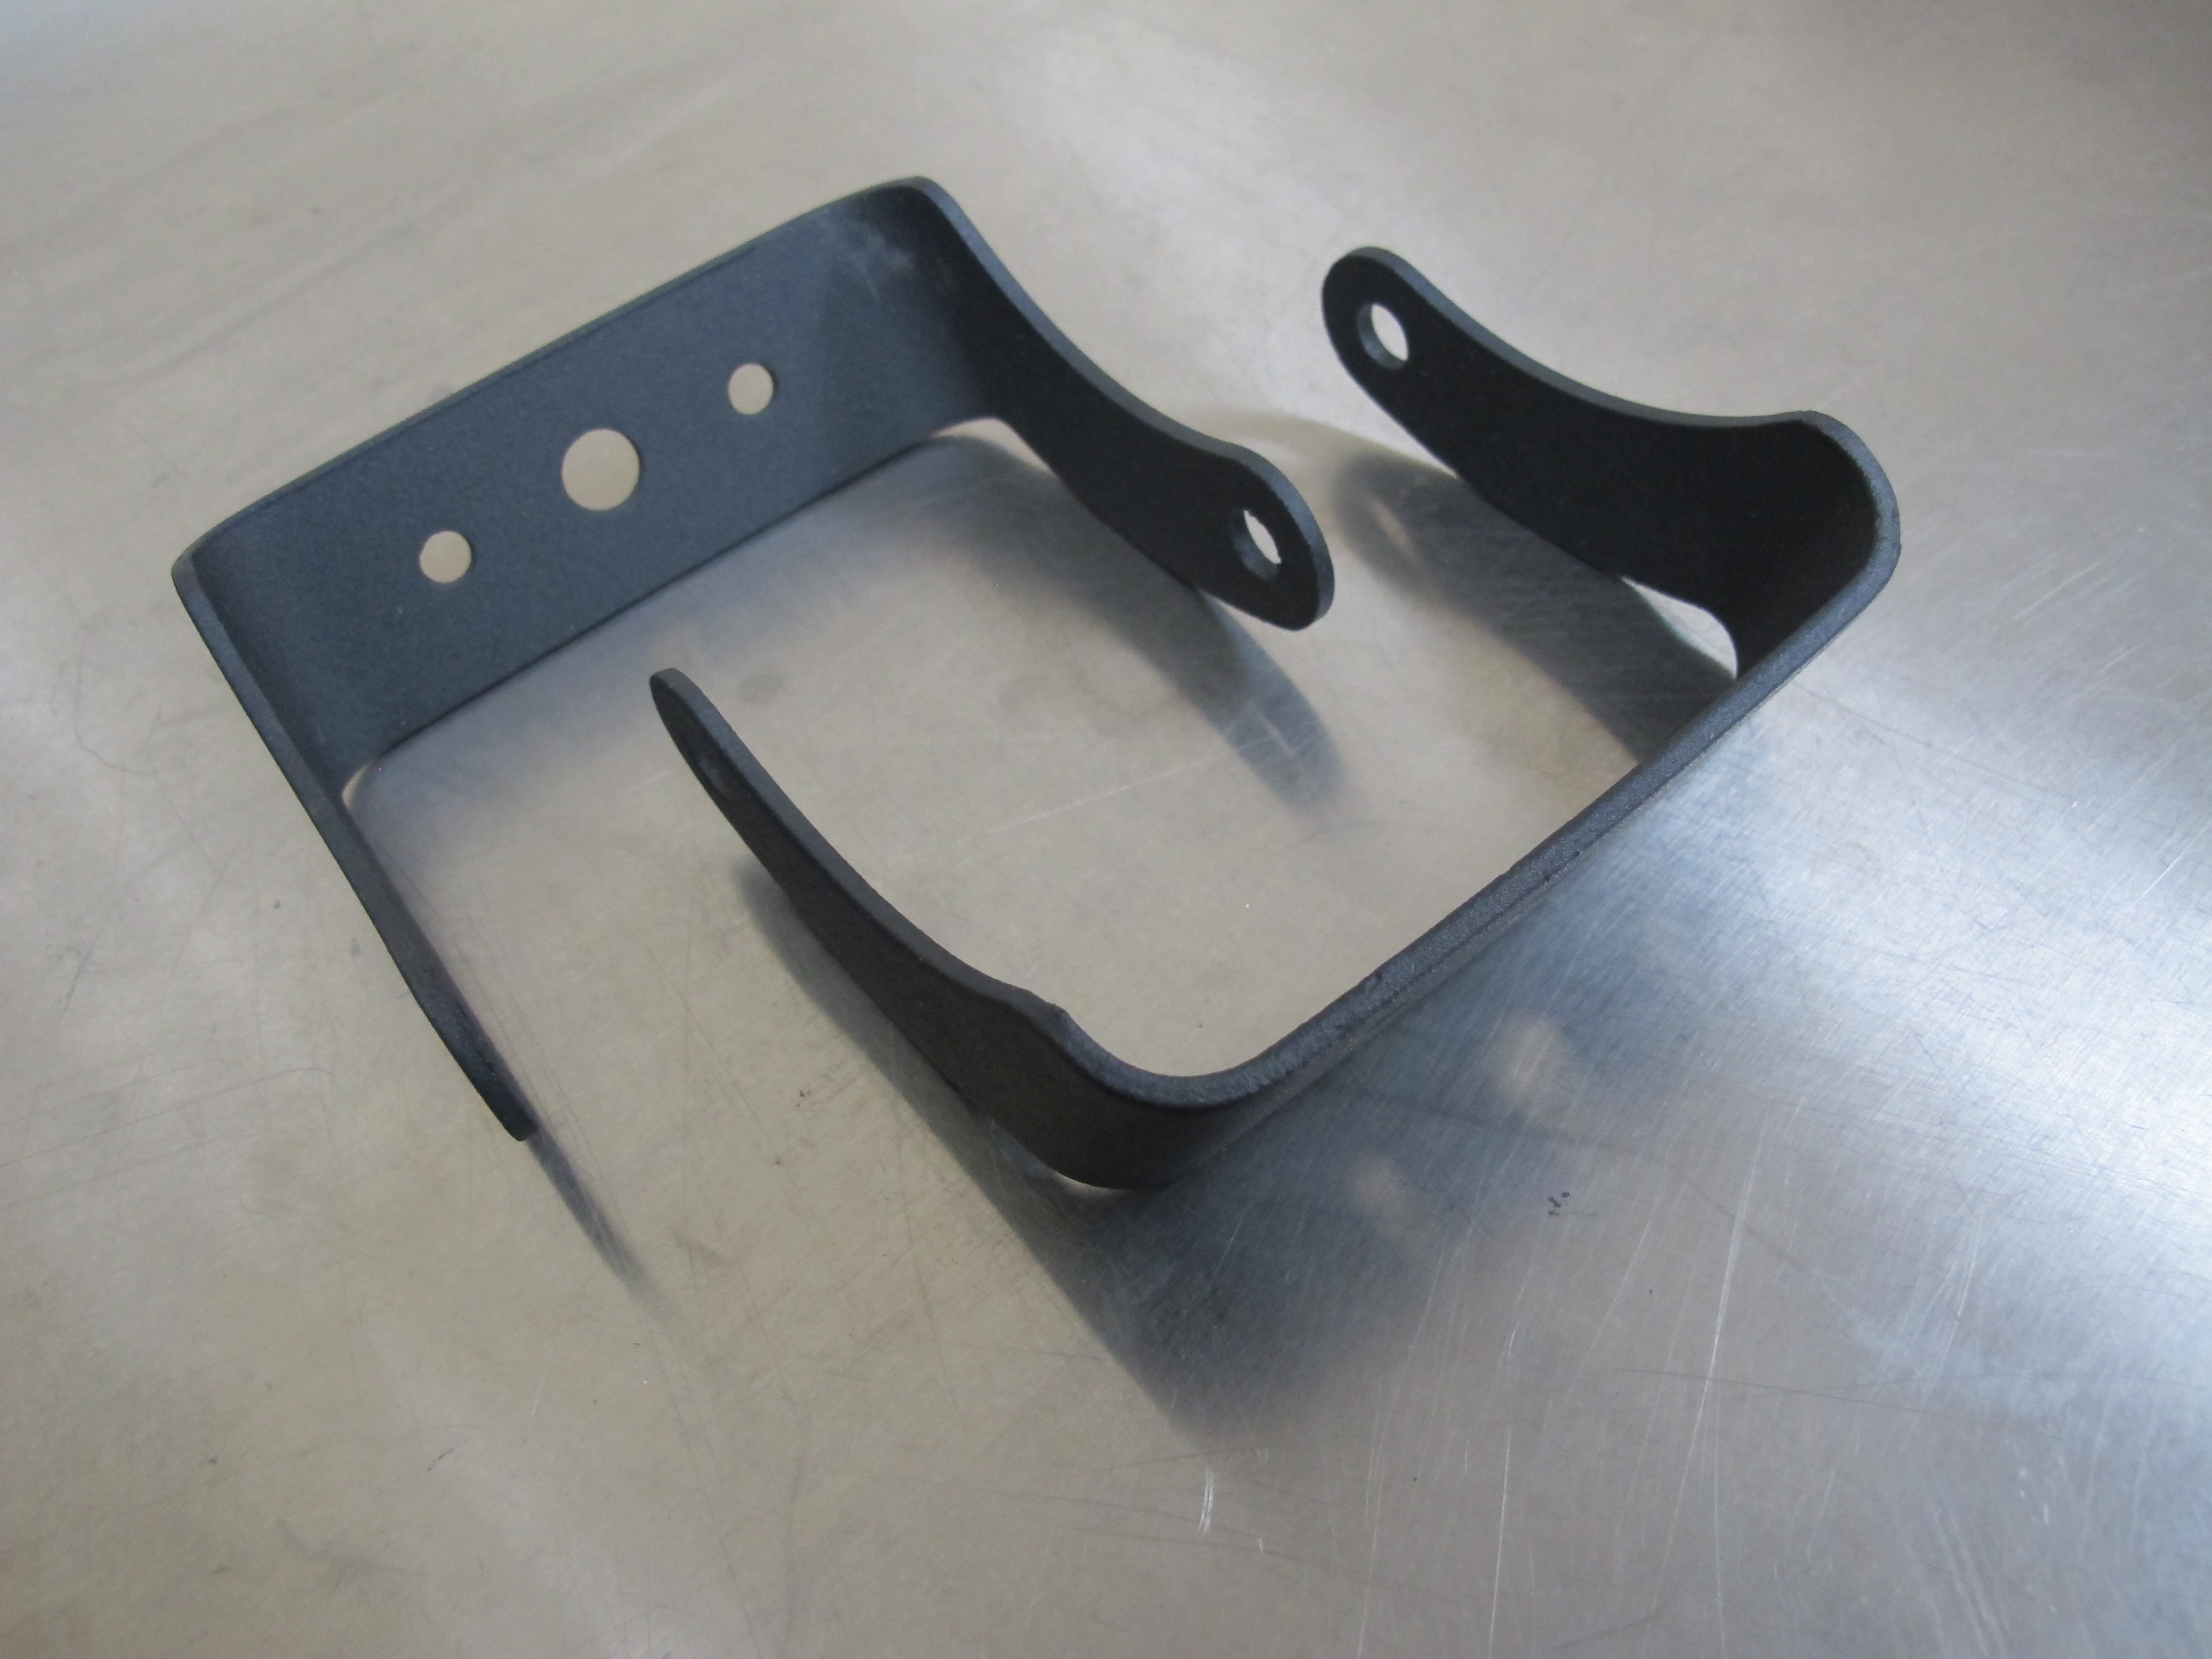
Clearwater also makes these lightweight, strong brackets to hold the Erica lights to the clamps.
Photos: Jeff G. Holt
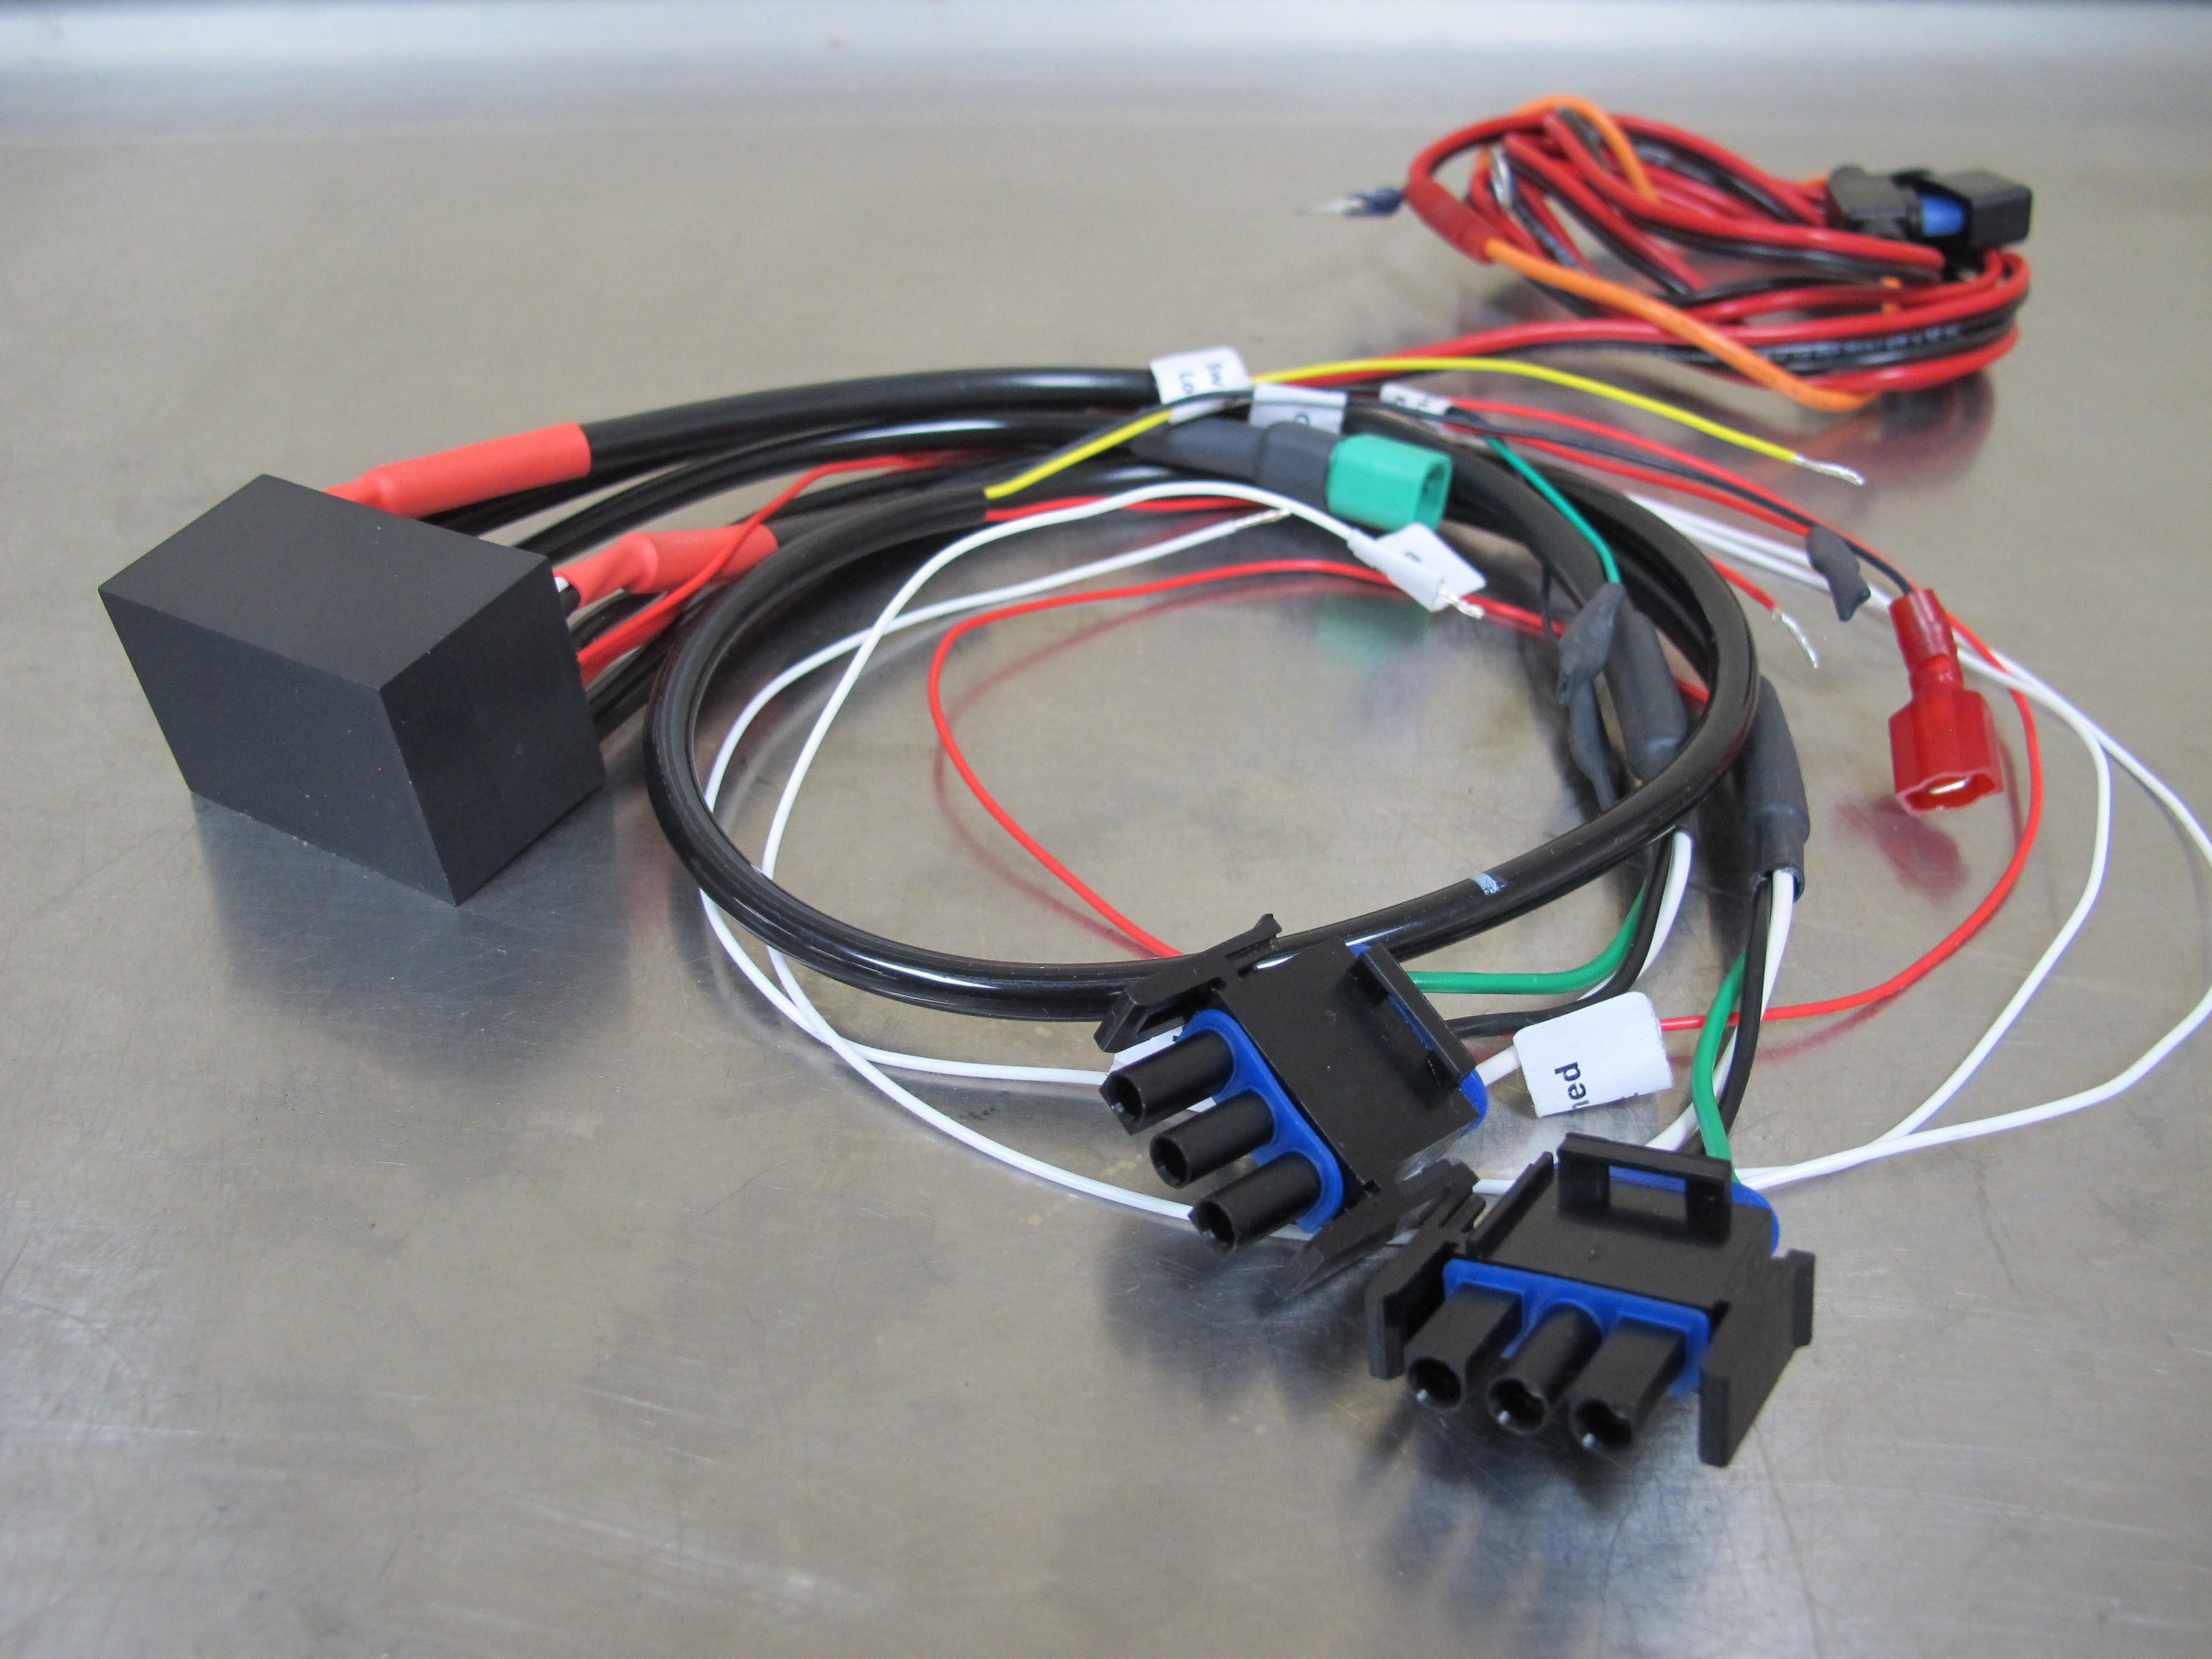
Looking rather complicated, the well-thought-out Clearwater wiring harness is actually very simple to install.
Photos: Jeff G. Holt
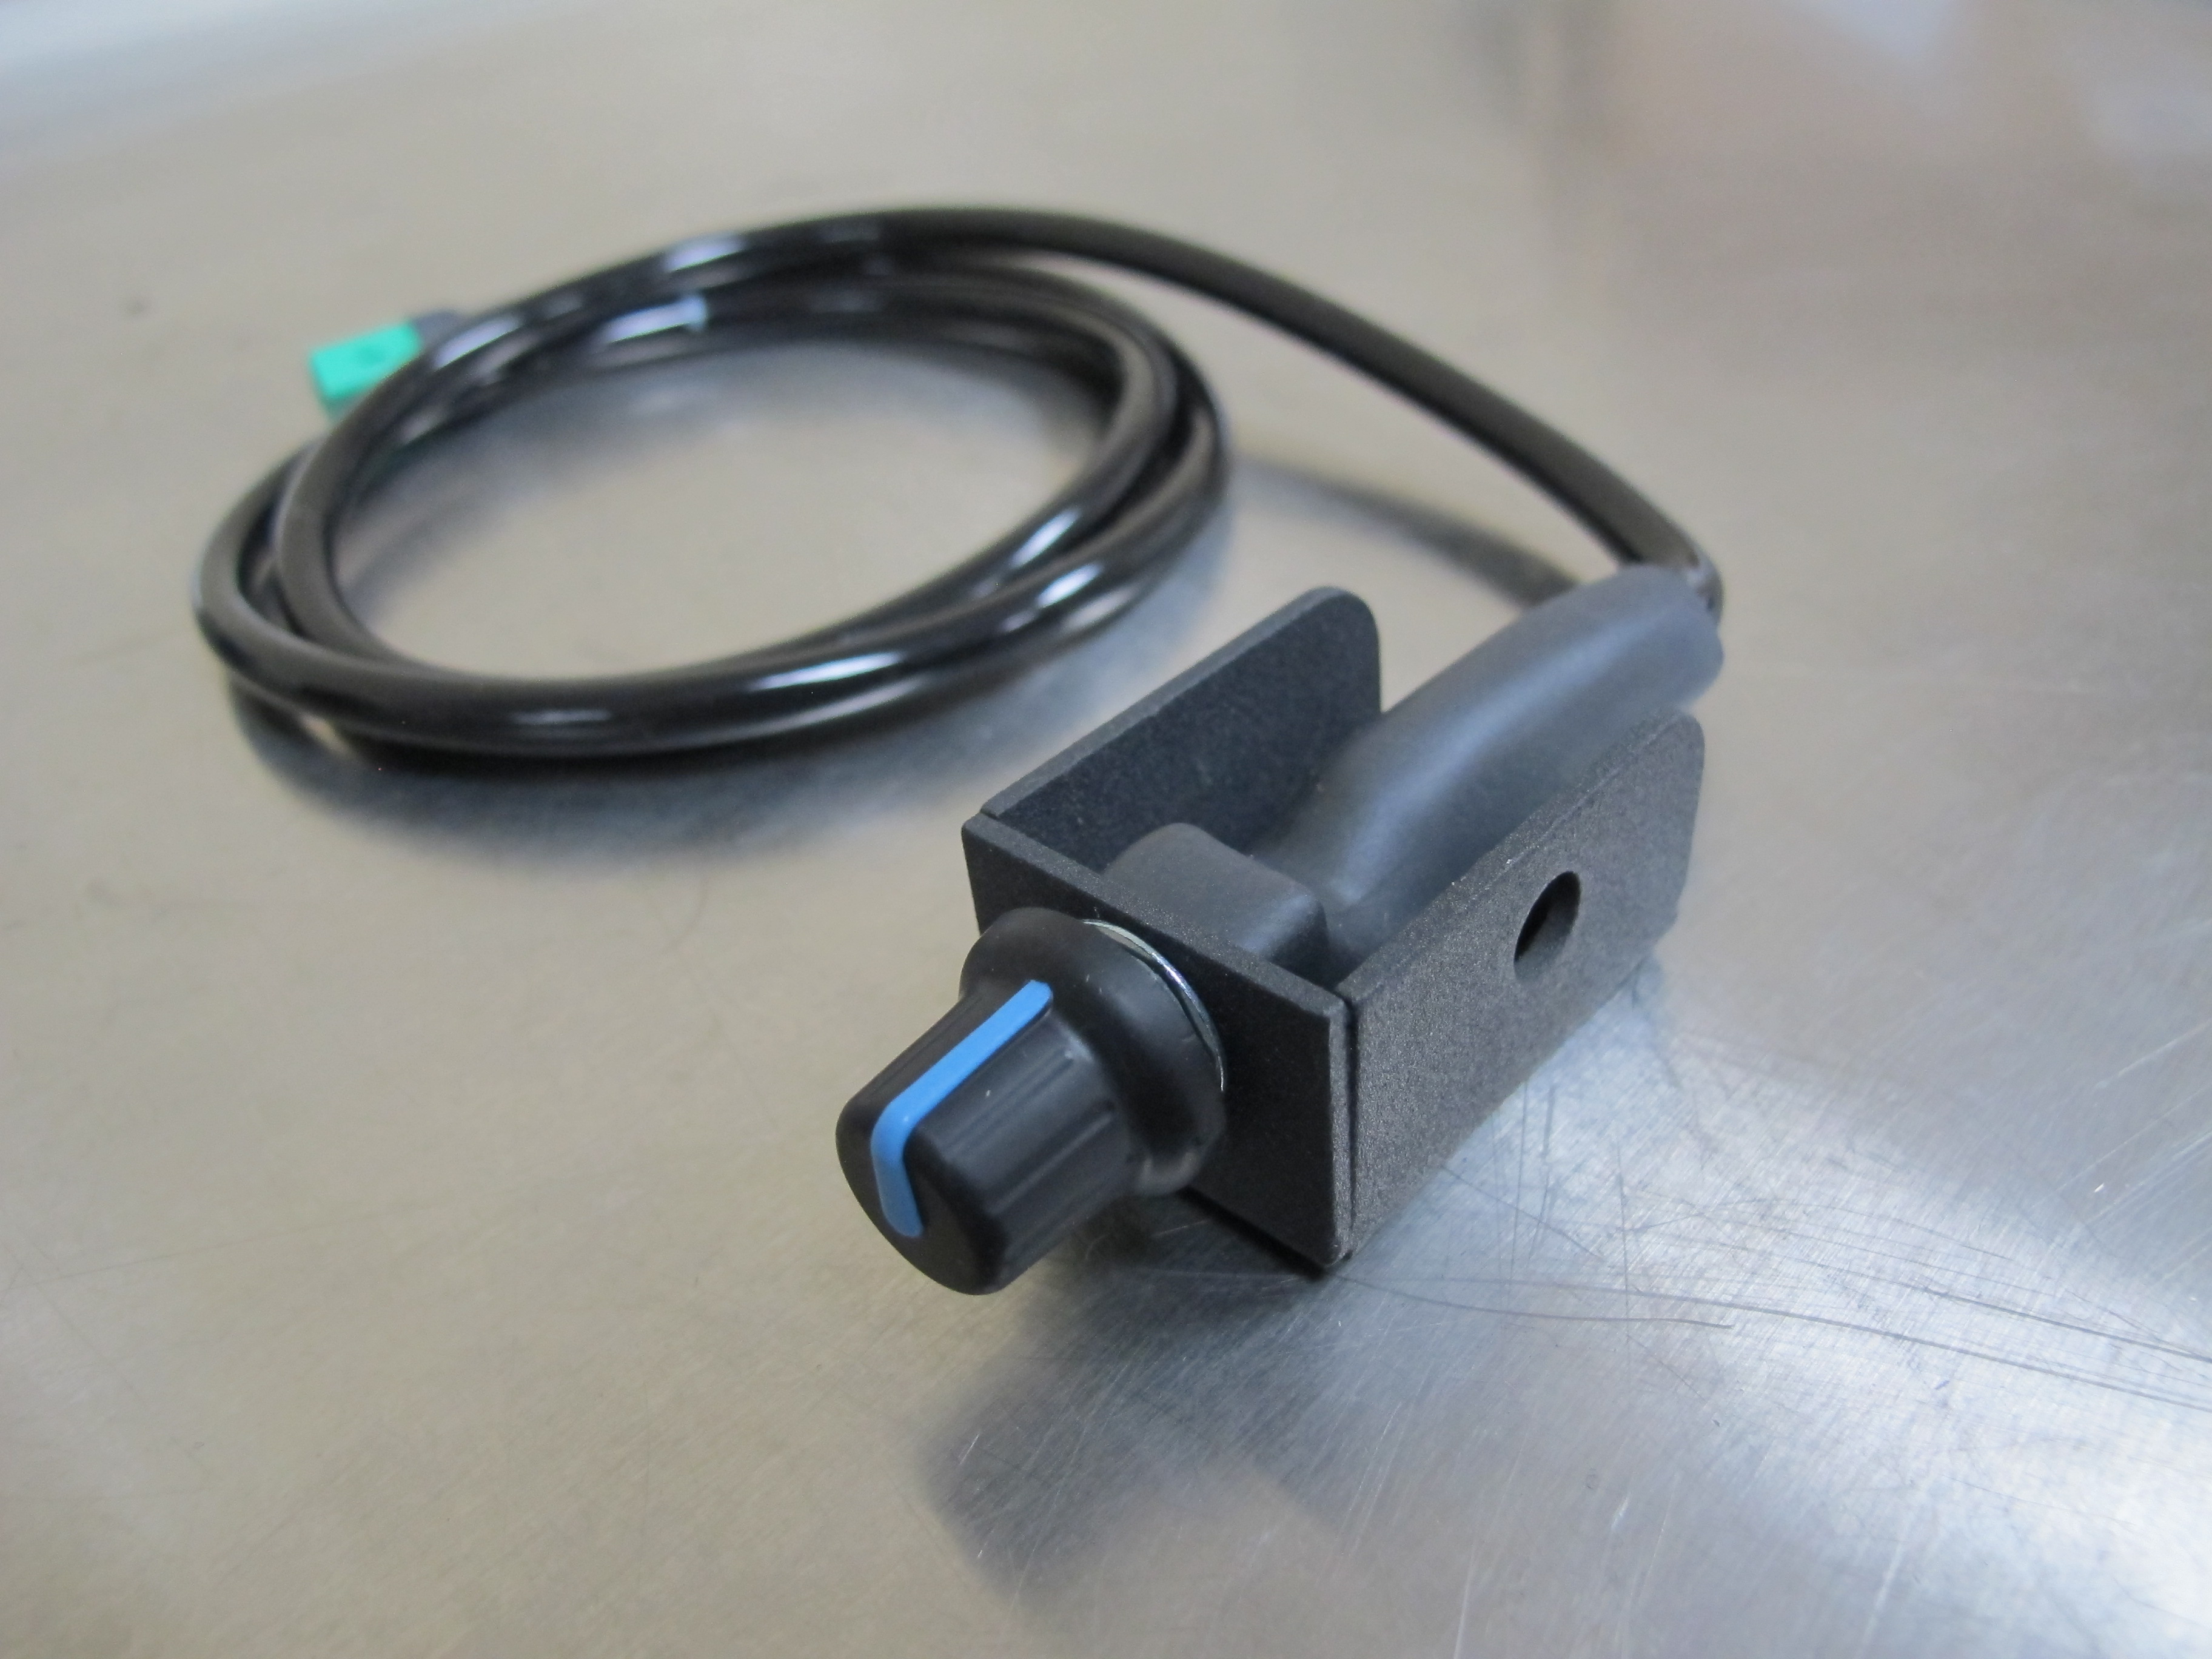
Because the LED lights are so bright, Clearwater includes a remote dimmer switch with the Erica kit.
Photos: Jeff G. Holt
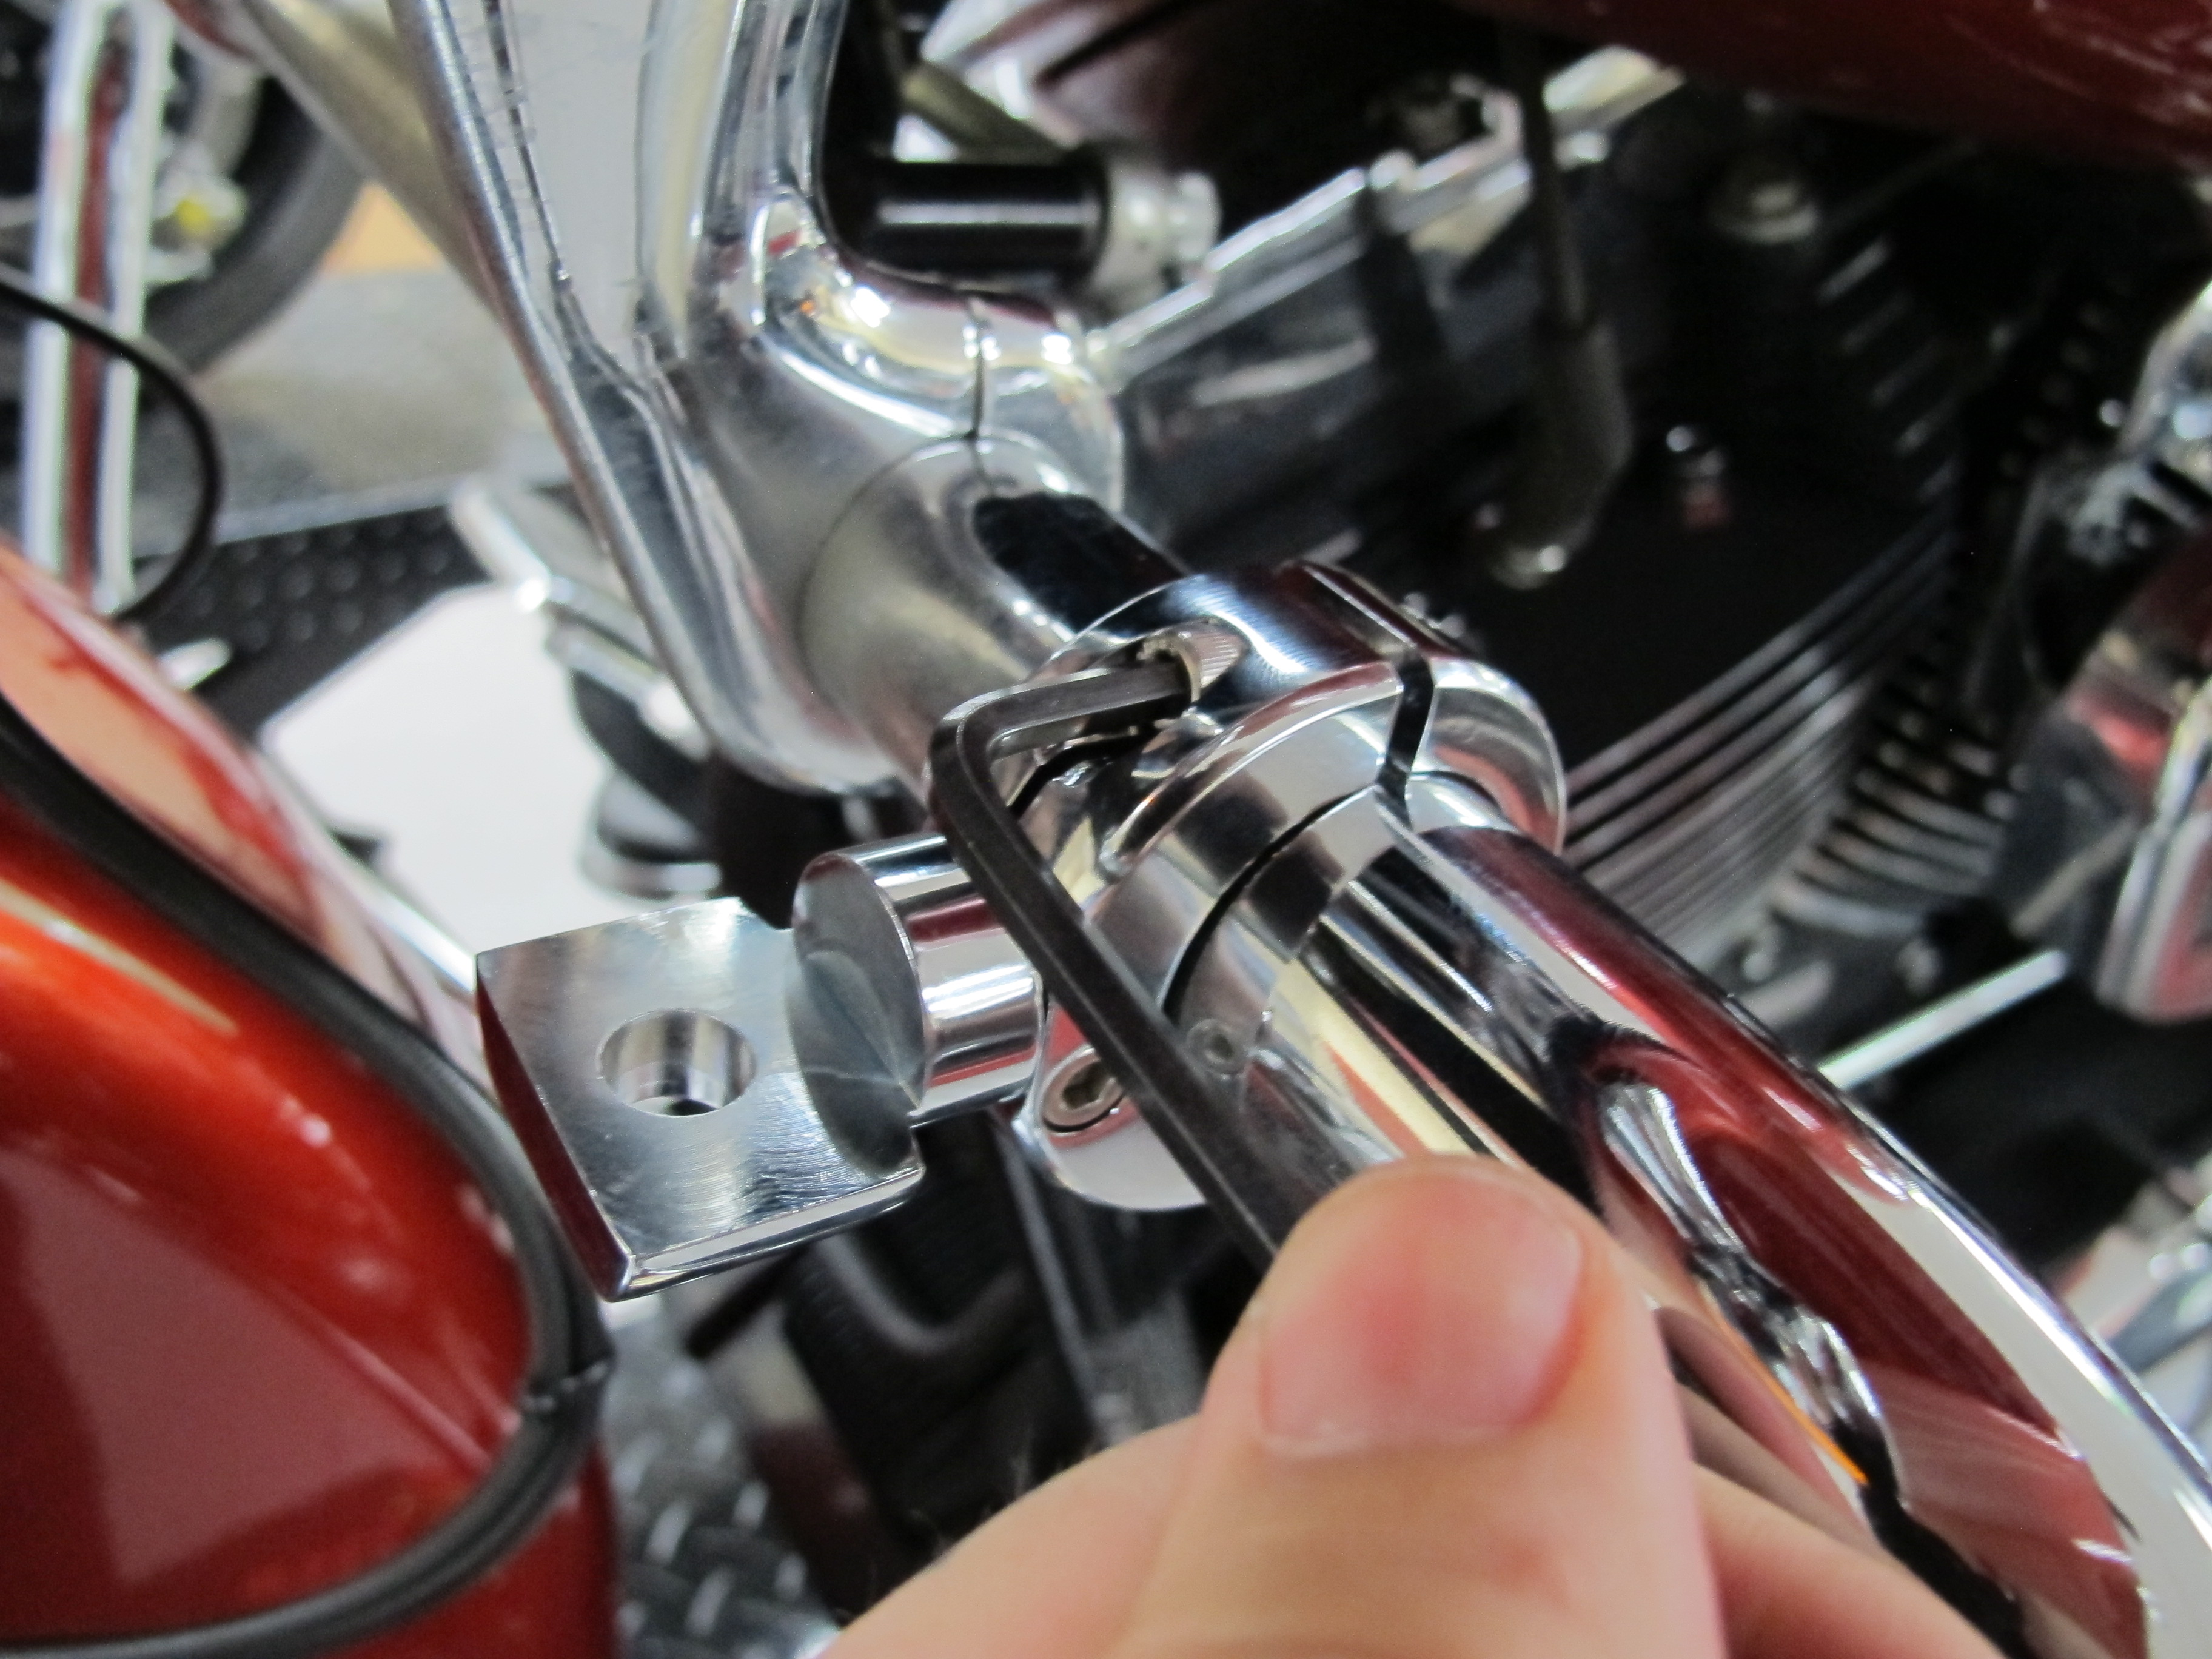
We started the install by getting the clamps snugged up on the bike’s engine guard, but we left them a bit loose so we could move them around if need be.
Photos: Jeff G. Holt
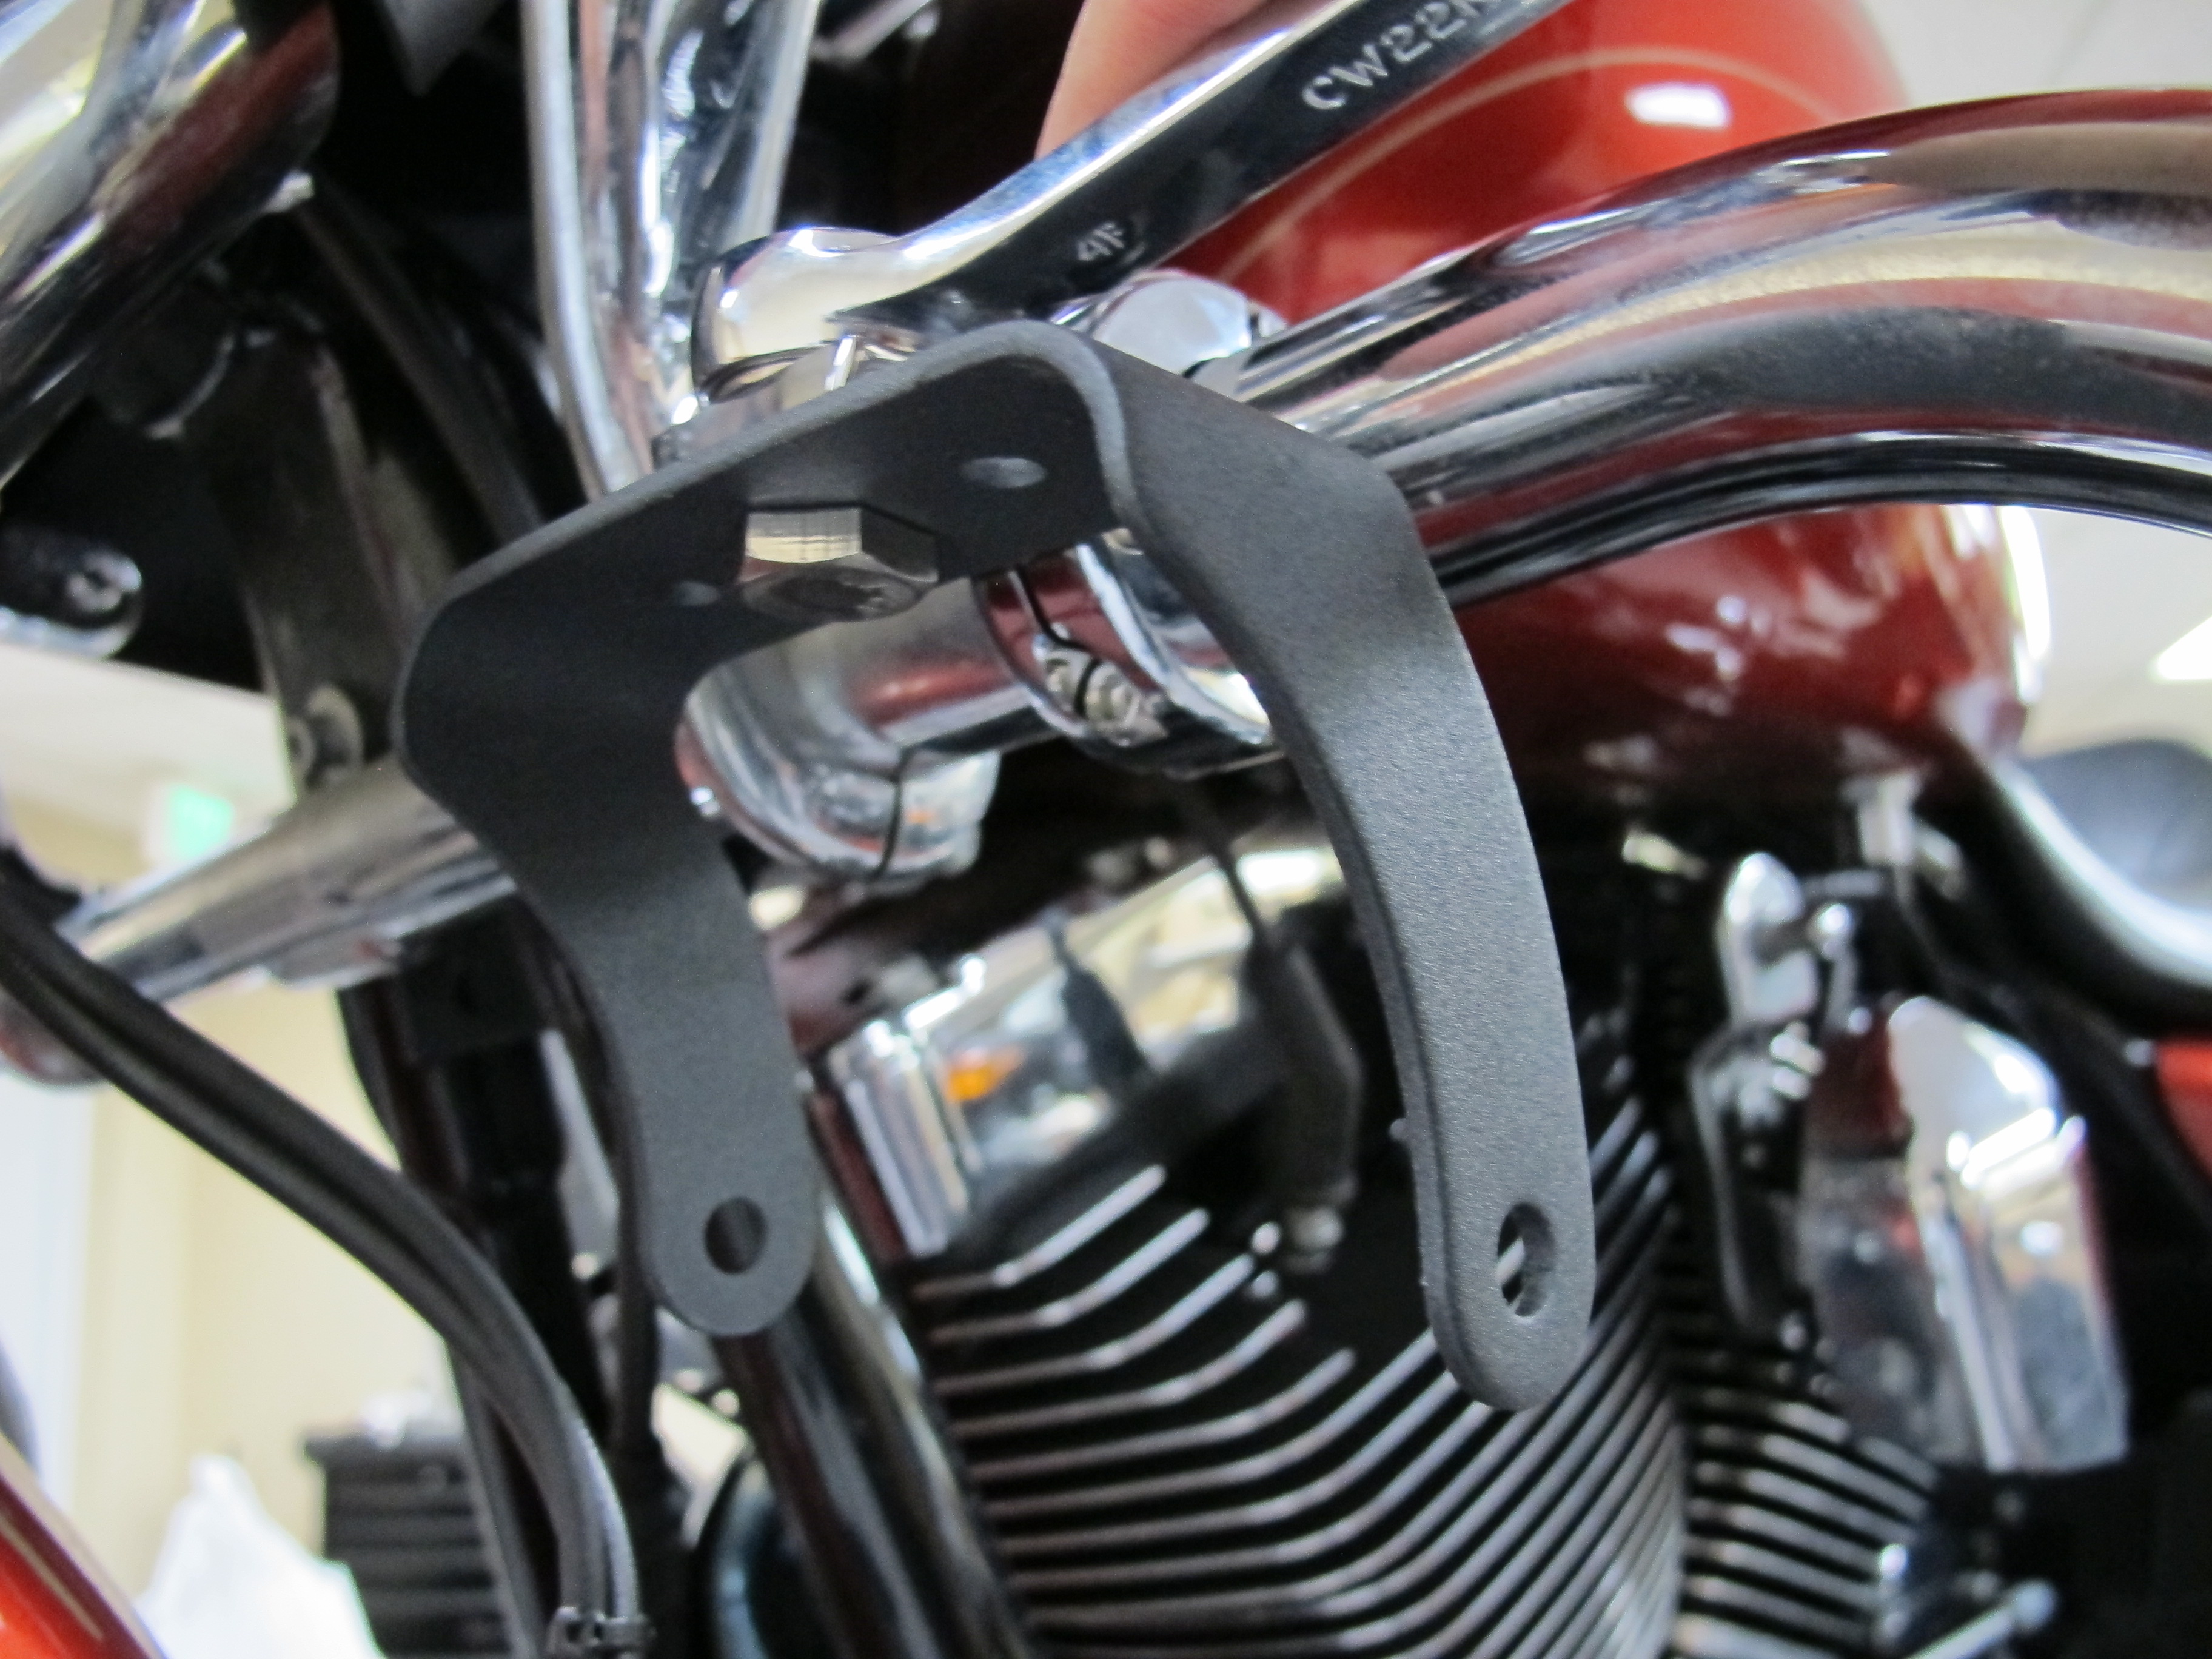
Next, we installed the light brackets using stainless steel bolts and beefy nylock nuts.
Photos: Jeff G. Holt
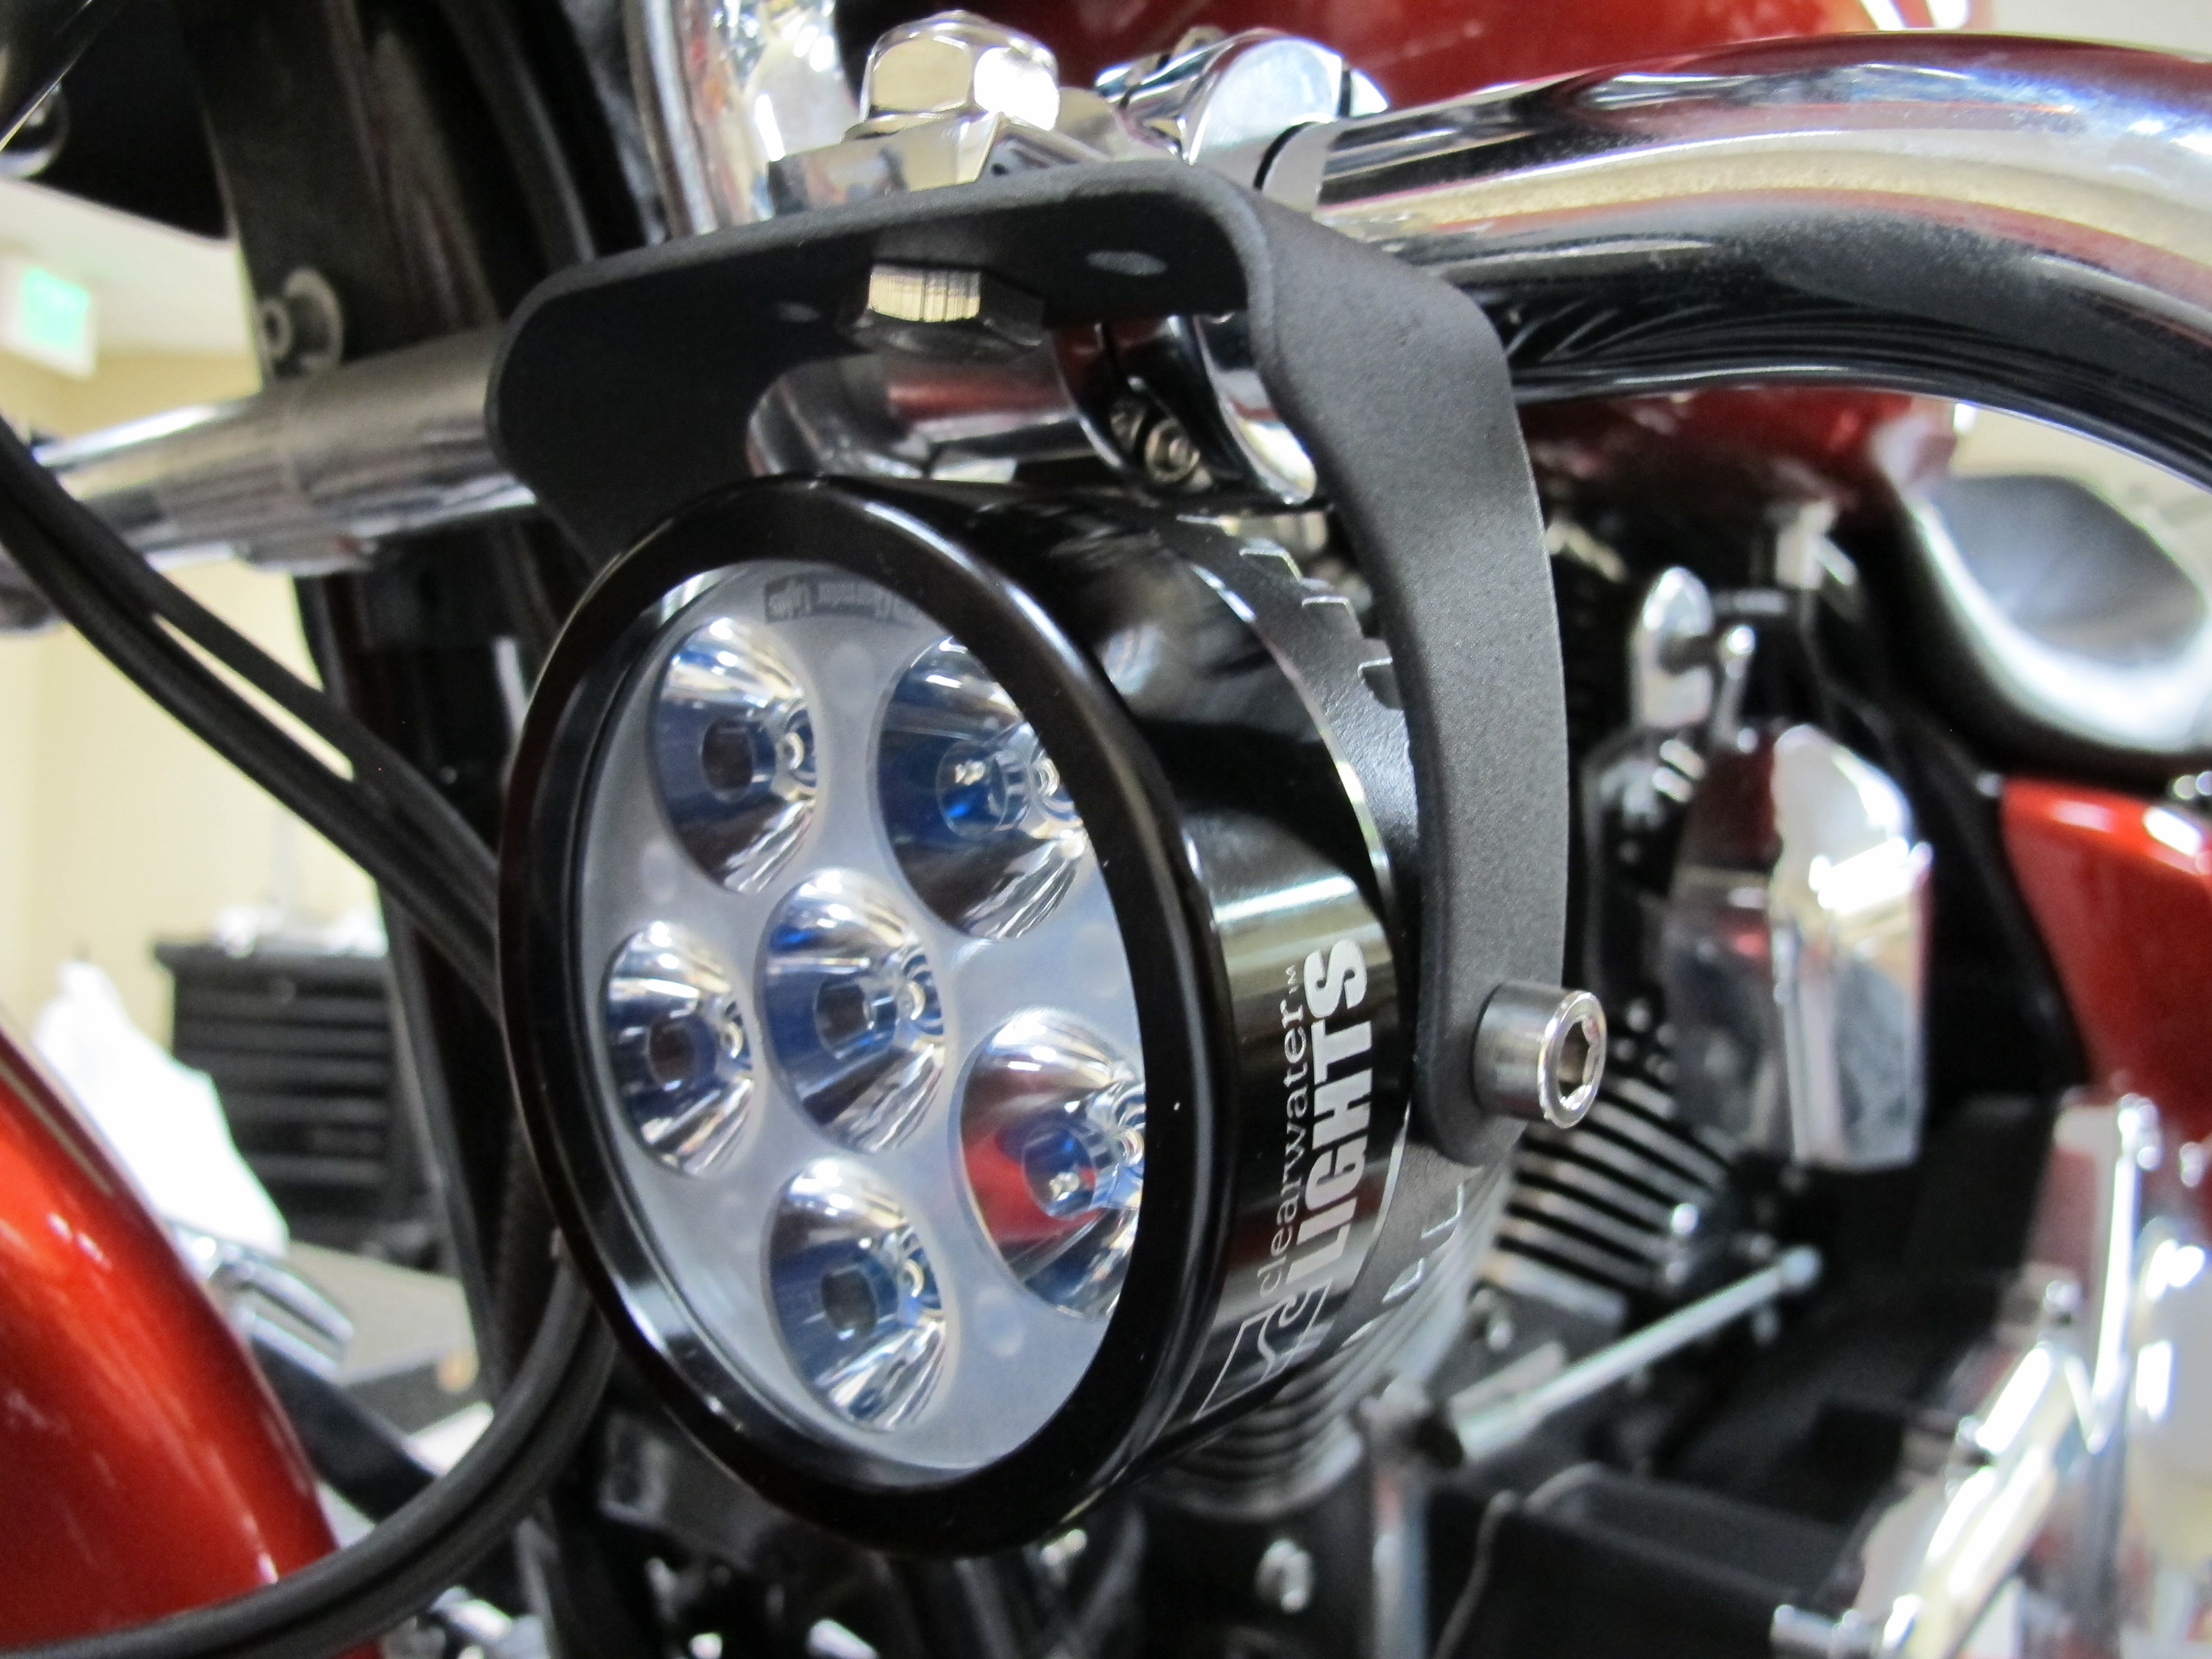
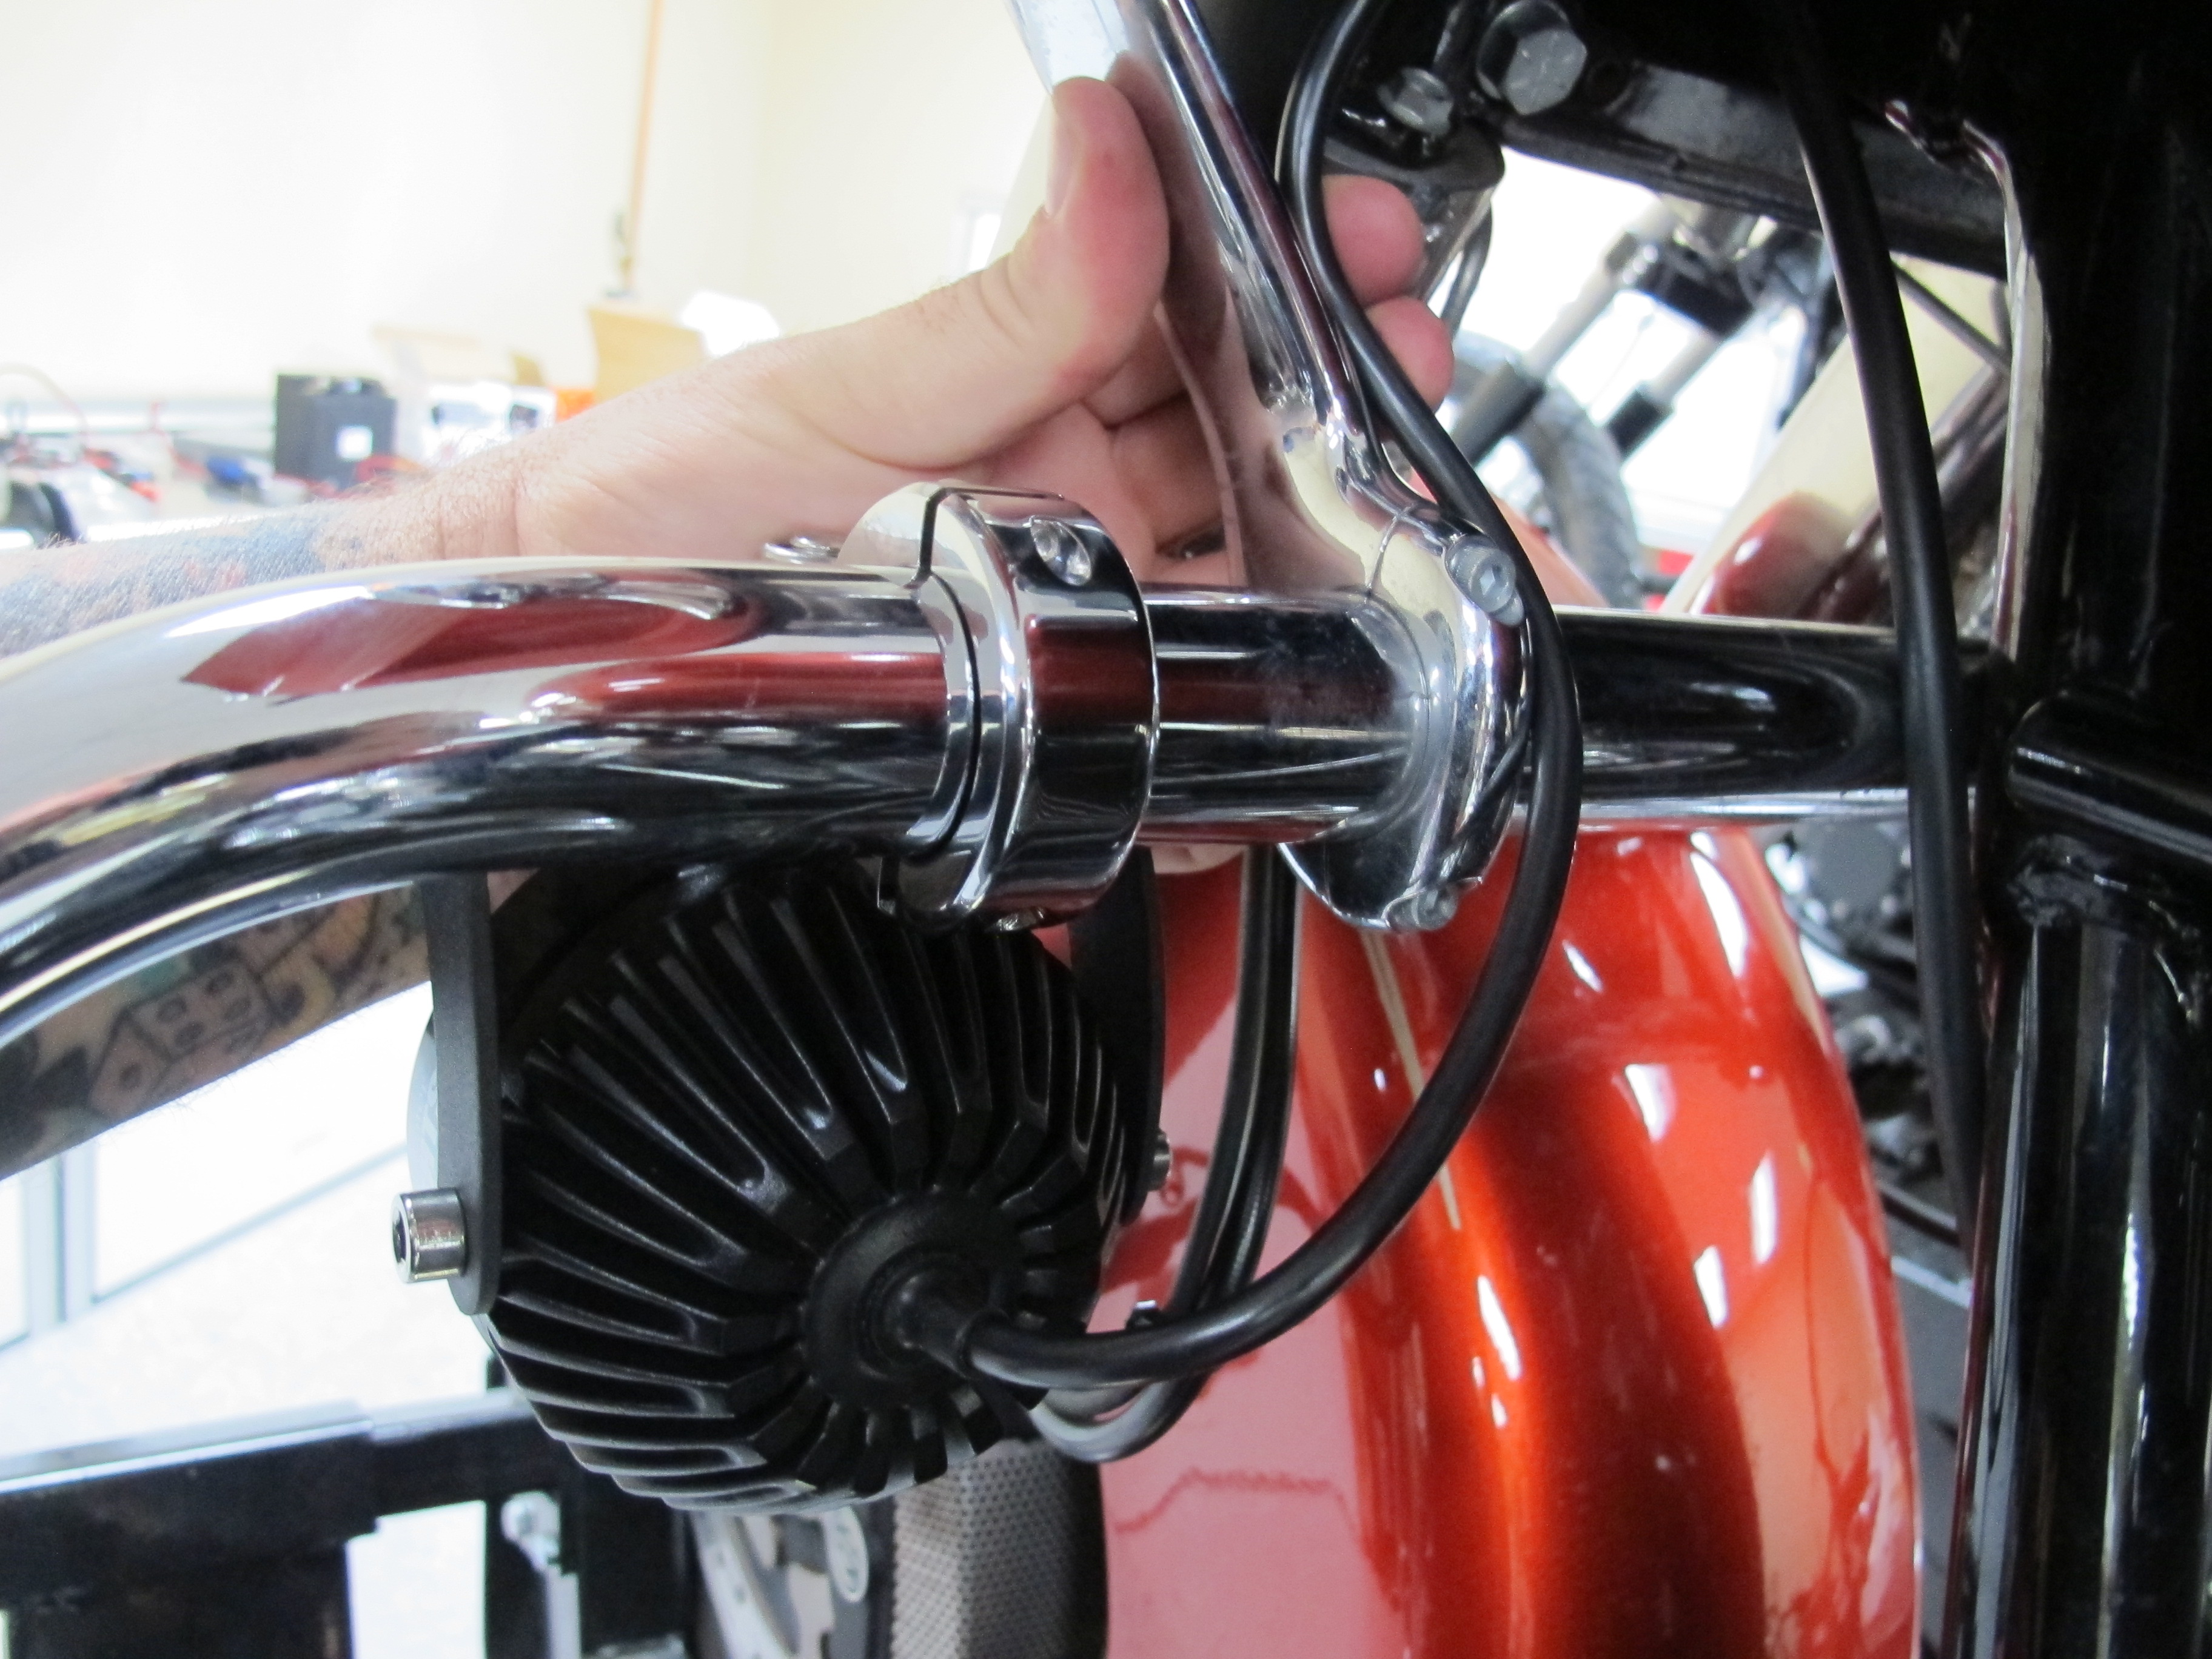
Each one of the Erica lights were then affixed to the bike with two chrome 10mm bolts per light.
Photos: Jeff G. Holt
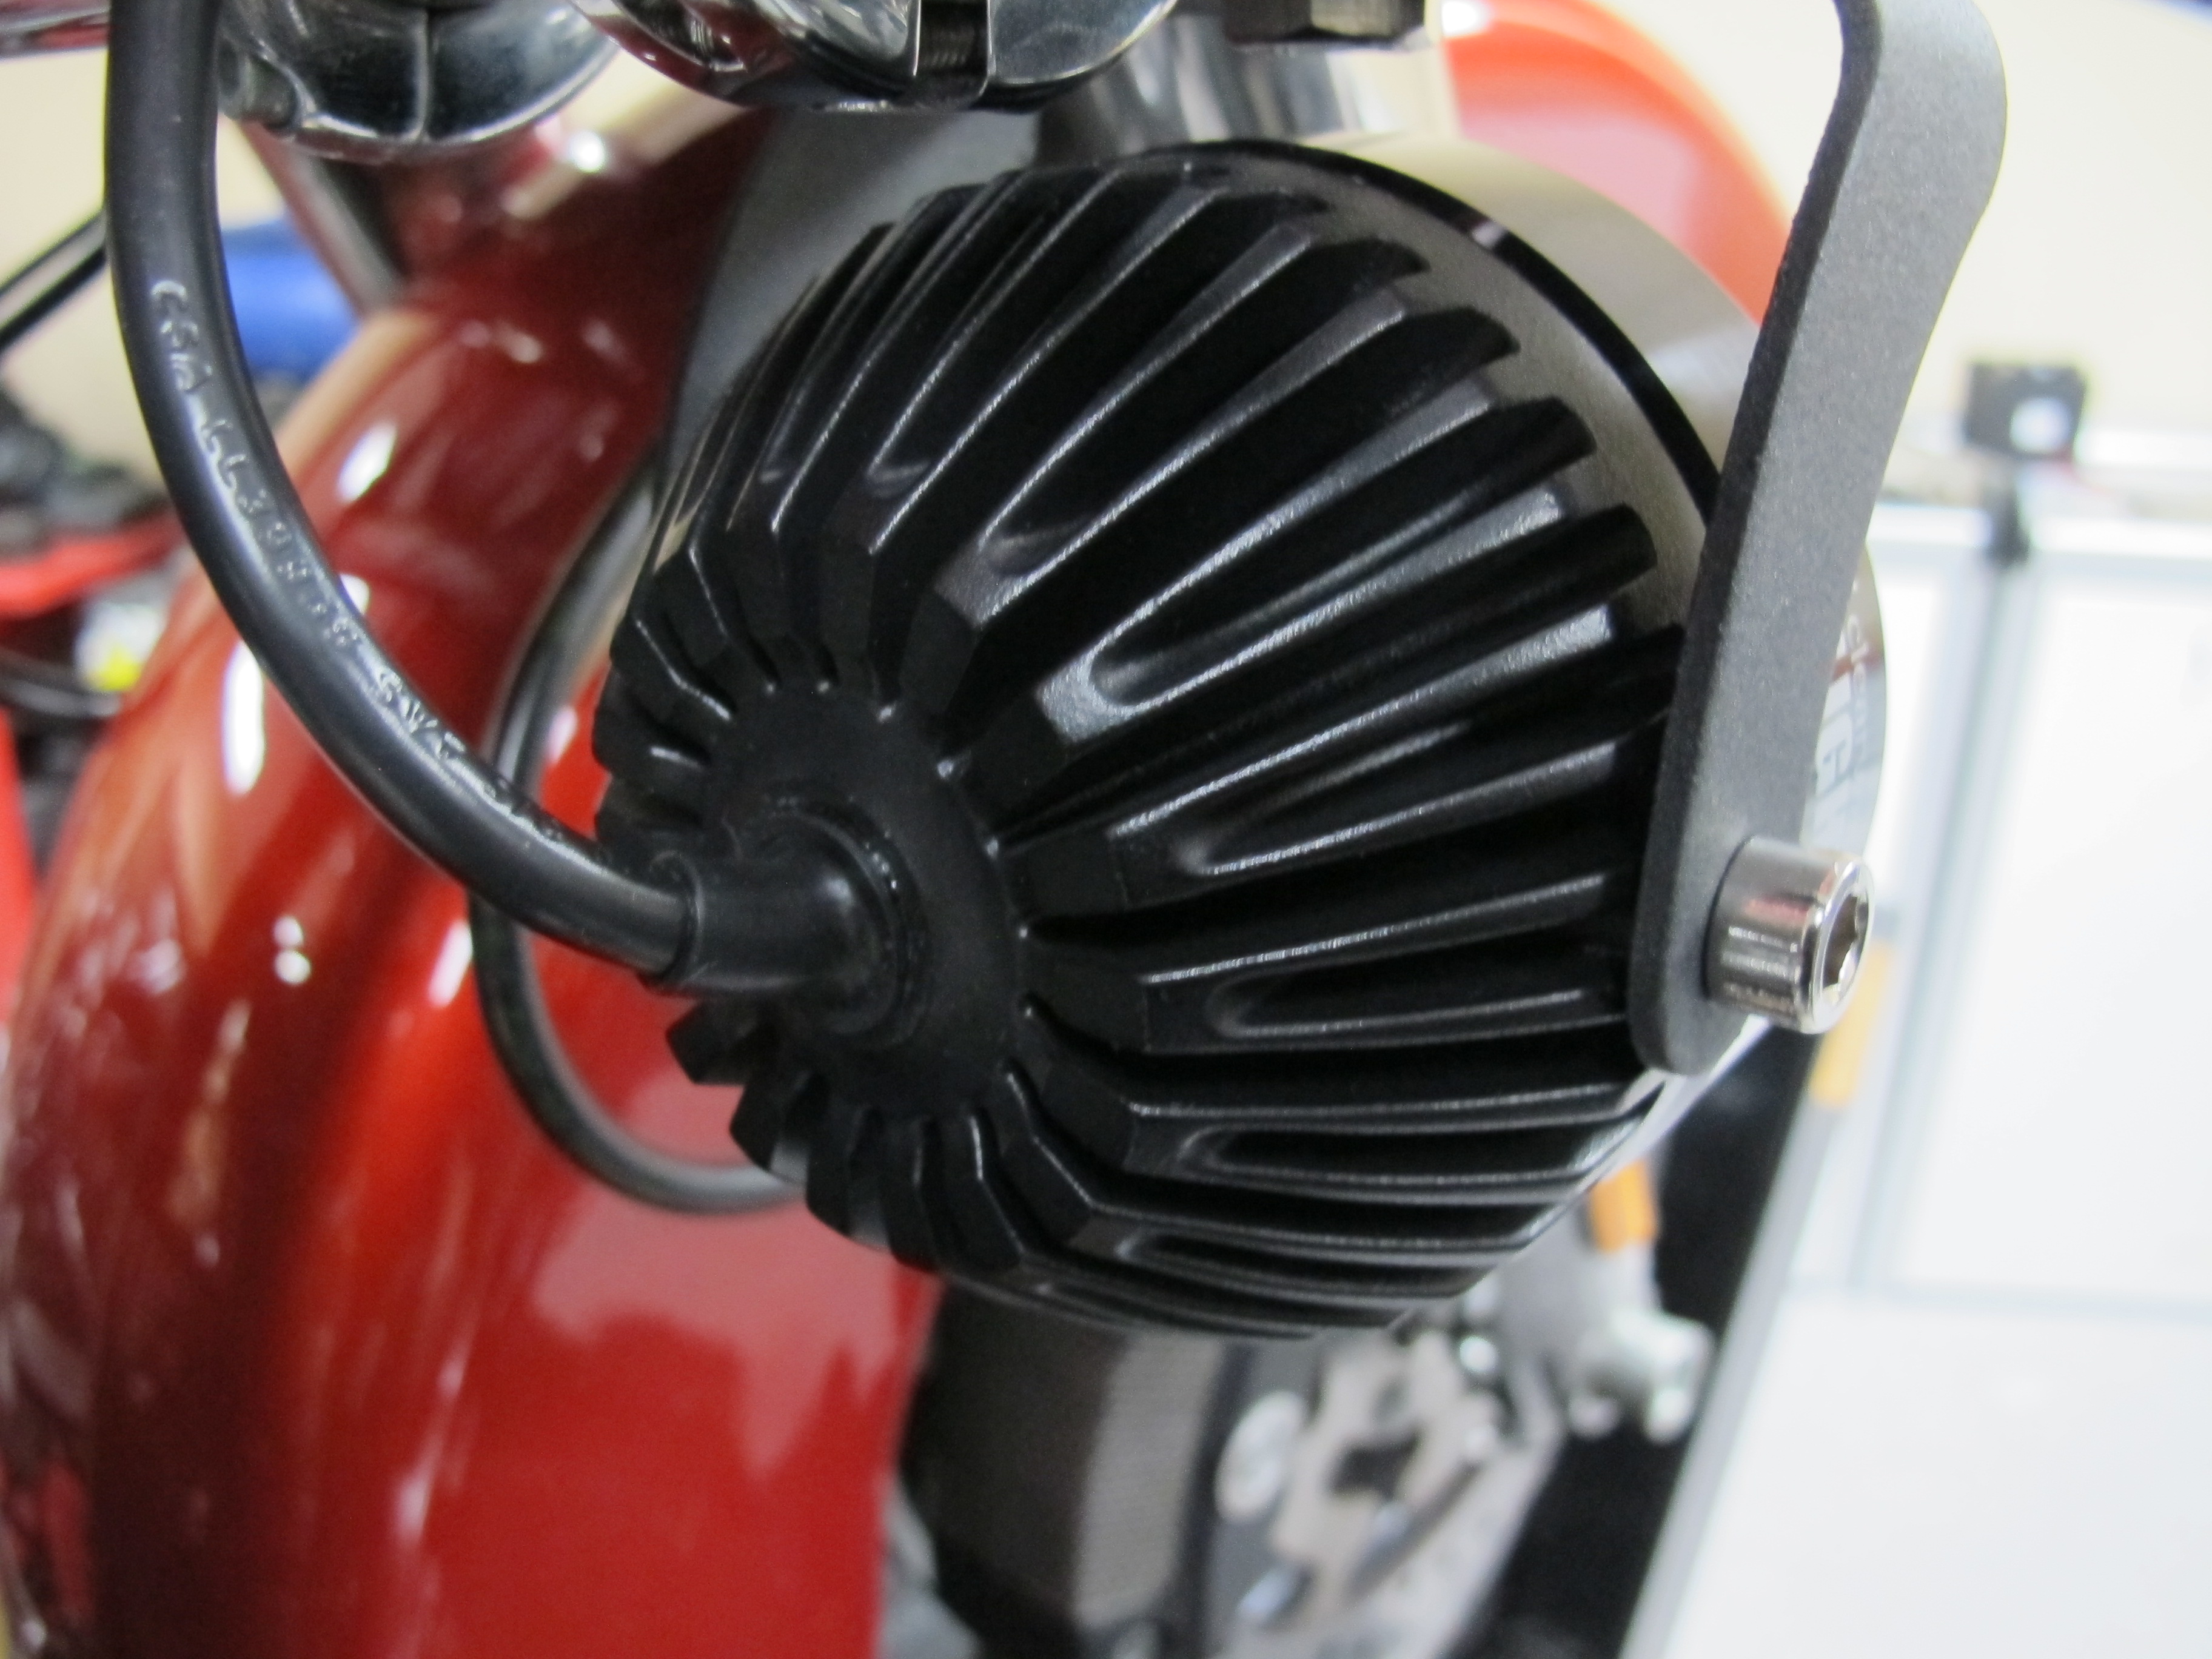
Here’s a shot of the back of the lights. It shows the quality construction of the units as well as the heat sinks to keep the lights at a cool operating temperature.
Photos: Jeff G. Holt
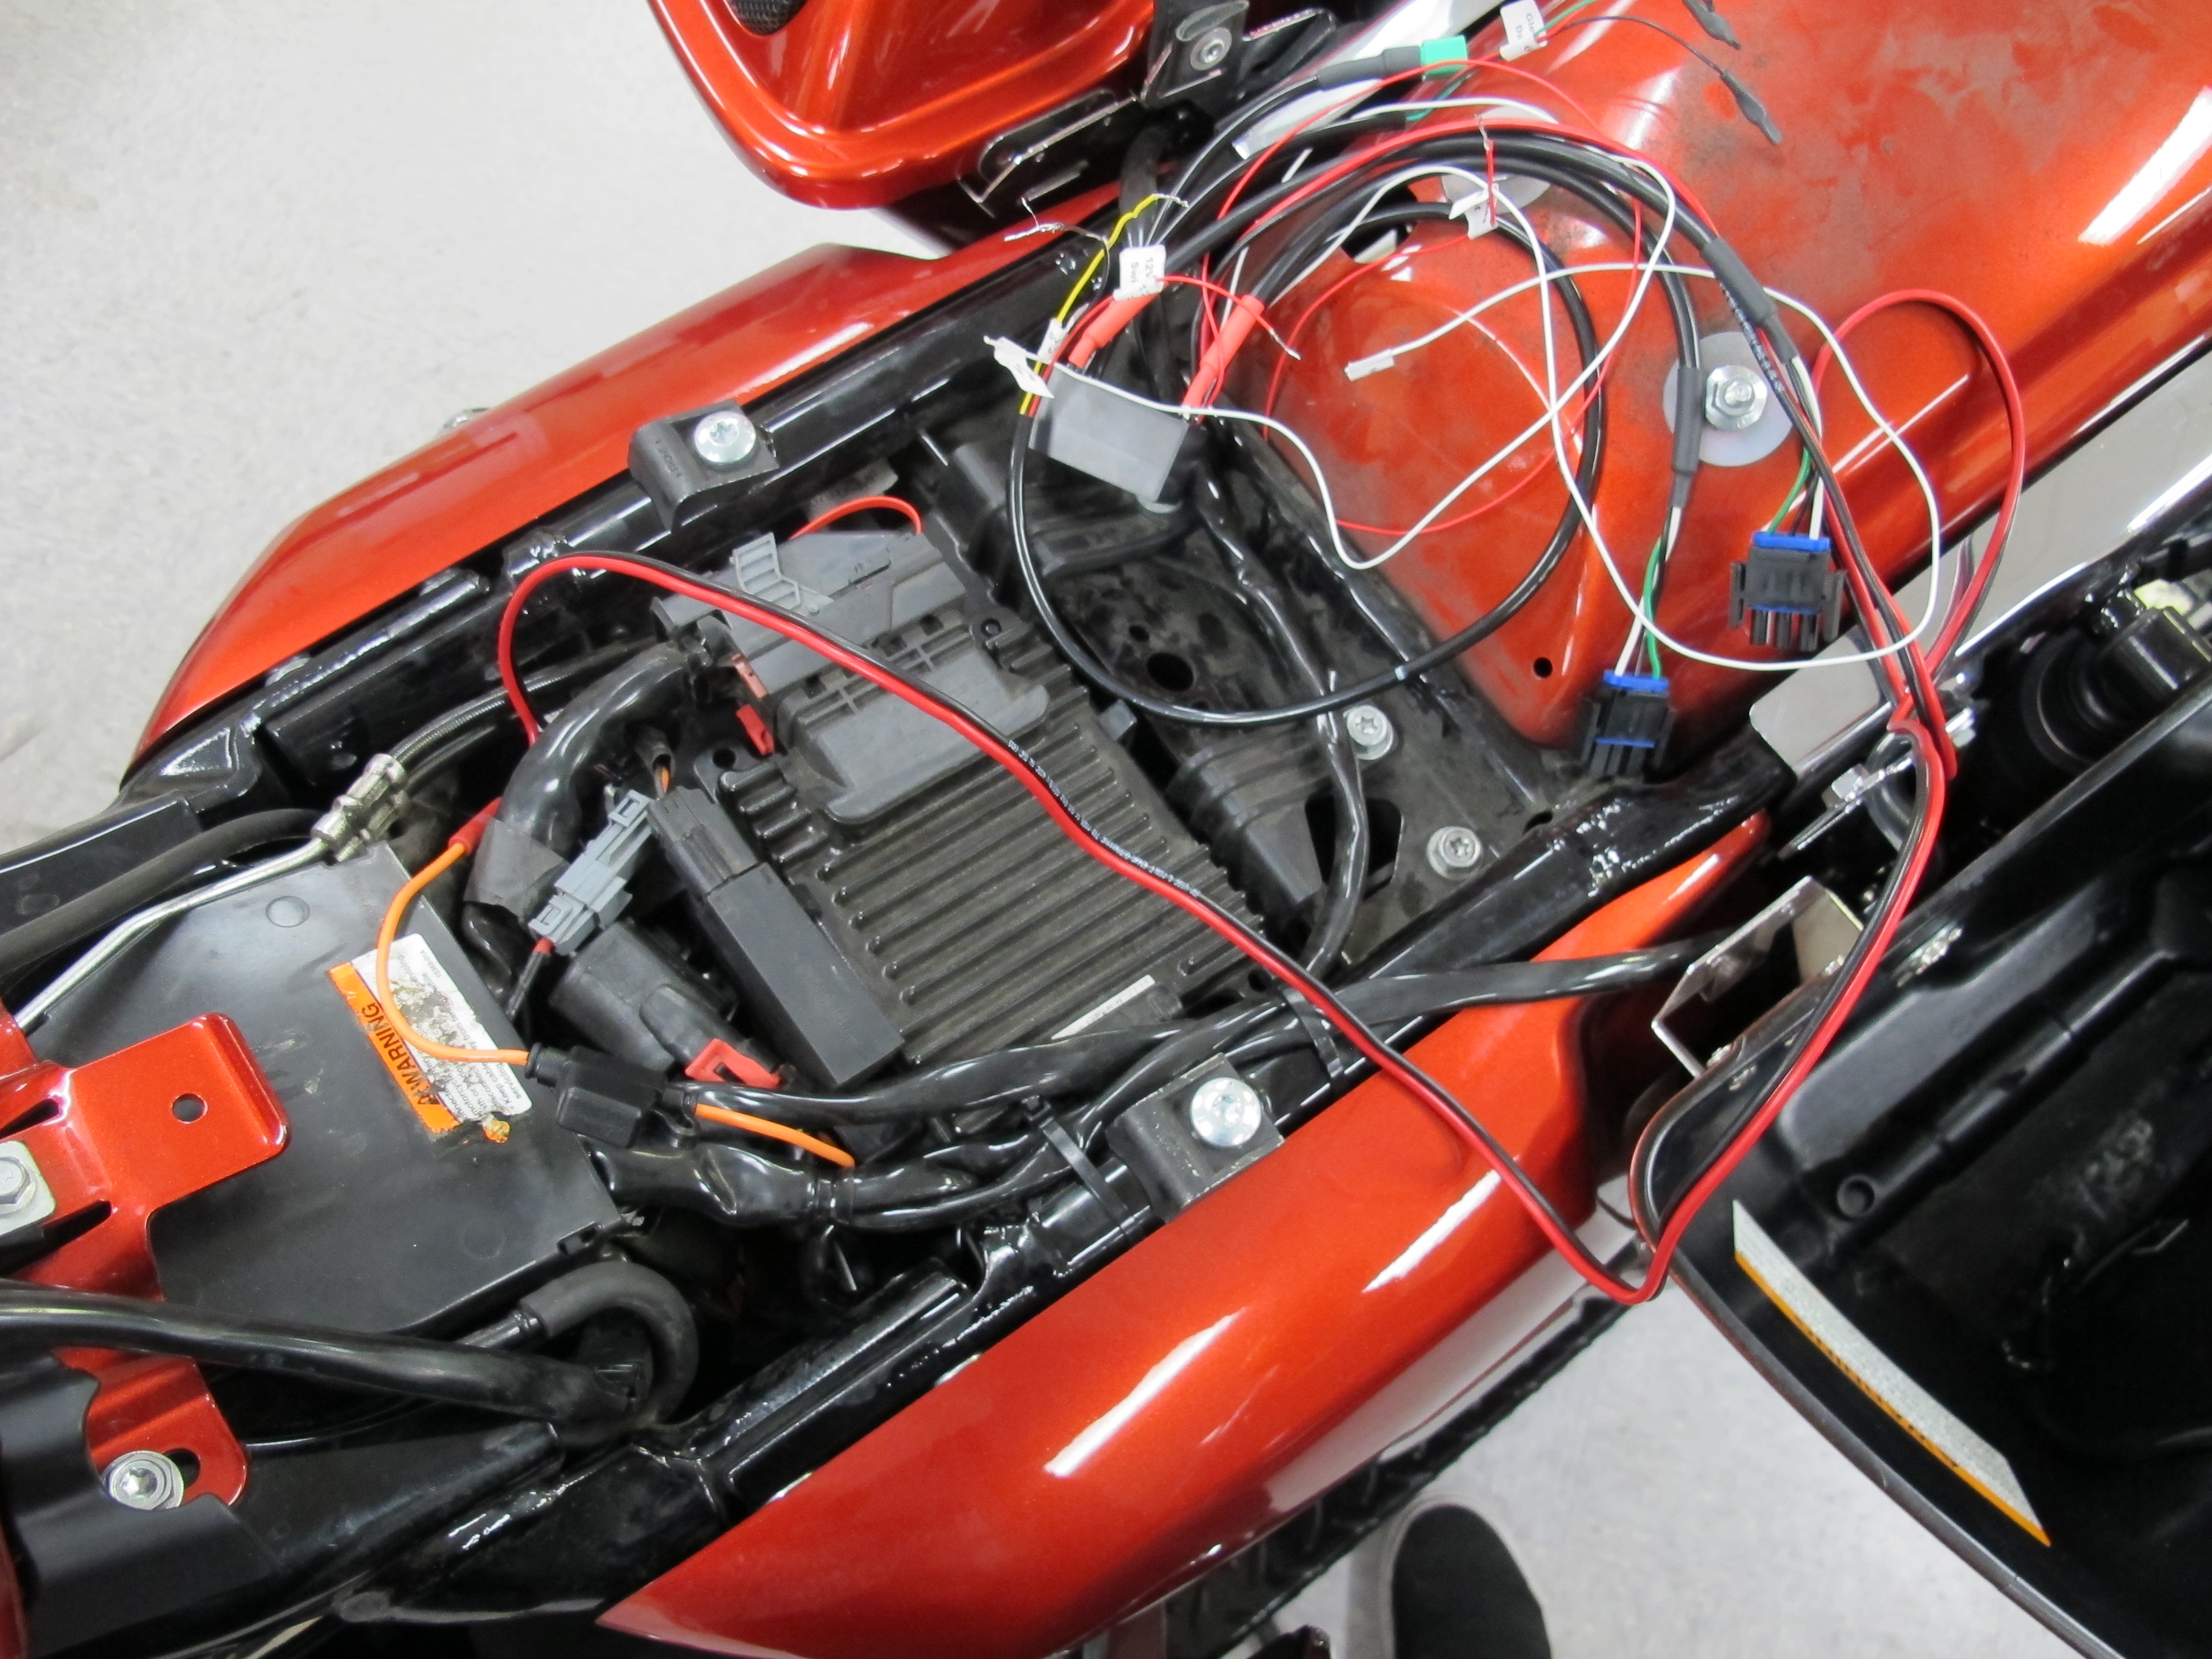
Once the mechanical hardware was on the bike, the electrical work started by attaching the battery’s power to the harness and running the wires to the front of the bike underneath the gas tank.
Photos: Jeff G. Holt
We hid the control unit under the bike’s fairing and ran the wires for the lights just above the bottom of the fork’s triple clamp.
Photos: Jeff G. Holt
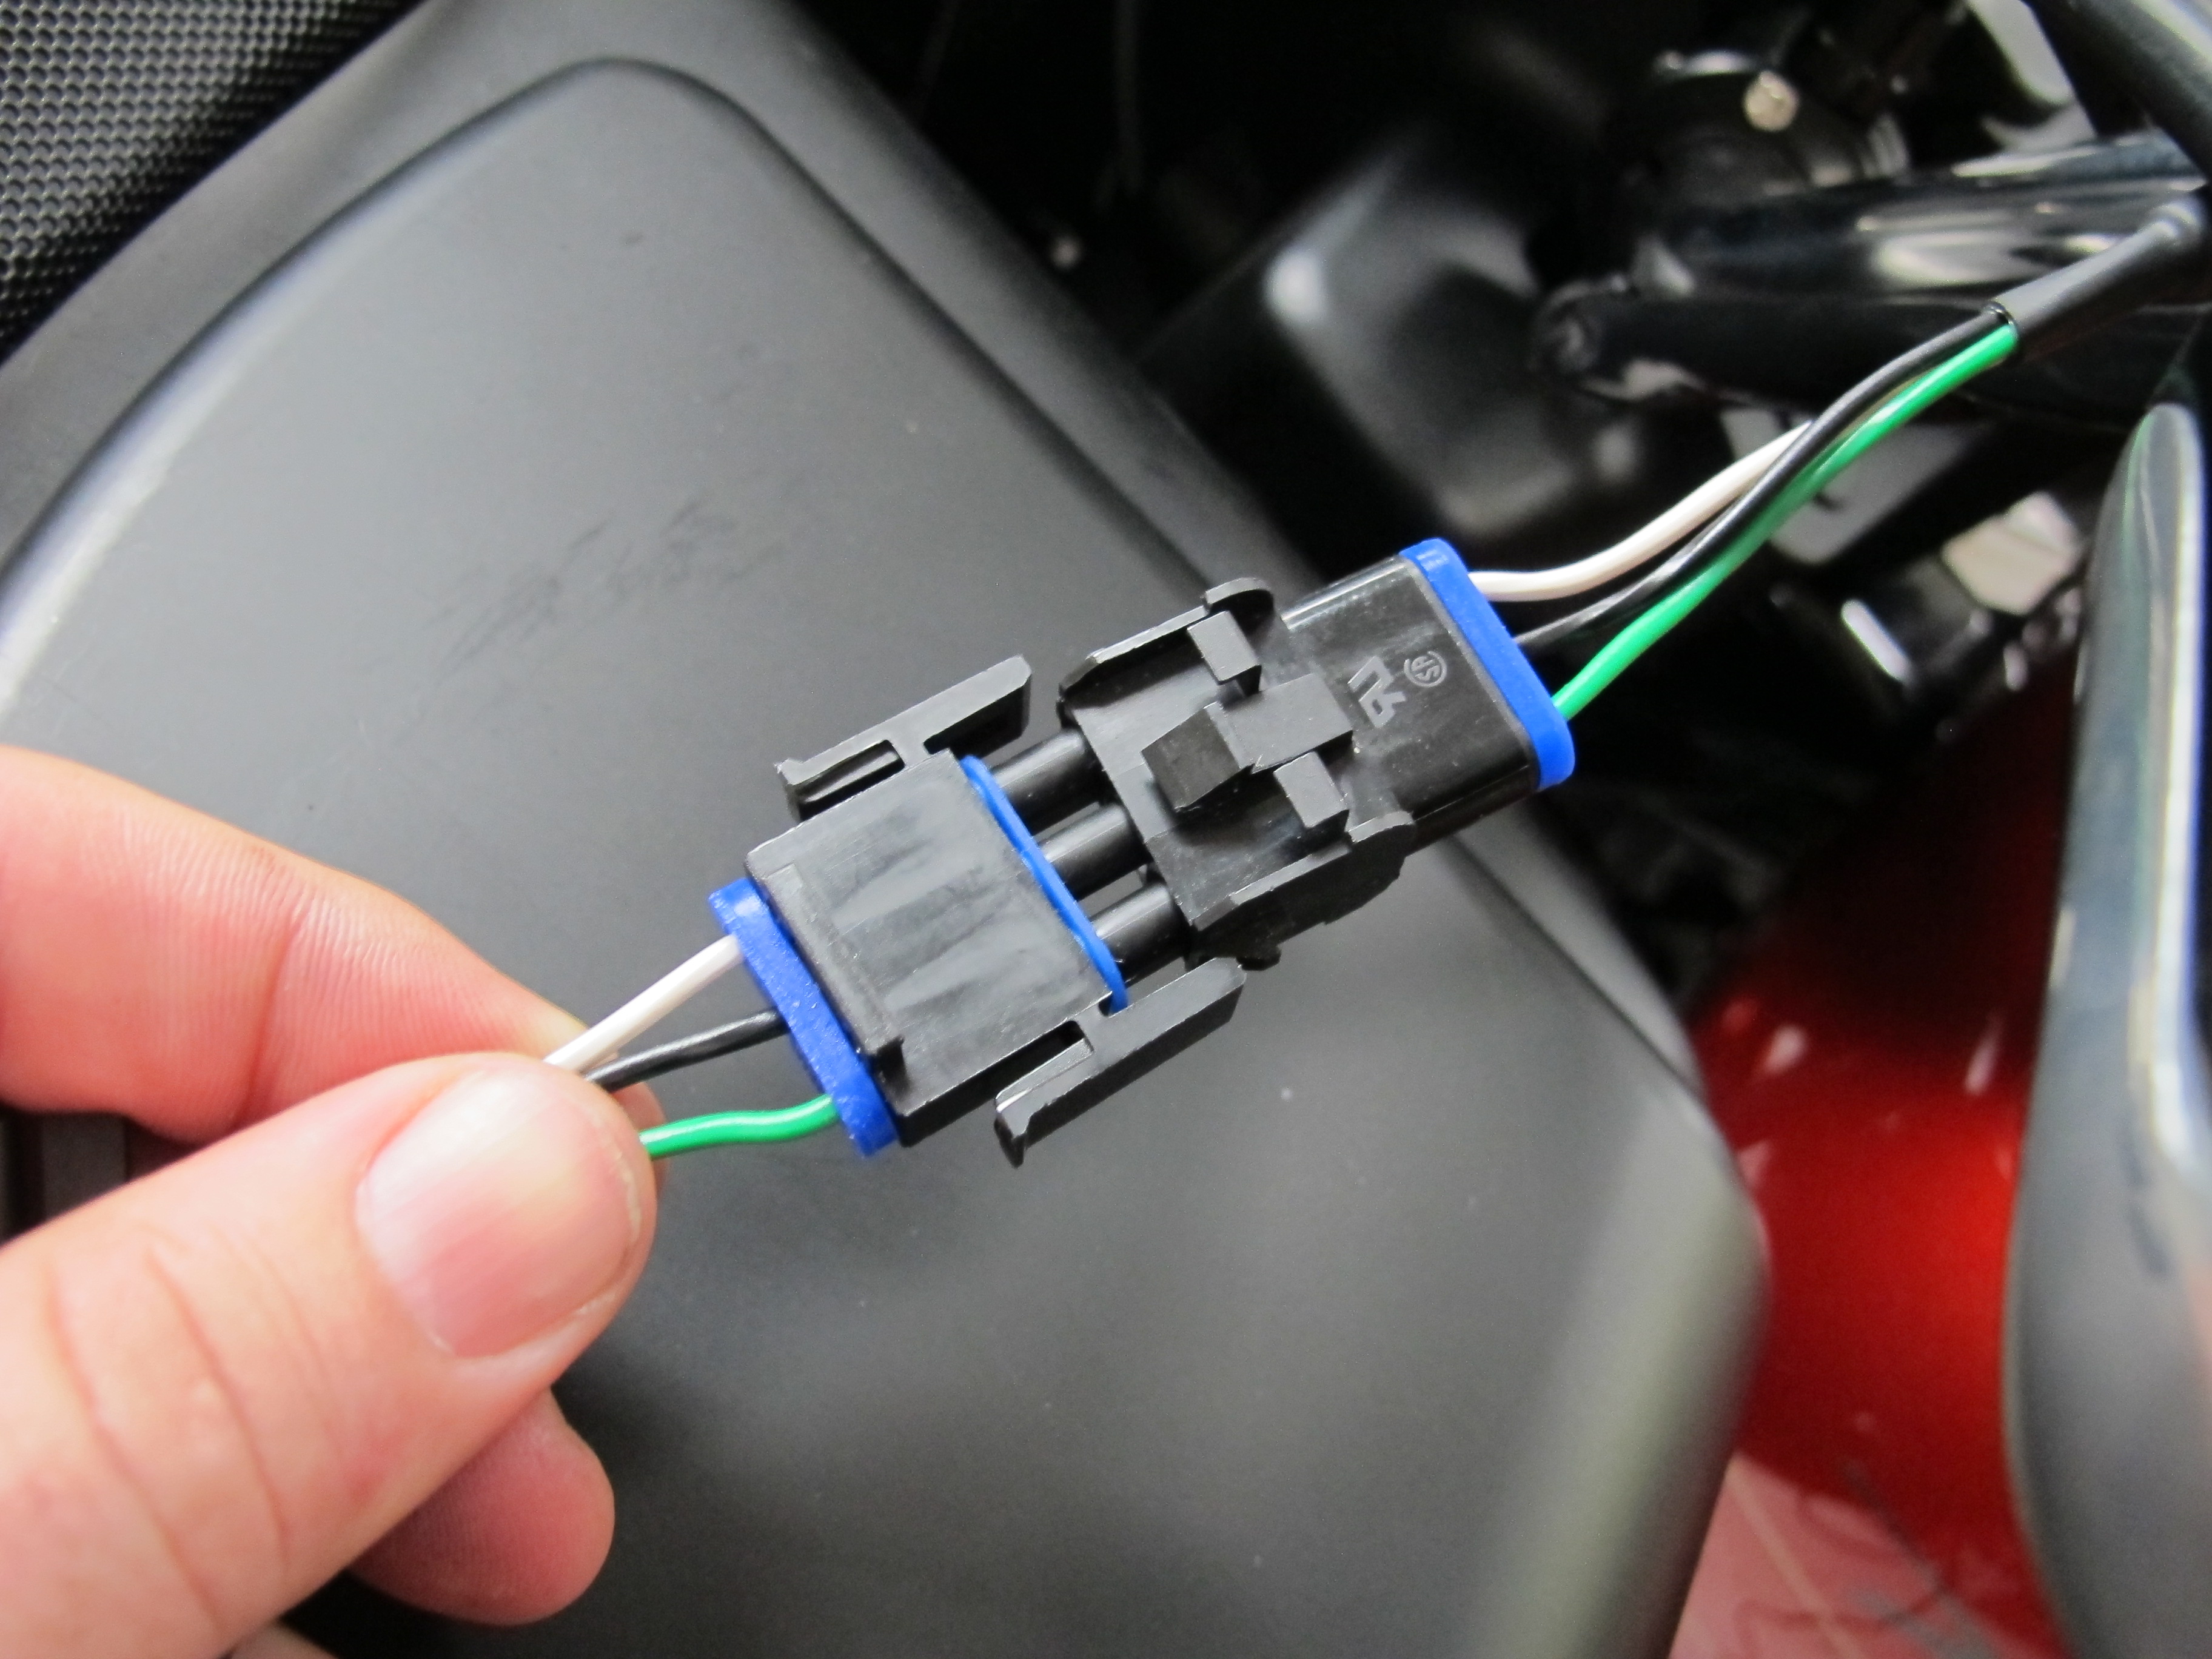
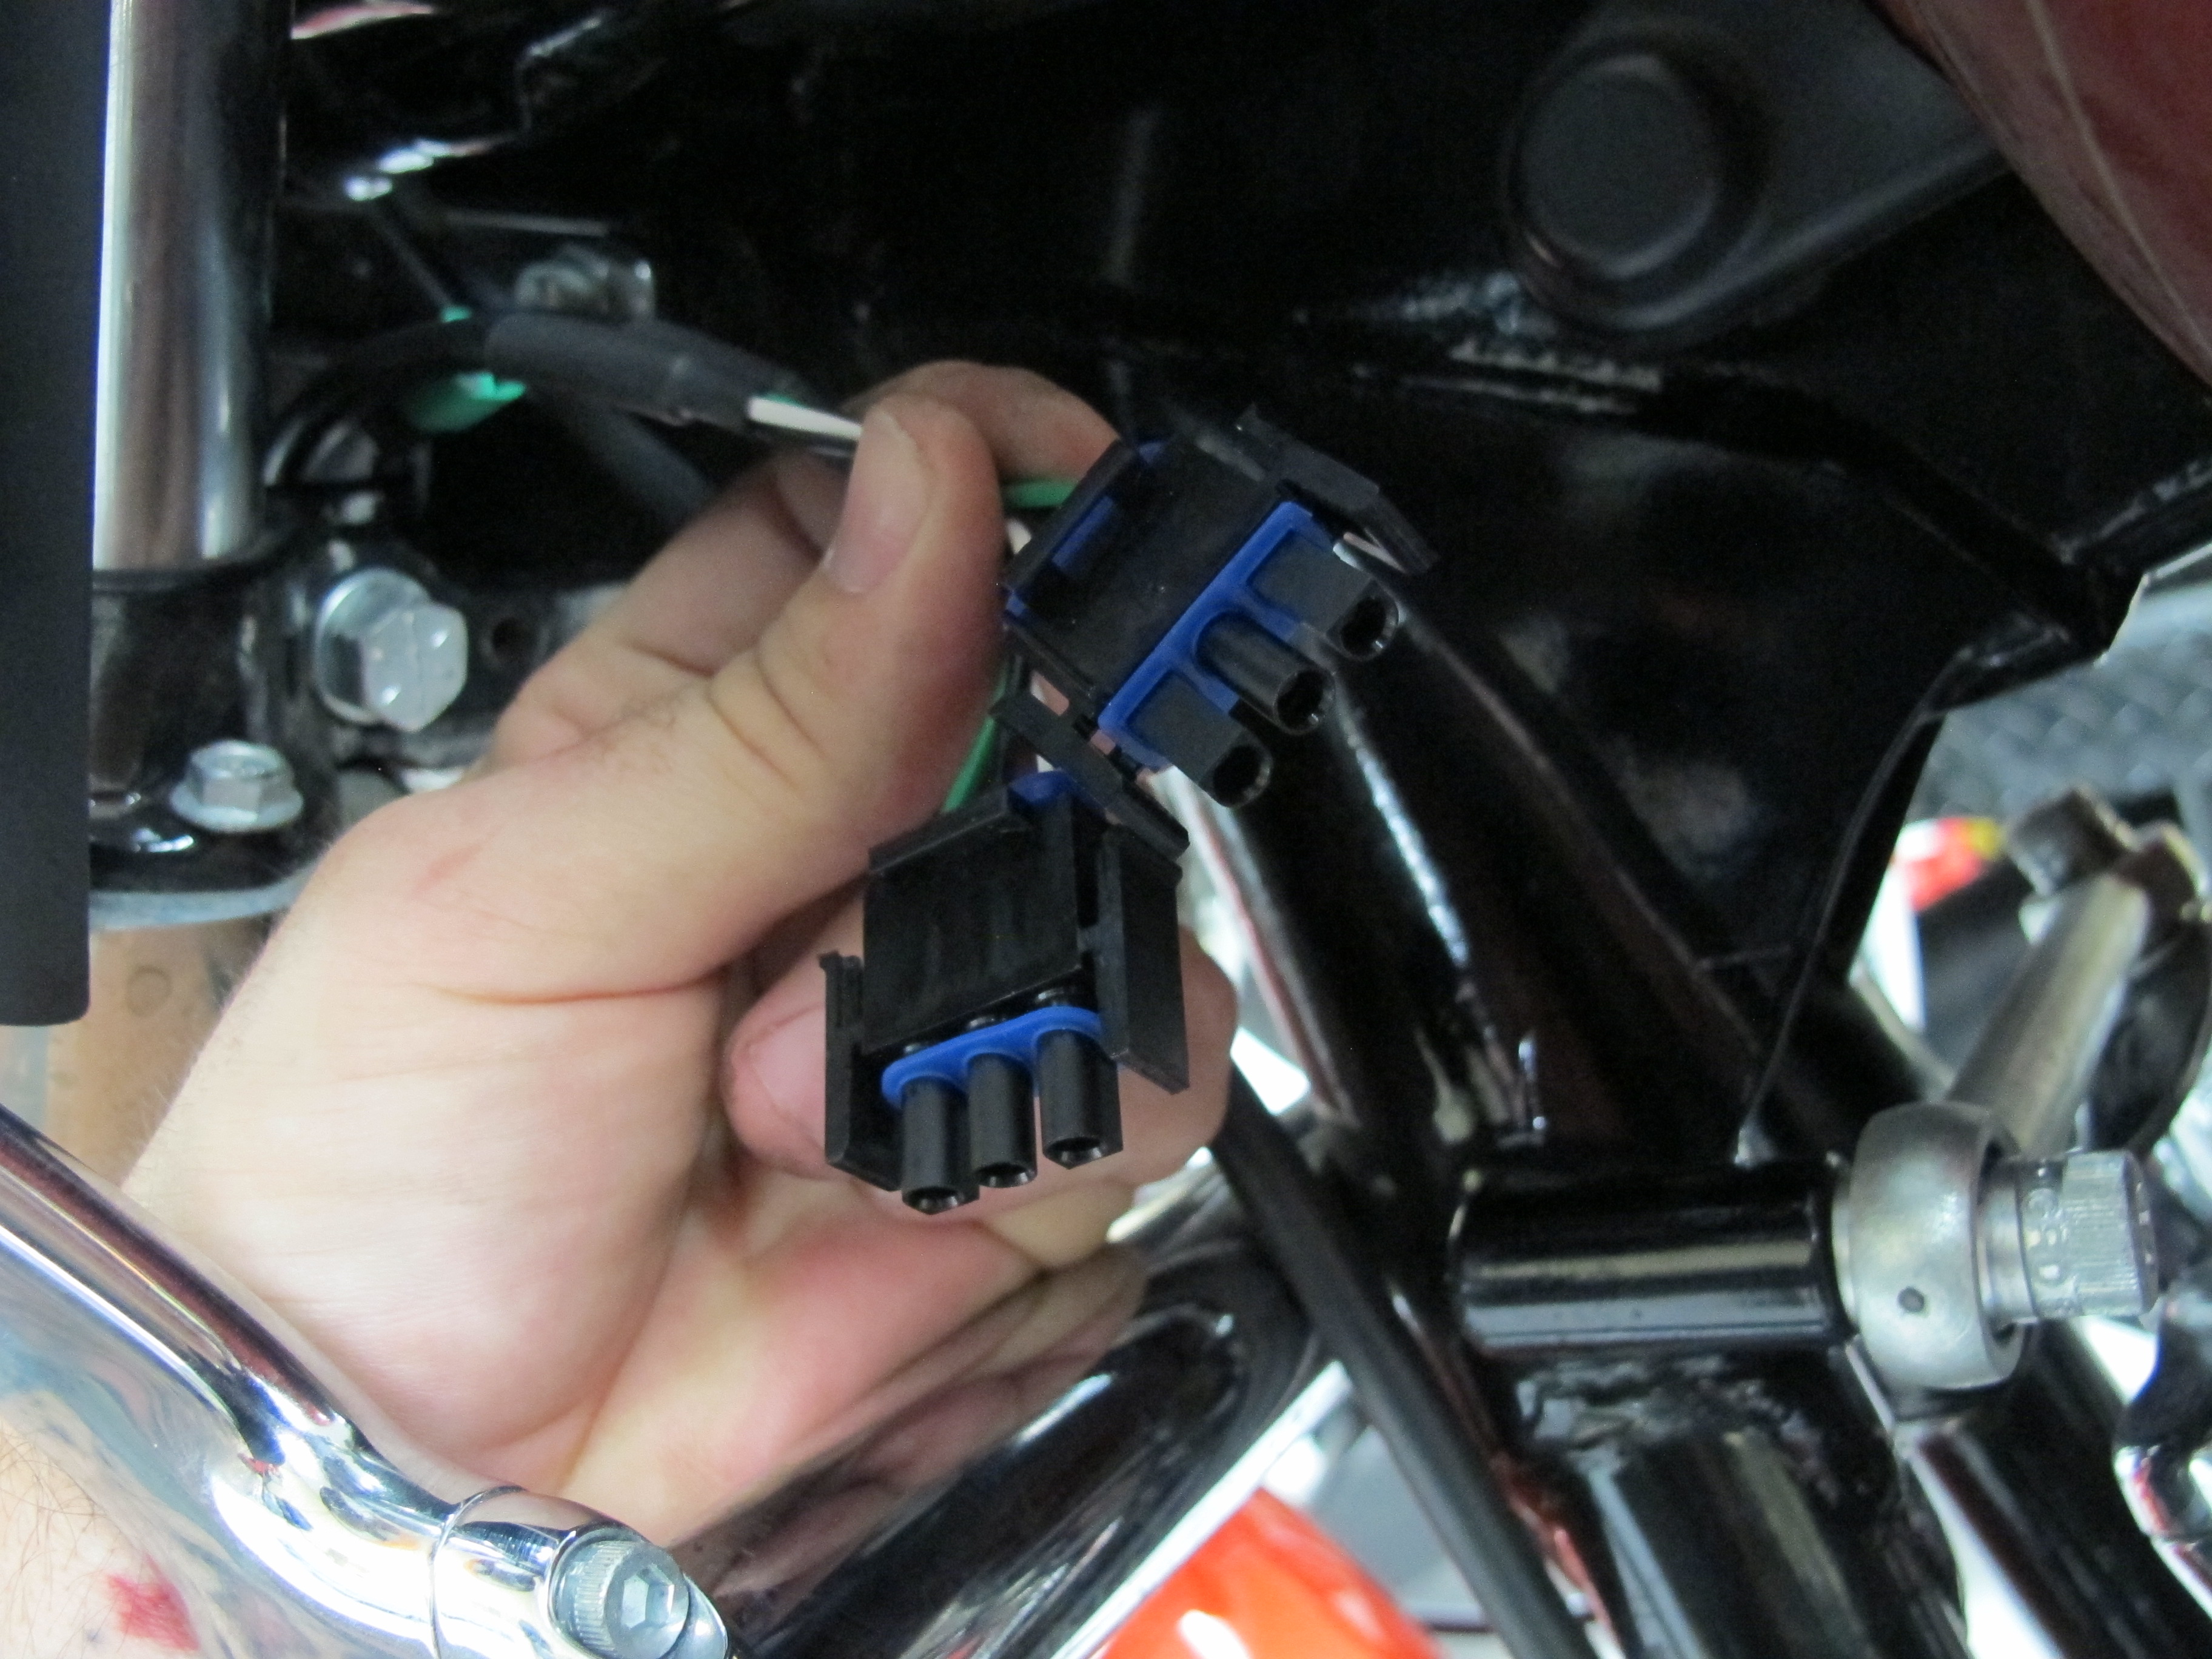
The light’s wires were then plugged into the rest of the wiring harness.
Photos: Jeff G. Holt
To keep things clean we routed the wires up the fairing brackets and tucked them neatly under the fairing.
Photos: Jeff G. Holt

The light’s volume control, also known as the dimmer switch, was routed the same way as the light’s wiring.
Photos: Jeff G. Holt
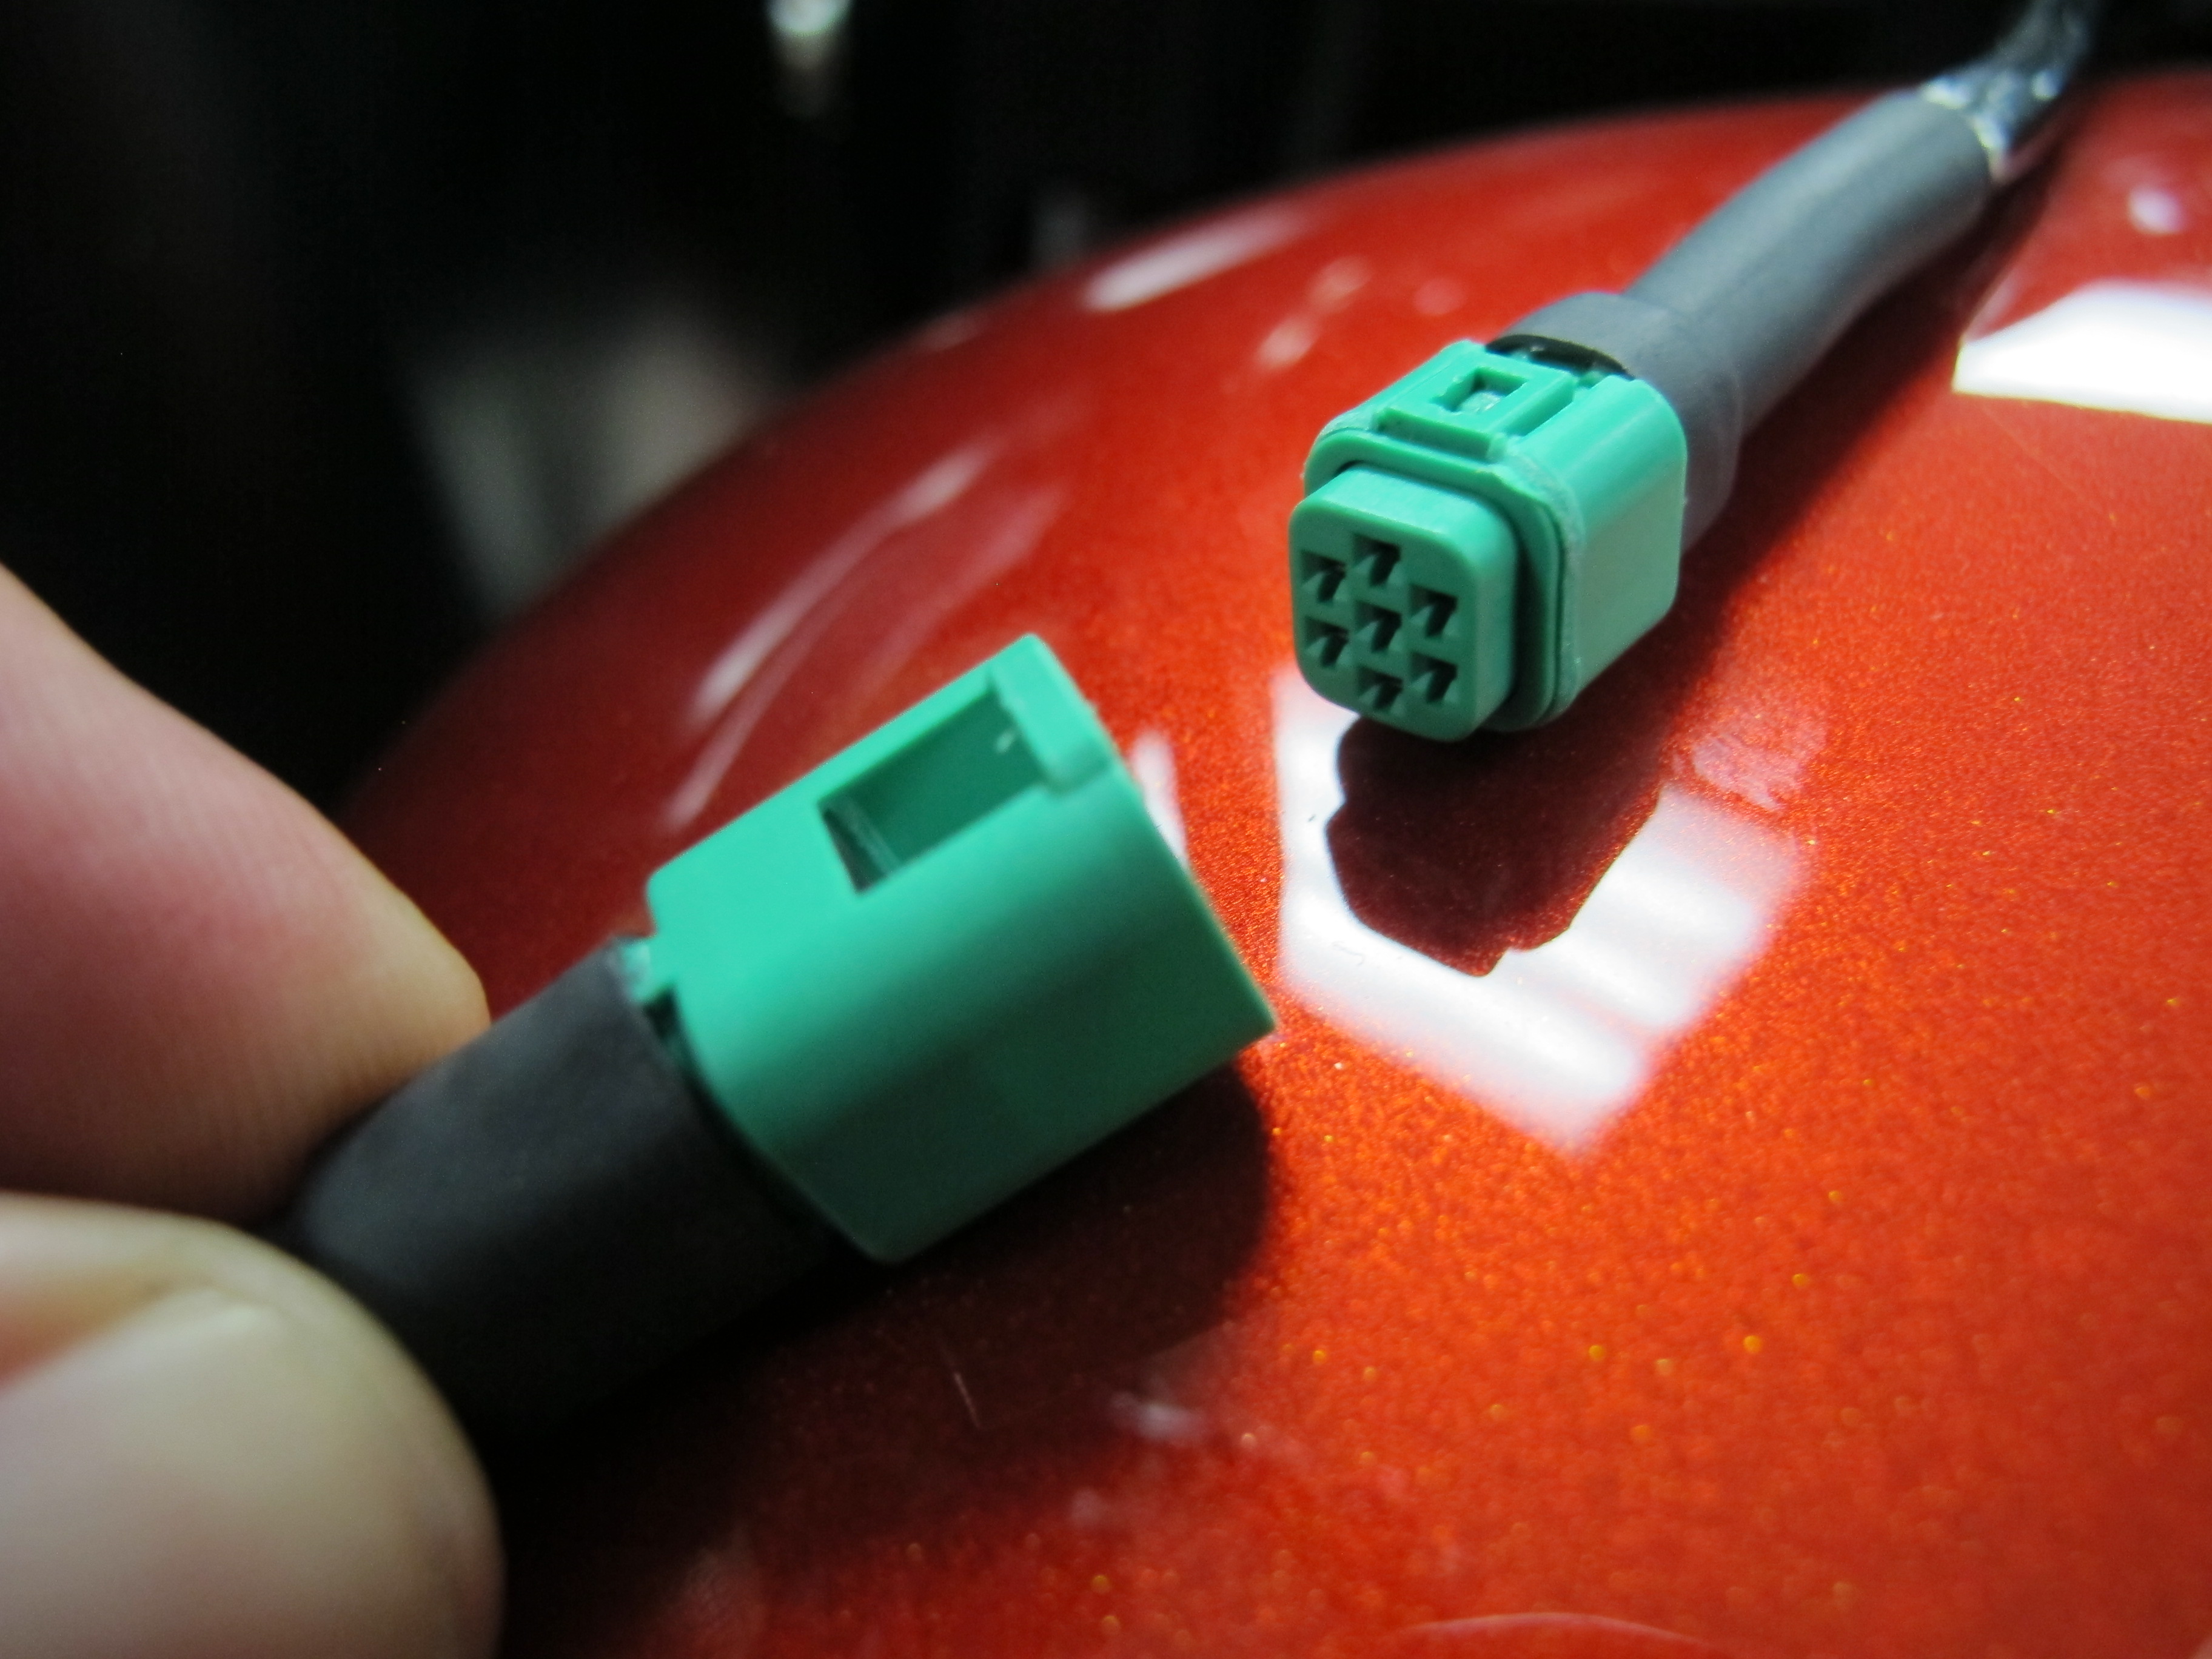
The volume control was attached to the wiring harness with this neat waterproof plug furthering the simplicity of the install.
Photos: Jeff G. Holt
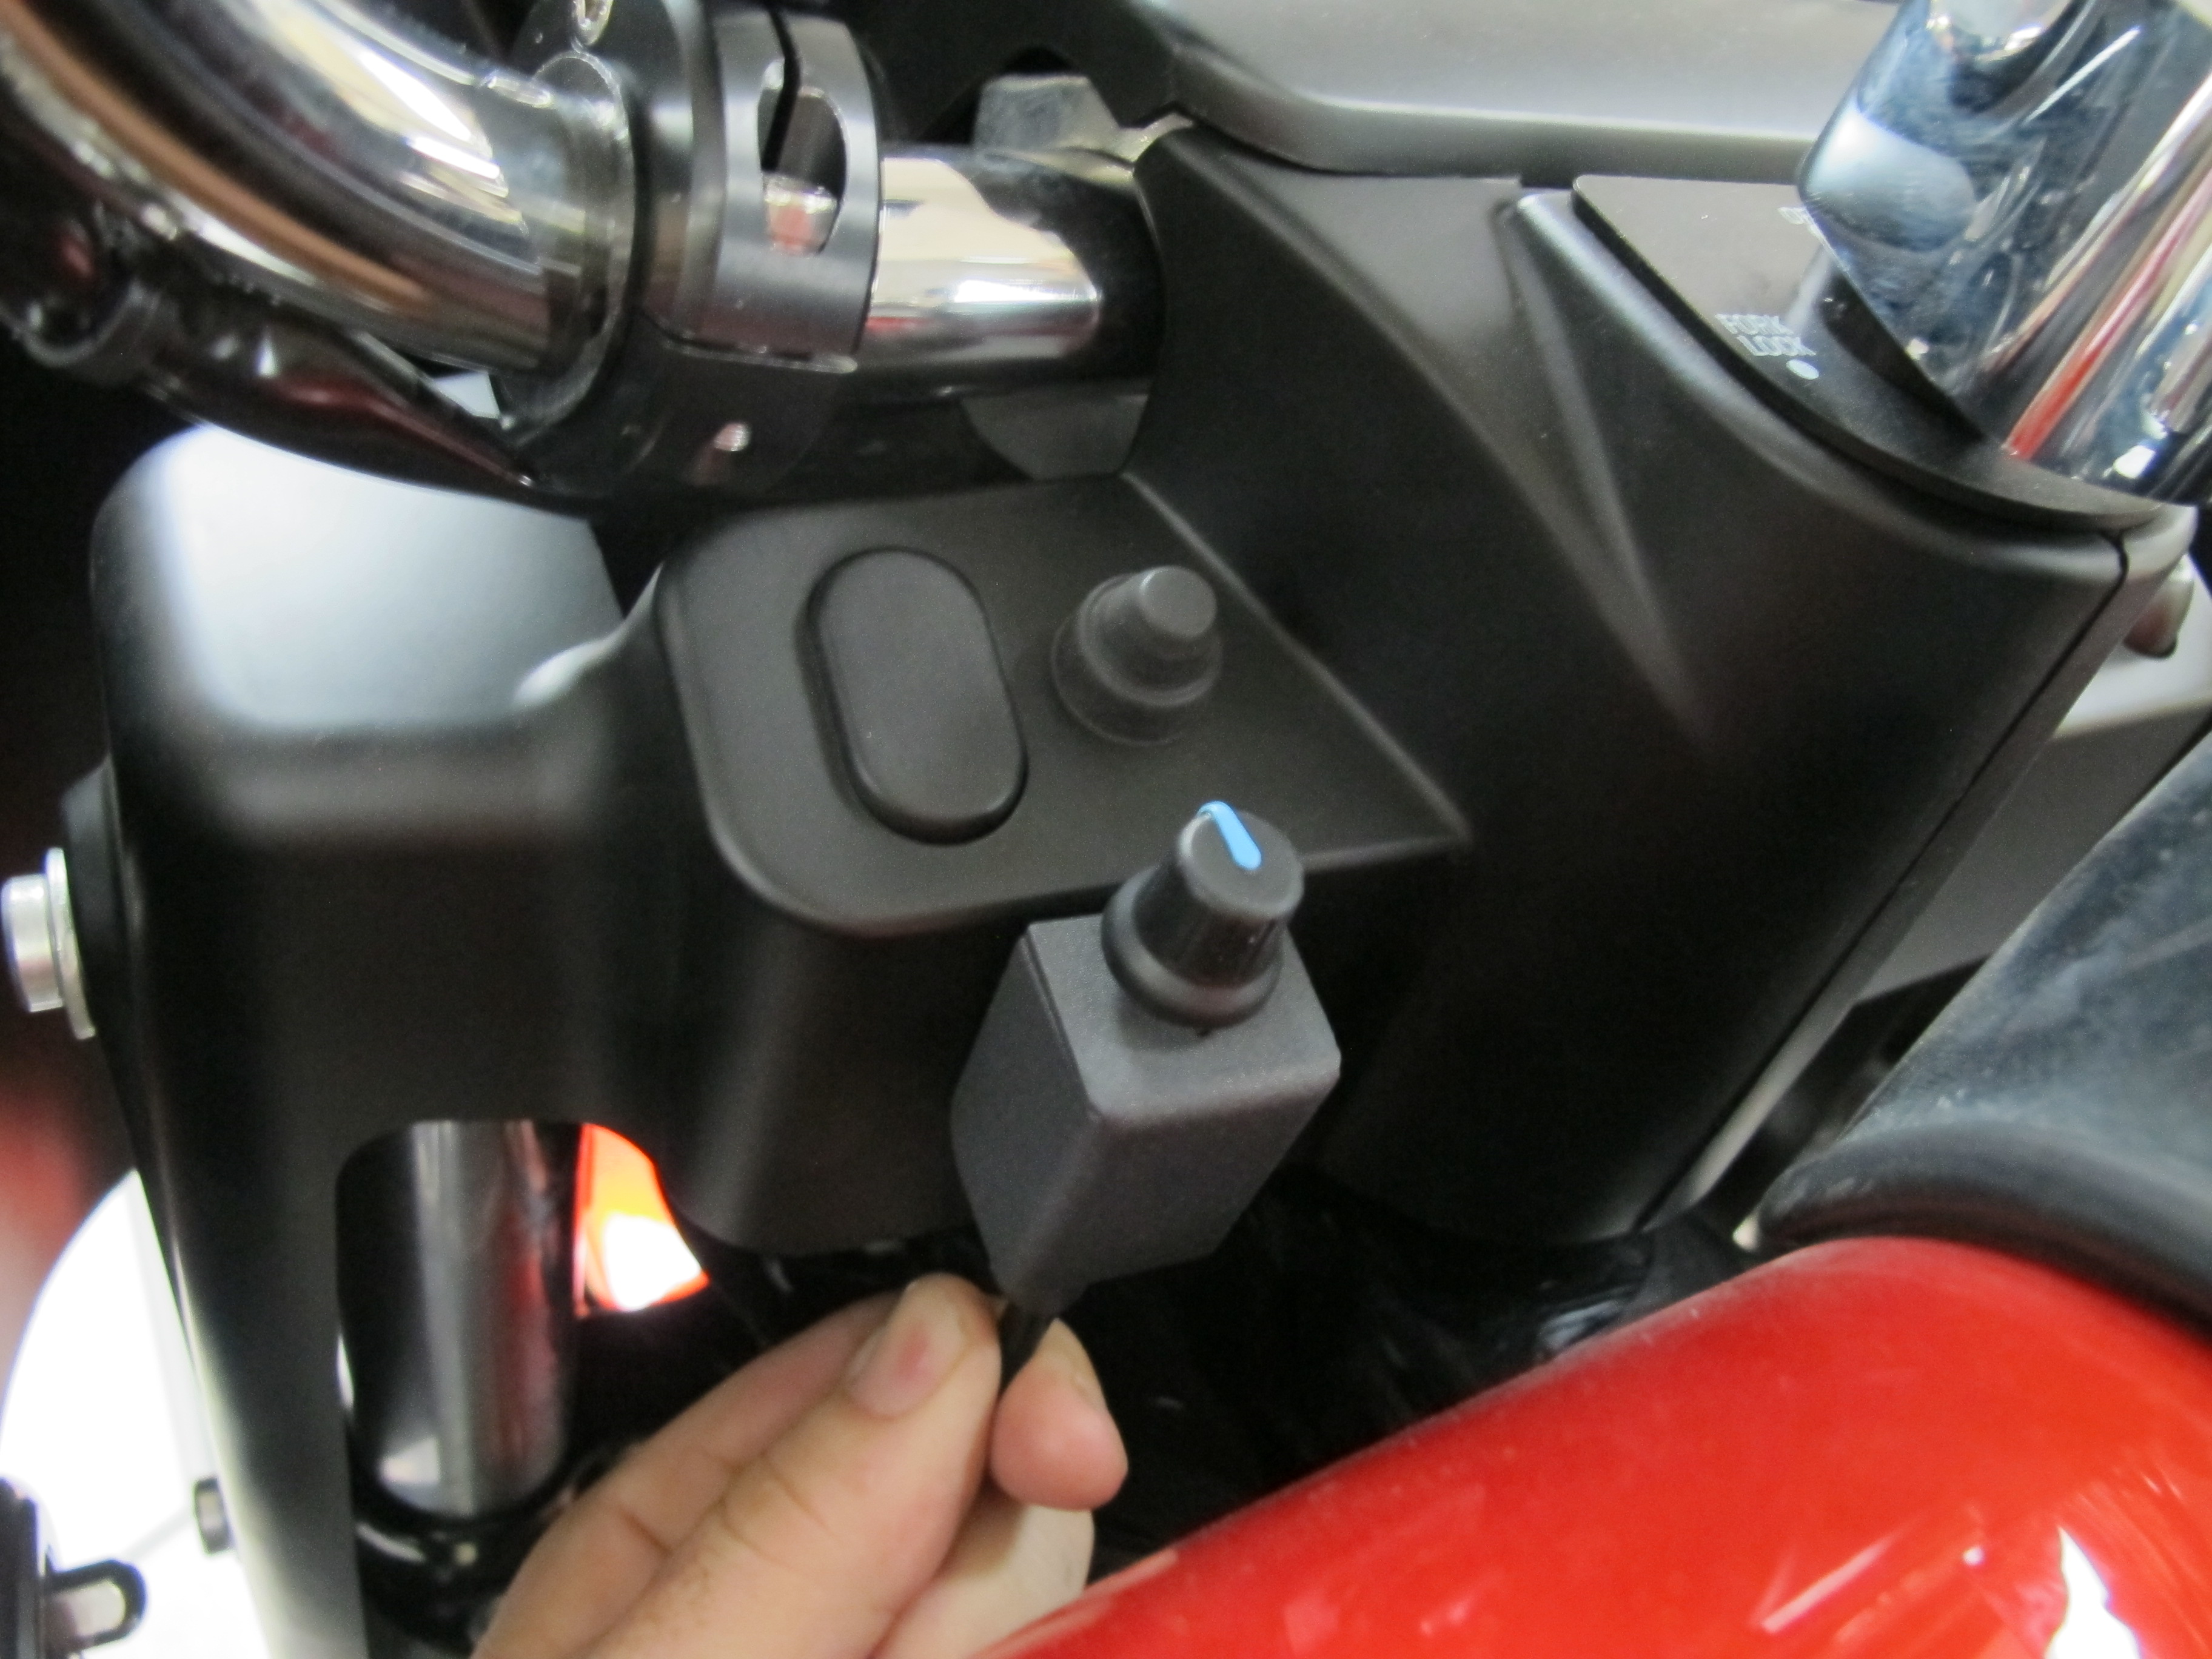
For a clean finish, we decided to mount the volume control knob on the face of the switch panel between the gas tank and the handlebar clamp.
Photos: Jeff G. Holt
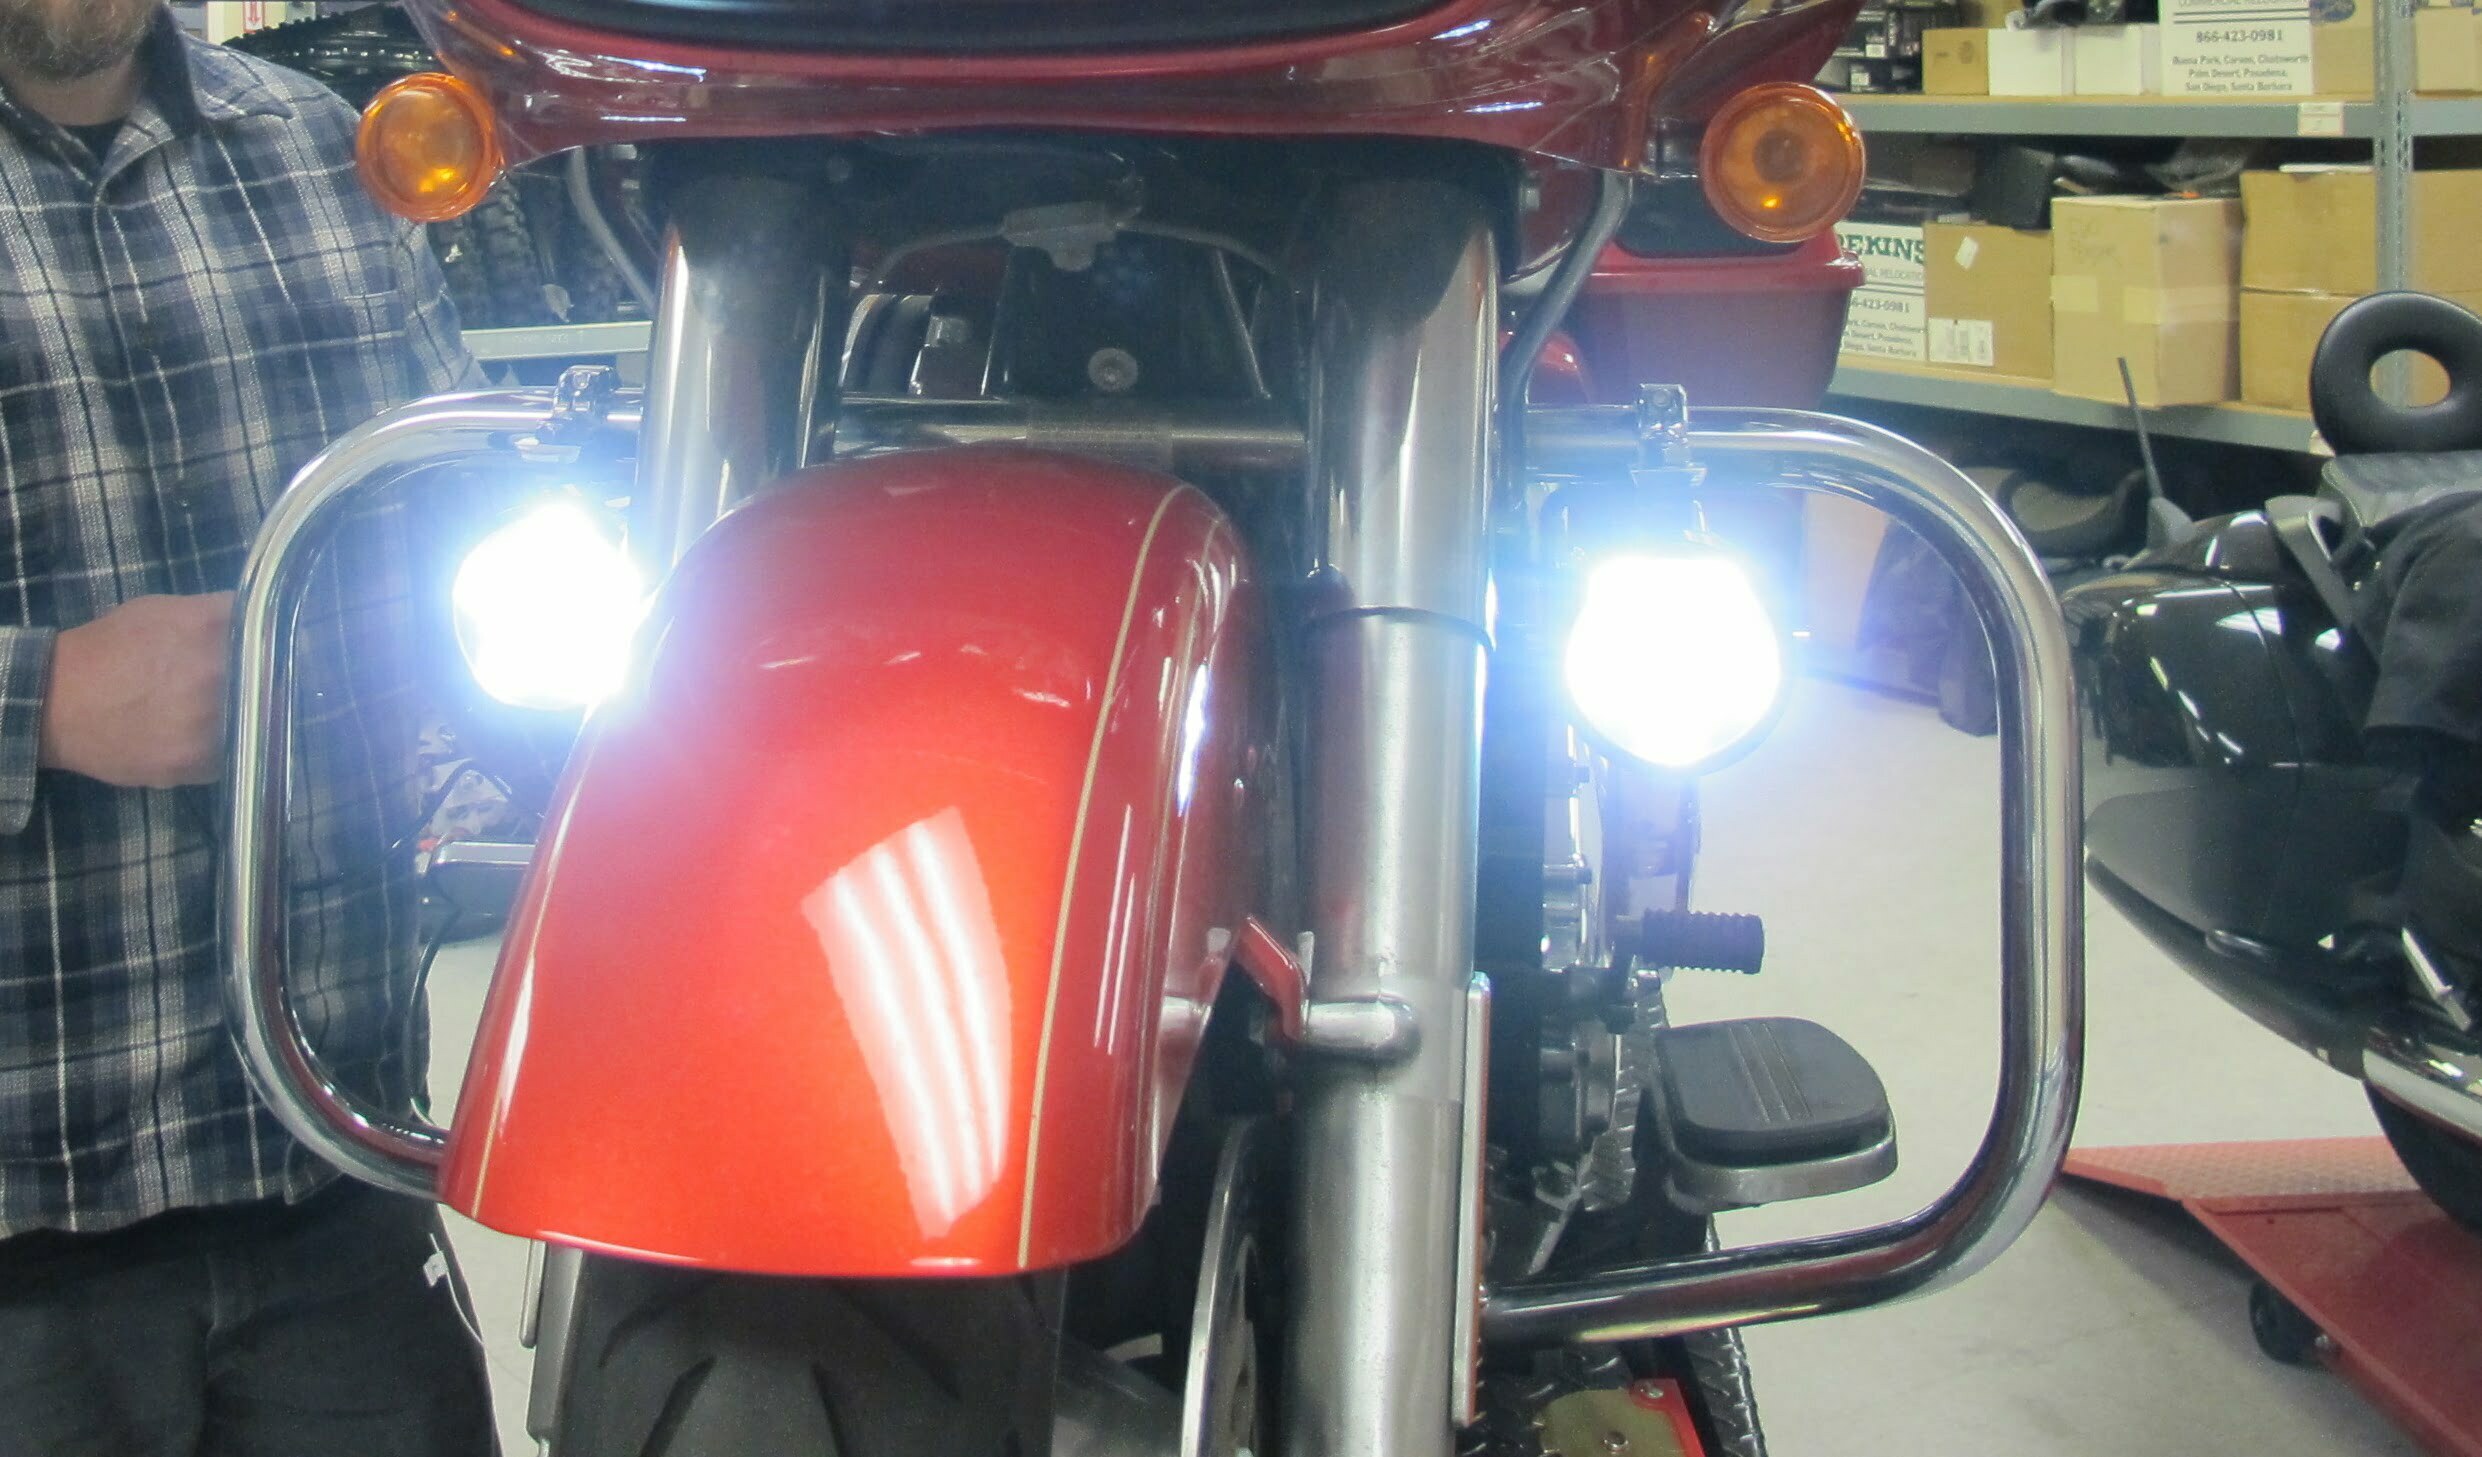
With the lights all wired up correctly, we flipped the switch on some major brightness to keep the road in front of us and the cars around us at bay.
Photos: Jeff G. Holt
Source
(916) 852-7029


