
Performance Machine Running Boards
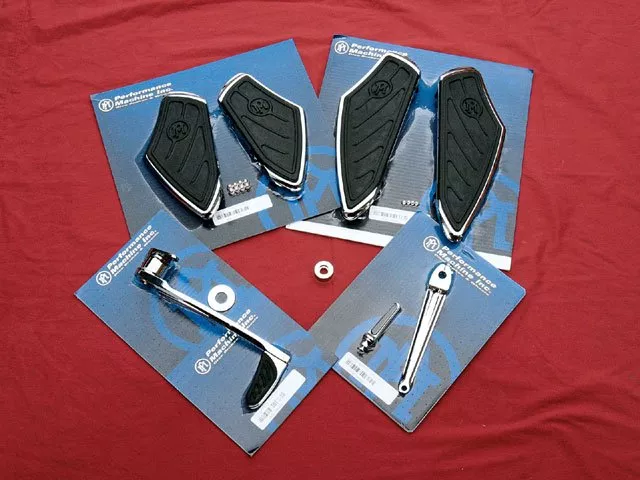
1. Here are the running boards for both the rider and the passenger, the brake arm with a matching platform-style pedal with its own rubber pad, and a shift arm with a contour pedal. The shift arm could be set up as a heel-toe or just a toe shifter. There is also a spacer that can be used to fill the space if you only use the toe shifter.
MSRP for this setup is as follows:
Rider floorboards: $379.95
Polished passenger floorboards: $329.95
Polished brake lever: $129.95
Polished shift lever: $109.95
Add an extra $20 to each if you want chrome.
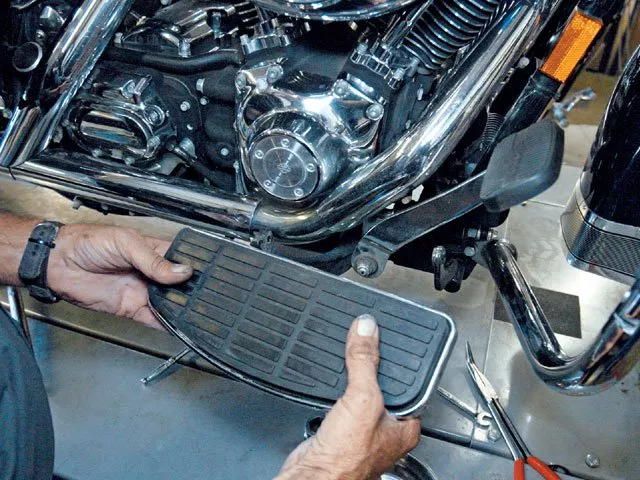
2. Mike started by removing the stock floorboards from both sides.

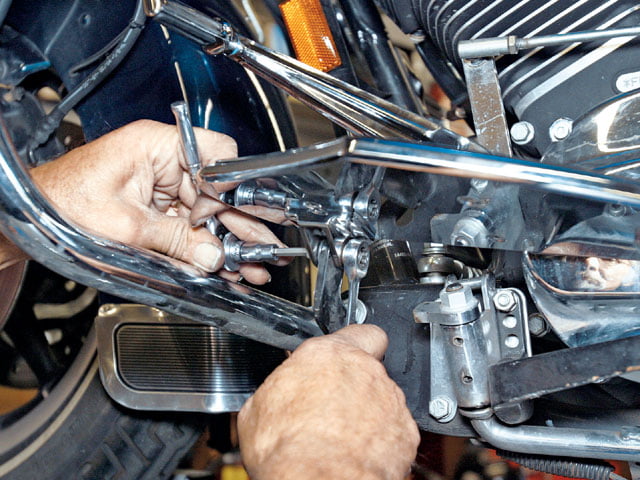
3. Next, he pulled the cotter pin from the stock brake pedal to the master cylinder.
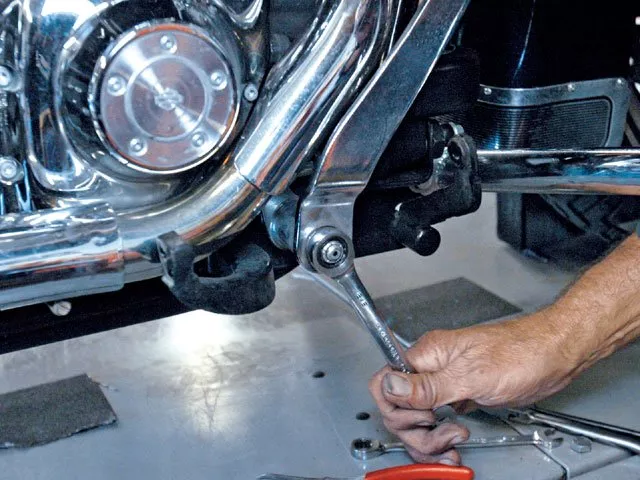
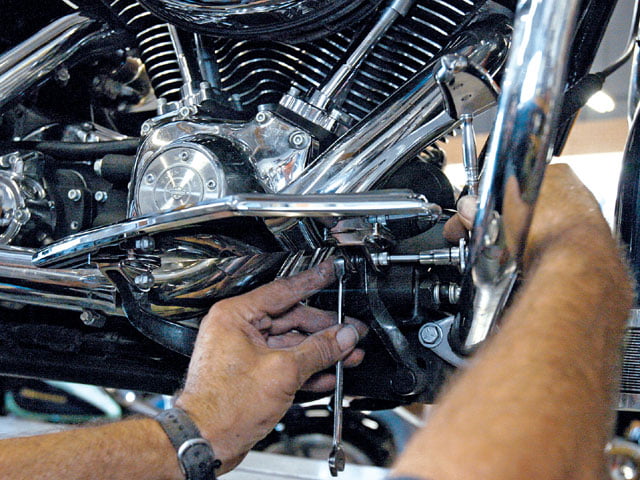
4. A 5/8-inch wrench was used to remove the bolt from the old brake pedal.
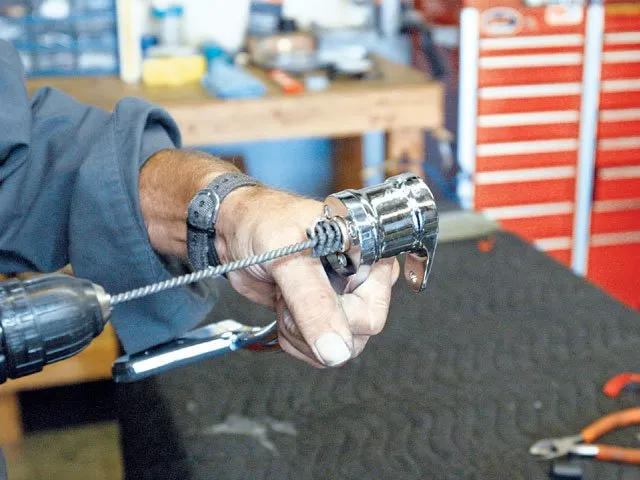
5. Mike then slid the pedal into place, but found it was a little tight and did not feel smooth, so with a hand drill and a small ball-hone, he cleaned up the inside of the sleeve. Using some emery cloth, he also cleaned up the shaft.
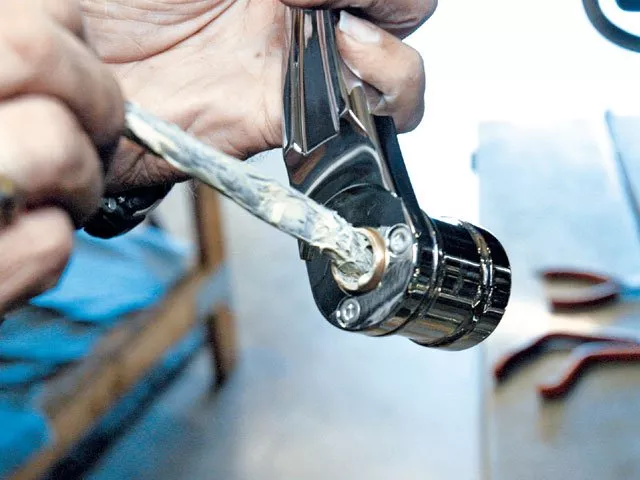
6. Before Mike installed the new pedal, he dabbed a little white grease on the inside of the brass sleeve of the pedal. This is a good idea any time you have moving parts like this.
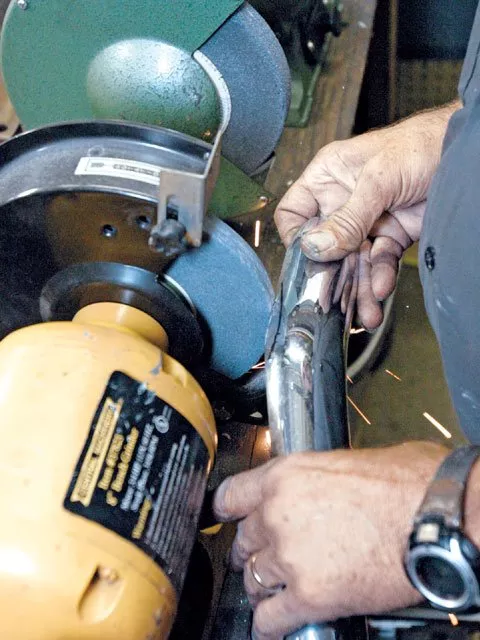
7. After the brake pedal was installed, Mike found that the arm was hitting the heat shield. He removed the heat shield and then used a bench grinder to remove just a little of the shield to clear the arm of the pedal. Each bike is different, and yours may not need this step.
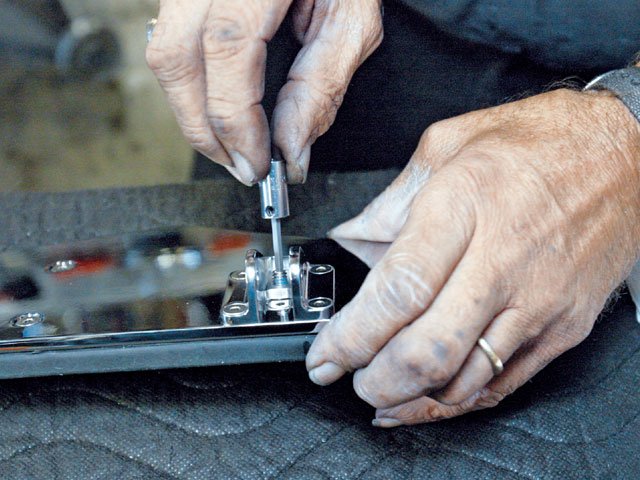
8. Next, Mike installed the adjustment screw to the floorboards. These screws can be adjusted up or down to help level out the board once it’s on the bike.
9. Then he tightened down the floorboard onto the stock brackets.
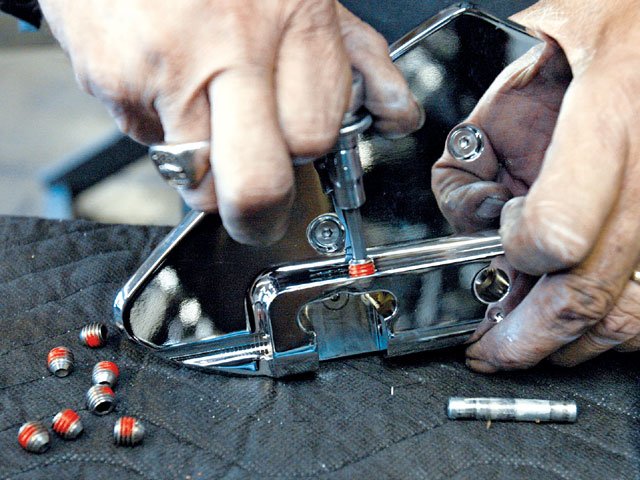
10. The passenger floorboards were next. Mike removed the stock boards, but before the PM boards could be placed on the bike, he installed the two adjustment screws.
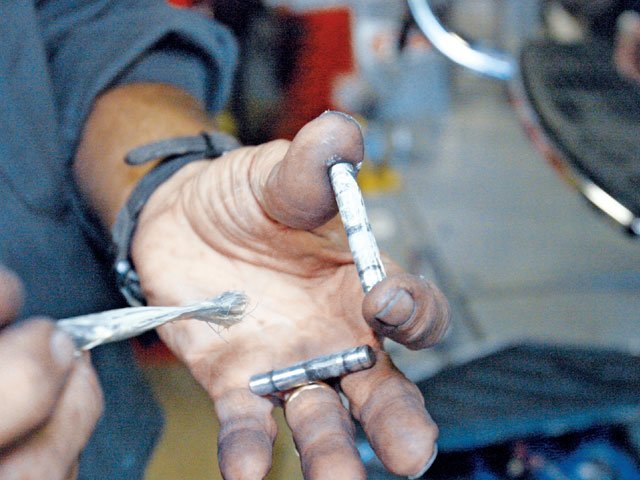
11. Mike covered the keeper pins with a little white grease for easier installation and smooth actuation of the hinges.
12. Once the floorboards were in place, the hinge pin was pushed in place. Then the set screw was installed at both ends to keep the hinge pins from coming out.
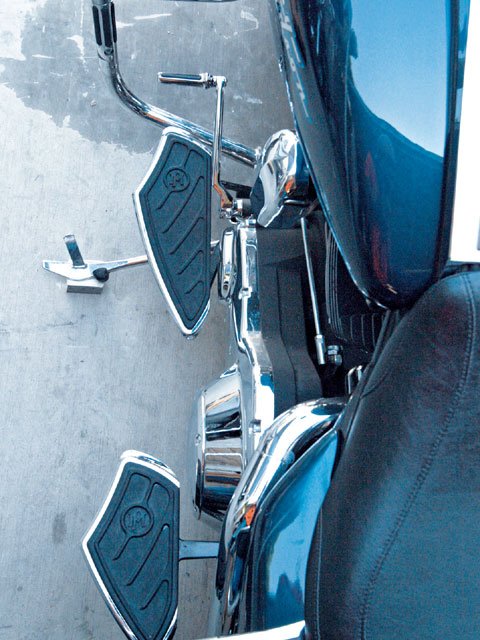
13. On to the shifter side. The stock shift arm was removed.
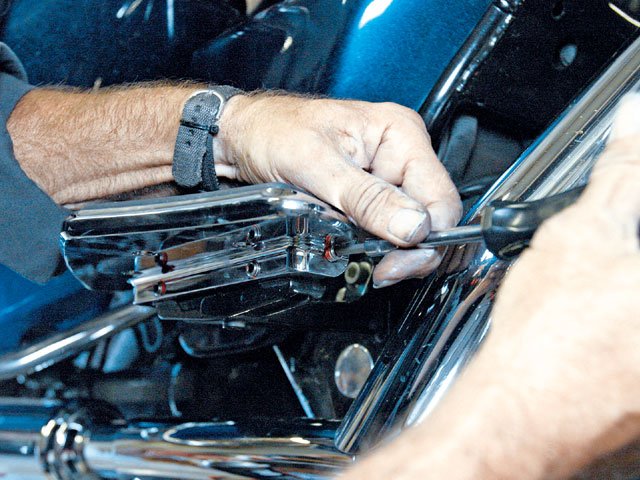
14. First, the spacer was slid onto the shift rod. This spacer replaces the rubber sleeve when running both the heel and toe shifters. But we were only using the toe-shifter arm, so we left the rubber in place and bolted the toe-shifter arm on the outer notch of the rod. If you use the inner notch, you can cover the end of the rod with a bolt cover.

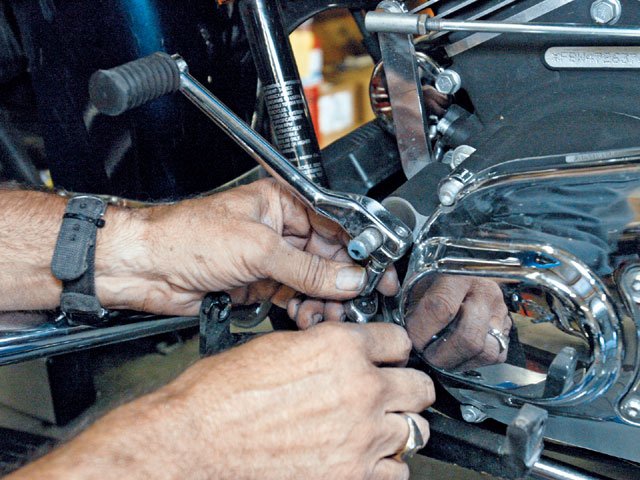
15. Next up was the toe peg. Mike used a little threadlocker on the bolt, then installed it though the back of the shift arm and tightened down the bolt after it was lined up.
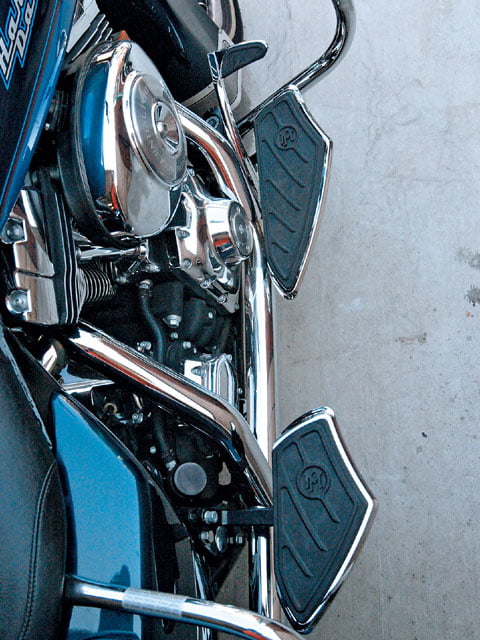
16. Then both the floorboard and passenger board were installed the same as on the right side of the bike.
17. There you have it: In less than two hours (we kept making Mike stop for photos), both sides of the bike had a new clean look, and this one modification made a big difference in the appearance of the bike. We took the bike out for a run around the block once we were done; the floorboards felt good and comfortable and did not need any height adjustments.
When it comes to baggers, it’s all about comfort and extra storage. But you can have style as well, and still have some dough left in your pocket. When we buy a new bike, most of the money goes toward the down payment, leaving us with a thin wallet for upgrades. Therefore, most guys start small and work their way up, adding parts to the bike a little at a time. Quick and easy installs, such as pipes and seats, seem to be a convenient and fairly affordable place to start for most people. When you’ve got a few extra bucks, your bike’s controls are a good part to swap out, and floorboards are another logical step.
We were lucky enough to get our hands on the newest set of floorboards from Performance Machine for our ’04 Road King. These floorboards are machined aluminum with billet hinges and are topped with a unique rubber design. The cut and shape of these running boards is another cool feature, getting away from their rectangular stock counterpart. We also like the fact of getting some style from a fast and simple install, with a little moolah left over.
We stopped at Horn Cycle Works in Pomona, CA, to get the running boards installed and pick up any tips on what would make the install easier. Mike Rupp, a shop dog with more than 35 years in the industry, was glad to give us a hand.


