
S&S Cycle 124-Inch Hot Setup Kit Install Part Two
In part 1, we enlisted our buddy Danny Wilson, a.k.a. the Motor Witch to install the bottom end of our S&S Cycle 124ci Hot Setup kit into our project 2005 Dyna FXDX’s 88ci motor. Yes, we are punching this once powerless powerplant out to 36 more fire-breathing cubic inches than it came out of the factory with!
Along with finishing the top-end of the motor we are adding a few other go-fast goodies to really make this Dyna do some damage on the streets.
And here’s how we did it!
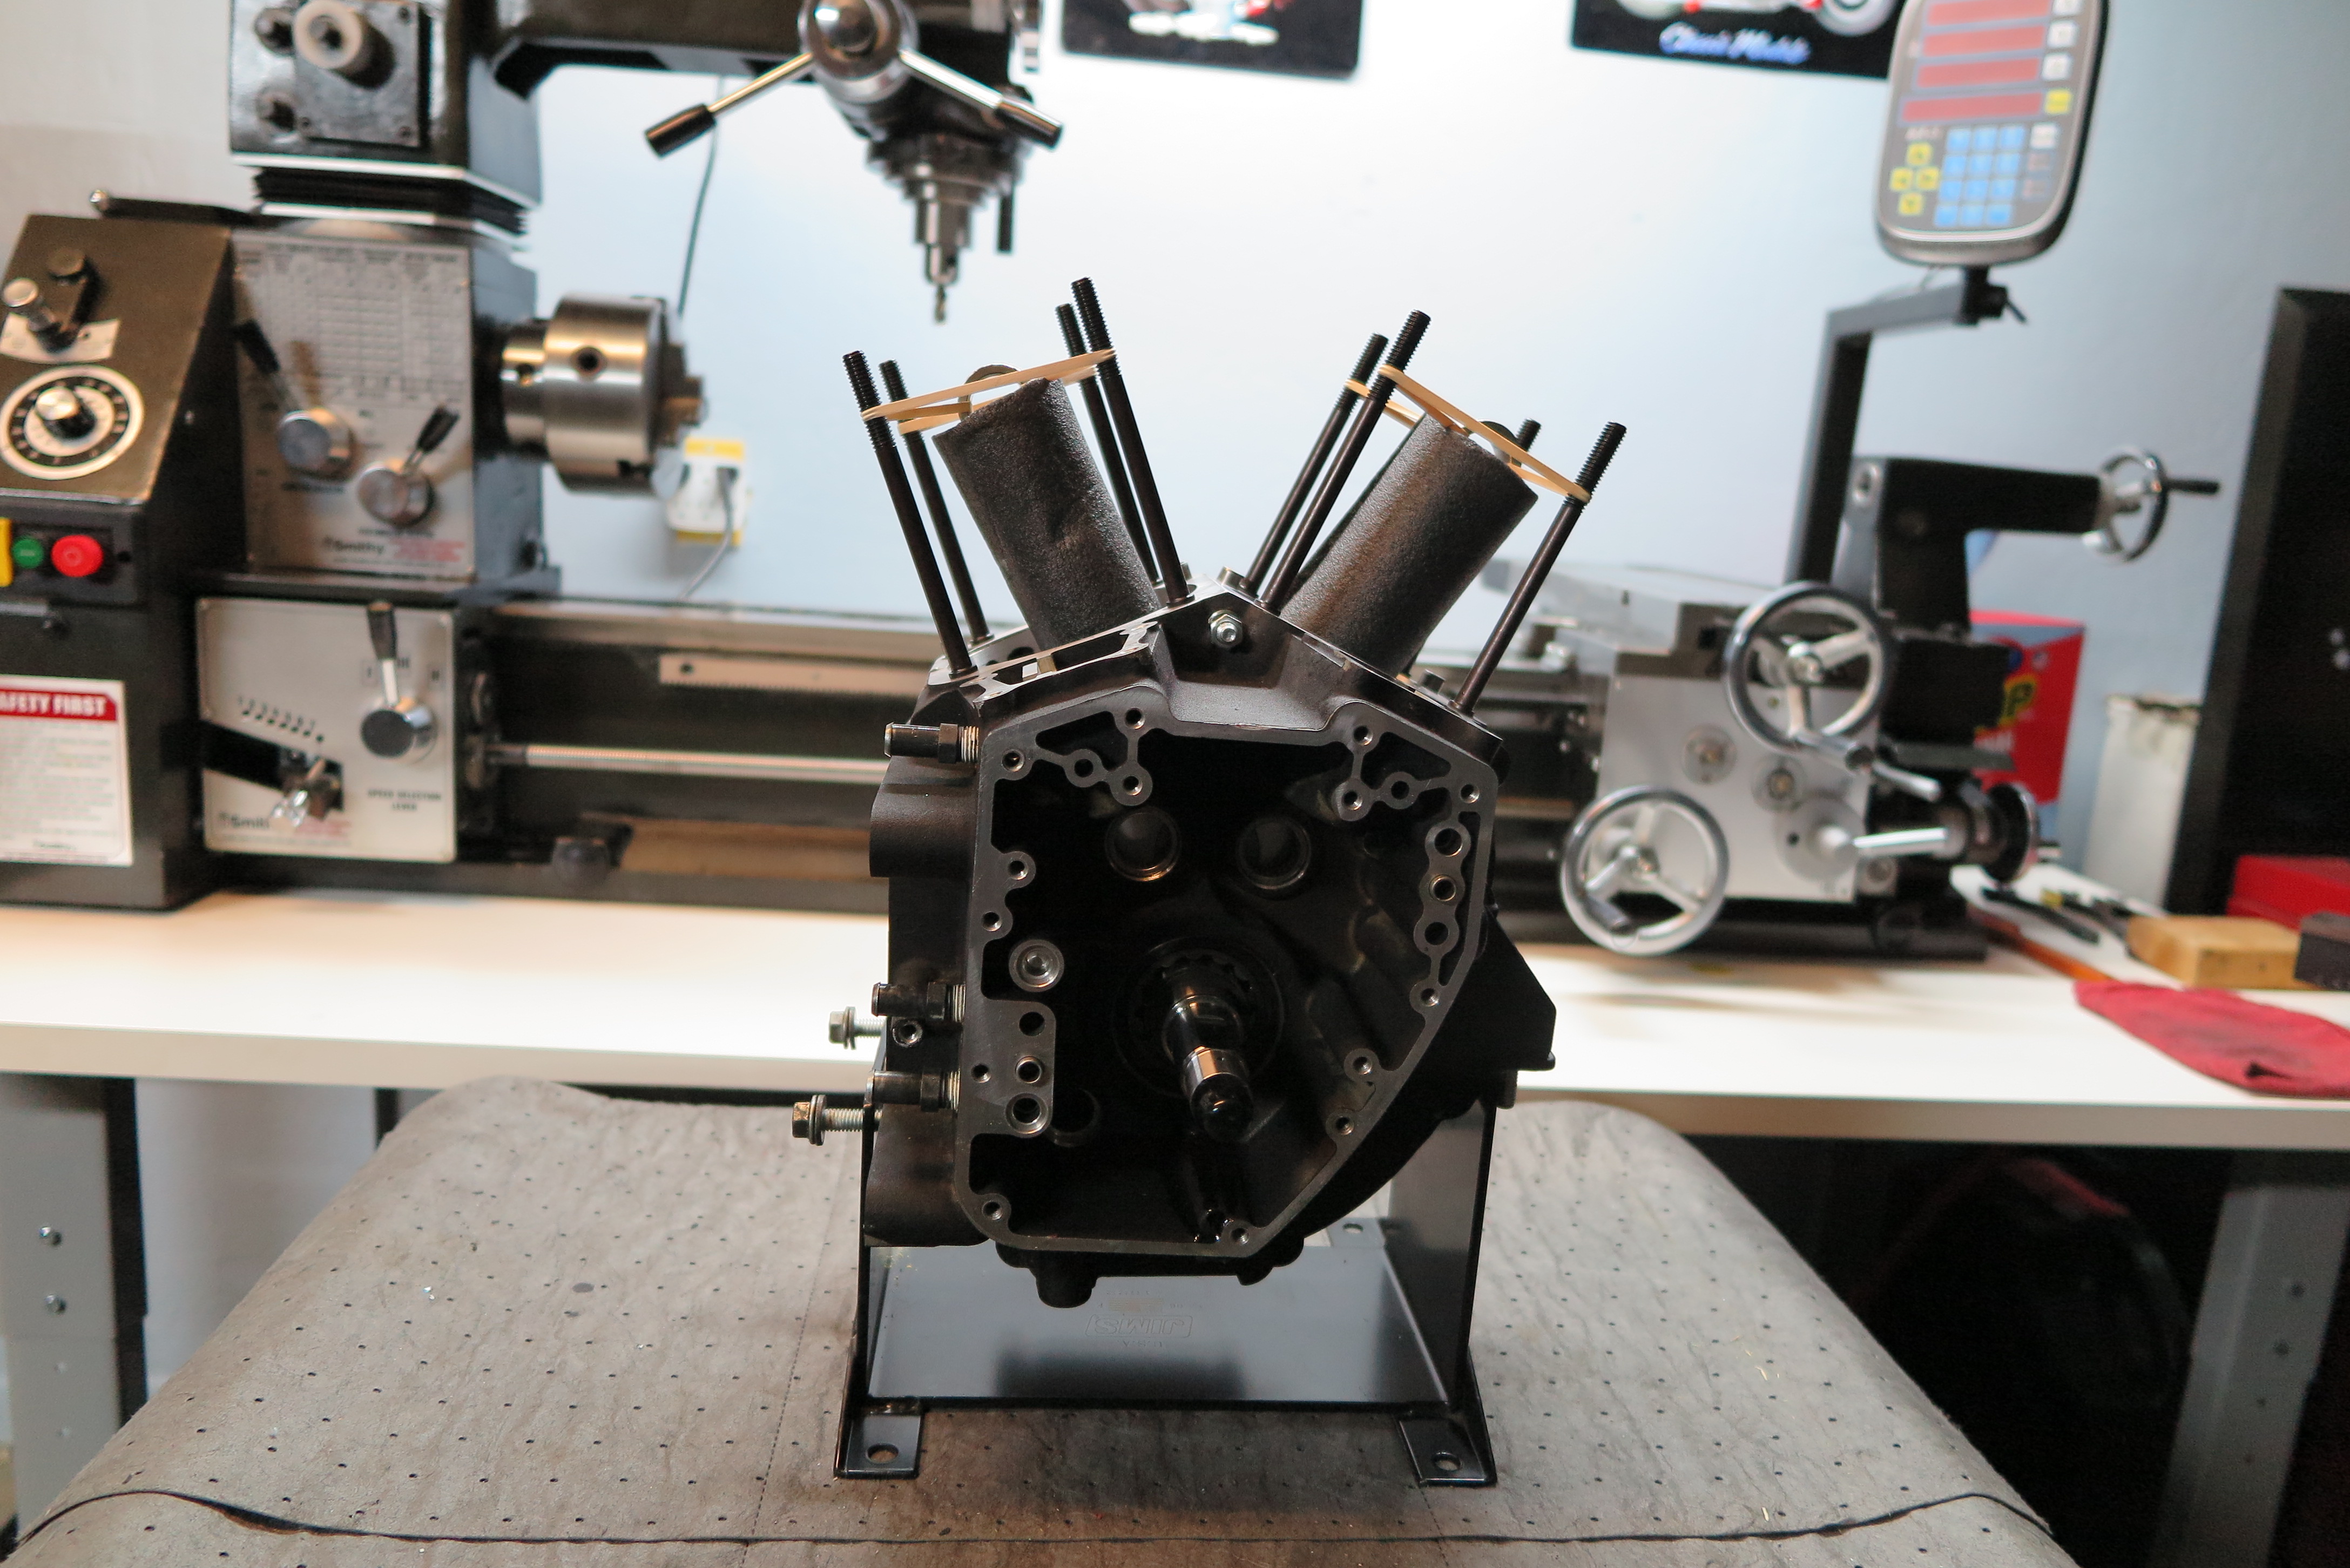
This is pretty much how we left the motor last month. With the case boring and larger internals from S&S we are now ready for the cams and top end to be installed.
Photo: Jeff G. Holt

We installed the various O-rings and plumbing items to the bottom end of the motor.
Photo: Jeff G. Holt
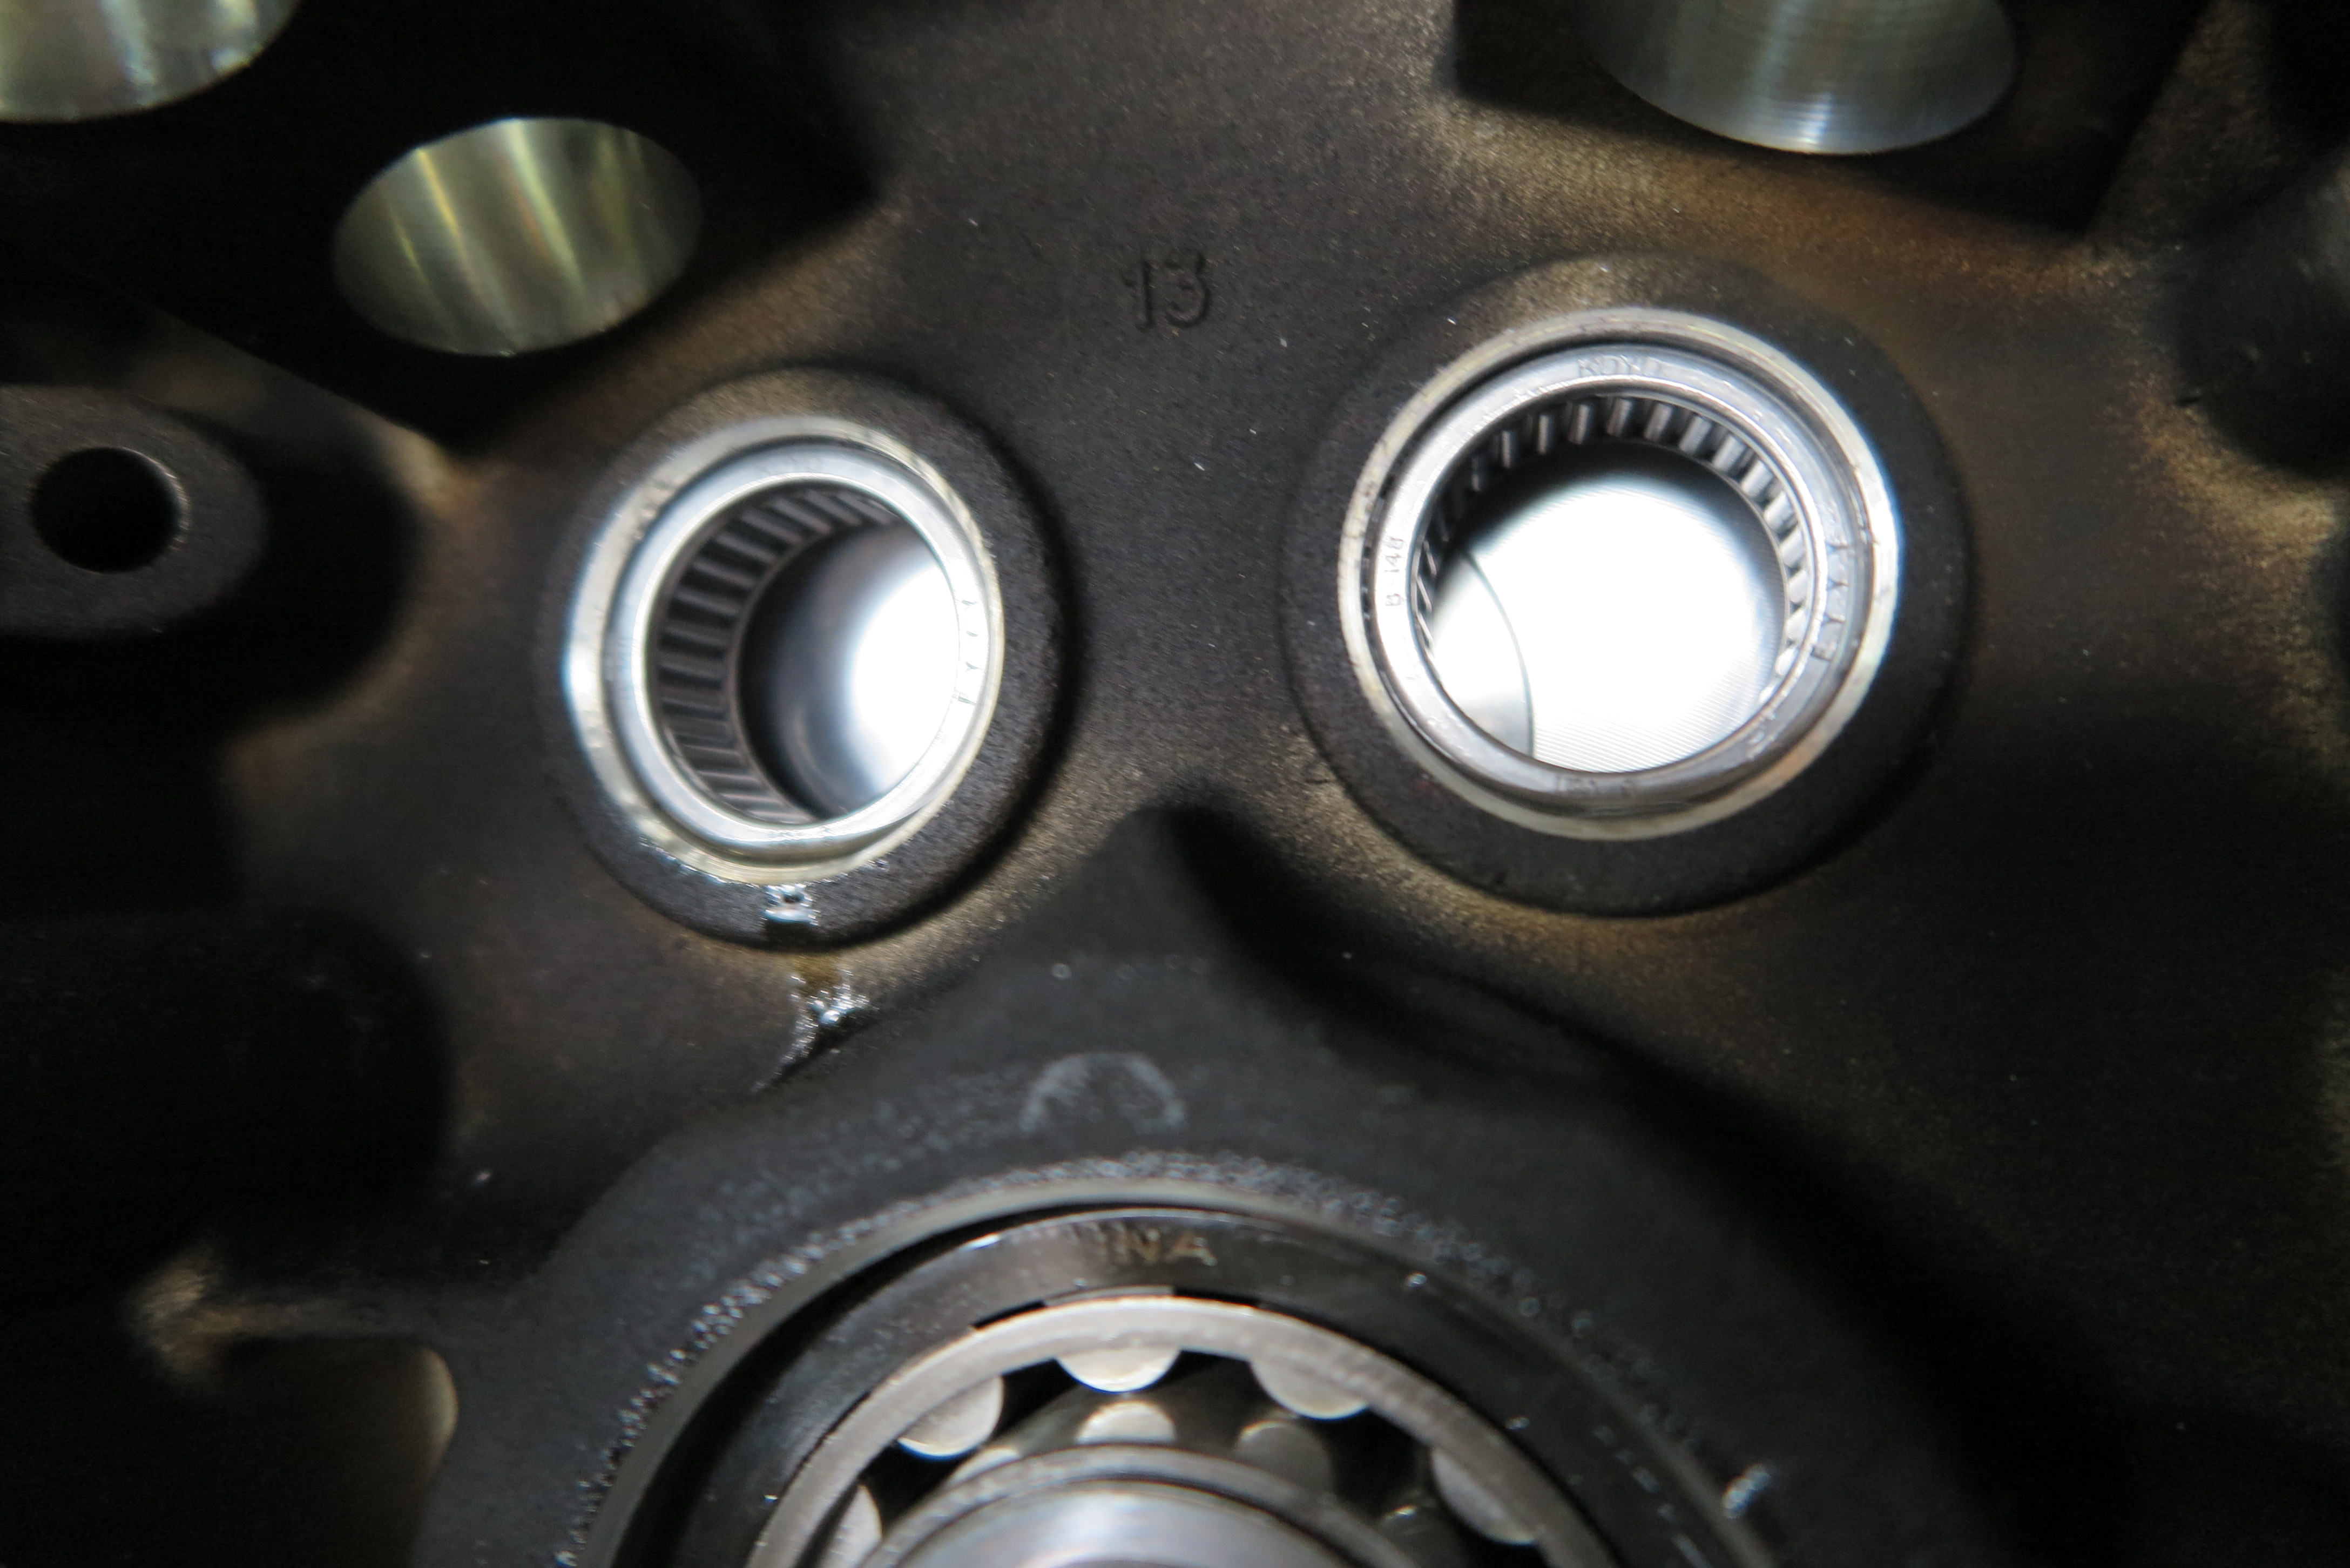
New S&S cam bearings were pressed into the bottom of the case.
Photo: Jeff G. Holt
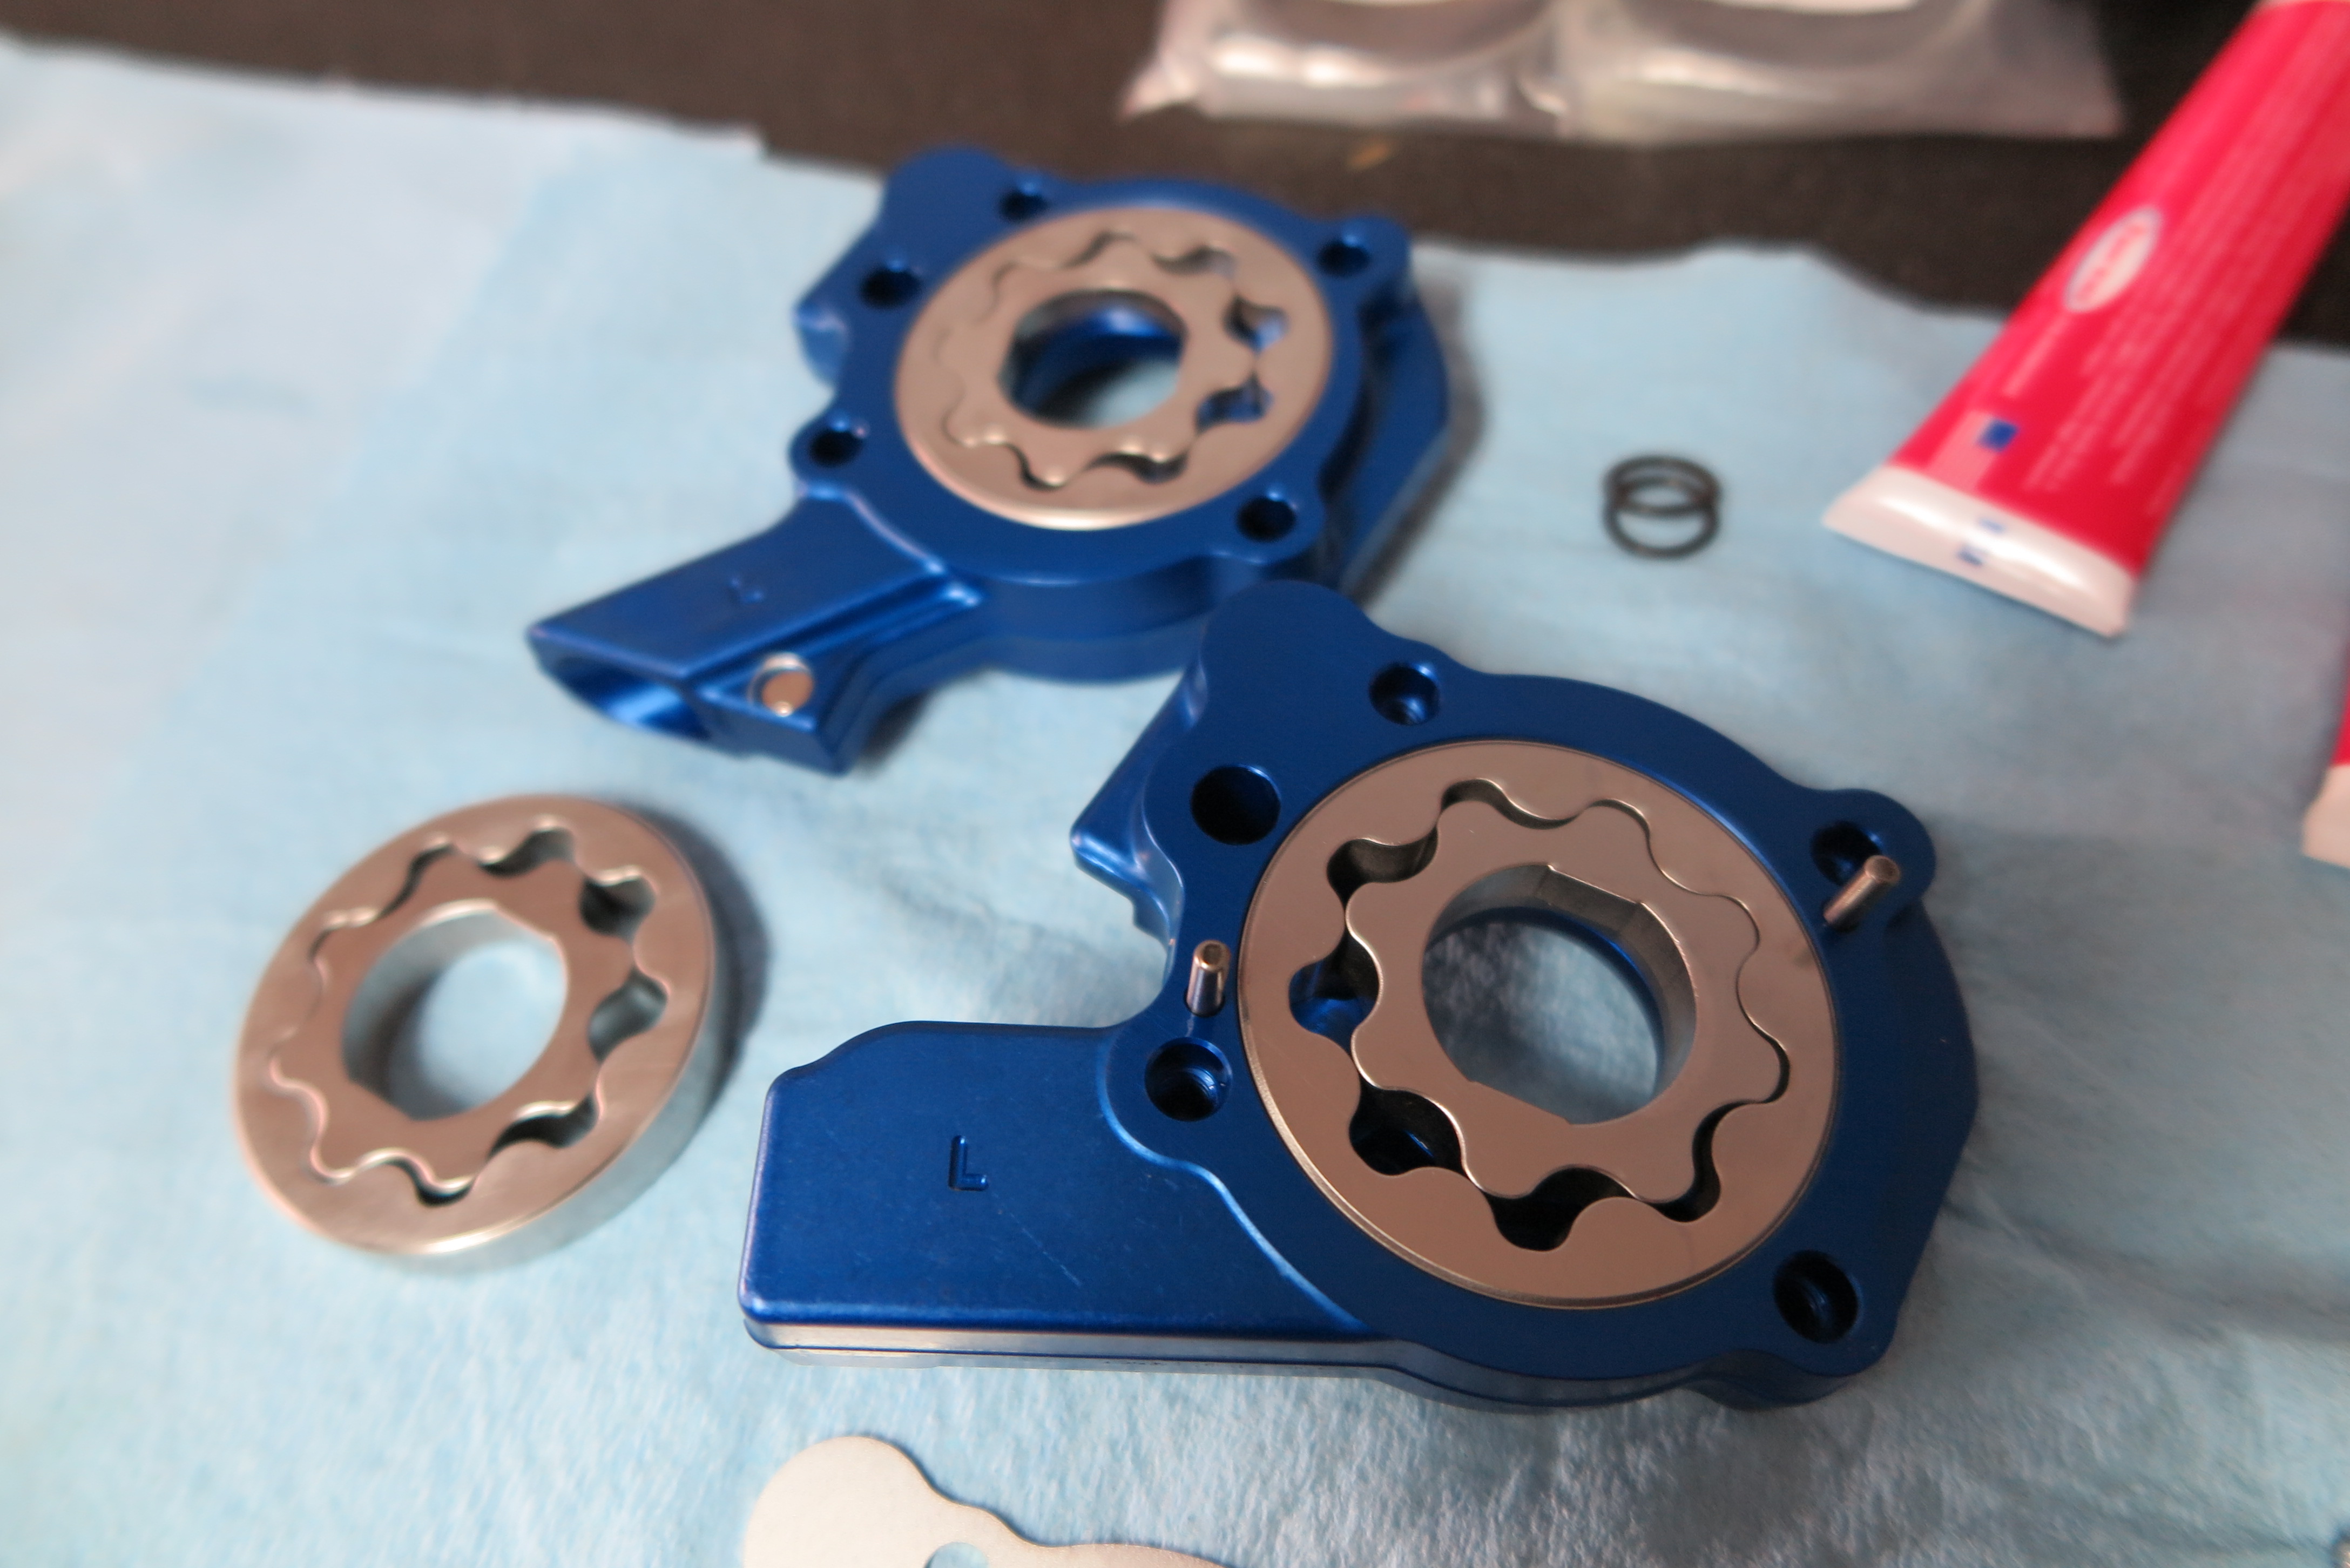
This is the TC3 S&S oil pump we will be employing on the newer motor.
Photo: Jeff G. Holt
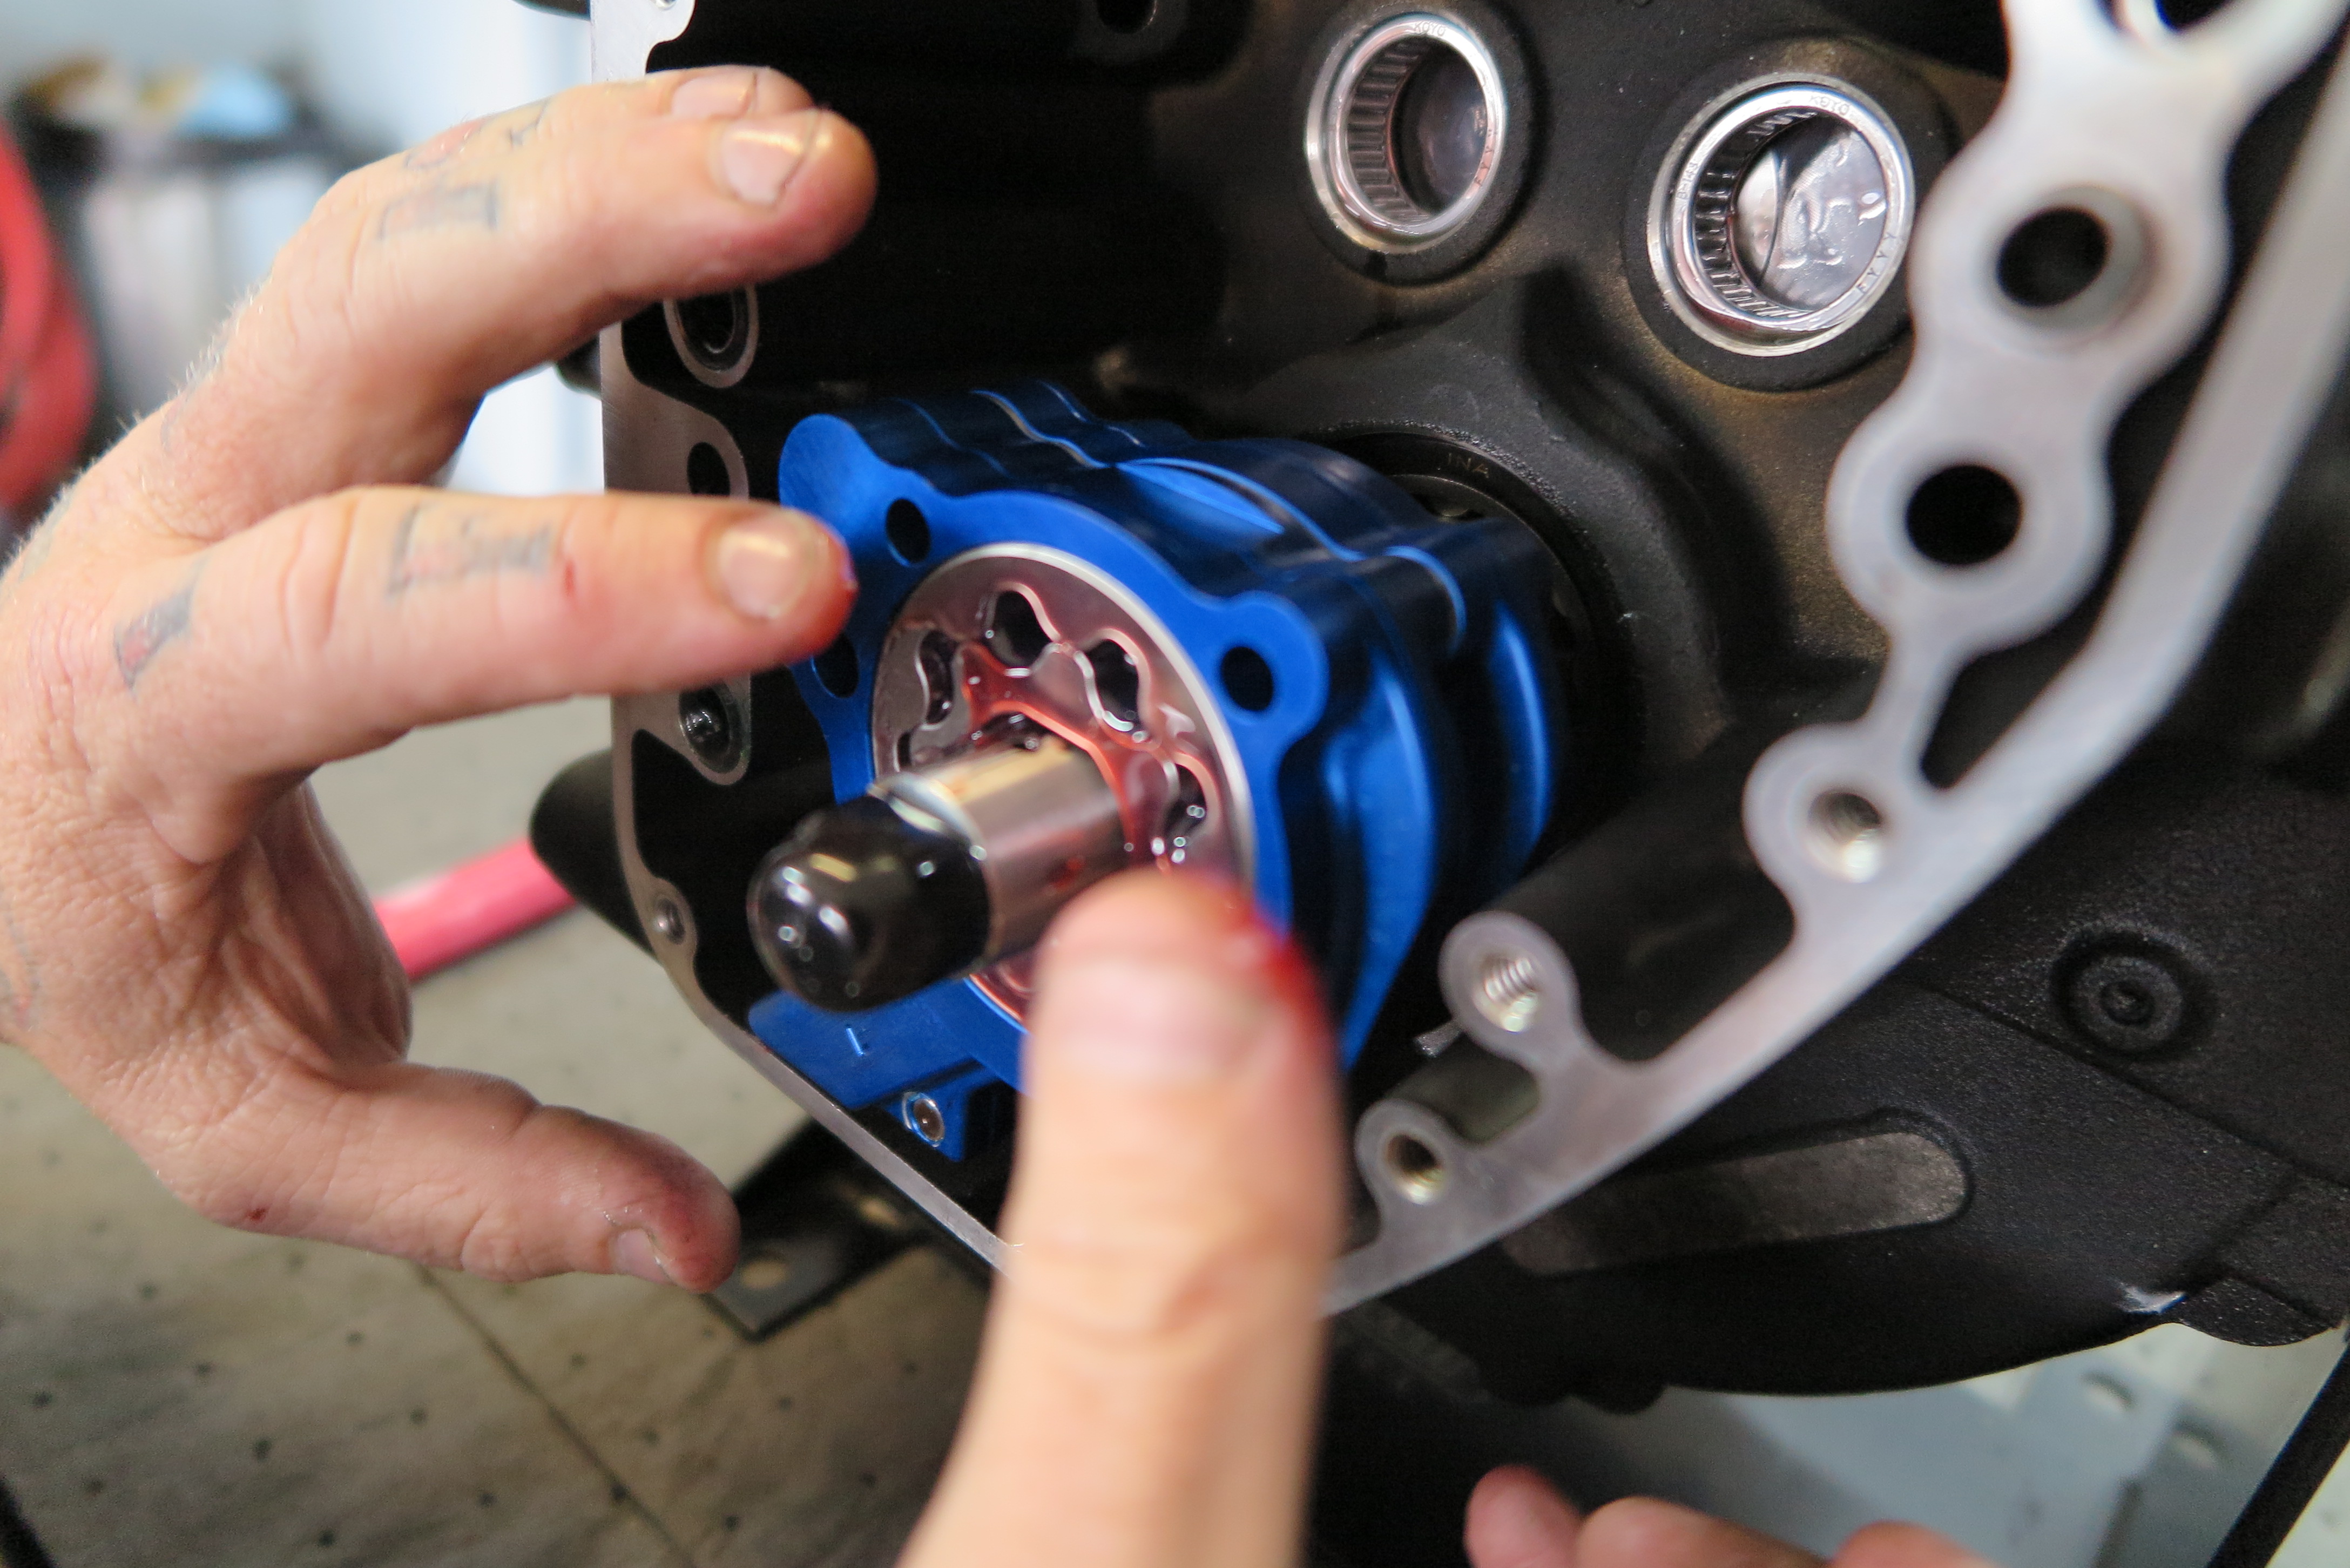
Once it was properly pre-lubed and assembled, the S&S TC3 oil pump was installed.
Photo: Jeff G. Holt
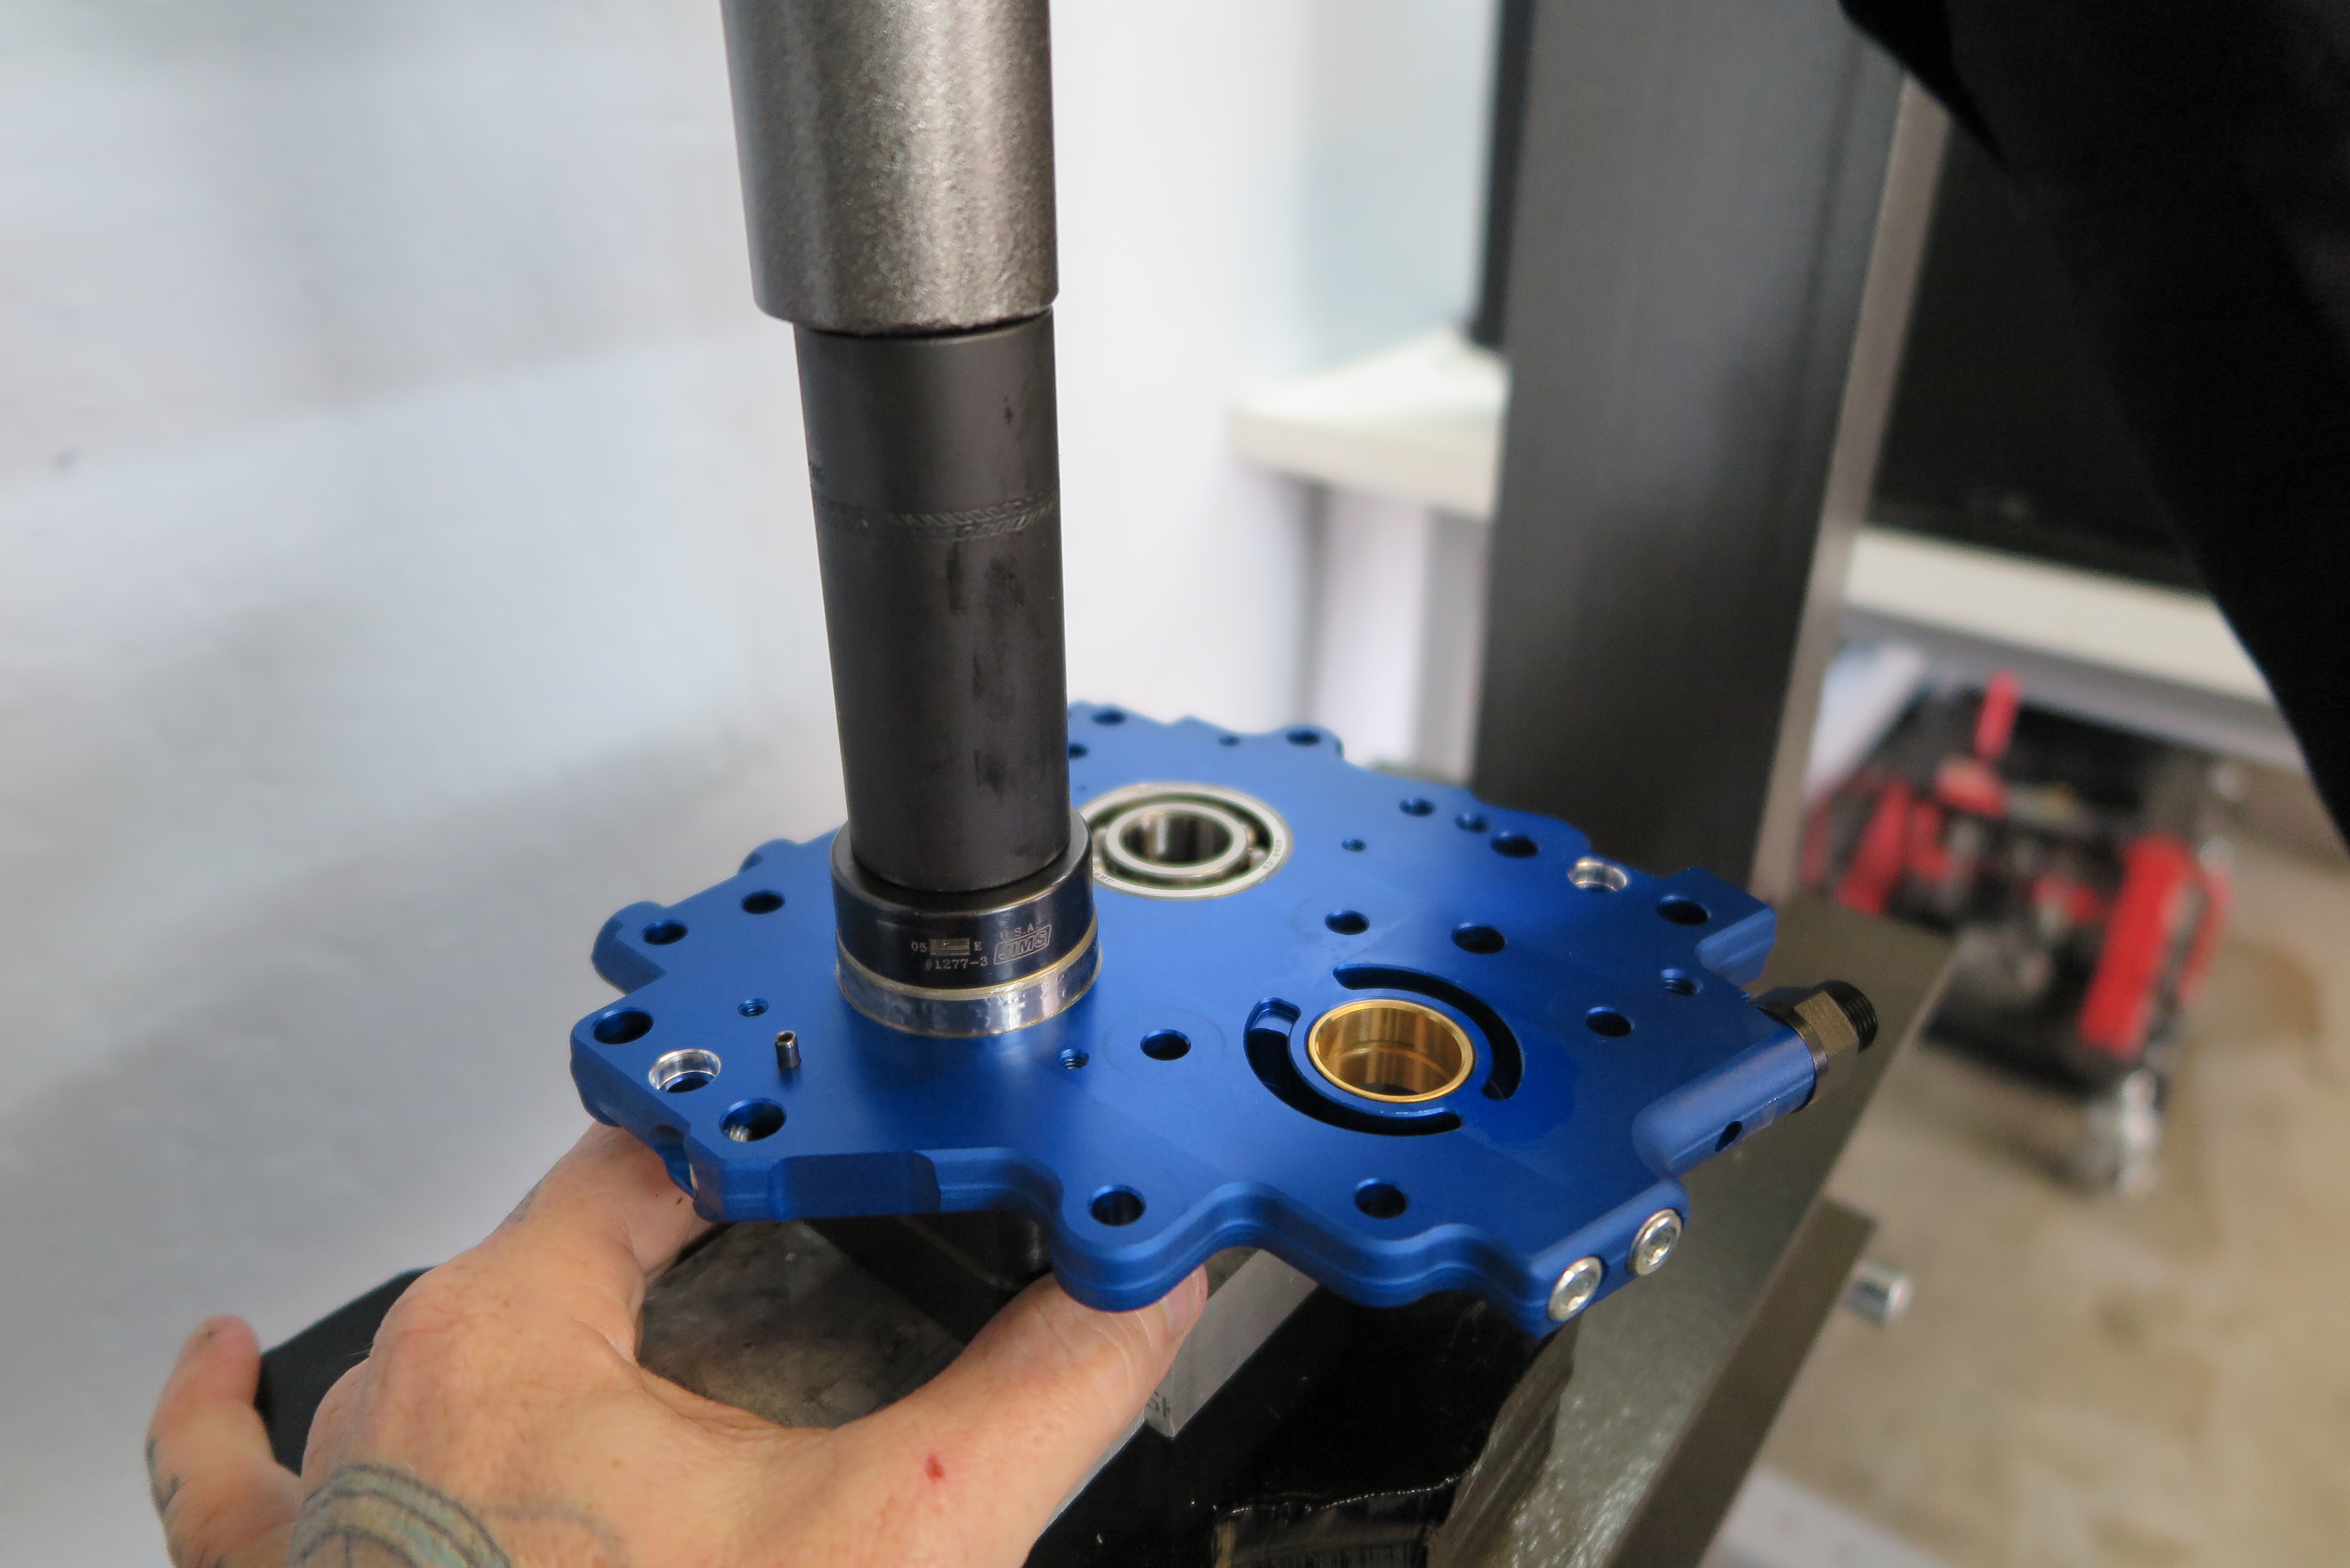
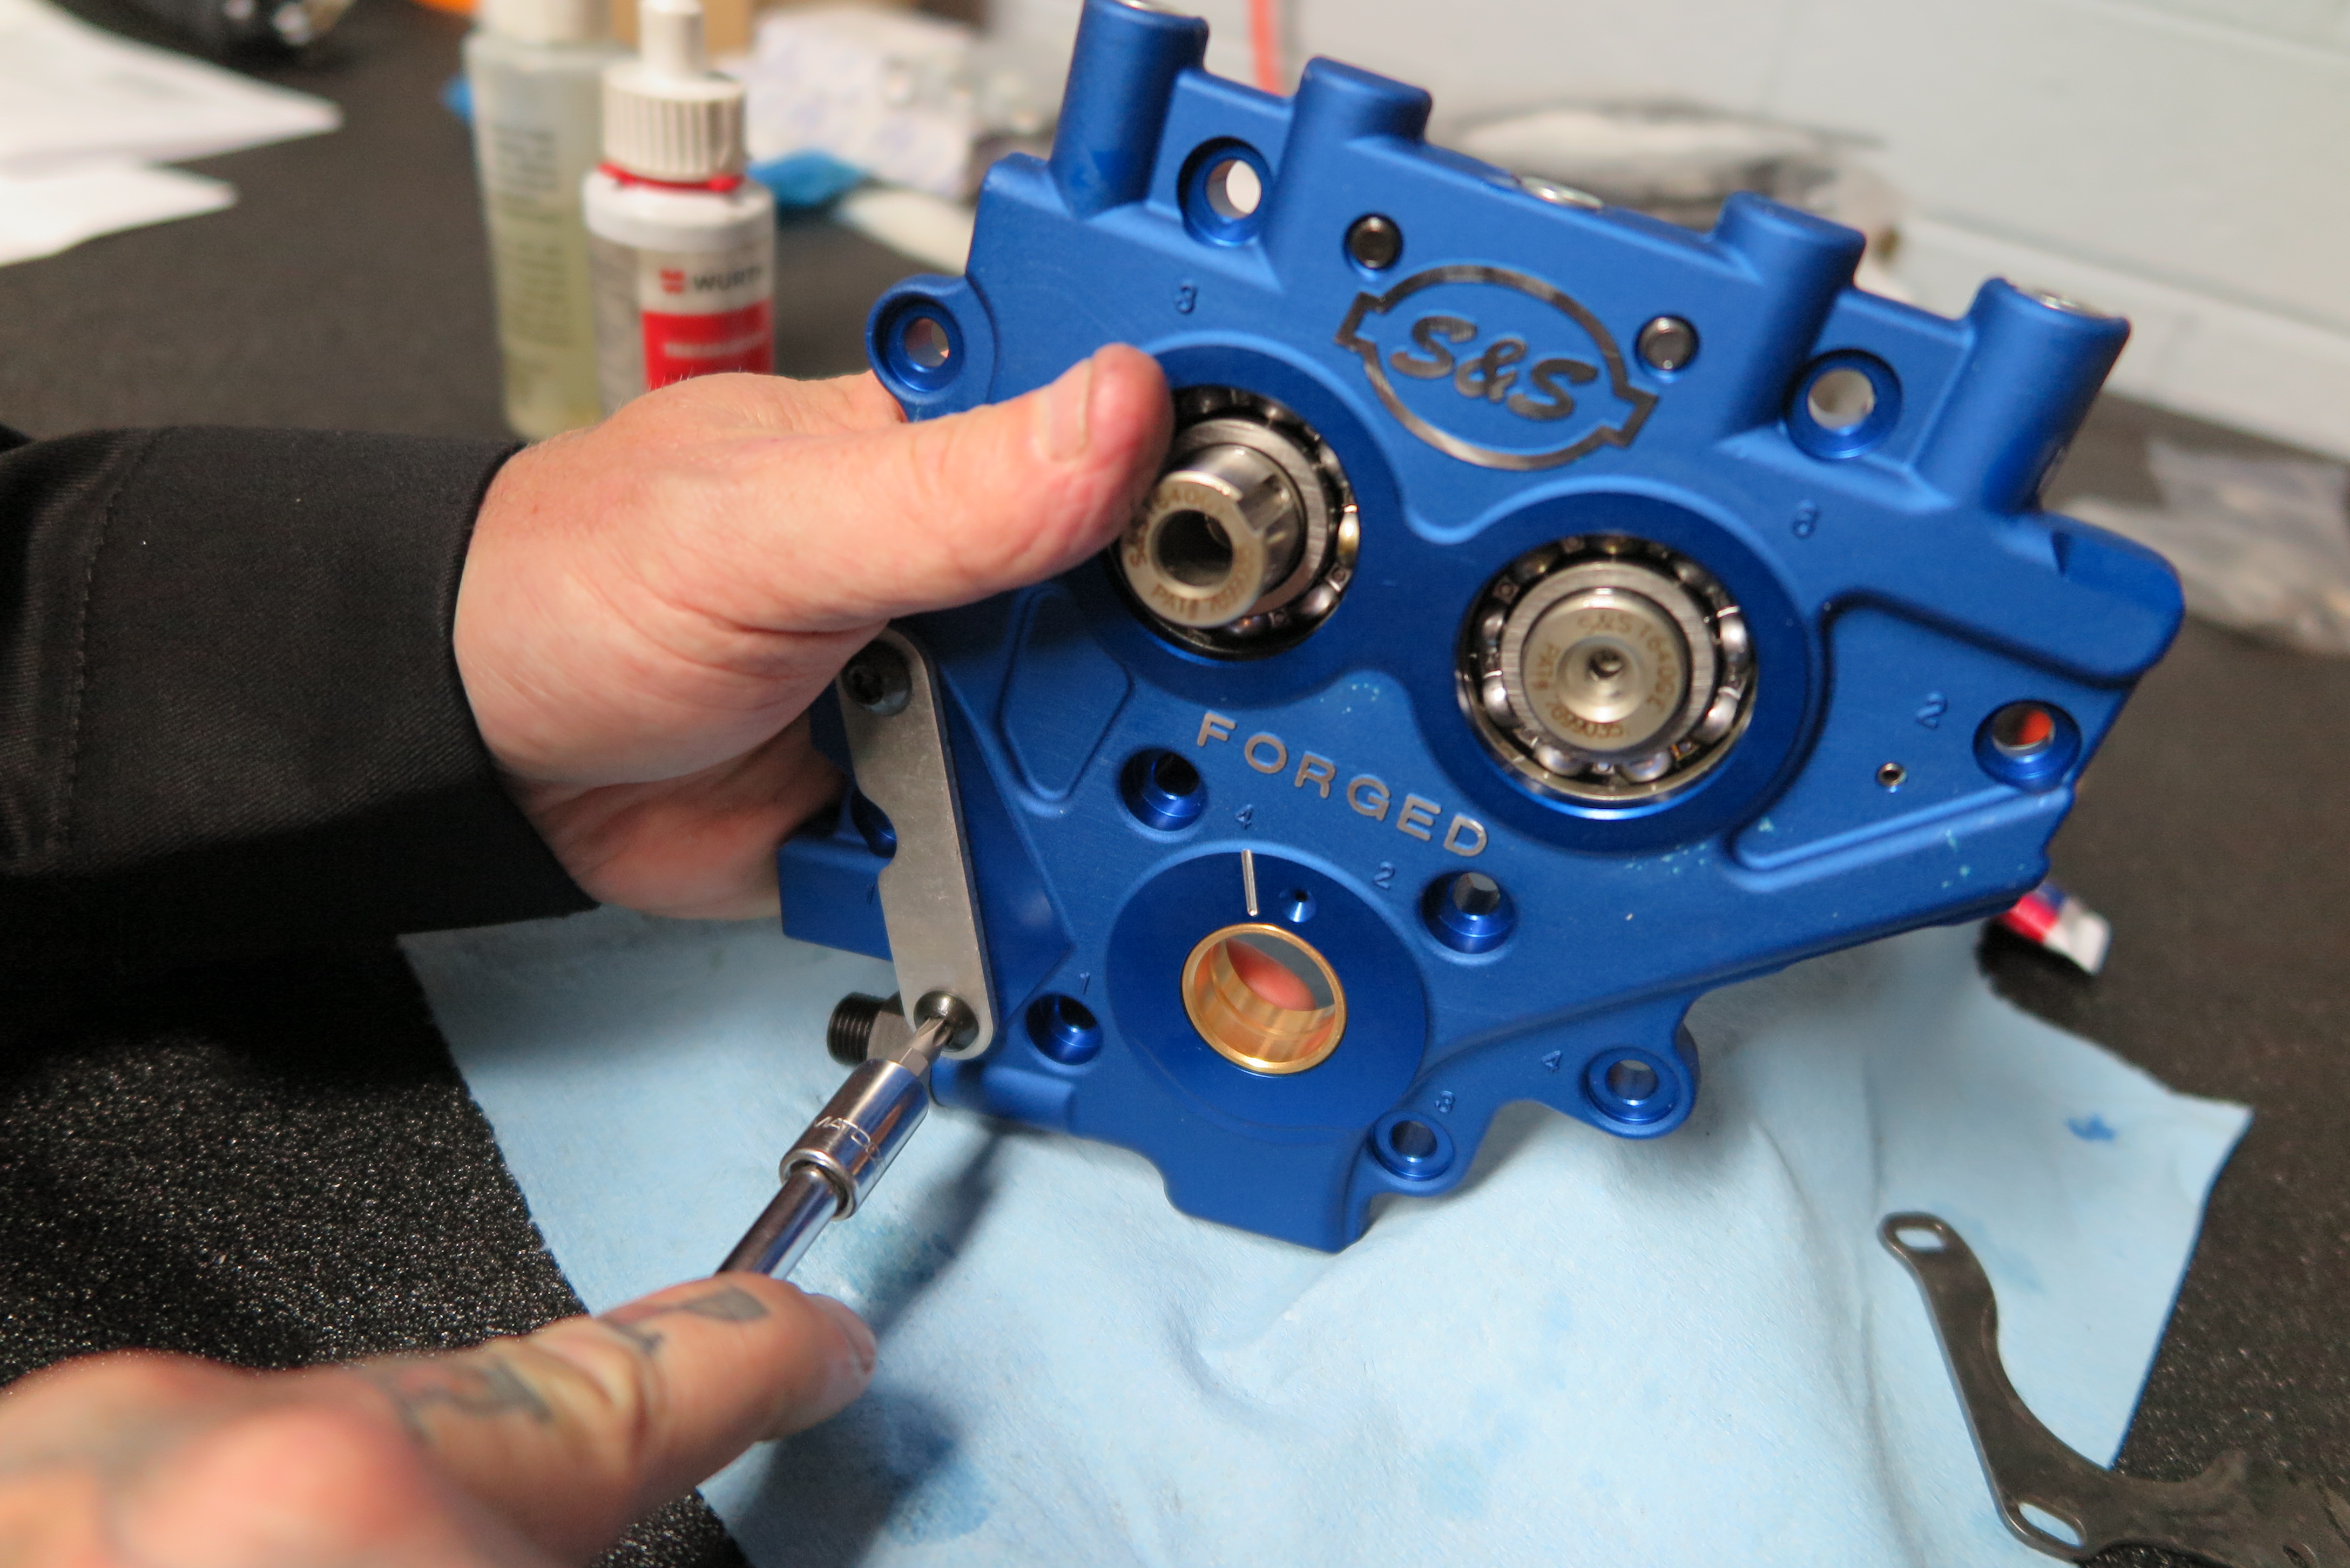
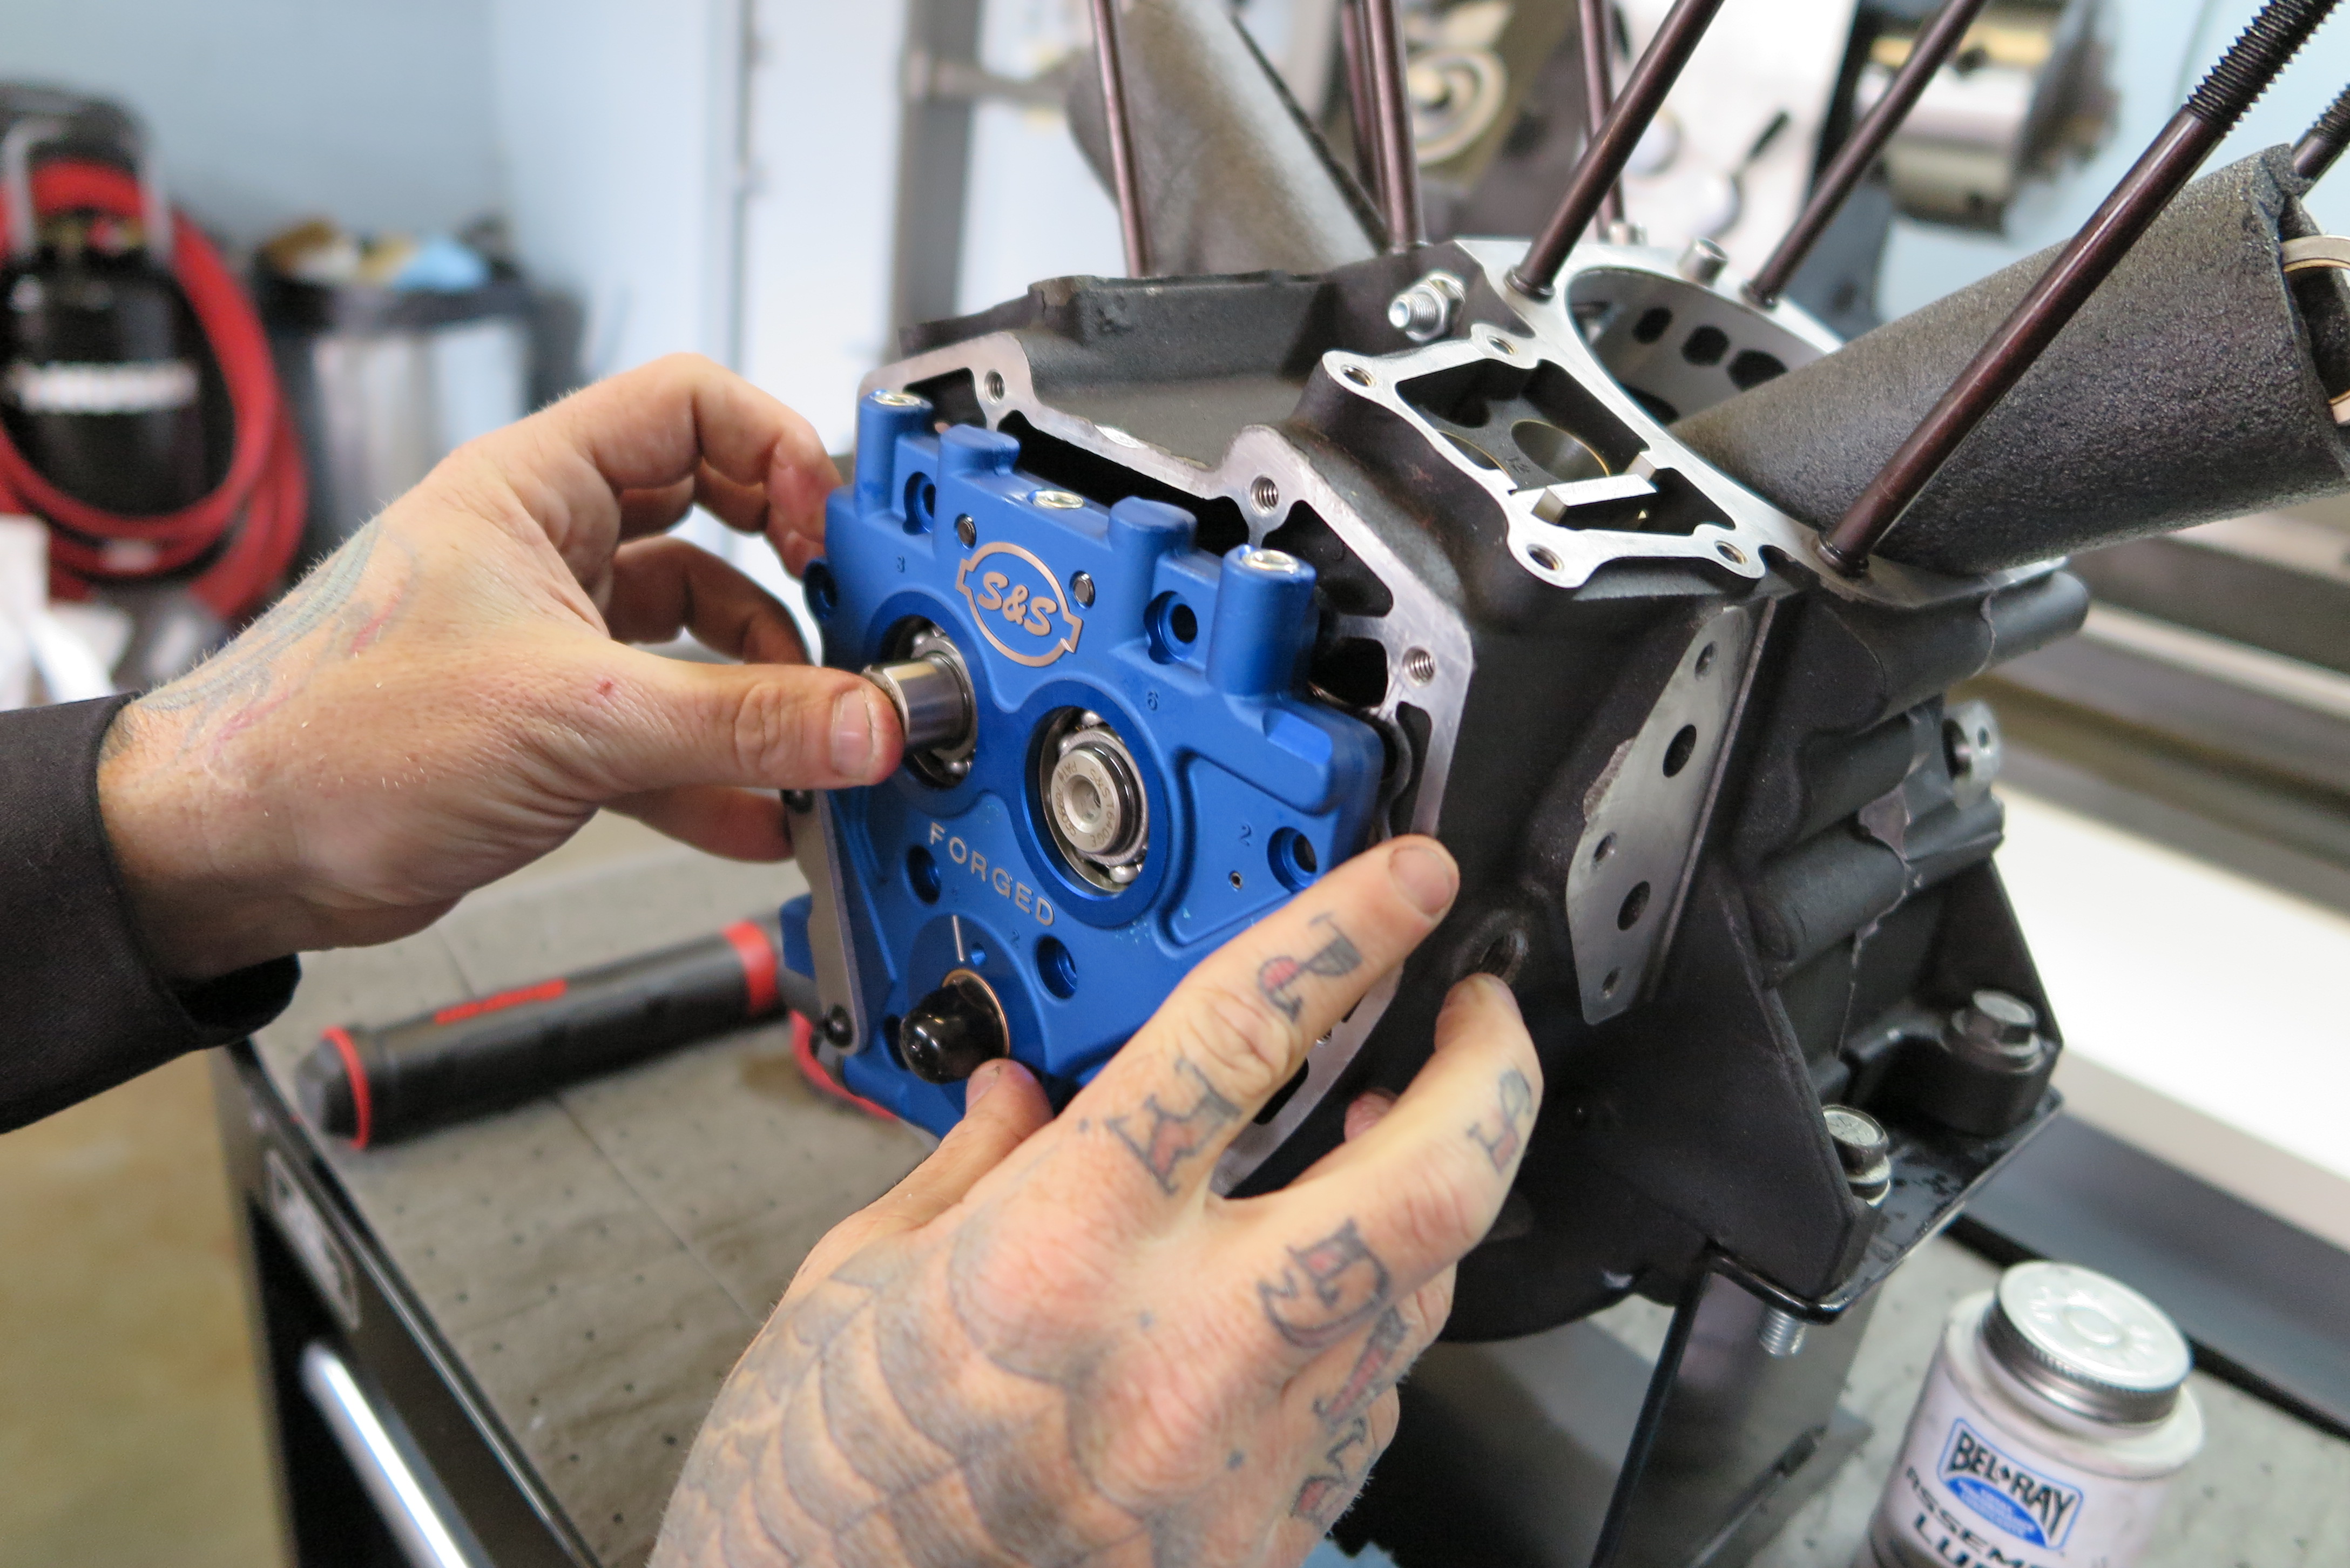
We started the cam install by pressing bearings and bushings into the TC3 S&S cam support plate. This is not part of the kit but a good upgrade we highly suggest.
Photo: Jeff G. Holt

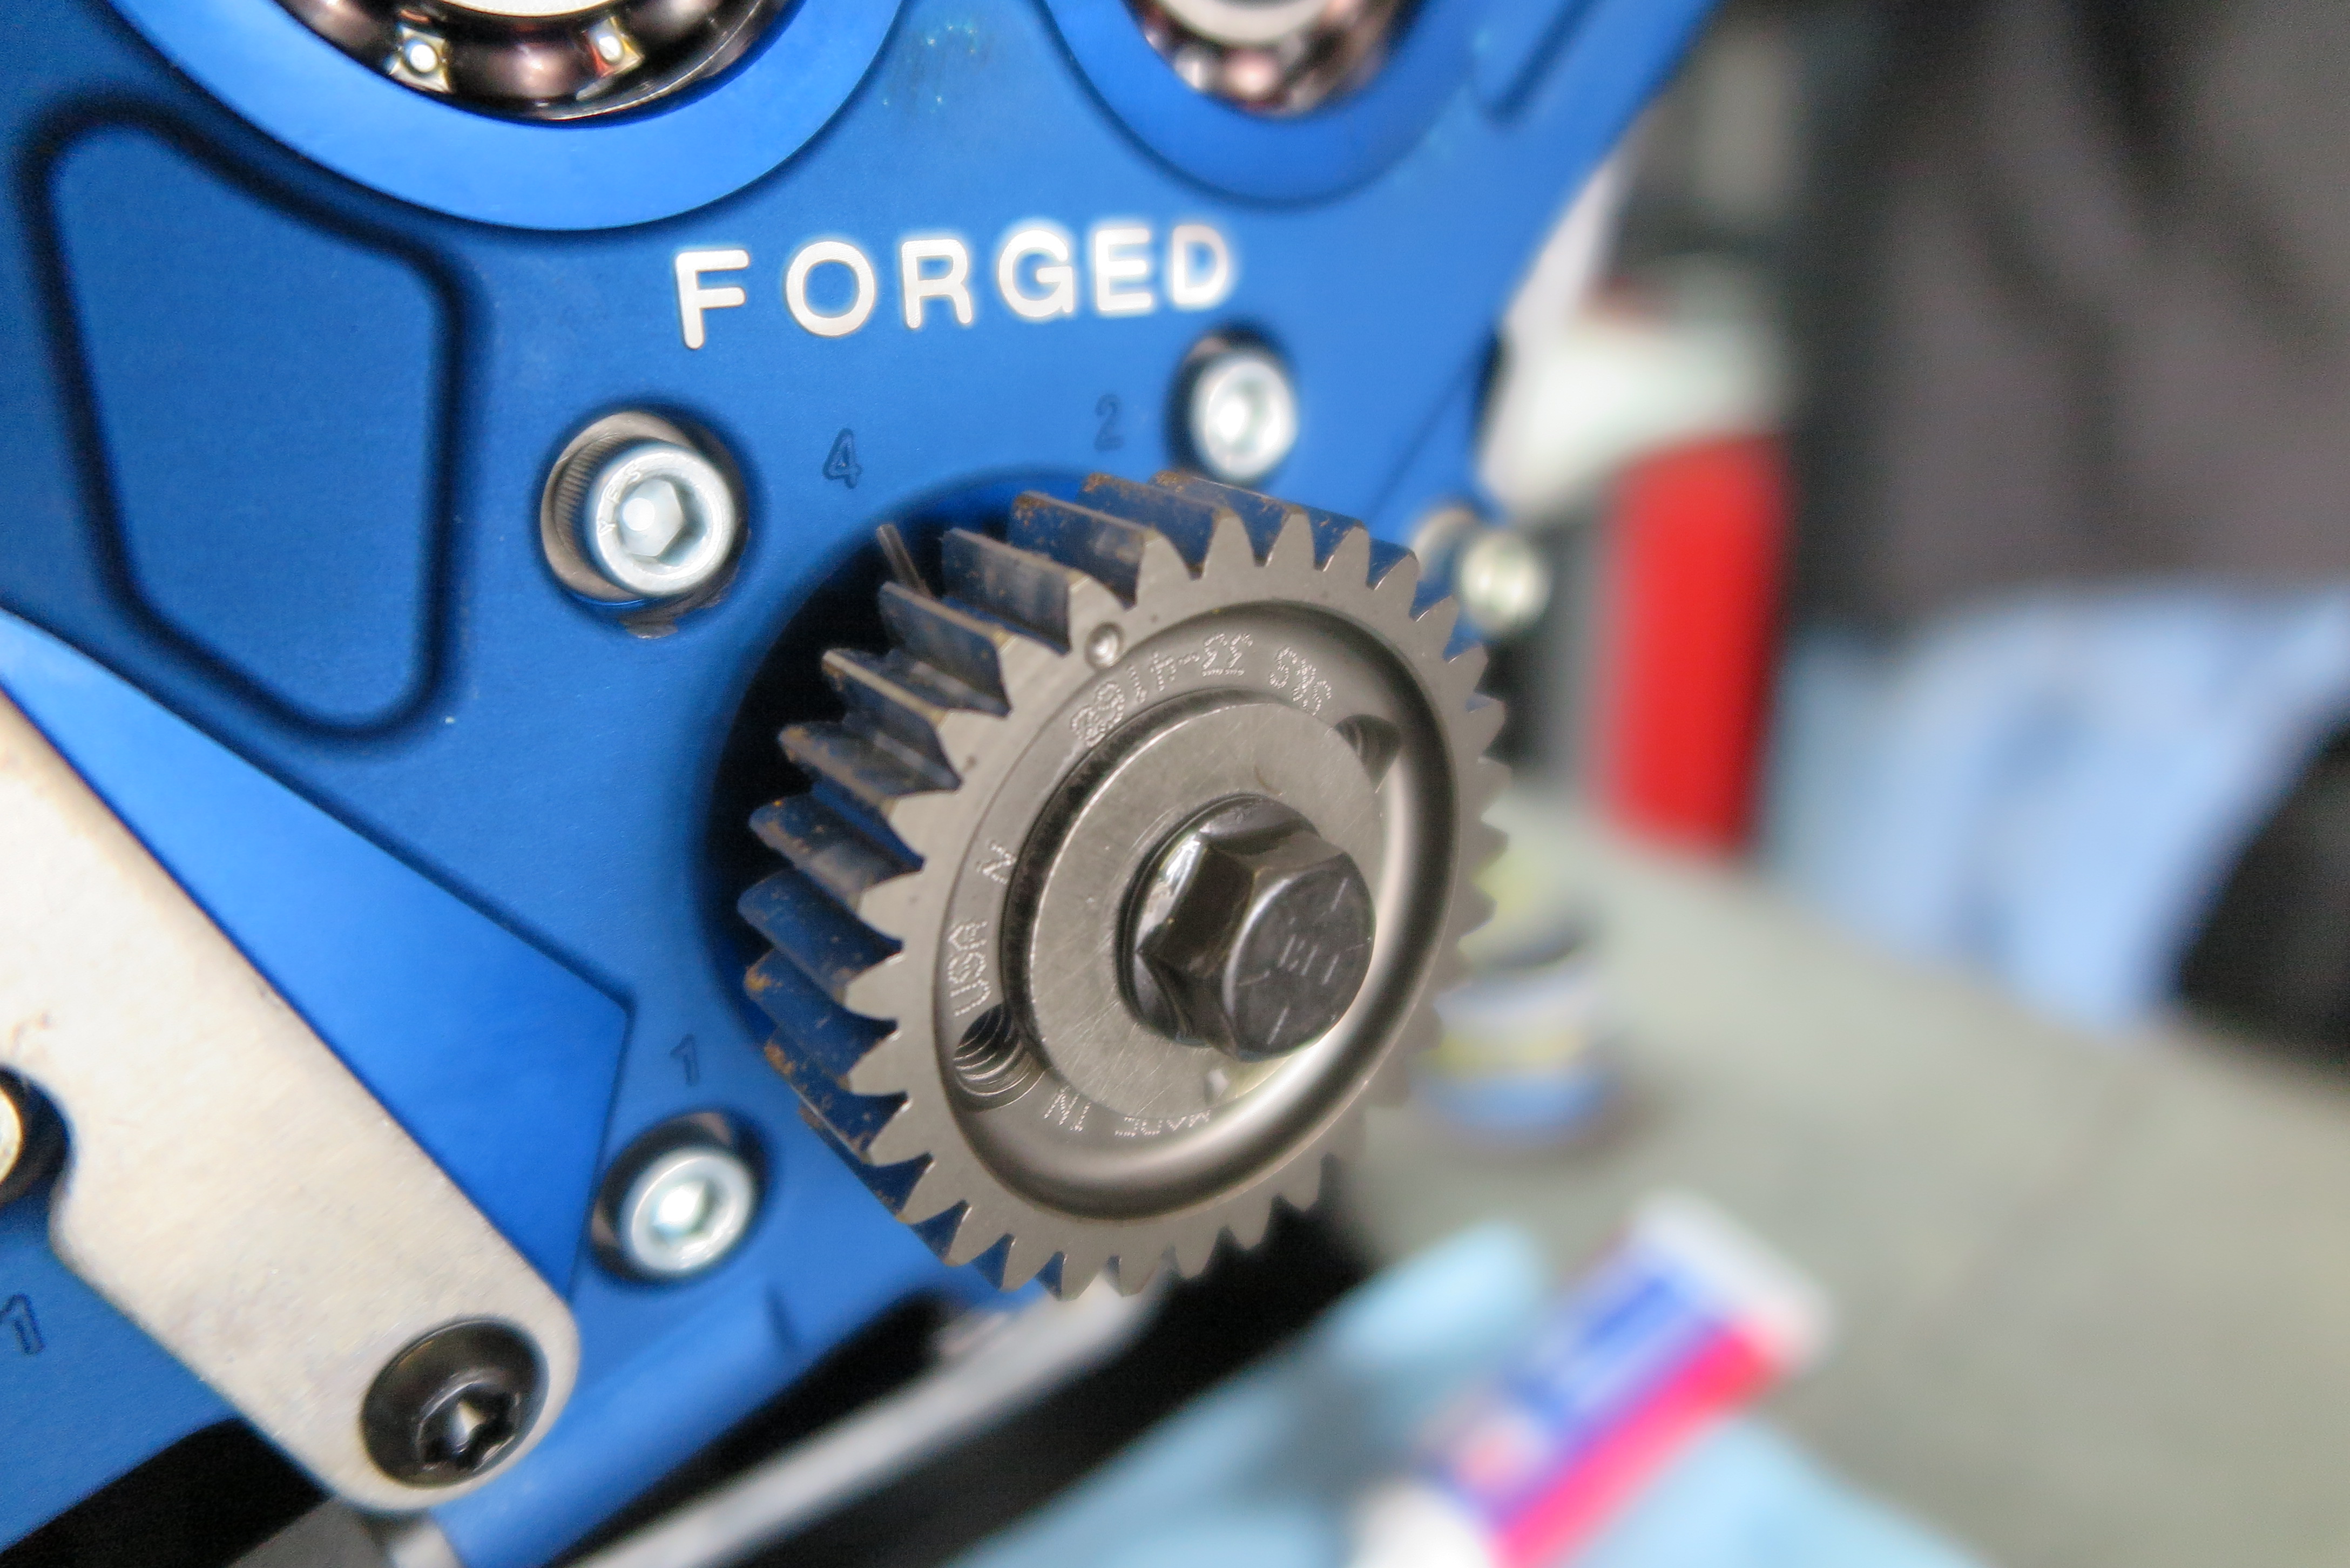
The S&S 640 Easy Start gear-drive cams were then carefully installed into the S&S cam plate with a press.
Photo: Jeff G. Holt
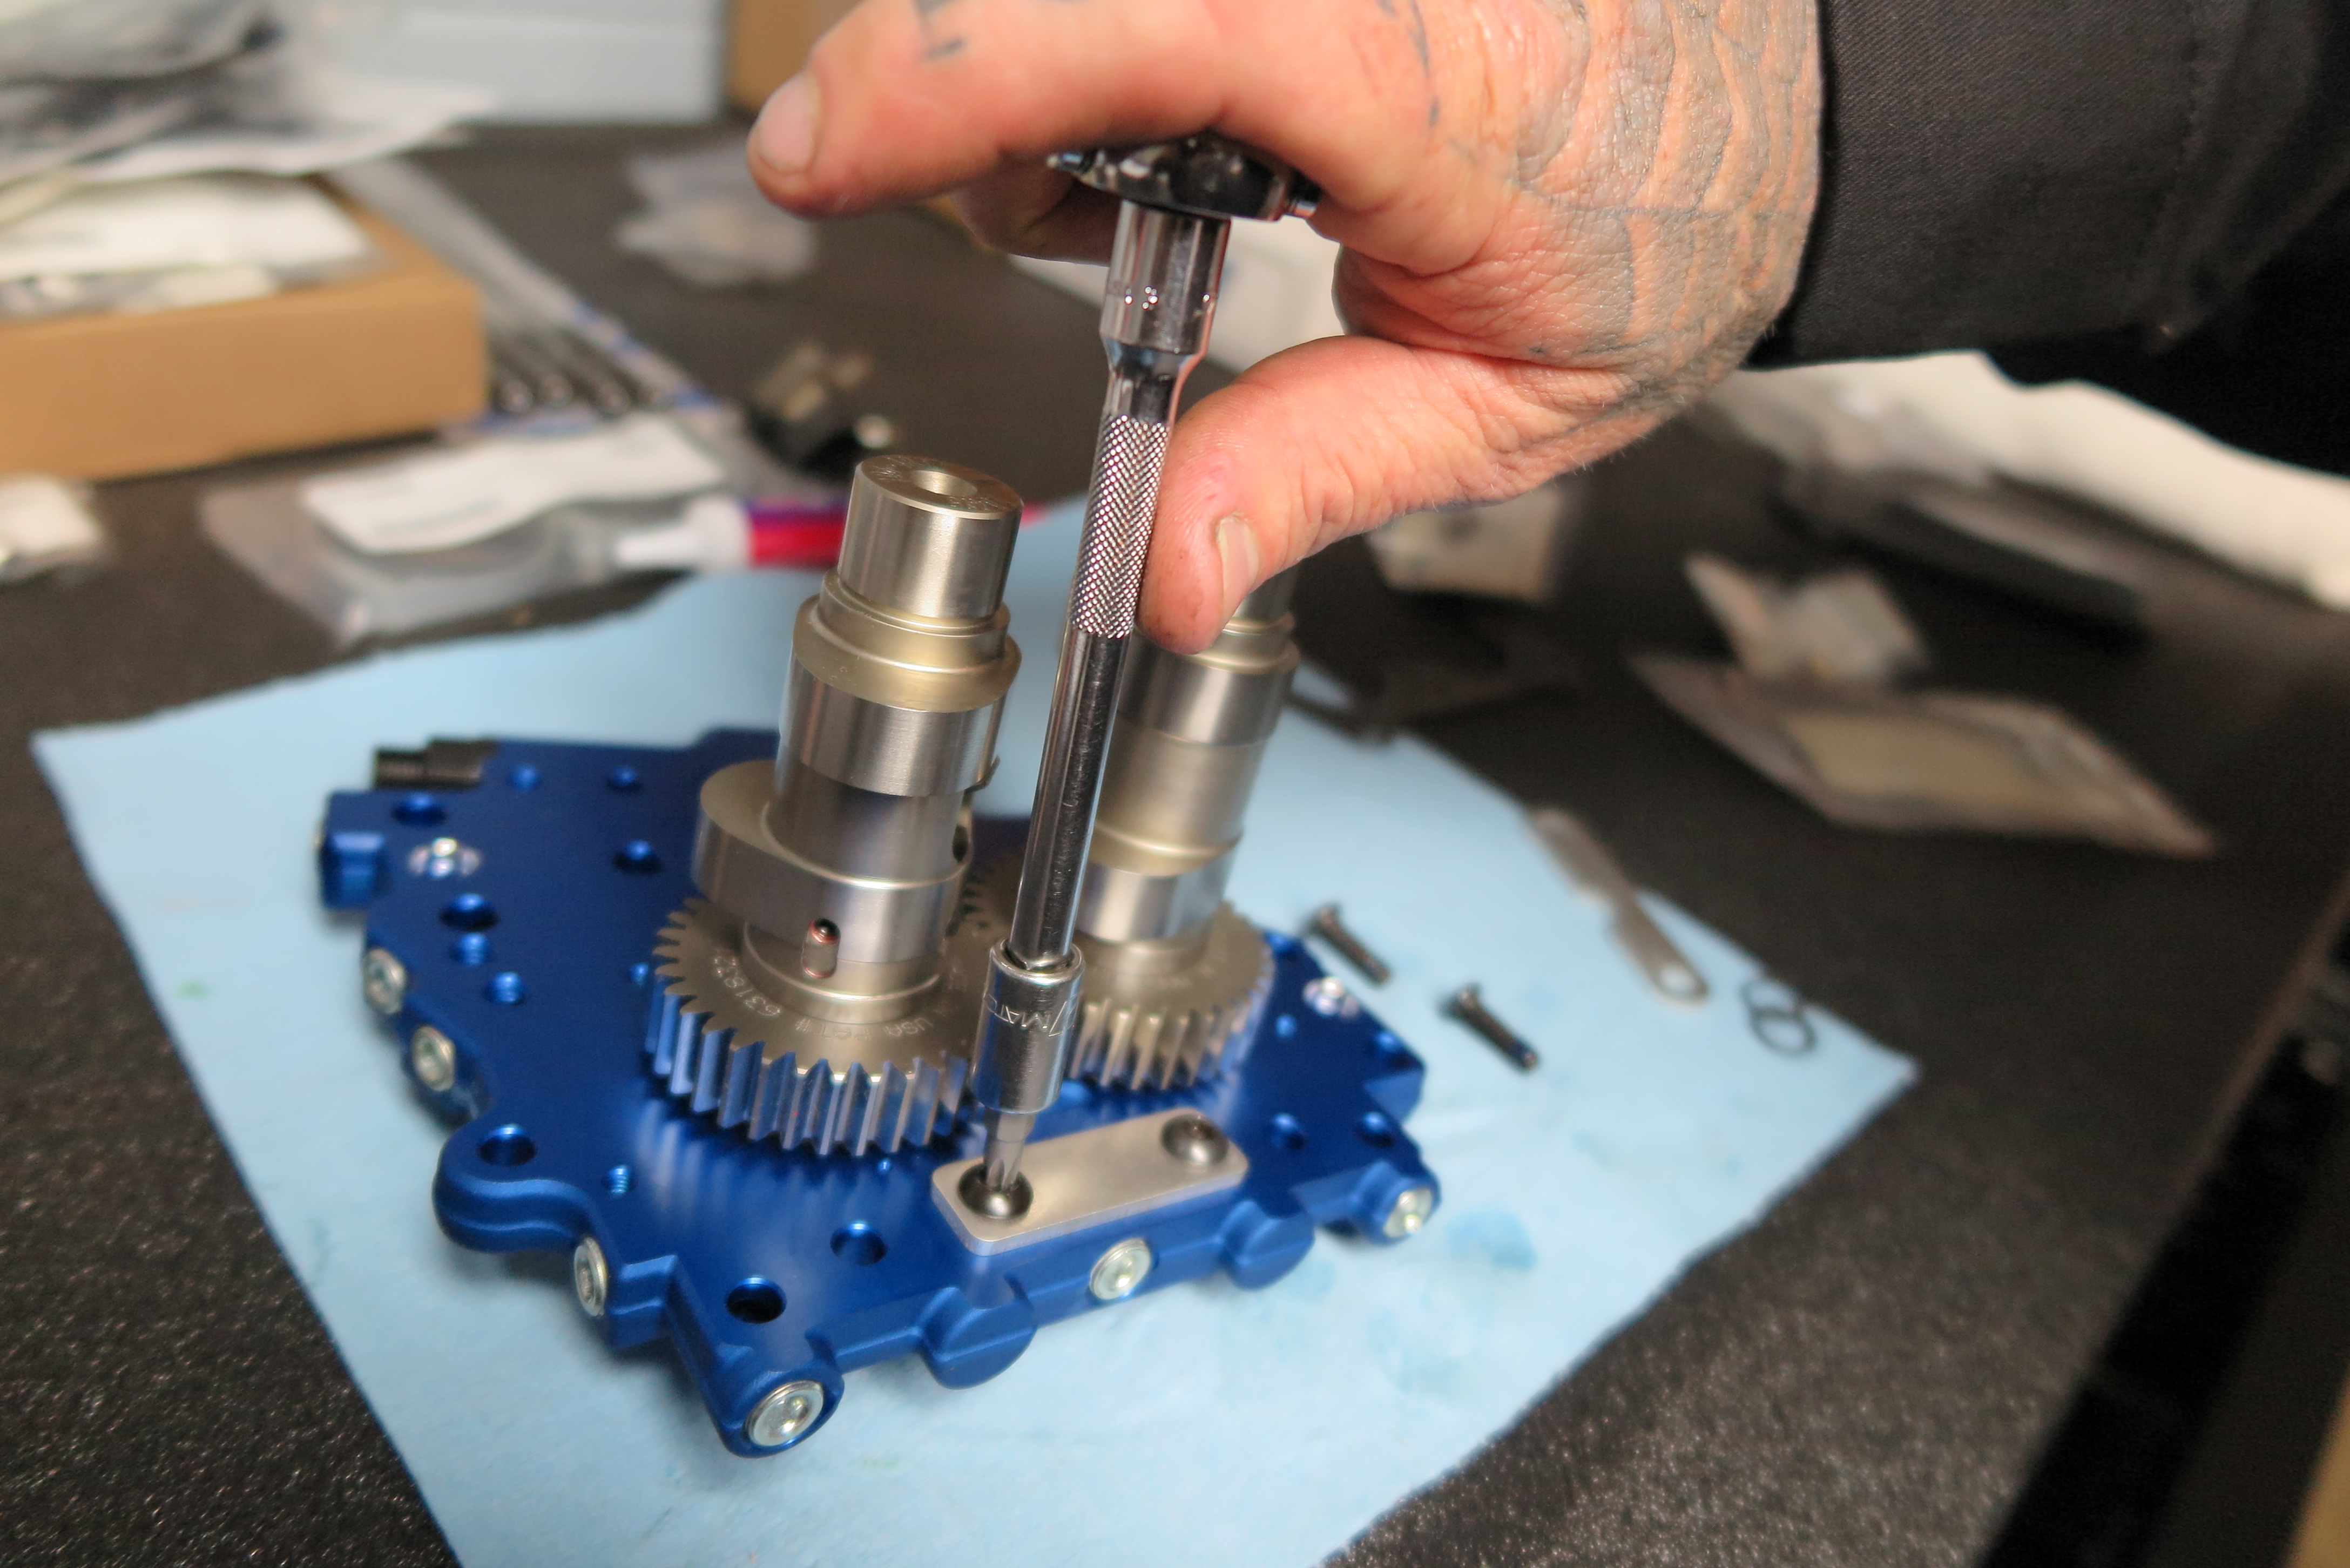
Once the cams were in and spun freely with no issues…
Photo: Jeff G. Holt
…we locked them to the TC3 cam support plate.
Photo: Jeff G. Holt
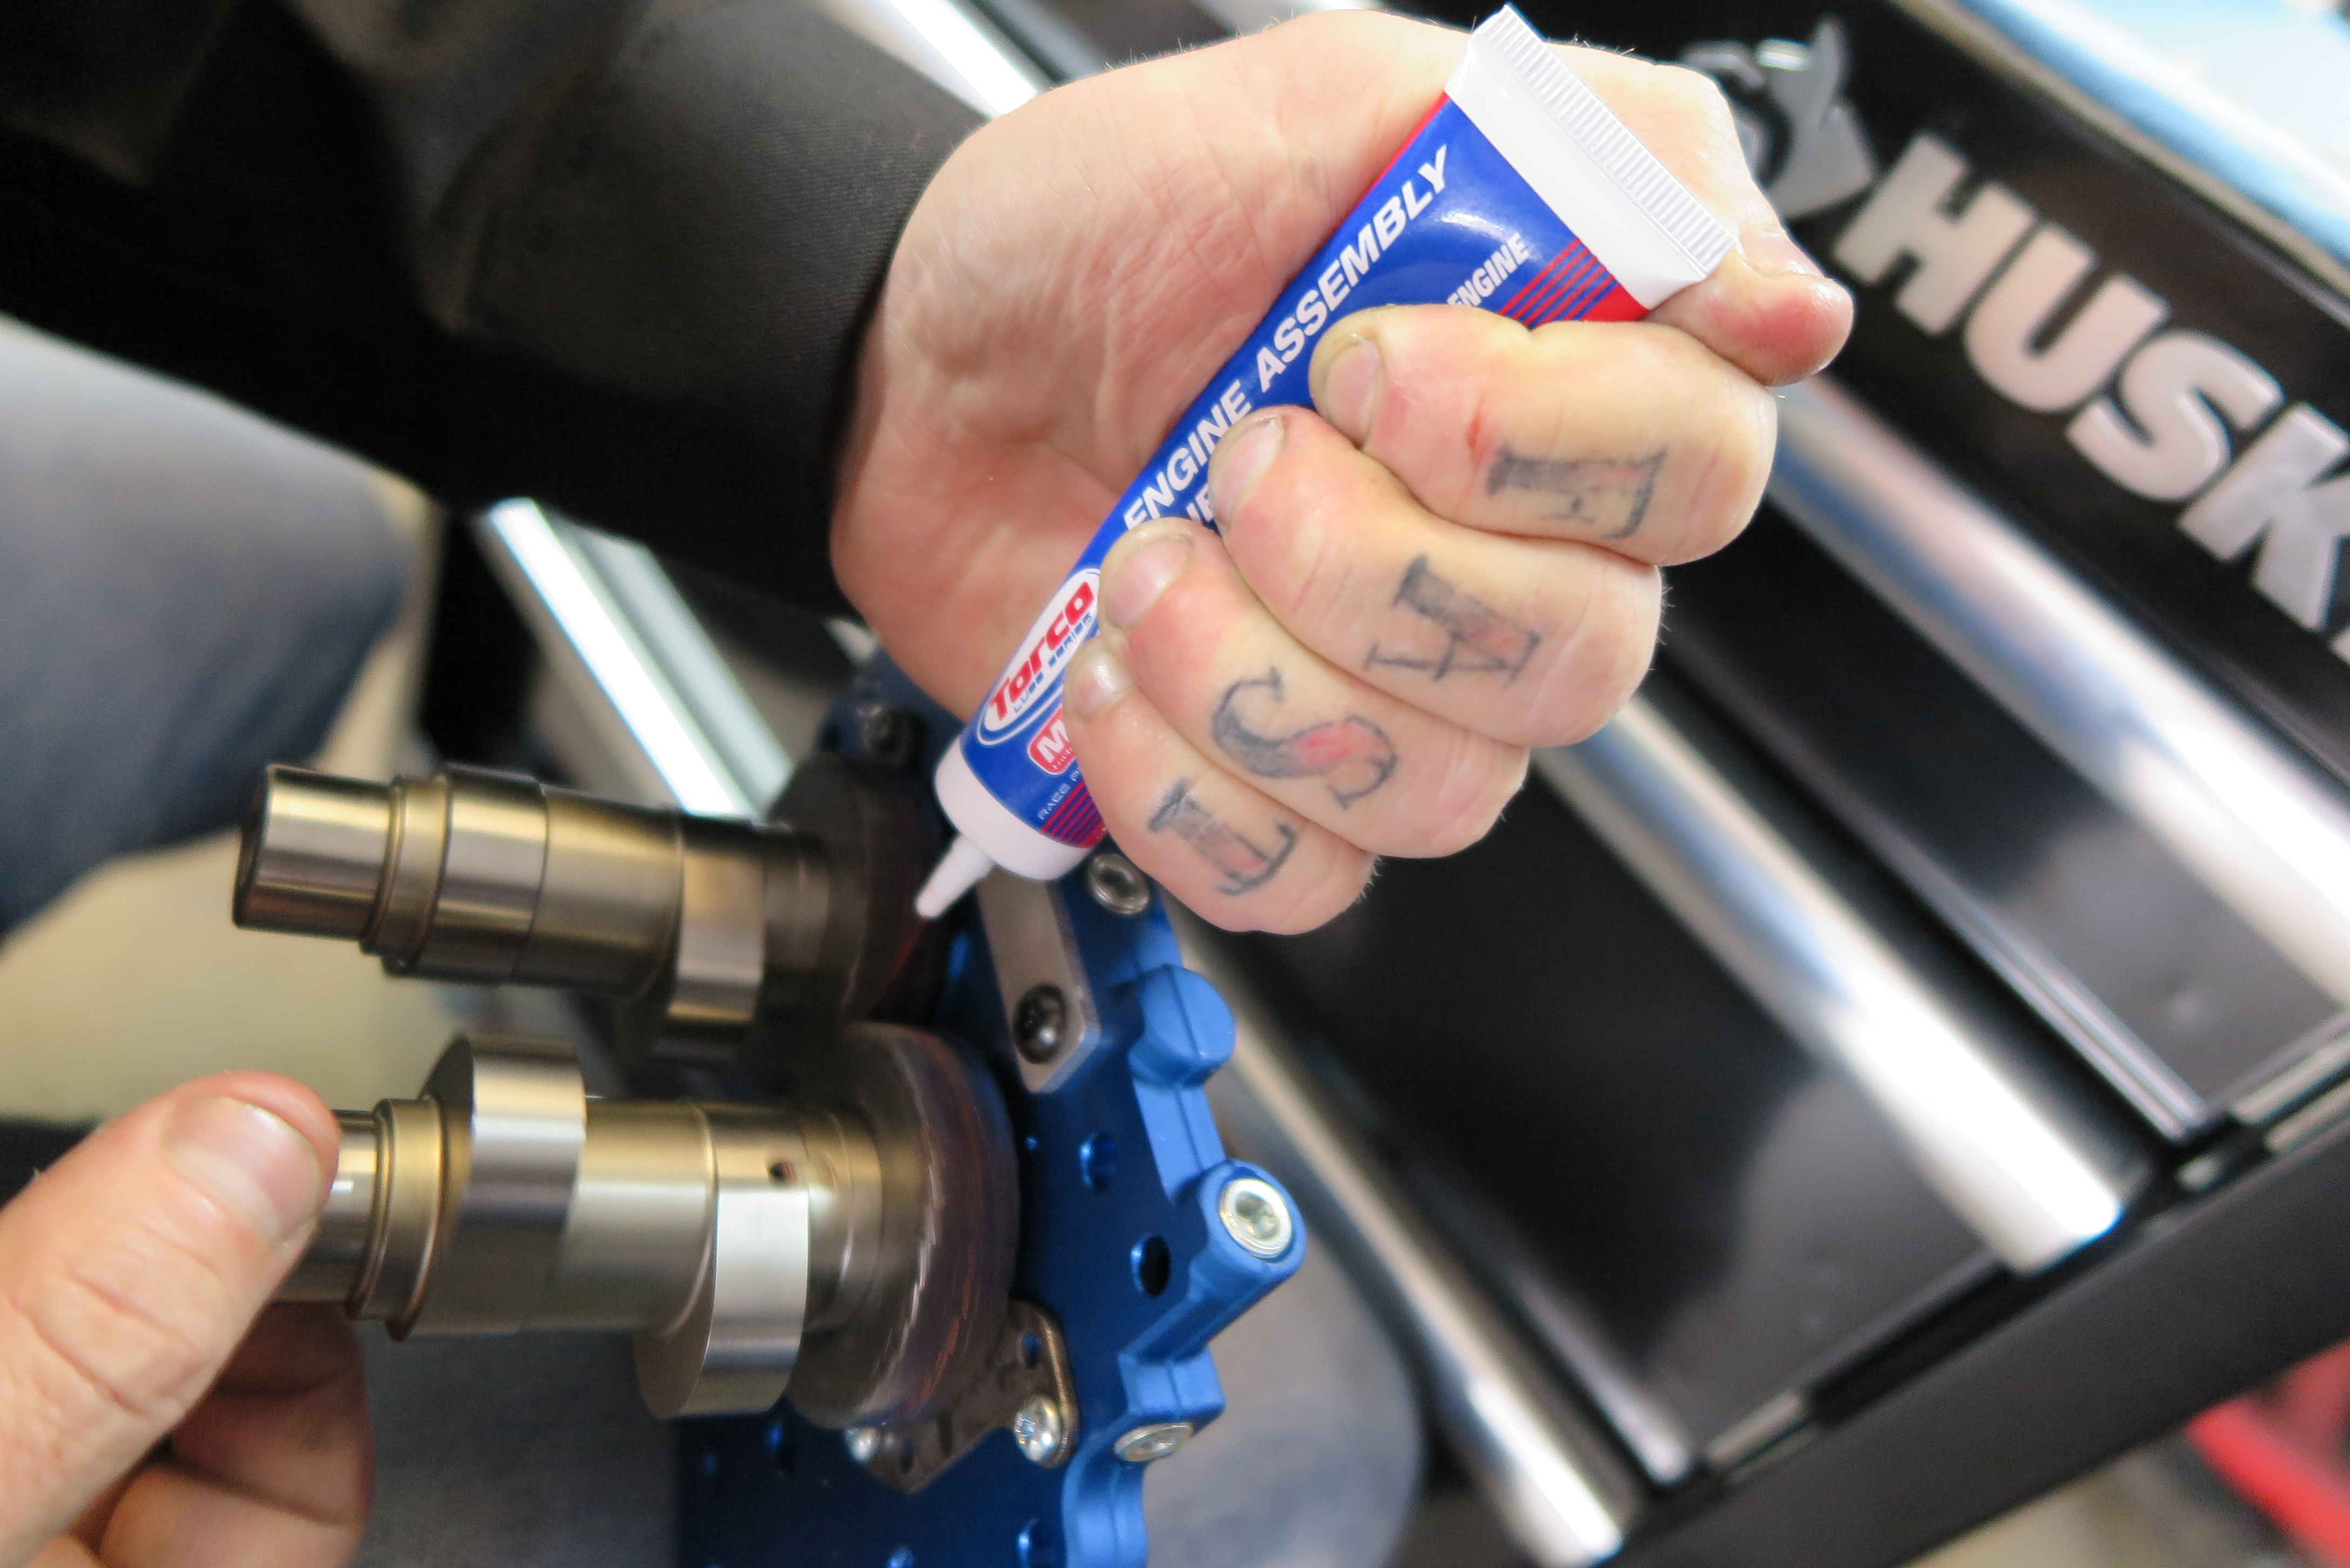
Danny is a proponent of putting massive amounts of assembly lube on all new parts that might need them—just like these gear-drive cams.
Photo: Jeff G. Holt
The TC3 cam plate and 640 Easy Start cams were installed into the motor.
Photo: Jeff G. Holt

Danny then employed his Snap-on torque wrench to get the correct torque specs.
Photo: Jeff G. Holt
RELATED | MORE DYNA POSTS
Once the cams were properly aligned, the S&S lower outer drive cam gear was bolted to the TC3 cam support plate.
Photo: Jeff G. Holt
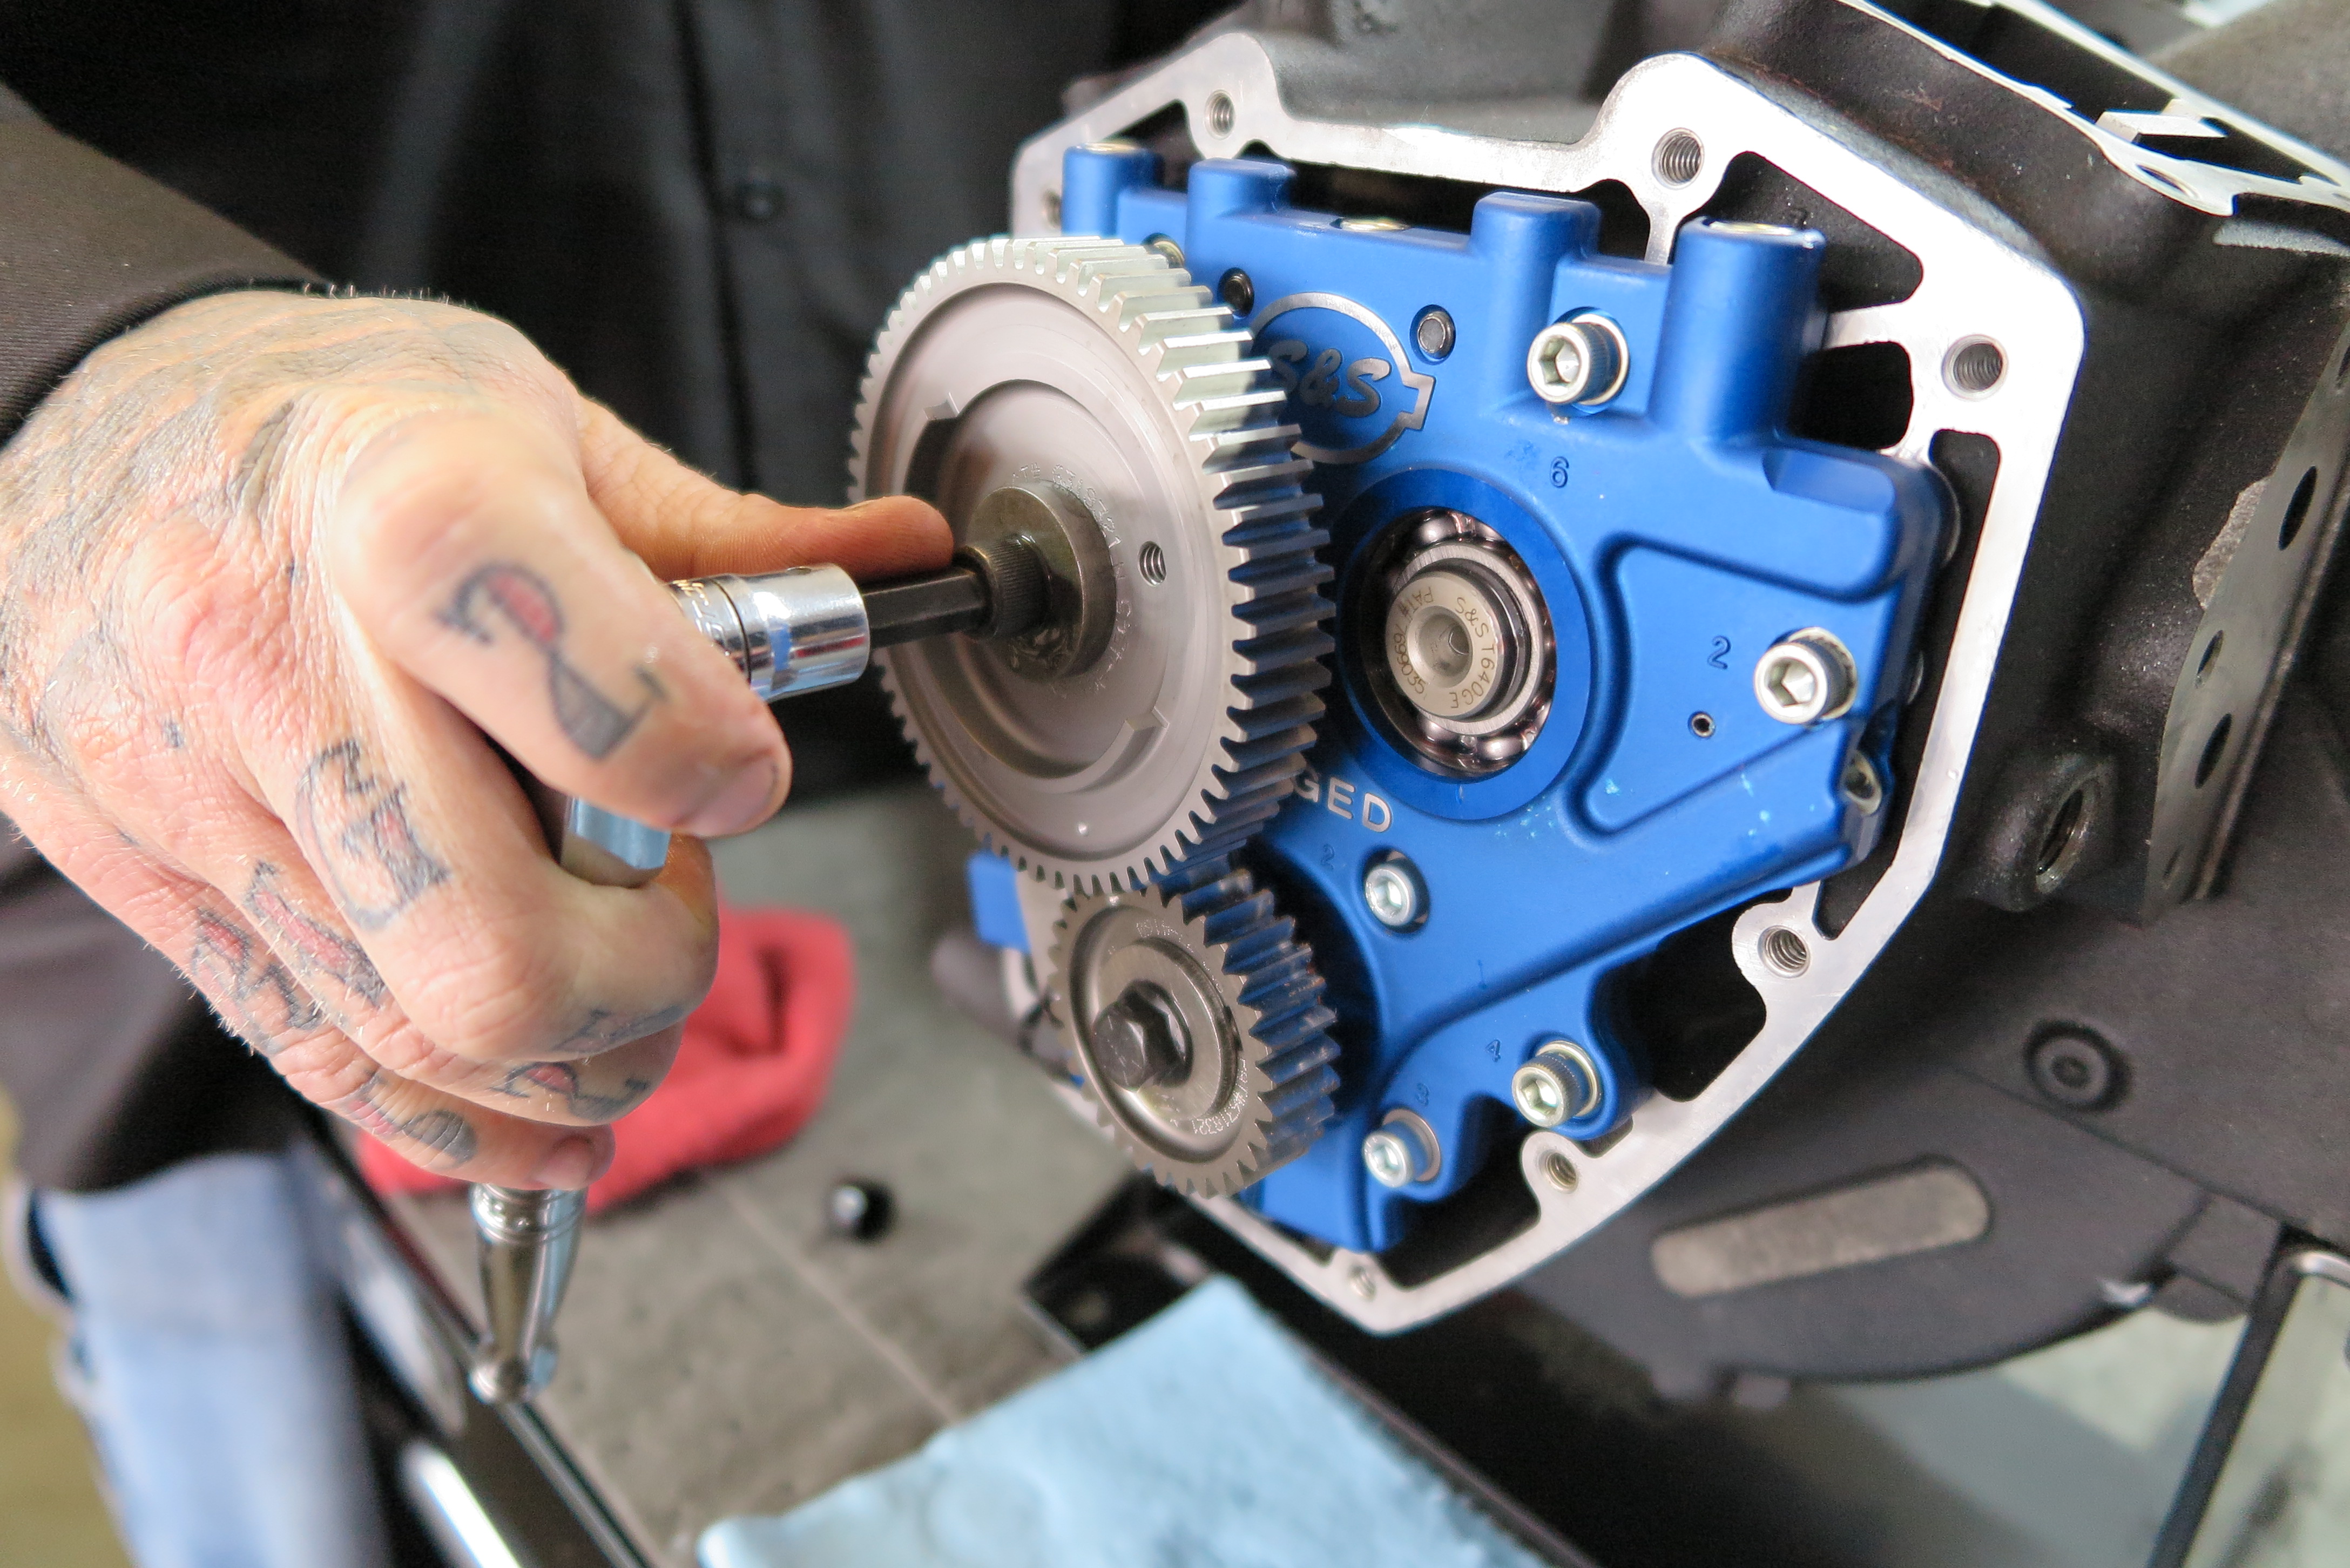
Then the upper S&S outer drive cam gear followed suit.
Photo: Jeff G. Holt
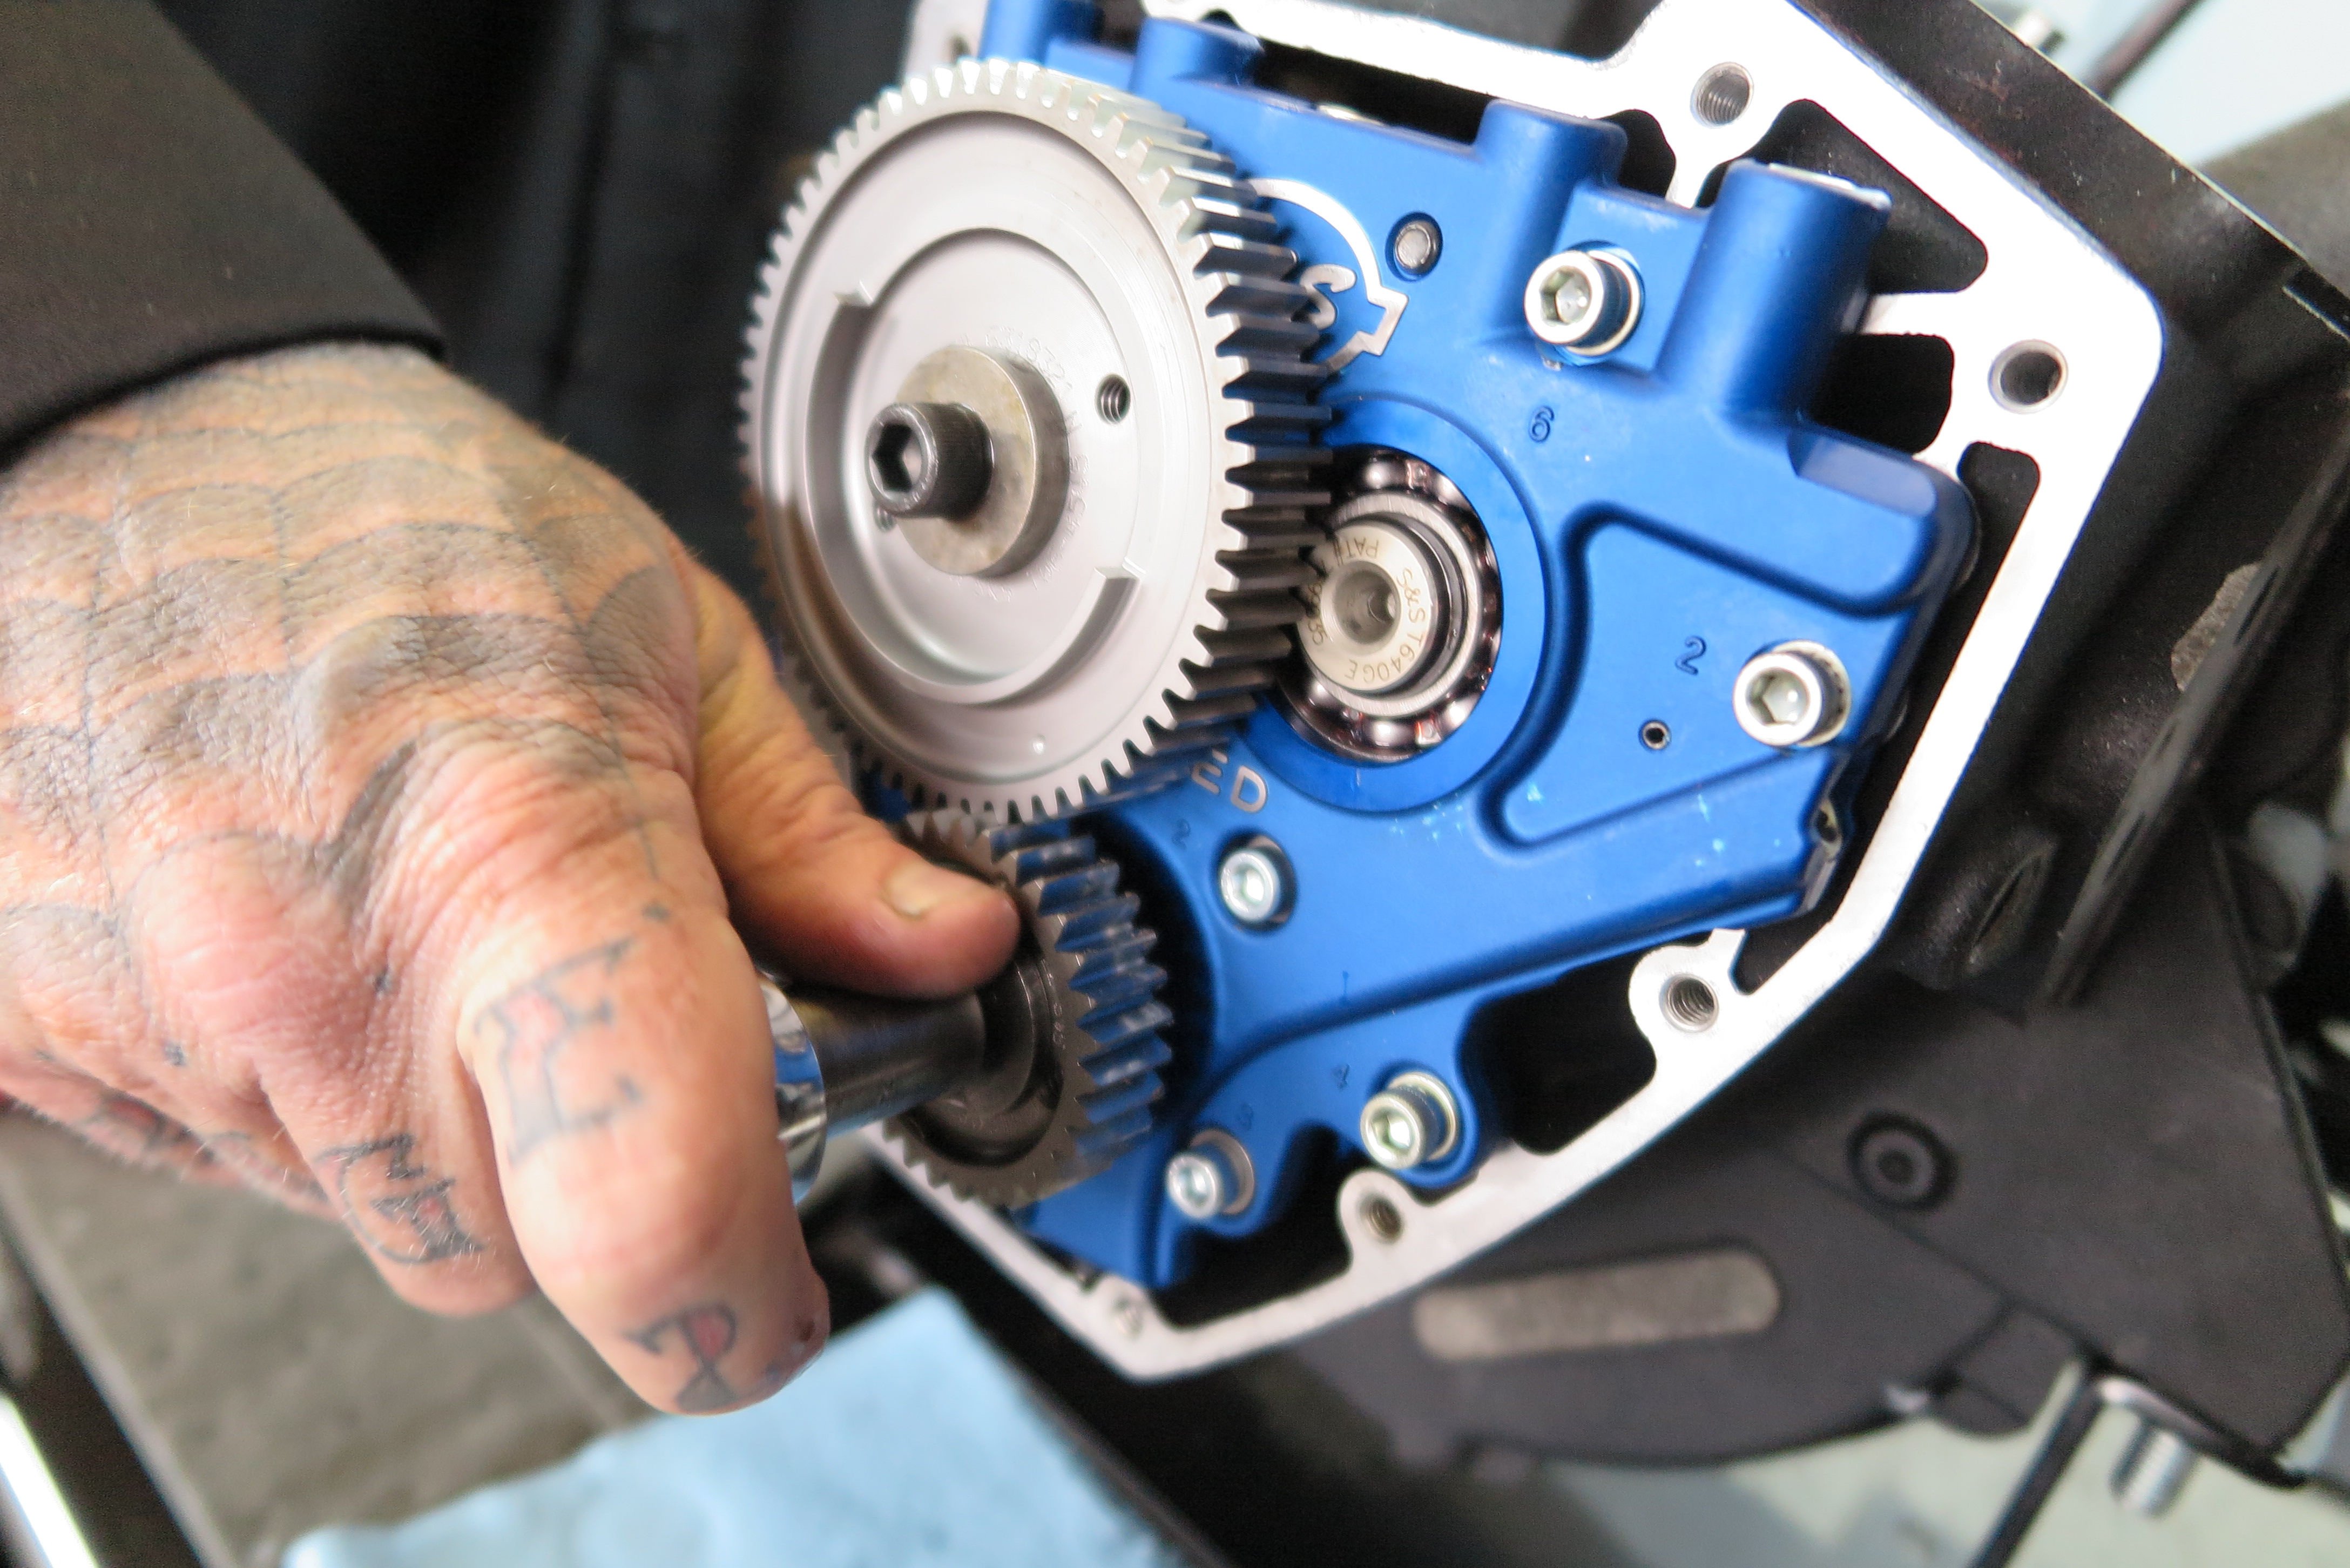
Both S&S outer cam gears were torqued to factory specifications.
Photo: Jeff G. Holt
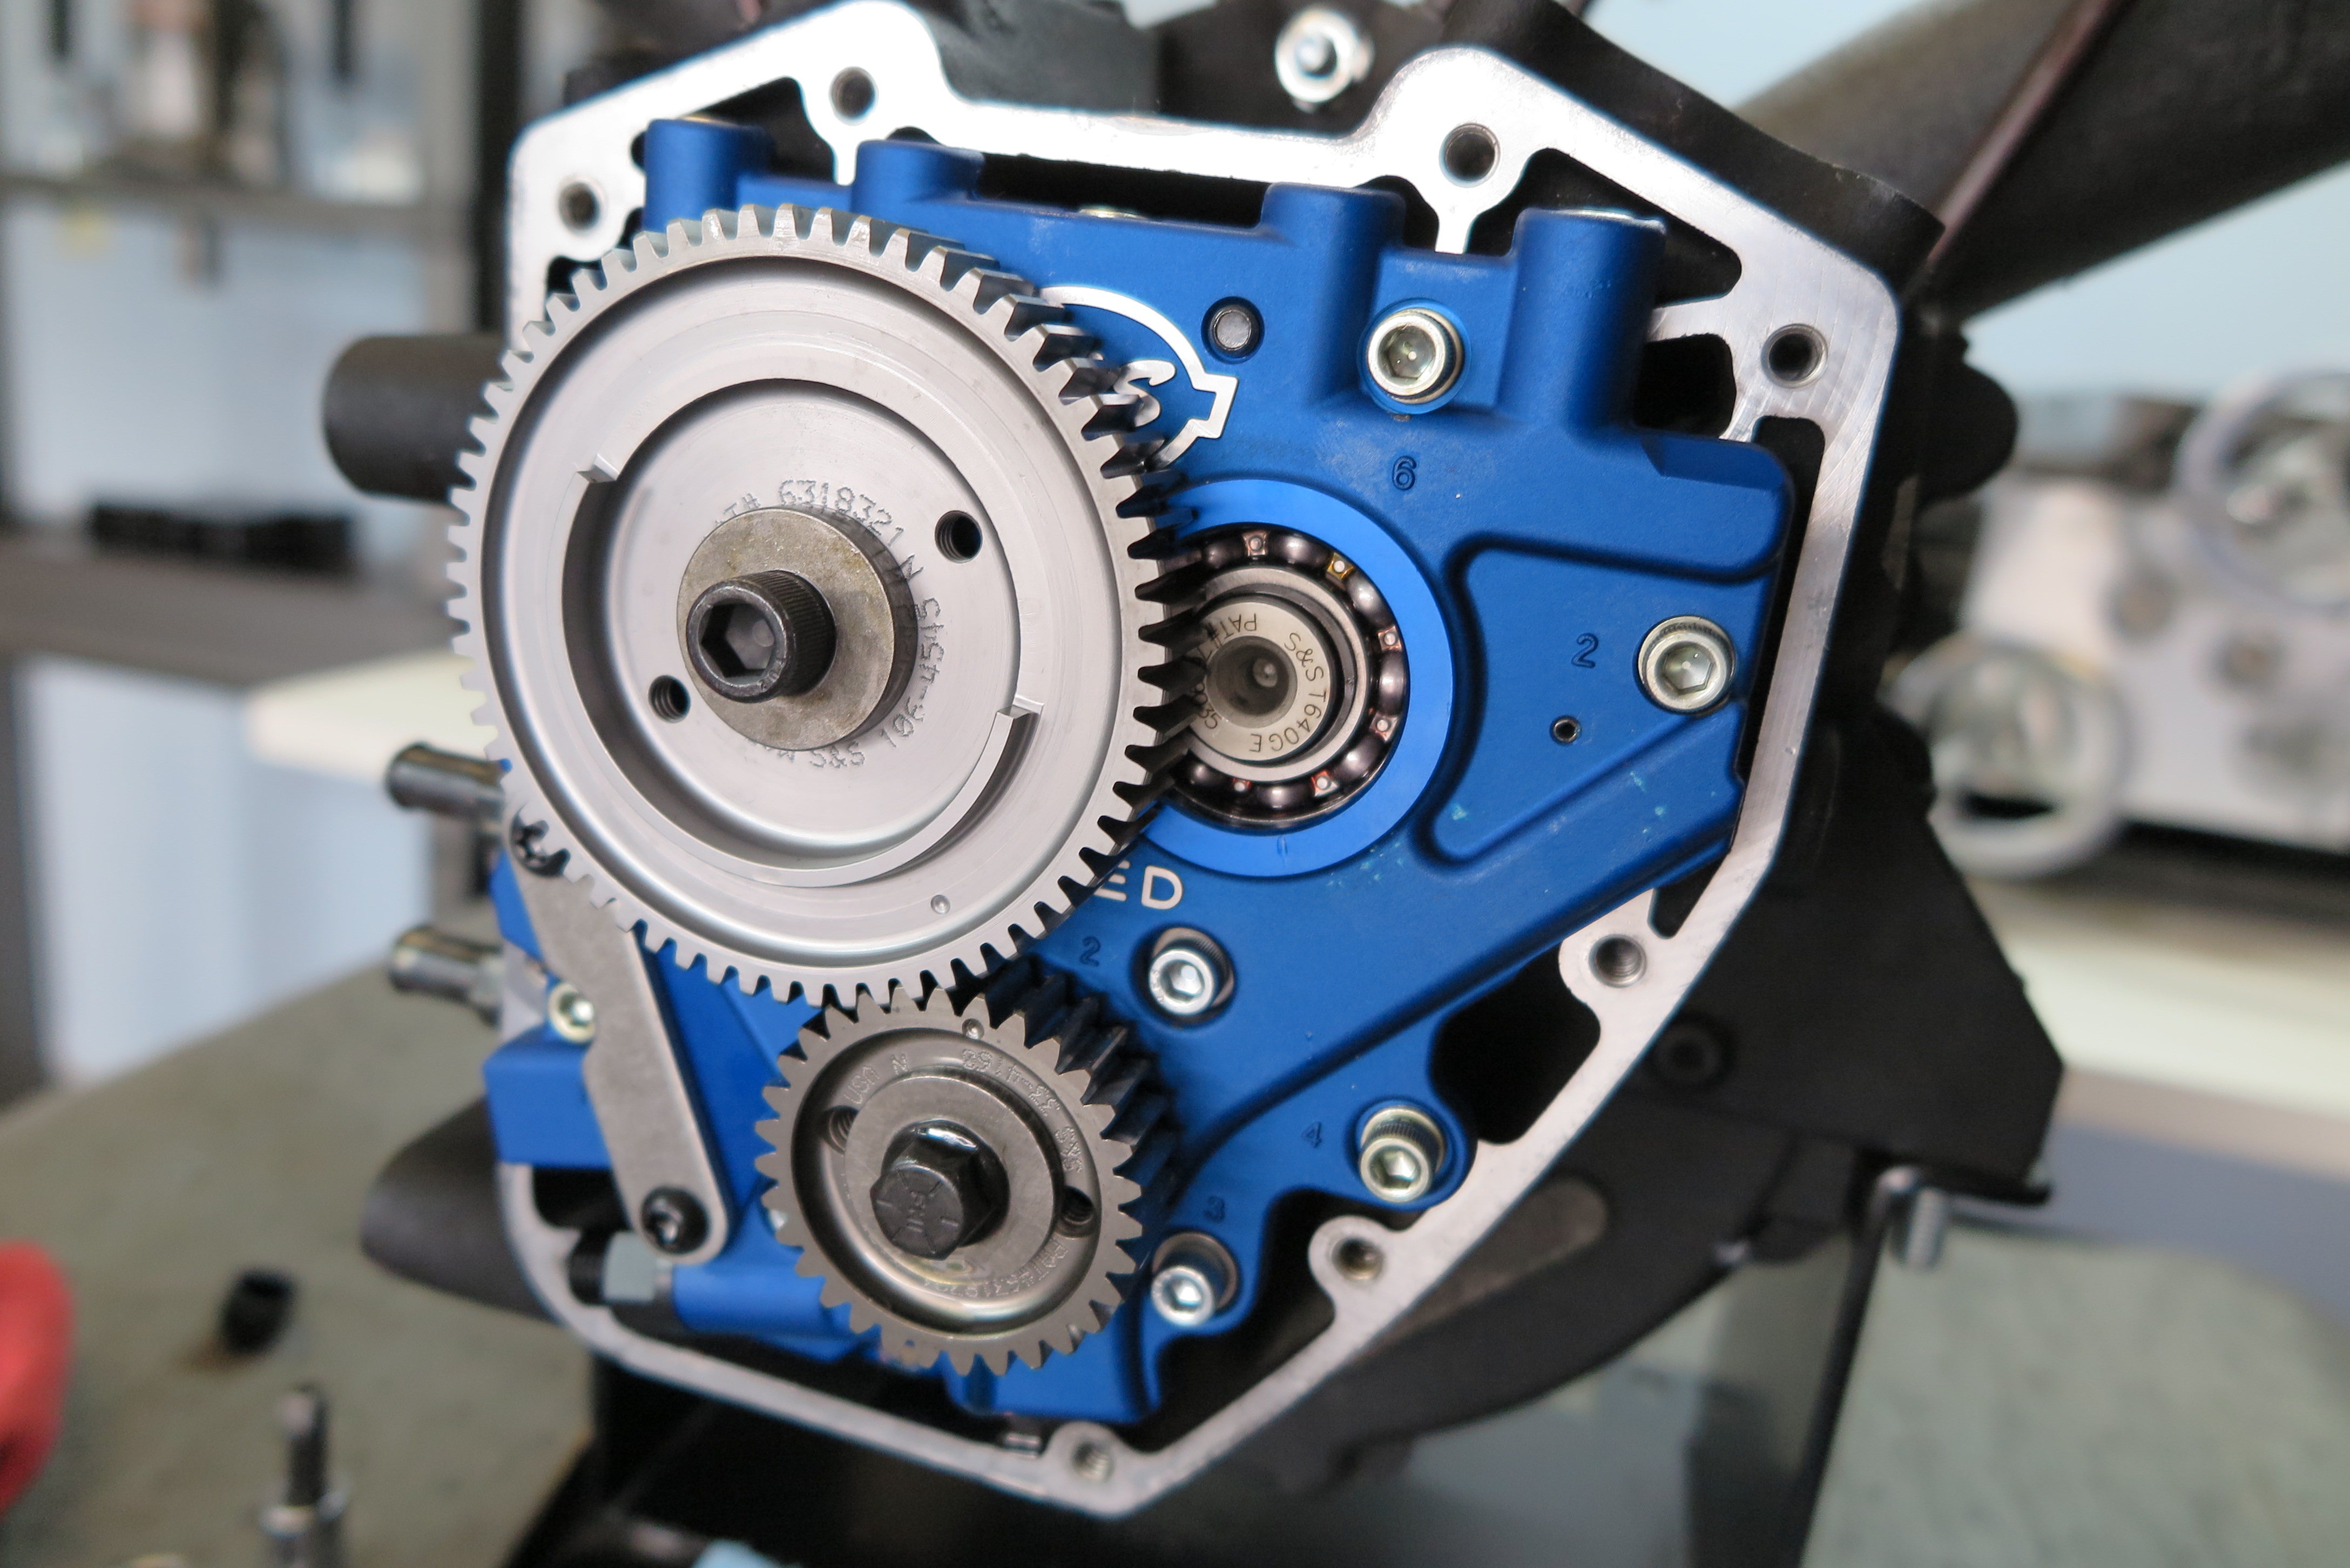
Here is a shot of some sweet 640 Easy Start Cams, S&S TC3 oil pump, and cam support plate all installed into the bored-out H-D engine case.
Photo: Jeff G. Holt

The stock cam cover was then bolted back into place.
Photo: Jeff G. Holt
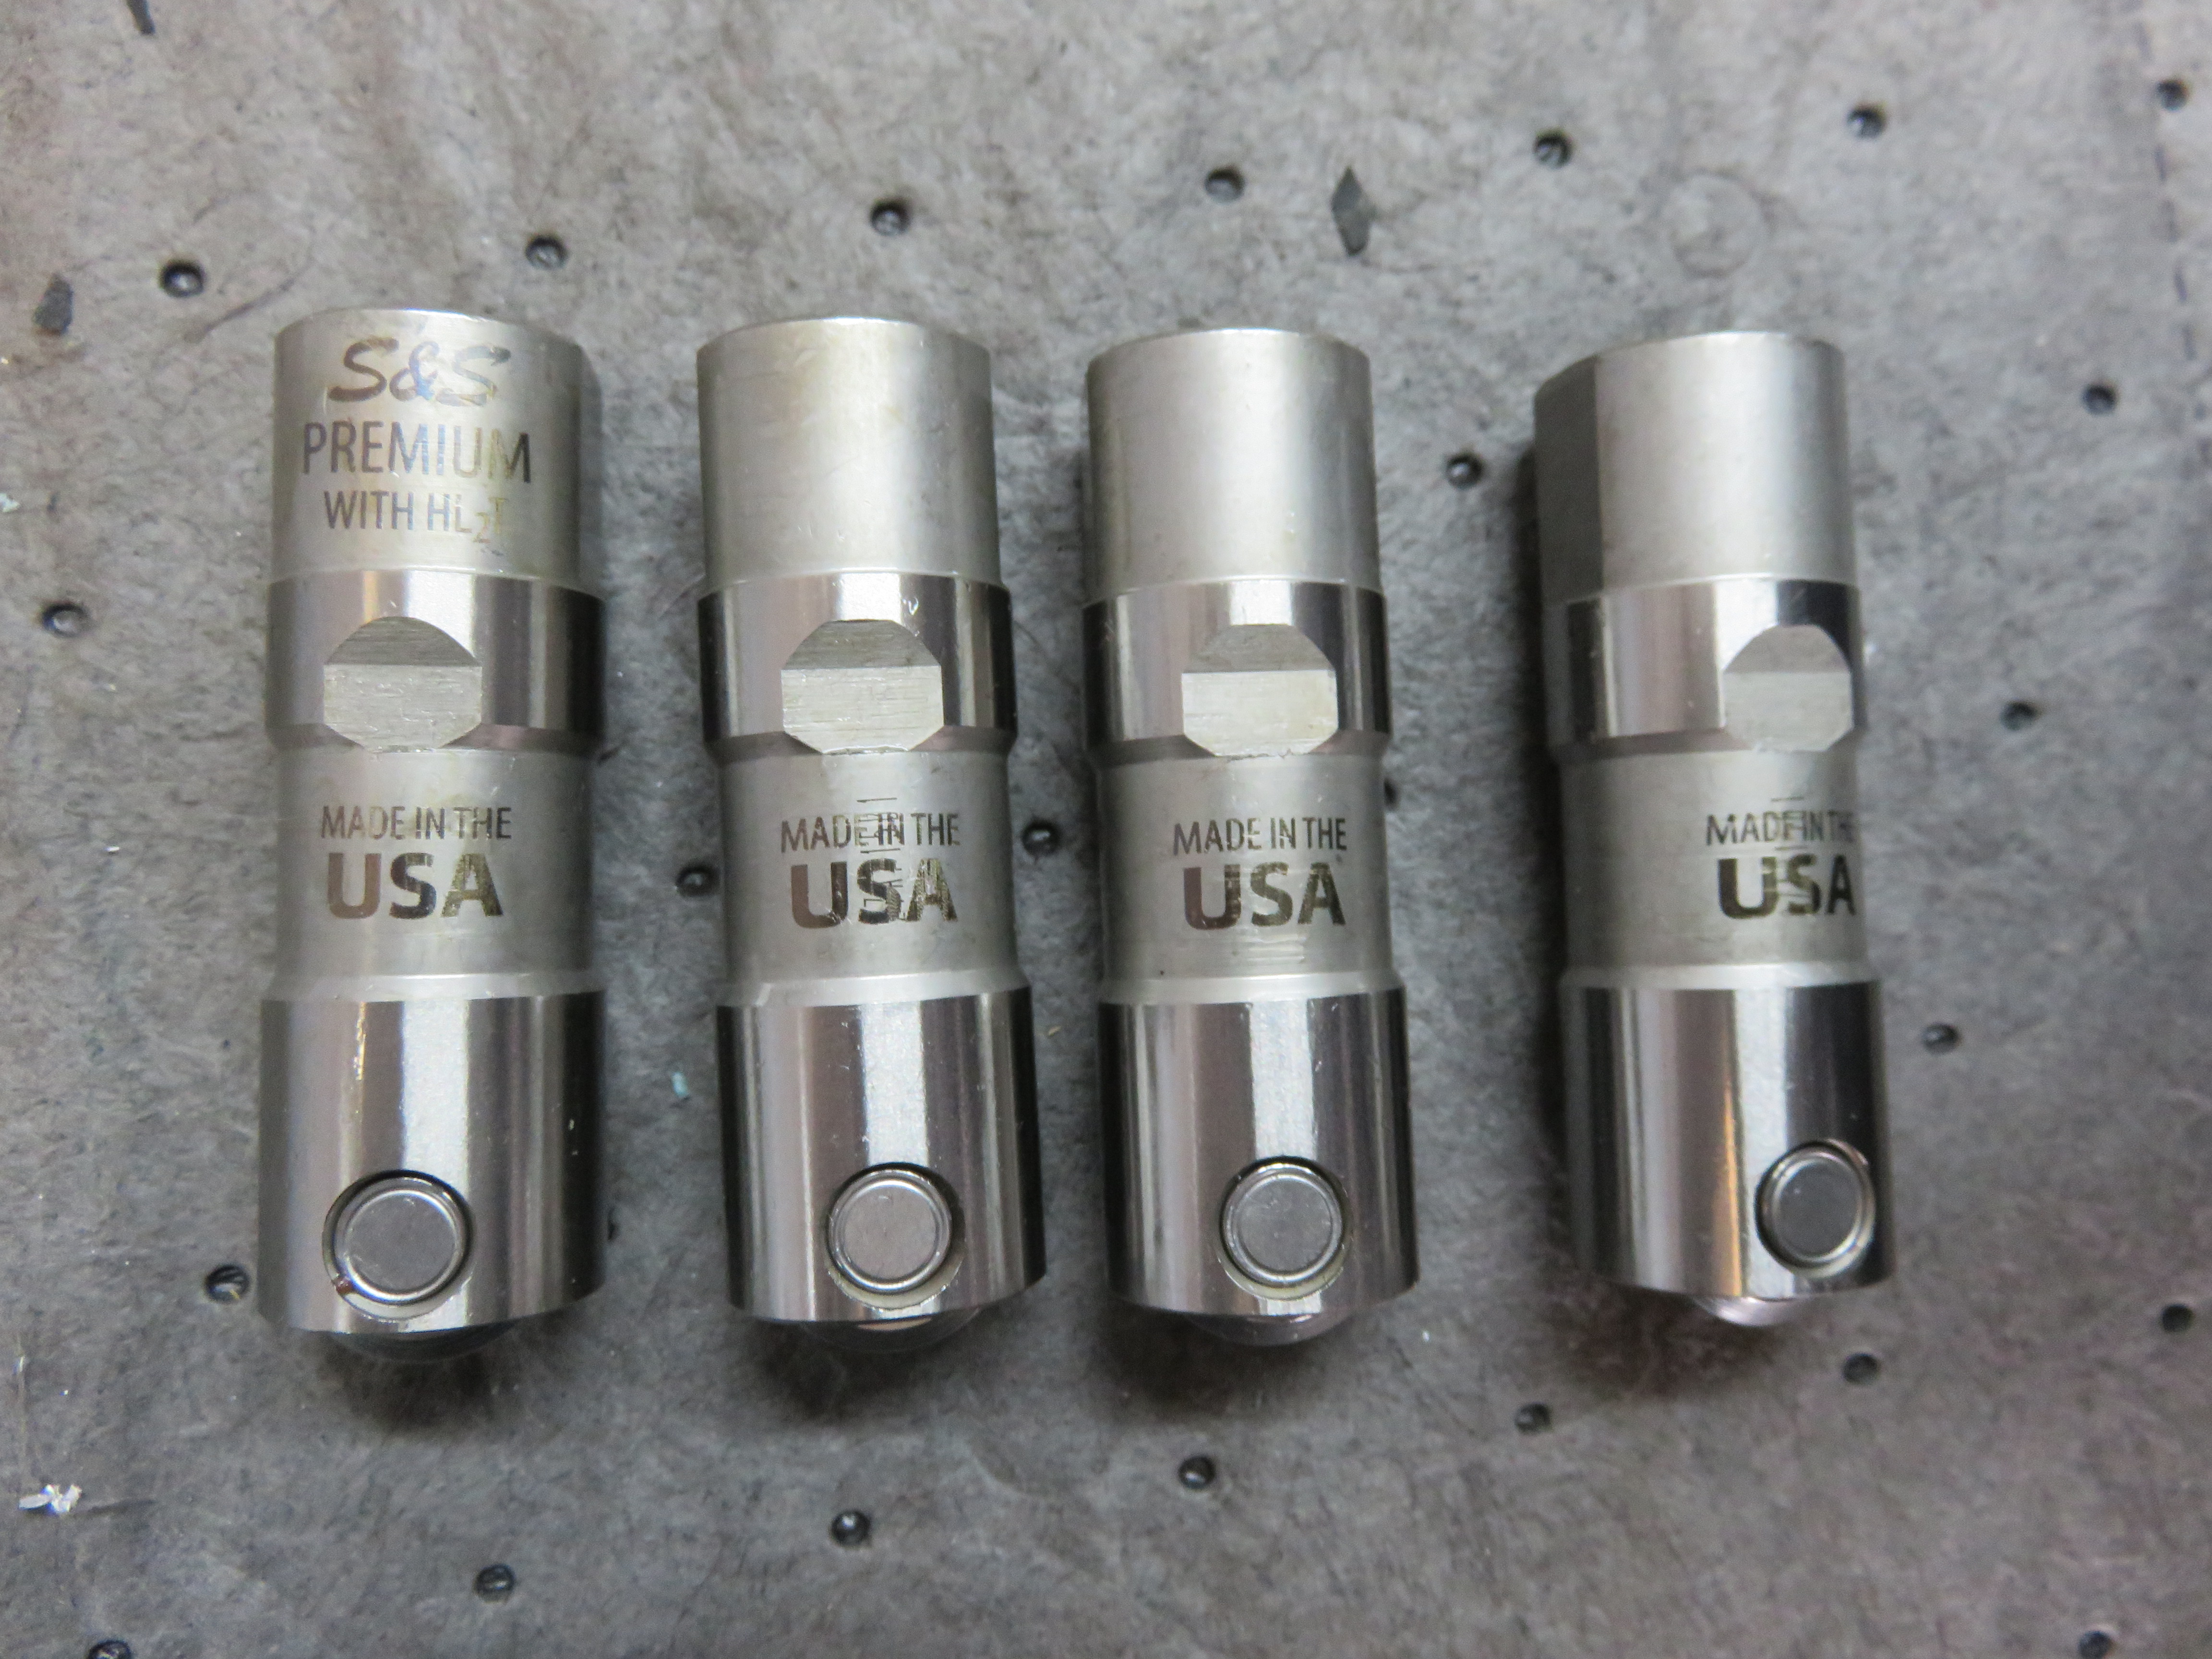
A set of S&S Premium Hydraulic tappets also came with the Hot Setup kit.
Photo: Jeff G. Holt

Before installation, Danny pre-lubed the tappets with motor oil.
Photo: Jeff G. Holt
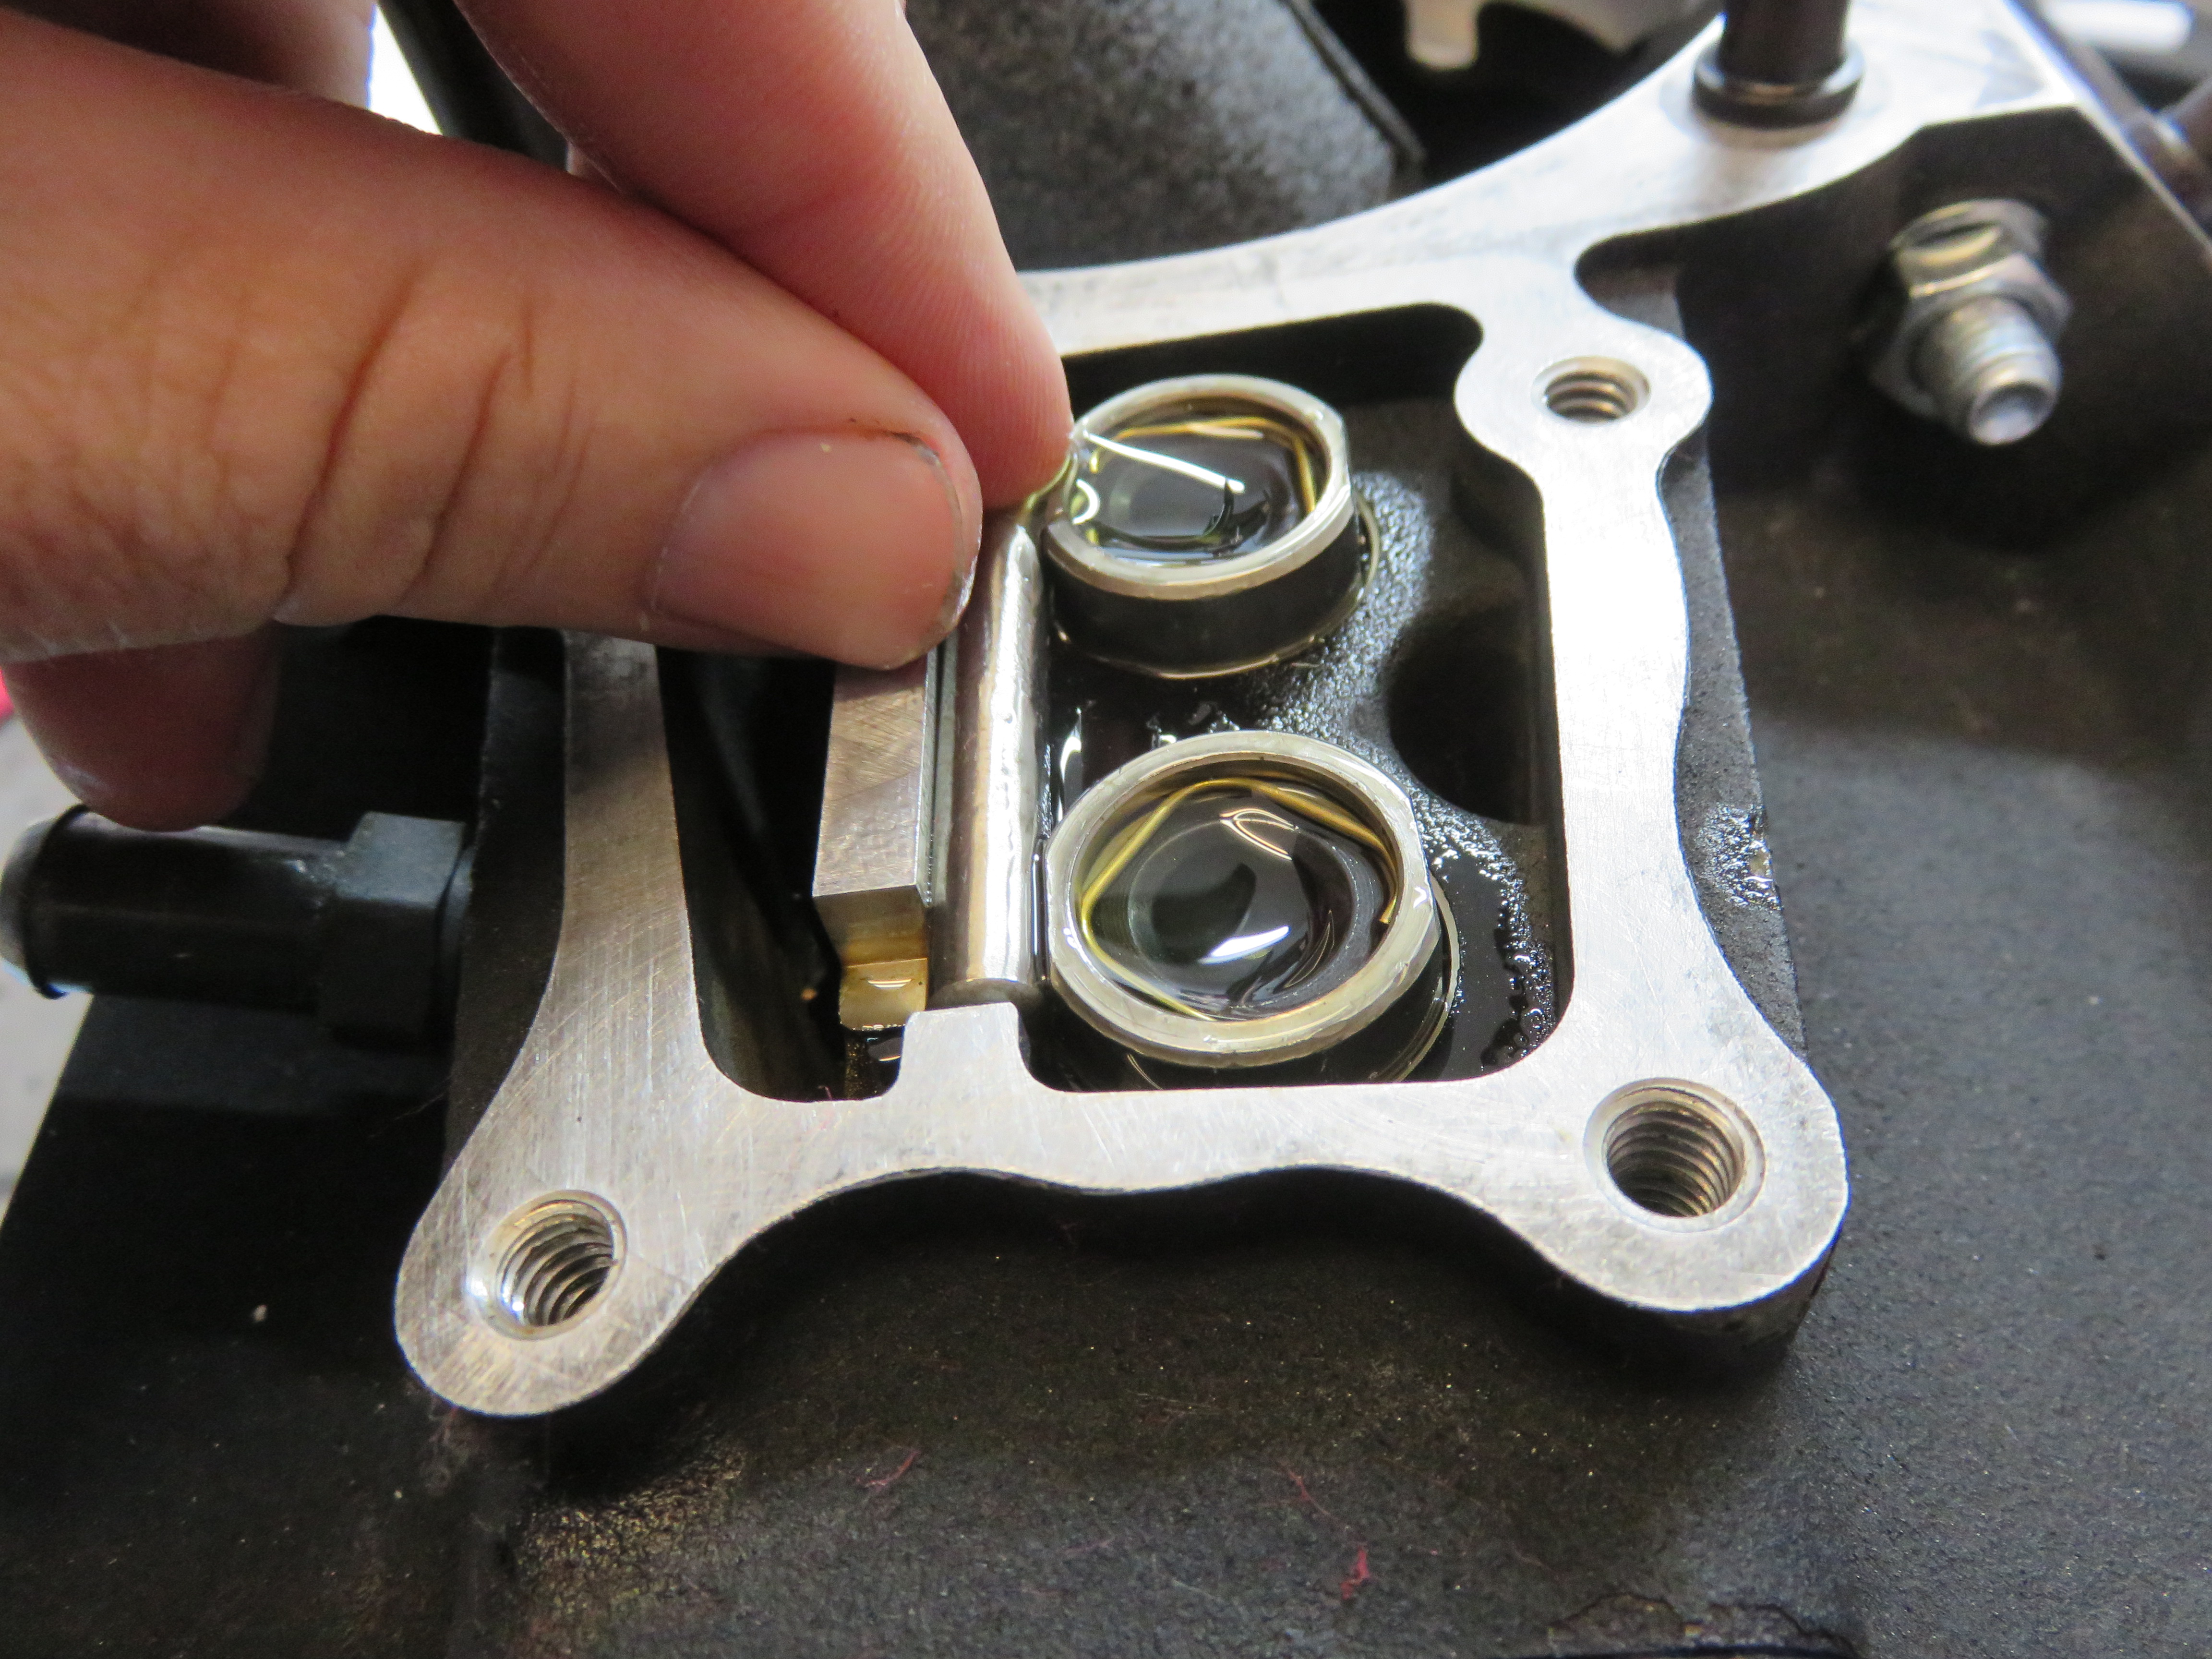
All four lubed tappets were then installed into the engine.
Photo: Jeff G. Holt
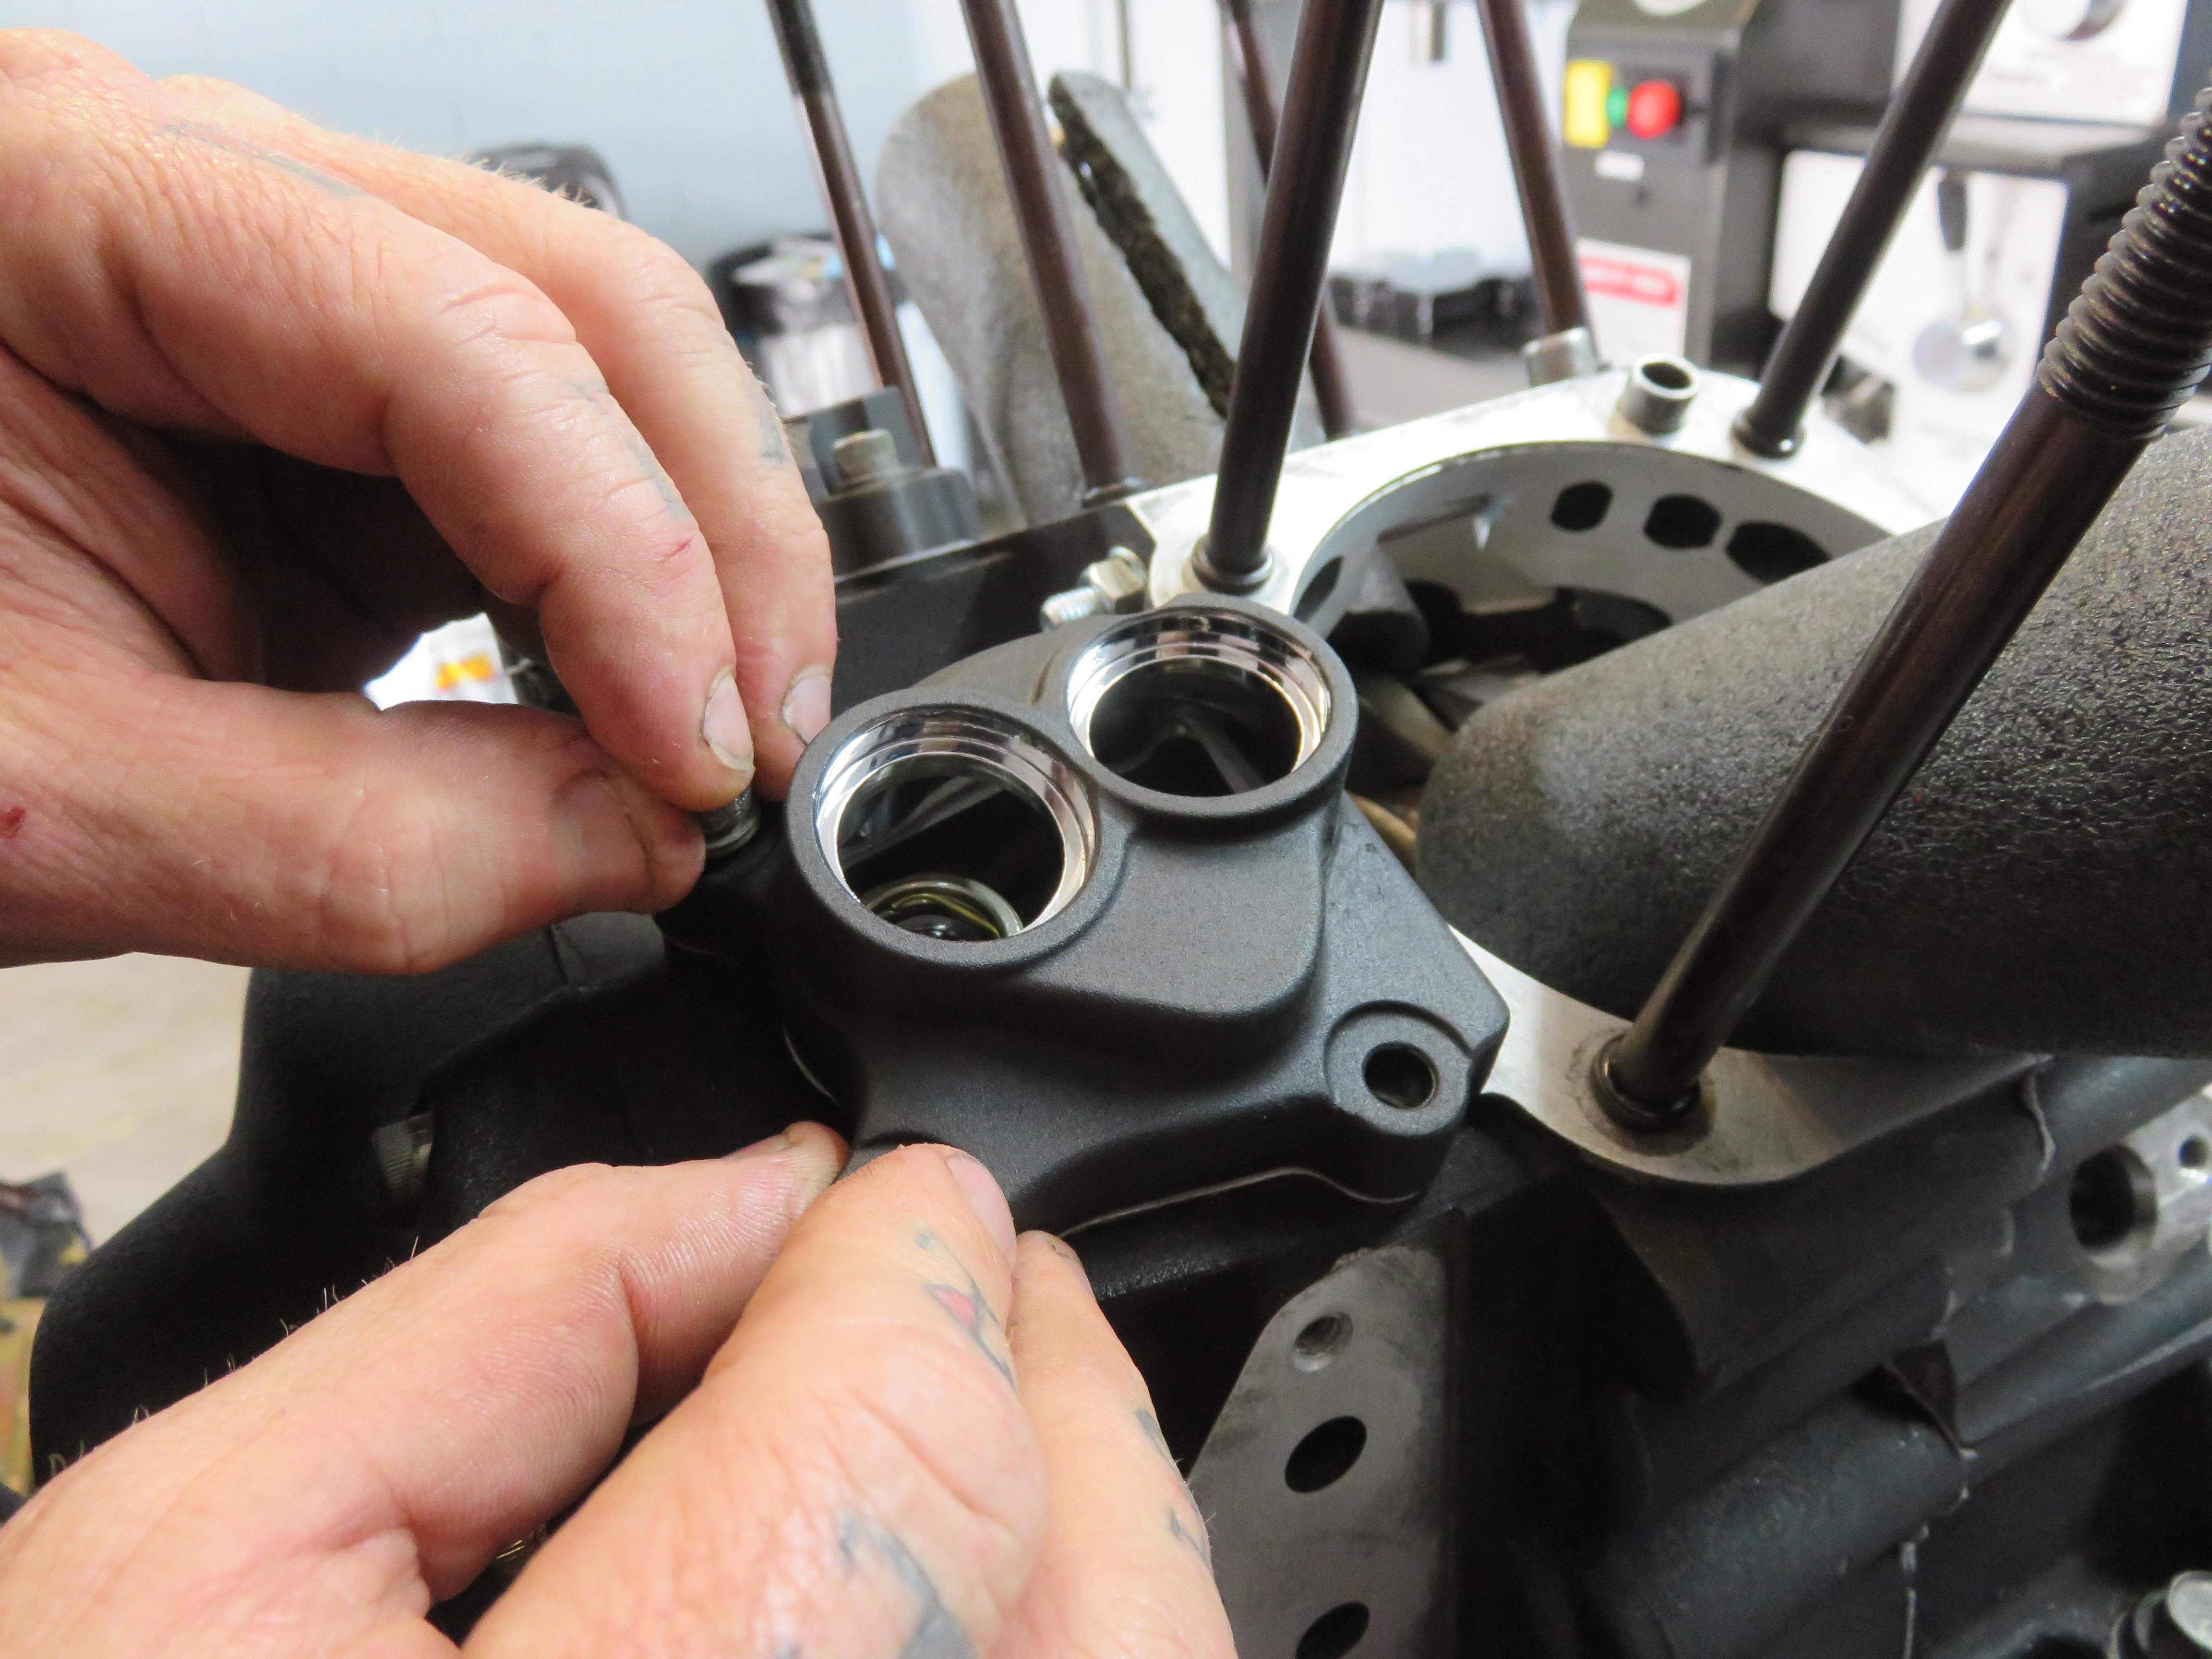
The tappet blocks were then installed onto the bored-out motor.
Photo: Jeff G. Holt
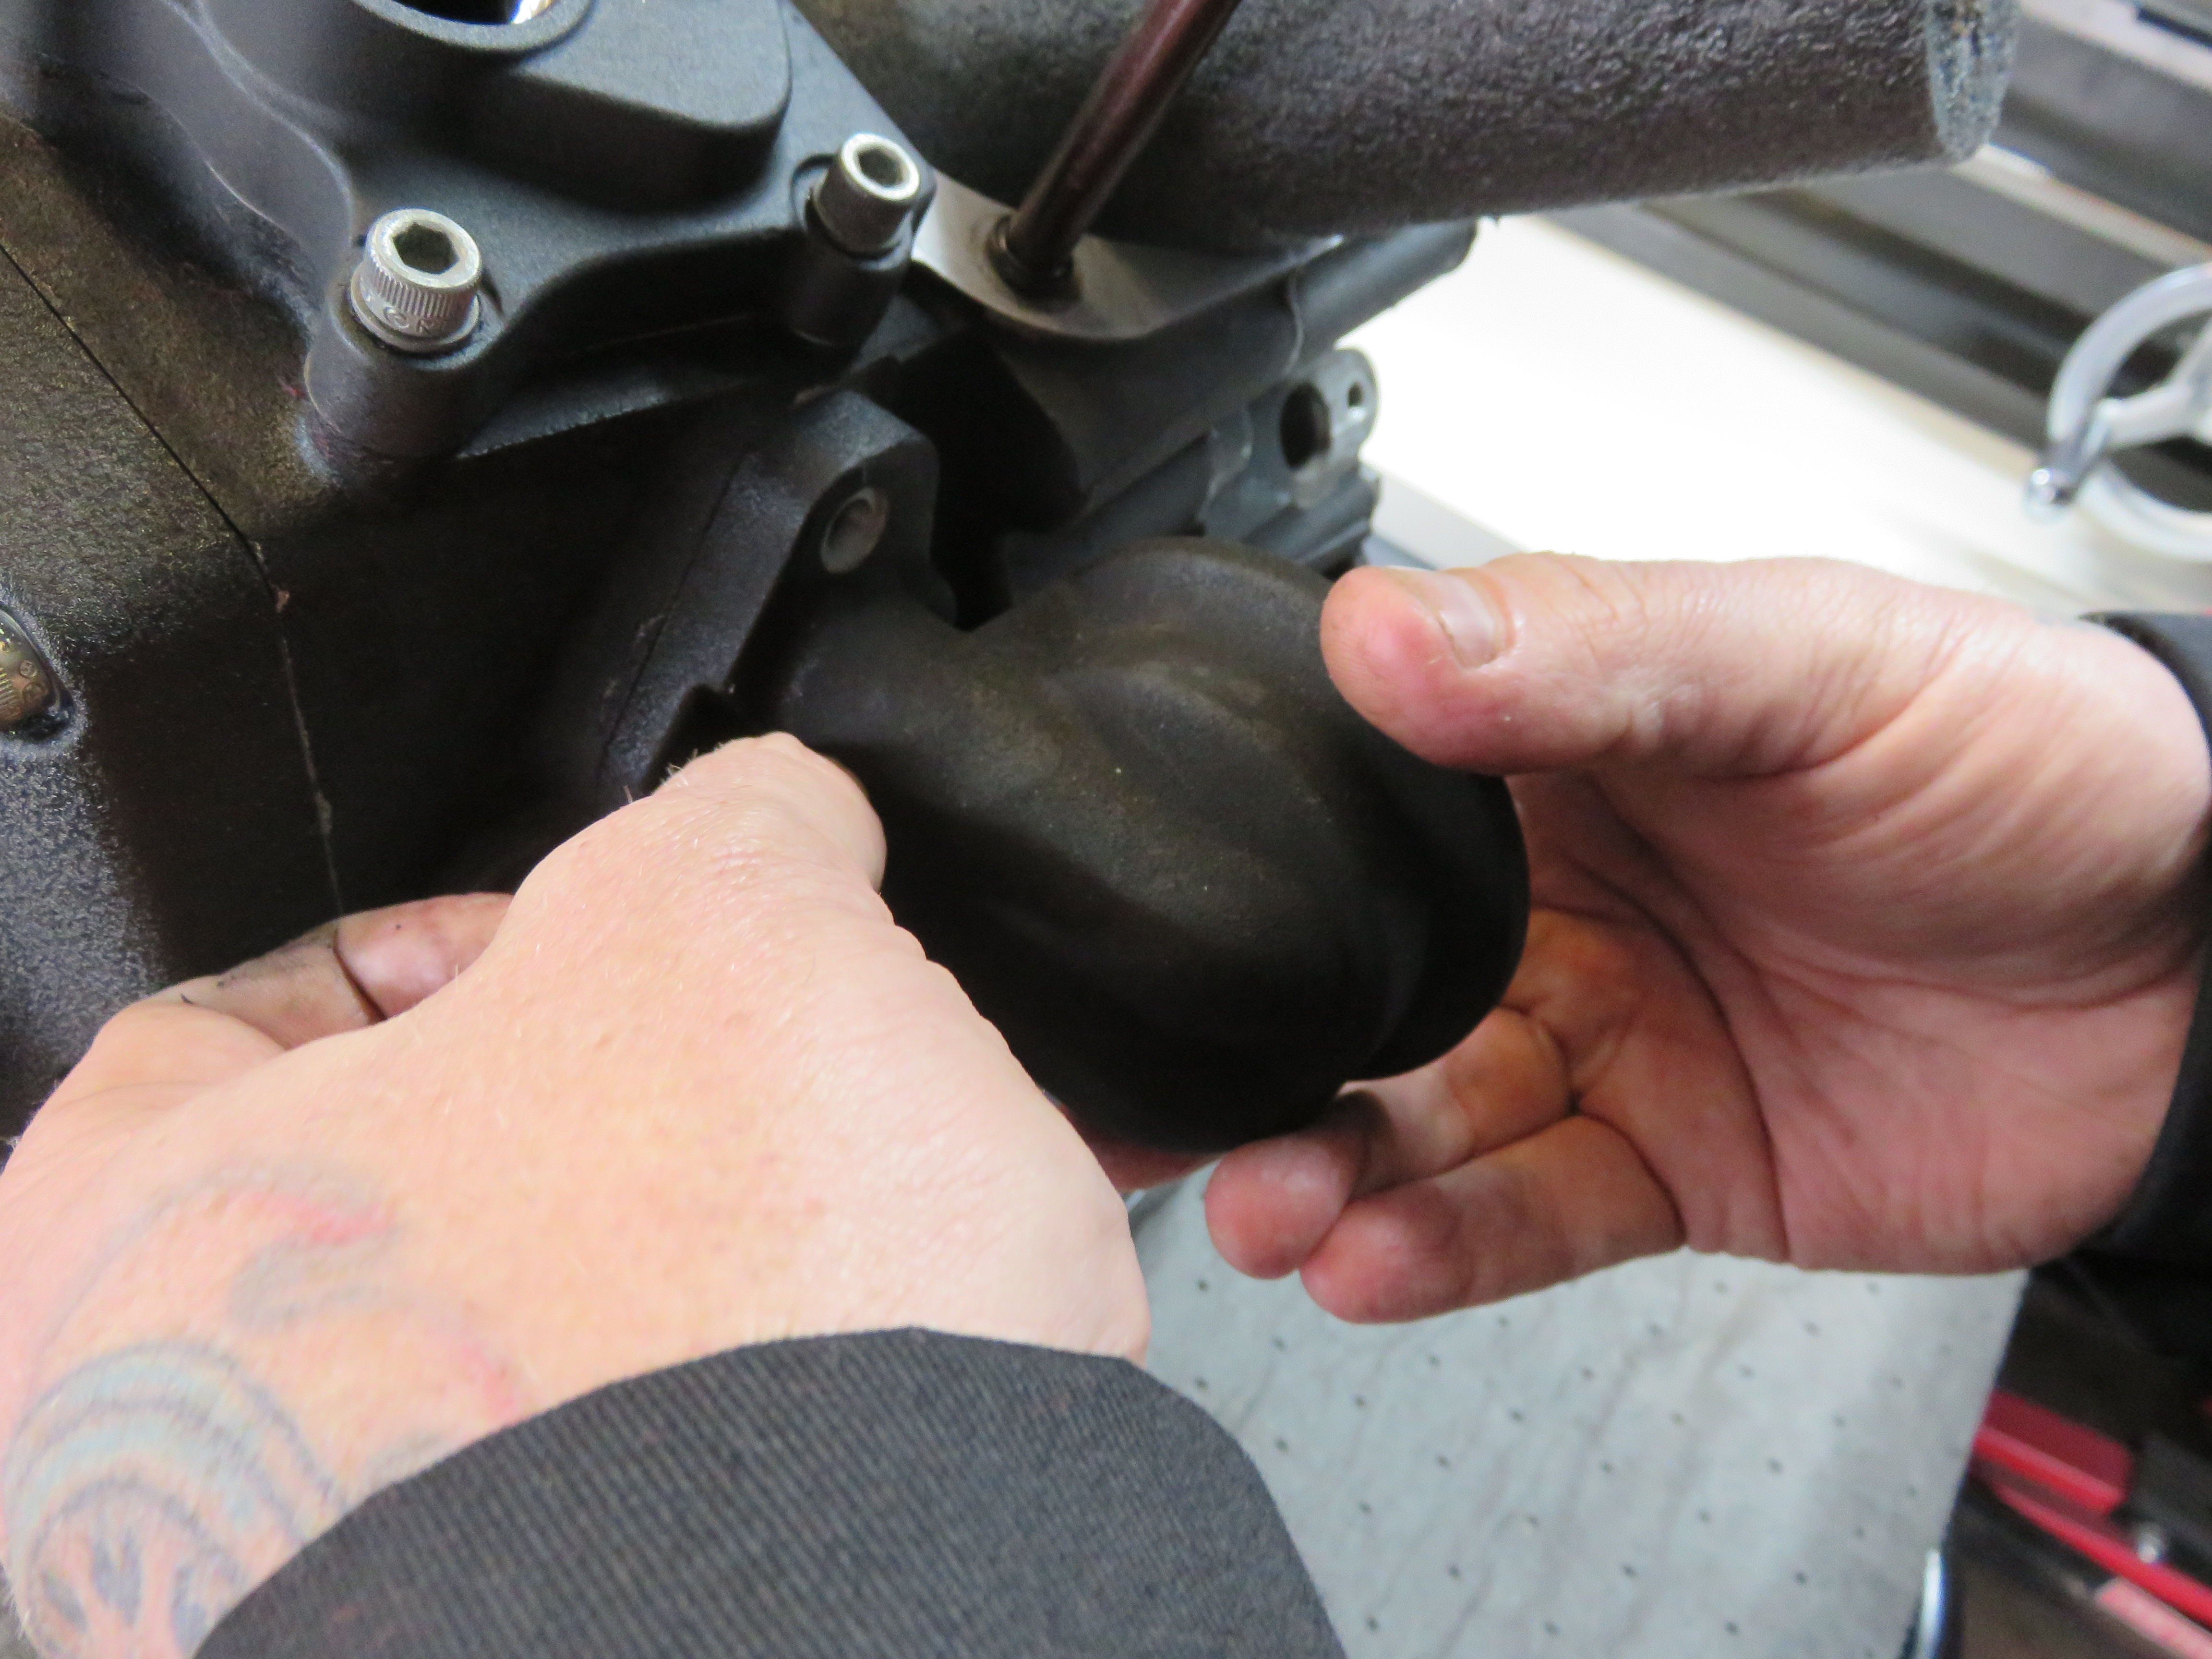
The oil filter mount was also installed at this time.
Photo: Jeff G. Holt
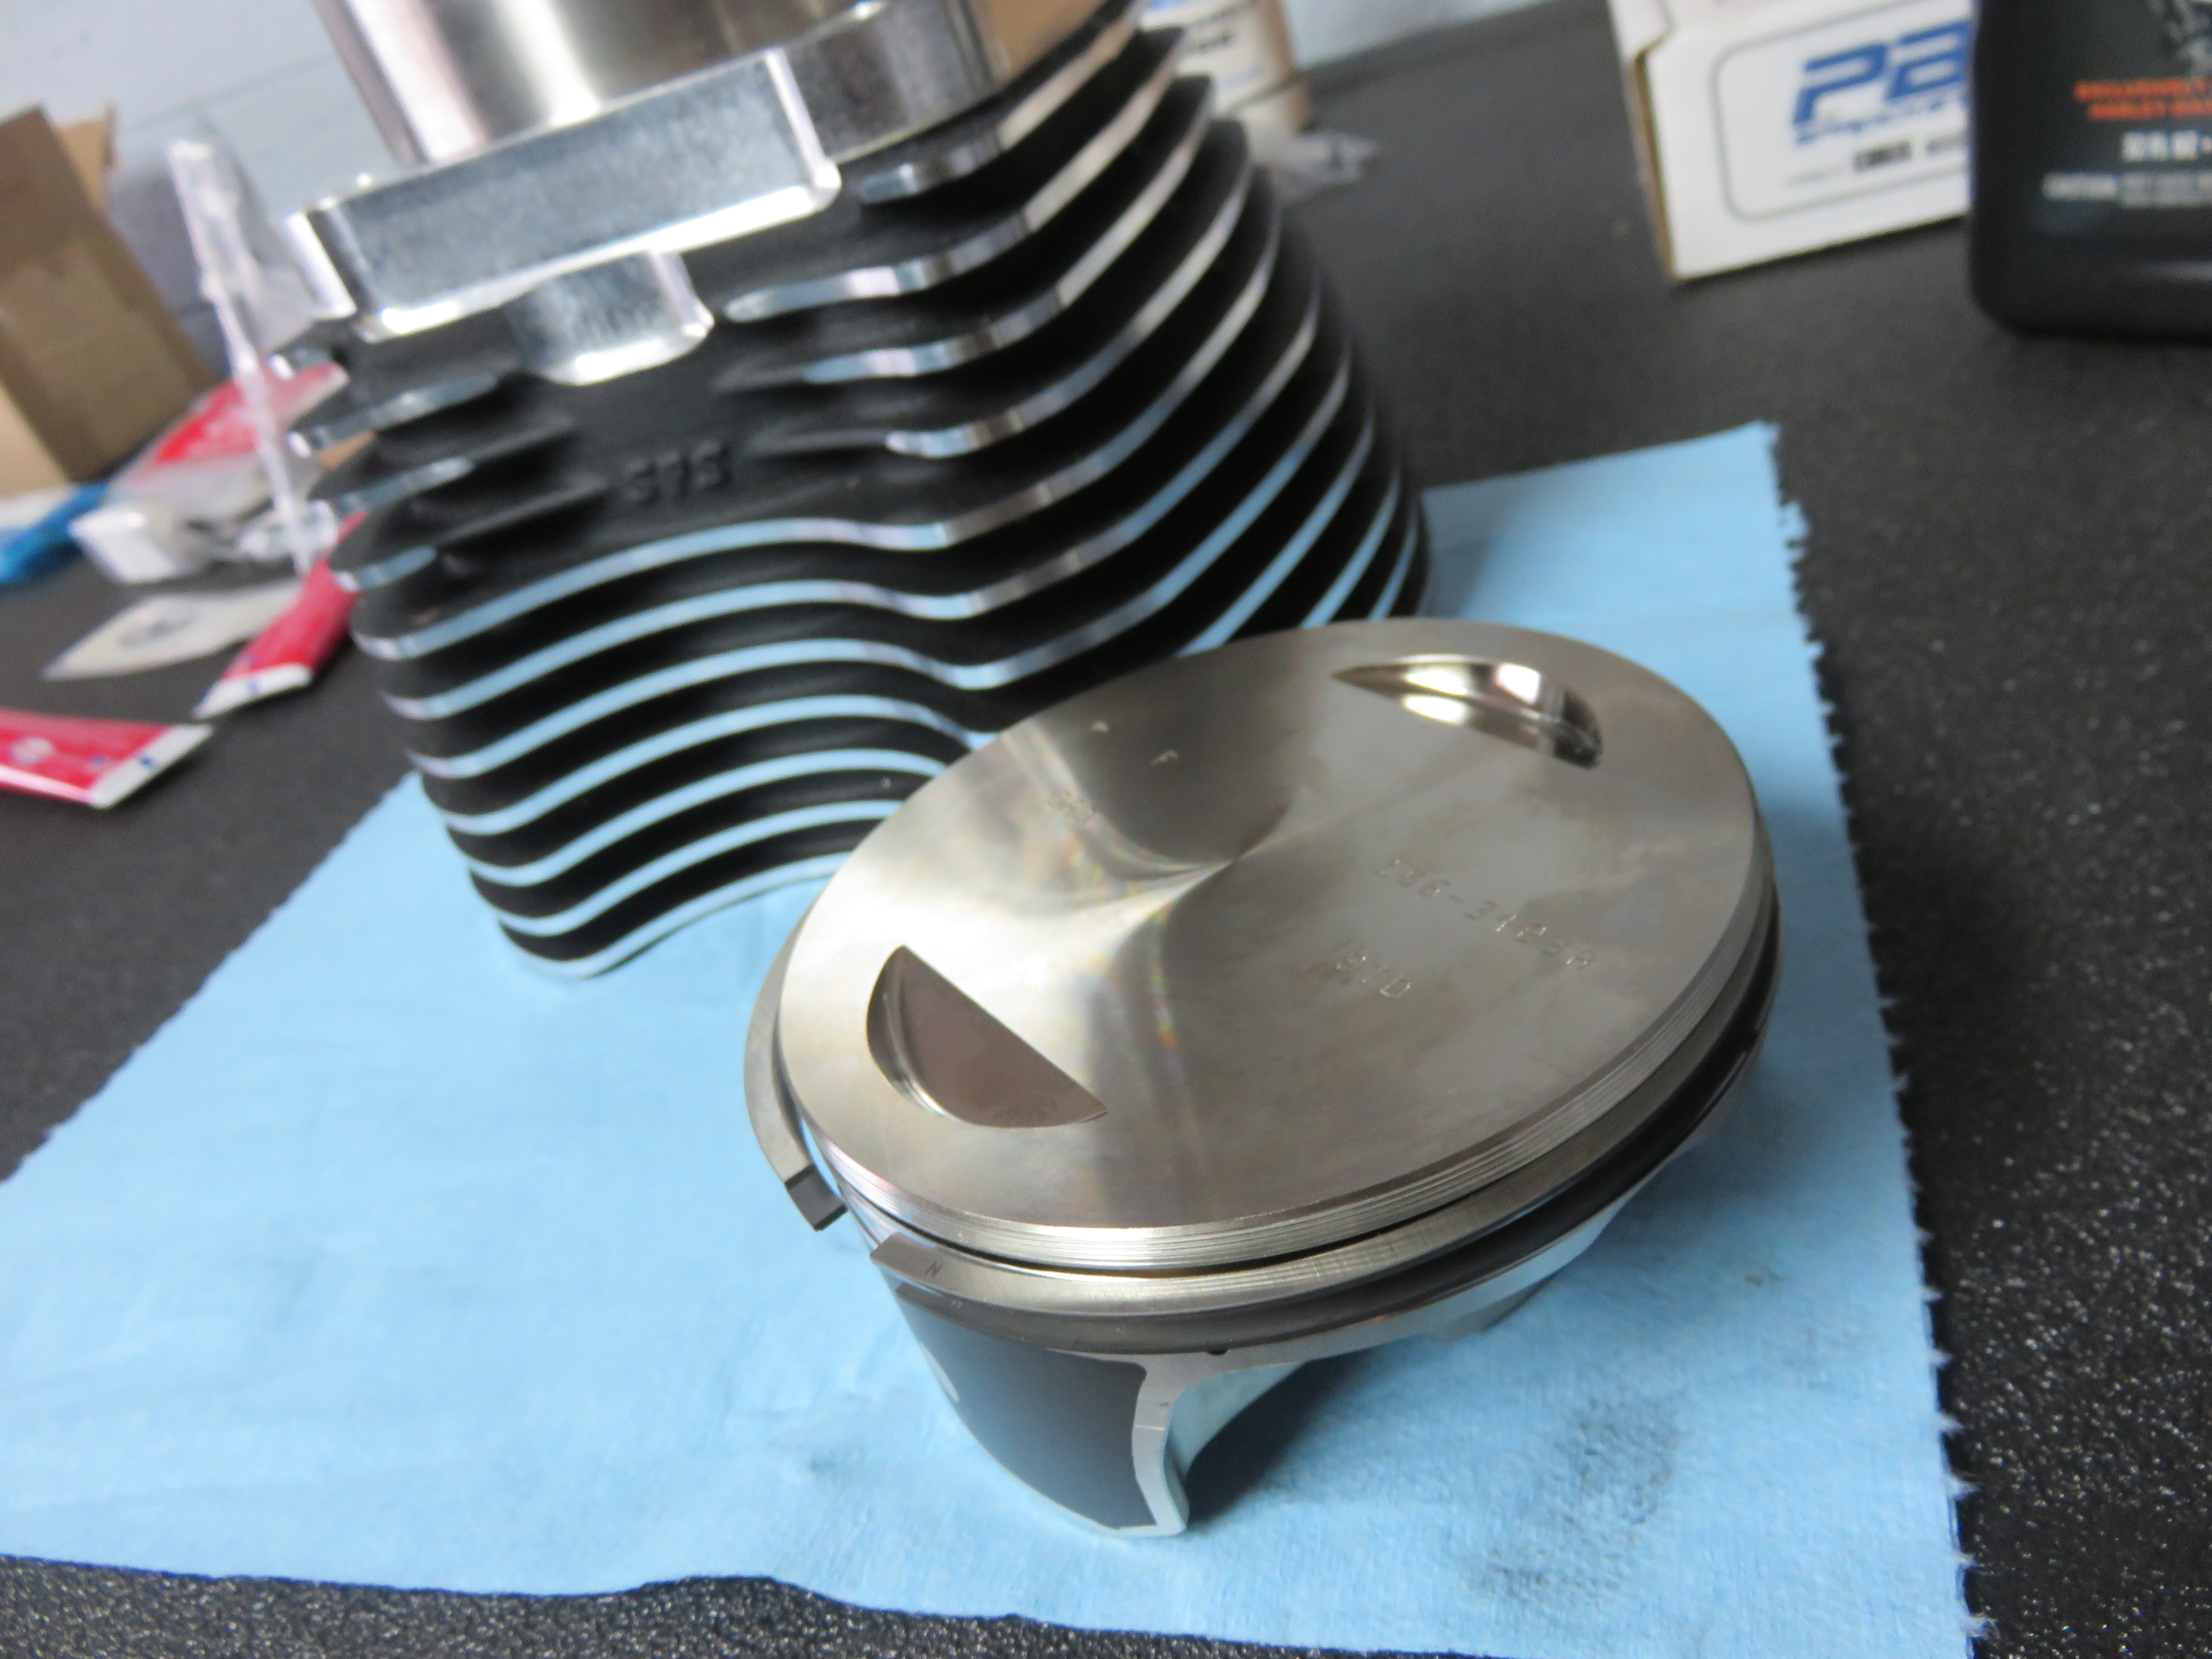
The S&S Hot Setup kit comes with real big pistons and jugs.
Photo: Jeff G. Holt
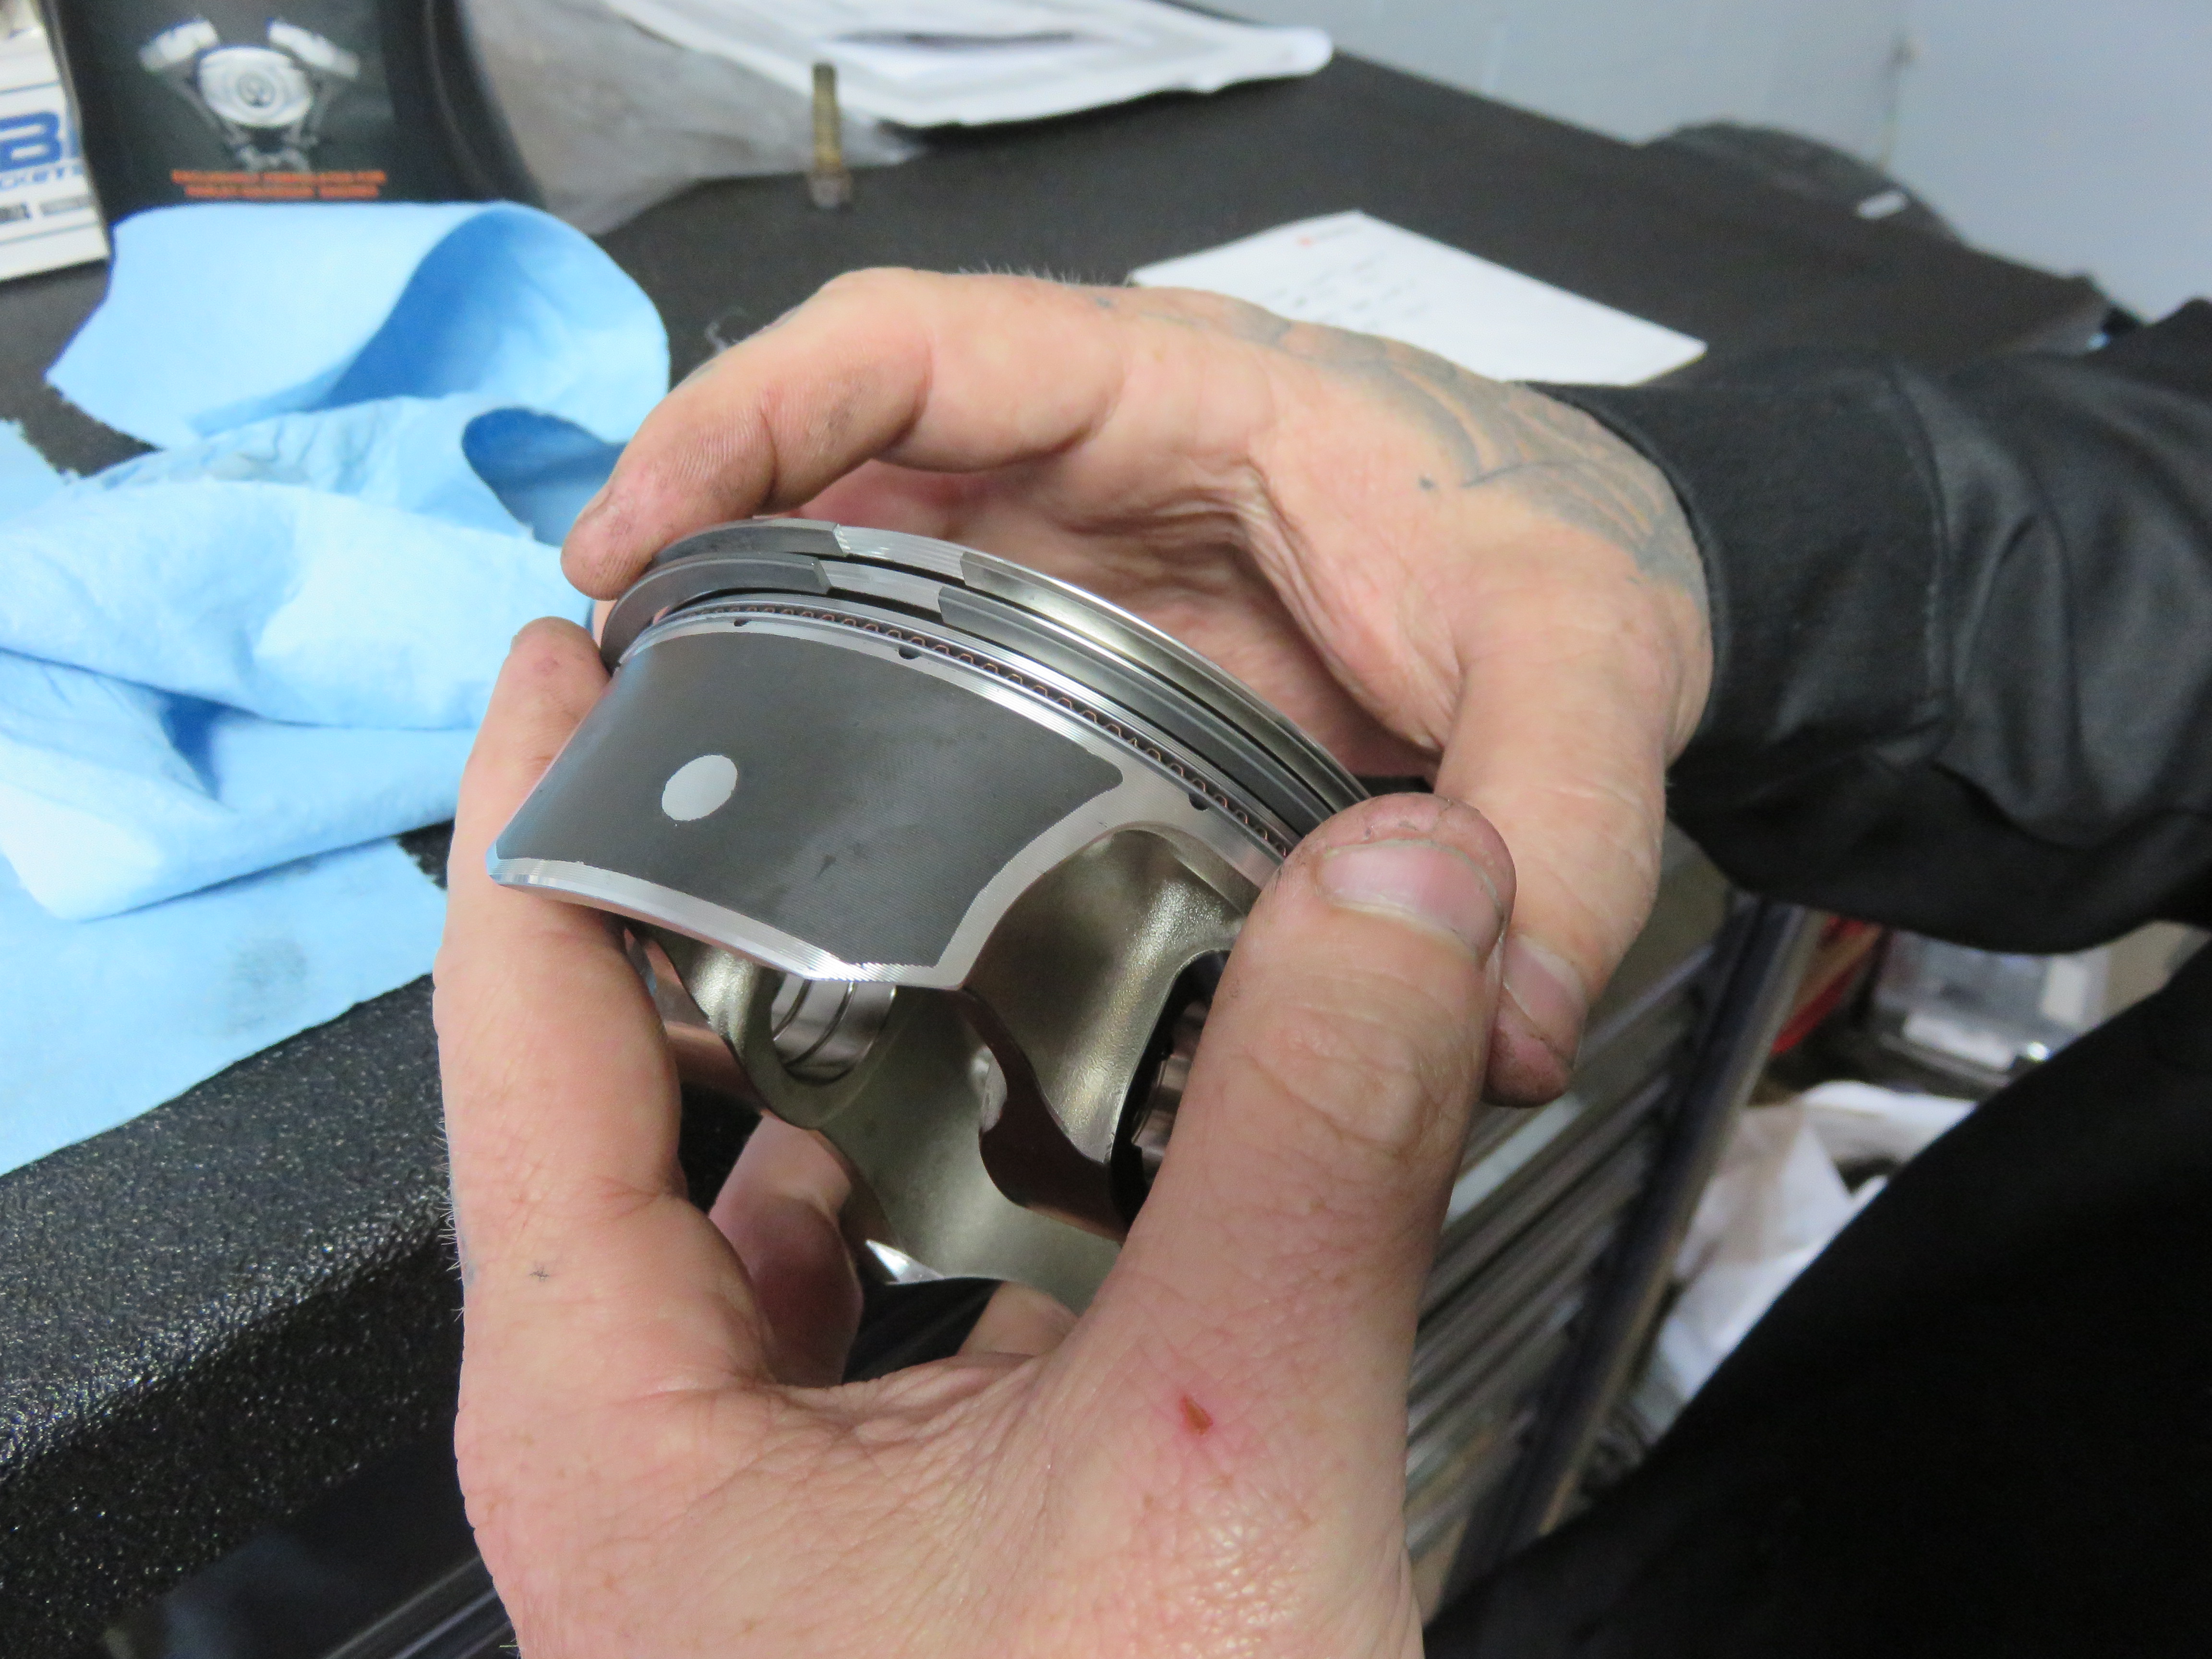
Danny installed the piston rings as per the S&S instructions.
Photo: Jeff G. Holt
The piston was then connected to the S&S connecting rods.
Photo: Jeff G. Holt
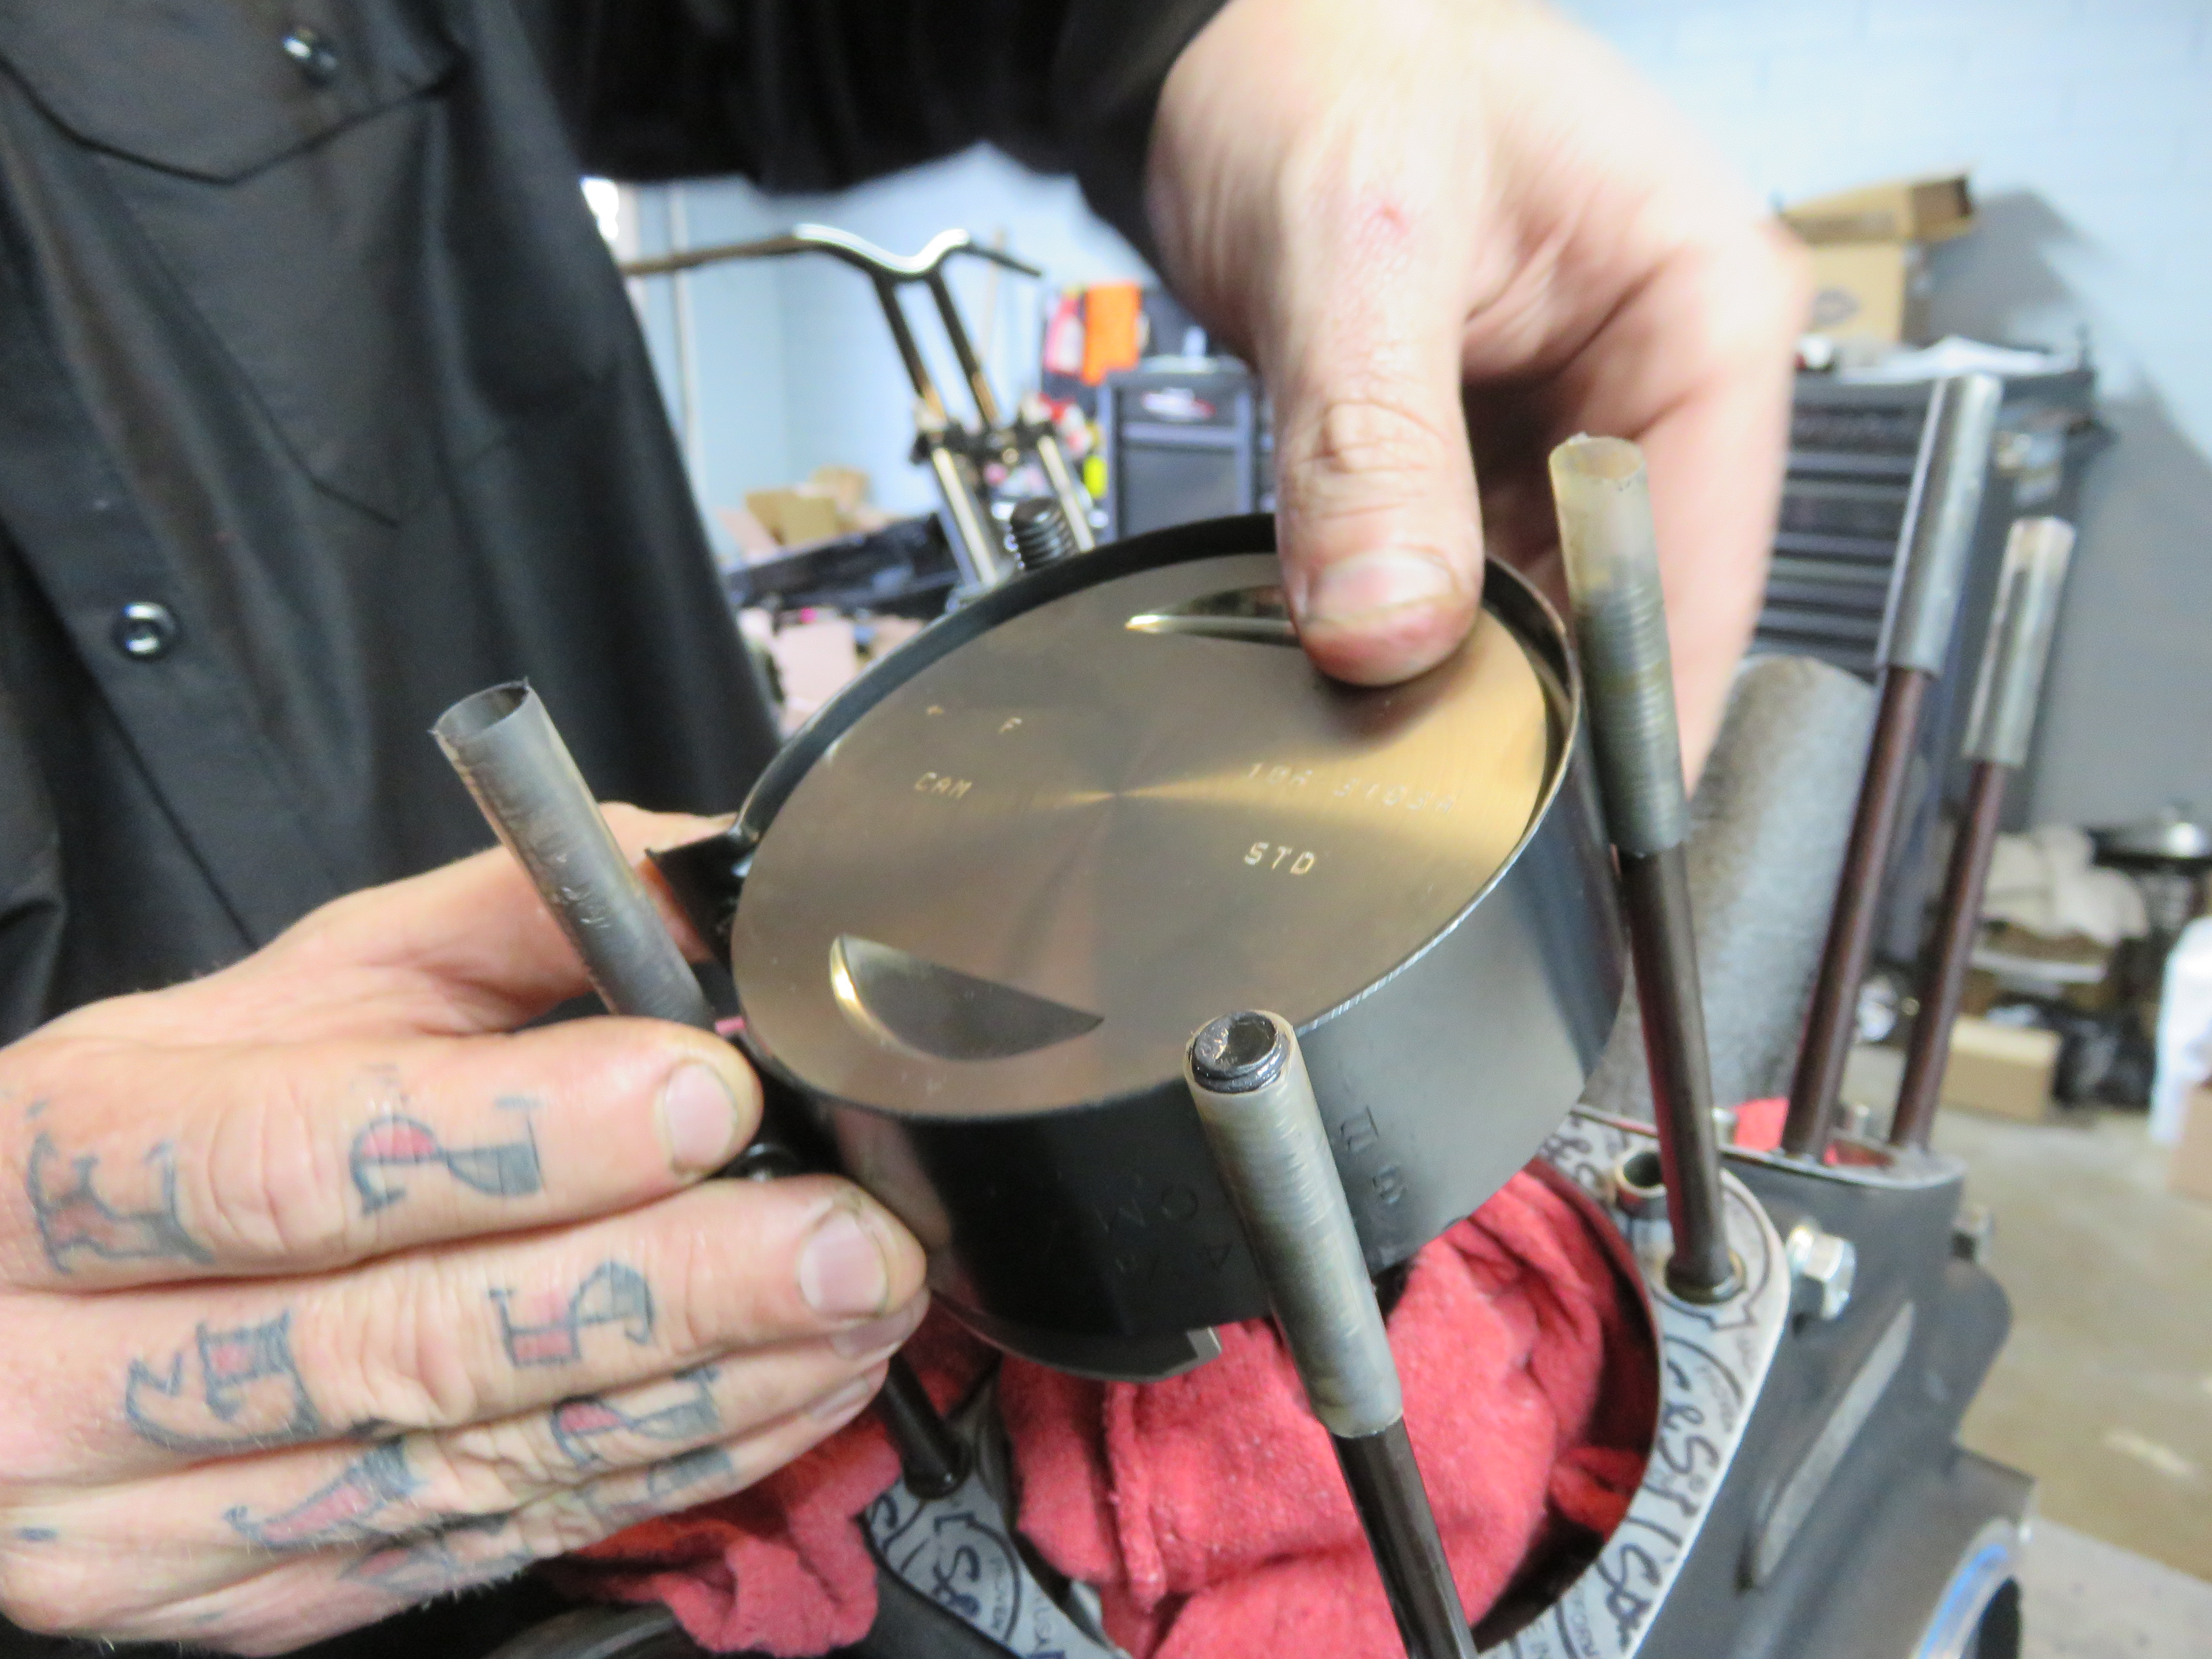
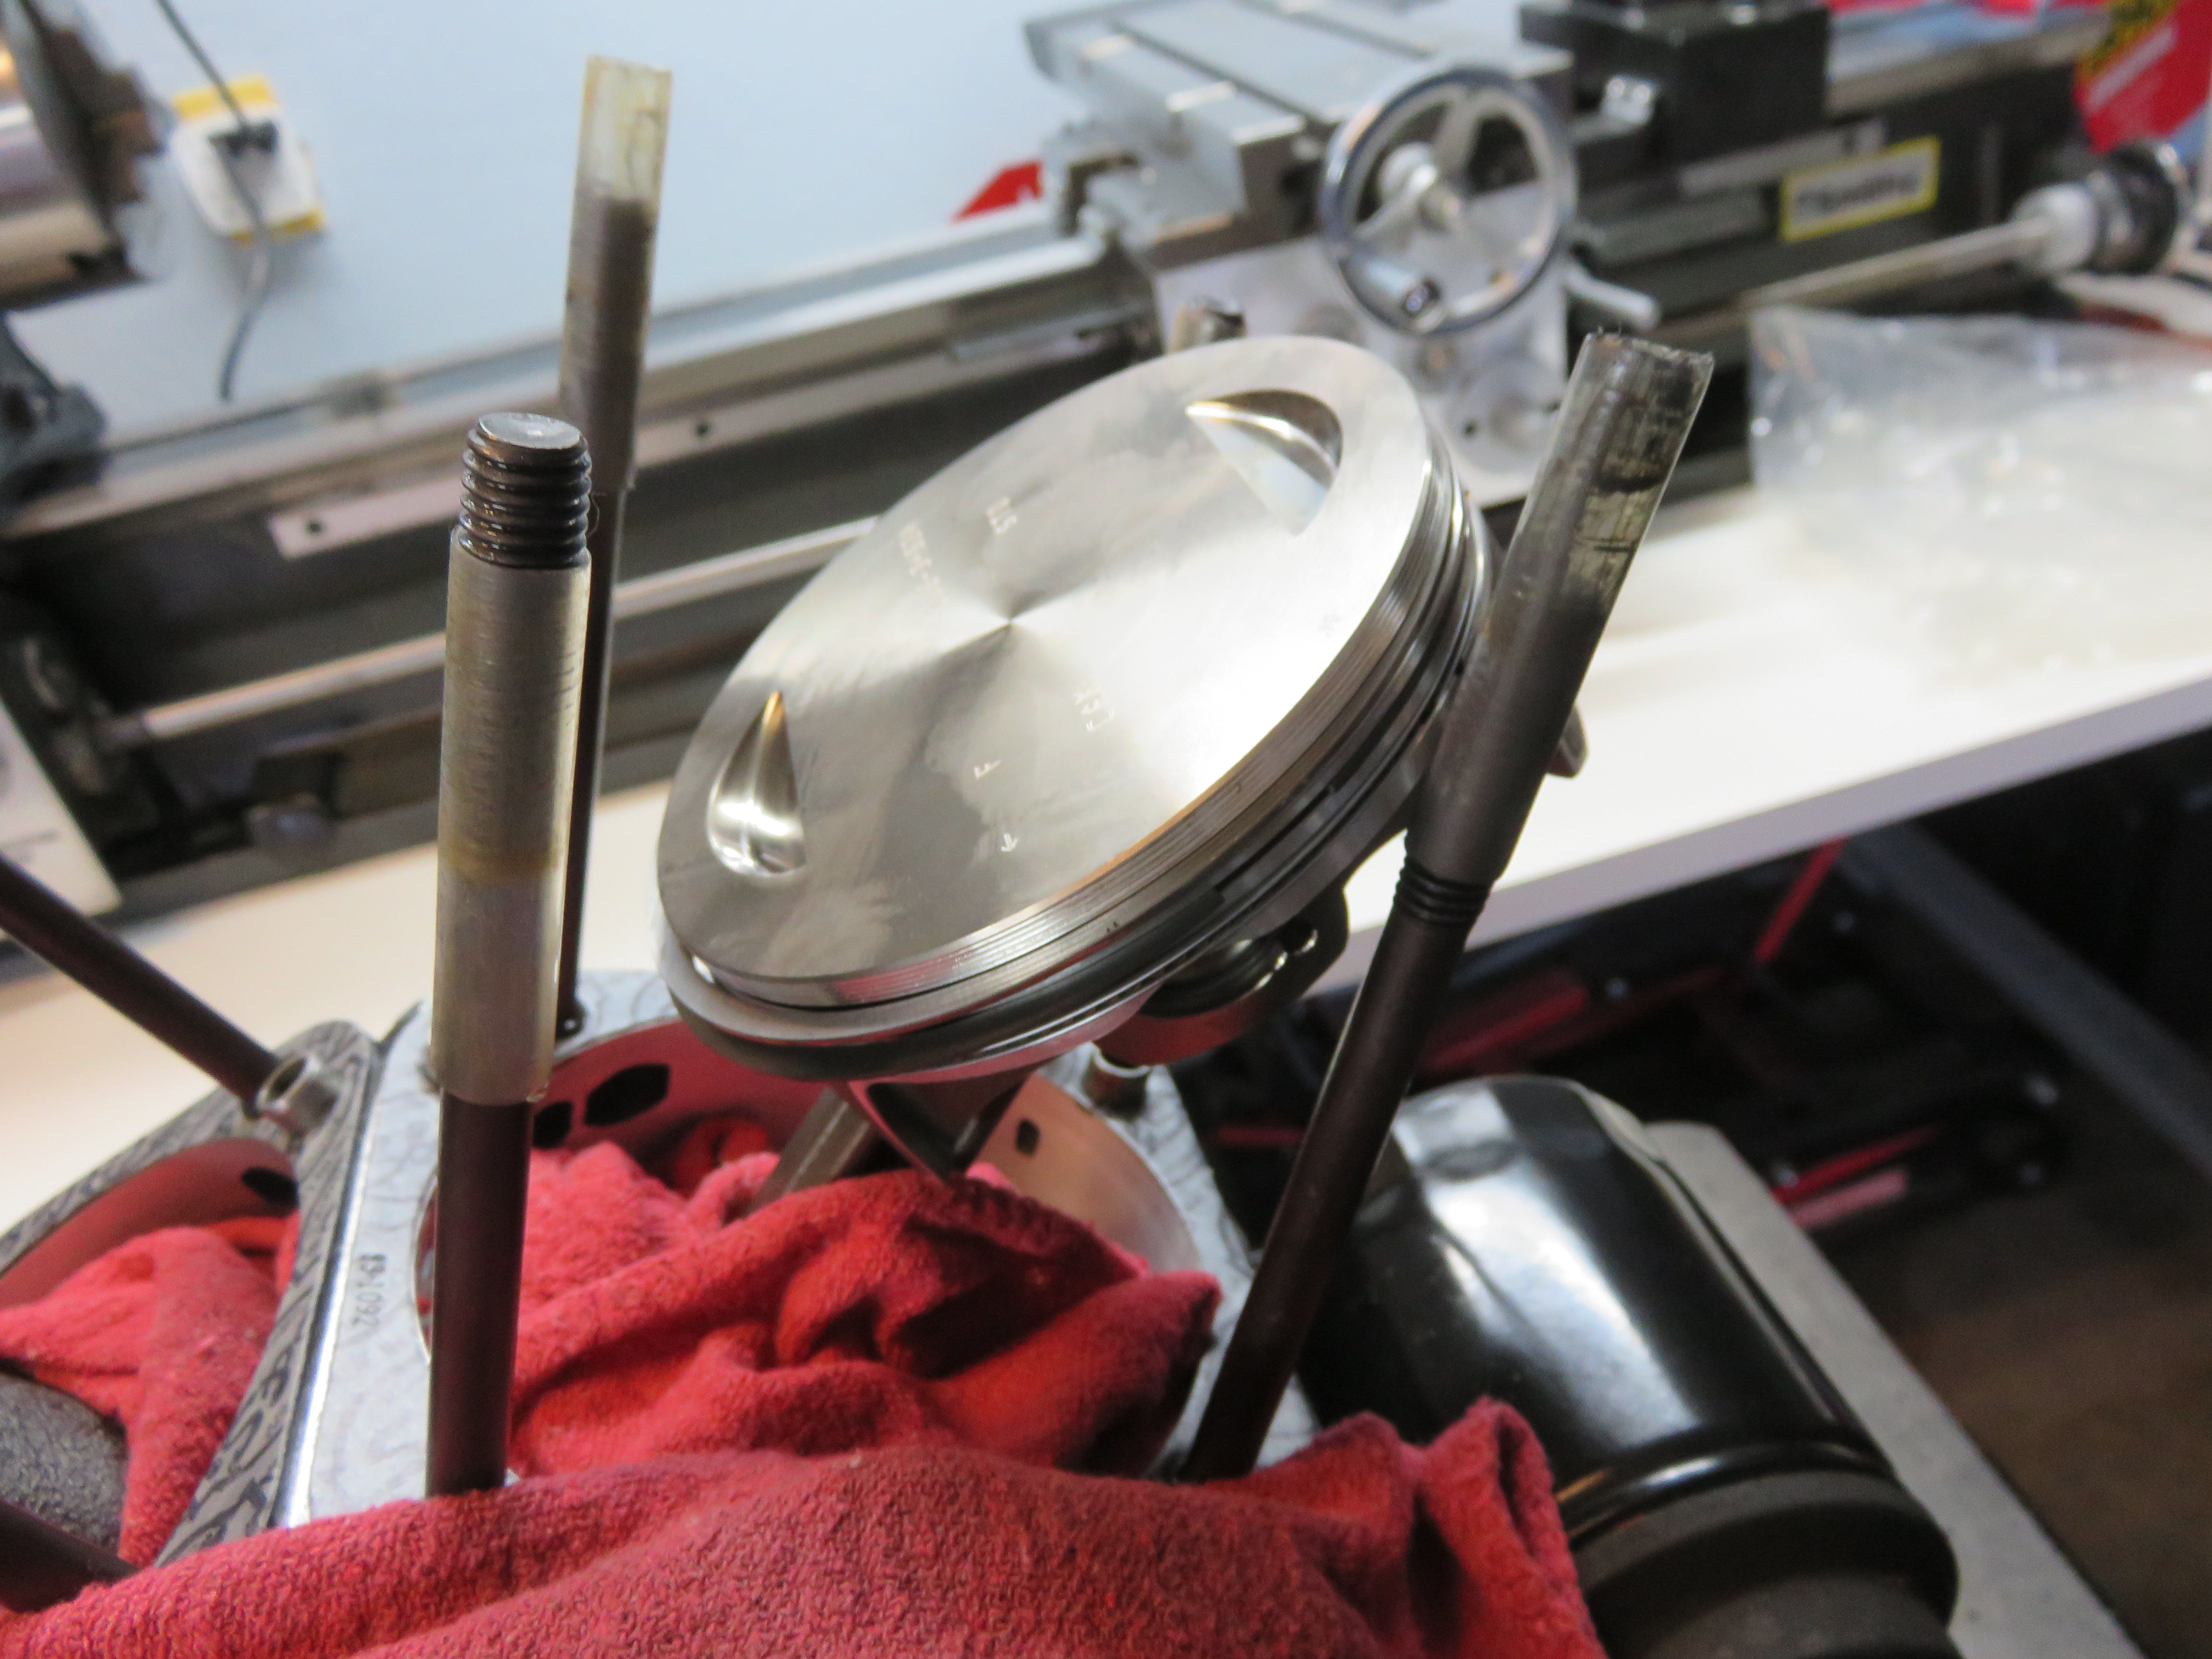
Danny then employed his trusty piston and cylinder head installation tool.
Photo: Jeff G. Holt
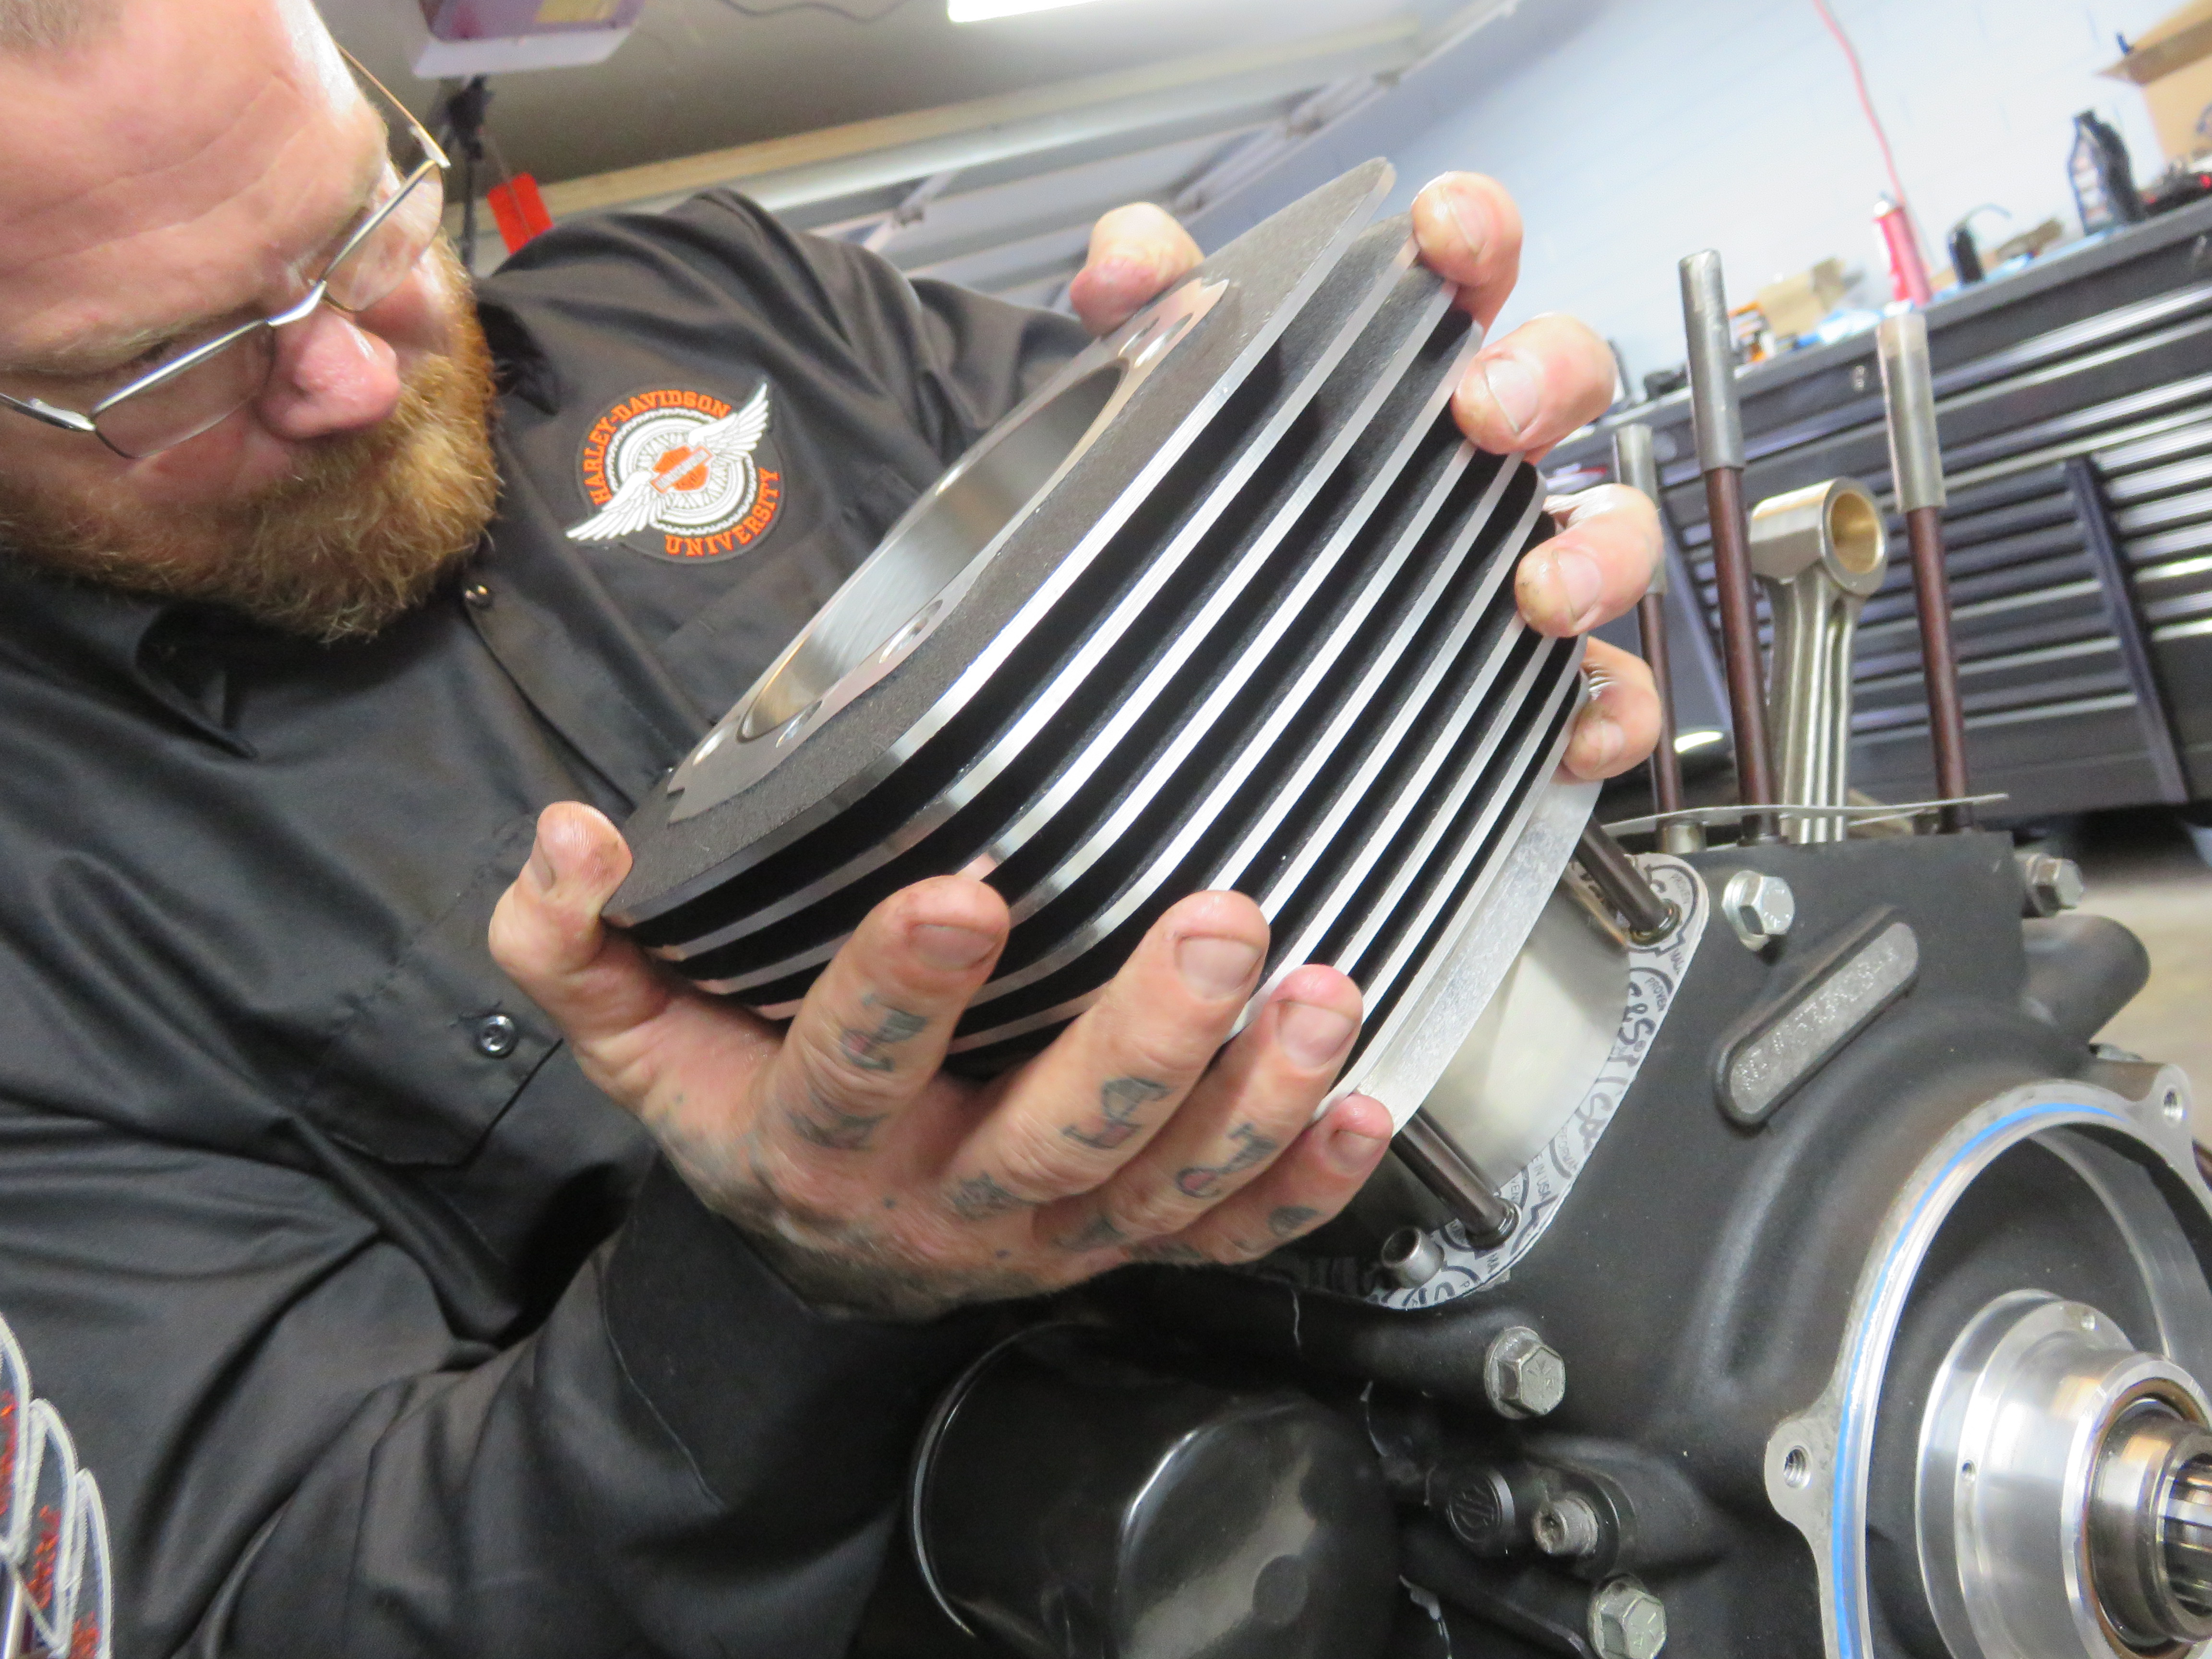
The first of the S&S 124ci Hot Setup Kit jugs went on with nary an issue.
Photo: Jeff G. Holt
RELATED | MORE FROM S&S
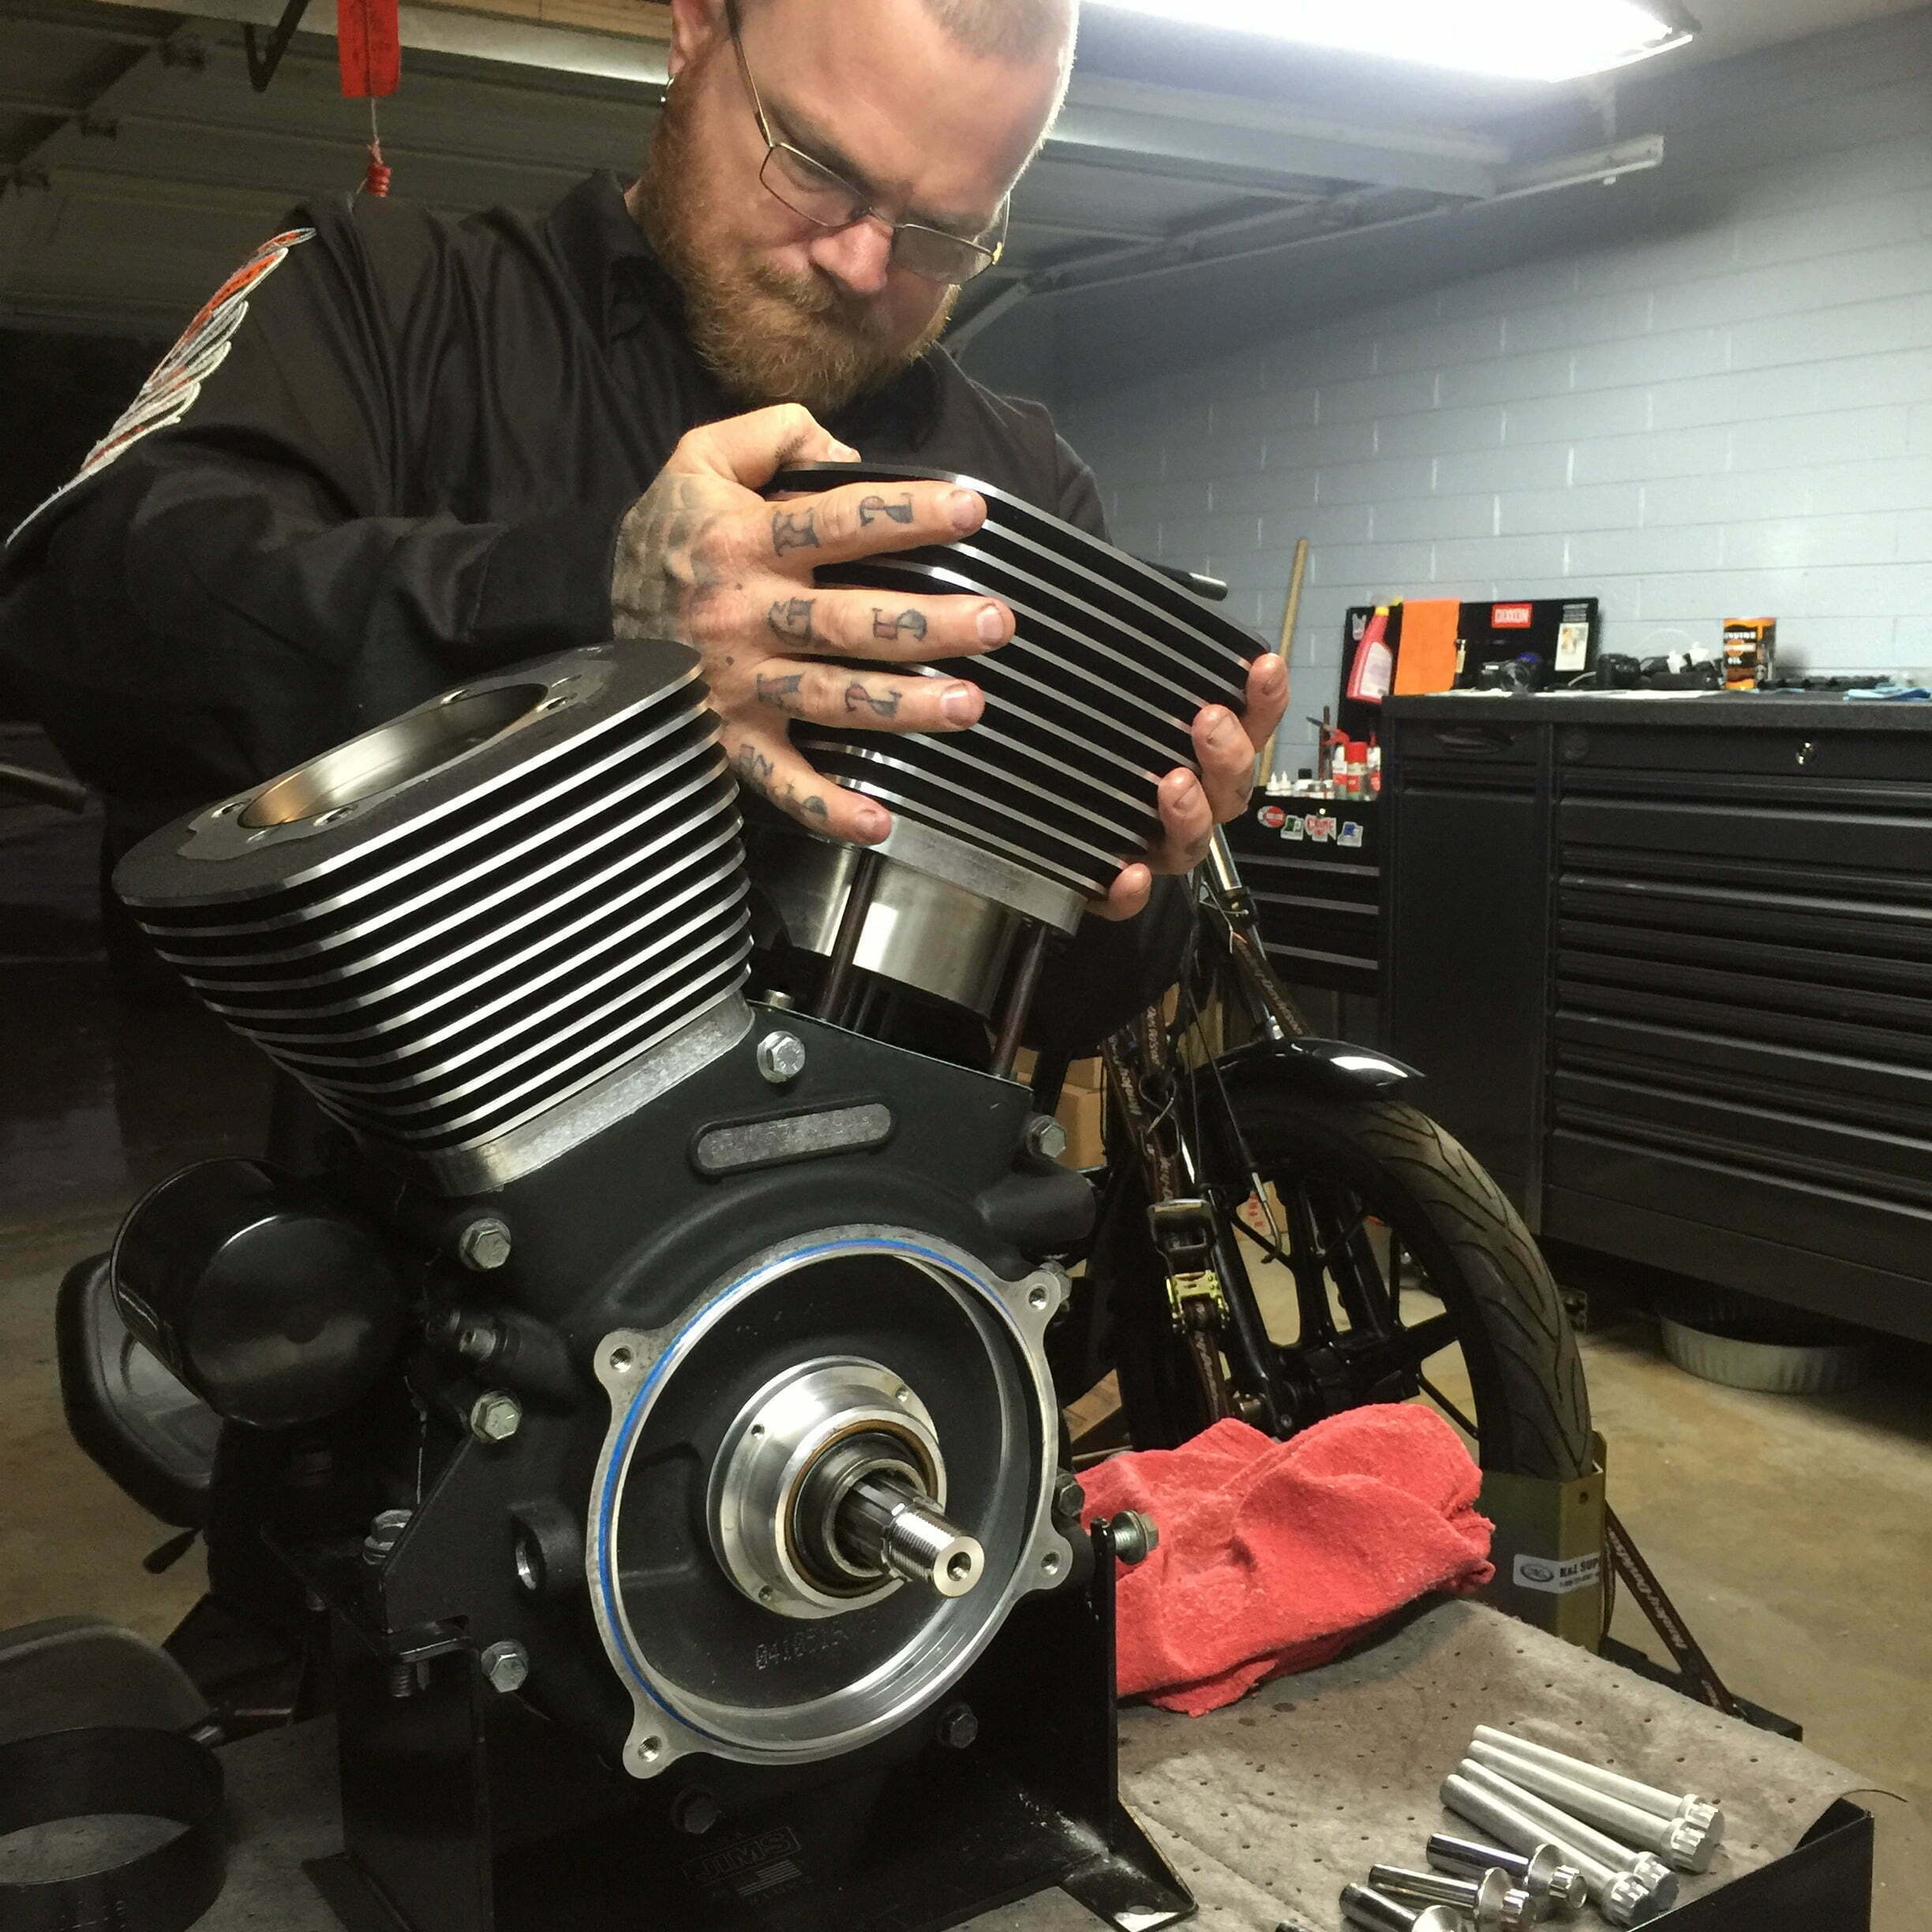
Danny carefully installed the second S&S cylinder head jug onto the big-inch motor.
Photo: Jeff G. Holt
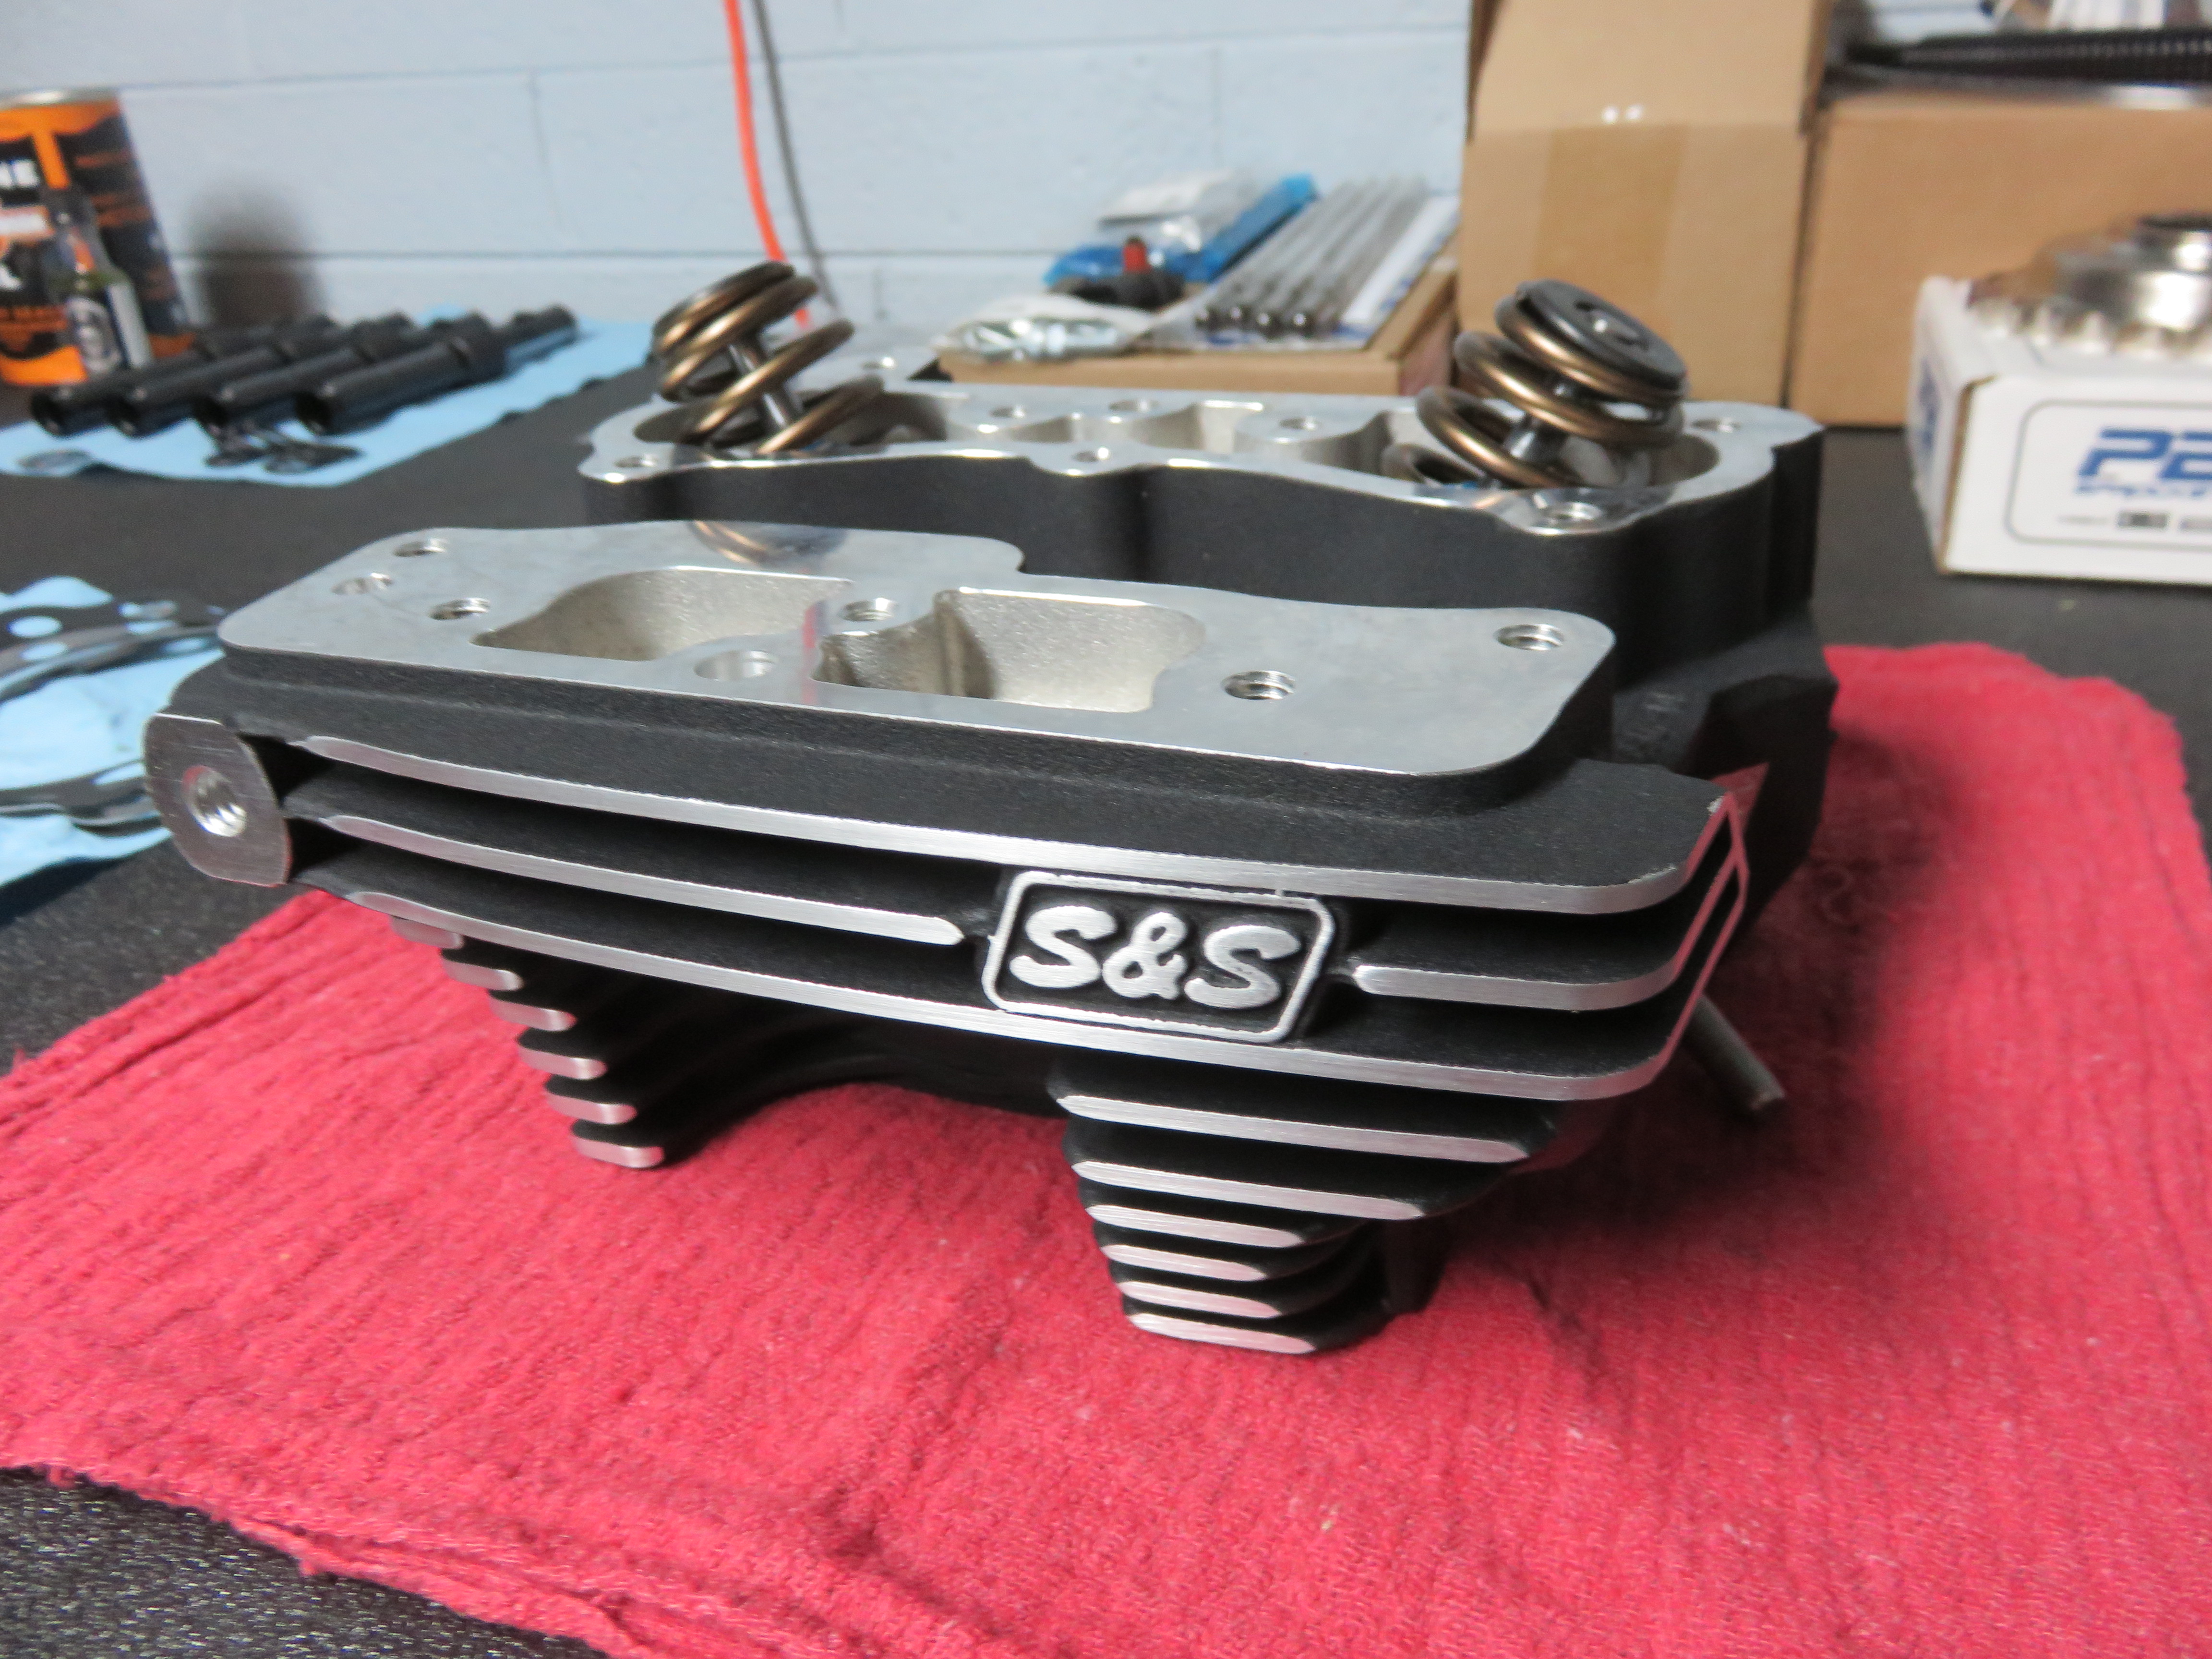
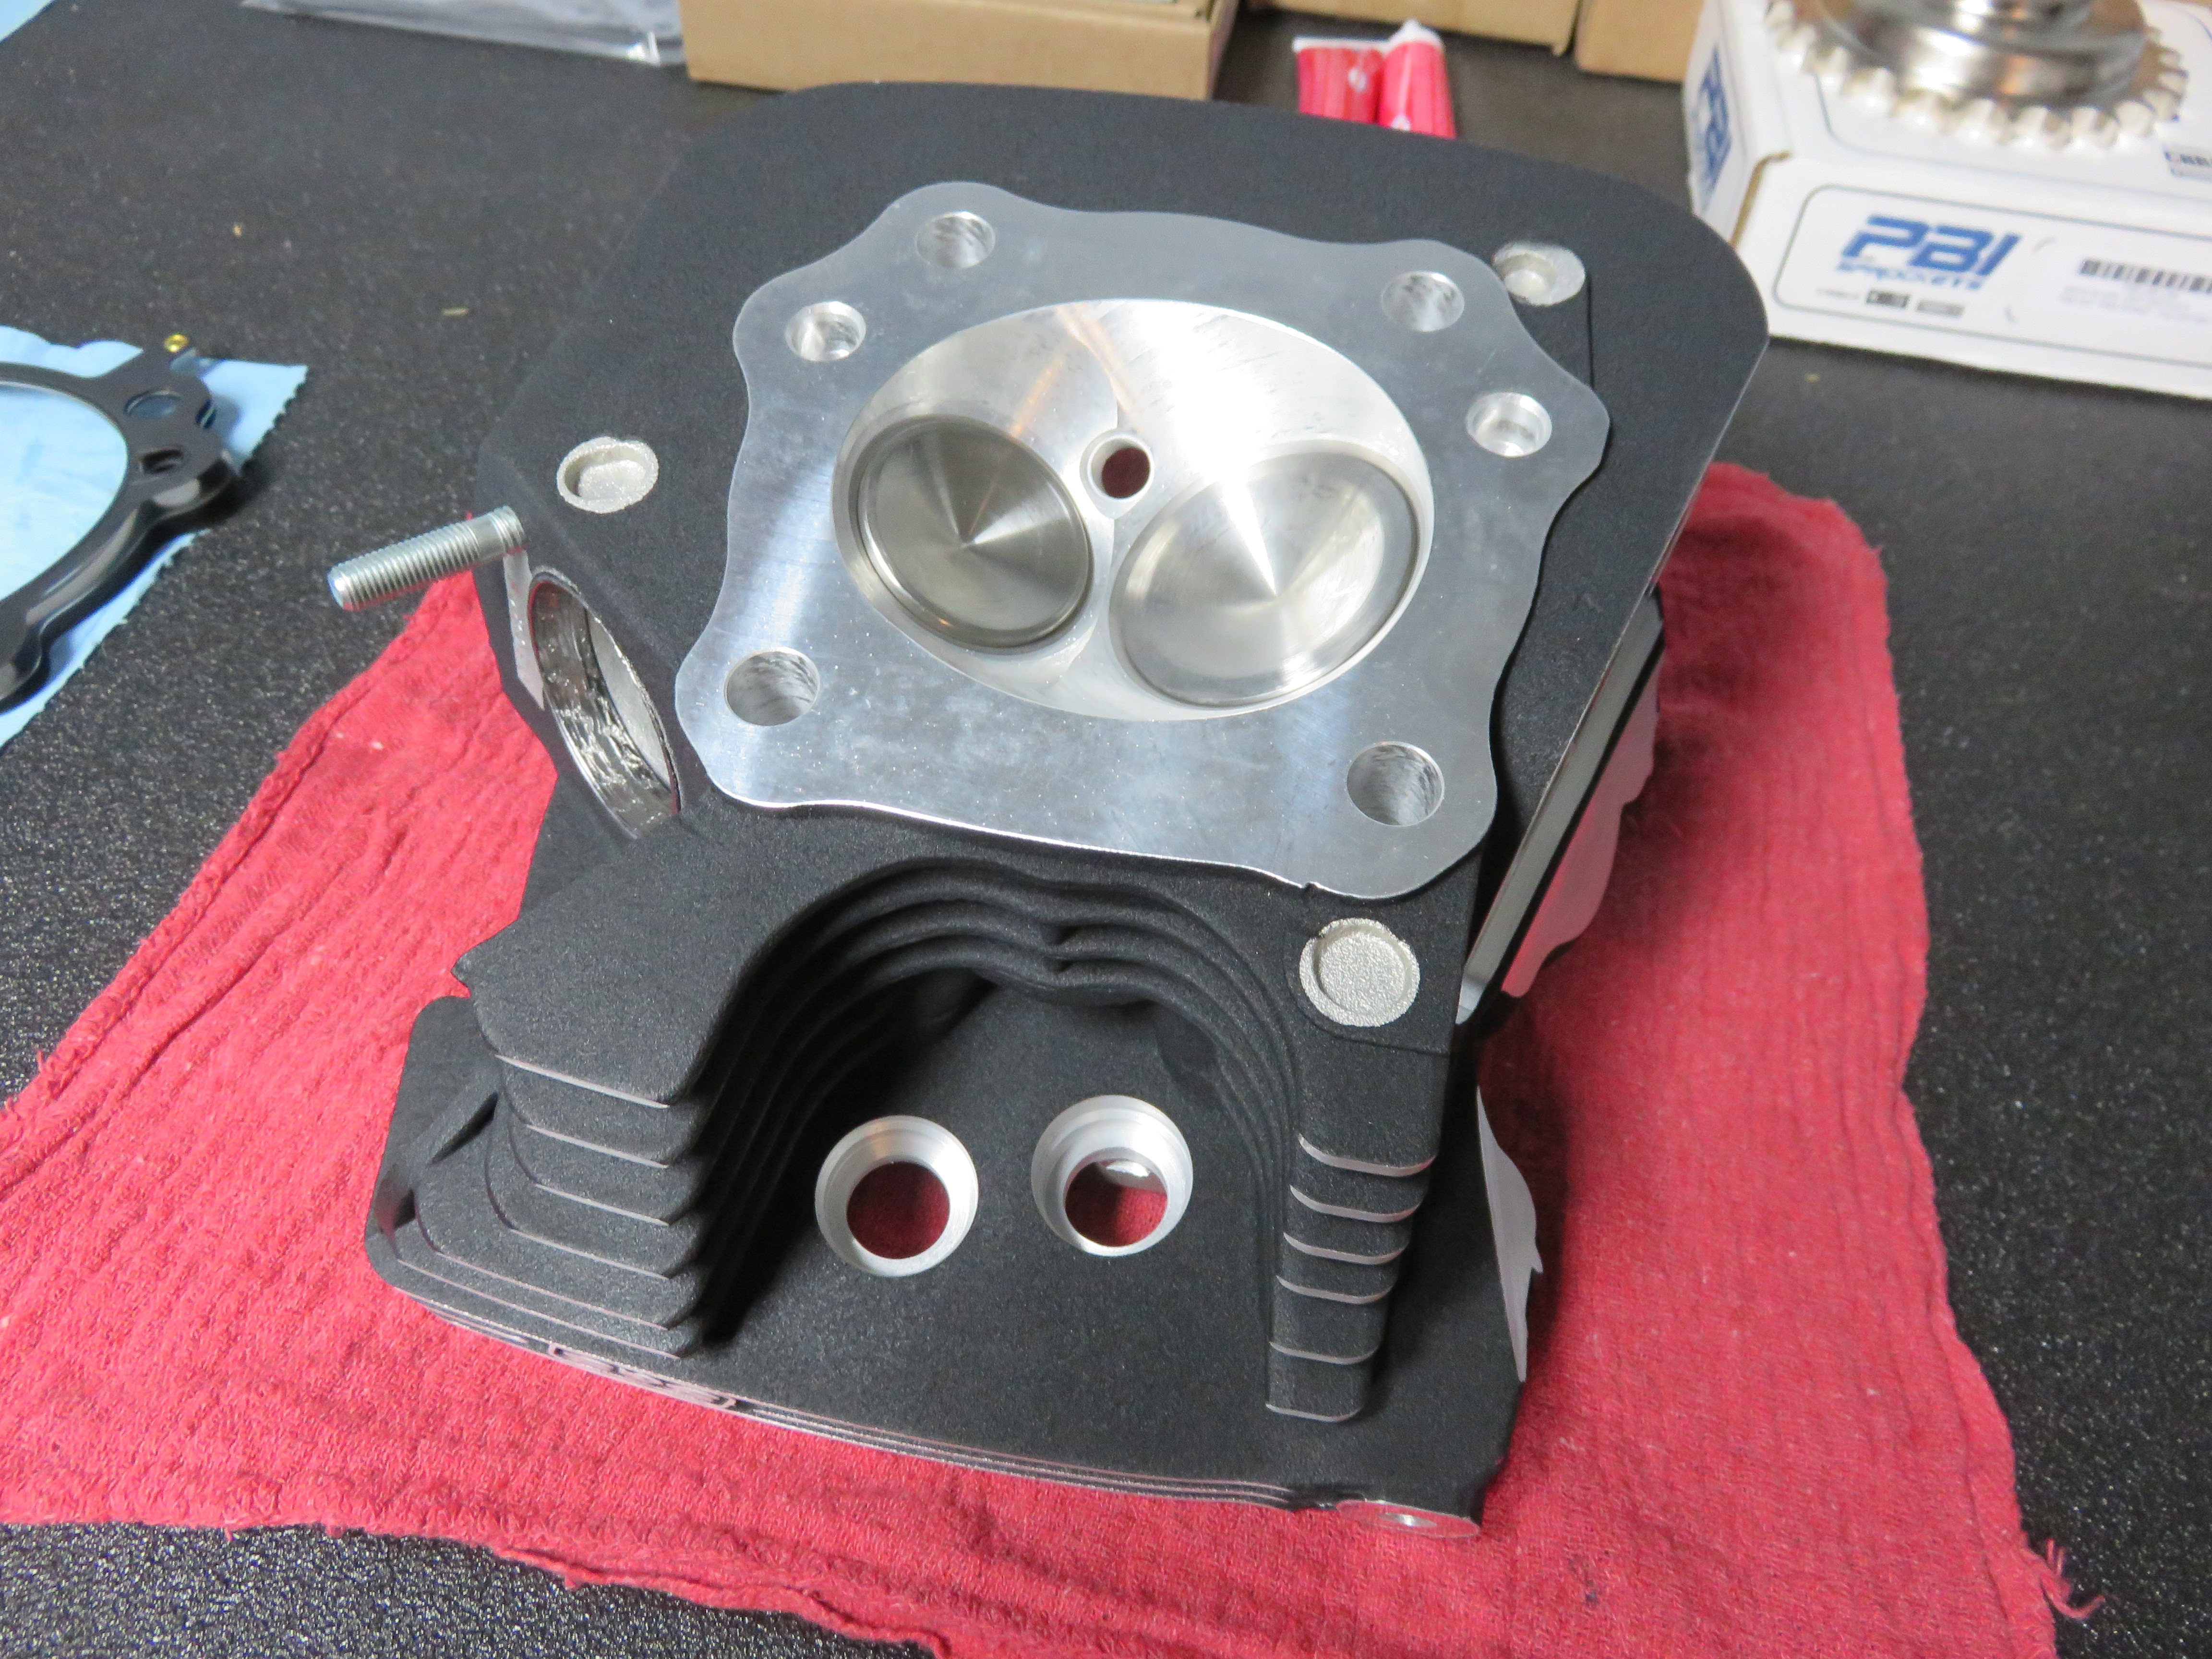
The S&S Hot Setup kit comes with four 1/8-inch cylinder heads, which have been designed for maximum performance on this 124ci kit.
Photo: Jeff G. Holt
With one peek…
Photo: Jeff G. Holt
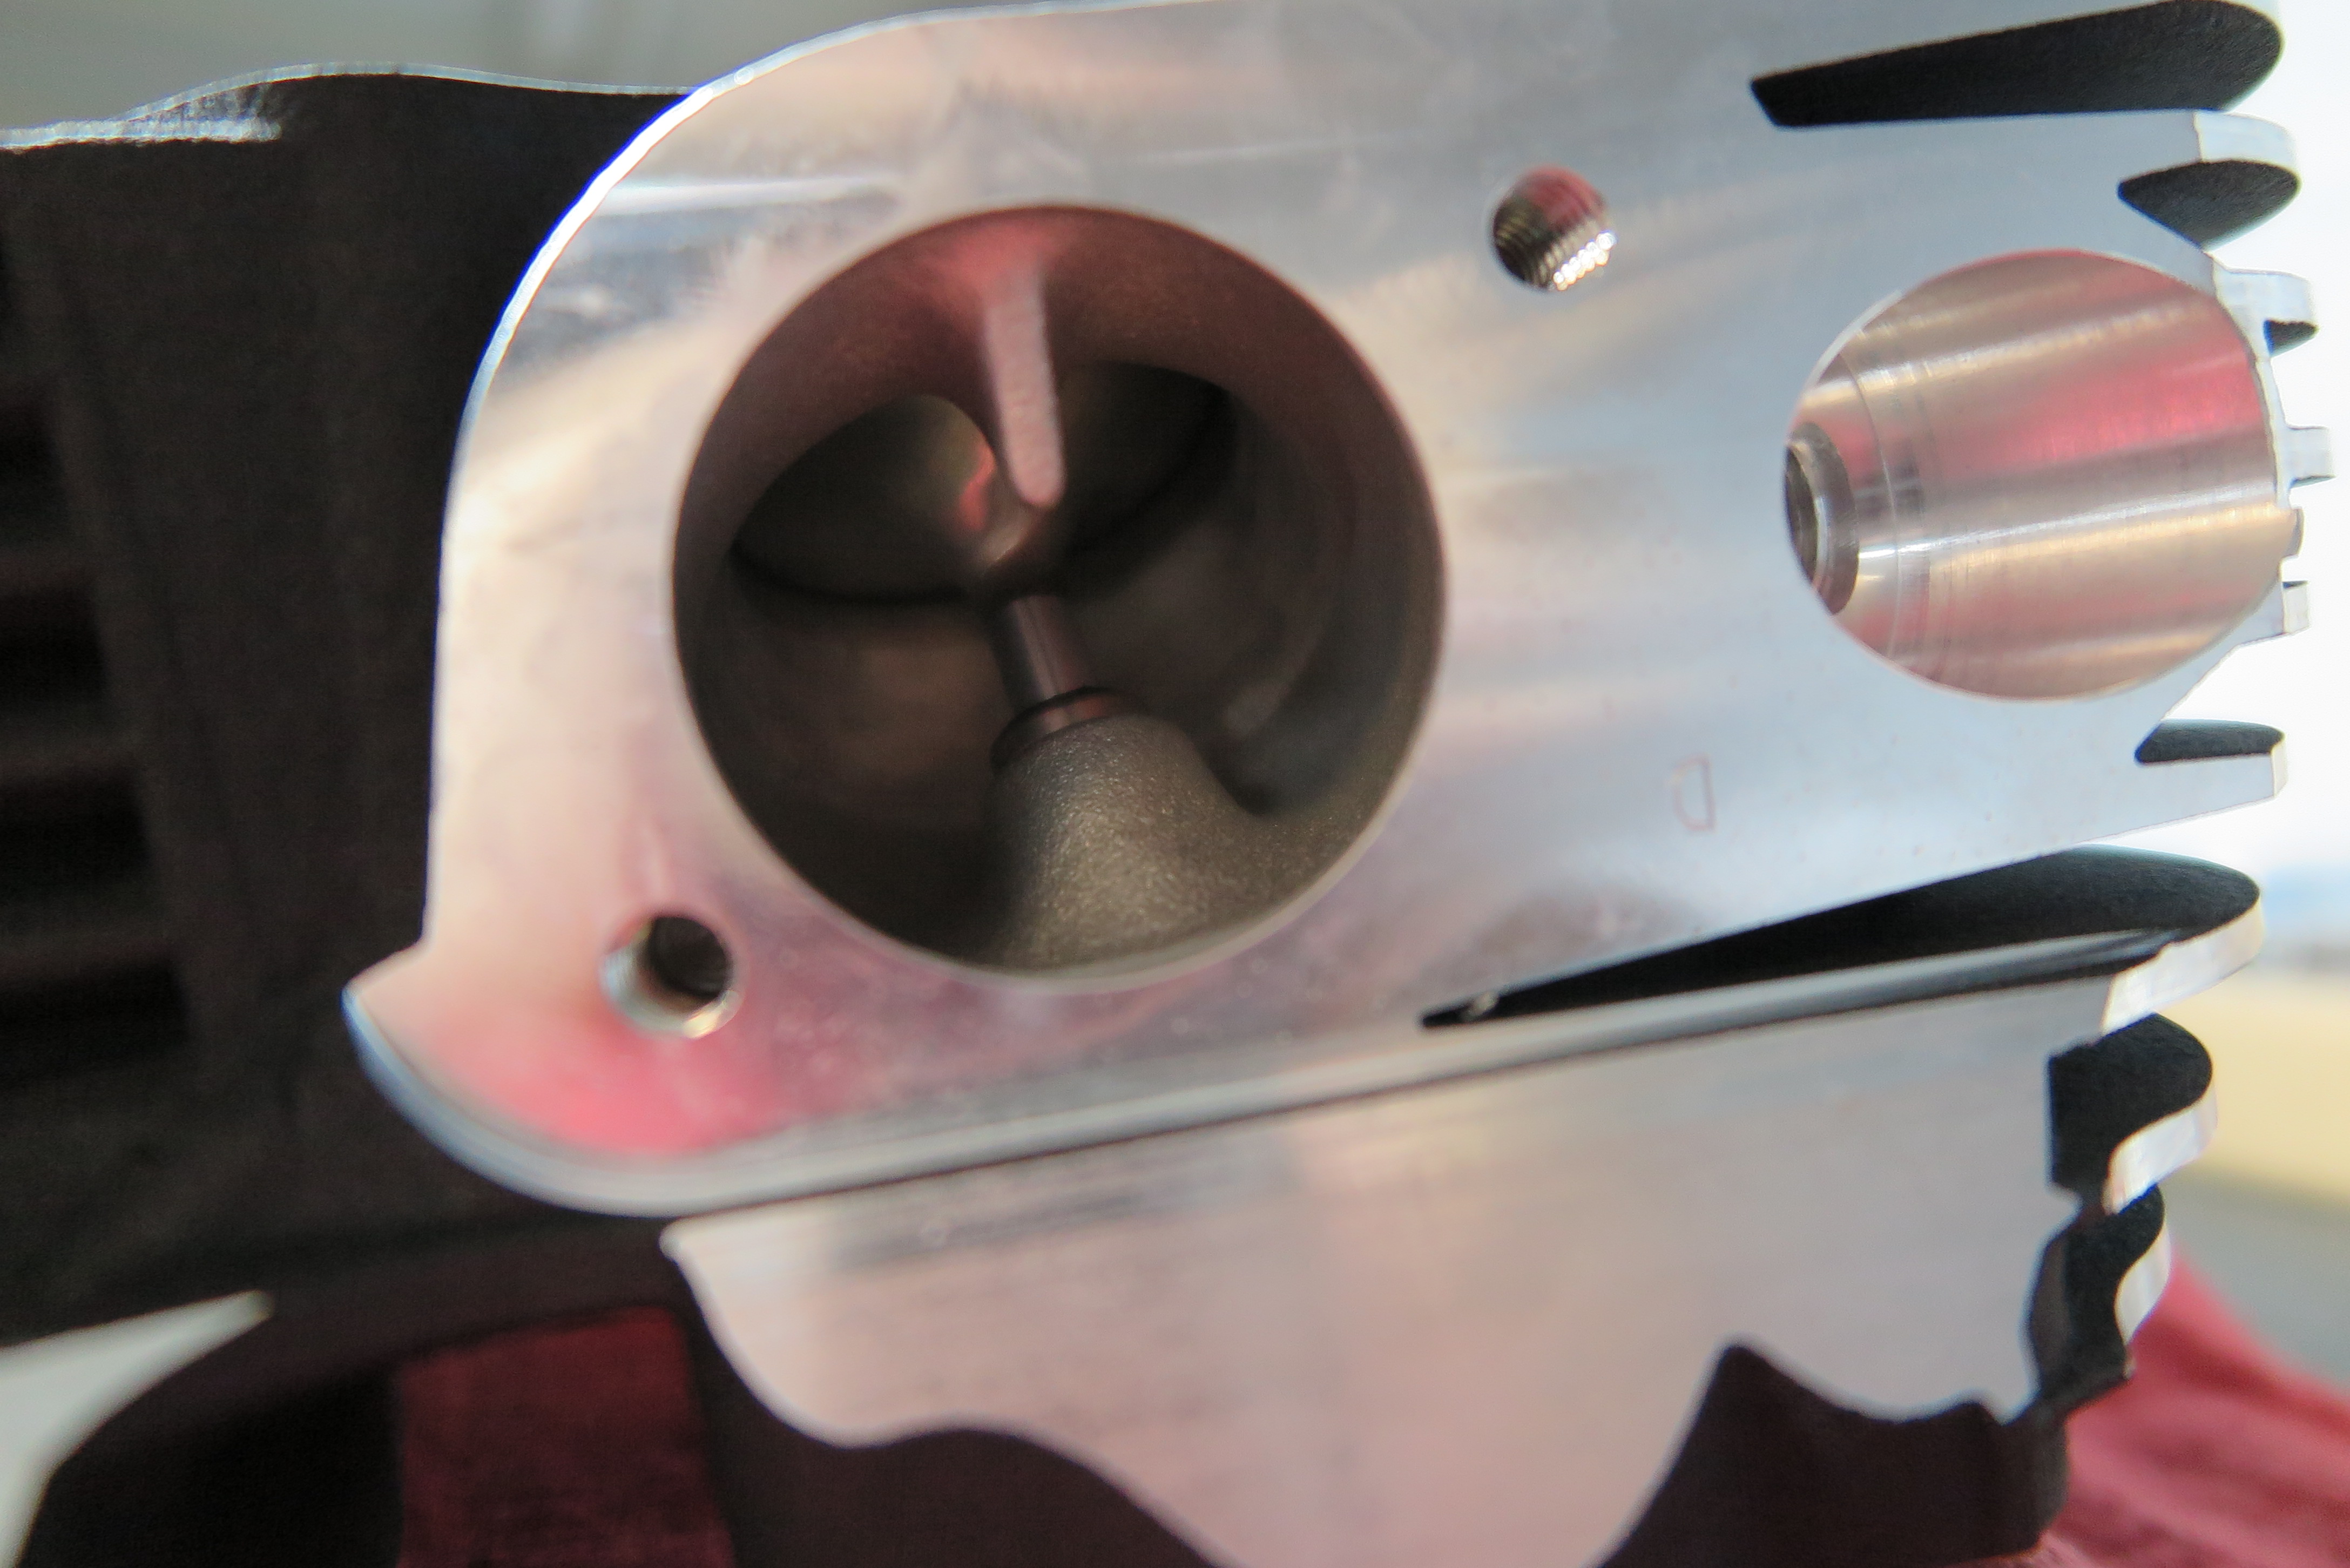
…you can see the amount of flow work has been done to these heads.
Photo: Jeff G. Holt
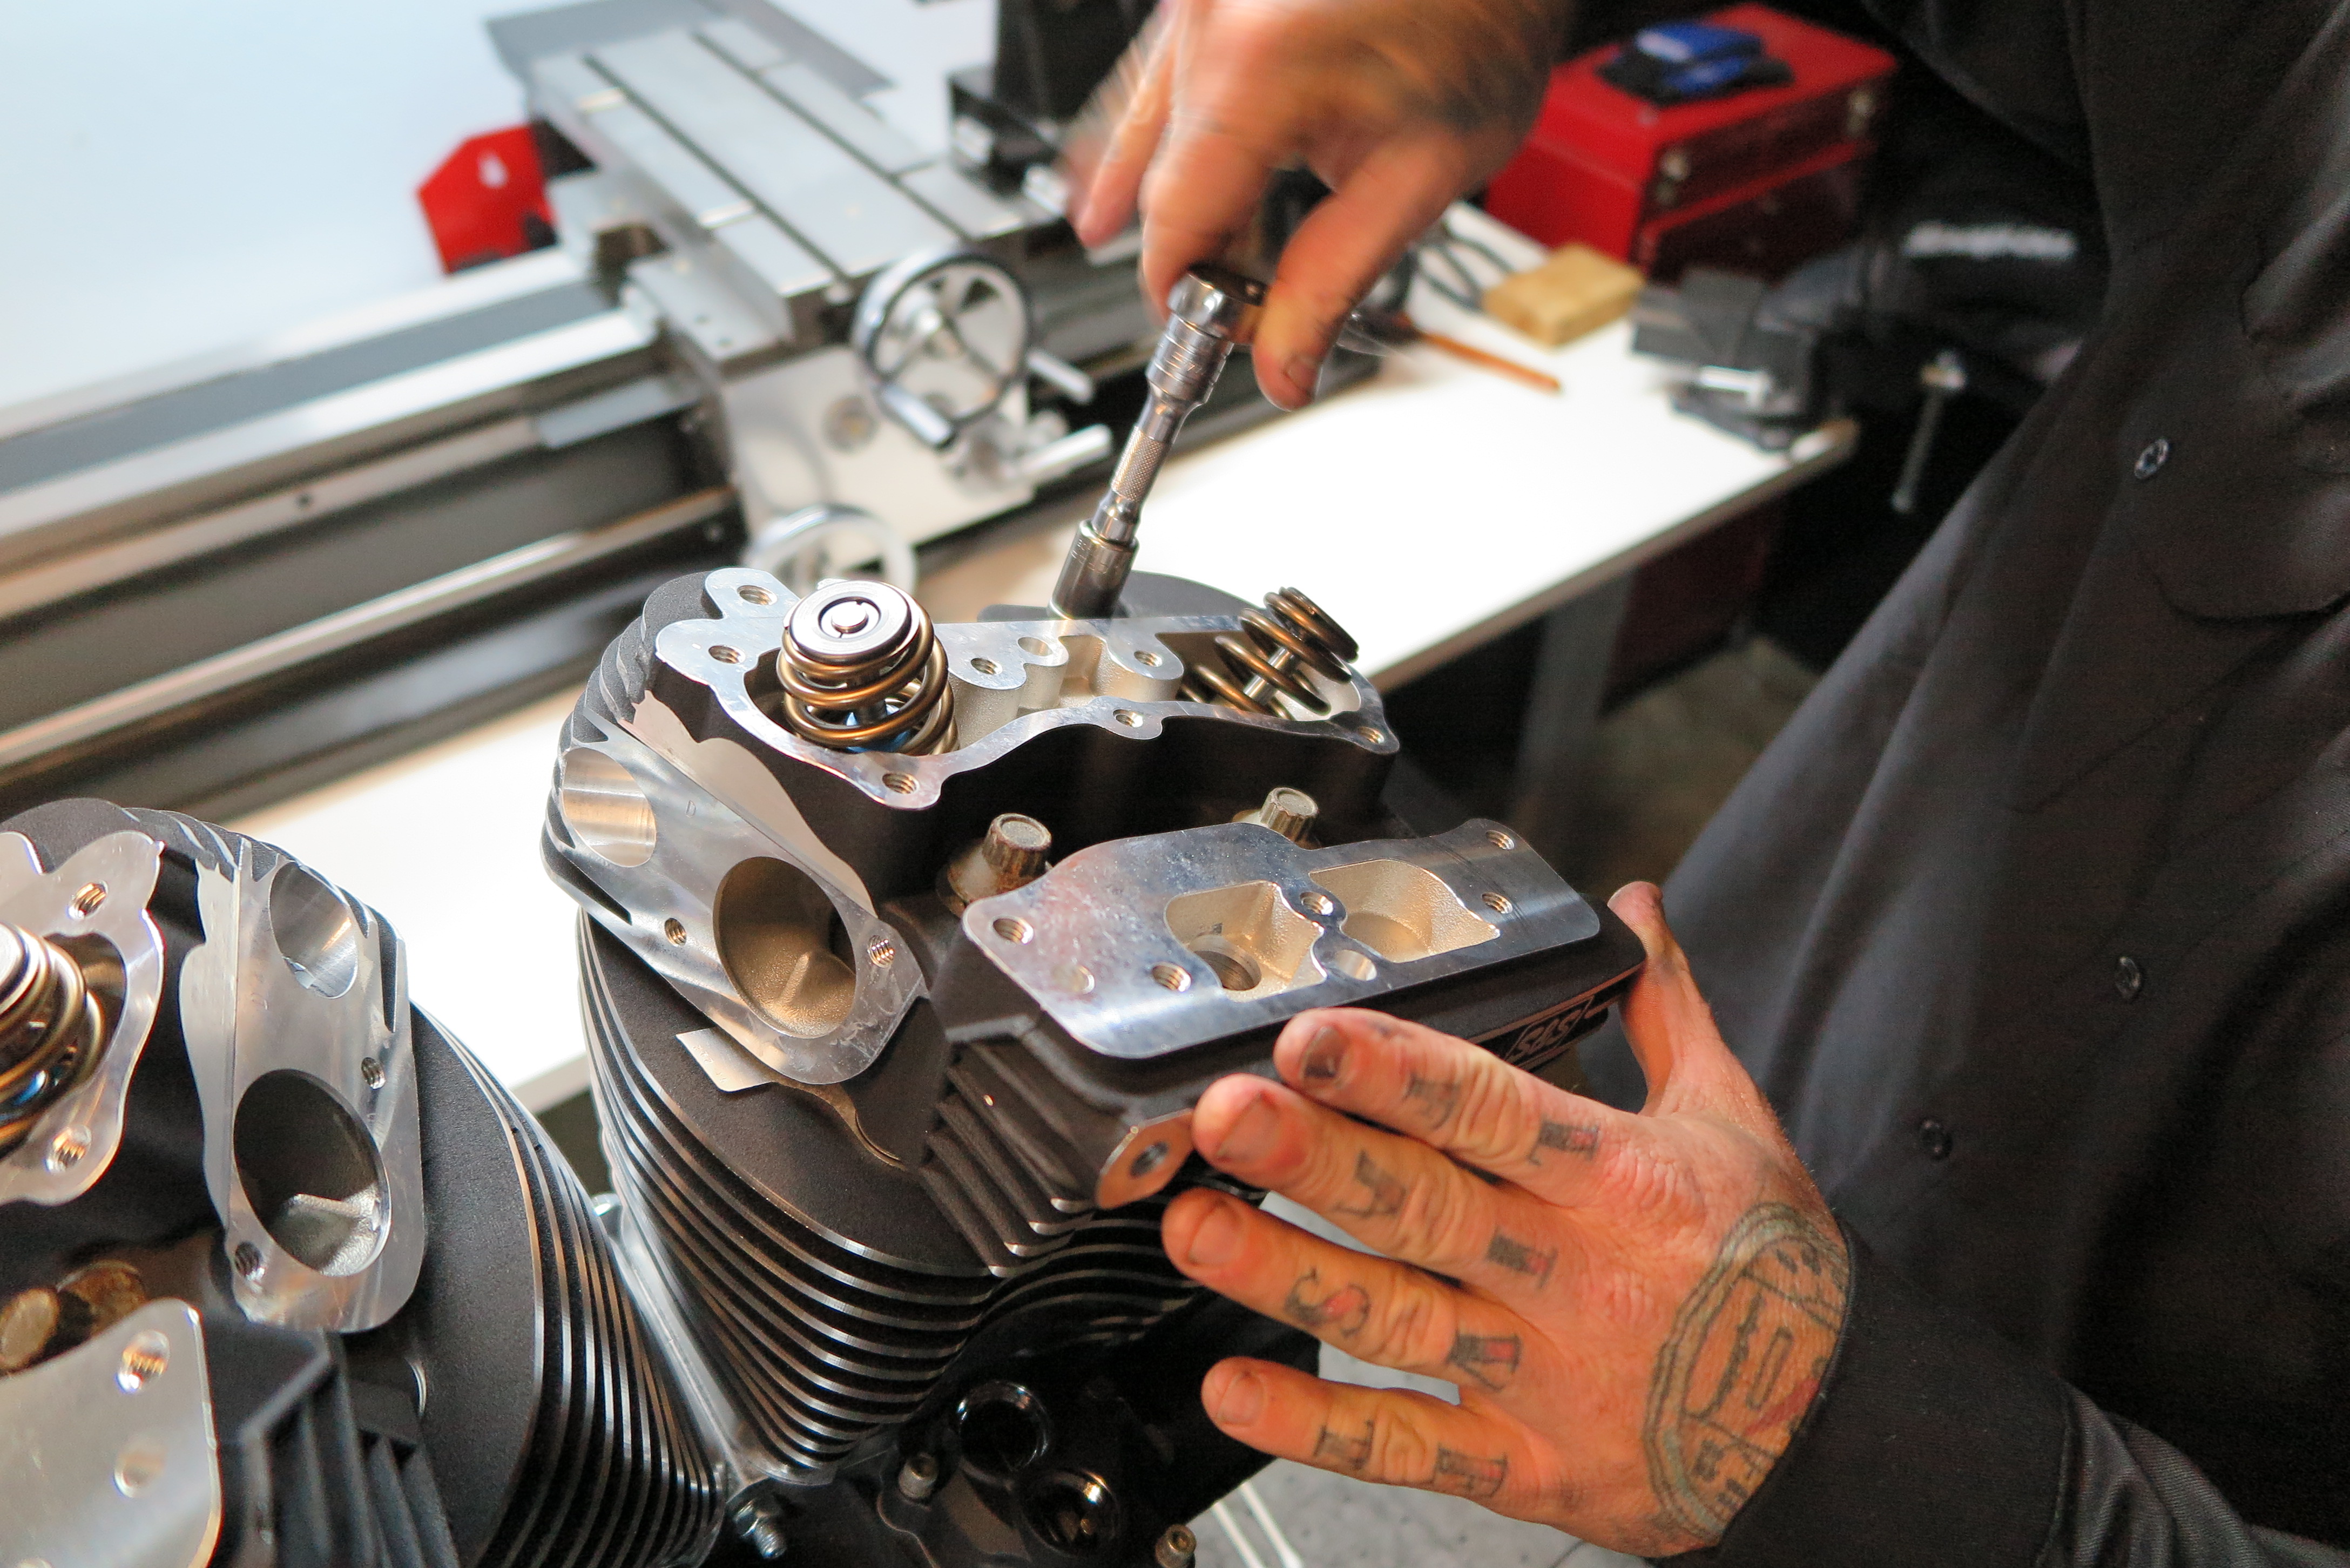
Danny installed the S&S heads to the jugs and tightened them down to factory specs.
Photo: Jeff G. Holt
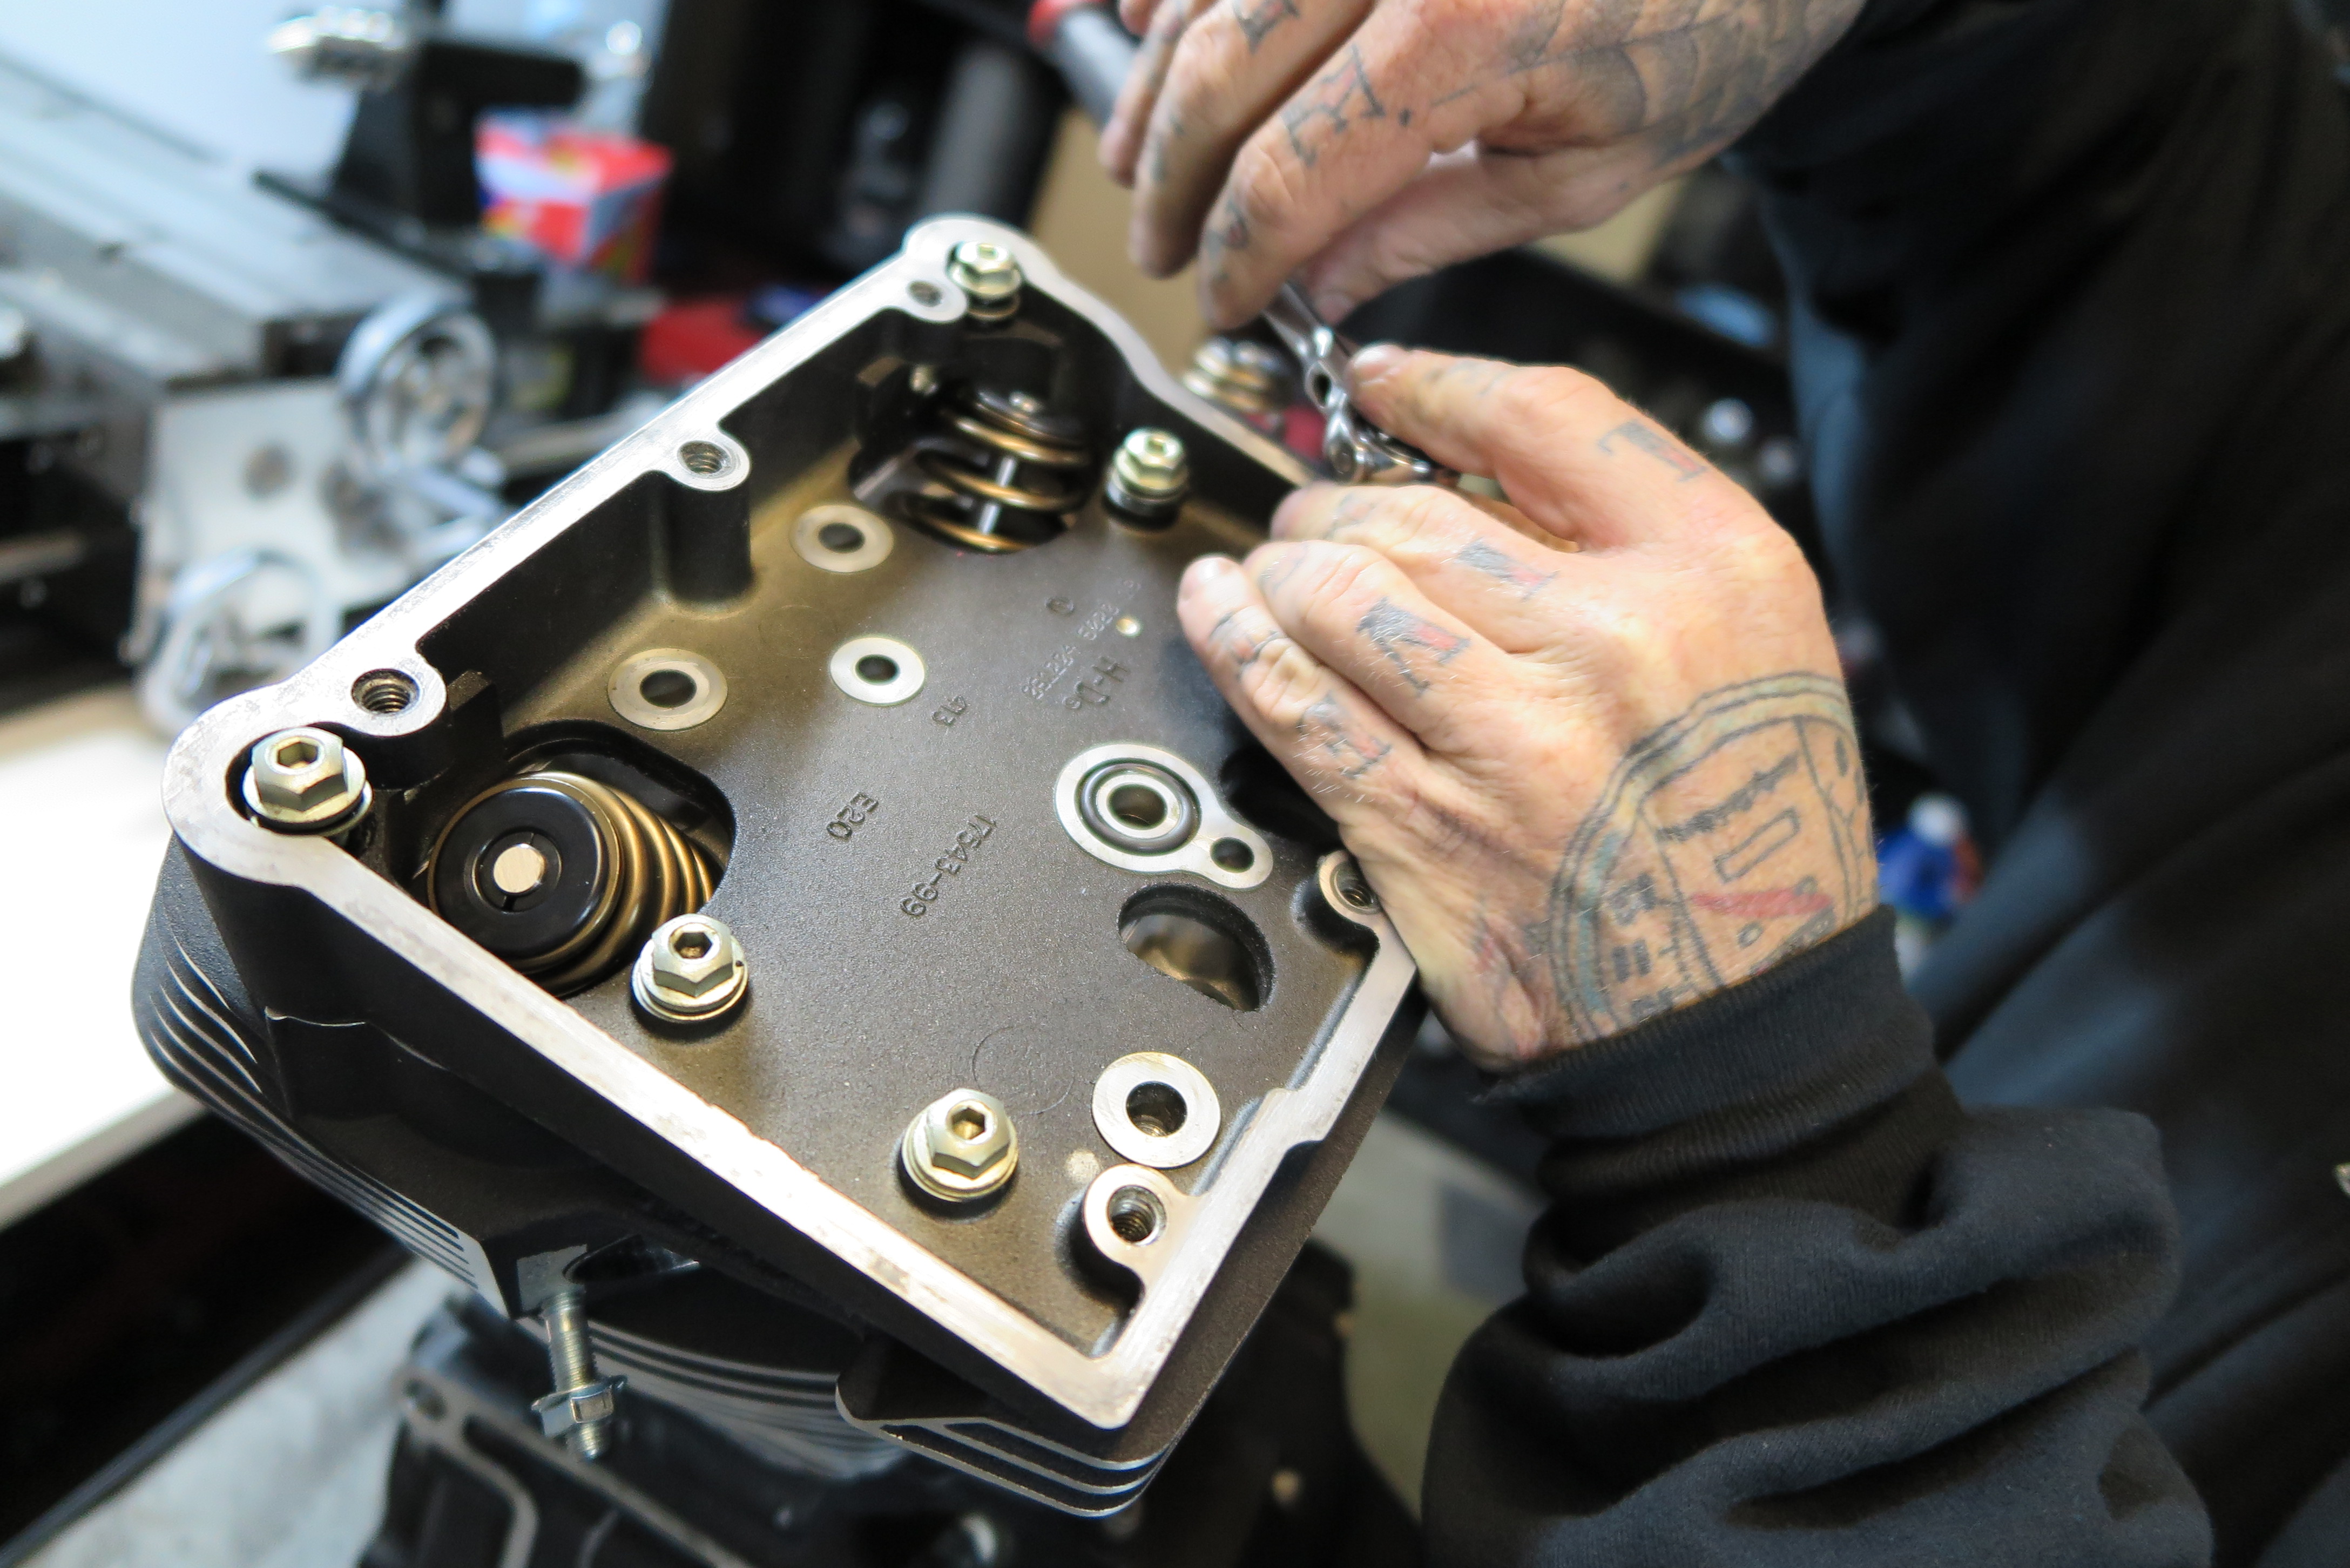
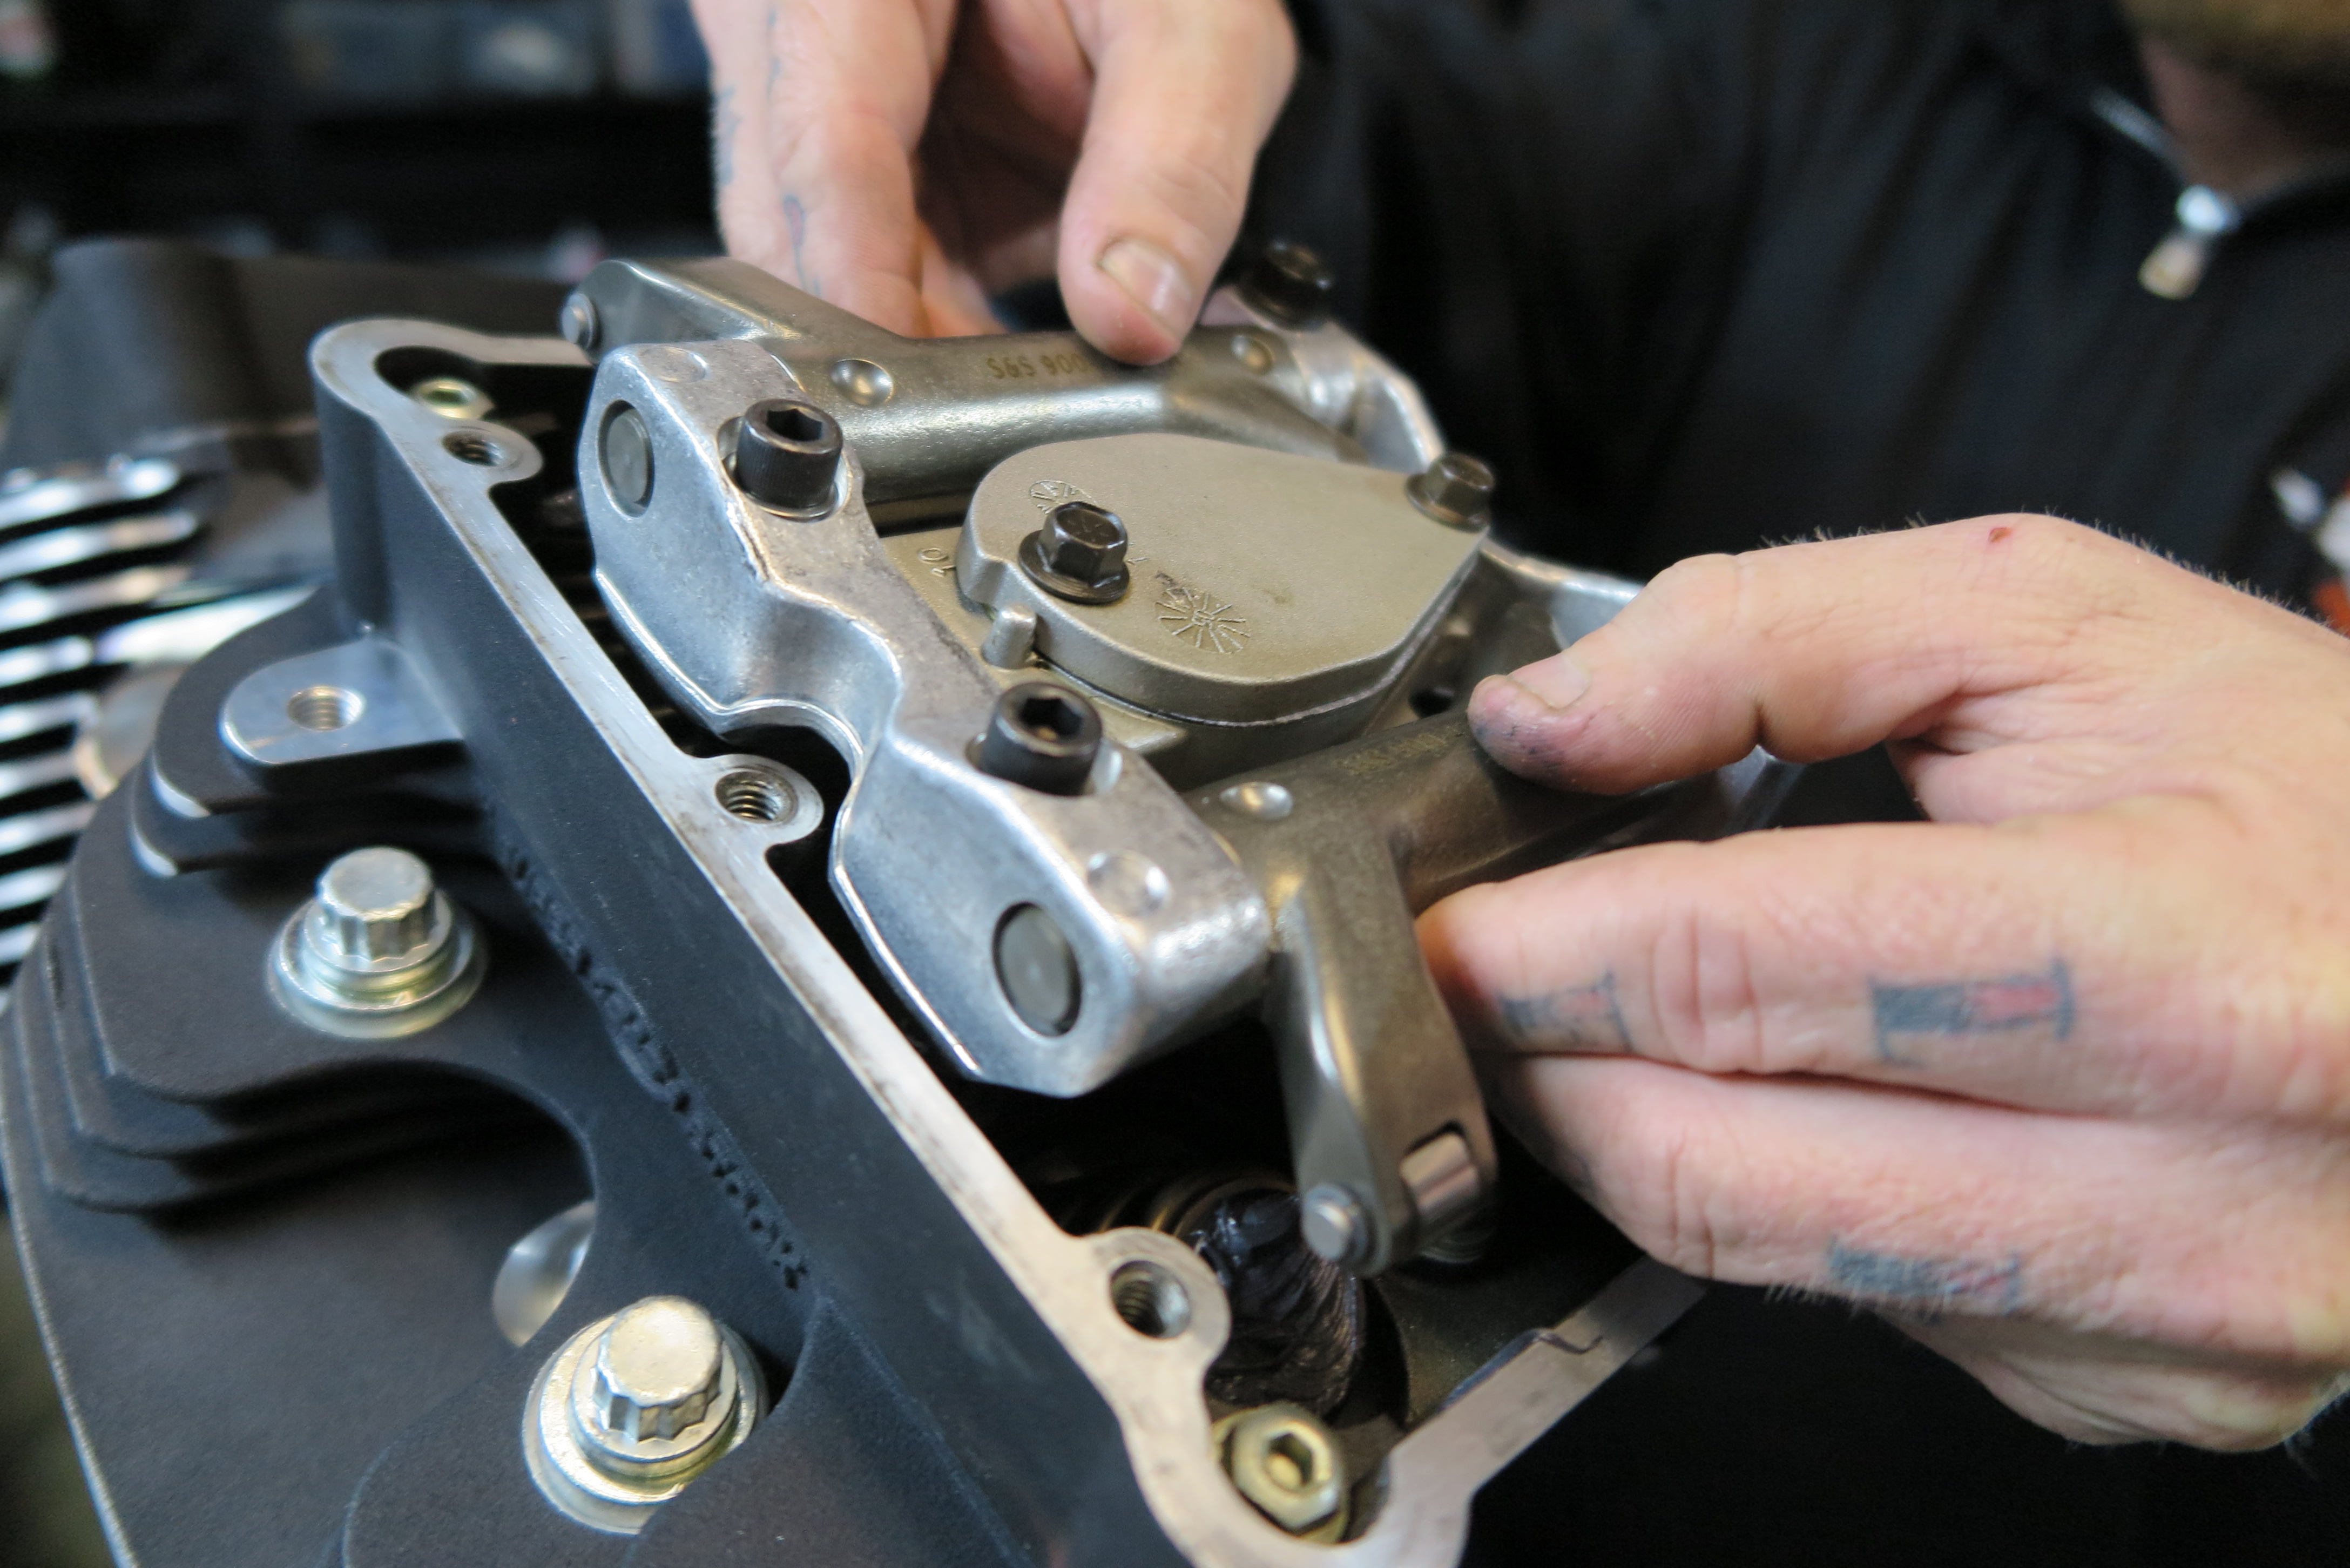
The Harley-Davidson rocker box was then installed onto the S&S cylinder head.
Photo: Jeff G. Holt
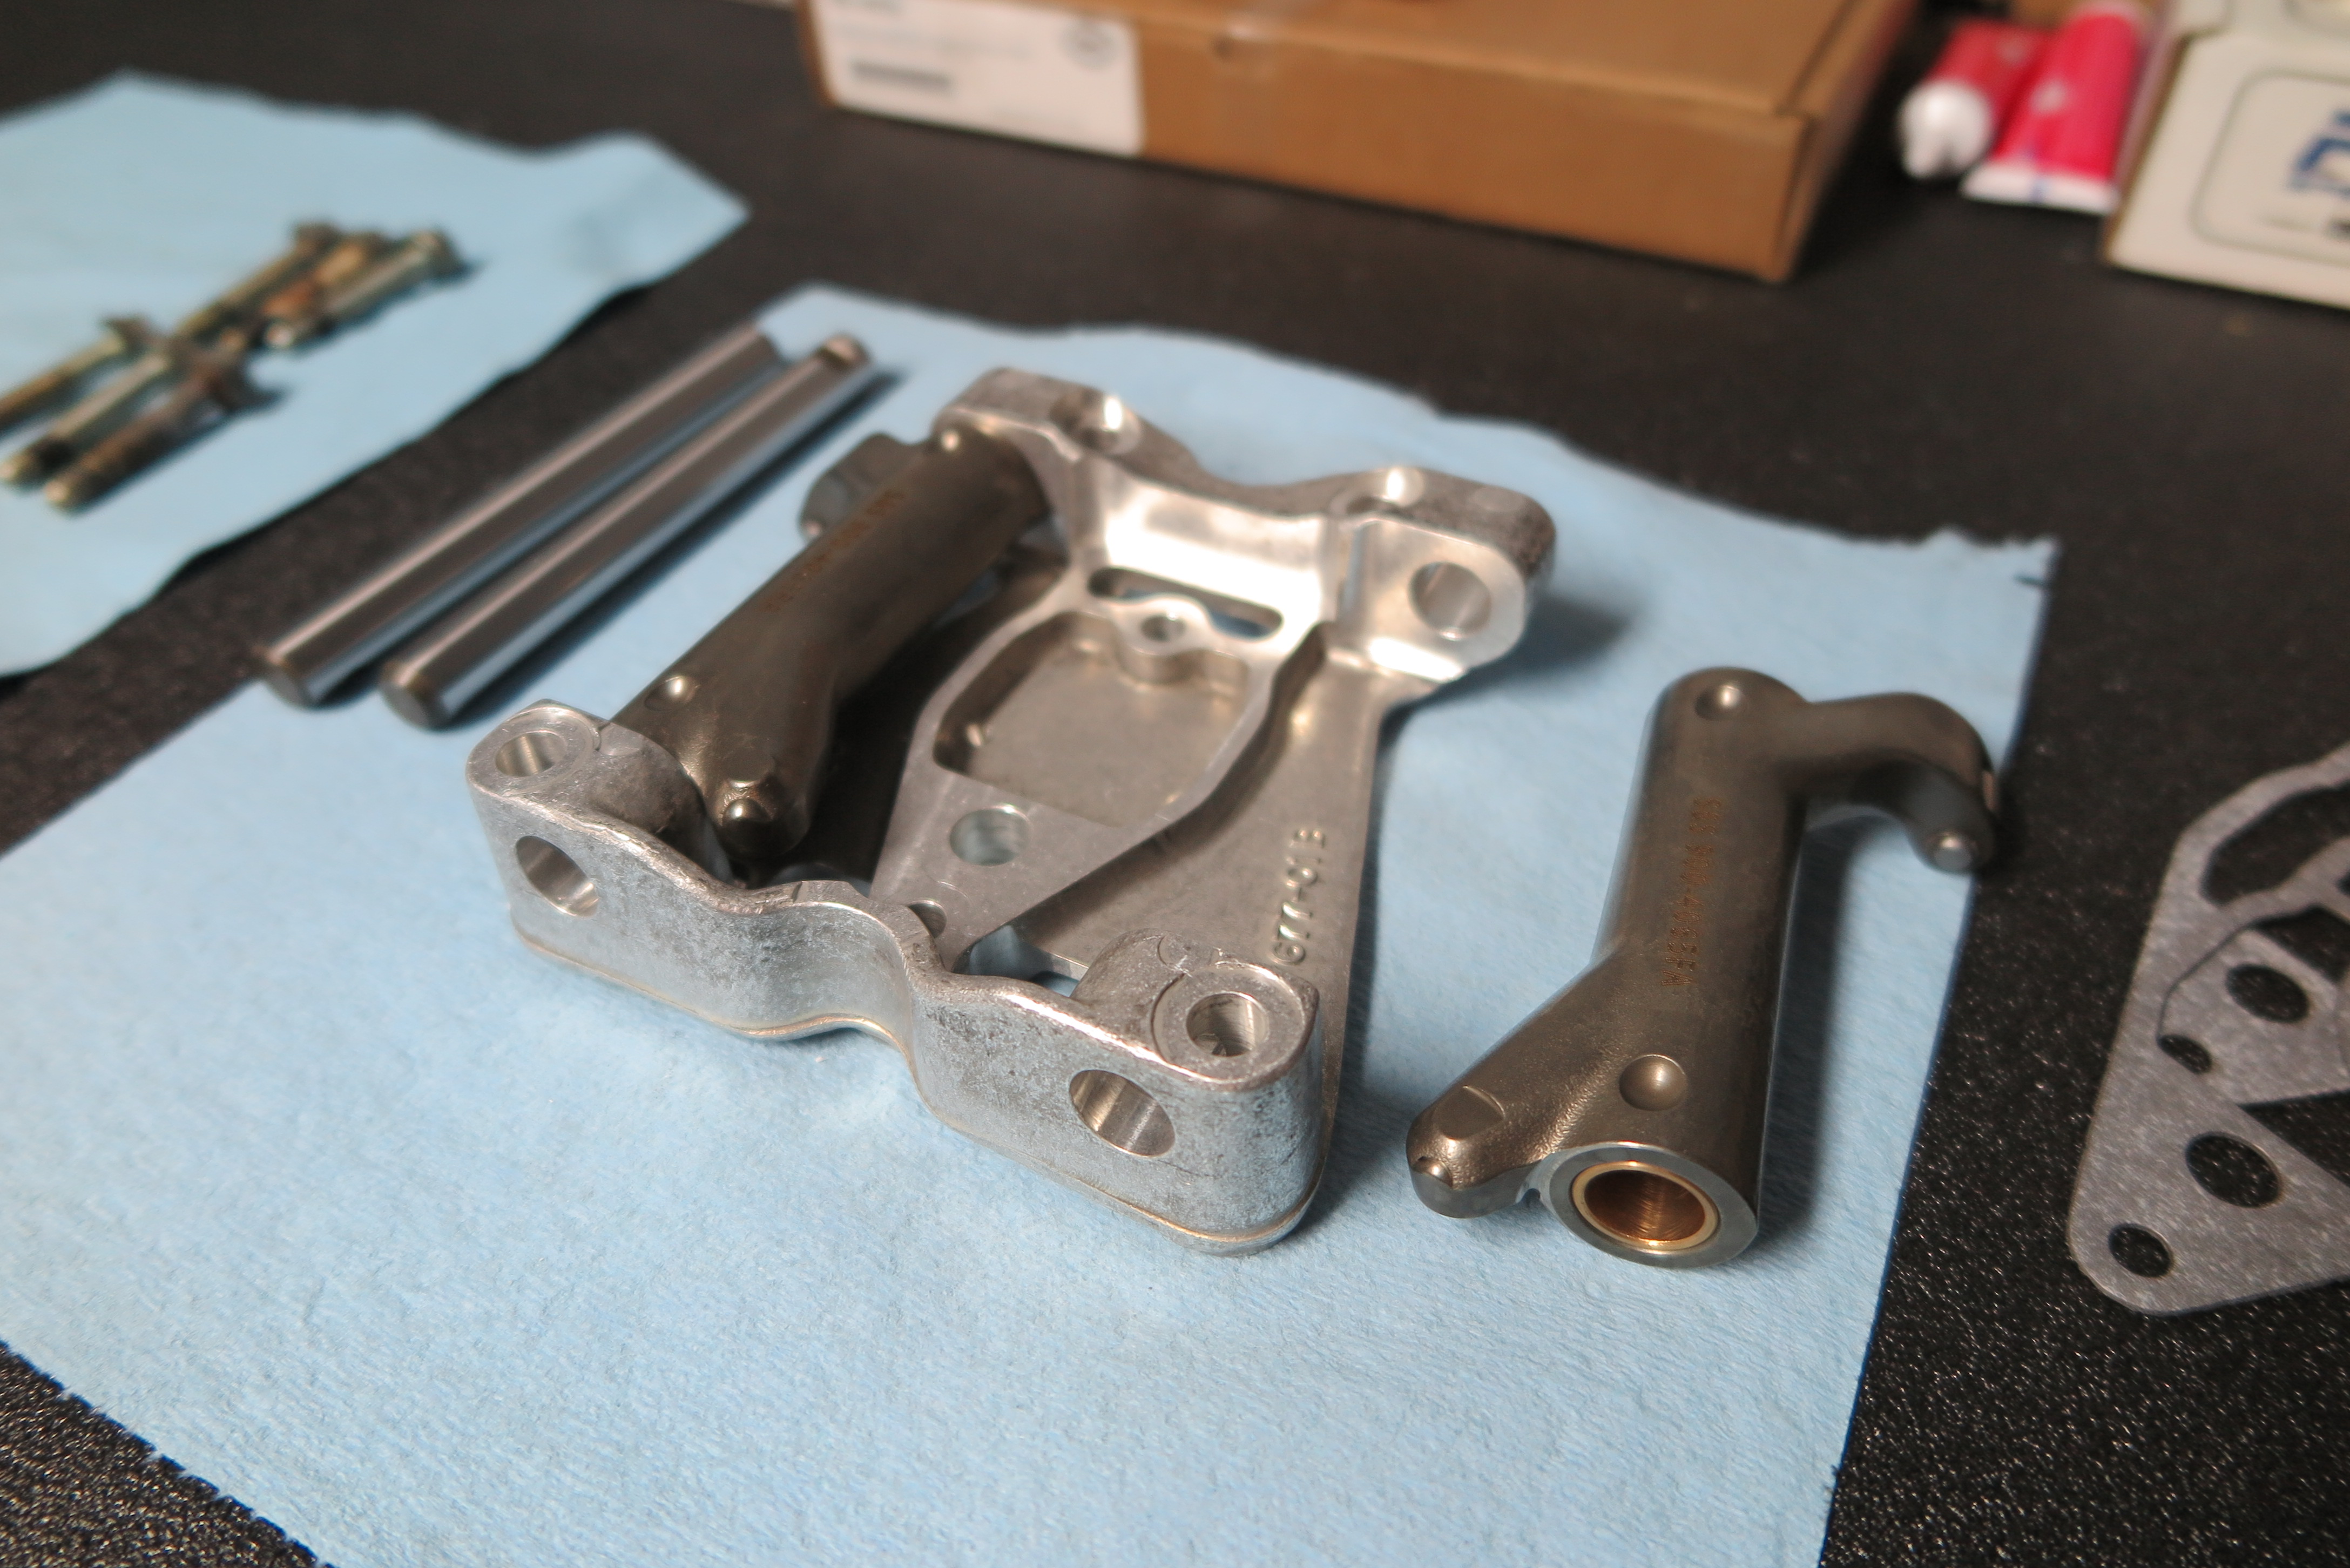
The Hot Setup kit also comes complete with S&S’s roller rocker kit.
Photo: Jeff G. Holt
Danny installed the S&S roller rocker kit with help of a few Screamin’ Eagle parts.
Photo: Jeff G. Holt
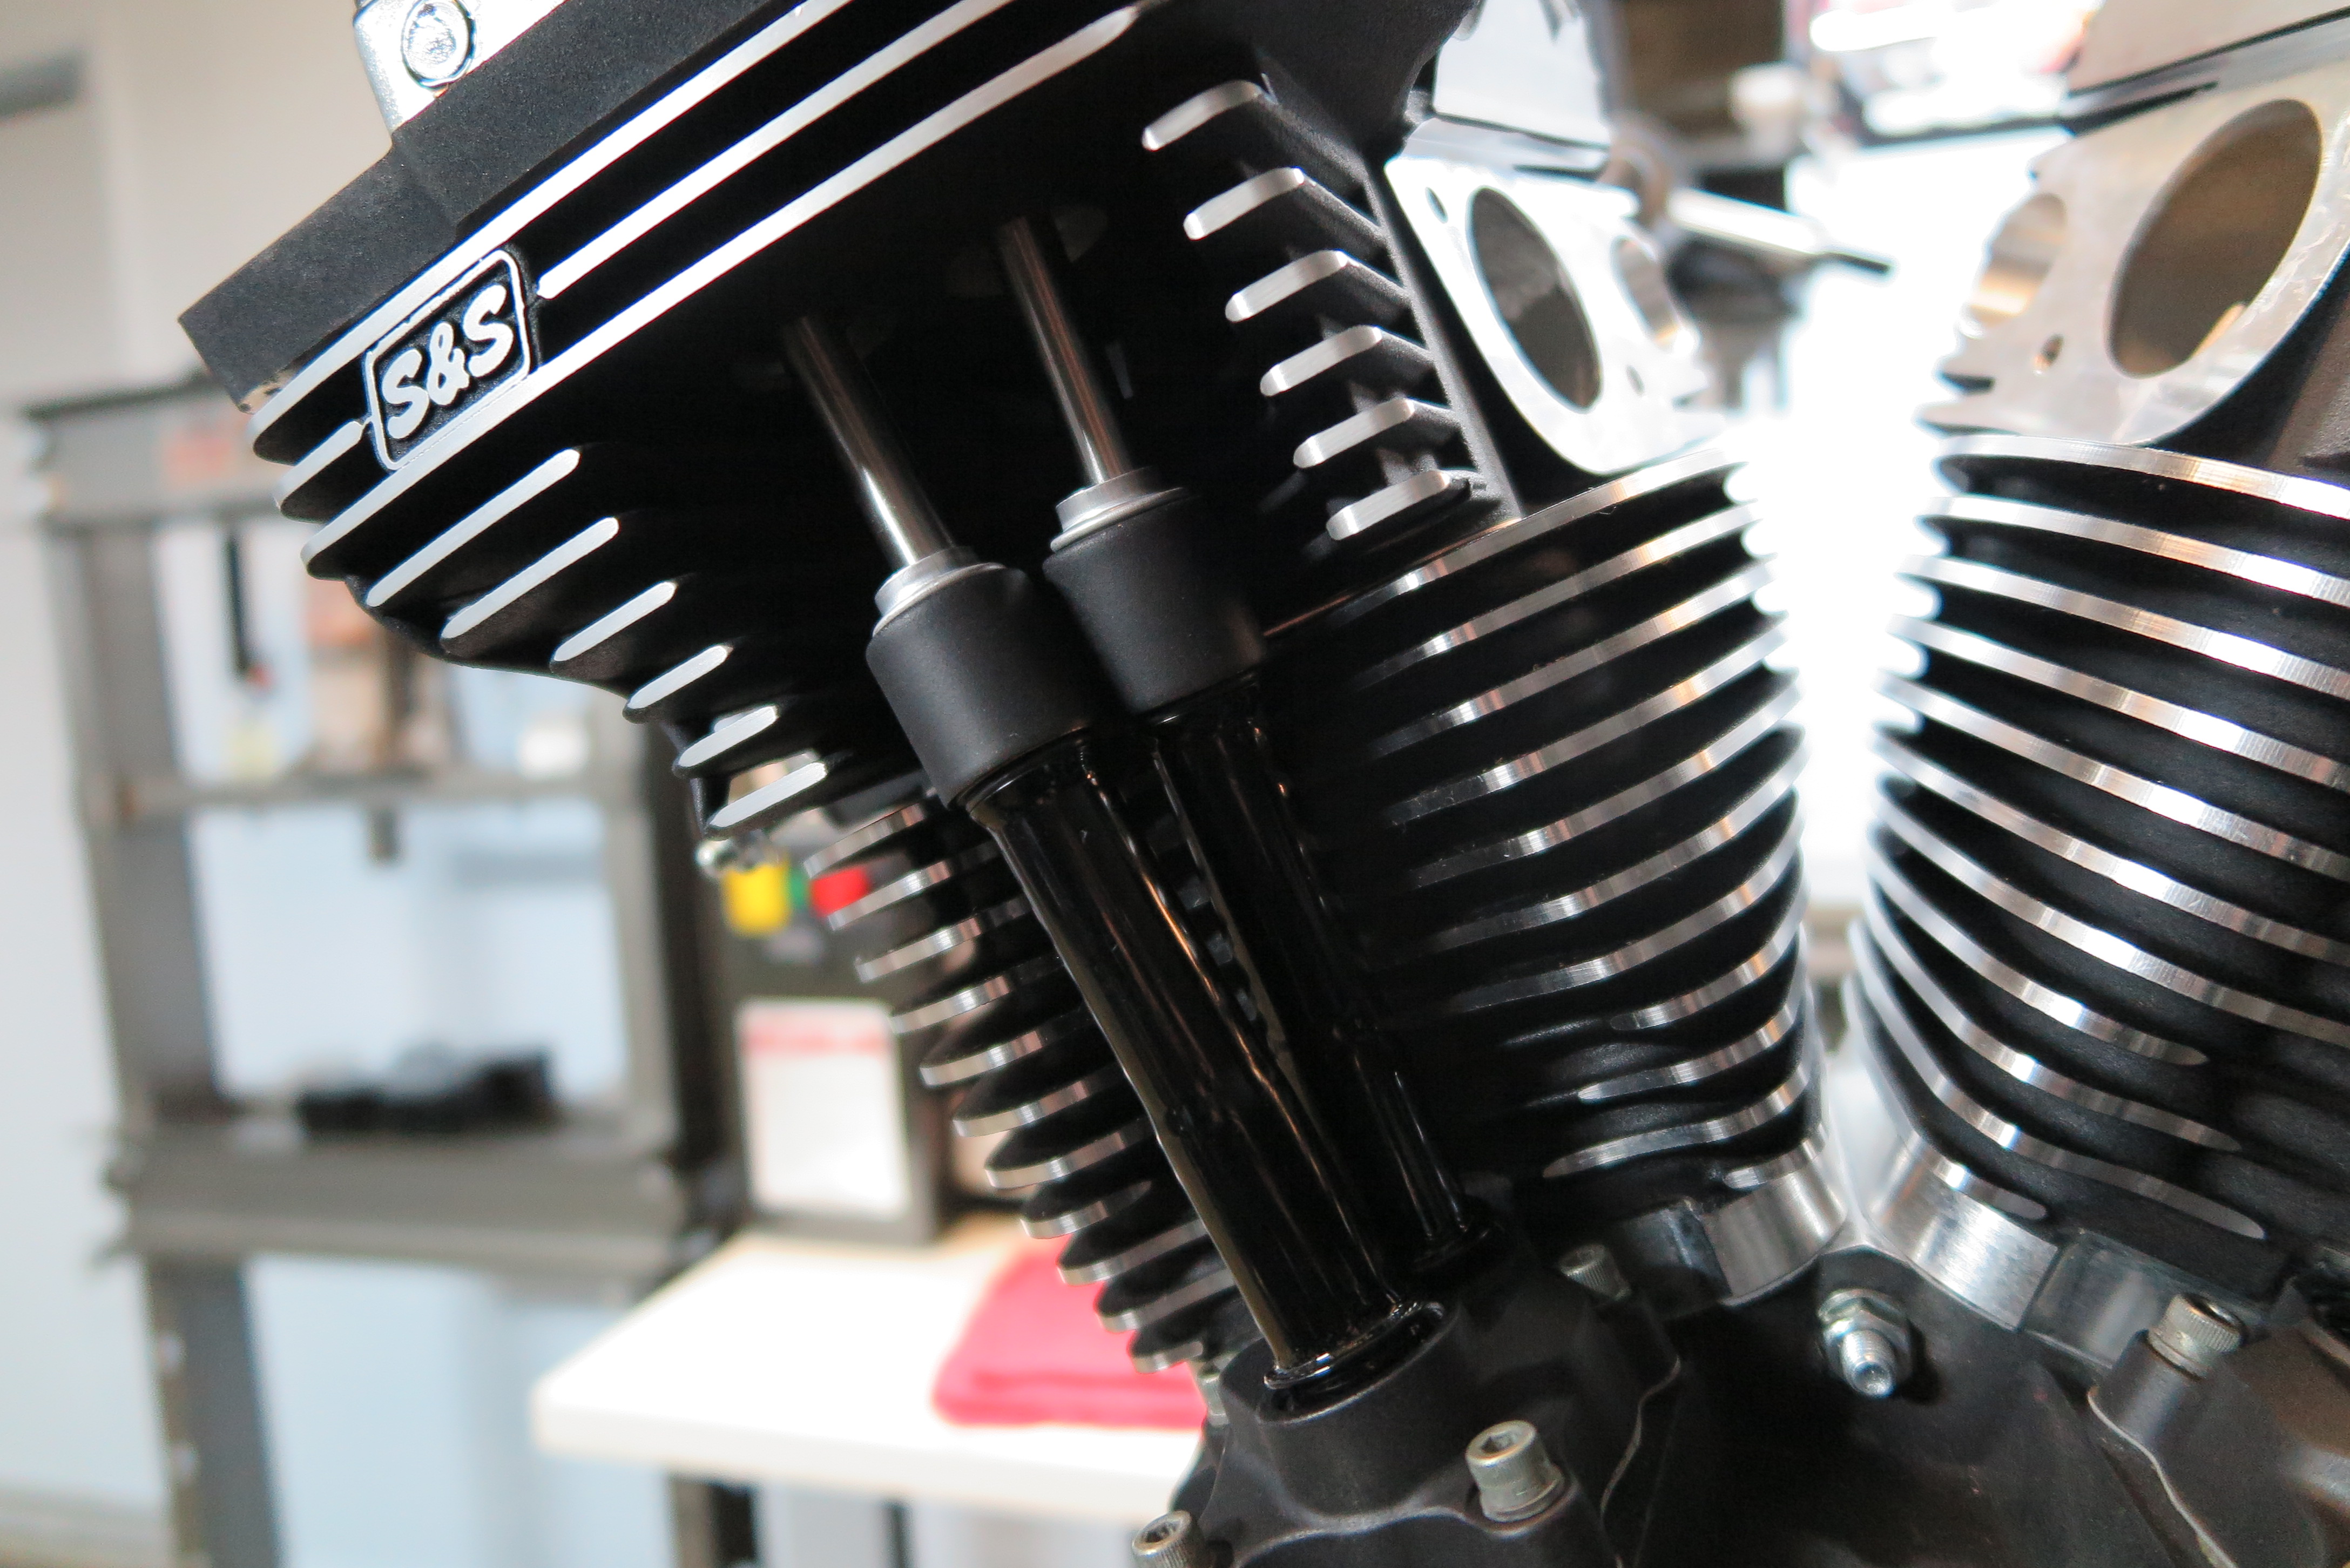
We also purchased a set of H-D’s black pushrod covers to install over our S&S adjustable pushrods.
Photo: Jeff G. Holt
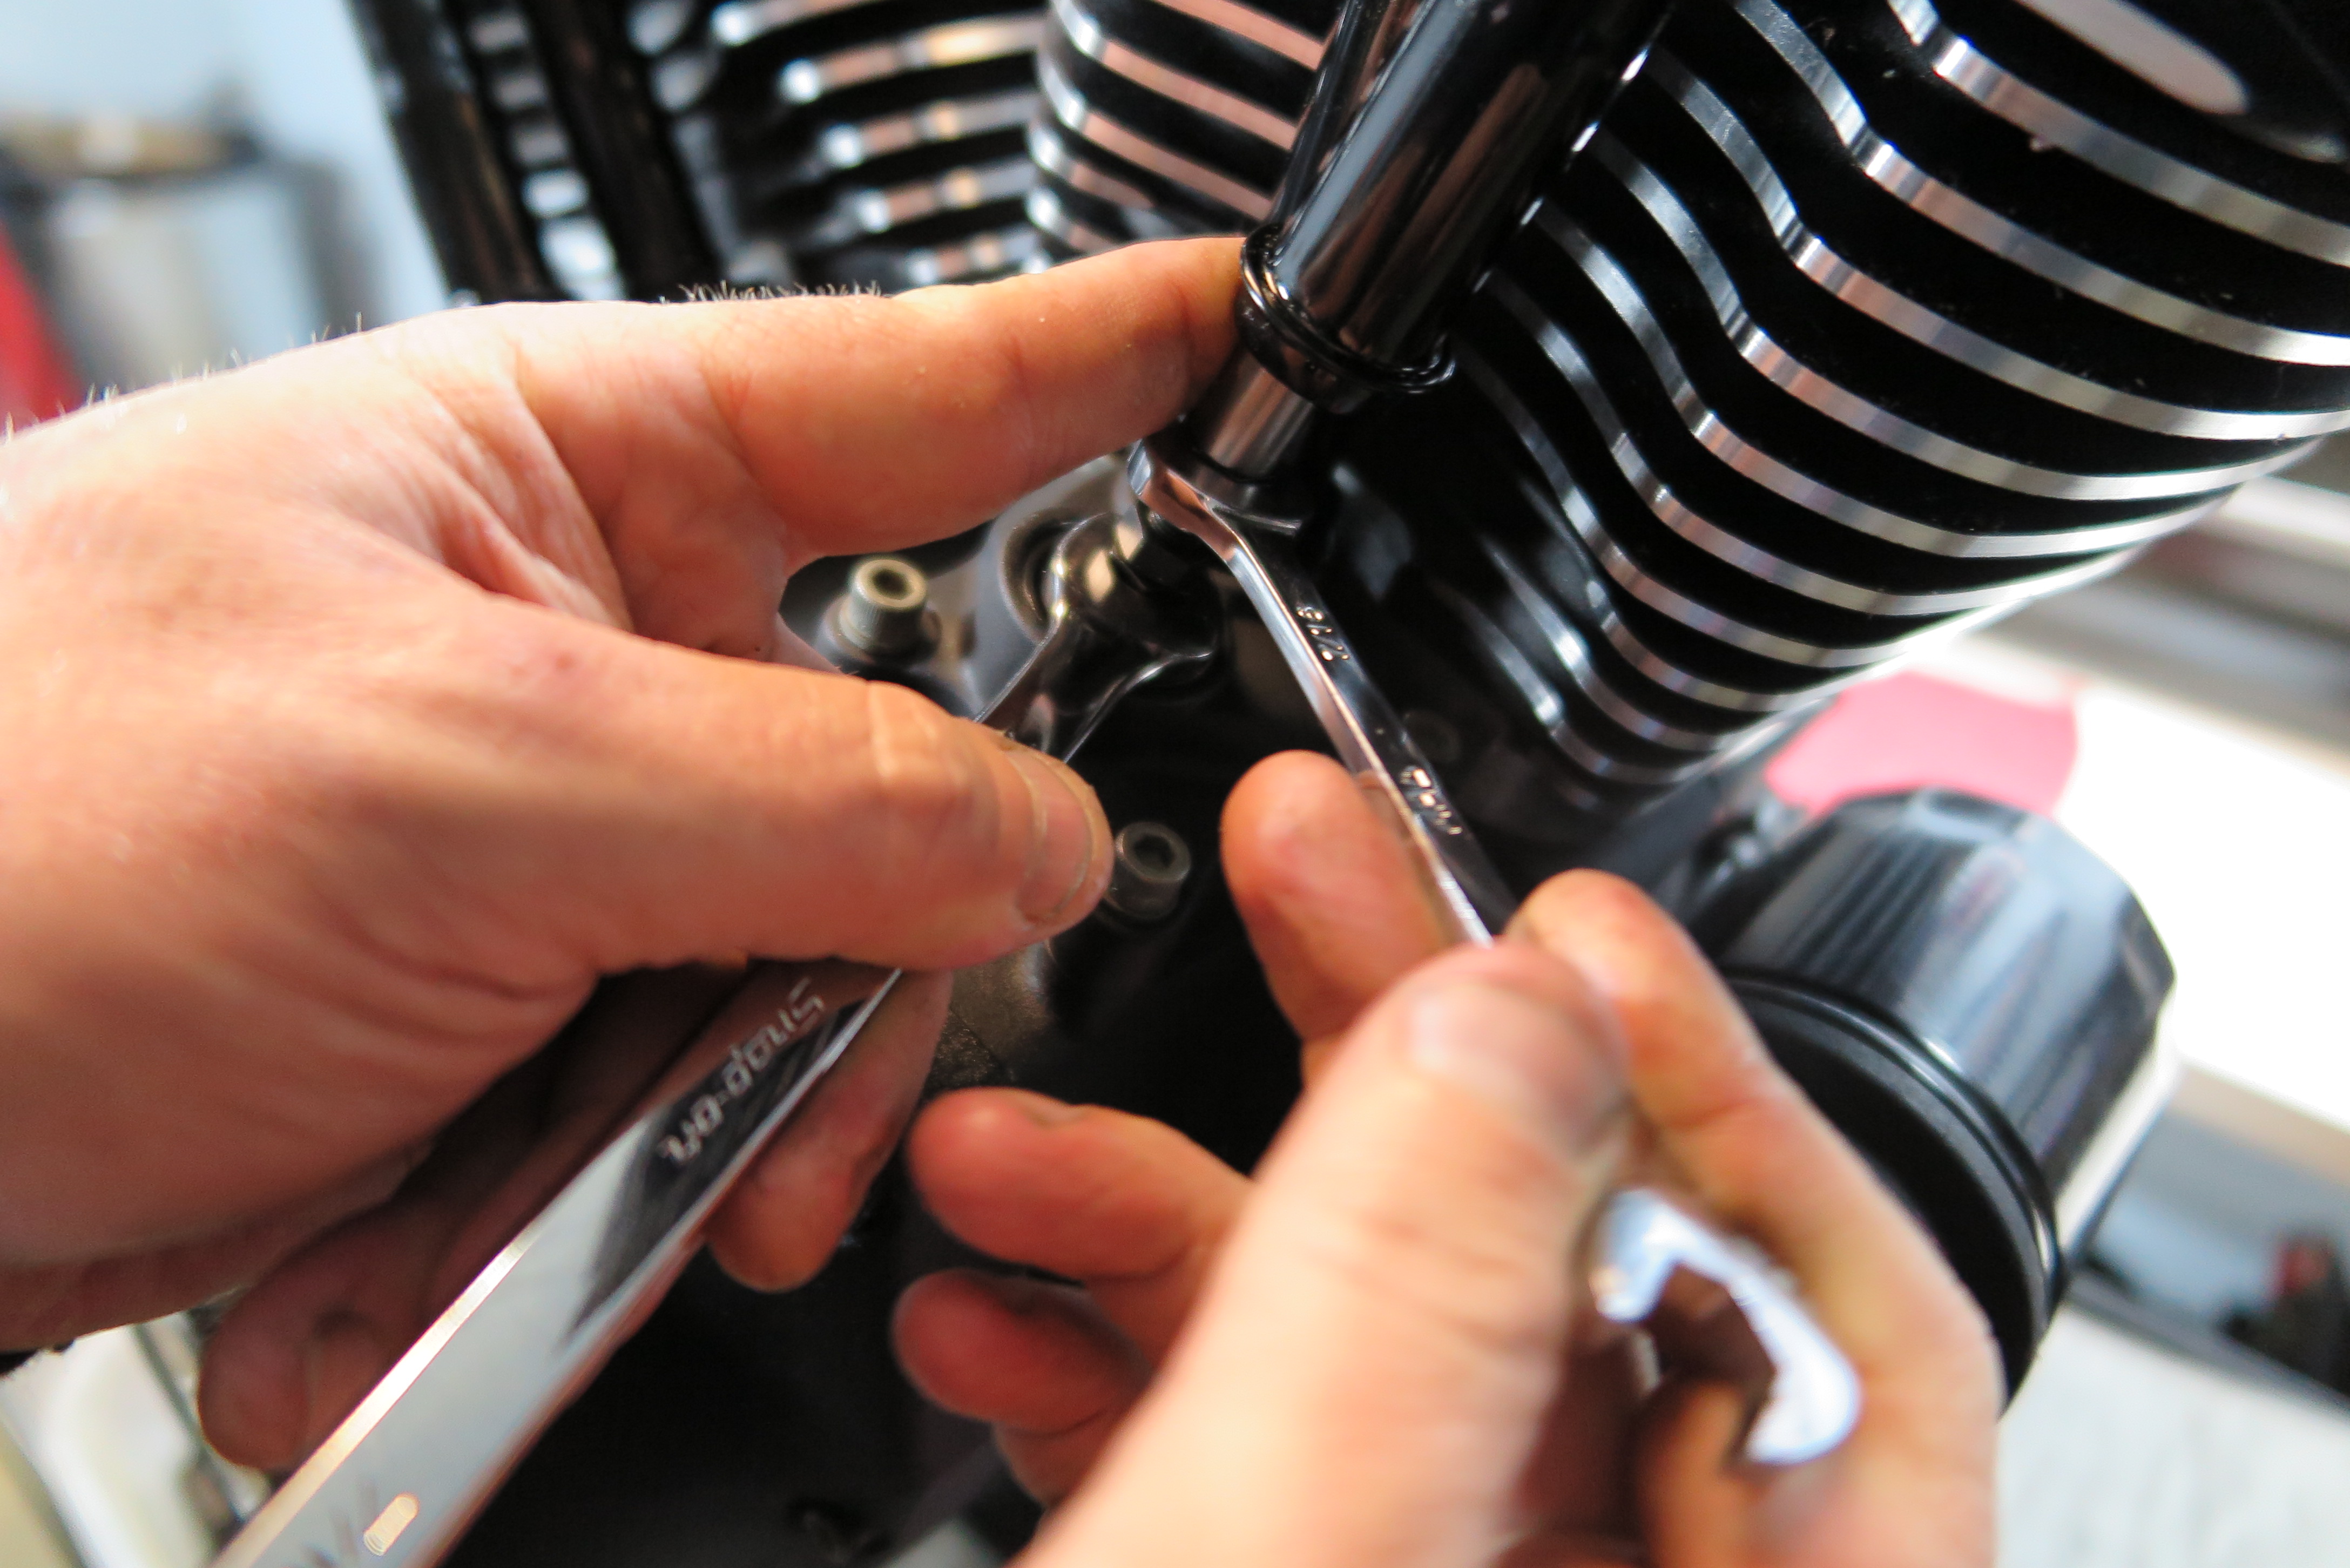
Once installed, the S&S pushrods were adjusted to S&S’s specifications.
Photo: Jeff G. Holt

Danny then installed an S&S intake manifold between the cylinder heads.
Photo: Jeff G. Holt
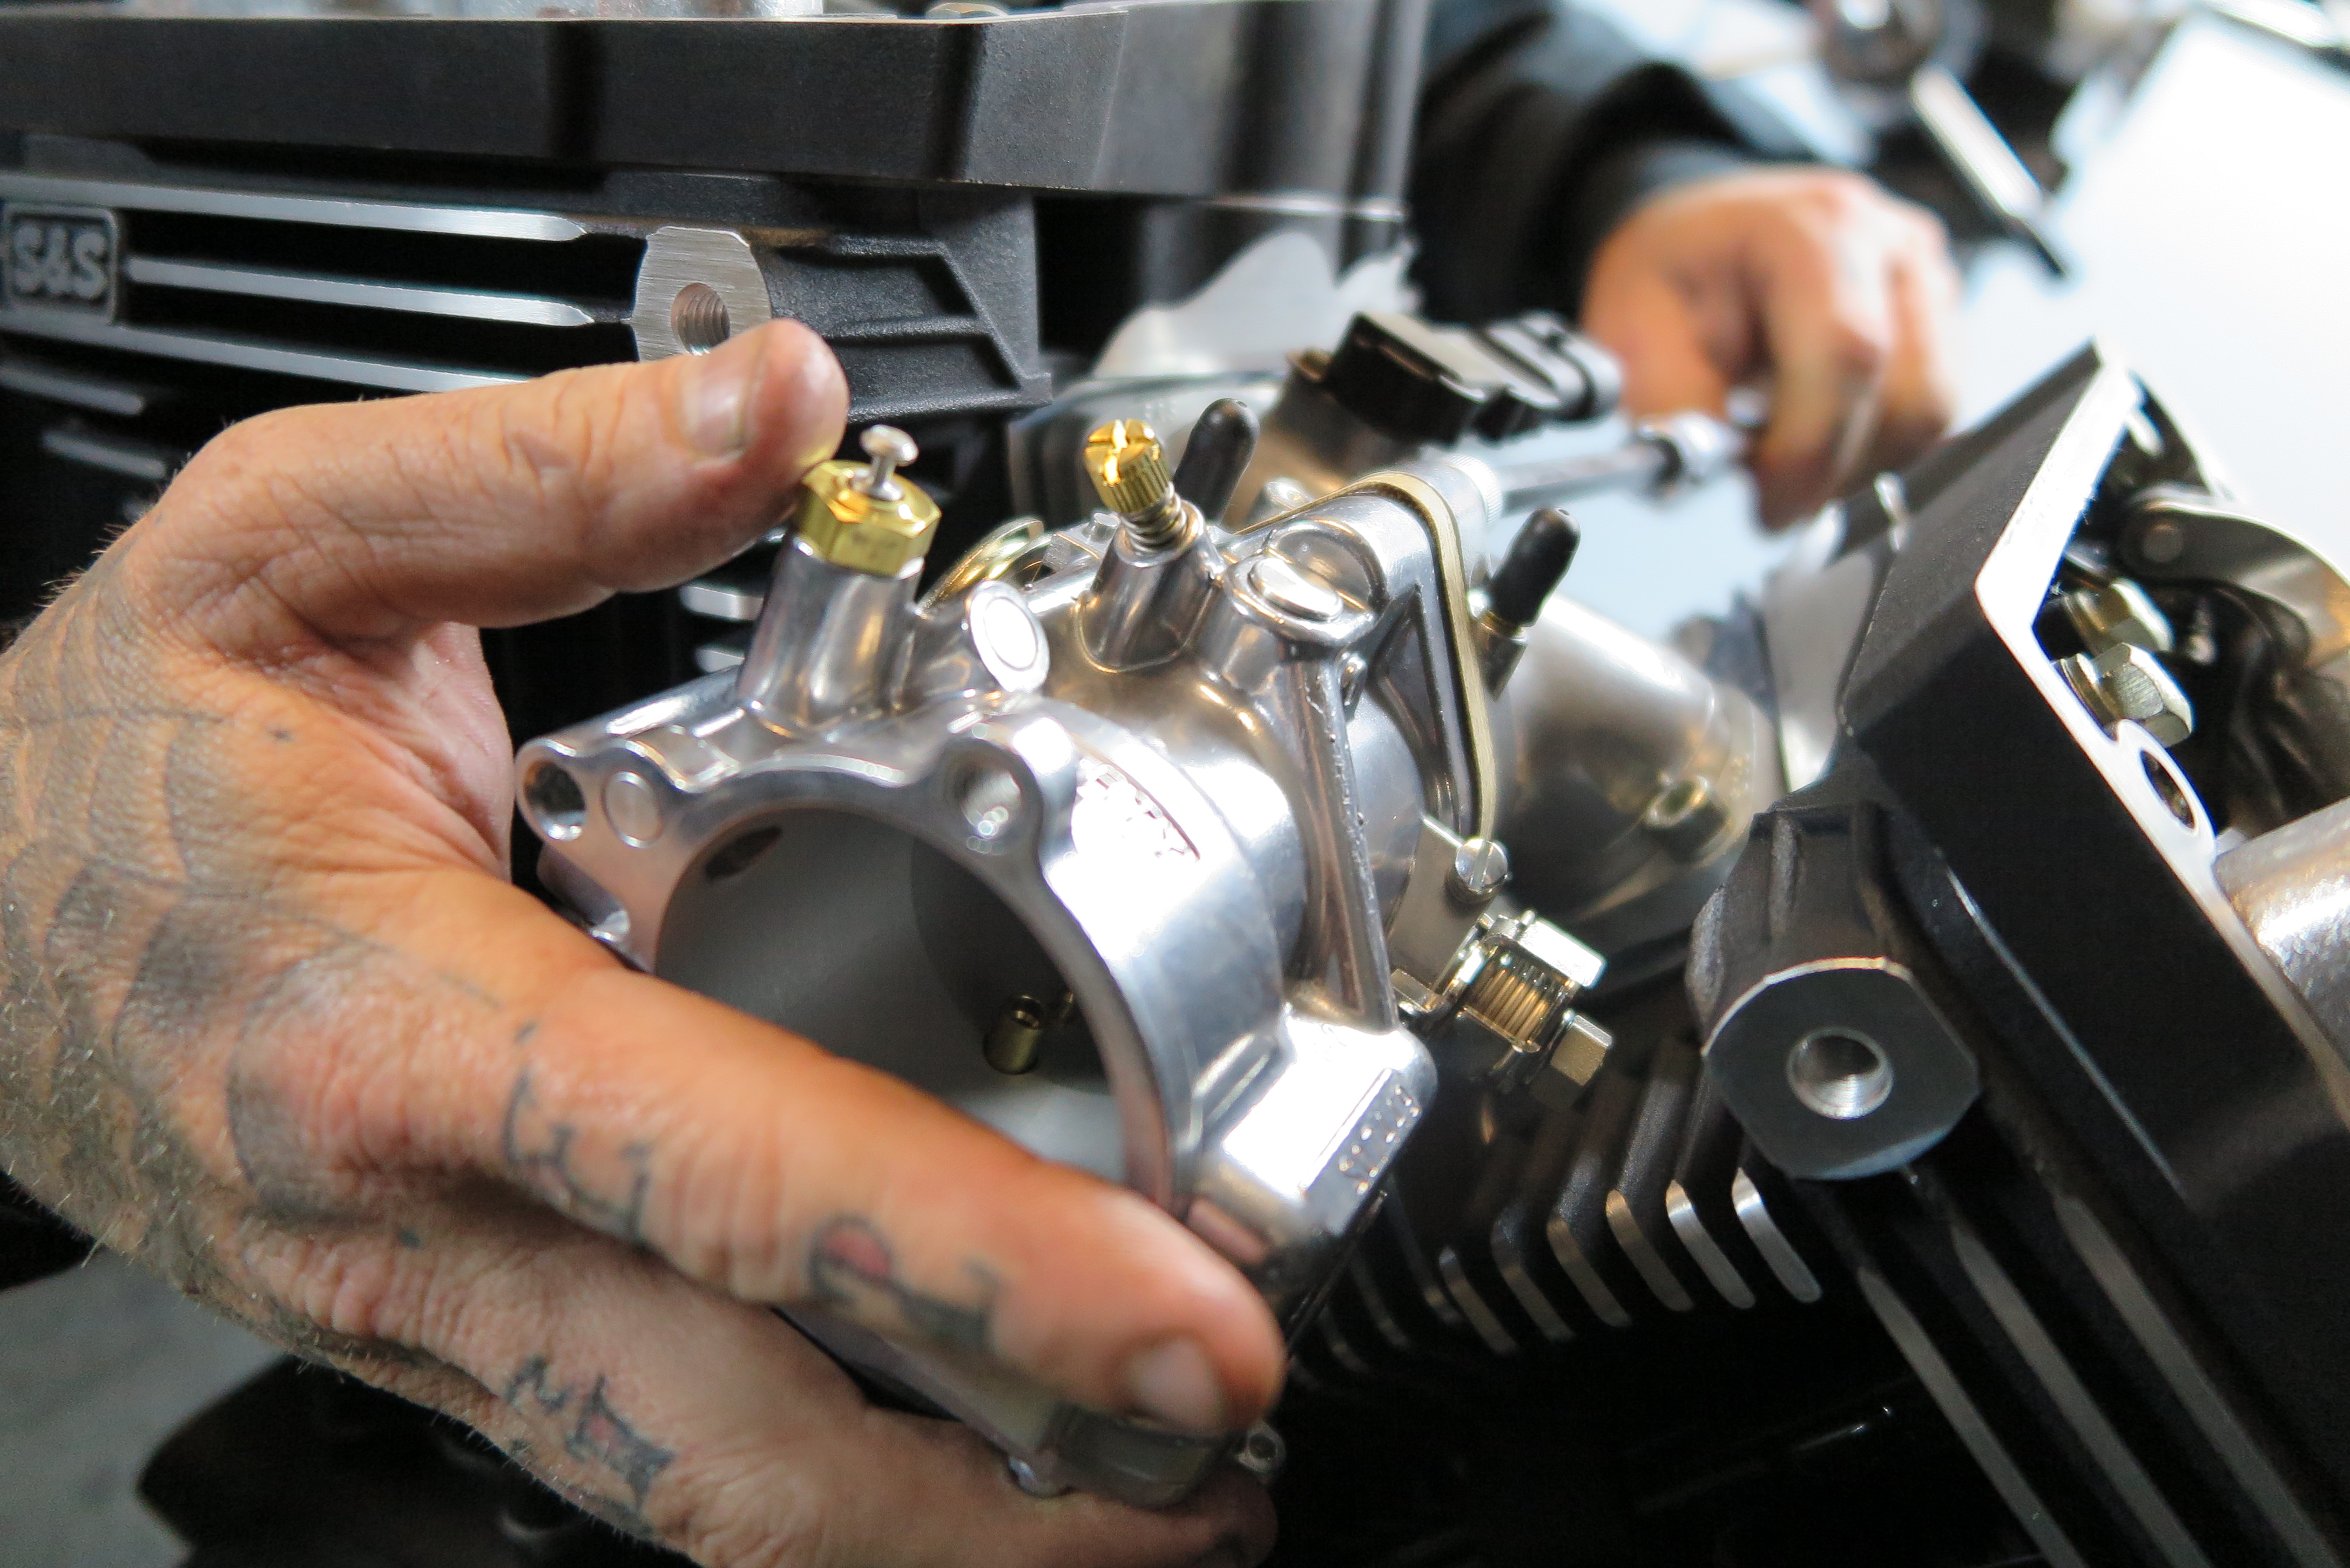
An S&S Super E carb, which was tuned for the 142ci kit, was bolted to the motor.
Photo: Jeff G. Holt

The stock H-D rocker box top had to be machined to clear the top of the new S&S and Screamin’ Eagle rockers and supports, but they went on fine after that.
Photo: Jeff G. Holt
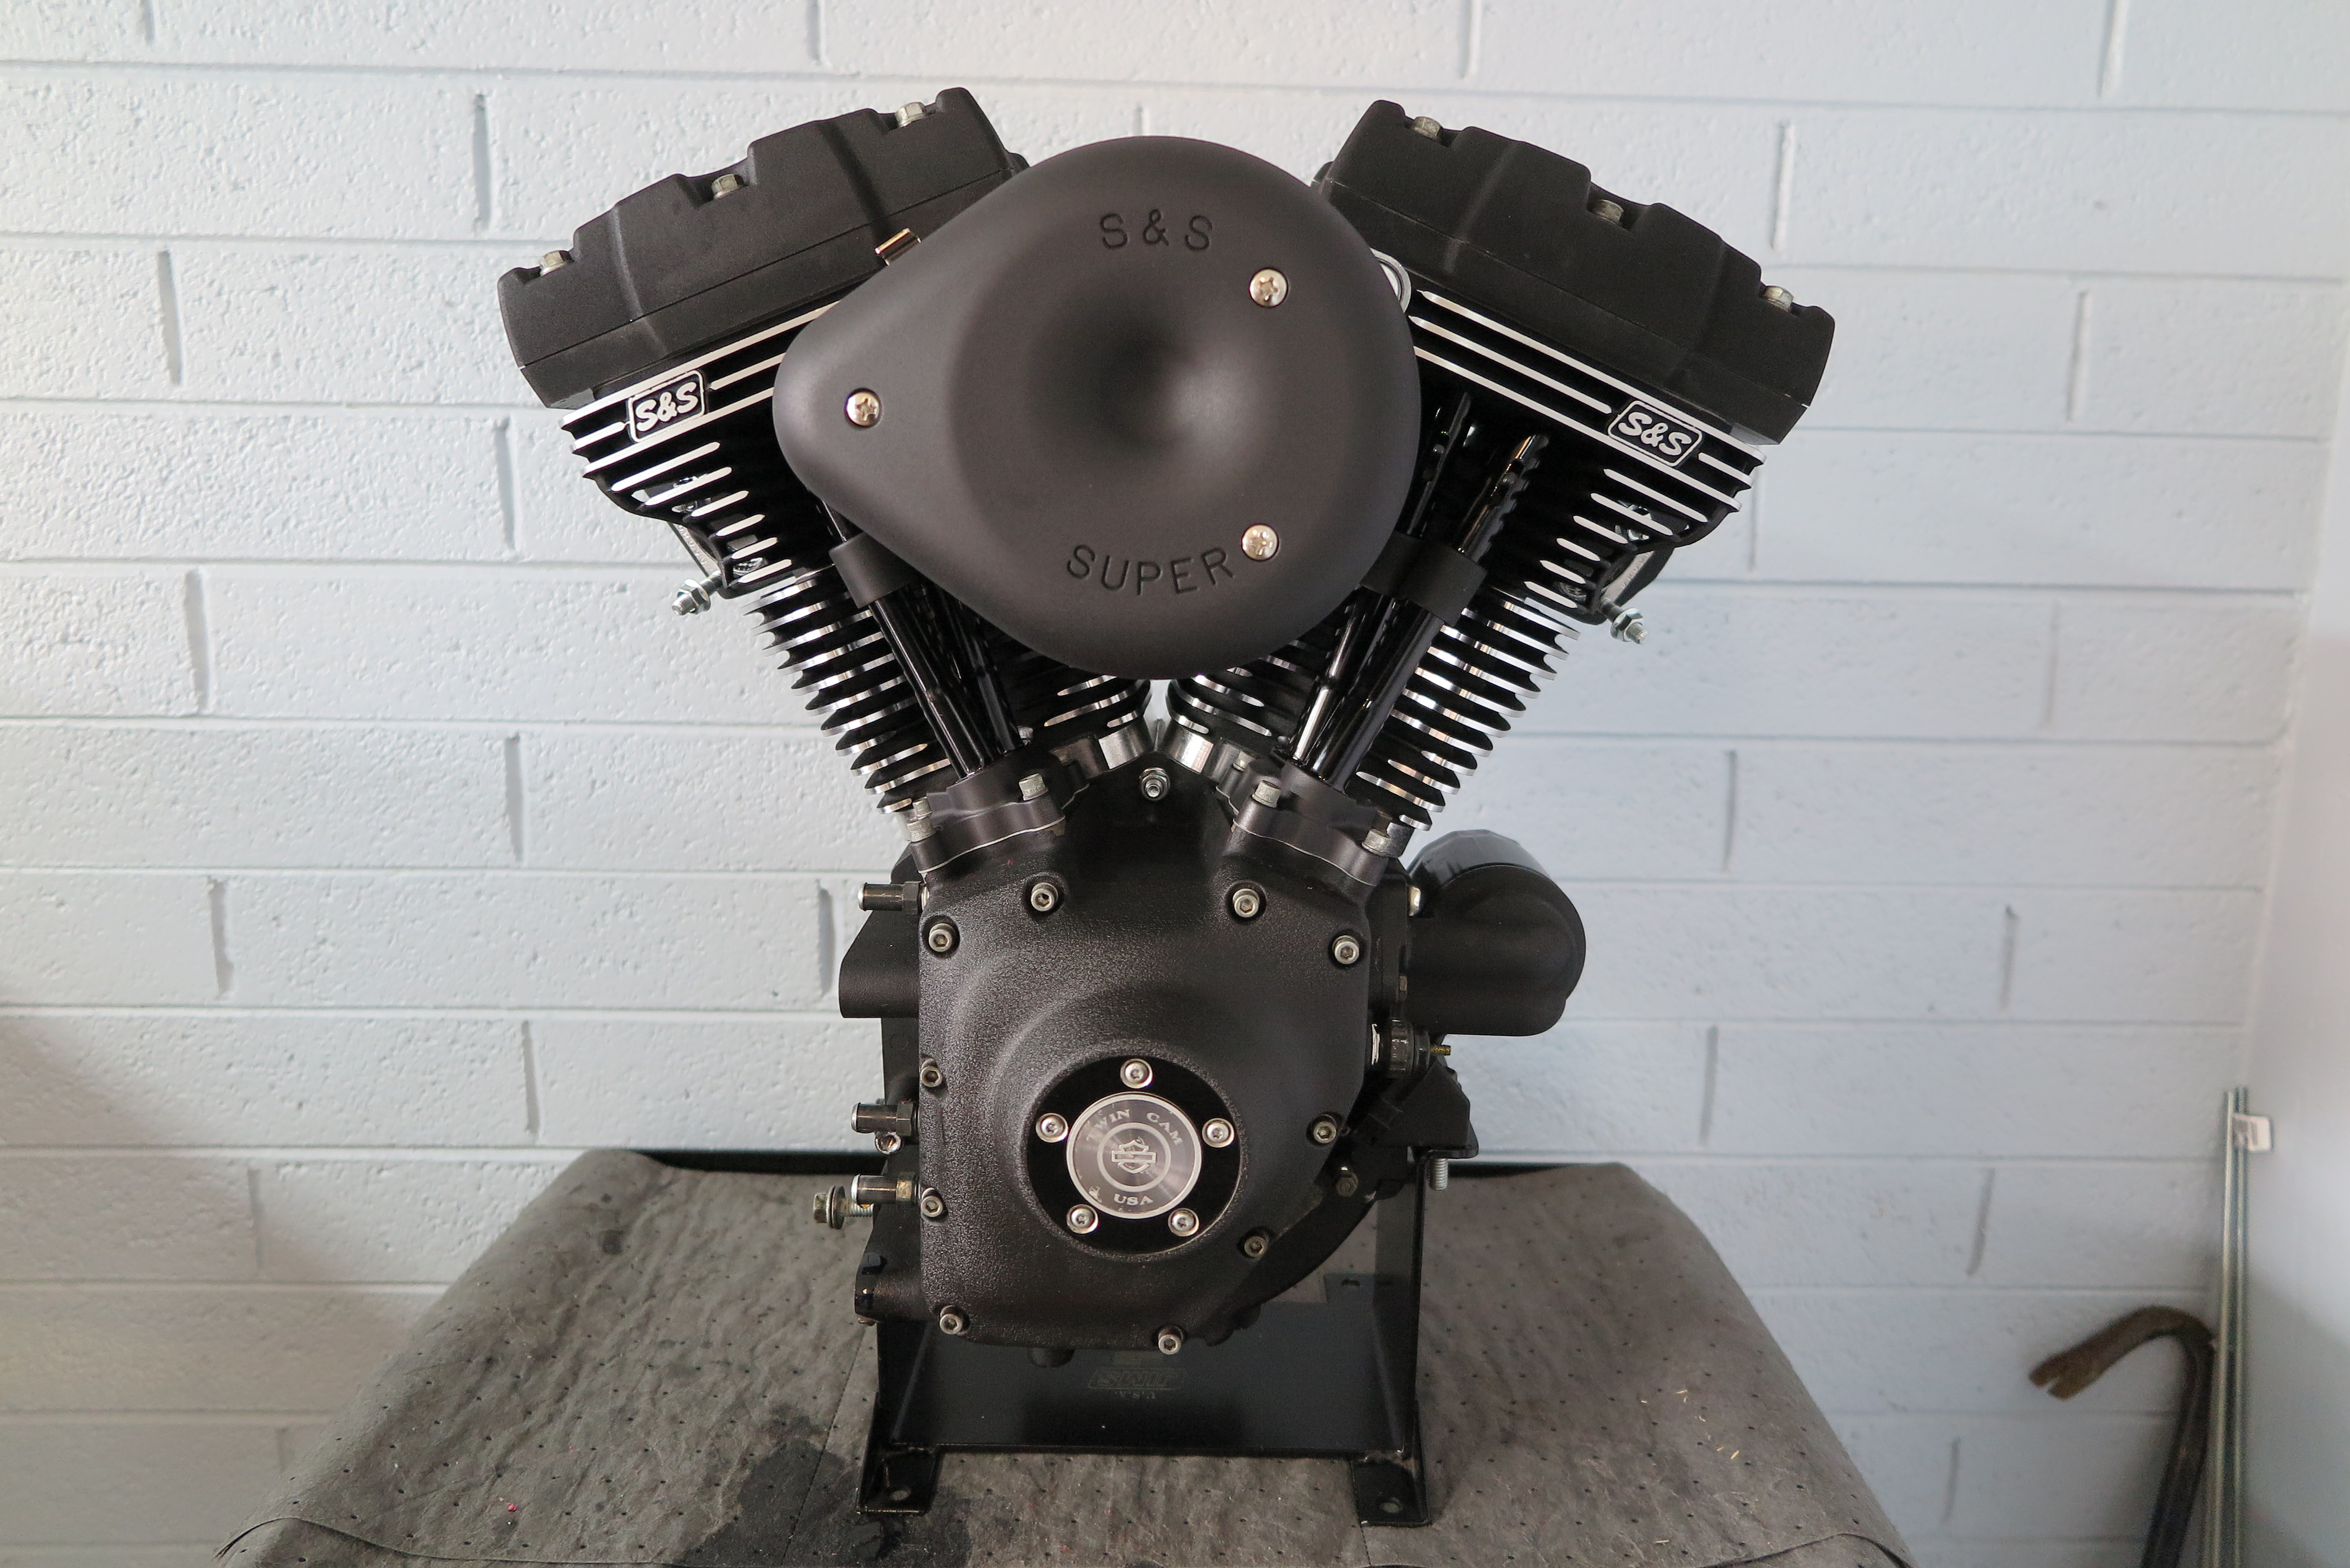
And here it is, the complete 88ci to 124ci S&S Cycle motor makeover. Check out Part Three where we install it onto the bike and get it ready for the dyno!
Photo: Jeff G. Holt
Sources


