
Andreani 39mm fork cartridge upgrade Part 2 of 3
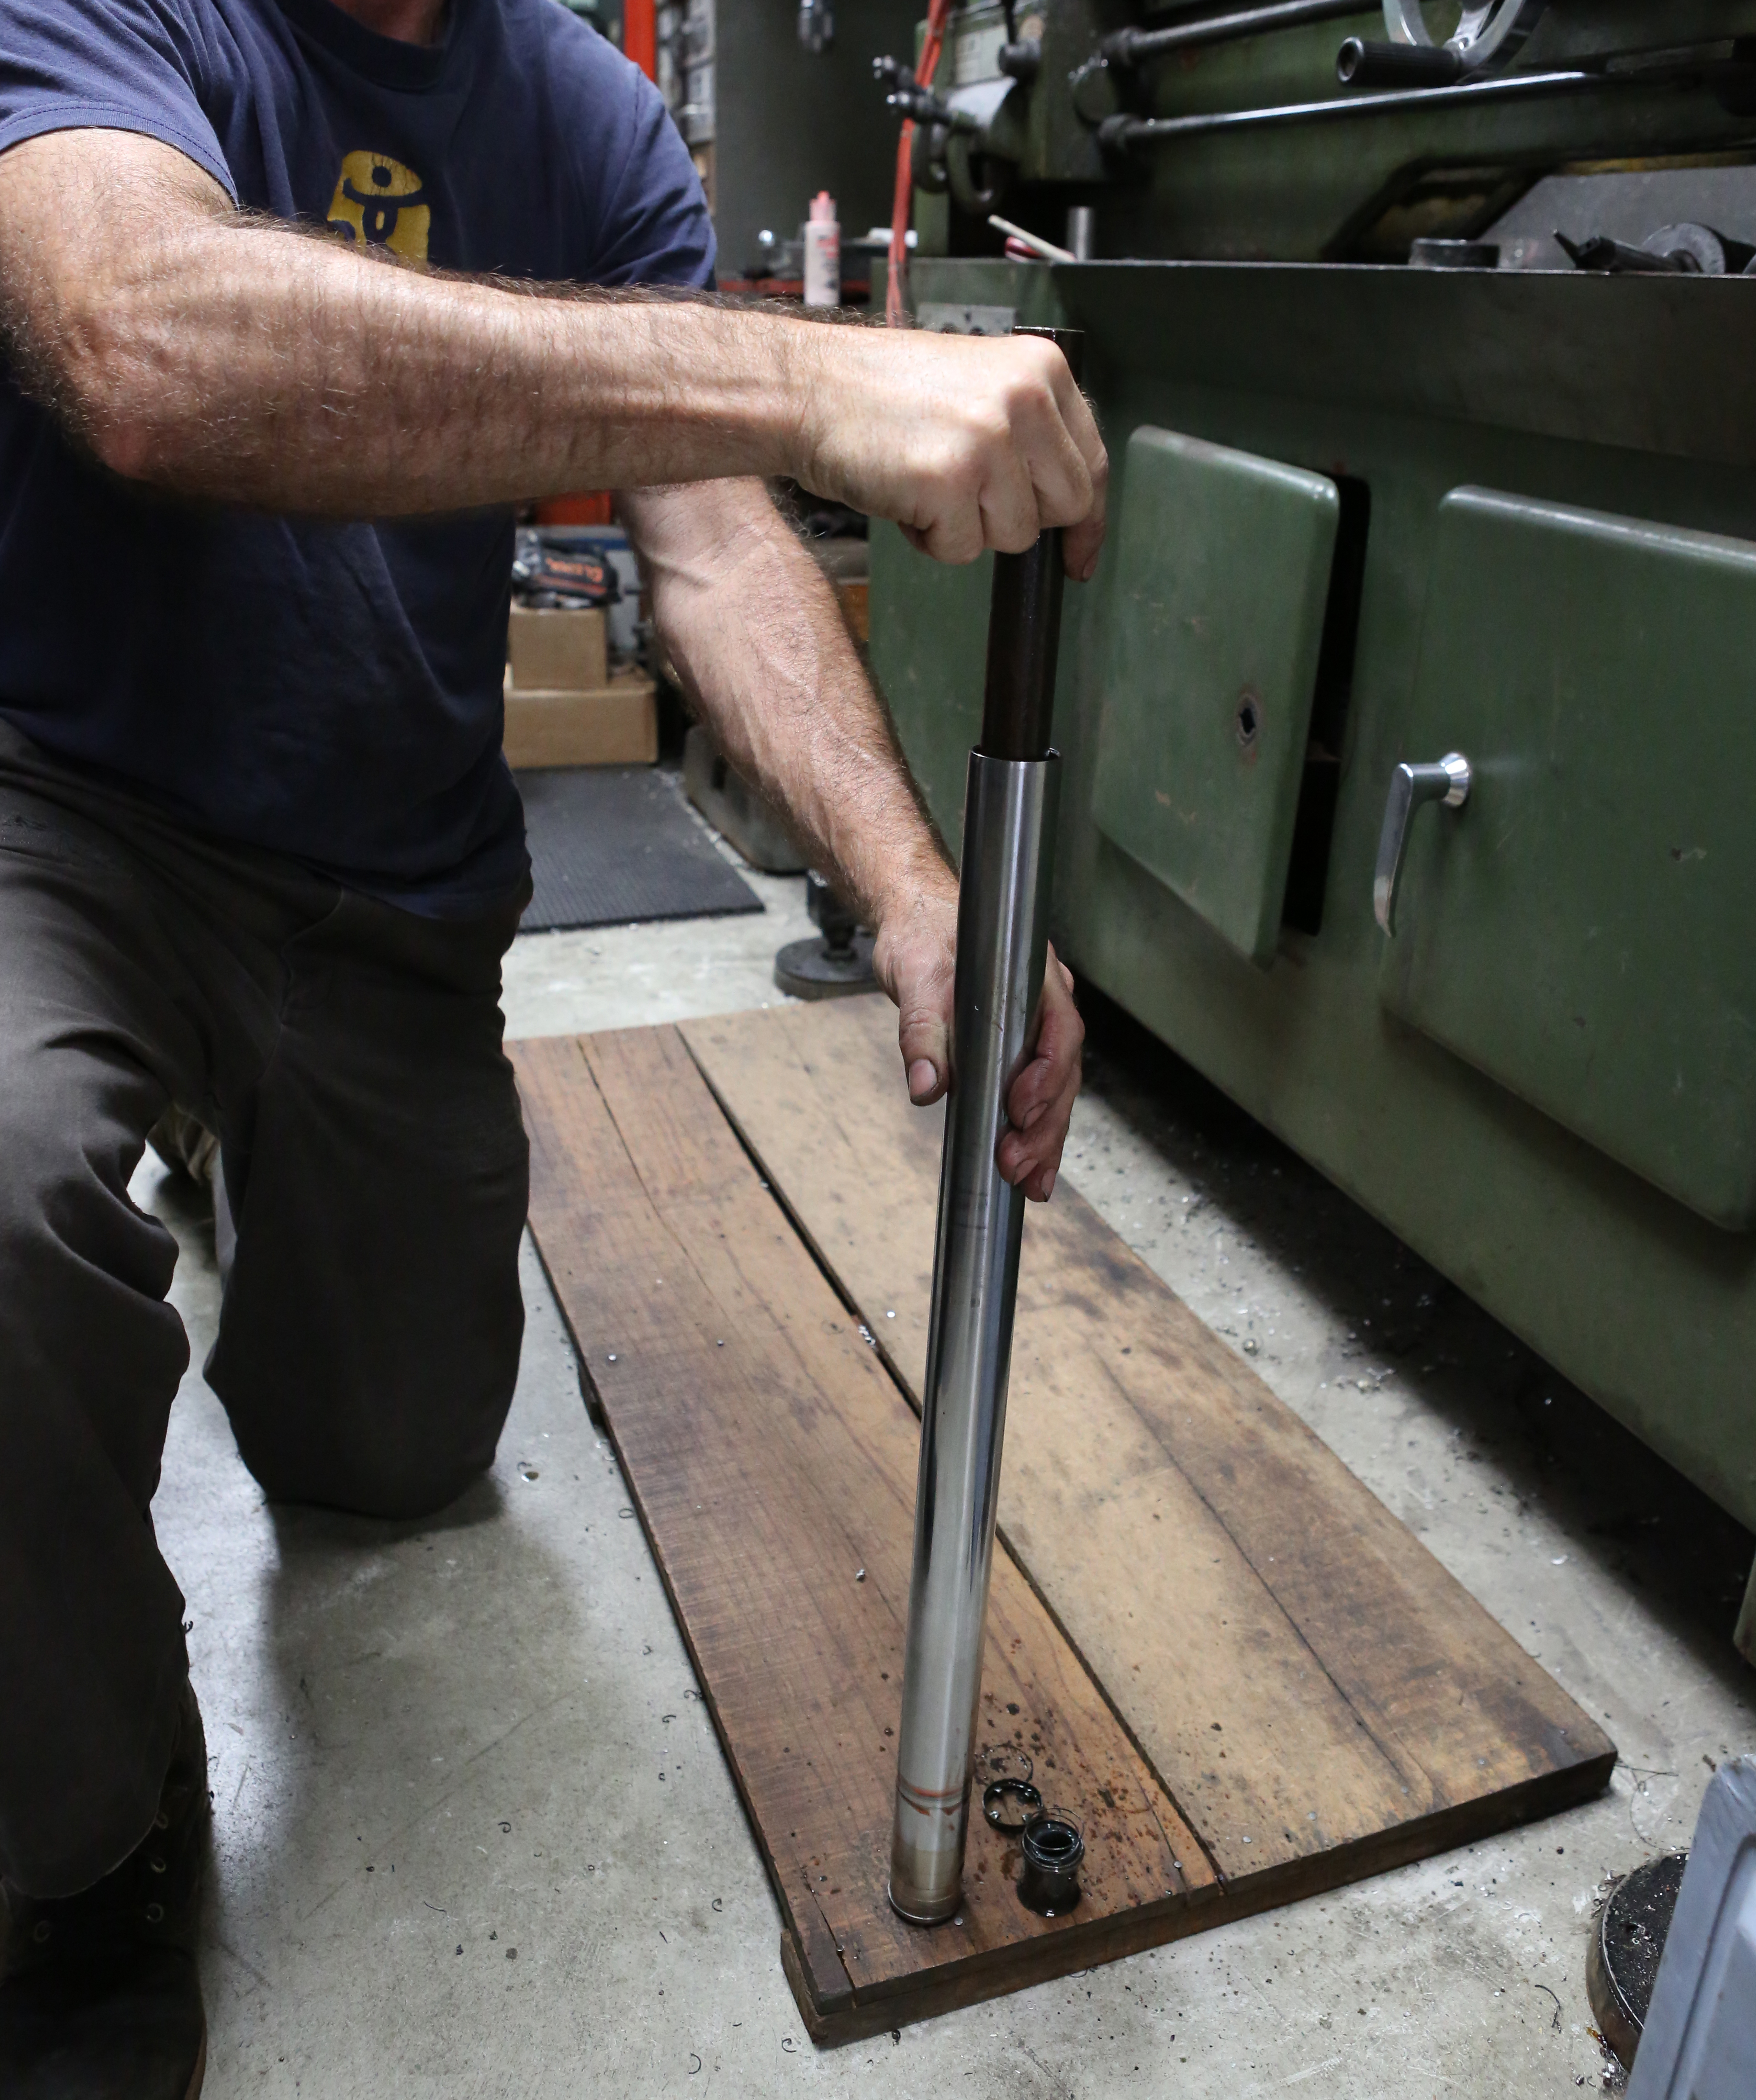
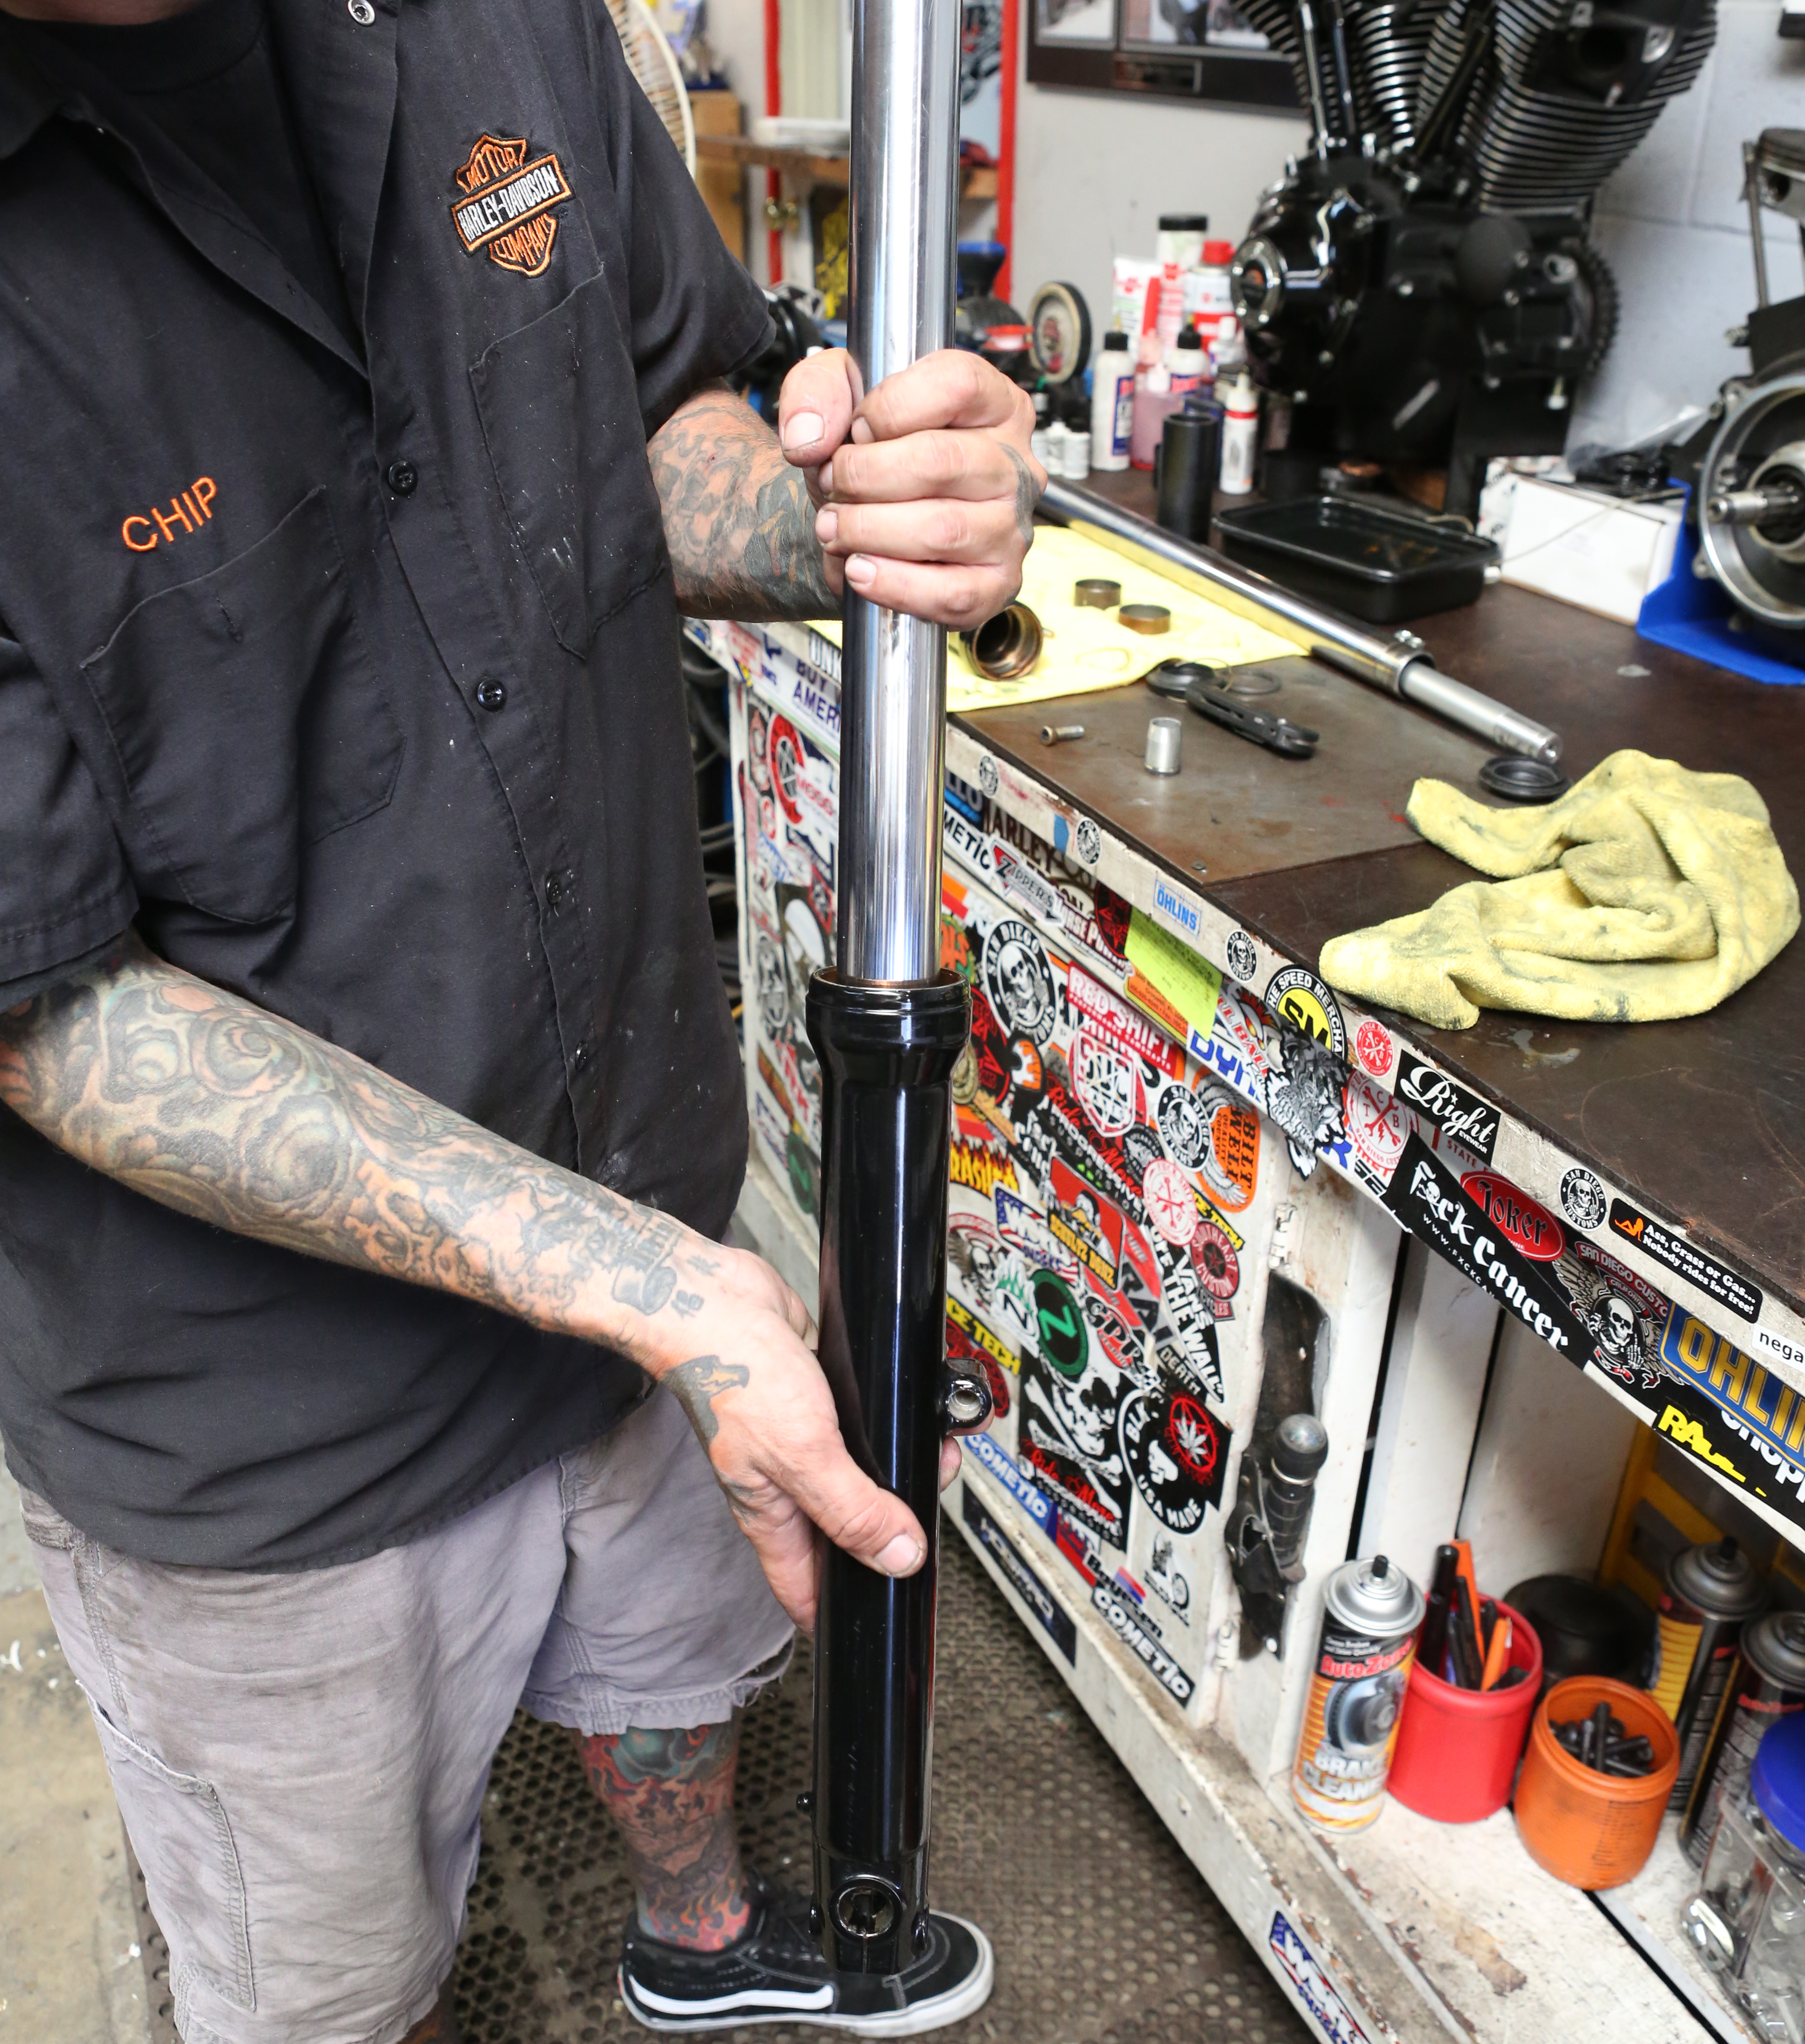
The pole needs to be as long as the fork tubes so you can generate a little force.
Words: Chip Katstelnik Photos: Mikey Van Senus
Italian superbikes are known for their incredible handling. One of the main reasons these bikes handle so well is the way the suspension is set up for each bike and its rider. Andreani has taken this state-of-the-art technology that is used in the superbike industry and came up with a drop-in, tunable cartridge kit for 39mm H-D forks for XL. The result is a responsive front end that reacts well when put to the test. We installed the cartridge kit in our “Little Devil” Sportster project and were quite happy with the results. Unlike other fork kits, the Andreani cartridge setup requires some special tools and general suspension knowledge to install properly.
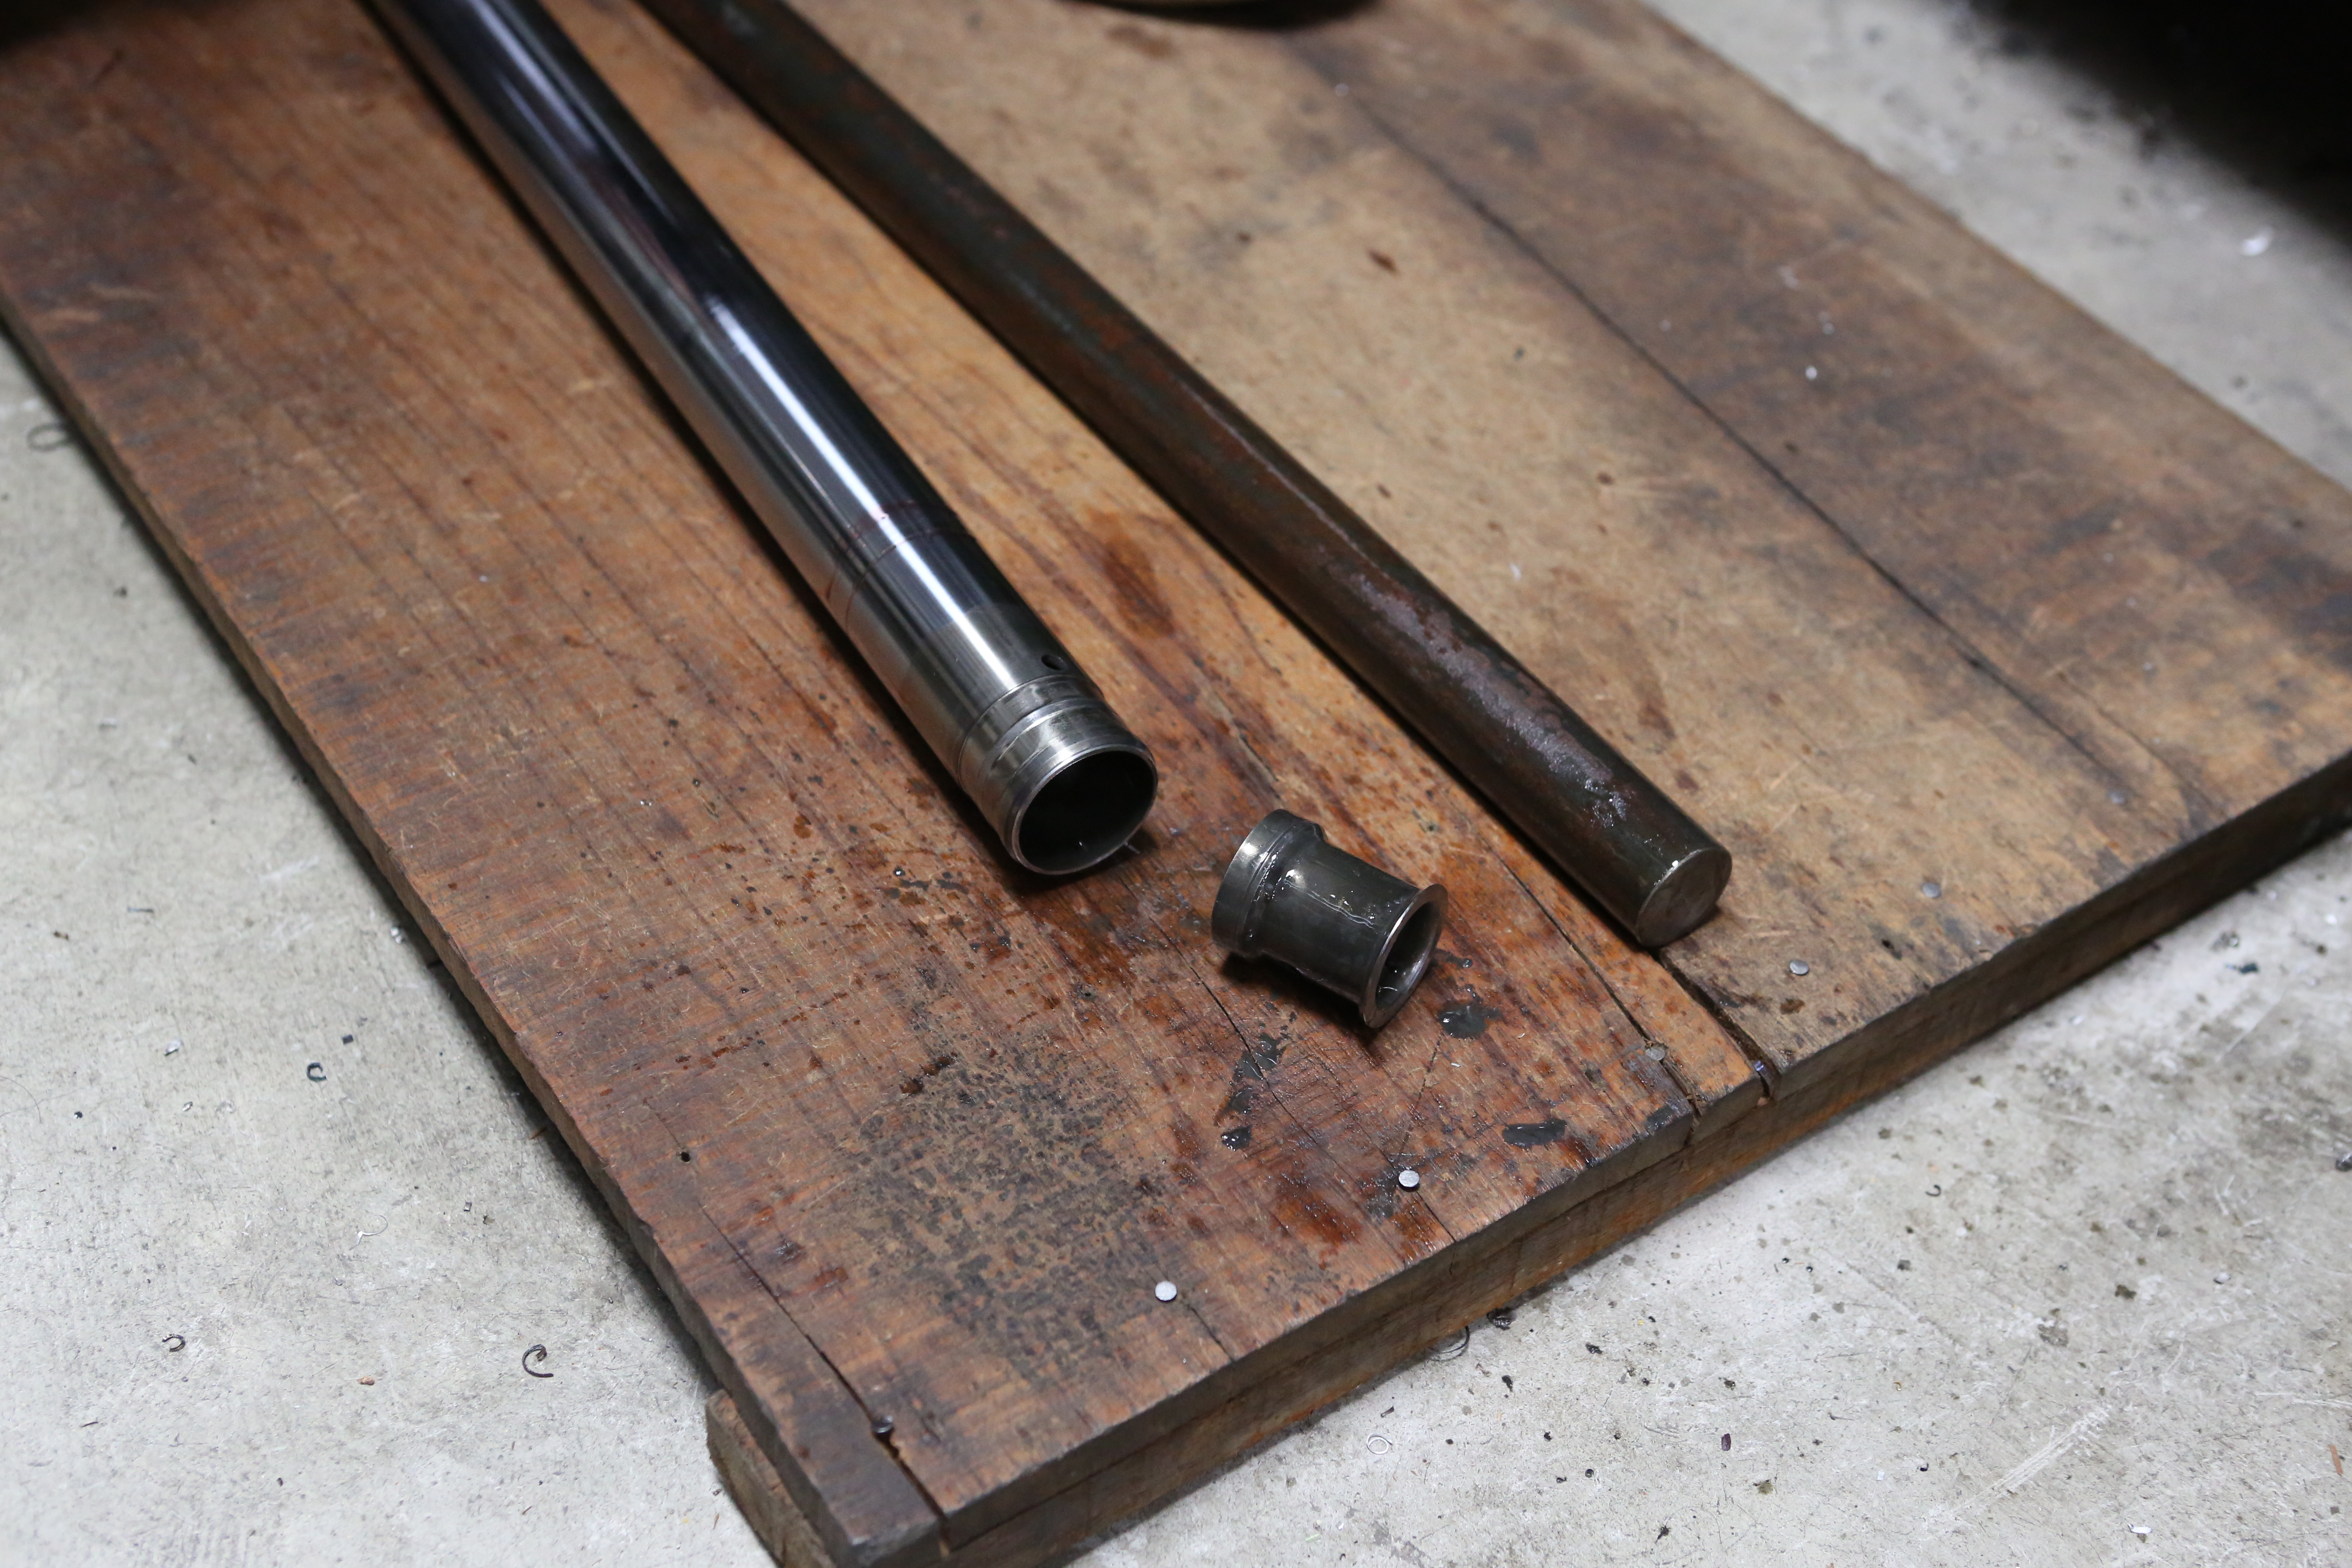
We left off with busting out the fork internals in Part 1 of this story. Now we’re finishing that process and starting the actual installation of the new parts.
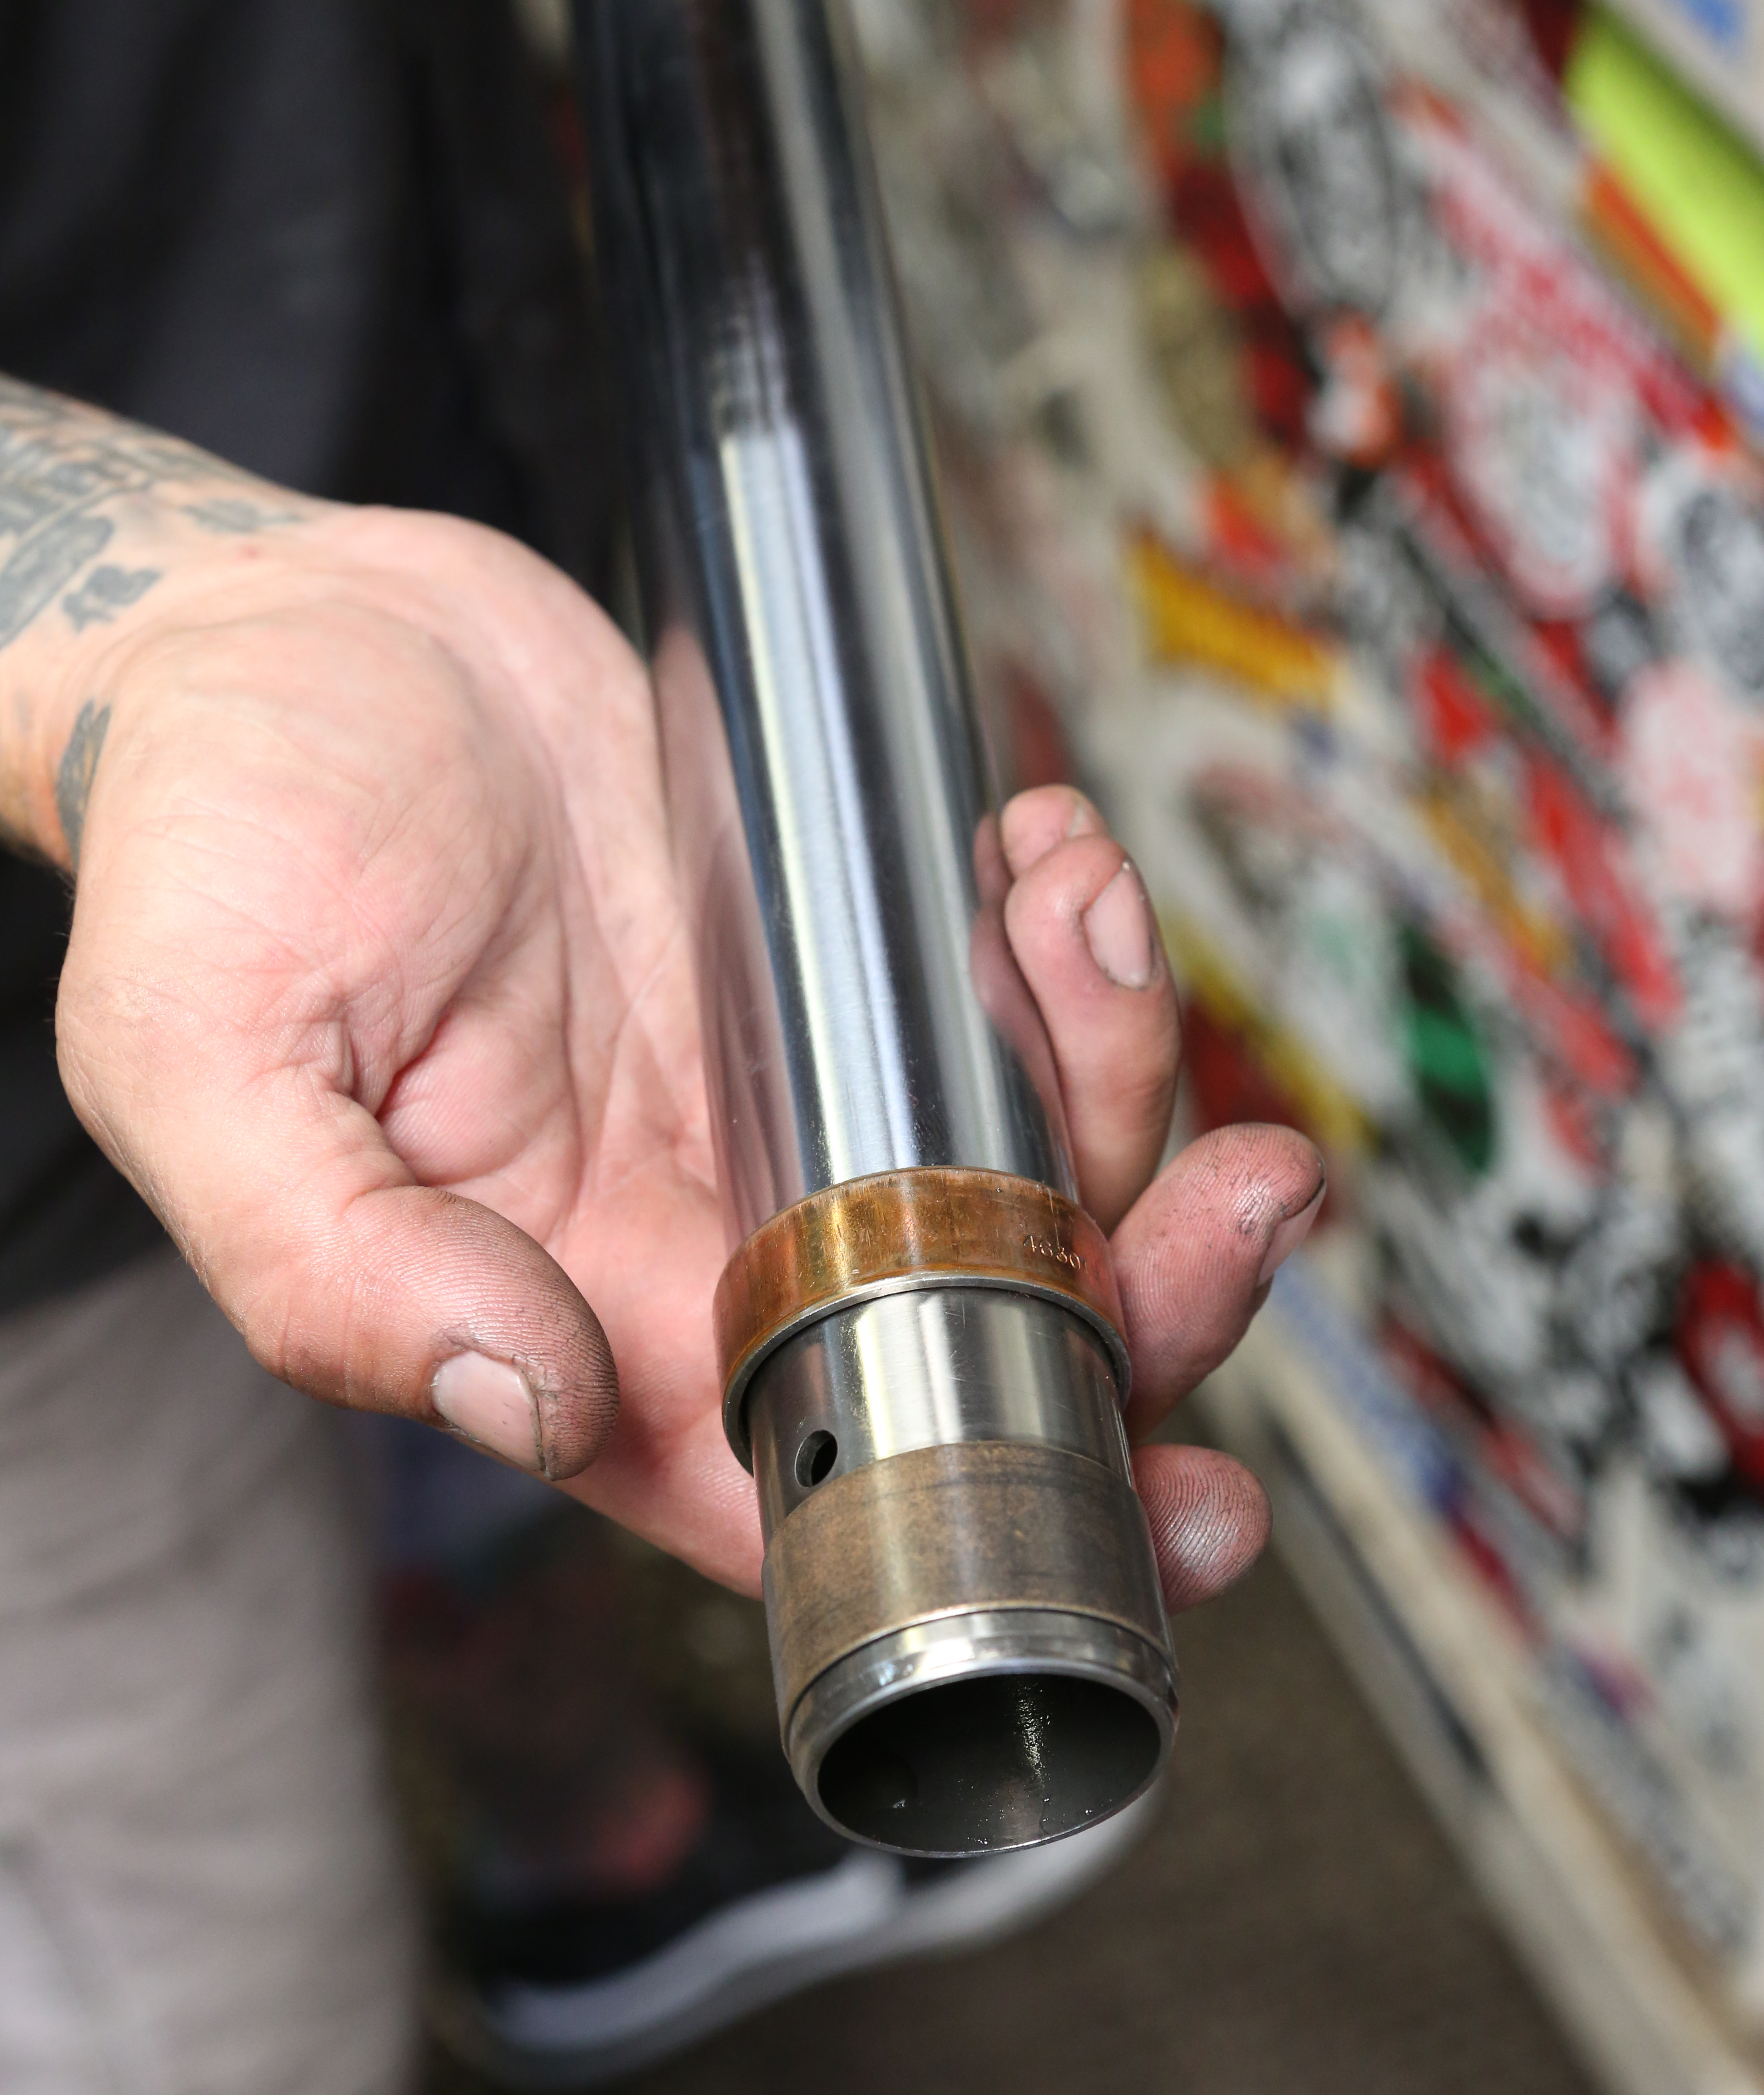
Pictured here is what is inside a stock 39mm for tube lower. Removing these takes about an hour—50 minutes to set up the lathe correctly and 10 minutes to machine each fork tube.
Words: Chip Katstelnik Photos: Mikey Van Senus
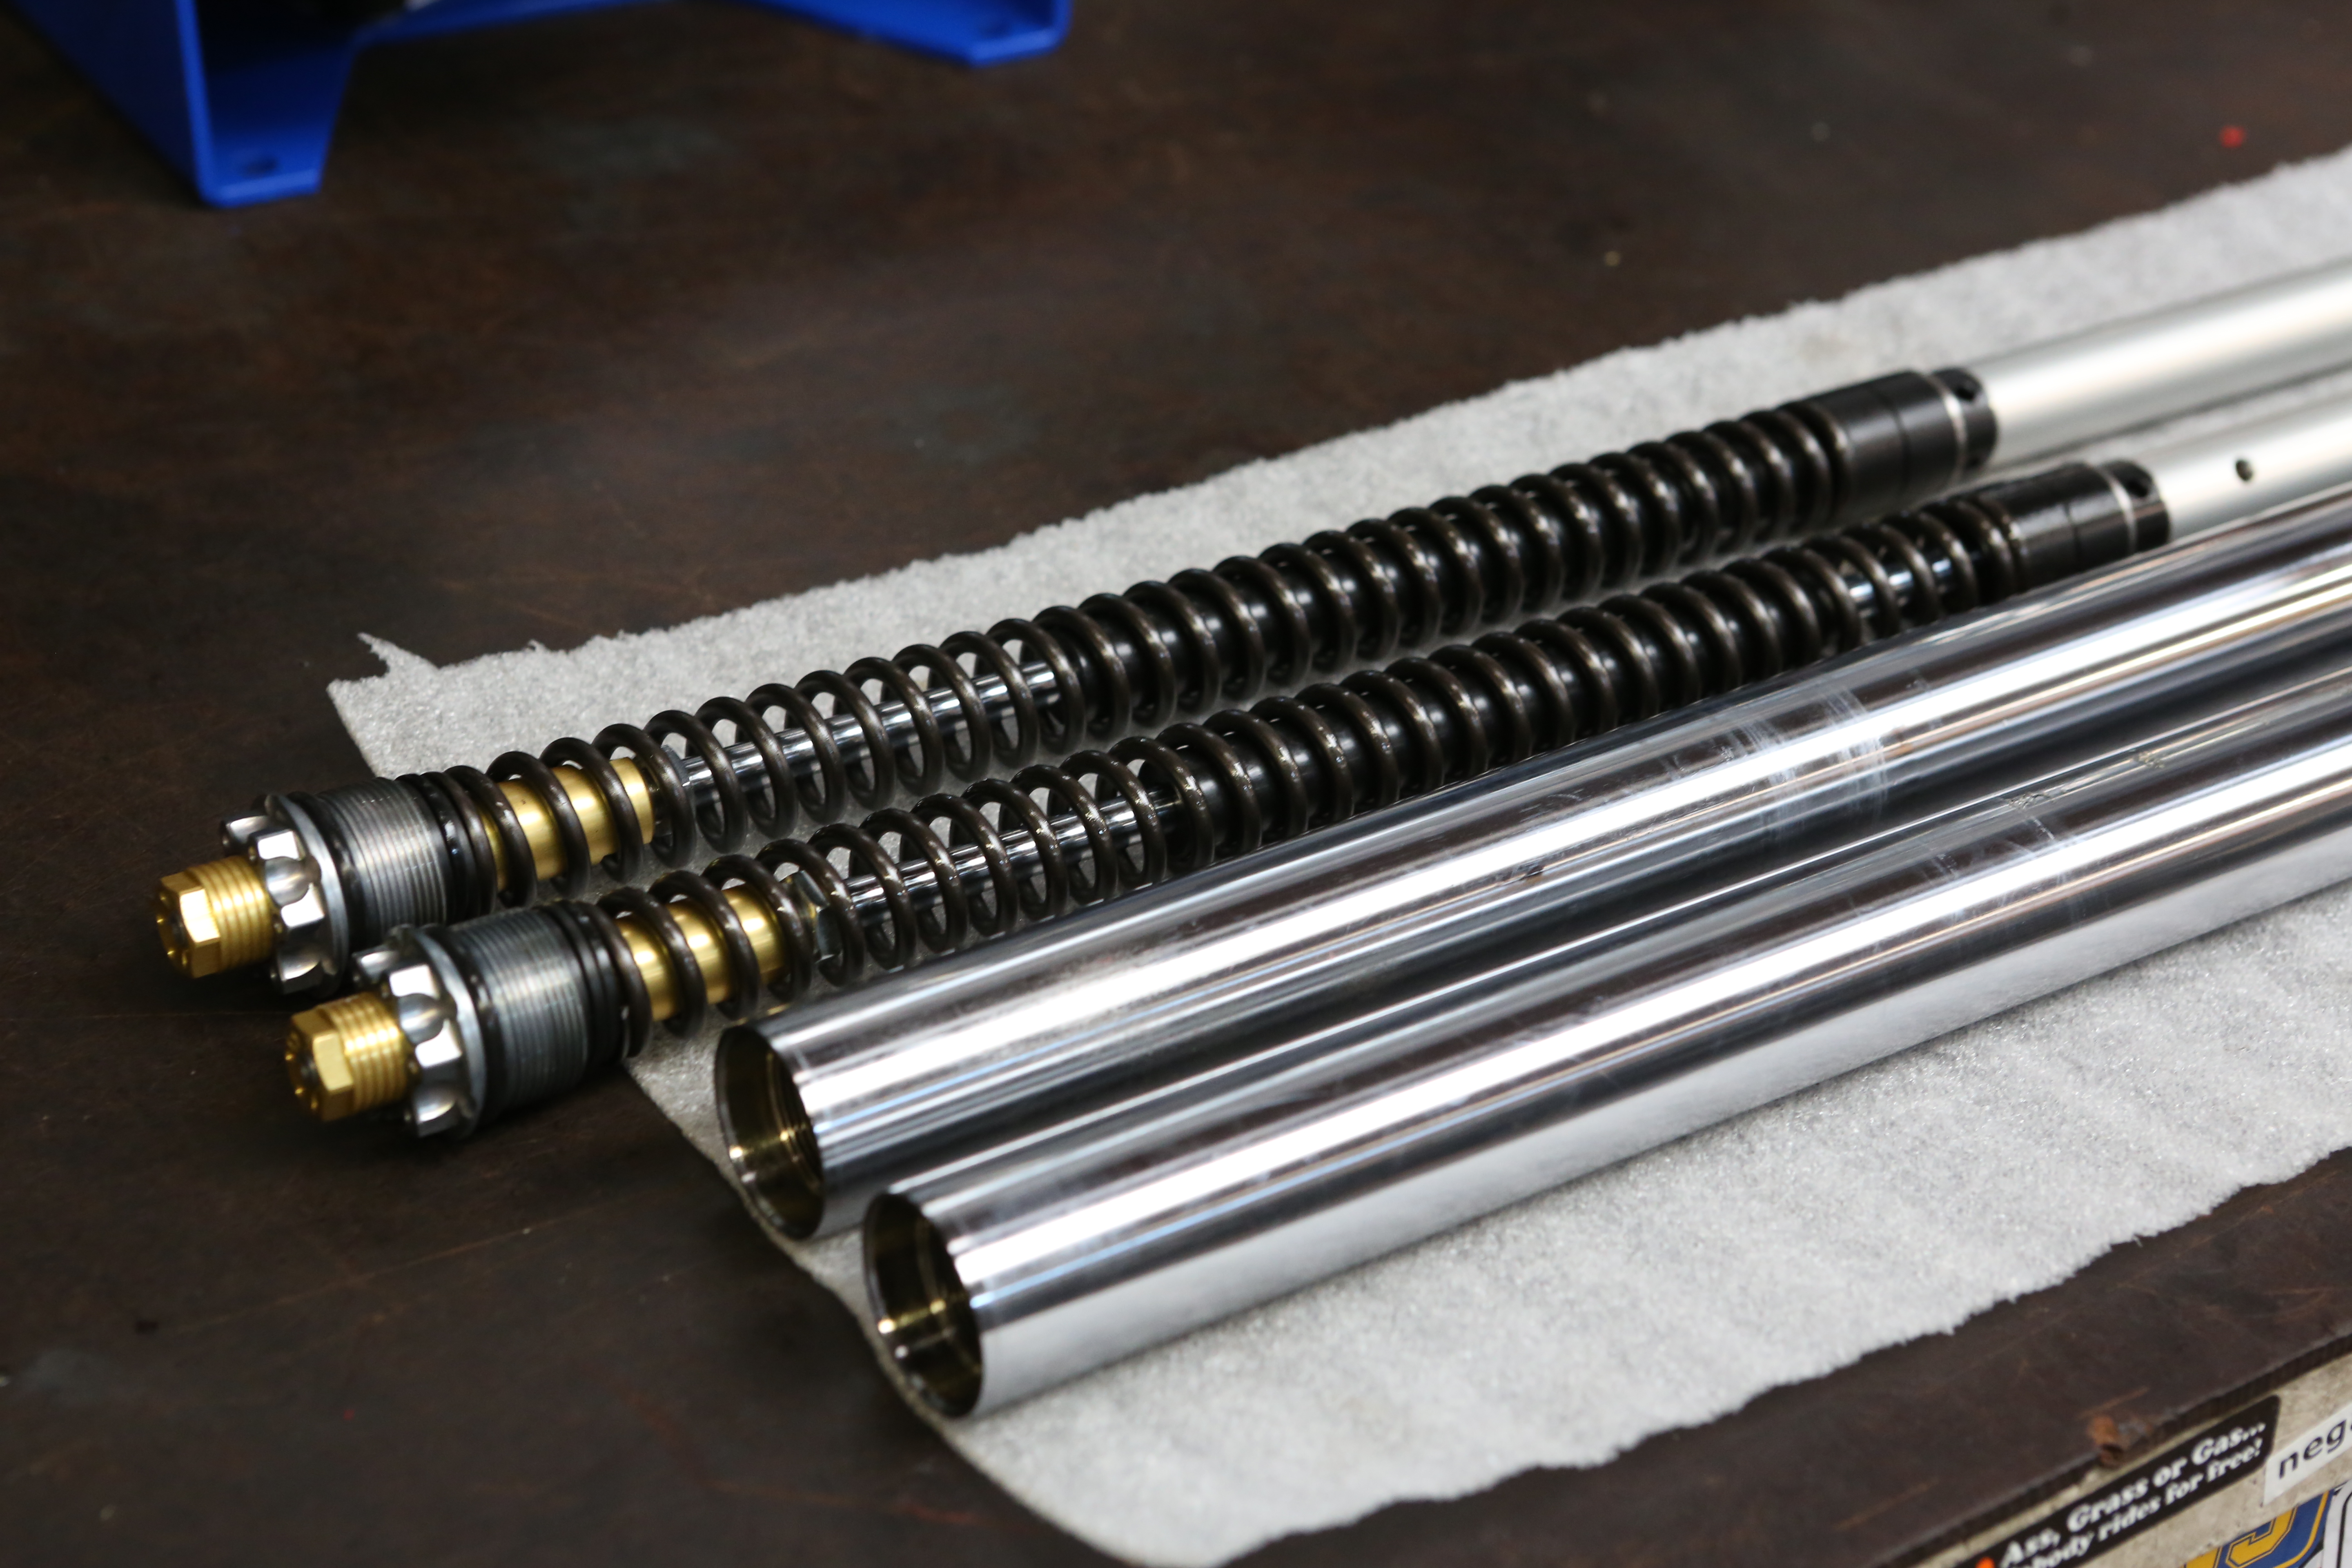
The Andreani fork cartridge kit comes assembled and ready to drop in.
Words: Chip Katstelnik Photos: Mikey Van Senus
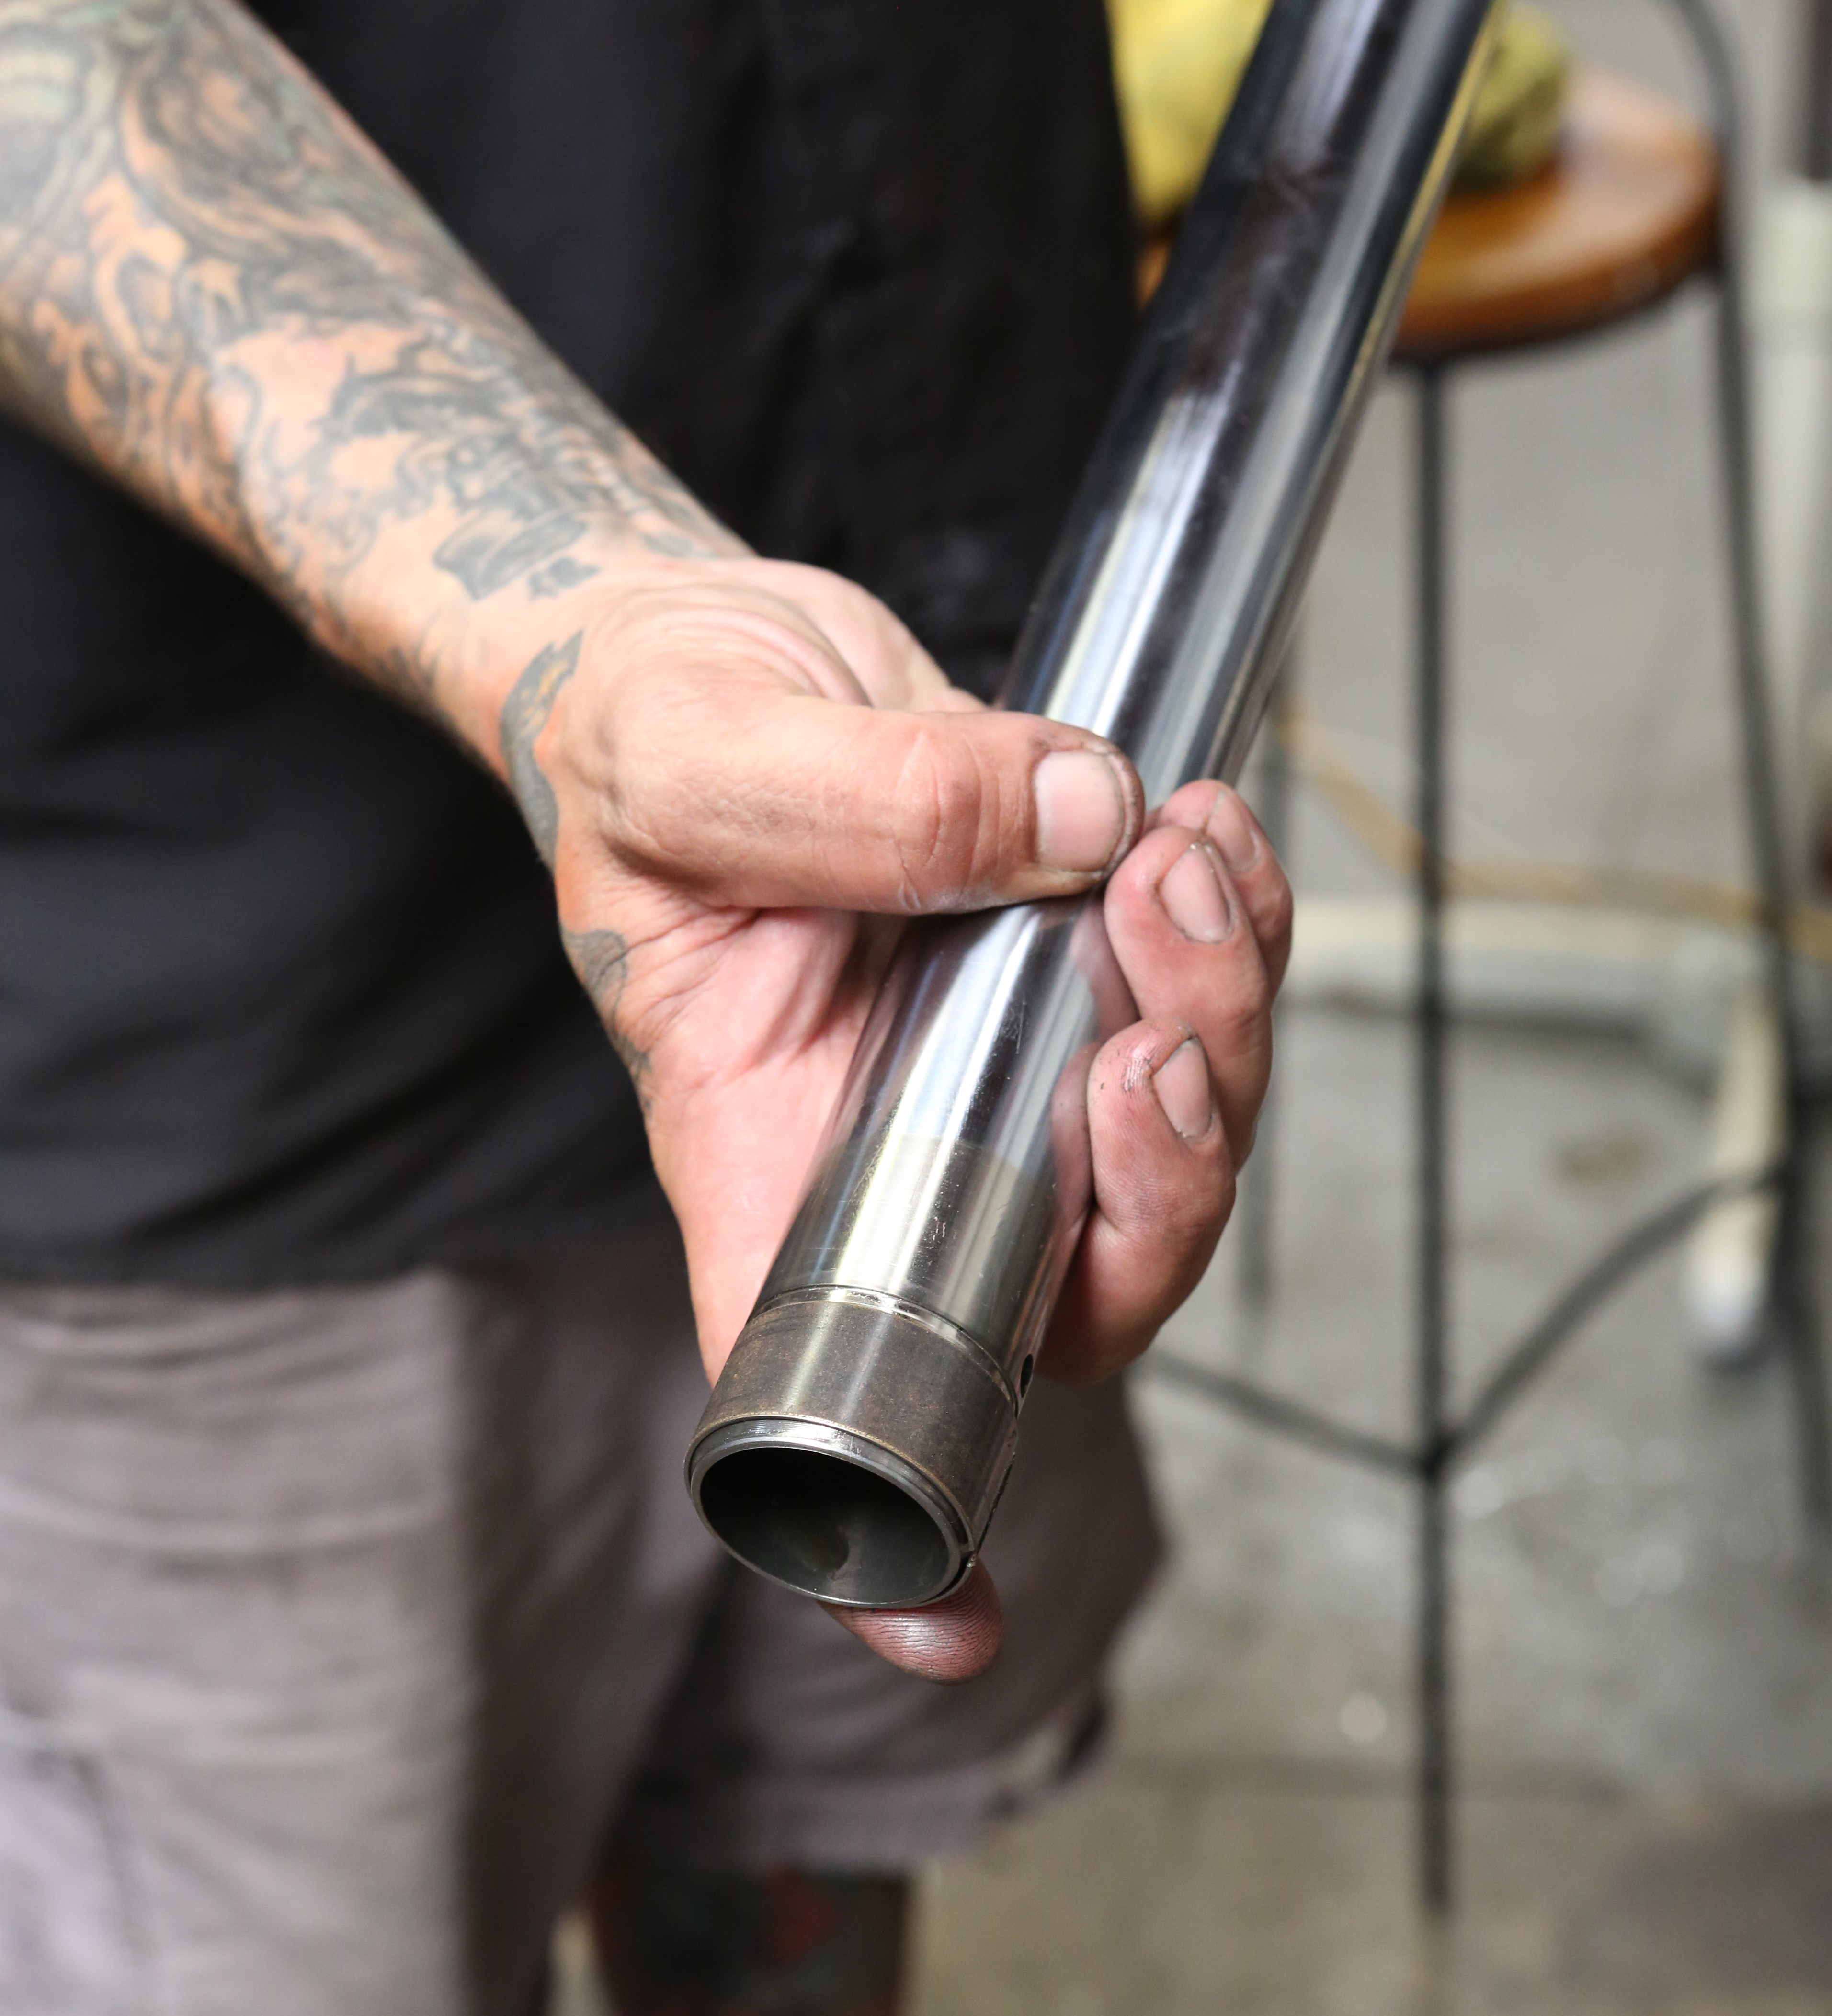
We now begin the process of reassembling the fork tubes.
Words: Chip Katstelnik Photos: Mikey Van Senus
Place the lower slider bushings on the fork tube in the appropriate places.
Words: Chip Katstelnik Photos: Mikey Van Senus
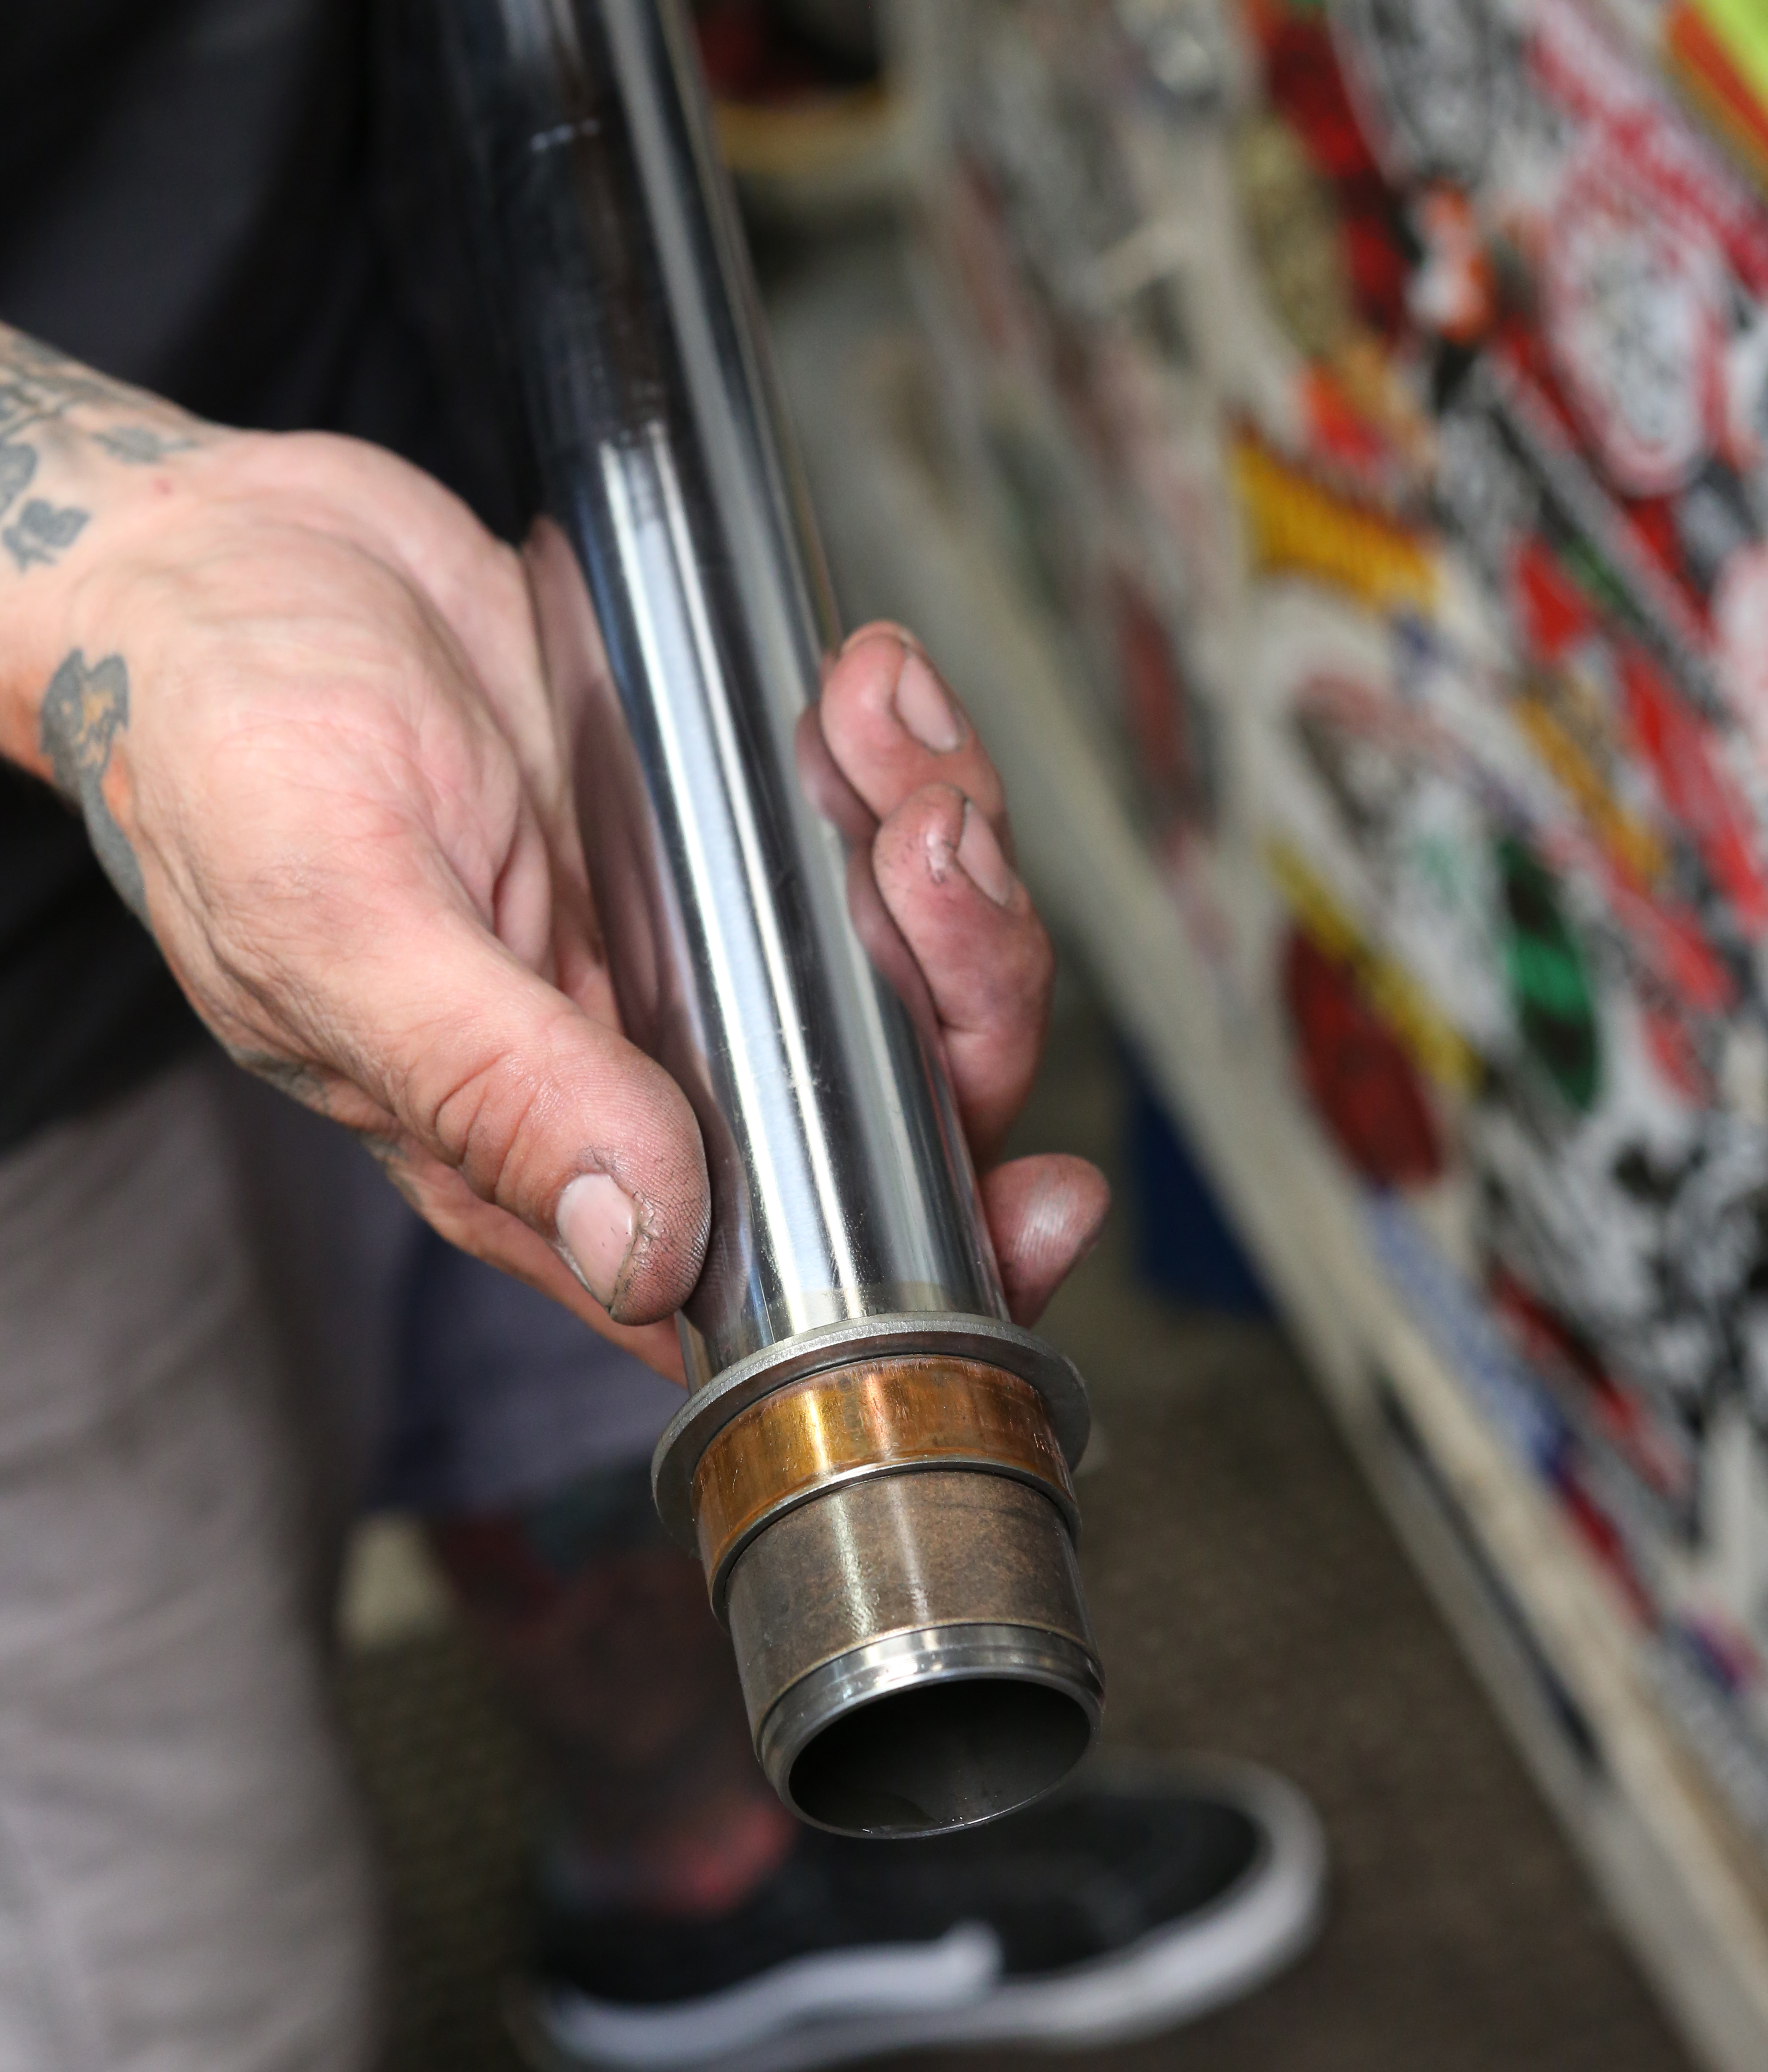
Install the top spacer washer.
Words: Chip Katstelnik Photos: Mikey Van Senus
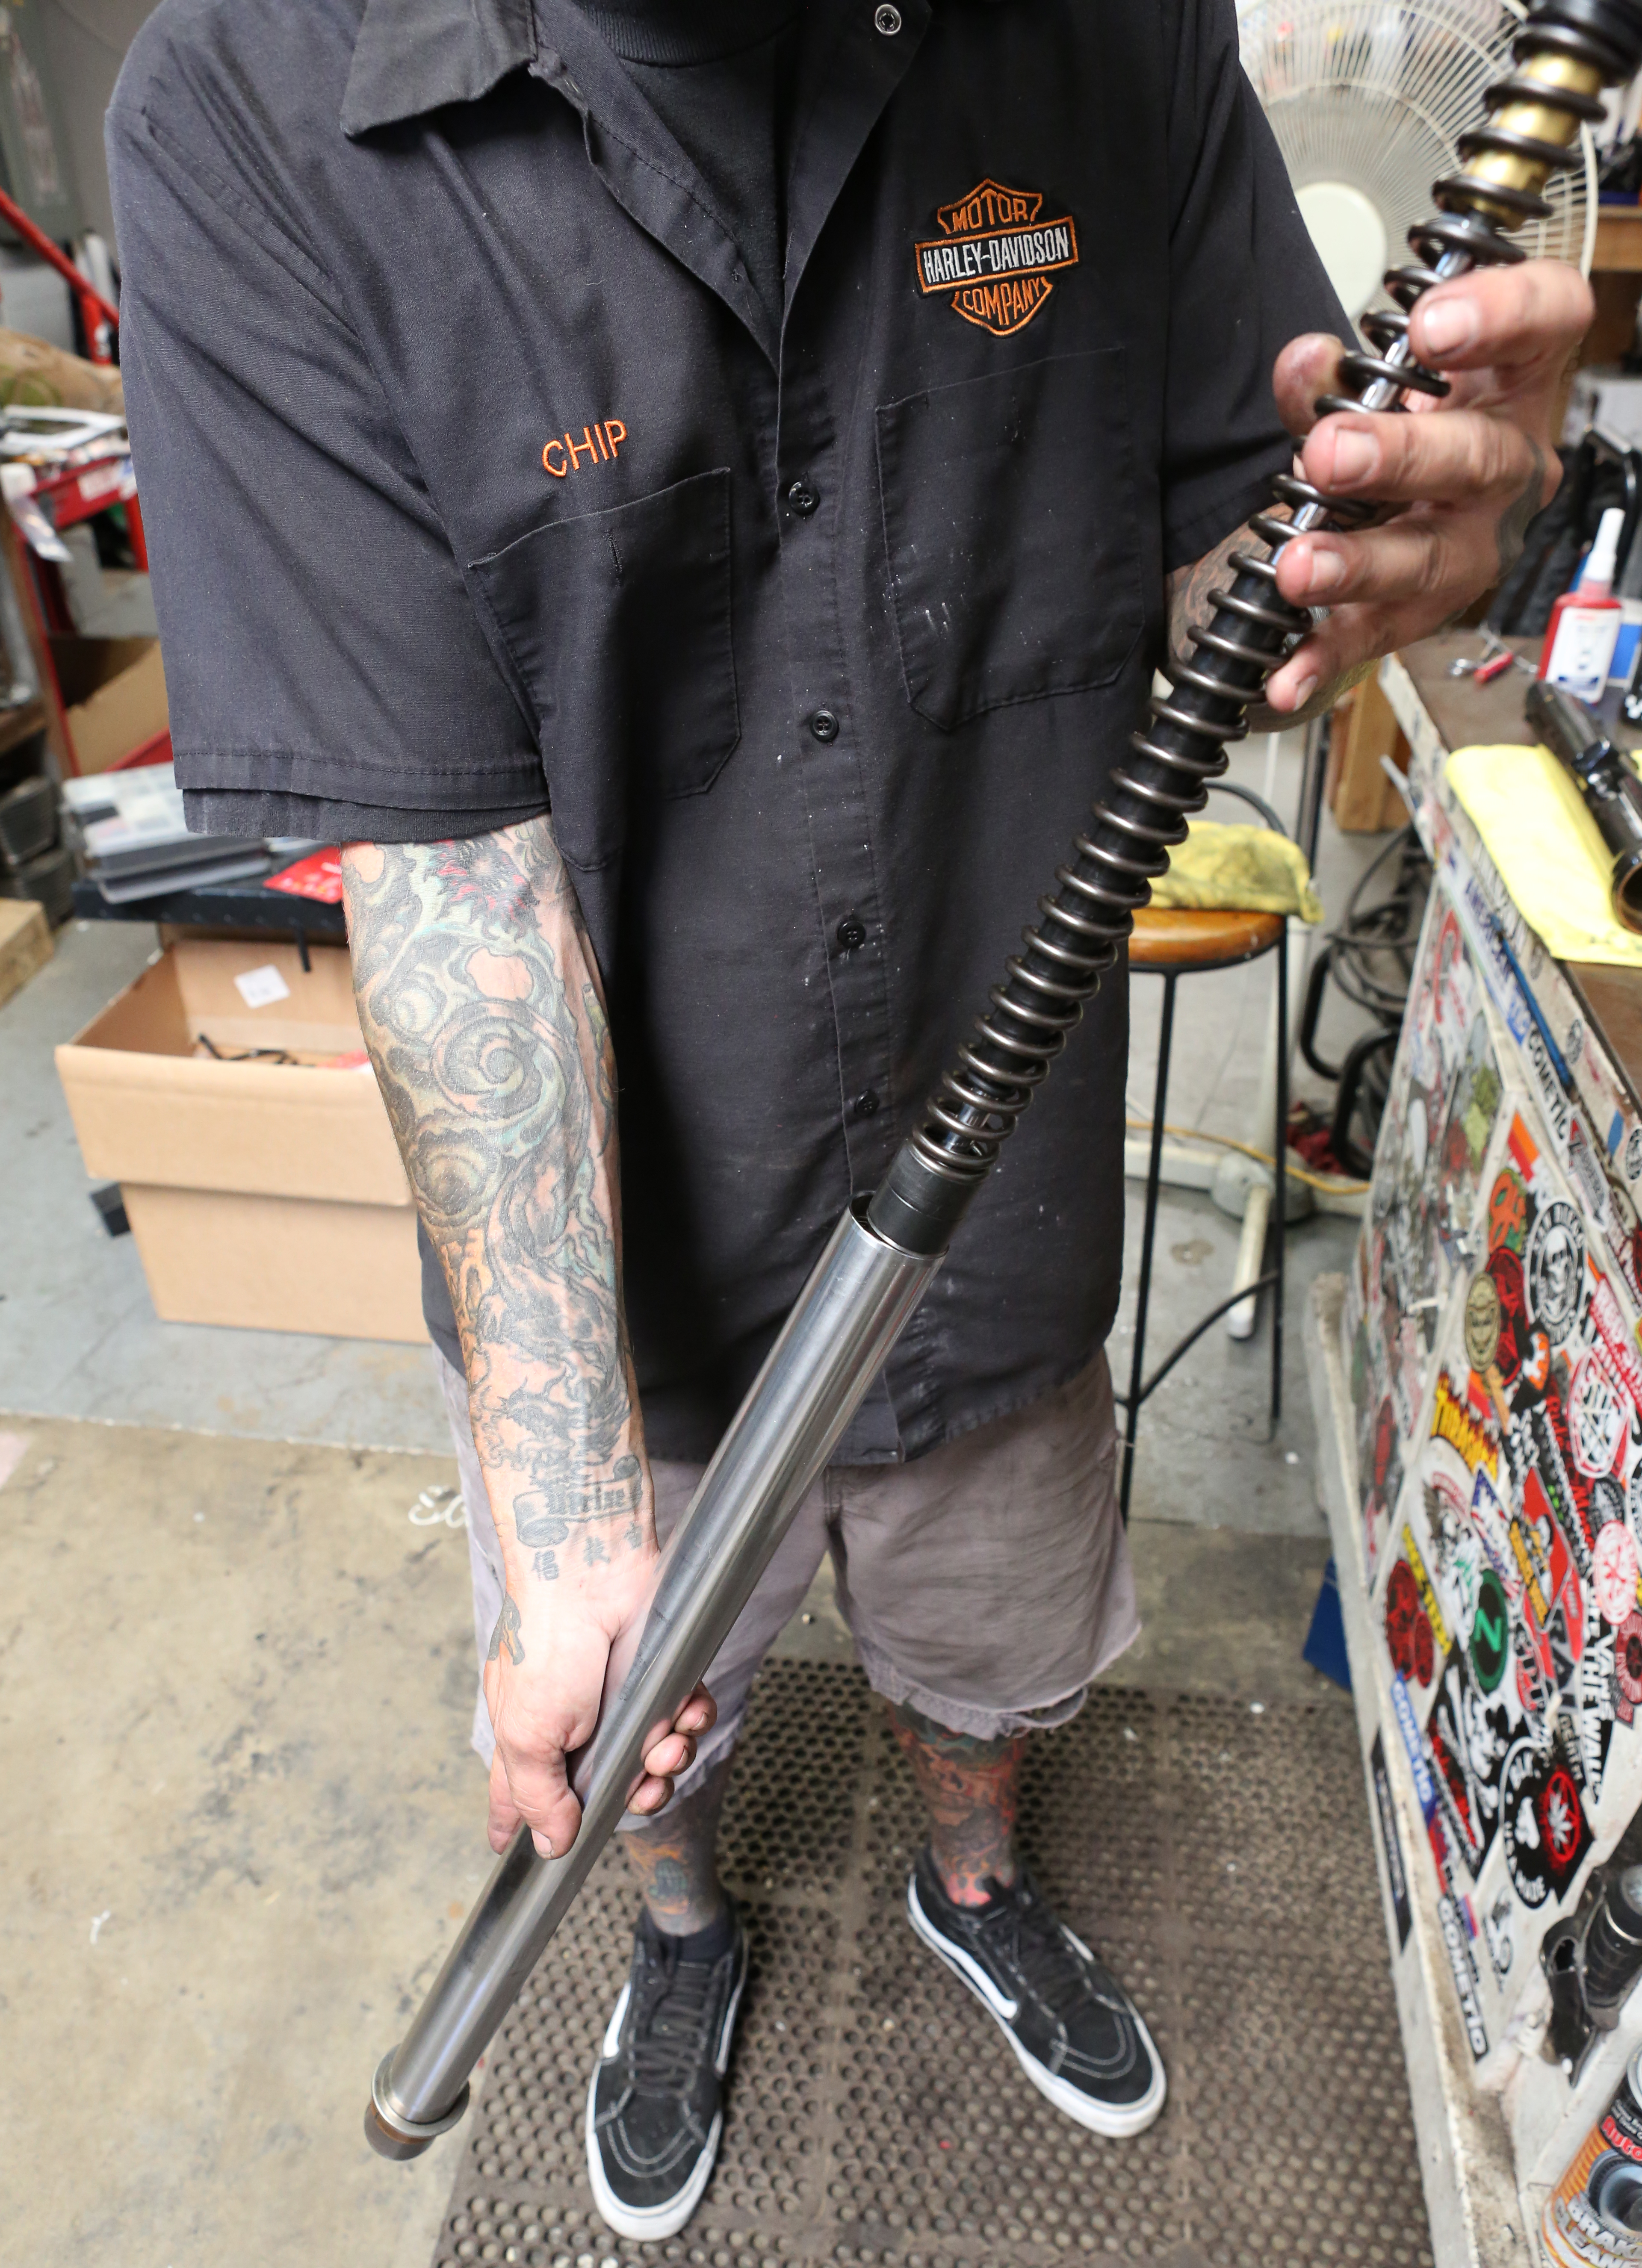
Slide the Andreani cartridge into the fork tube.
Words: Chip Katstelnik Photos: Mikey Van Senus
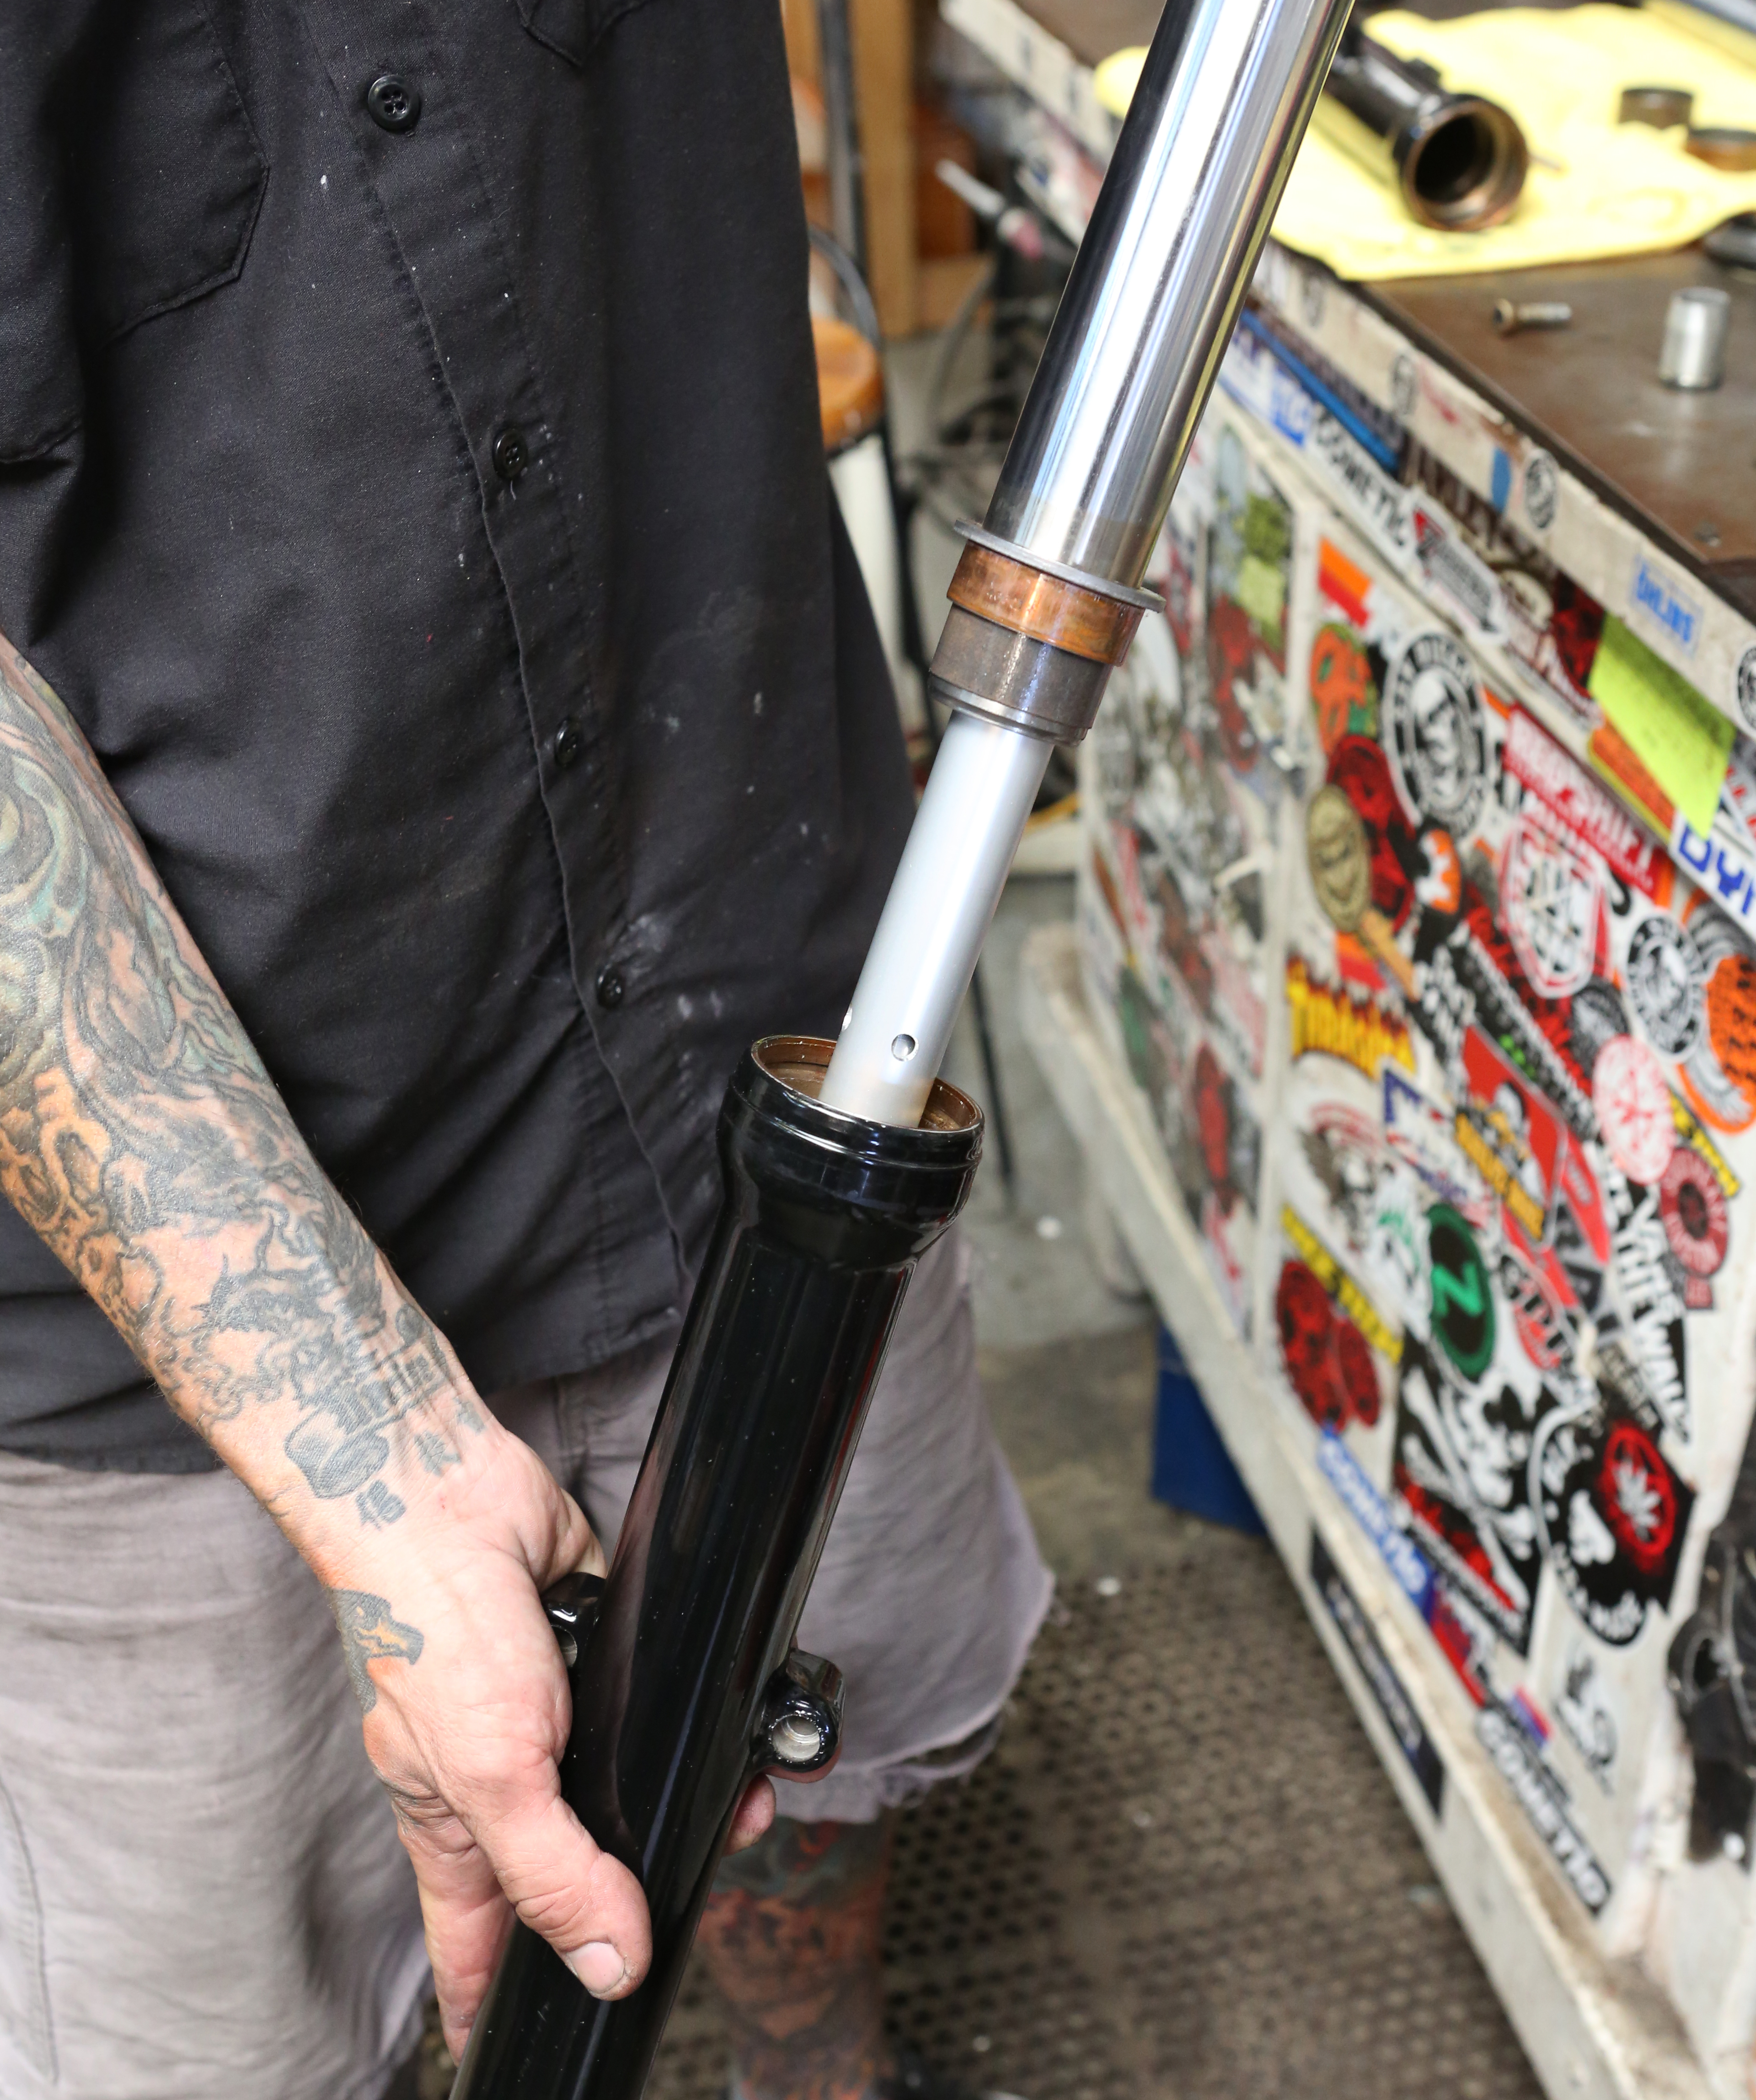
Notice the cartridge has the dampener built into the cartridge body. Be sure to remove the oil lock from the fork tube slider if it did not come out when the forks were disassembled.
Words: Chip Katstelnik Photos: Mikey Van Senus
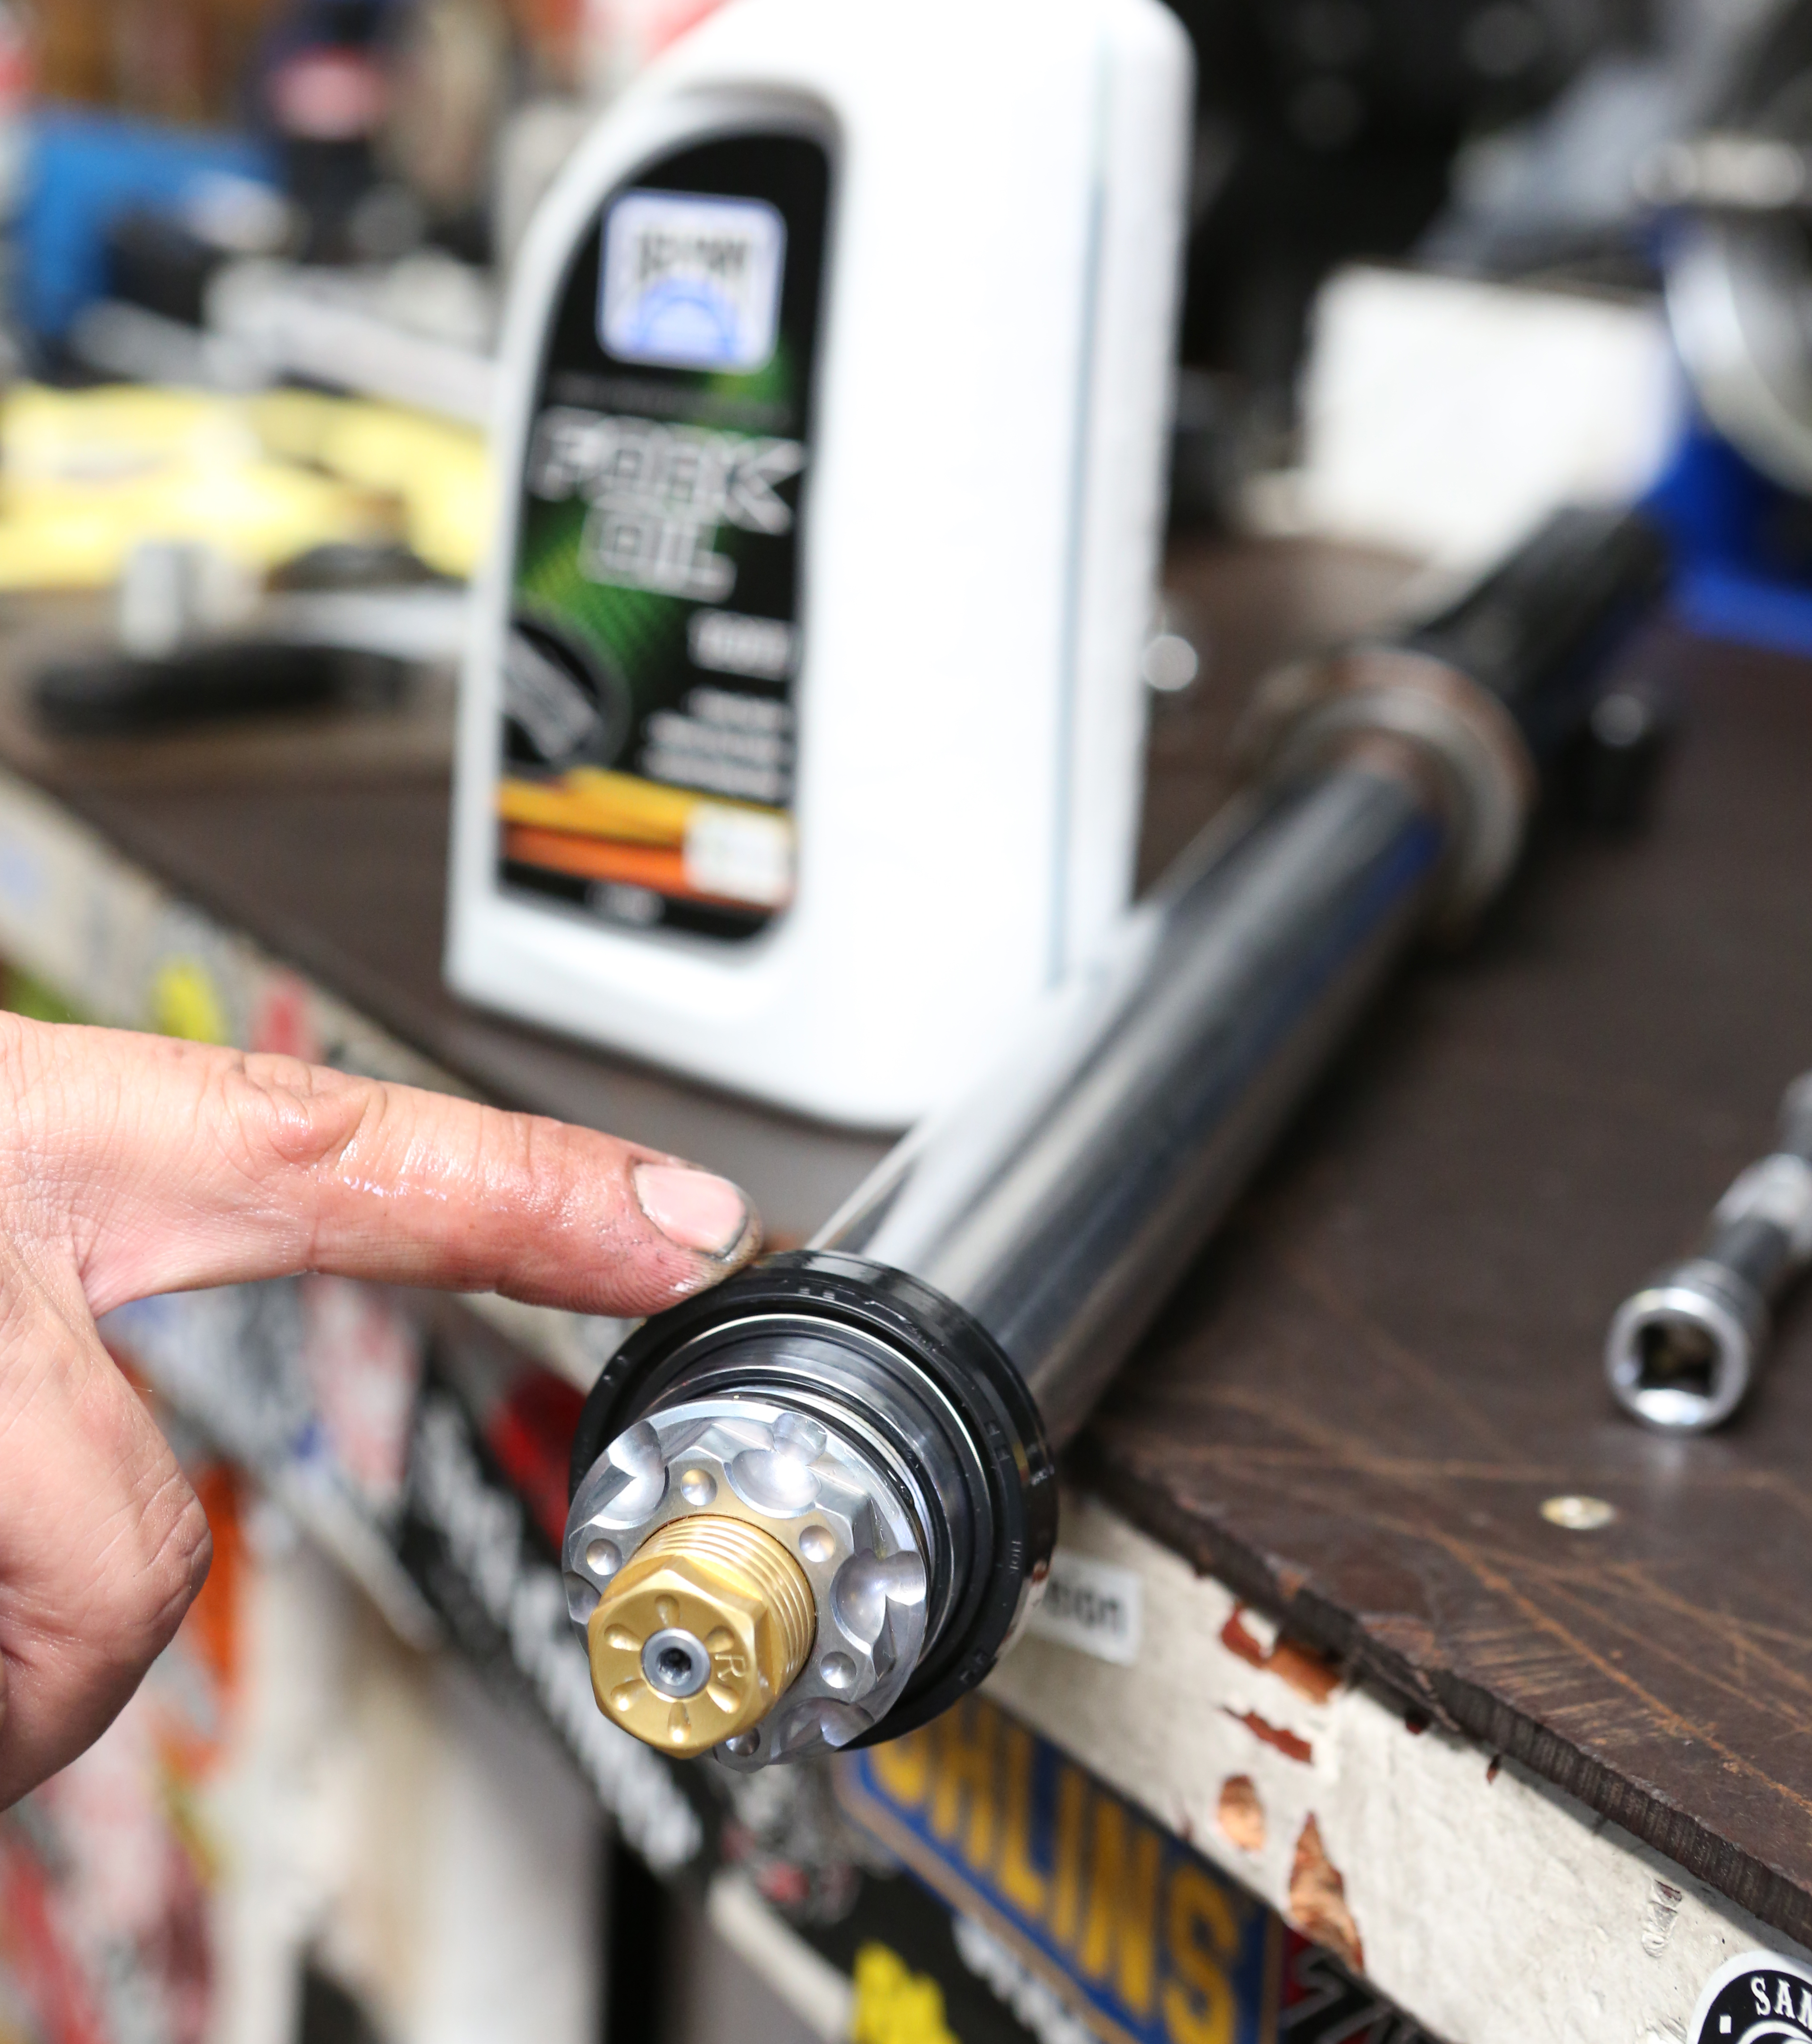
Once the cartridges are installed into the fork tube and placed into the fork slider, be sure the cartridge is sitting flush on the bottom of the fork lower.
Words: Chip Katstelnik Photos: Mikey Van Senus
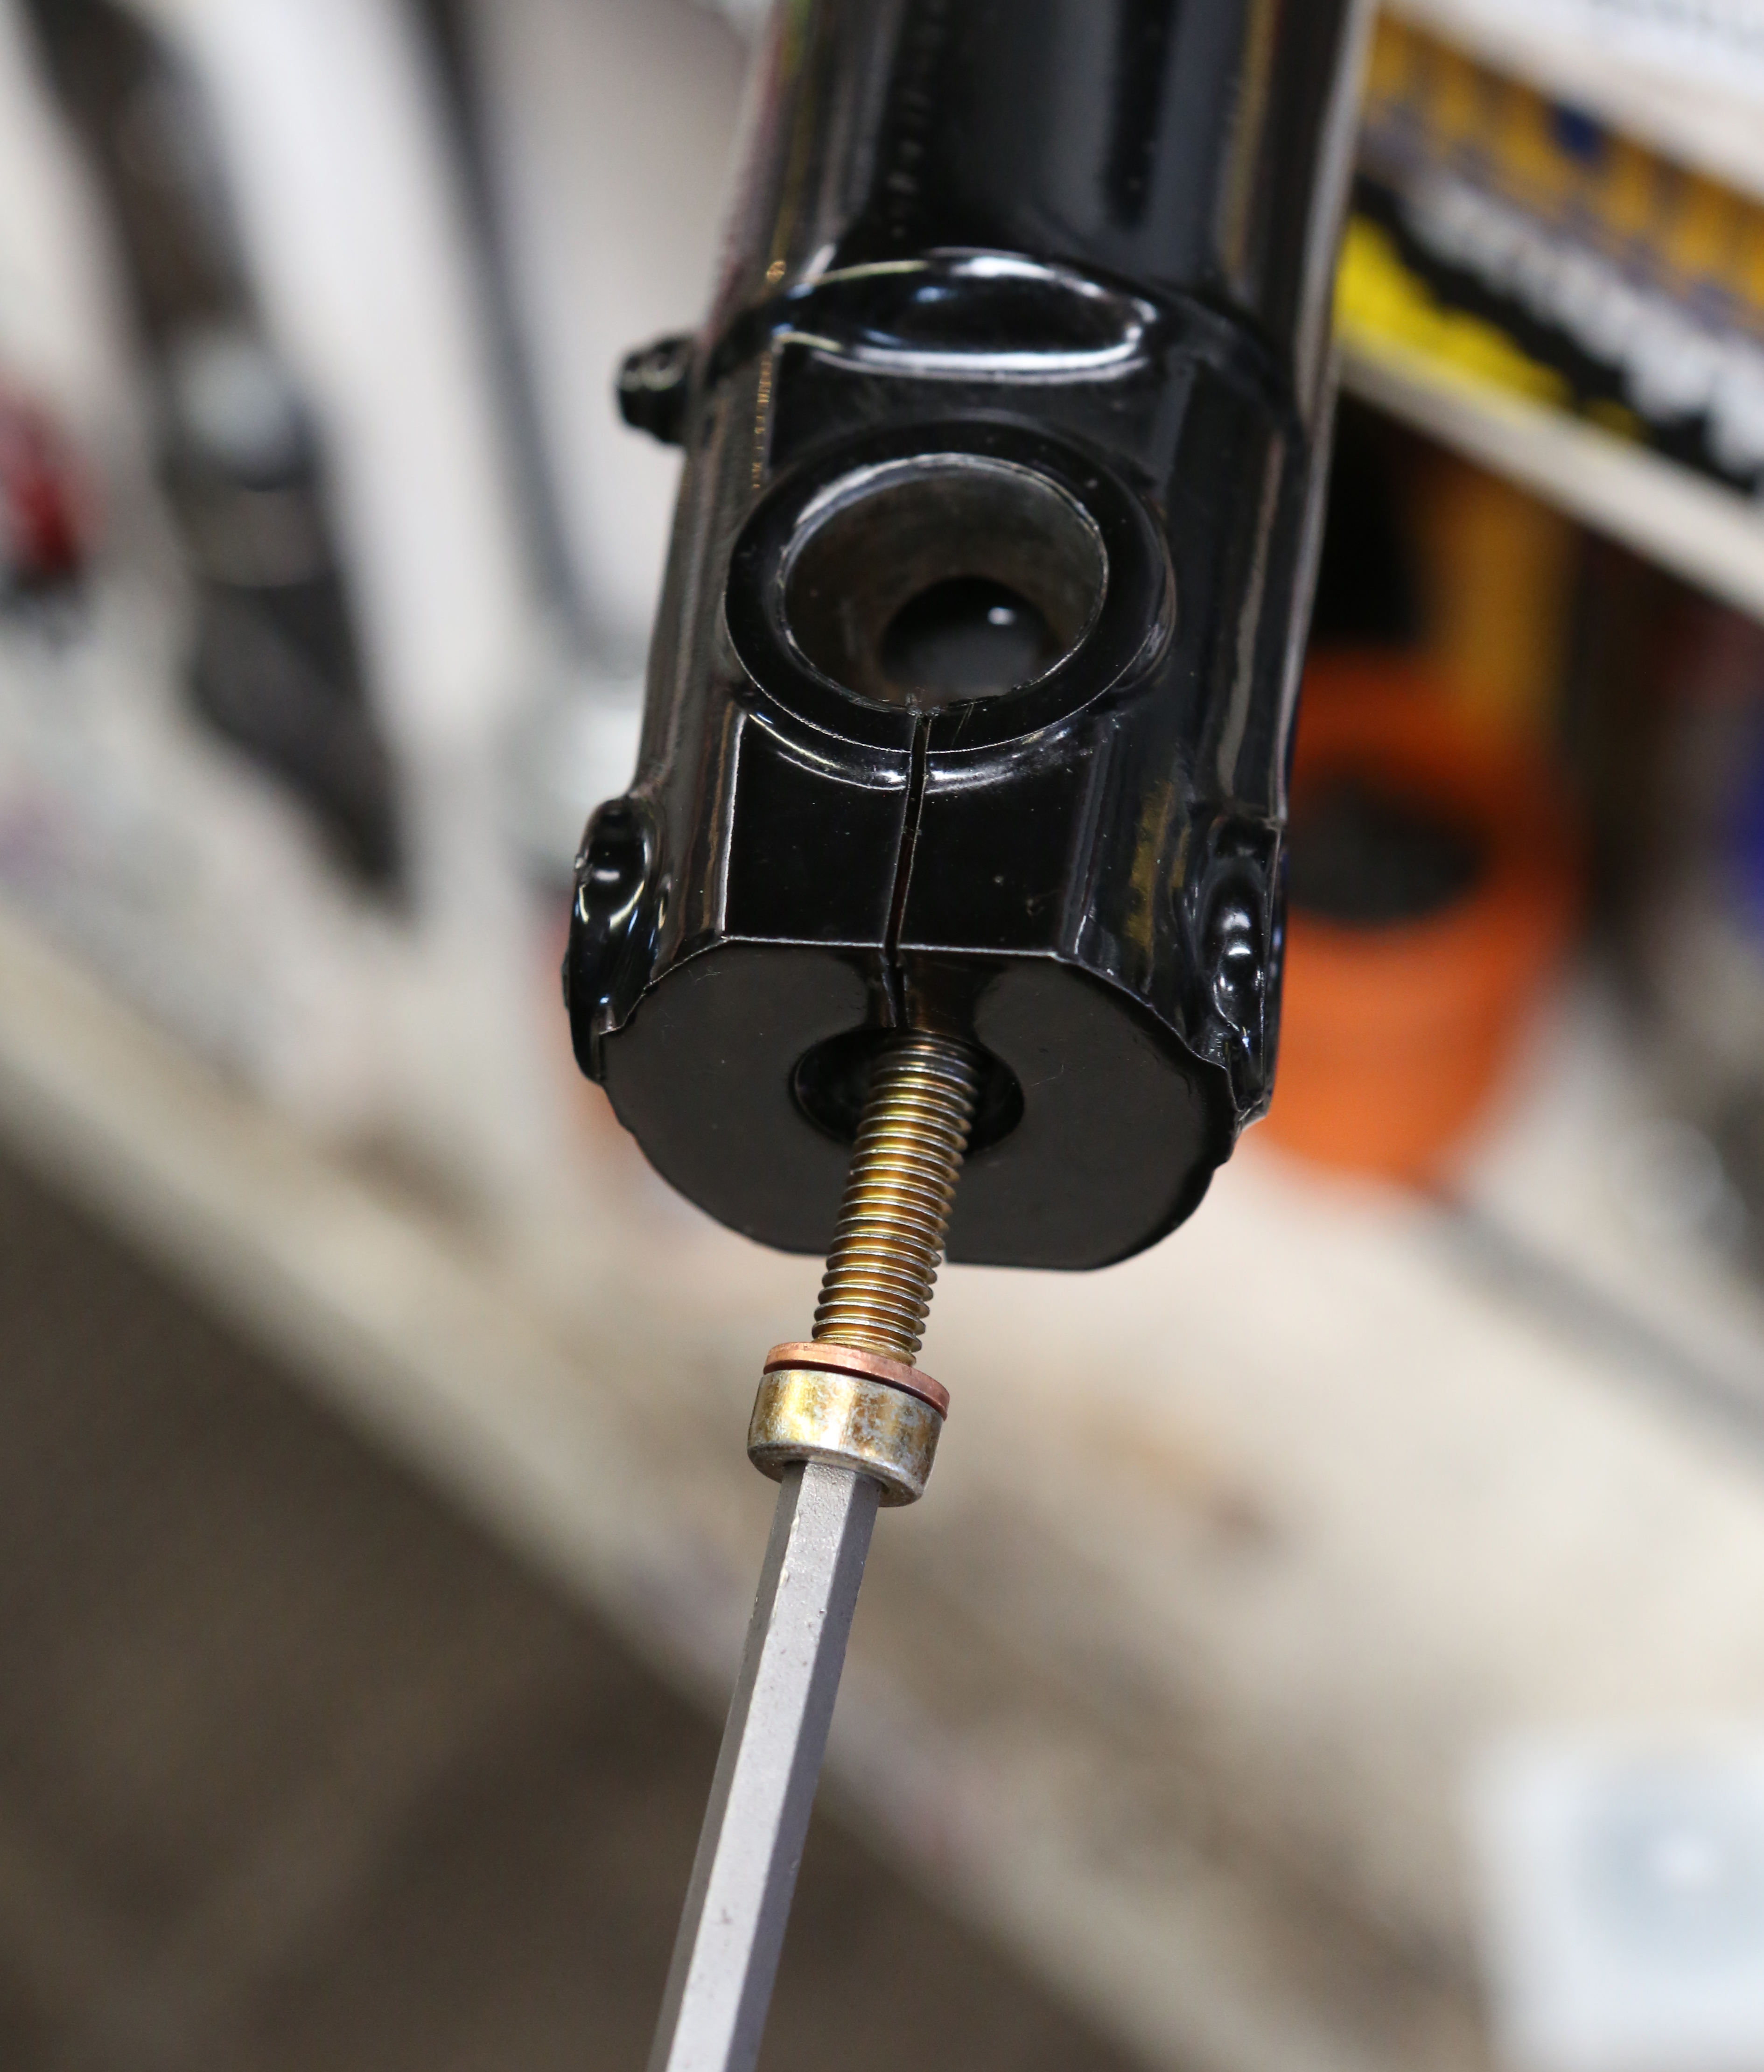
Using a new screw and crush washer, secure the bolt into the fork lower, securing the cartridge and fork lower.
Words: Chip Katstelnik Photos: Mikey Van Senus
Install a new fork oil seal. Lightly coat the new oil seal with a thin film of fork oil after placing the new seal onto the fork tube.
Words: Chip Katstelnik Photos: Mikey Van Senus
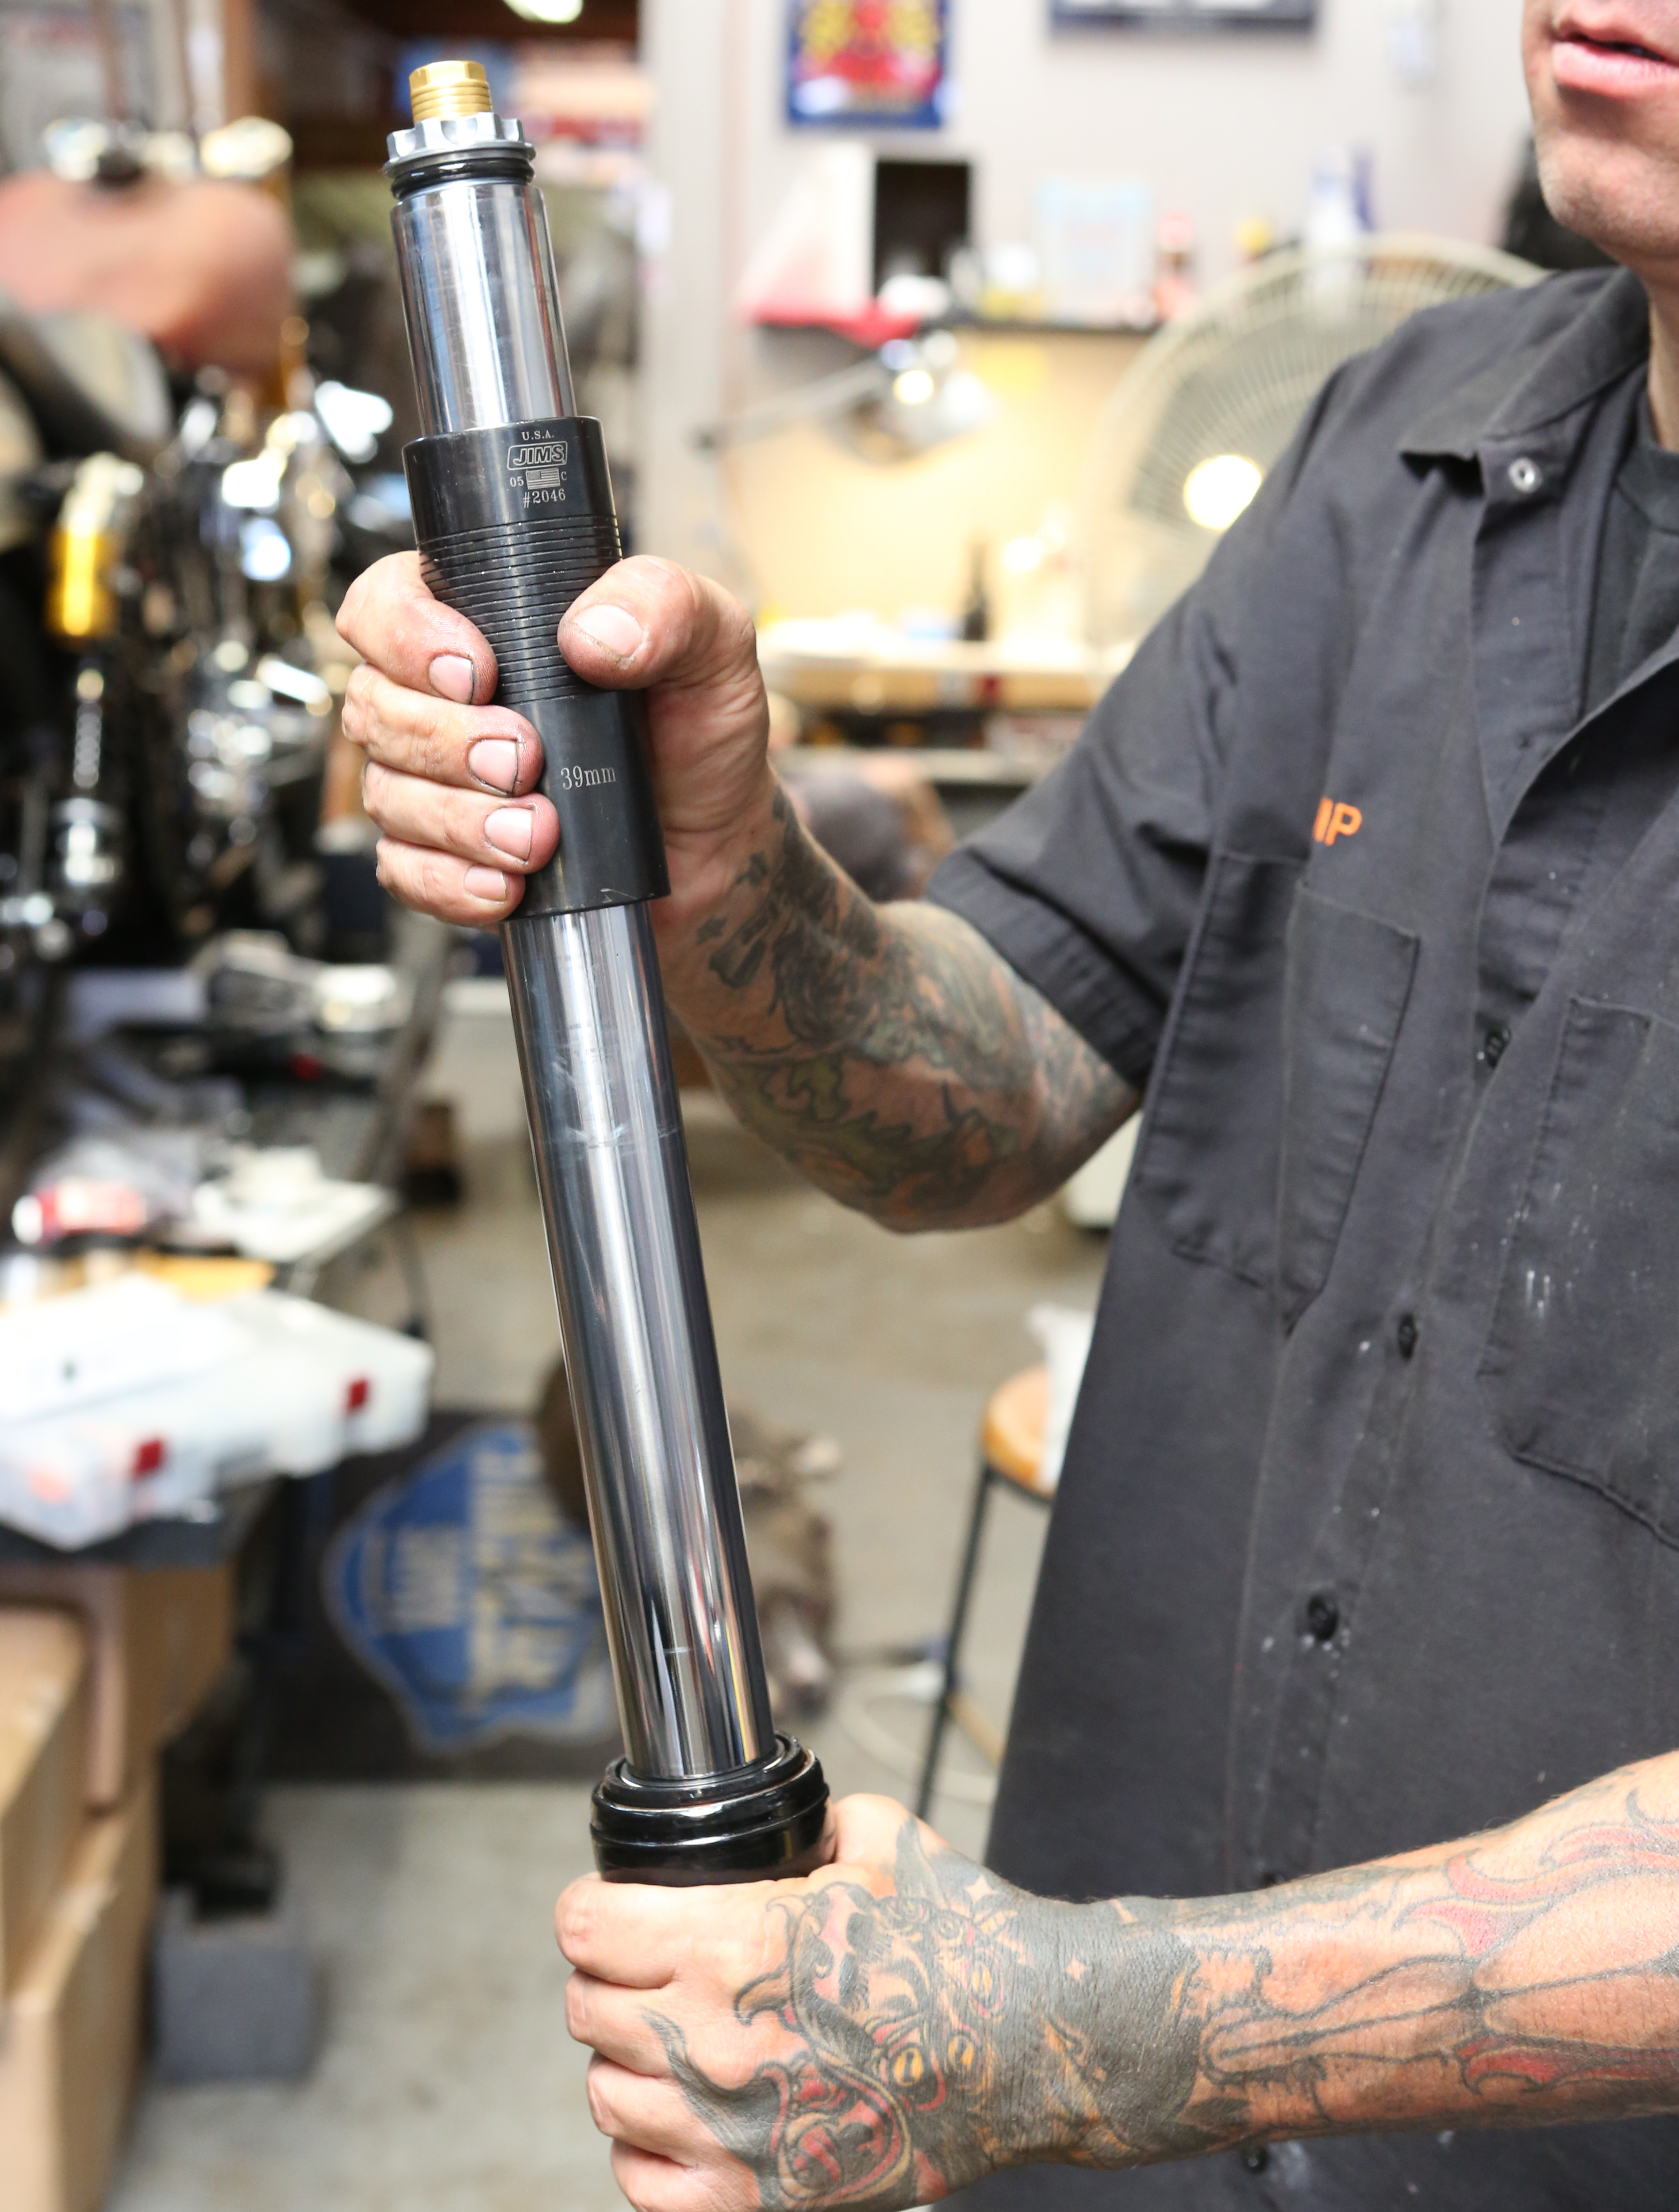
Using a JIMS USA 39mm fork seal driver, the seal can be installed to the correct depth so it does not leak or get distorted during installation.
Words: Chip Katstelnik Photos: Mikey Van Senus

Slide the fork seal driver onto the fork tube, and slam it down on top of the fork oil seal. This will force the seal into its appropriate position.
Words: Chip Katstelnik Photos: Mikey Van Senus
Sources:
Look for the final part of this story on Monday. Until then, check out these other Tech features.
")


