
Big Twin Tech | Screamin’ Eagle Gear Compensator Installed
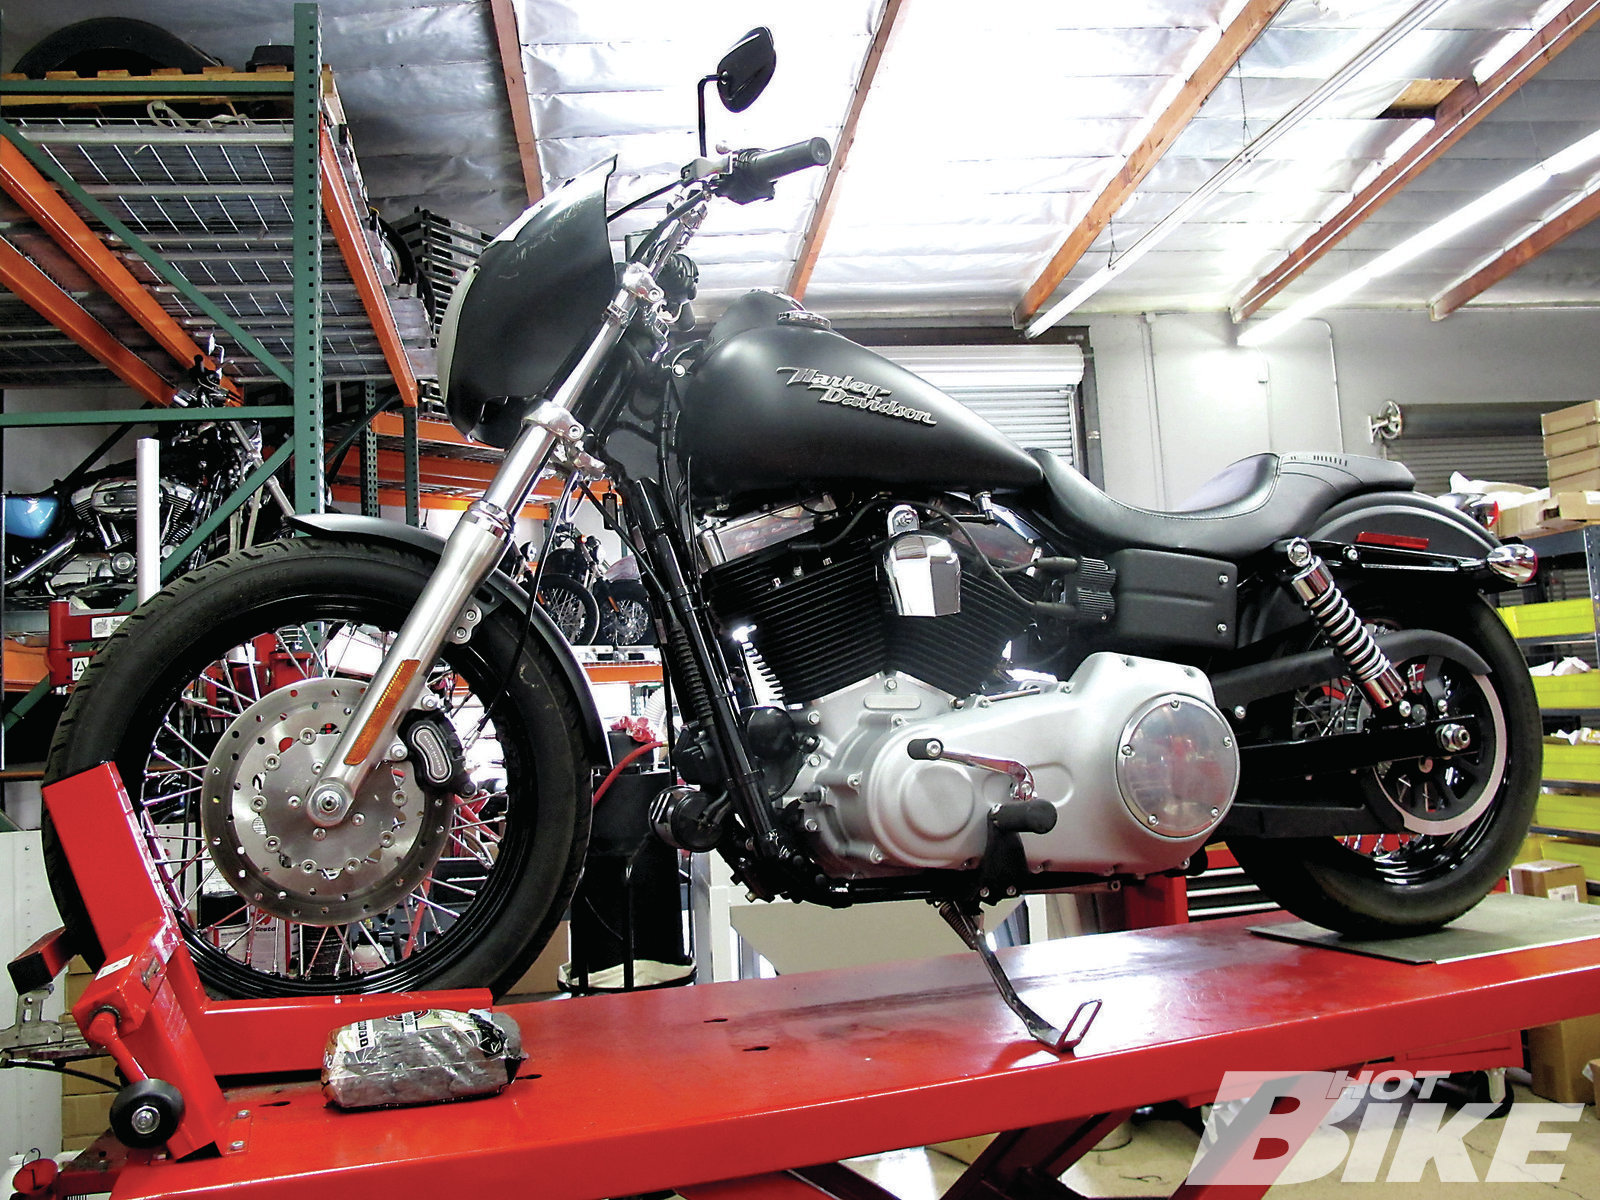
01. To start the installation, Alan rolled the 2009 Dyna Street Bob onto the lift. The Street Bob’s top end had been overhauled with a 103ci Screamin’ Eagle kit so the owner wanted to be sure to prolong the life of the drivetrain with the Big Twin Compensator kit.
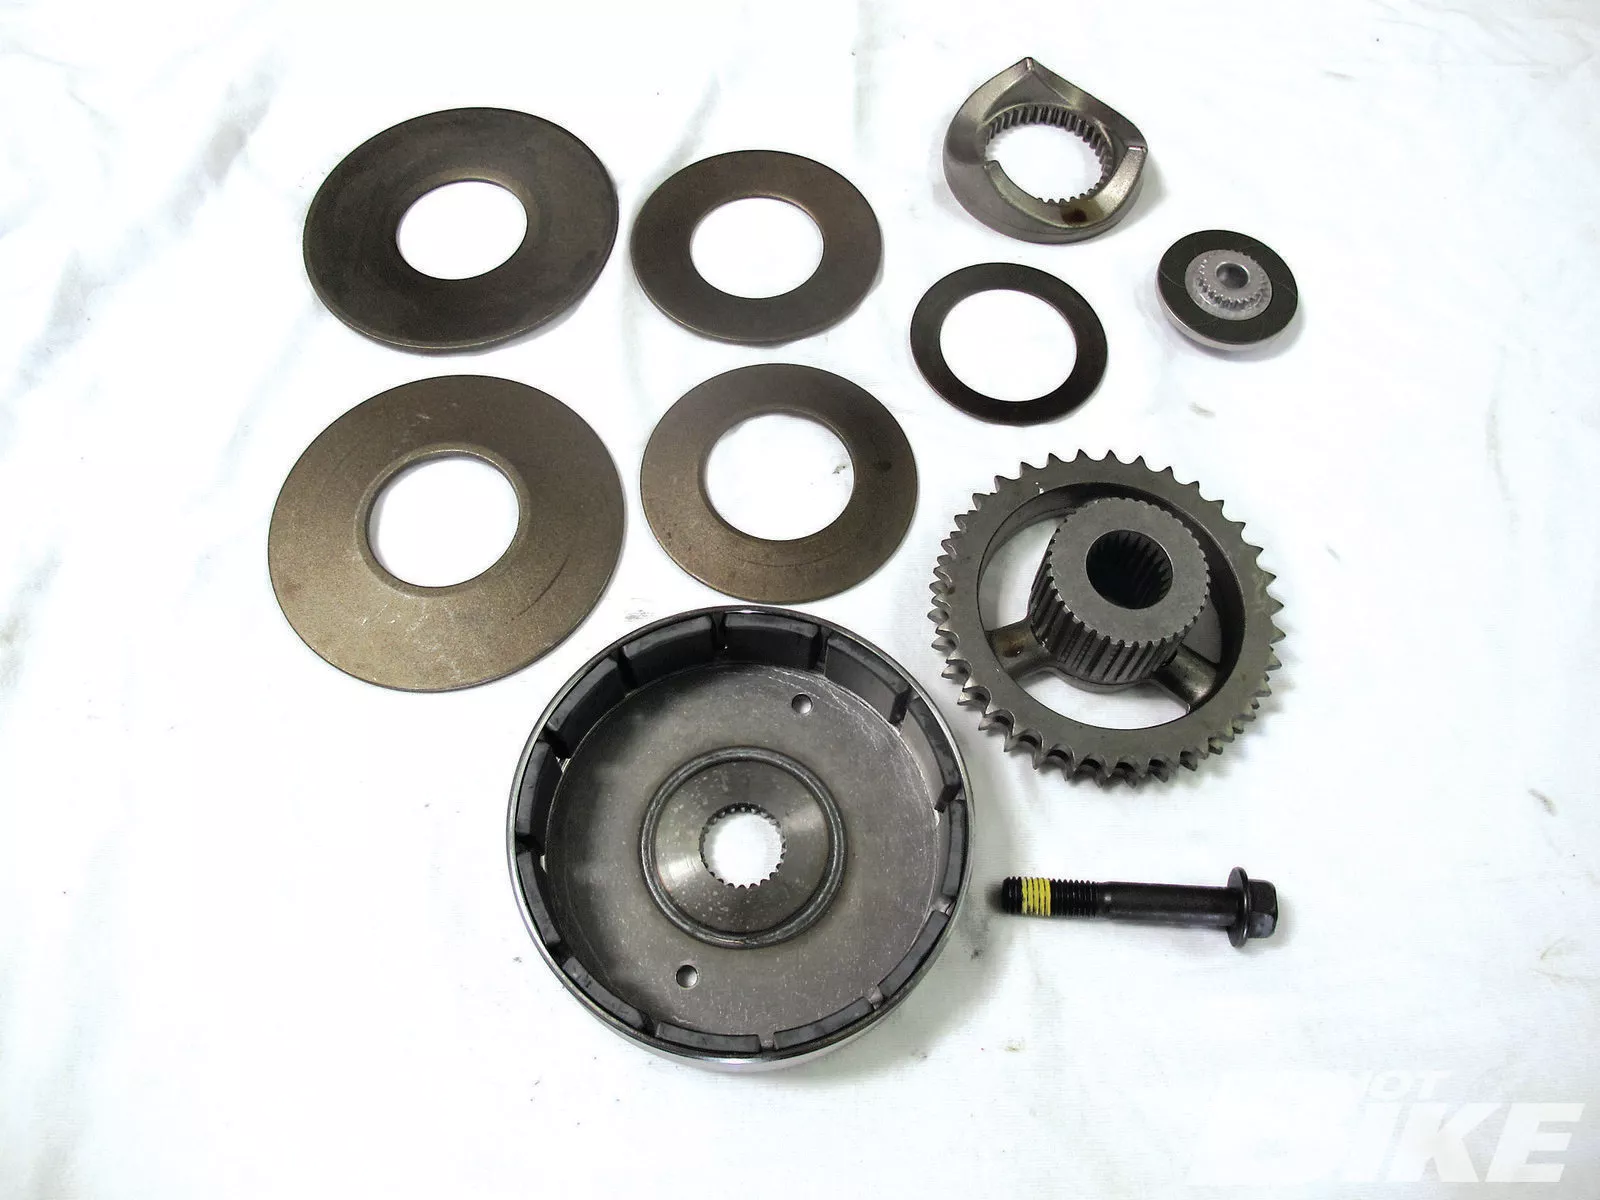
02. Included in the kit are the alternator rotor assembly (A), large, medium, and small disc springs (B), sliding cam (C), new compensating sprocket (D), sprocket retainer (E), and hex flange screw (F).
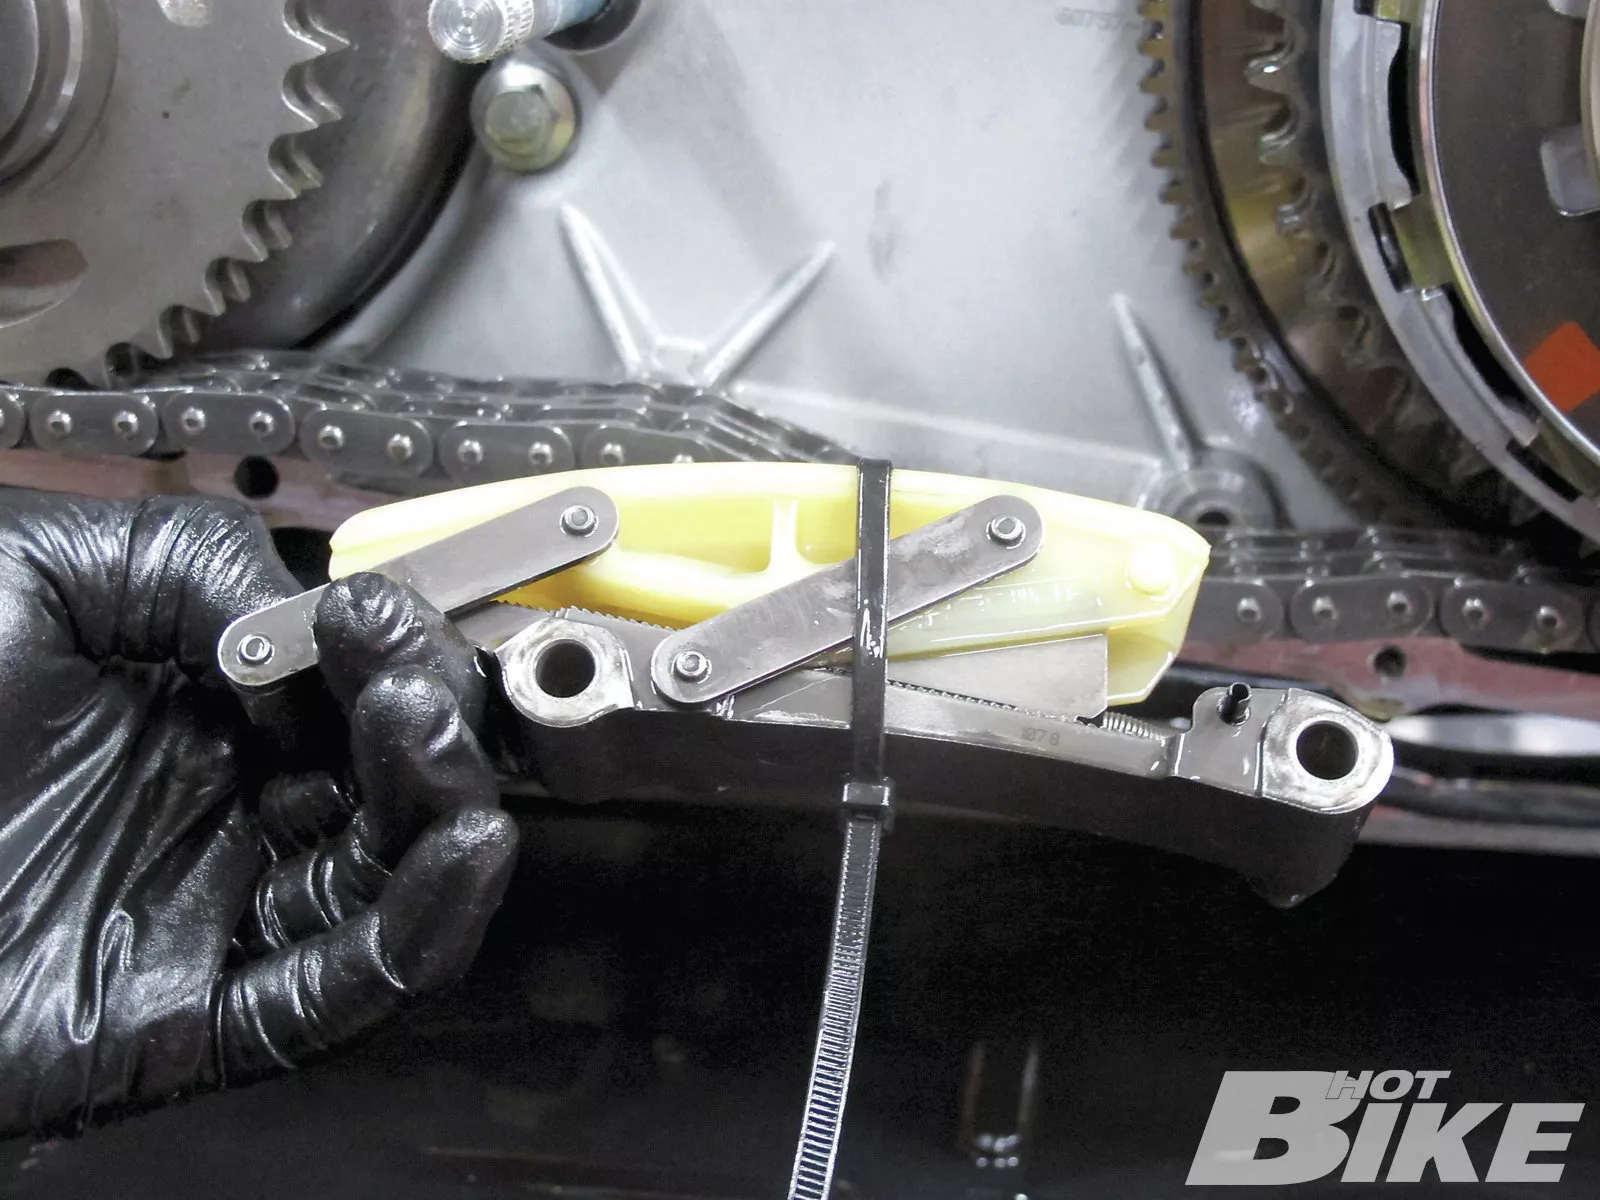
03. The Street Bob was drained of primary fluid and stripped of its primary cover. Since the alternator rotor resides behind the inner primary, Alan had to remove all the drive components in order to install the new unit. First, he zip-tied the chain tensioner down and removed it.
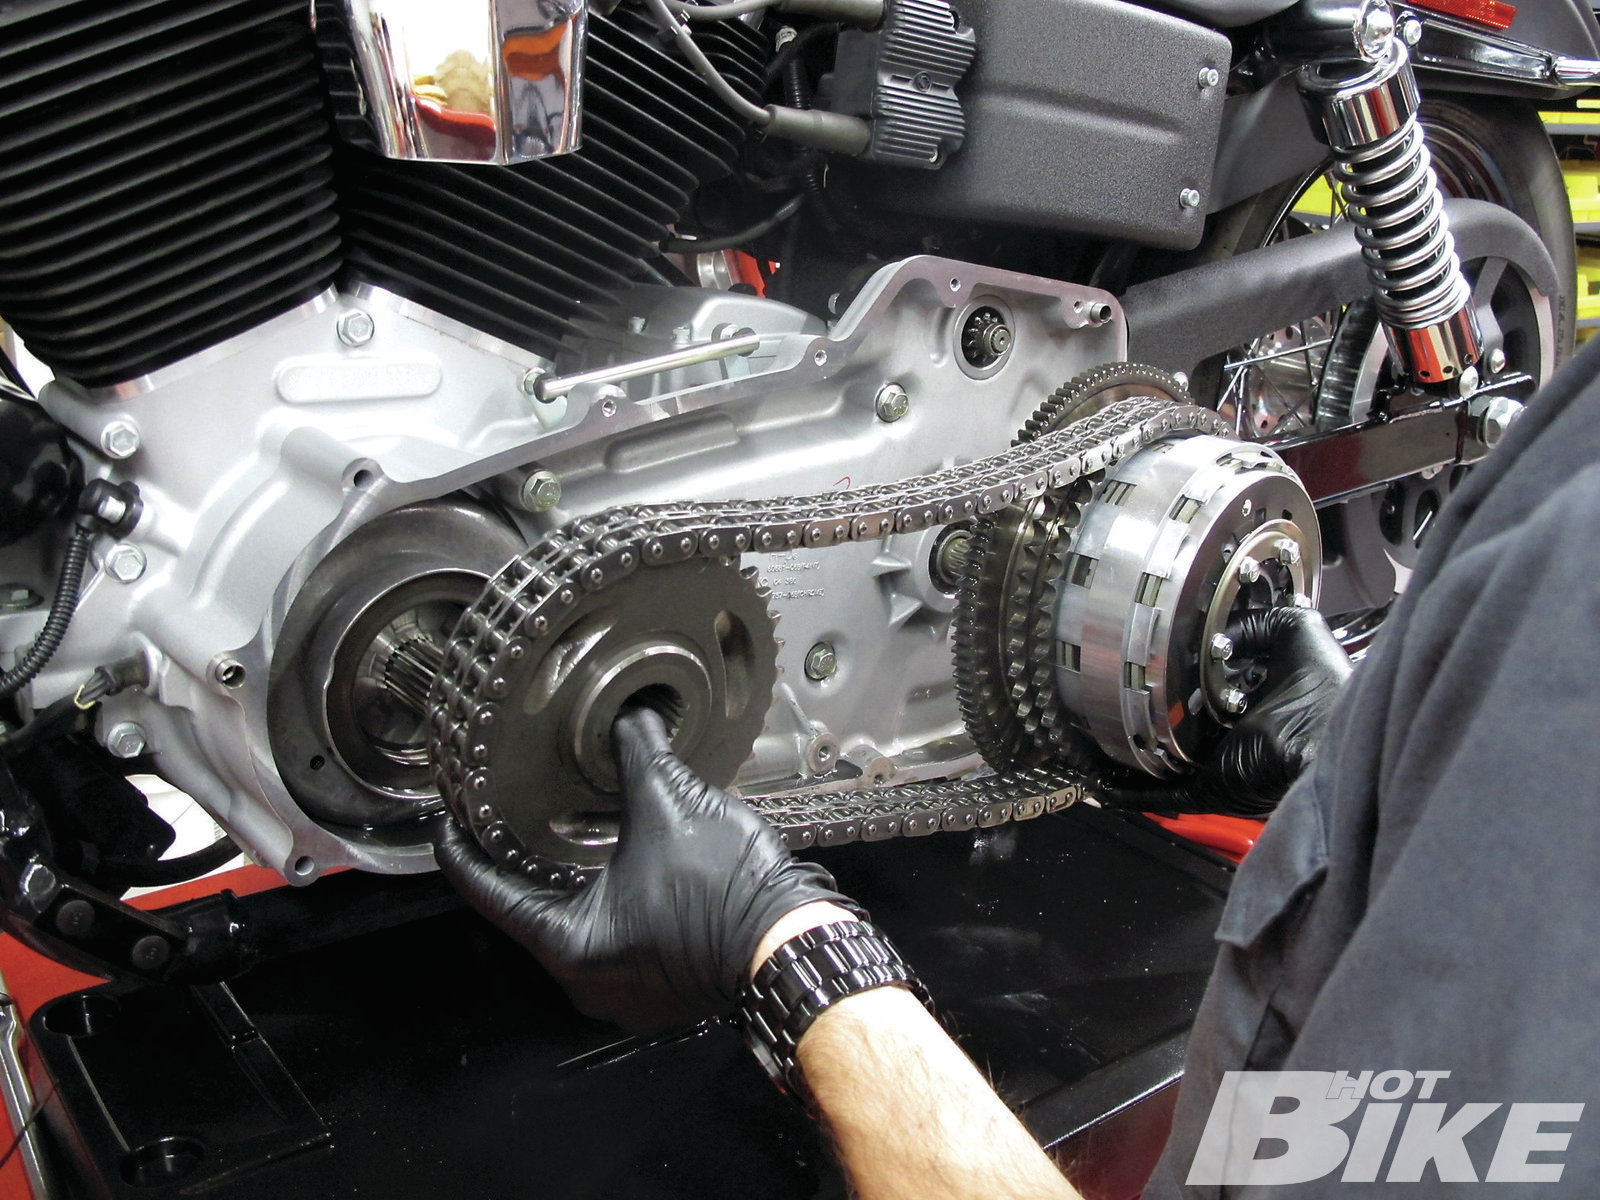
04. Next, he removed the chain, clutch pack, and sprocket as one unit. He then loosened the starter jackshaft so that he could remove the inner primary.
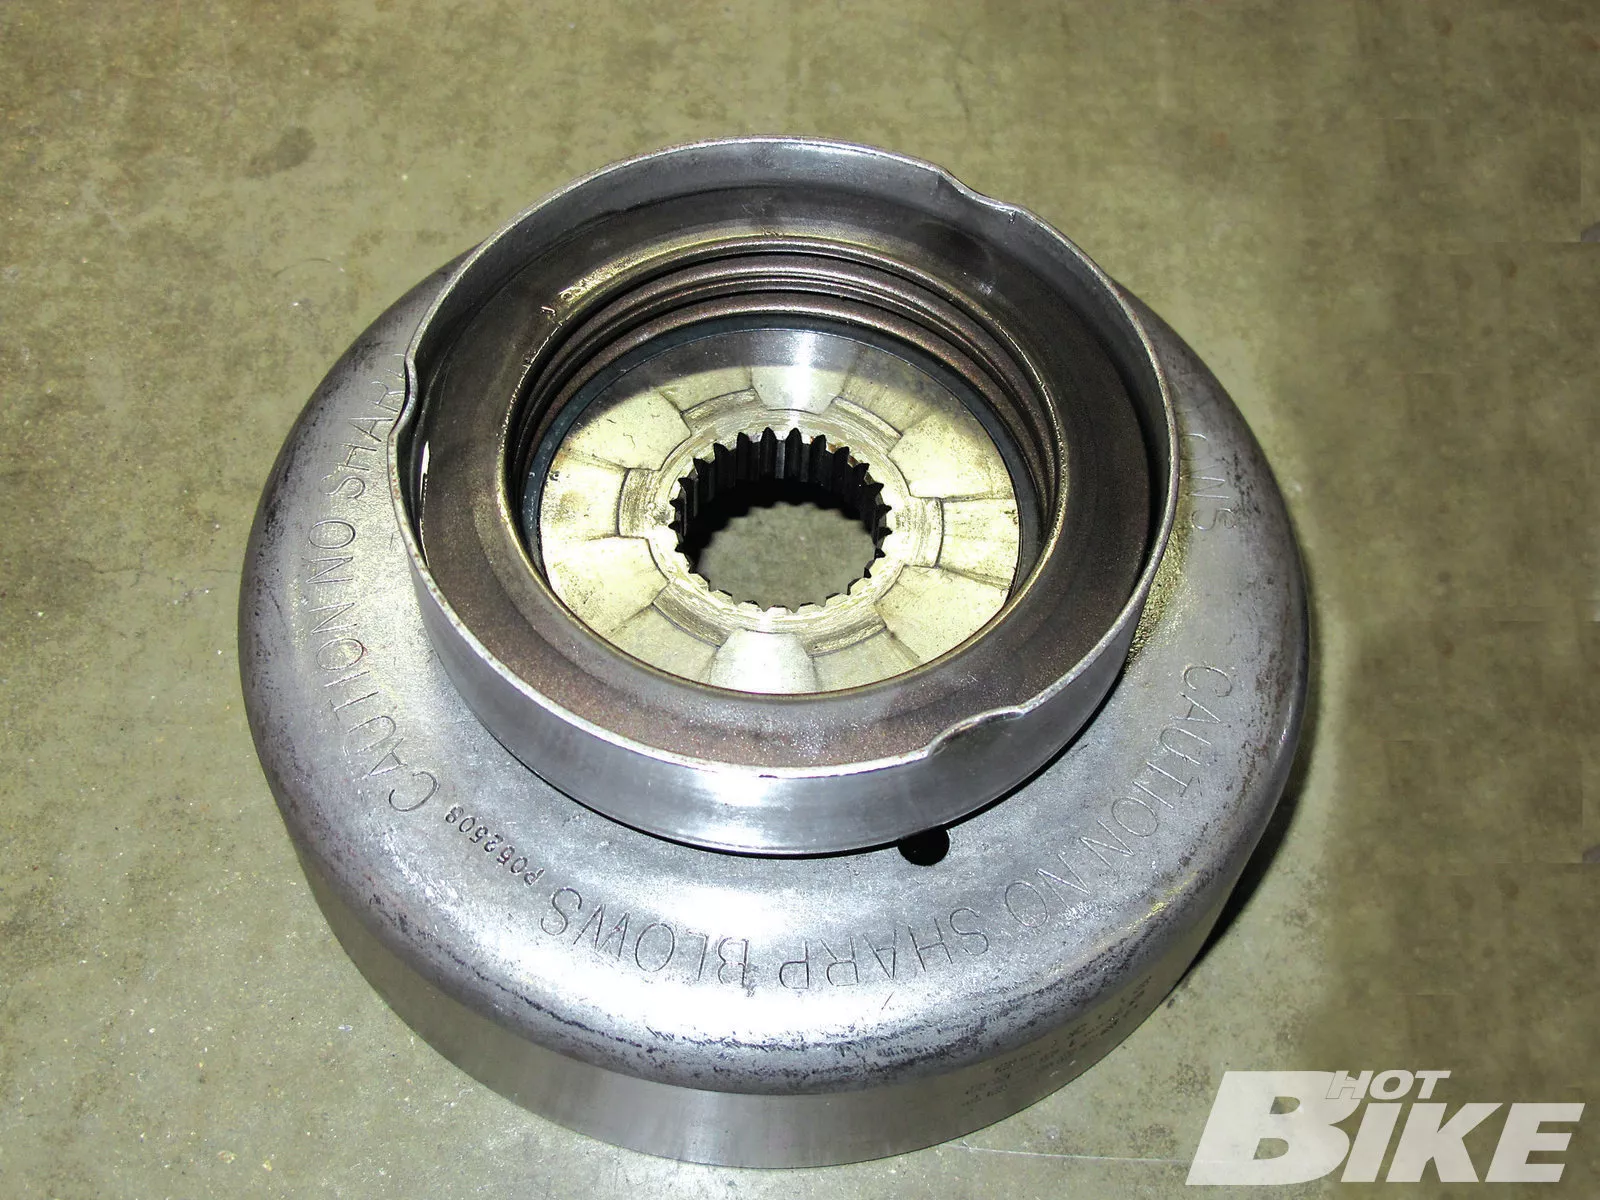
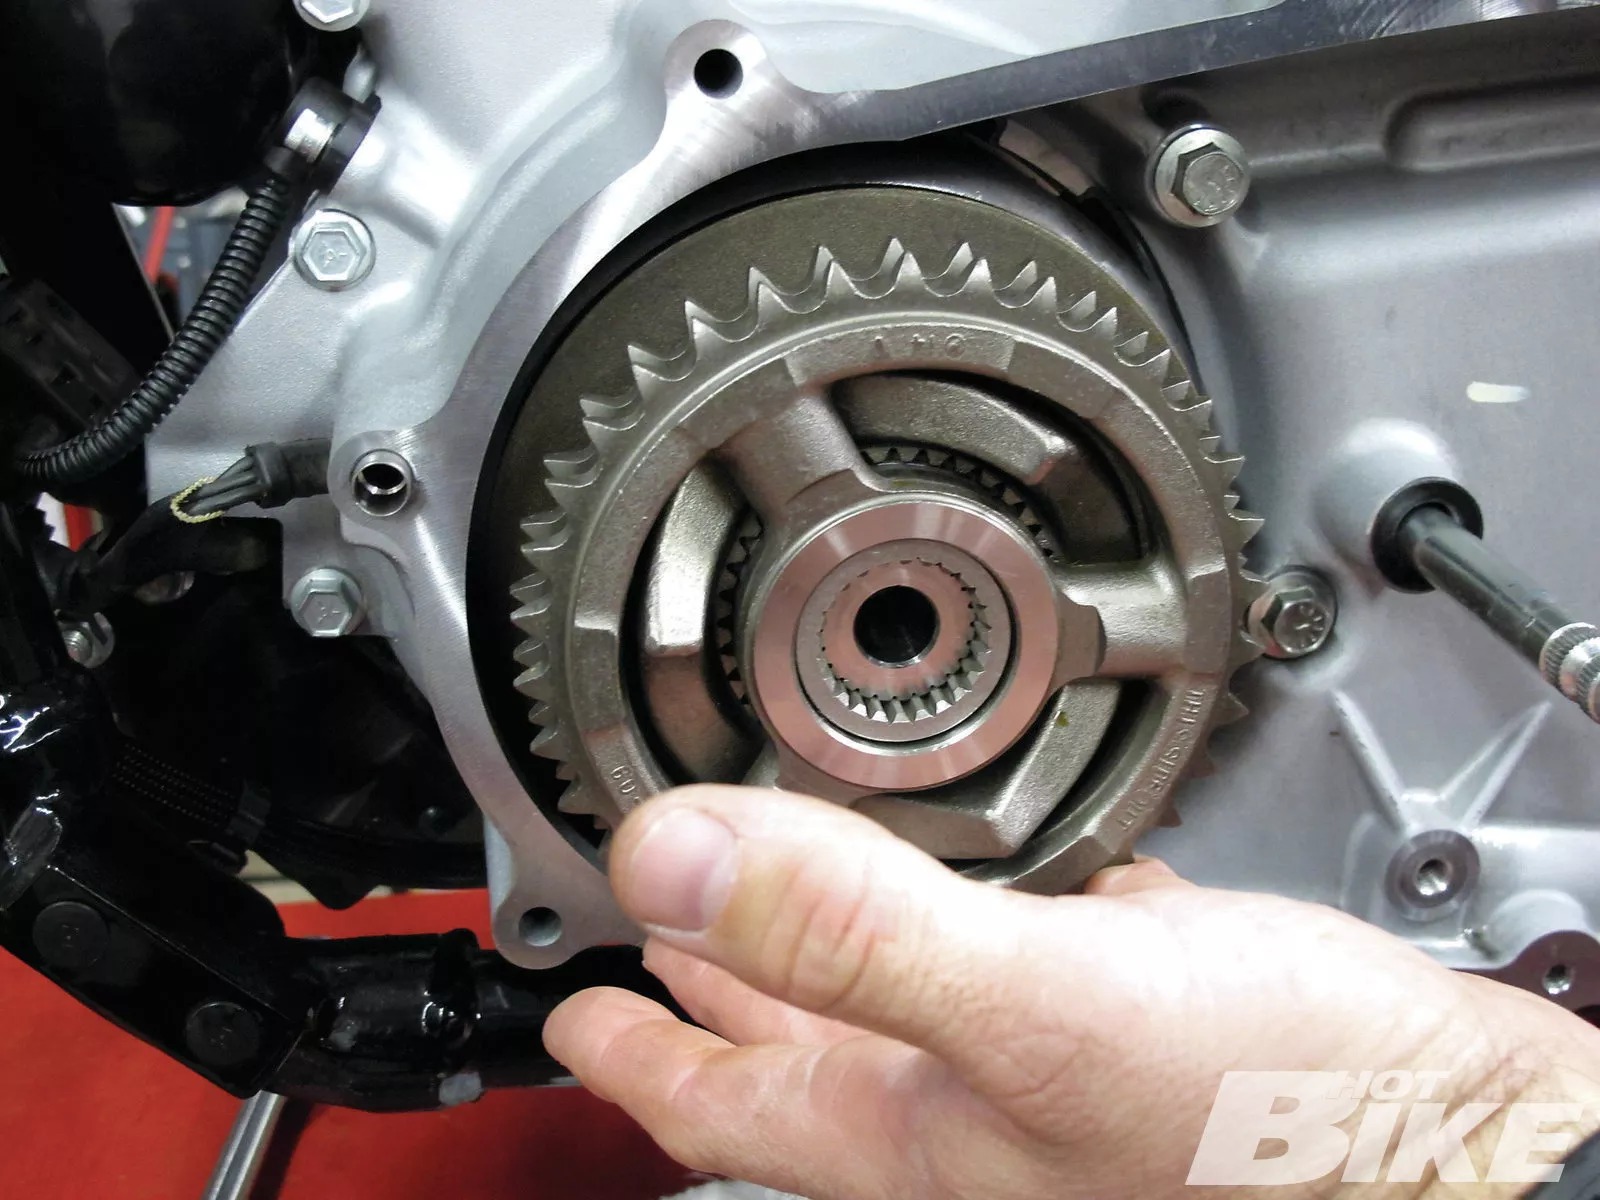
05. Take caution when removing the stock alternator rotor. Its powerful magnets could easily pinch your digits, causing severe discomfort. Alan removed the stock alternator rotor, which includes the spring pack and bracket as one unit.
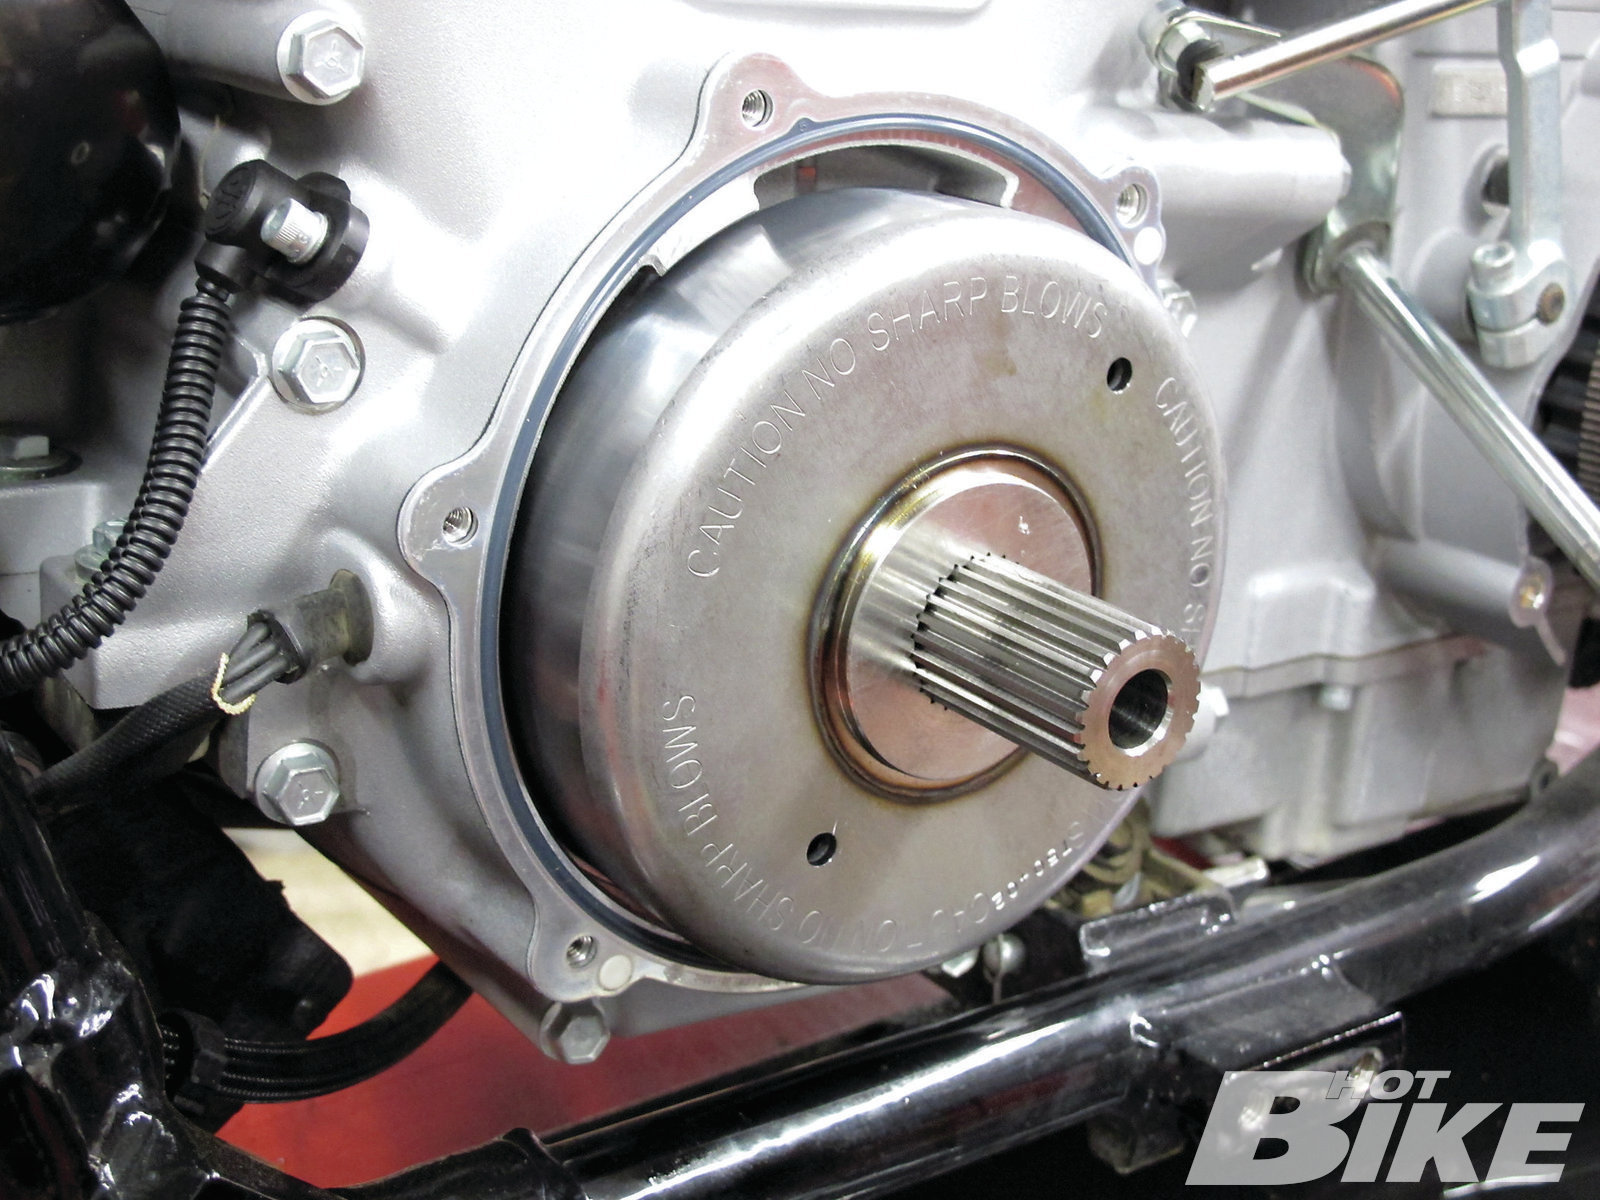
06. Using two flathead screwdrivers on the 3 o’clock and 9 o’clock positions of the alternator rotor, Alan installed the new unit to the engine compensating sprocket shaft.
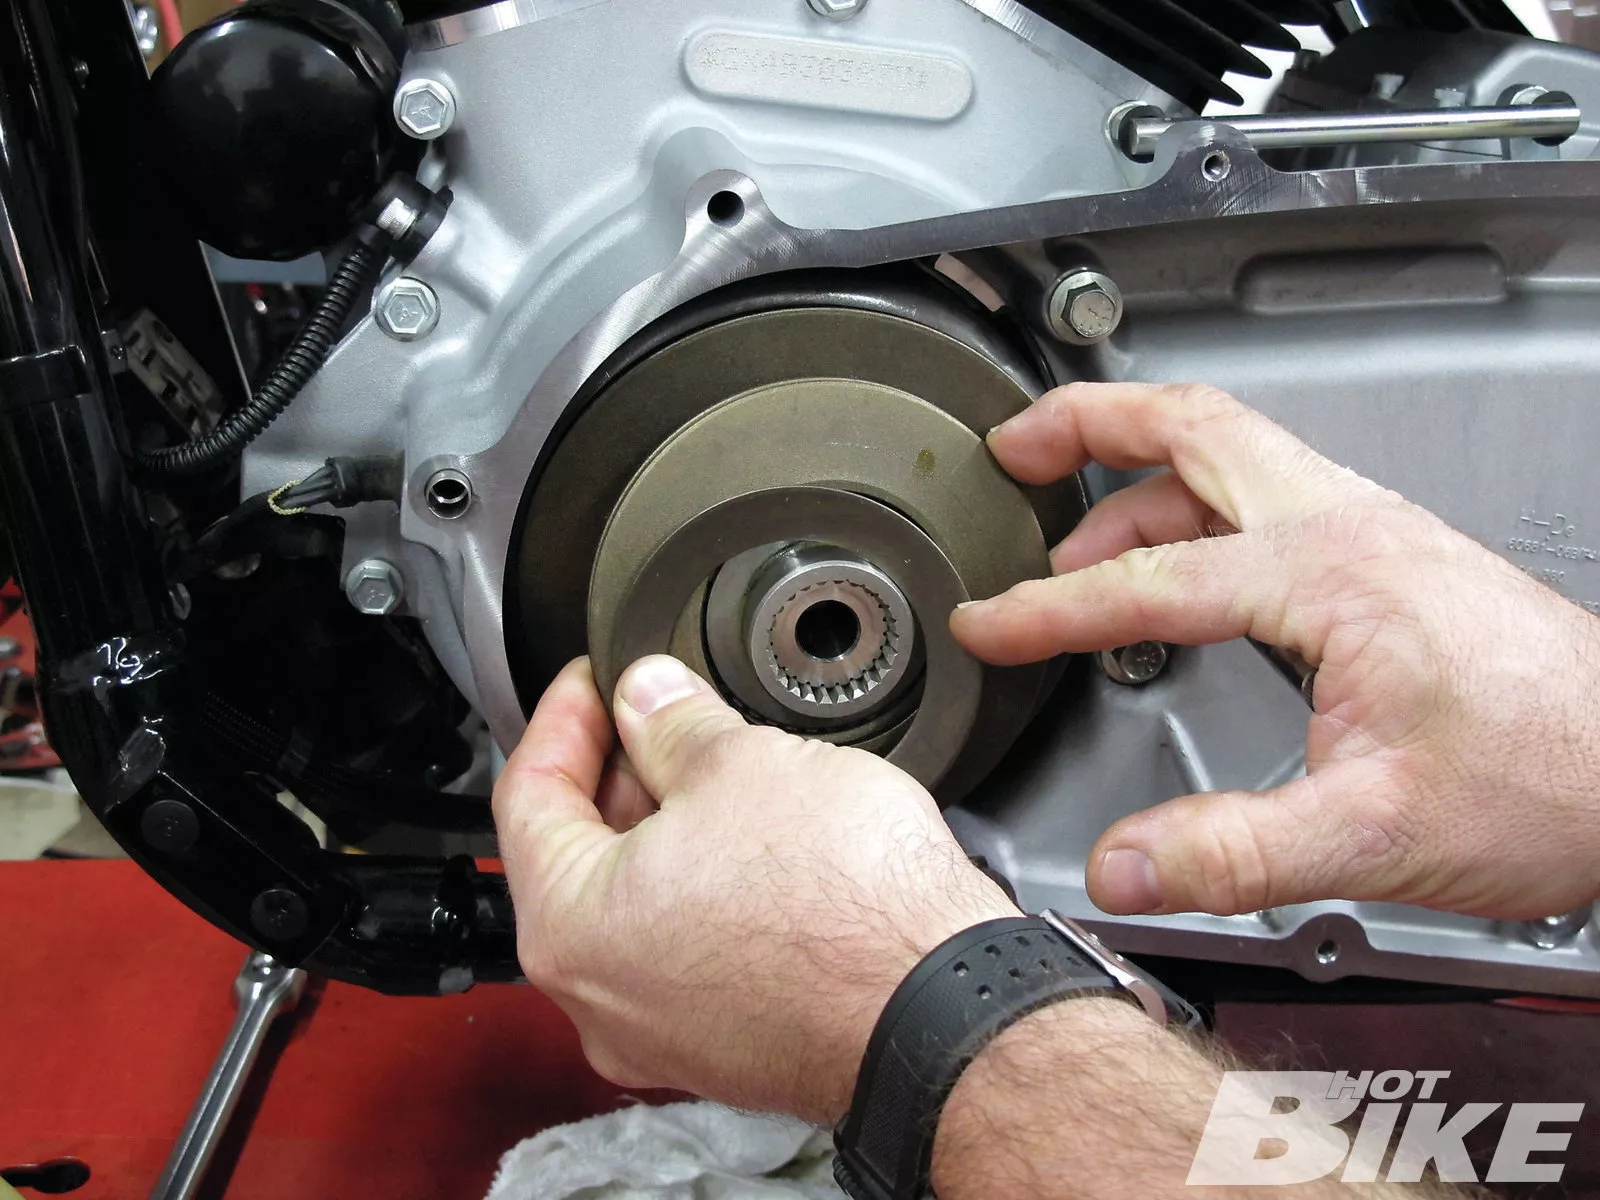
07. The new disc springs were then installed starting with the large springs on the inside, the medium springs in the middle, and the one small spring on the outside before installing the new compensating sprocket to the shaft. As Harley’s diagram shows, the Spring Pack Sub-Assembly installs like so.
08. Next, the sliding cam and compensating sprocket were installed over the disc springs onto the engine-compensating shaft with the hex screw and thrust washer through the Sprocket Retainer.
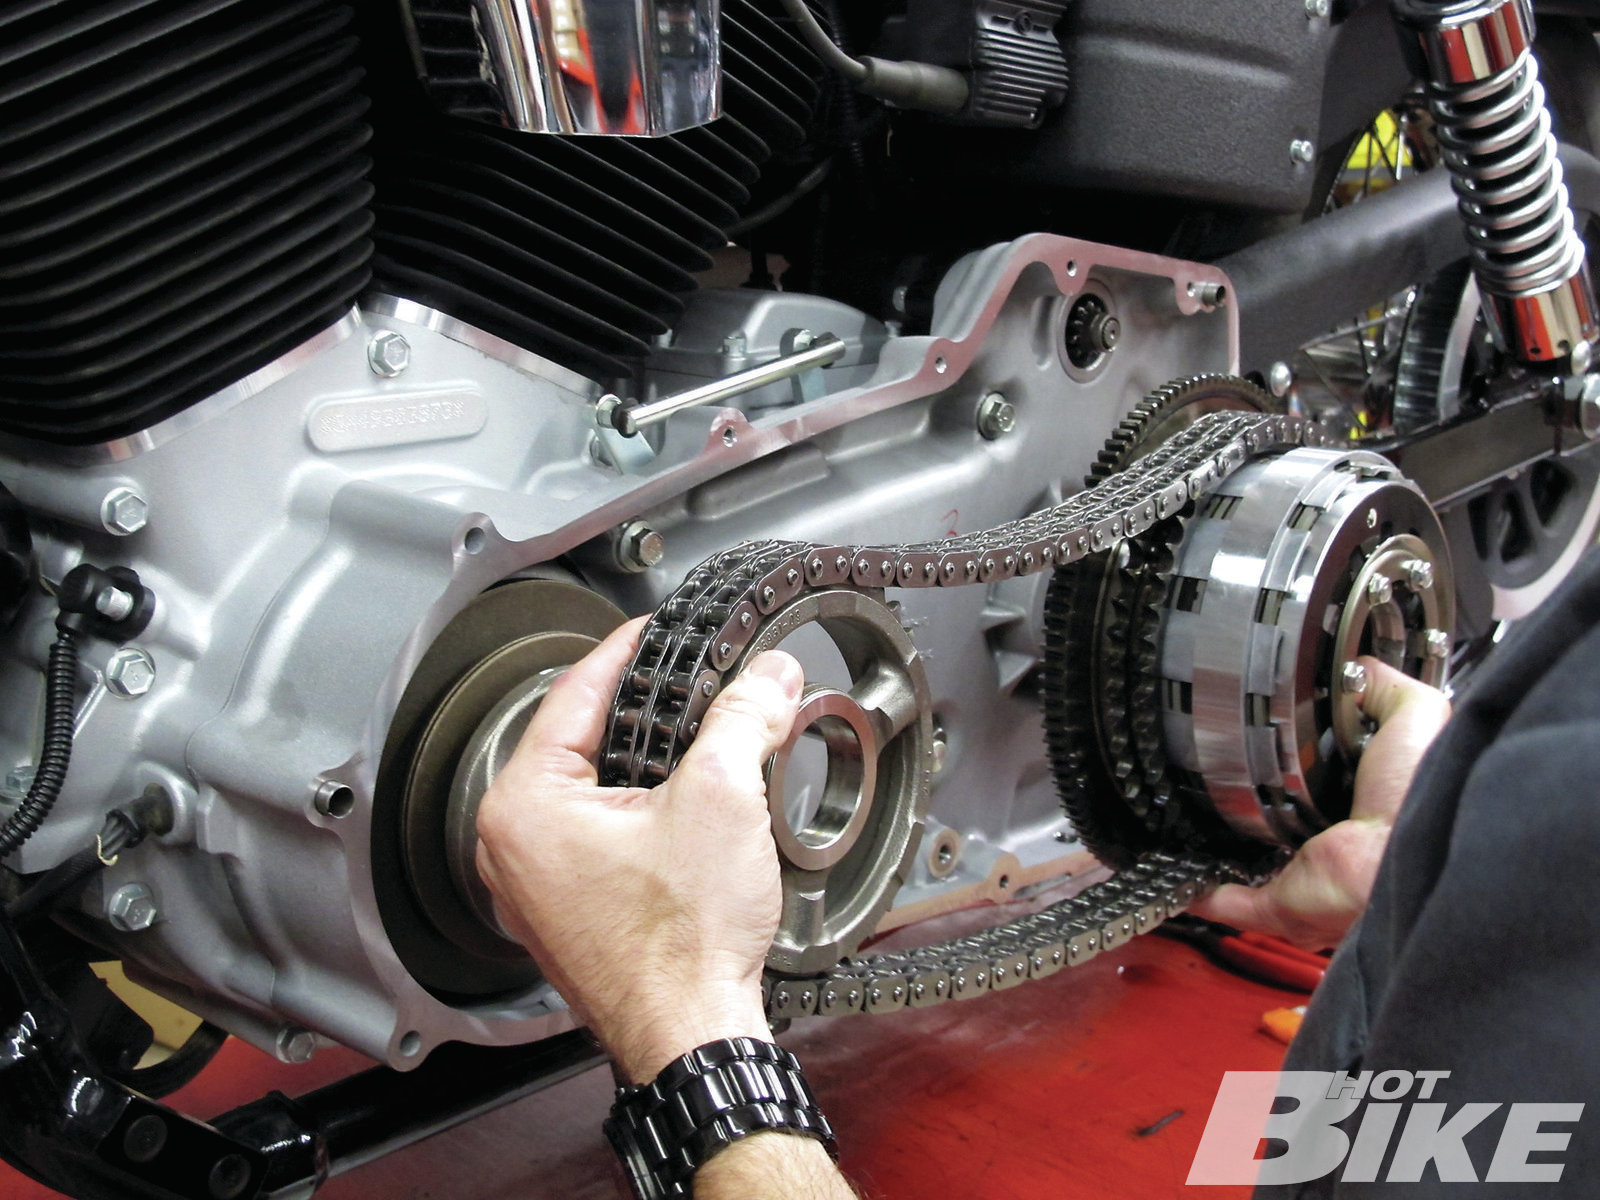
09. The drive components were reinstalled and the chain tensioner was replaced.
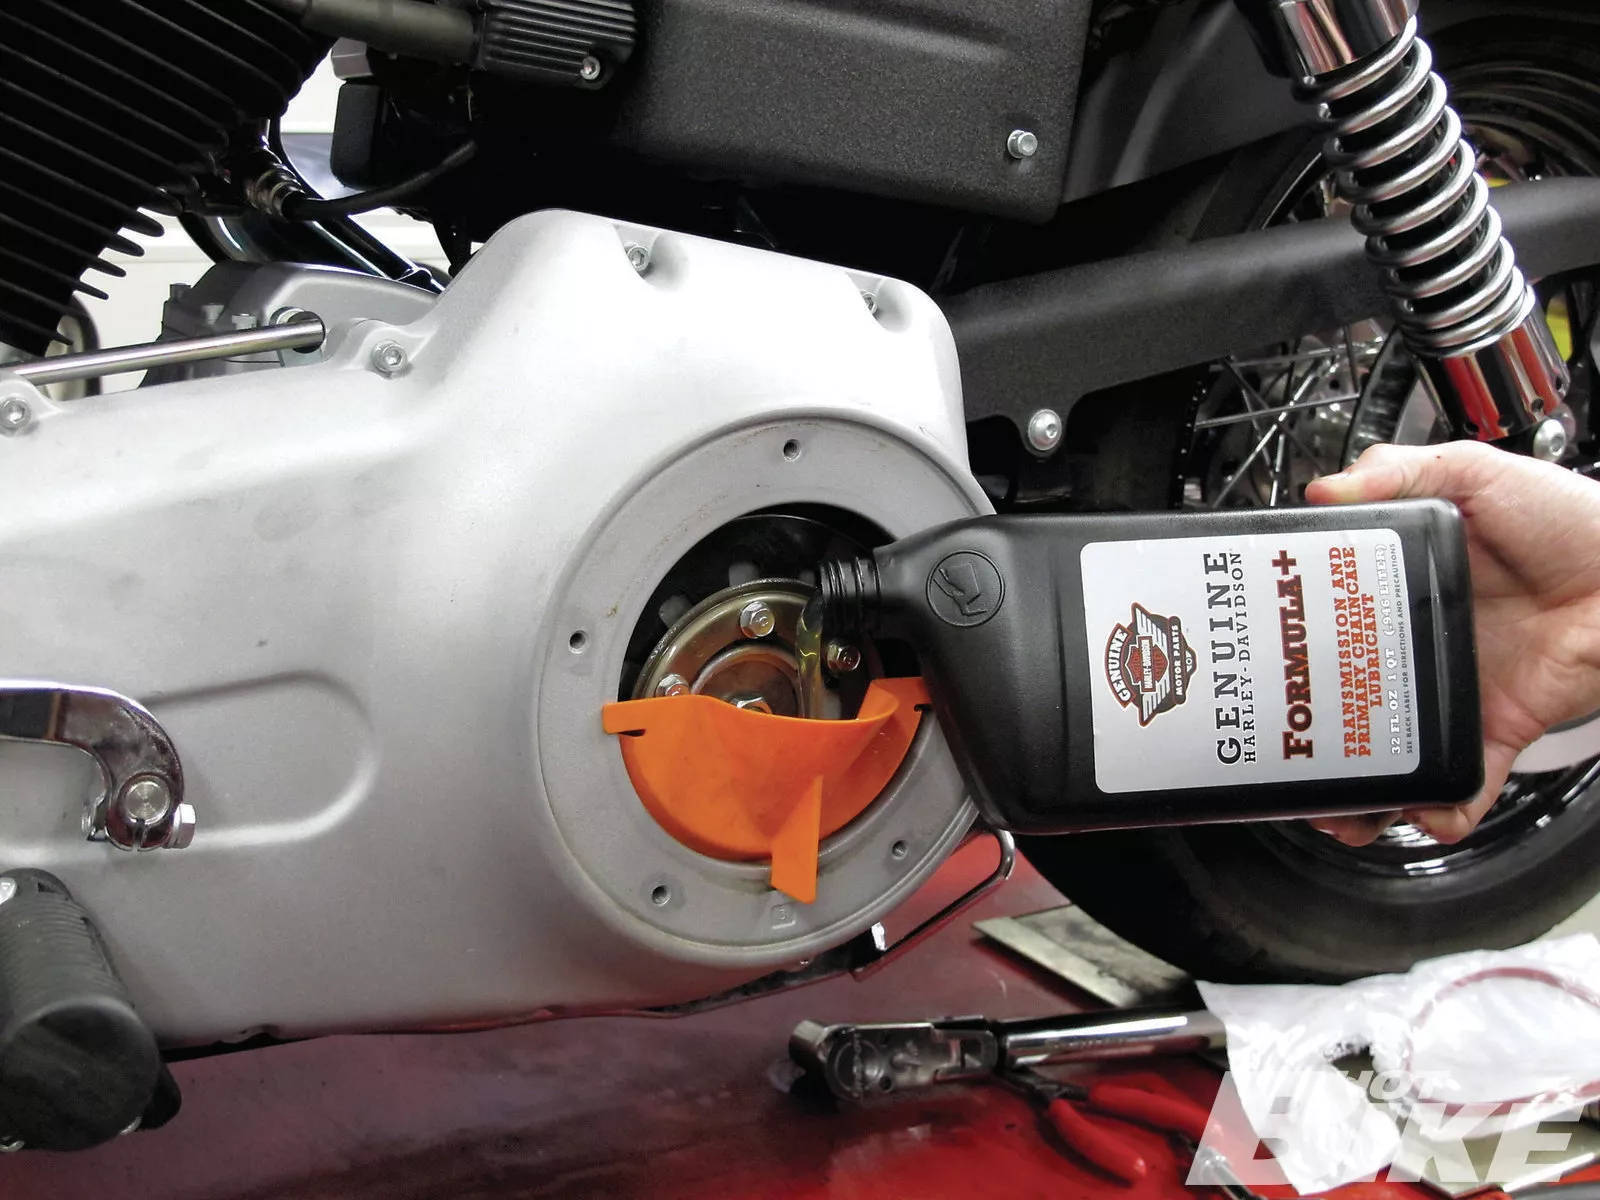
10. Last step of the install was to fit the primary with a new gasket, seal it up nice and tight to factory spec, and fill the primary with a quart of Formula . The bike’s owner took it for a spin and while he couldn’t feel too much of a difference, he definitely rides with a lot more confidence to get on the throttle with his freshly hopped-up engine kit thanks to the Screamin’ Eagle Big Twin Gear Compensator upgrade.
If you’ve hopped-up your motor, there are other components involved other than cylinders, pistons, heads, etc., that you may want to also think about installing to compensate for the increase of ponies. Let’s face it; your stock engine’s components are built to comply with your engine in its stock state. When upgraded with power, the rest of the stock engine components that remain after a big-bore swap or cam upgrade or flywheel upgrade, etc., can become more susceptible to wear and tear from adding cubic inches.
One great way to handle the added power from an engine hop up is the Screamin’ Eagle Big Twin Compensator kit ($249.95), which is outfitted with heavier springs and increased travel to support the high-torque output associated with high-compression race and large-displacement engines. According to Harley-Davidson the Screamin’ Eagle Big Twin Compensator is designed to support up to seven times the energy capacity of the OE compensator. The SE Compensator fits ’06-11 Dyna, Softail, and Touring models, and delivers more peace of mind for power-hungry enthusiasts that have cracked open the cylinders or cases without thinking about other necessities.
We headed over to the Harley-Davidson Fleet Center in Carson, California, for a quick tutorial in how the Big Twin Compensator is installed as well as to get the rundown on how to prevent potential engine failure from engine hop-ups with the Screamin’ Eagle Big Twin Compensator unit. HB
Source:
Harley-Davidson
Contact your local dealer | harley-davidson.com

")


