
Finishing Our Harley-Davidson Tank Buck
Last month we covered a simple method to rough in a plywood buck for shaping a fuel tank using some 3/8-inch plywood. This issue I will take that same buck and finish it off so it is suitable for making patterns for the fabrication process.
Check out our other videos in this series:
Steps 1 & 2
Big Joe
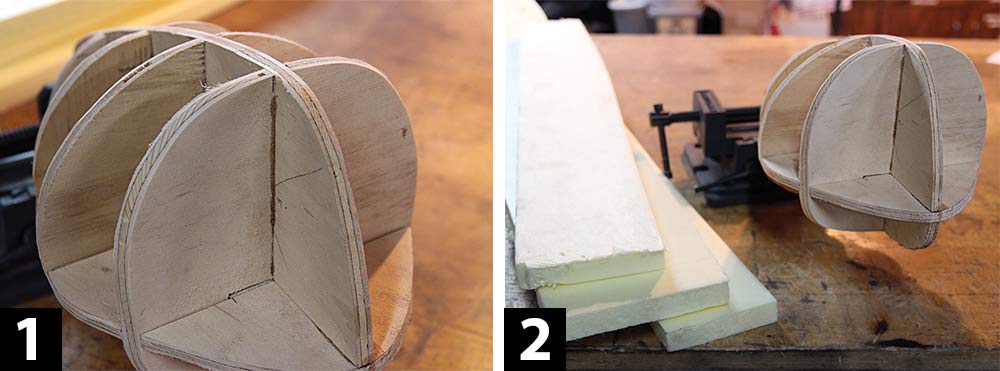
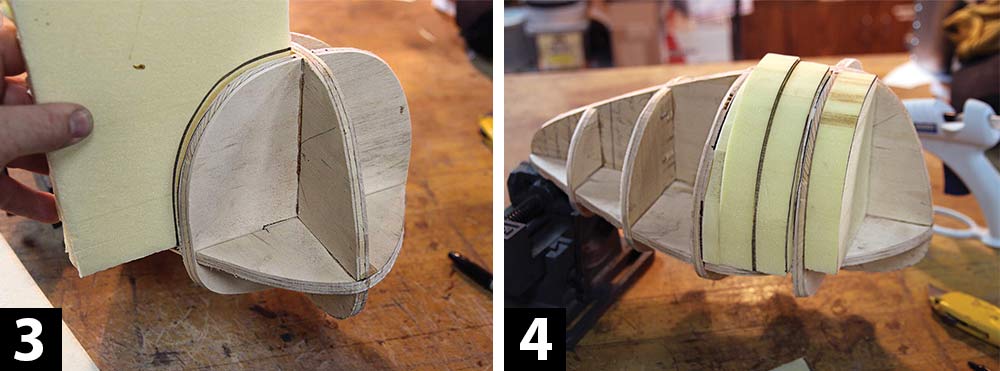
Step 1: The first step is to smooth out the transitions where all of the plywood ribs/structure intersects one another. I’ll use these smooth transitions to finish the buck.
Step 2: What I’m going to do is fill all of the voids in the structure with some 1-inch-thick closed-cell insulation board. Here I have some scraps left over from a construction project.
Steps 3 & 4
Big Joe
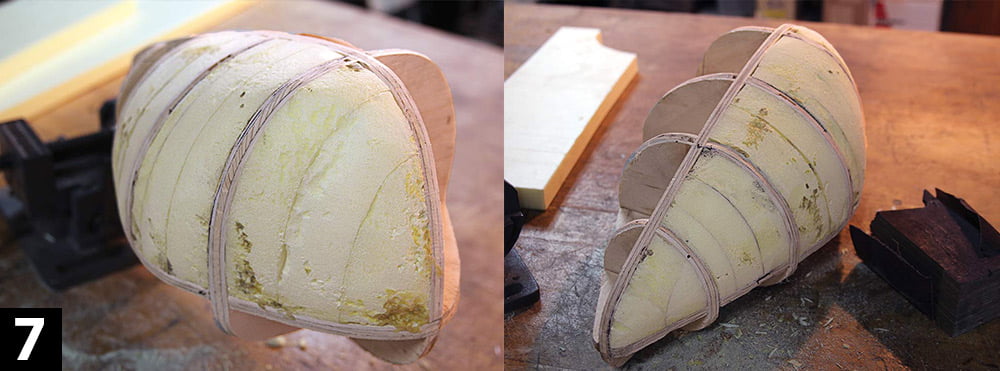
Step 3: In this process I will use the structure itself as a pattern to size the foam pieces to be cut out.
Step 4: I use a band saw to cut the foam board. It can be cut with a scroll saw, jigsaw, or even a utility knife if you don’t have a saw available. I repeat the process of cutting pieces of foam stacked alongside each other to fill the voids of the buck.

Steps 5 & 6
Big Joe
Step 5: I use hot glue from a hot-glue gun to secure the foam in place.
Step 6: After several voids have been filled, I start the process of smoothing out the surface using the ribs of the buck to dictate the shape.
Step 7
Big Joe
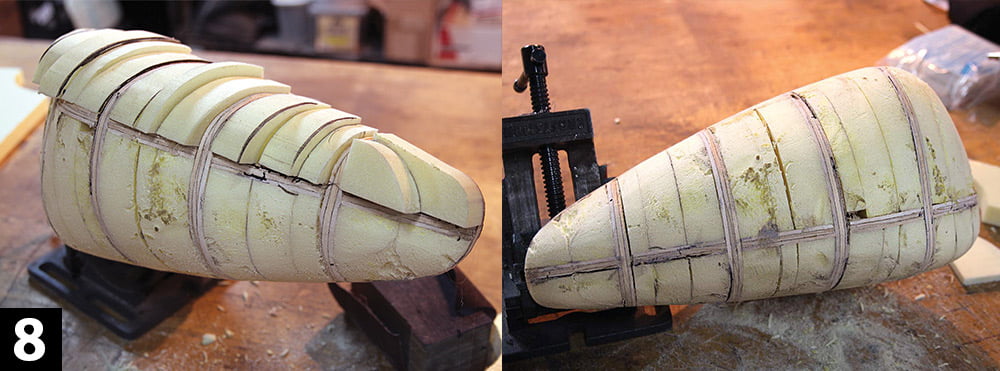
Step 7: Any method of sanding can be used here. I use a pneumatic angle grinder with a Roloc sanding disk to rough in the shape and then did my final finishing with sandpaper on a sanding block.
Step 8
Big Joe
Step 8: I continue to fill the voids in the bottom and opposite side. Then I sand them smooth as I go along. If you have not already figured it out, you’ll want to cut all of the foam pieces a little oversize to help minimize the voids in the surface.
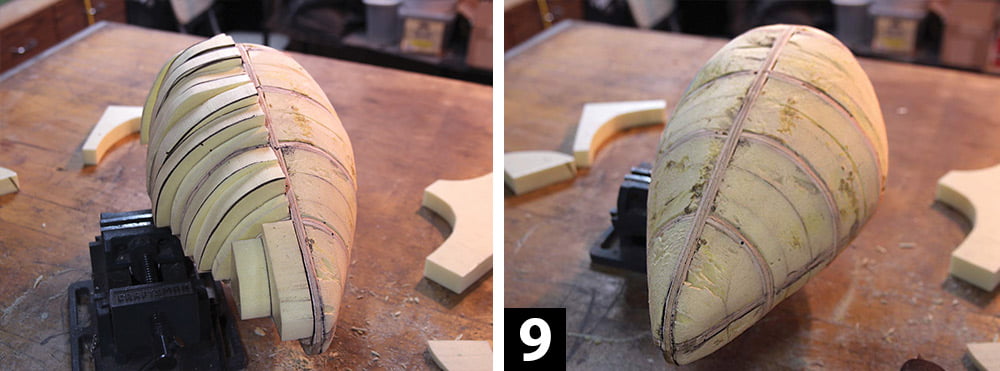
Step 9
Big Joe
Step 9: Once all of the voids are filled and sanded you should have a very good three-dimensional visual of what the entire body of the tank will look like. Don’t be concerned about the surface being flawless or if there are some voids in the foam. We will still have a good surface to lay and pull patterns from for the metal shaping process.
In the next issue I will use the same pattern making techniques we learned in a past issue on this buck. I’ll fully pattern this tank and transfer patterns to aluminum and then begin the metal-shaping process.
As always feel free to ask questions or make requests for future issues by reaching out to me at [email protected].


