
Garage- Style Custom Pipe | Todd’s Cycle 2-Into-1 Pipe Built From Scraps
[01]
[02]
[03]
[04]
[05]
[06]
[07]
[08]
[09]

[10]
[11]
[12]
[13]
[14]
[15]

[16]
The customer isn’t always right, regardless of the old sales adage, but the customer usually gets his or her way in the end. Most of the time, a business owner will do something for a customer because they pay the bills, not because they agree with the customer’s request. And, while most would-be shop owners and bike builders dream of customers who tell them to do whatever they want, the reality is usually a compromise between a builder’s vision and the person who’s about to write the check for the work.
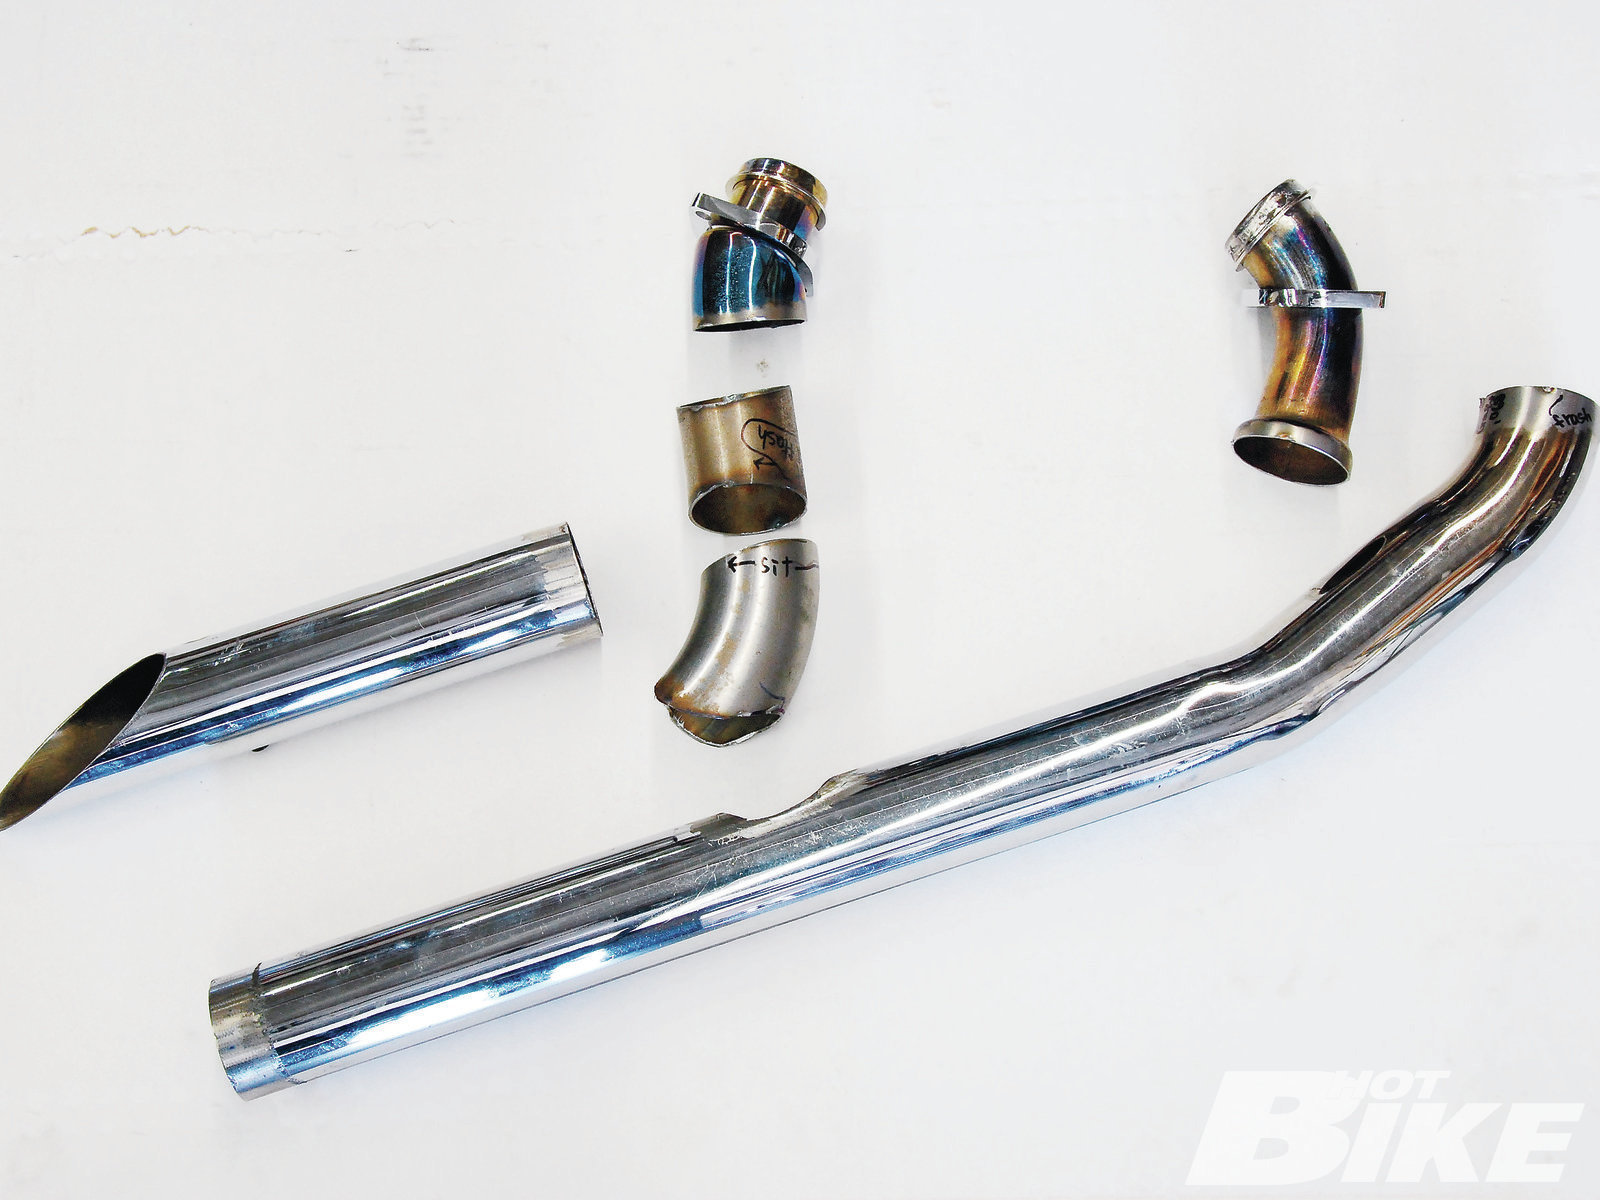
Todd Silicato, owner of Todd’s Cycle in Huntington Beach, California, is known for his high-performance-oriented builds (also worked as a crew chief for some motorcycle road-racers in the past), and knows his way around an efficient exhaust system and how to make one. Unfortunately, he gets customers that don’t always agree with his line of thinking about the custom design of a part or bike, but in the end, the customer is the one he wants to keep happy, so he’ll do it his or her way (because he likes to get paid, and therefore, eat). This particular tech piece starts with a customer who brought in a box of exhaust pipe bends cut from a bunch of old, used pipes. The aforementioned customer said he was having trouble finishing the welds, but knew exactly what he wanted down to how the tail-end of the pipe mounted to the frame (to the point of drawing examples of what he wanted, so there would be no mistake), and basically told Todd to, “Make it work.” Here’s how Todd made it work… 01 This is the pile of second-hand exhaust parts that were dropped off at Todd’s shop. The bike owner was pretty set on how he wanted the pipe to look and mount and was able to cut up the pieces of his pipe puzzle, unfortunately he just couldn’t finish it off. Todd gave the parts a quick check for fitment and then each piece was ground down to fit and line up together as close as possible.
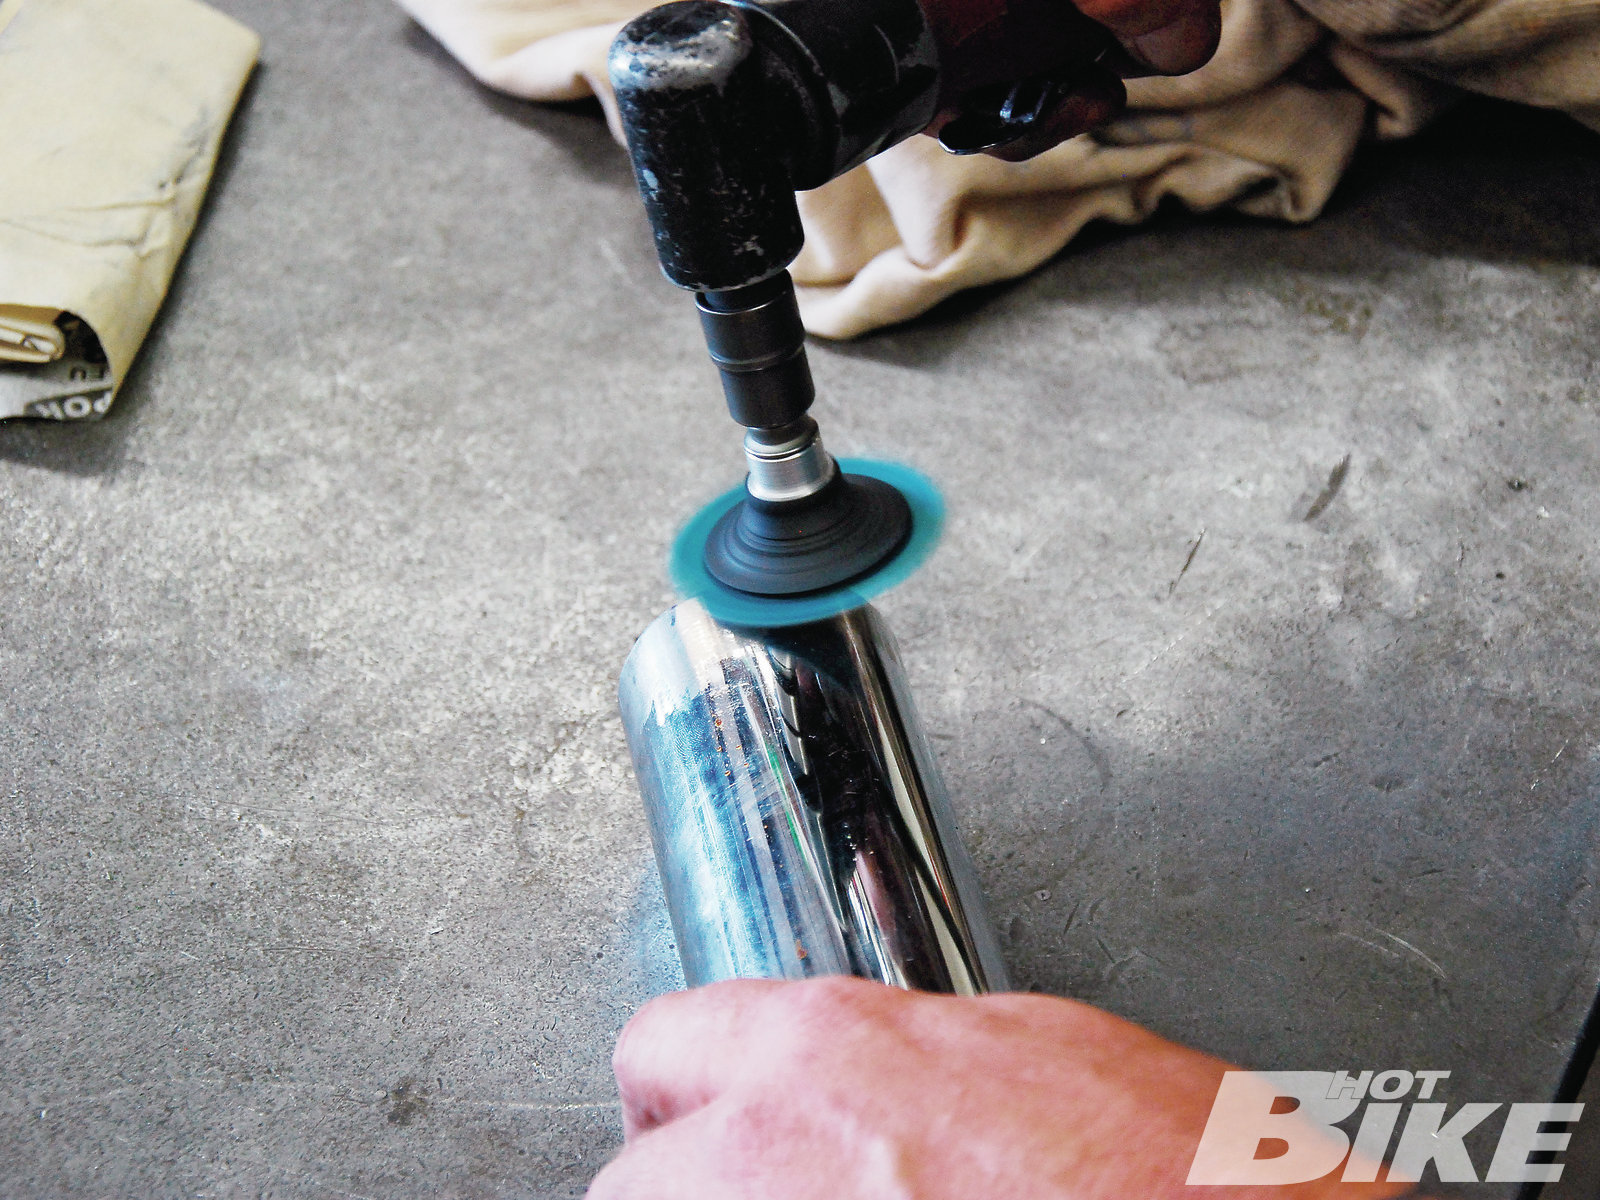
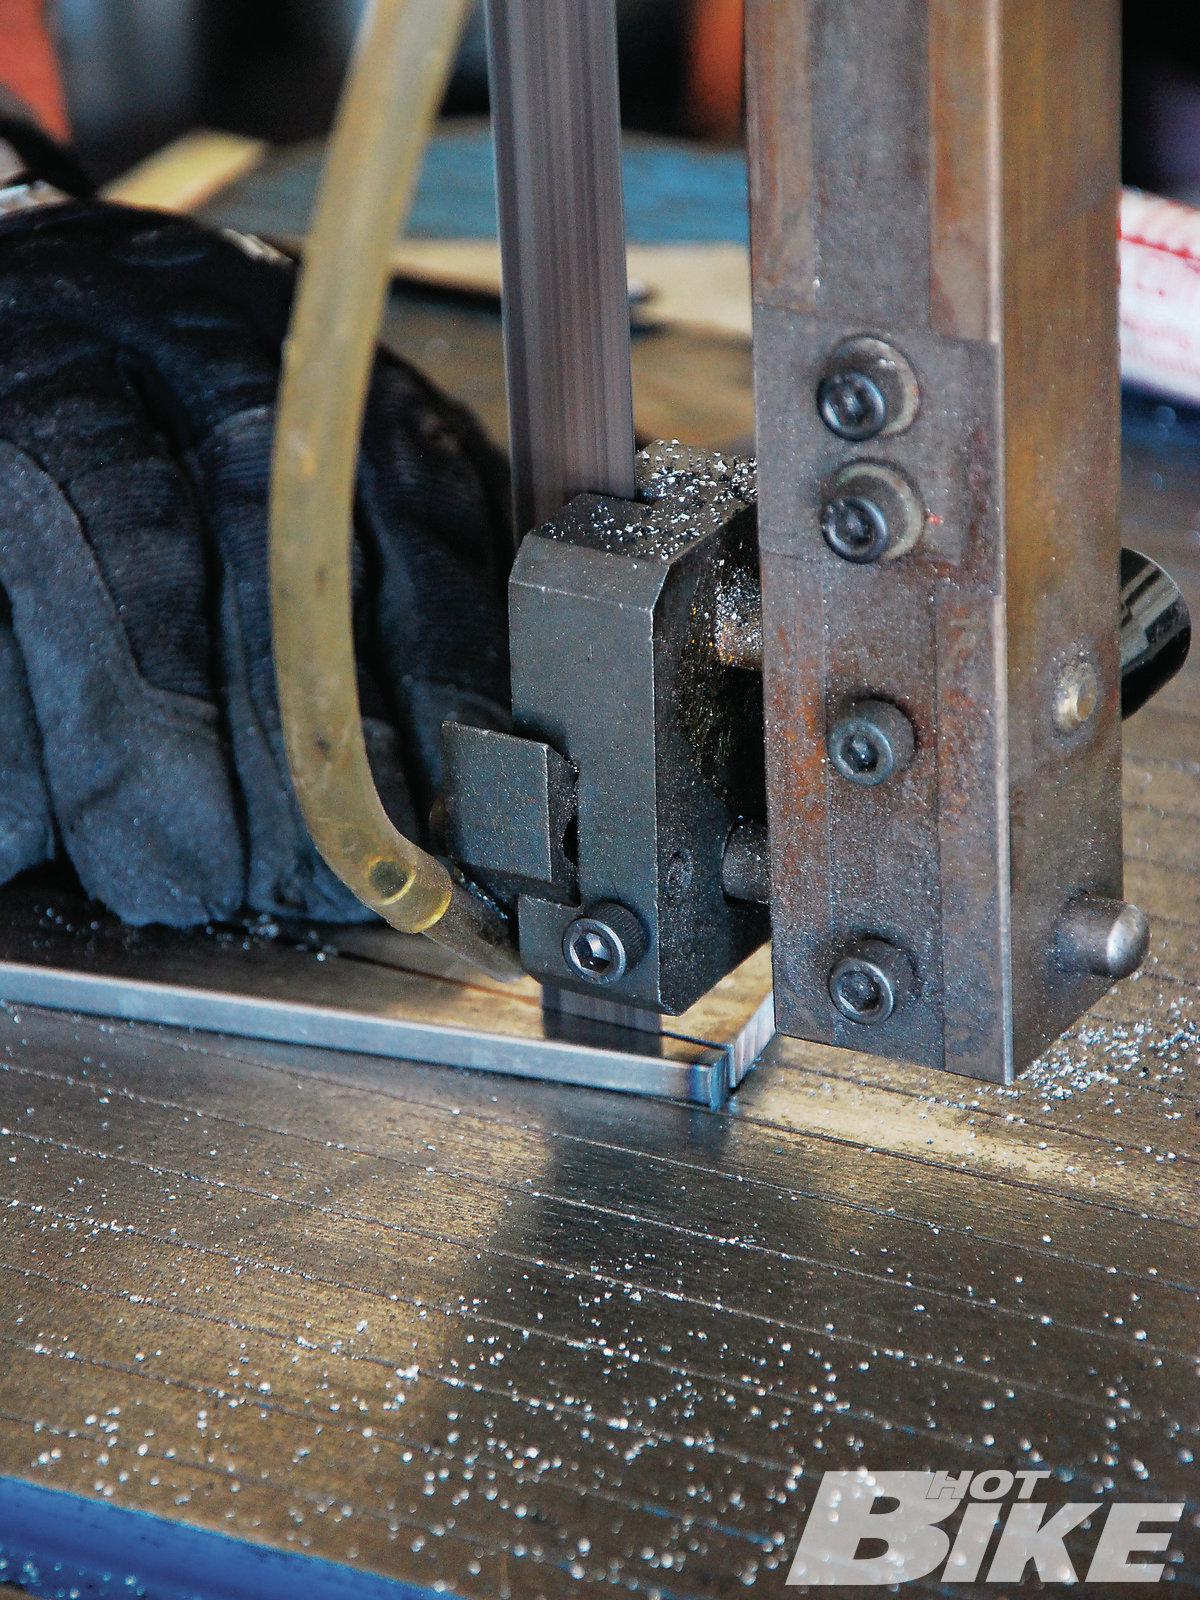
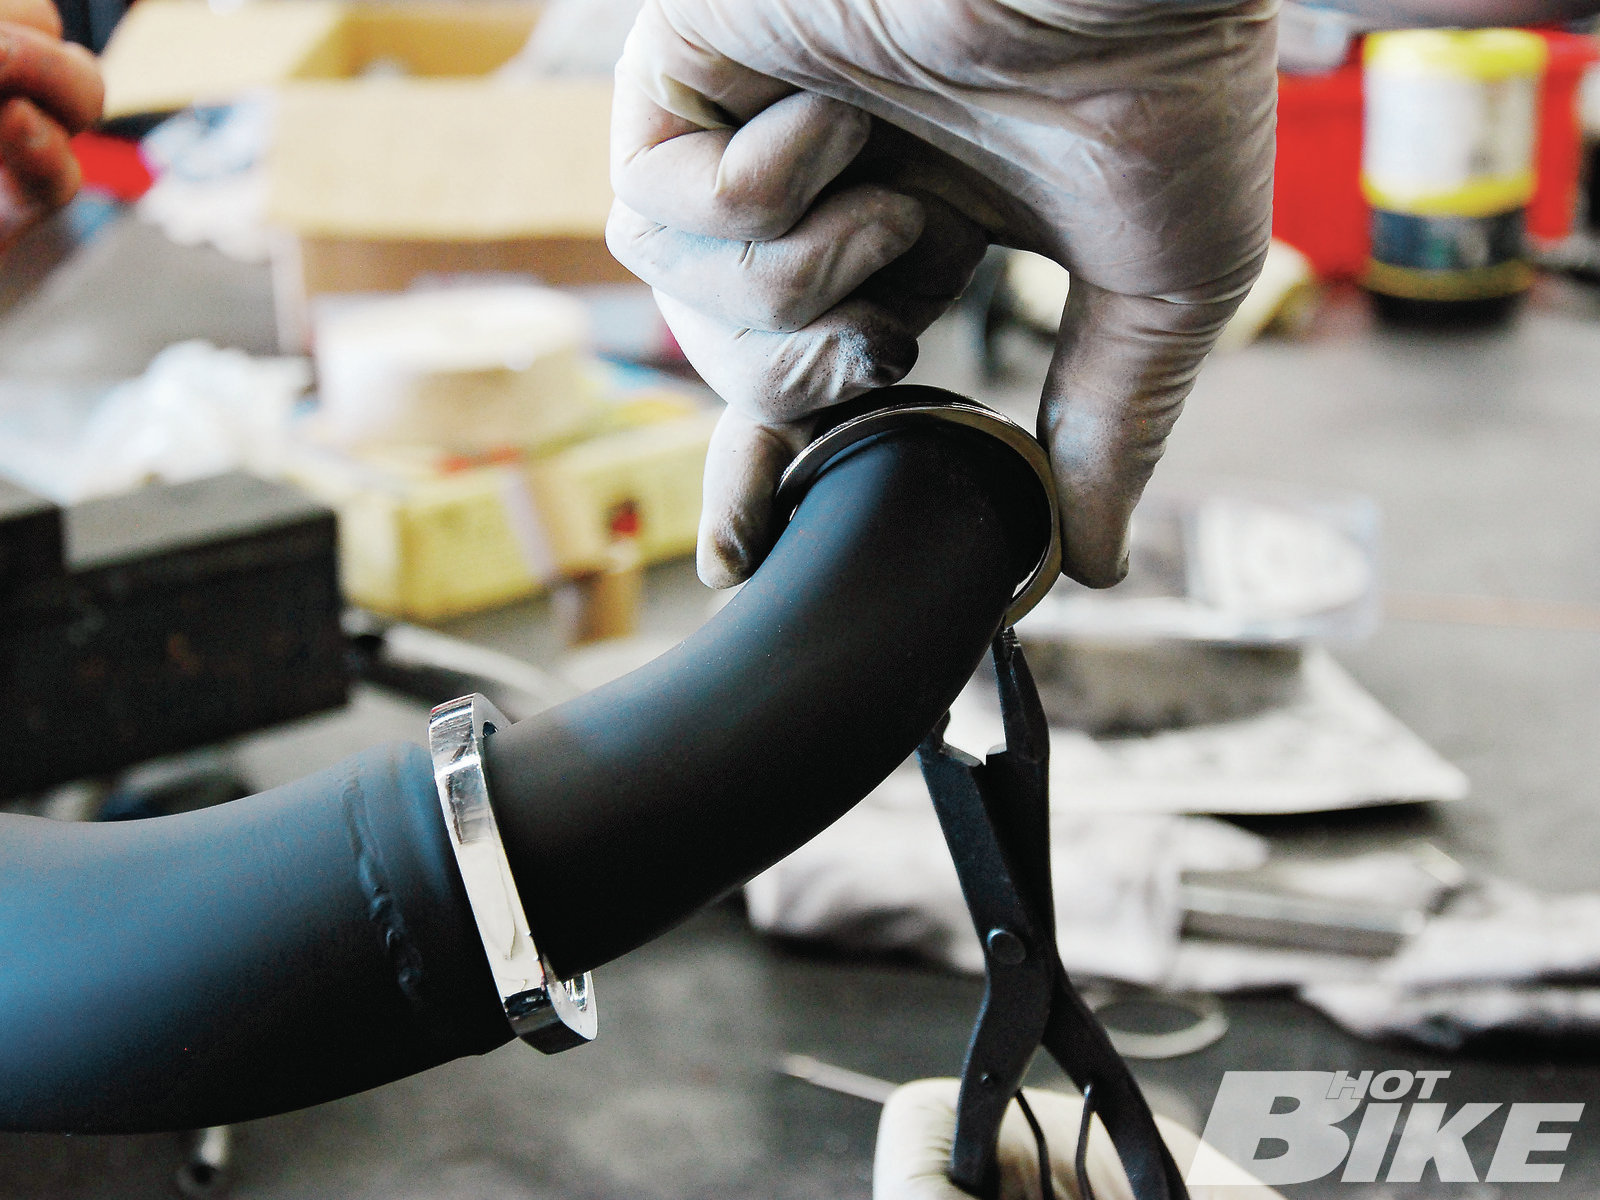
02 Before Todd and his crew could tack-weld the pieces into place, each end had to have the chrome-plating and any burrs left over from the initial cutting process removed. Todd chose a pneumatic sanding disc for the job. This would ensure good weld penetration and a clean surface to weld the pieces together.
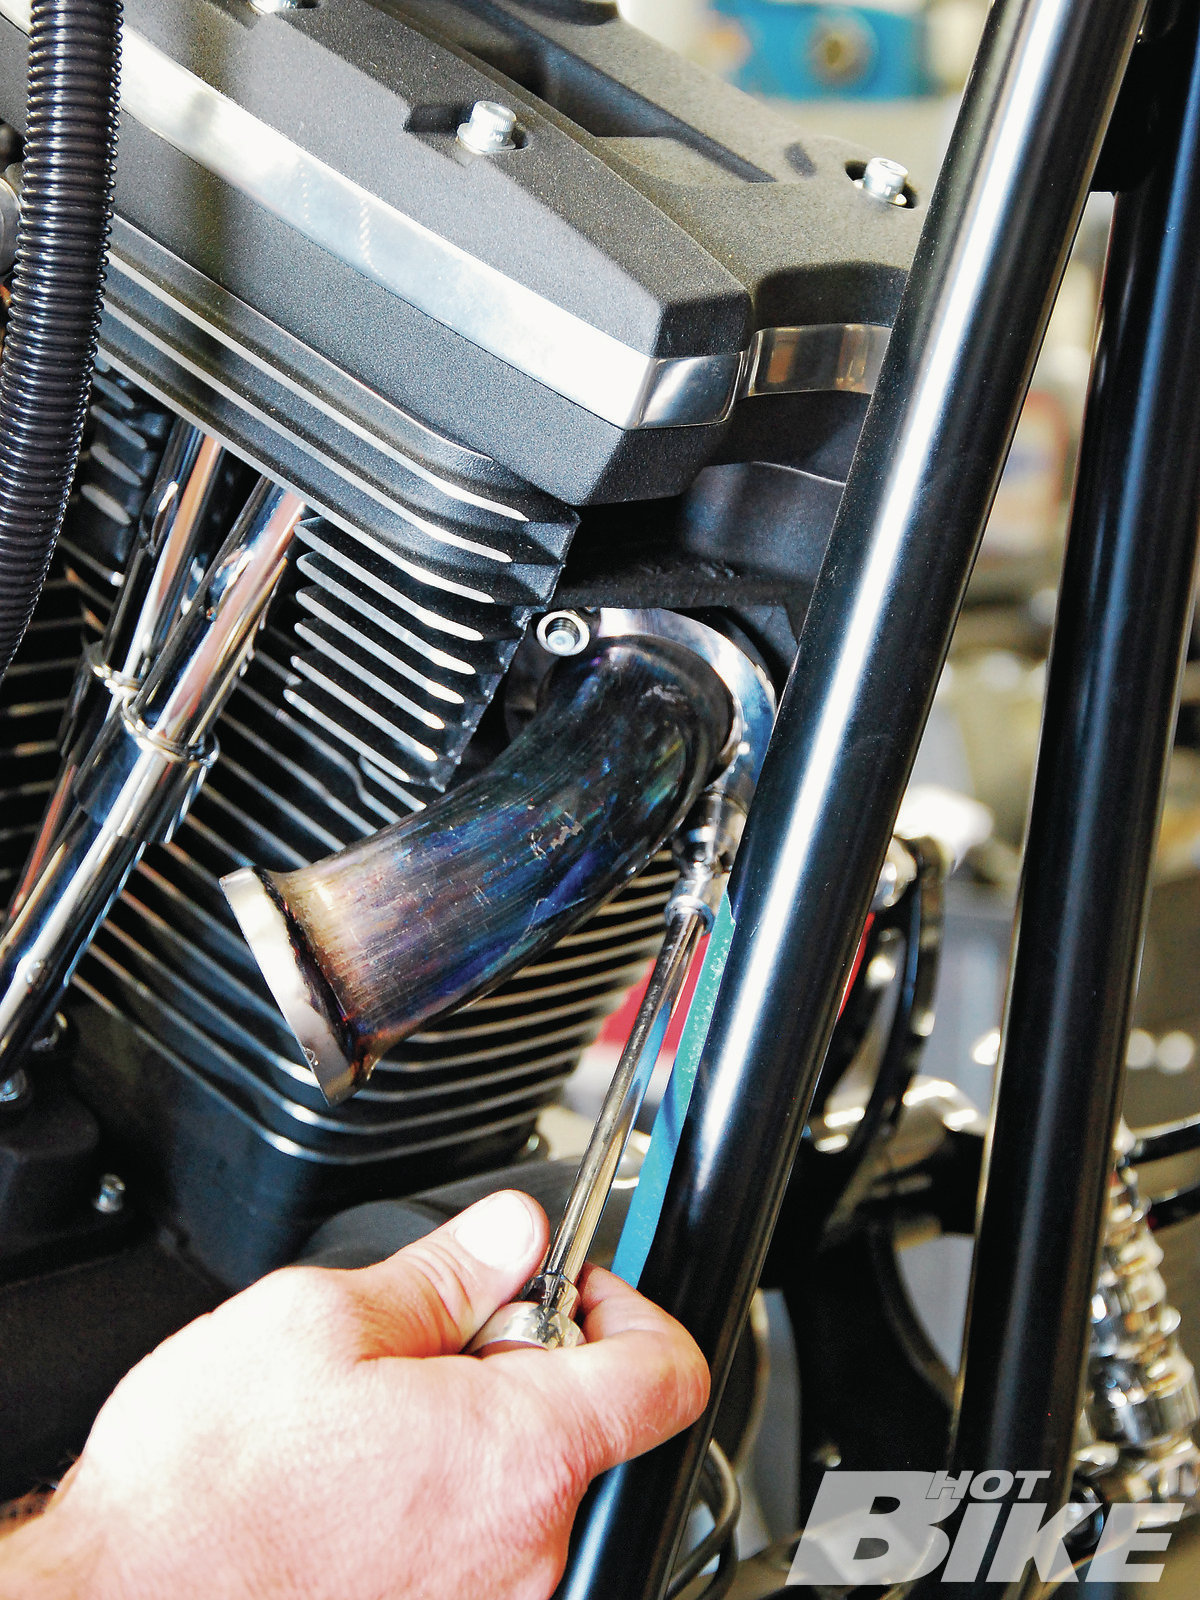
03 Todd then bolted the pipe sections with the exhaust flanges on them to the heads. Here we see the front header section being secured to the front cylinder exhaust port.
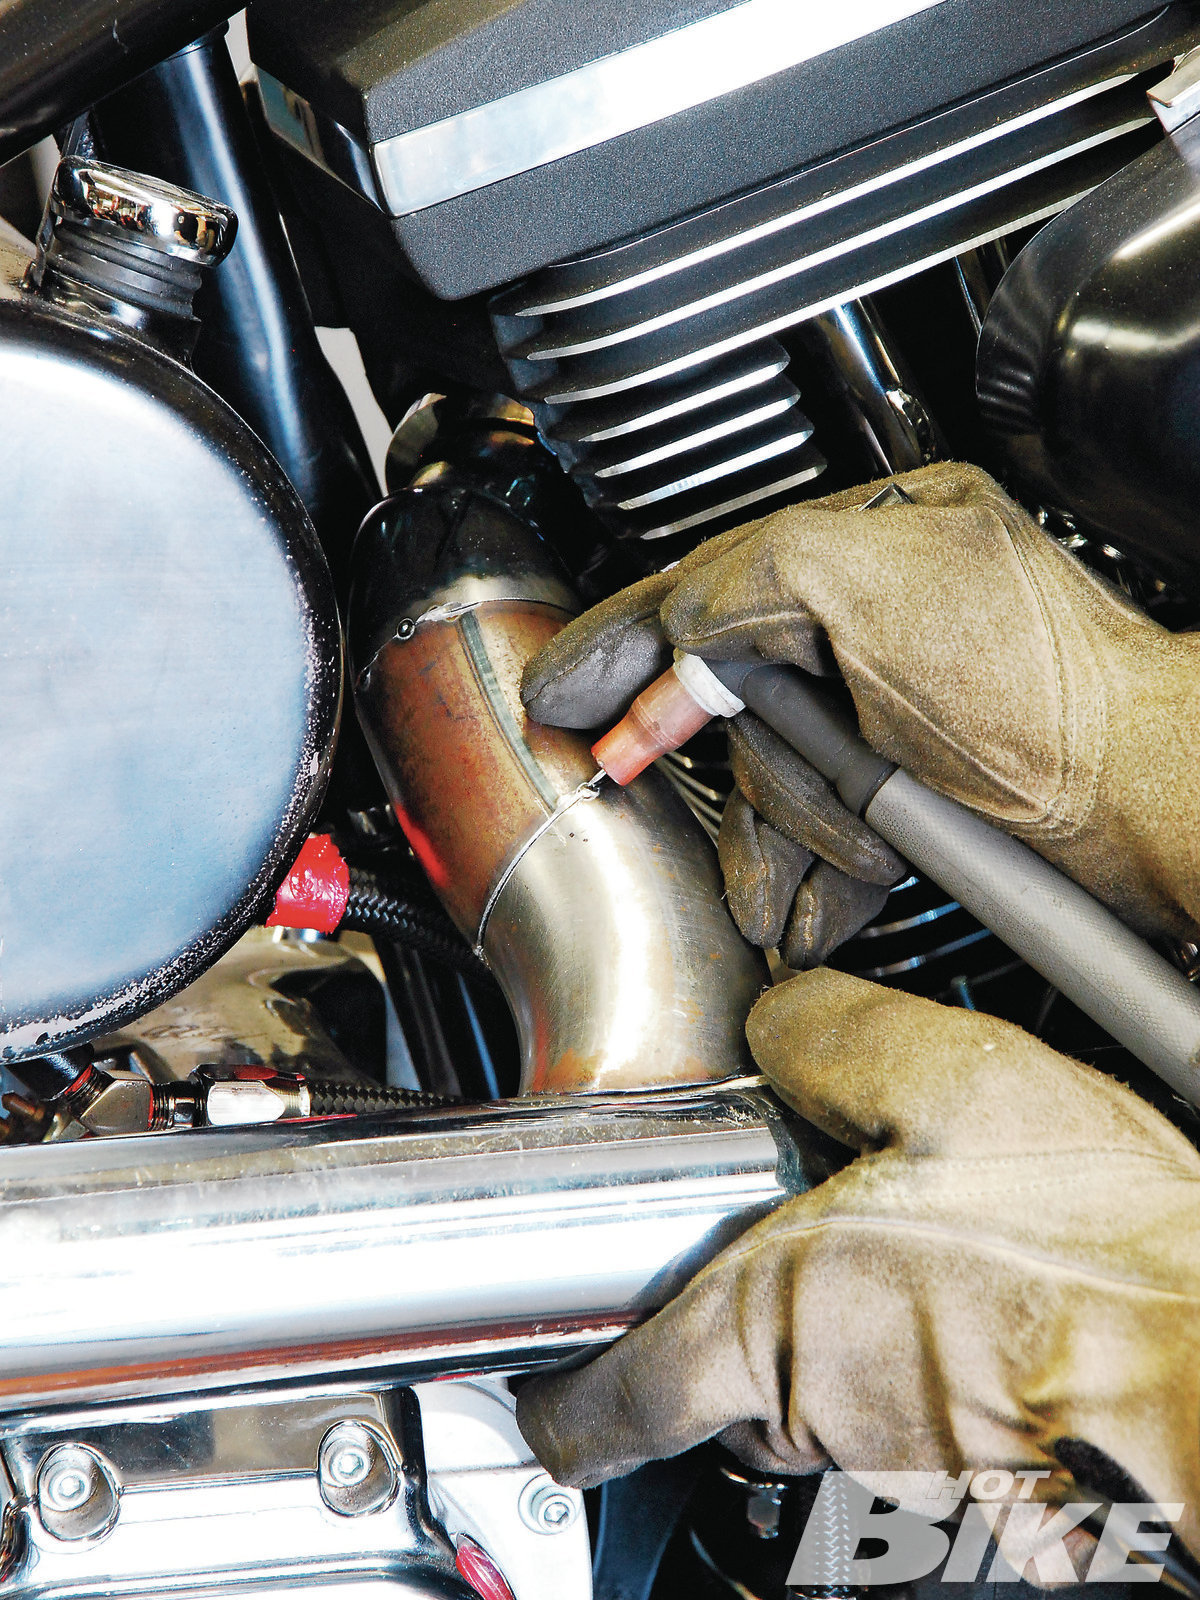
04 At the rear cylinder we see that Todd has tack welded a couple pieces together, with the final bend in the rear section joining into the 2-into-1 component of the pipe. Each piece is lightly tack welded in a couple spots so that everything would hold together, but it can easily be separated if a mistake is made or a the pieces need to come apart for some reason.
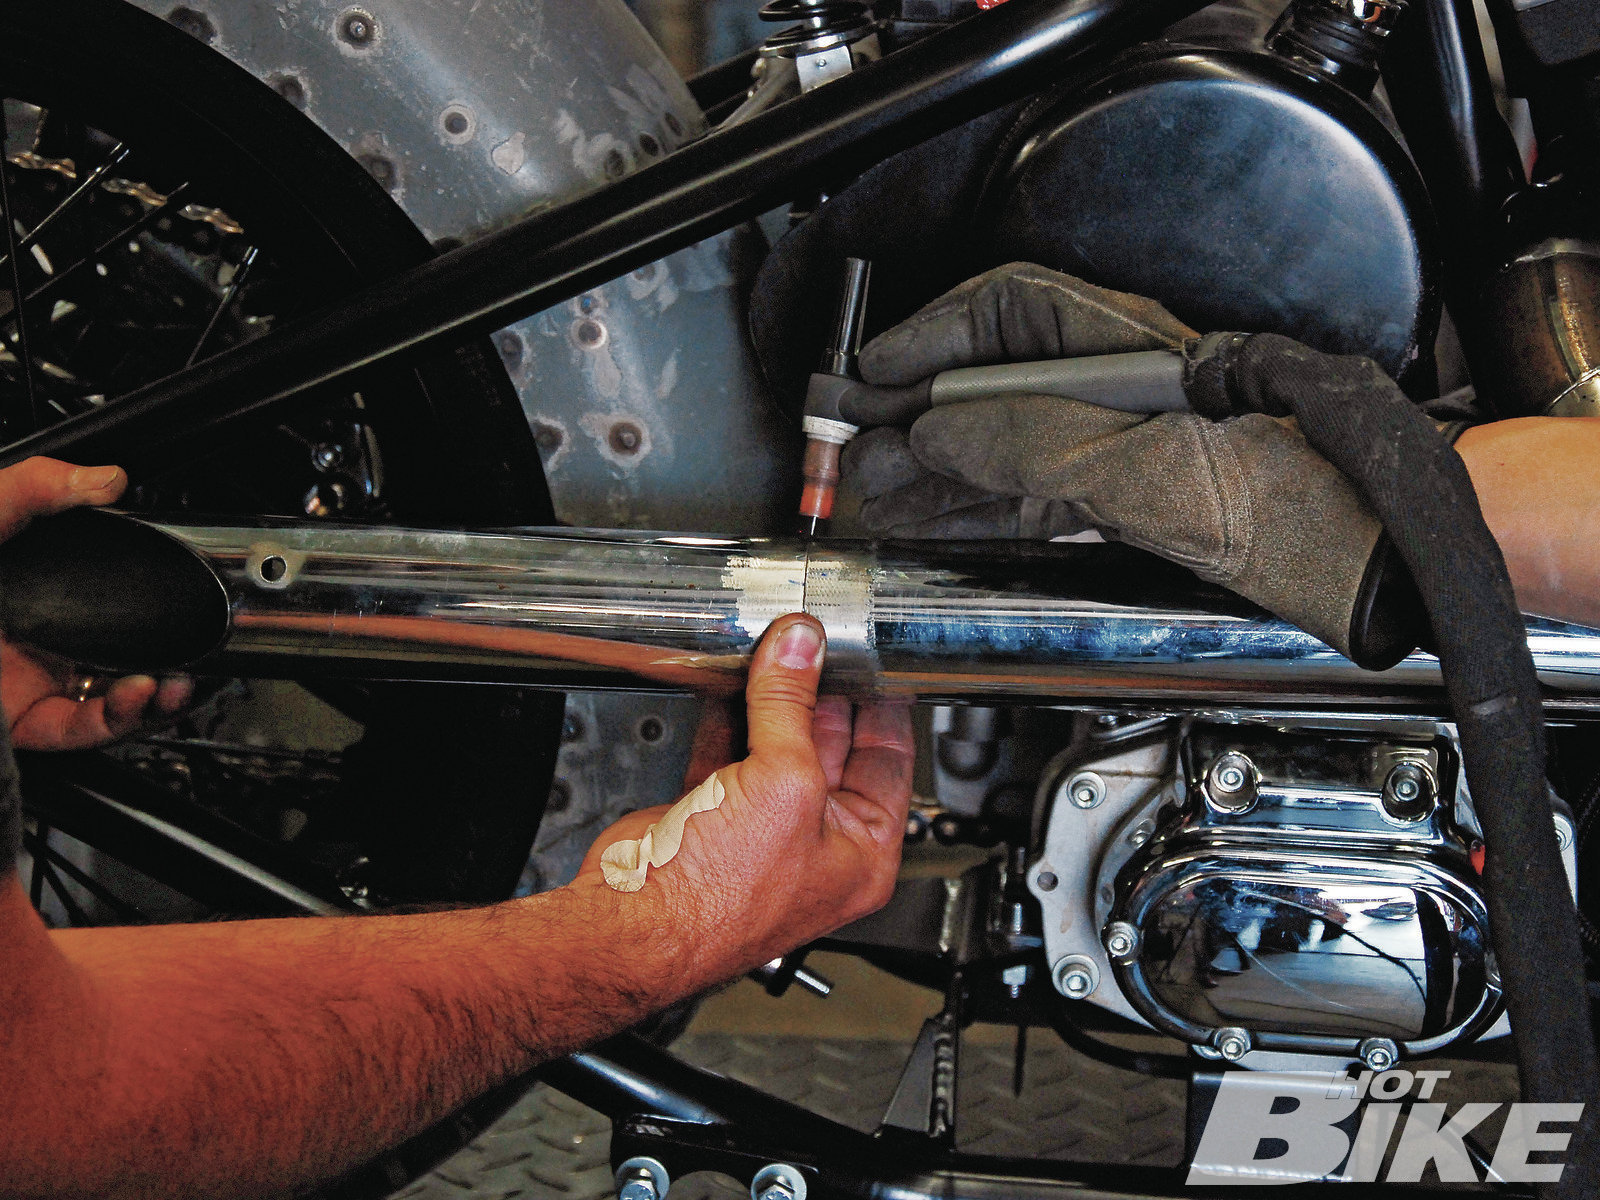
05 With the “header” section tacked in place, Todd then had an extra set of hands hold the tail section so that it could be tacked to the pipe.
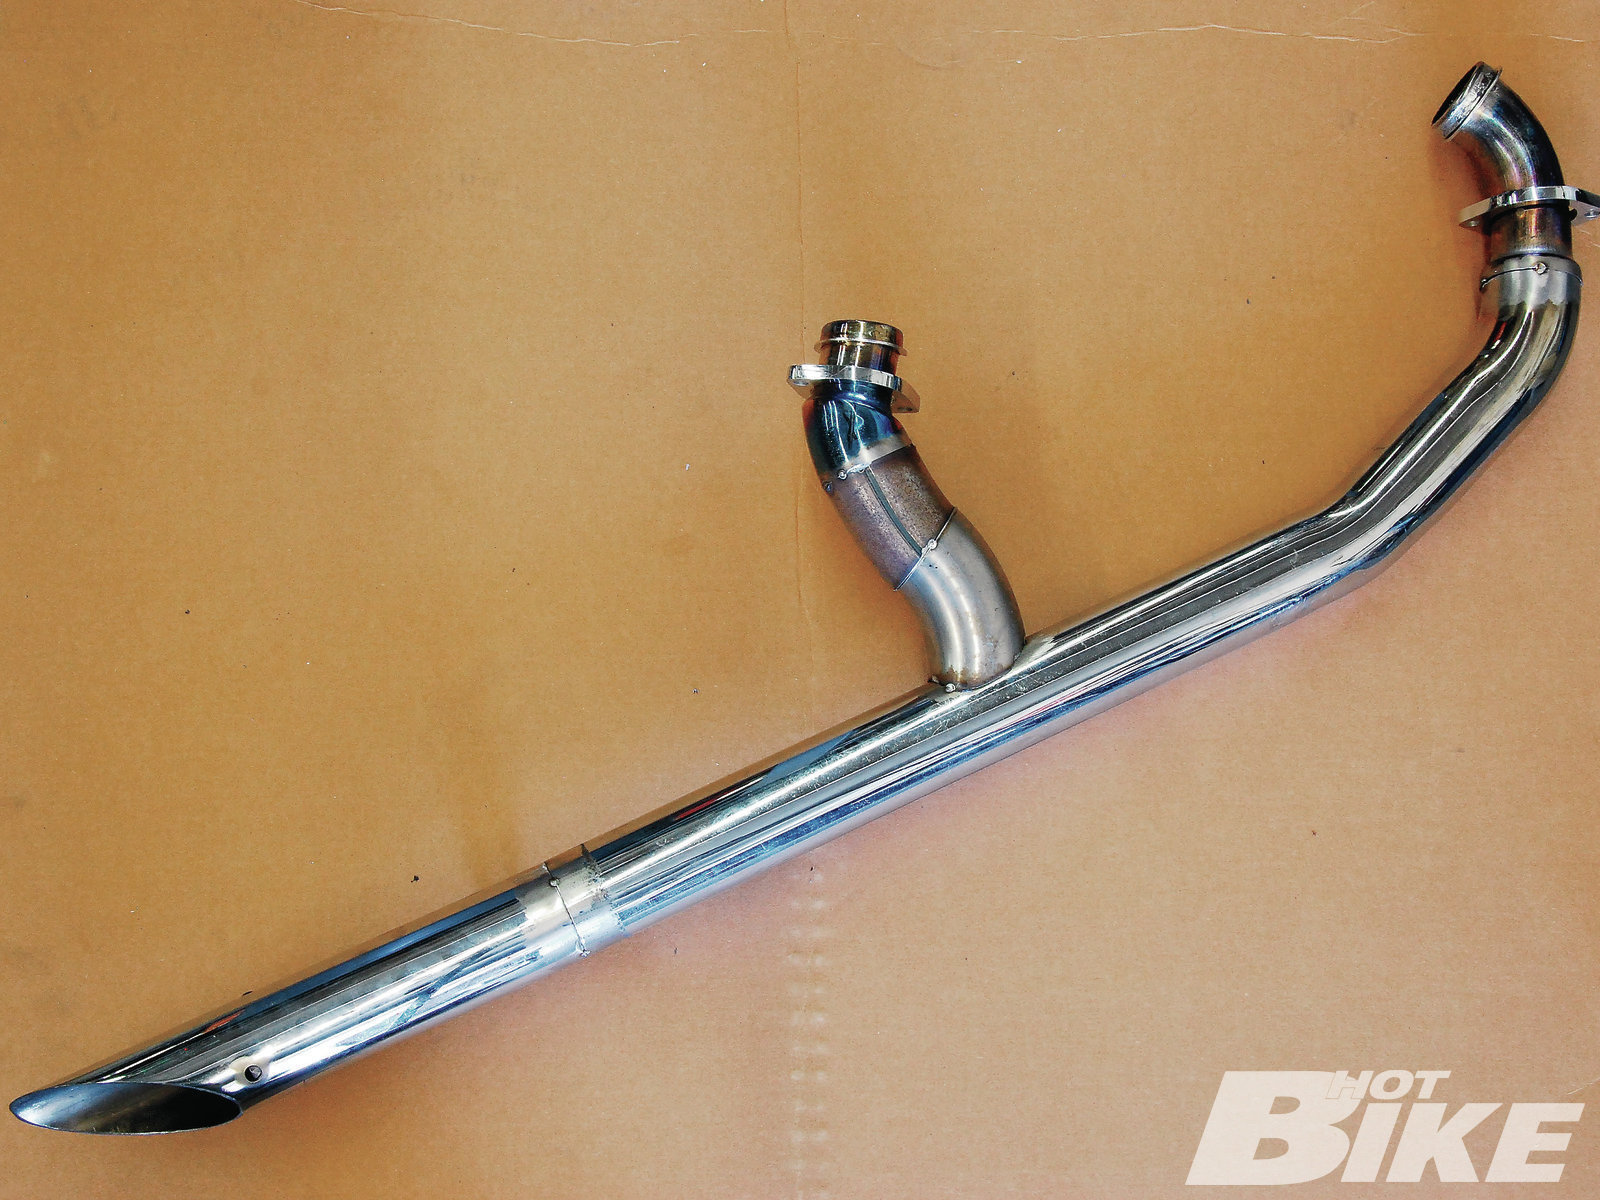
06 So here is what the pipe looked like tacked together. Todd performed a last-minute fitment check and everything looked OK and fit in place.
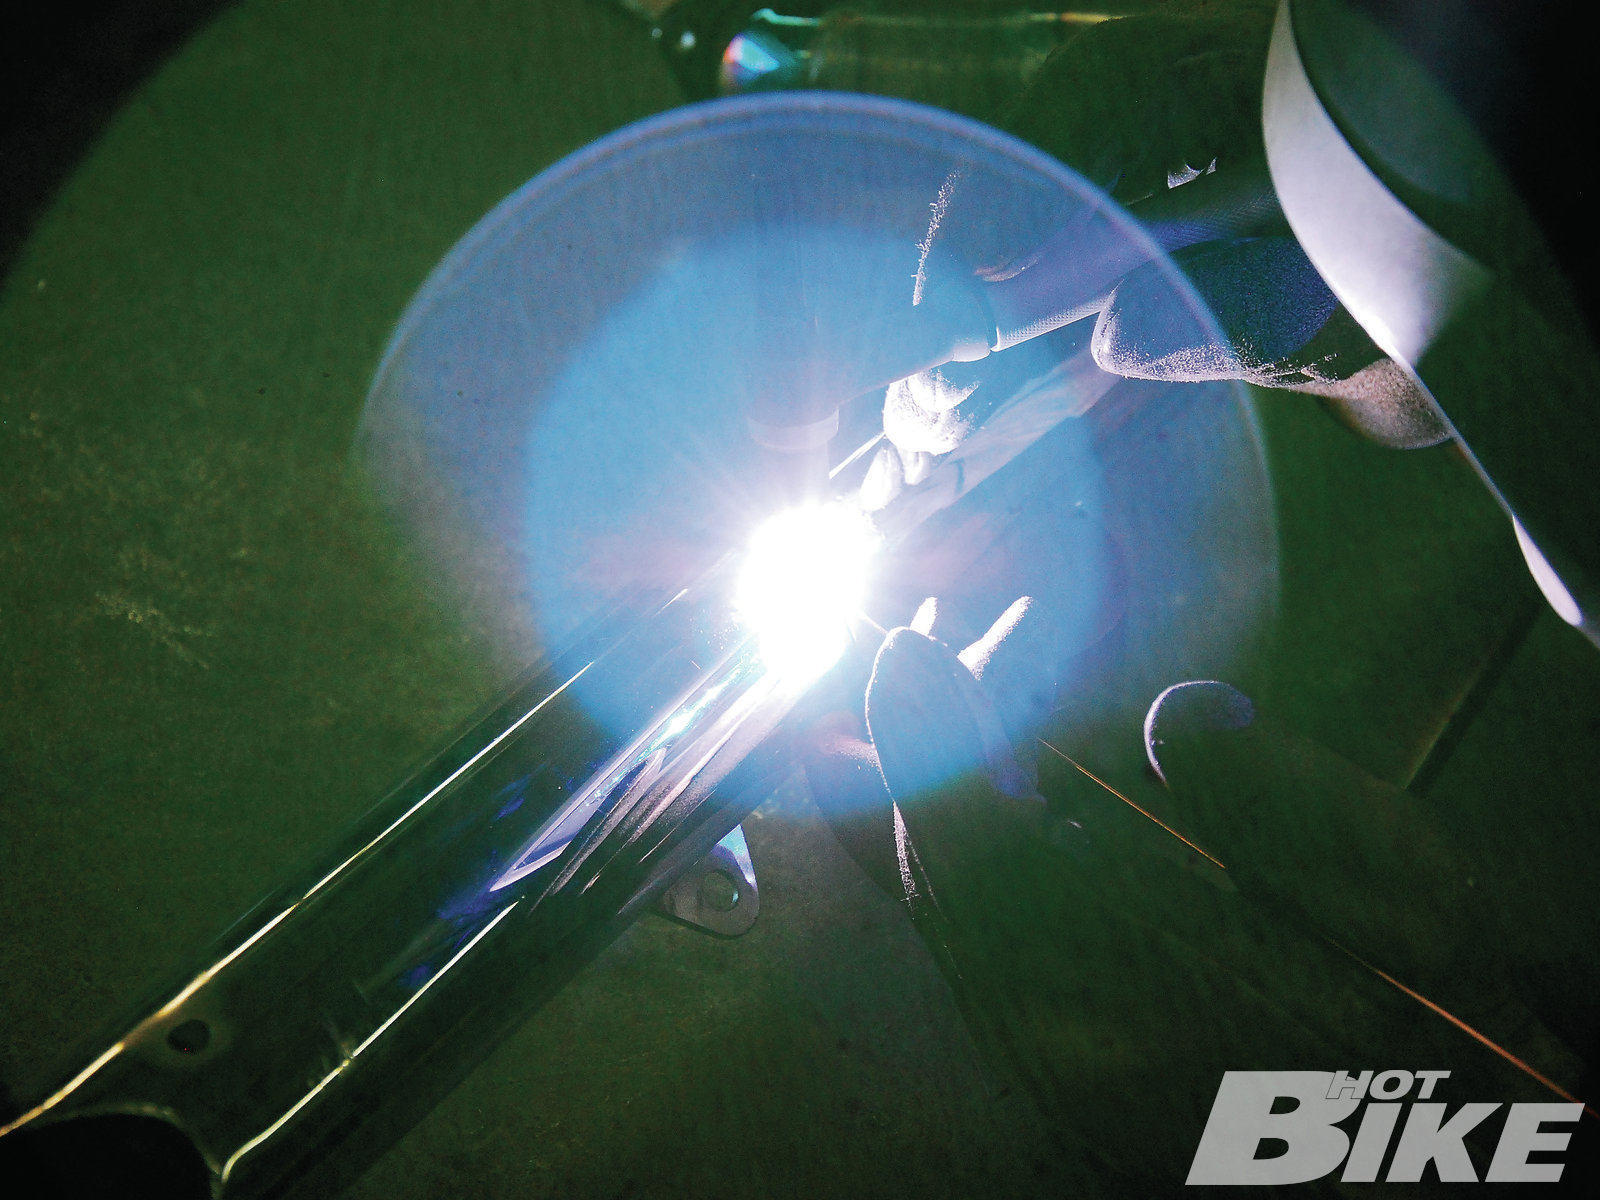
07 Satisfied with the fitment and aesthetics, the final welds were performed ensuring a nice sold bead around each joint was laid down. Then the final welds were ground down to create a nice smooth and seamless surface devoid of any extra metal leftover from the welding process.
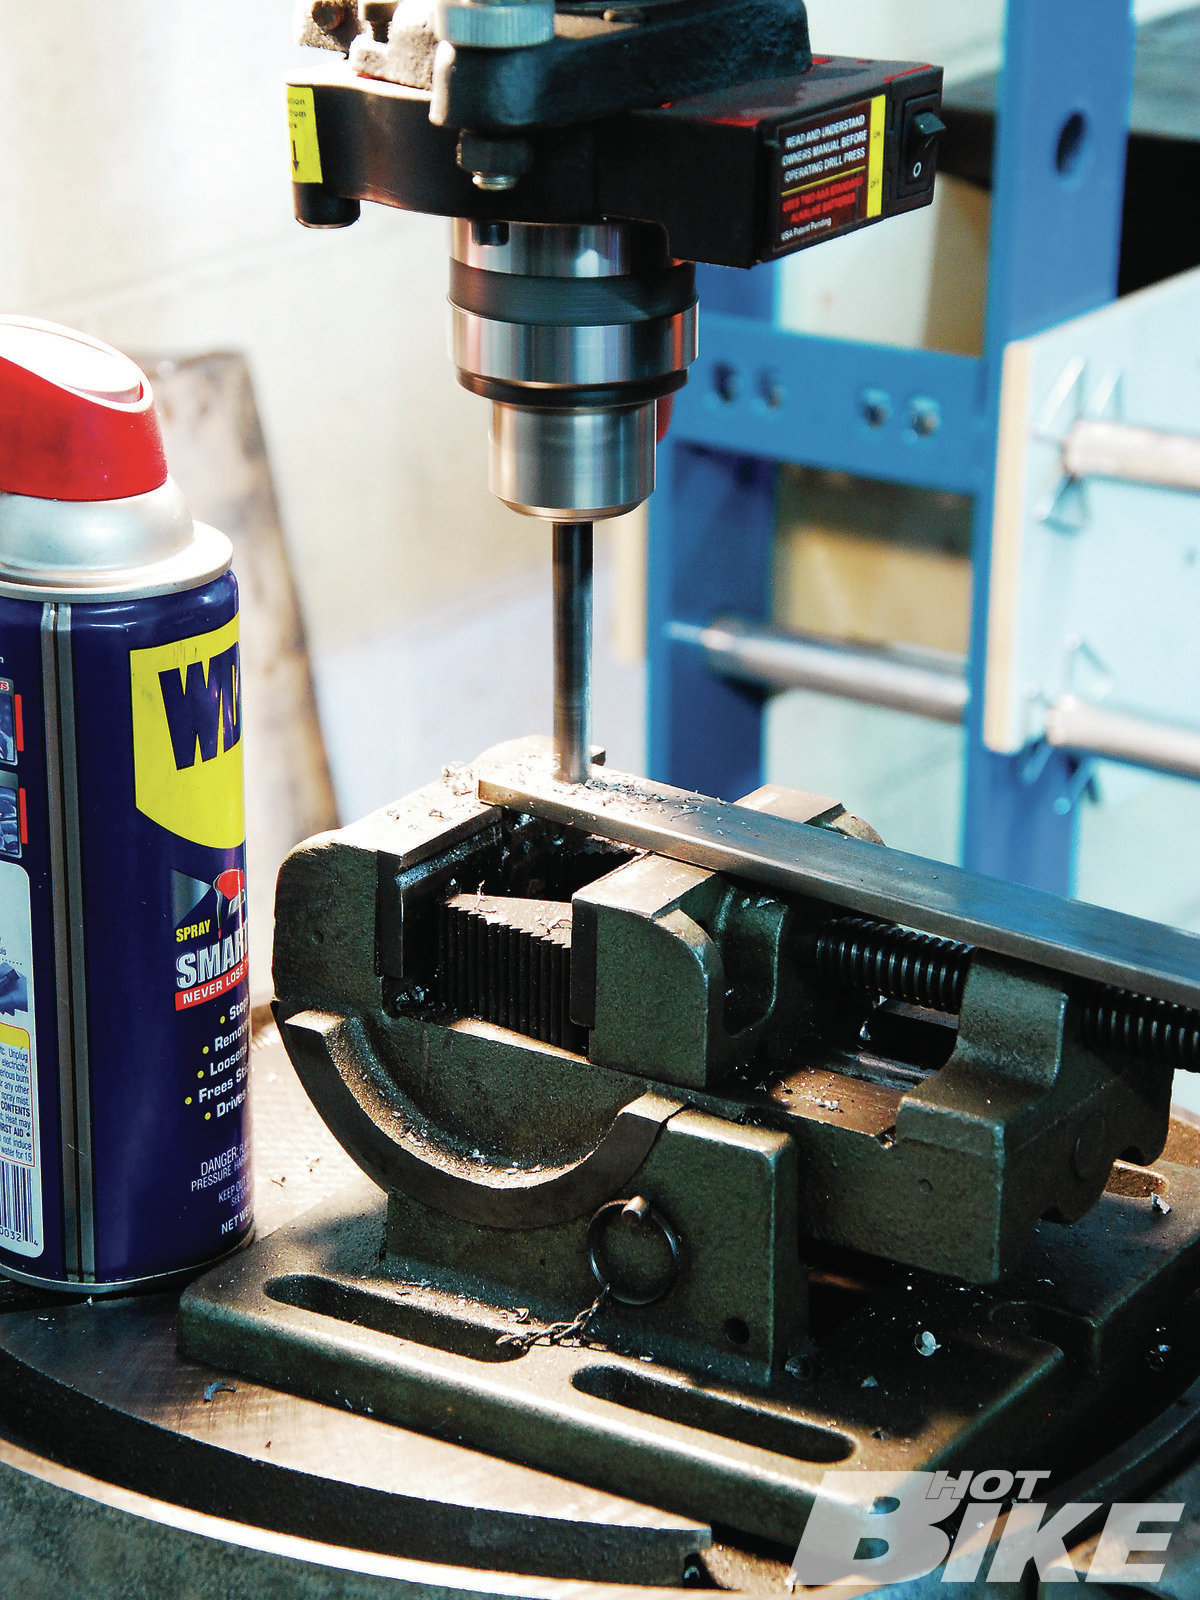
08 The tail-end of the pipe needed a mount, and the customer had already drawn up a triangle-shaped example on paper for the guys to mimic. They started by drilling the frame mounting holes into a couple of pieces of 1/4-inch thick steel plate.
09 Angles were cut into each piece to provide sufficient area to weld the two pieces together, and so that they would create the triangle shape the owner wanted.
10 Finally, each piece was ground down to fit symmetrically. Todd also rounded the edges/ends of the steel for a smoother appearance. He then sanded and welded the pieces together.
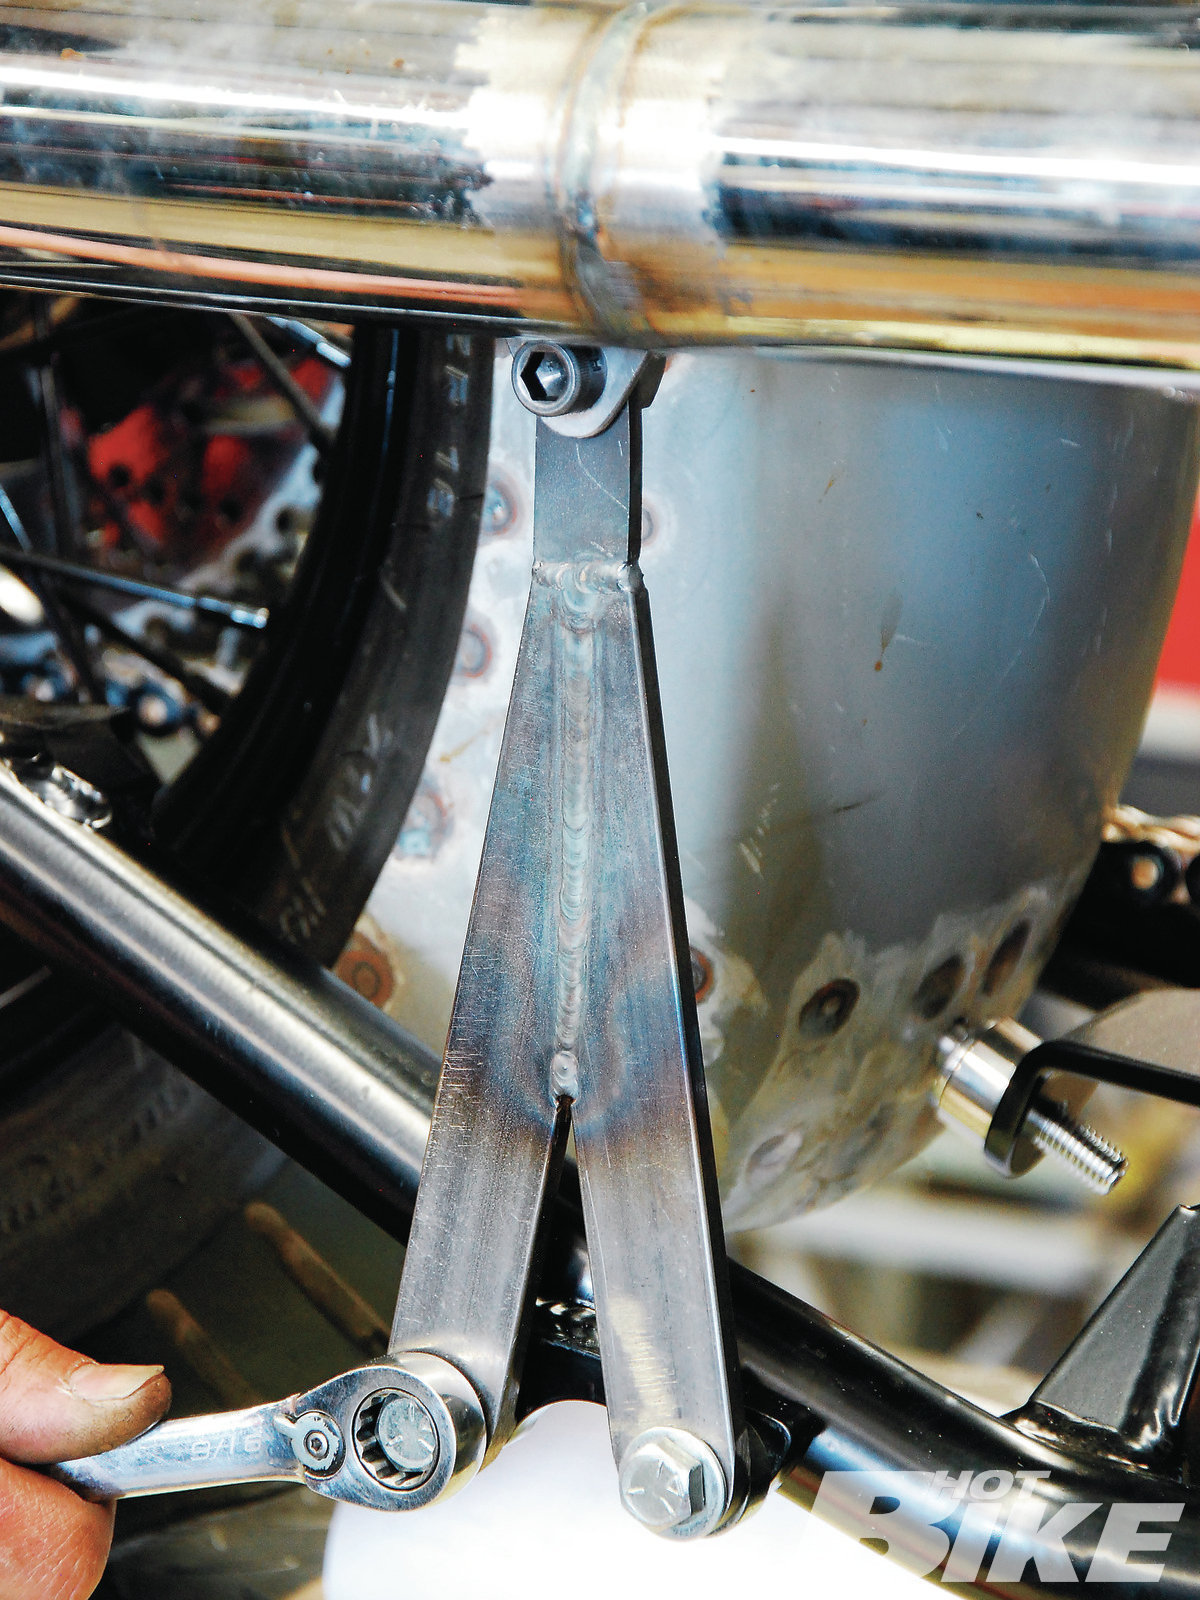
11 The mount was then bolted to the frame and the backside tail section of the pipe. For a cleaner look overall, Todd would have rather built a much smaller and less conspicuous mount that would have attached to the upper corner of the transmission side cover, but the customer really wanted it done this way.
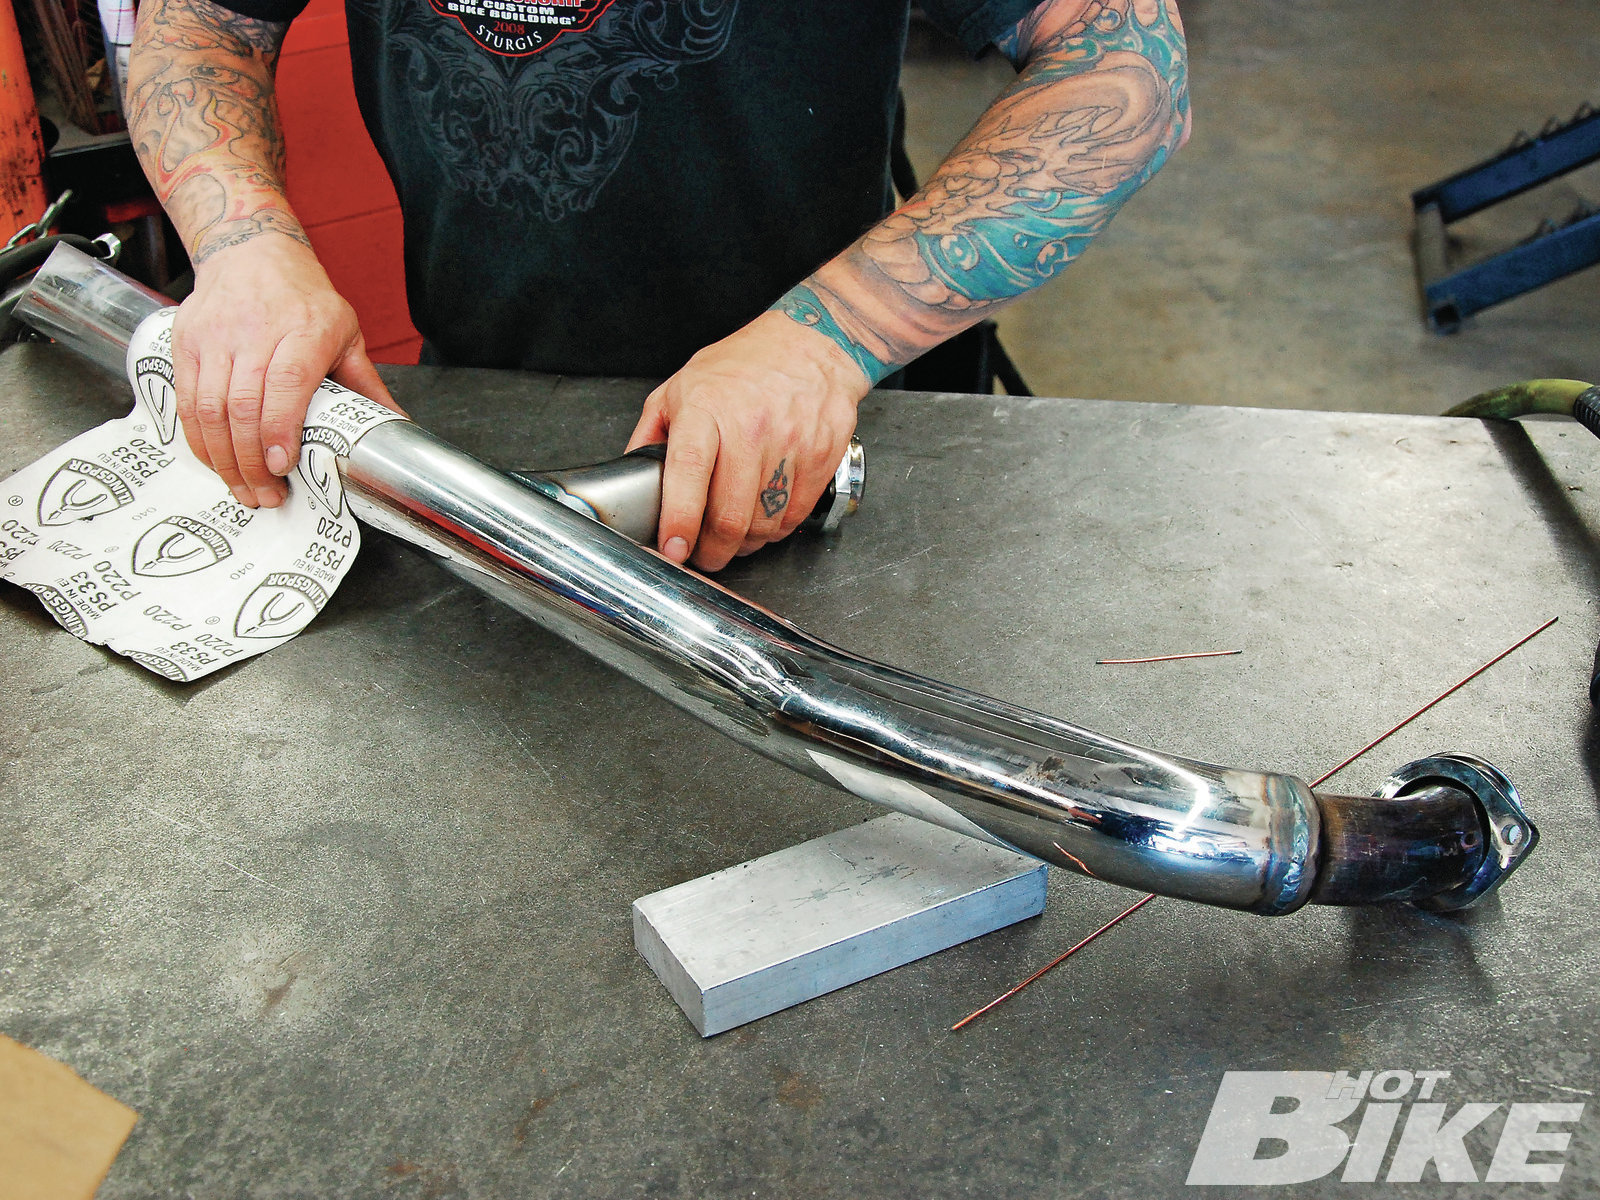
12 With the construction of the pipe and rear mount complete, Todd then used some 220-grit sandpaper to lightly sand the pipe in preparation for paint.
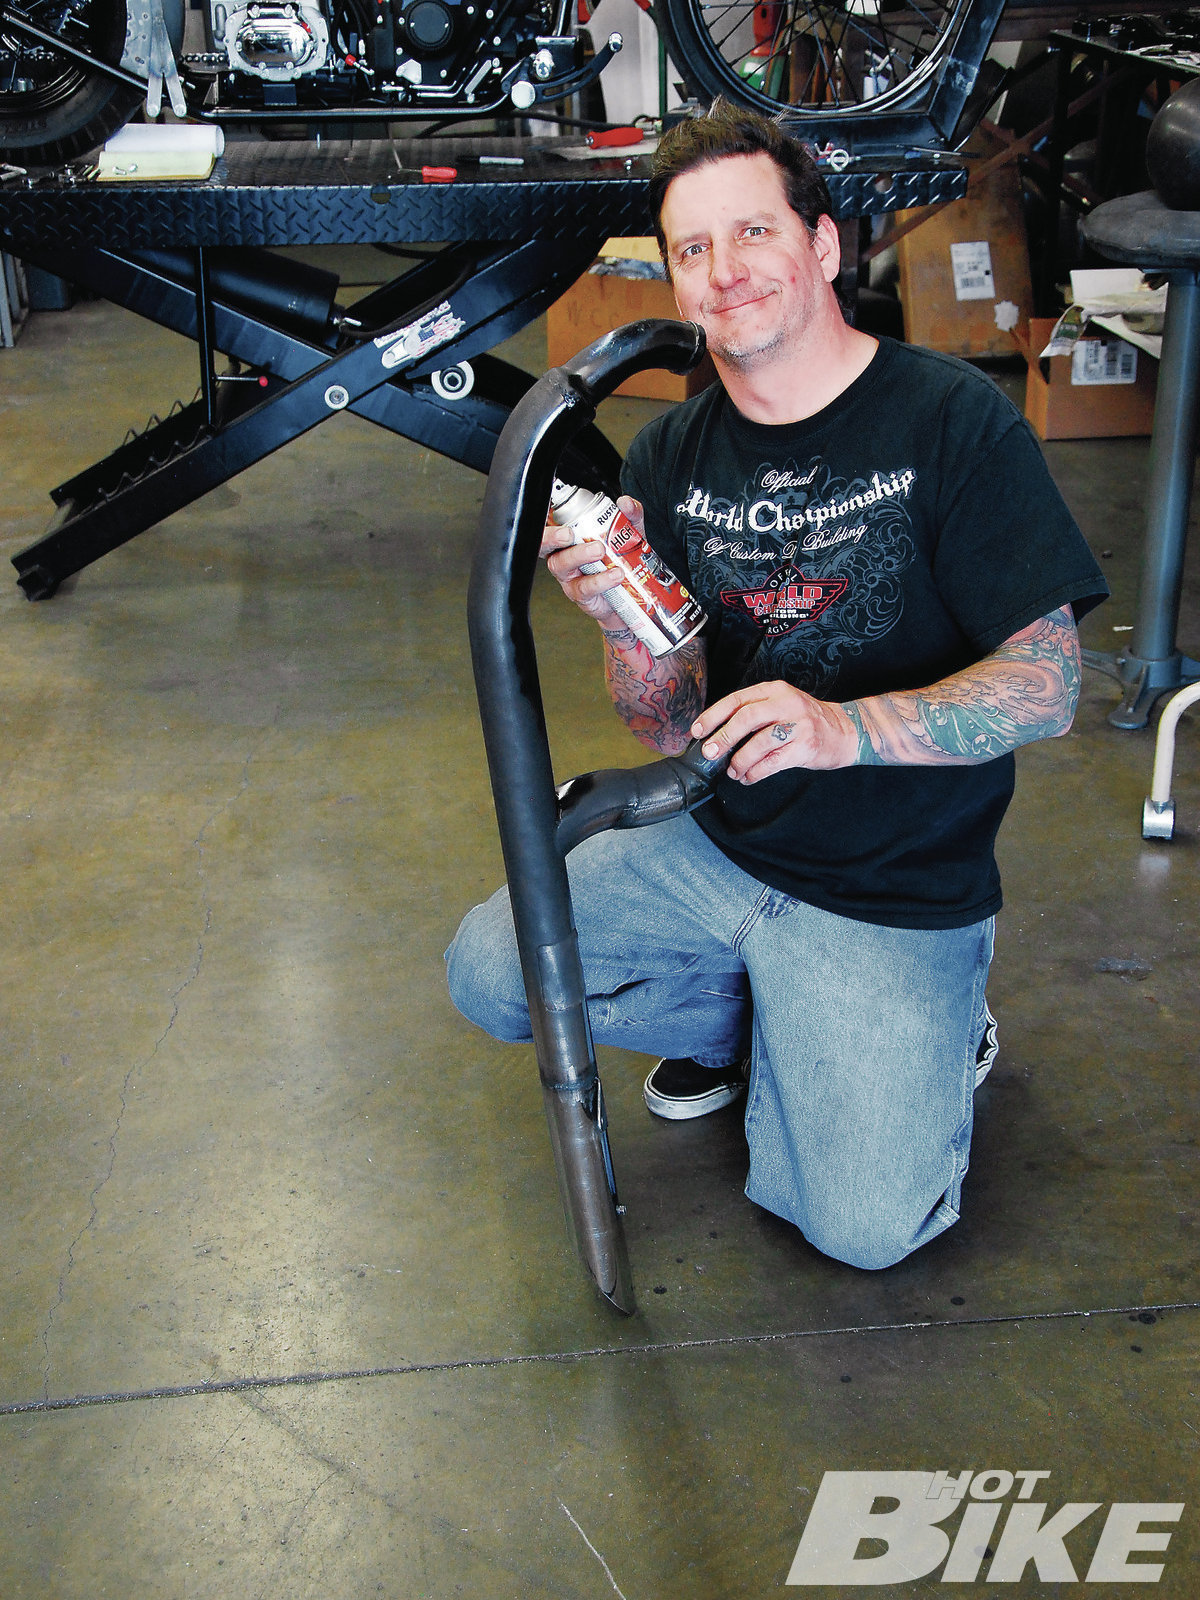
13 Todd gave the camera the crazy-eye as he laid down the first of many coats of Rust-Oleam flat-black, high-temperature spray paint.
14 The original flanges and retainer rings were then reinstalled on the pipe.
15 Bikey: No pipey
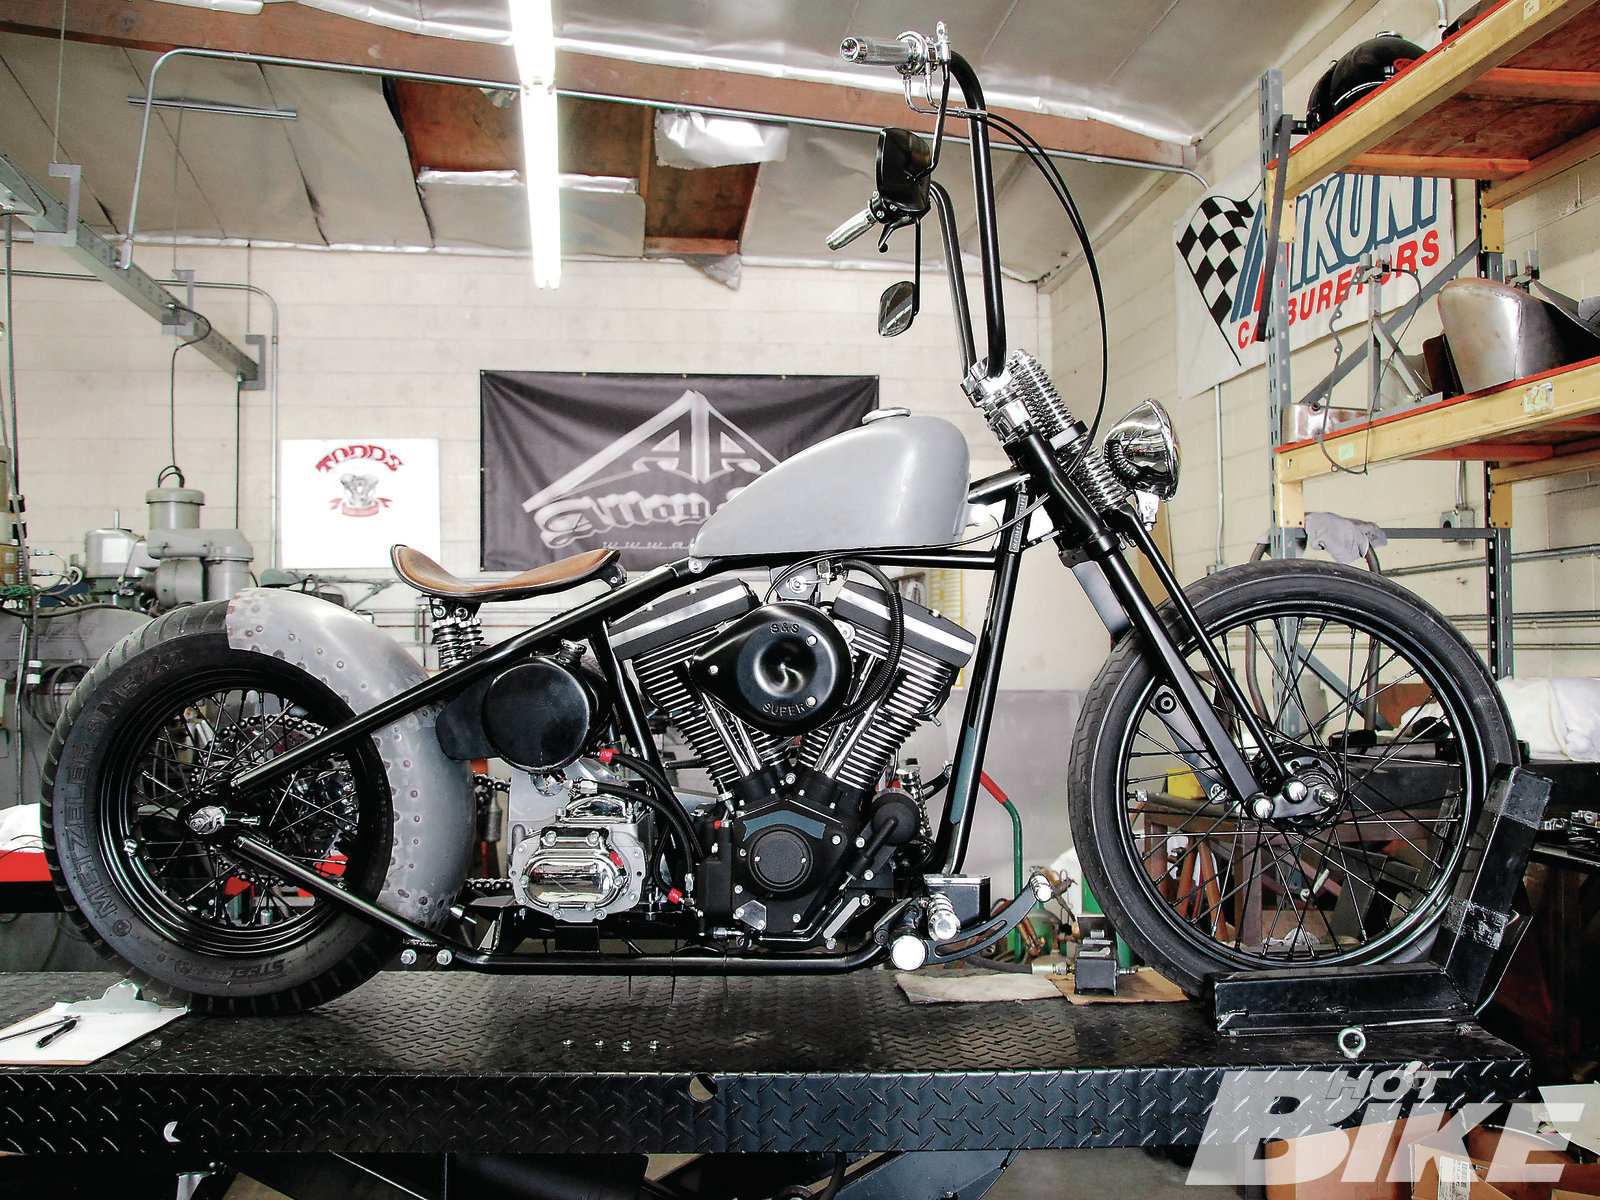
16 Here’s the painted, finished pipe installed on the bike. Todd and his crew converted a small pile of rusty, throw-away parts into a functional exhaust system…and when the customer fired-up the bike, it didn’t sound bad either. It might not be the exact pipe Todd would have built if he was building it for himself, but what matters is that it works and the customer is happy with it.
Source:
Todd’s Cycle
toddscycle.com | (714) 901-4526


