

Oil Pump Installation Tips and Tricks with Danny Wilson
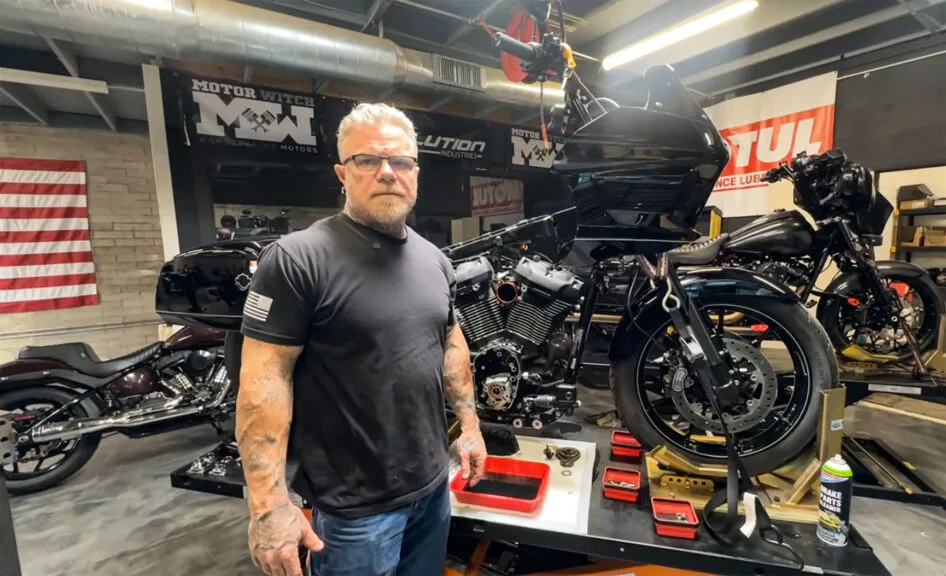
We’re back with another installment of Hot Bike’s Tech Tips, and we’re going to dive deeper into oil pumps, and more importantly, we’ll provide you with some helpful installation tricks we’ve learned through the years.
Starting with the factory oil pump, you’ll notice the back plate, which is often referred to as the pump cover. Then you have your return gears and feed gears. There are a couple schools of thought when it comes to the method in which you install these oil pumps. One of them is to build the pump and the cam plate out of the bike and install it all as an assembled unit. Sure, that works, but I don’t like doing it that way, so I’m going to show you a little bit of a cheater trick for the way that I prefer to install it. I like to put the pump in by itself and make sure that the gears all spin freely before I start putting the cam and everything else in. But if you find yourself with a pump that’s not an S&S pump, this back plate floats around. The S&S pump’s got dowel pins, so it keeps it all together. What you can do is get yourself some 1.2 all thread and cut a slot in the top for a flat blade.
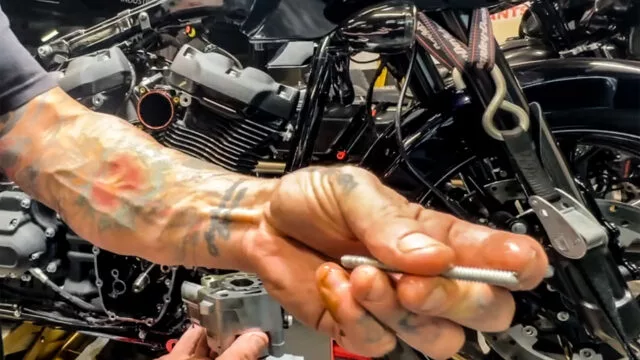
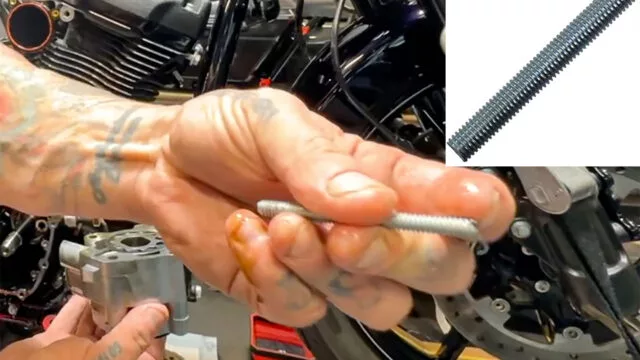
You can screw these into the pump cover, which will allow you to get the pump in the bike without that back plate shifting around. This creates a basic assembly because these two pieces of all-thread are holding that back plate on there to make it easier to install the pump. You’ve got enough protrusion that you can also lay the cam over it and start your first two fasteners, then remove these and do the install sequence. This makes it a lot easier because without these in place, this back plate wants to spin around. In doing this, the pate won’t move around on you.

Now, whether you’re installing a Feuling oil pump or an S&S oil pump or a factory oil pump, you want to take it apart, clean it and pre-lubricate it before you install it into the engine. On these S&S pumps, they have a little bit of a unique design because they have two sets of return gears. One set of return gears is dedicated to the crank case, and the other set of return gears is dedicated to the cam chest.
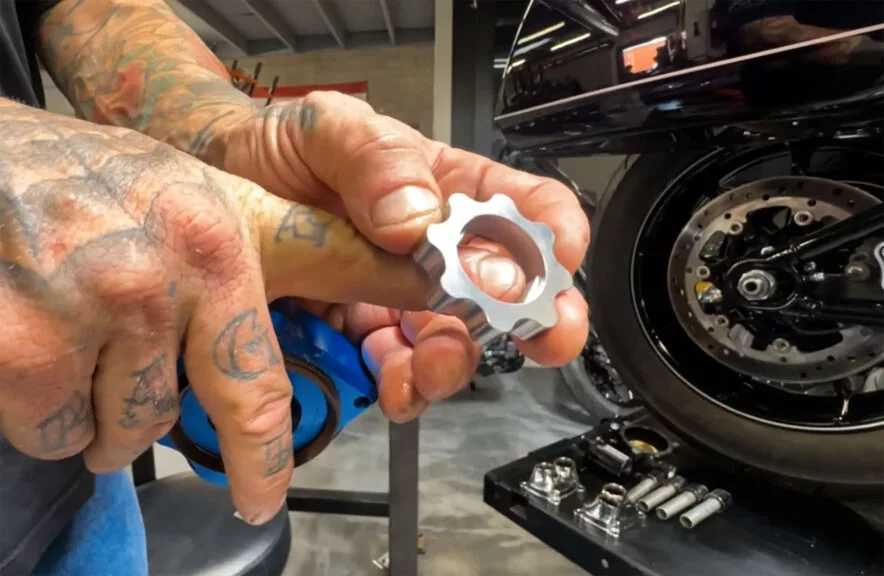
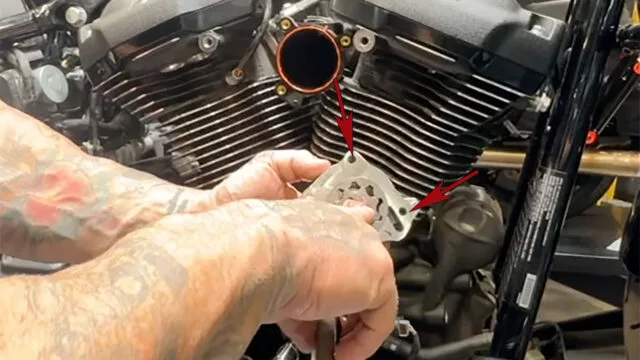
The way that they were able to do that is if you look here closely, you’ll see that there’s a cutaway there. That cutaway has to face in toward the engine. That’s actually going to slip up over onto a shelf on the pinion shaft of the flywheel. With this pump, we’re going to get it cleaned up and lubricated and then we’ll install it. No matter what pump you’re using, you want to make sure that you take it apart, make sure everything’s clean, make sure there’s no packing material or debris in there, and then put some lubrication in it before you install it.

Now that we’ve got our pump cleaned and lubricated. We’re going to install it in the engine. You’ll notice that I’ve left out the feed gears. The reason is that it makes it a little bit easier to install the pump. I’ve got these two sets of return gears all lined up. I’ve verified that that farthest inside set of gears is indexed correctly with the cutaway facing into the engine. We’re going to slip this gearset over the pinion shaft of the flywheel, and we’re going to make sure that it seats into the O-ring in the crankcase.
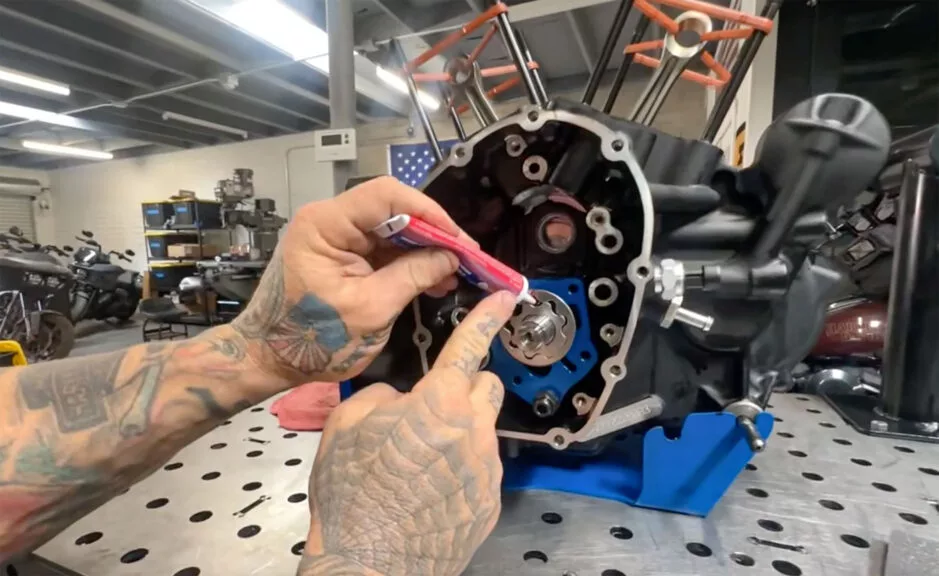
Definitely make sure that the oil pump assembly seats into that o-ring in the crankcase. This is how you verify that you get a good return. If the pump does not seat correctly, it’s not going to return properly. Now that our feed gears are installed, we’ll add a little bit of assembly lube into the feed gears. The body has already been lubricated.
Get our cam and everything set up in there. And that’s where we’ll leave you in this issue. Tune in next time where I’ll provide you with some tech tips on how to torque everything correctly. Stay safe out there, everyone.
Sources:
Motorwitch Industries
motorwitchindustries.com
S&S Cycle
sscycle.com


