
RSD Clarity Covers Install | See What’s Inside


As motorcycles enthusiasts, it’s safe to say we’re a curious bunch; curious to see what’s around that next bend in the road we’ve never ridden, curious to know what the best engine combinations for our bike’s are, and curious to know the inner workings of our motorcycles. Recently, Roland Sands Design (RSD) tried to provide some insight to that last one with the introduction of its new Clarity Line of covers.
Comprised of air cleaner kits, derby covers, and timing covers, the Clarity Line lets you watch the mechanical actions going on within your primary, cam chest, carb/throttle body via the windows within the covers. The covers are CNC-machined from billet aluminum and polycarbonate. The see through polycarbonate windows are sealed within the inside of the covers to prevent leakage and have a special coating that helps keep oil and grease from adhering to them and feature a proprietary abrasion- and UV-resistant film to help prevent the surface from yellowing, marring, and breaking. RSD offers the covers in either chrome or its Contrast Cut or Black Ops finishes. The air cleaner kits are available for ’93-12 Big Twins with stock carbs or throttle bodies, as well as S&S E/G carbs and ’94-12 XLs. The derby covers are available for ’70-98 Big Twins with three-hole covers and ’99-12 Twin Cams with five-hole covers. The timing covers are available for ’99-12 Twin Cams. We had a 2002 Fat Boy project bike that was a perfect candidate for the Clarity Cover collection.
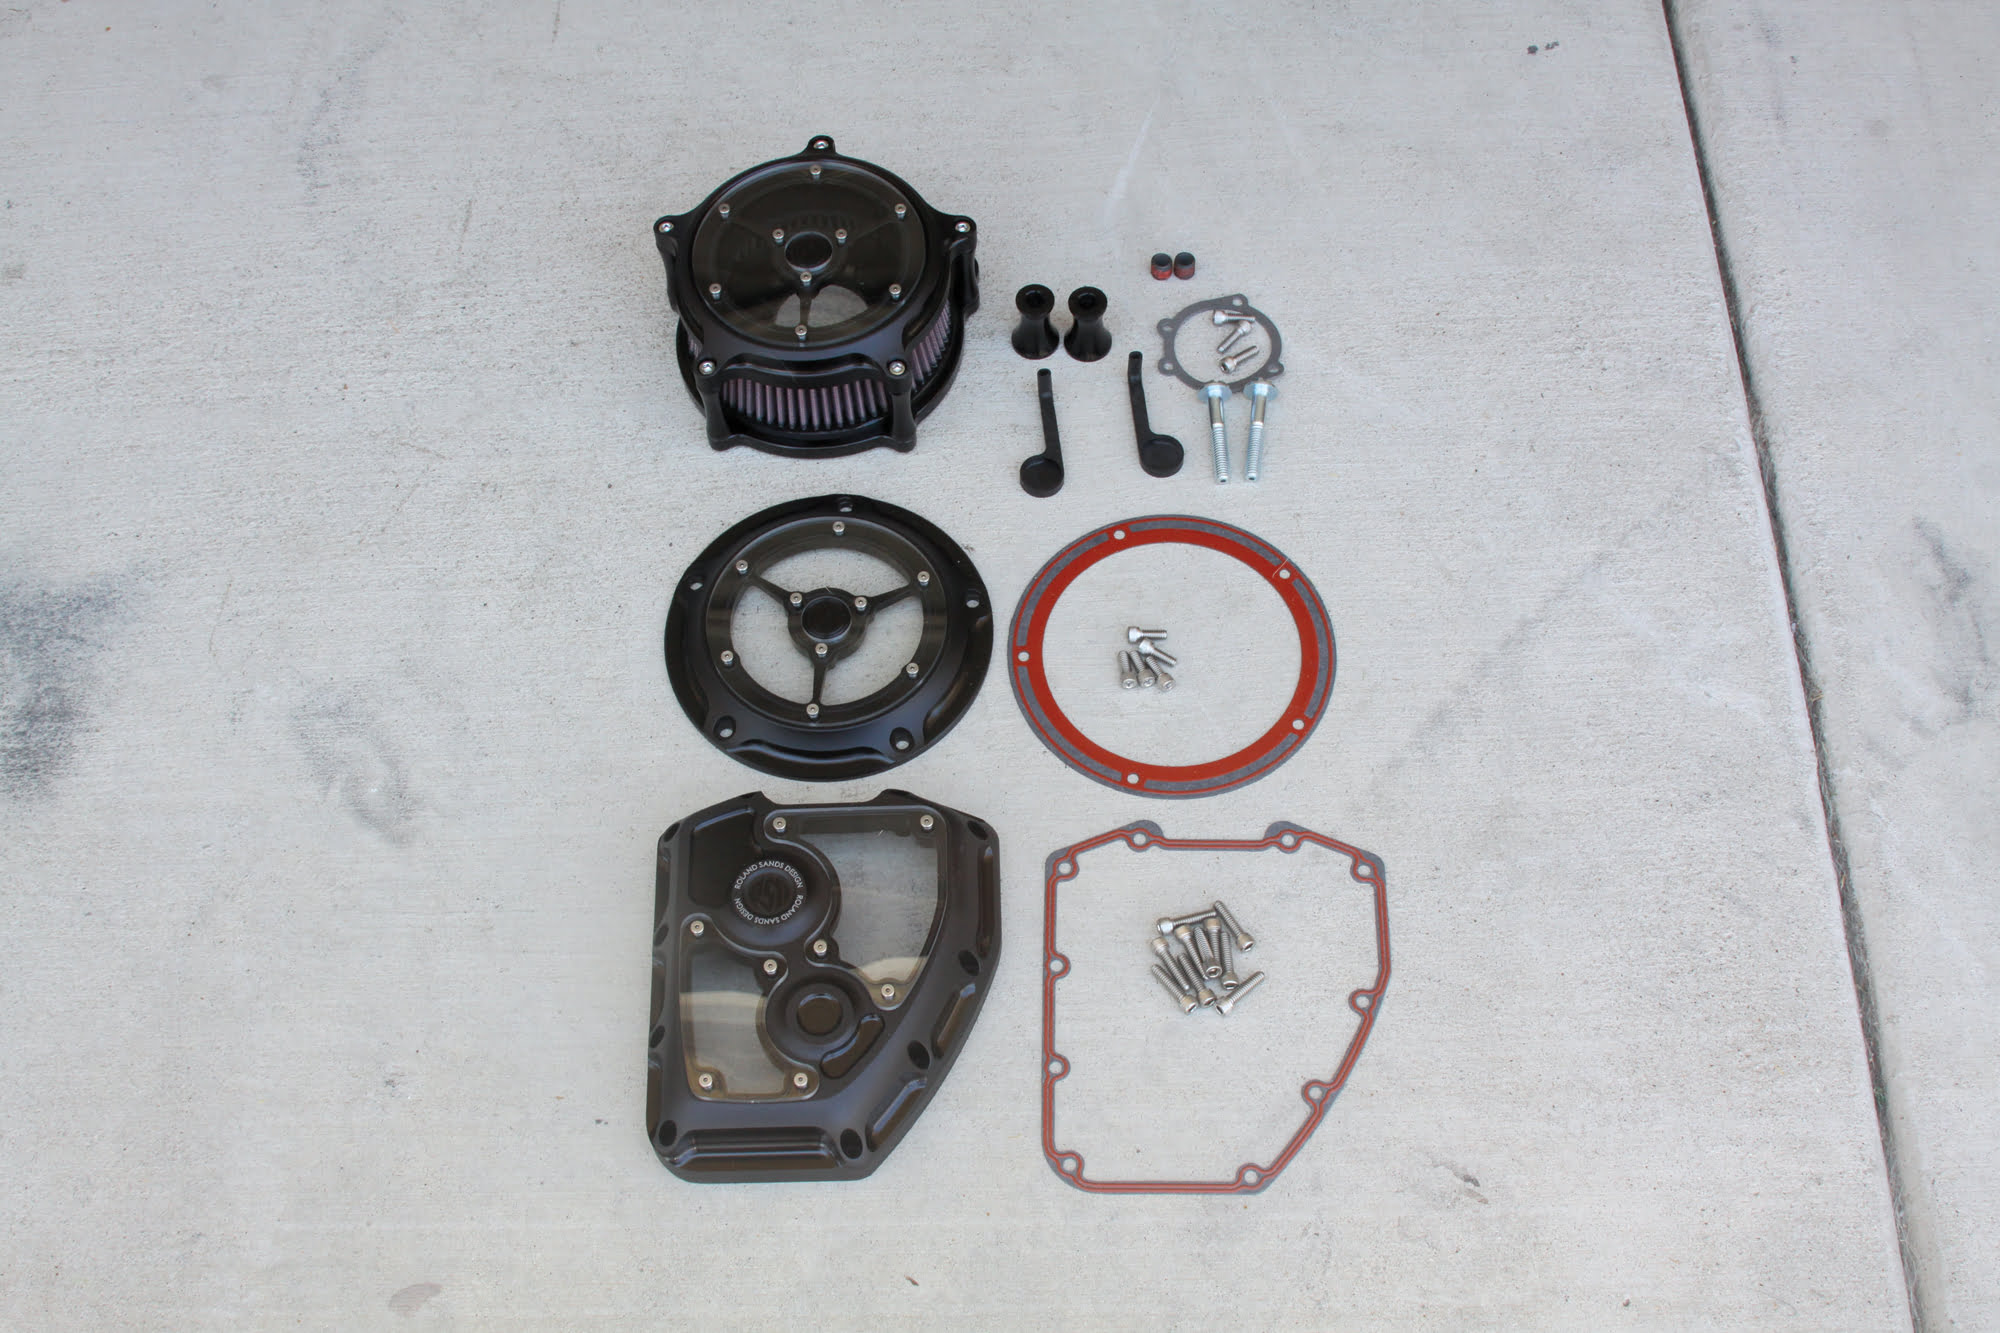
1) We ordered the Clarity Line of components with the Black Ops finish. Up top is the air cleaner cover ($499.95), below that is the derby cover ($229.95), and at the bottom is the timing cover ($399.95). All the covers come with the necessary mounting hardware and new gaskets.
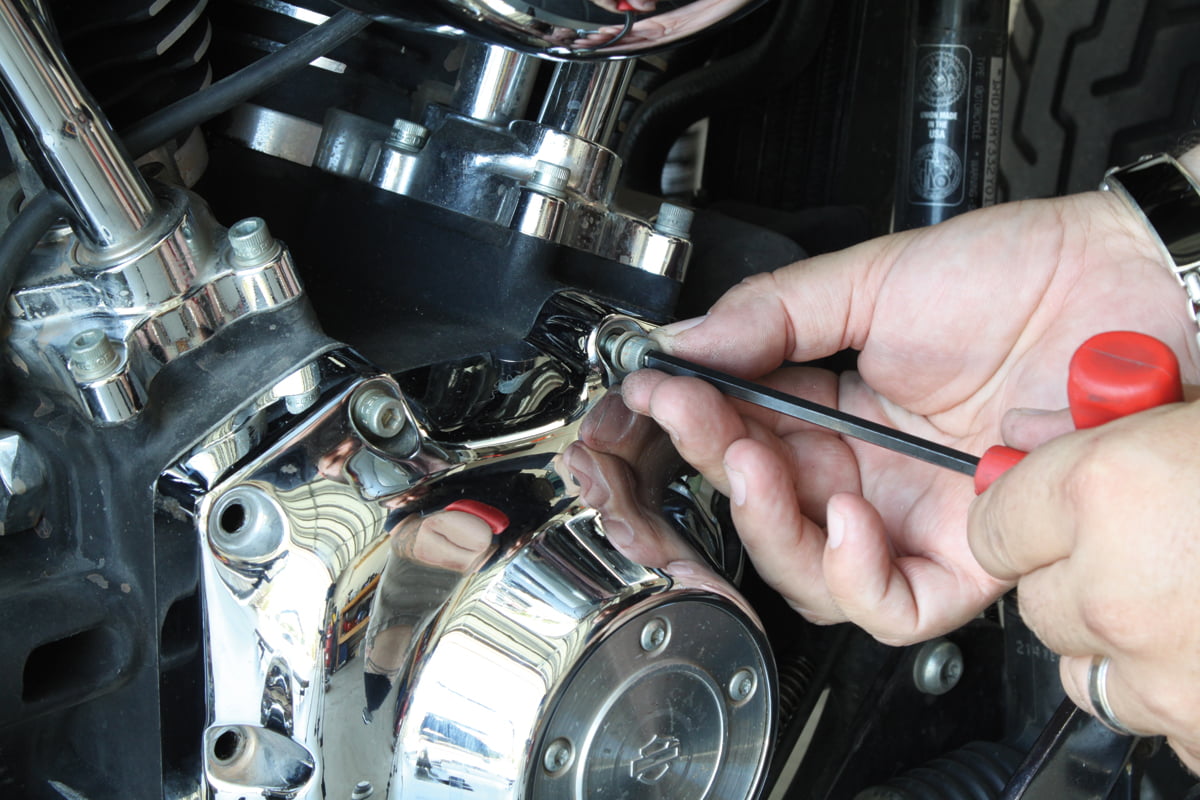
2) We started the install by swapping out the timing cover. Our project Fat Boy, was in the process of getting a new set of pipes so the exhaust system was already off, allowing easy access to removing all the stock timing cover bolts.
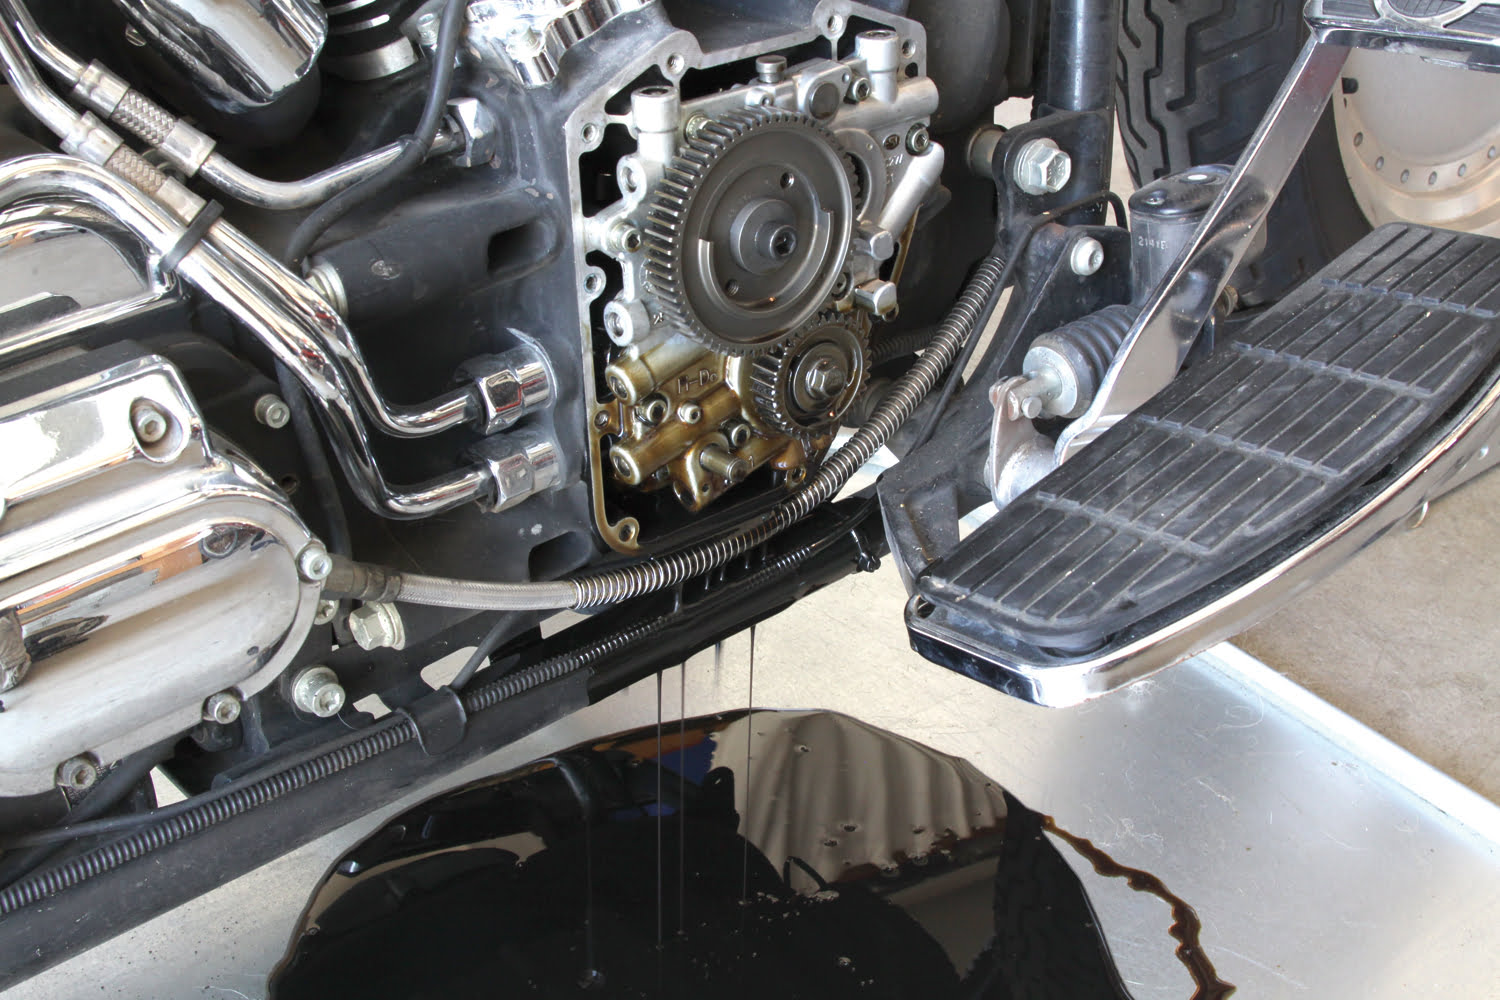
3) Once we had the cover off, we allowed the oil to drain from the cam chest.
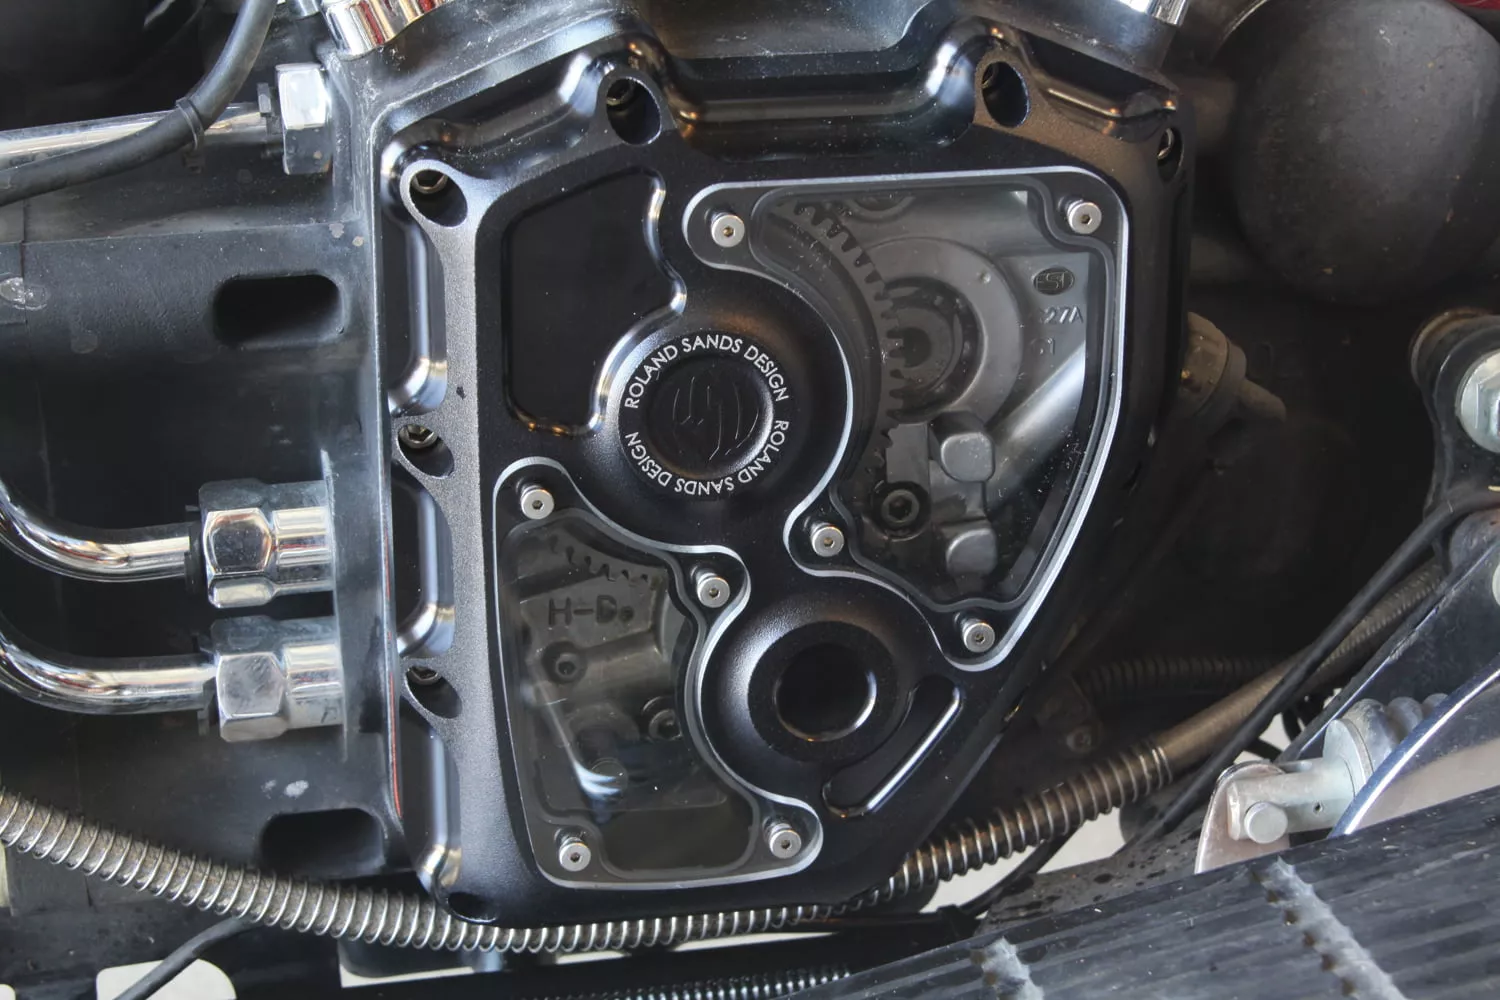
4) When the oil had finished draining, we cleaned the cam chest surface and inspected the surface and inner cam chest. Everything looked good, so we installed the new gasket followed by the timing cover. With some thread locker applied to the provided hardware, the bolts for the cover were loosely installed and torqued to spec.
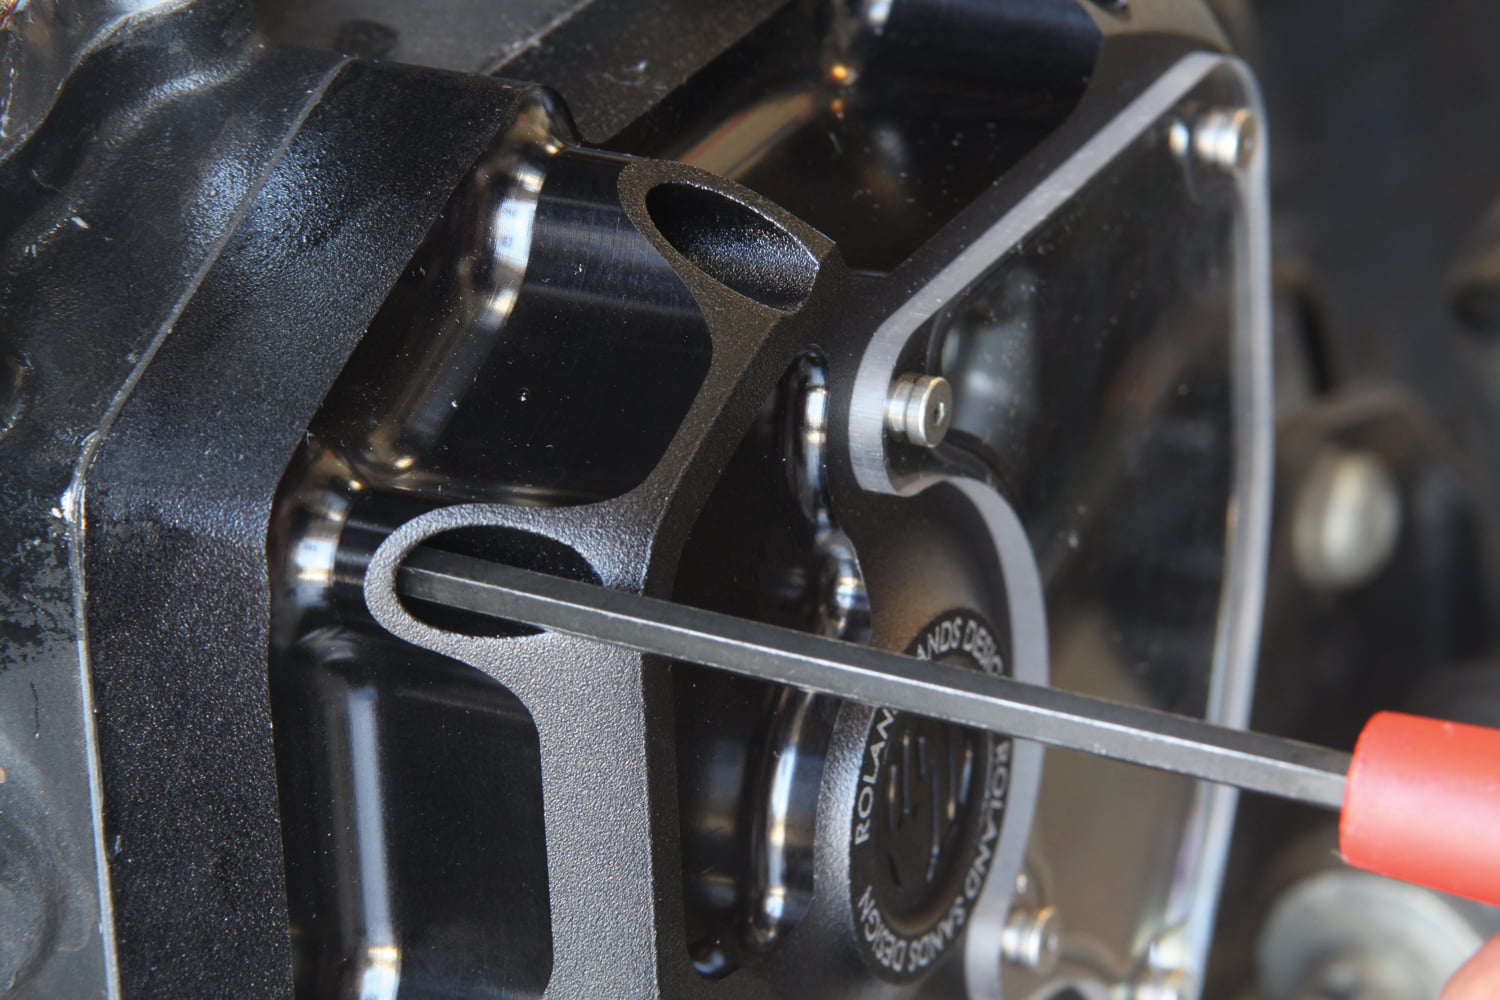
5) Now we can watch the oil slosh around in the cam chest as the cams sprockets whiz around and around.
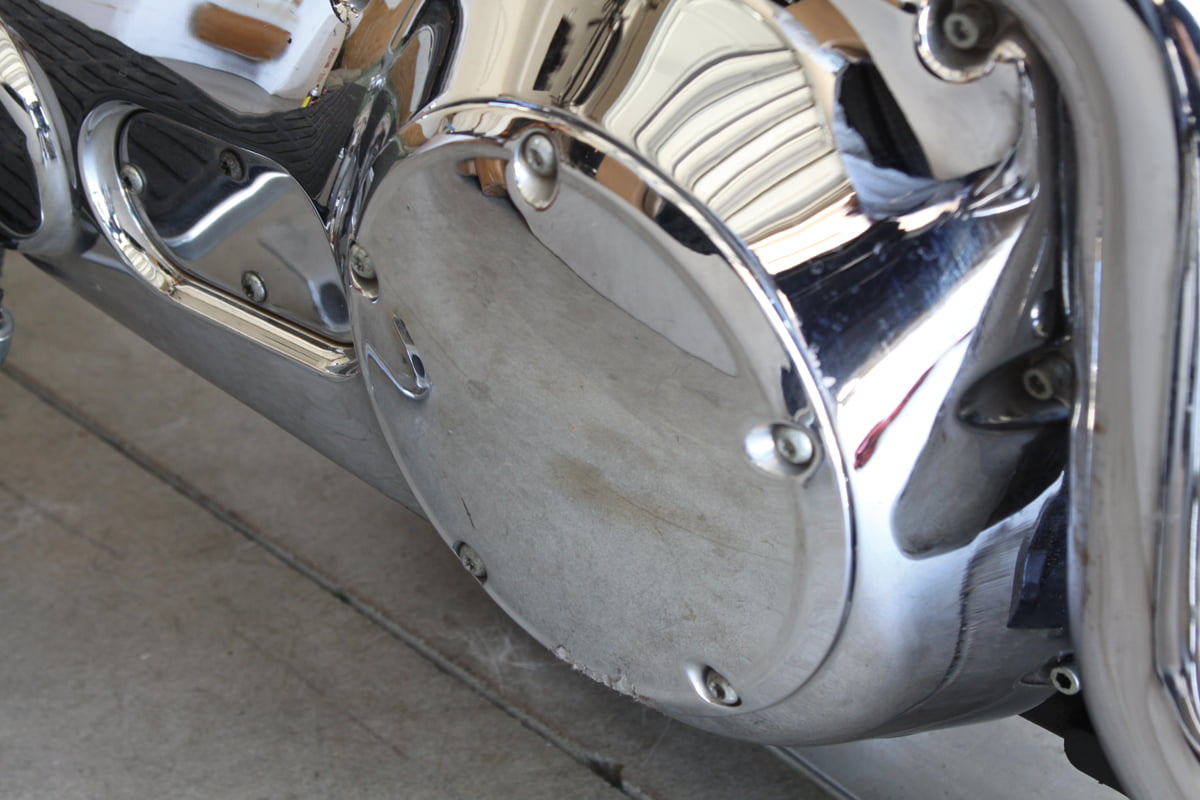
6) We then moved to the primary side to replace the stock chrome derby cover.
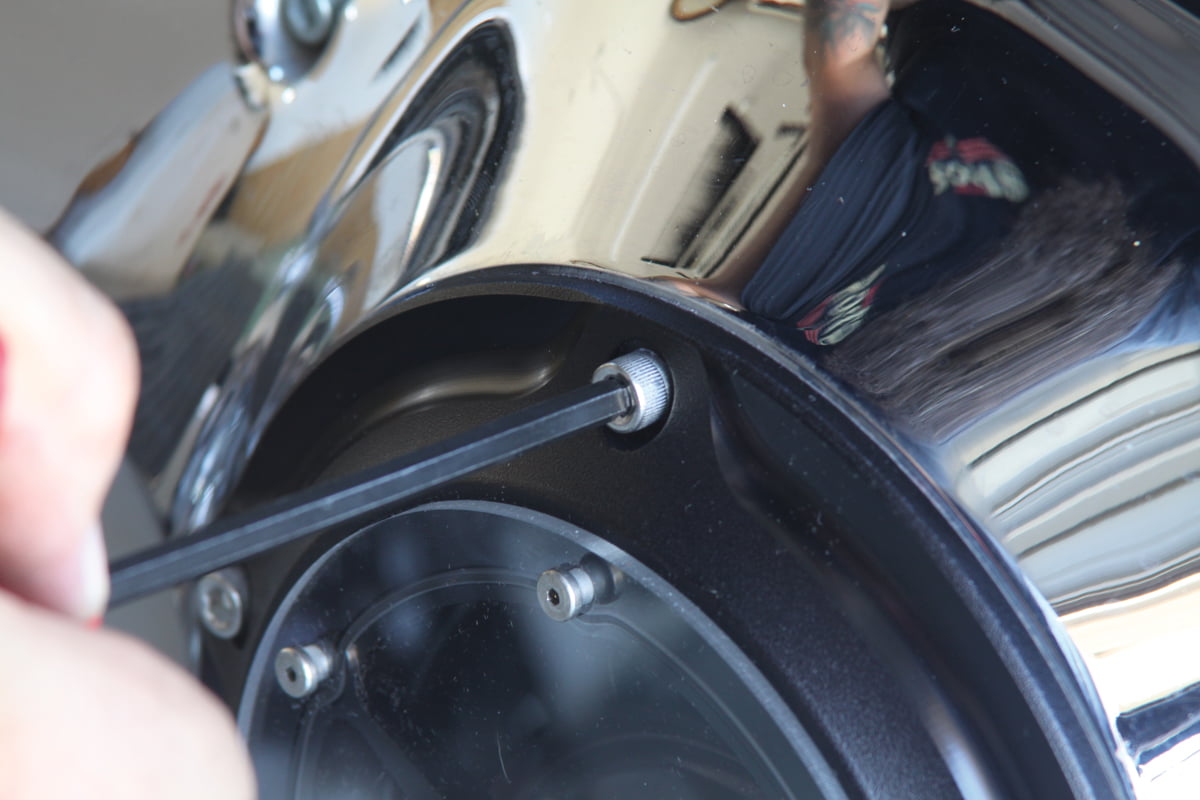
7) We removed all the stock bolts holding the cover in place.
8) The stock gasket was discarded and the new 0-ring gasket was installed along with the new derby cover.
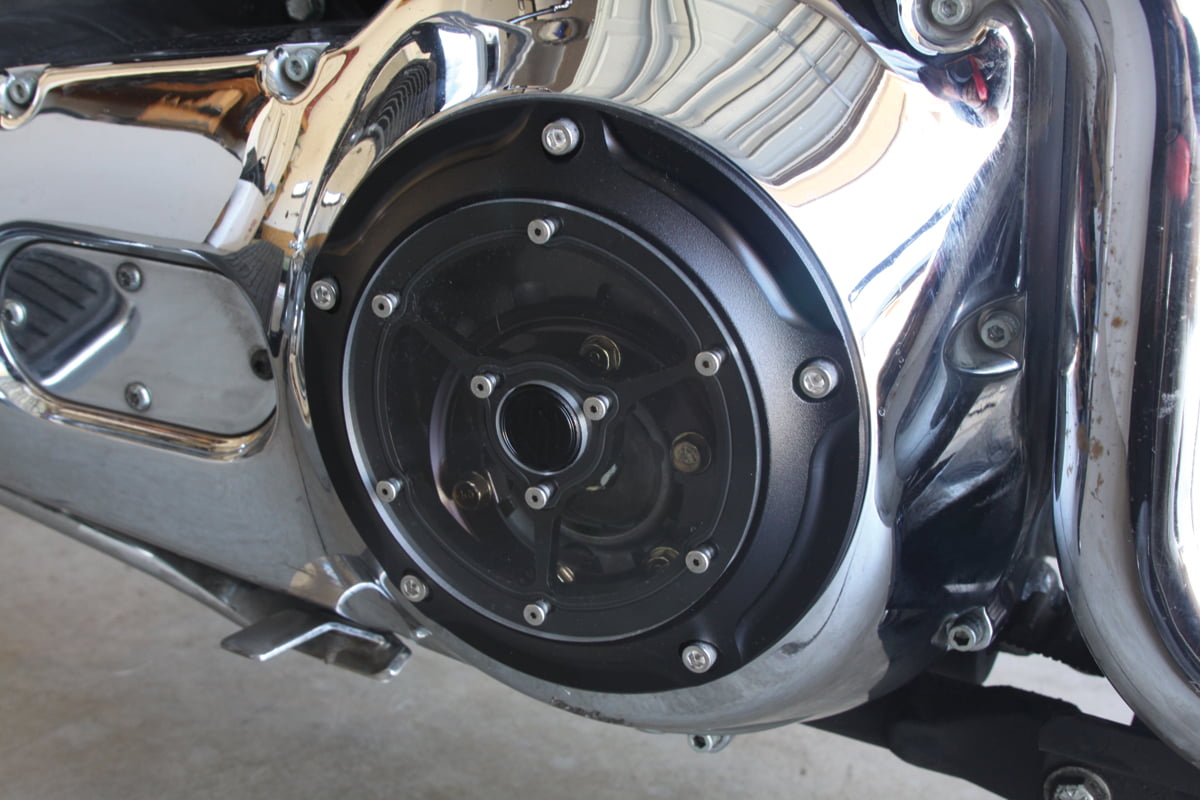
9) We made sure to apply thread locker to the new bolts and torqued them to spec. The textured Black Ops finish on the cover provides a nice contrast to the rest of the smooth and shiny chrome primary.
10) Here’s a look at what’s included with the air cleaner kit. It comes with a K&N; high-flow air filter element, outer Clarity cover, billet backing plate with secondary plate (above backing plate), foam spacer (mounts between filter element and Clarity cover), and all the necessary mounting hardware. Not shown but also included is a new gasket that mounts between the carb/throttle body and backing plate.
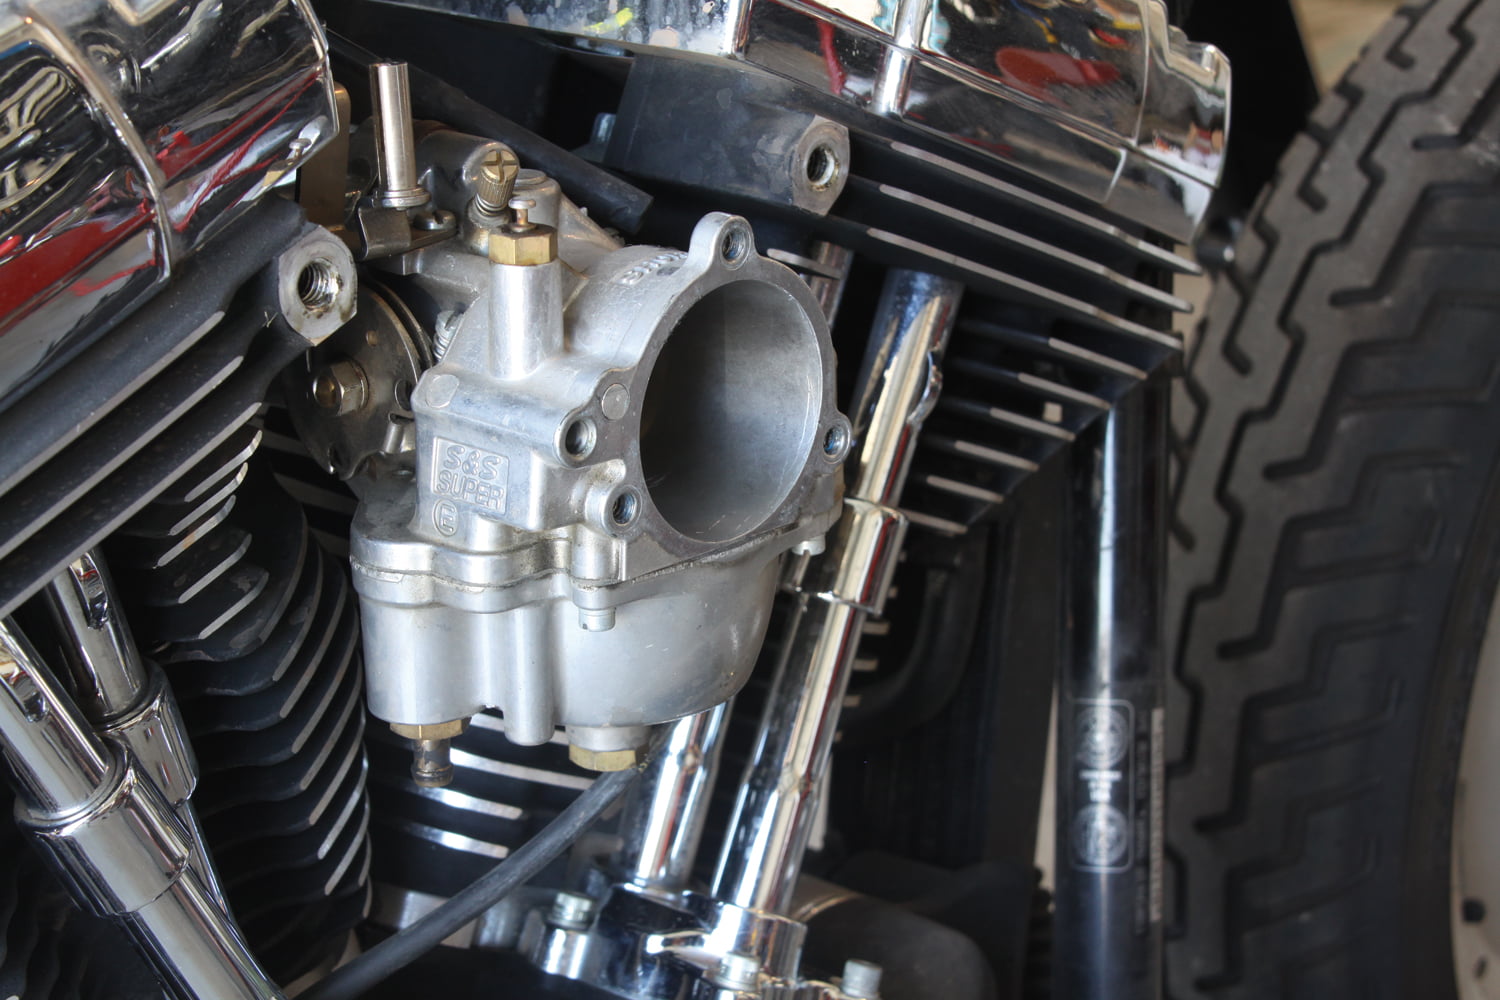
11) Our Softail was outfitted with an S&S; E carb so we removed the S&S; tear drop air cleaner cover assembly and…
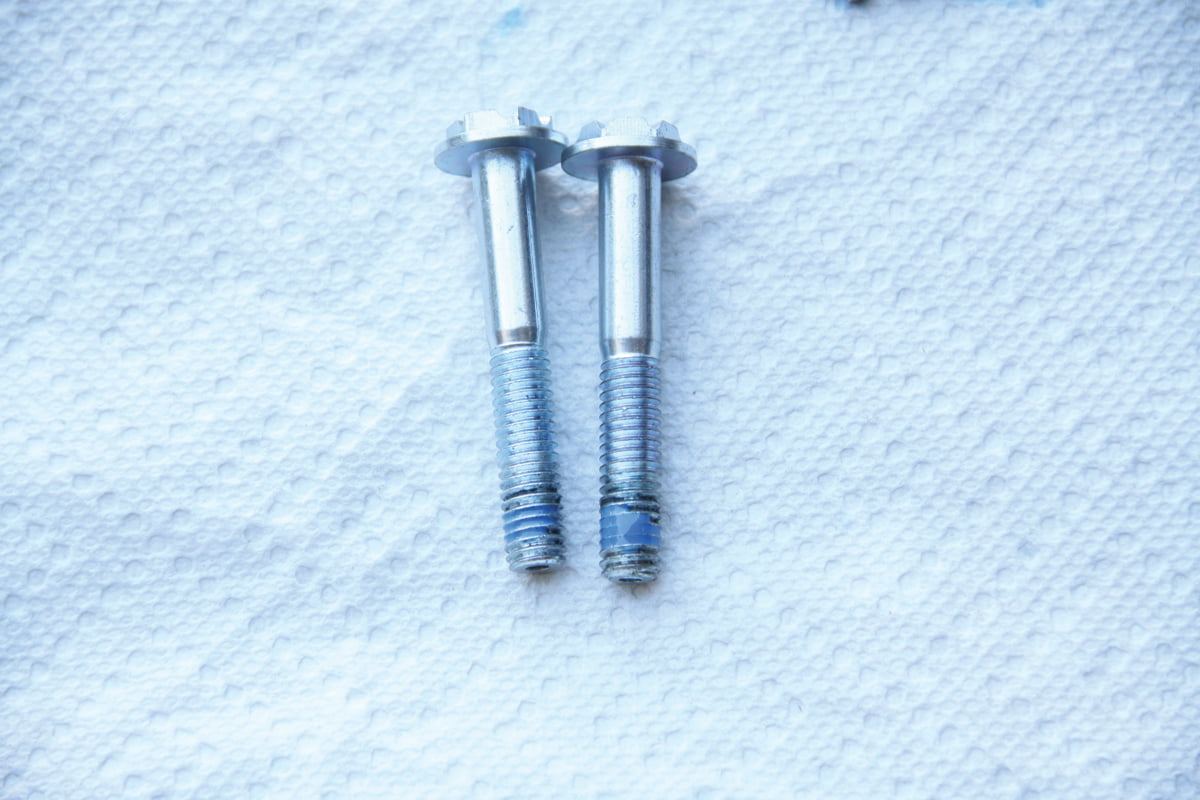
12) … applied some thread locker to the breather bolts that came with the Clarity Air Cleaner kit.
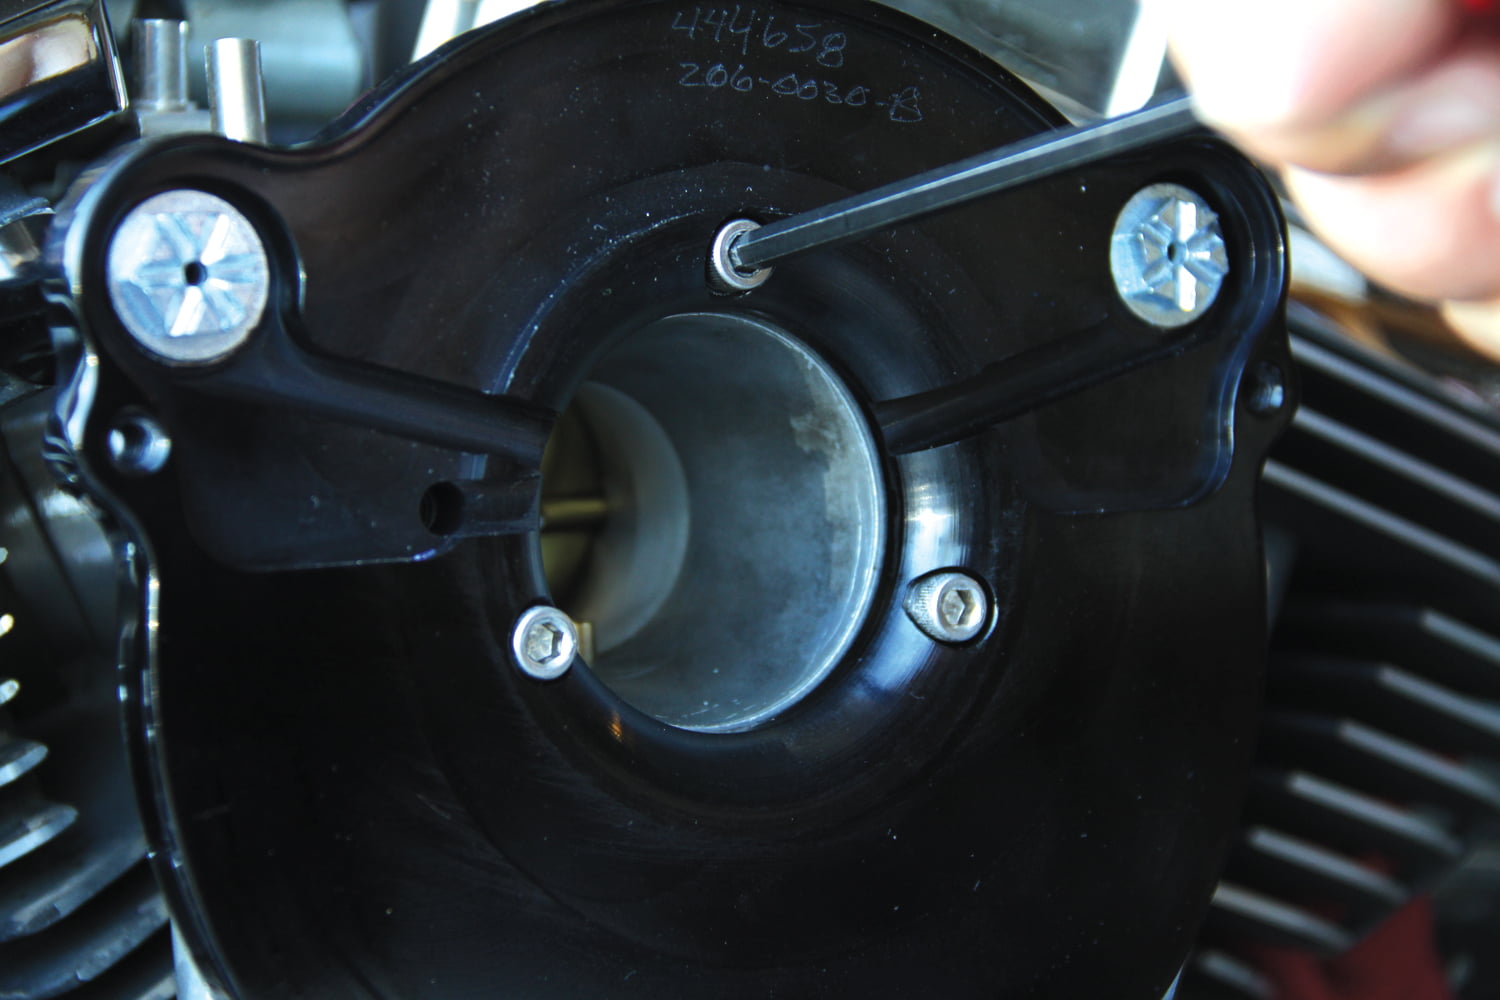
13) We then installed the breather bolt stand offs and backing plate, and then installed and torqued the breather bolts.
14) Next, the three 1/4-20 bolts for the backing plate/carb were installed with the thread locker and torqued to spec.
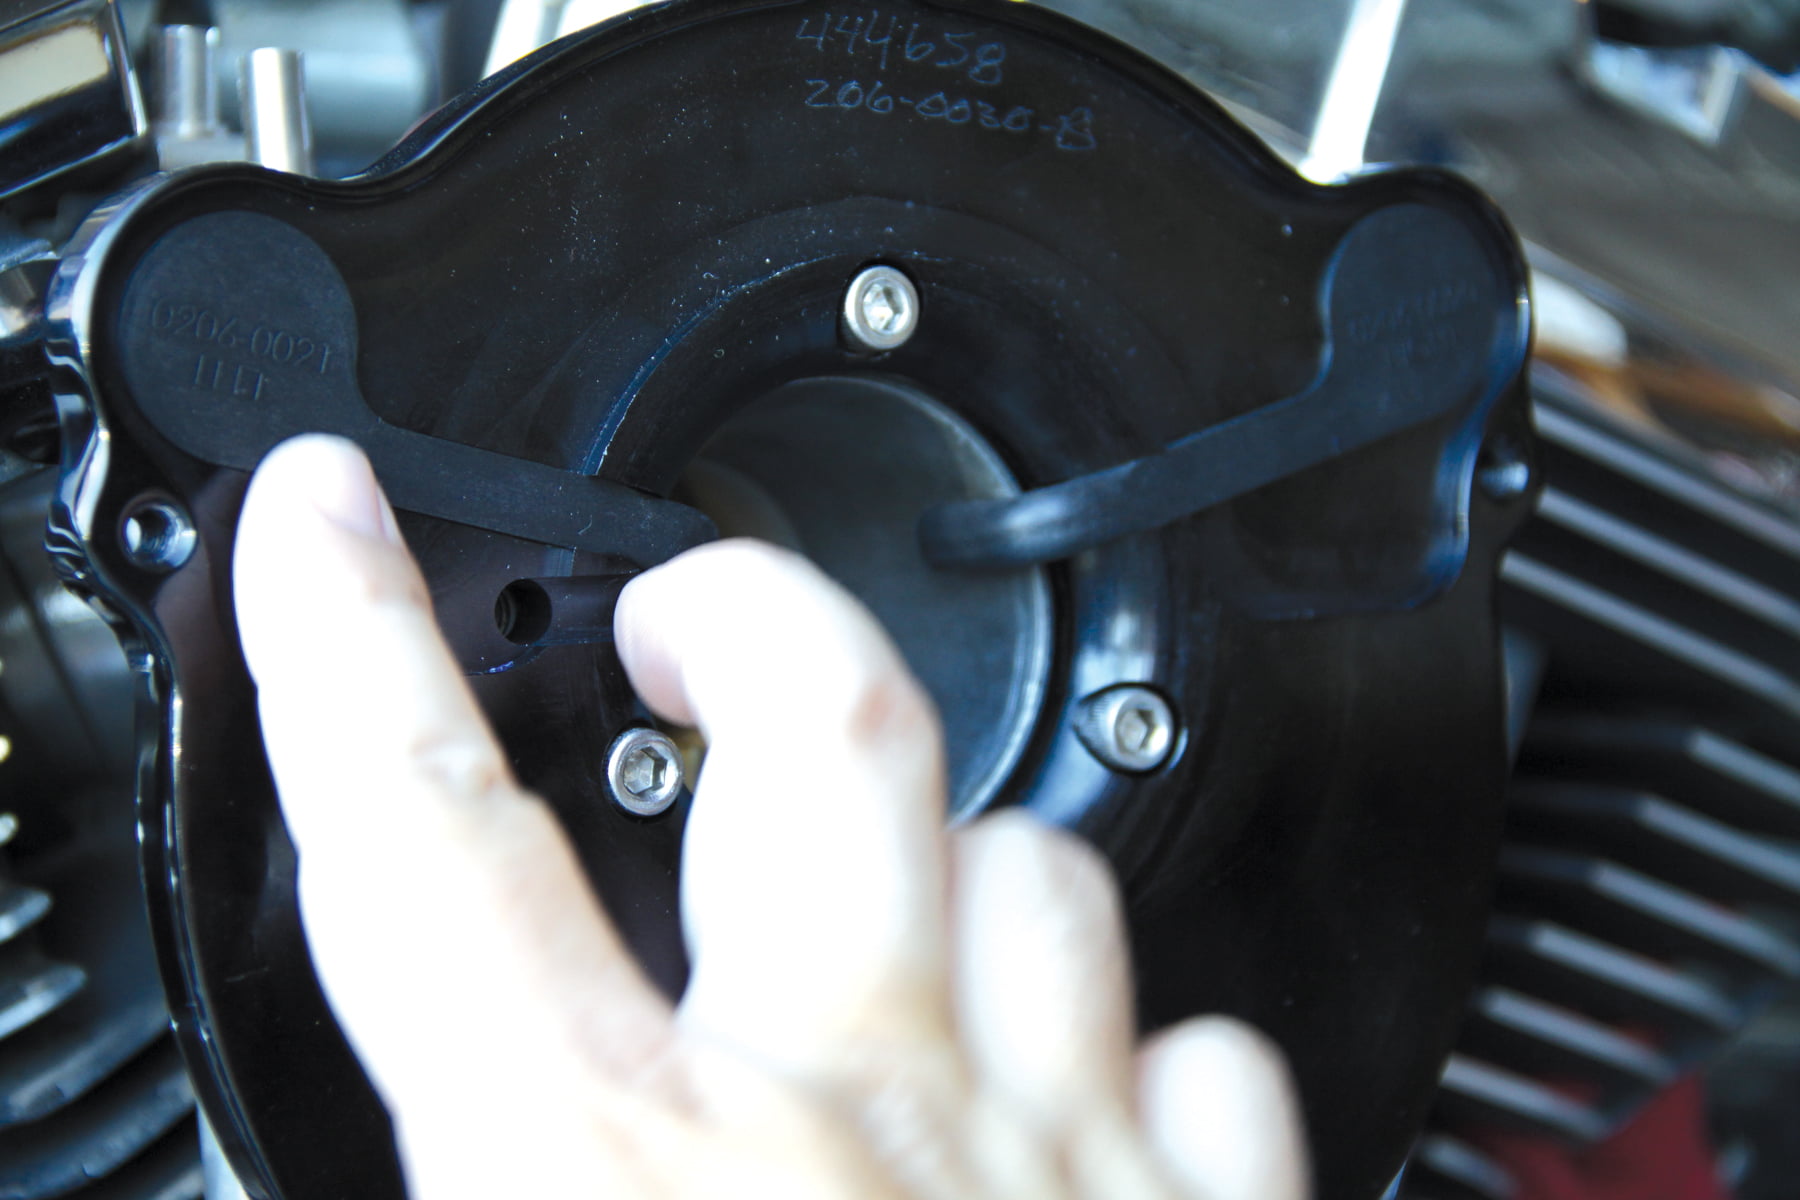
15) The rubber breather tubes were then pressed over the breather bolts and into the machined recesses int he backing plate.
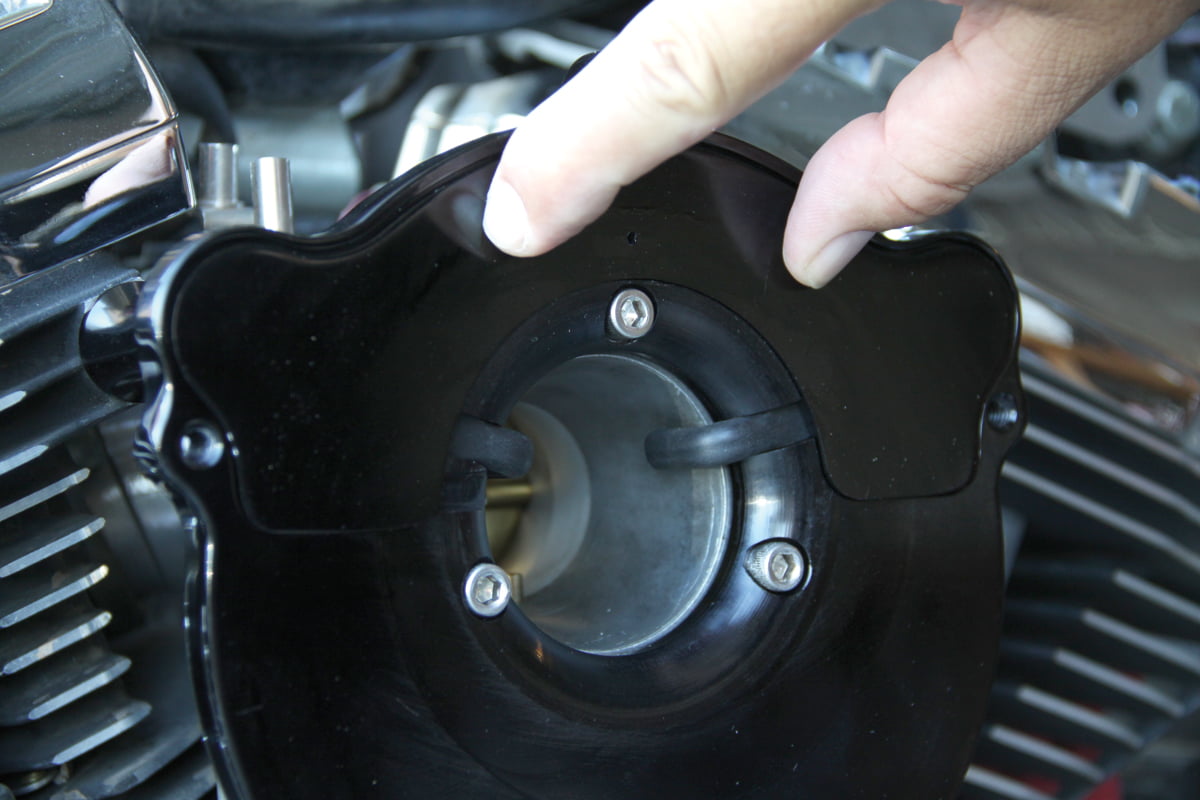
16) We then placed the secondary plate into position over the breather tubes and made sure it fit flush against the backing plate.
17) Next we slipped the foam spacer into position against the inside of the outer cover and installed the air filter against the foam spacer. After applying some thread locker to the provided bolts we then secured the outer cover/air filter assembly to the backing plate.
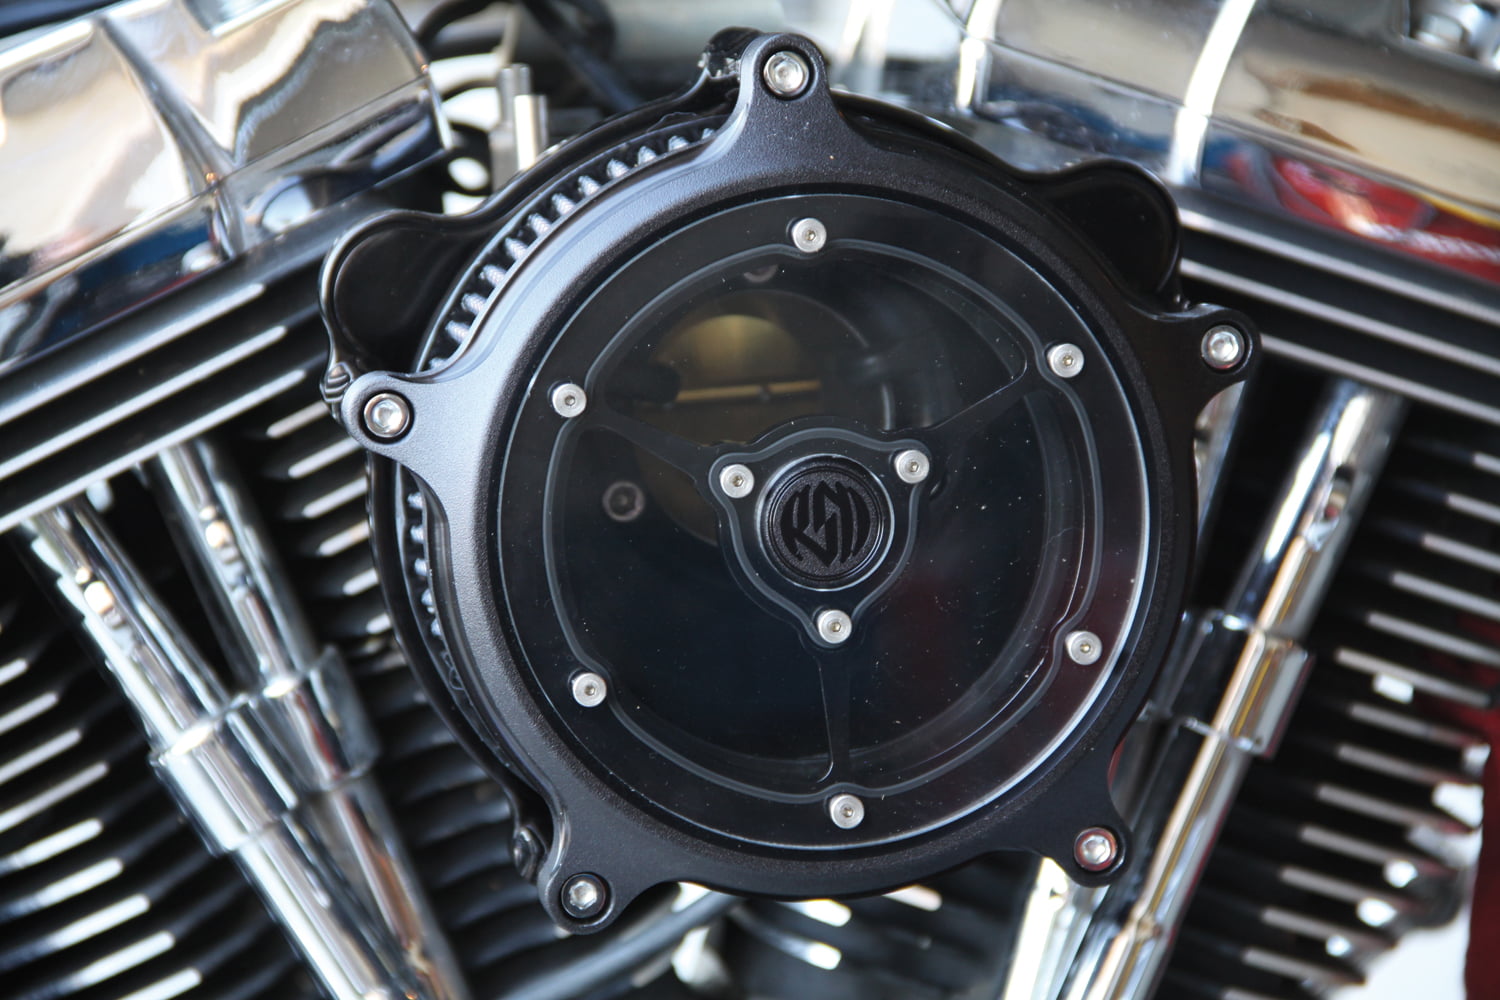
18) After torquing the five cover bolts to spec, we were finished with the installation. Everything went together very smoothly with basic handtools and took less than 30 minutes to install. The Clarity covers give the bike a more mechanical look and allow admirers to see what’s going on inside.
Source:
Roland Sands Design
(877) 773-6648
www.rolandsands.com
[email protected]

")


