
Screamin’ Eagle Six-Speed Gearset – Lower the RPM
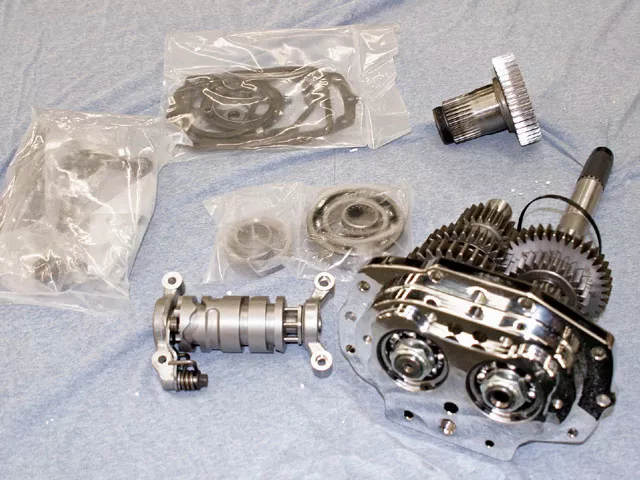
1. Here is the H-D six-speed transmission kit with everything you need to convert your stock trans into a six-speed. This kit comes with all the gears, shafts, plates, bearings, gaskets, and forks. You will need to get a set of primary gaskets and fluid. Before we got started, we made a baseline dyno run to document how the new trans will lower the rpm. At 65 mph, the rpm were around 2,700, and at 75 mph, we were at about 3,300 rpm.
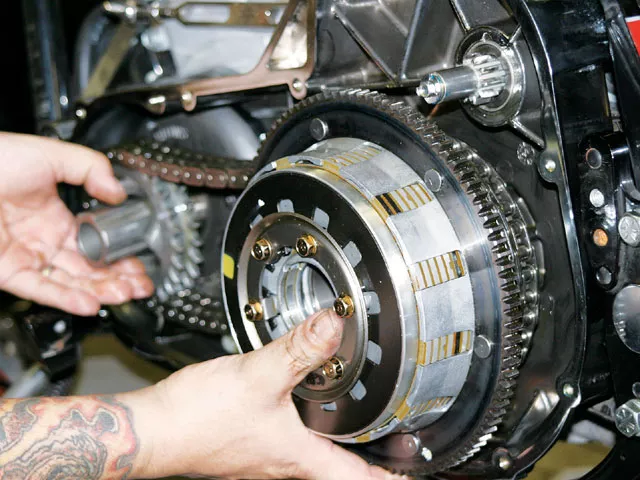
2. To get things started, all the oils were drained from the trans and primary, and the motor oil was removed as well. Then the foot controls, exhaust, outer primary, chain tensioner assembly, and the clutch assembly were also removed and set aside.
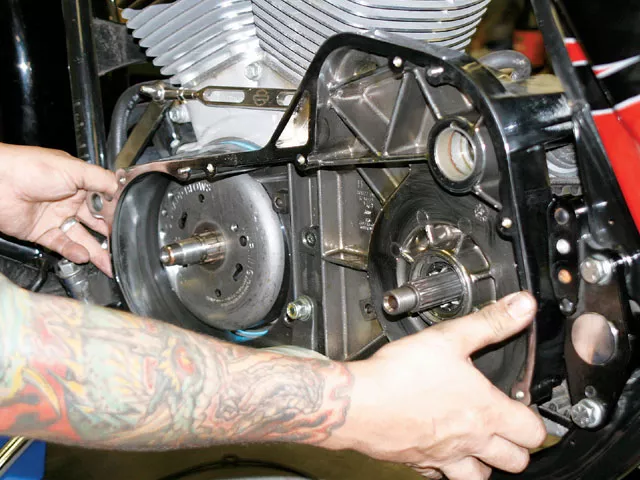
3. The starter jackshaft was removed, and then the starter, along with the front motor pulley. This would allow the inner primary to be removed.
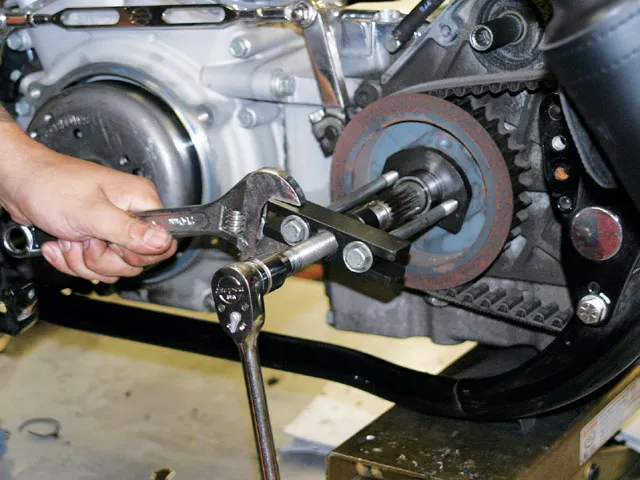
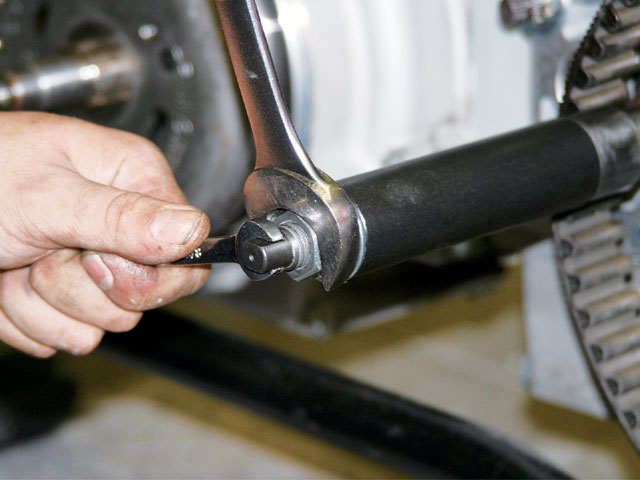
4. Using the H-D puller, the bearing race was removed, and then the rear belt pulley was removed and set aside.
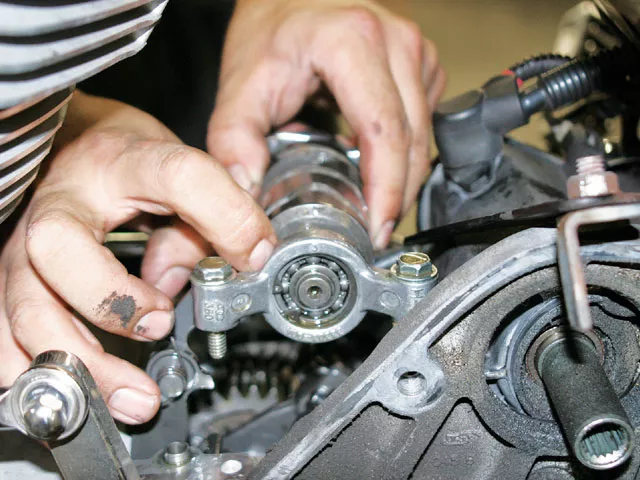
5. Working on the exhaust side, the oil-filter spout, clutch-release cover, and speed sensor were all removed. Then the top cover and shift drum and its support blocks and dowels were also removed.
6. The fork’s shaft and shifter fork assemblies were also pulled from the gearbox. This allowed for the removal of the side-door mainshaft/countershaft assemblies after they were unbolted from the side of the case.
7. Lastly, the countershaft bearing and the main drive gear and bearings were pulled from the primary side of the case using a factory H-D puller.
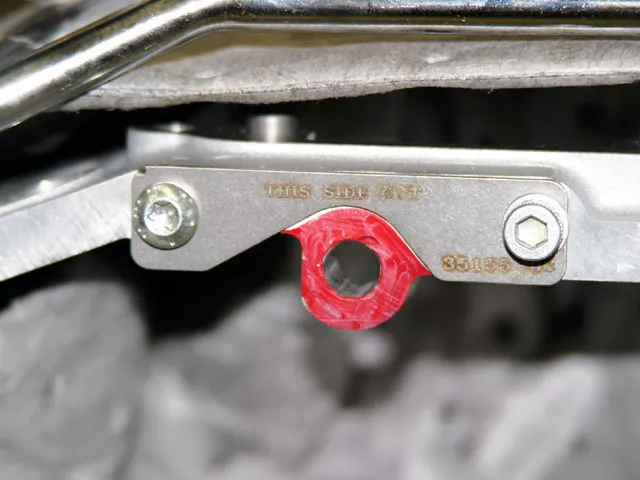
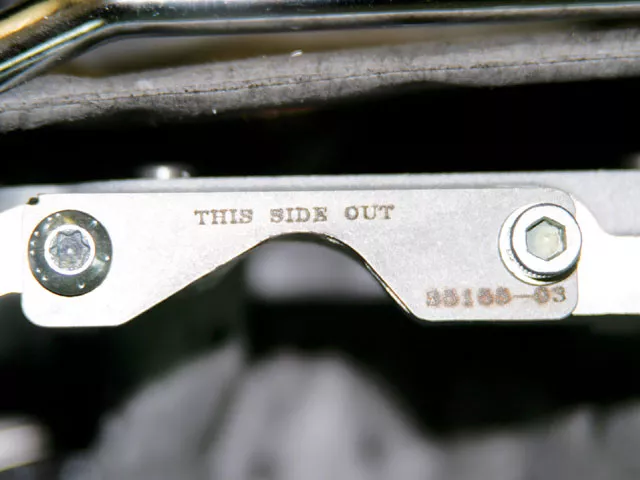
8. Since the case was now empty, it was time to use the supplied template for the removal of the exhaust-side fork-shaft mount/hole. The mount hole needed to be removed to have the clearance for the new Sixth gear. All we needed to do was bolt the template in place and grind down the case to match the template.
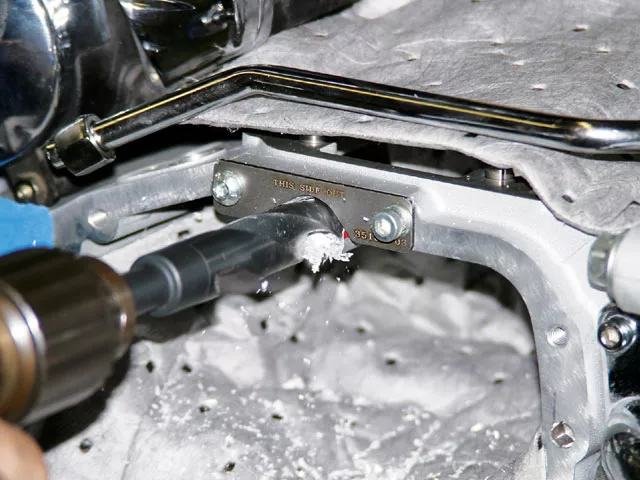
9. The H-D instructions that come in the gearset explain that an easy way to do this is to drill it out by increasing the diameter (size) of the drill bit. Then clean up the area with a small grinding bit (die-grinder).
10. Within 15 minutes, the case was completely ground down to match the template. Afterward, the case was cleaned repeatedly to ensure that any and all debris was removed from the case. Even small pieces can wreck a transmission.
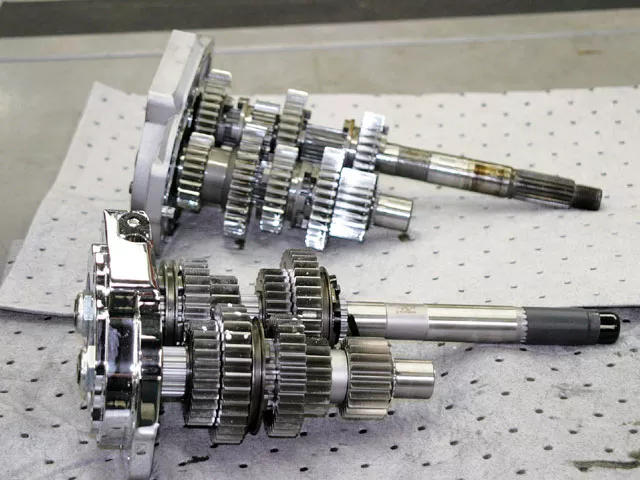
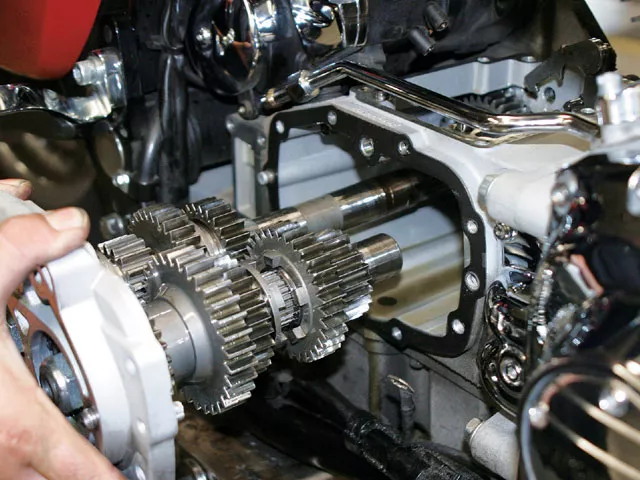
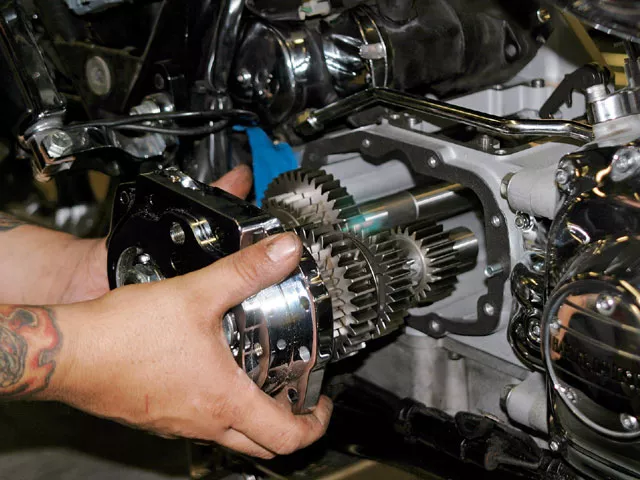
11. The new H-D six-speed assembly (in front) was designed with several improvements that enhance the durability of this unit. One of these elements is a thicker chrome billet side door that houses the Sixth gear and uses its additional strength to help the area of the case that was ground down but which still allows for the use of the stock exhaust.
12. First, a new countershaft needle bearing was installed, and then a new main drive gear and its bearing were pressed into the primary side of the case. Then a snap-ring was installed to keep it seated. The rear sprocket/pulley was bolted on to the outside of the main drive gear, and the shift-shaft assembly was also replaced. To help with start-up, everything-including all the bearings-was covered in assembly lube.
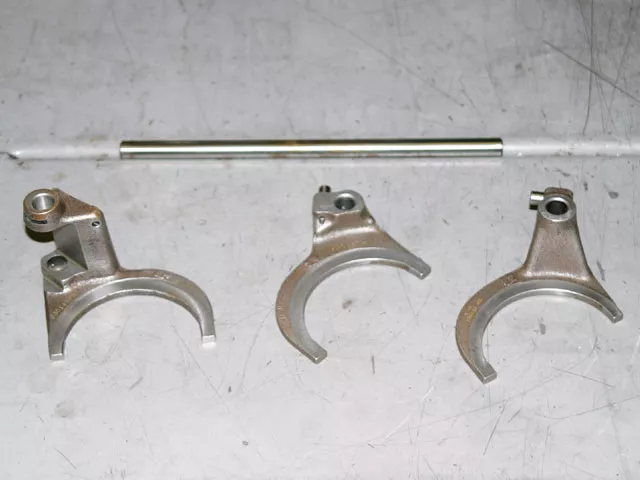
13. The new forged shifter forks were placed in their appropriate positions.
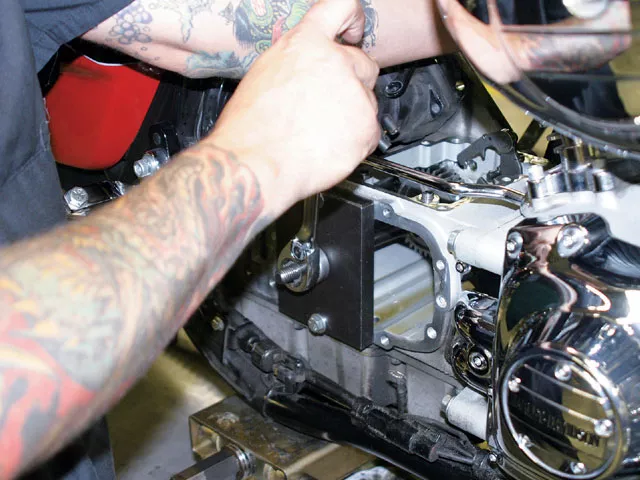
14. Next, it was just a matter of sliding the new assembly into the case and maneuvering the forks into the tight clearance at the top of the case. Just before the assembly was in all the way, the shifter fork shaft was installed, aligning all three in the proper places. Then the door was pushed flush with the case. The top bolts were torqued to 125 lb-in, and the lowers were torqued to 18 lb-ft. Lastly, the fork shaft bolt was installed via a new Allen-head plug bolt.

15. Next, four new drum-support block dowels were installed into the case. Then the new shift drum was installed, putting it into its proper position and manually sliding the shifter forks into place within the grooves on the drum. With the old drum, three shifter forks manipulated First and Second, Third and Fifth, and Fourth gear. The new shift drum also manipulates three shift forks that now shift First and Second, Third and Fourth, then Fifth and Sixth gear, respectively.
16. Then the transmission was manually shifted through all the gears while the mainshaft was turned to ensure that the shift forks worked properly. Then the support blocks were tightened and torqued.
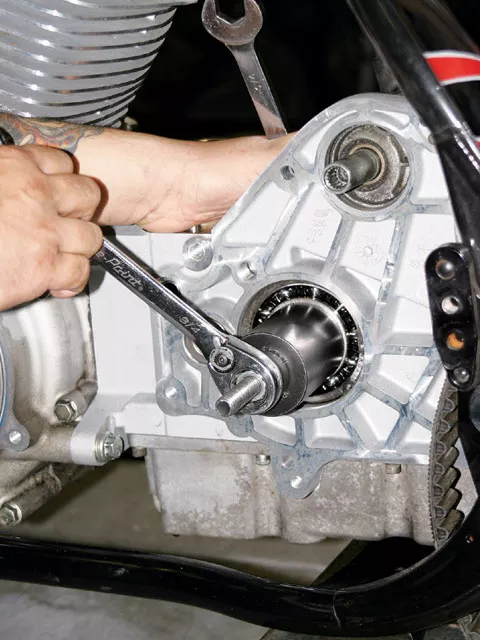
17. Next came the installation of the inner primary bearing race.
18. The old transmission top cover was replaced with a new chrome cover and new gasket. A new clutch-release cover was also included in the kit. All we needed to do was remove the stock cable and install it into the new cover, along with new gaskets. We also needed to install the new longer clutch-release rod in through the mainshaft.
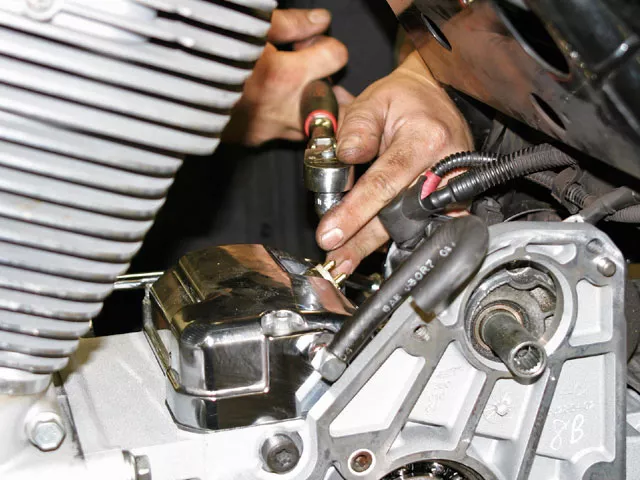
19. The other change needed was the new speedometer sensor bolted into the billet side door while the old sensor hole was plugged. Then we bolted everything else back together in the reverse order of the breakdown. We adjusted the clutch by starting with the basket and tightening the adjustment bolt until it bottomed out. Then we backed the nut in the clutch basket out about three-quarters of a turn. Finally, we snugged the nut and made fine adjustments at the cable. The H-D manual recommends you start with 20 oz. of trans lubricant (synthetic, but it’s up to you), 27 oz. of primary oil, and 3 quarts of 50-weight motor oil.
20. With the bike back together, we put about 200 miles on it, then went back to the dyno room. The bike was run at 65 mph; the rpm were around 2,400, and at 75 mph the rpm were about 2,700. This would allow the bike to produce the same horsepower with less effort and less wear on the motor’s internals. We also noted that the bike was smoother and quieter while riding at higher speeds (not that we recommend speeding…ahem). In less than a day and for about $2,000 in parts, it was a great addition to this bike for the long run.
Screamin’ Eagle Six-Speed Transmission/GearsetWhat would make a nice day out on the open road better than it already is? A smoother ride? And what exactly do we mean by that, anyway? It’s as simple as lowering the high-speed rpm on your bike with an overdrive gear. We all know that the five-speed transmission was a great addition to H-D motorcycles back in the day, but we’re now in a new era of even bigger motor sizes with cubic inches in the triple digits. So we need to smooth out the rpm at higher speeds and make them all-day-ride fun. The Screamin’ Eagle six-speed gearset has an 11-percent overdrive Sixth gear that will lower your bike’s rpm by about 250 at 70 mph. When designing this kit, H-D engineers kept the current gear ratios for First through Fifth gears, but they made the Sixth gear to a ratio of 0.89:1, resulting in a true overdrive.
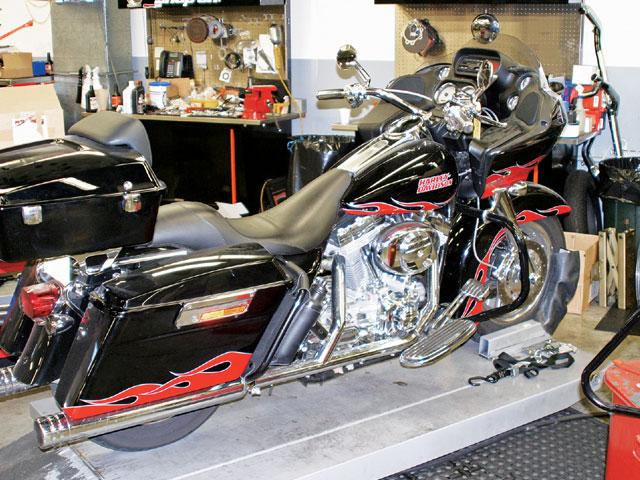
To help us with the install and show us the easy steps to a smoother ride, we stopped at Anaheim/Fullerton Harley-Davidson in Fullerton, CA, where Matt Cortez walked us through the install of the gearset on our long-term test bike. You may recall this ’05 Road Glide from a previous article where we installed everything from controls to sheetmetal to a 103ci kit. Now it was time to keep up with the Joneses and bring the ’05 trans up to Harley’s ’07 Big Twin standards.
The six-speed gearset kits replace the stock gearset in the vehicle without removing the entire transmission case. Gearset kits include all the necessary hardware and require slight modification (template included) to the original-equipment transmission case.


