
S&S 107-Inch Touring Motor – Hot First Look
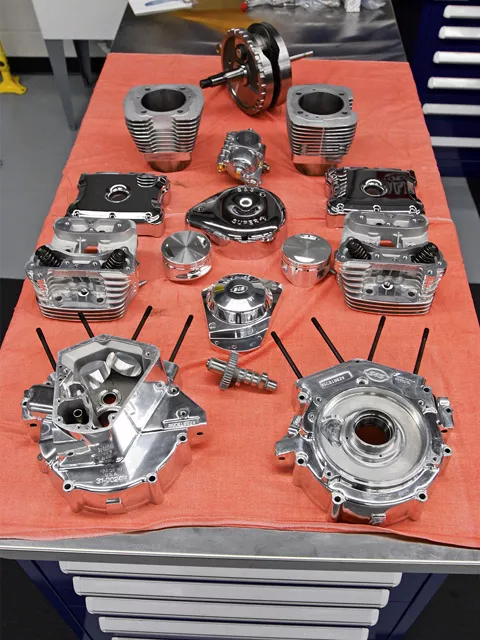
1. Awaiting assembly are the major engine components for the 107T motor.
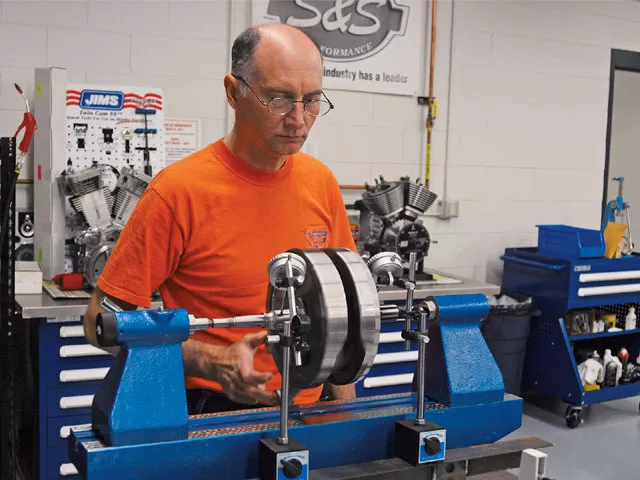
2. At S&S;’s Training and Certification Facility in La Crosse, WI, Ted Grabowski checks the flywheel assembly for balance. All S&S; flywheel assemblies are dynamically balanced before leaving the factory and trued to a tolerance of .0005 inch.
3. Here, Ted is using the S&S; bearing and seal installation tool to install a Timken bearing onto the left-side sprocket shaft.
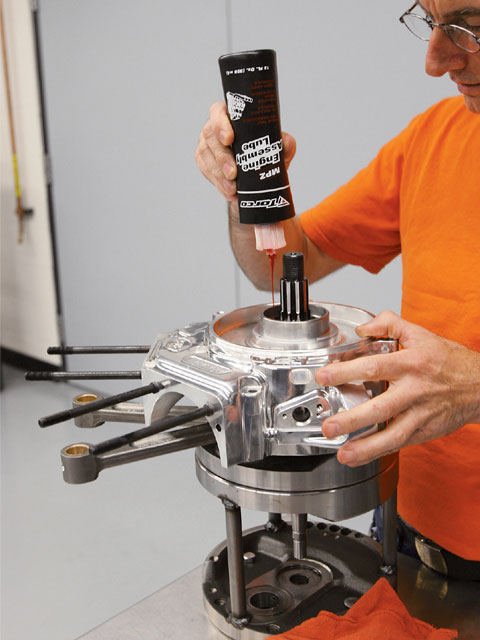
4. After thoroughly cleaning the engine cases, the left-hand case was slipped over the sprocket shaft. Throughout the build, Ted liberally applied assembly lube to moving parts such as bearings and races. This will ensure proper lubrication during the initial startup of the completed motor.

5. Moving to the other side of the flywheel assembly, the pinion bearing was installed and secured with a snap ring before…
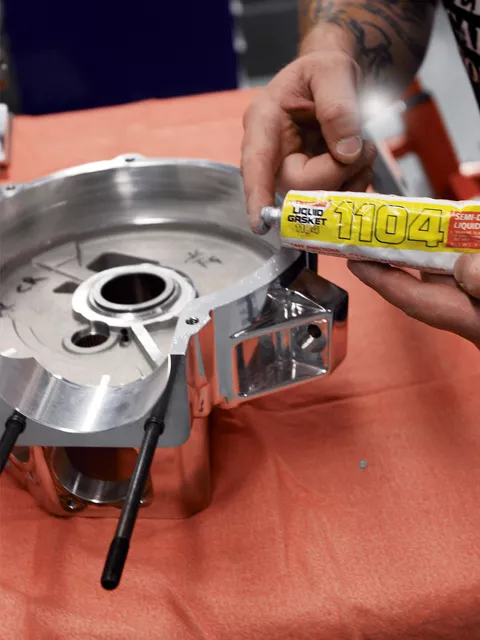
6. …readying the right engine case for assembly. S&S; uses Threebond 1104 liquid gasket between the case halves to keep them well sealed.
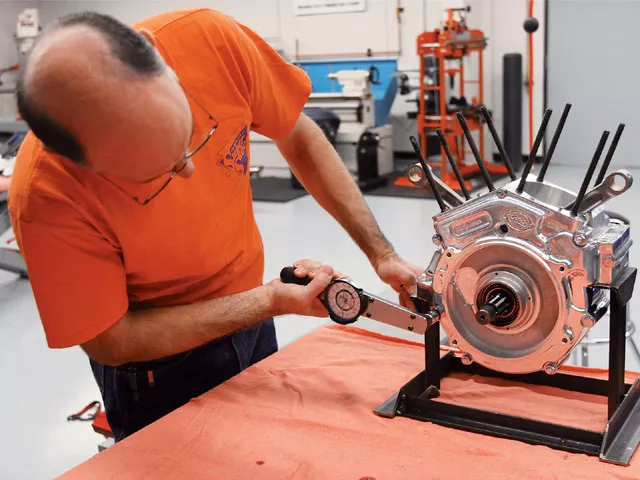
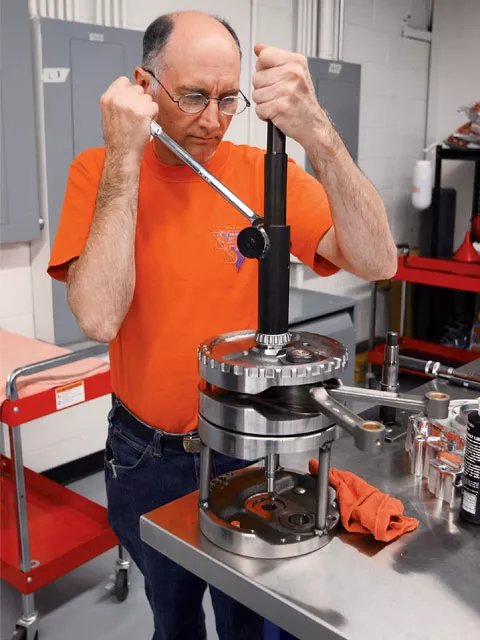
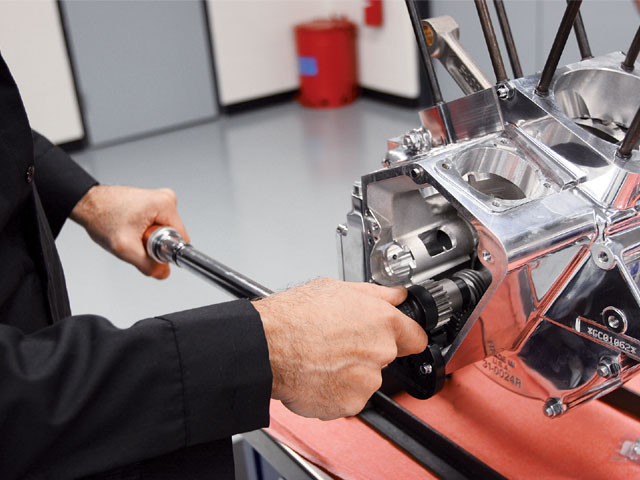
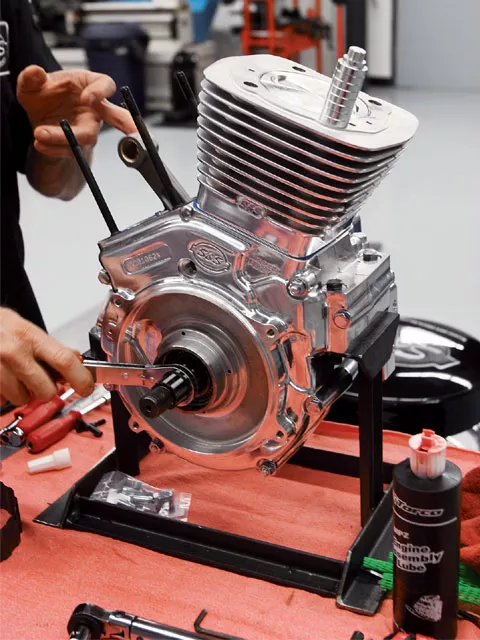
7. After the right case was slid over the pinion shaft, the entire assembly was placed in an engine stand before torquing the case bolts to spec.
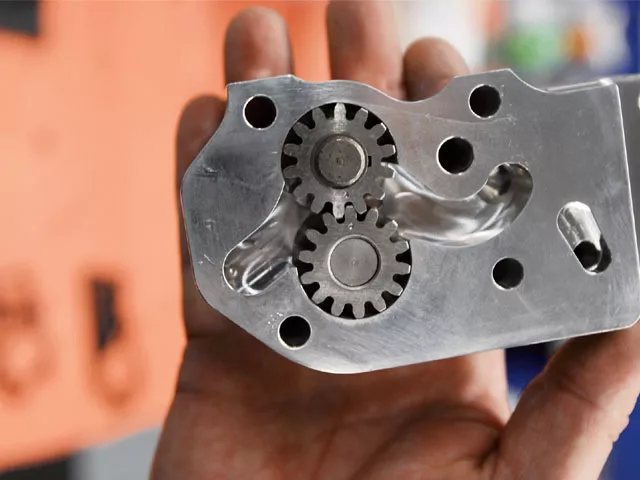
8. After sliding the oil pump through the case, the pump drive gear was held in place with a snap ring. Before installing the oil pump, it’s important to align the timing marks on the gears.
9. While tightening the billet cover on the oil pump, the pump drive gear was simultaneously rotated to make sure the pump moved freely.
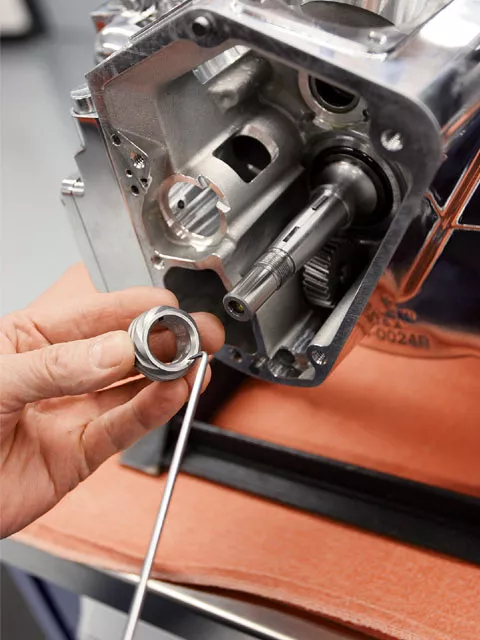
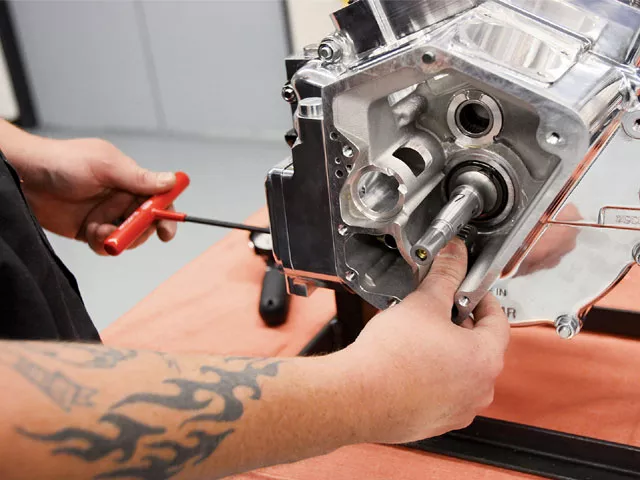
10. Next, the oil-pump drive gear was placed on the pinion shaft. The chamfered end was oriented toward the engine case…
11. …followed by the drive-gear spacer and the pinion gear. The nut (left-hand thread) was torqued to 35 lb-ft.
12. Before installing the camshaft, more assembly lube was applied.
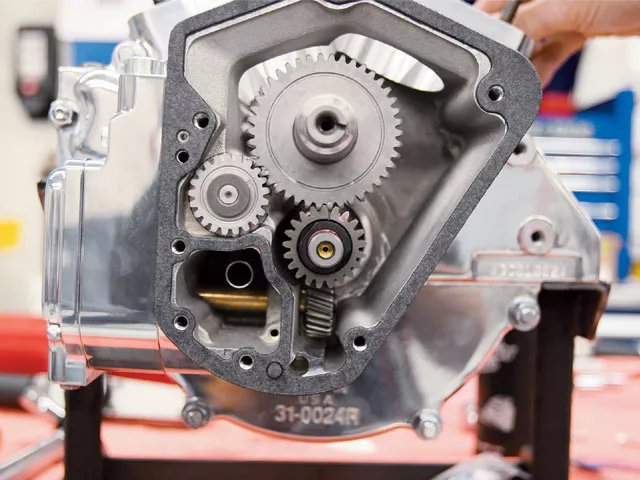
13. When the cam and the breather gear are installed, it’s imperative that the timing marks line up with the already installed pinion gear.
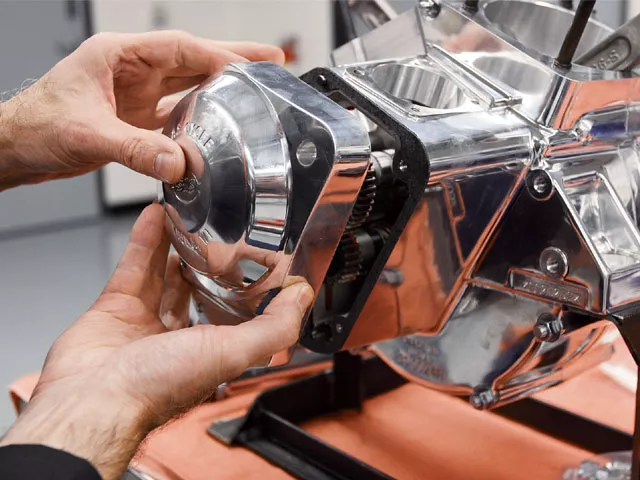
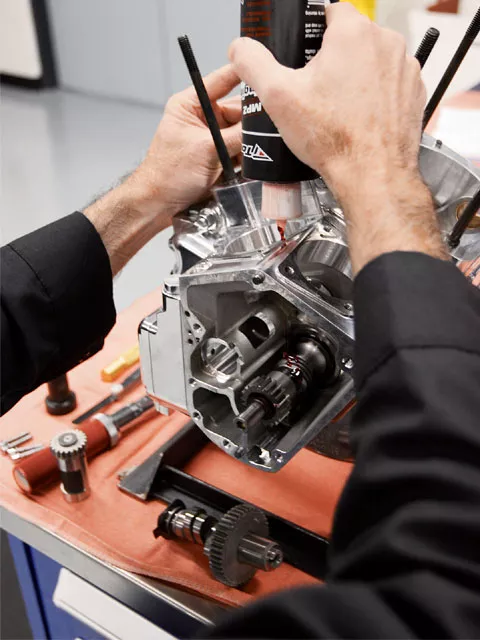
14. A gasket was placed on the case before installing the S&S; billet cam cover.
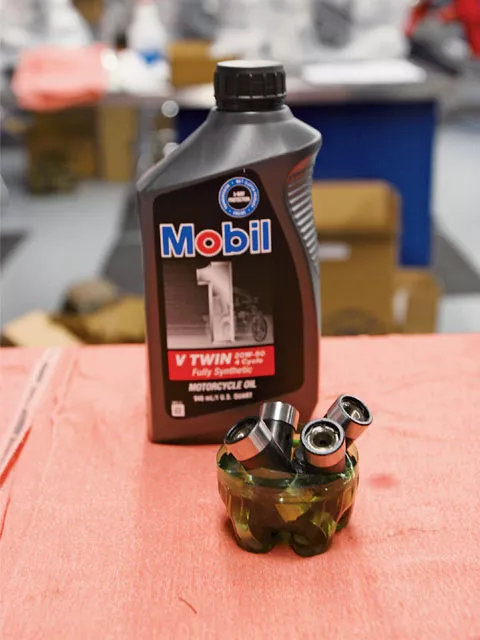
15. Before using new lifters, it’s always a good idea to make sure they are filled with oil. S&S; uses Mobil 1 V Twin 20w50.
16. Ted then inserted the lifters into the lifter guides (tappet blocks) before tightening them. It’s a necessity to use an alignment tool while tightening the lifter guides in the case.
17. Before attaching the cylinders, Ted primed the oil pump with fresh oil as he rotated the flywheel assembly.
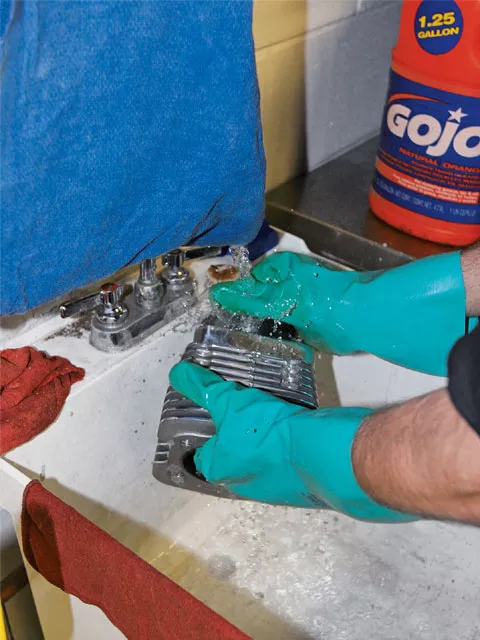
18. Once the bottom end was finished, the cylinders were washed with solvent, cleaned with soap and water, and then blown clean and dried with compressed air.
19. This was followed by installing the rings in the cylinders and measuring the ring gap.

20. A ring expander was used to install the rings on the flat-top pistons. This is a worthwhile task to prevent scratching the pistons and damaging the rings.
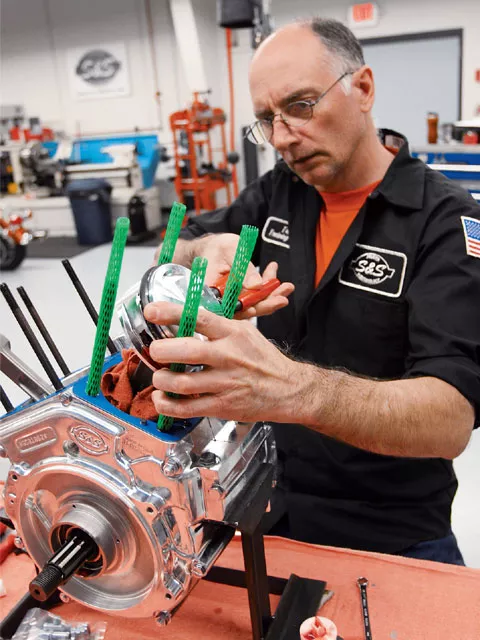
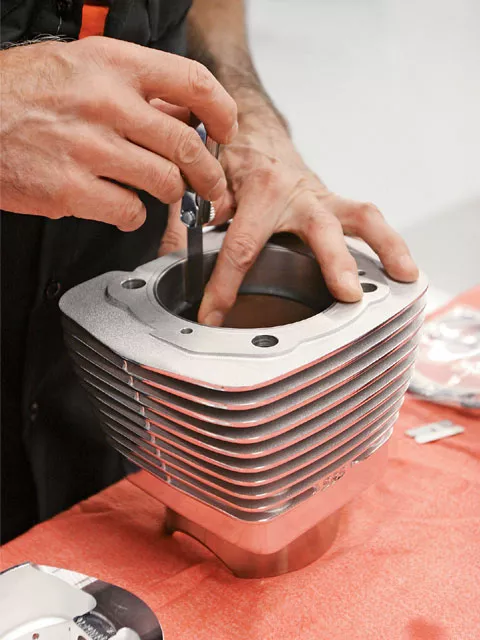
21. The pistons were placed over the rods and the wristpins inserted and secured with clips on both sides. Notice how the cylinder studs were covered to prevent damage to them or the pistons.
22. The cylinder was slid down over the piston and rings before rotating the motor to position the other rod for piston and cylinder assembly. The front cylinder was held in place with a spacer and head bolt.
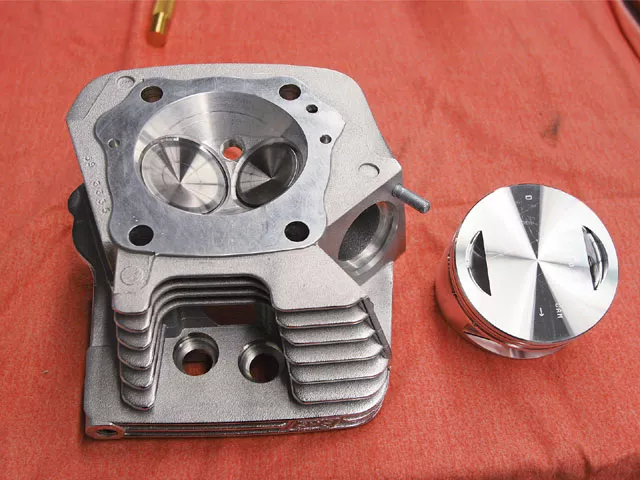
23. The heads on the 107T feature a 93cc combustion chamber with a 2.0-inch intake and 1.605-inch exhaust valve.
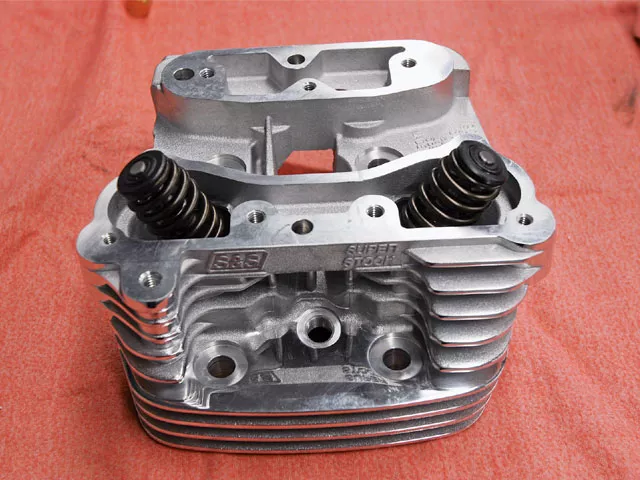
24. The top of the head features S&S;’s new Sidewinder single-coil valvesprings. These help quiet down the valvetrain by reducing the spring noise in the rocker boxes. This is a major benefit for touring riders.
25. Before installing the heads, a drop of oil was placed on the head bolts, washers, and cylinder studs to eliminate false readings on the torque wrench caused by binding.
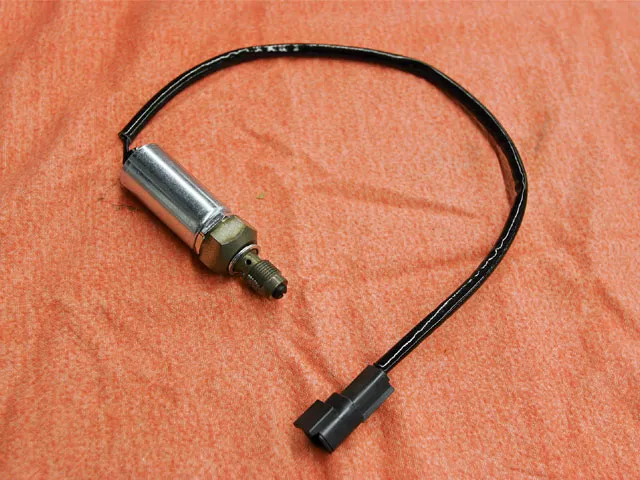
26. S&S; electronic compression releases install in the heads to lessen the load on the starter. They are wired into the starting circuit and open when the starter button is depressed, then close when it is released.
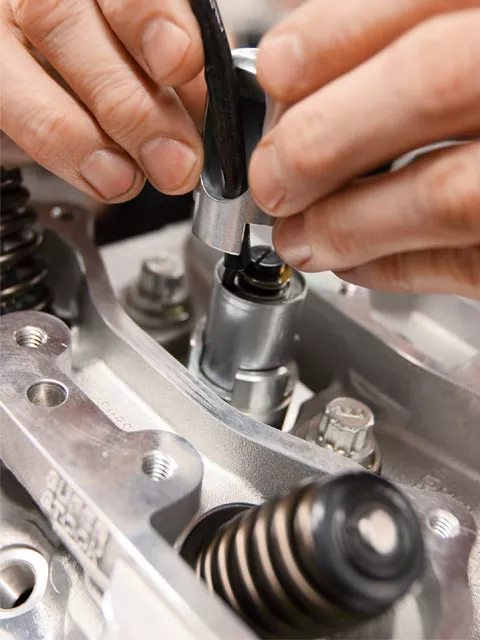
27. A two-piece S&S; compression-release socket was used to install the releases into the heads.
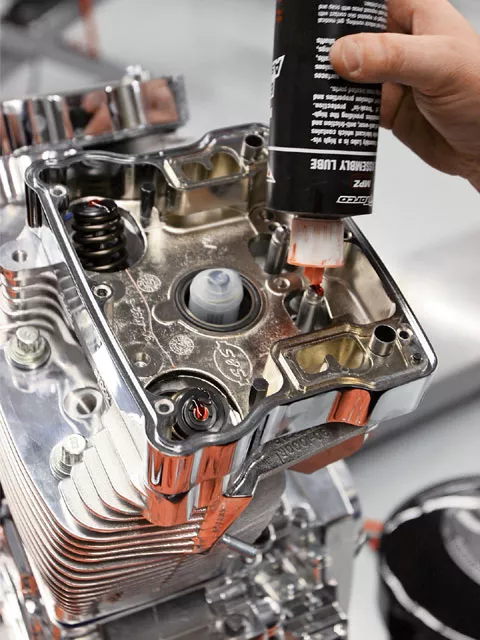
28. Assembly lube was applied into the rocker box to ensure lubrication between moving parts.

29. Then the rocker assemblies were bolted in place and oiled.
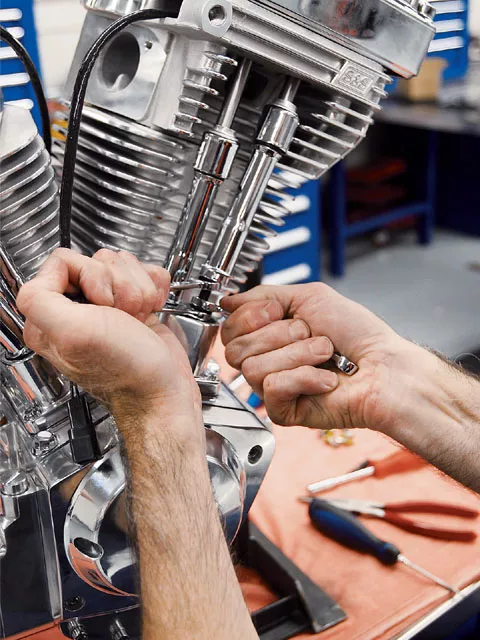
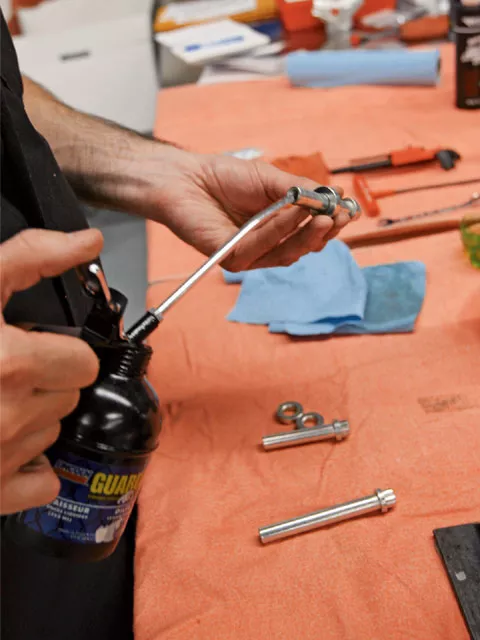
30. Once the rocker assemblies and covers were installed, Ted adjusted the pushrods for proper length with the help of three wrenches.Proper pushrod adjustment is absolutely critical to optimum engine performance. Too long, and valve damage can occur; too short, and engine performance suffers.
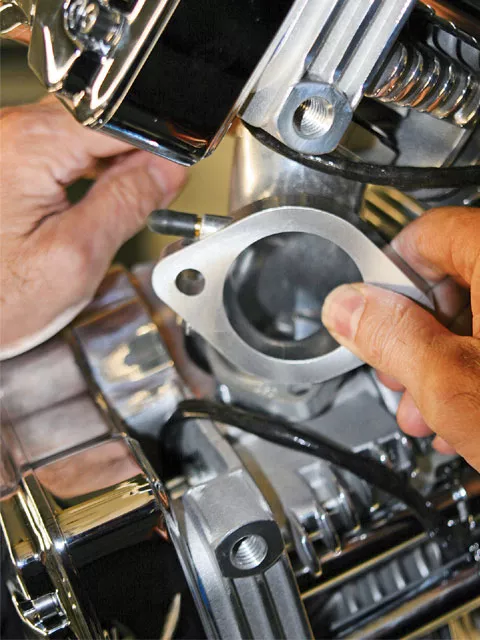
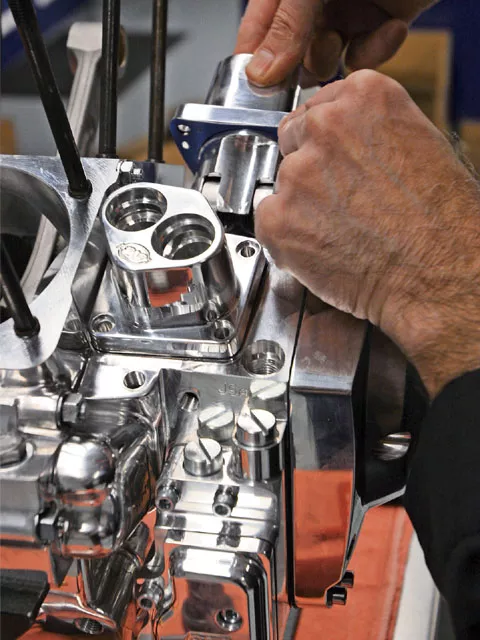
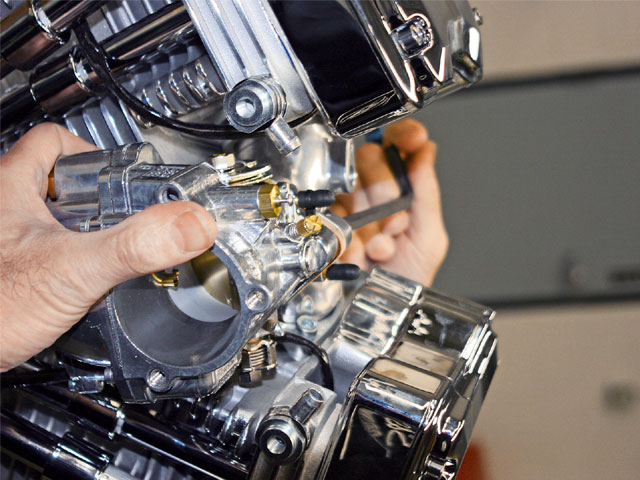
31. S&S; uses its Super E carburetor on the 107T motor. While the Super G may provide better top-end power, the smaller-sized E gives better midrange response and gas mileage. The first step was installing the intake manifold to the heads.
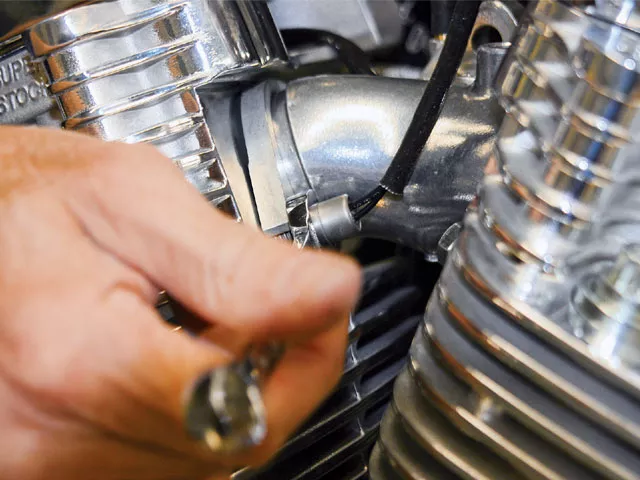
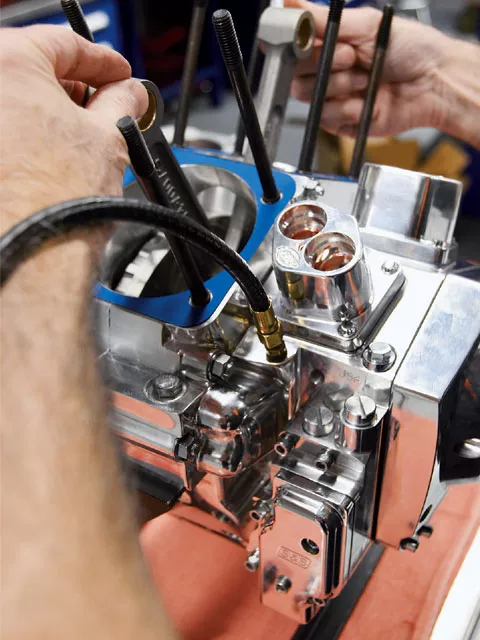
32. On the backside of the manifold, a 5/16-inch threaded sensor allows use of a head-temperature sensor that the IST ignition module uses to determine the engine’s operating temperature. The sensor works in conjunction with a knock sensor, MAP (manifold air pressure) sensor, and crank-position sensor to provide optimum ignition timing under all riding conditions.
33. Once the manifold was installed, the carb was bolted on next…
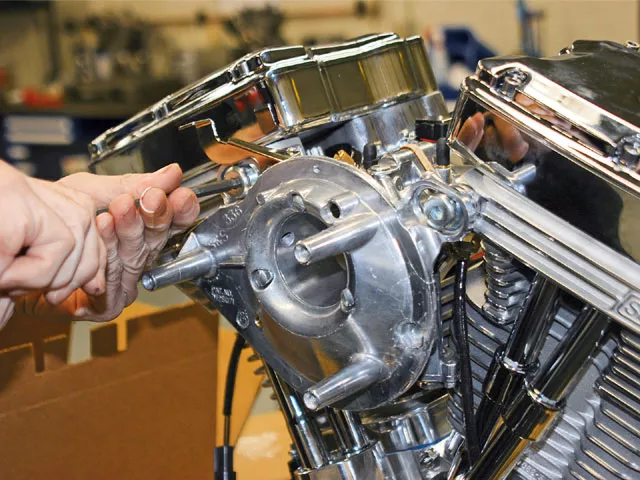
34. …followed by the air-cleaner backing plate.
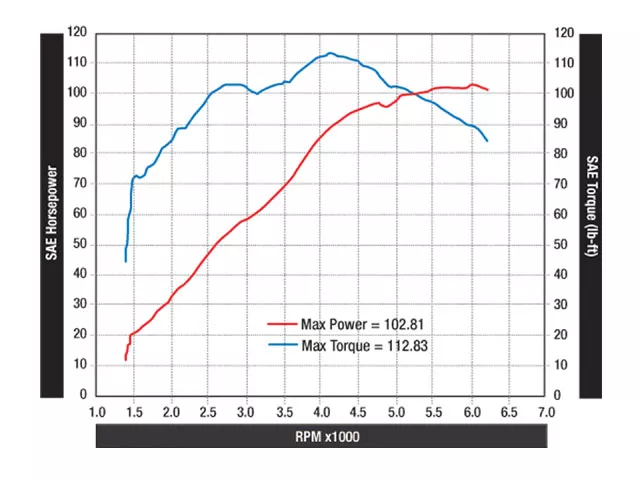
35. The proof is in the dyno. As you can see, this motor makes big torque. From 2,500 rpm and above the torque remains over 100 lb-ft, peaking above 112 lb-ft. Max horsepower was measured at almost 103hp. This is the kind of power that makes riding all day fun while having the extra benefit of being able to pass slow-moving RVs and trucks.
In a previous issue (Vol. 38, No. 11) of HOT BIKE, we introduced the Rolling Thunder FL-style frame that is the basis for our Hot Bagger build. Arlen and Cory Ness are responsible for putting their spin on a touring bike that will utilize some of the best components in the industry, including a Baker transmission and skins from Russ Wernimont Designs. In this, the second installment of the project, we will be discussing the all-new 107ci S&S; powerplant that’s going between the framerails.
S&S;’s new V-Series 107T was designed specifically with the touring rider in mind. The engineers at S&S; know there’s a big difference between riding wide open on the racetrack and the needs of the long-distance pilot. The racer demands horsepower, usually found high up in the rpm range, while the typical street rider benefits from lots of midrange torque. Many riders of big, heavy touring bikes seek torque on demand without having to downshift. In addition, compression ratios must be adjusted for the kind of fuel you run through the motor. Many a touring rider knows how poor some gasoline can be when you’re out in the middle of nowhere. High compression ratios and low-octane gas don’t work well together and can easily harm a motor through detonation (pinging). Another factor to consider when out on the highway for hours or days at a time is the noise that emanates from the motor. A quiet motor leads to a happier touring experience.
The 107T features a slightly undersquare configuration combining a 4-inch bore and a stroke of 4-1/4 inches. S&S; heads with 93cc combustion chambers sit atop zero-deck cylinders filled with flat-top pistons. This combination yields a static compression ratio of 9.5:1. A single 0.585-lift cam sits in the camchest. An extra performance and safety benefit is the S&S; Intelligent Spark Technology module that automatically adjusts ignition timing when detonation occurs. During normal engine operation, ignition timing is advanced for maximum power and economy.
We had the opportunity to have a first peek at the brand-new-for-’07 107T motor. Follow along as we take you through the complete engine build, highlighting the components that make this the hot ticket for your current or next touring bike. S&S; V-Series 107T with IST engines fit all carburetor or EFI Evo-style chassis and are protected by a three-year warranty. MSRP starts at $6,280 for natural finish with a SuperStock ignition up to $8,040 for a full polished version with single-bore fuel injection.
Stay tuned for upcoming HOT BIKE issues as we continue with this project, when Arlen and Cory Ness will put this motor into our Hot Bagger project frame.


