
Twin Cam Engine Rebuild Part 5 of 5 | Hot Bike
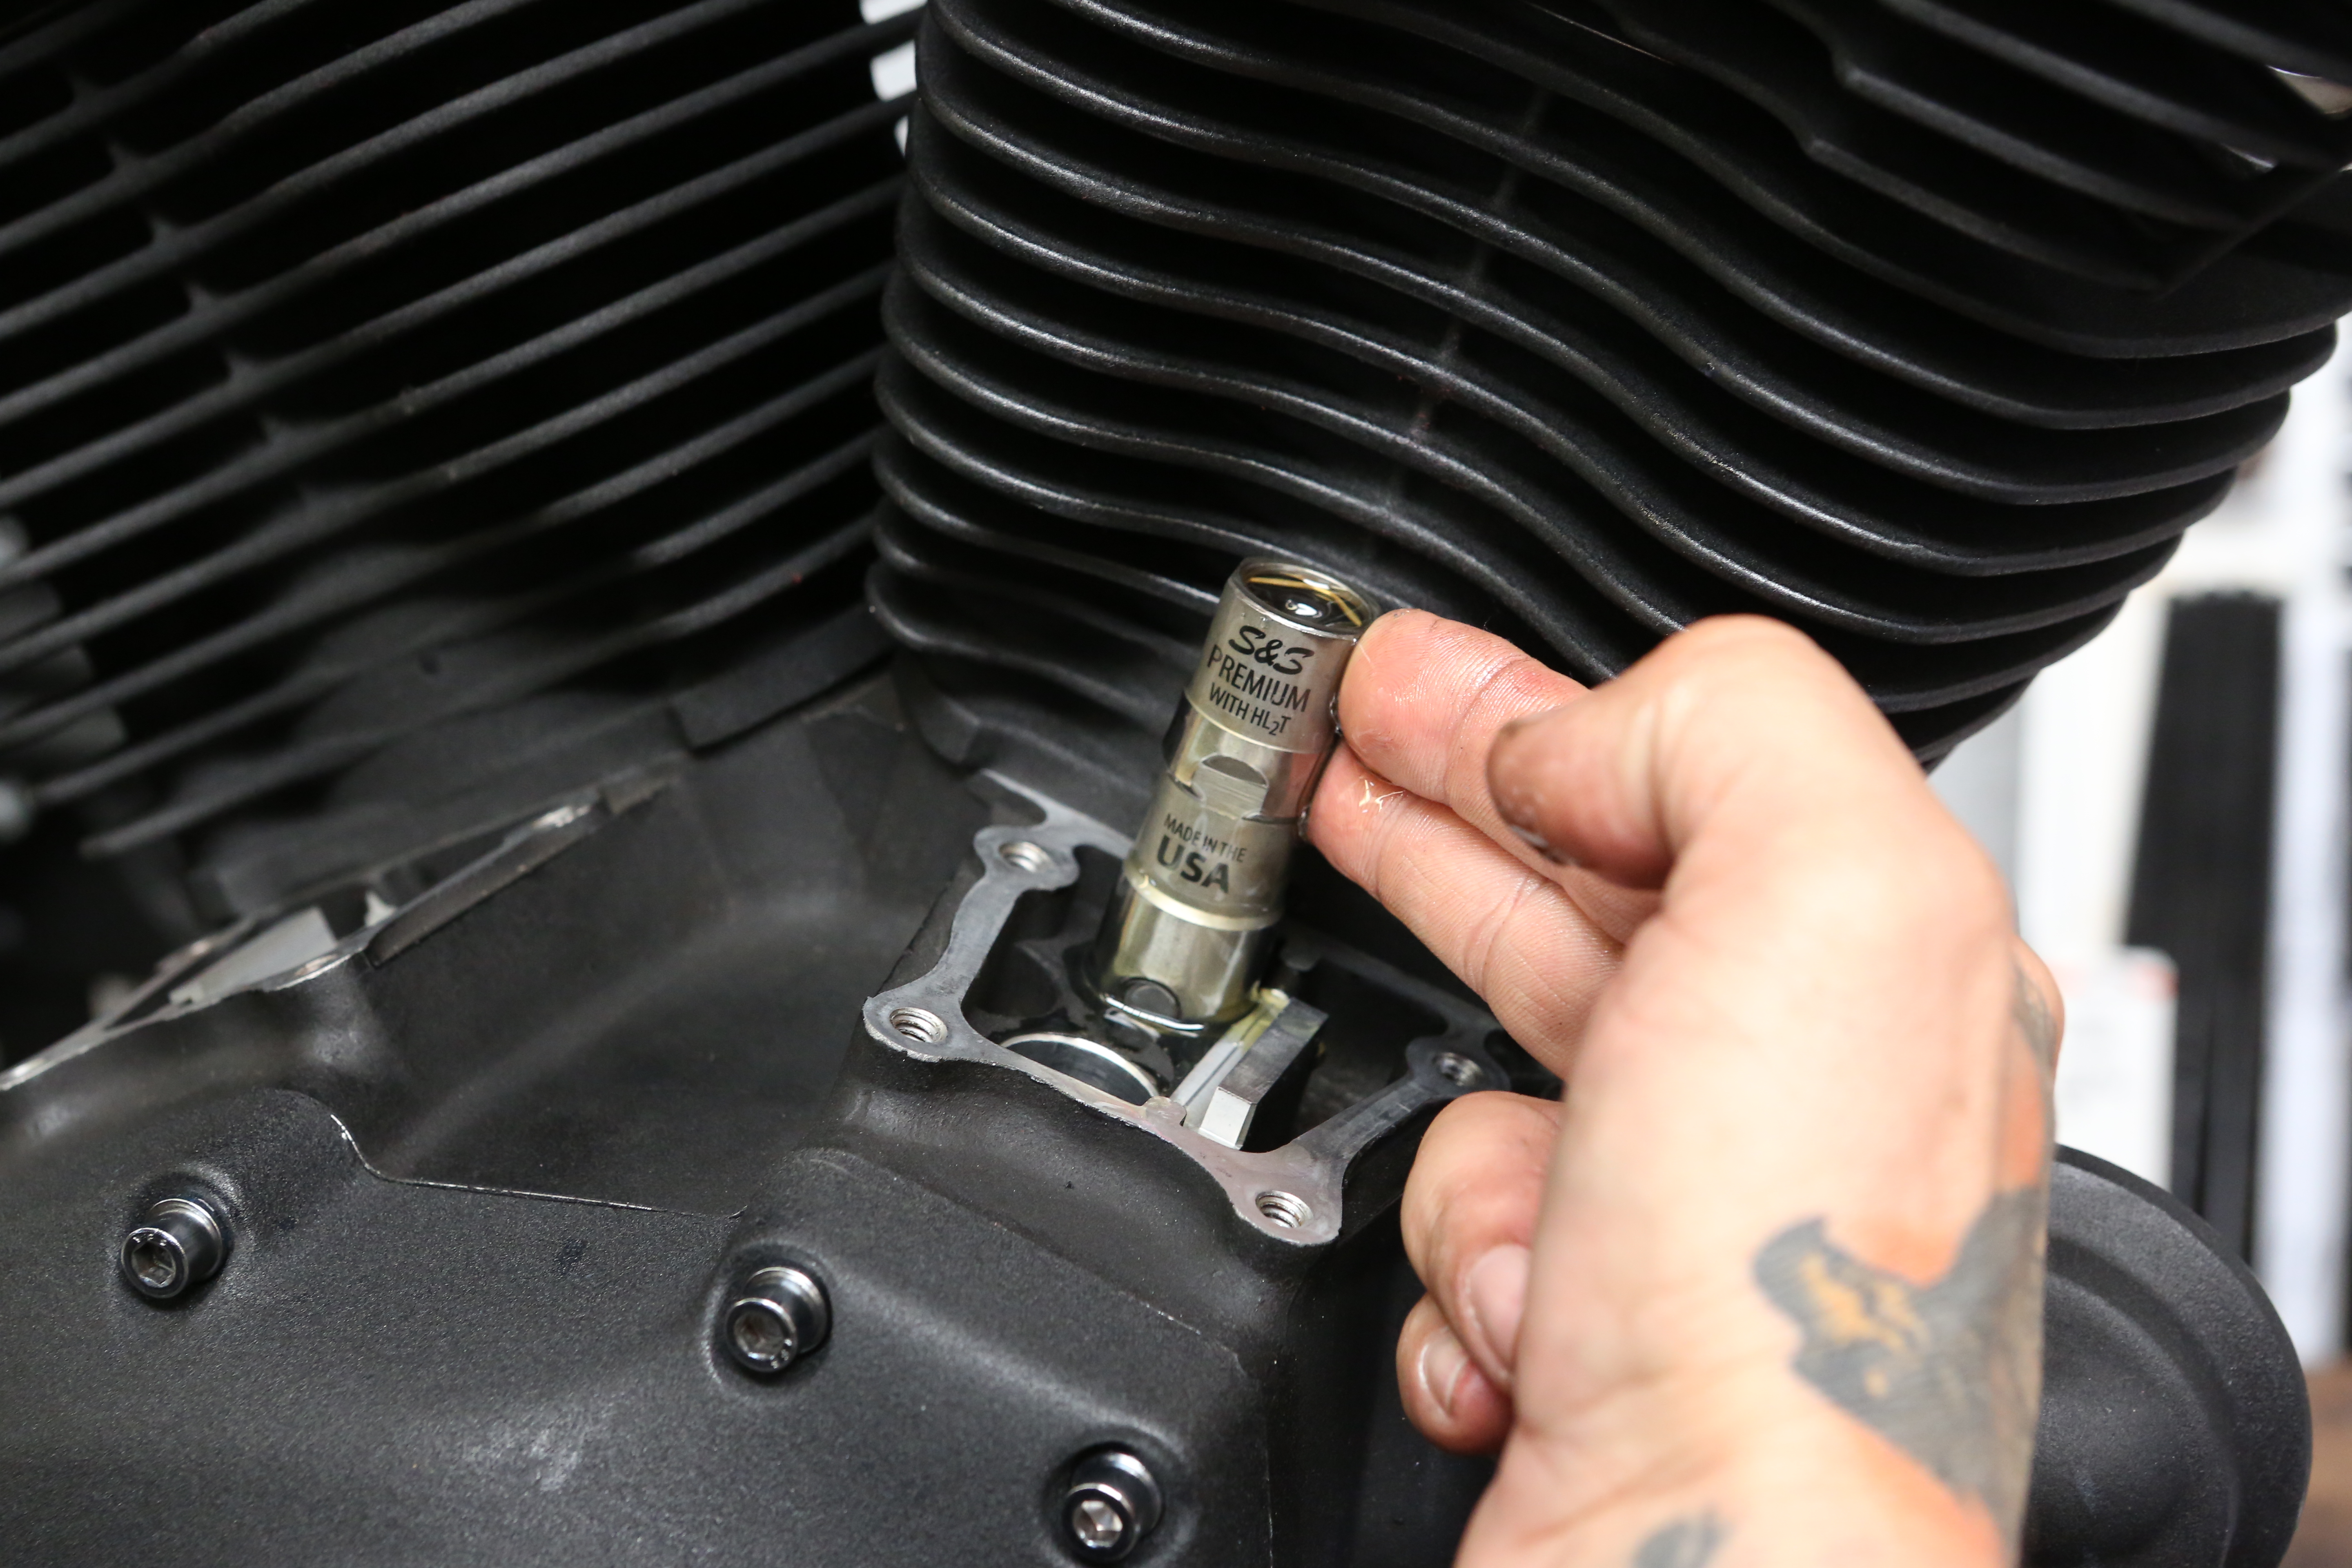
Take the tappet and place it in its bore. It should slide down into the engine case effortlessly.
Photo: Hot Bike Staff
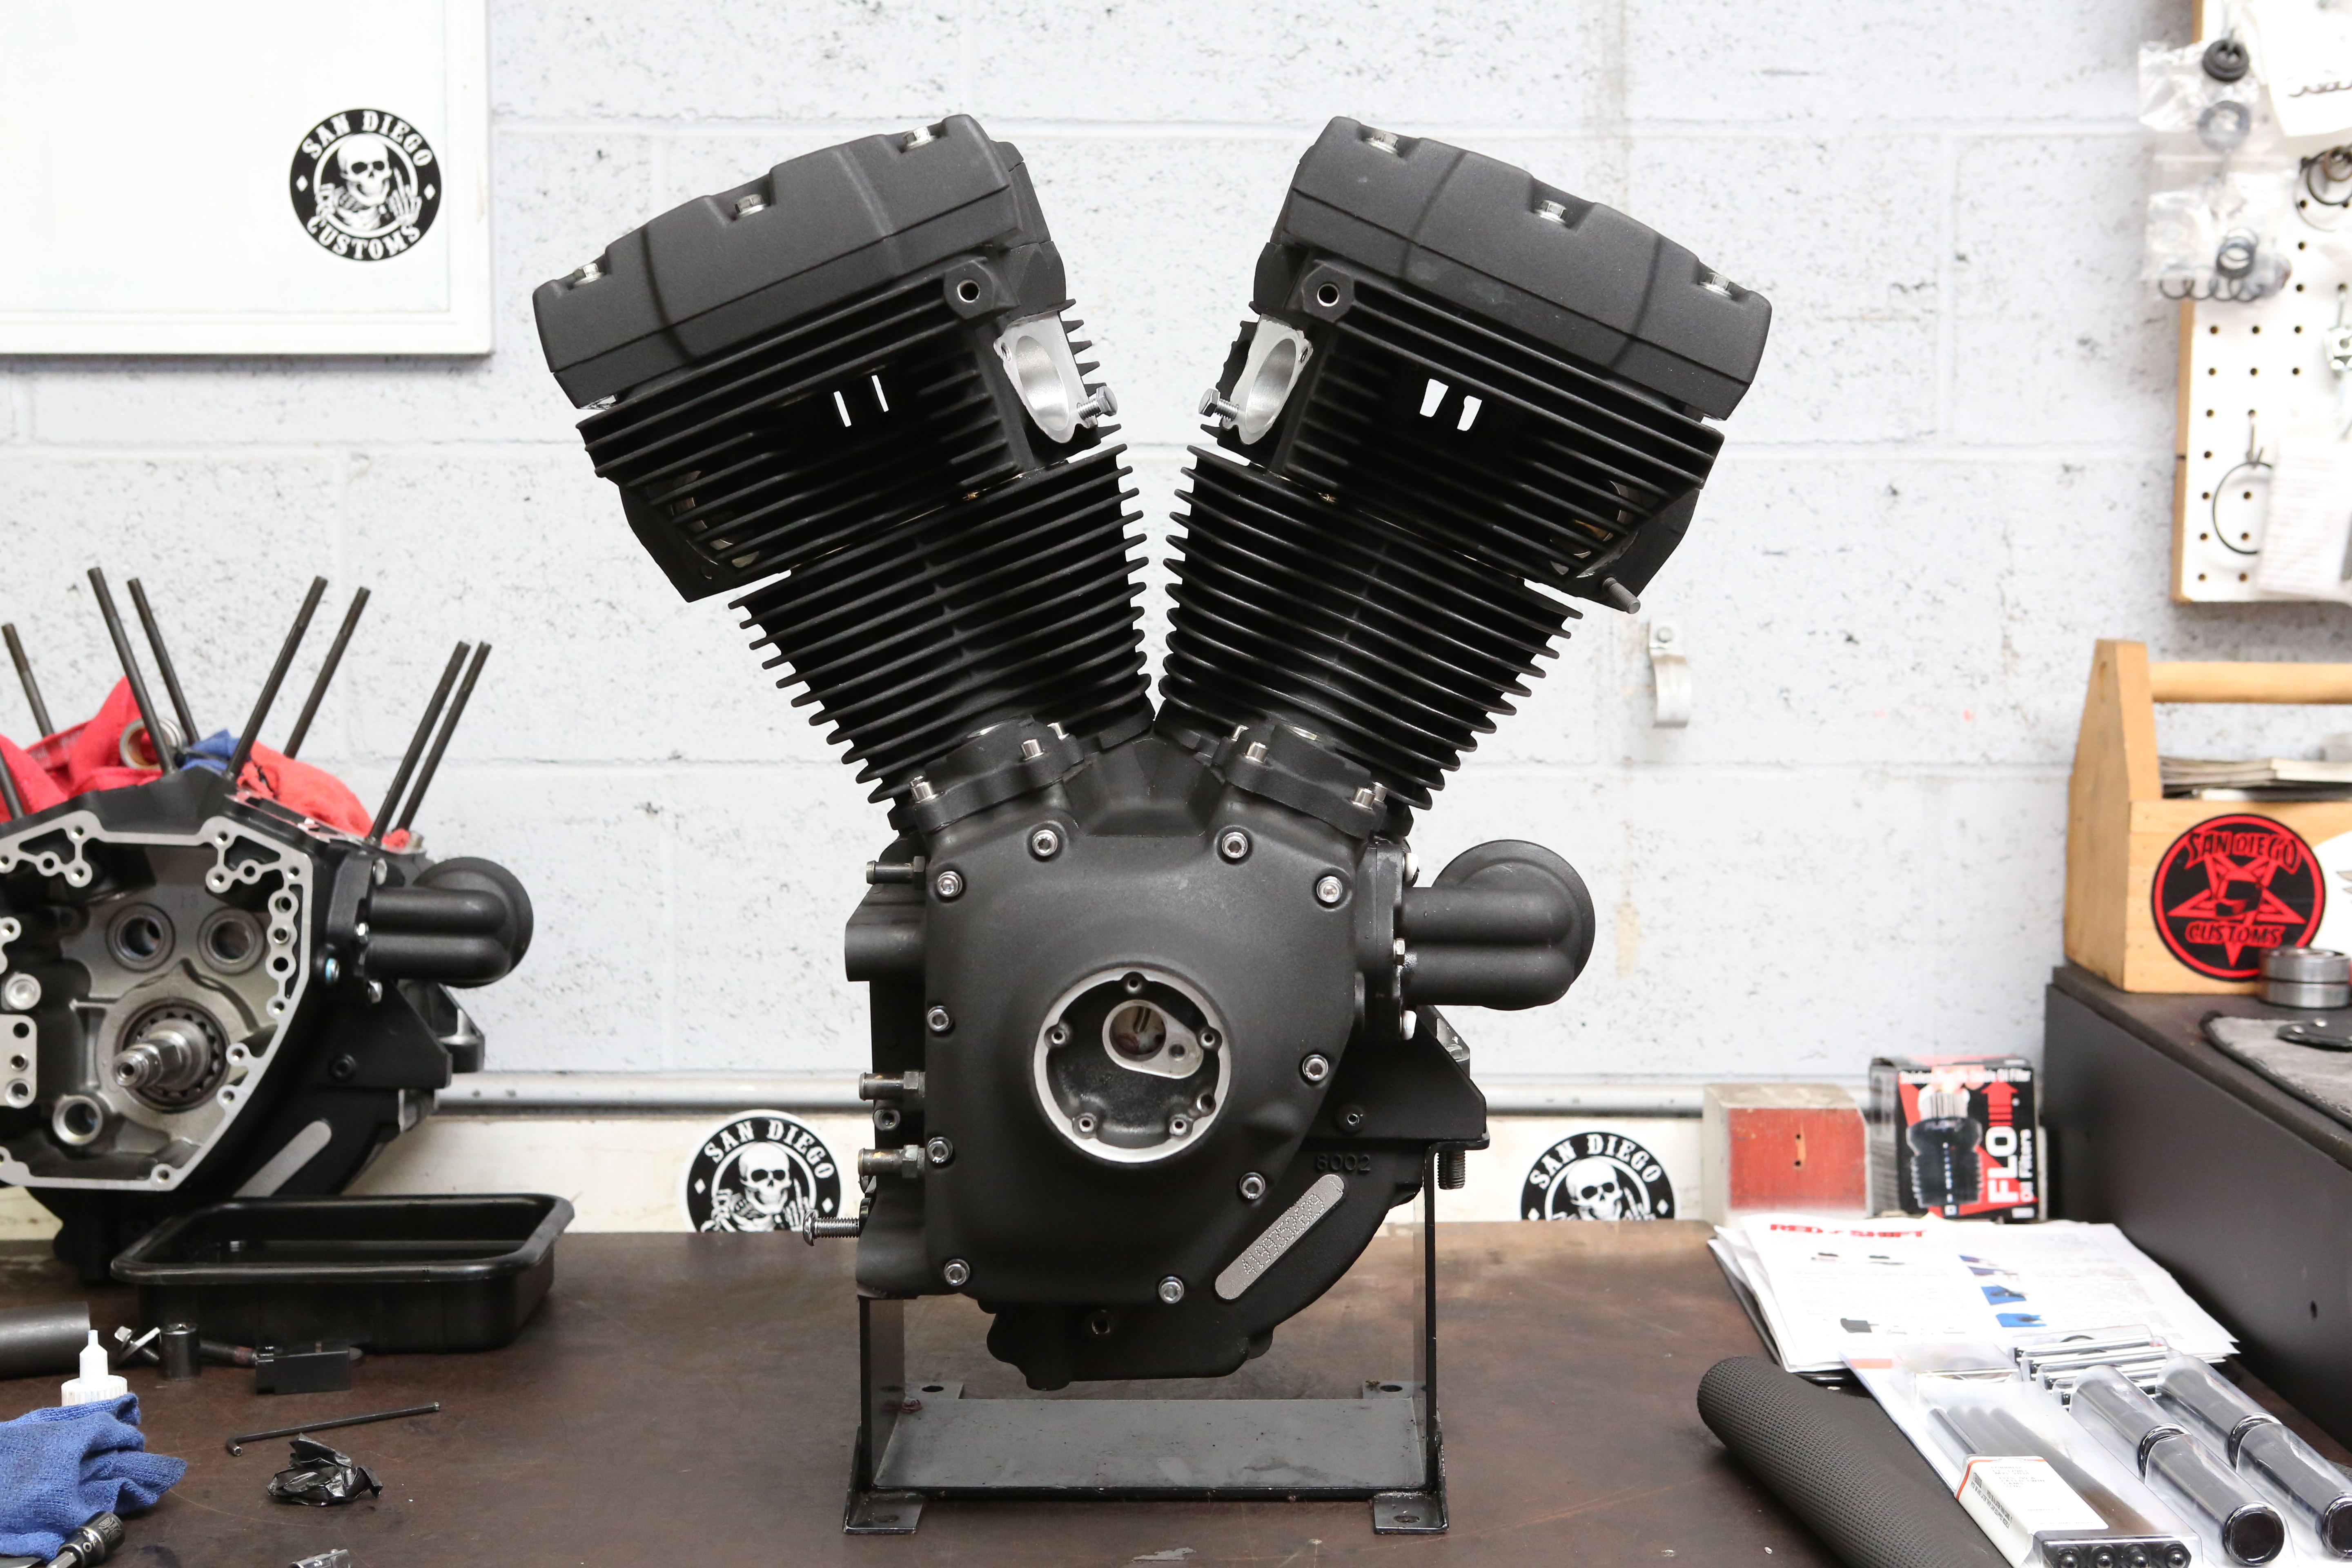
The last phase of our Twin Cam A reworking takes us from the tappets to the carburetor. For you kids just now joining us at home, Hot Bike pulled the worn Twin Cam “A” motor from a 1999 FXDX out of its chassis at the 100,000 mile mark.
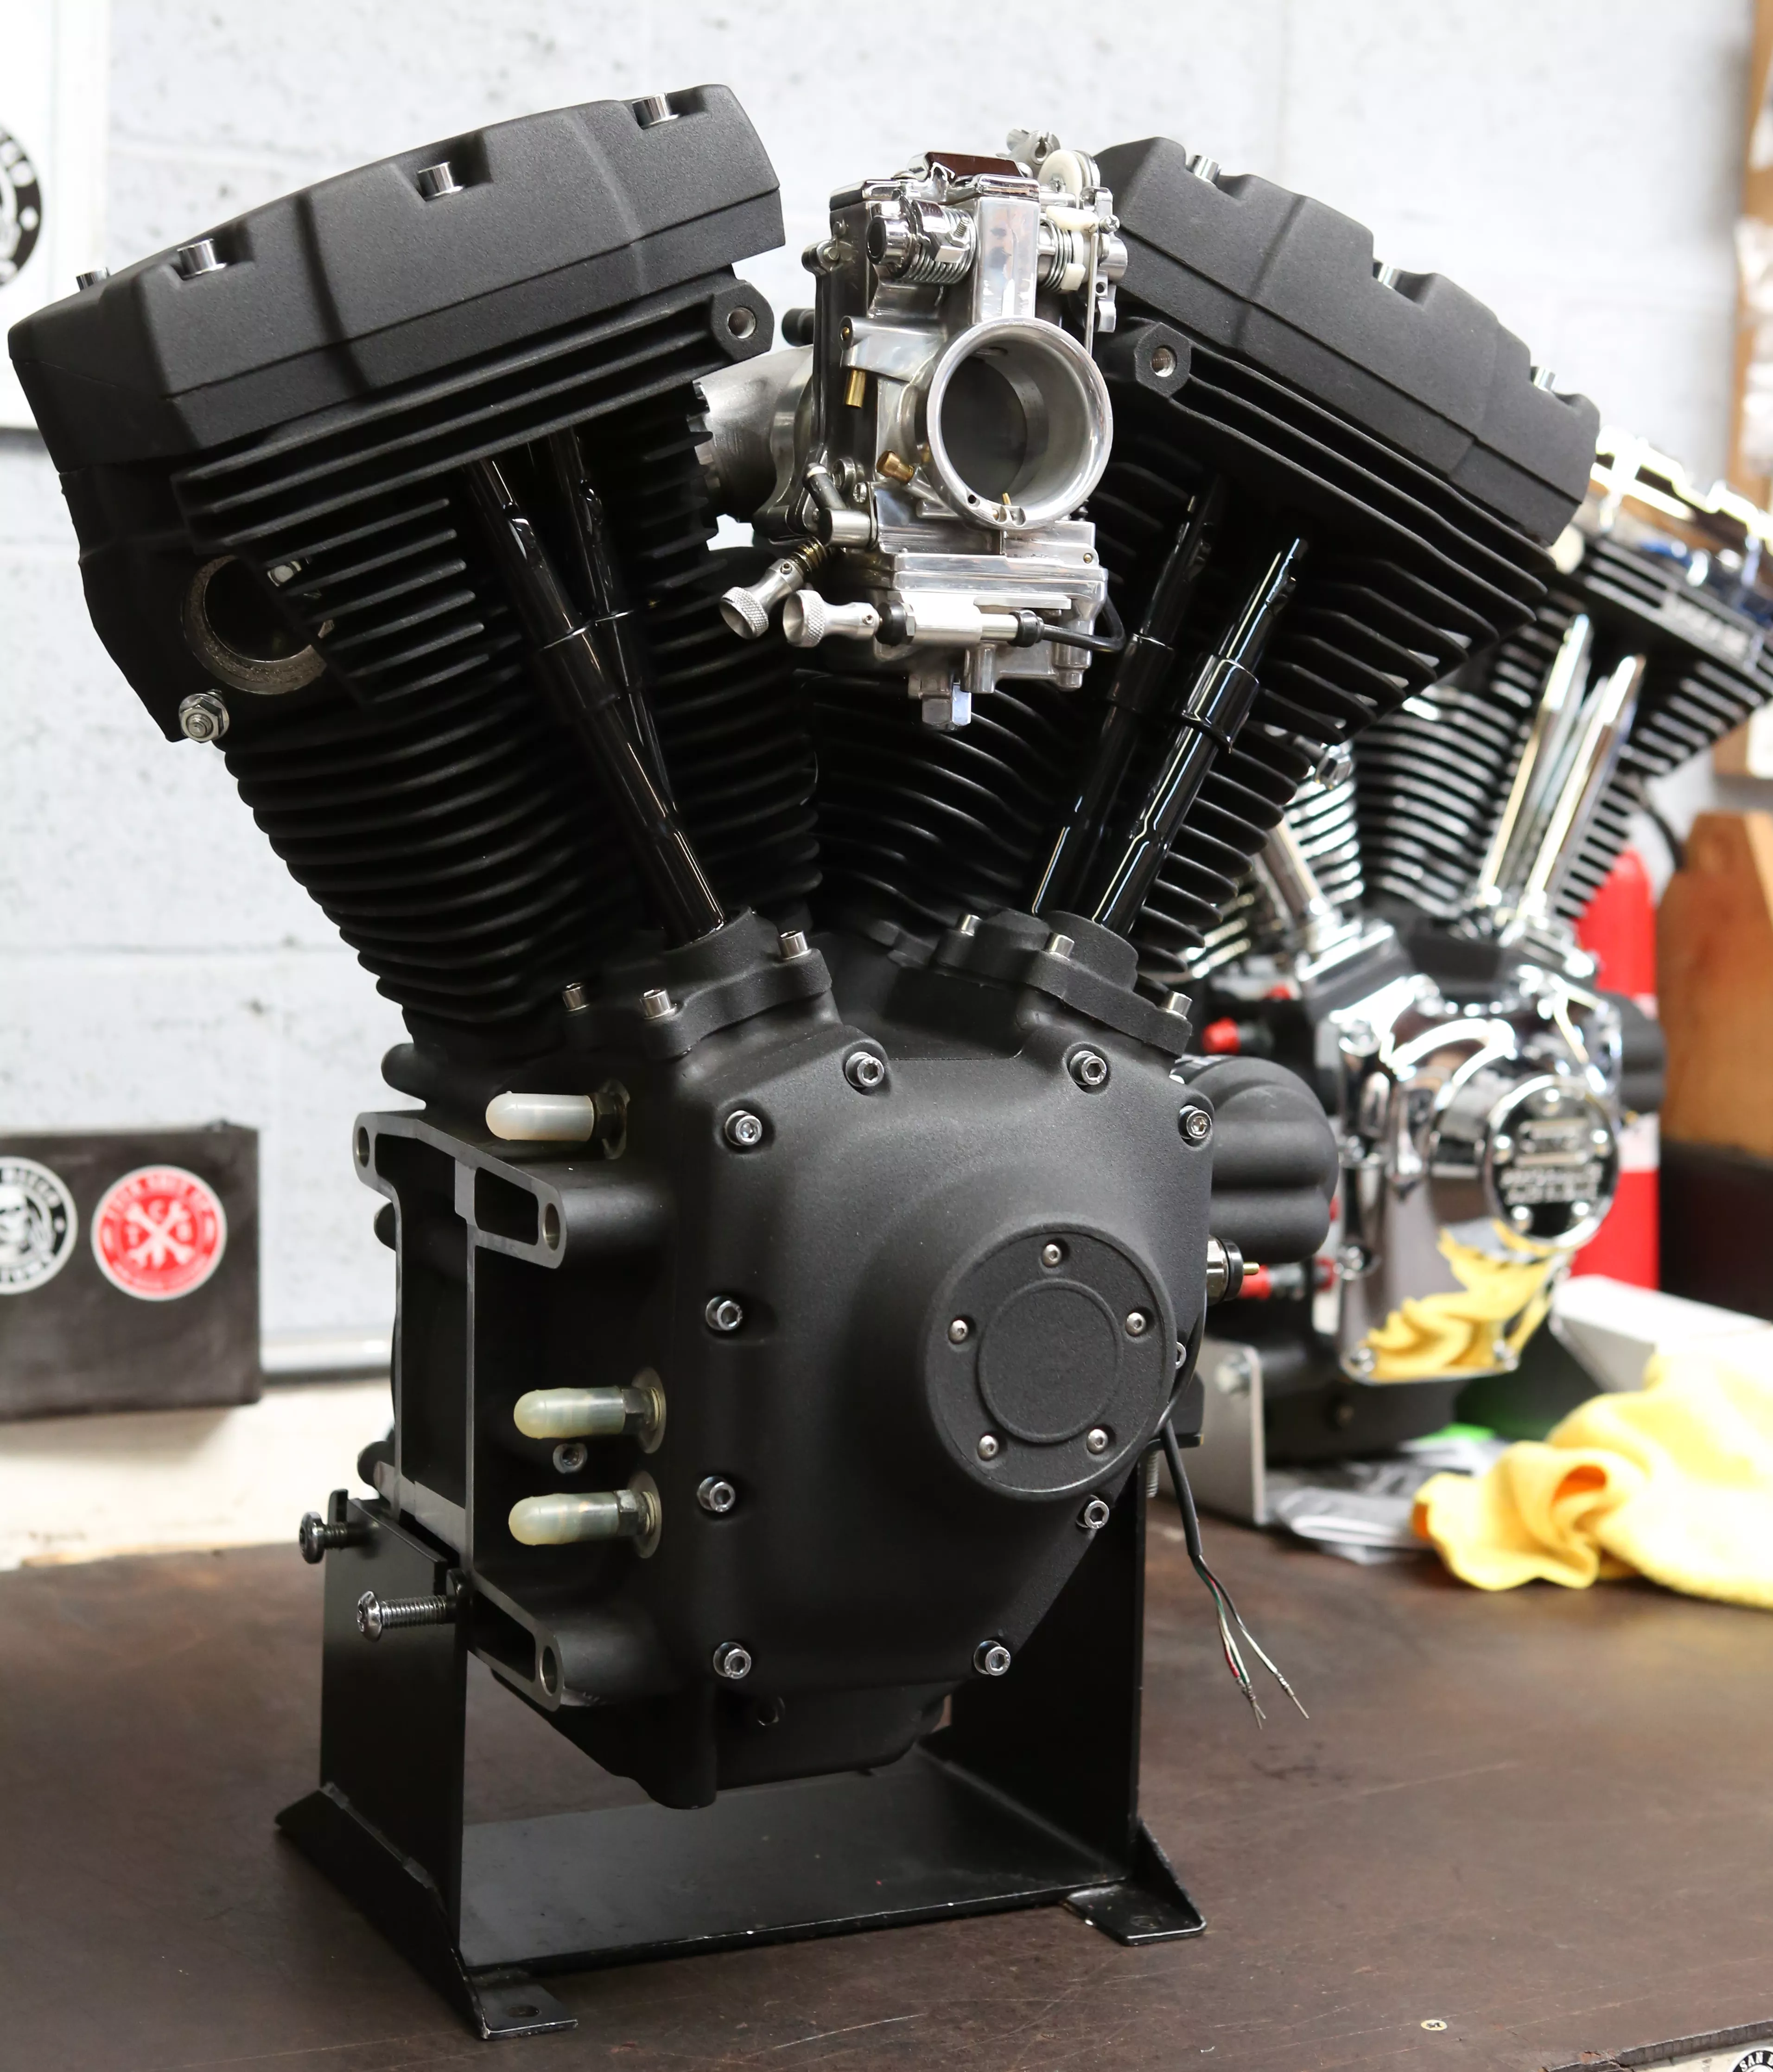
We broke it down, inspected it, and then sent the lower end to Darkhorse Crankworks (DHC) so its squad of bottom-end experts could rework the tired components. Working with Dave Mackie Engineering (DME), we concocted a solid 107ci top end using bored H-D cylinders and some DME Mega-Sphere pistons, complemented by a DME cam. Both DME and DHC are known for their superior quality and attention to detail, so it was a pleasure to assemble this motor knowing the end result would be a powerful yet balanced blueprinted motor.
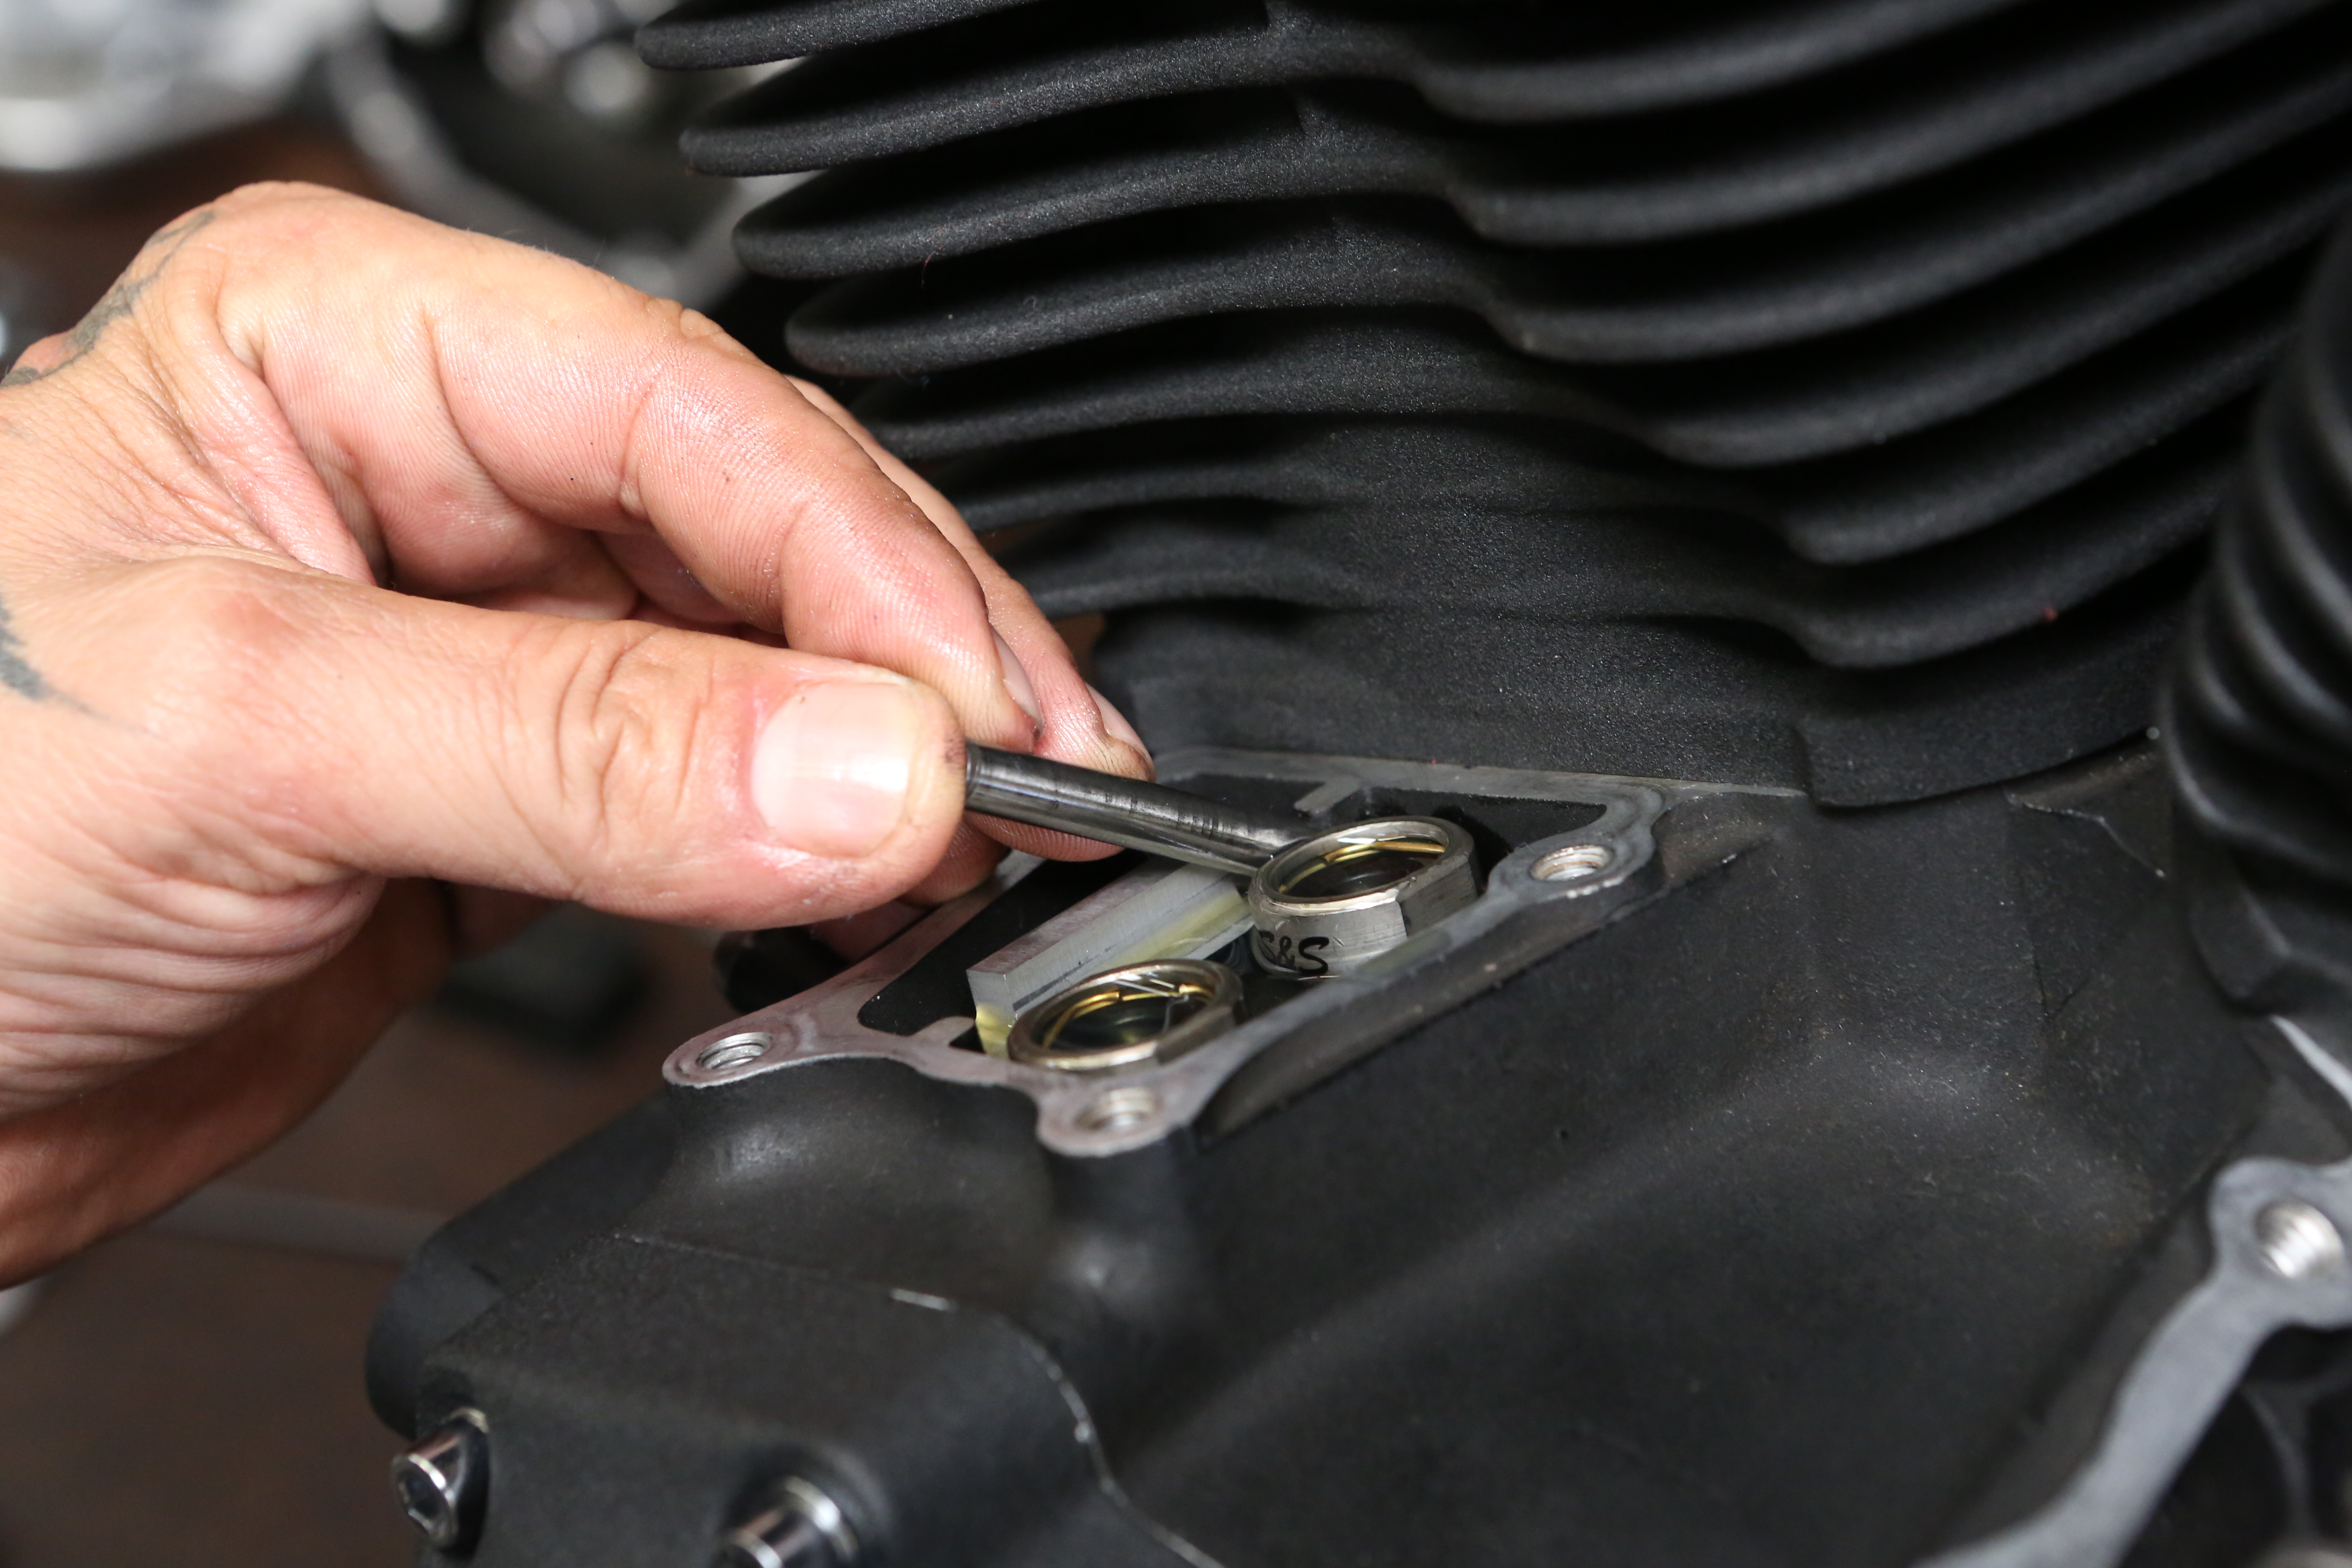
After placing both lifters in their appropriate bores, secure them with the tappet-locking bar that drops into the slot in the engine case.
Photo: Hot Bike Staff
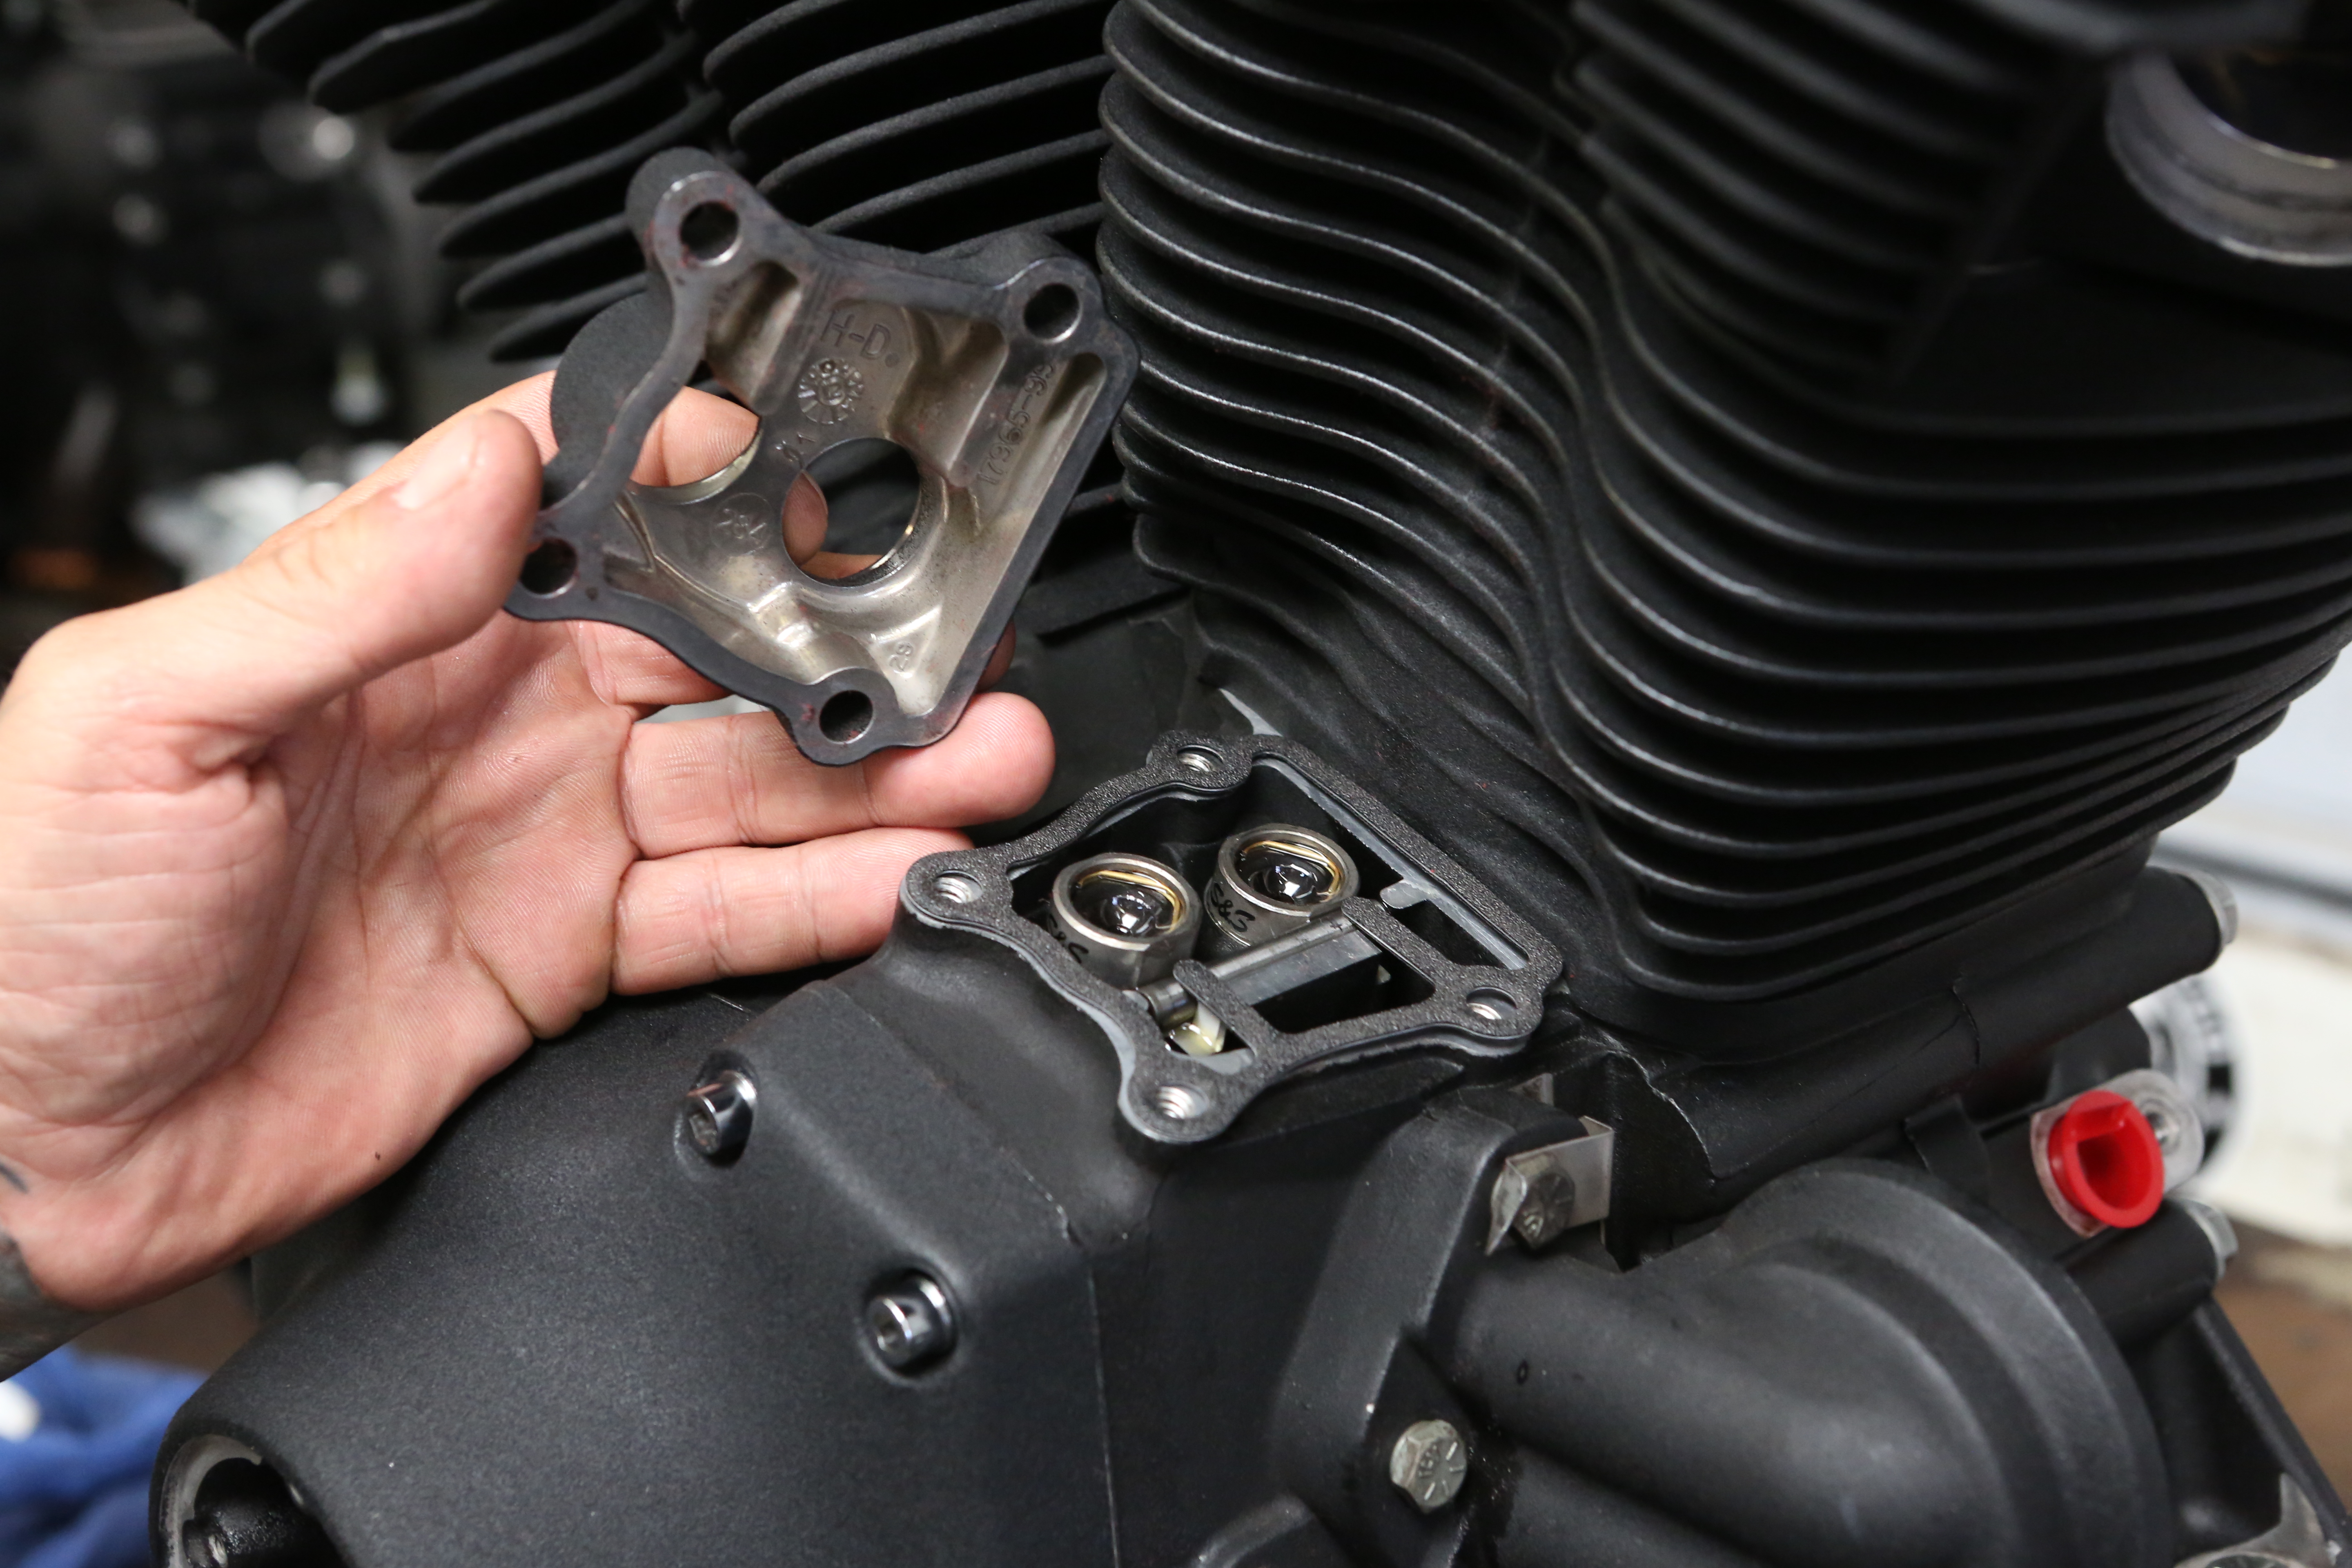
Place your tappet gasket and cover over the lifter bore.
Photo: Hot Bike Staff
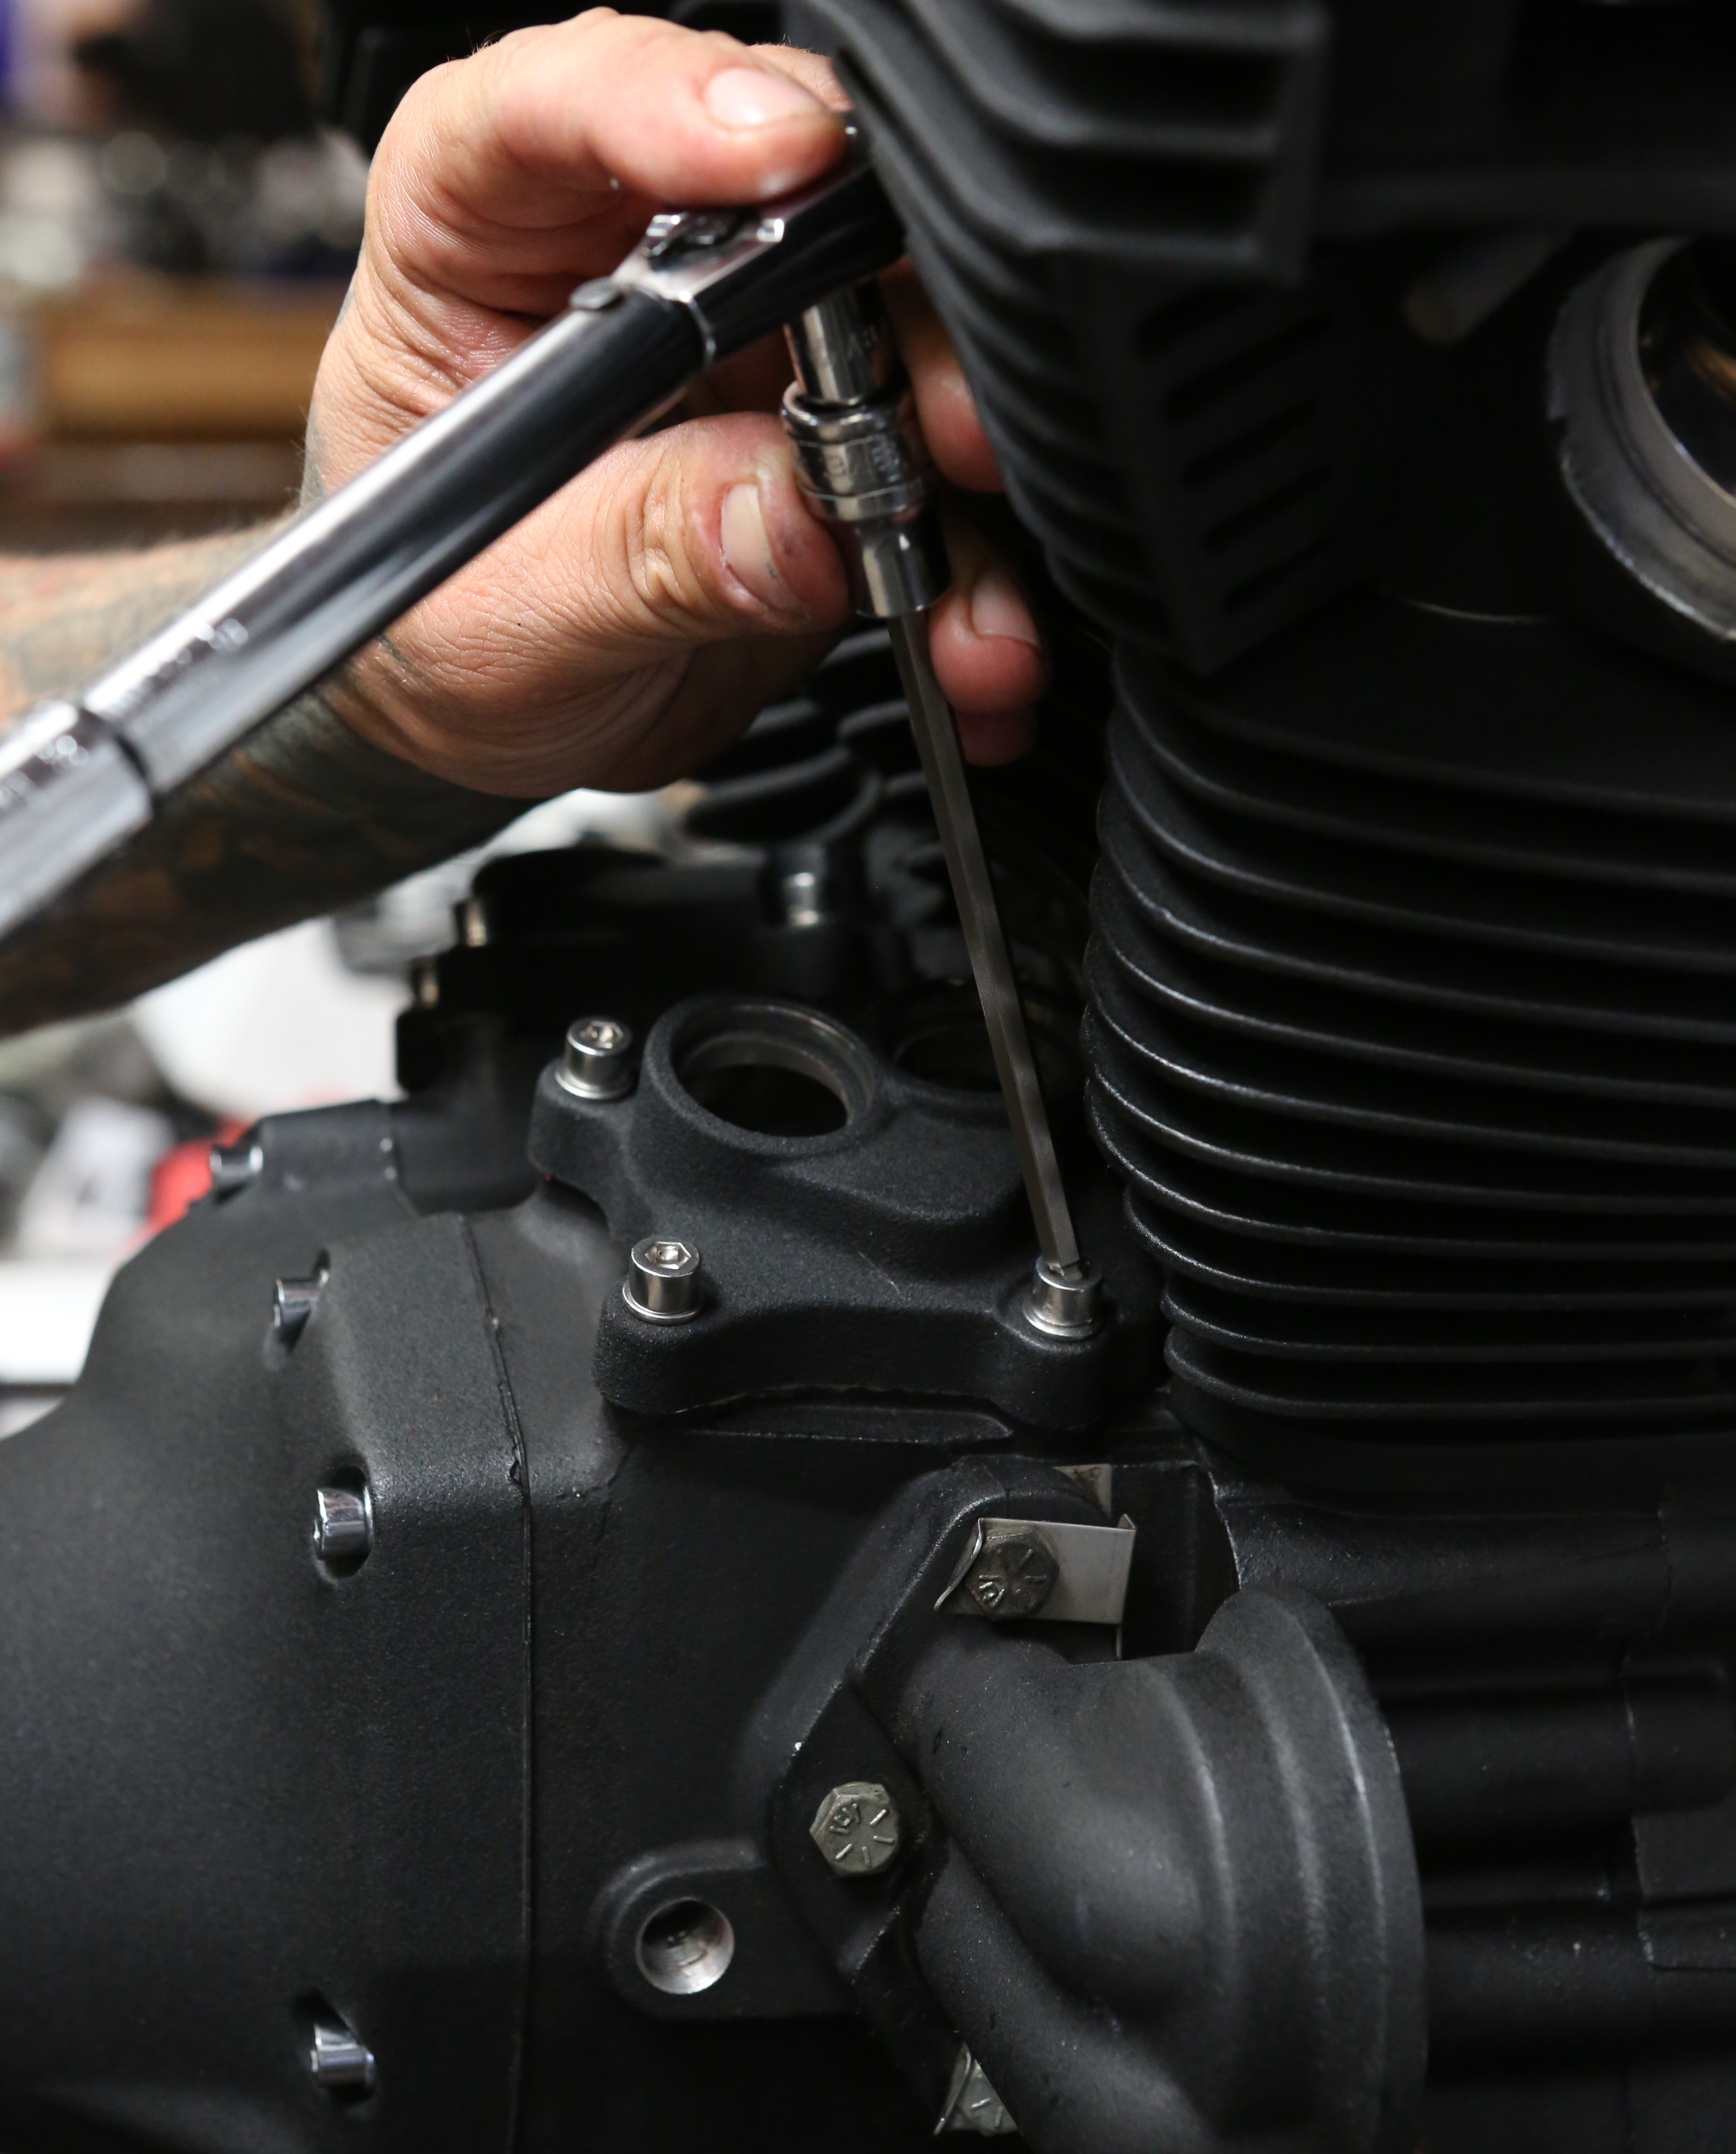
Place the four bolts into the holes to secure the covers to the case and torque to 90 to 120 inch-pounds
Photo: Hot Bike Staff
RELATED | MORE TECH
Now we are ready to install the intake, carb, and pushrods.
Photo: Hot Bike Staff
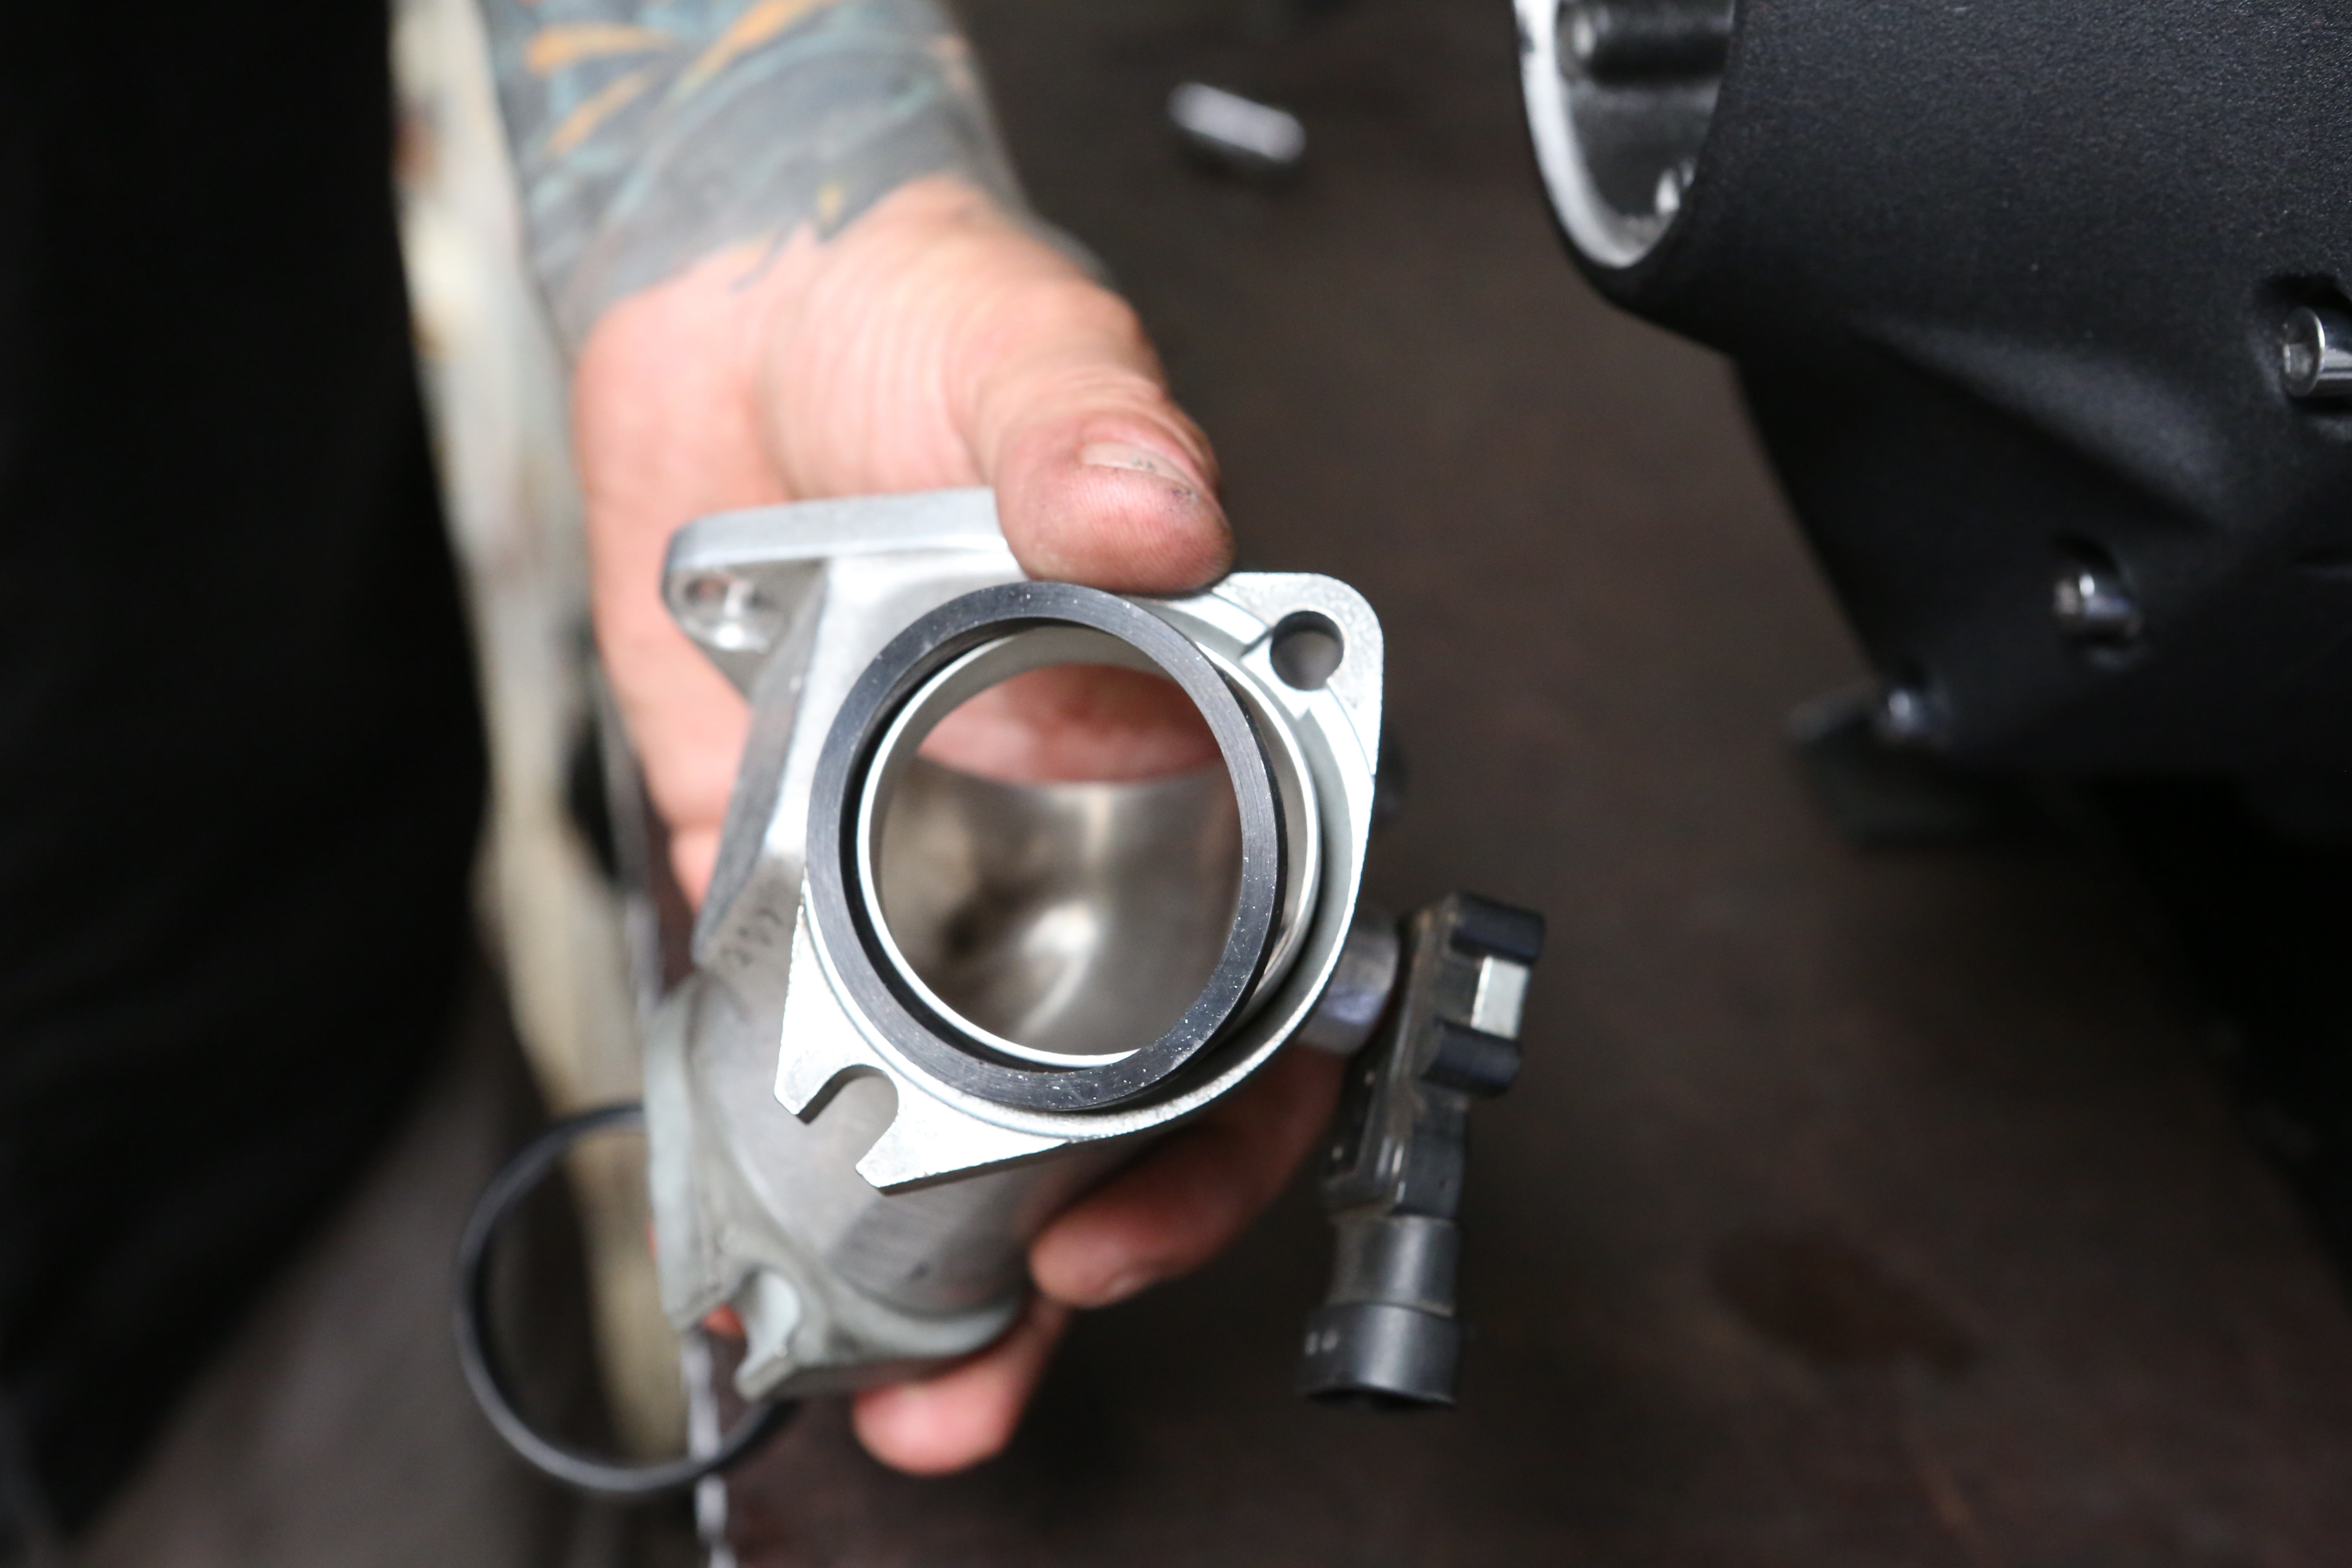
First, we install new intake seals onto our monster manifold.
Photo: Hot Bike Staff
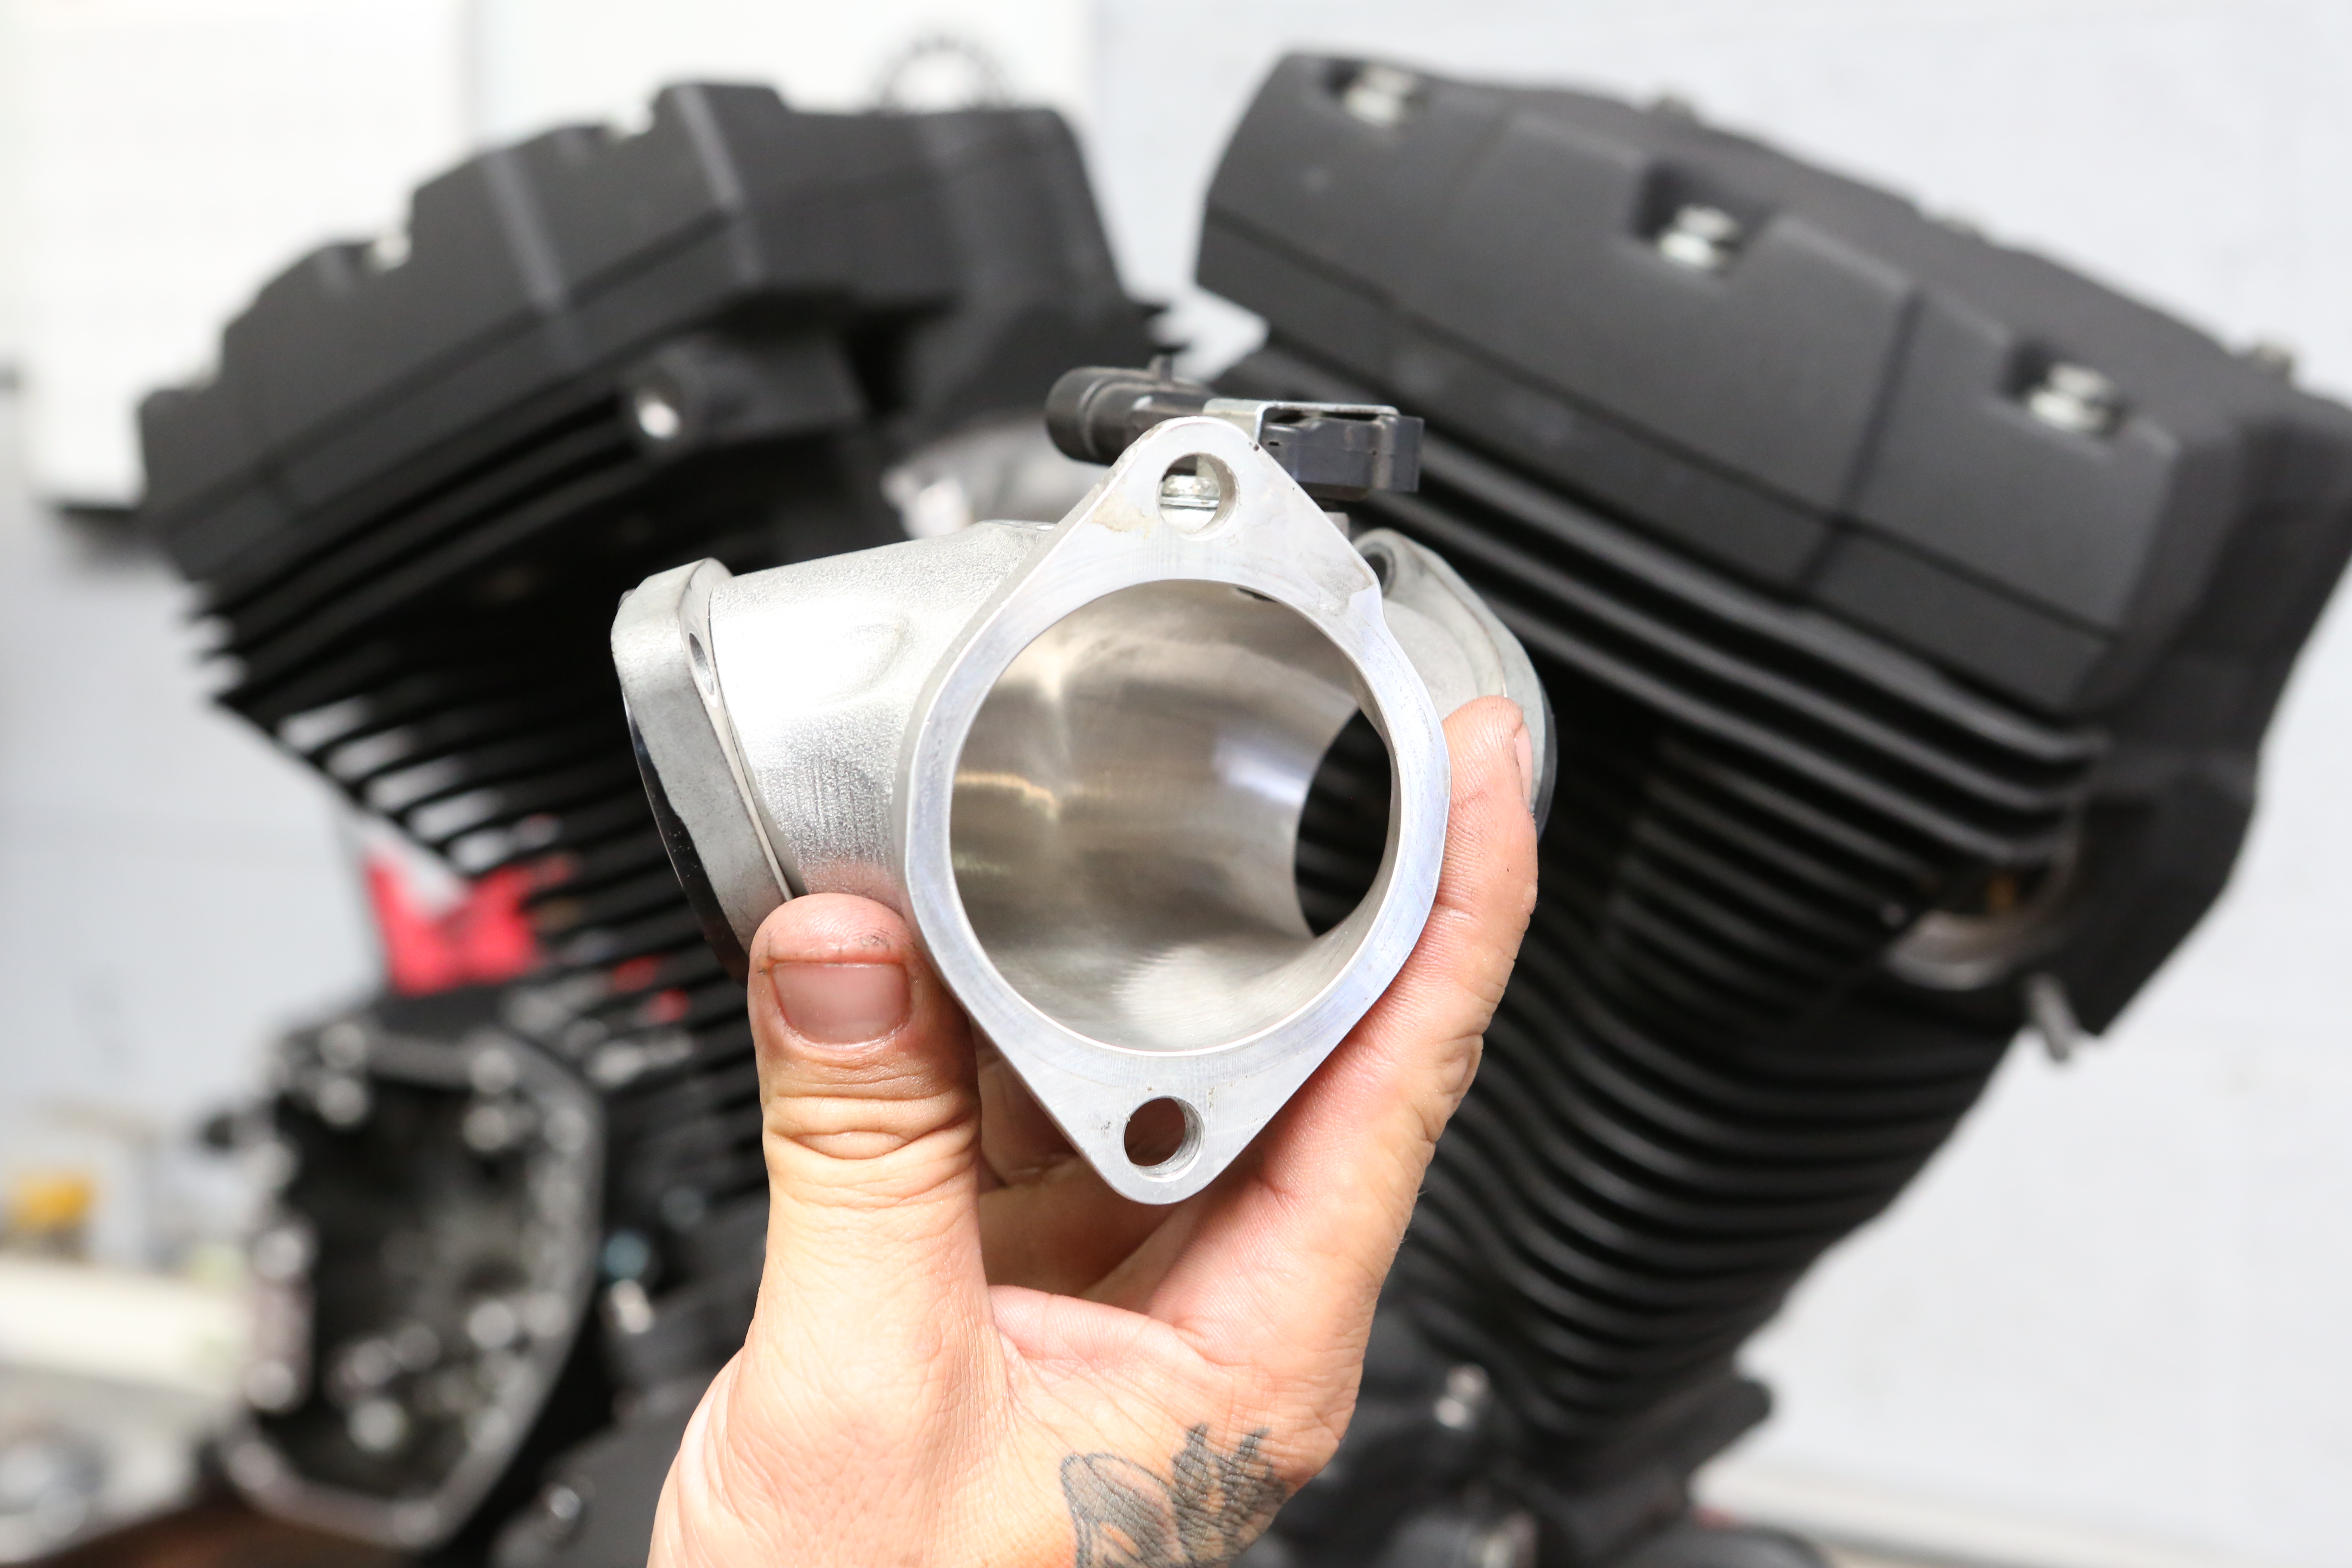
We used an S&S manifold that has been hand ported to match our carb and head setup. We installed the MAP sensor prior to installing the manifold to the motor.
Photo: Hot Bike Staff
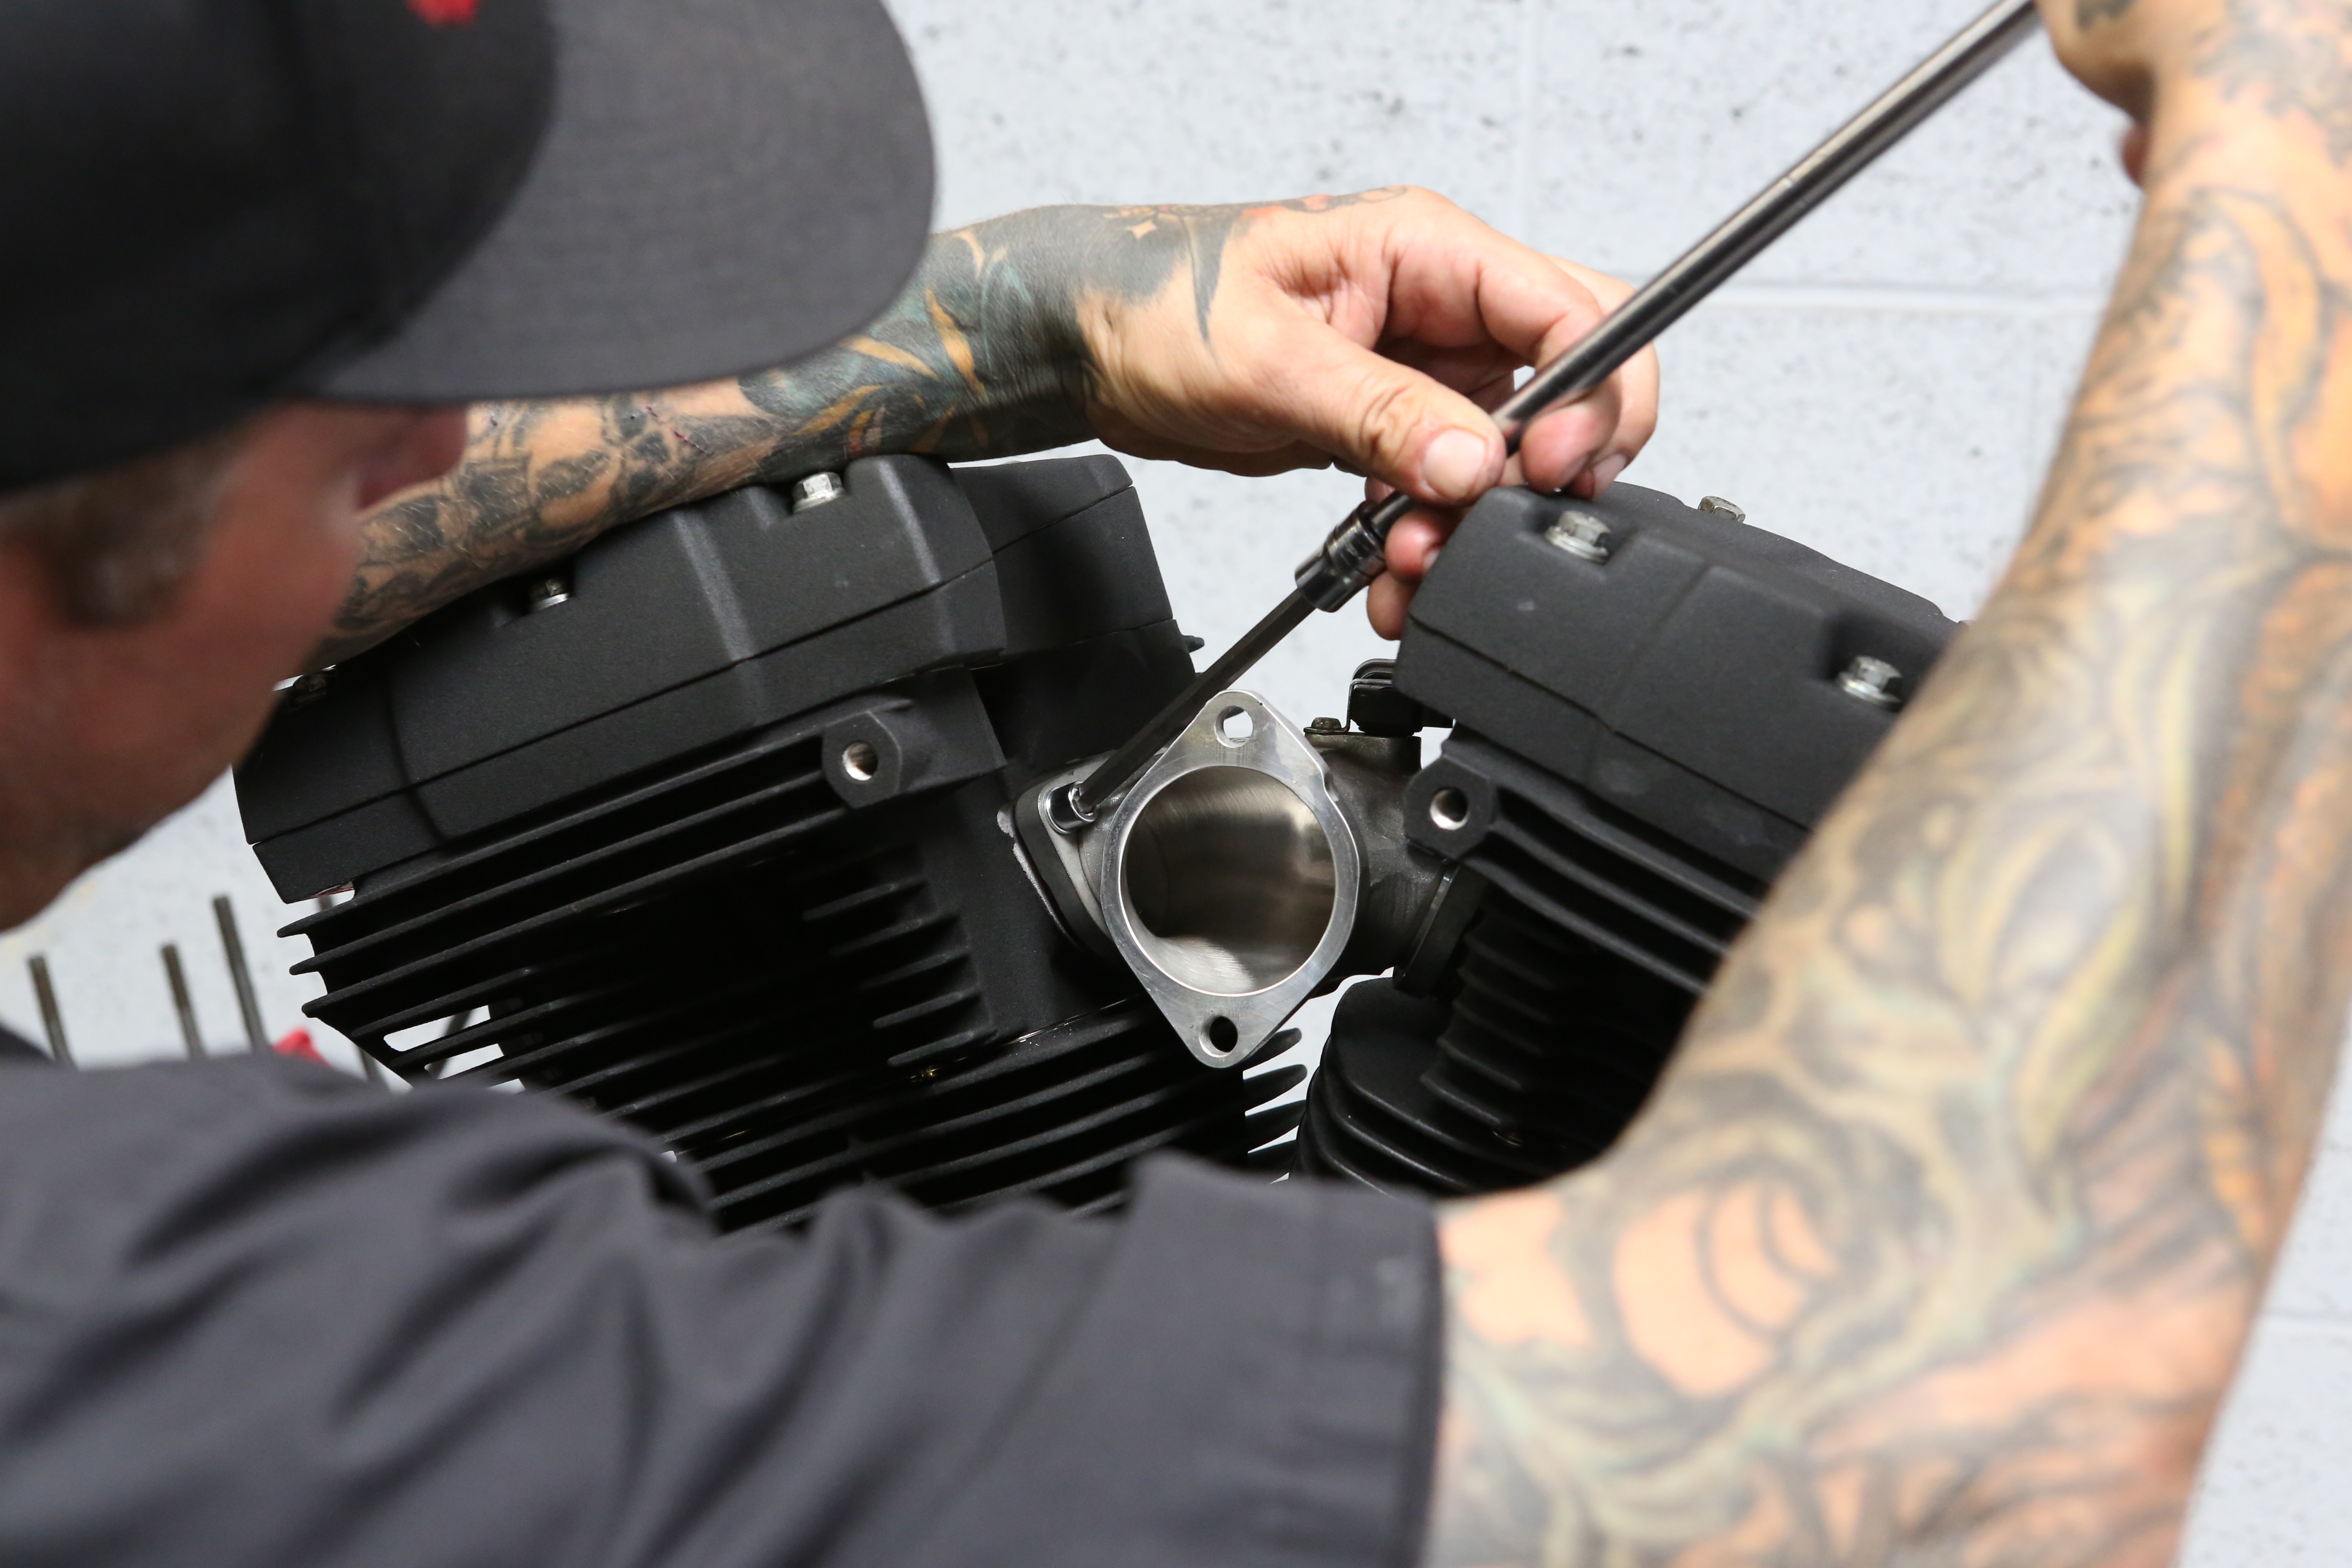
Install the manifold and torque the bolt in an “X” pattern so the seal can sit evenly and an intake leak does not occur.
Photo: Hot Bike Staff
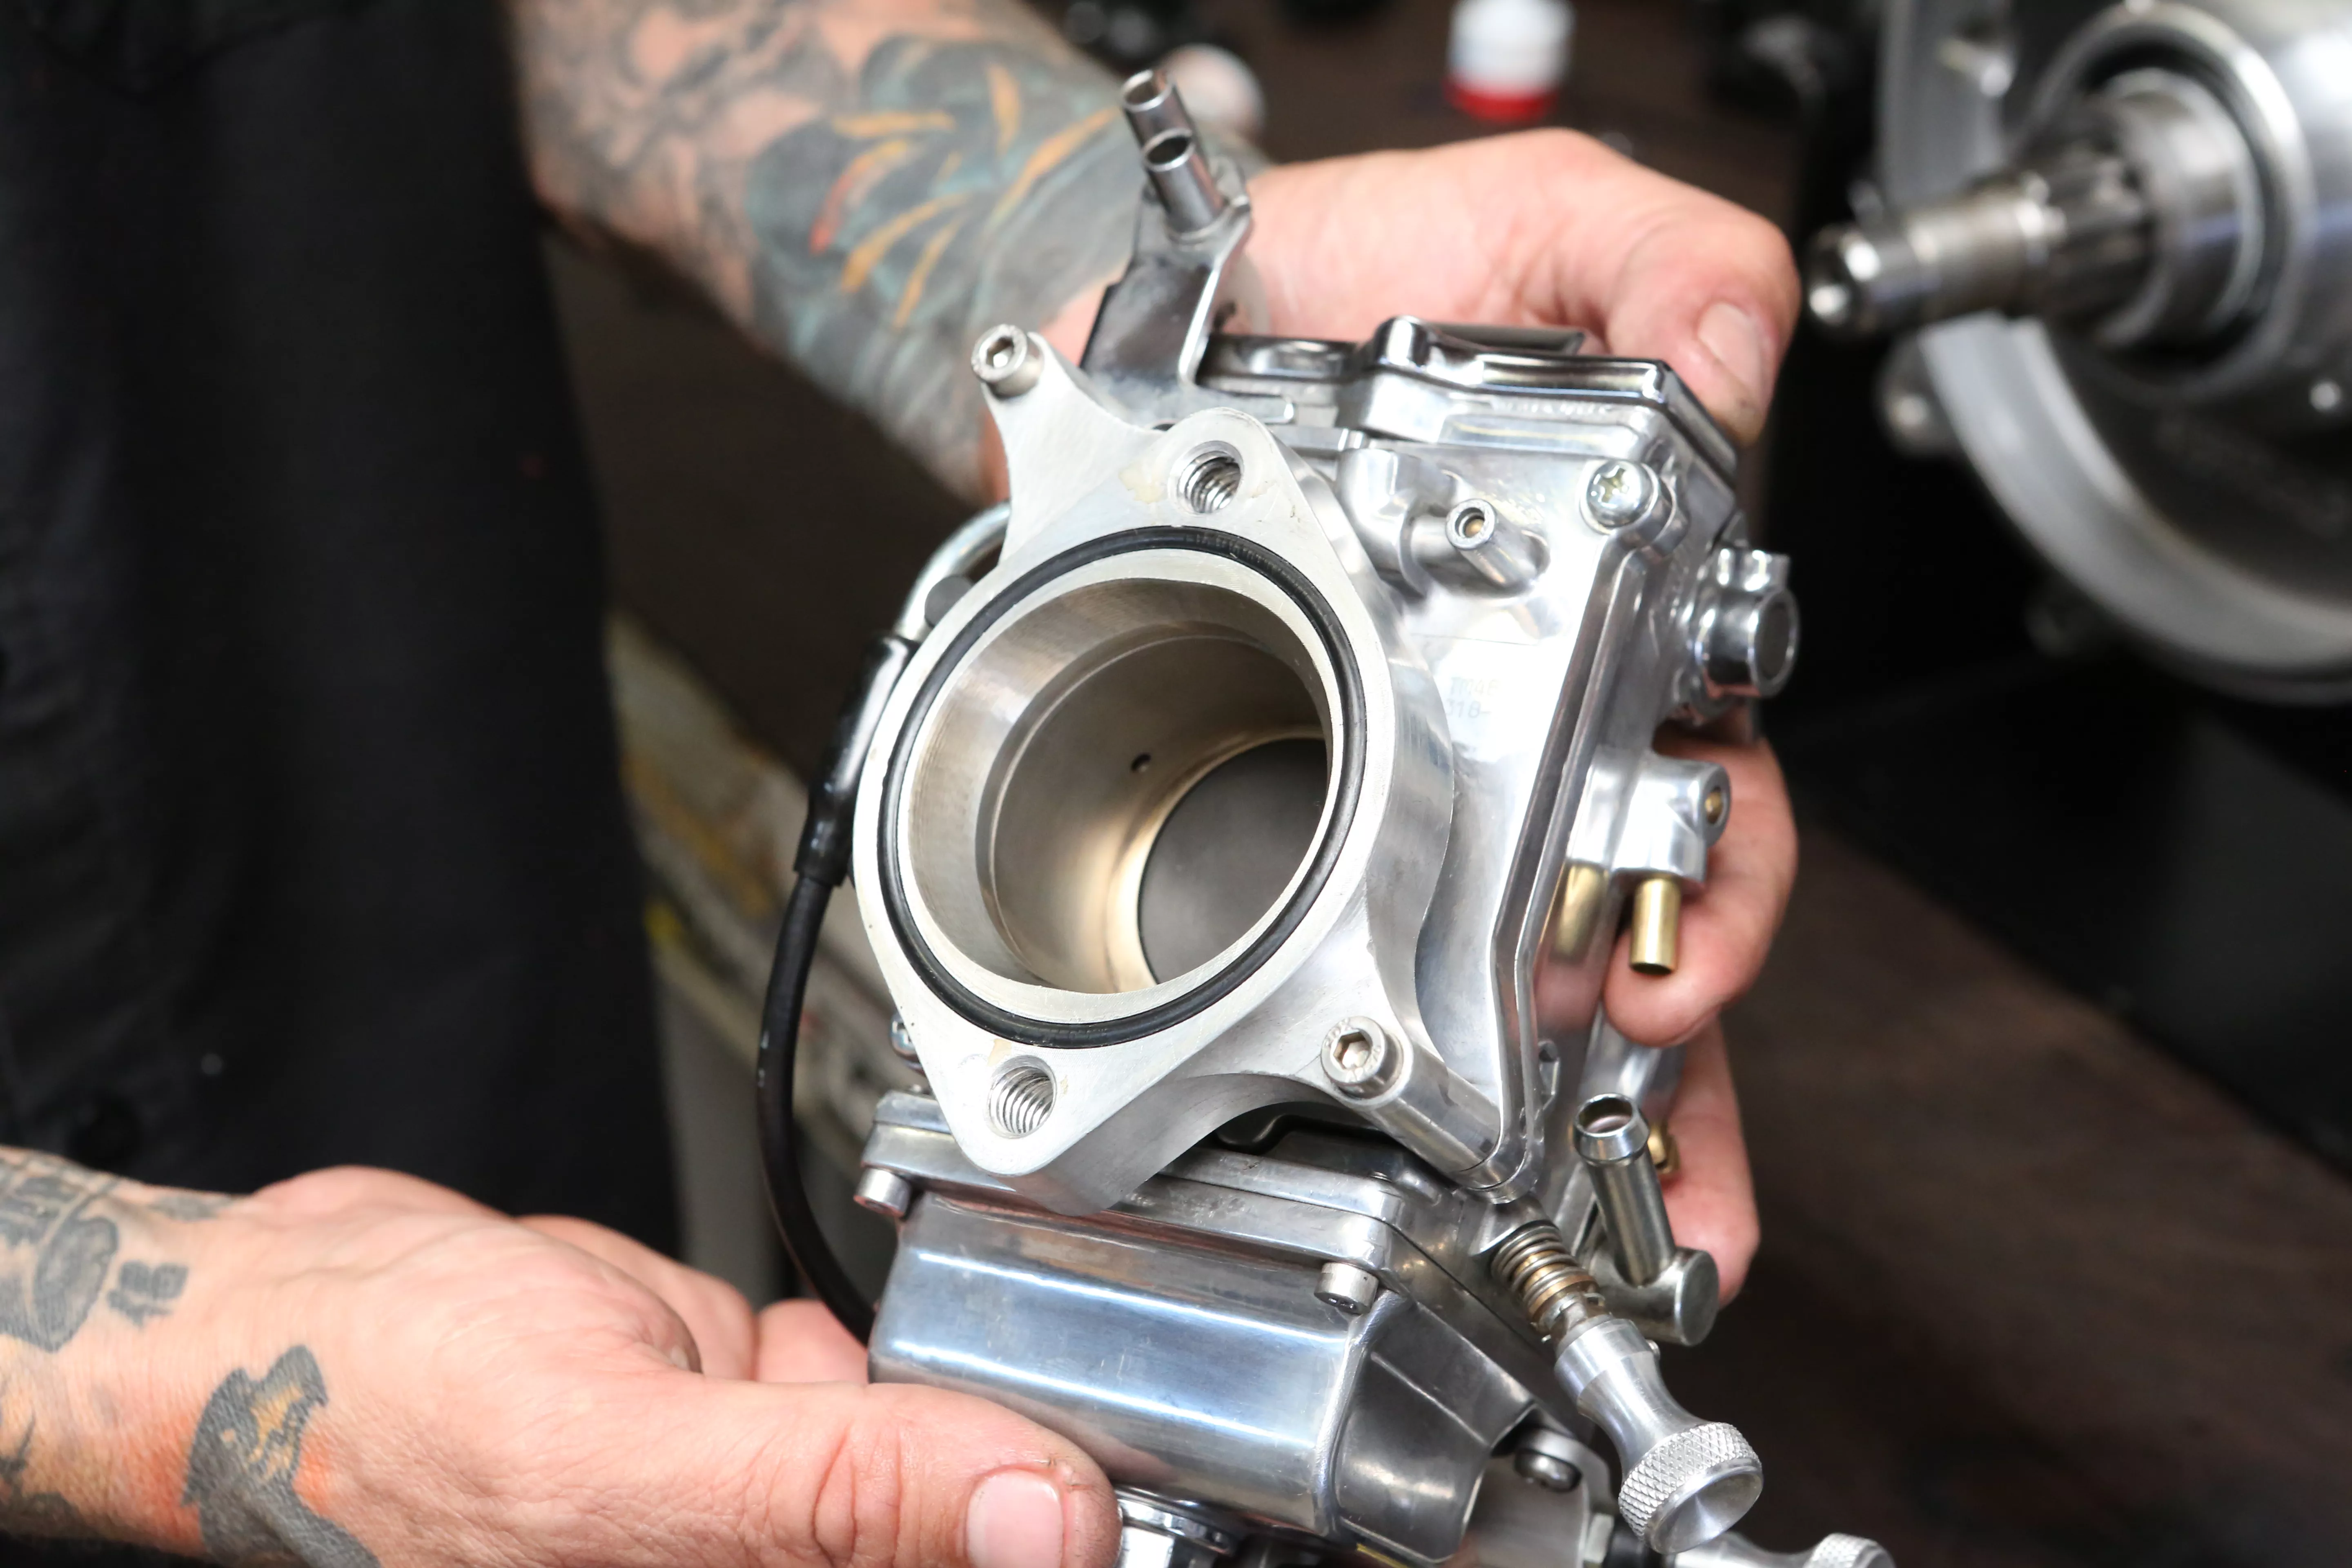
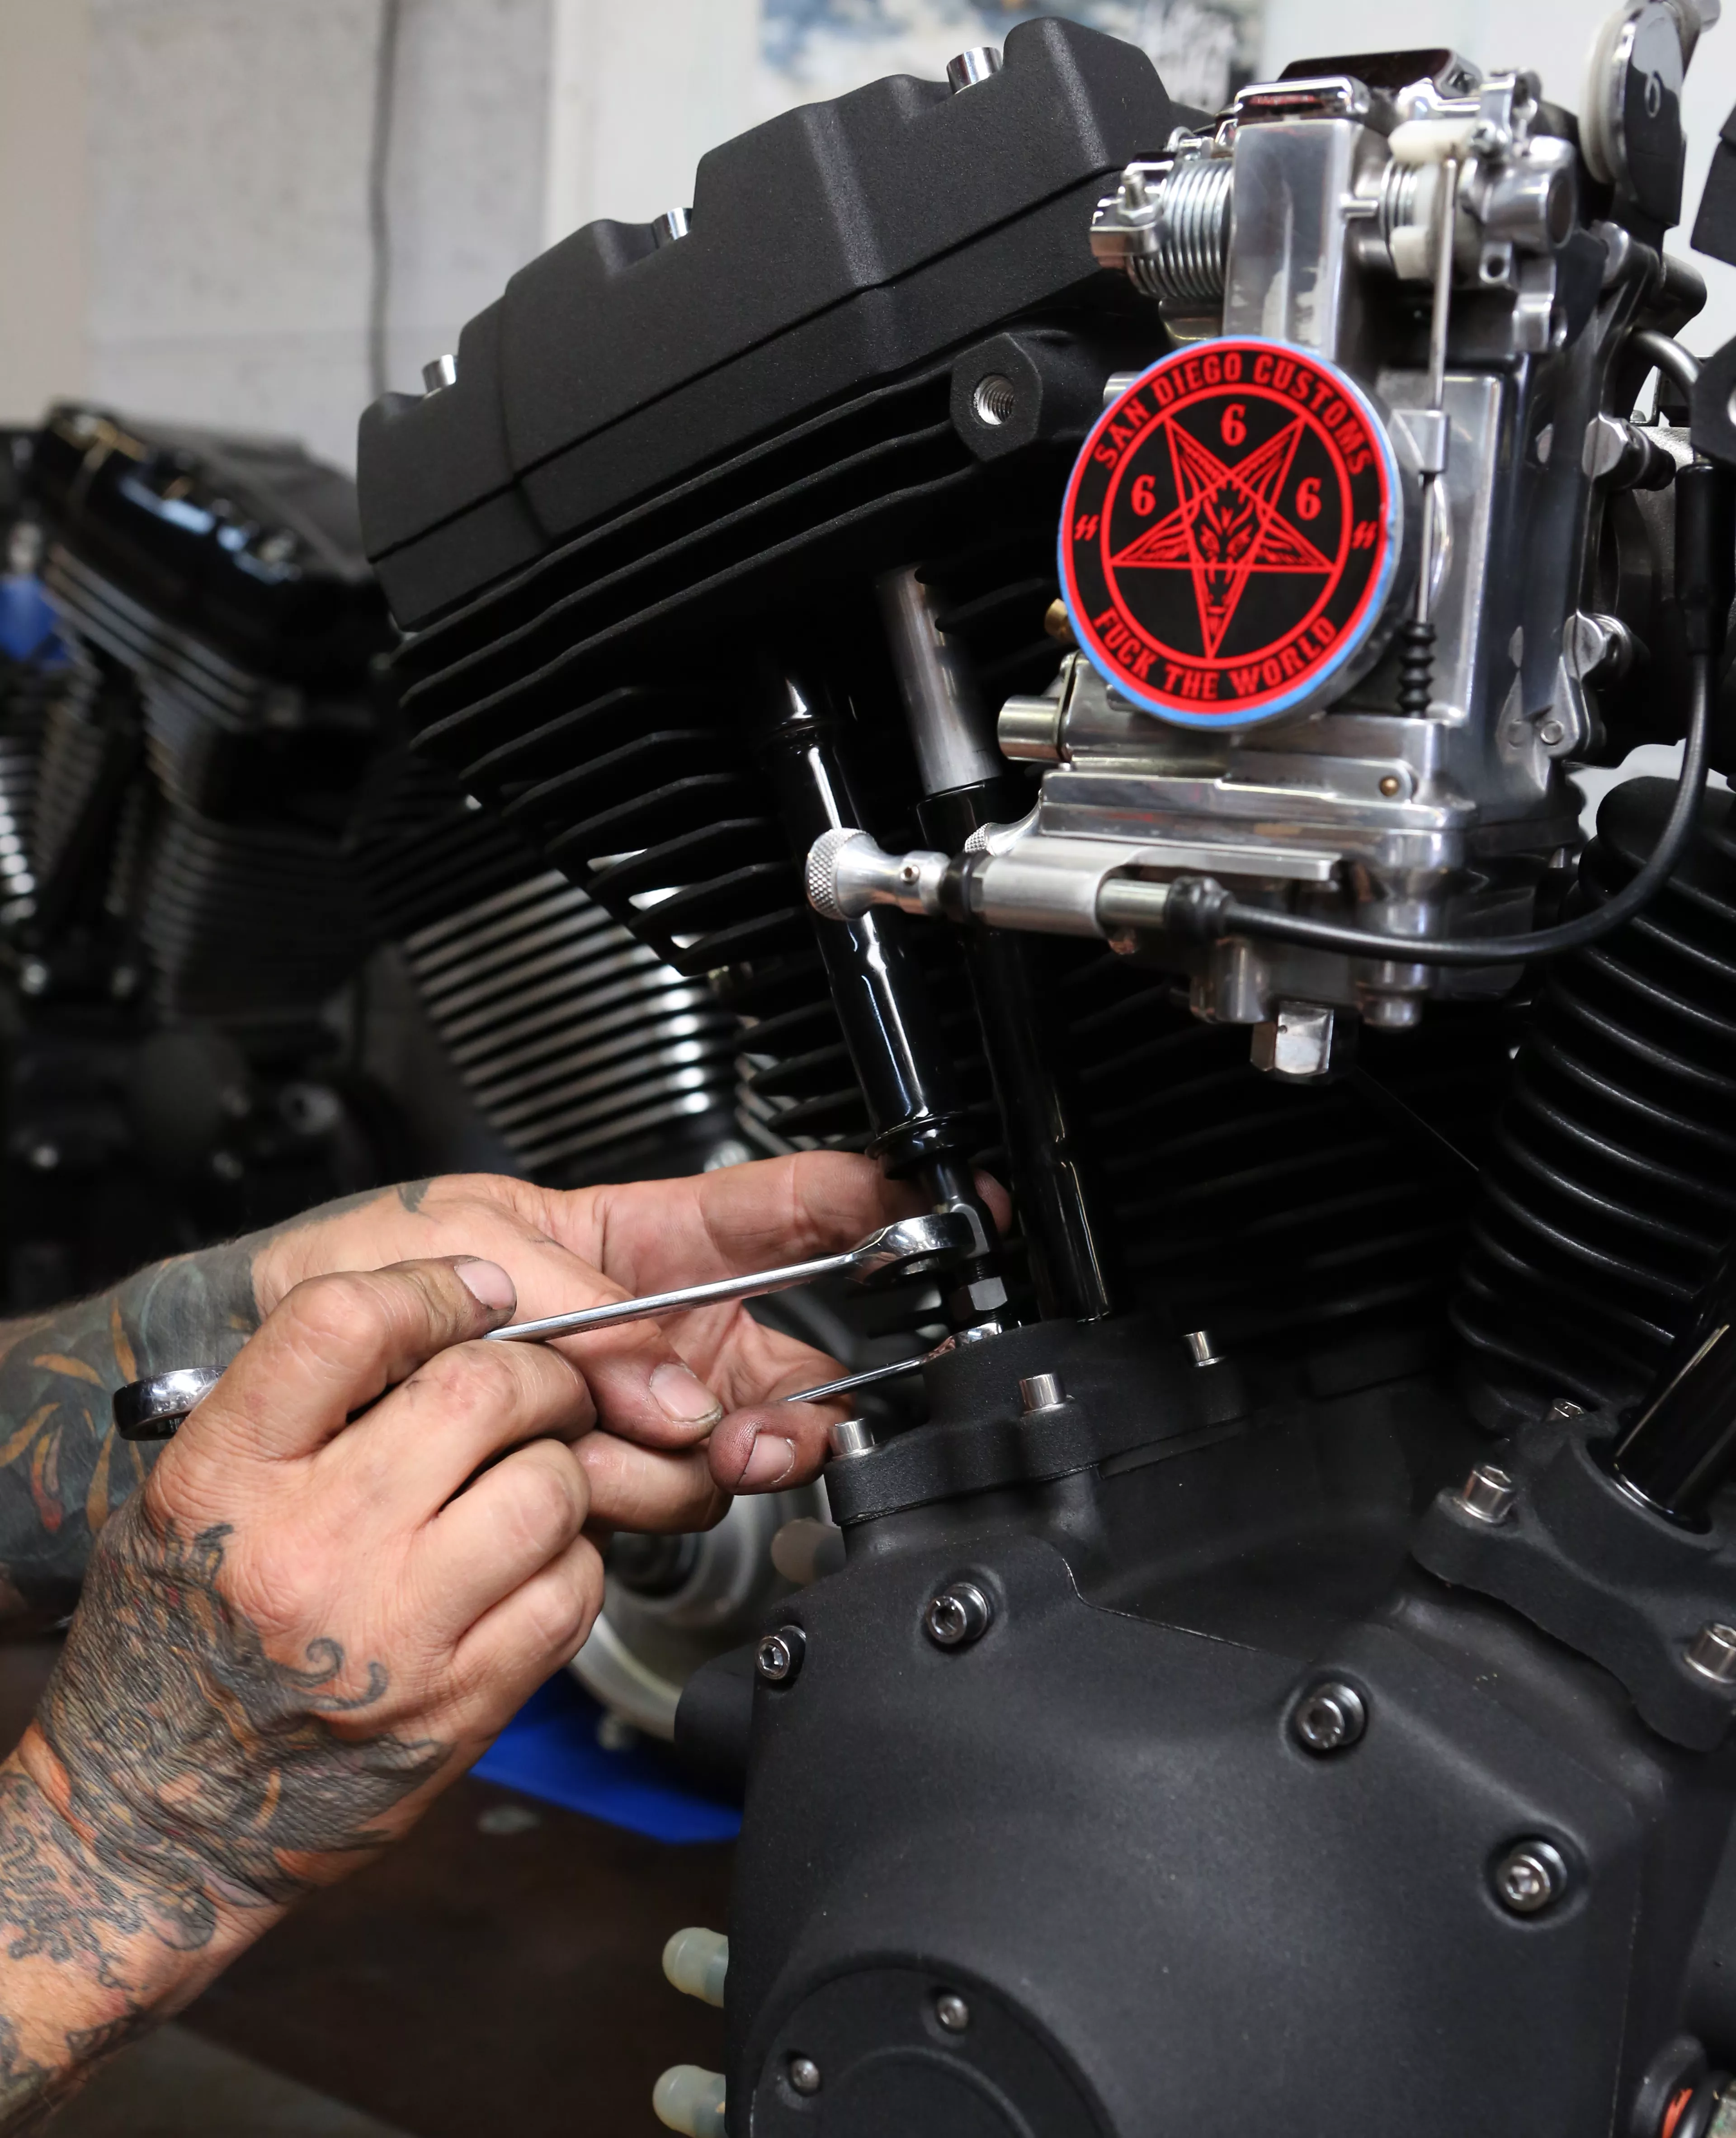
Next, we install our custom modified Mikuni carburetor with a race back by T-Man Performance.
Photo: Hot Bike Staff
Install and tighten the manifold to the race back adapter on the carb.
Photo: Hot Bike Staff
Our motor is now ready for compression releases, pushrods, and tubes.
Photo: Hot Bike Staff
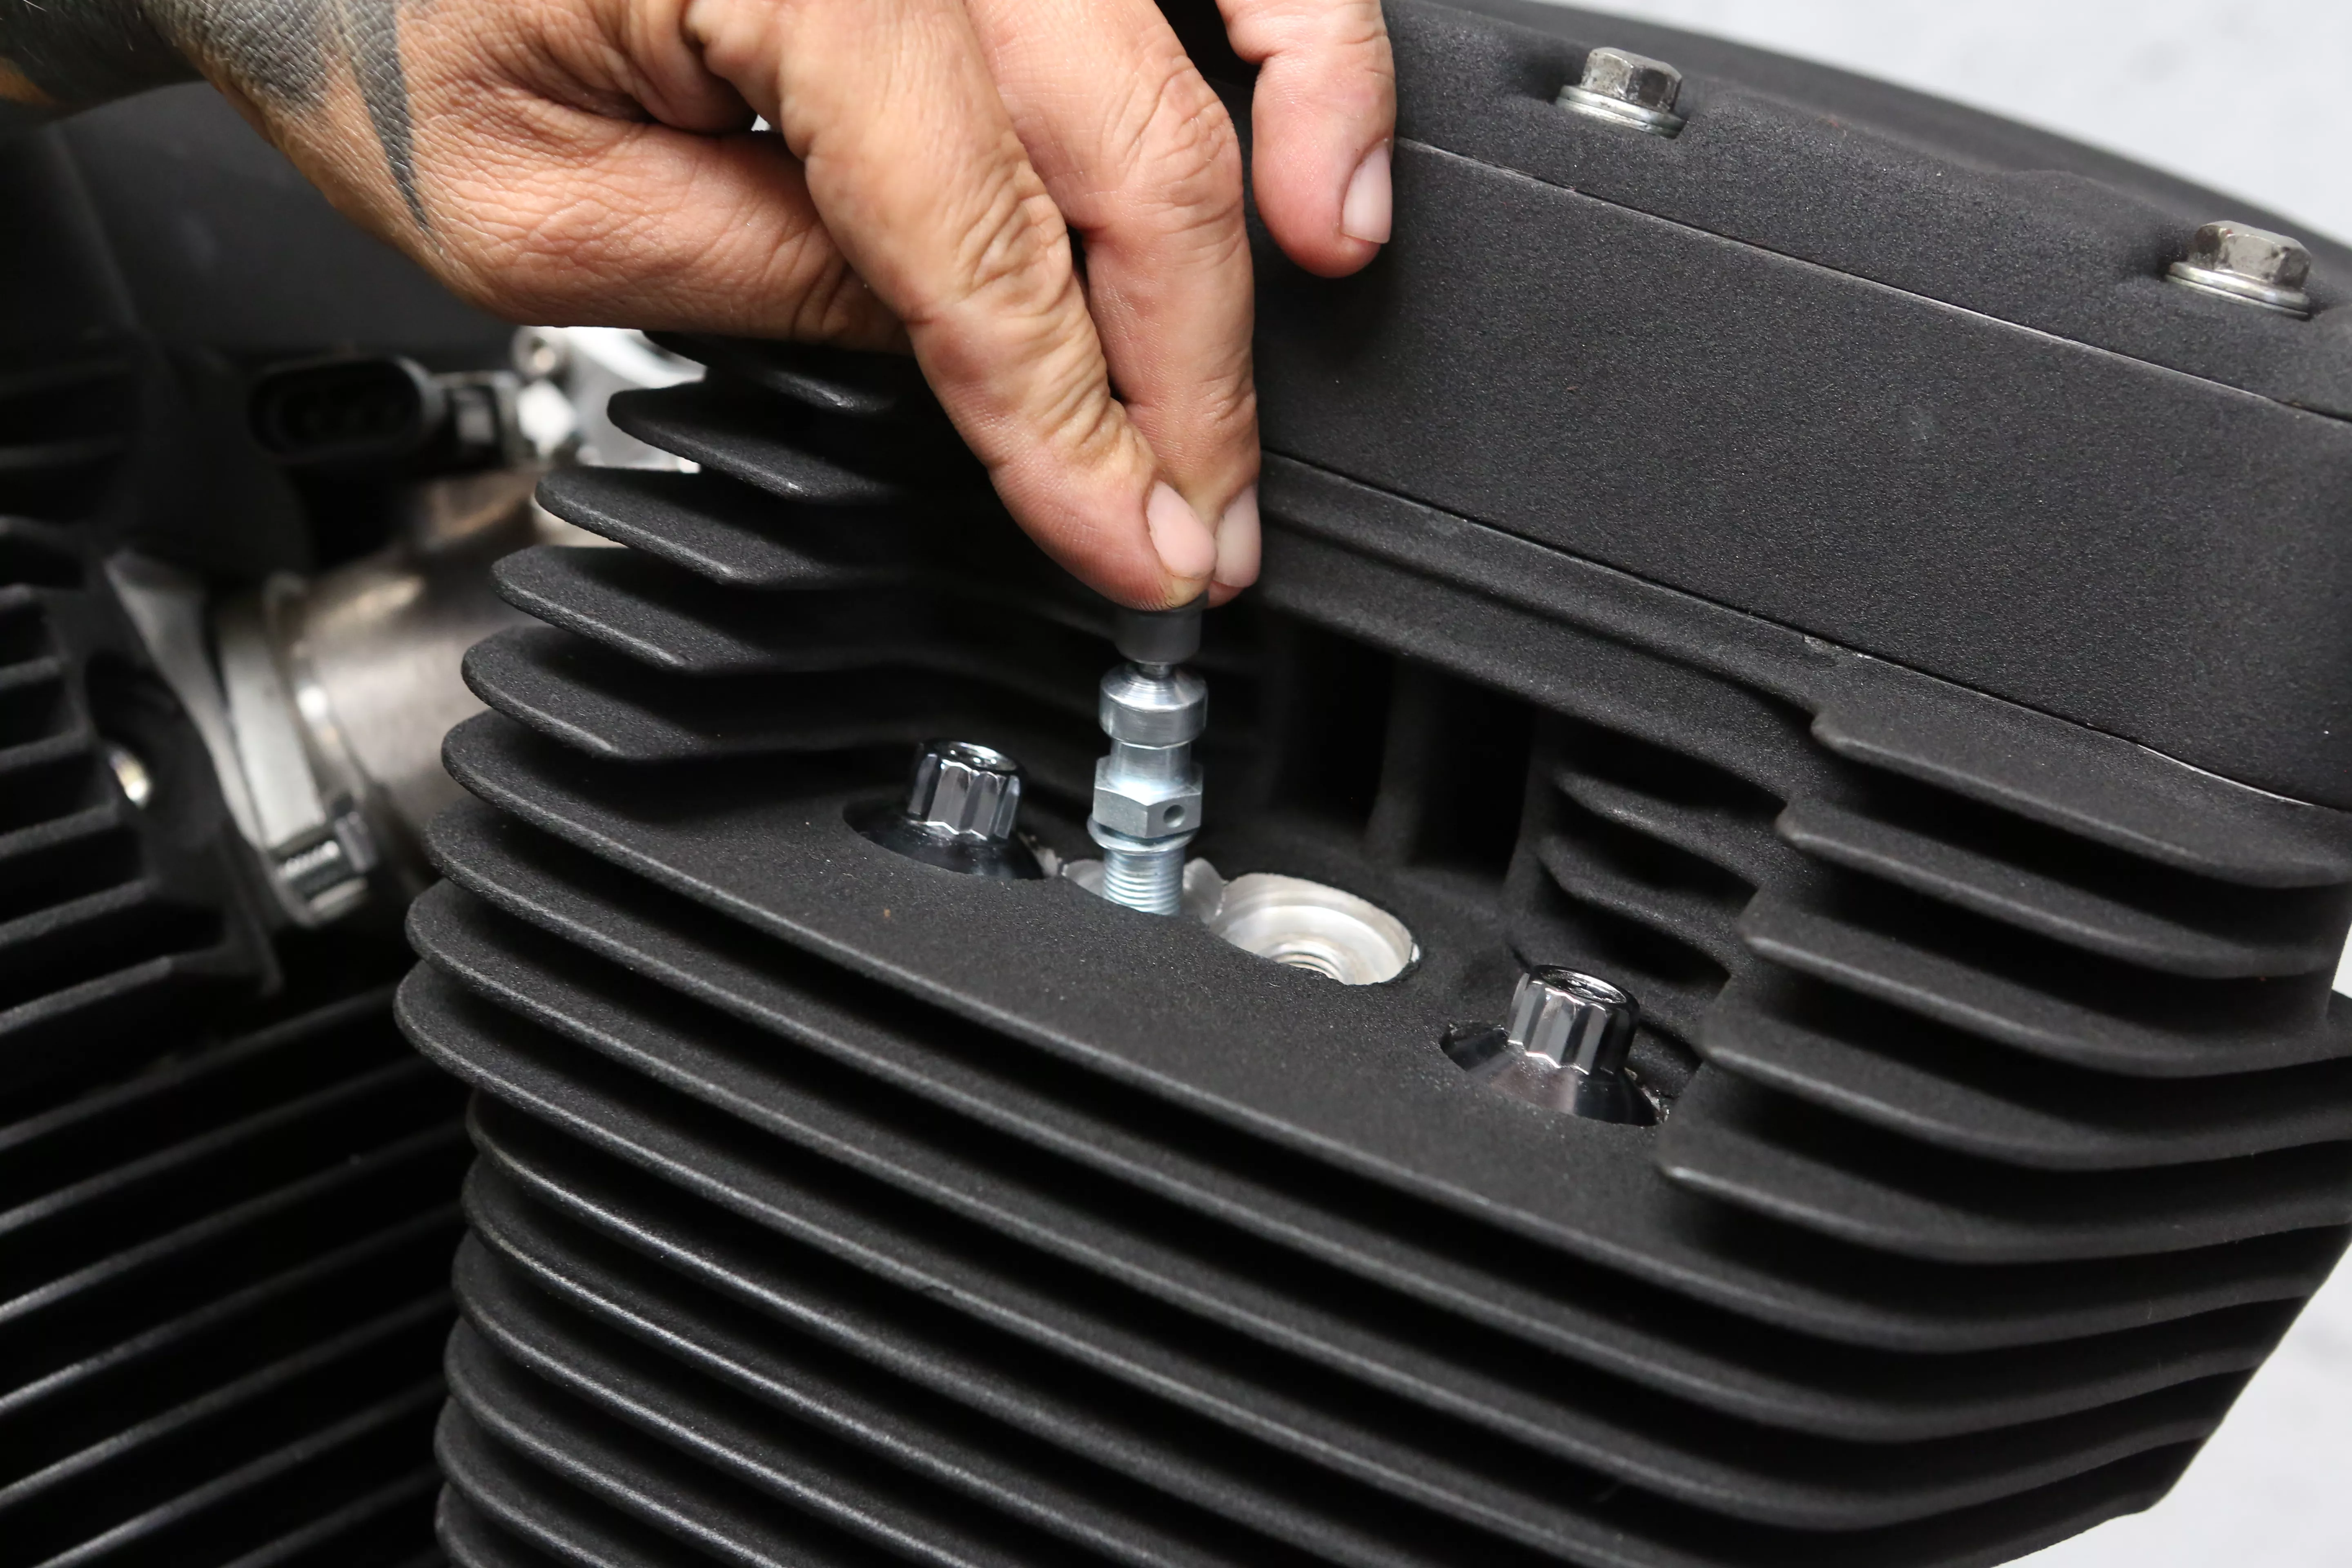
Screw in the compression releases and tighten to spec.
Photo: Hot Bike Staff
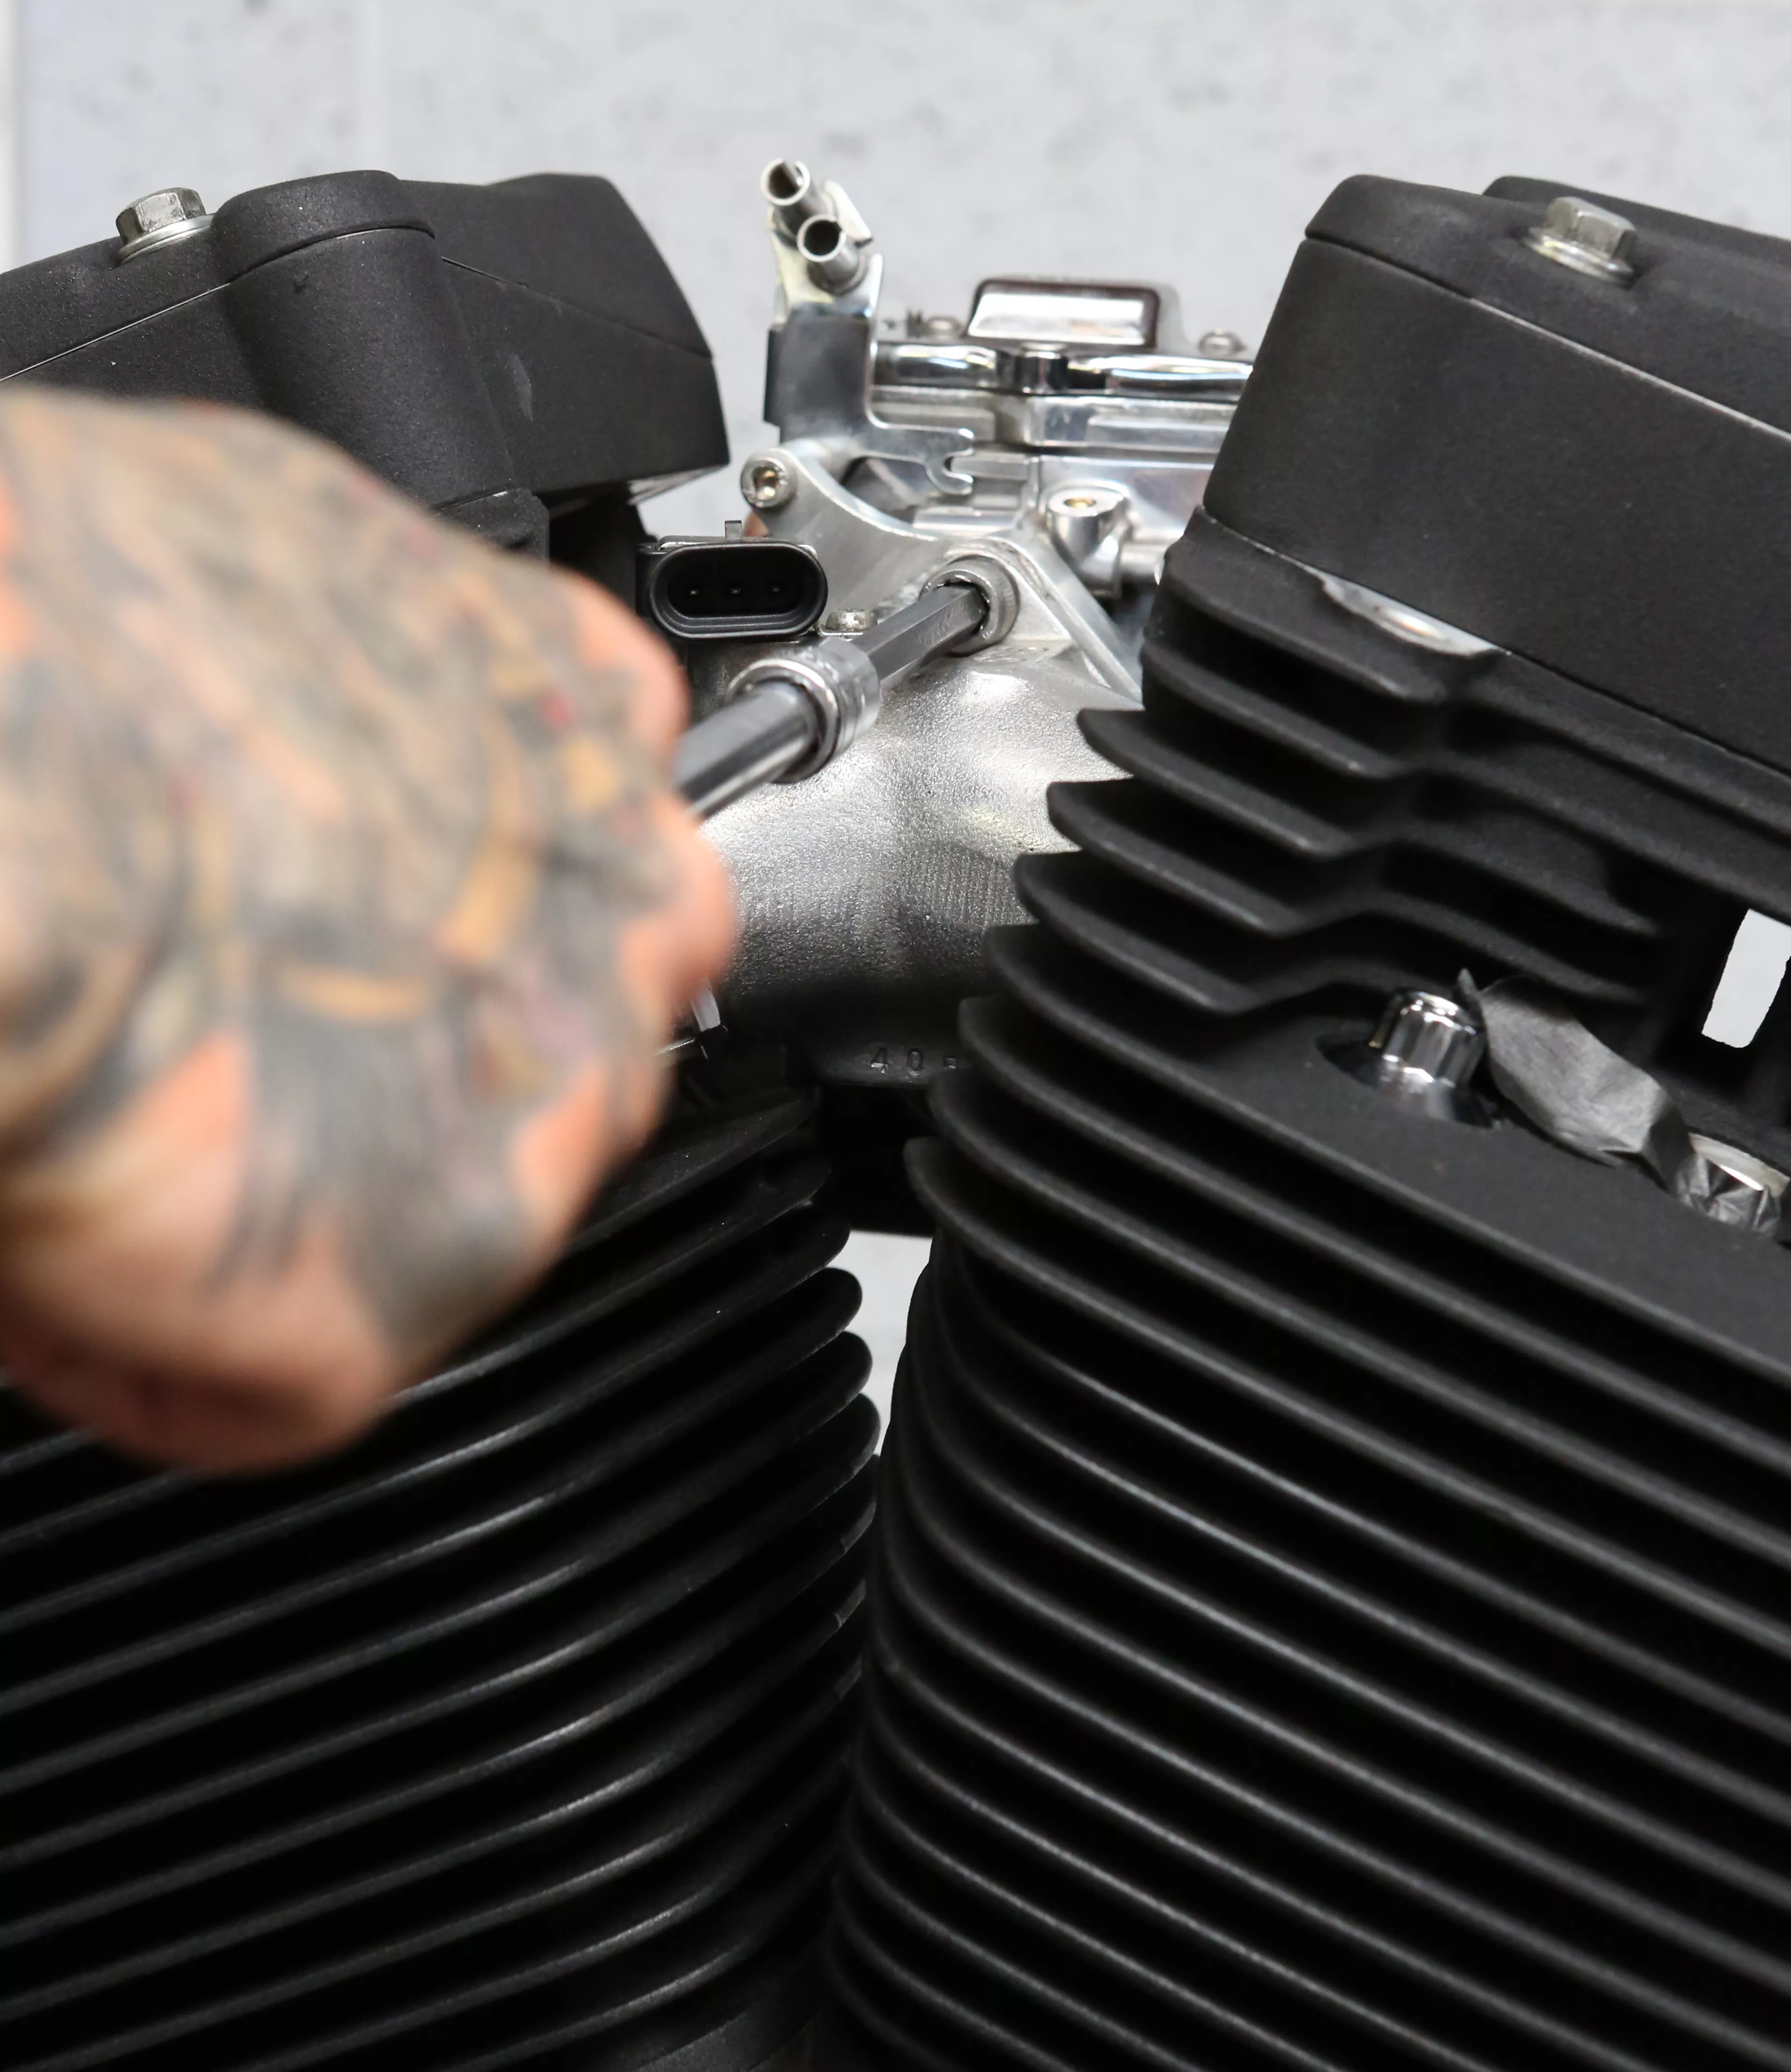
Install and adjust the front and rear pushrods, tubes, collets and covers. Install any sensors (cam, engine temp, crank position) at this time.
Photo: Hot Bike Staff
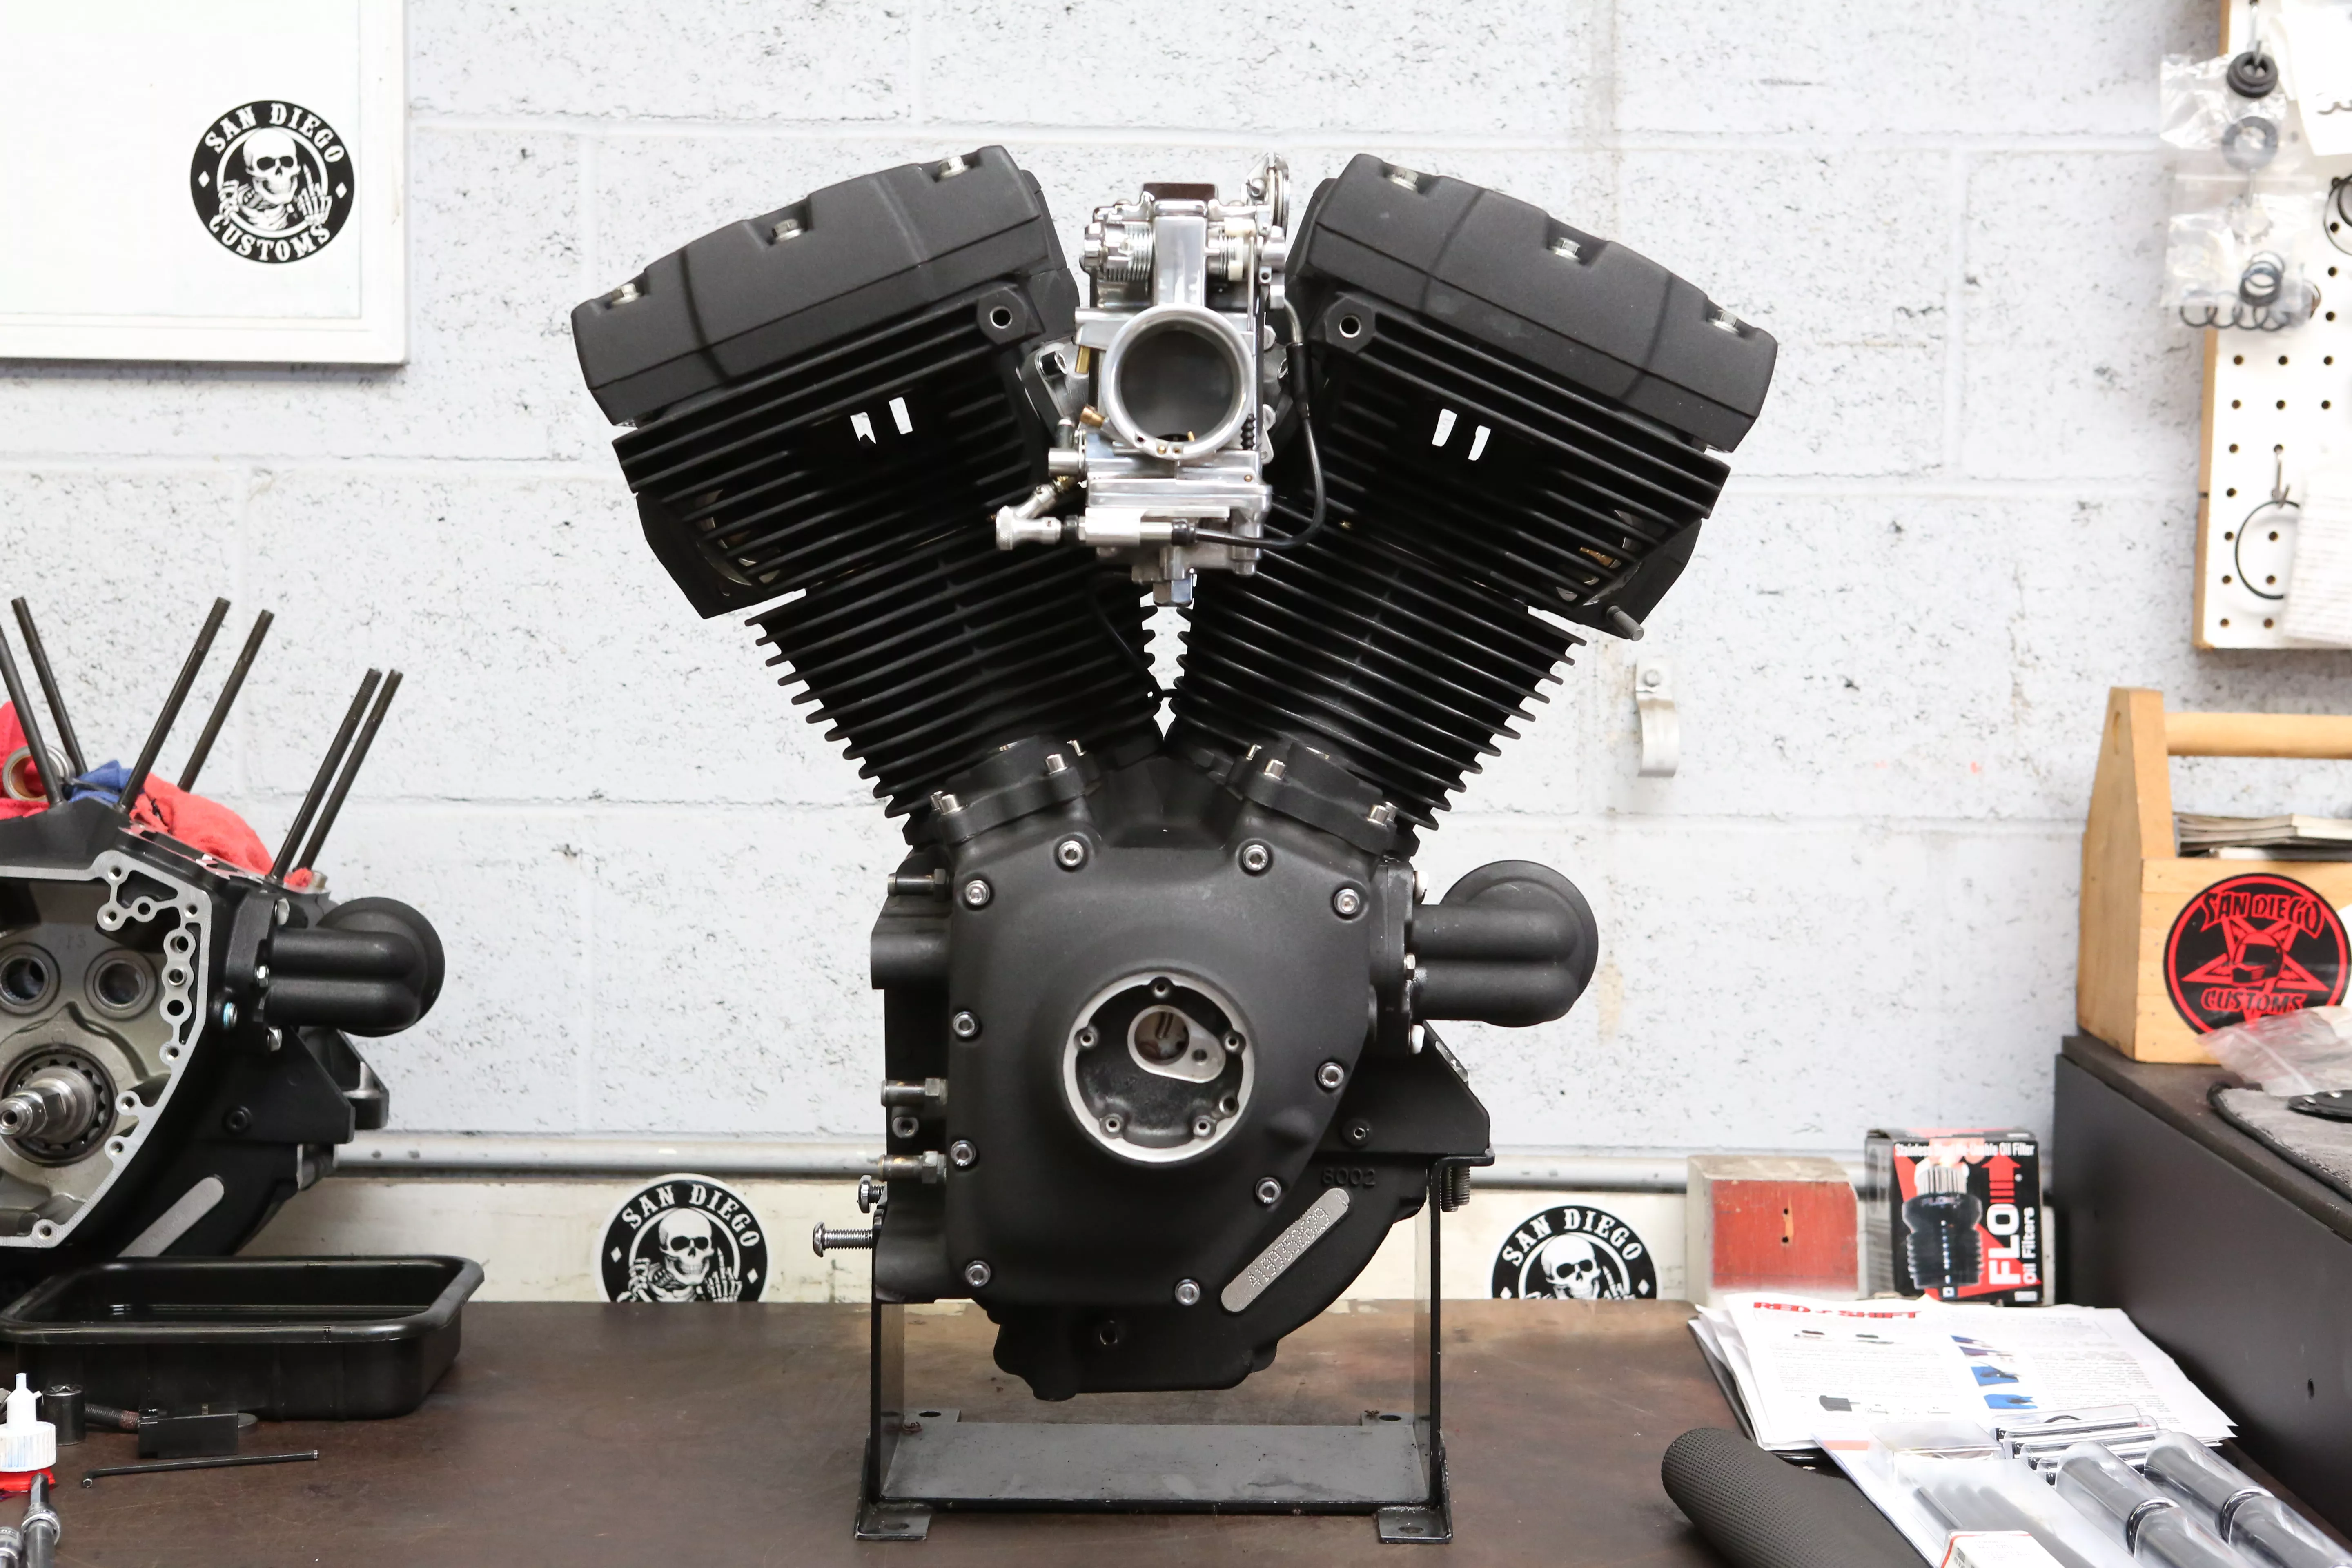
Pictured here is our balanced and blueprinted 107-inch thumper “A” motor. With a bottom end by DHC and a top end by DME. Good stuff, indeed!
Hot Bike Staff
Sources

")


