
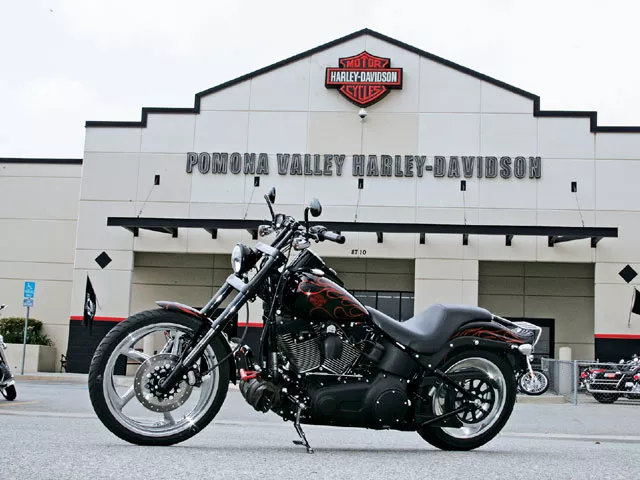
2006 Harley-Davidson Night Train Paintjob – Once You Go Black…
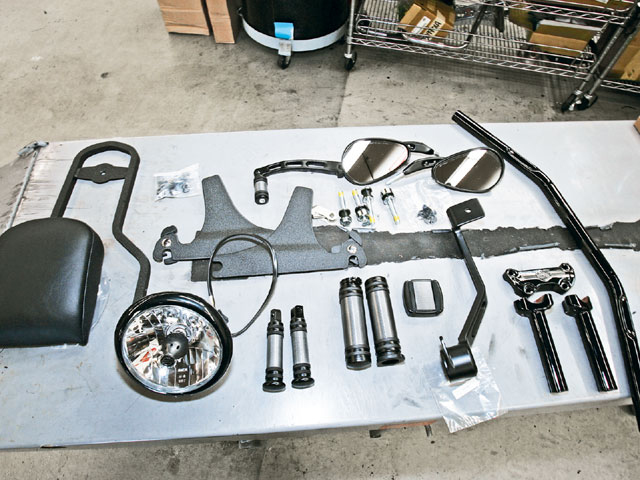
1. Here are some of the parts for the Night Train. We have a new headlight with a black shell and lock ring, Buckshot mirrors, satin black rear brake lever and pad cover, black shift lever and peg, the new Diamond Black collection of footpegs and grips, black detachable side plates, and sissy bar. Prior to the install, we had the stock drag bars and risers powdercoated black. The chrome pullbacks did not go with the black theme, and at this time these bars are not offered in black from H-D. We also got a chrome Bobtail fender rack, but it’s not shown here.
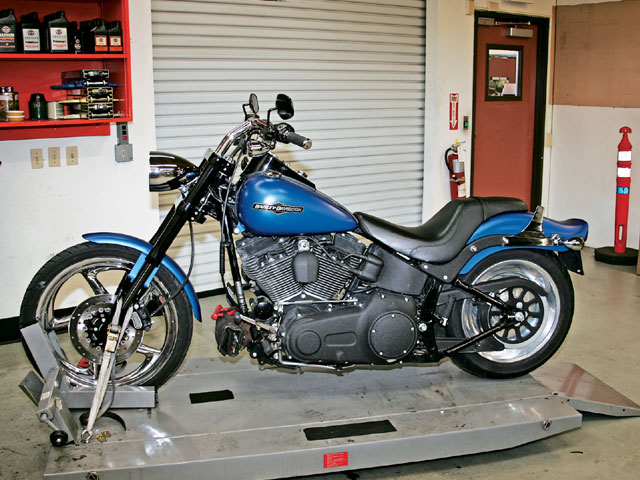
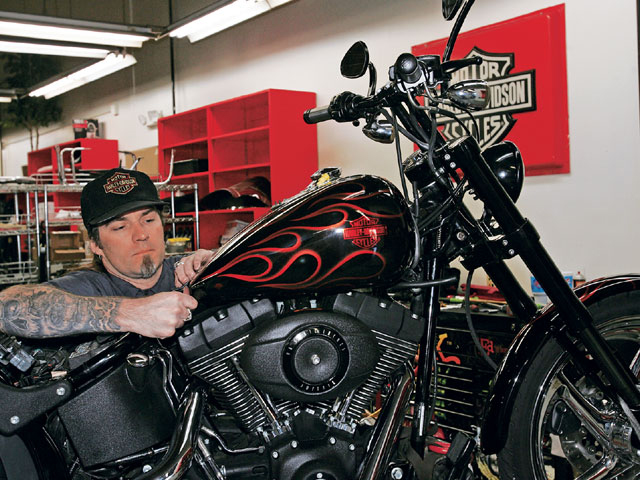
2. Brian rolled the Night Train on the lift for one last look at the stock paint and controls.
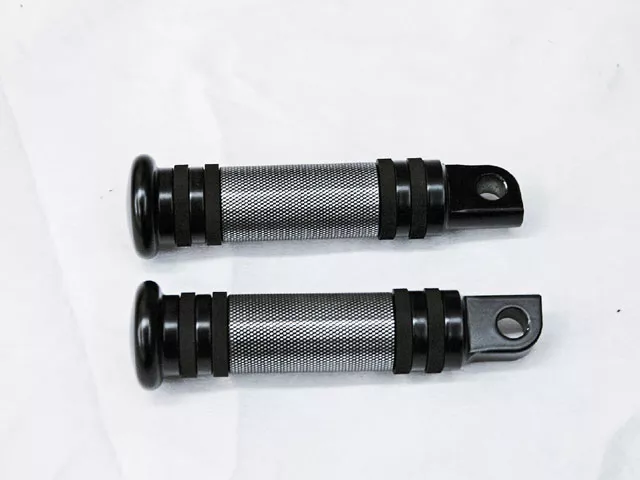
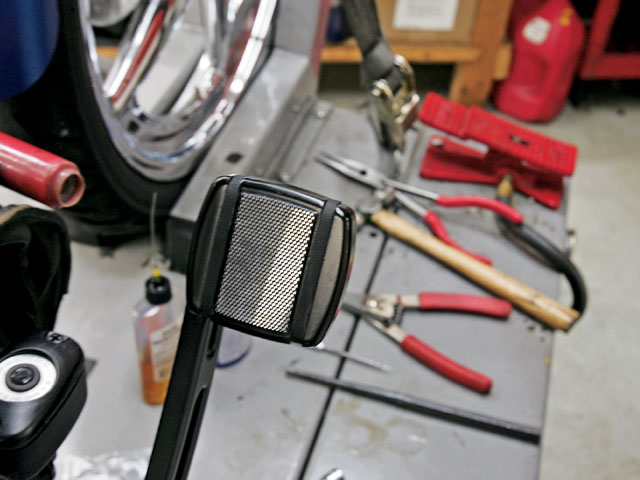
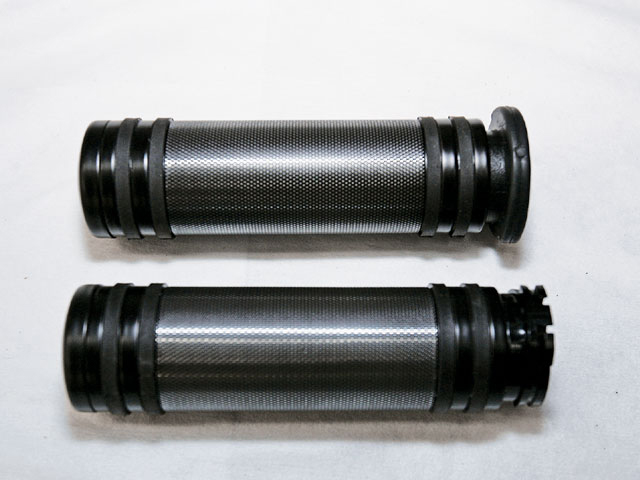
3. Here are the new Diamond Black pegs.

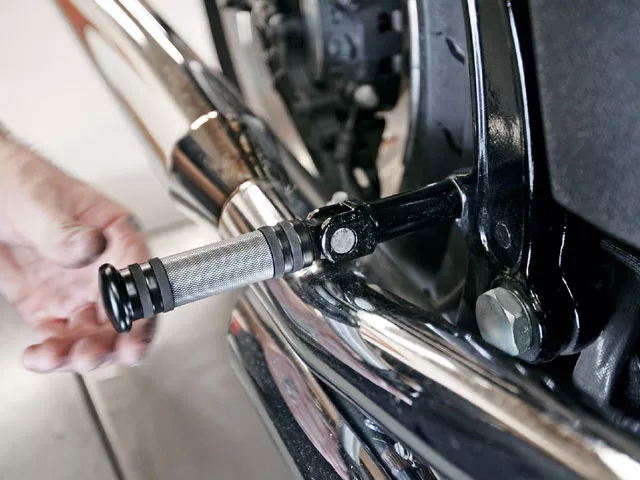
4. To install the pegs, Brian removed the C-clip from the pivot pin and removed the pin and the pressure spring. The he slid the new peg in place, inserted the pin, and replaced the C-clip.
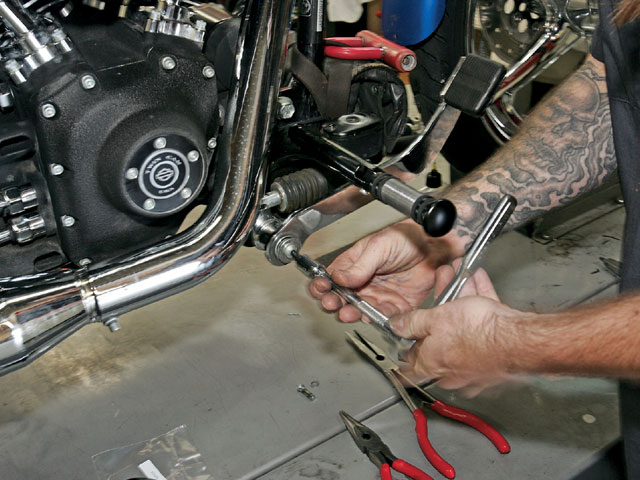
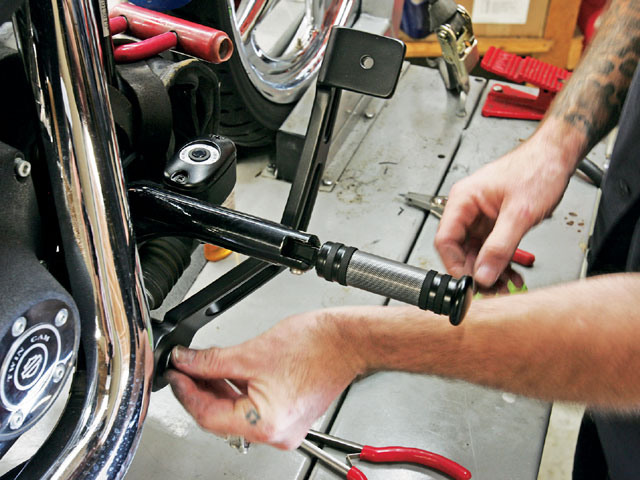
5. The same went for the passenger pegs.
6. Brian replaced the stock brake lever by removing the cotter pin from the master cylinder and the mounting bolt.
7. Then the new black lever was installed onto the bushing mount with a dab of grease, followed by the O-ring and flat washer. The bolt was then torqued to 15 lb-ft.
8. The new Diamond Black footpad was bolted to the lever.
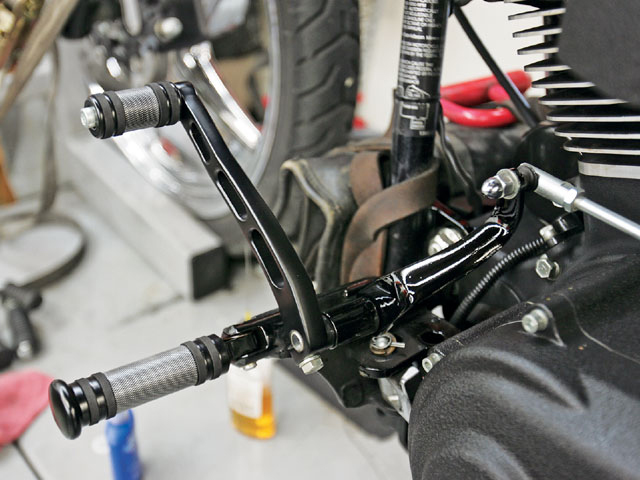
9. On the other side of the bike, Brian removed the stock shift lever and peg and replaced them with the new Satin Black lever and Diamond Black shifter peg.
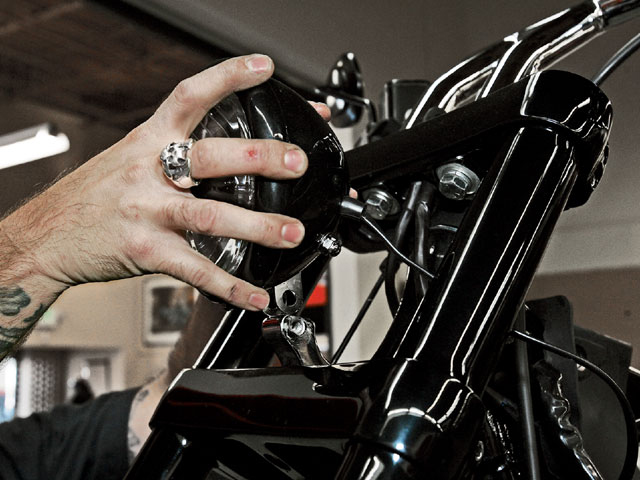
10. Moving on to the headlight, Brian removed the chrome headlight by disconnecting the wires from the plug and unbolting the mounting bracket and post. Then he replaced the triple tree mounting post with the new black headlight and an offset post. The new light has a smaller shell, so we needed to use the 3/4 offset to move the light forward. The bulb is the same size-only the shell is smaller.
11. Next, Brian installed the powdercoated drag bars and risers; these were the stock bars that the bike had, but we just blacked them out. This is where we planned to put the new Diamond Black handgrips.
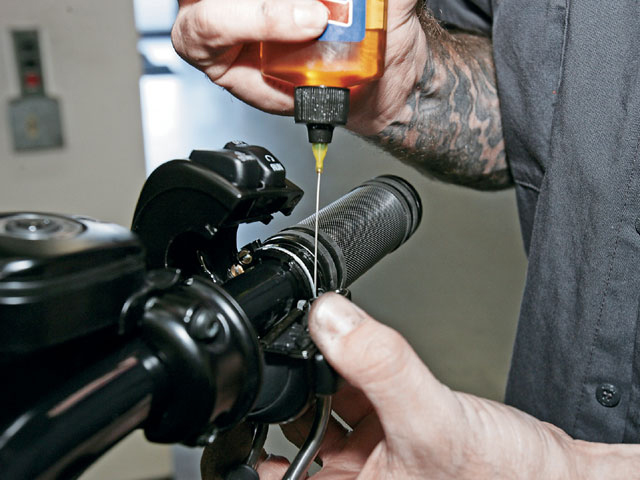
12. After installing all the stock wires, switch housing, and cables, Brian lubed all the cables to the throttle and clutch.
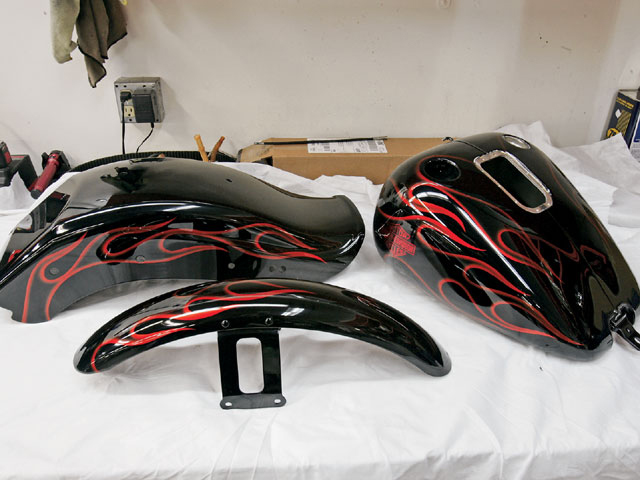
13. Here is the new paint set: One-piece gas tank, rear fender, and front fender.
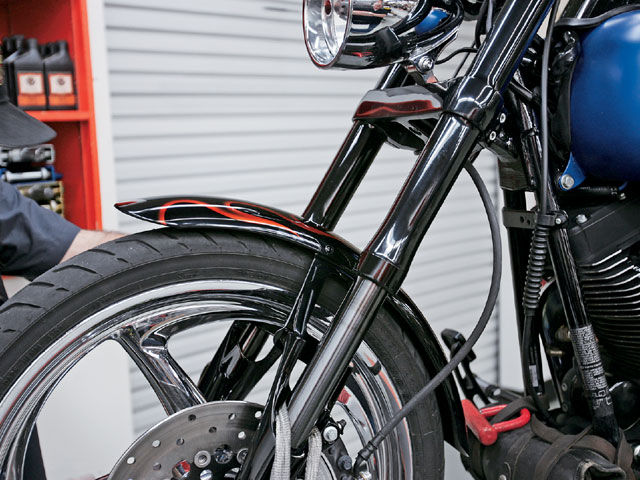
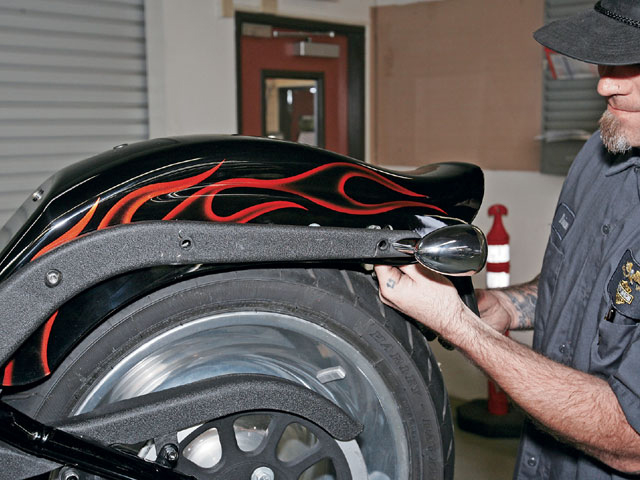
14. Starting at the front and working his way to the rear, Brian removed the stock front fender and bolted on the new black flamed fender.
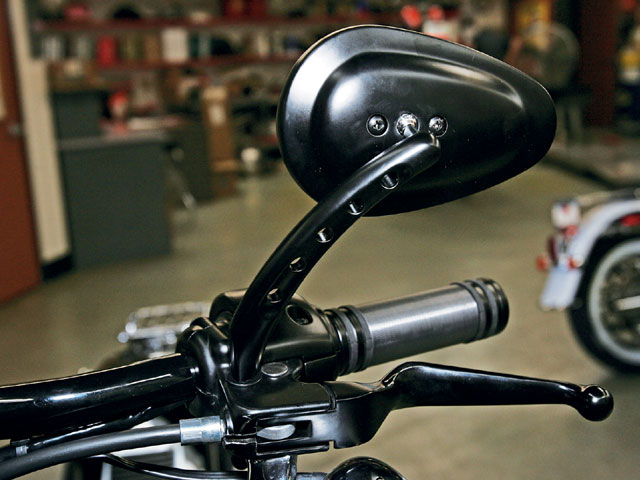
15. With the switch housing in place, Brian installed the new Black Buckshot mirrors.
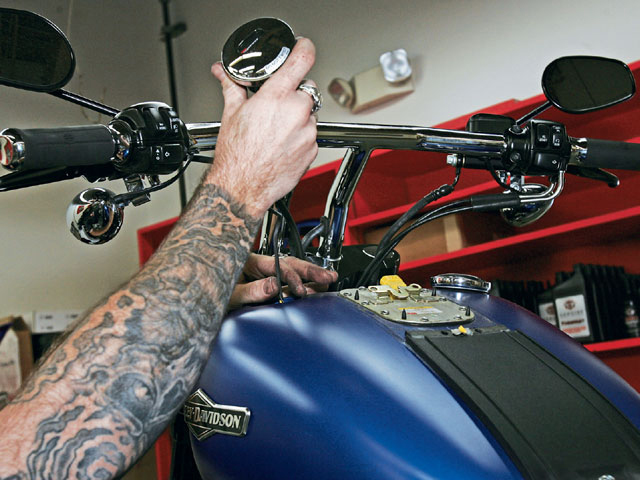
16. Next, the gas tank was removed from the bike. The wires for the fuel gauges were carefully removed and the tank was placed on the workbench so that the pump could be pulled out.
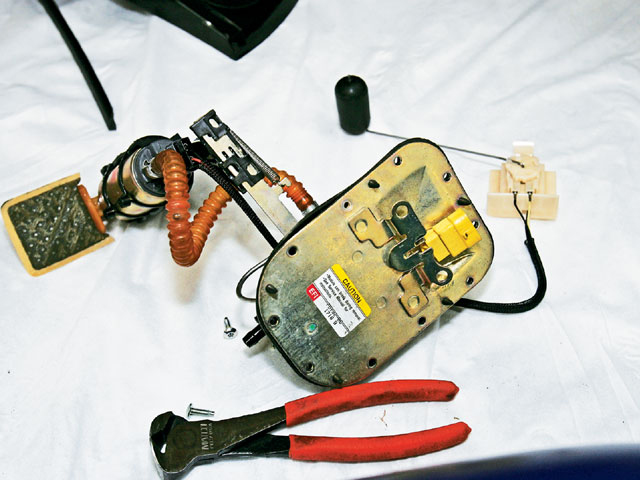
17. There are 10 small bolts on the top of the pump plate that were removed. Then the level sensor wires were unclipped and the fuel supply hose was removed from the fuel plug. Brian replaced the gasket and filter, then installed this into the new tank.
18. After the gas tank was placed on the bike and bolted in place, the crossover hose was installed with all new clamps, and we refueled the tank.
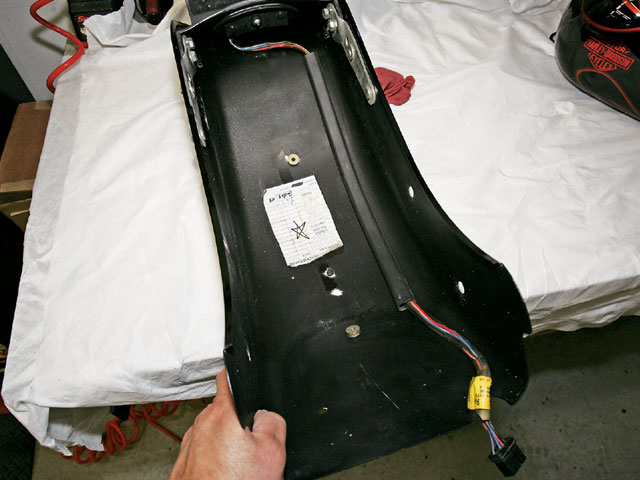
19. For the rear fender, Brian needed to remove the old fender and taillight wires. He re-routed the wires onto the new fender with a new wire harness strip. The harness has a glue strip that sticks to the underside of the fender, but Brian added a little Super Glue to the strip to ensure it would stay in place.
20. Then the fender was placed on the bike and bolted in place. We planned on installing a set of quick-release side plates, but found that we first needed to get a different set of mounting bolts for the taillight. We will add them in the next story.
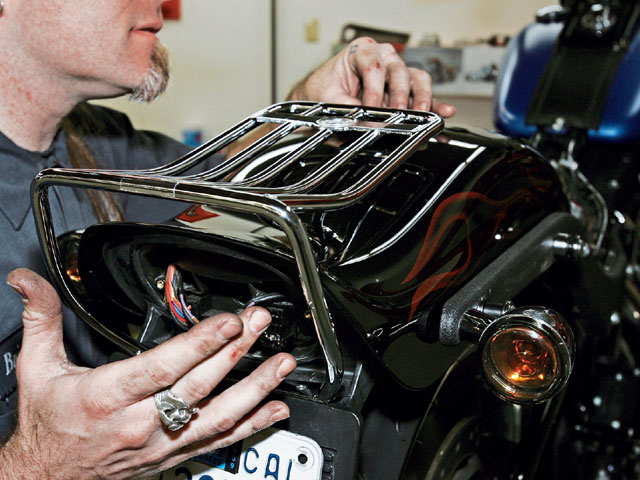
21. With the fender bolted in place, the last thing to install was the Bobtail fender rack. This was not offered in black at the time when we started this install, but we were told that most likely the rack would be offered in black by the time this issue hits the newsstands. The rack bolts to the seat bolt and two small holes needed to be drilled into the plastic license plate mount.
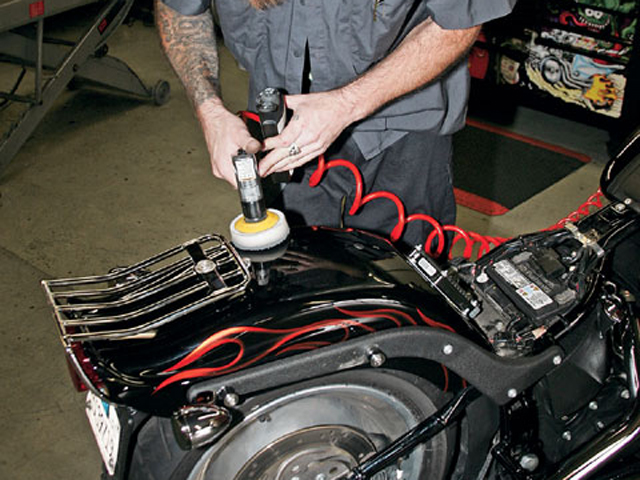
22. Now that everything was in place, Brian took a minute to clean and buff all the fingerprints and any little scratches that may have happened during the install and shipping.
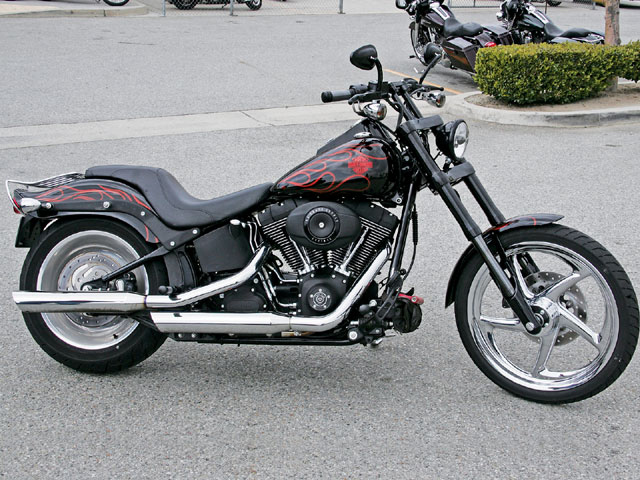
23. There you have it. In about a day we had a new bike-at least it looked that way. The new black paint and the new Diamond Black parts really gave our Death’s Chariot the look we were after, but we are not done yet. In the next story we want to get our hands on a new exhaust and the black pipe wrap that is now offered by H-D, and get the right side plate mounts for the sissy bar and passenger backrest.
Blacked Out
As we move forward to black out our ’06 Night Train test bike, we’re up to the point of wanting to make the biggest change in the bike’s looks by swapping out the paint. There was nothing wrong with the denim blue paintjob; it got a lot of compliments, but it’s not black. As we looked through H-D’s P&A; catalog, there were a lot of paint choices, from bright colors to basic black. We wanted to black out the Night Train, but thought adding a little color to the bike would look better. We picked a black base with Harley’s orange highlight flames. As we placed the order for the paint, H-D’s P&A; catalog guru Jennifer Gruber told us about the all-new Diamond Black Attack parts for the Softail line. We had the parts shipped to us, and once they arrived we went to Pomona Harley-Davidson to get the goods installed. Service Manager Chris Dyer handed the parts to Service Tech Brian Breeland and turned him loose on getting everything installed.


