
2007 Harley-Davidson Street Bob – Stretching Out On A Dyna

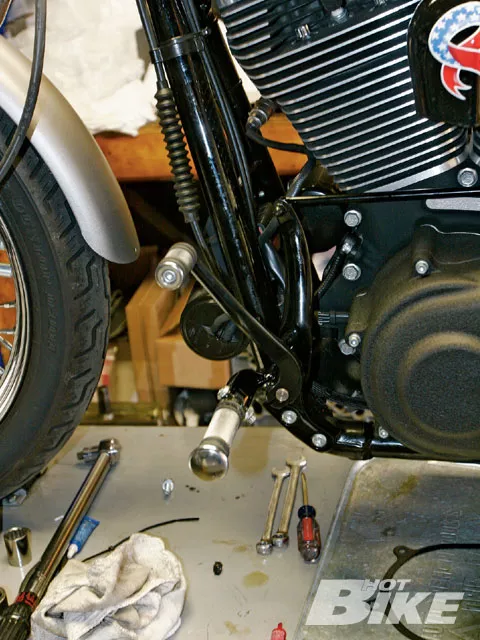
Even though the owner is only an inch shorter than Troy’s 6-foot-3-inch frame, this photo shows quite clearly how cramped and uncomfortable even the mid-mount foot peg position can be for a tall rider.

1. The black forward control kit includes every part, seal, and the new “sealing” inner primary mounting bolts needed for the install. The only additional purchase needed was a quart of Formula Plus primary oil. Even though the kit comes with instructions, you should have the factory service manual on hand for referencing torque specs.
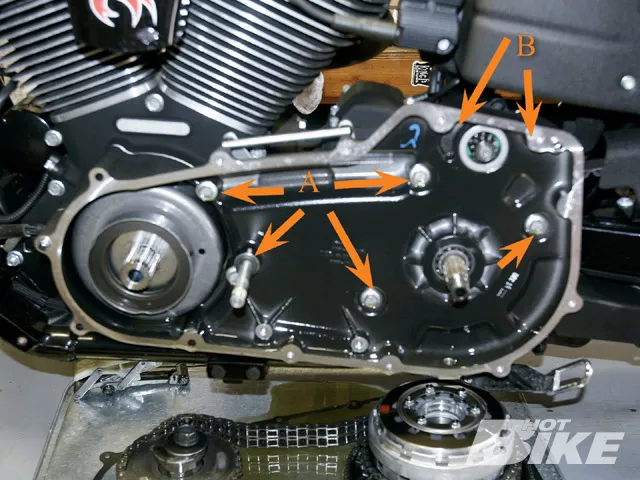
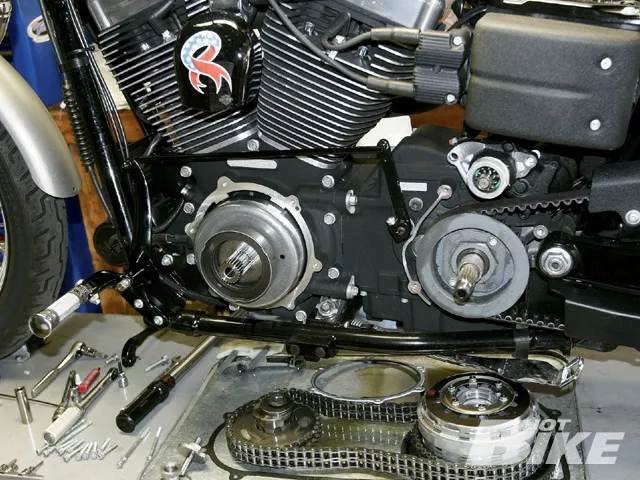
2. The primary system had to come off to remove the shift lever (that runs through the primary cases) and the shift arm on the transmission. Once he had the outer cover and primary drive components off, Troy turned his attention to the inner cover: there are five bolts that fasten the inner cover to the engine and the transmission (A). The new style starter is bolted to the primary cover from the right side of the case (B).
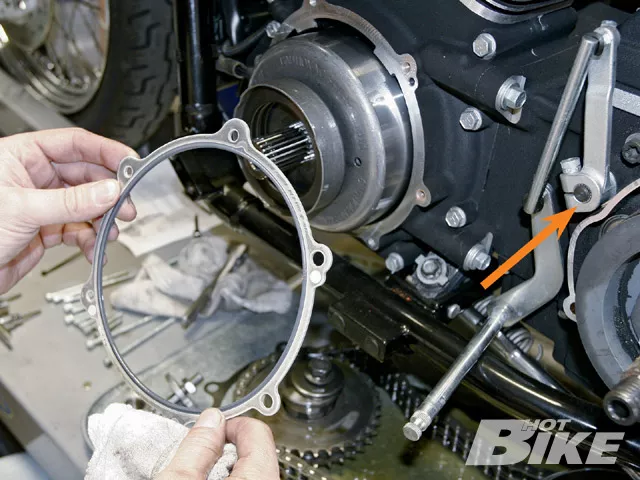
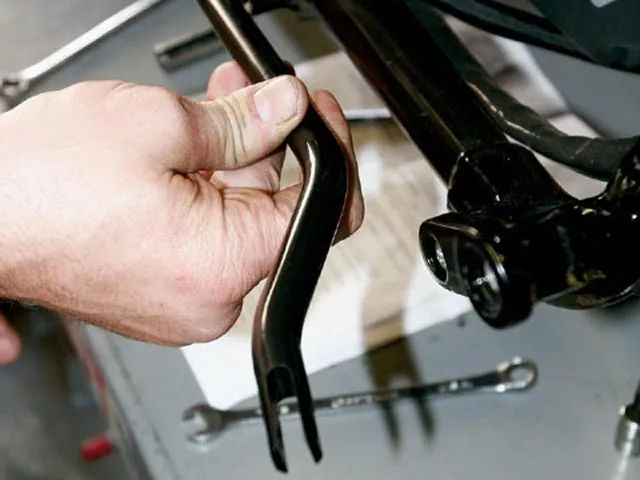
3. With all of the bolts removed, the inner primary slid off of the transmission mainshaft. As Troy removed the inner cover, he gently pushed the stock shifter shaft back through the cover. The primary to engine gasket is a metal/paper sandwich and is discarded as a new one is included with the kit. After marking the shaft with a Sharpie (so the new arm goes back on in the correct location) Troy removed the stock shift lever/shaft assembly (arrow).
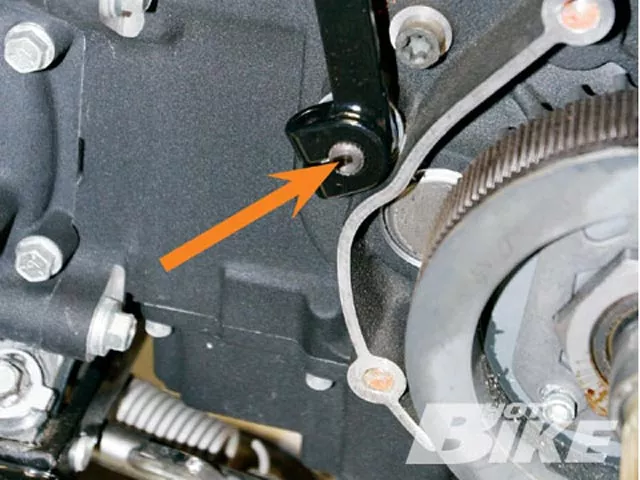
4. The new black shift arm was the first part to be installed. Troy aligned the notch of the arm with the Sharpie mark on the shaft (arrow) and slid the new arm on and tightened the bolt.
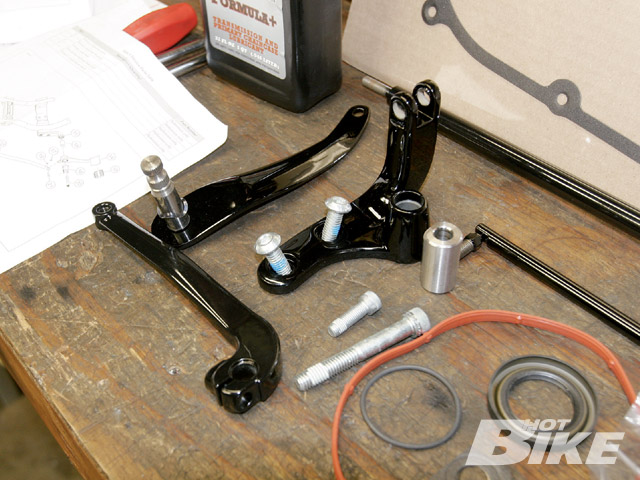
5. Here are the remaining components for the left side. The kit includes a new O-ring for the starter housing, a new seal for the transmission main shaft, and the engine gasket.
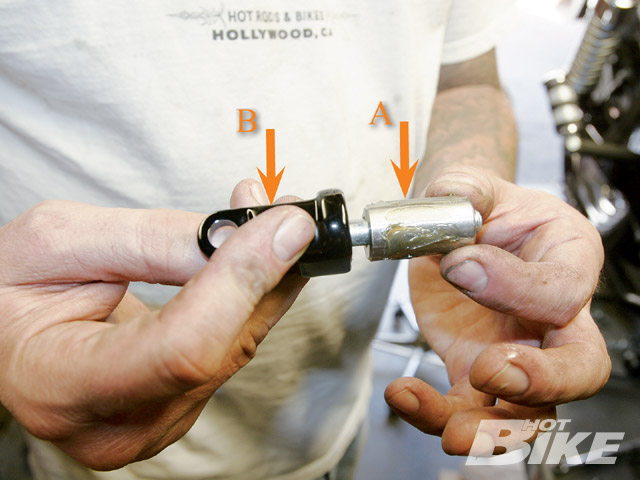
6. The forward shift arm’s shaft was given a light coat of grease and then slid into the shift support mount before the mount was secured to the frame with a couple of Torx head bolts included in the kit and then….
7. Troy connected the shift linkage to both shift arms and installed the left foot peg.
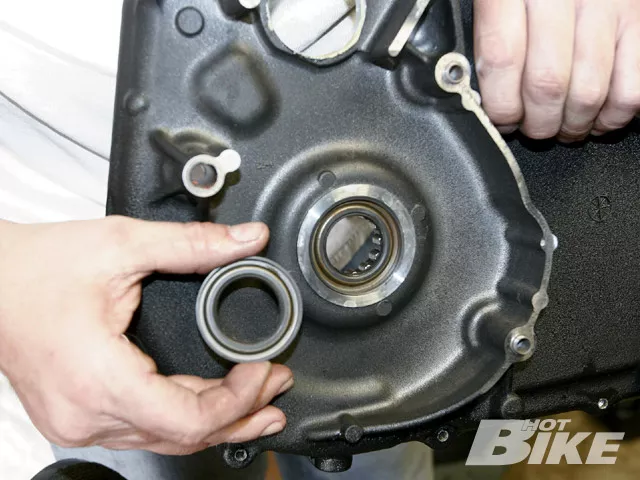
8. Before installing the inner primary, Troy installed the new starter O-ring, engine gasket, and mainshaft seal. Troy lubed the inner part of the mainshaft seal with grease and then slid the cover back in place on the engine and transmission. The cover just slid in place and Troy made sure that it sat square and even against the engine and trans.
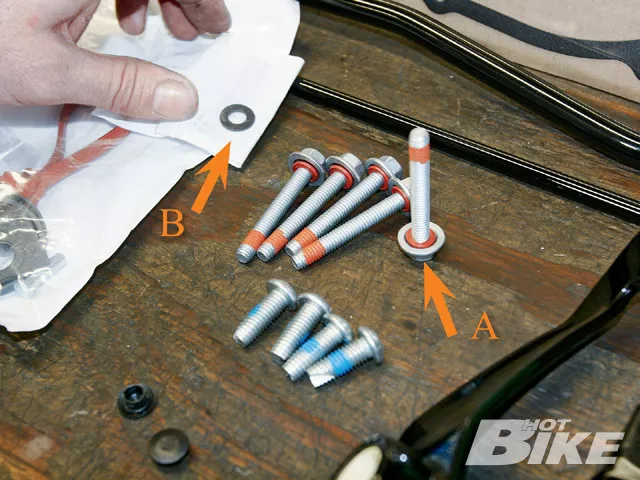
9. Here’s a close up of the new inner primary case mounting bolts: notice the sealing O-ring embedded in the head of the bolt (A) and the dab of Loctite on the threads. The stock shift shaft tunnel is sealed with a stick-on gasket (B), which is also included in the kit. Troy referred to the manual for the torque pattern.
10. Troy then re-installed the primary drive assembly and installed the outer primary cover using the new gasket provided. The cover bolts were tightened according to torque pattern in the service manual. After adjusting the clutch Troy finished up the left side of the bike with the new shift lever and the same knurled shift peg.
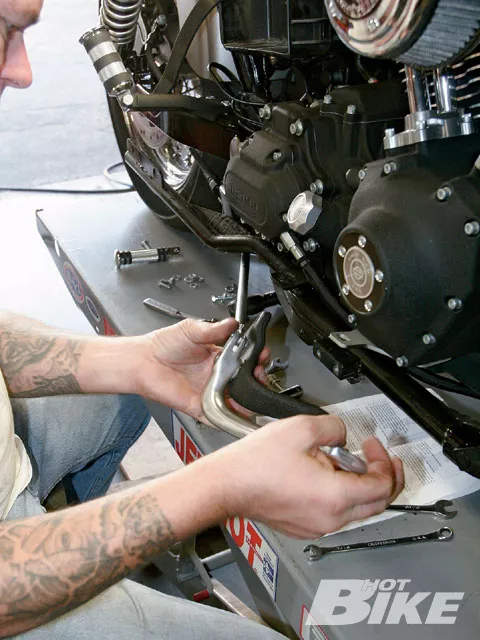
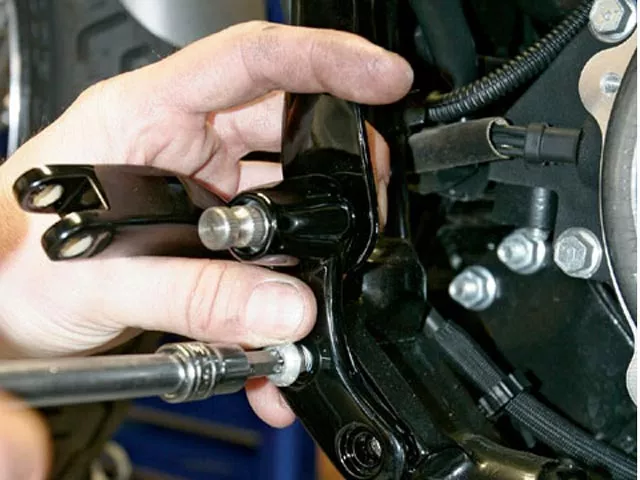
11. On the right side Troy removed the Thunder Header exhaust followed by the stock brake lever/mount and linkage from the rear master cylinder. The linkage is threaded into the captured master cylinder pushrod and secured with a jam nut. Troy loosened the jam nut and unscrewed the linkage.
12. Troy transferred the stock locknut to the new black brake pedal linkage and threaded it into the master cylinder approximately the same distance as the stock pushrod. The linkage can be adjusted a short distance to move the position of the brake pedal in relation to the footpeg.
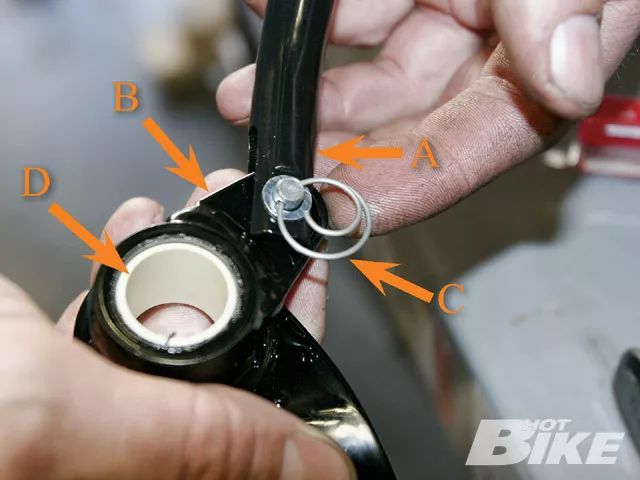
13. The new brake linkage (A) is joined to the brake lever (B) by a clevis pin (C) and a new style of cotter pin and washer. These round cotter pins are reusable. Make sure the lever has free movement on the clevis pin and brake linkage. Notice the plastic bushing for the brake lever pivot (D).
14. The brake lever pivot shaft (A) is indexed to the footpeg brake lever mount by machined flats on both parts. The footpeg mount (B) uses the same type of machined flat to locate the footpeg mount in the proper orientation. The brake pedal assembly was fastened to the frame mount with a Torx head bolt that passes through the footpeg mount and pivot shaft.
15. Troy installed the footpeg shim (arrow) that puts slight pressure on the footpeg to keep it from rattling in the mount and making noise.

16. Once the exhaust system was back on Troy gave the entire assembly a close look and made sure the new linkage was free and clear. He also checked the brake fluid level in the rear master cylinder and pumped the brake pedal a couple of times ensuring a solid pedal. Then he installed the chrome billet-style brake pedal pad to complete the look for both sides of the bike’s foot controls.

17. And finally the last item to be addressed was filling the primary with fresh Formula Plus primary fluid. As Holley (arrow) cruises through the photo, Troy demonstrates the more comfortable position with the new forward controls installed. Notice that the top of Troy’s thighs are now parallel to the ground.
One of our acquaintances just purchased this 2007 Harley-Davidson Street Bob with virtually no miles, for a smoking deal. The ’07 Dyna is almost a blank canvas as far as color and accessories go. The owner is tall and the mid-mount foot controls cramped his legs from the first ride–preventing maximum enjoyment. However, he knew from the moment he signed the papers and took those keys that there was plenty of help in the pages of the 2009 Harley-Davidson Parts & Accessories catalog.
You’ll notice the handlebars are not the stock items–they’re the new black mini apes with the switch wiring hidden inside the bars. The full complement of chrome-knurled pegs and handgrips were also added to offset the black-coated bars and now the forward control kit. The forward control kit moves the rider’s feet forward a good 12 inches, allowing the top of the rider’s thighs to be more parallel to the ground and not cramp his knees (which is ergonomically more comfortable).
We thought we’d follow along as Troy Honeycutt of King T’s Kustoms in Hollywood, California installed the new H-D black forward control kit on the Street Bob.
| PARTS: | ||
| 49021-09 | Dyna Black Forward Control Kit | MSRP $329.95 |
| 42629-00 | Billet Style Brake Pedal Pad Kit | MSRP $39.95 |
| 99851-05 | Formula Plus transmission and primary oil, 1 quart | MSRP $8.49 |
| King T’s Kustom – 3 hours | Labor, $50 per hour, total $150 |


