Harley-Davidson FXDR 114 Air Cleaner Removal
The 2019 Harley-Davidson FXDR 114 is the newest addition to the new Softail family and it is the most aggressive-looking model in the lineup, for sure. With the short 2-into-1 exhaust system out back and a long version of the Screamin’ Eagle Heavy Breather air cleaner up front, you can’t miss the bike’s dynamic styling. The cool thing about that air cleaner is that it comes with a washable air filter element, unlike most other Harley models which are equipped with the standard paper disposables. The two air cleaner types do share a similarity though; they both need to be checked for maintenance at every service interval, which is every 5,000 miles after the initial 1,000-mile service.

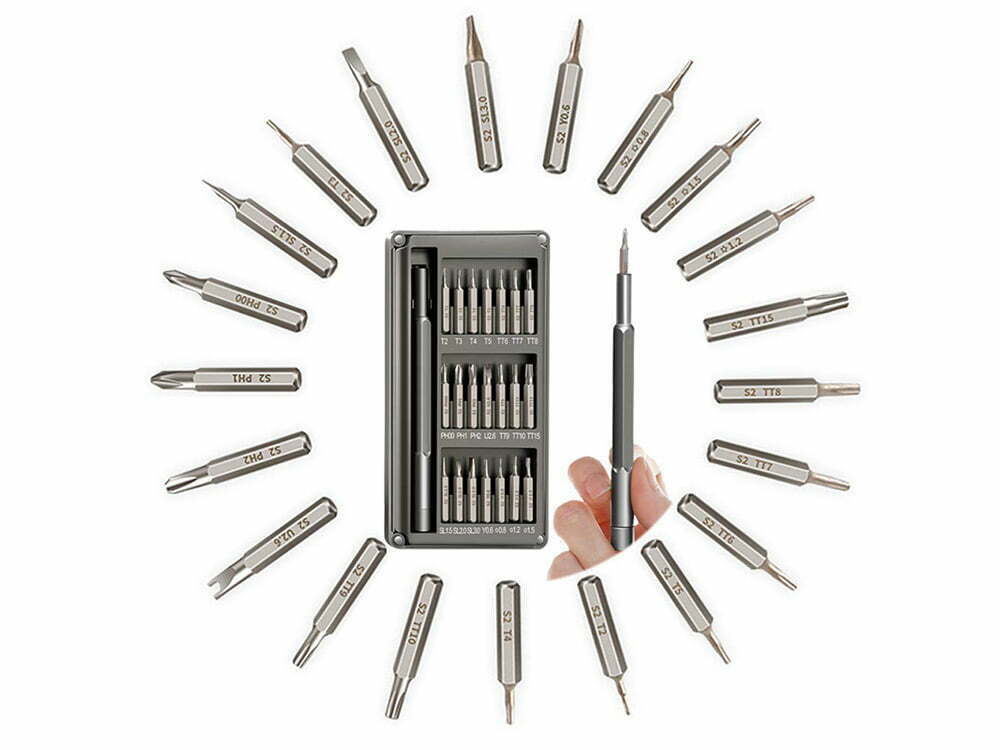
In need of a Torx set? Here’s an option that includes the T27 size for this job, plus 21 other sizes.
Fujiwara
To tackle that job, you need only one tool—a Torx 27 socket. You’ll need to remove a total of 10 bolts on the cleaner, and all are the same T27 size. To start off, remove the six bolts holding the outside half of the elbow to the inner half. With those out and the cover set aside, you have access to the four bolts holding the filter element to the inner elbow housing. With those four bolts then removed, the element will be free and clear. There is a gasket on the back of the element that the owner’s manual recommends be replaced at every service.

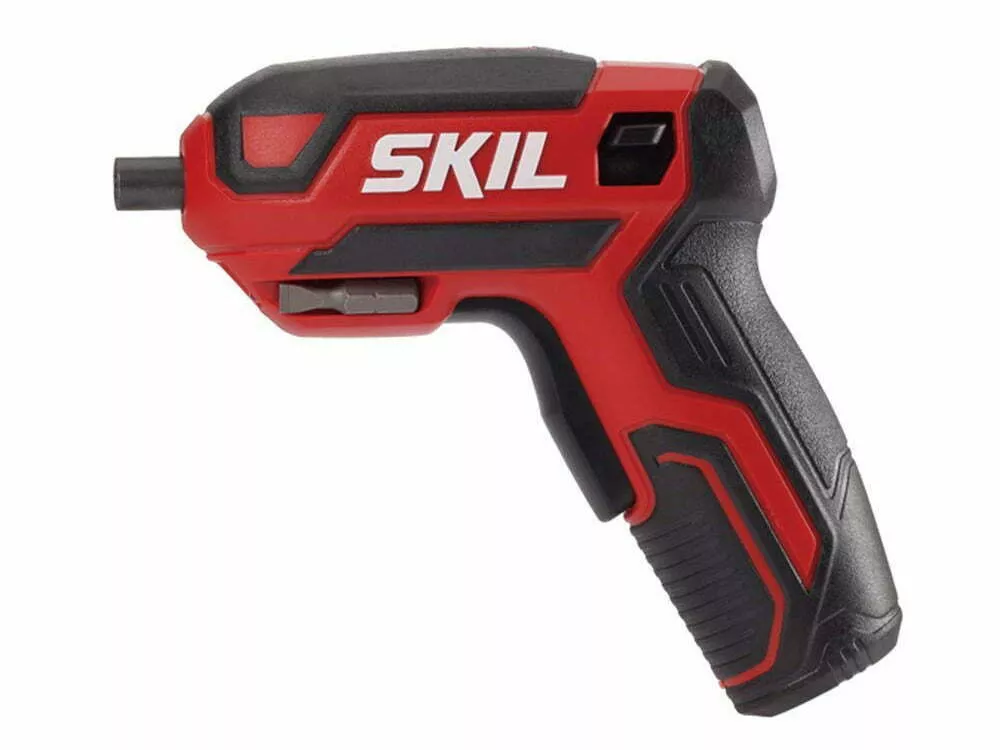
Looking to speed up the process like Jon in the video? Here is an electric screwdriver option reasonably priced.
Skil
Related: 2019 Harley-Davidson FXDR 114 Seat Removal
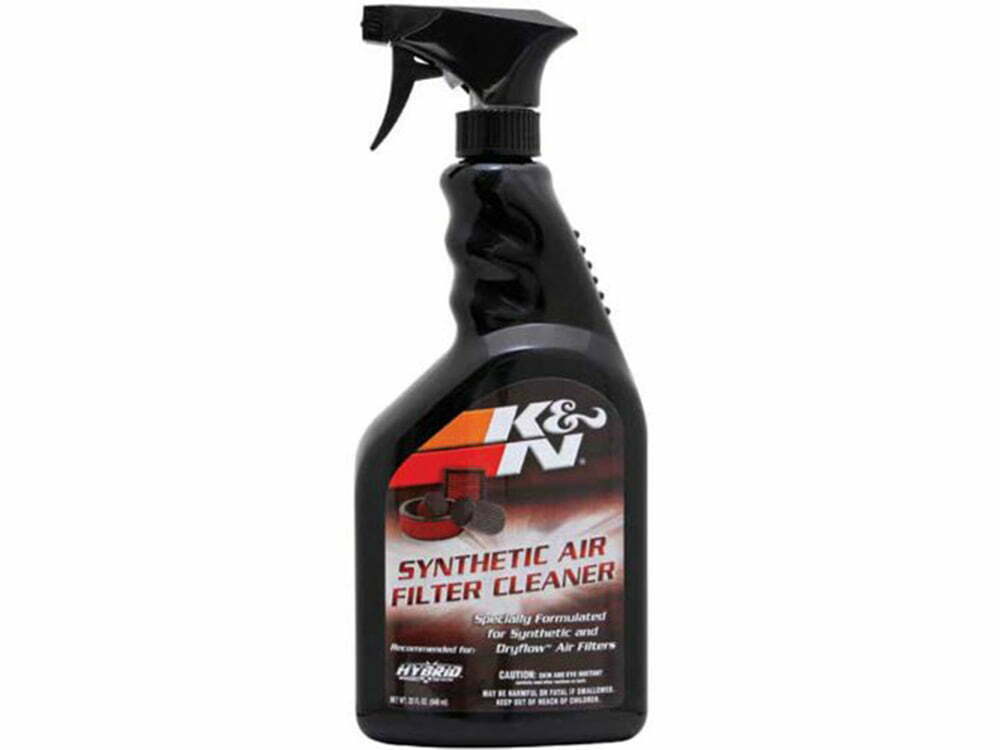
You can wash the filter element with either warm soapy water, or you can buy element cleaner such as air filter cleaner from K&N. Unlike K&N filters though, the FXDR’s does not require any oil after washing. Be sure to let the filter dry completely before running the motorcycle however. You can let it air dry or use low-psi compressed air to speed up the dry time if necessary.


