
2005 Harley Davidson Road Glide Screaming Eagle Engine Kit
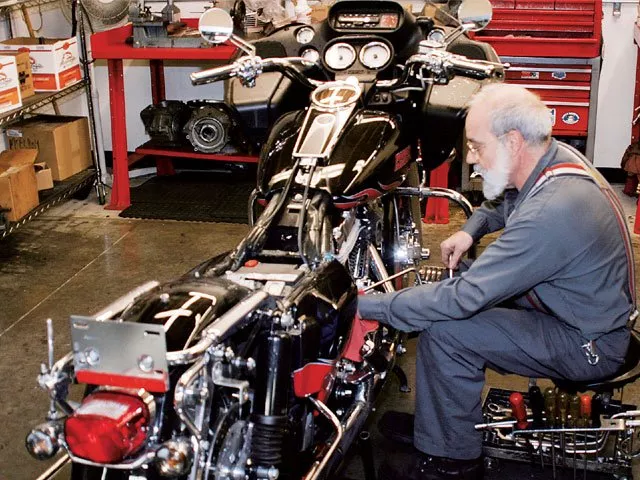
As soon as we arrived at Laidlaw’s, Danny rolled the bike back to his work area and started the teardown.
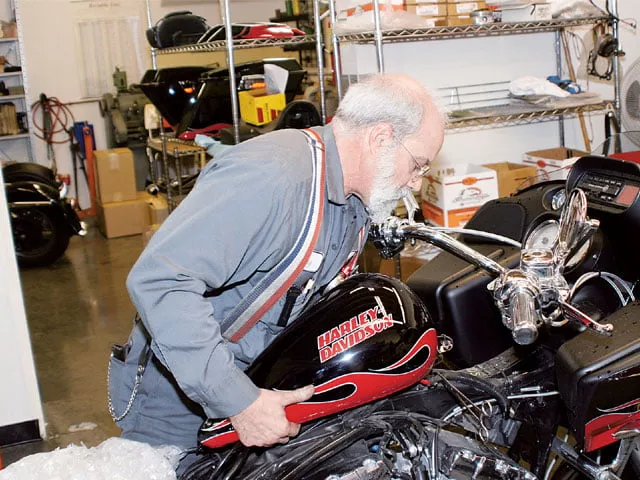
After disconnecting the battery and removing the gas tank…
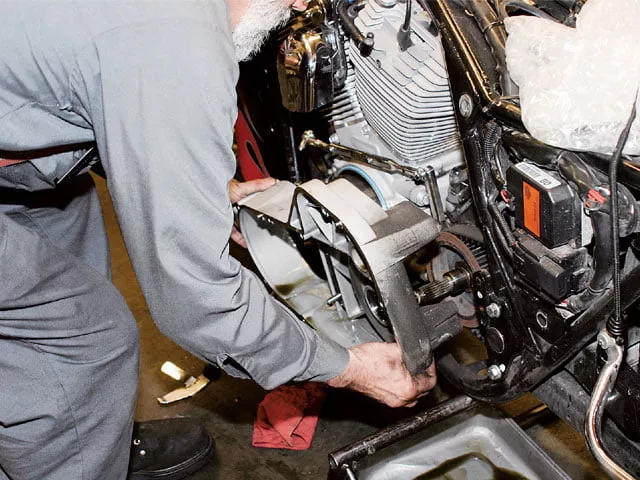
…Danny moved the left side of the bike, unbolted the top motor mount, then drained and pulled the primary.


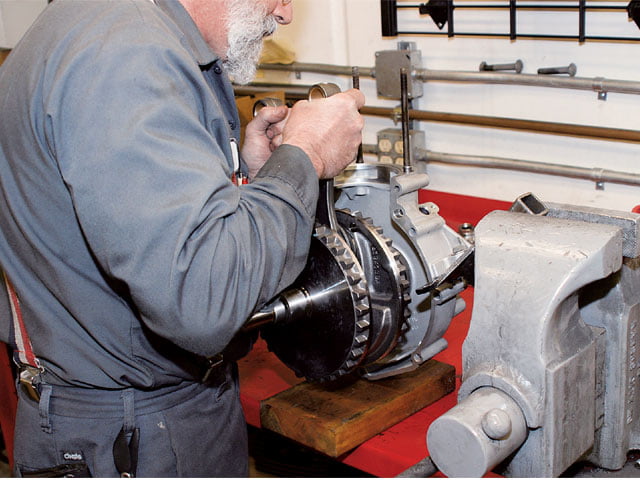
Next, Danny bolted a brace he made out of an old motor mount and a piece of square tubing to the front motor-mount holes and then secured it in a vice.

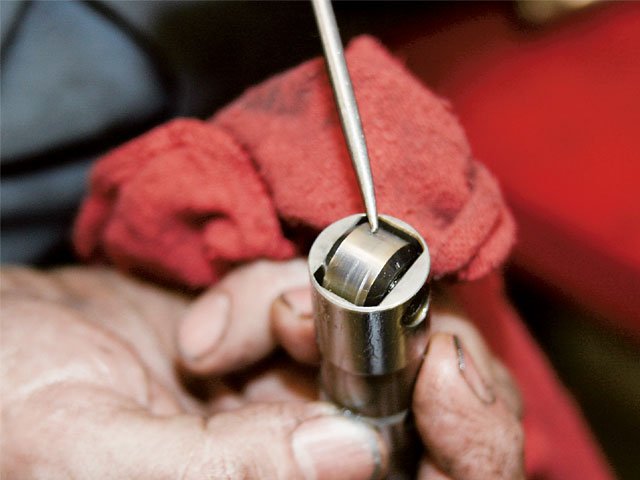
Before unbolting the cam plate, he pulled out the lifters. Danny inspected the lifters for wear, checking for deep pit marks on the roller.
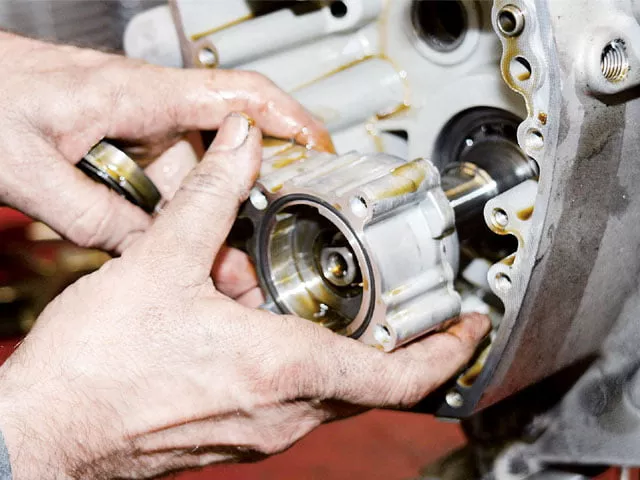
After removing the cam support plate, the oil pump was removed.
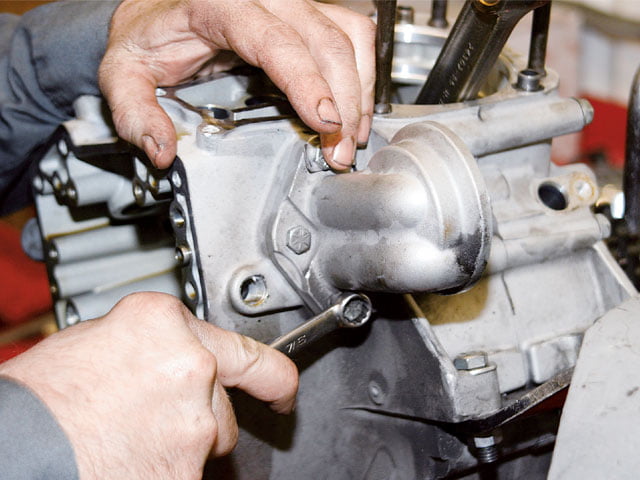
To help maintain reasonable oil temperature with the larger-displacement motor, we decided to install Harley’s Premium Oil Cooler. The new oil cooler uses its own oil-filter mount, so Danny removed the stock one.
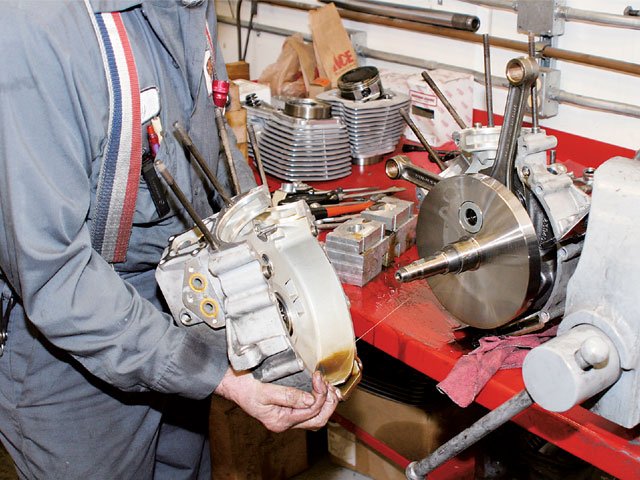
All that was left to do was remove the case bolts, take out the front motor-mount bolt from the right side of the brace, and separate the case halves. In order to do this, Danny tapped around the edge of the cases with a rubber mallet and then pulled them apart.
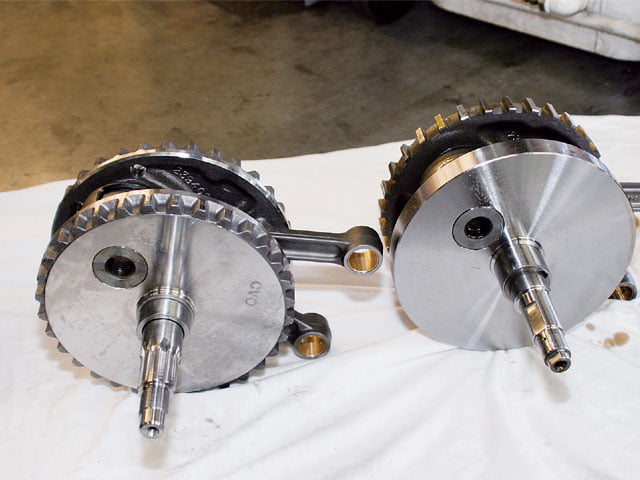
You may have noticed that on the stock flywheels the left side has timing teeth for the crankshaft position sensor, while the right side is smooth. On the 103, both flywheel have teeth. We were told the teeth are only there as a by-product of the forging process for the flywheel. In laymen’s terms, it’s easier to make one part twice rather than two different parts.
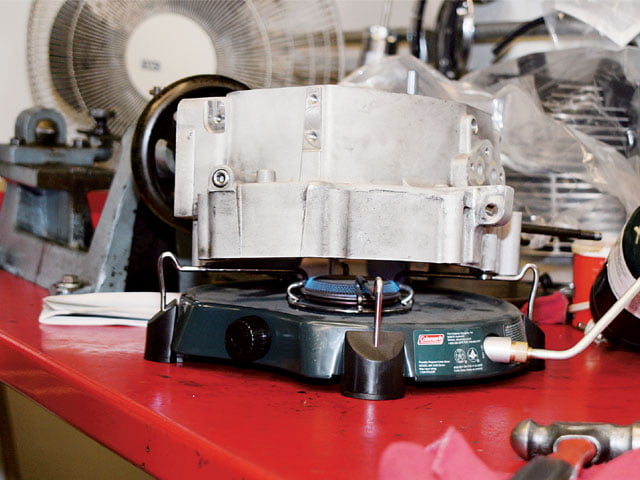
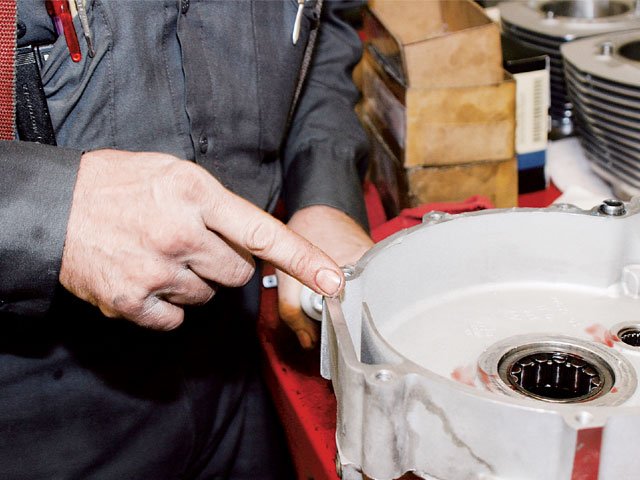
When it came to replacing the bearings in the case halves, Danny used a portable Coleman camping stove to heat up the cases and expand the metal so the bearings would come out more easily.
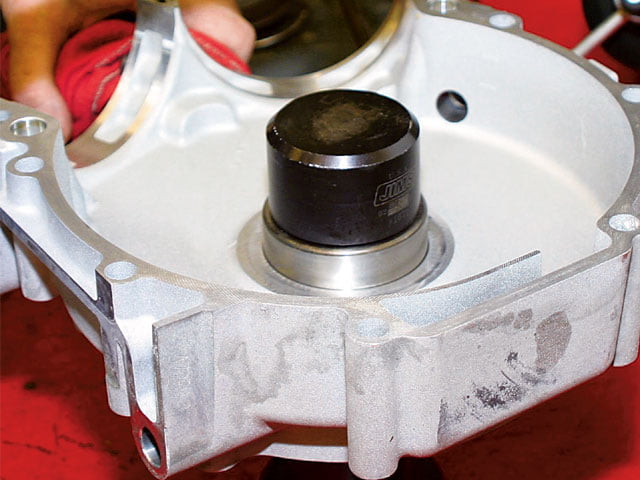
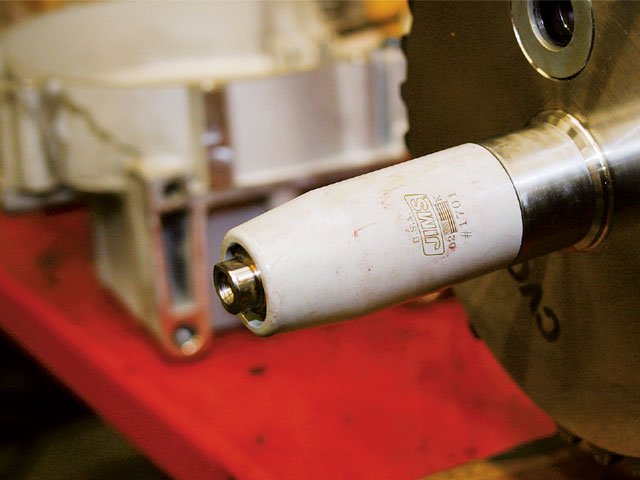
Then, to install the bearings, he heated up the cases again and used a JIMS bearing installation tool to seat the bearings in place.
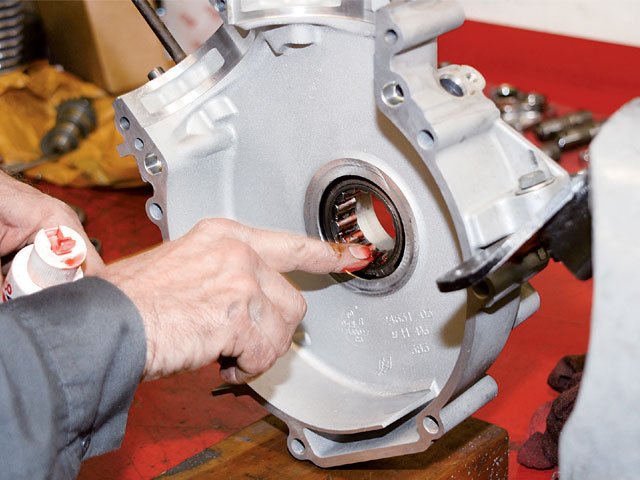
Before installing the new flywheel assembly between the cases, Danny slathered the bearings with some assembly lube.
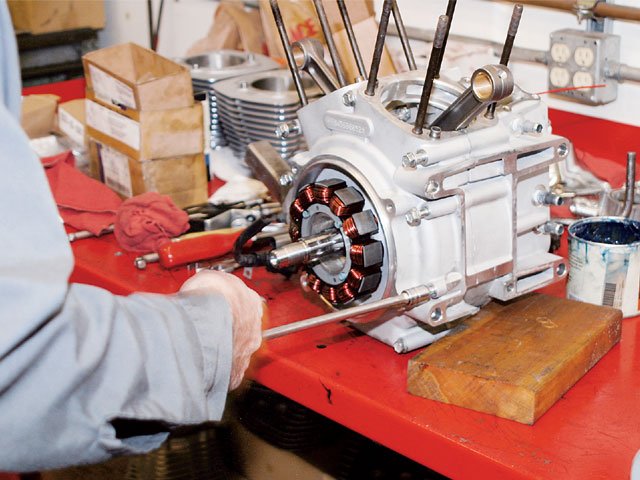
Danny first slid the flywheel assembly into the left side of the case.
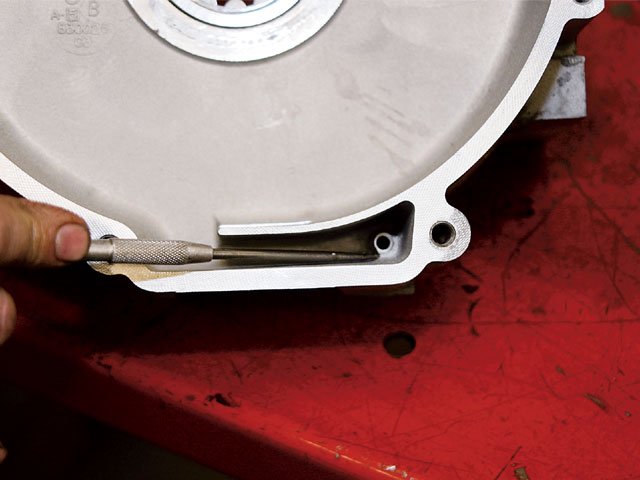
Then, before he slid the right-side case into position, he checked to make sure the oil-return hole wasn’t blocked.
Next, Danny slid a JIMS crankshaft guide over the crankshaft. The guide helps to keep the rollers on the bearing from catching when the right-side case half is installed.
Danny then ran a bead of clear silicone sealer along the edge of the right case half.
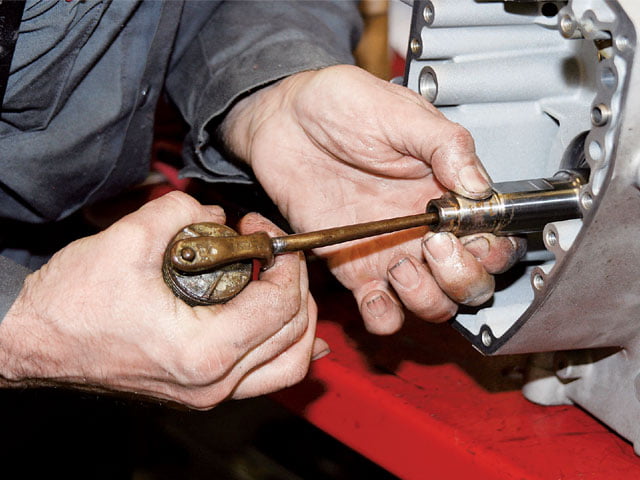
The cases were then mated together and torqued to spec as per the manual.
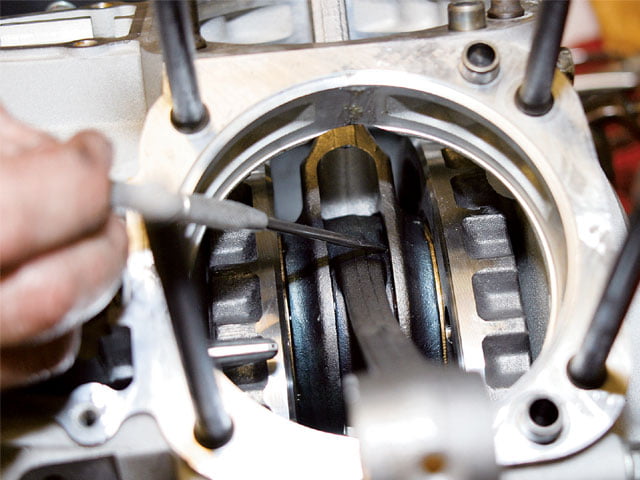
After oiling the connecting rods…
Over the past year, our long-term ’05 Road Glide has gone through quite the transformation. But there’s one major part of the bike we haven’t even touched yet (and it’s been driving us crazy): the motor. Originally we were expecting to get a 95-inch kit, but when several boxes marked “Screamin’ Eagle 103-inch” arrived at the office, we were stoked and couldn’t wait to wake up the stock Twin-Cam.
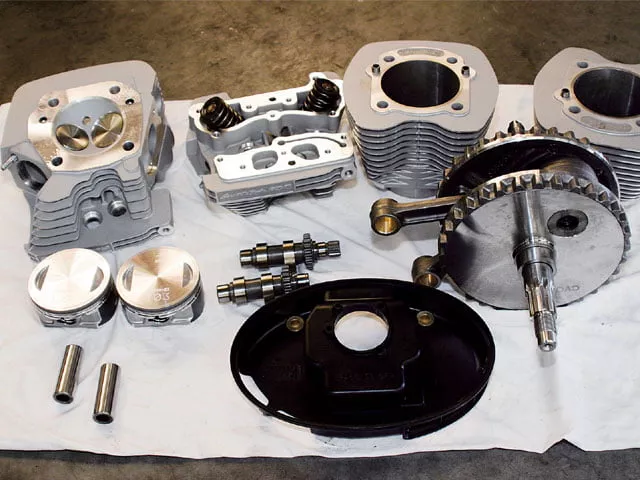
The 103ci Stage I Kit for EFI will bring the stock Twin-Cam up to the same 1690cc displacement and power output as the CVO Screamin’ Eagle Touring models. The kit is comprised of a new flywheel assembly, larger pistons and cylinders, cams, cylinder heads, air-cleaner assembly and cover insert, and replacement catalyst mufflers. The catalyst mufflers are mandatory to make this setup a 50-state street-legal kit when used on certain ’04-’06 Touring models, while the stock mufflers are required on ’03 Touring models.
Compared to a stock 88ci Twin-Cam with its bore and stroke of 3.75 x 4.00 inches, the 103 kit increases the bore by .125 inch and the stroke by 370 inch. This kit utilizes 3.875-inch big-bore cast pistons and cylinders, as well as a 4.375-inch stroker flywheel assembly. The big-bore cast pistons, combined with the Screamin’ Eagle 103 cylinder heads, offer a 9:1 compression ratio for easy starting. So what makes this a stroker flywheel?
If you’ll recall William Denish’s article “Engine Fundamentals 101, Part 1” in our Vol. 38, No. 4 ’06 issue, stroke is the distance the piston travels between top dead center and bottom dead center in the cylinder bore. Crank throw is the distance the crankpin is offset from the crank’s mainshaft centerline and is also half the distance of the stroke. A stock 88 T-C flywheel has a stroke of 4.00 inches and a crank throw of 2.00 inches. In this setup, the new flywheel has a stroke of 4.375 inches and a throw of 2.187 inches. So now the pistons will travel up the cylinders an additional .187 inch and down the cylinders an additional .187 inch.
To assemble this kit you have to completely tear down the motor, split the cases, and install the new flywheel, so we headed over to Laidlaw’s Harley-Davidson to take photos as the kit was installed. After 44 years in Rosemead, CA, owner Bob Laidlaw, along with sons Jerry and Brent, moved the dealership in 2002 to their newly built 45,000-square-foot state-of-the-art building in Baldwin Park, CA. The new facility features one of the largest and most modern service departments in the nation, complete with the latest dyno equipment. Laidlaw’s also has another trick up its sleeve-Danny DiLorenzo. With more than 28 years of service with Laidlaw’s, Danny has earned himself his own two-bay shop in the back of the service department. Danny’s shop area is set up for special projects such as building race motors for Jerry Laidlaw, one of the owners. So, because of his years of experience and extensive knowledge of building Harley motors, it only made sense to have Danny assemble our 103.
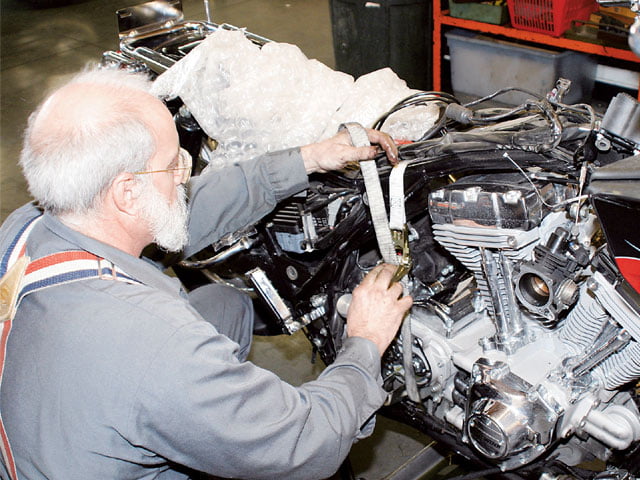
On the right side the exhaust system and throttle body were removed. He also pulled the clutch release cover on the transmission. Danny said he did this so that when he pulls the motor it won’t get caught up on the clutch cable. The front motor mounting bracket was unbolted, and before he removed the four bolts holding the trans and motor together, Danny used a tie-down to support the trans and keep it from binding up the bolts.
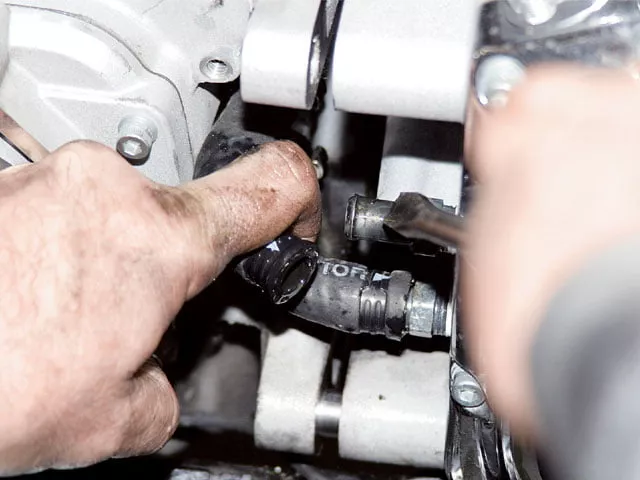
The oil lines were disconnected from the motor…
…and then Danny hoisted the motor out of the frame.
With the motor sitting on the shop floor, Danny began disassembly, starting with the rocker boxes and pushrods. Danny said it’s important to note that when you are pulling the rocker assembly you should loosen the four bolts slowly, alternating between bolts (not one at a time), because the pressure on the valves could cause the cradles to crack.
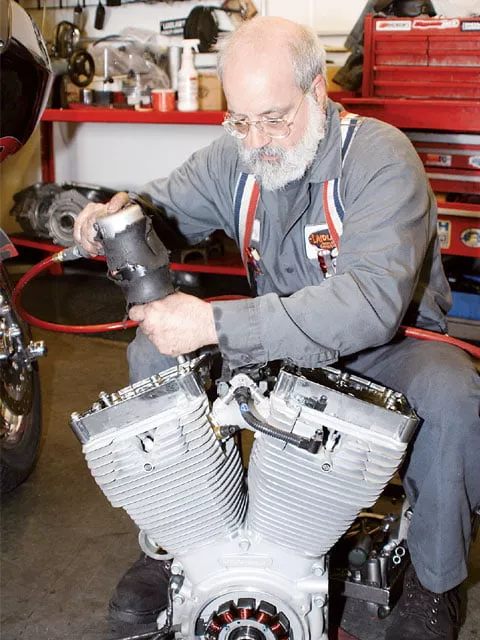
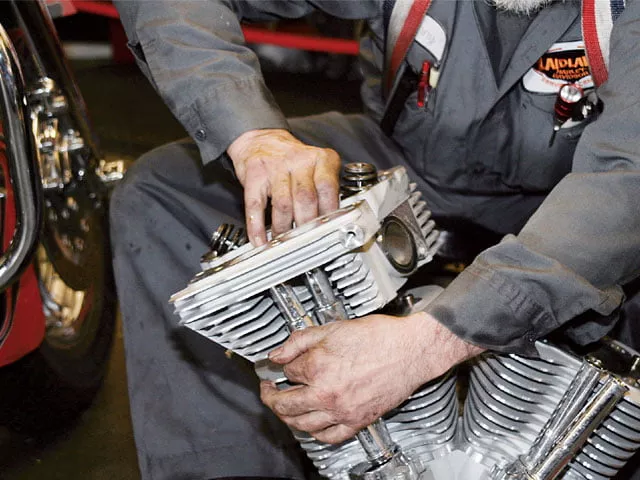
After he unbolted the intake manifold, the heads were removed.
While pulling the cylinders and pistons, Danny showed us a helpful tip. If you’re going to be reusing the same cylinders and pistons, you can pull the cylinder up just above the wristpin but before the lower ring comes out of the cylinder. Then stuff the case with rags (so the wristpin doesn’t fall in the case). Knock the wristpin out ’til it clears the rod, and pull the cylinder and piston off as one piece. Then when you reinstall the cylinders and pistons you don’t have to worry about using a ring compressor or manipulating the rings by hand.
…Danny checked to make sure the flywheel assembly spun easily. A good indication that everything is moving freely is if, after spinning the flywheels, the crankpin ends up at the top. Check back next month, when we’ll finish up the build and make some dyno runs.


