
Behind the Hot Bike Project F-XXX-R
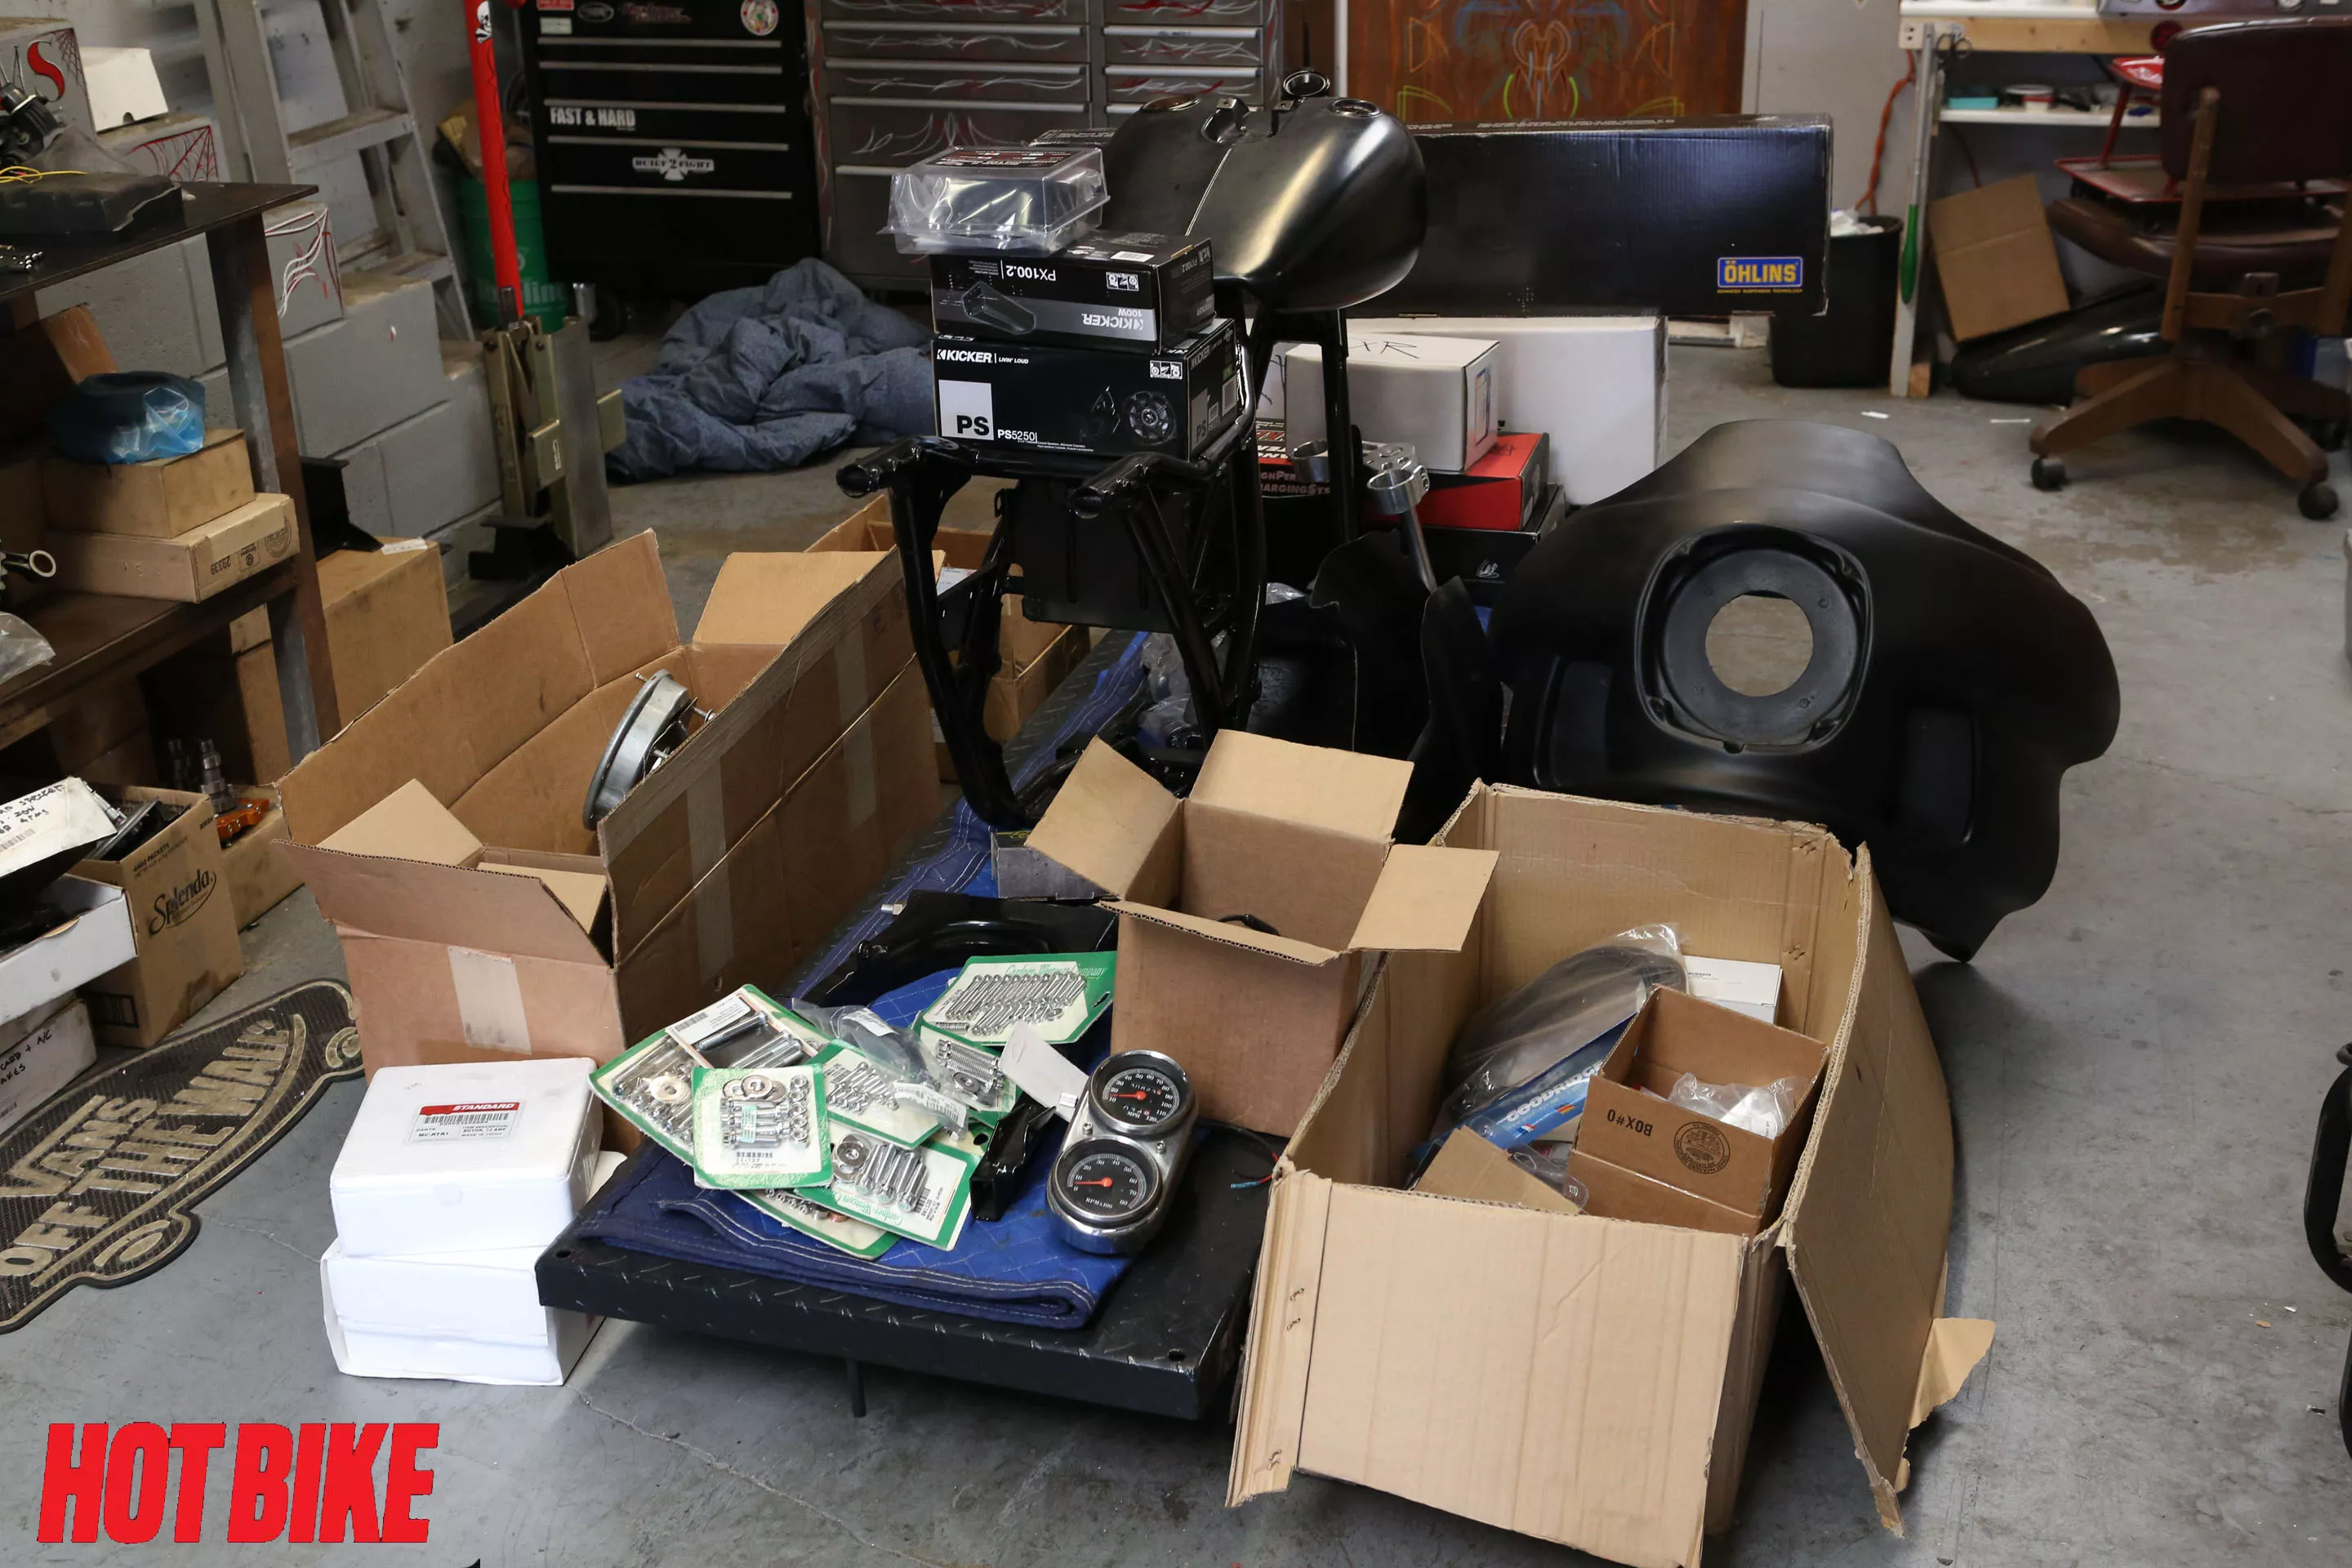
- We started off with a frame and a few boxes of parts. Not knowing what is in the boxes was part of the fun!
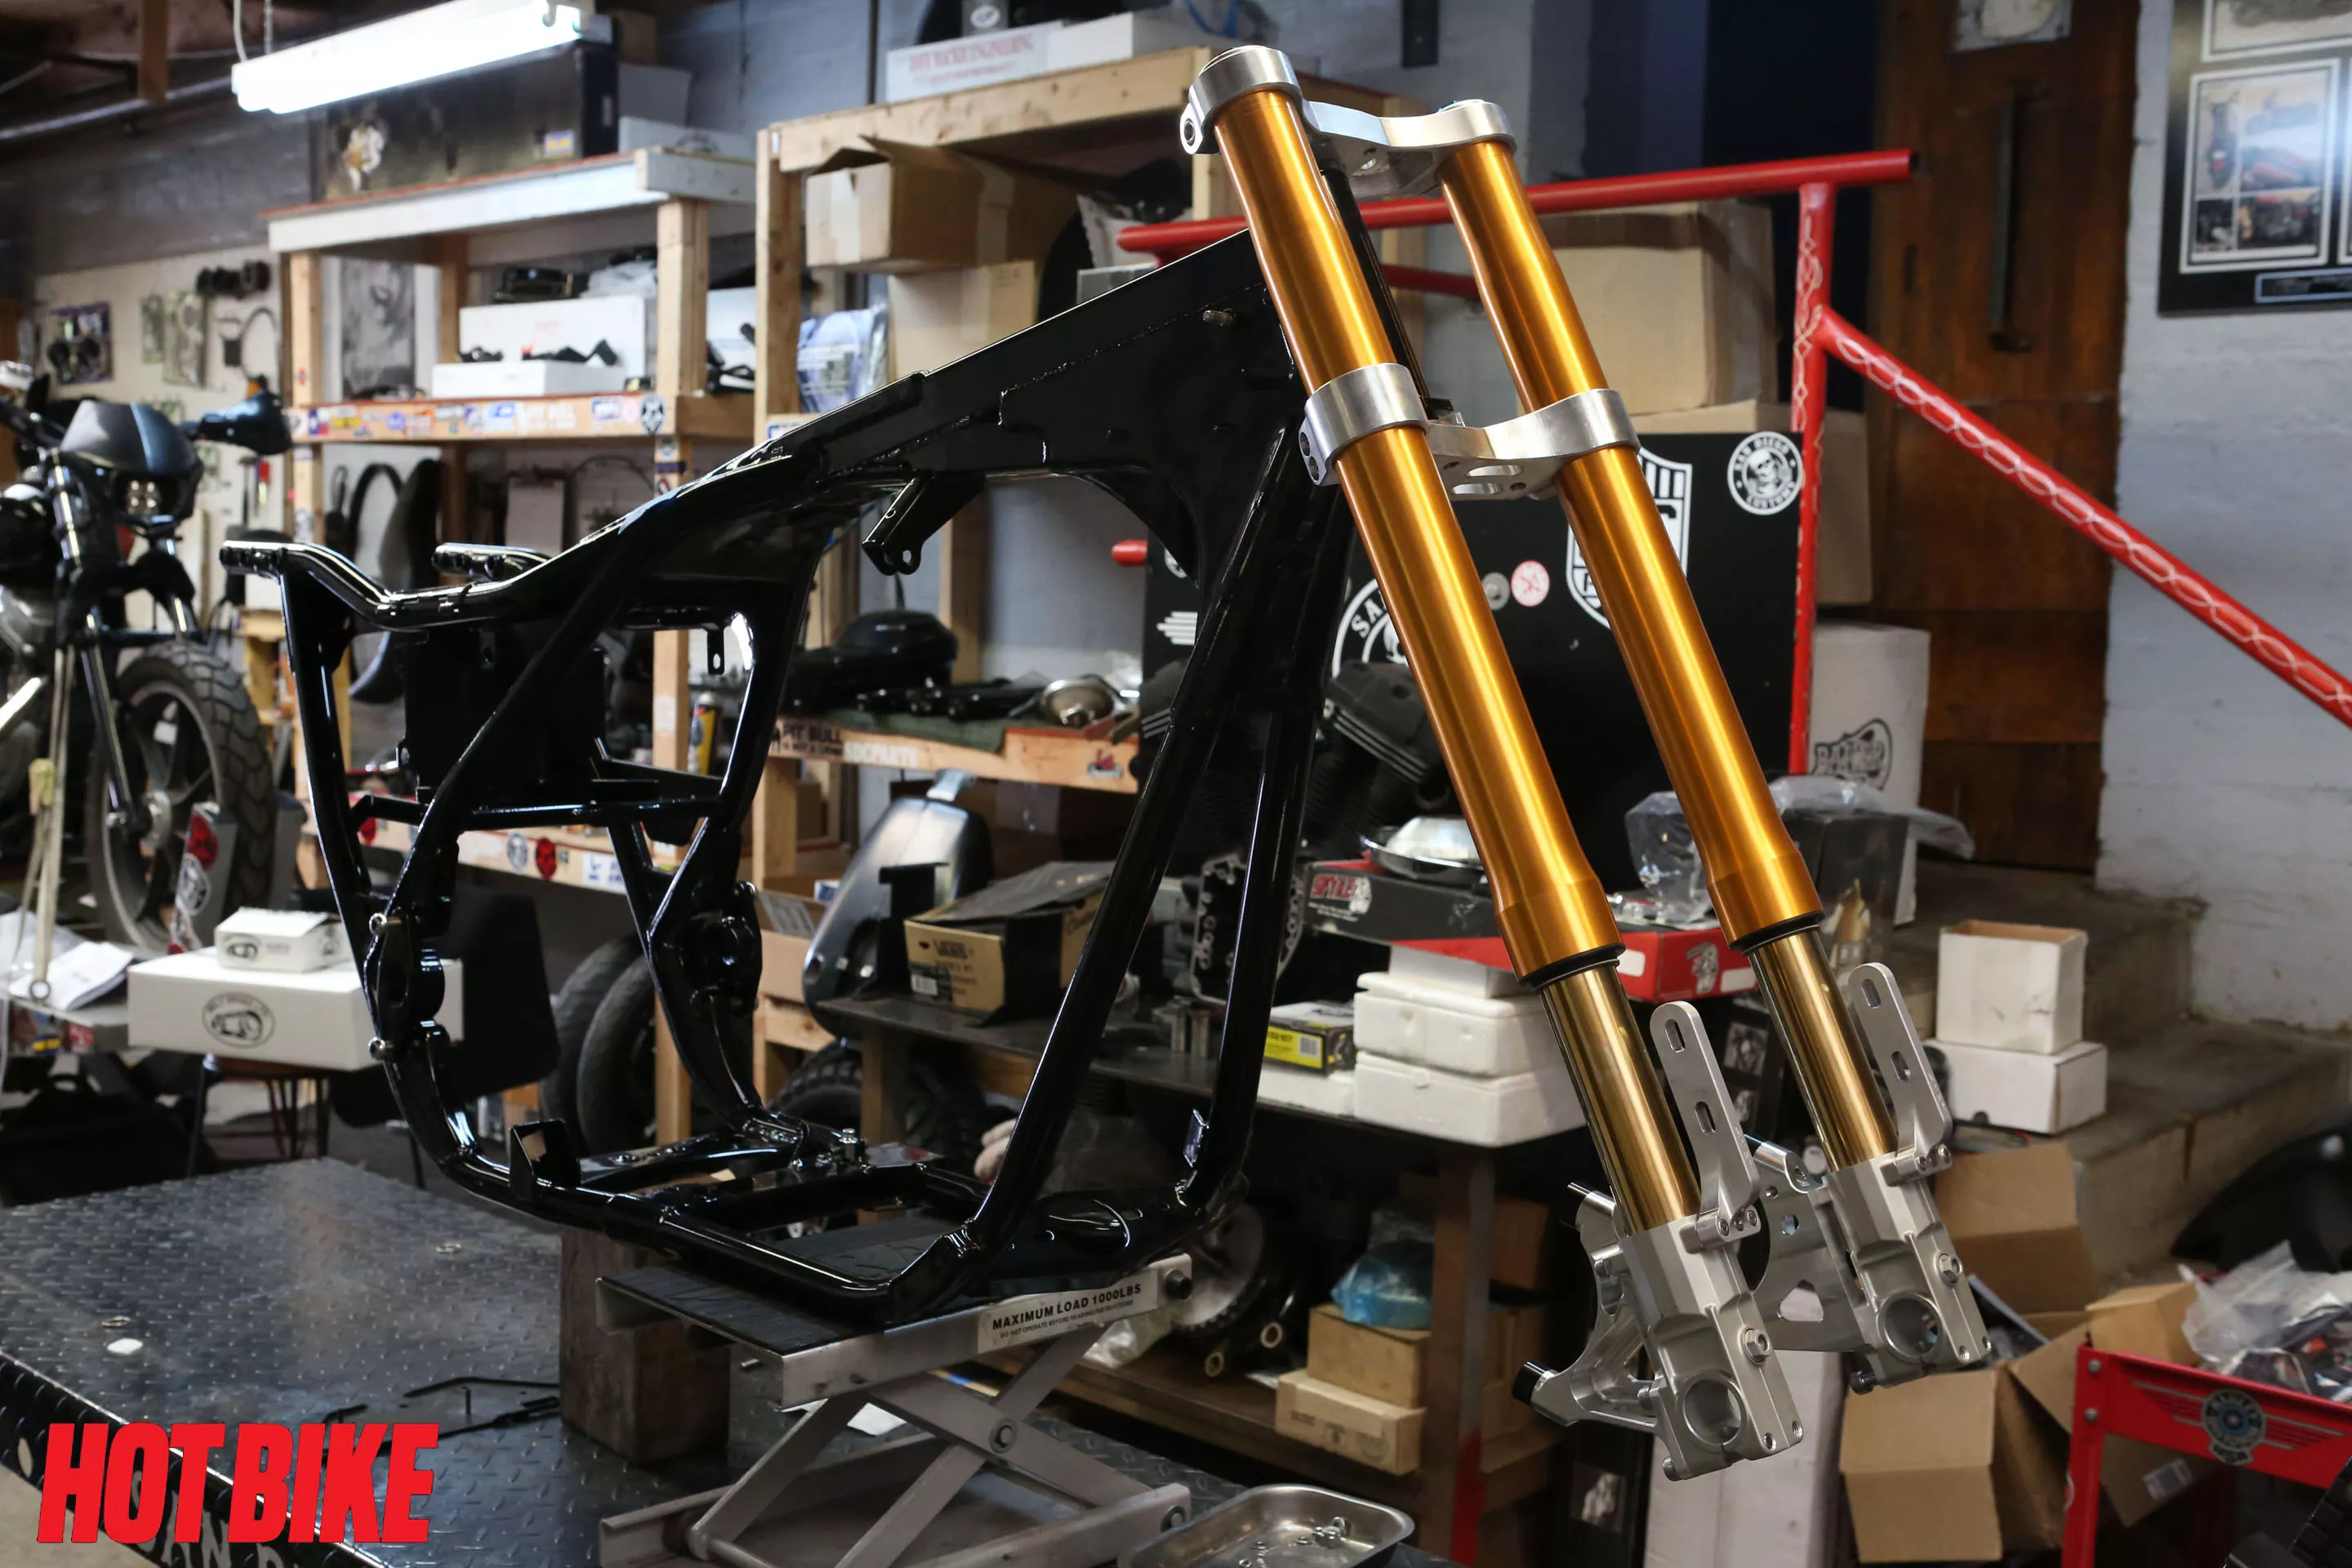
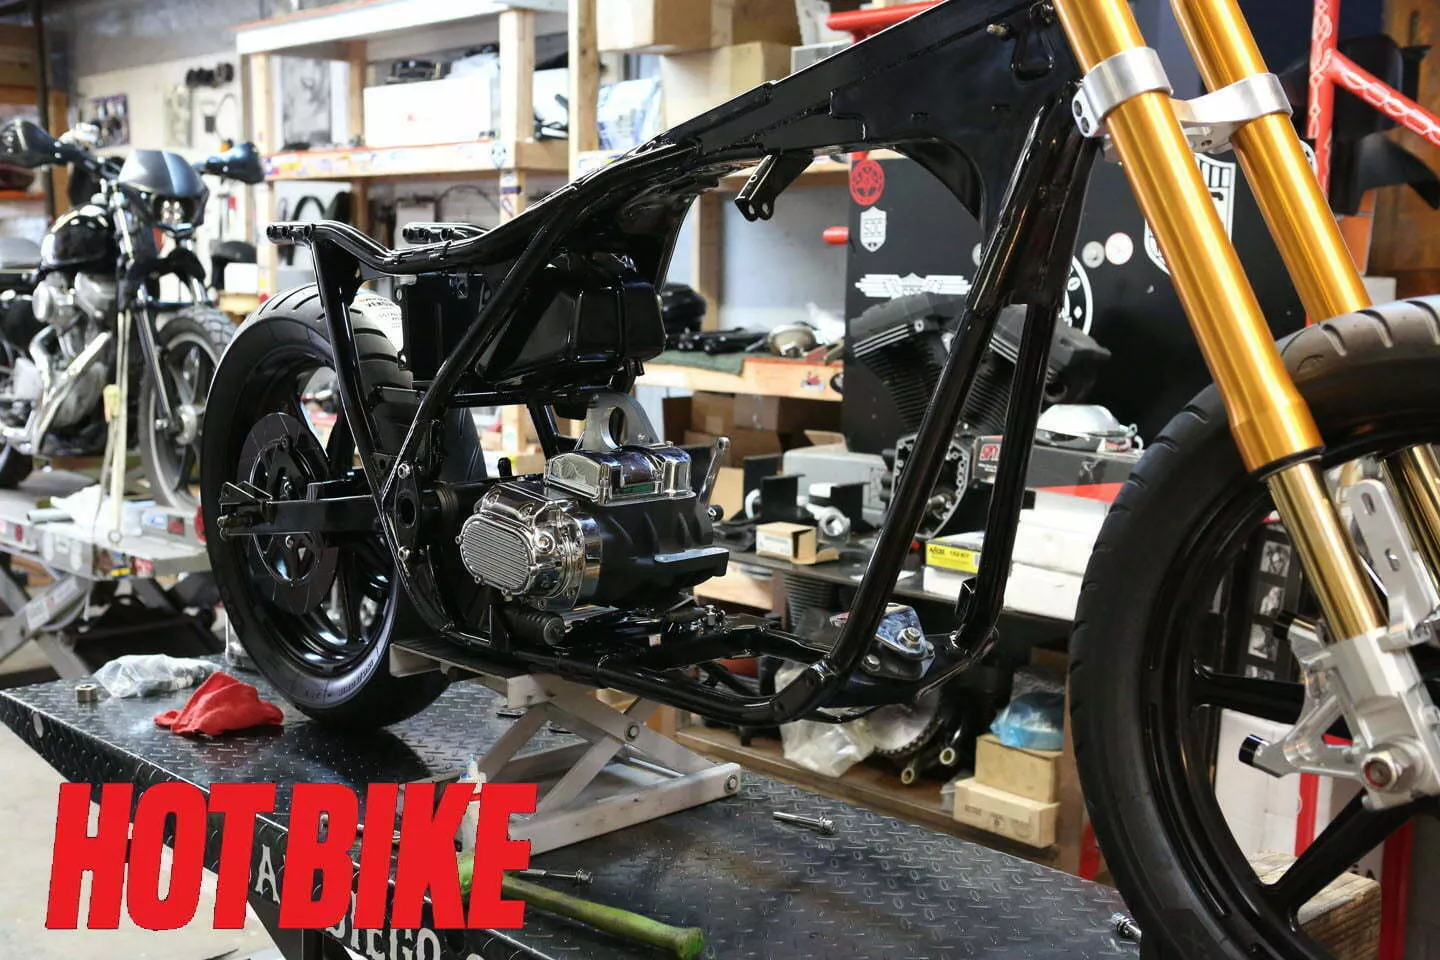
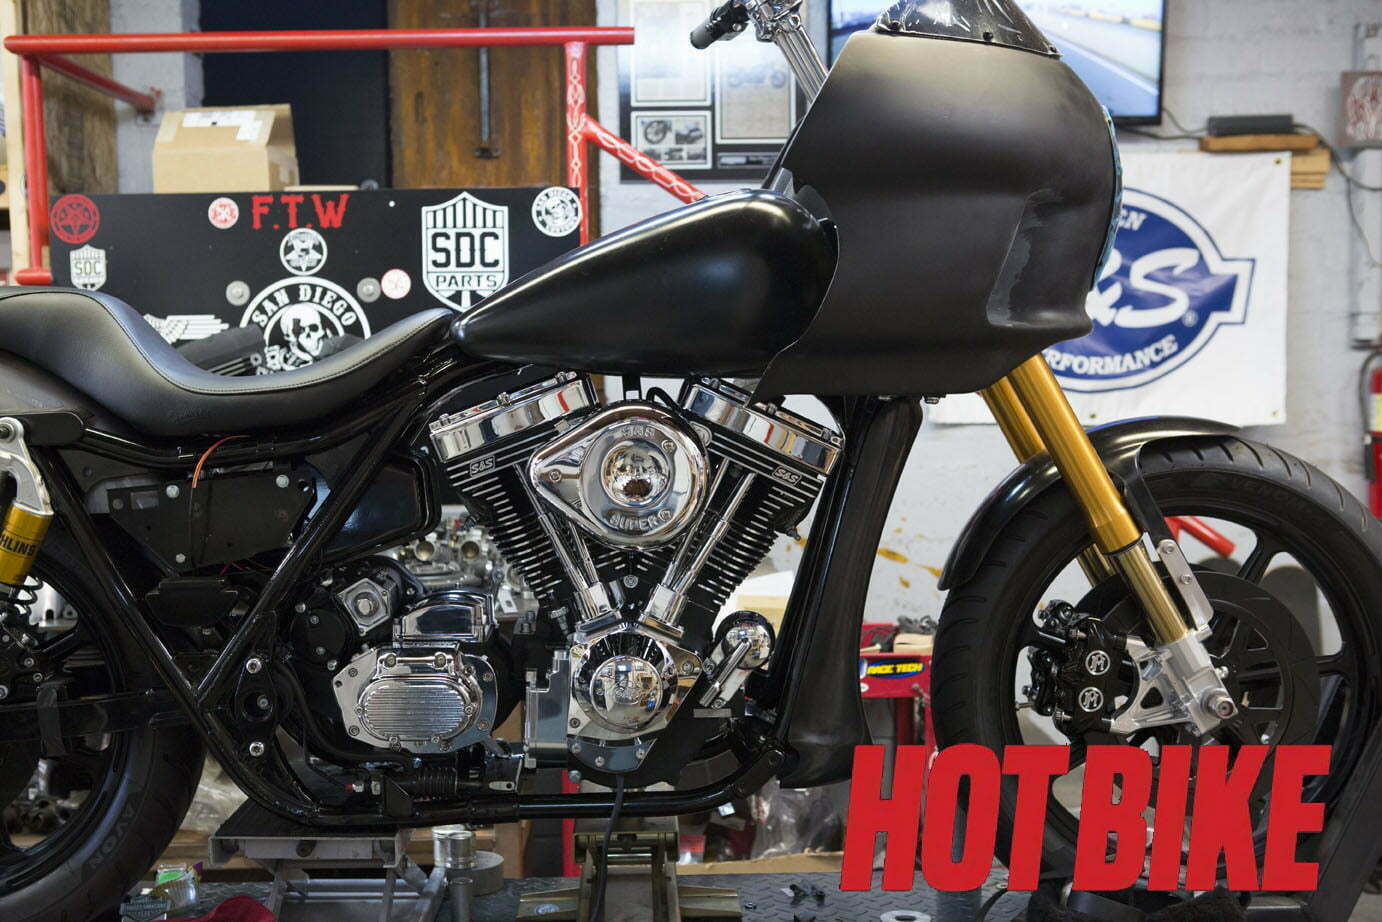
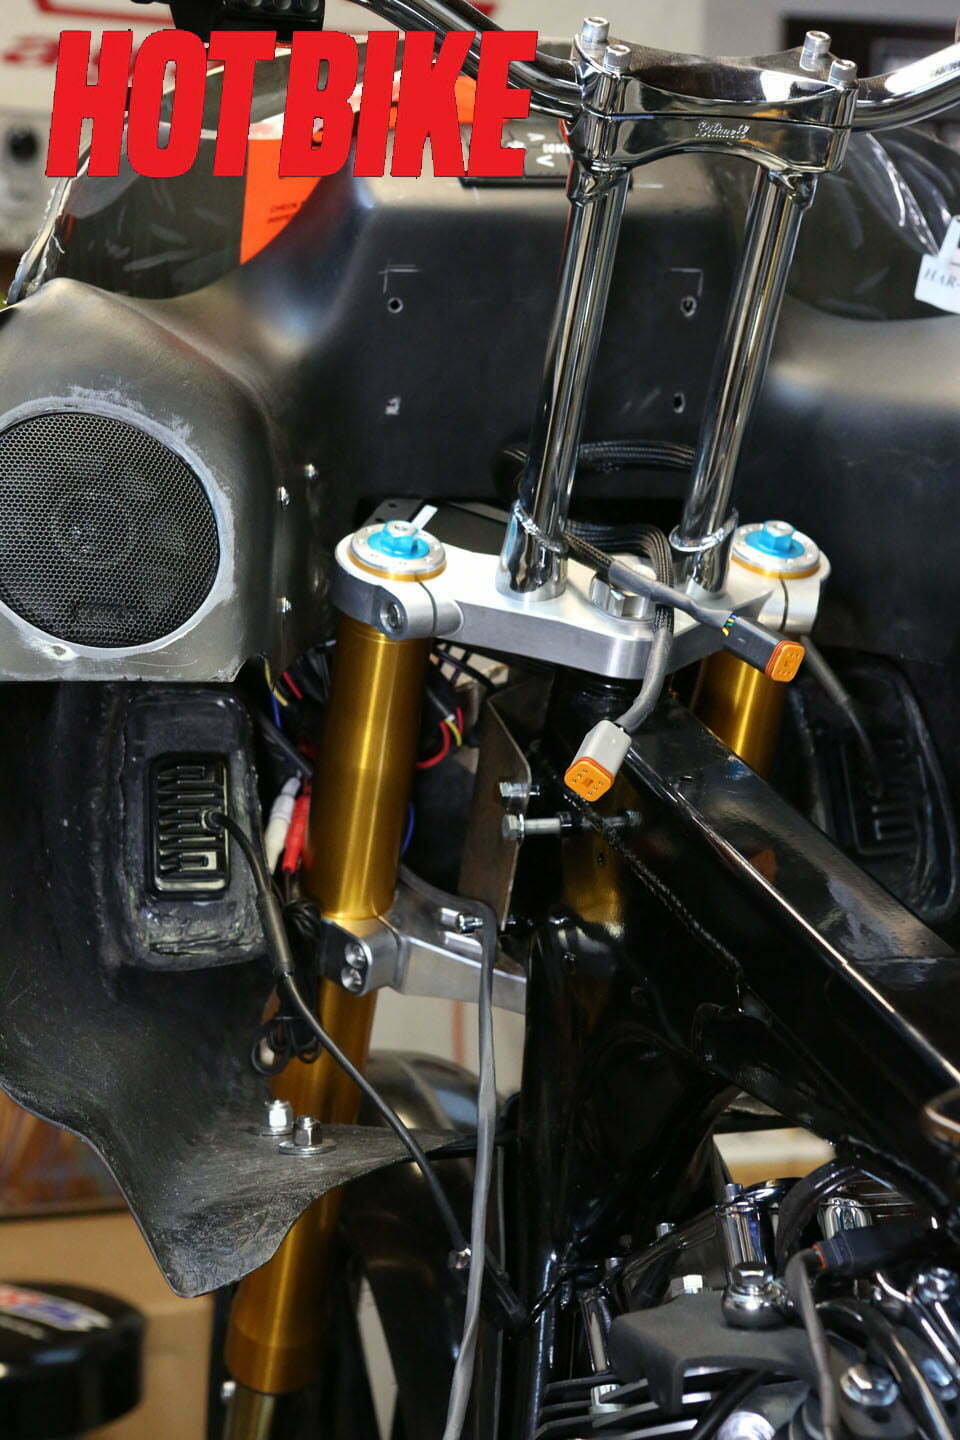
- To begin the first steps of the build, we installed the front end setup by Kraus Motor Co. and Öhlins Suspension on our freshly powdercoated 1992 Harley-Davidson FXR frame.
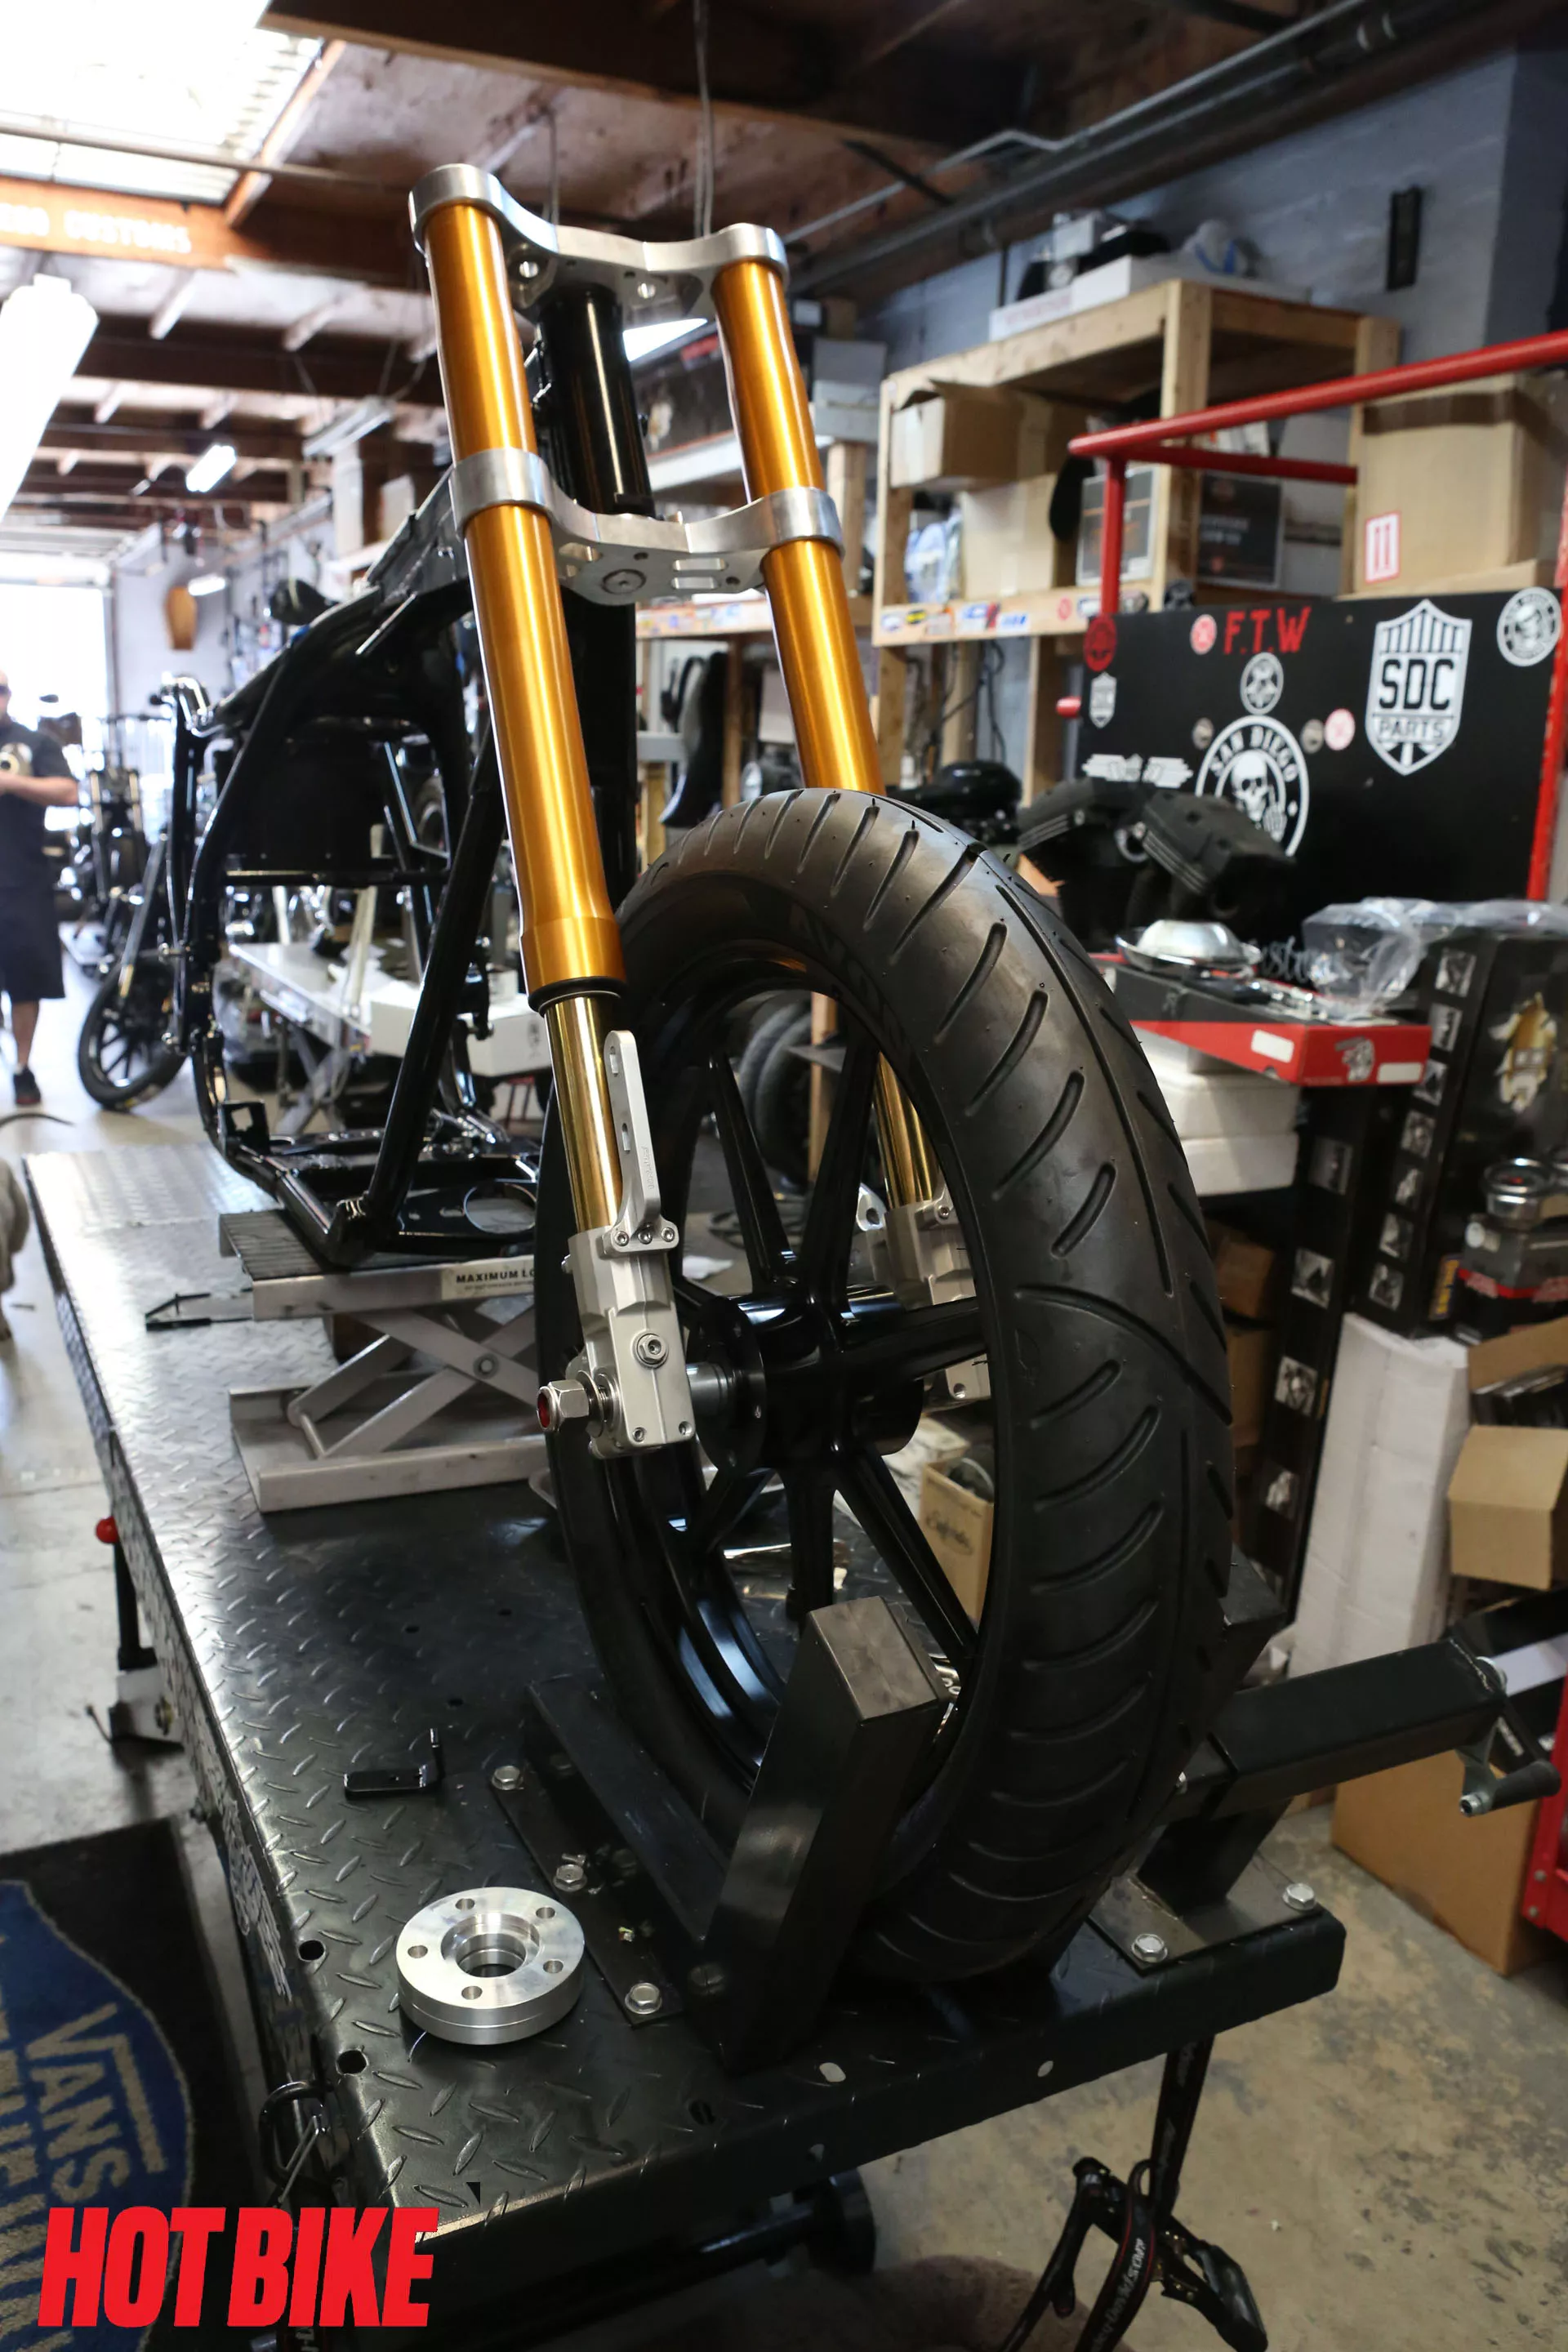
- Installed next was the front wheel, which was provided by Roland Sands Designs. We went with RSD’s new Morris Mag wheel in “Black Ops” finish. We then wrapped the wheel with a 19/110 tire provided by none other than Avon Tires.
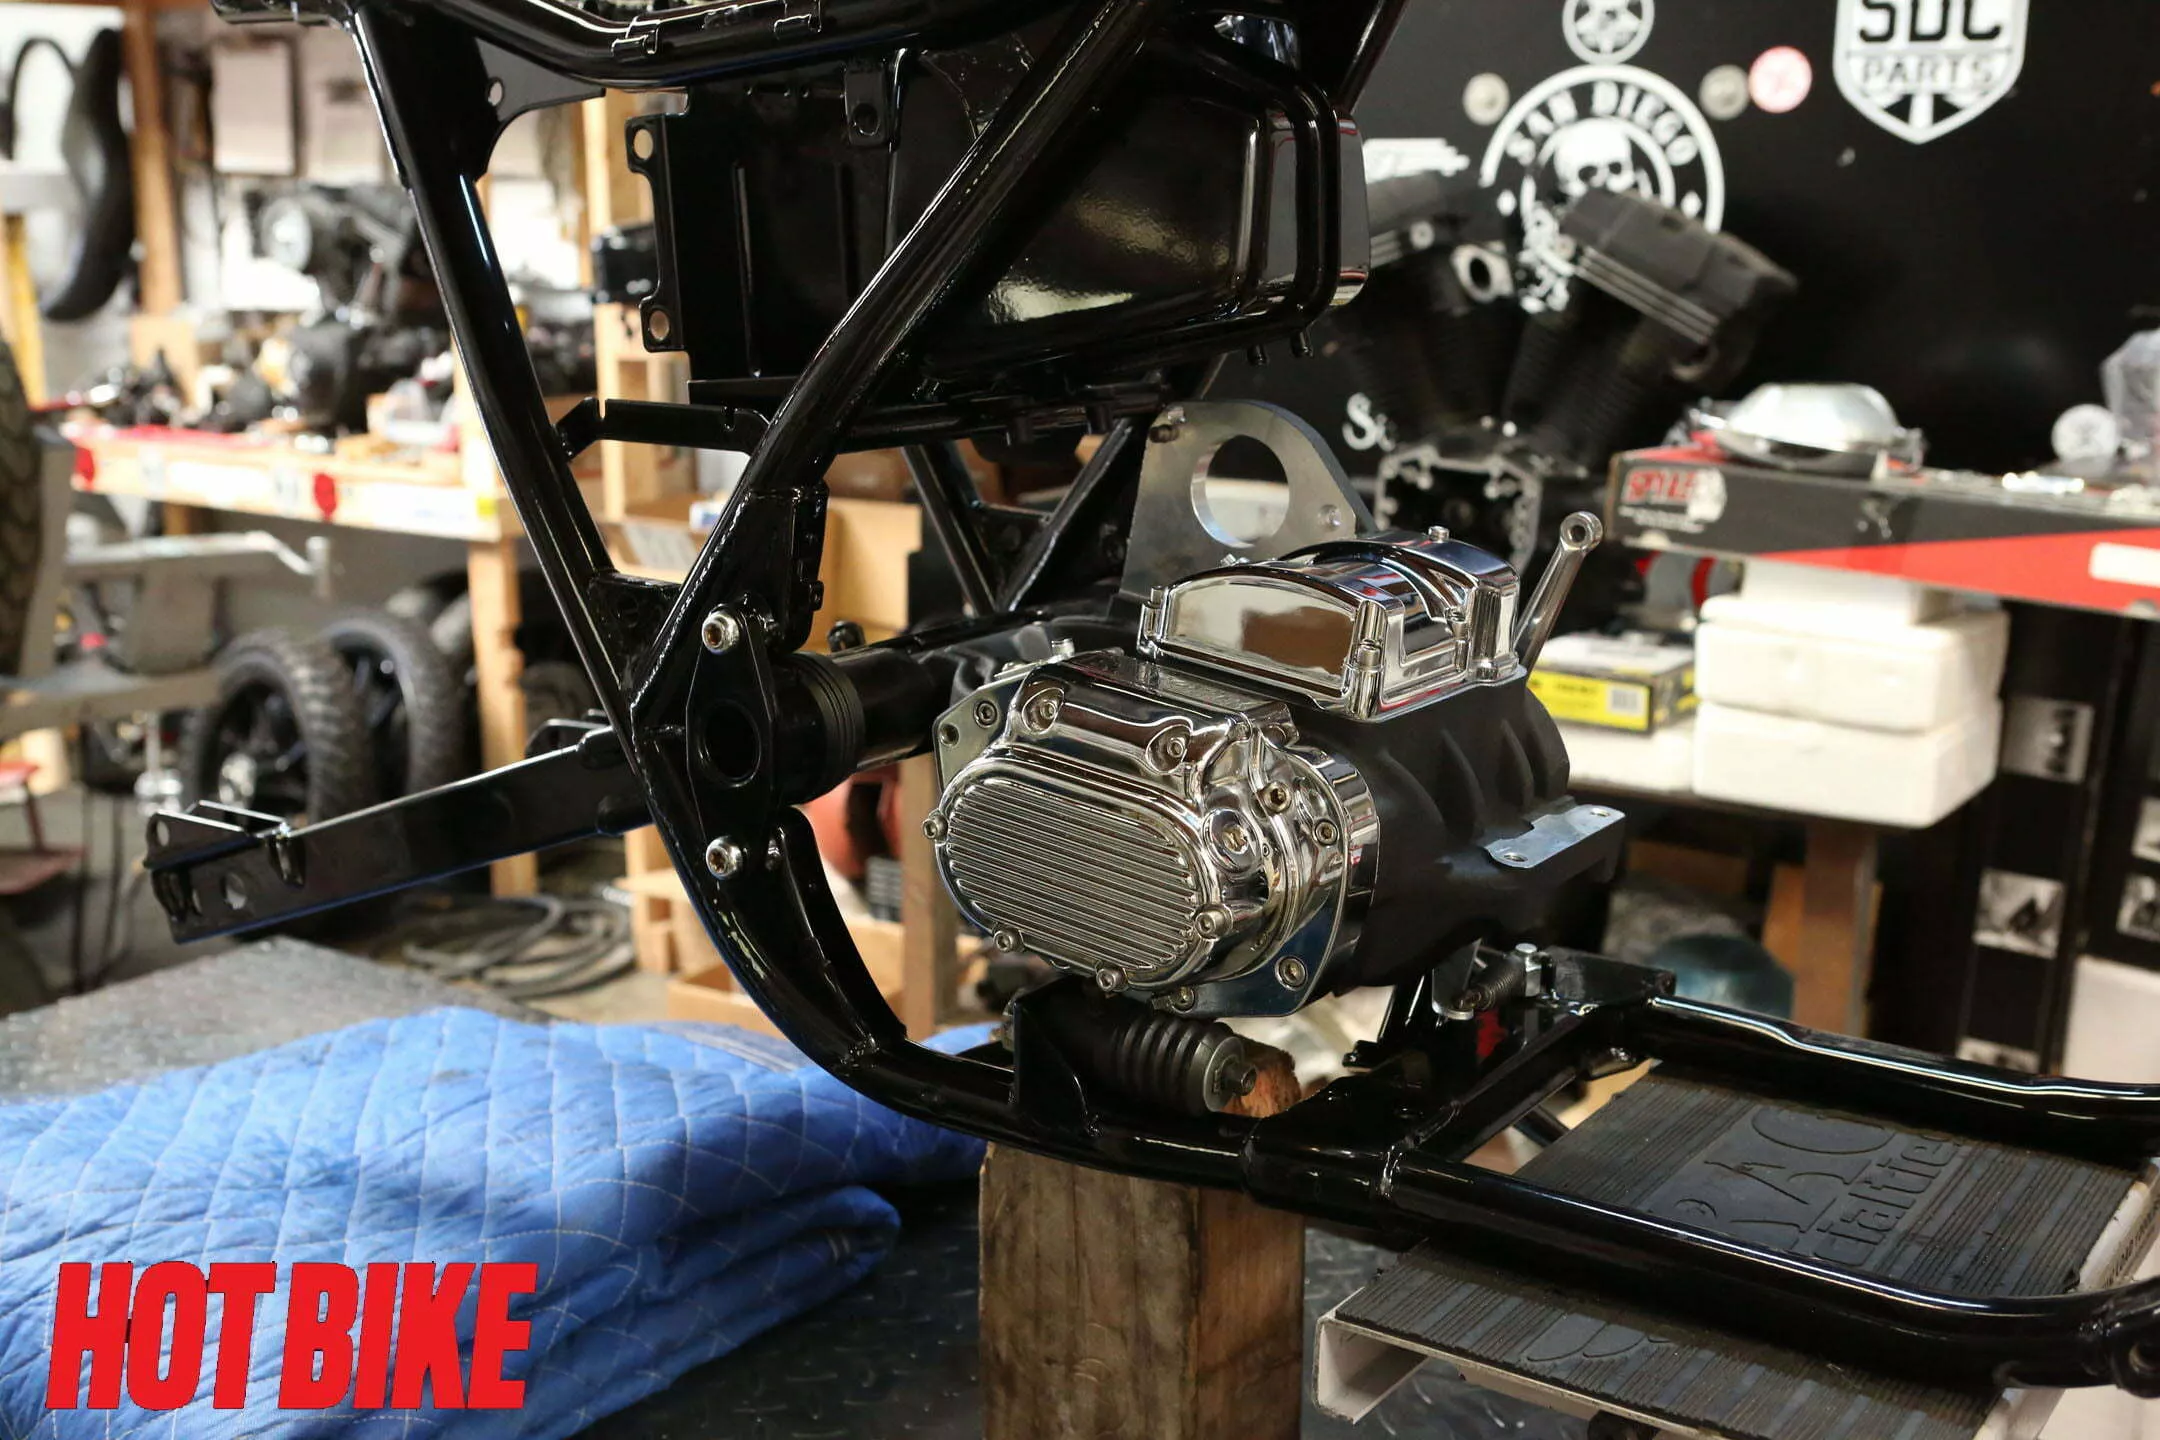
- Next, we installed the transmission case and internals. We chose a whole new Baker Drivetrain six-speed tranny since we wanted a majorly bombproof gearbox
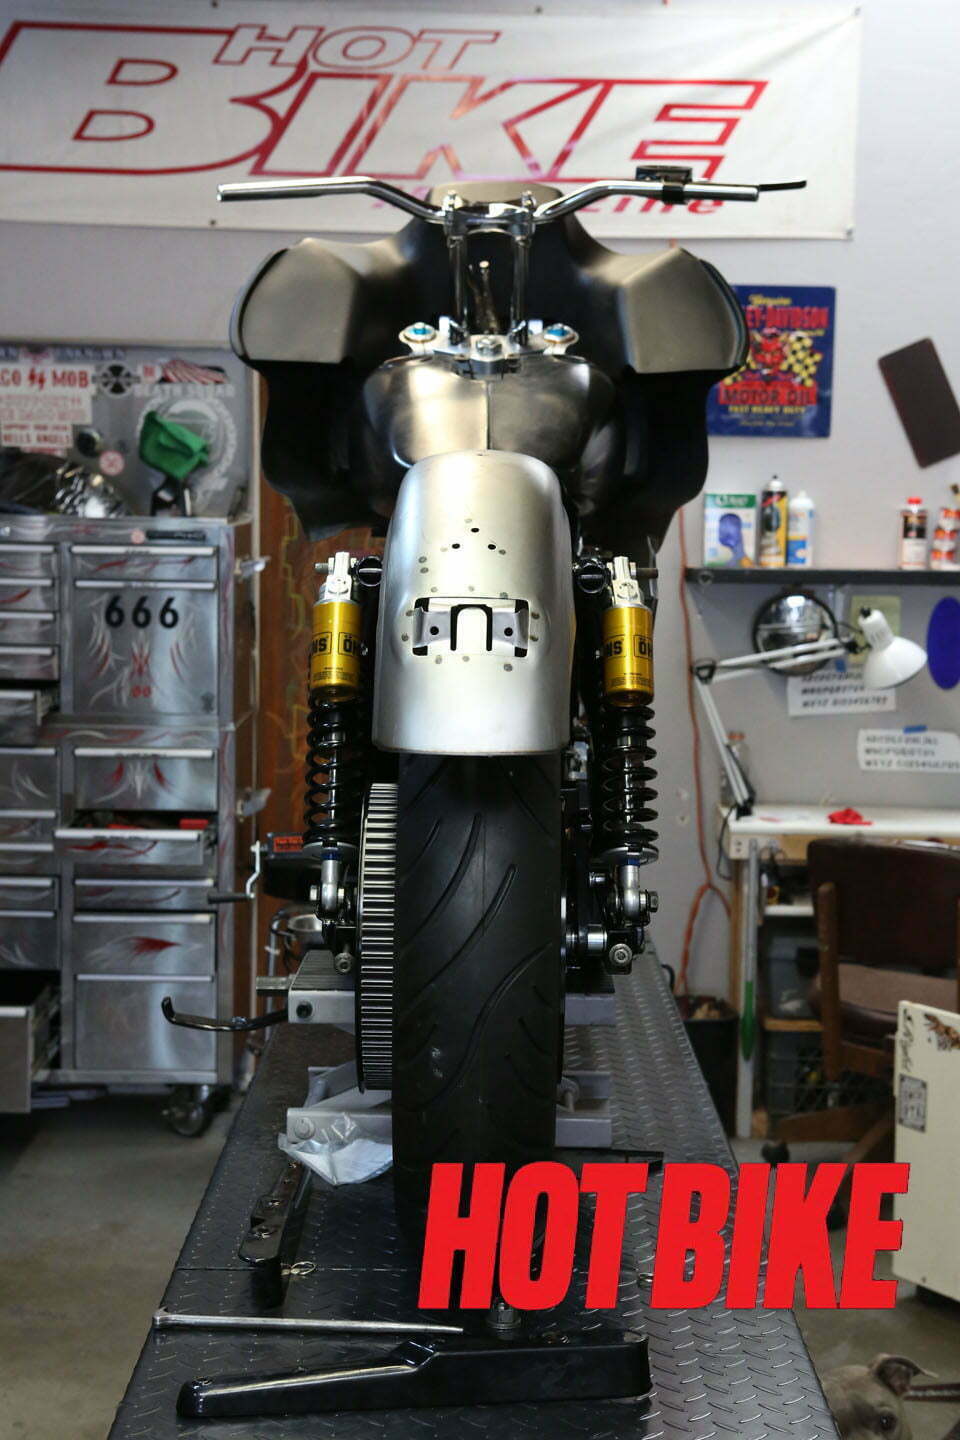
- The rear RSD Morris wheel was installed on our back right after the swingarm was treated to a CCE swingarm axle and bearing kit upgrade. All FXRs should have this bearing conversions done to them to ensure a smooth and straight ride.
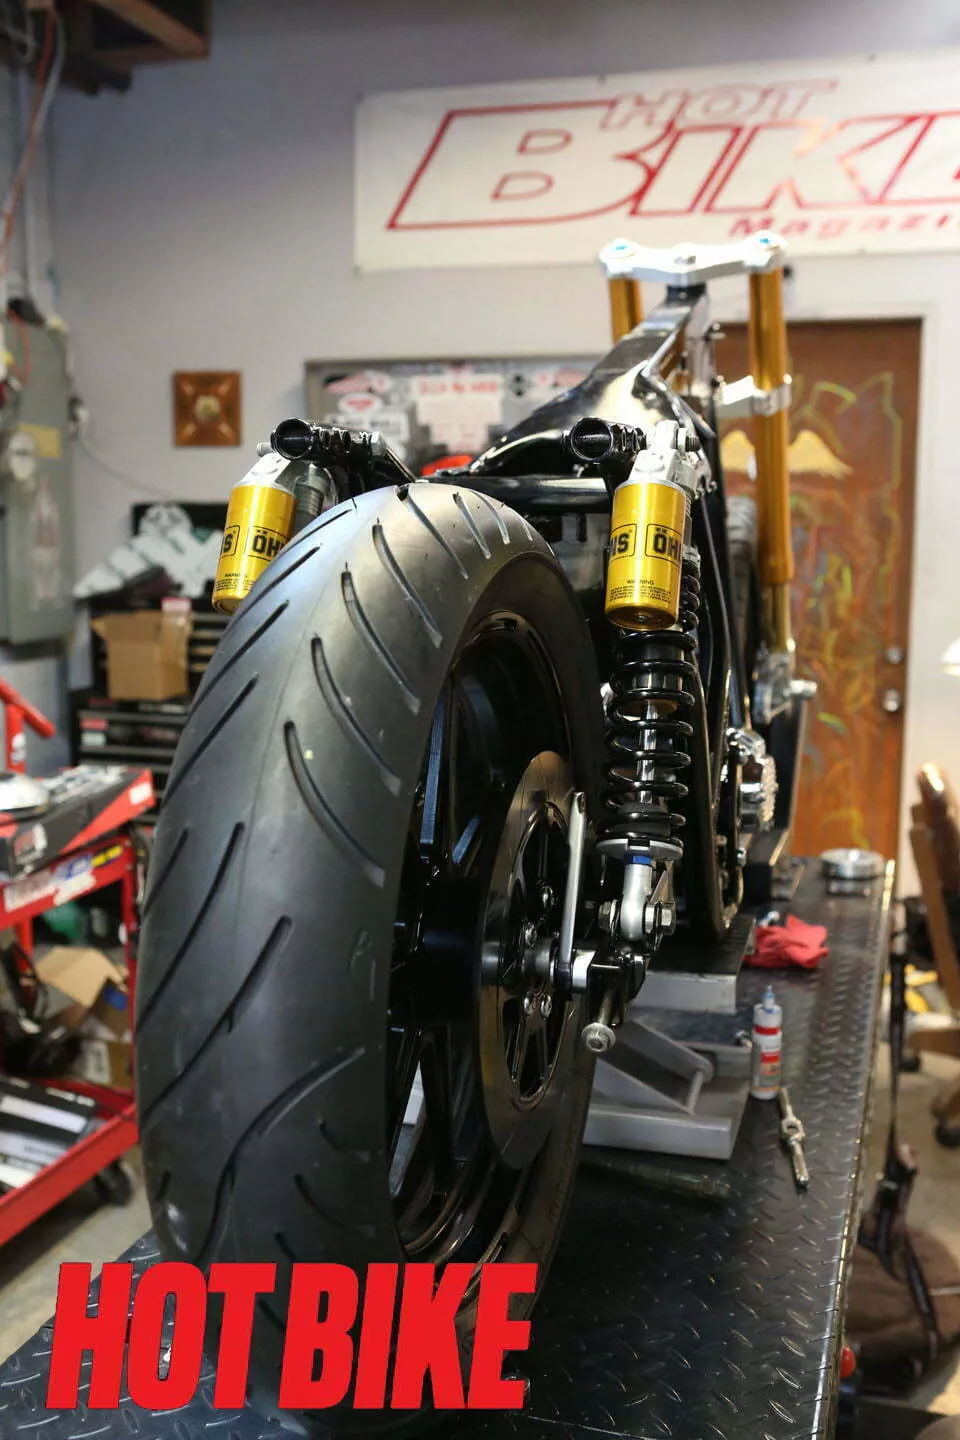
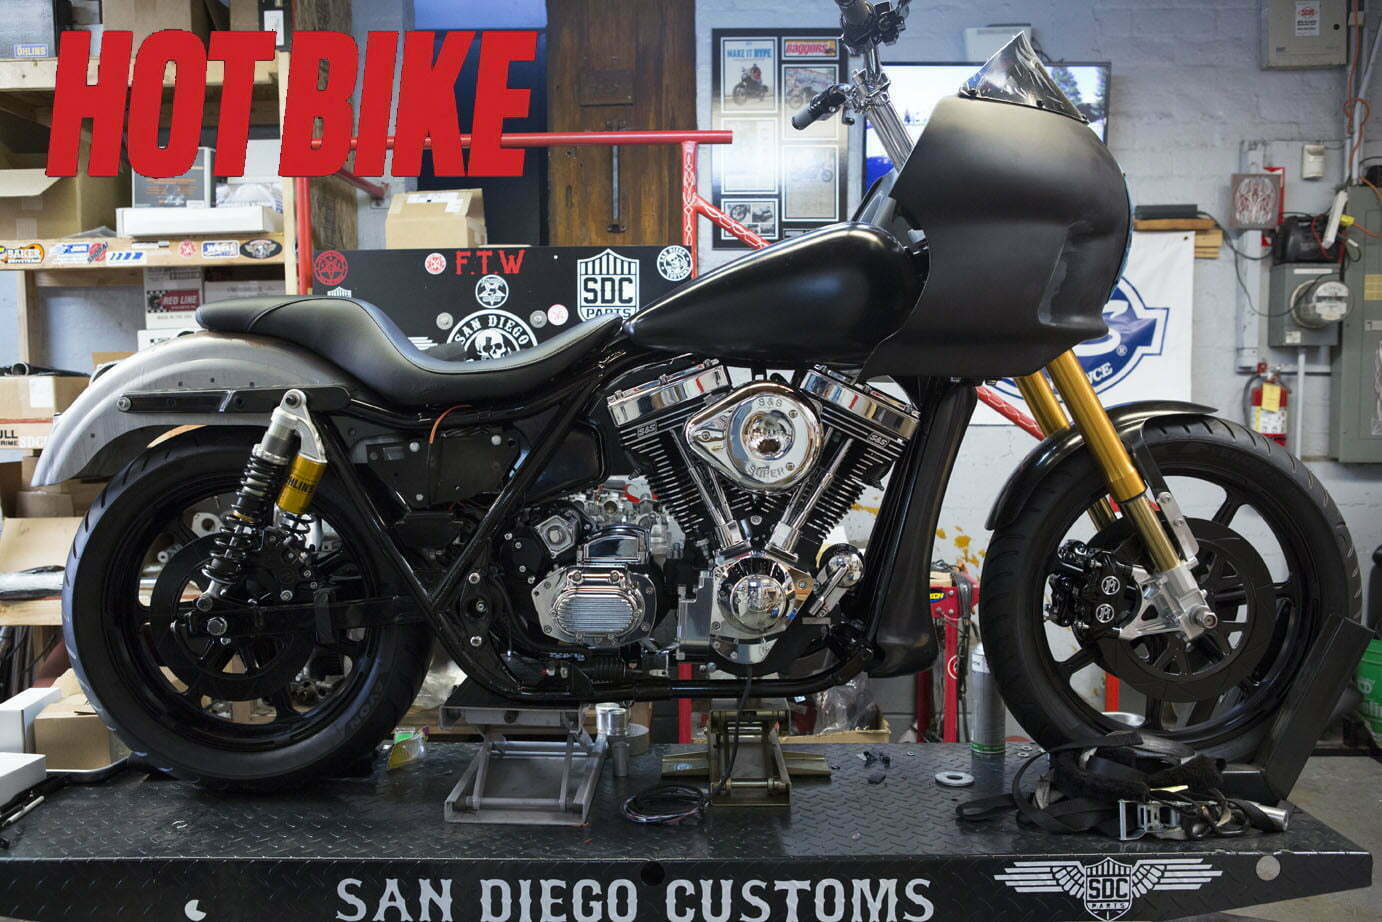
- A set of custom-tuned Öhlins’ amazing “piggyback” rear shocks were installed next.
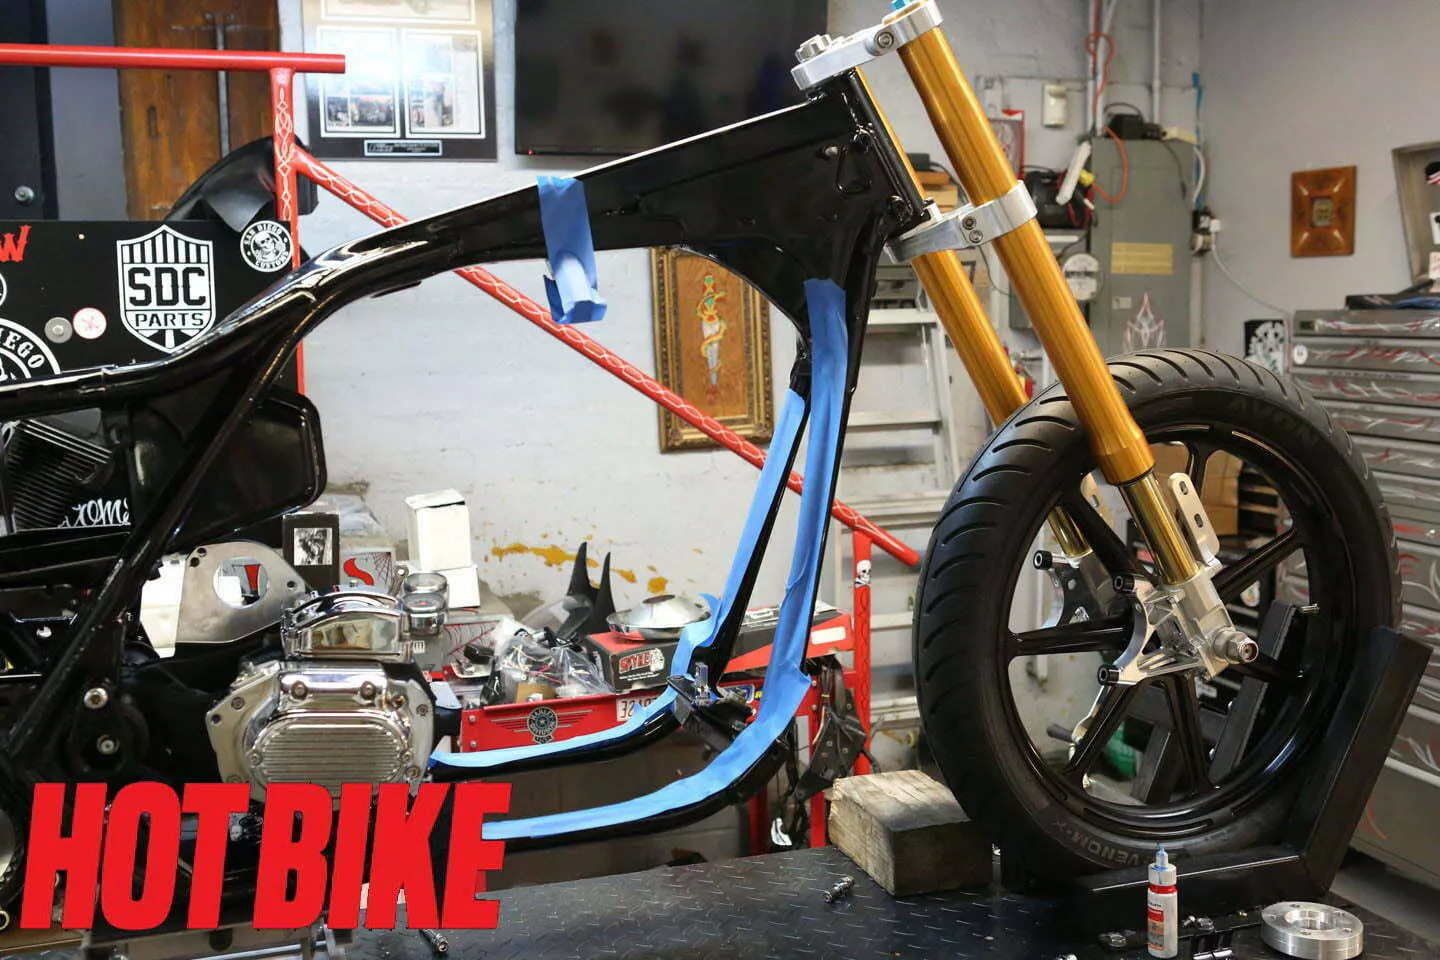
- The frame was taped off, so we could install our mock-up motor while the nice folks at S&S built the V111 motor that would power the F-XXX-R.
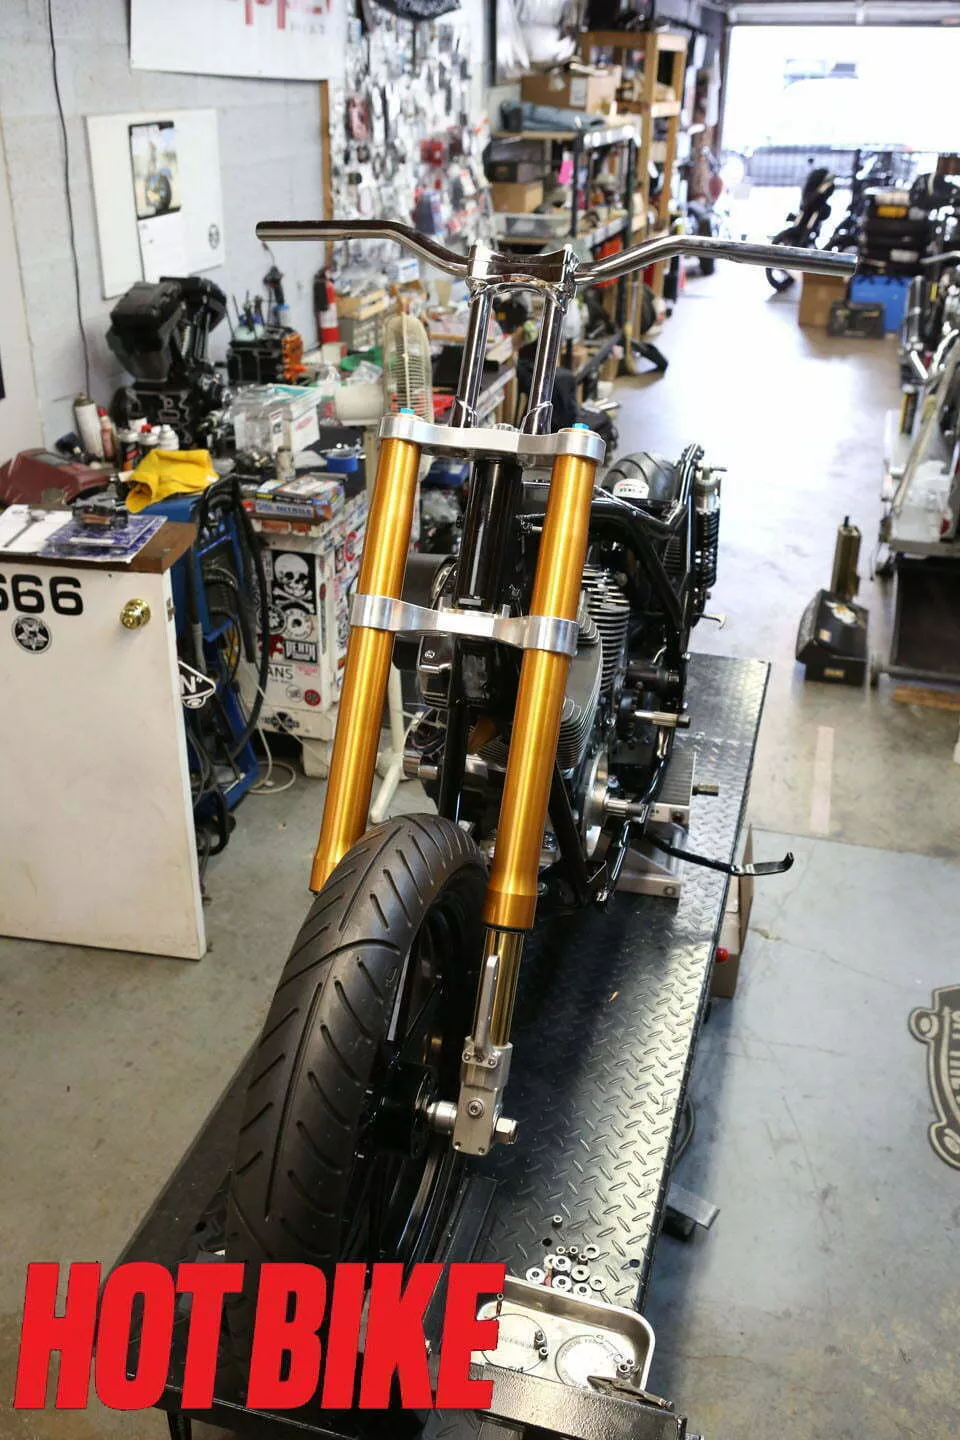
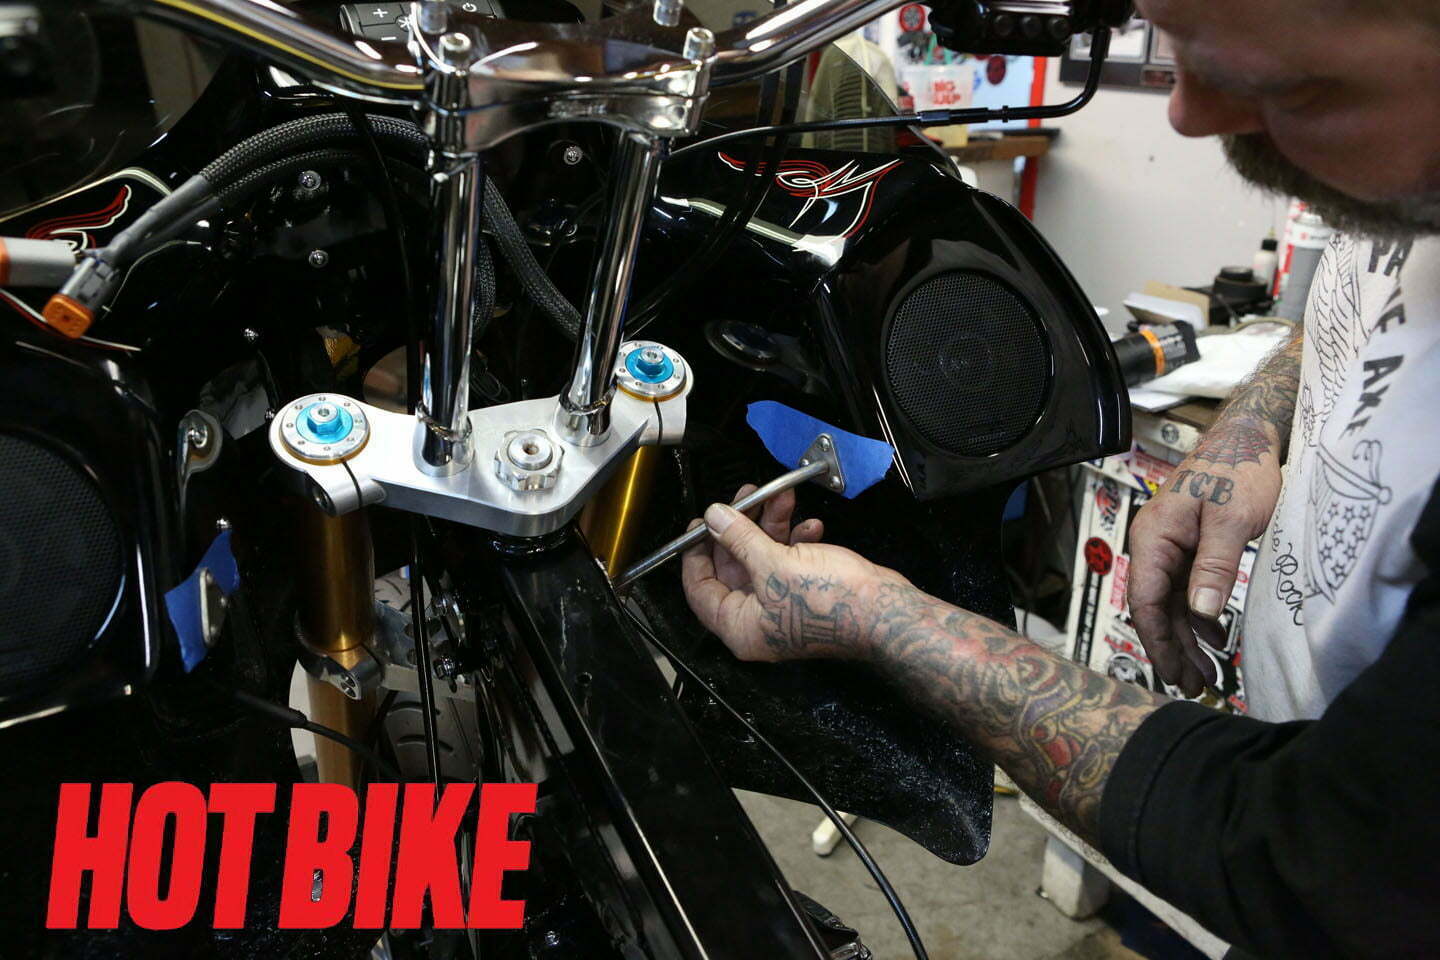
- We installed Biltwell Tracker bars and Murdock risers on top of the Kraus trees.
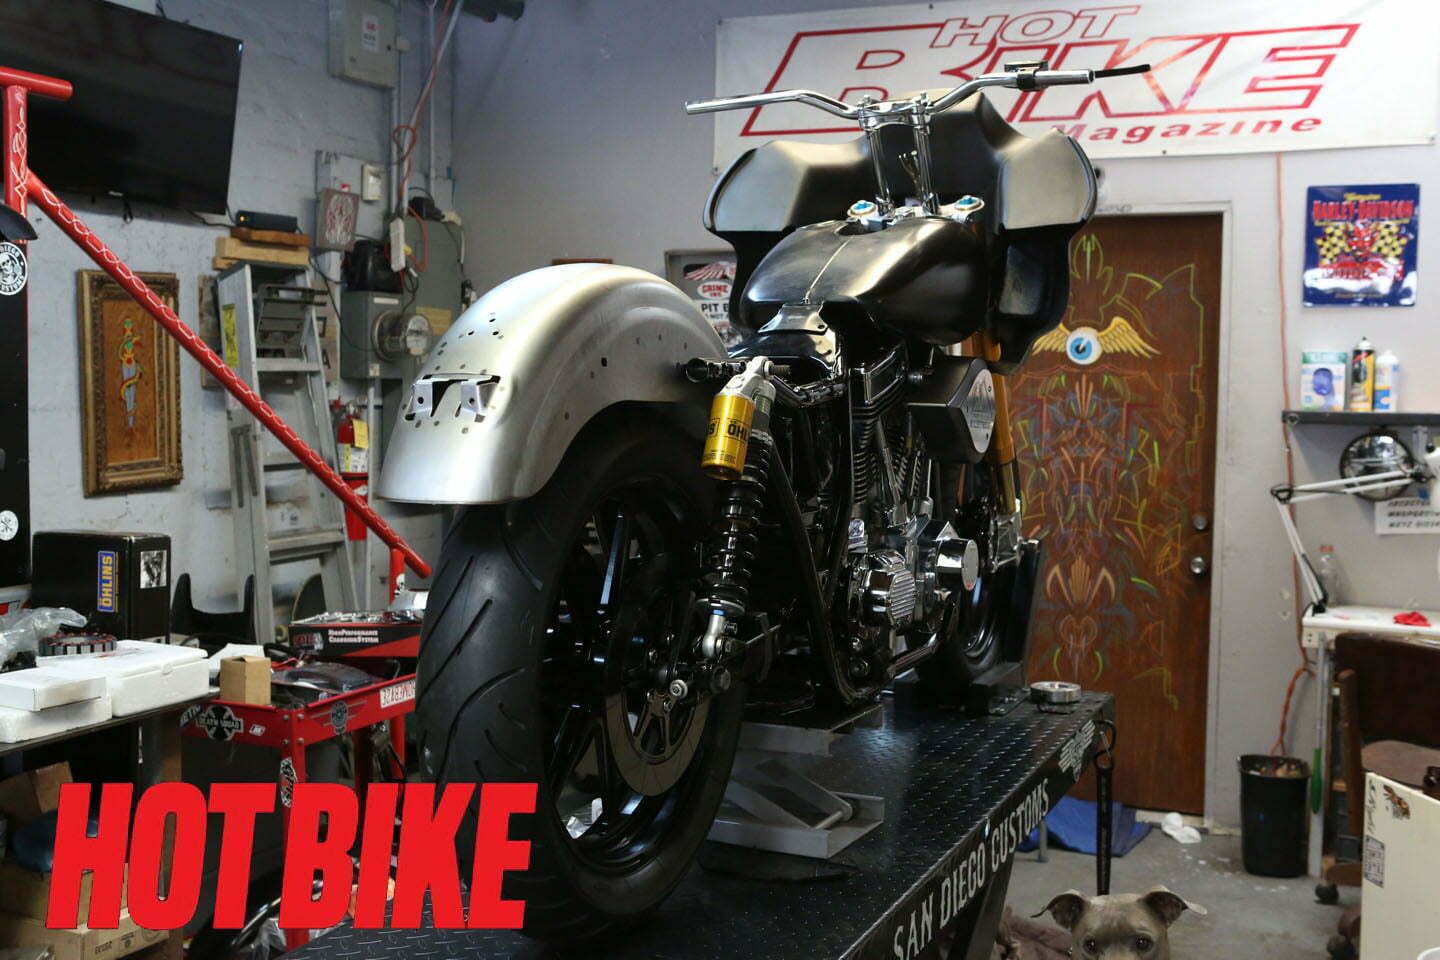
- We got an OEM replacement rear fender from Biker’s Choice and installed it.
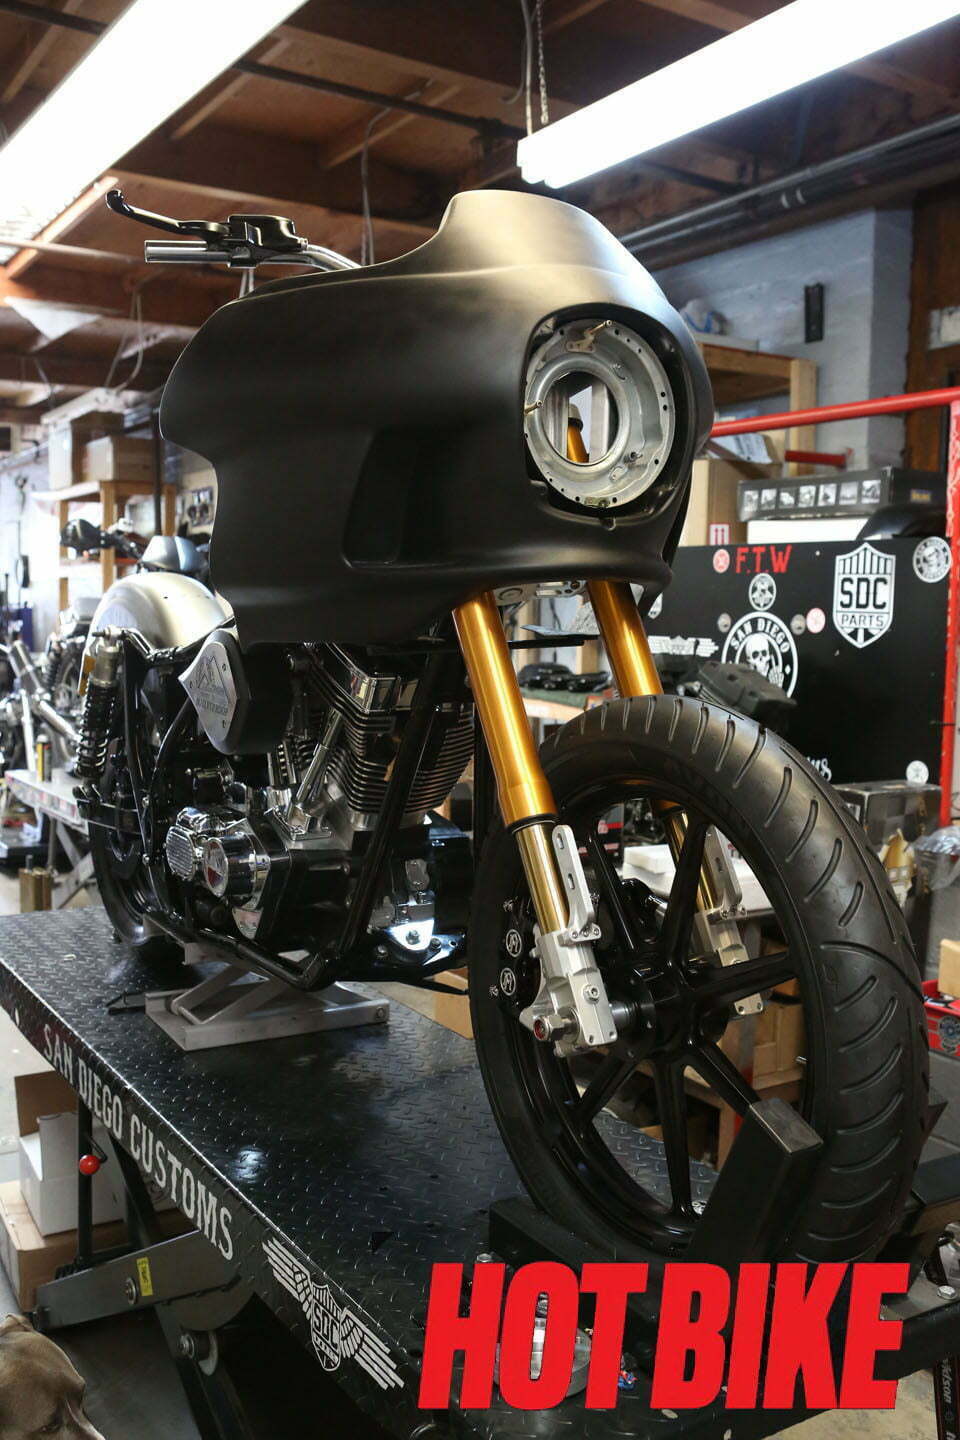
- We wiggled the front fairing provided by Deviant Fabrications into place.
- Hand controls by Performance Machine were set on the bars to get a feel for their positioning.
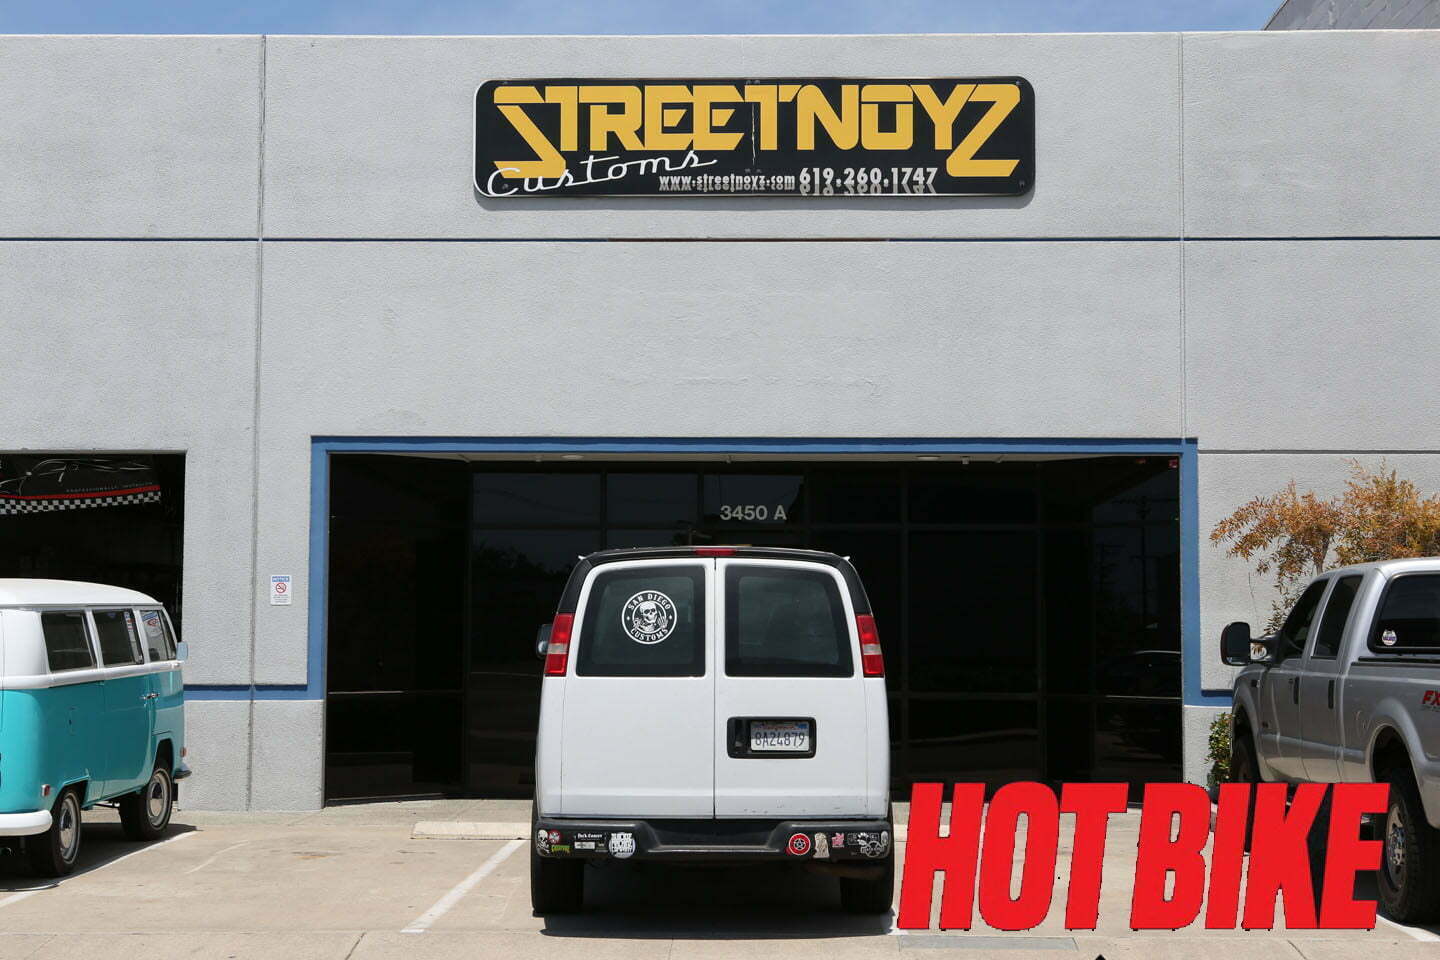
- We asked the crew at Street Noyz in San Diego to help us mold our LED lighting, provided by Baja Designs, into the Defab fairing.
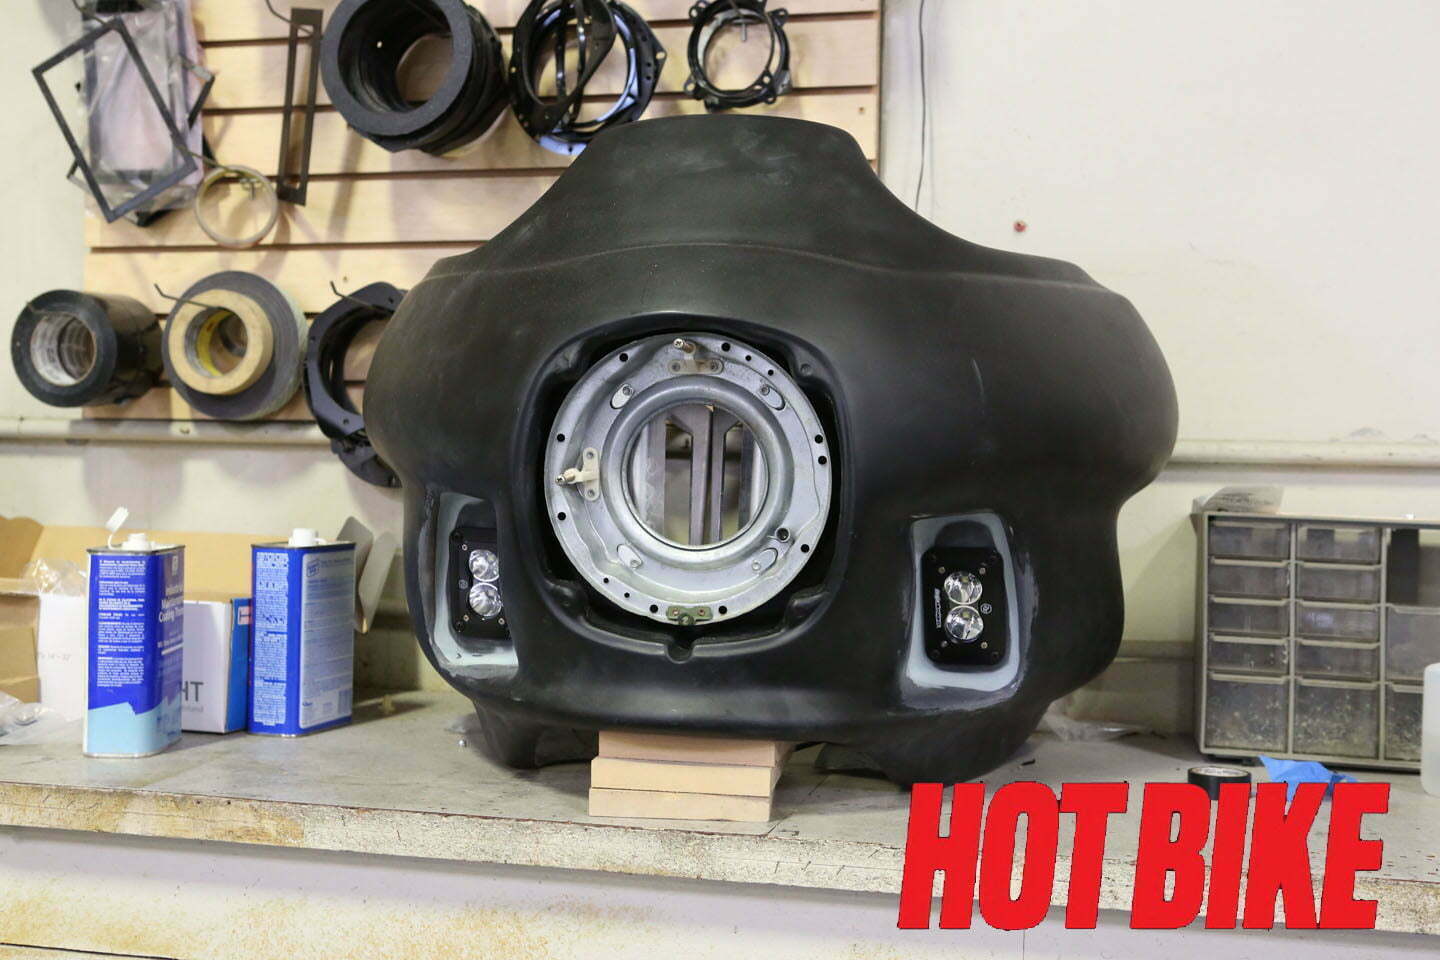
- After cutting some templates and riser blocks for the passing lamps, we fiberglass the mounts into the fairing.
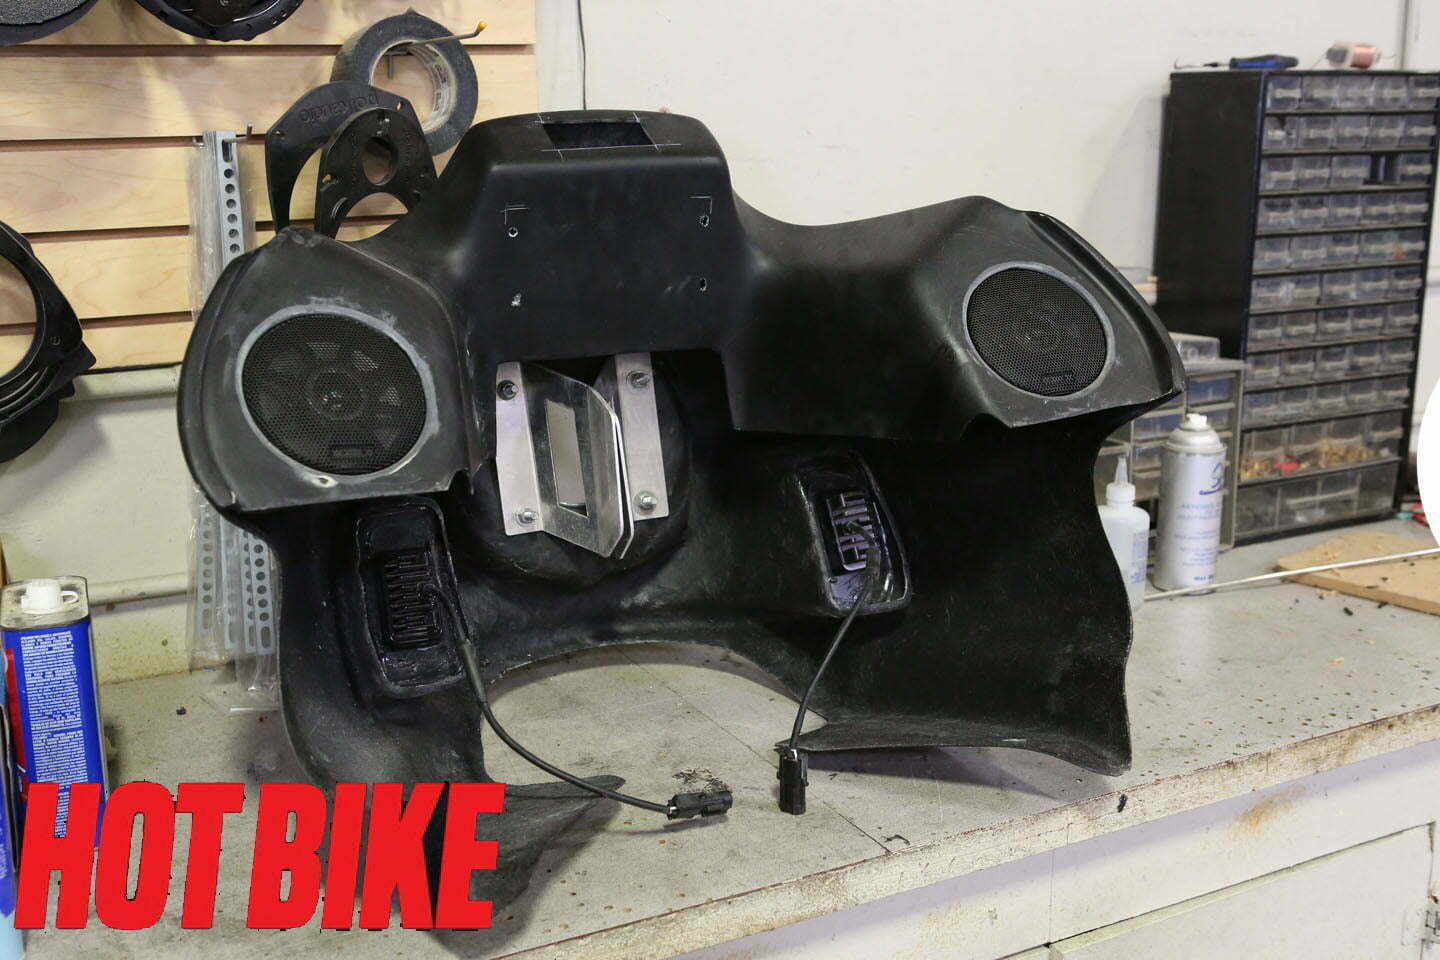
- Installing the speakers was a lot harder than one would think. We had to make mounts for the speakers that were reinforced, so the fiberglass fairing would not crack from the weight of the speakers, then smooth it all out.
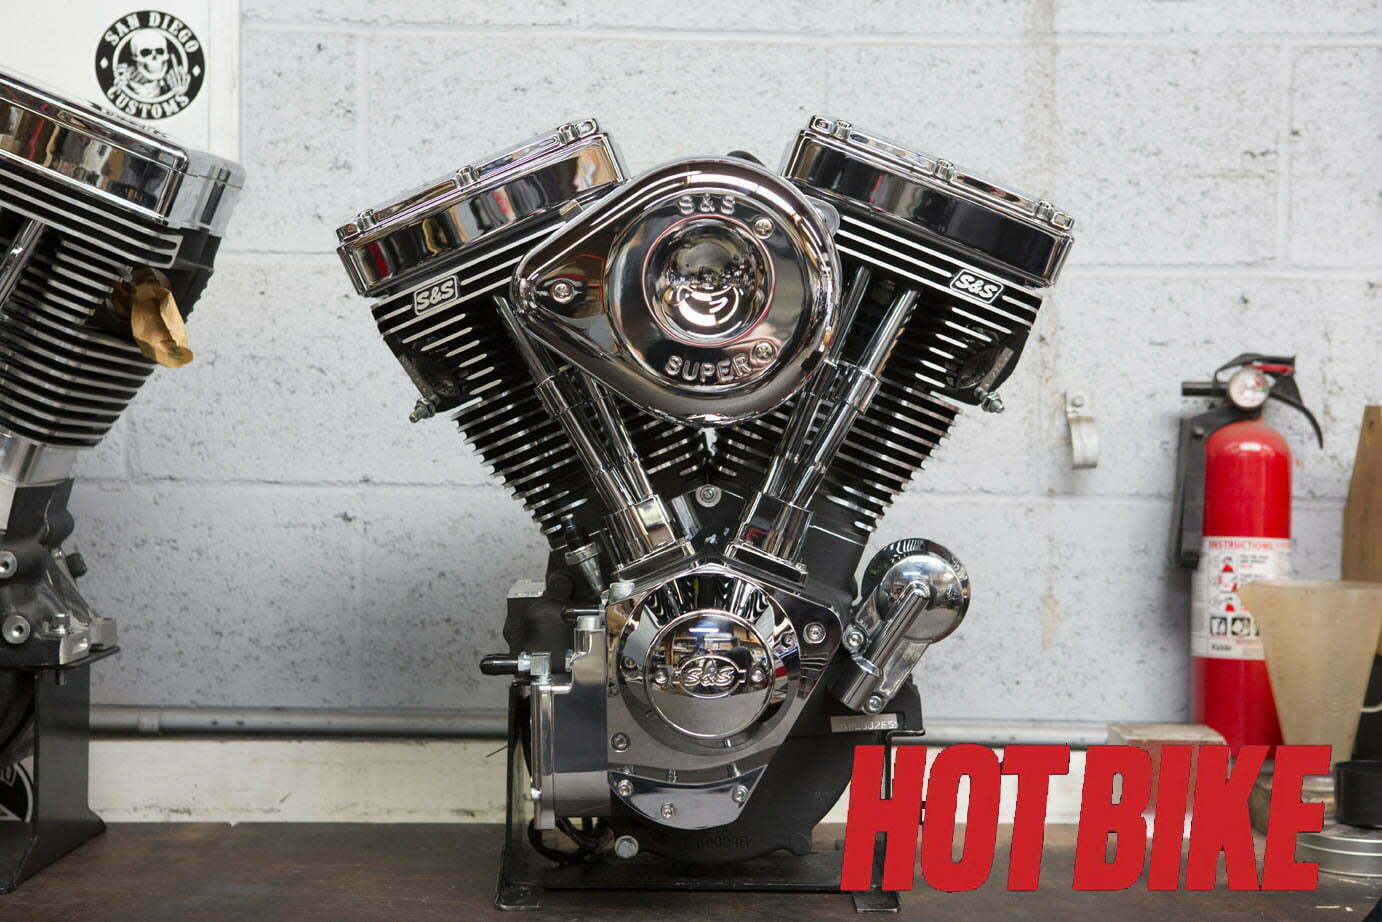
- S&S provided us with a solid 111-inch engine with all the trimmings that we needed to hype this beast up.
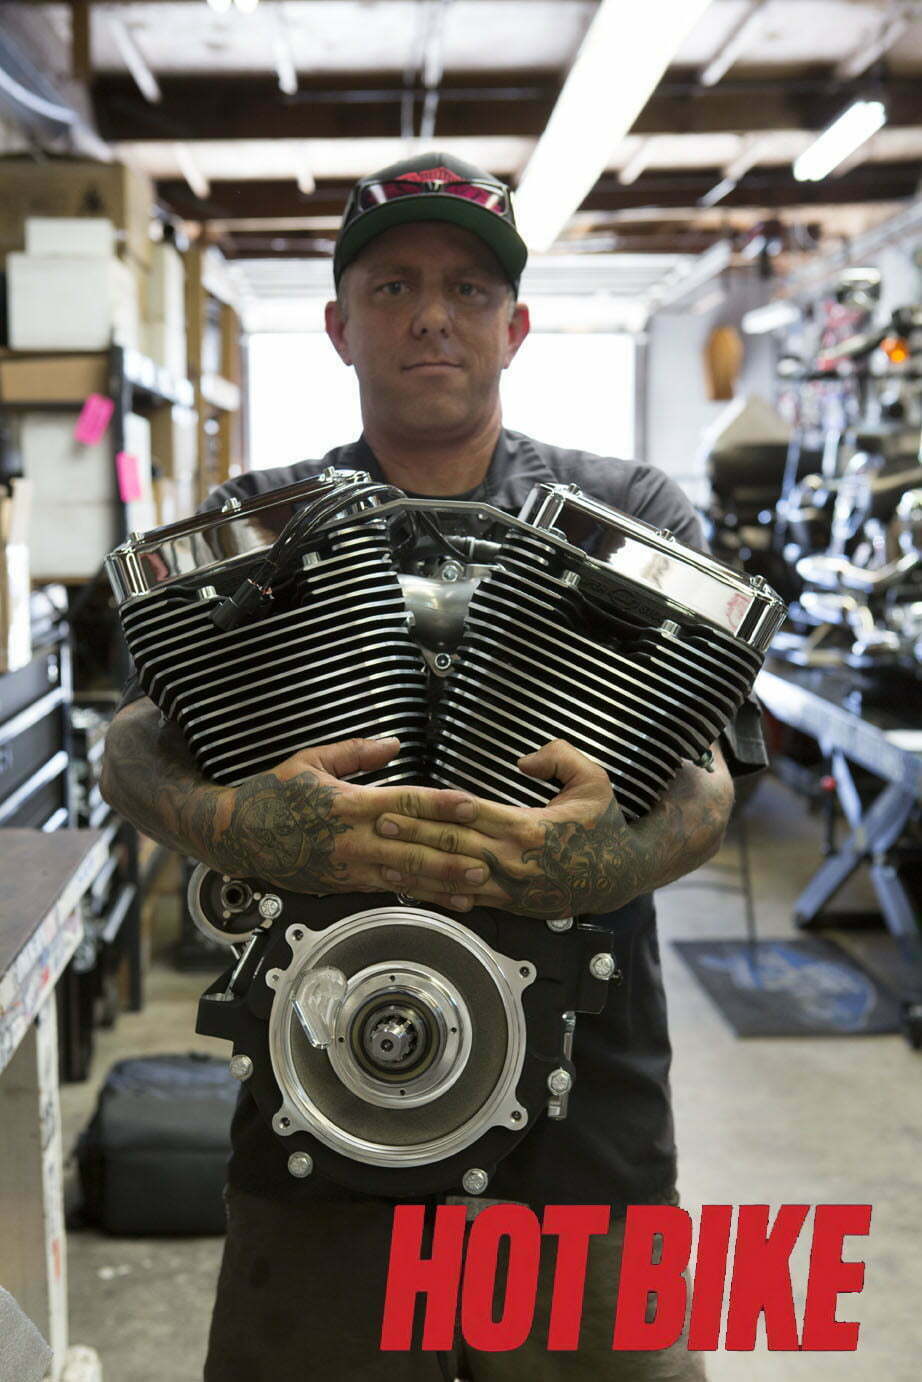
- Pictured here is Chip from San Diego Customs (SDC) carrying the S&S 111-inch engine to its resting place inside the F-XXX-R chassis.
- After carefully placing the engine in the chassis, we installed the nicely designed Corbin chin spoiler we lovingly call the “wizard’s sleeve.”
- Next we installed some mock-up SDC 320mm rotors while the folks at Lyndall Brakes made matching composite rotors to match the RSD Morris wheel pattern.
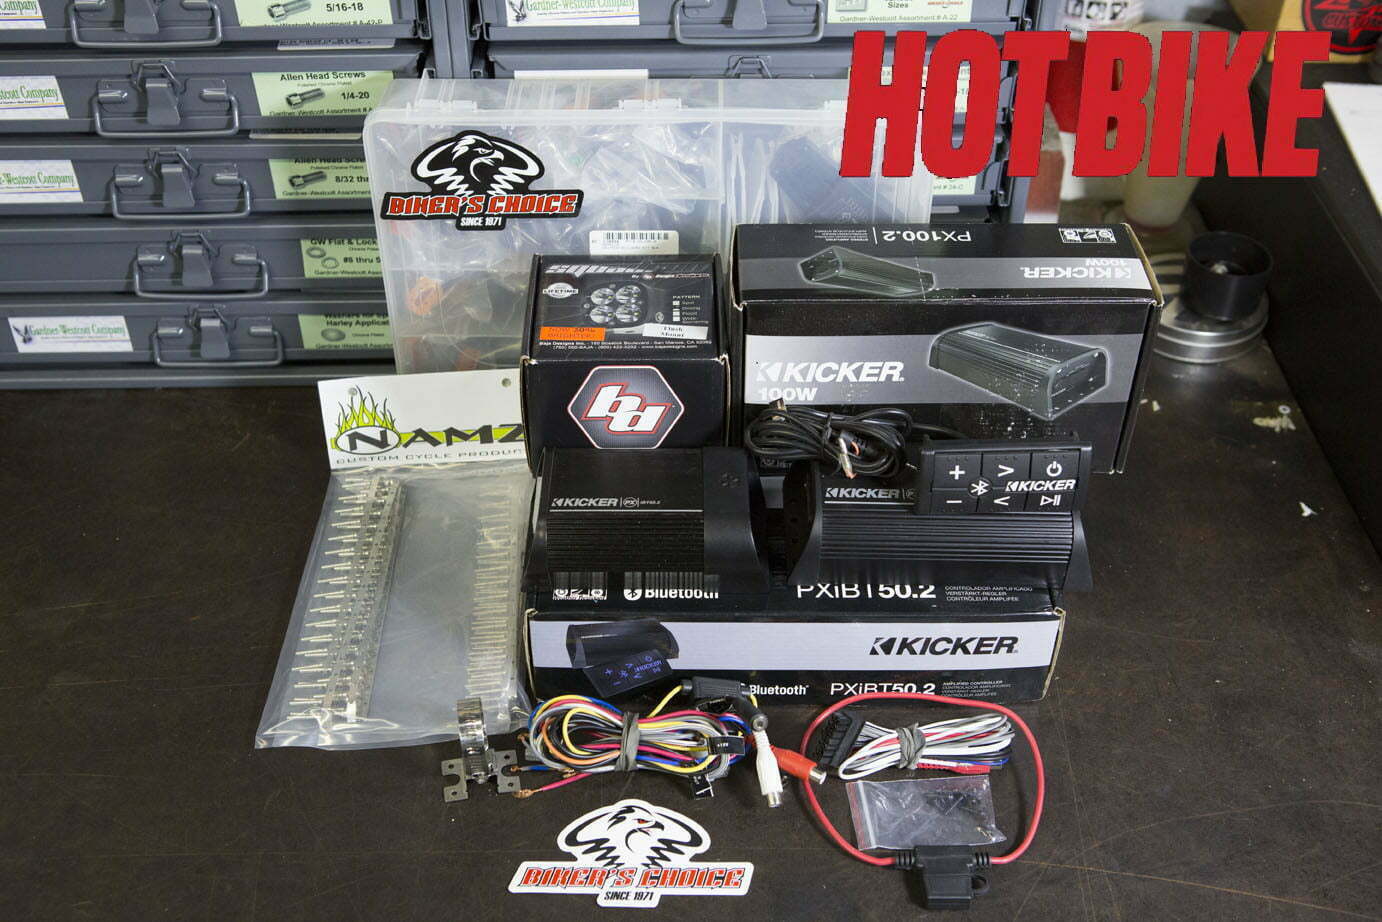
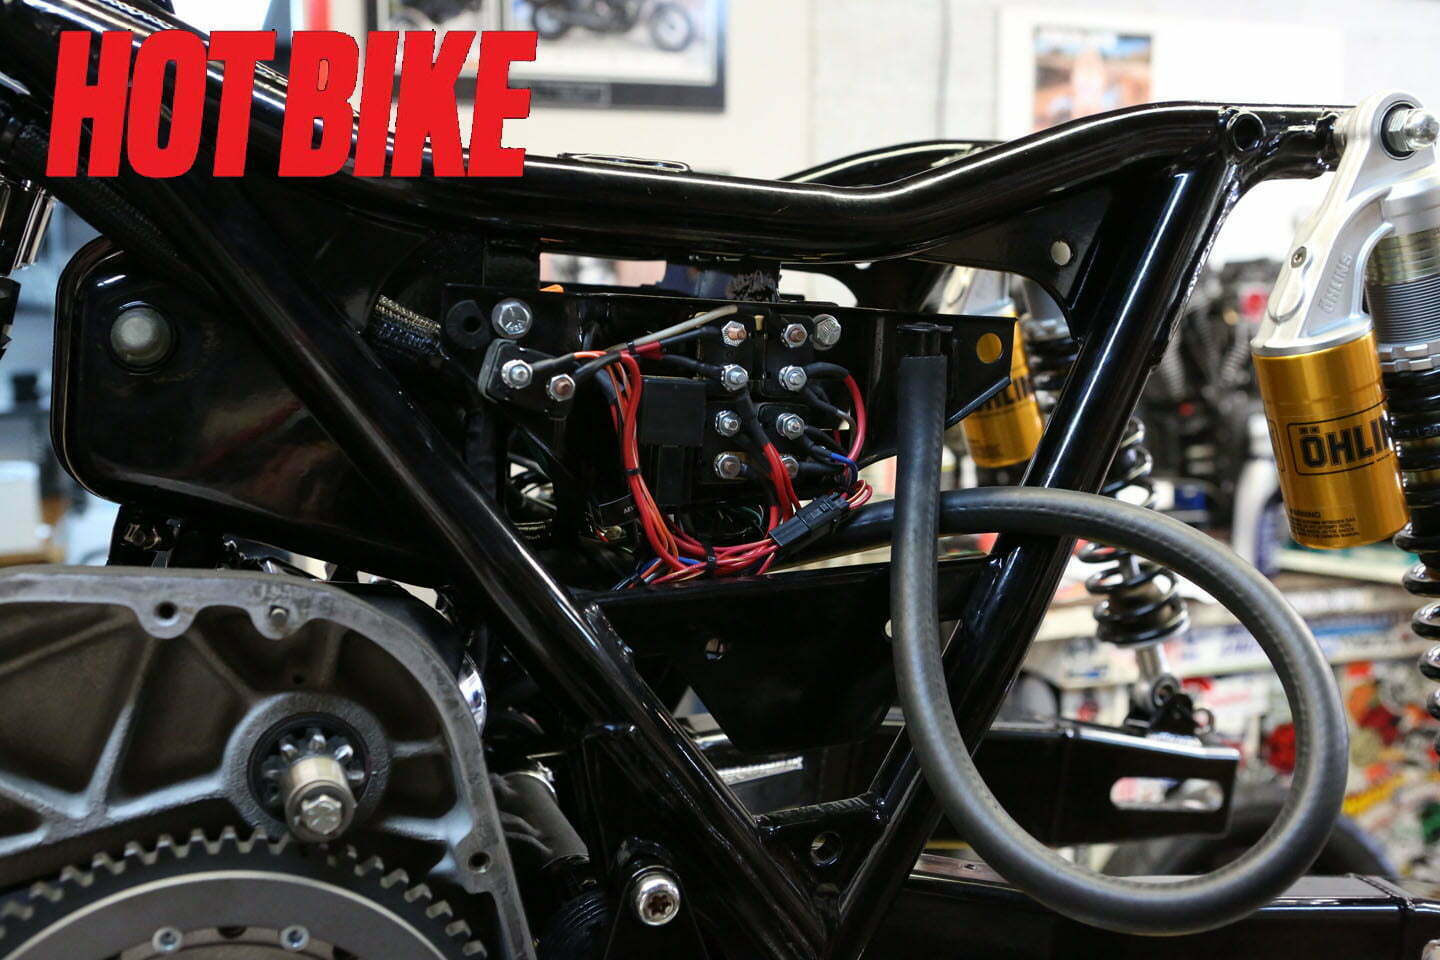
- We began to install our stereo components using Kicker audio parts. We wired it all together using many various wiring components from NAMZ.
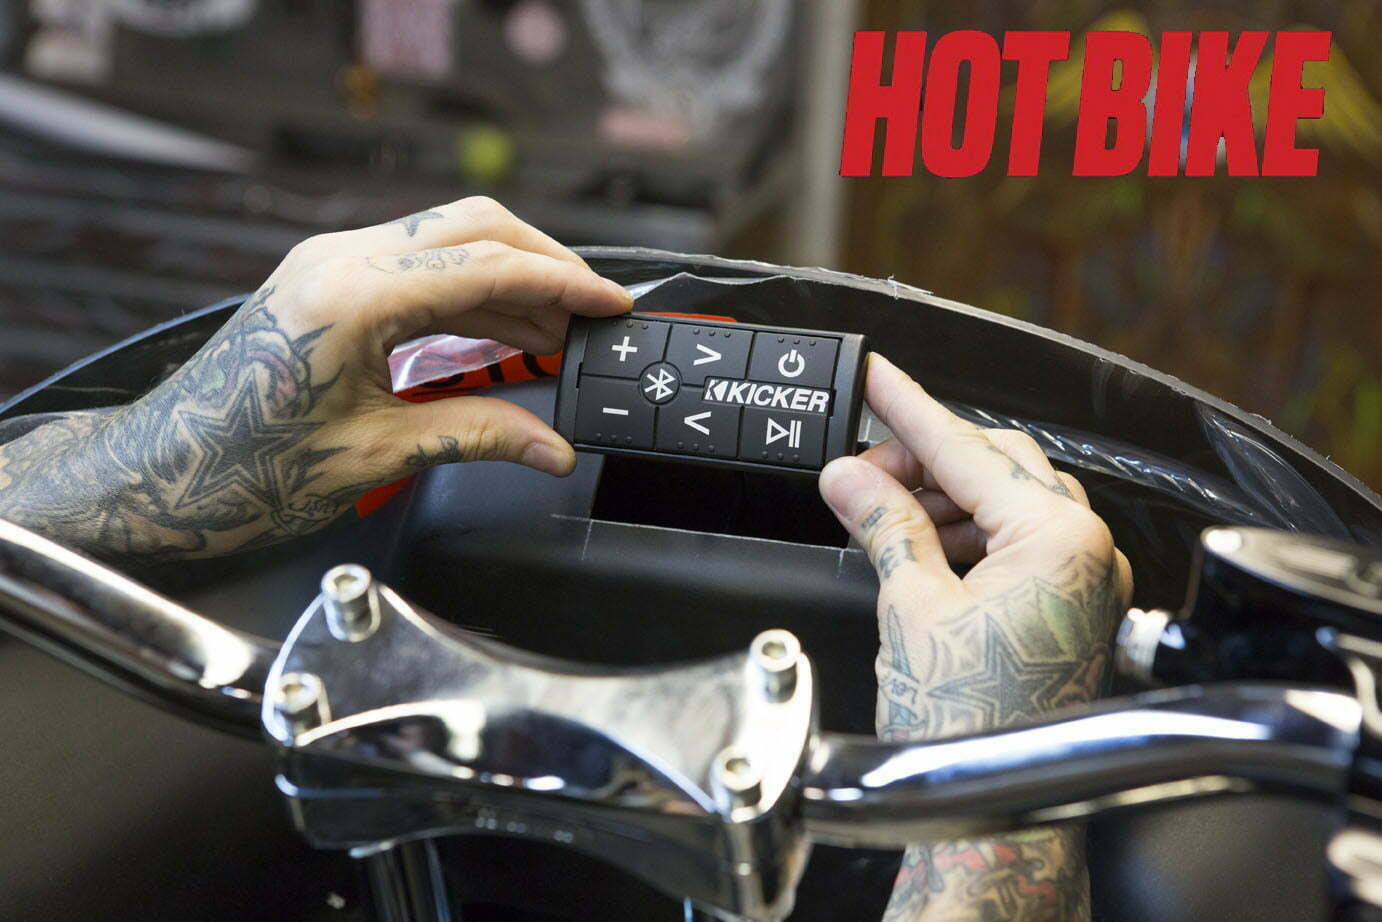
- We installed the compact, waterproof, and rugged Bluetooth PXiBT50.2 combination receiver and amp setup from Kicker Audio.
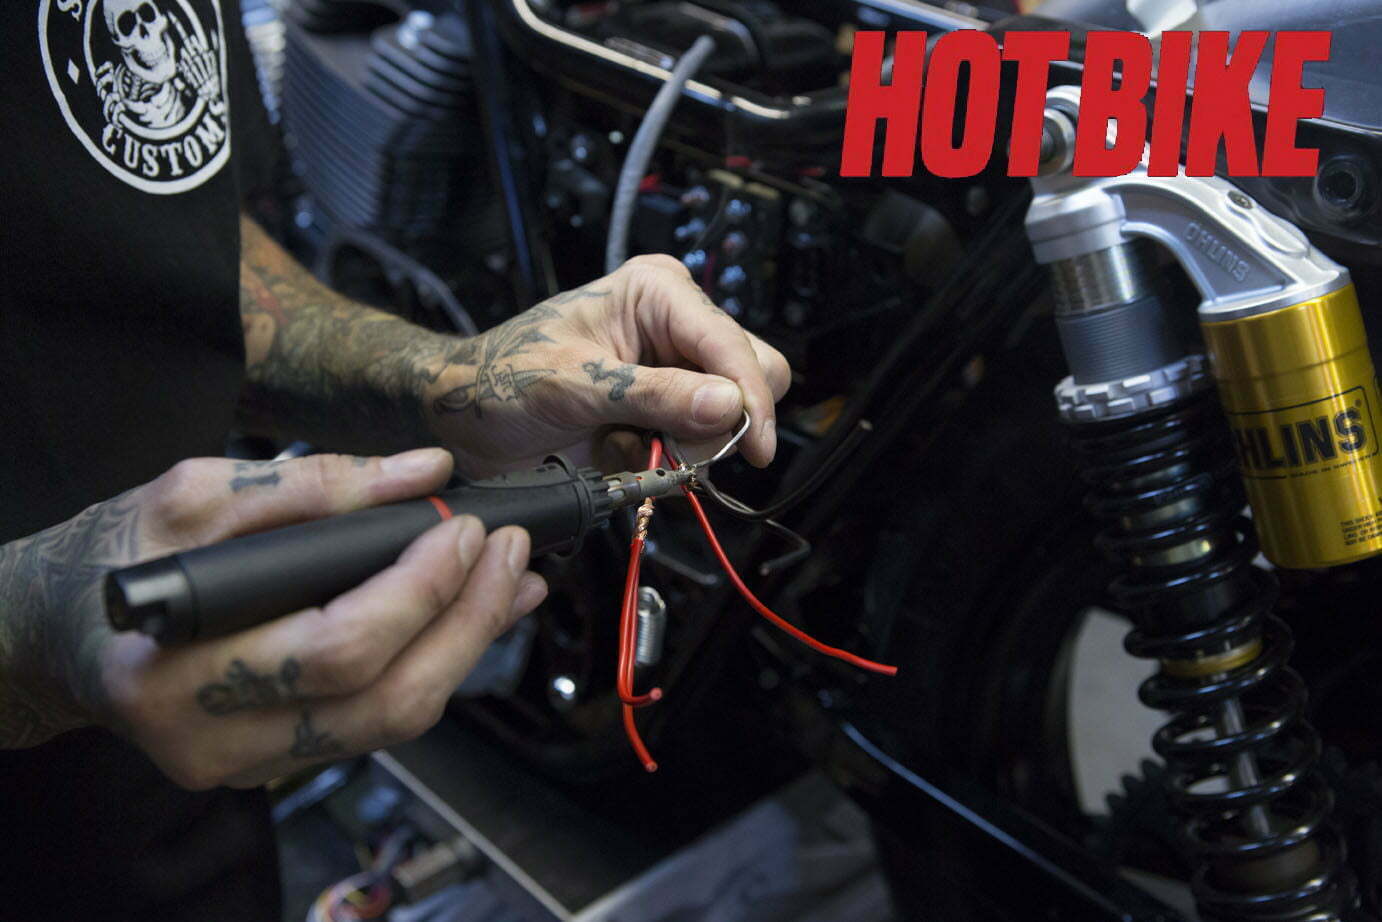
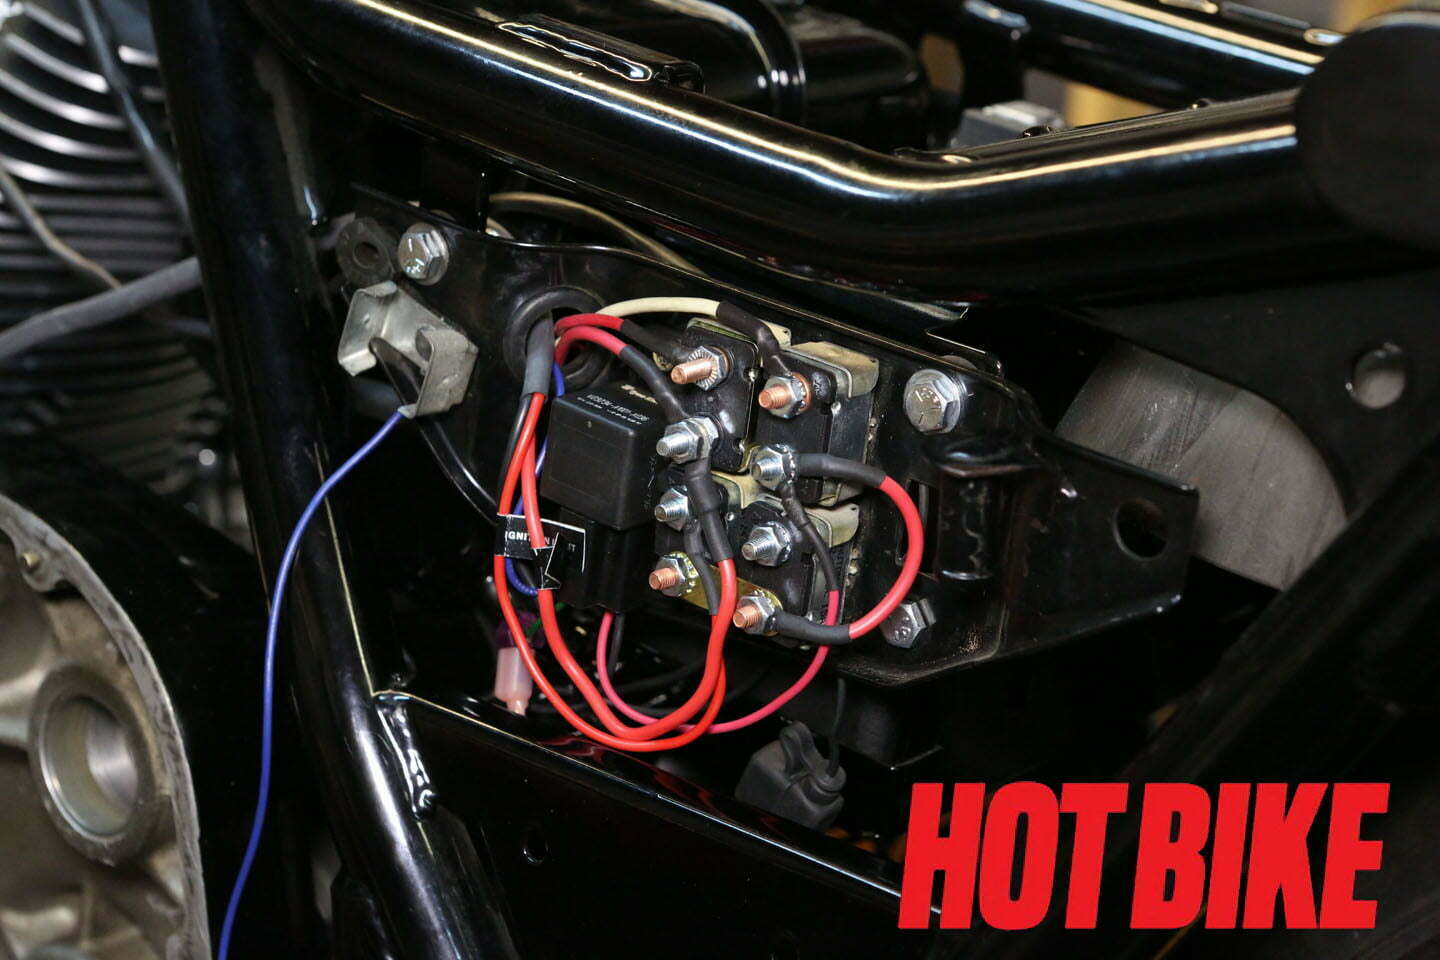
- Tony from SDC began to manufacture our custom-wiring loom using NAMZ quality connectors and pins.
- We began by feeding the wire throughout the bike, leaving ample lengths to be cut down.
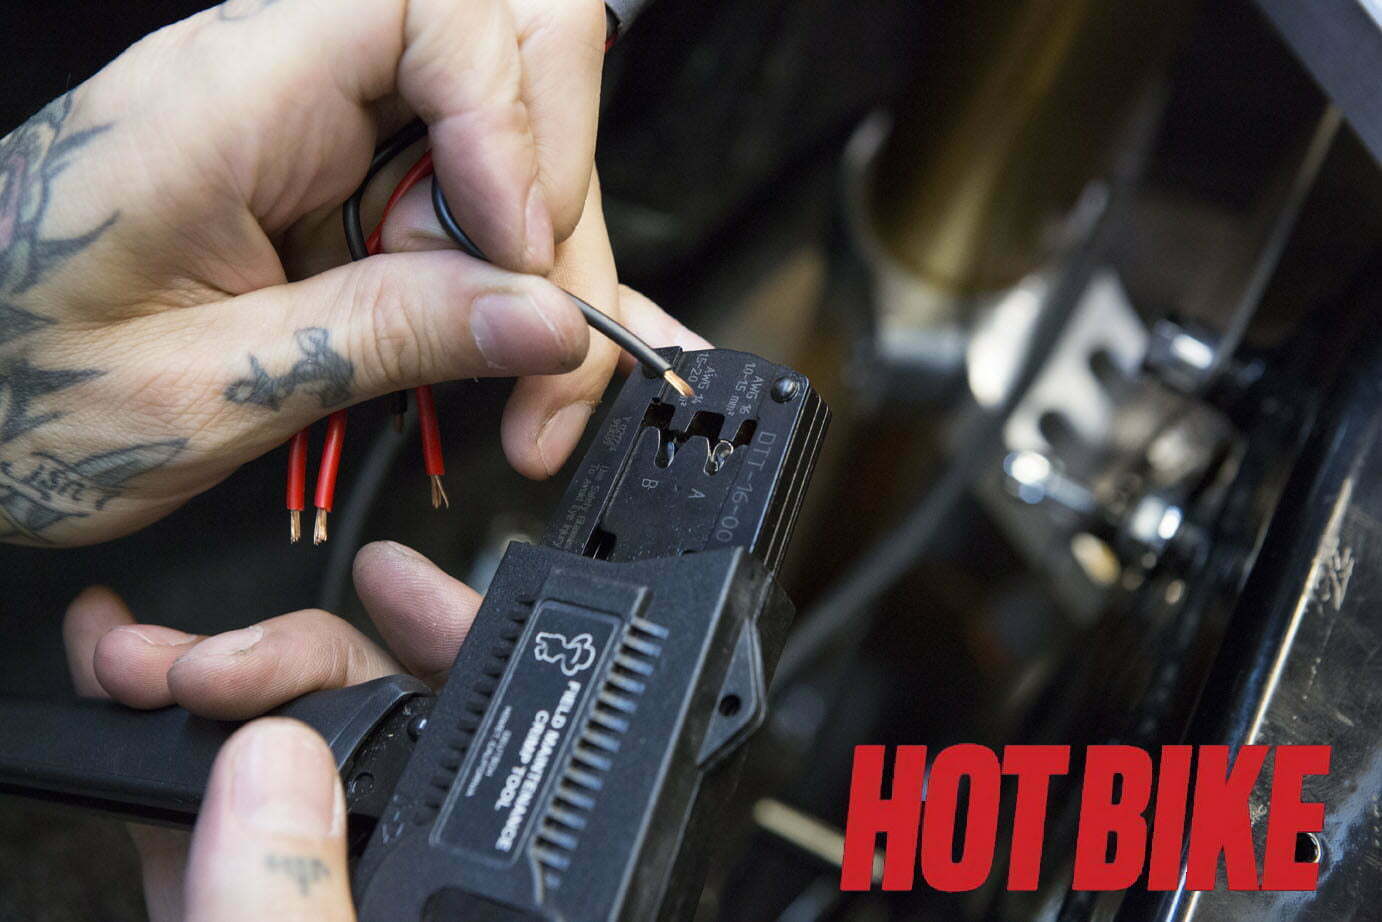
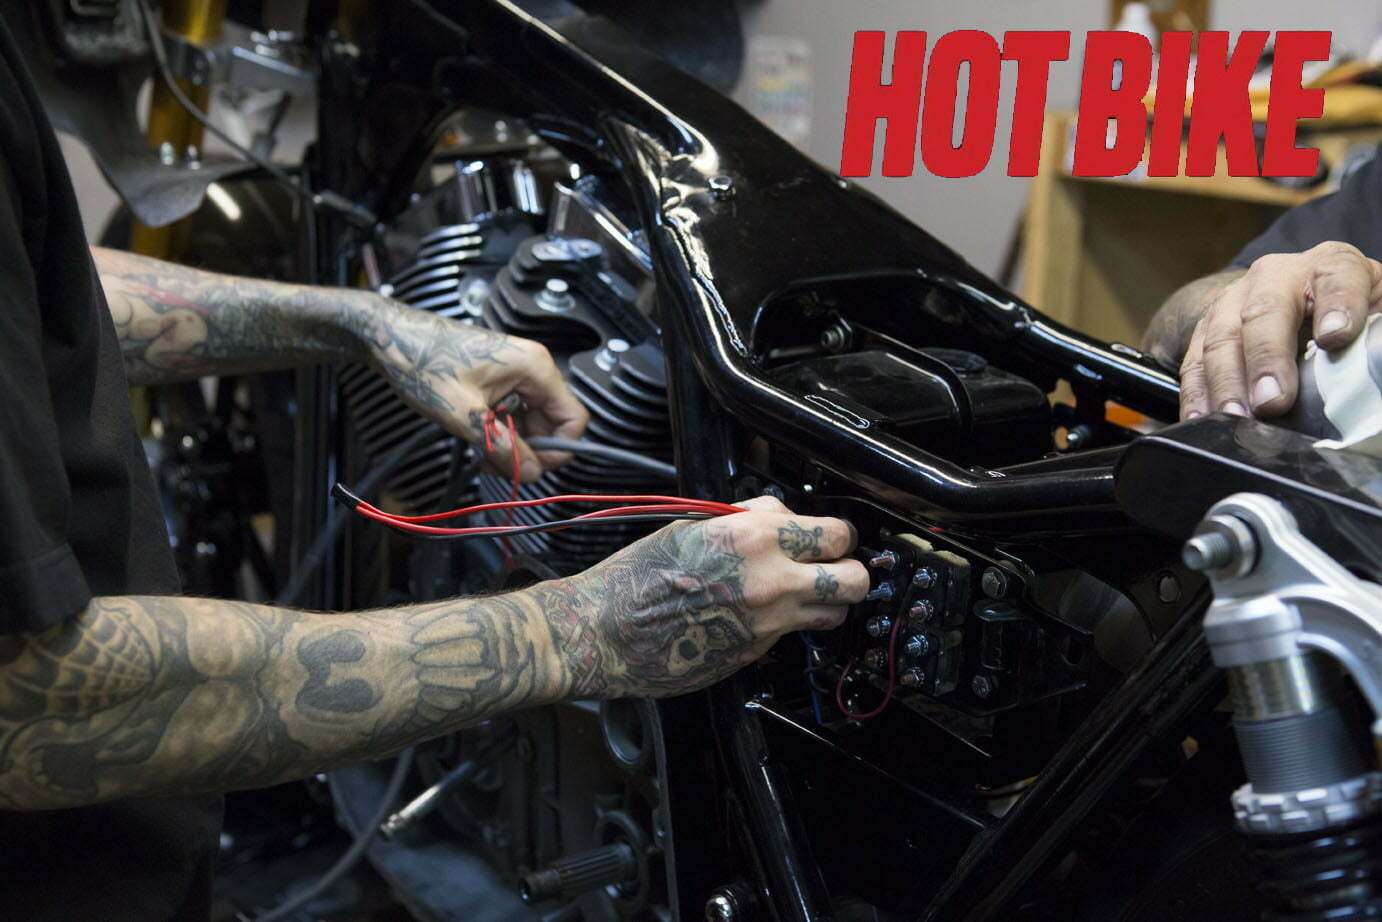
- NAMZ Deustch connectors were used as much as possible to make replacing any electrical item an easy task. We highly suggest doing this due to ease of service and the positive connections these connectors supply.
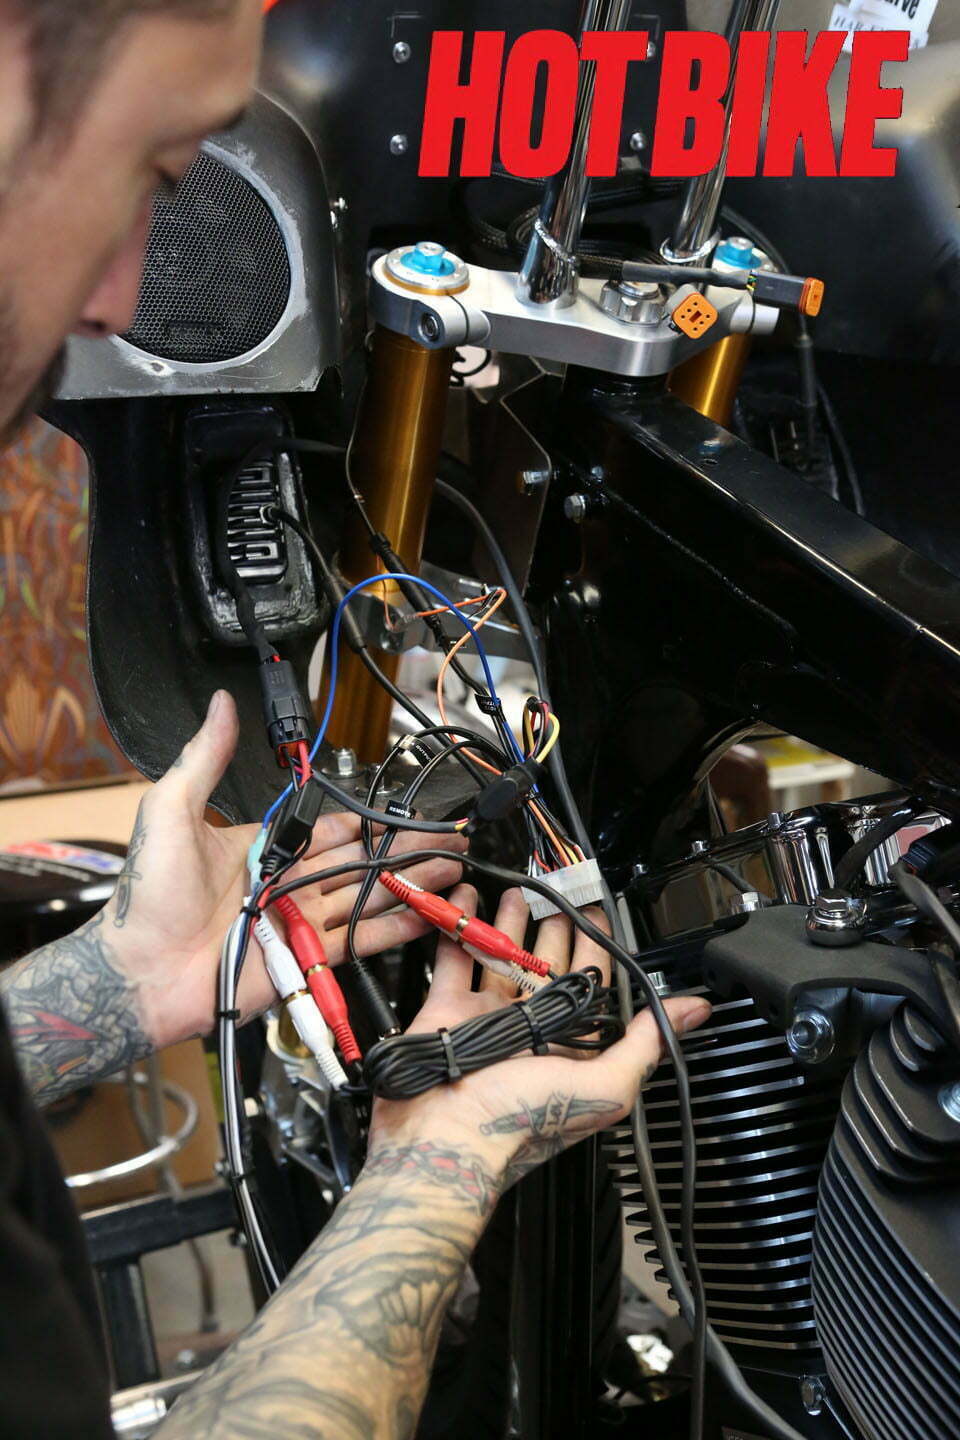
- We internally wired the bars by drilling through the risers and handlebars. This helps to give a cleaner overall look. Tony begins to wire the audio system.
- The SDC crew made the wiring as simple and as clean as possible. Labeling each wire makes it easy for the next guy who has to make a change. Custom wiring is not an easy task, so take your time and label everything.
- Here is a better view of the internal routing of the handlebar wiring.
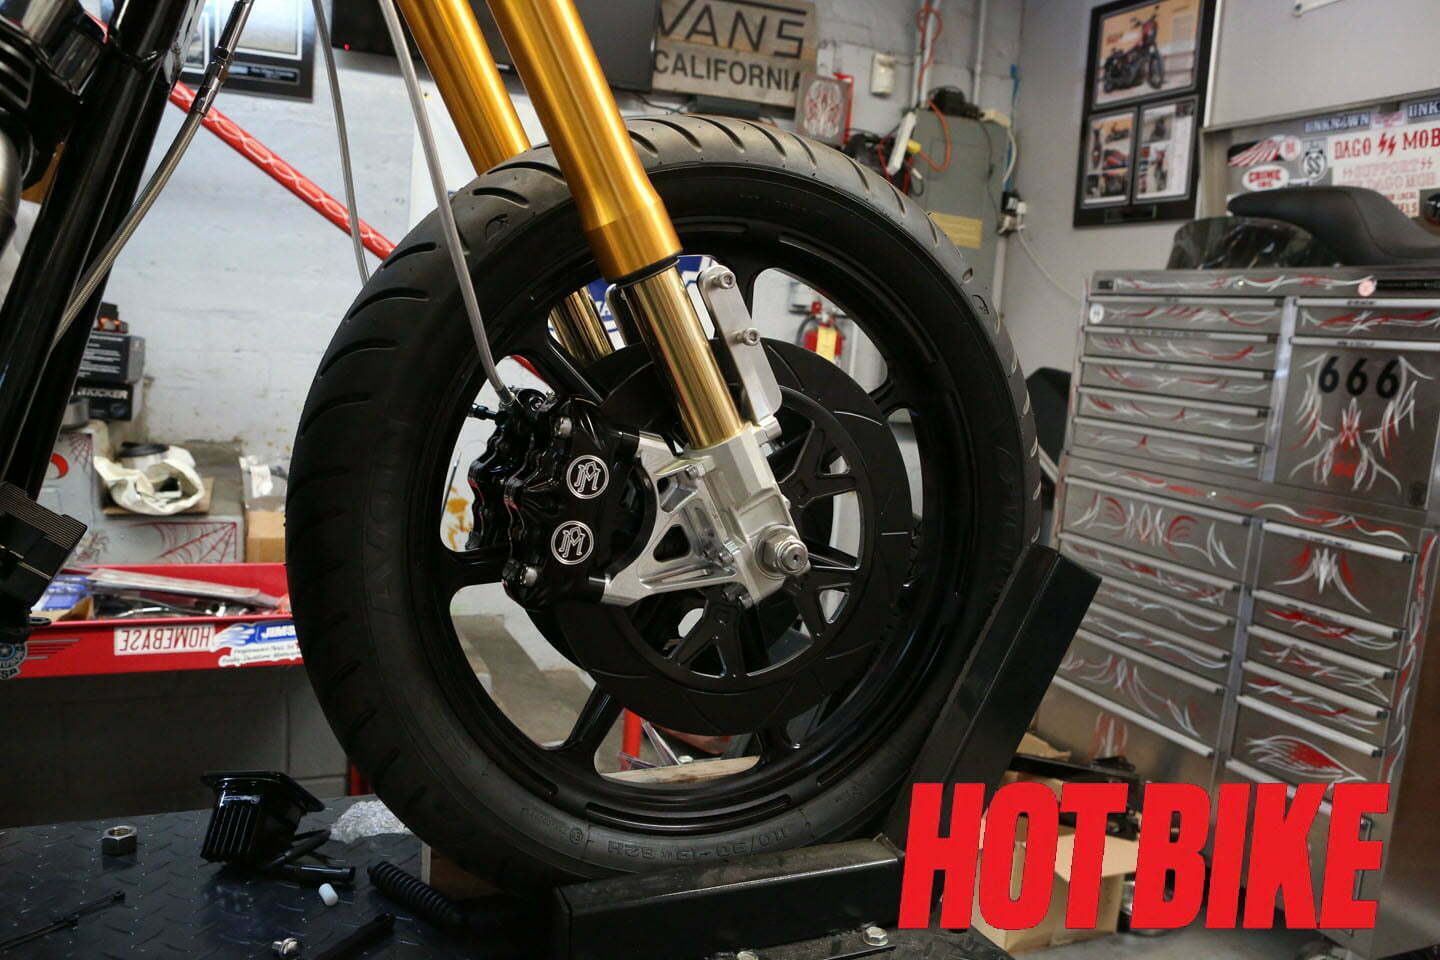
- Since braking is a very important part of going fast, we decided to go big with a dual radial mount brake setup by Performance Machine and Lyndall Racing brake pads.
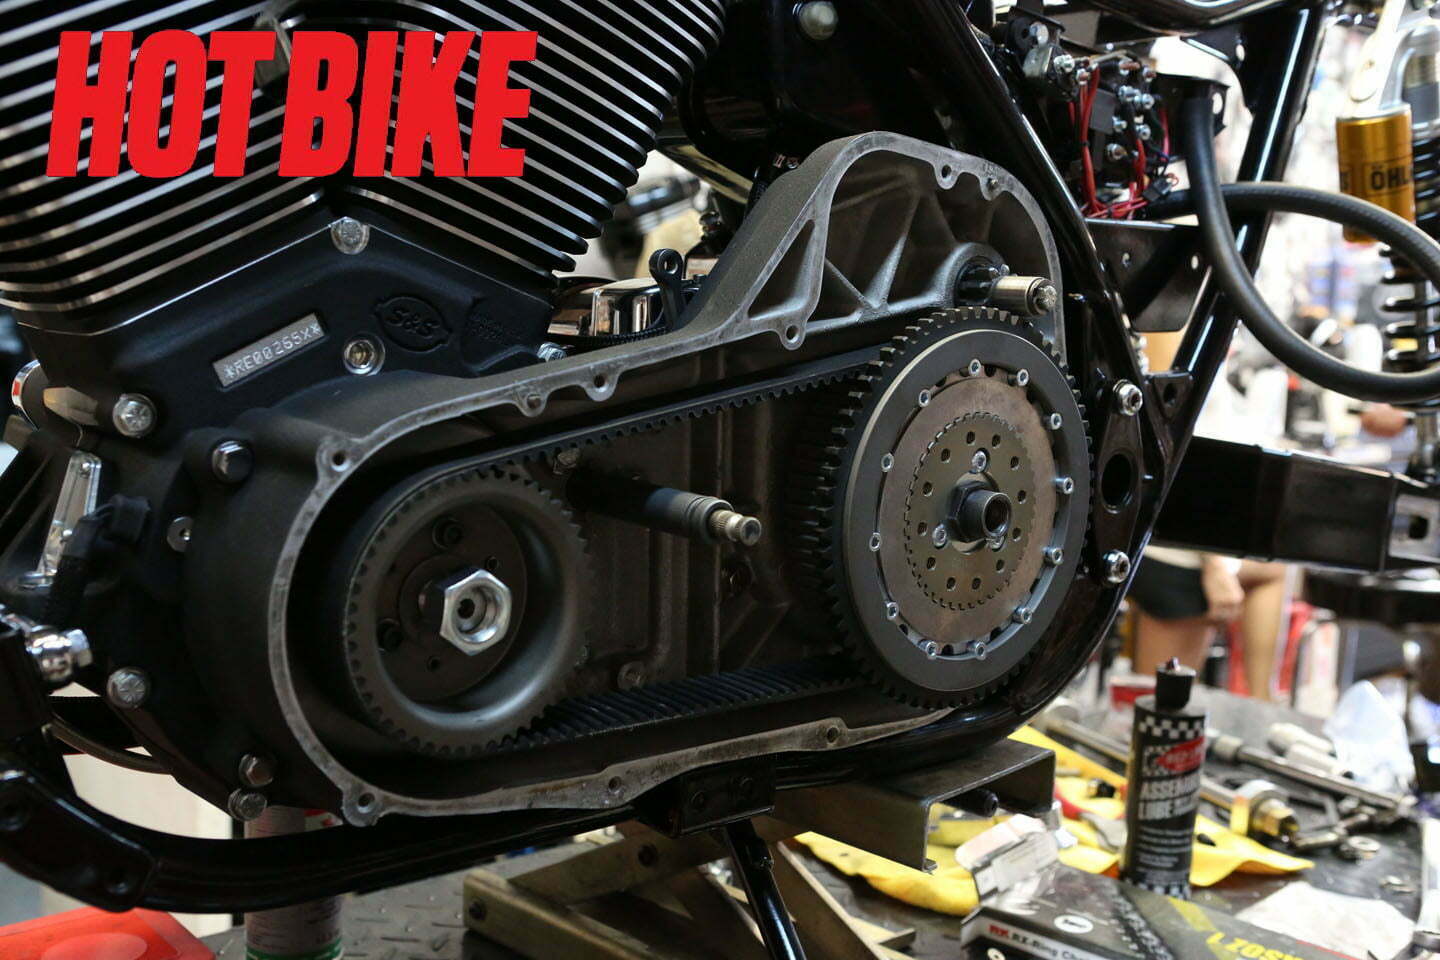
- After installing the inner primary, we installed a belt drive primary drive system by BDL, a simple and effective way of shedding some pounds and maintaining reliability. And best of all, with a belt there are no primary leaks!
- Nice and tidy, huh? We also added an oil drain line, cut to size, of course!
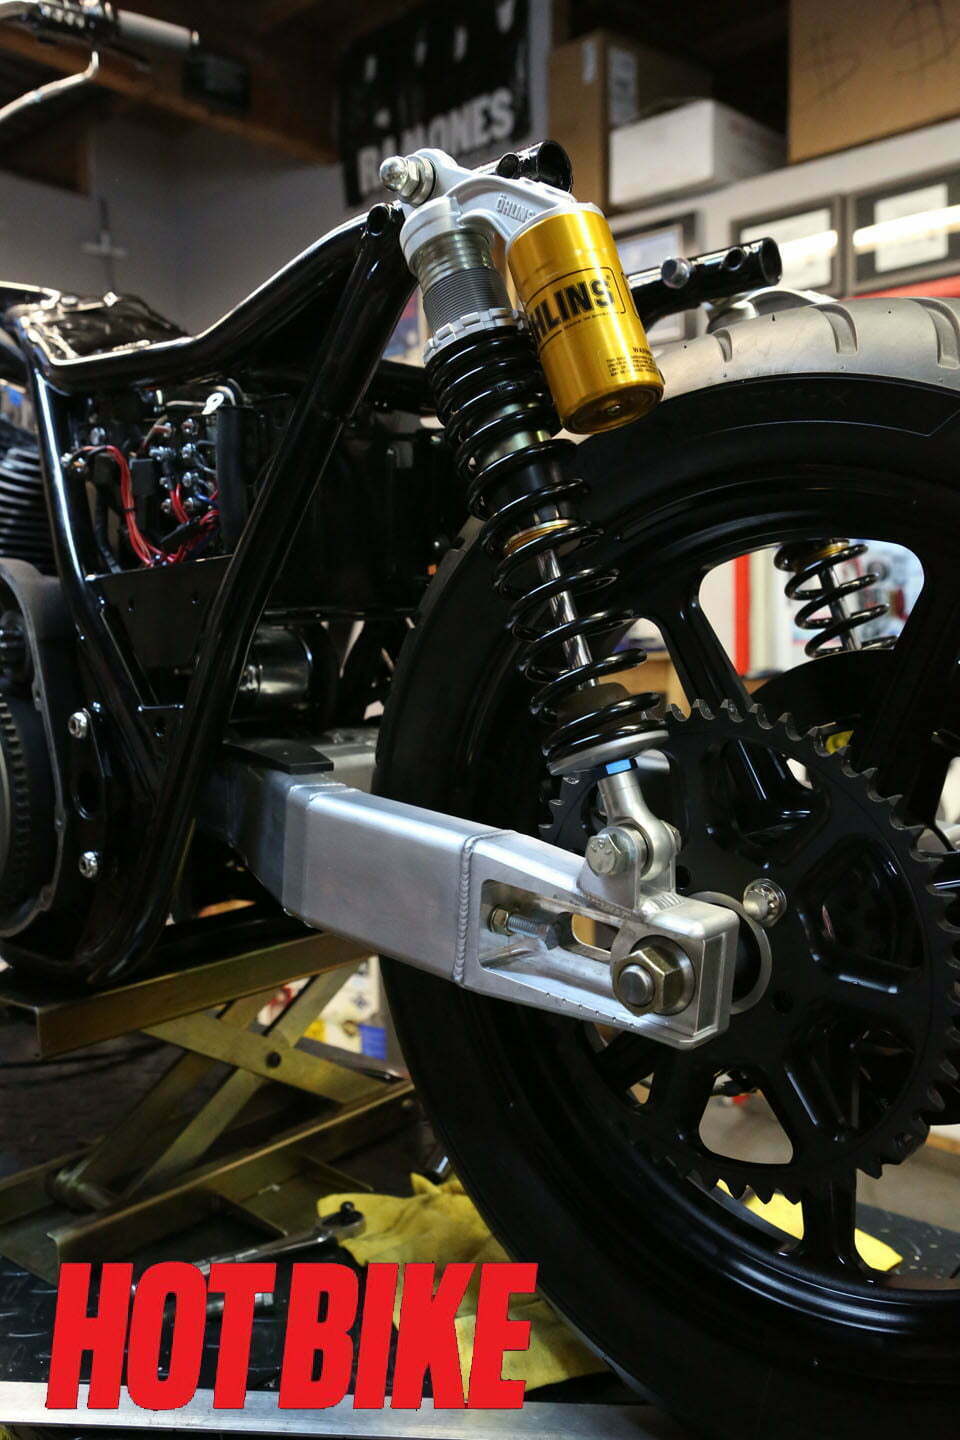
- We replaced the stock swingarm with a new, improved, lighter, and stronger swingarm from Trac Dynamics, which is a work of art in itself. And we replaced the belt pulley with an RSD “Morris Mag” sprocket to match the wheels.

- Taylor Schultz of Schultz Designz did an incredible job of cleaning up our tins and fairing pieces and then applying a show-quality, classy paint job. The amount of detail in it is insane. We had the task of installing the pieces without adding some custom scratches!
- Steve from SPFabrication lent his assistance in making some amazing custom fairing stainless-steel mounts on the bike after the paint was finished. Très cool, indeed.
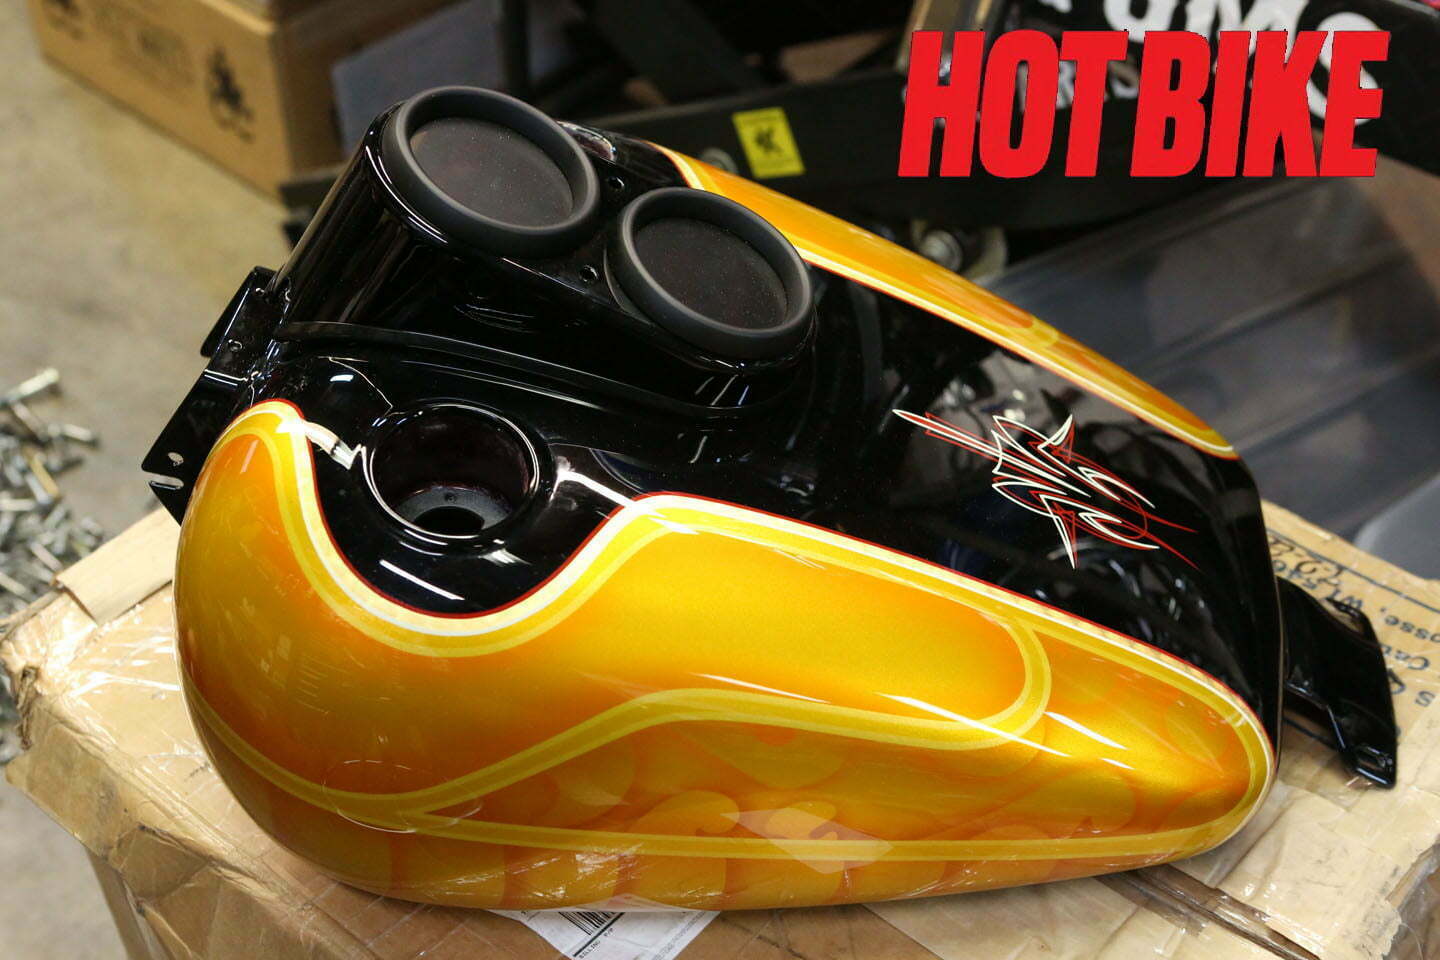
- We assembled the dash with our new blacked-out Digital Dakota gauges, installed our Spyke petcock, and prepped the Biker’s Choice gas tank for installa
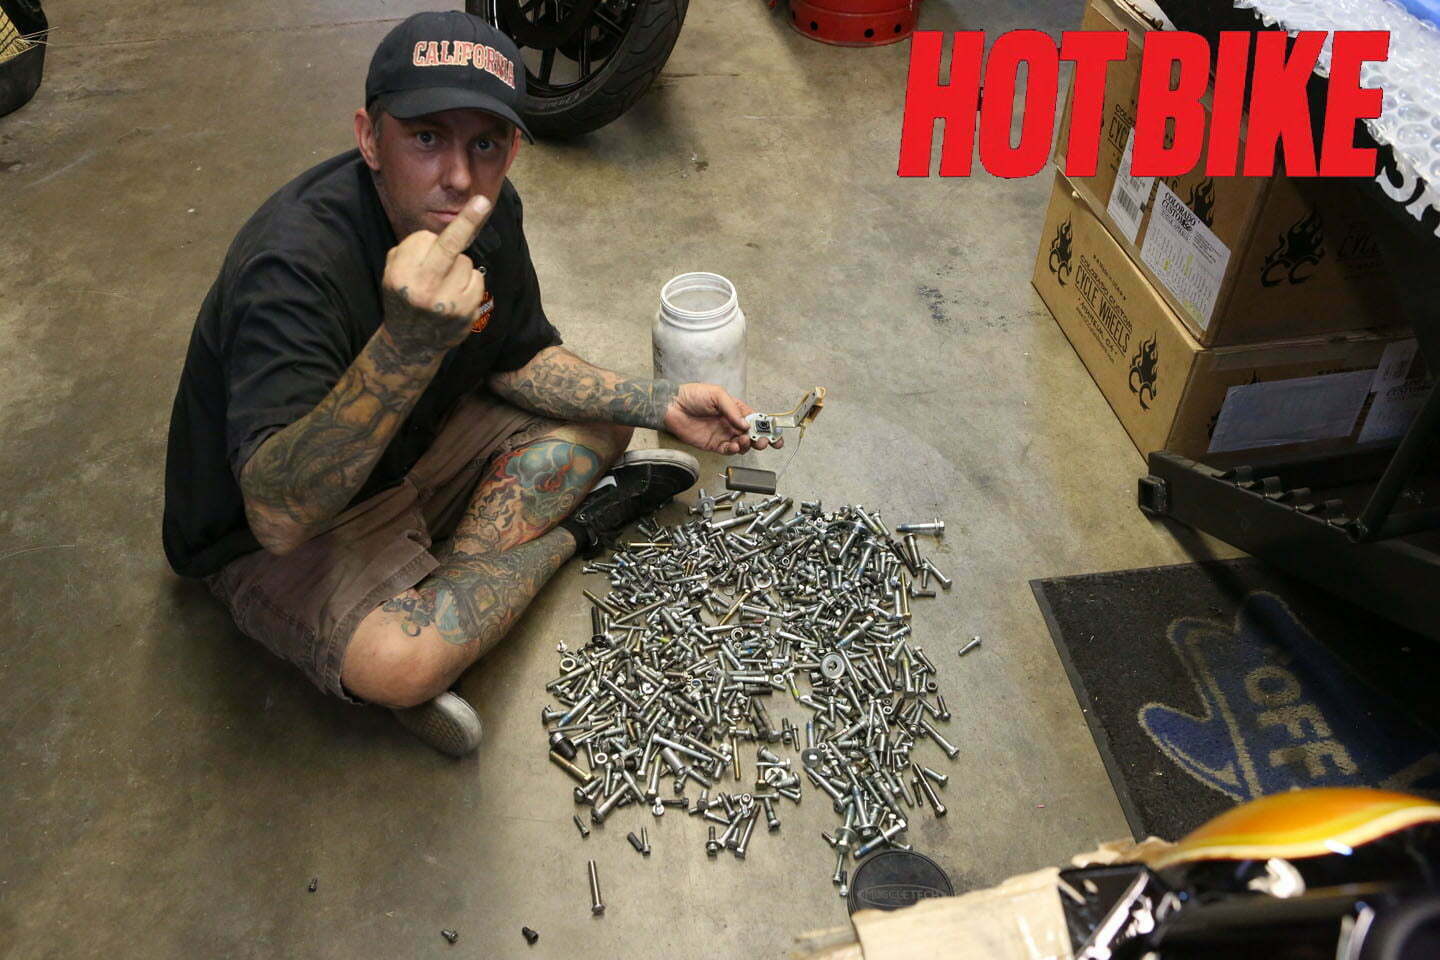
- Sometimes (just like in life) you need to dump the various nuts to find that special one you need to make you happy. And we found it!
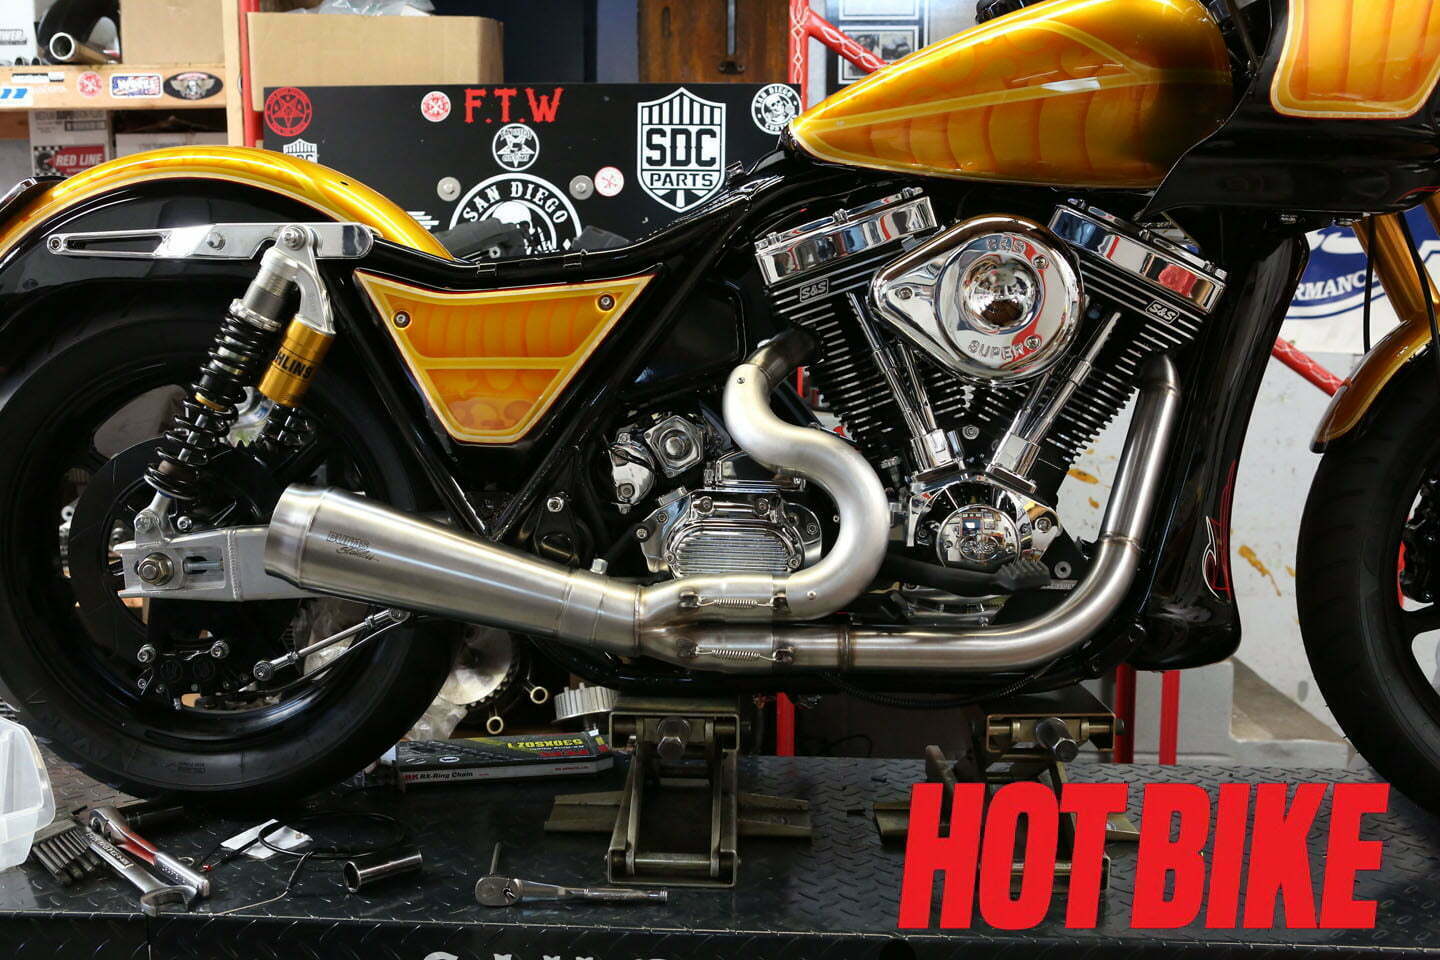
- After installing the SDC x SPF “High Pipe” constructed from the top-quality tubing supplied to us from none other than the pros at Burns Stainless, we proceeded to install the tank, fenders, and side panels.
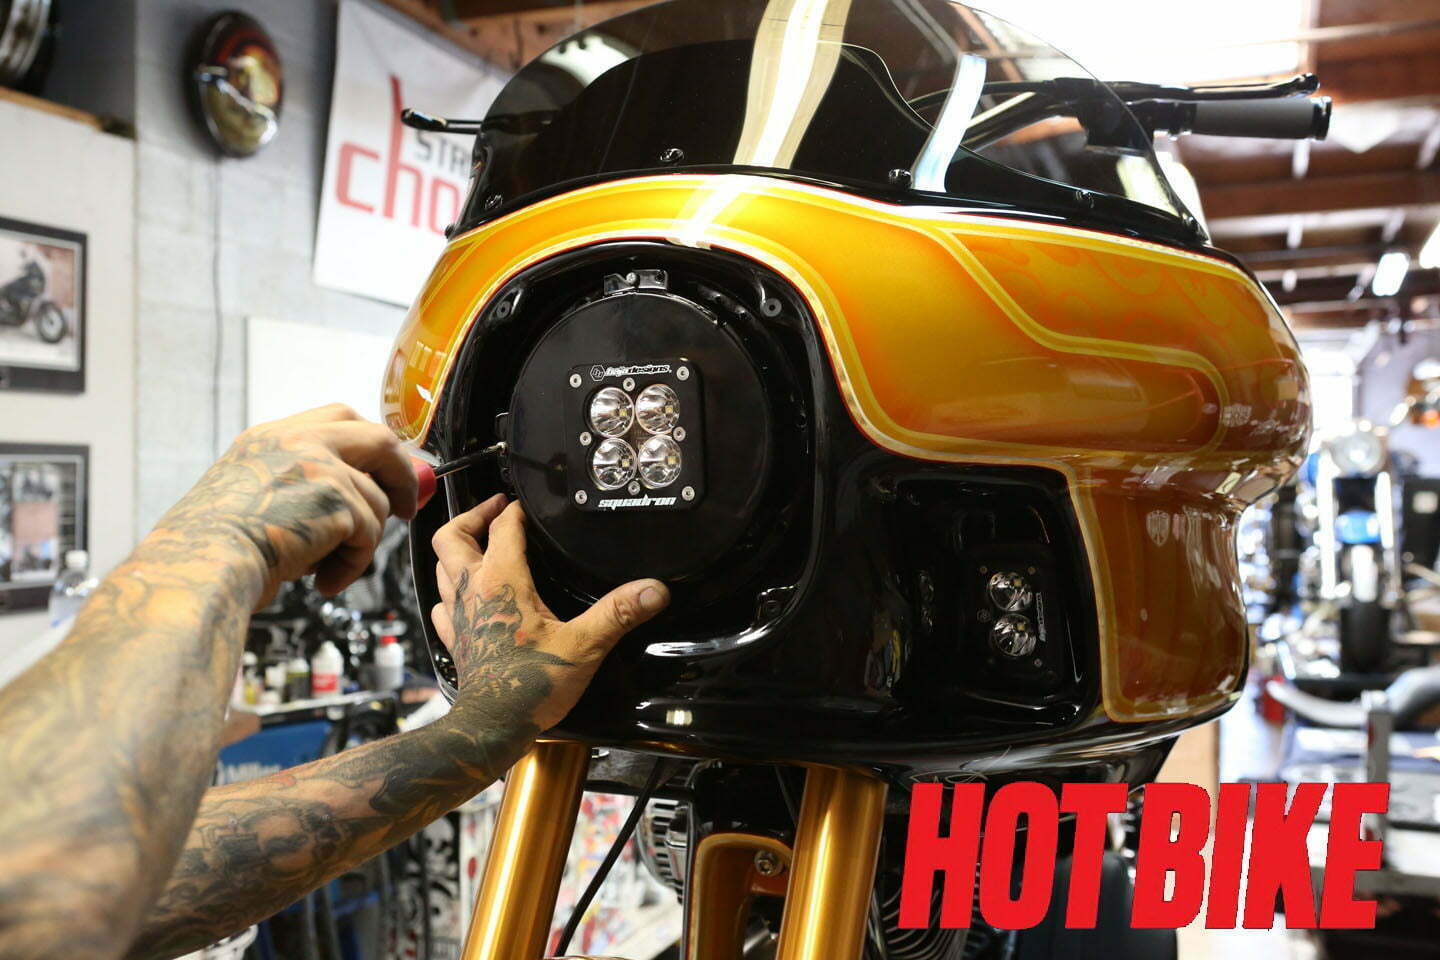
- After completely fabricating a headlight bucket that was both adjustable and durable, we installed the bright-as-hell four-LED Squadron headlight from Baja Designs and covered it with a smoked-out Clearview Shields headlight cover to match the Clearview windshield. Trust us: There is plenty of light coming through that dark cover.
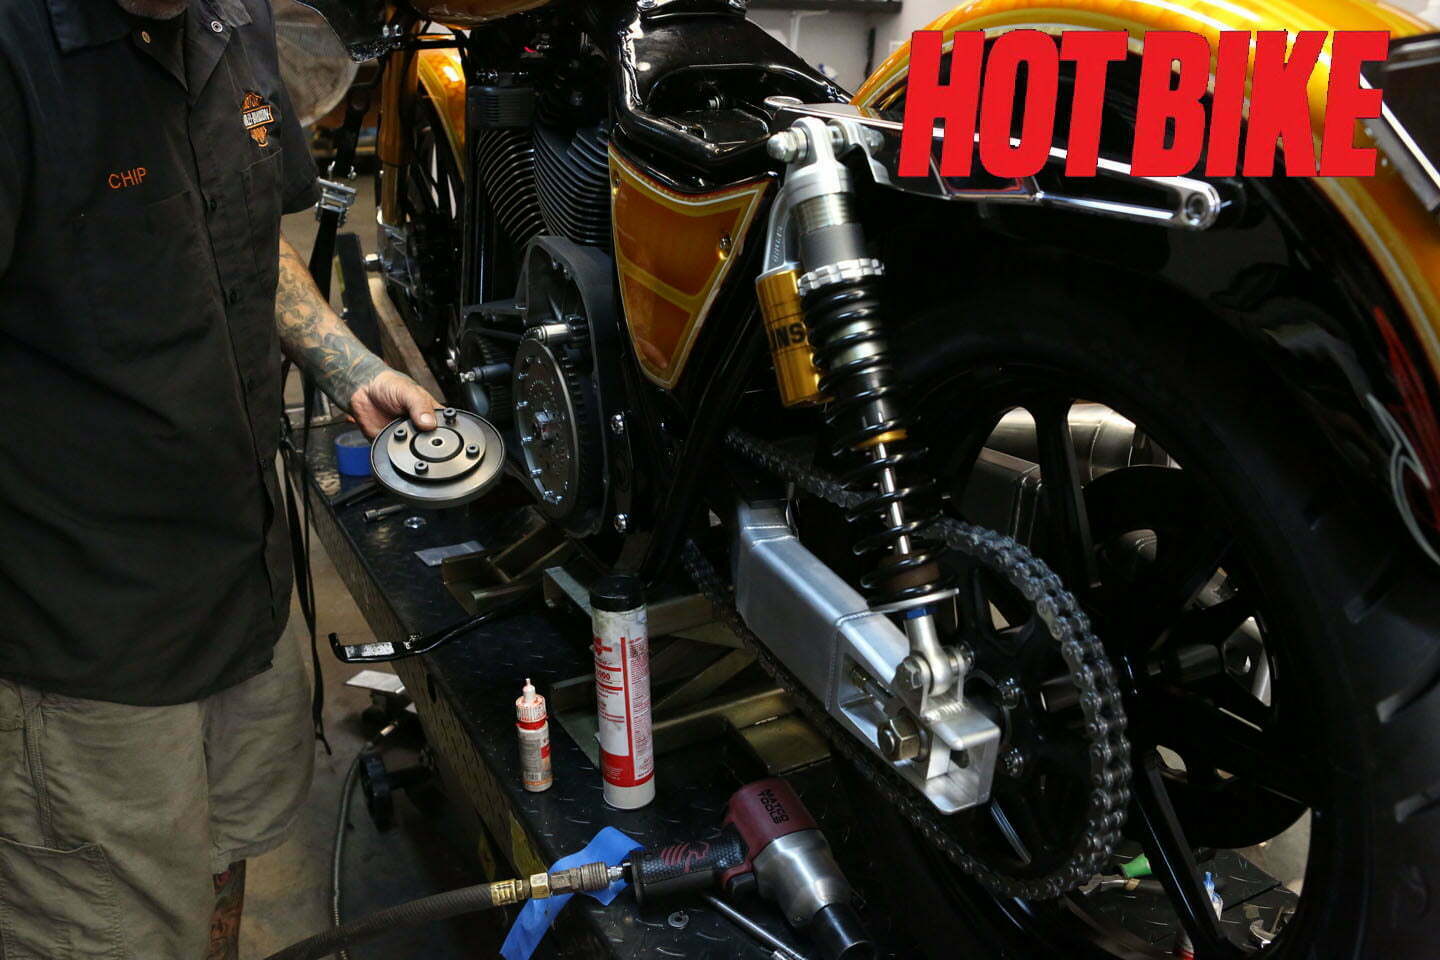
- Going through the primary one final time and making sure everything is in spec is part of the process. Chip assembles the BDL clutch pressure plate and installs it
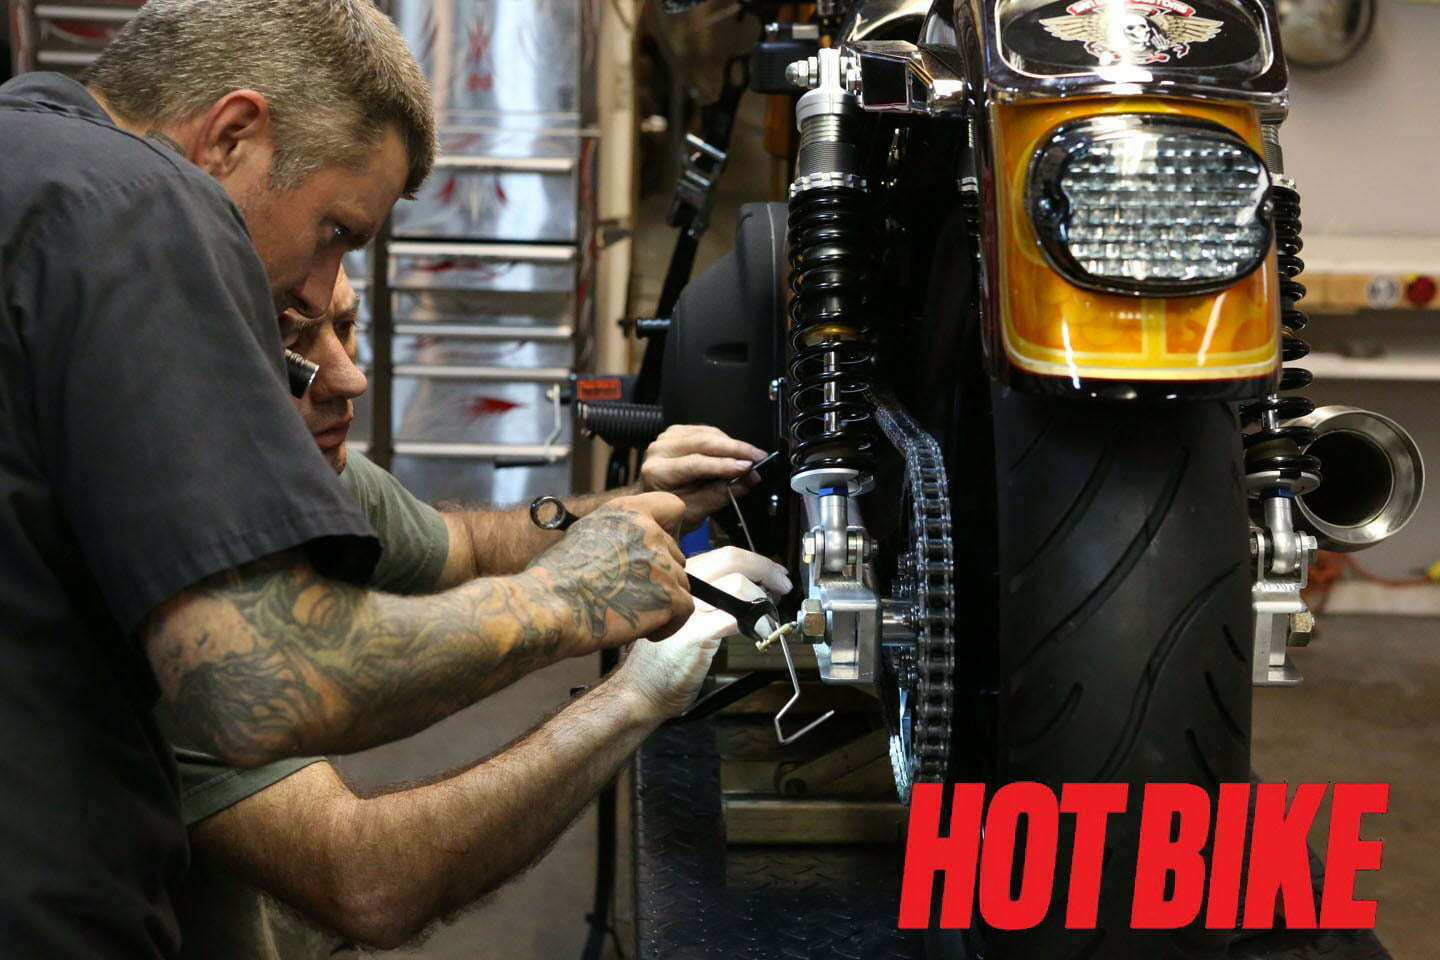
- Alignment of the vehicle is a very important part of the building process. Master bike mechanic and land-speed record holder Tatro helps Chip make sure the F-XXX-R will ride straight as a train on rails.

- After six months of hard work, the now-legendary magazine F-XXX-R is born.
This is a true rags-to-riches basket case build scenario where we take the bare minimum and take it to the maximum. We do these types of builds to show y’all just how far a pile of rusty and rejected junk can go when given a new two-wheeled lease on life.
Starting with a pile of parts and making it into something that has both speed and style is quite an accomplishment for anyone, even those of us with the fortitude and know-how. And having a ton of skilled friends and the world’s top manufacturers on speed dial to make it all happen doesn’t hurt either.
Bringing something back from the dead and making it far better than it ever really was is what we do with these types of show-and-go bikes. In doing so it is a way that you, the reader, can take a cheap bike score and turn it into the bike of your dreams. We hope you learn a bit and are also entertained by us doing so.
And here’s how we did it.


