
GPR Stabilizer Install Part 1
From twisties to the strip, the GPR stabilizer for H-D models is a top-notch product that really works.
Words: Chip Kastelnik Photos: Mikey Van Senus
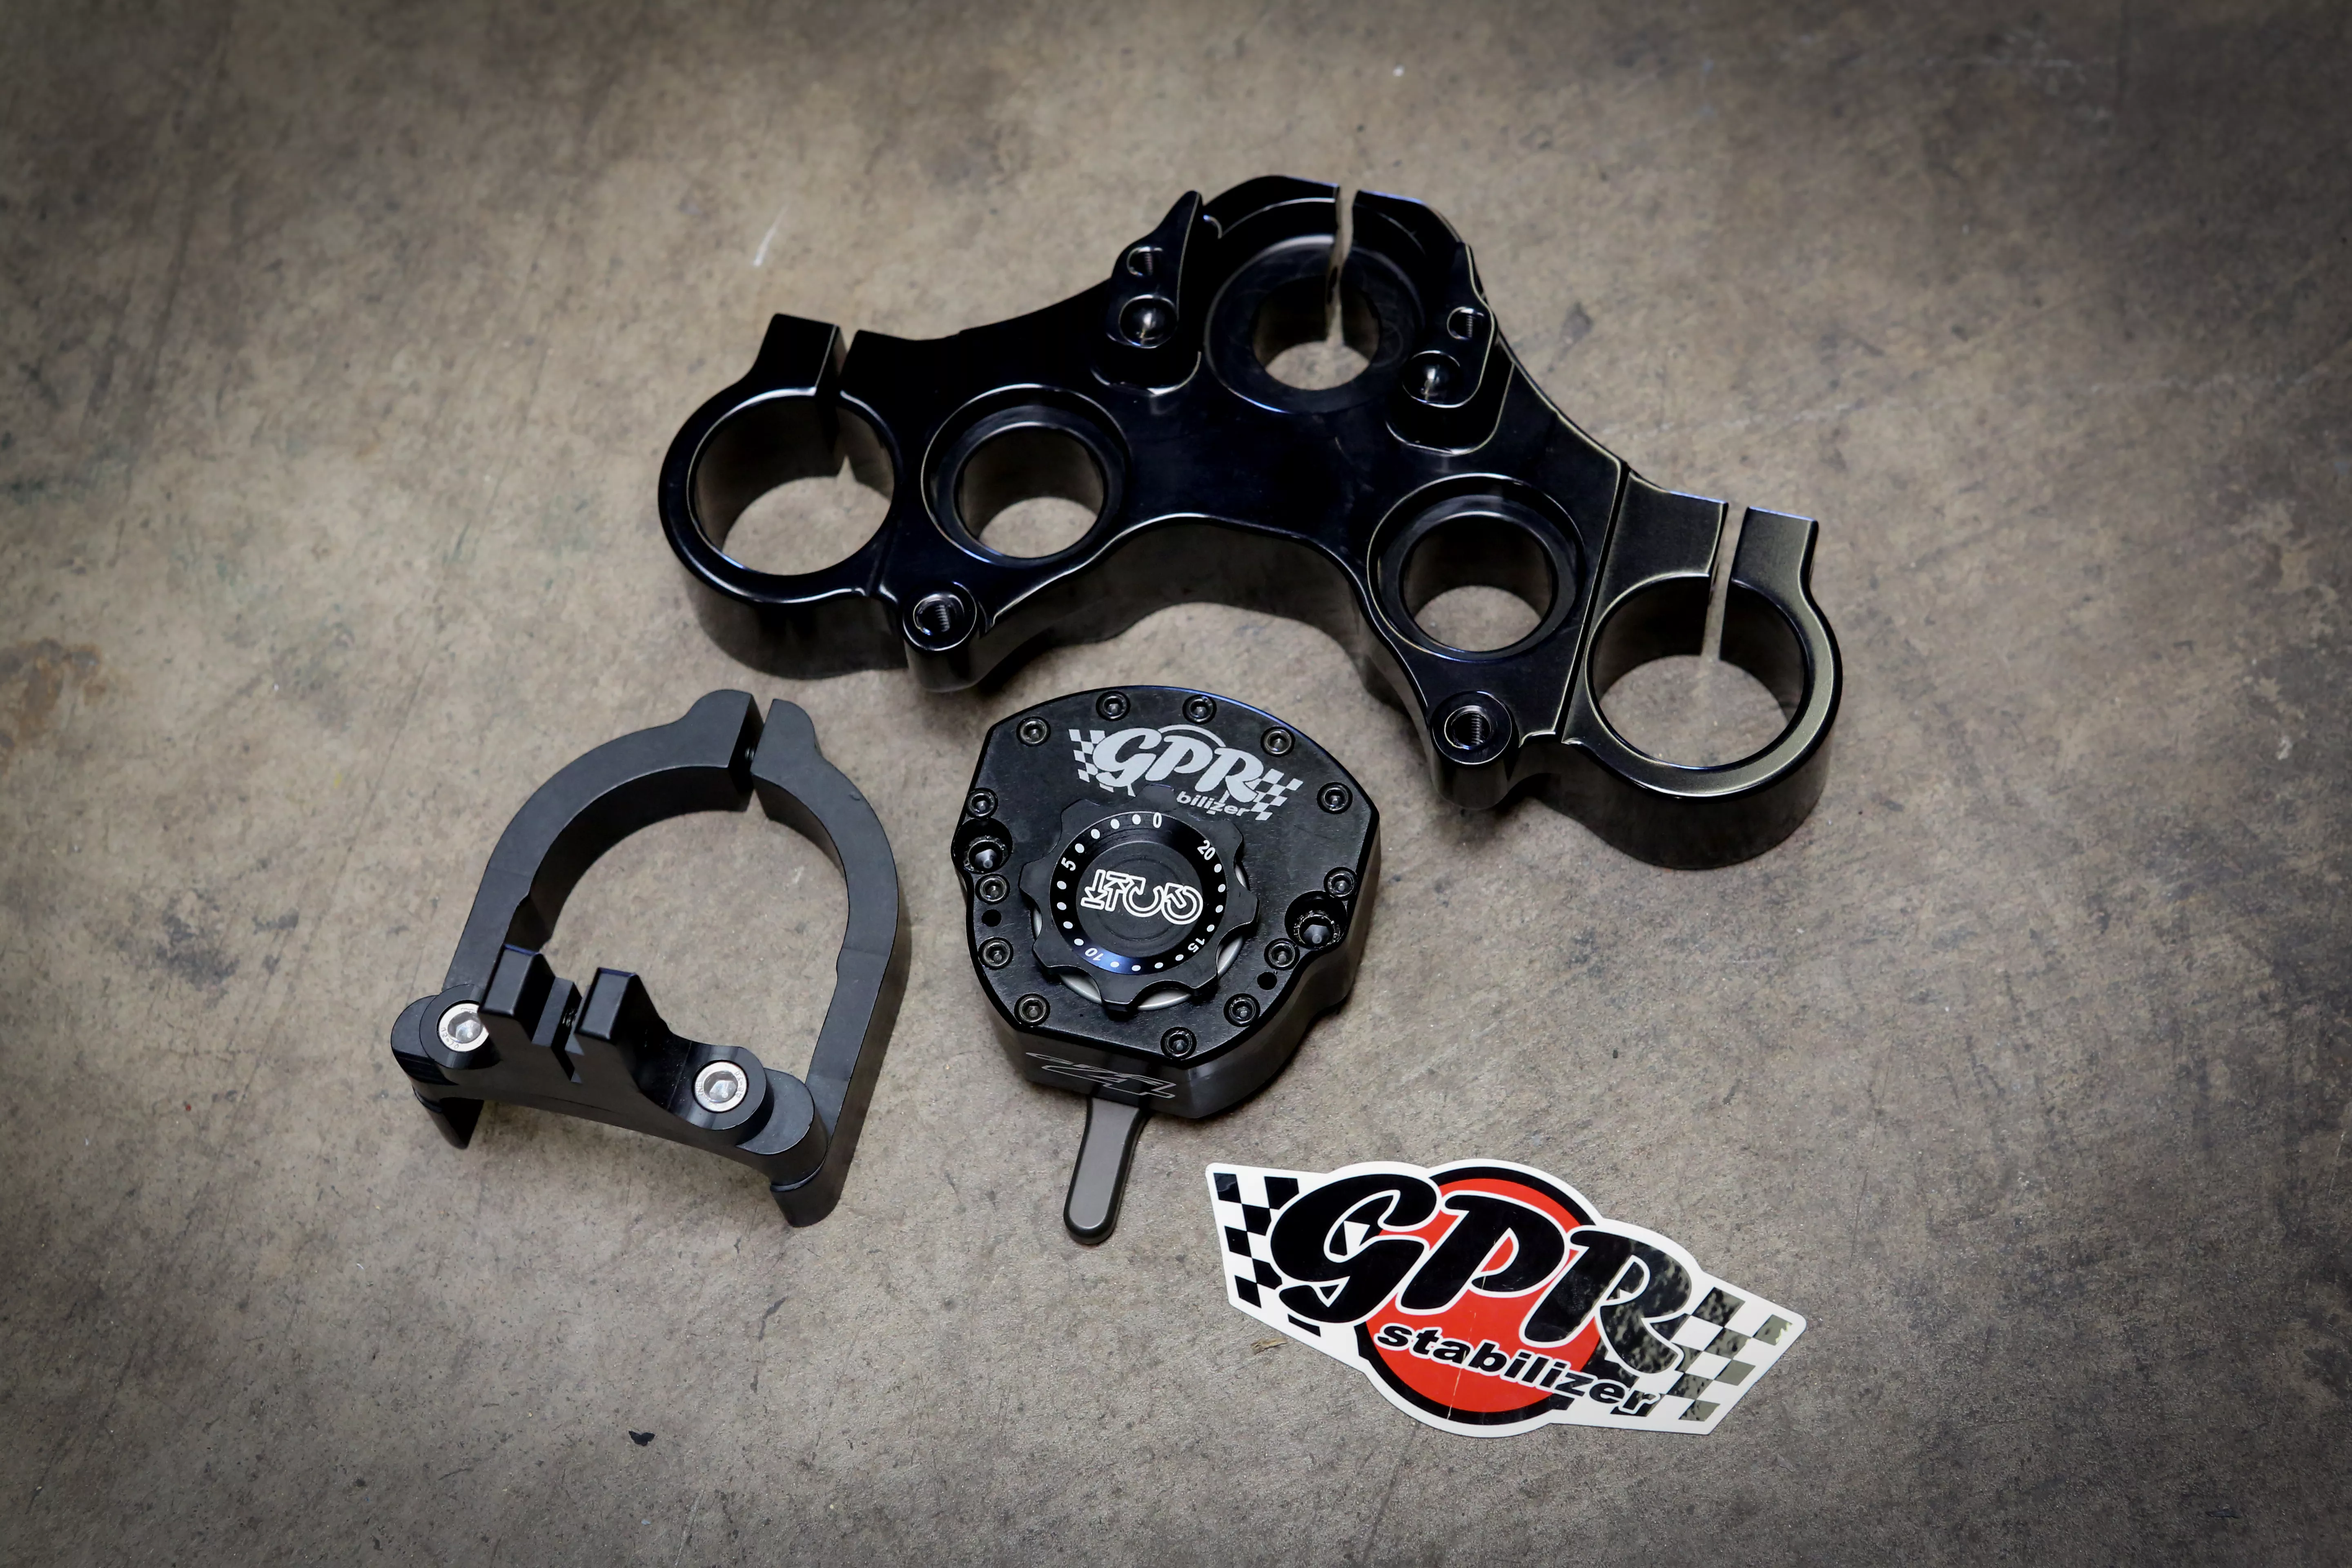
GPR stabilizers have been in the motorcycle industry for years. Anyone with a dirt bike, quad, ATV, or sportbike knows the GPR stabilization components are second to none. A few years back, GPR decided to see if it could appeal to the H-D market by trying to help relieve the frustrations of high-speed wobbles on XL and Dyna models. The crew at GPR had to make a kit that could allow the GPRV4 to mount easily yet remain as close to OEM specs as possible. The end result was a kit that consists of a triple tree, damper, and frame clamp that is easy to install, made of top-quality materials, and works like no other steering stabilizer system.
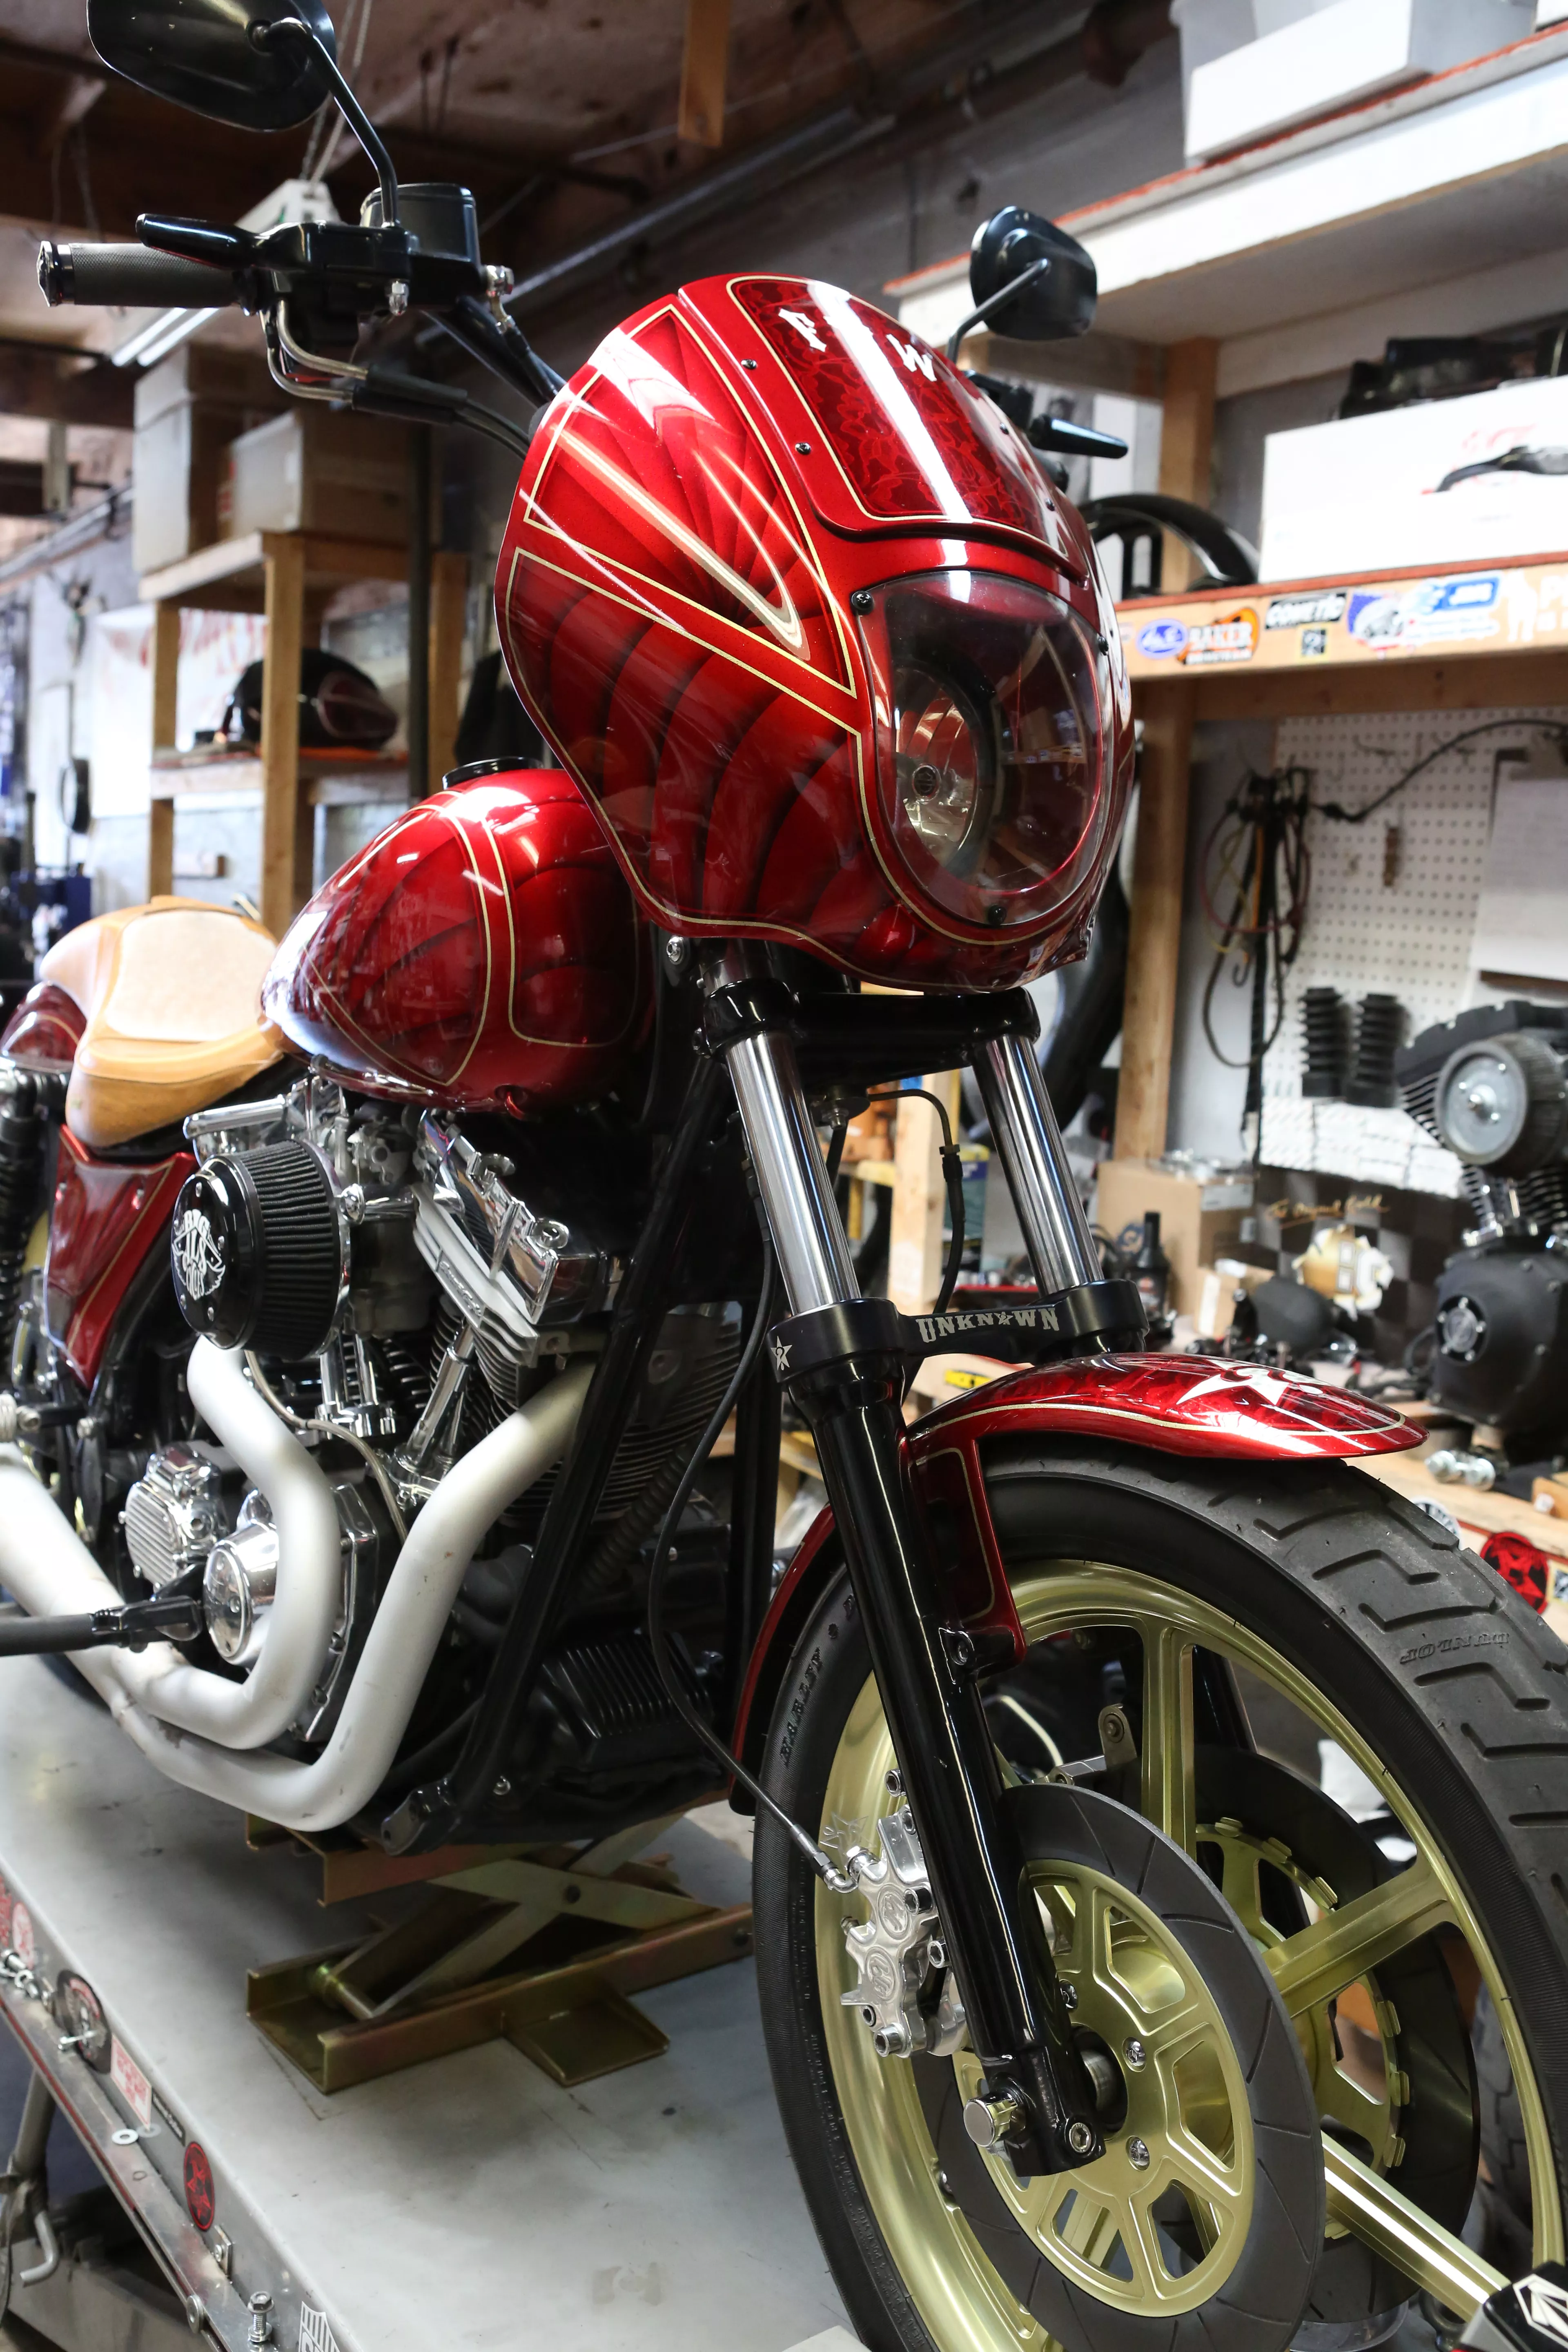
We begin the install by securing the bike on the lift. Doing this installation without a jack is a bad idea.
Words: Chip Kastelnik Photos: Mikey Van Senus
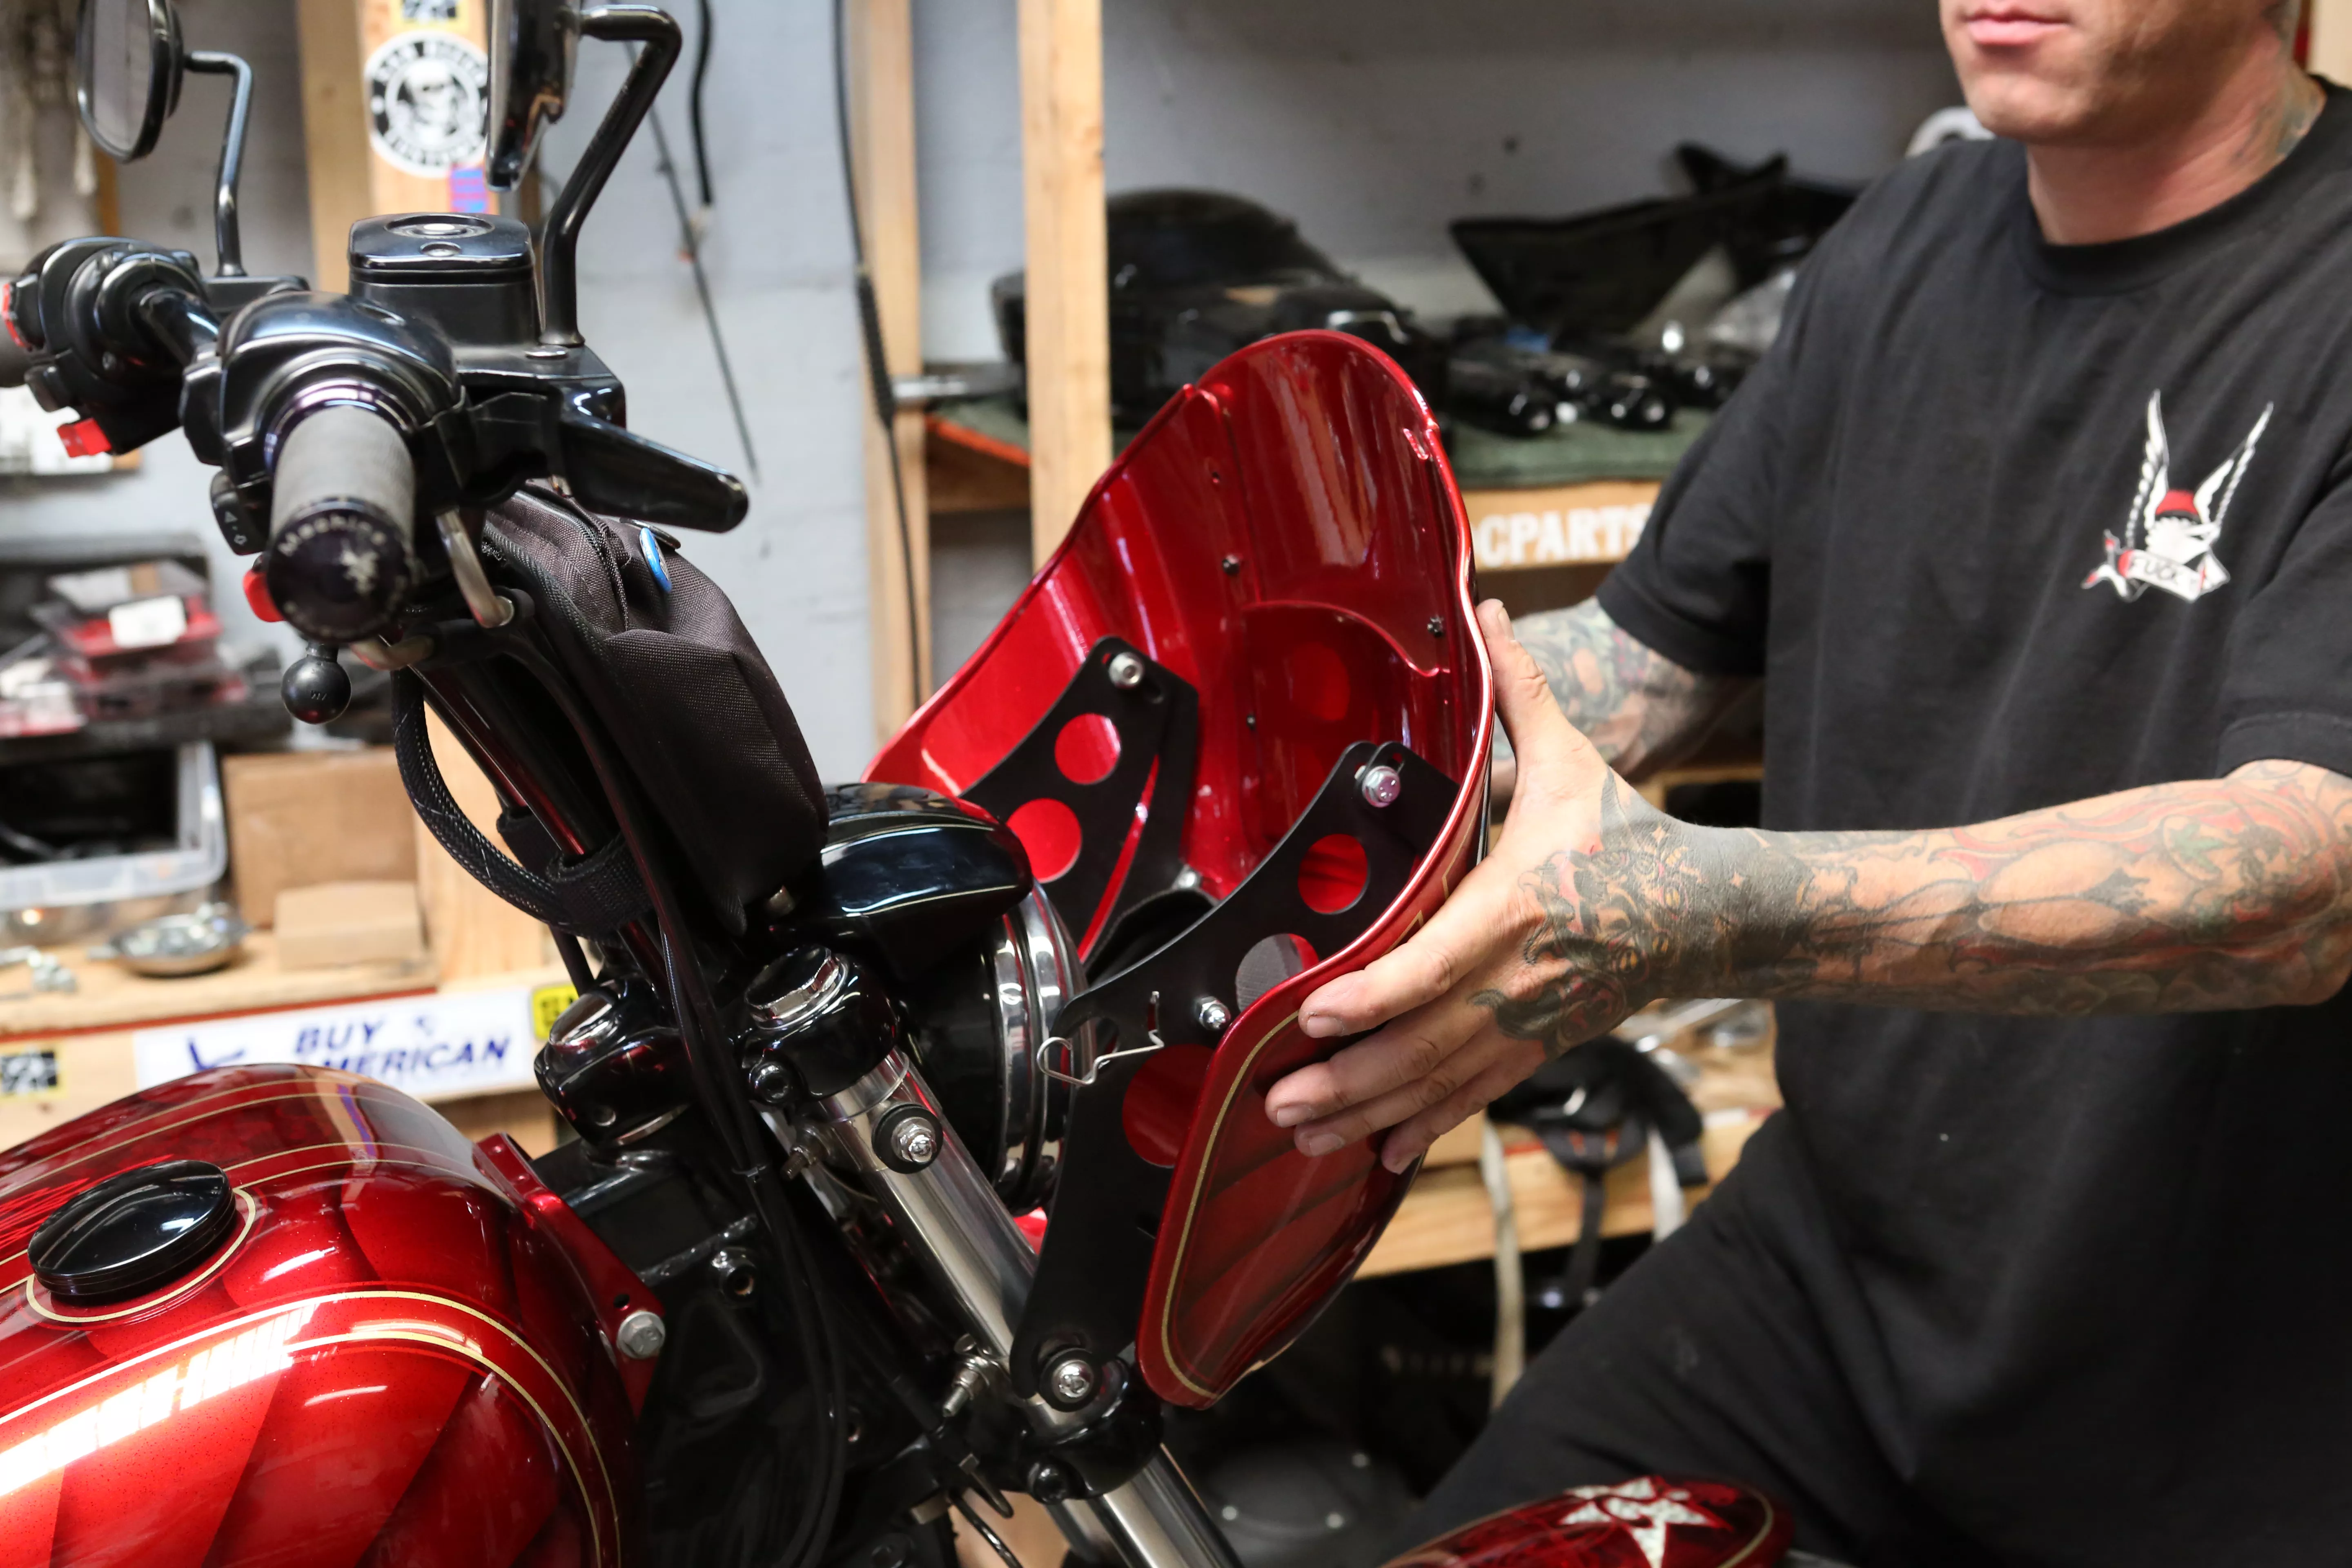
Take off the fairing (if applicable) or windshield.
Words: Chip Kastelnik Photos: Mikey Van Senus
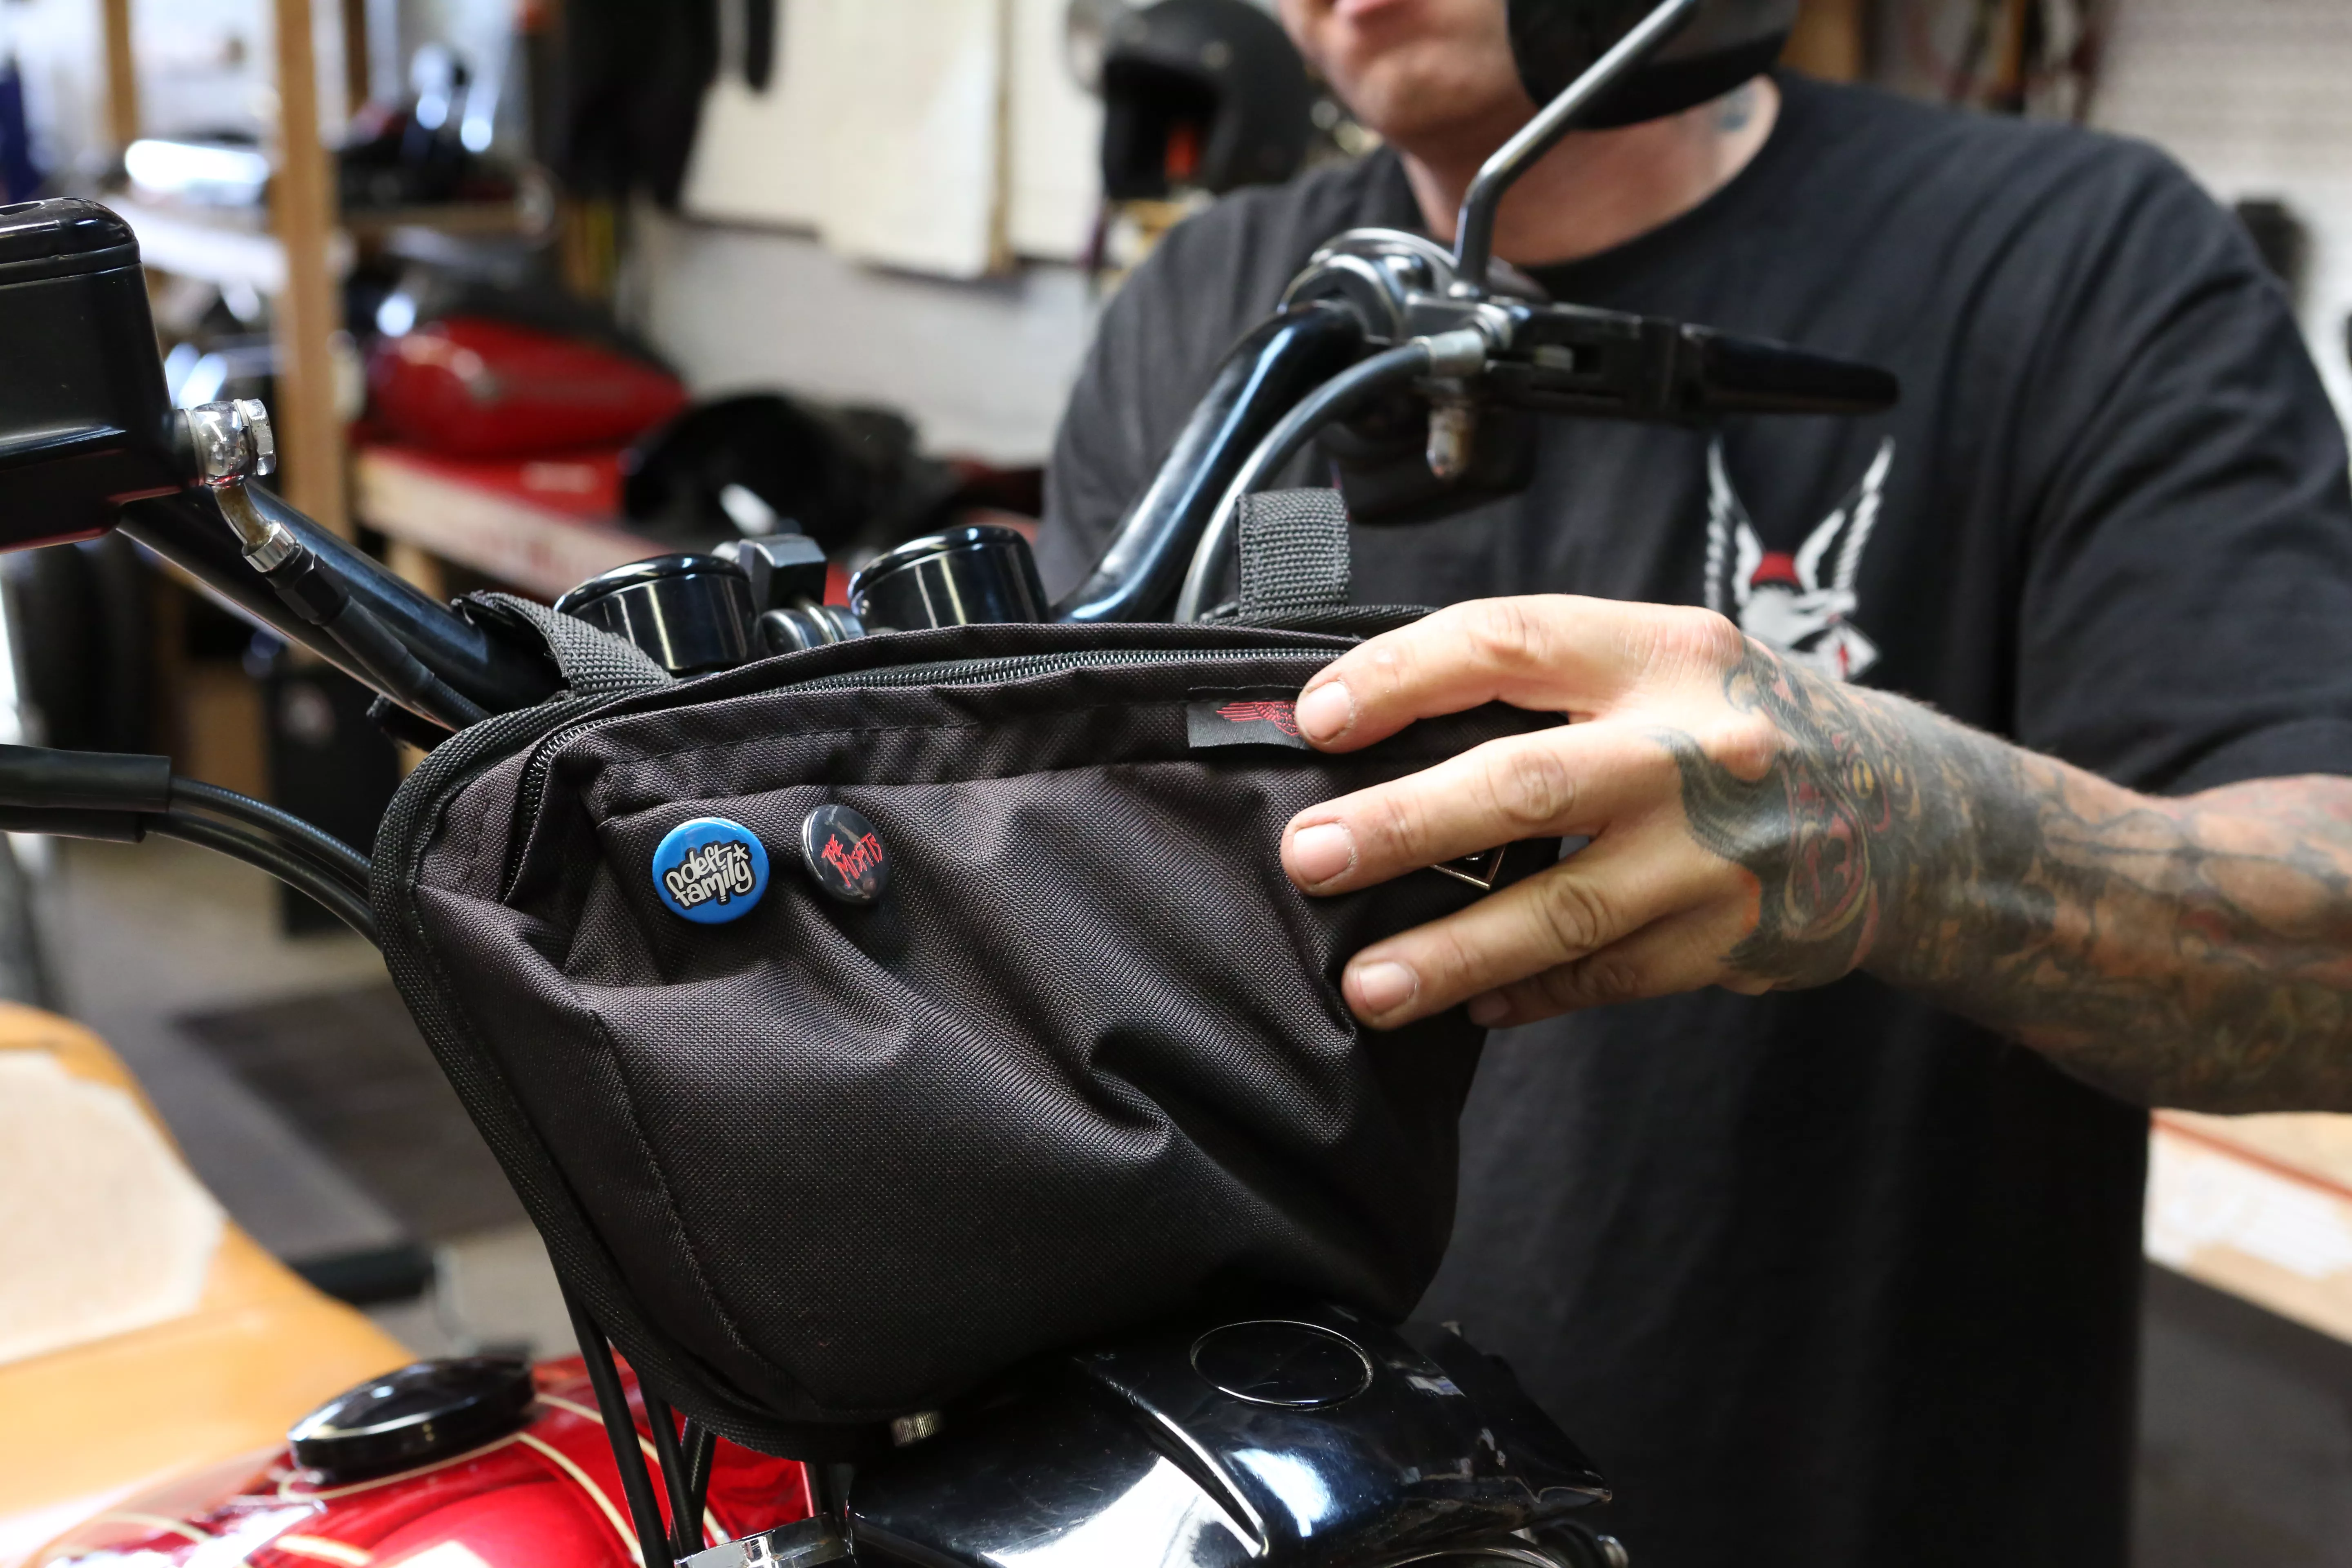
Next, we remove the SDC Pistol Pocket.
Words: Chip Kastelnik Photos: Mikey Van Senus
RELATED | MORE TECH
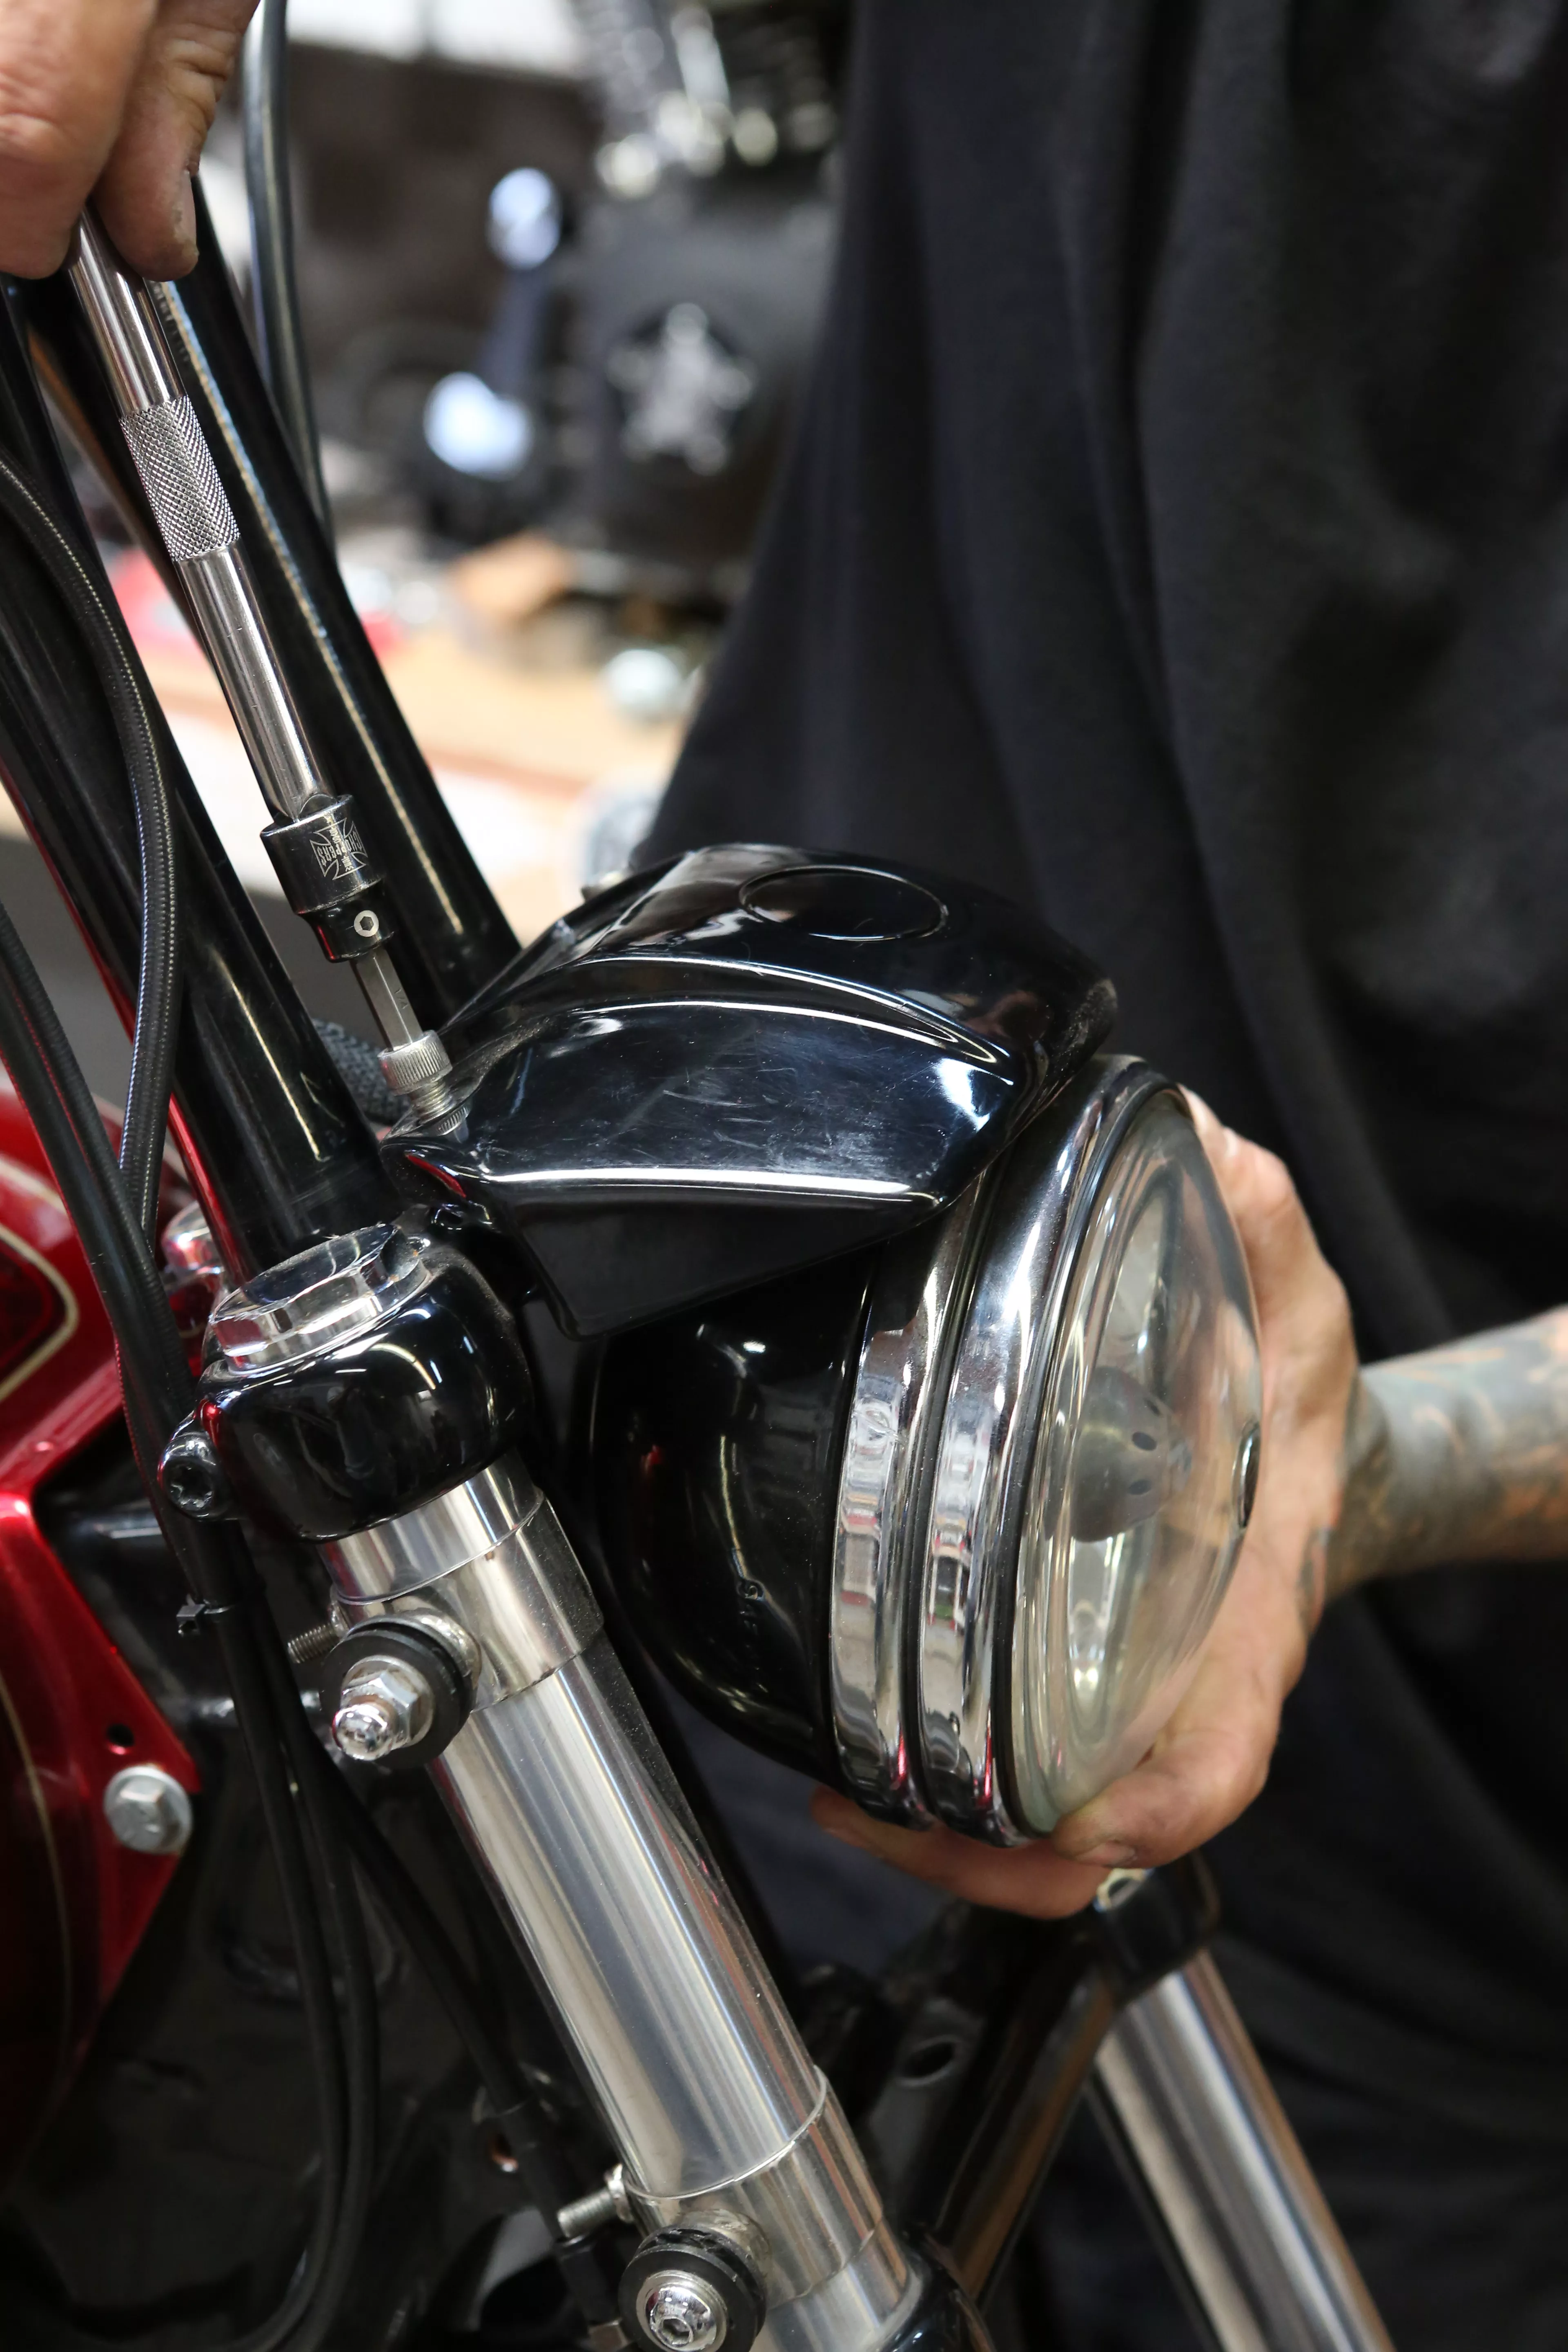
To shed the headlight we must pop out the center cap to reach the adjuster nut that is concealed underneath.
Words: Chip Kastelnik Photos: Mikey Van Senus
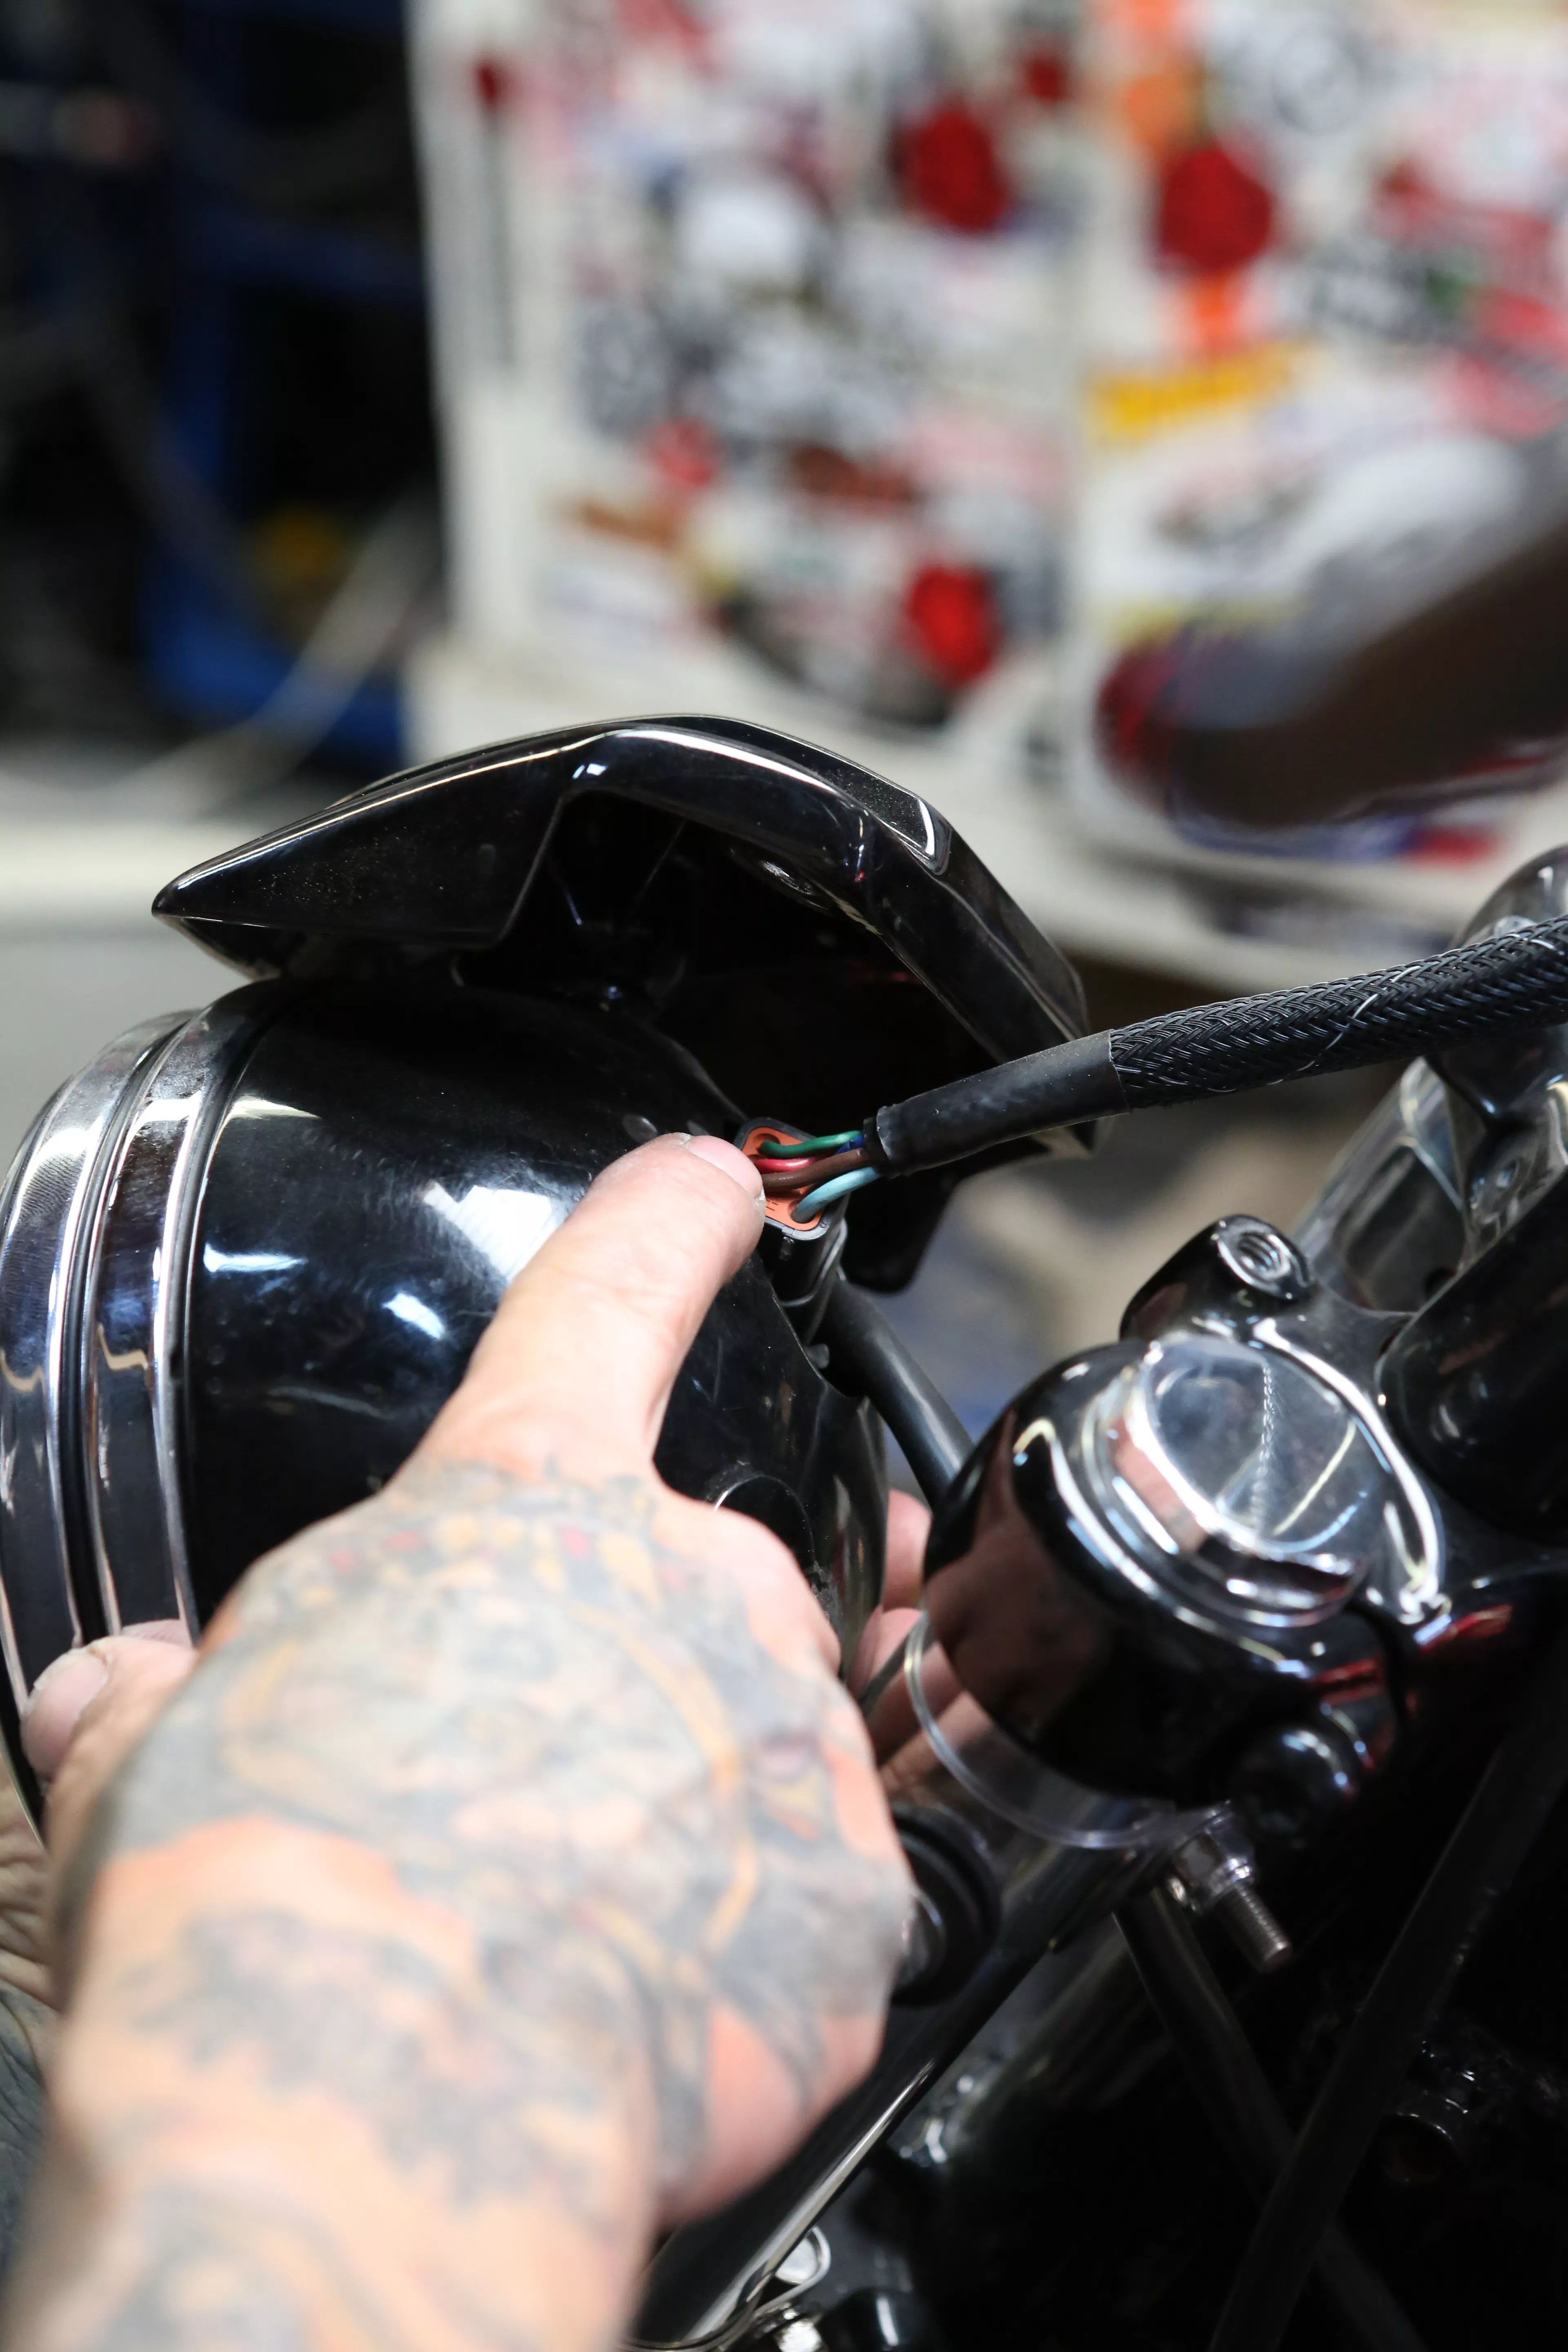
This bike is wired a little bit differently than most others, but the end result is the same. Find the headlight connector, which has three wires: yellow, white, and black.
Words: Chip Kastelnik Photos: Mikey Van Senus
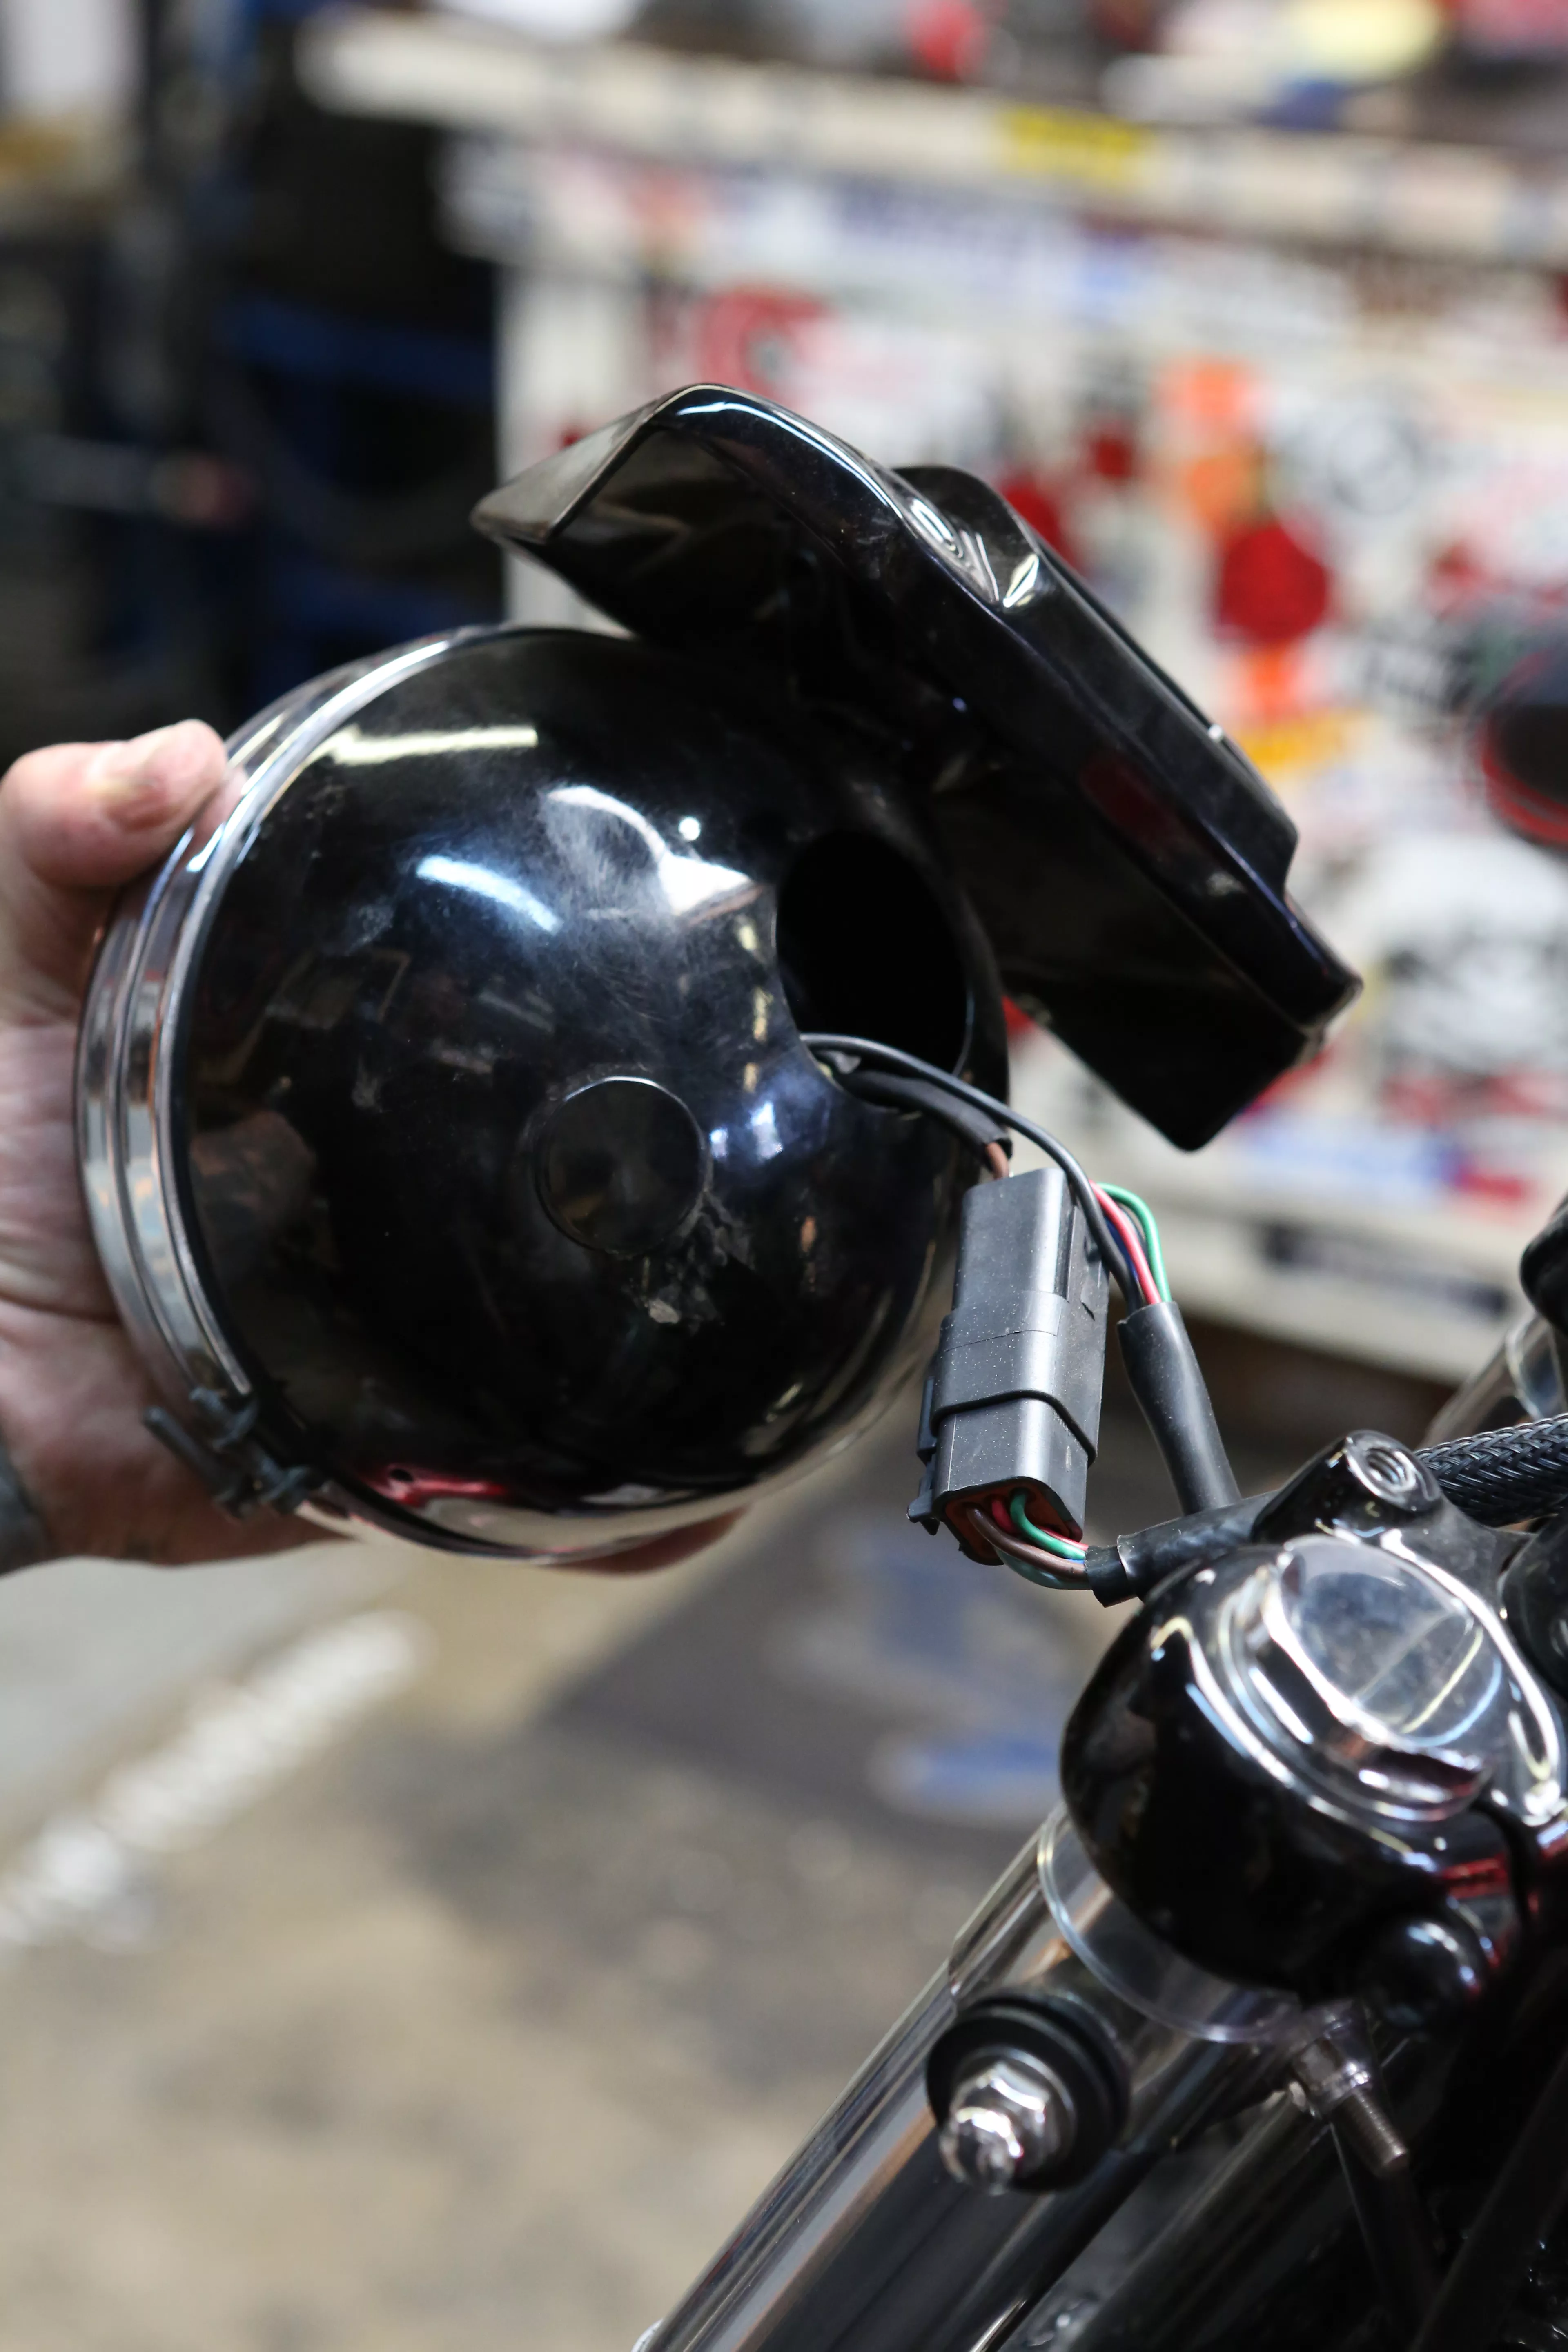
Disconnect the headlight connector so the headlight can be removed from the chassis.
Words: Chip Kastelnik Photos: Mikey Van Senus

Take off the triple tree top bolt cover.
Words: Chip Kastelnik Photos: Mikey Van Senus

Since we are installing a new top tree, we will replace the handlebar bushings with these polyurethane ones from H-D.
Words: Chip Kastelnik Photos: Mikey Van Senus

The bike is now ready to undergo the process of taking off the top triple tree. Make sure you have your gas tank covered so nothing gets scratched or dented.
Words: Chip Kastelnik Photos: Mikey Van Senus
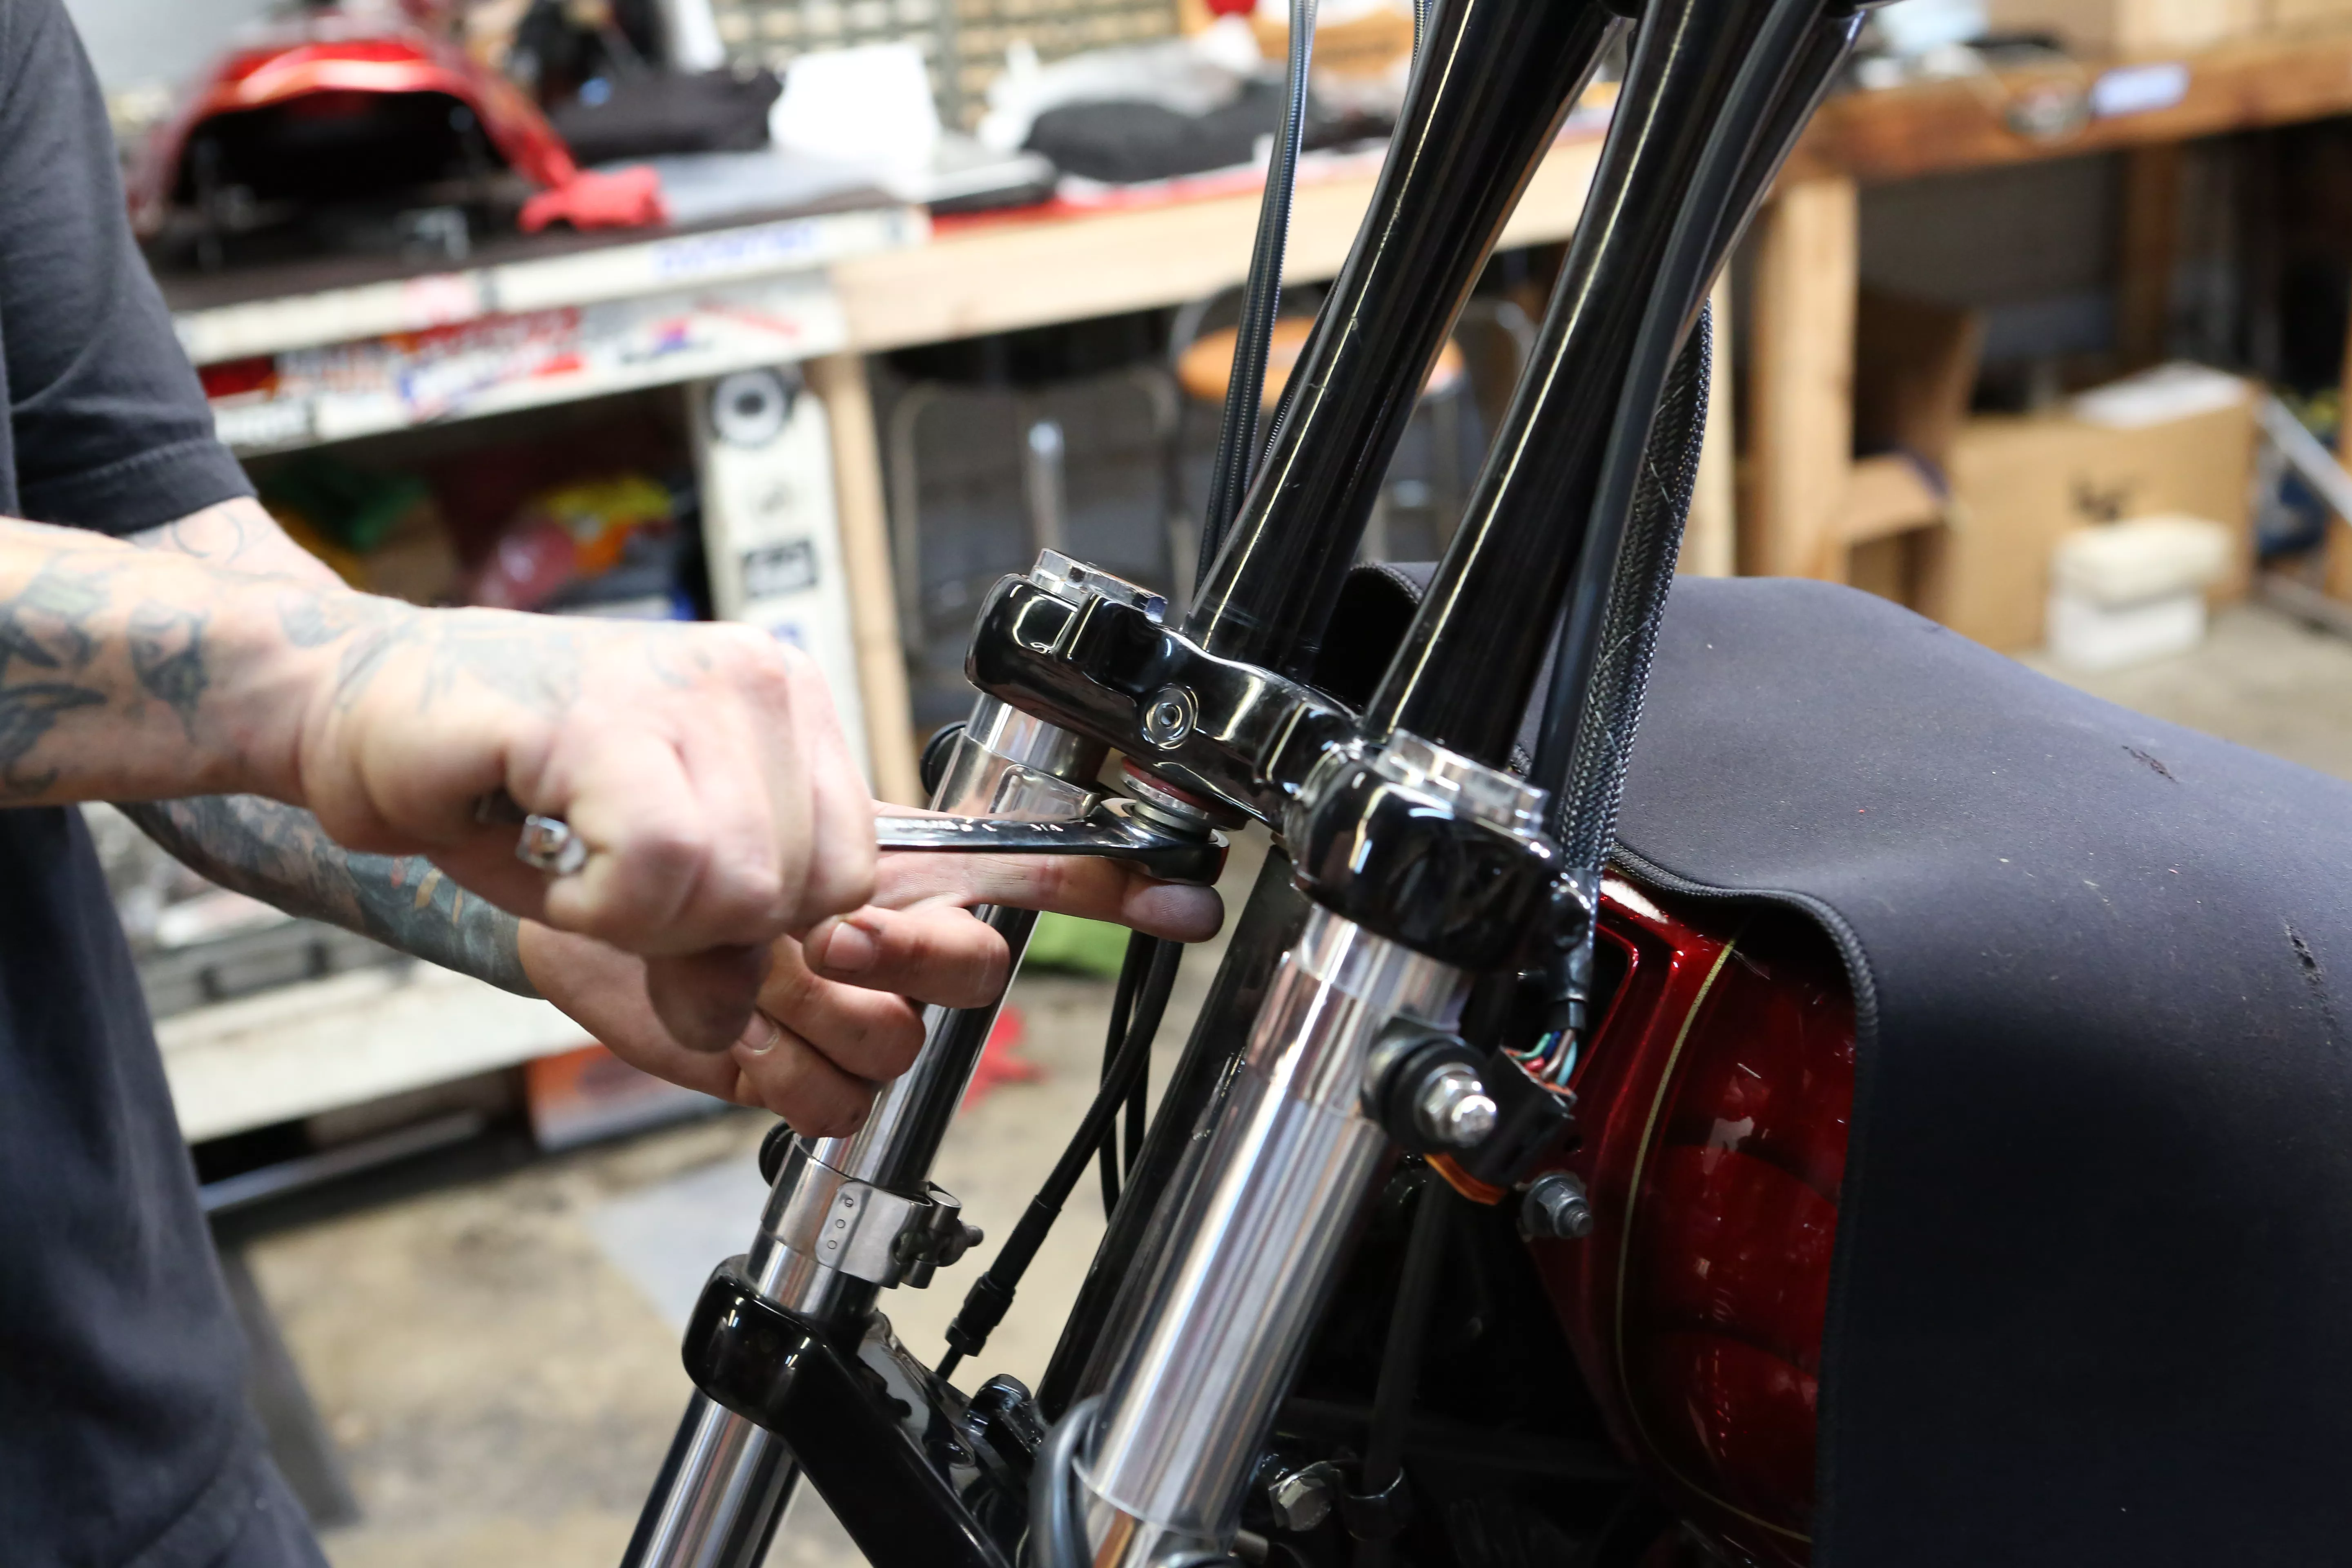
Begin by loosening the handlebar riser bolts.
Words: Chip Kastelnik Photos: Mikey Van Senus
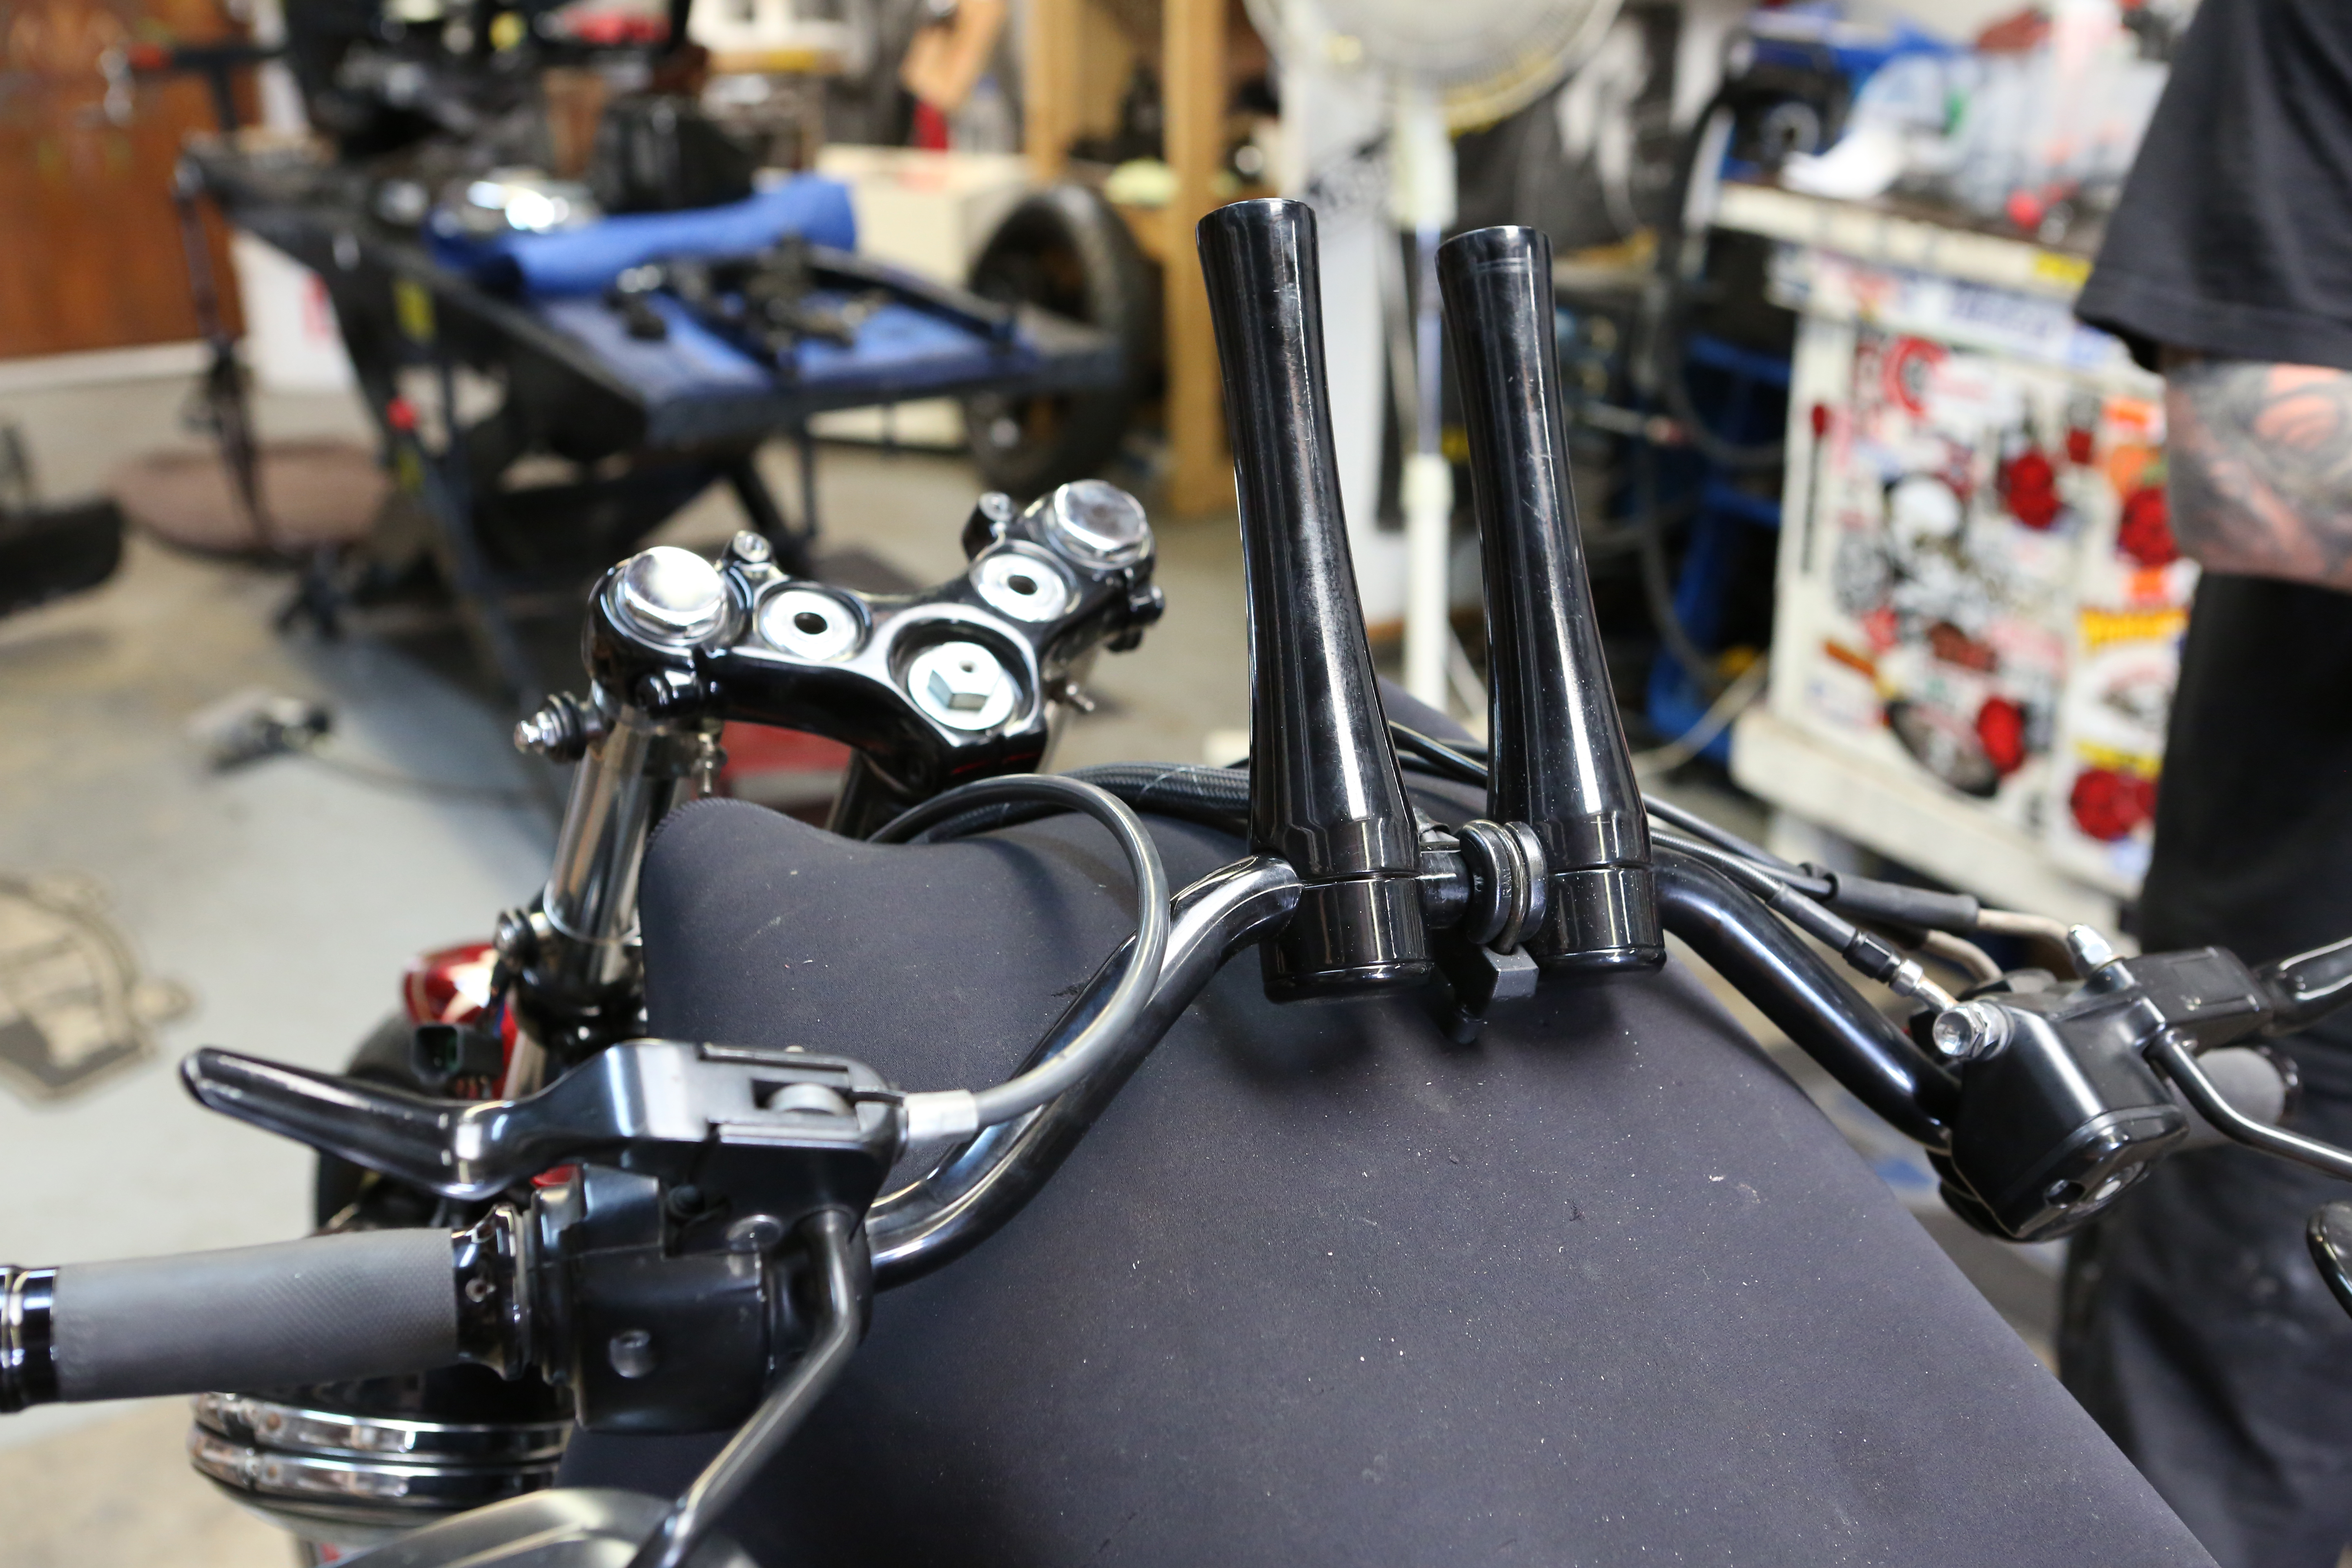
Once removed, you can lay the bars on the tank. This will provide you ample room to change the top tree without disconnecting the bars from the bike.
Words: Chip Kastelnik Photos: Mikey Van Senus
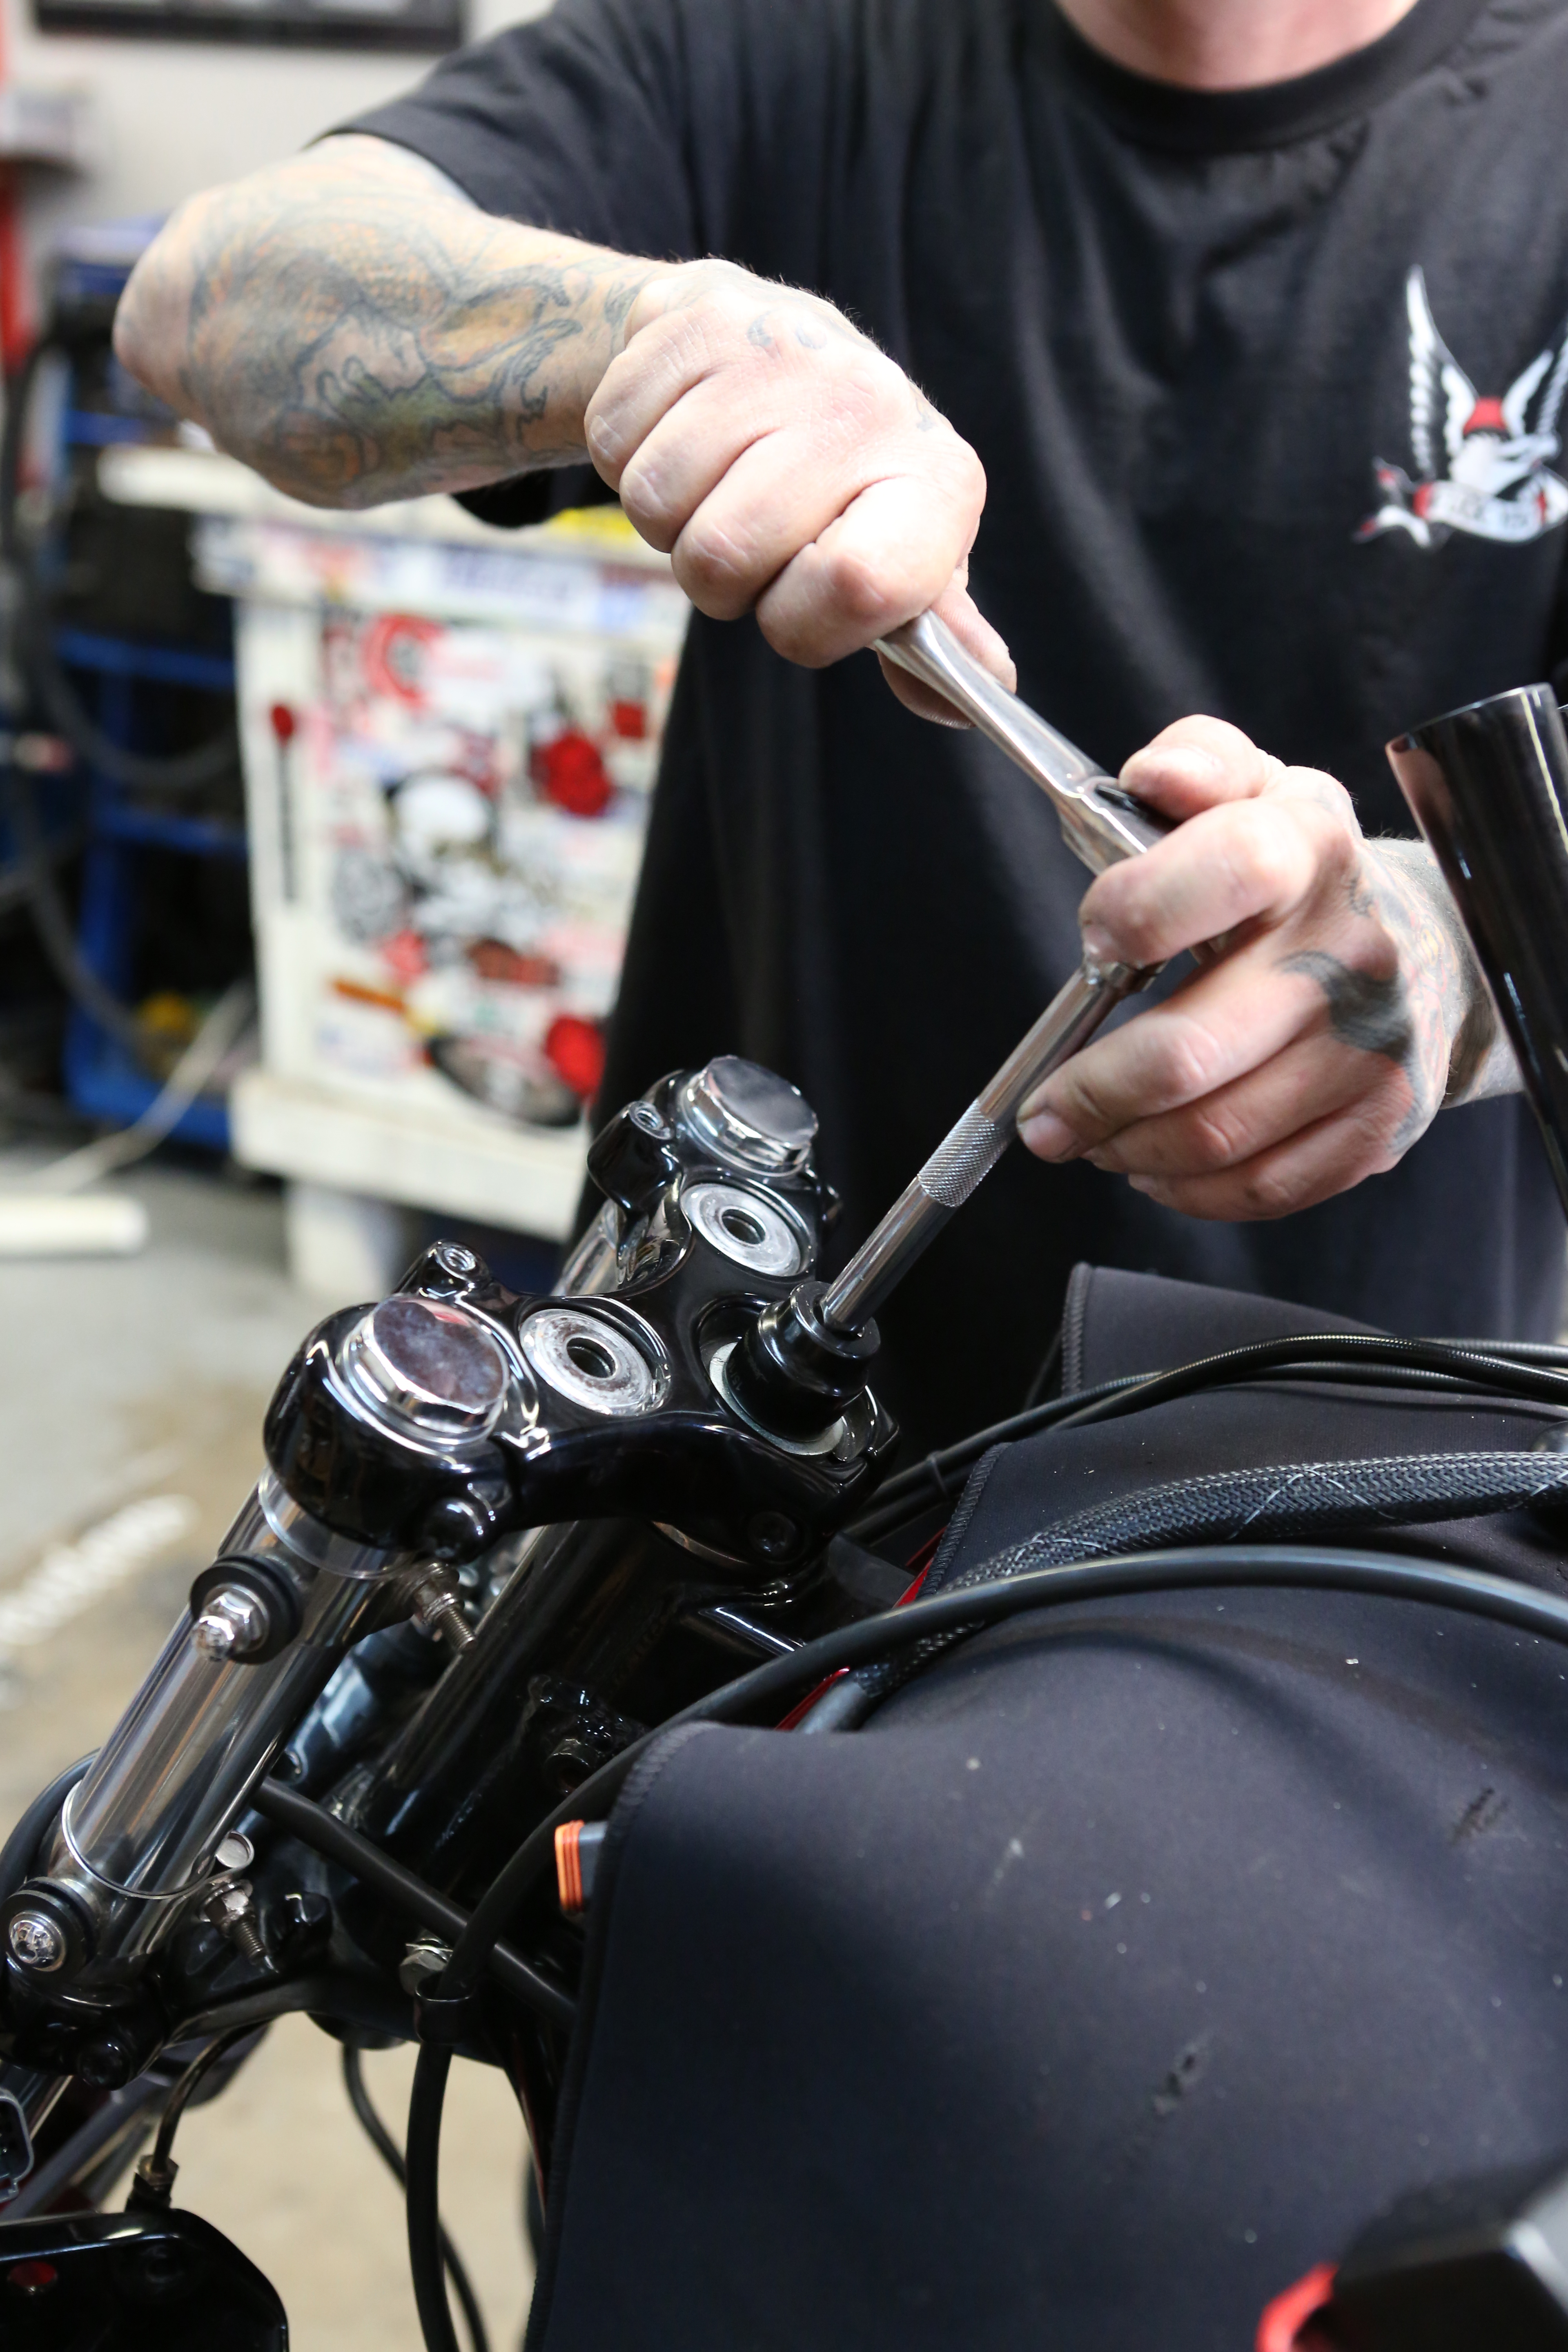
Loosen the top triple tree bolt using the appropriate socket.
Words: Chip Kastelnik Photos: Mikey Van Senus
Source:


