
Prepping Engine Cylinders – Cylinder Smoothing
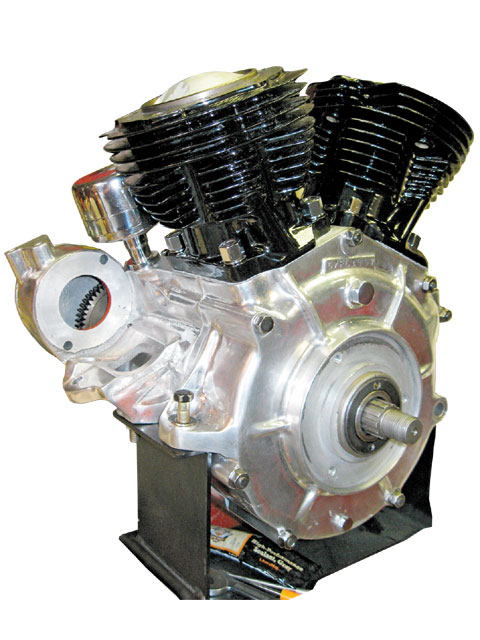
Here are the finished powdercoated cylinders assembled on the polished engine cases. The cylinder’s bore has been finished honed and the piston ring gaps set prior to the detailing and powdercoating.
We had all of the machining operations (boring and honing) completed at Bennett’s Performance. We also ran a fine stone over the gasket surfaces to remove any burrs or nicks that may cause a leak.
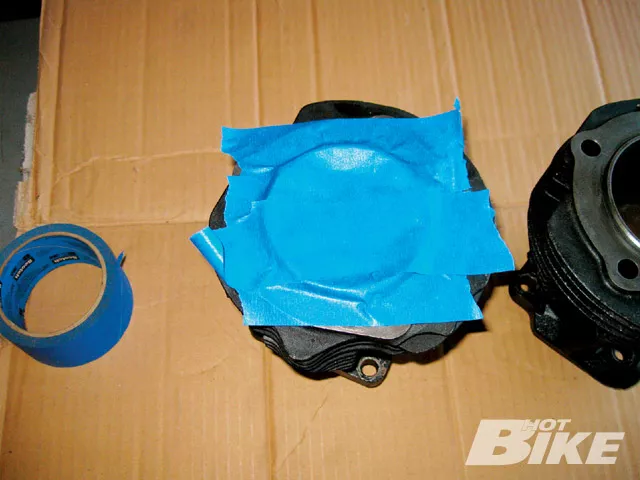
To get started we began by taping off the head gasket surface. We just ran the tape over the clean head gasket surface and pressed the tape down tight.
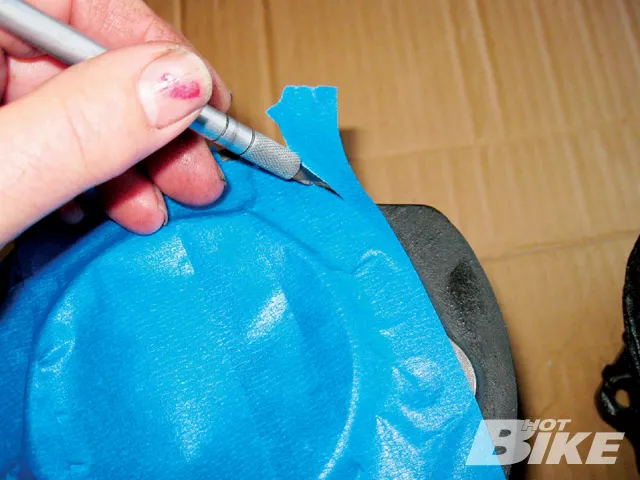
Using a sharp X-acto knife, we trimmed the tape at the edge of the gasket surface and then ran our thumb nail along the trimmed edge to reseal the tape. The bottom gasket surface of the cylinder received the same tape and trim treatment.

The main tools for smoothing the cylinder casting was our collection of Dremel tool accessories that we have accumulated over the years, along with various sizes and shapes of files.
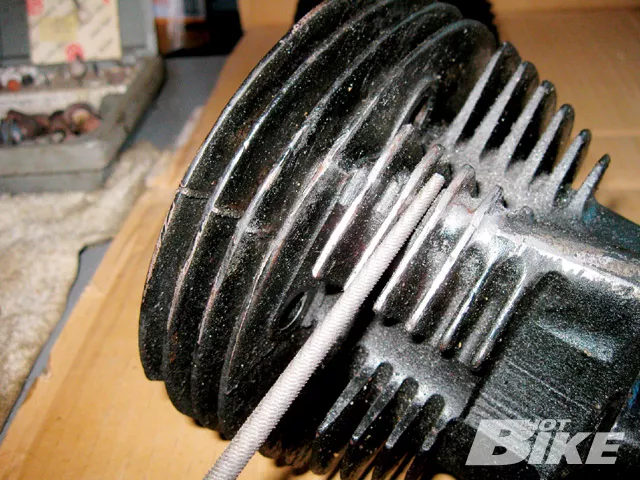
We started off on the oil return side of the cylinder, where the flashing can be quite rough. A good sharp file makes easy work of the heavy flashing.
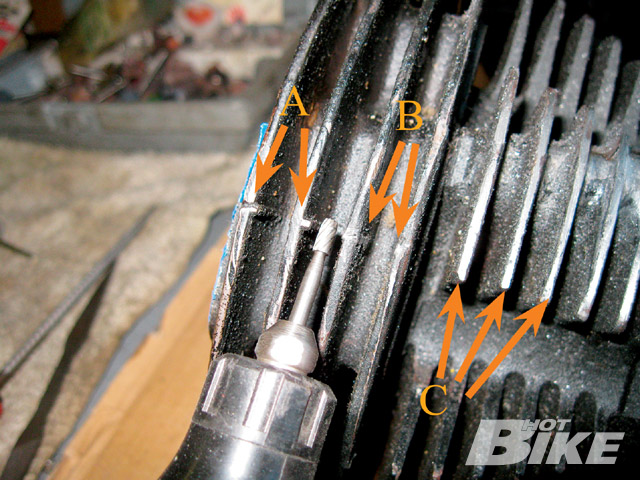
These small nubs (A) were easily handled by a cutter in the Dremel. Notice the cylinder fin (B) where the nubs have been smoothed. Also notice how we smoothed out the tops of the fins (C) for better definition and to make a better hold for the paint or powdercoat.

When the front cylinder was almost completed (approximately an hour and a half) we moved to the rear cylinder and then back to the front to check for any places we missed on the first go around. Notice: we spent some effort around the cylinder base also, there were some rough “seams” in that area.
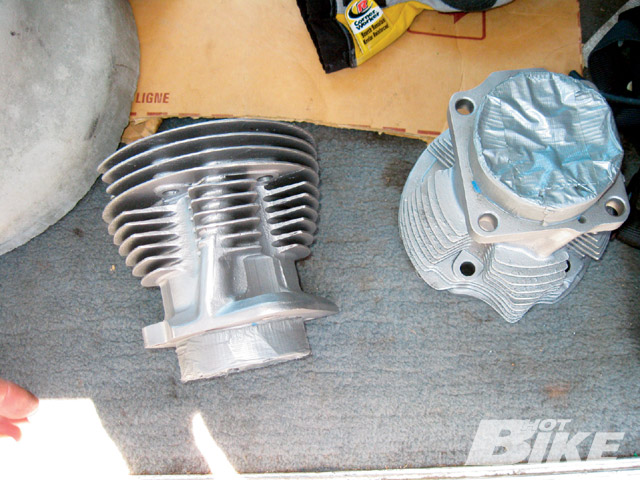
Once we were satisfied with the cylinders it was time to remove any remaining paint from the surface. We had a local shop glassbead blast the cylinders clean.
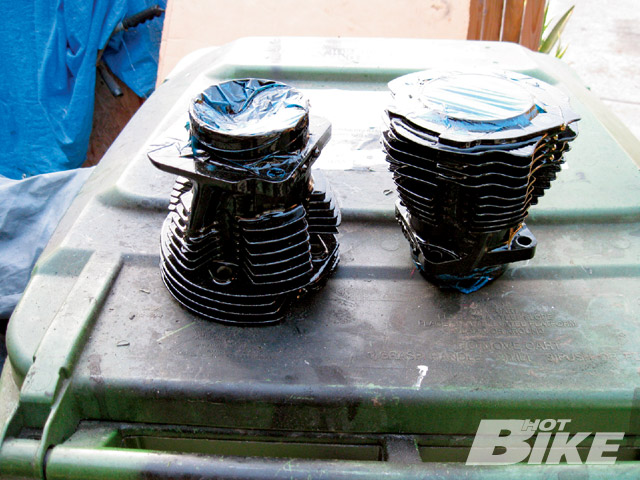
The last stop was to the powdercoater, we went to Pyramid Powdercoaters in the San Fernando Valley to lay on a nice even coat of gloss black powder. Turnaround was three to four days and they taped off the top and bottom surfaces just as we asked.

A final cleaning of the cylinders after removing the high-temp tape that the powdercoater used and we were sliding the cylinders over their respective pistons, they do look good.
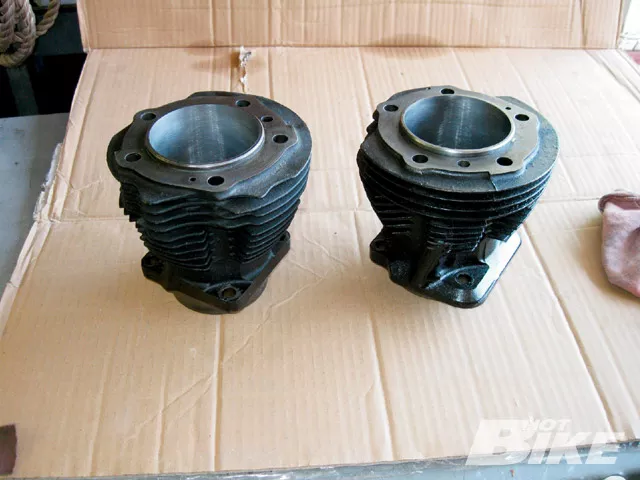
There have been countless articles on the correct method of prepping engine cylinders for new (bigger) pistons during a rebuild or a custom build. However, there has been little published about the outside of the cylinders, the fins and the casting itself. Late model Evo and Twin Cam cylinders are aluminum and come out of the foundry/factory finished quite nice, a quick trip to the powdercoaters and they’re ready to run. The predecessors to the Evo (Shovels, Panheads, Knuckleheads and Iron Head Sportsters) all featured cast iron cylinders. These cylinders came from the molds with a fair amount of “flashing.” Flashing is a small amount of metal that seeps into the mold usually around the area of the cylinder where the mold was split (we’ll show you in the photos). Removing any errant flashing and smoothing the fins will make the cylinder look better once it’s powdercoated or painted and improves airflow around and between the fins.
We had a set of Panhead cylinders on the bench that belong to our friend Steve B’s custom Panhead chopper. The cylinders have already been bored and honed to fit the new pistons by Bob Bennett at Bennett’s Performance in Signal Hill, California. Now we will spend a couple hours smoothing out the castings using a number of files in different configurations and a Dremel tool with various accessories to get them ready for black powdercoat.


