
RC Components Exhaust and Fuel Control
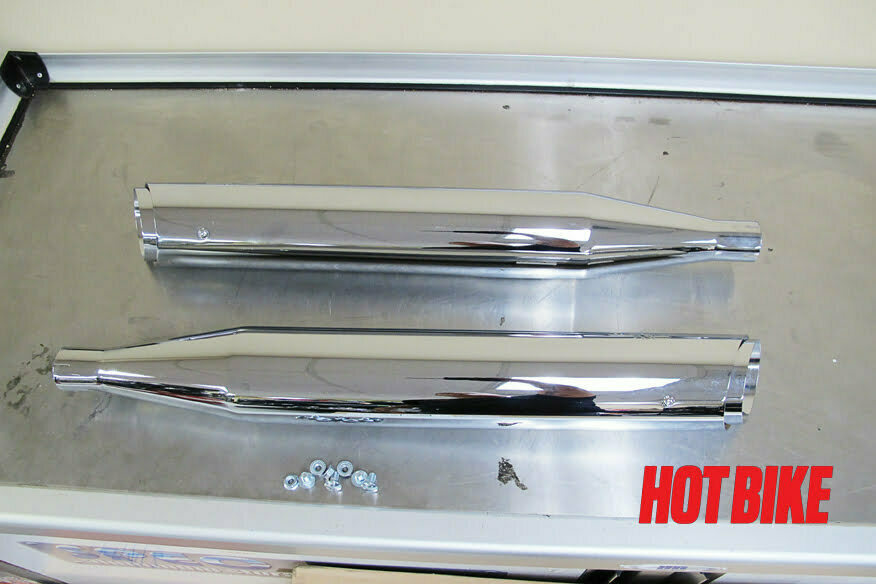
- Pictured is the RC Components 4-inch Slash Cut exhaust system. Four bolts and two pipes. Yup, that’s all you need.
Photos: John Zamora

- Here is the stock system complete with chrome pipe covers. Functional, yes. Motor musical pleasing, no.
Photos: John Zamora
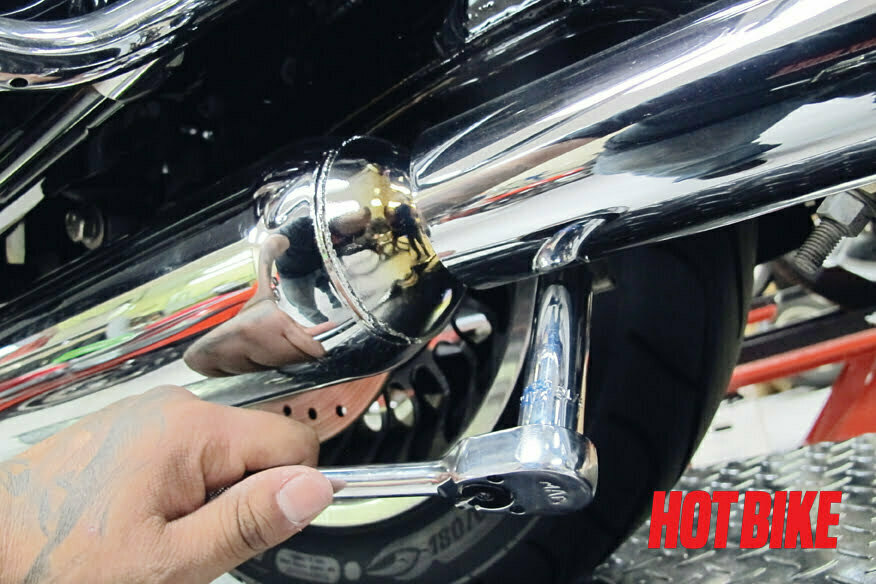
- Start by unbolting the exhaust clap that holds on the stock mufflers.
Photos: John Zamora
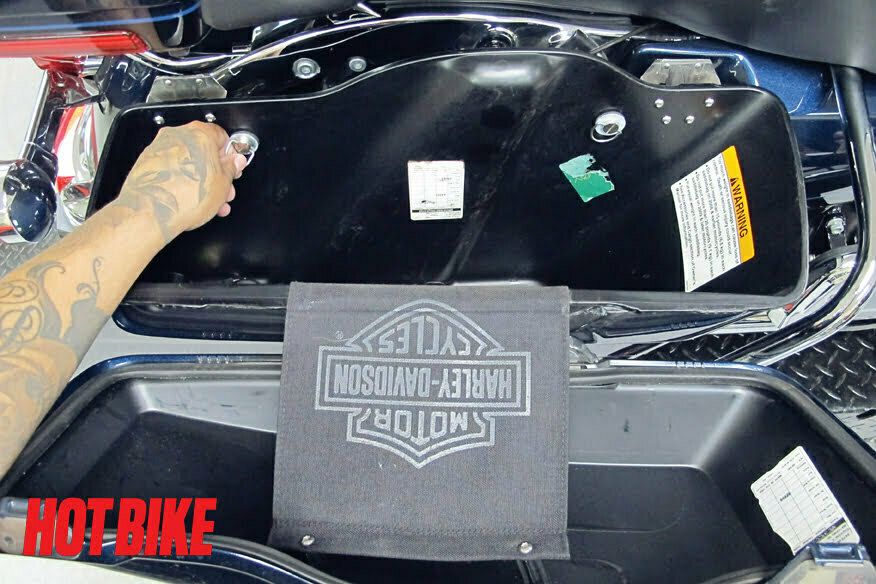
- Next remove the bags to get better access to the exhaust nuts.
Photos: John Zamora
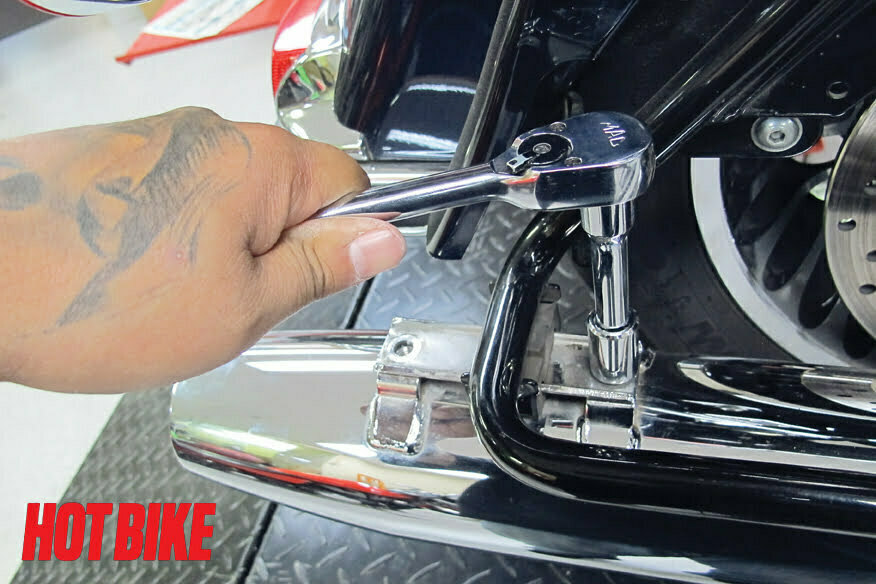
- Remove the two nuts holding on the stock pipes to the lower saddlebag support frame.
Photos: John Zamora

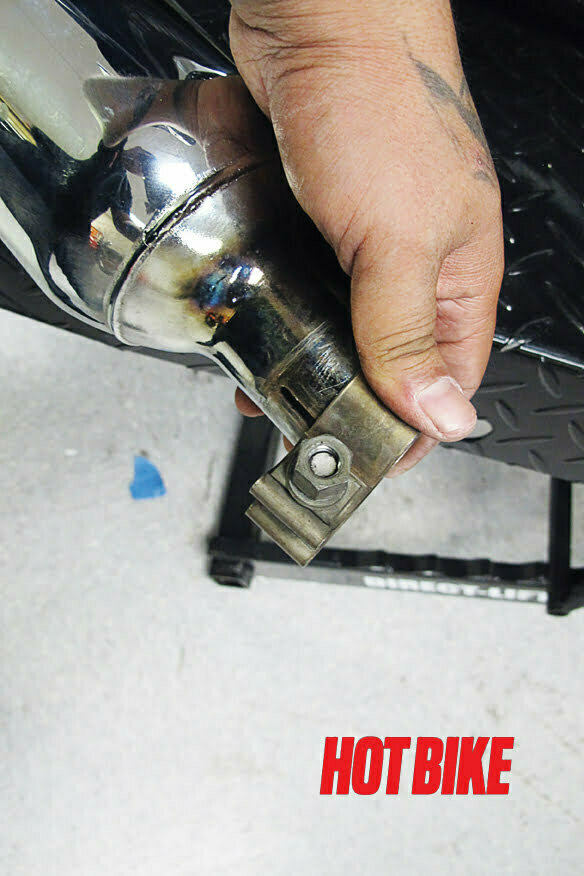
- Using a gentle tug and twisting motion, carefully remove the stock muffler from the head pipe.
Photos: John Zamora
- Using a gentle tug and twisting motion, carefully remove the stock muffler from the head pipe.
Photos: John Zamora
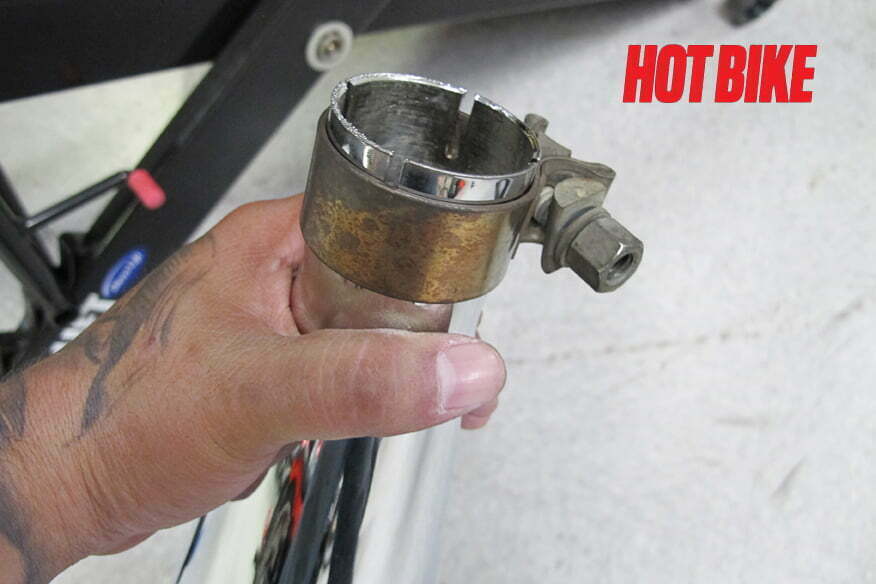
- Slide the stock clamp you just removed onto the new muffler.
Photos: John Zamora
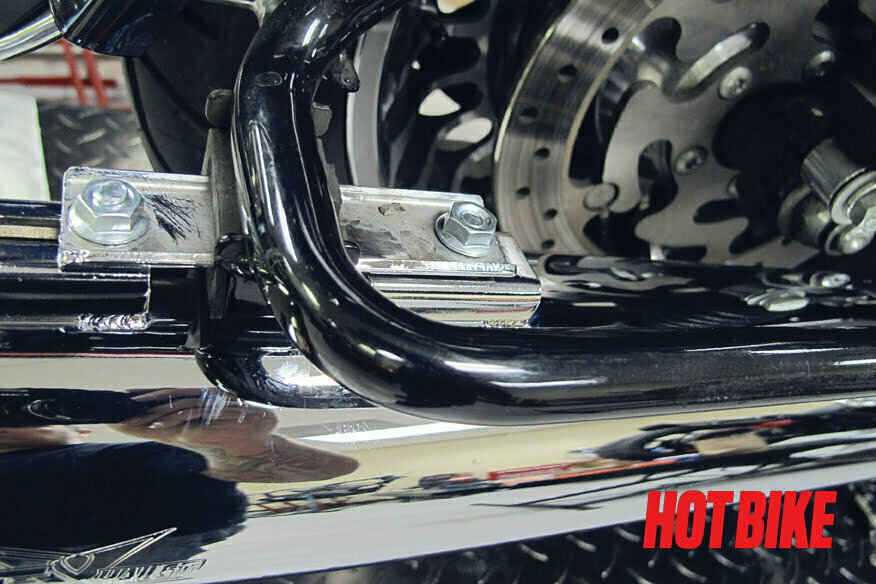
- Install the new muffler and push the bolts through the lower saddlebag support frame.
Photos: John Zamora
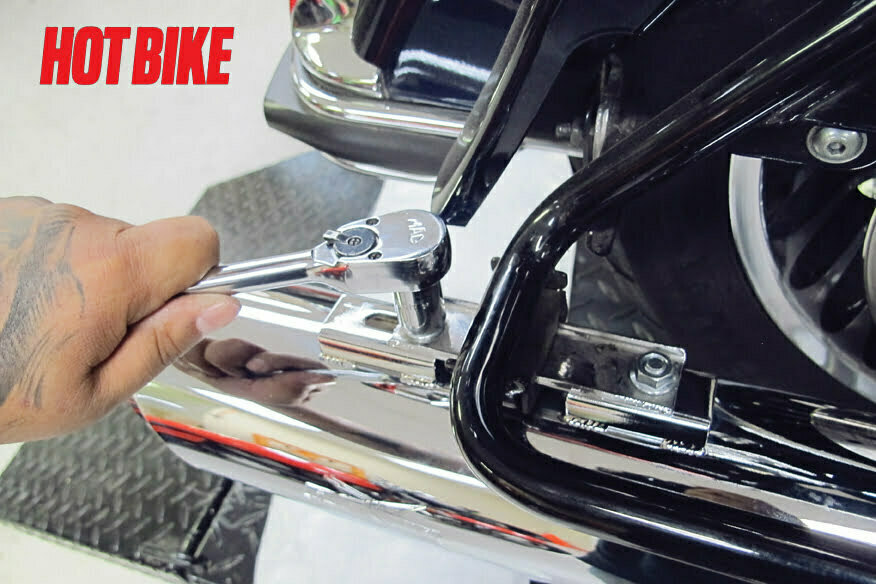
- Tighten the bolts and muffler clamp to spec. Repeat the exact same process on the opposite side of the motorcycle.
Photos: John Zamora
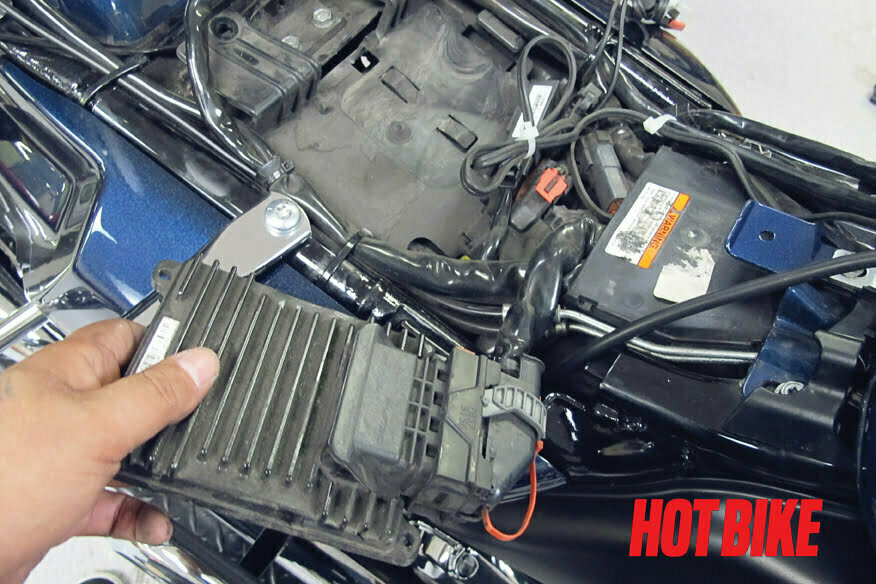
- With the new mufflers installed, it’s time to work on the fuel management. Start by removing the two bolts that hold on the stock ECU in order to access the battery and disconnect the negative terminal.
Photos: John Zamora
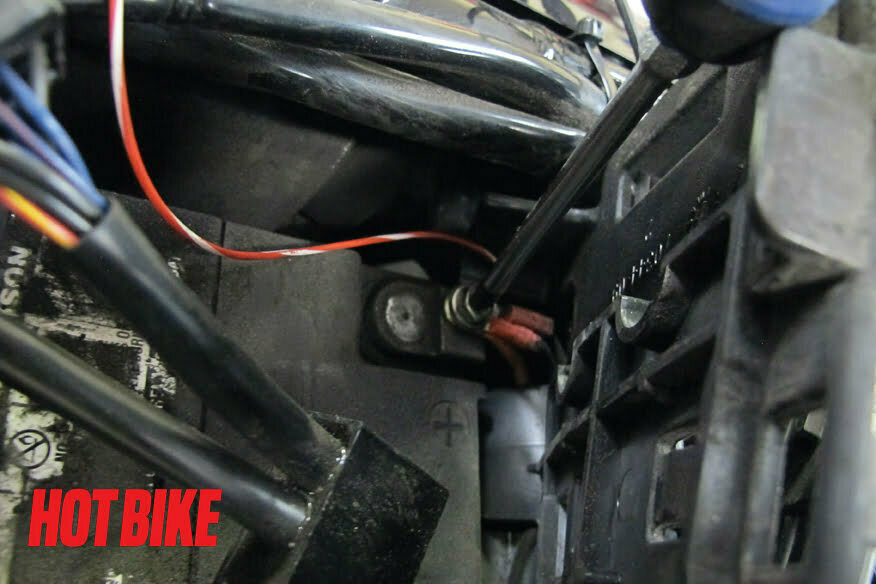
- Connect the red/white wire from the tuner to the positive side of the battery. Reconnect the negative side of the battery and replace the ECU.
Photos: John Zamora
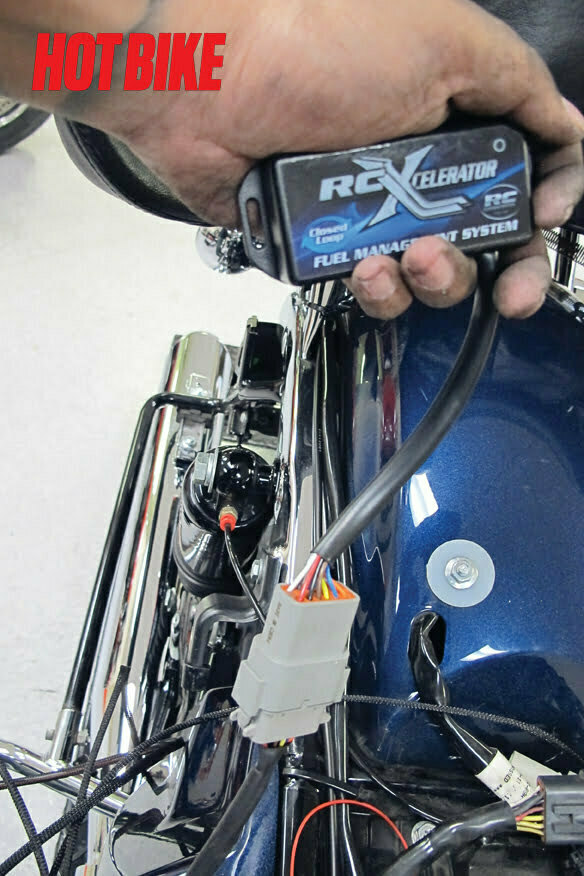
- Connect the 12-pin connector into the tuner harness.
Photos: John Zamora
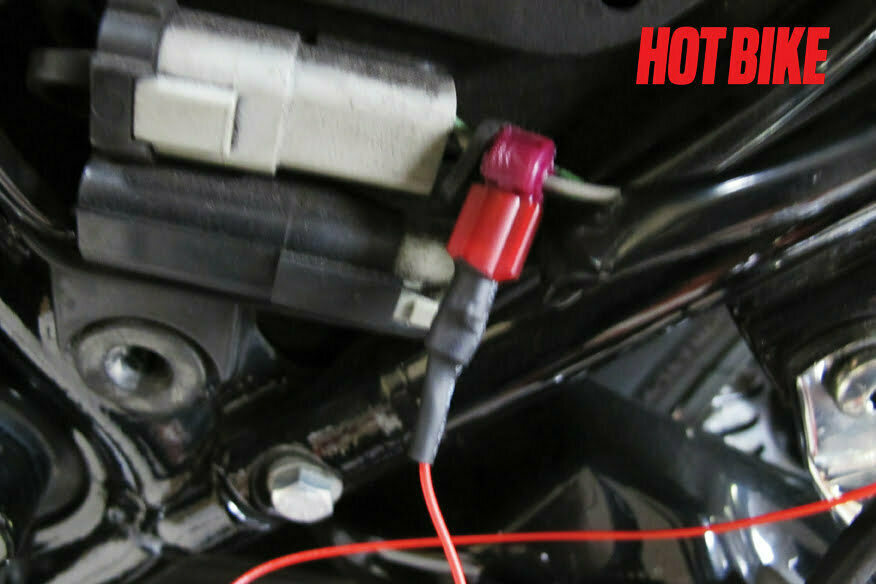
- Locate the data-link connector under the fuse panel behind the left side panel. Cut and pull back approximately 2 inches of the protective covering and crimp the T-tap connector to the gray wire using pliers.
Photos: John Zamora
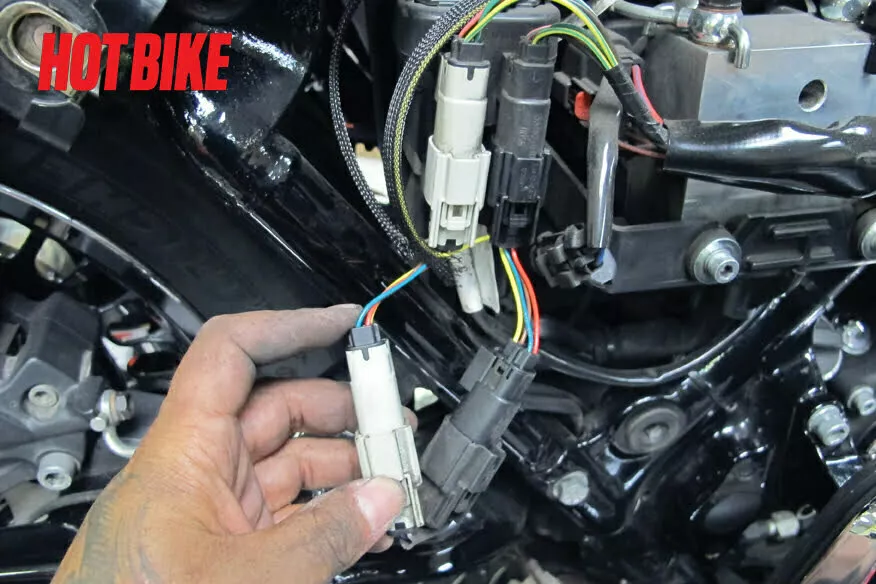
- Locate and unplug the front and rear O2 sensor connectors. These vary by model year, so consult your instructions for more details. Reconnect the factory O2 sensor plugs in to the tuner harness O2 sensors.
Photos: John Zamora
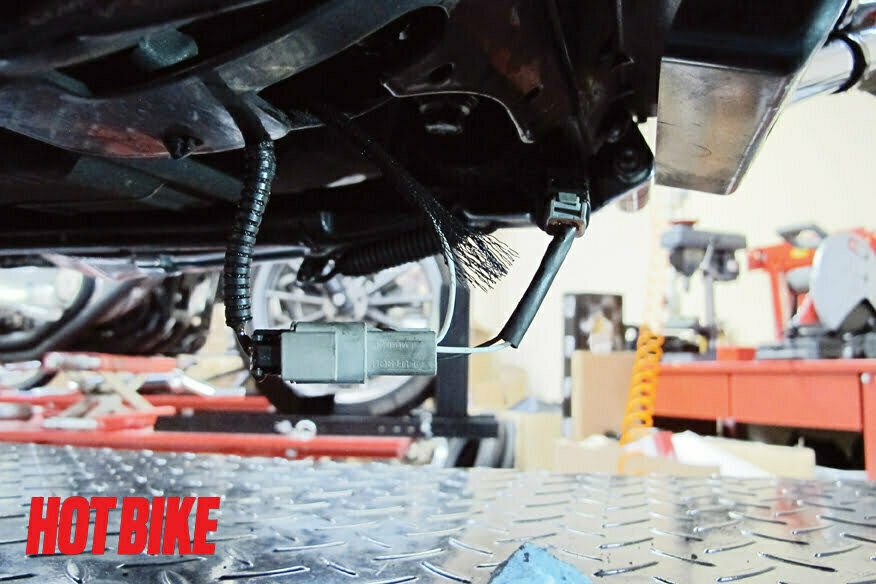
- Route the two-pin Crank Position Sensor plugs from the tuner following the path of the factory wiring harness toward the factory CPS sensor located on the bottom of the crankcase toward the front of the motorcycle. Connect the tuner into the factory CPS and factory CPS into the tuner. Make sure and zip-tie any tuner wiring harness securely out of the way.
Photos: John Zamora
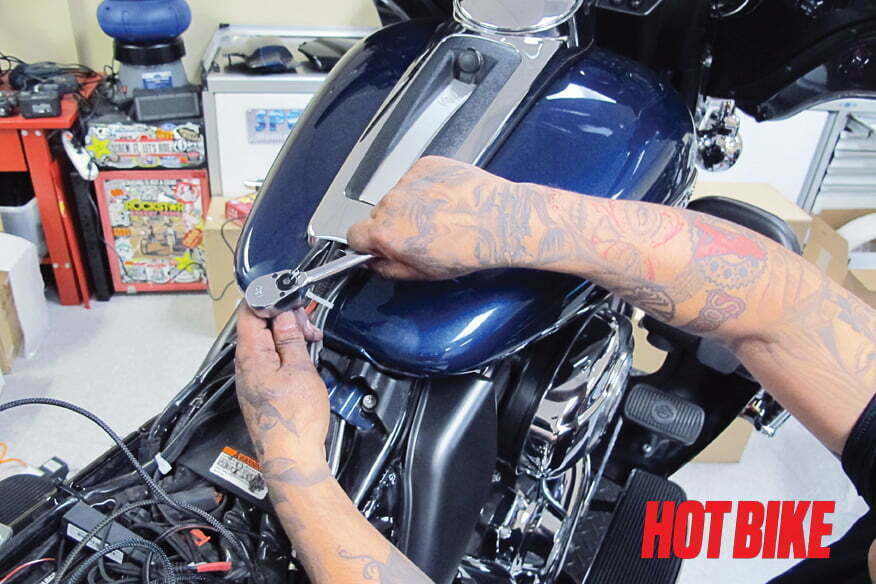
- Remove the two bolts from the rear of the gas tank.
Photos: John Zamora
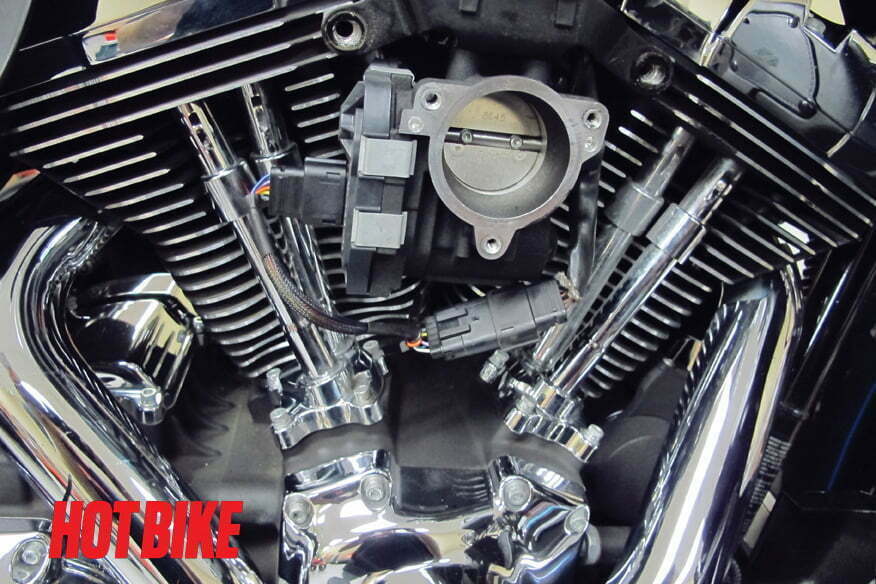
- Take off the air cleaner assembly from the throttle body. Route the six-pin harnesses from the tuner under the right side of the gas tank and plug into the factor Throttle Position Sensor. Carefully route the TPS wires and tuner harness behind the throttle body using zip if necessary.
Photos: John Zamora
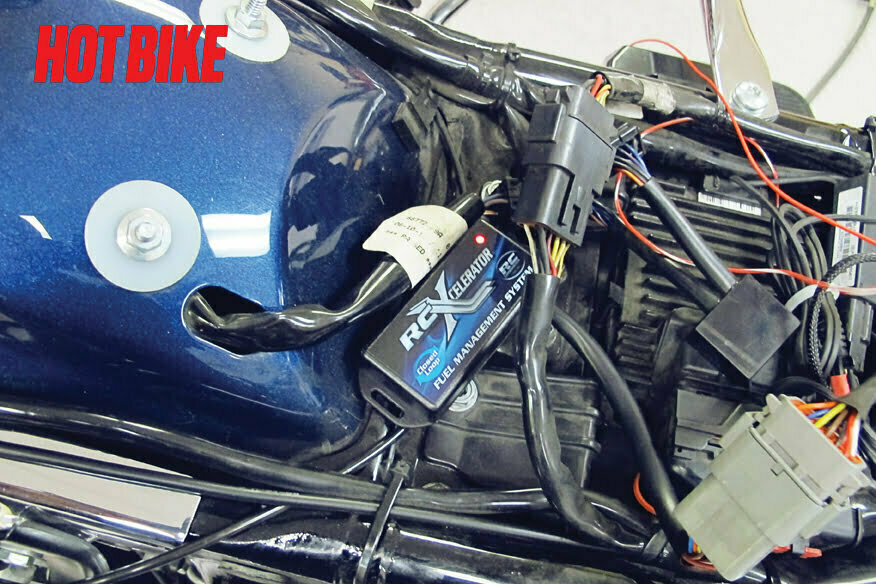
- After a thorough recheck of all connections, you’re now ready to test the system. With the tuner module installed, turn on the key. The LED light will blink red to confirm it has power.
Photos: John Zamora
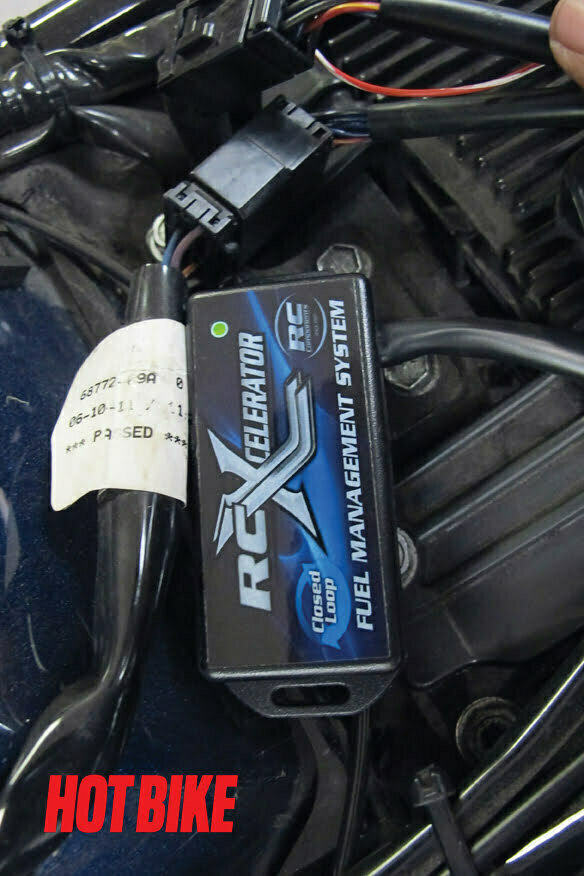
- Start the bike and wait for a couple of minutes. The LED should turn from red to green. Green means success and you’re ready to rock, rumble, and roll.
Photos: John Zamora

- After replacing all the body panels and seat, the bike not only looks better, but the Slash Cut exhaust sounds just perfect. The tuner takes about 50 miles to make the initial adjustments, but after that you’re ready to rumble down the road.
Photos: John Zamora
Installing an exhaust system on a motorcycle is an immediate and gratifying experience. It’s hard to notice one, five, or even a 10-hp increase from any modification by the average rider. There is no mistaking the satisfaction that is achieved from adding a set of pipes to a motorcycle, turning that key on, and hearing them roar to life with a push of the starter button. There are two choices when it comes to exhaust systems: slip-on or full system. Full systems cost a bit more, are more labor intensive to install, and save a bit more weight. Slip-on systems are easy to install, still save weight, and can be easily swapped back to stock should the need arise.
Both types of systems are allowing more air to be released from the motor. With more air coming and going, it’s important to remember to address the fuel management part of the equation. It’s unlikely you’ll notice any increases in power without adding more fuel to the fire, so to speak. The stock ECU is not equipped to account for the additional flow of air, so adding fuel management is crucial to maximize gains and preserve proper air-to-fuel mixture. RC Components’ RC Xcelerator is the perfect mate to its line of exhaust. Just install the module and you’re done. No downloading of maps or adjustments is necessary. The system constantly detects and adjusts for changes in load, rpm, temperature, elevation, and any other engine modifications you have.
Source:


