
2 Inches Does Make A Difference!
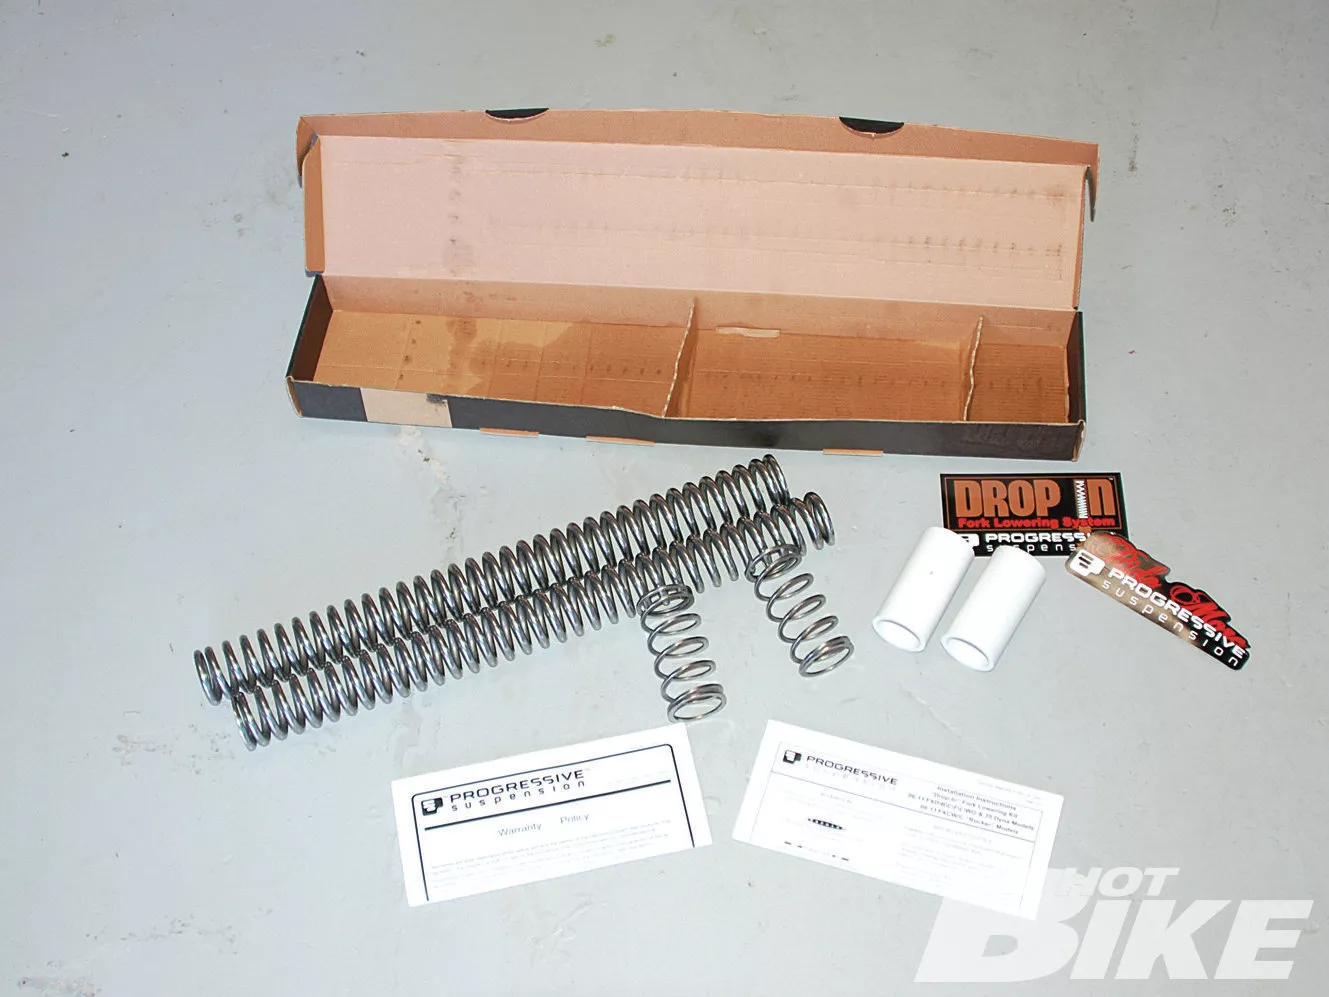

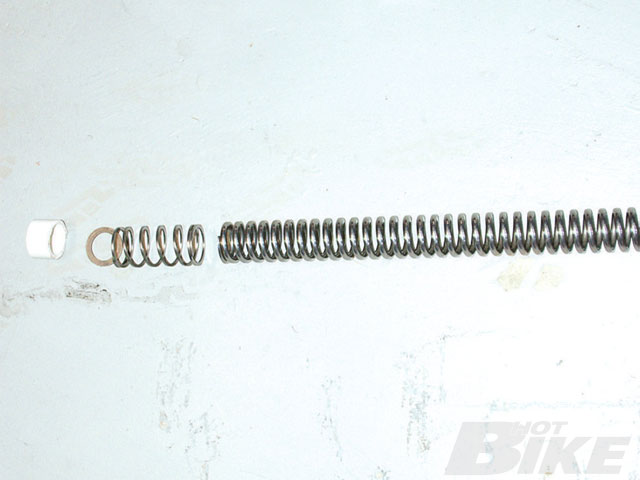
1 The folks at Progressive sent over kit PN 10-2002 which fits ’06-08 FXD/B/C/L/35 and ’06-08 FXDWG models. As with all Progressive Suspension products I’ve tried, once the box is open, you immediately notice the quality of craftsmanship in the springs. Progressive’s kit arrived with two A) fork springs, B) two compensation springs, C) two PVC spacers, a couple of stickers, warranty paperwork, and detailed instructions.
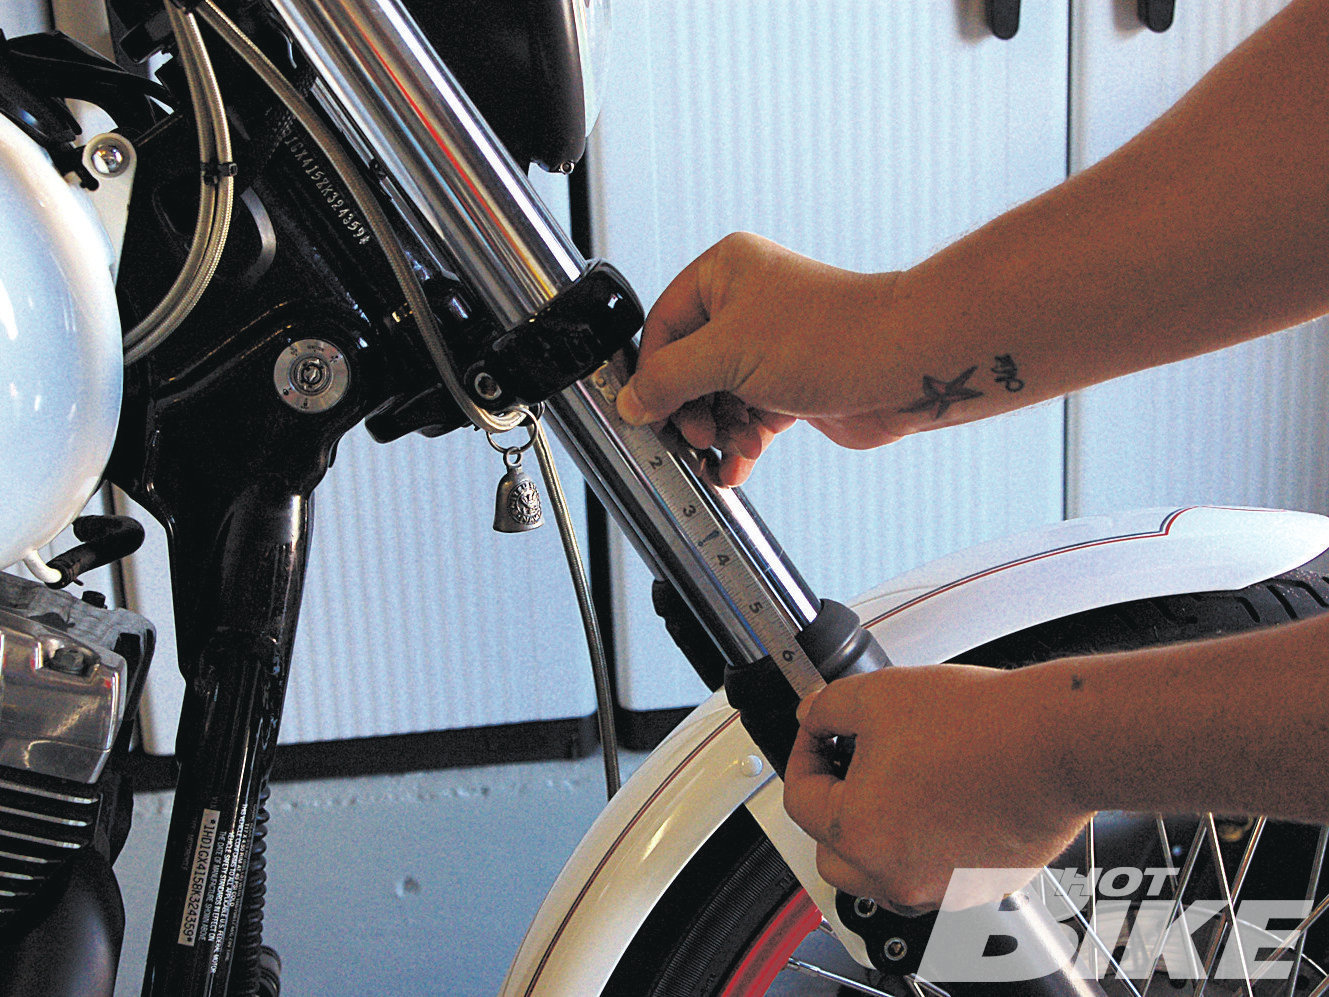
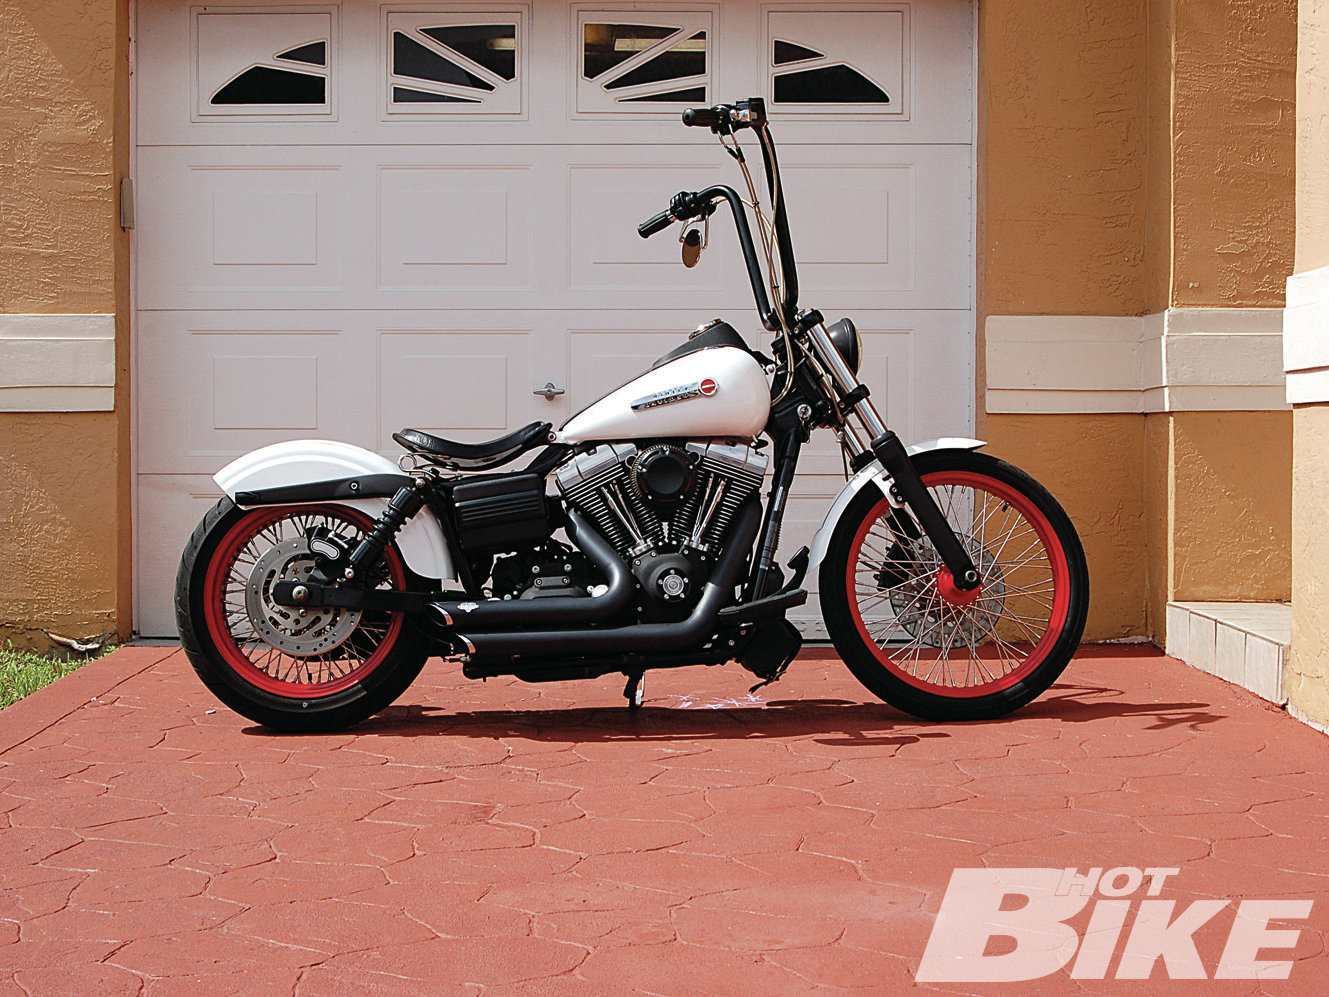
2 Prior to the kit’s install, this Dyna had a high frontend that measured 6 inches from the top of the fork tube dust cap to the bottom of the lower triple clamp.
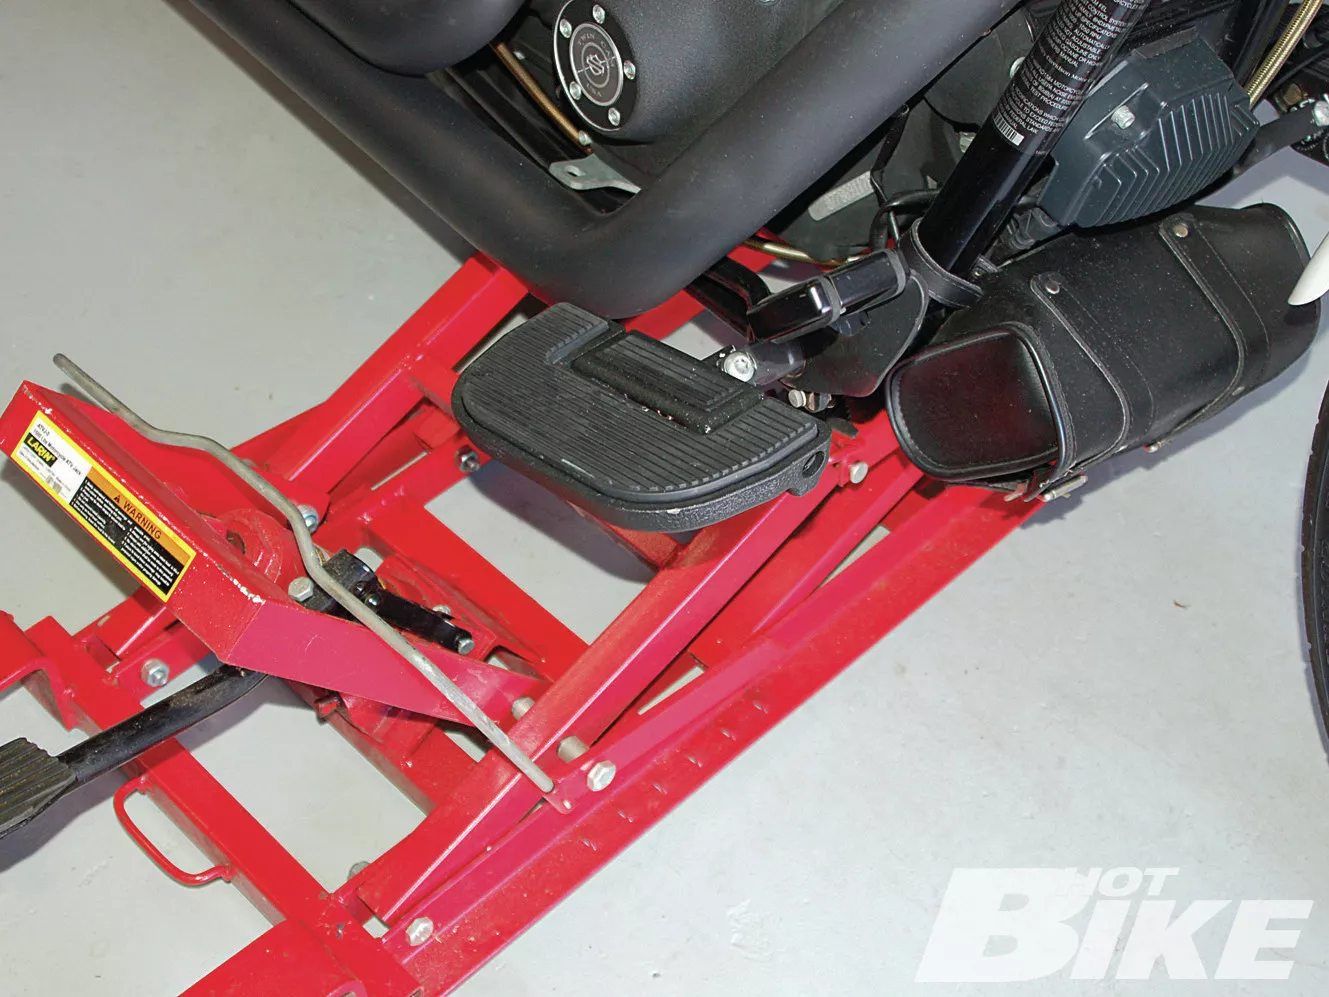
3 I started the install by raising the front of the motorcycle with a motorcycle jack. I made sure to place the jack towards the front of the bike so that just the front wheel would raise. I raised the front just enough so that the front wheel would spin freely.
4 Next, I loosened the top triple clamp pinch bolts on both sides.
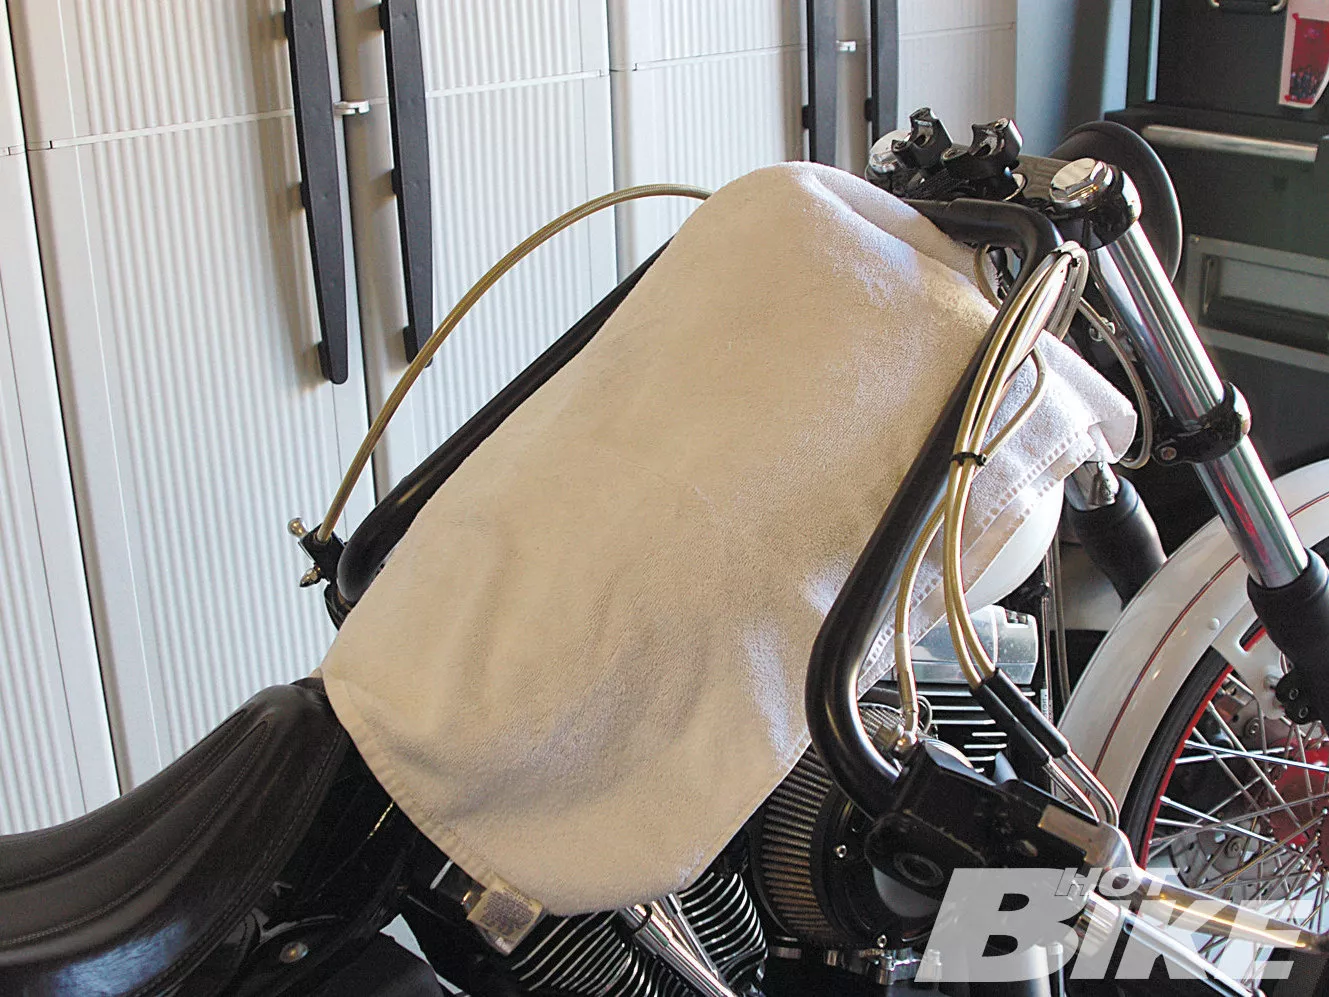
5 If your handlebars prevent access to the fork tube caps, you will need to remove the top handlebar clamp. I placed a towel on the tank so I could rest the handlebars on the tank.
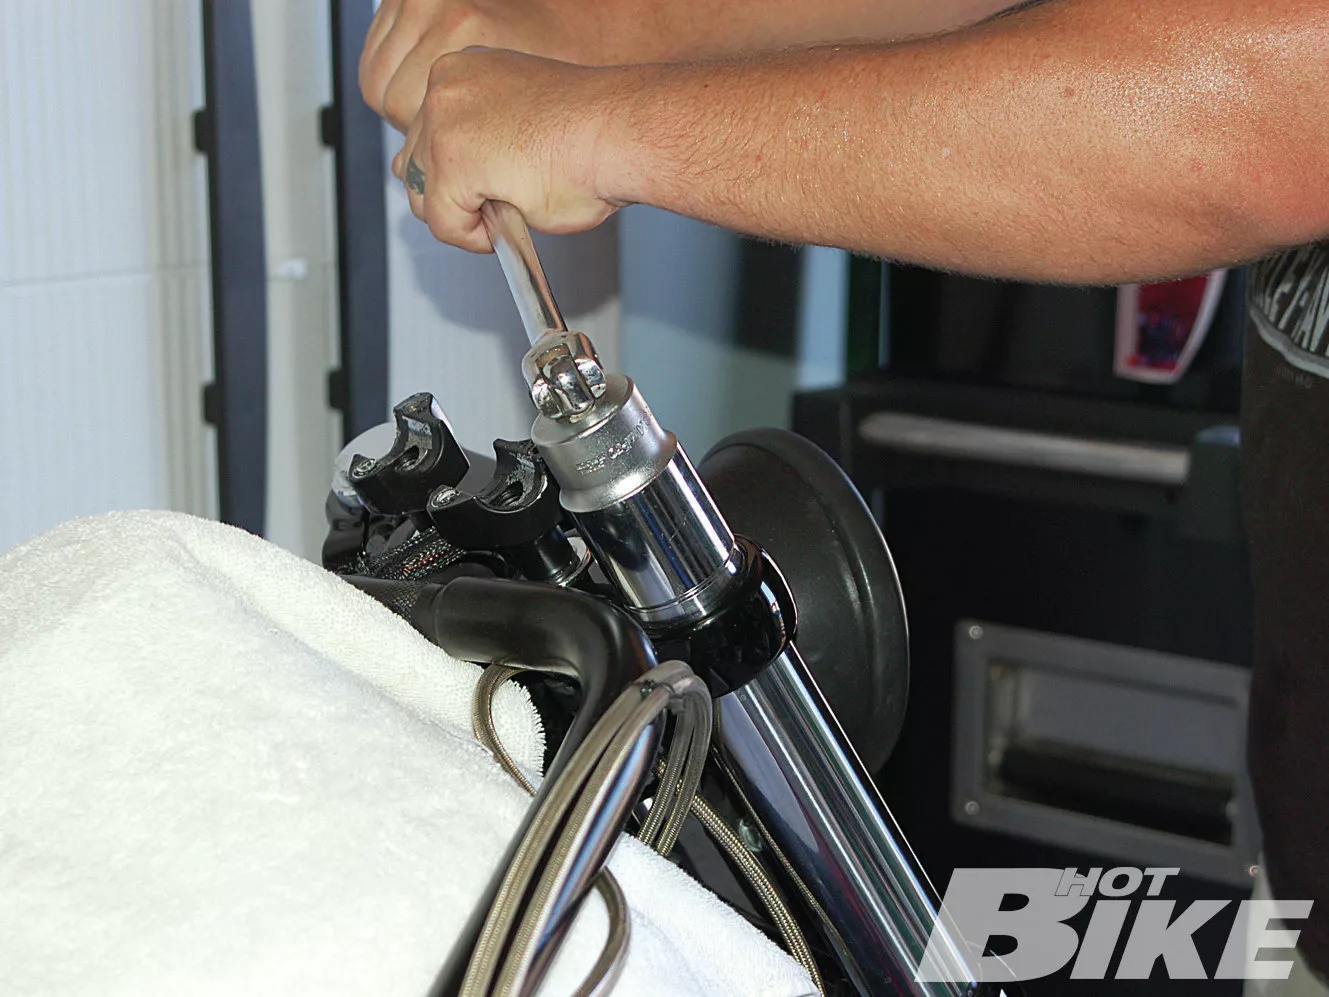
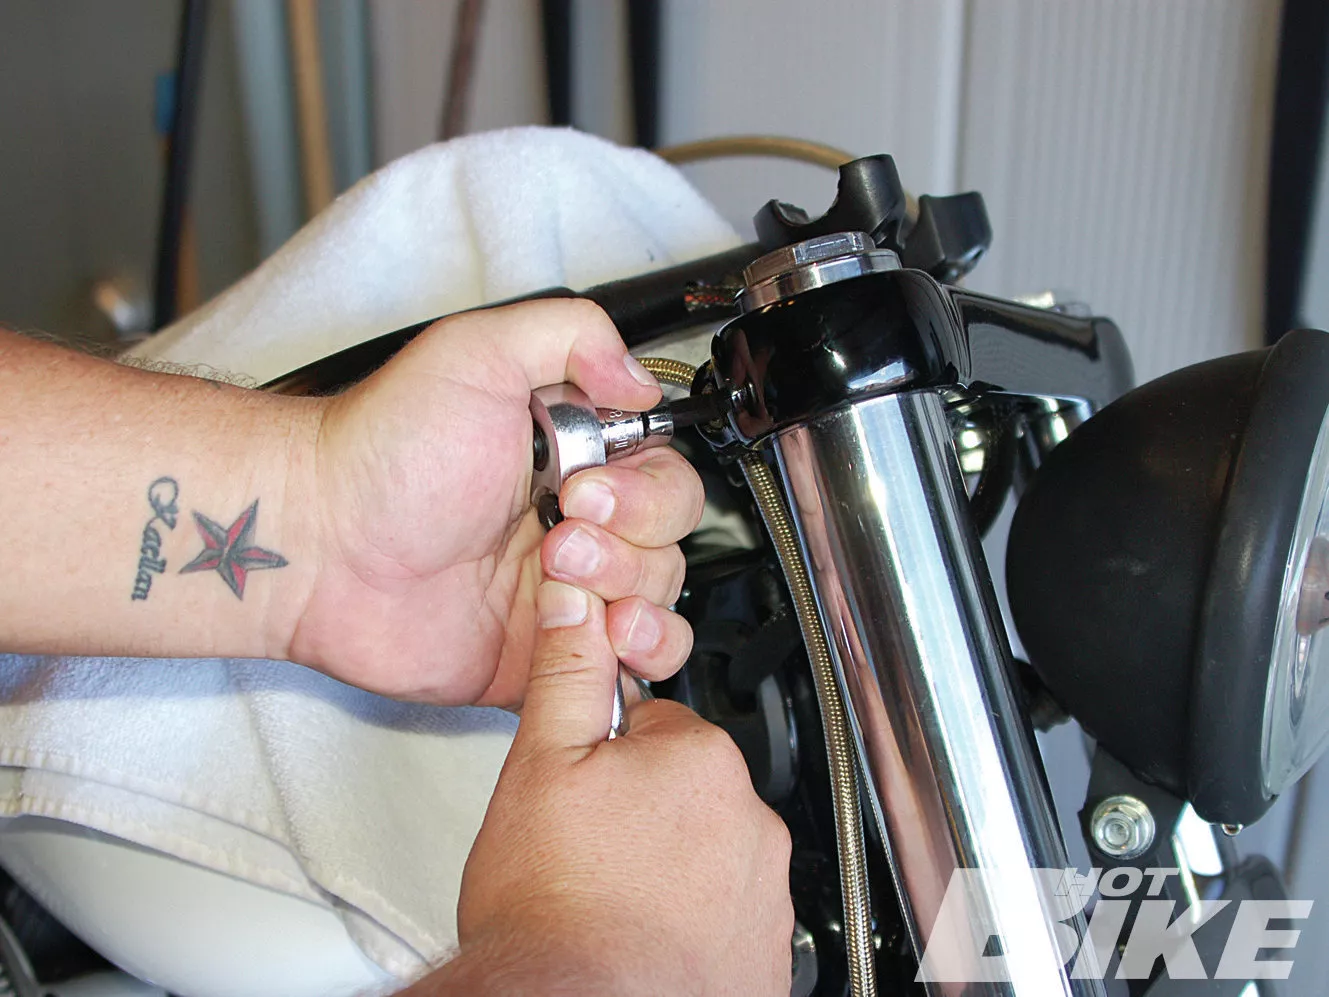
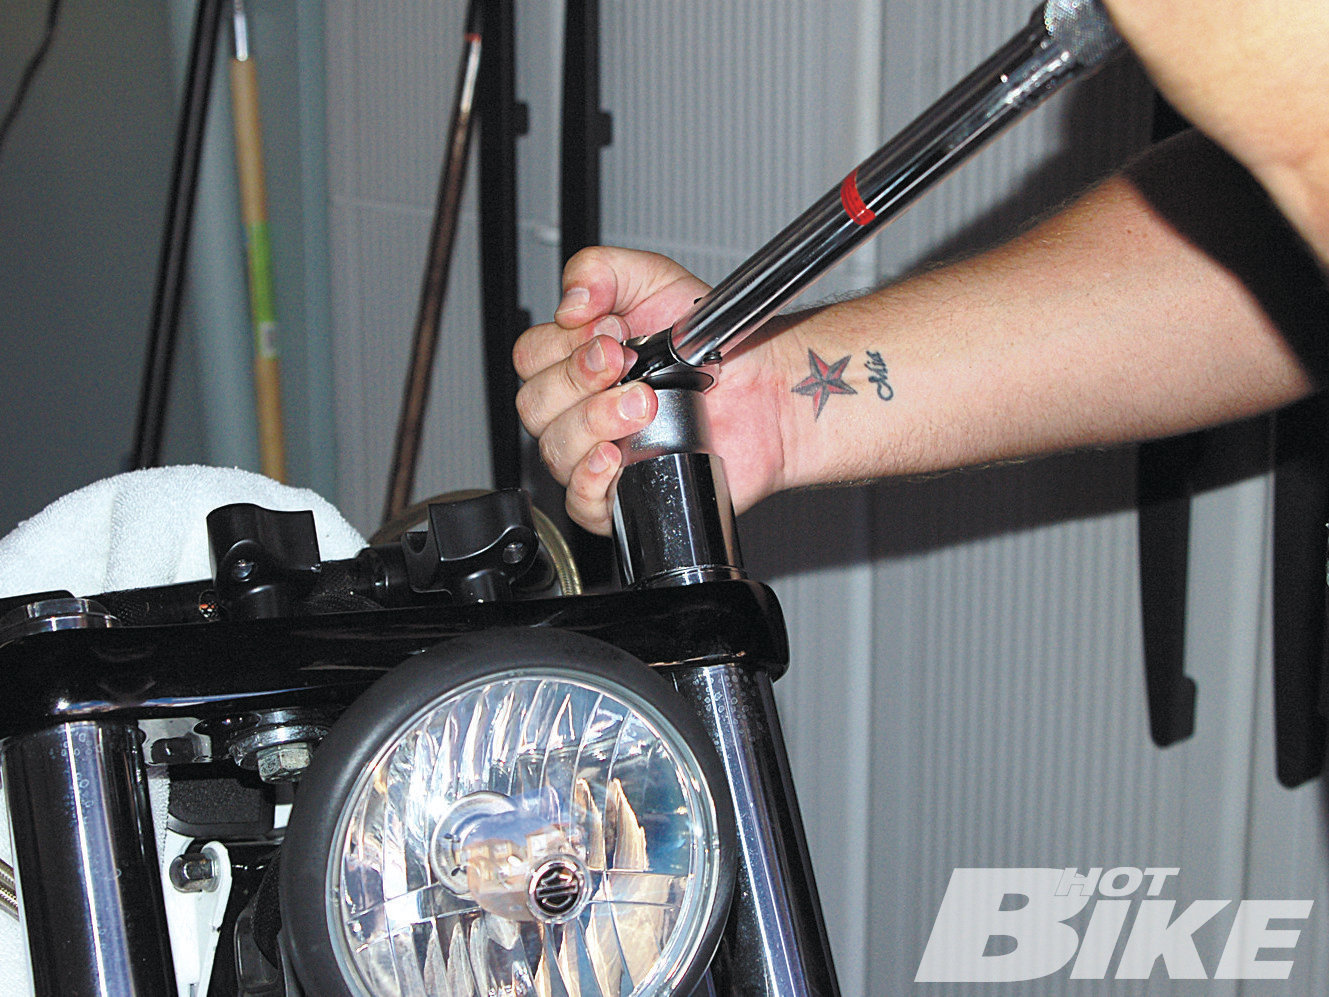
6 Next, I loosened the fork caps. The caps were under pressure so to prevent them from popping up I applied downward pressure as I loosened the caps.
7 Once the fork tube caps were off, I removed the metal spacers.
8 Next, the fork springs and washers were removed. I kept the washer close by as they will be reused with the Progressive kit.
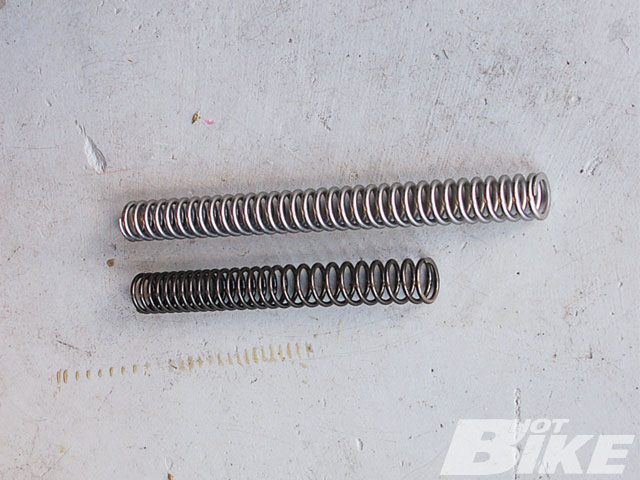
9 Also take notice of the difference in springs from the Progressive (top) and the Factory (bottom). The difference really stands out with the factory spring looking anemic next to Progressive’s springs.
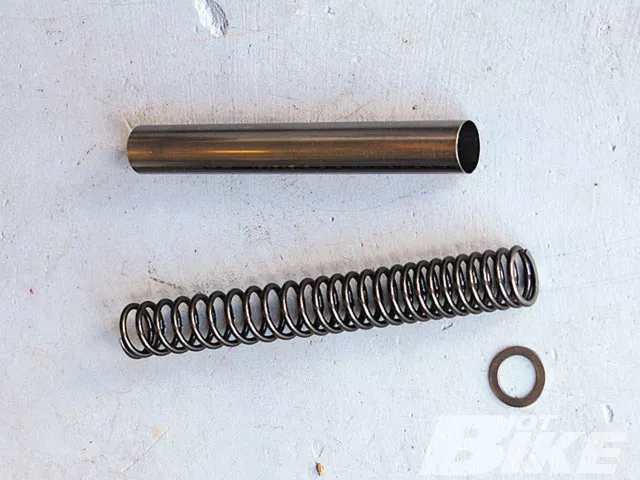
10 Next it was time to install the Progressive kit. For each tube the large fork spring went in the tube first. After that, the smaller compensation spring went in followed by the washer. This photo shows the arrangement in the fork tube.
11 The Progressive kit includes 3.30-inch PVC spacers. The length you will need to trim depends on the model of the bike. For all Dyna models except the FXDWG, Progressive calls for 1-inch spacers. I cut the spacers to correct size and placed one in each fork tube.
12 I then tightened the caps to the specs according to the service manual.
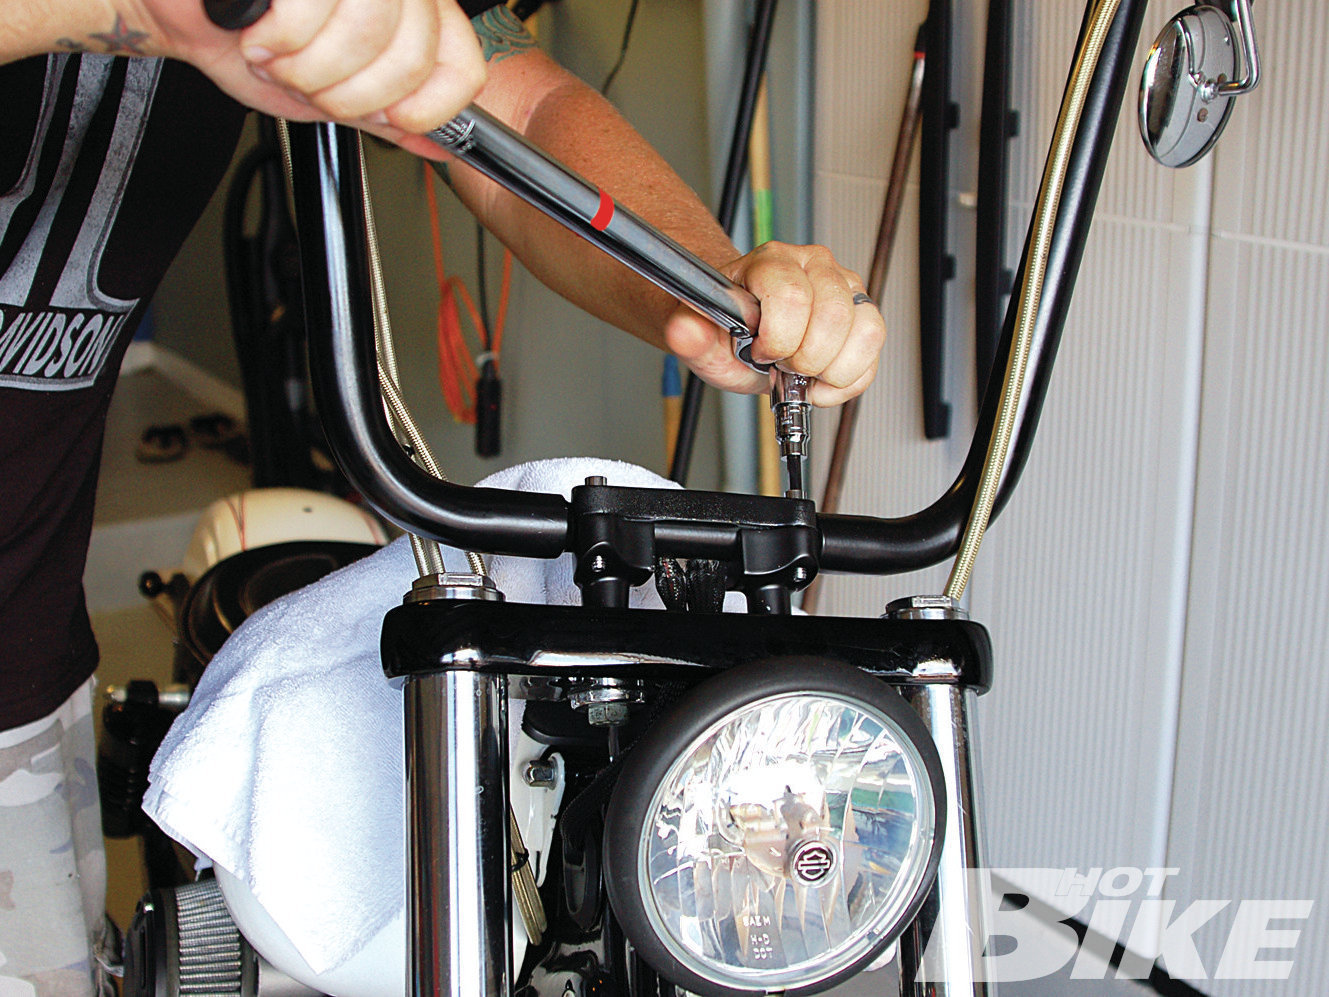
13 The pinch bolts were then torqued down on the top triple clamp according to the service manual as well. Lastly I re-installed the handlebars and removed the jack.
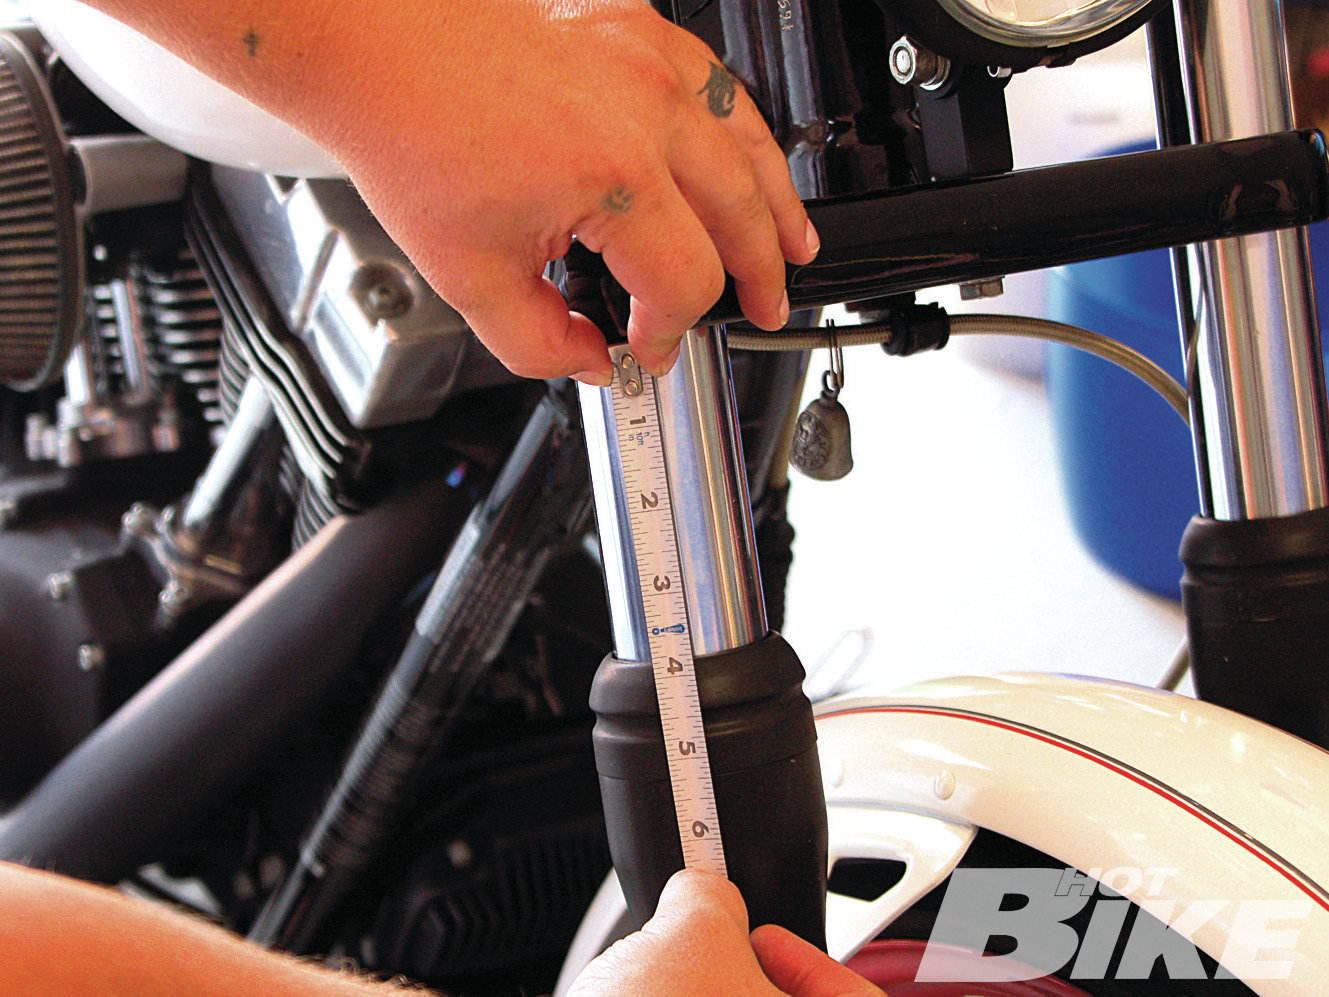
14 As you can see, the bike has been lowered a full 2 inches and looks noticeably better and more balanced.
15 After doing a final check of the fasteners, the bike was taken for a testride. The bike handled as well as stock, if not better as I threw everything I could at it from potholes, to speed bumps, and a handful of corners. Whether you are searching for that lowered look or flat-footed confidence, the Progressive Drop-In kit is the answer and complements the company’s rear shocks perfectly. If you have a toolbox and 30 minutes to spare, you won’t be disappointed. The only thing you will have to worry about now is keeping your pegs from scraping in the twisties!
For the vertically challenged, female riders, and novice riders, saddling up on a Big Twin Harley-Davidson can seem intimidating or even frustrating. While motorcycles come from the dealer in a variety of models to suit people’s taste, there isn’t always a perfect fit. That’s where Progressive Suspension comes in. For months I have been riding around on my ’08 Dyna Street Bob with the rear lowered with Progressive’s 440 series shocks to allow my shorter legs to stabilize the bike at rest; not only for confidence, but for comfort.
The rear shocks allowed my feet to sit flat but the bike’s overall appearance seemed off, especially once I changed the front wheel from a 19-inch to a 21-inch. Fast-forward to Progressive Suspension. These folks know Big Twin suspension and offer a kit that complements their rear shocks lowering the front of the bike up to 2 inches. It guarantees a 100 percent drop-in kit that will lower your bike and the work can be done in under an hour.
While the economy prohibits some riders from dropping big cash on expensive upgrades, a lowered motorcycle really changes the look and feel of the bike, and with Progressive’s kit you can do it yourself for only a little green, (MSRP $129.95). And not only do you save money but time as well since it’s only a 30-minute install to get rolling before breakfast.
With a few basic handtools and a garage, I decided to install these in my single-car garage to illustrate the simplicity of the install, which should appeal to even a novice. There isn’t even a need to add fork oil, although, for optimal performance, it is suggested to change the oil.
Source:
Progressive Suspension
progressivesuspension.com
(877) 690-7411


