
2004 Harley V-Rod VRSCB – WideTire On A Budget?
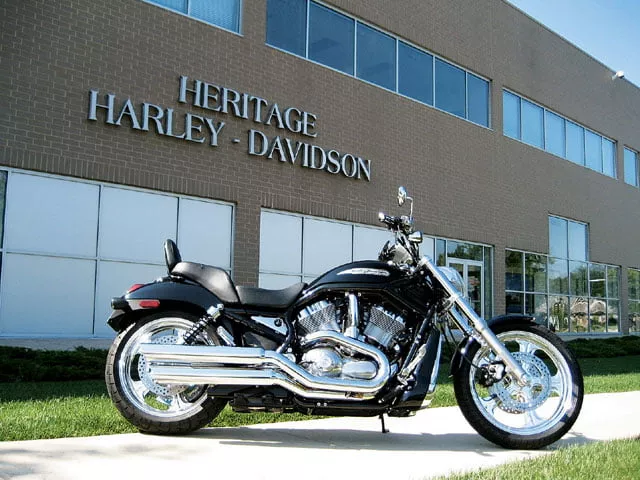
1. The volunteer motorcycle: a 2004 Harley V-Rod VRSCB.
2. Here is the new rubber: Metzeler’s ME880s in 120/70 ZR19 front (same as stock) and 200/50 ZR18 rear (stock is 180/55 R18). According to Metzeler, their tires feature an advanced Silica compound, which reduces rolling resistance, increases mileage, and increases wet grip.
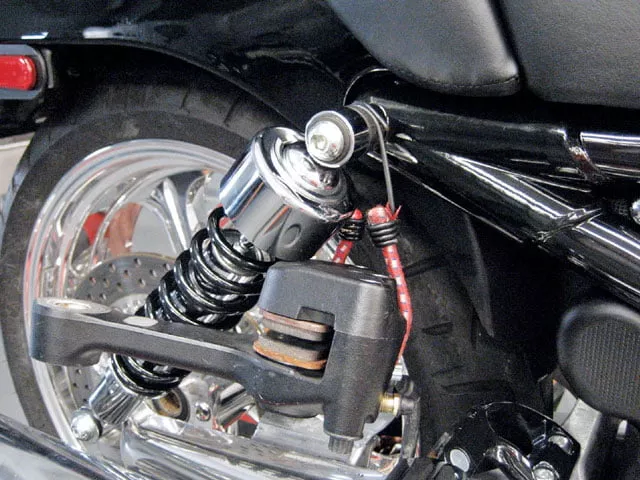
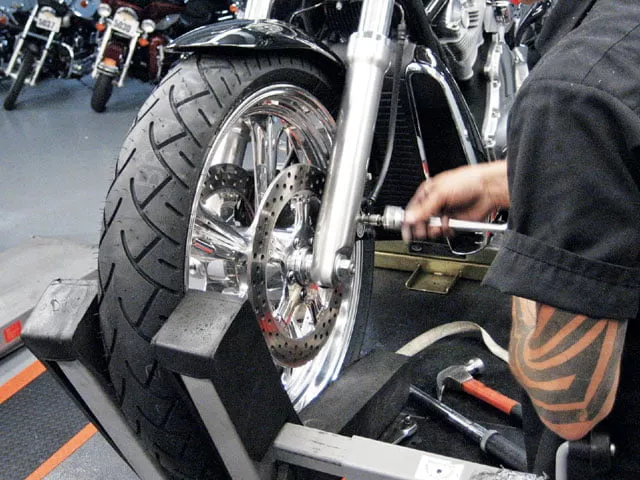
3. Heritage Harley-Davidson’s service tech Skinny got started by securing the bike on the lift. After loosening the rear wheel axle, the back end of the bike was raised to get the rear wheel airborne, then the axle was removed. This bike’s rear wheel axle needed to be tapped out from the exhaust side, so the exhaust heat shields needed to be removed. Some exhaust systems may allow clearance to the axle, some may need to be removed altogether to get to it. The rear brake caliper was also set out of the way using a bungee cord.
4. With the wheel removed, Skinny took this opportunity to check the wheel and cush drive for wear, cracks, or anything needing attention.
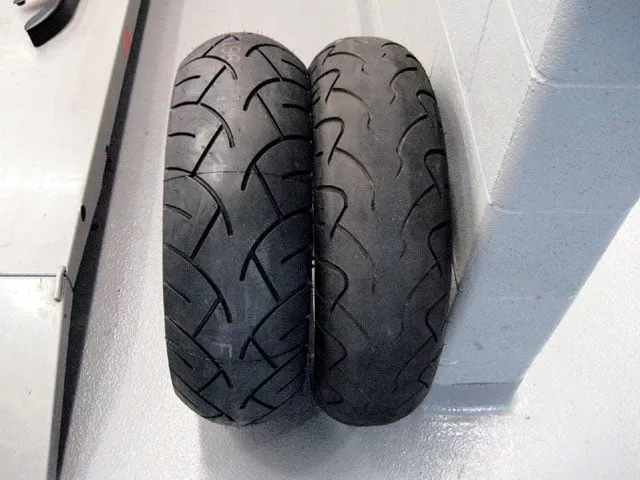
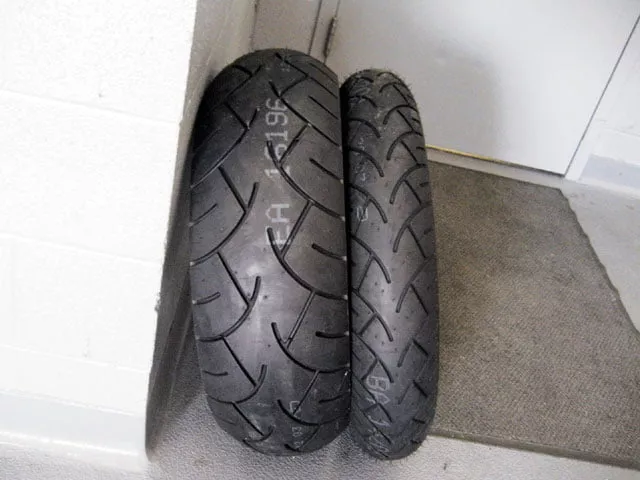
5. Here the old 180 Dunlop (right) (7,500 miles) was compared next to the new 200 Metzeler (left). The Metzeler contact patch has a nice curve to it, and although beefy, provides sublime light handling characteristics. Rayon is the primary fabric used in the ME880s, which provides a softer ride but requires more air pressure.
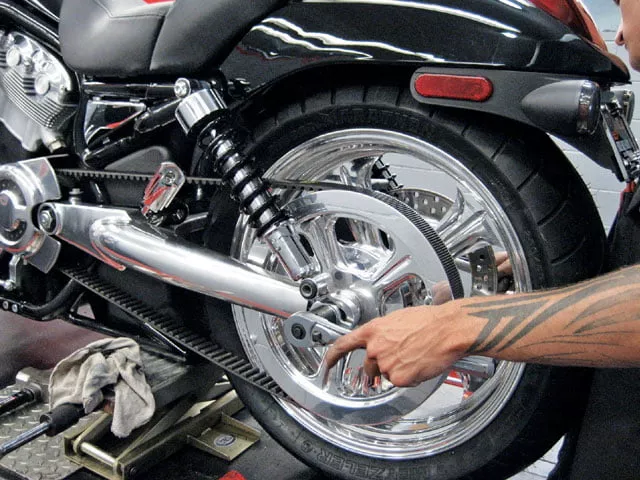
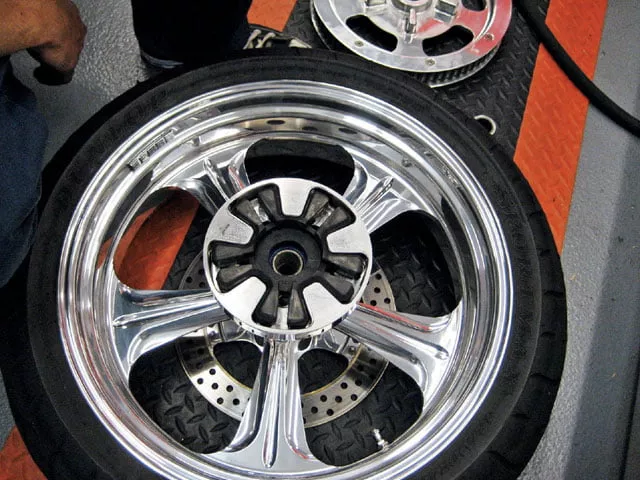
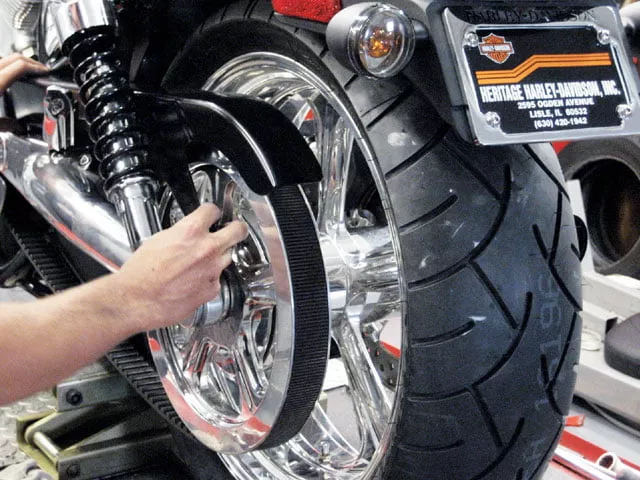
6. The old tire was removed and the new tire installed. Once mounted to the wheel, the tire was filled with air, and the whole assembly (tire, wheel, rotor, and pulley) was balanced. The rear wheel was reinstalled and checked for tire clearance. With a volunteer sitting on the bike, we noticed both inner fender brackets needed some grinding down to clear the new, wider tire. Also, the plastic lower belt guard rubbed slightly on the tire’s edge. The upper belt guard, the belt itself, and all other parts cleared the tire.

7. Looking inside of the rear fender, it was clear that the brackets needed grinding. This bracket is the same on the other side of the inner fender. On our V-Rod, only the lower half of the brackets needed grinding-the upper half of the brackets and all other inner-fender protrusions cleared the tire.
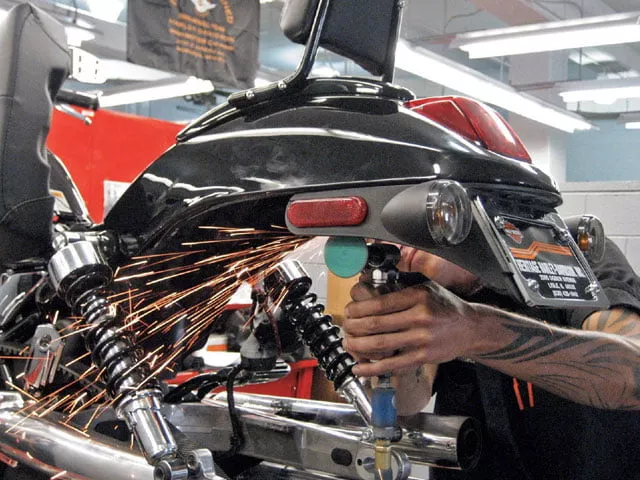
8. Only a few millimeters of material needed to be ground down along the lower edge of the brackets to clear the tire. A substantial amount of the brackets remain intact.
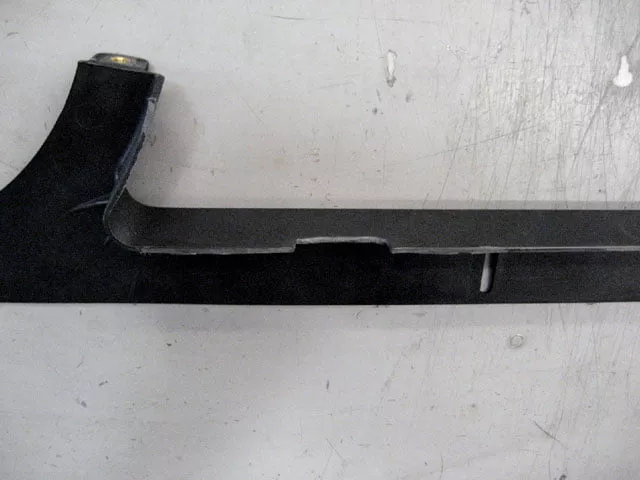
9. Only the lower belt guard needed to be notched to clear the edge of the new tire. A small section of the lower belt guard was removed, and was well hidden once reinstalled on the bike.
10. With the grinding complete and all clearances set, the rear wheel and brake caliper were fully installed and torqued to spec, belt tension was set, the exhaust heat shields were reinstalled, and everything was given a final check.
11. Next, the old front tire was removed, and the new front tire was balanced and installed. Being the same size as the stock tire, this is a standard tire swap.
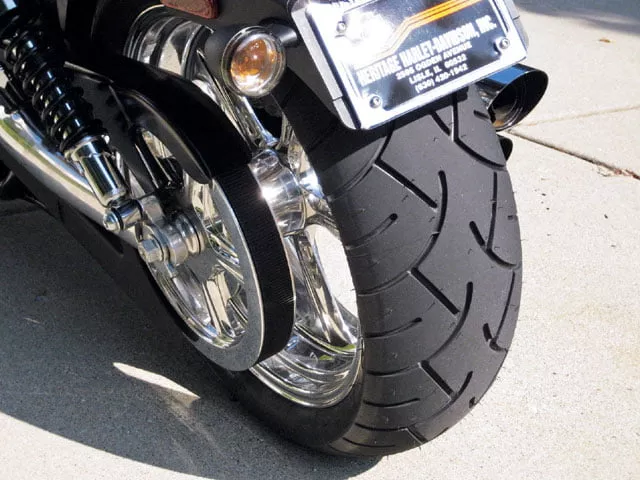
12. The Stage 2 upgrade is complete. In person, the look is much fuller and fatter than stock, yet handling is improved. Better looks, better handling, not too much cash or labor involved-how great is that?
If you’re like us, you like the appearance of a wide rear tire filling up a bike’s fender and giving it that look of strength and power. But if you’re like us, you also have to balance your desires with your budget and do what you can to get the best bang for your buck. With production motorcycles, you basically have three choices when it comes to replacing the tires that came stock on your bike: Put on a new set of tires in the exact same size as stock; install a set of tires that are a bit larger than stock, which may require some minor modifications to your bike; or put on whatever size of tire that suits your fancy and make whatever modifications necessary to ensure proper clearance and safe operation.
If you have a larger budget, option three can give you exactly the look you want, if you have the time and finances available to do the job right. But some of us live with time and budgetary constraints that only allow the first two options as possibilities, and that’s where Metzeler comes in.
Metzeler has long been one of the leaders in supplying premium tires for the cruiser and custom bike crowd, producing motorcycle tires since 1892. To help make tire selection easier, Metzeler provides their V-Twin Upgrade Guide, which has information on replacing your stock tires with their ME880 Marathon Series tires in either a Stage 1, 2, or 3 upgrade, depending on your tire size choice. For more information on the various stages, log onto www.us.metzelermoto.com.
For this article, we are undertaking the Stage 2 upgrade, and the bike of the hour is a 2004 Harley-Davidson V-Rod VRSCB. This bike is basically stock, save for some performance and appearance modifications, such as Performance Machine wheels, rotors, and pulley in the stock 3×19-inch front, and 5.5×18-inch rear sizes. The tires are also the same as stock, (120/70 R19 front and 180/55 R18 rear Dunlops). They had about 7,500 miles on them and were due for replacement, with the rear tire a bit flattened out down the middle.
Following Metzeler’s Stage 2 recommendations, we threw on a fresh pair of Z-rated (over 149 mph) ME 880 radials; the front a same-as-stock 120/70 ZR19 ($165.95) and the rear a wider 200/50 ZR18 ($249.95). For this upgrade, our V-Rod only needed two minor modifications, adding 30-60 minutes to a standard front and rear tire swap. Not only do the tires have an attractive, symmetrical tread pattern, but the overall look and feel of a top-quality tire is clearly evident. Although noticeable in the pictures, the improved look of the fatter rear tire is much more pronounced in person. It simply looks great, and was more of a change than we expected going from a 180 rear tire to a 200. The icing on the cake? It handles much better than before. Granted, part of the improvement is due to the replacement of the worn tires, but any concern of a slower-turning bike quickly disappeared after the first ride. Amazingly, even with the slightly wider rear tire, it handles and turns as good as it looks.
So, we achieved the fatter-tire look, maintained the bike’s handling qualities, and did so with a modest budget and minimal time/labor input. Our friends at Heritage Harley-Davidson in Lisle, Illinois, took care of the install, with service tech Brendan “Skinny” Houcek doing the wrenching. Total time for the V-Rod tire swap and modifications was about three hours. Time and labor involved may vary depending on the bike and the modifications necessary. Now follow along as Heritage Harley fattens up our volunteer V-Rod with the help of Skinny. He may be, but our V-Rod no longer is.


