
Arlen Ness Big Brake Kit Install
When it comes to braking surface area, bigger is better, right? The Big Brake Kit from Arlen Ness replaces the stock unit with a massive 15-inch rotor. It utilizes the stock lines and relocates the rotors with a billet-aluminum-adapting bracket. We enlisted the help of IMZZ Elite to install the kit on our 2015 Dyna Low Rider, but installation is as easy as changing a set of rotors and can be done quickly and easily with hand tools in a garage.

First place the bike on a center jack stand and secure.
Photos: John Zamora

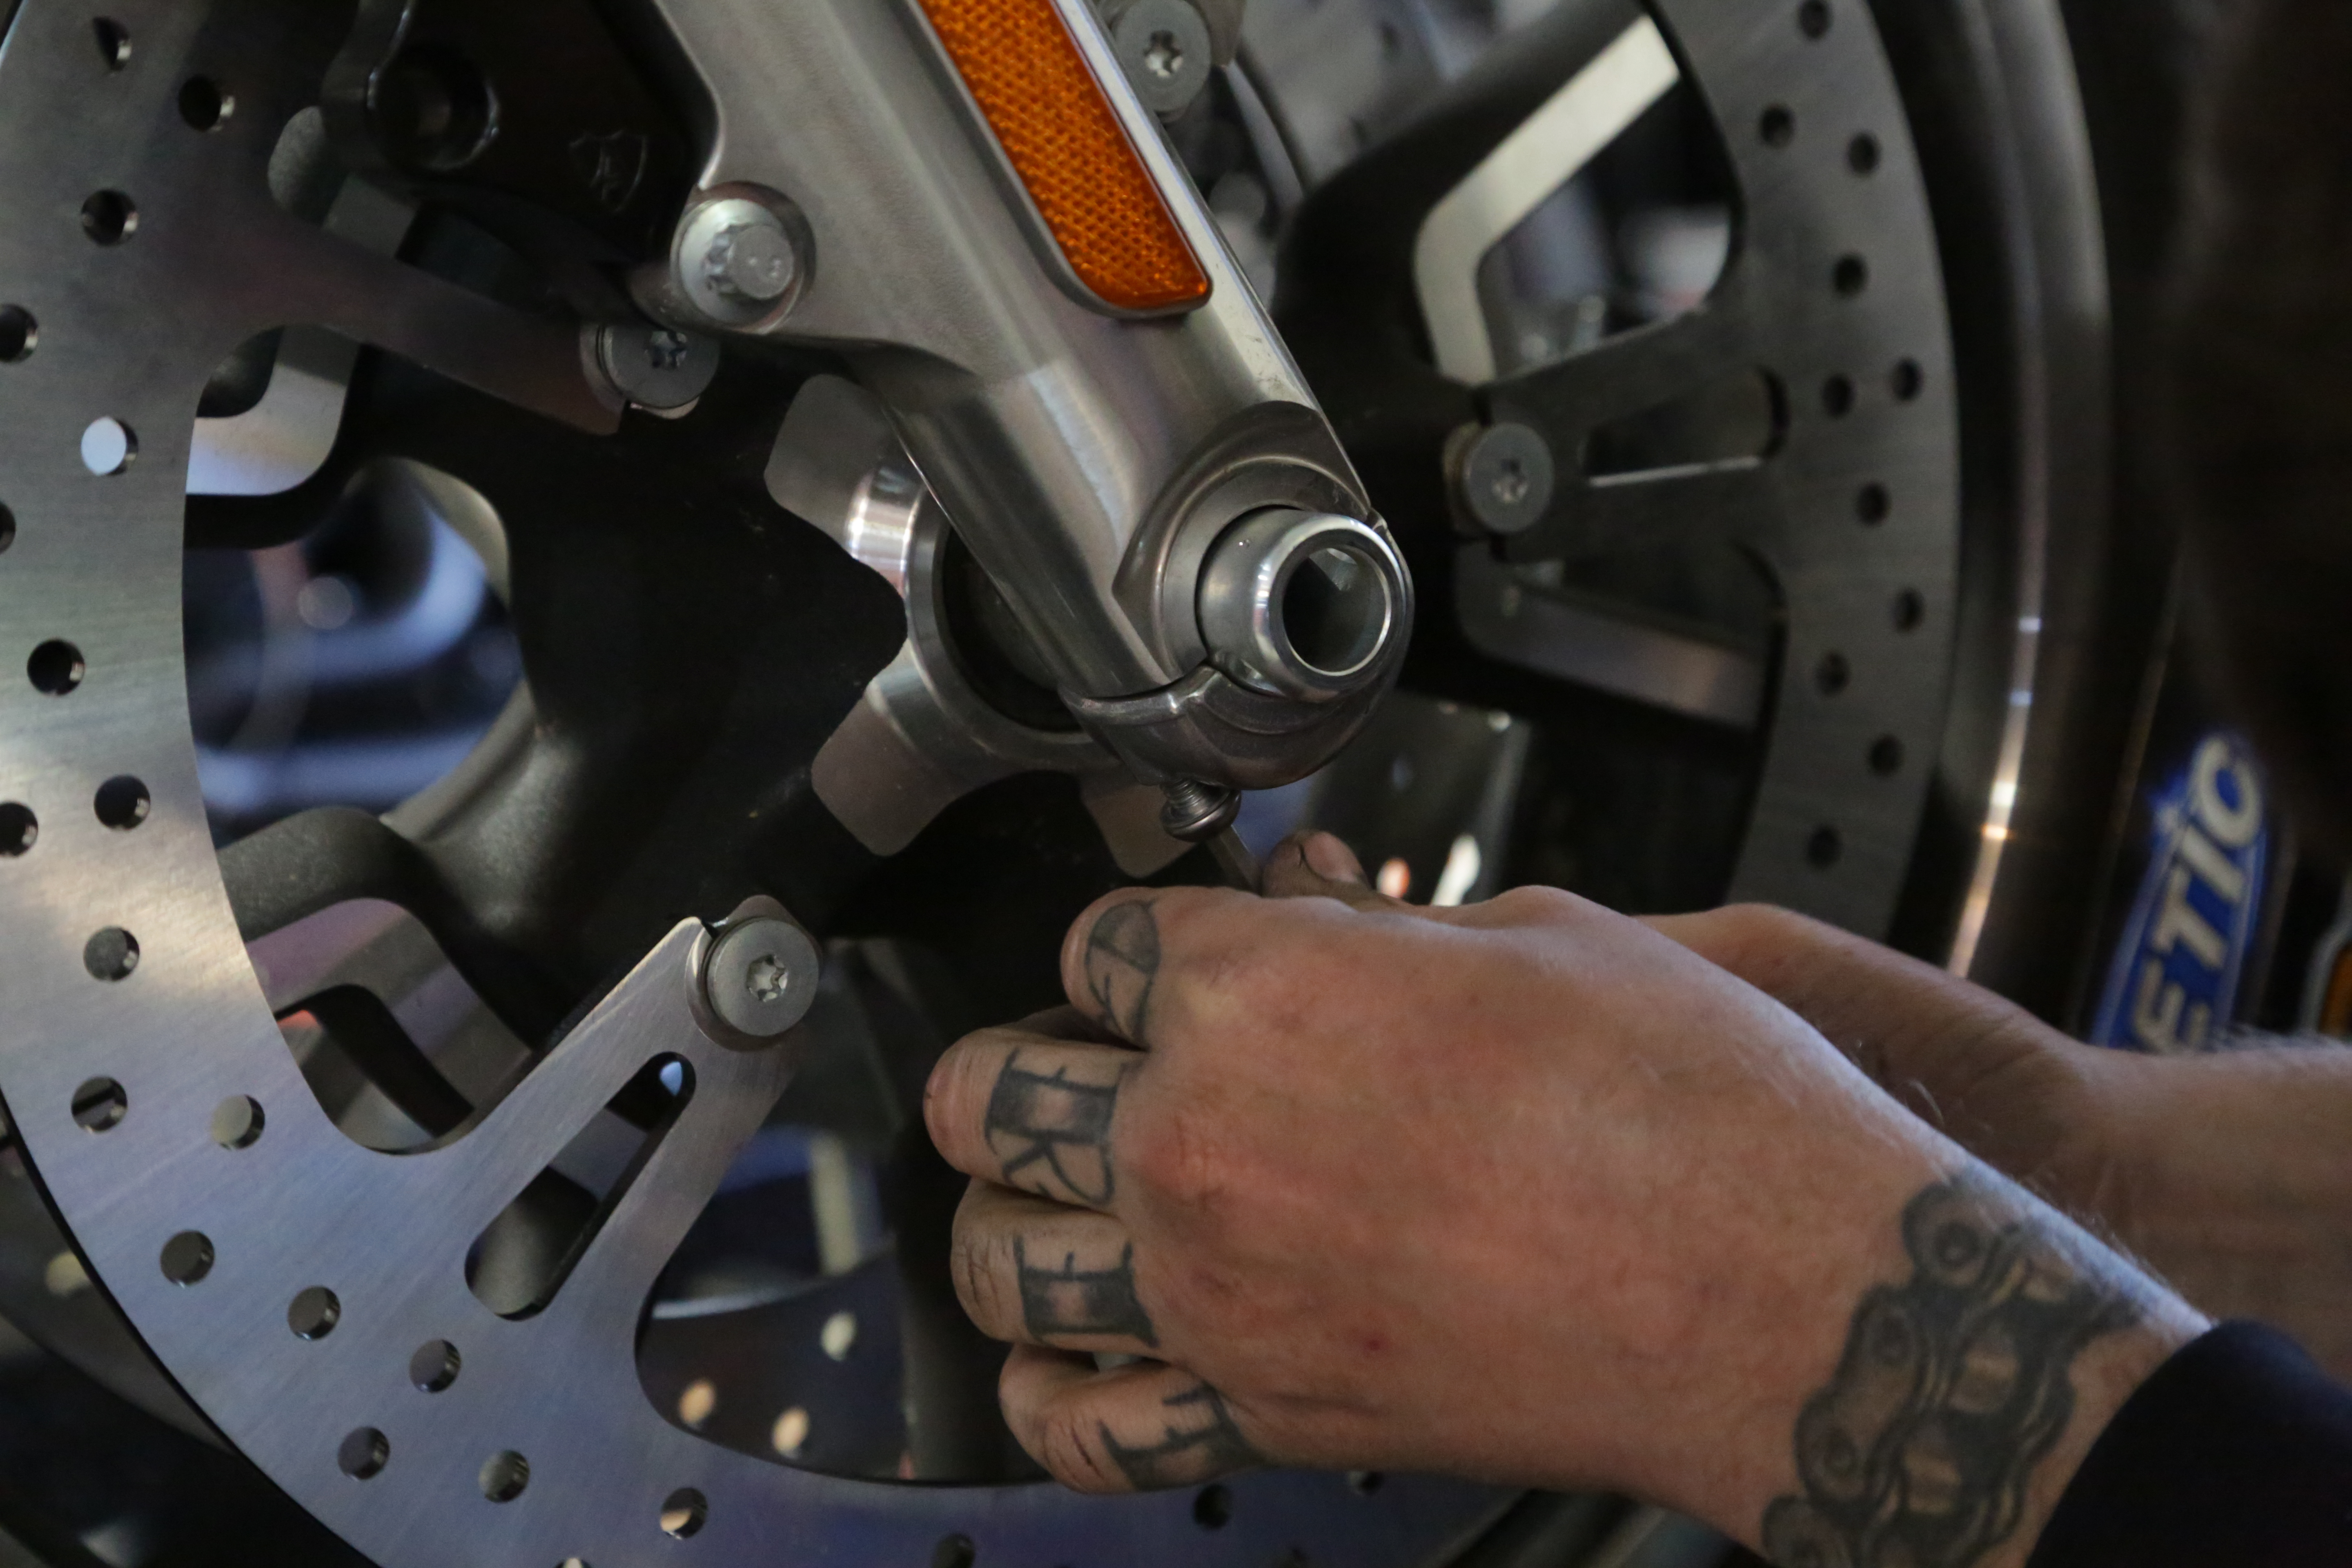
Remove any caps or accessories that cover the axle and loosen the stock pinch bolts and axle nut.
Photos: John Zamora
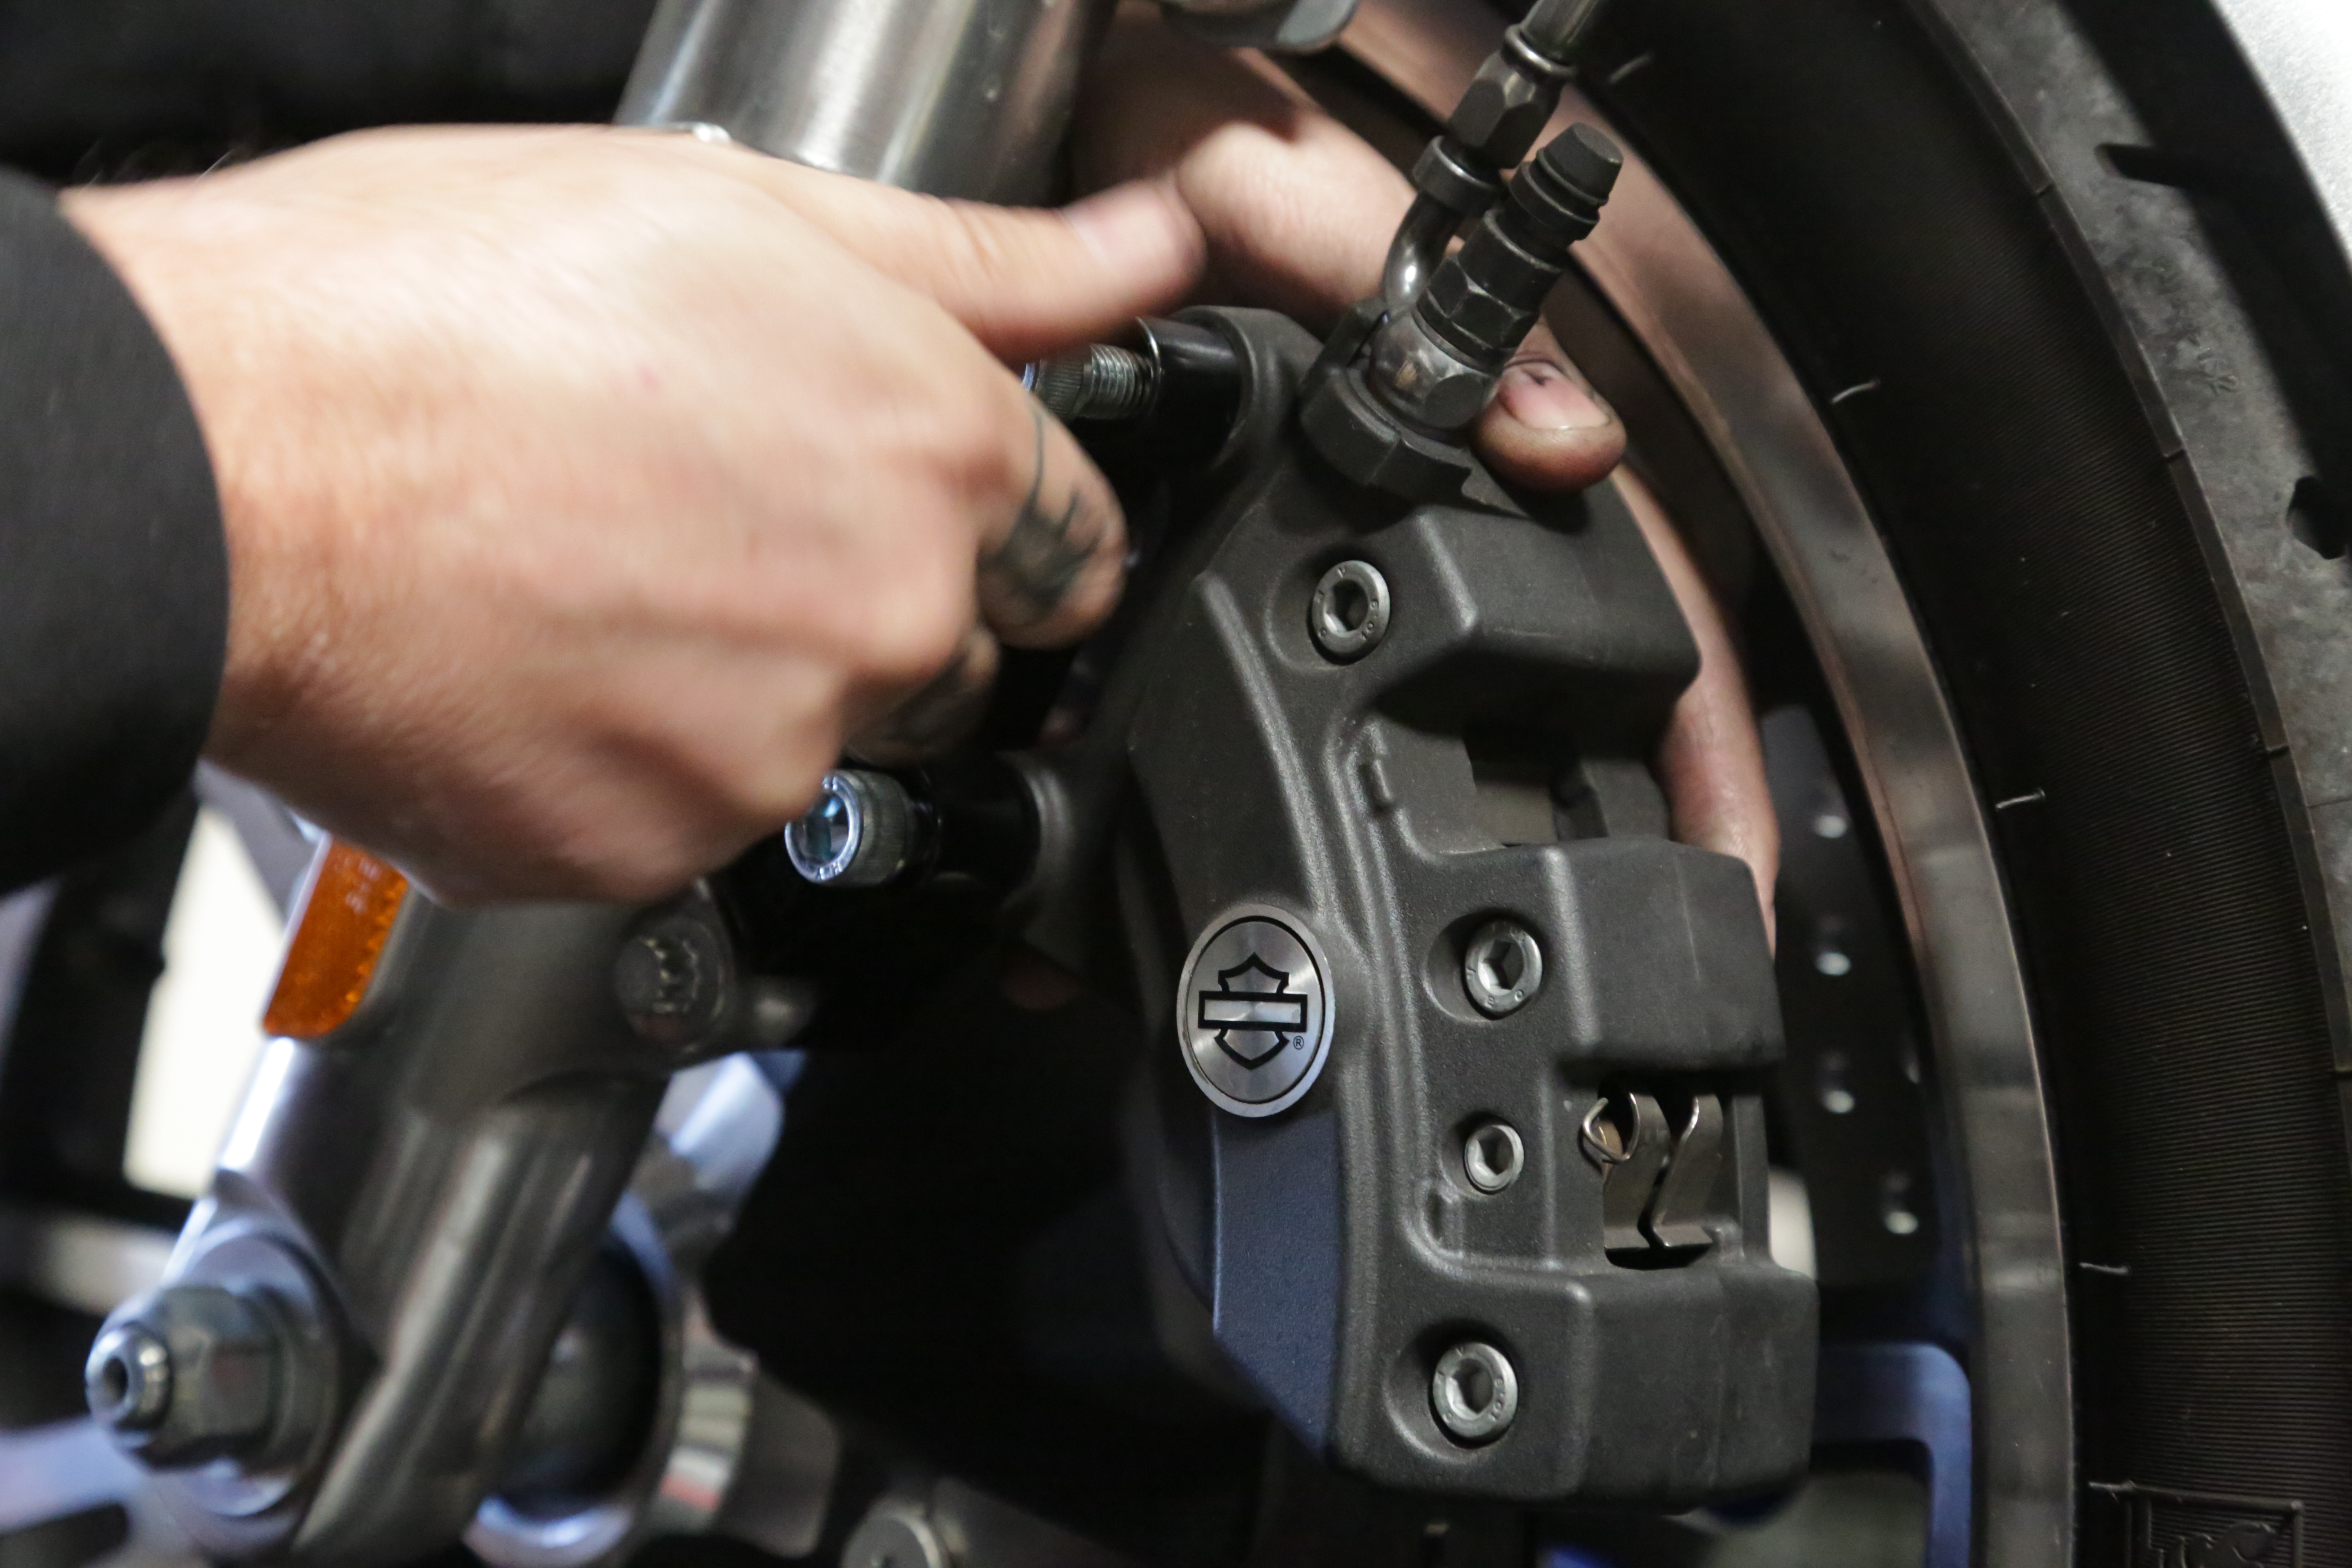
Next remove the stock calipers and place off to the side, making sure they are not pulling on the lines.
Photos: John Zamora
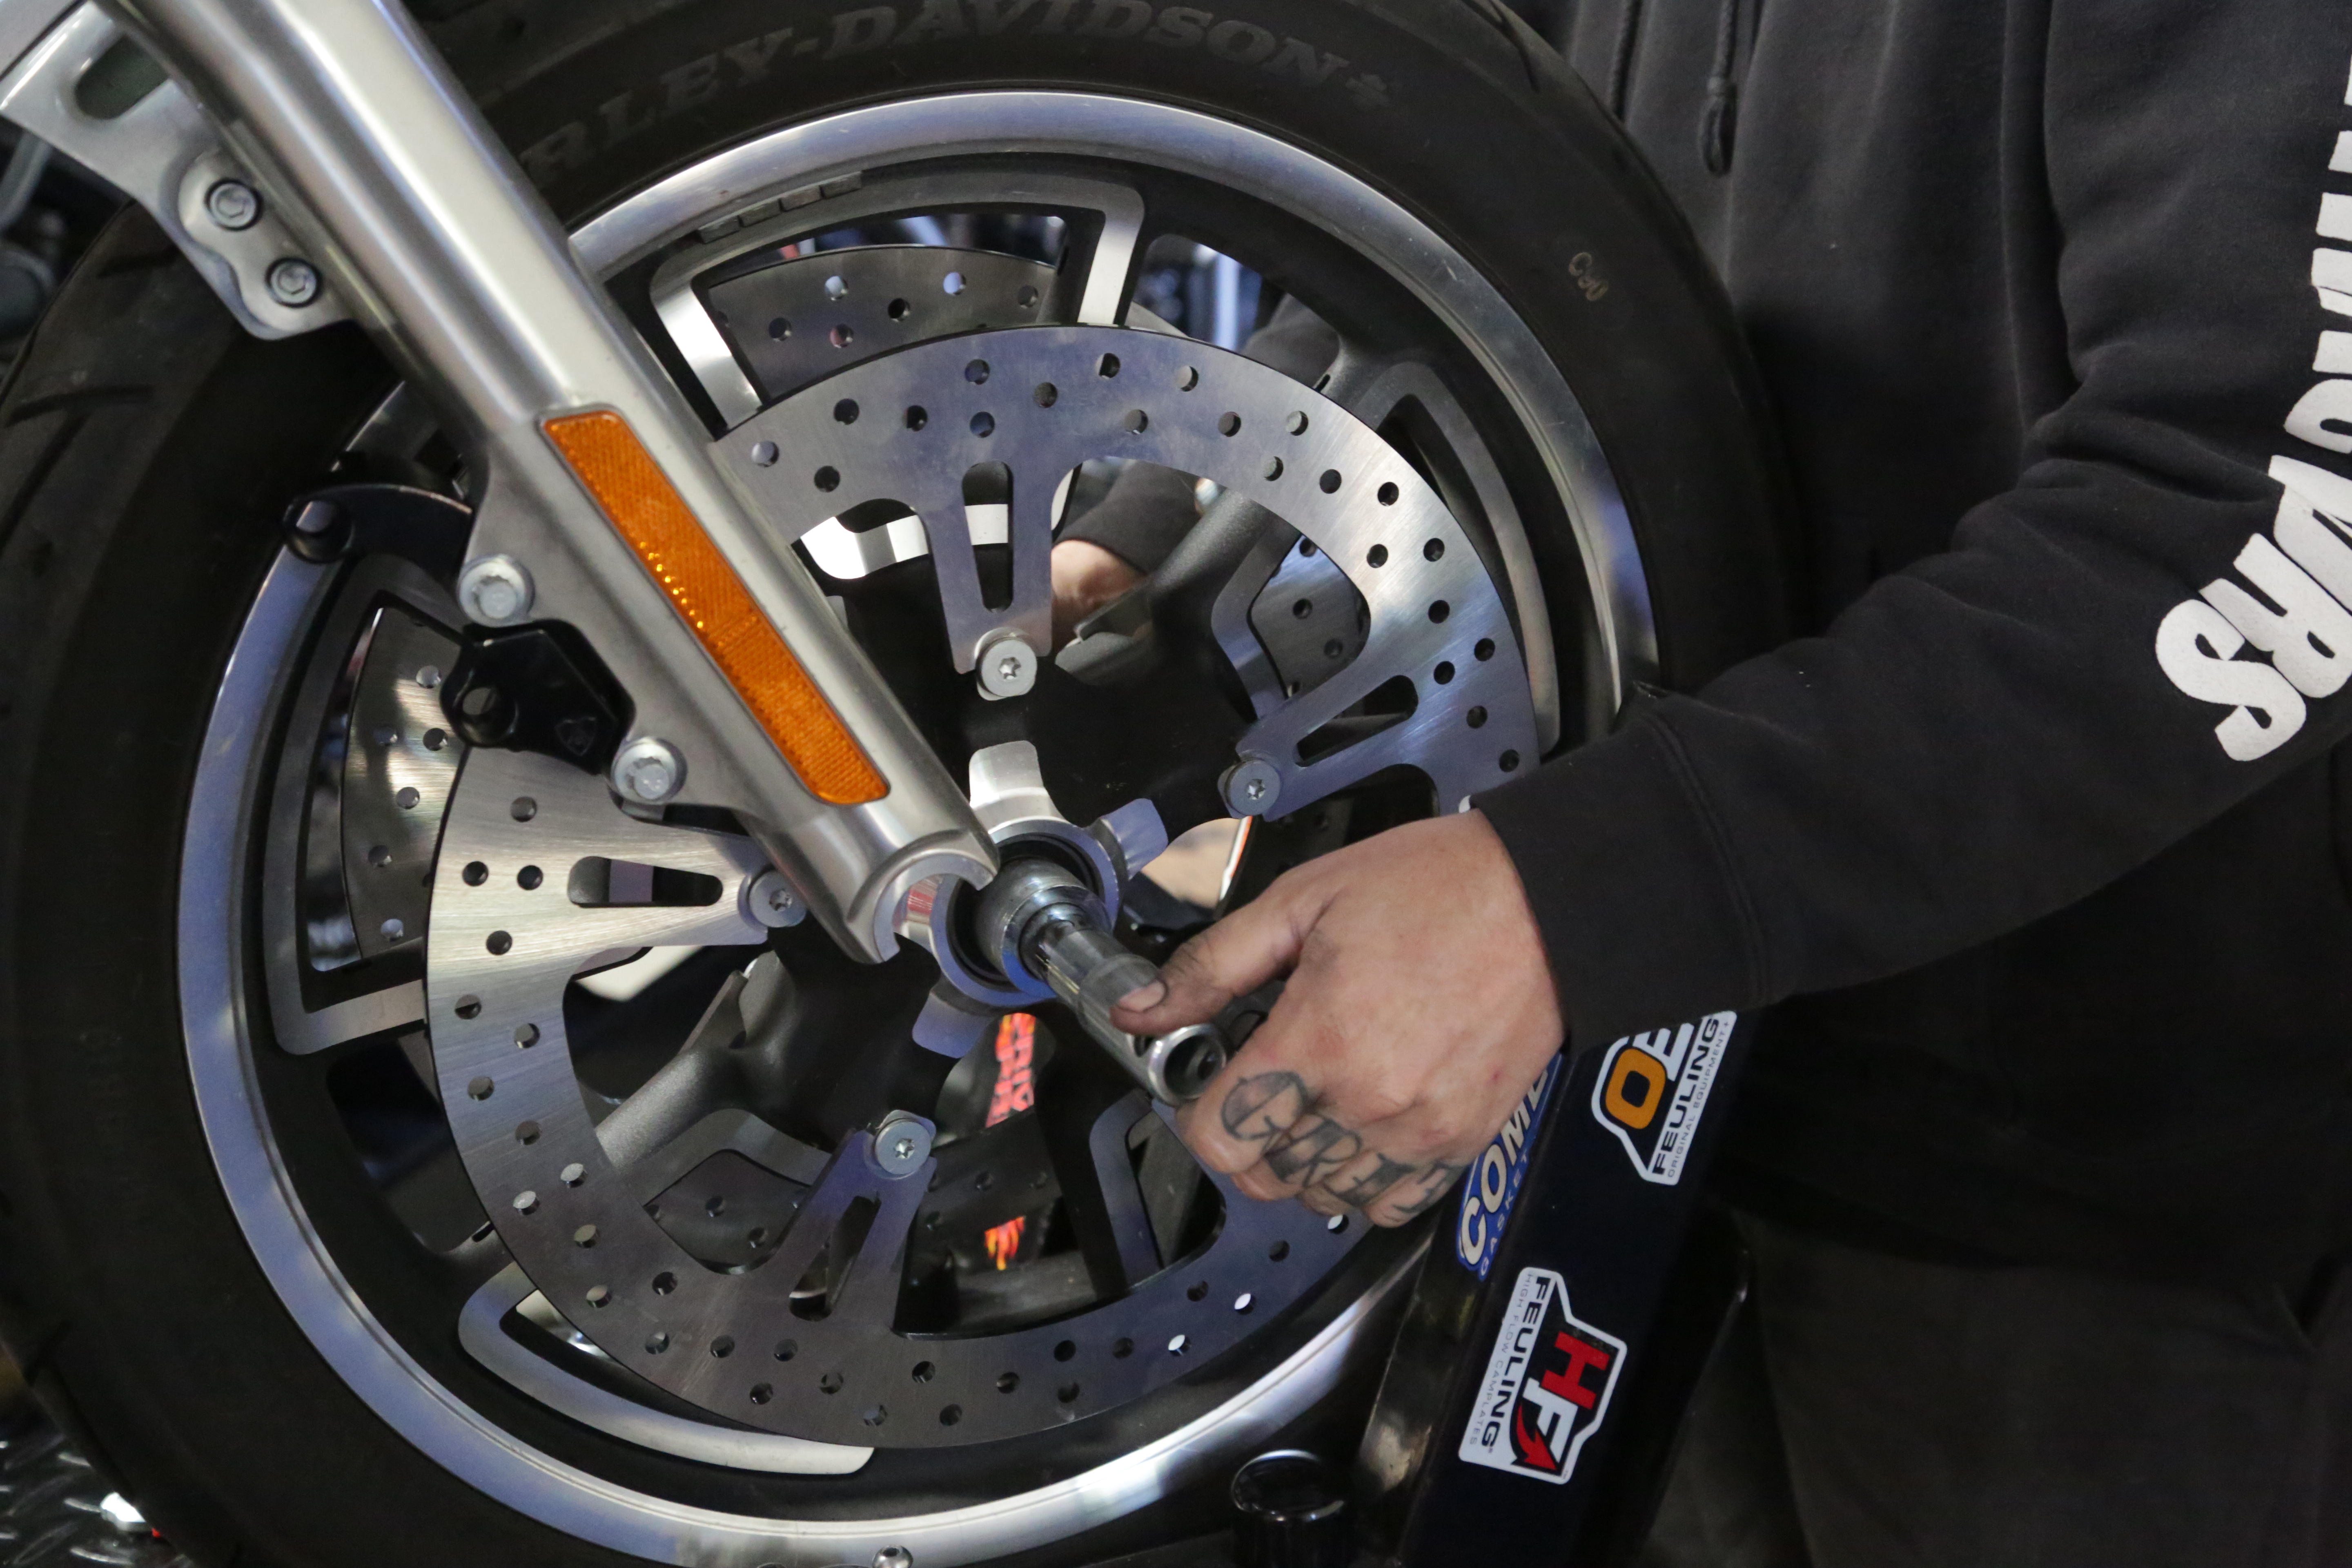
Remove the front axle from the bike.
Photos: John Zamora

Carefully remove the front wheel and set off to the side.
Photos: John Zamora

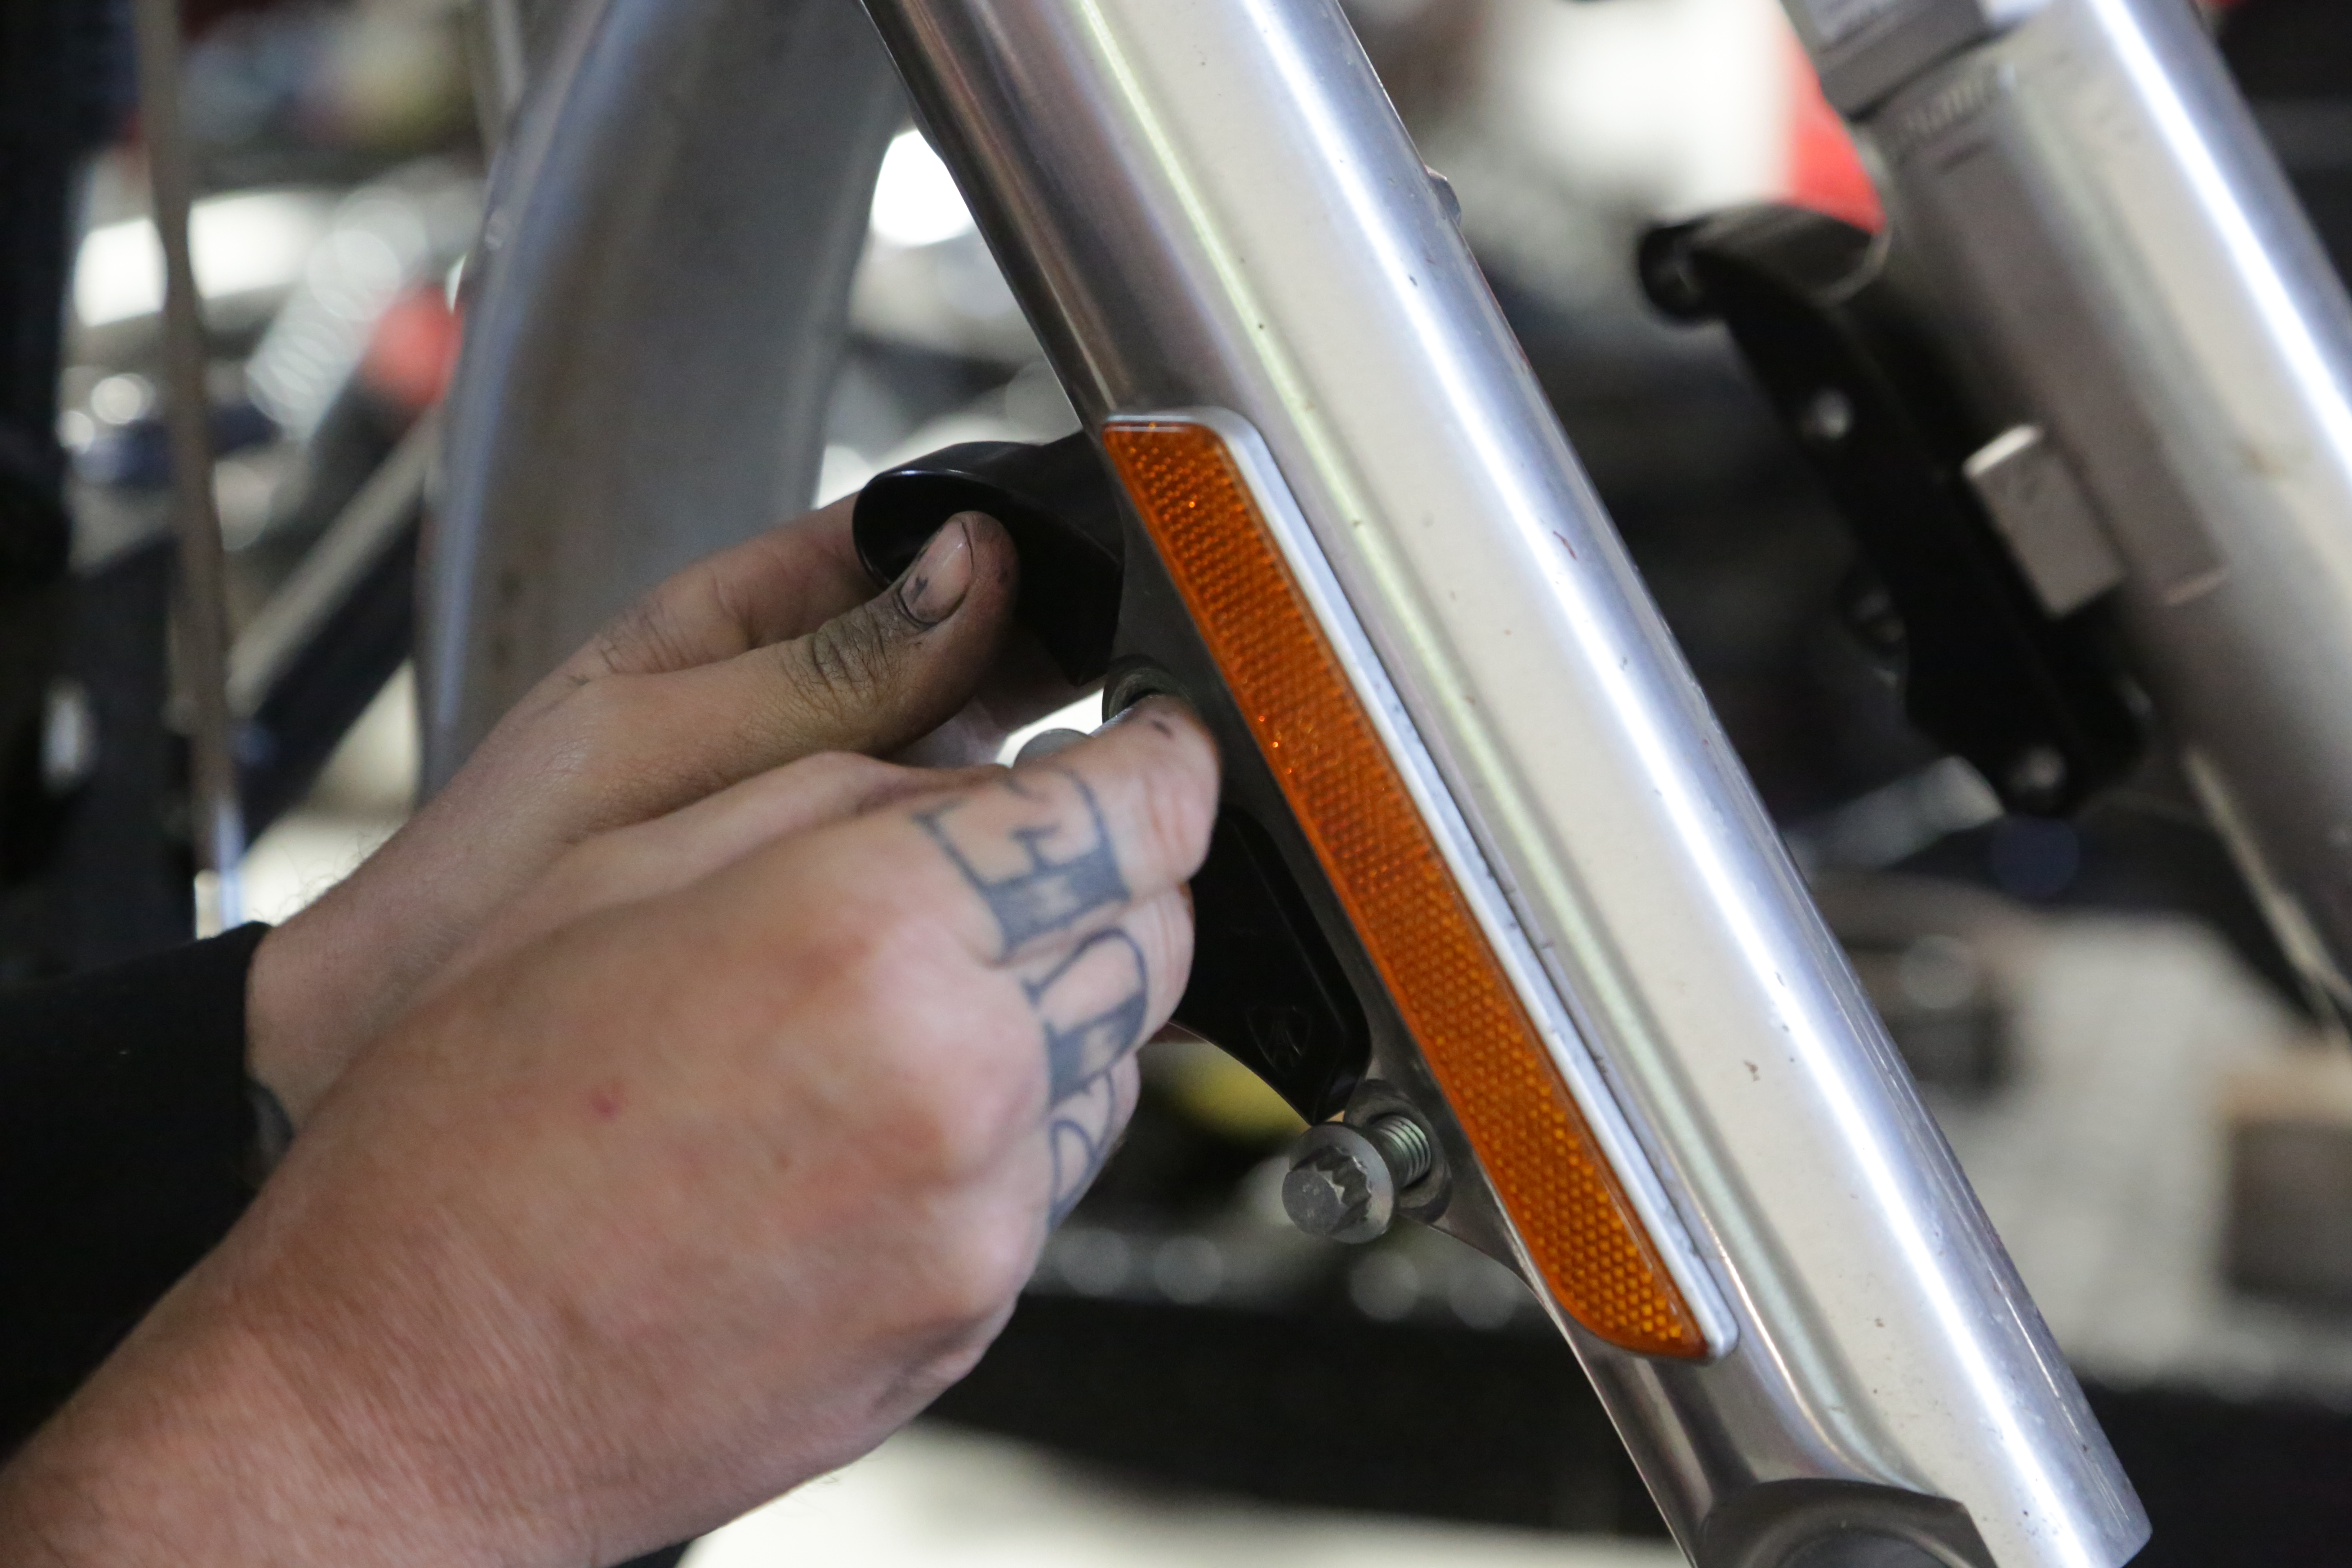
Place the adapting bracket supplied with the kit to the stock caliper location.
Photos: John Zamora
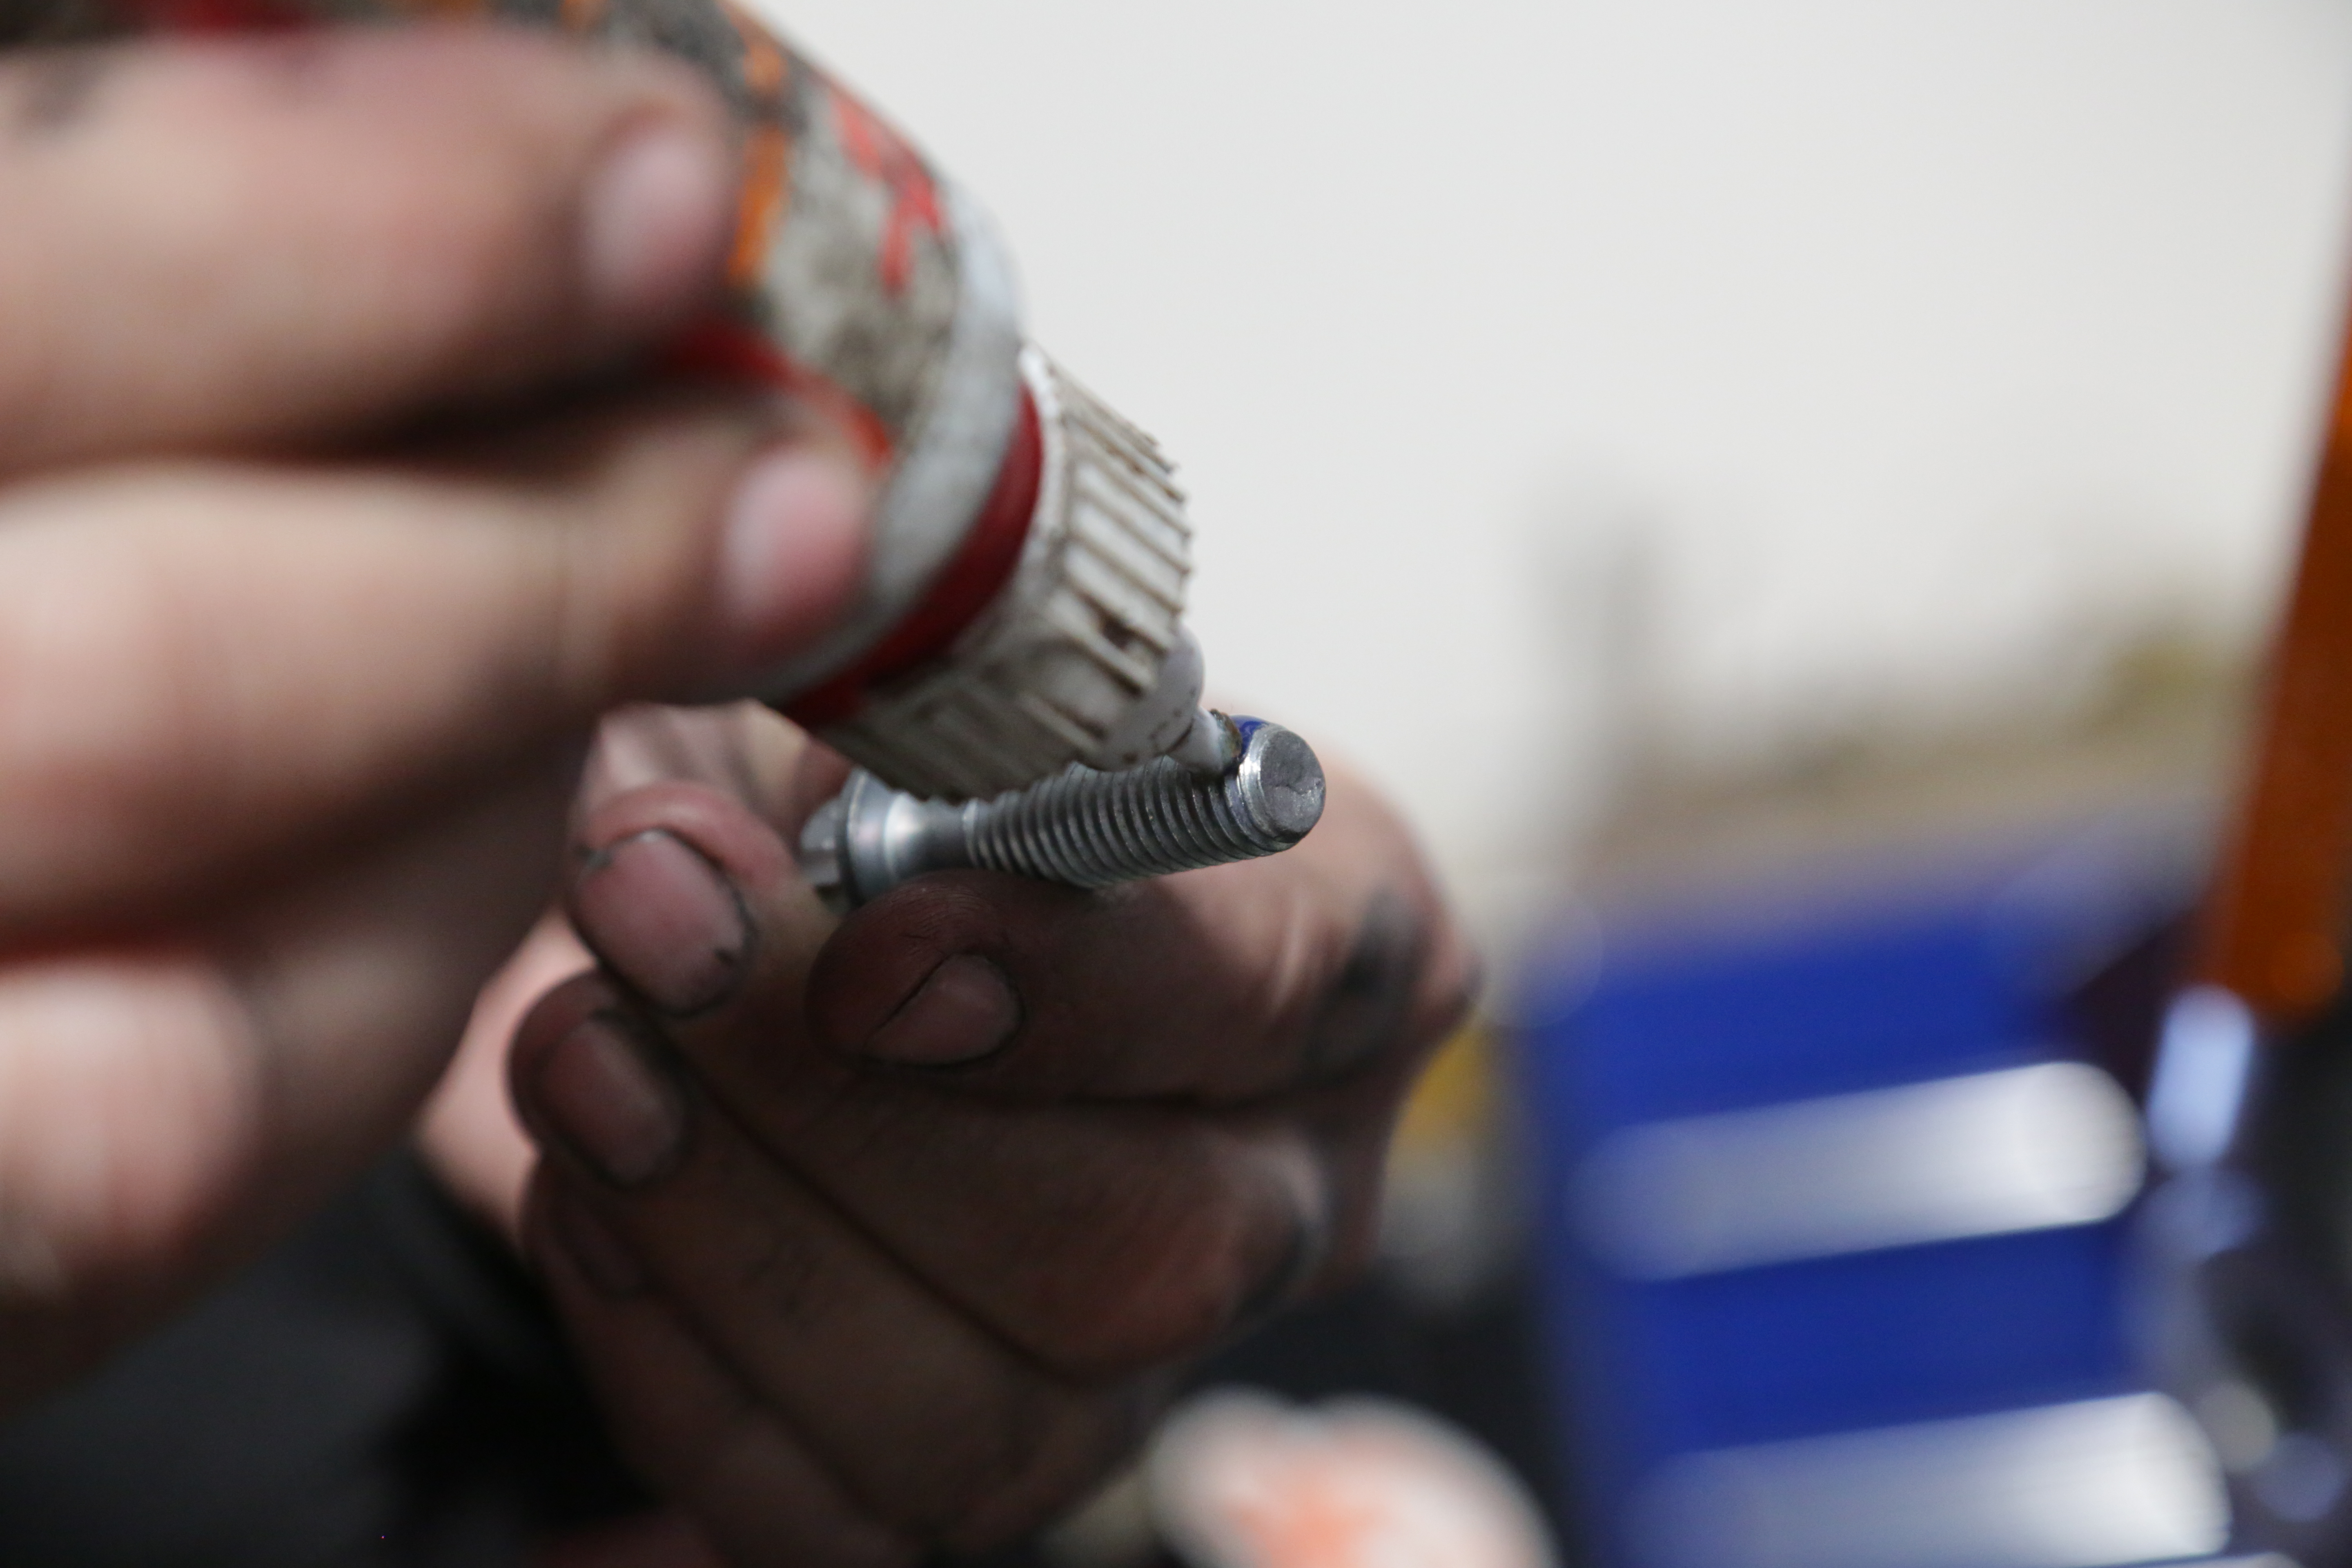
Add some Loctite to make sure the bolts don’t back out.
Photos: John Zamora
Repeat the process on the opposite side of the bike.
Photos: John Zamora
RELATED | MORE PRODUCTS
Remove the stock rotors and set on the eBay pile.
Photos: John Zamora
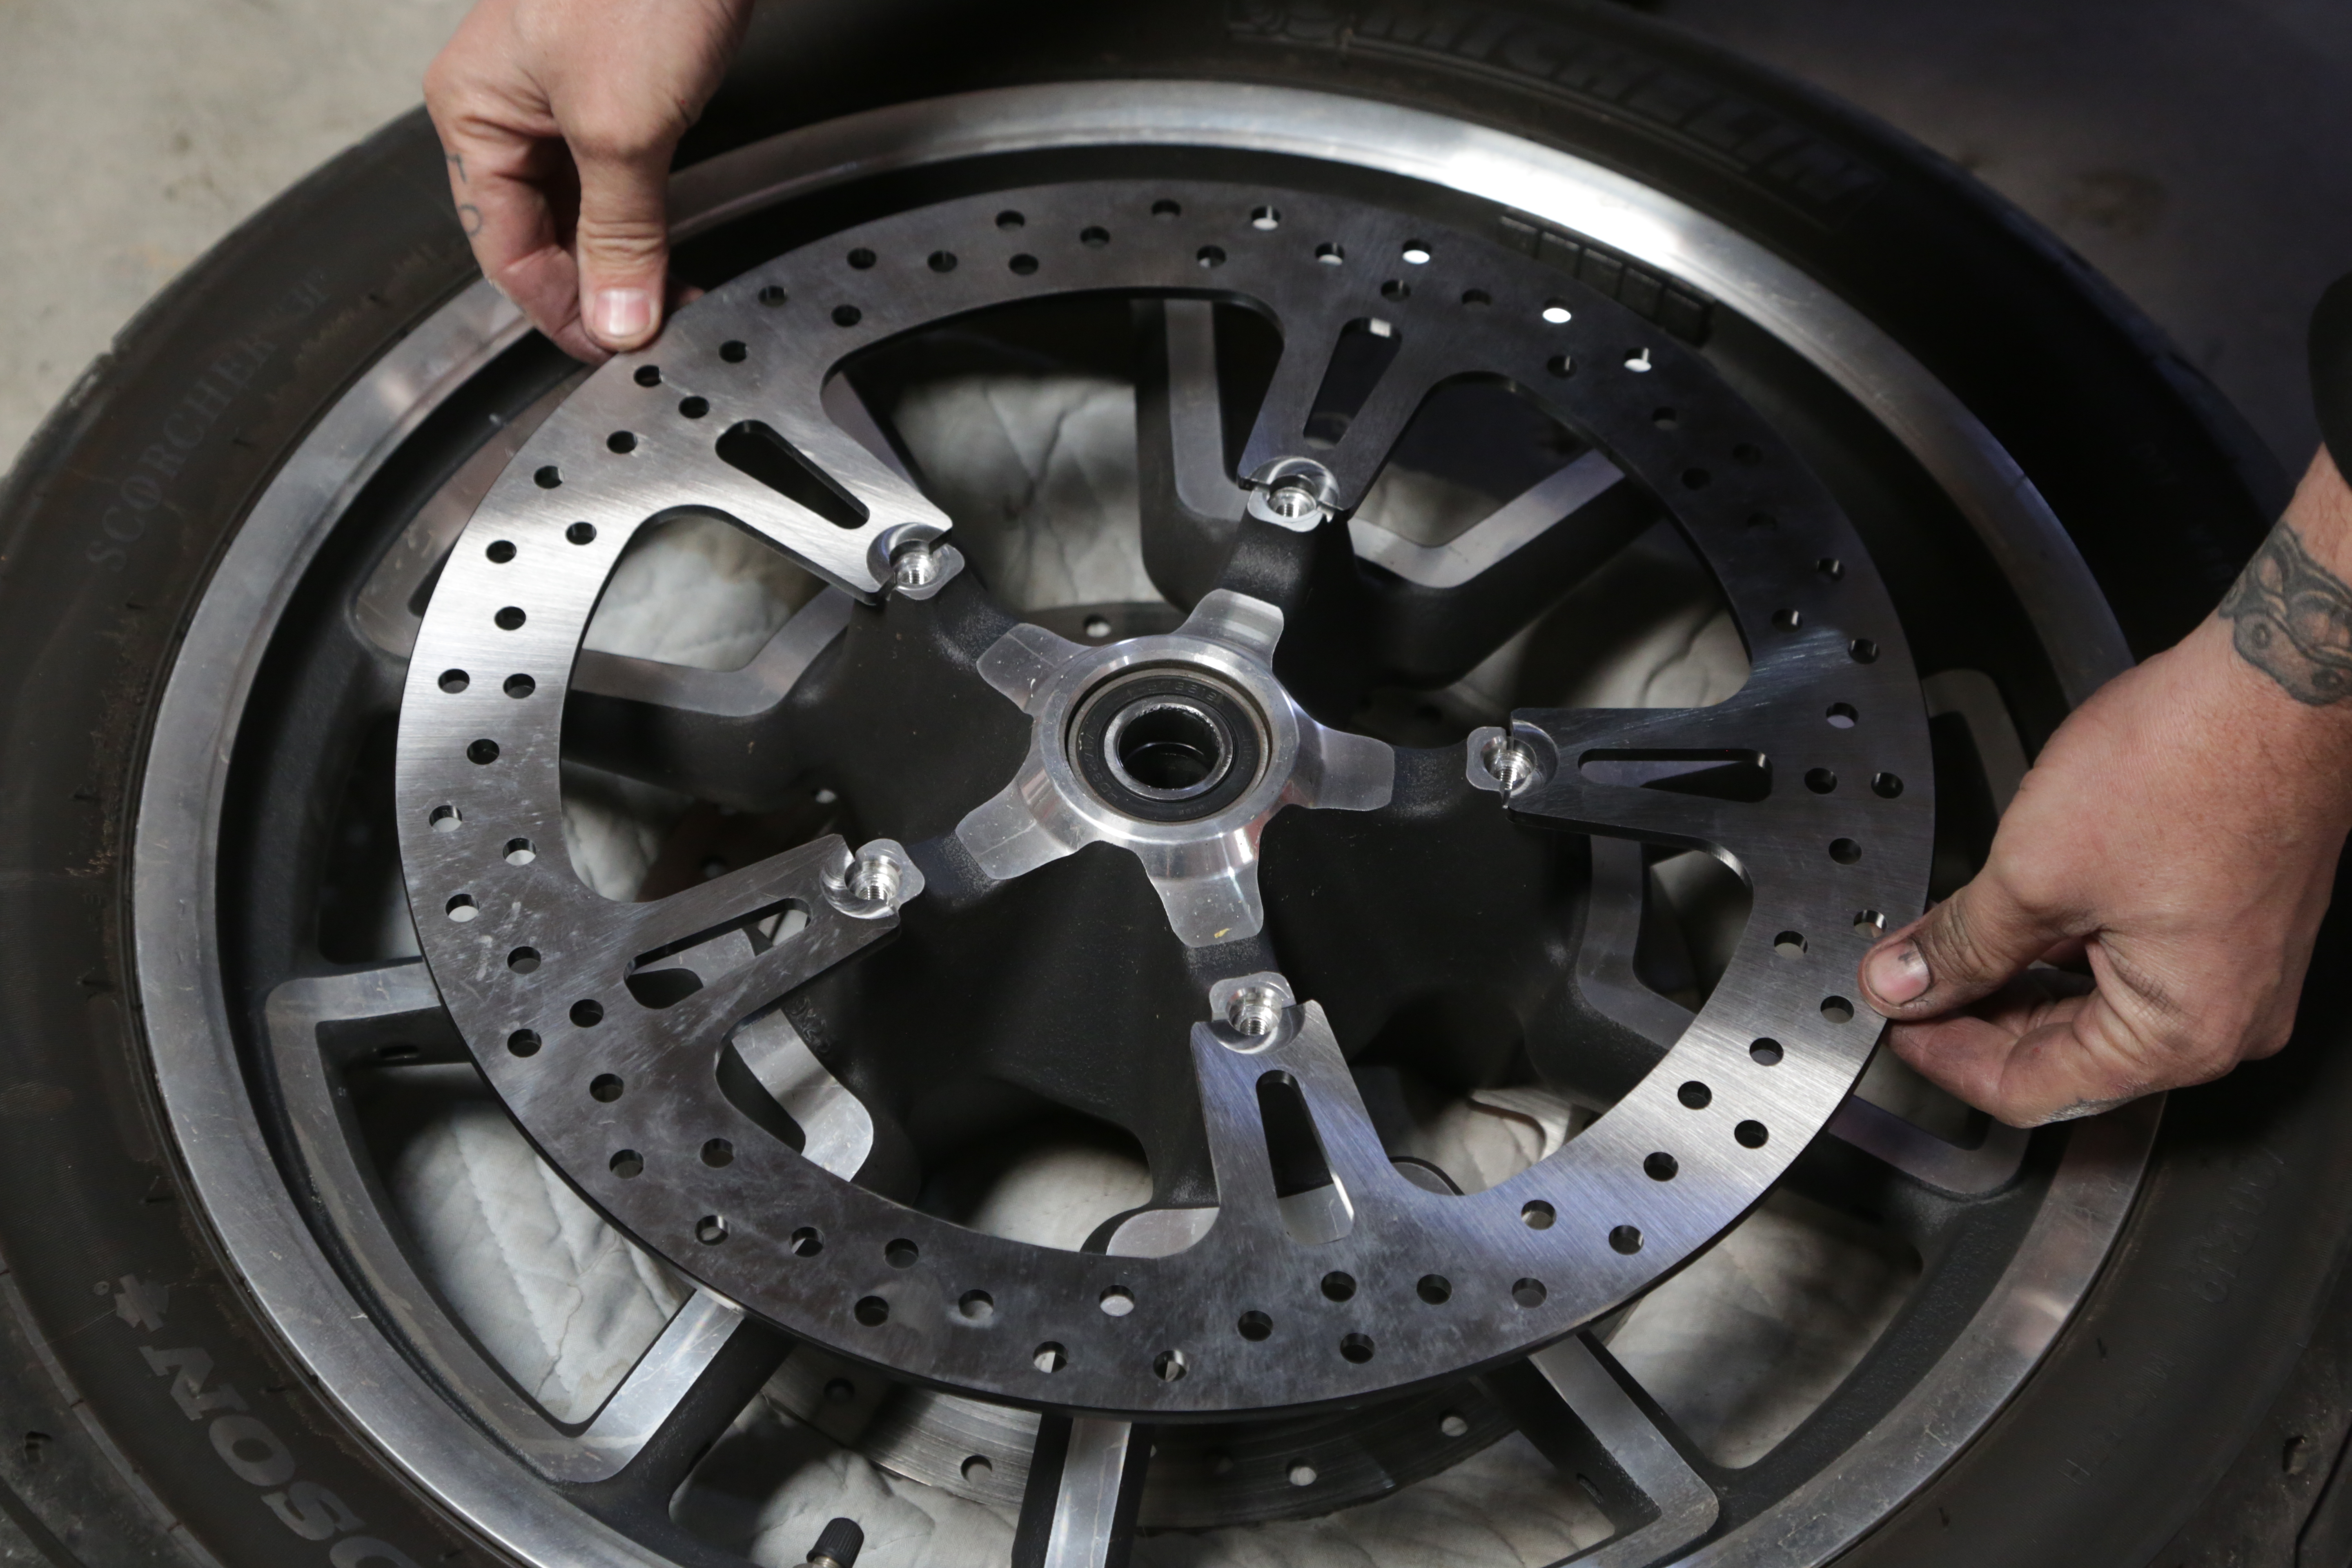
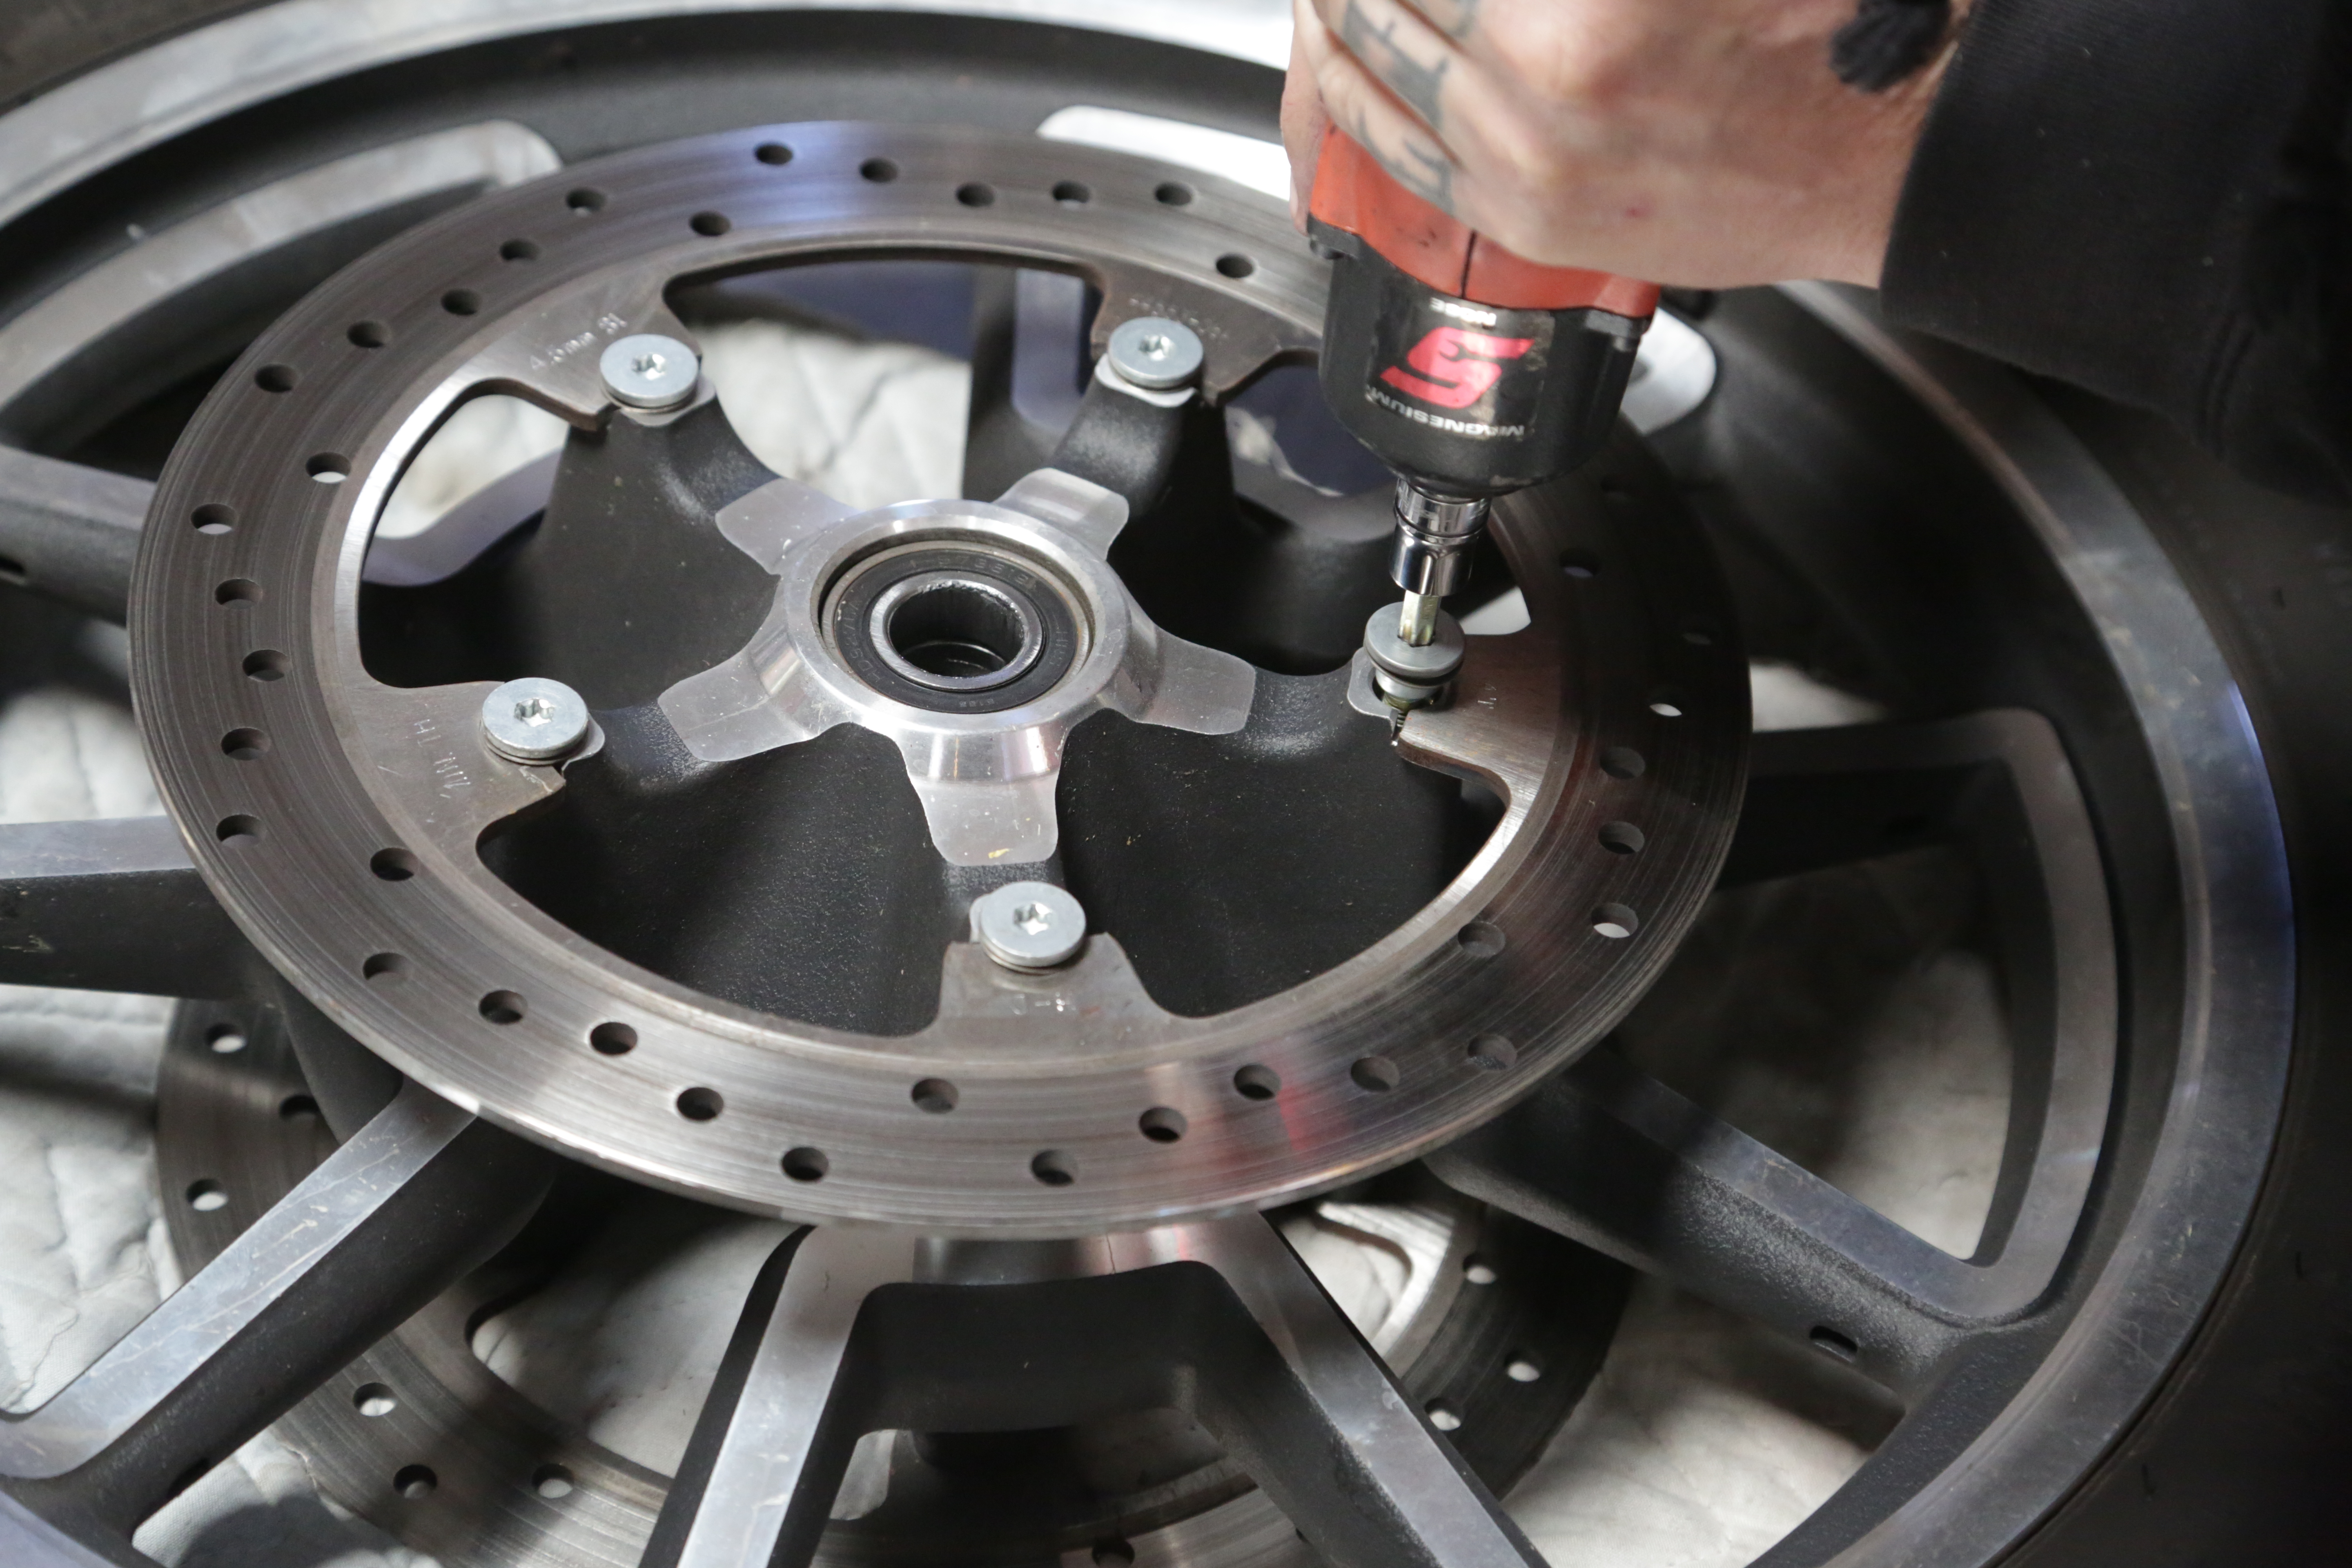
Place the new 15-inch rotor on the wheel lining up the holes.
Photos: John Zamora
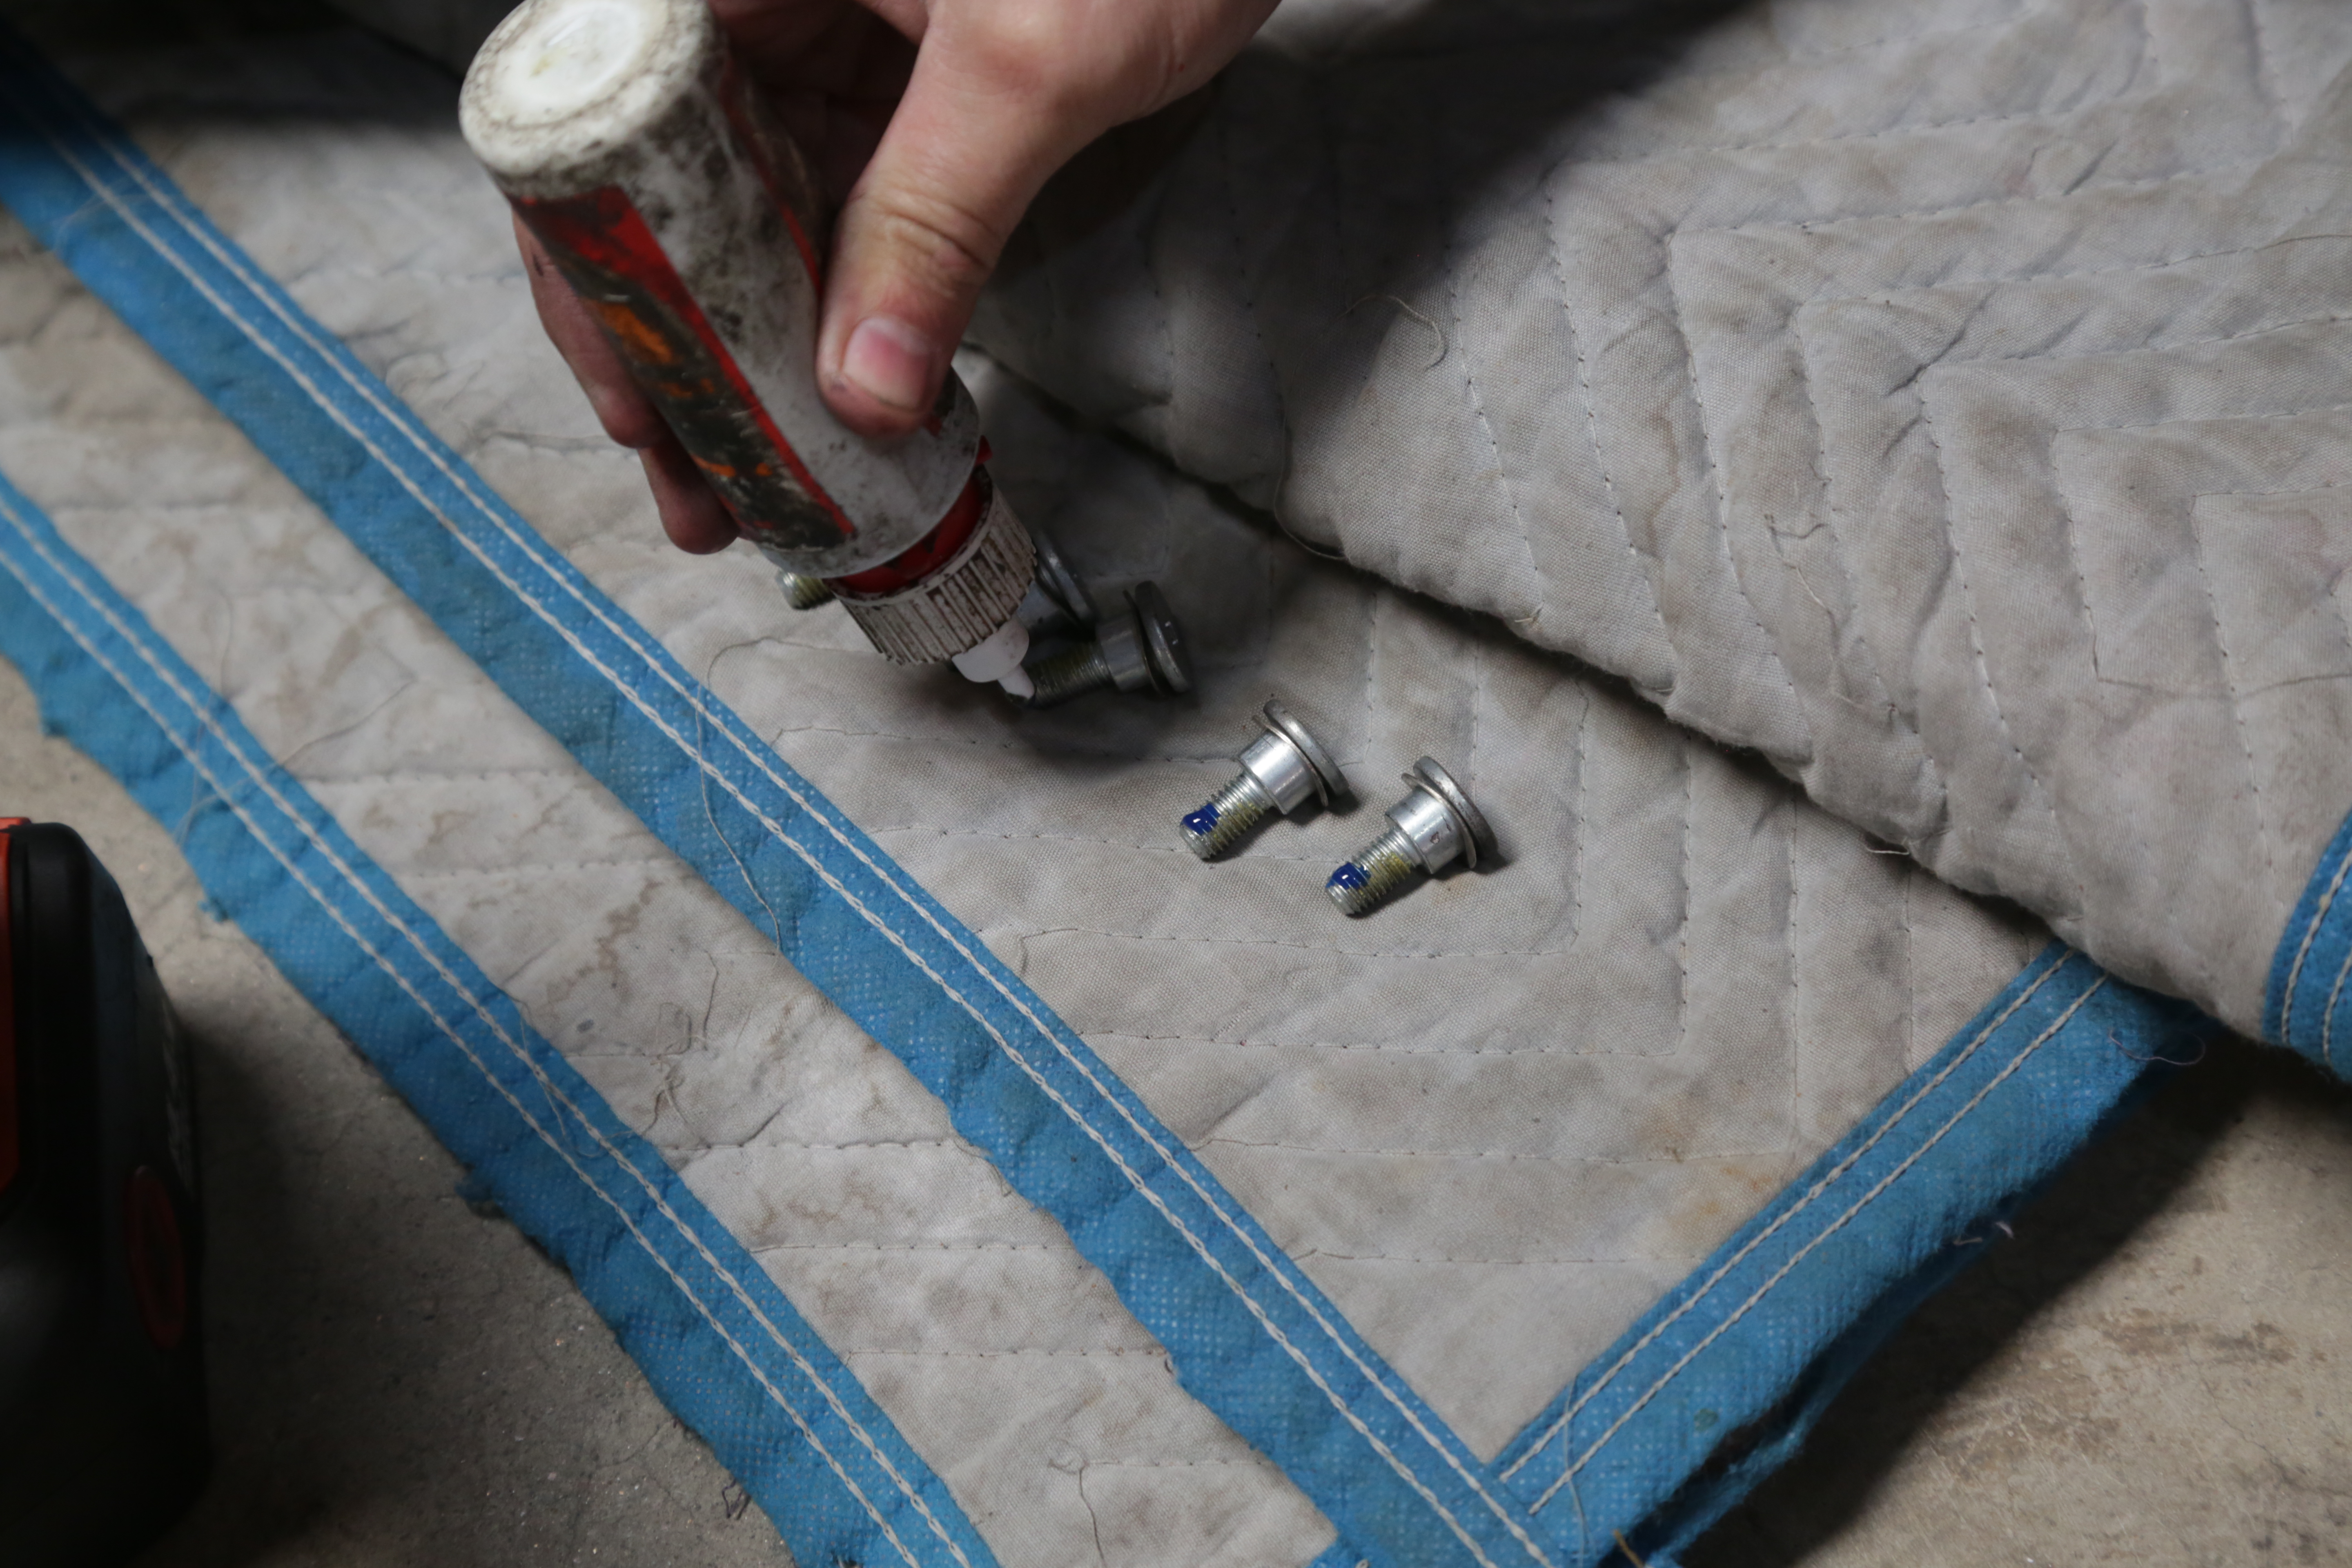
Make sure and add a bit of Loctite to the rotor bolts before installing.
Photos: John Zamora
RELATED | MORE ARLEN NESS
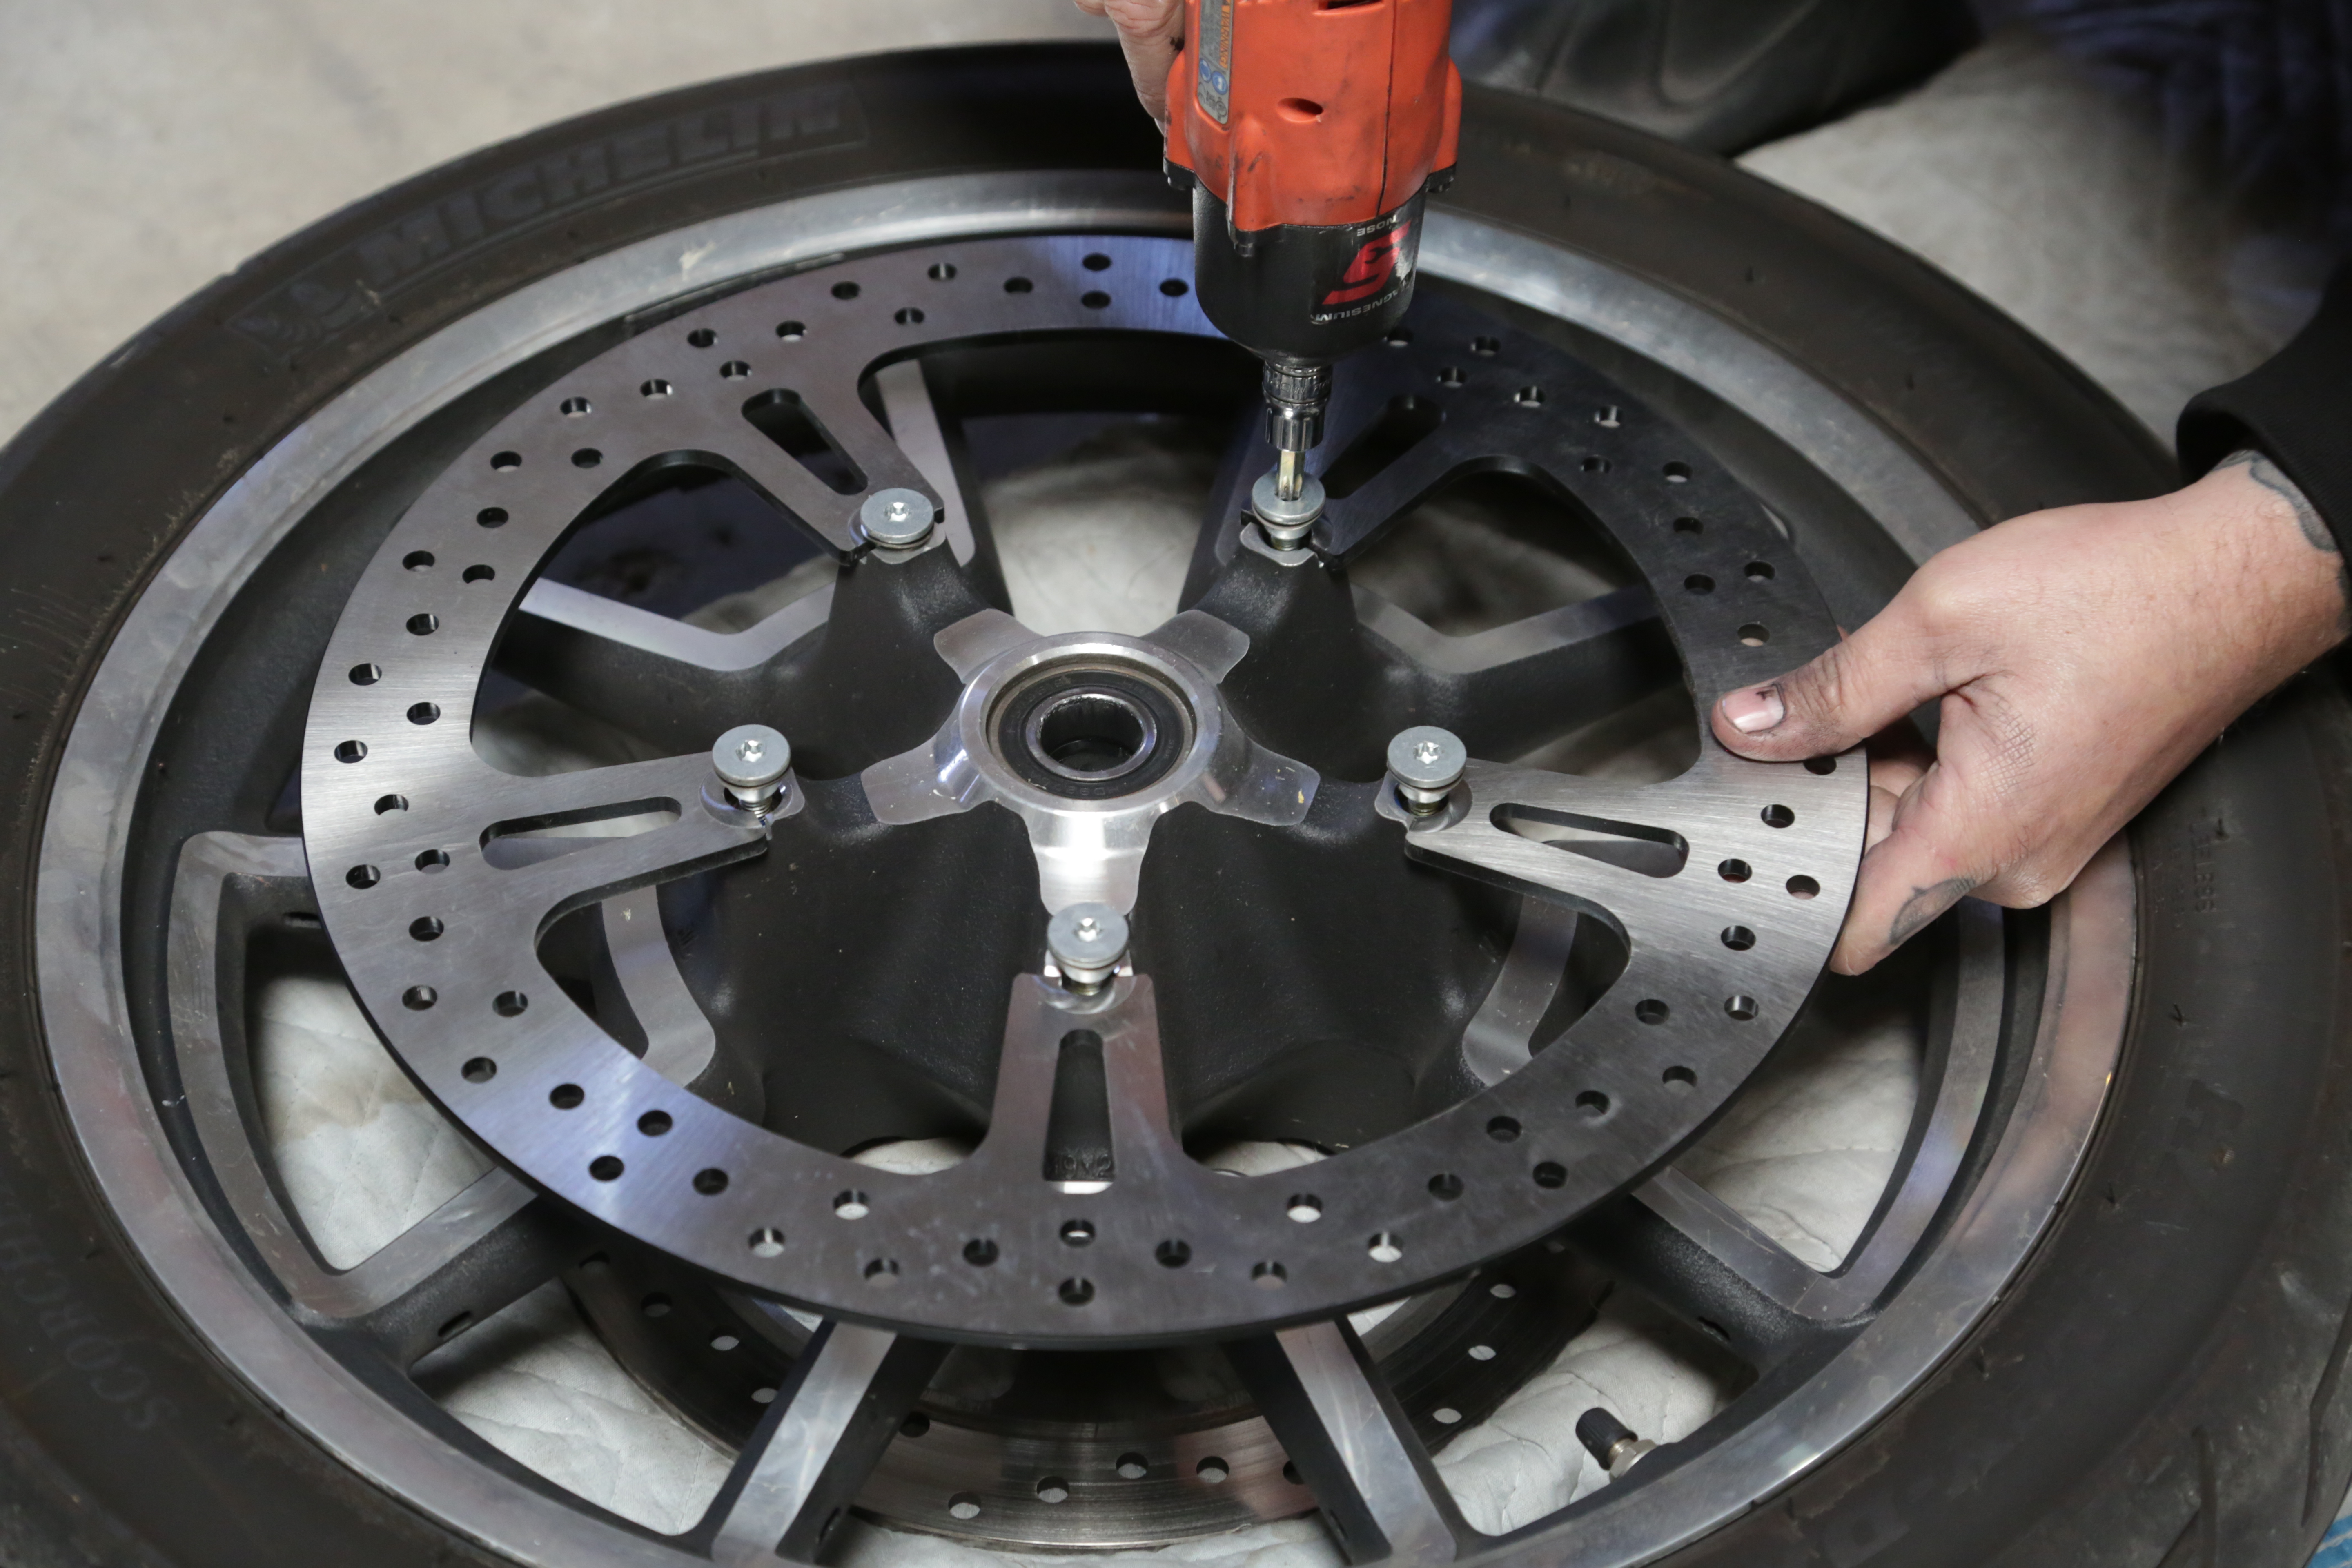
Carefully tighten all the rotor bolts in a star pattern and torque to spec. Repeat on the opposite side of the wheel if the bike has dual rotors.
Photos: John Zamora
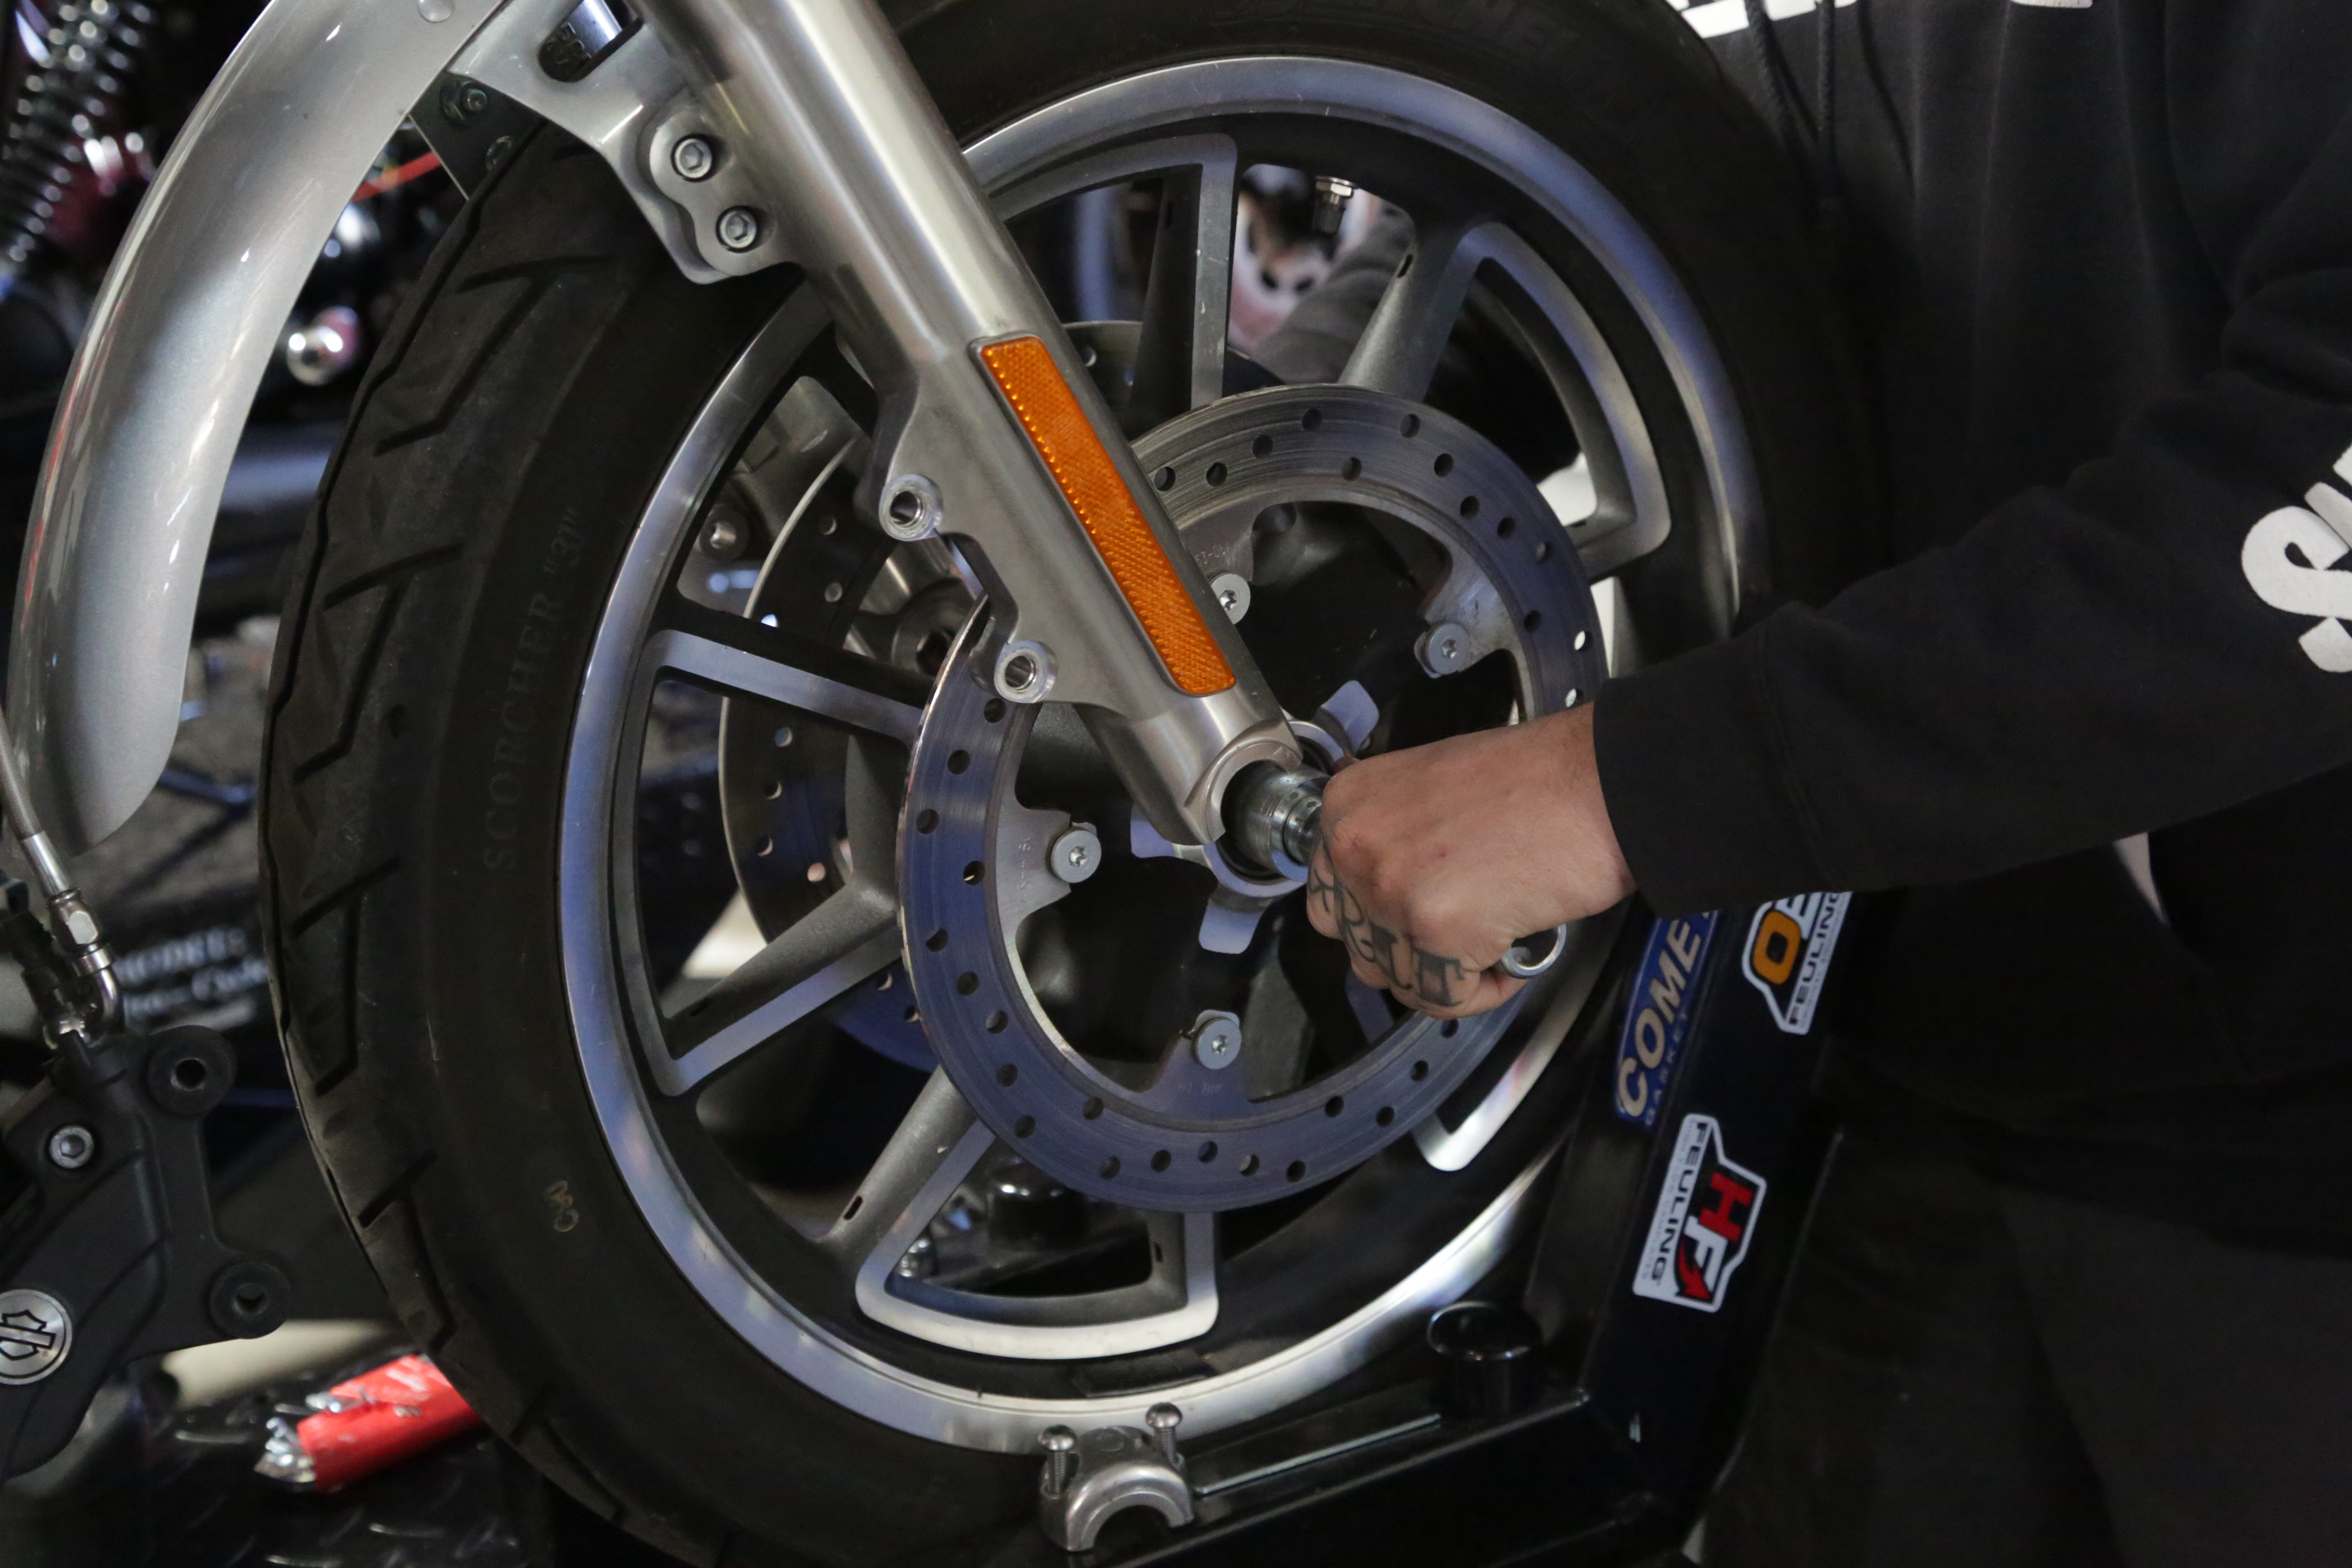
Replace the front wheel and replace the axle and hand-tighten for now.
Photos: John Zamora
Replace the stock calipers onto the Arlen Ness mounts and tighten to specs. Repeat the process on the opposite side of the wheel.
Photos: John Zamora
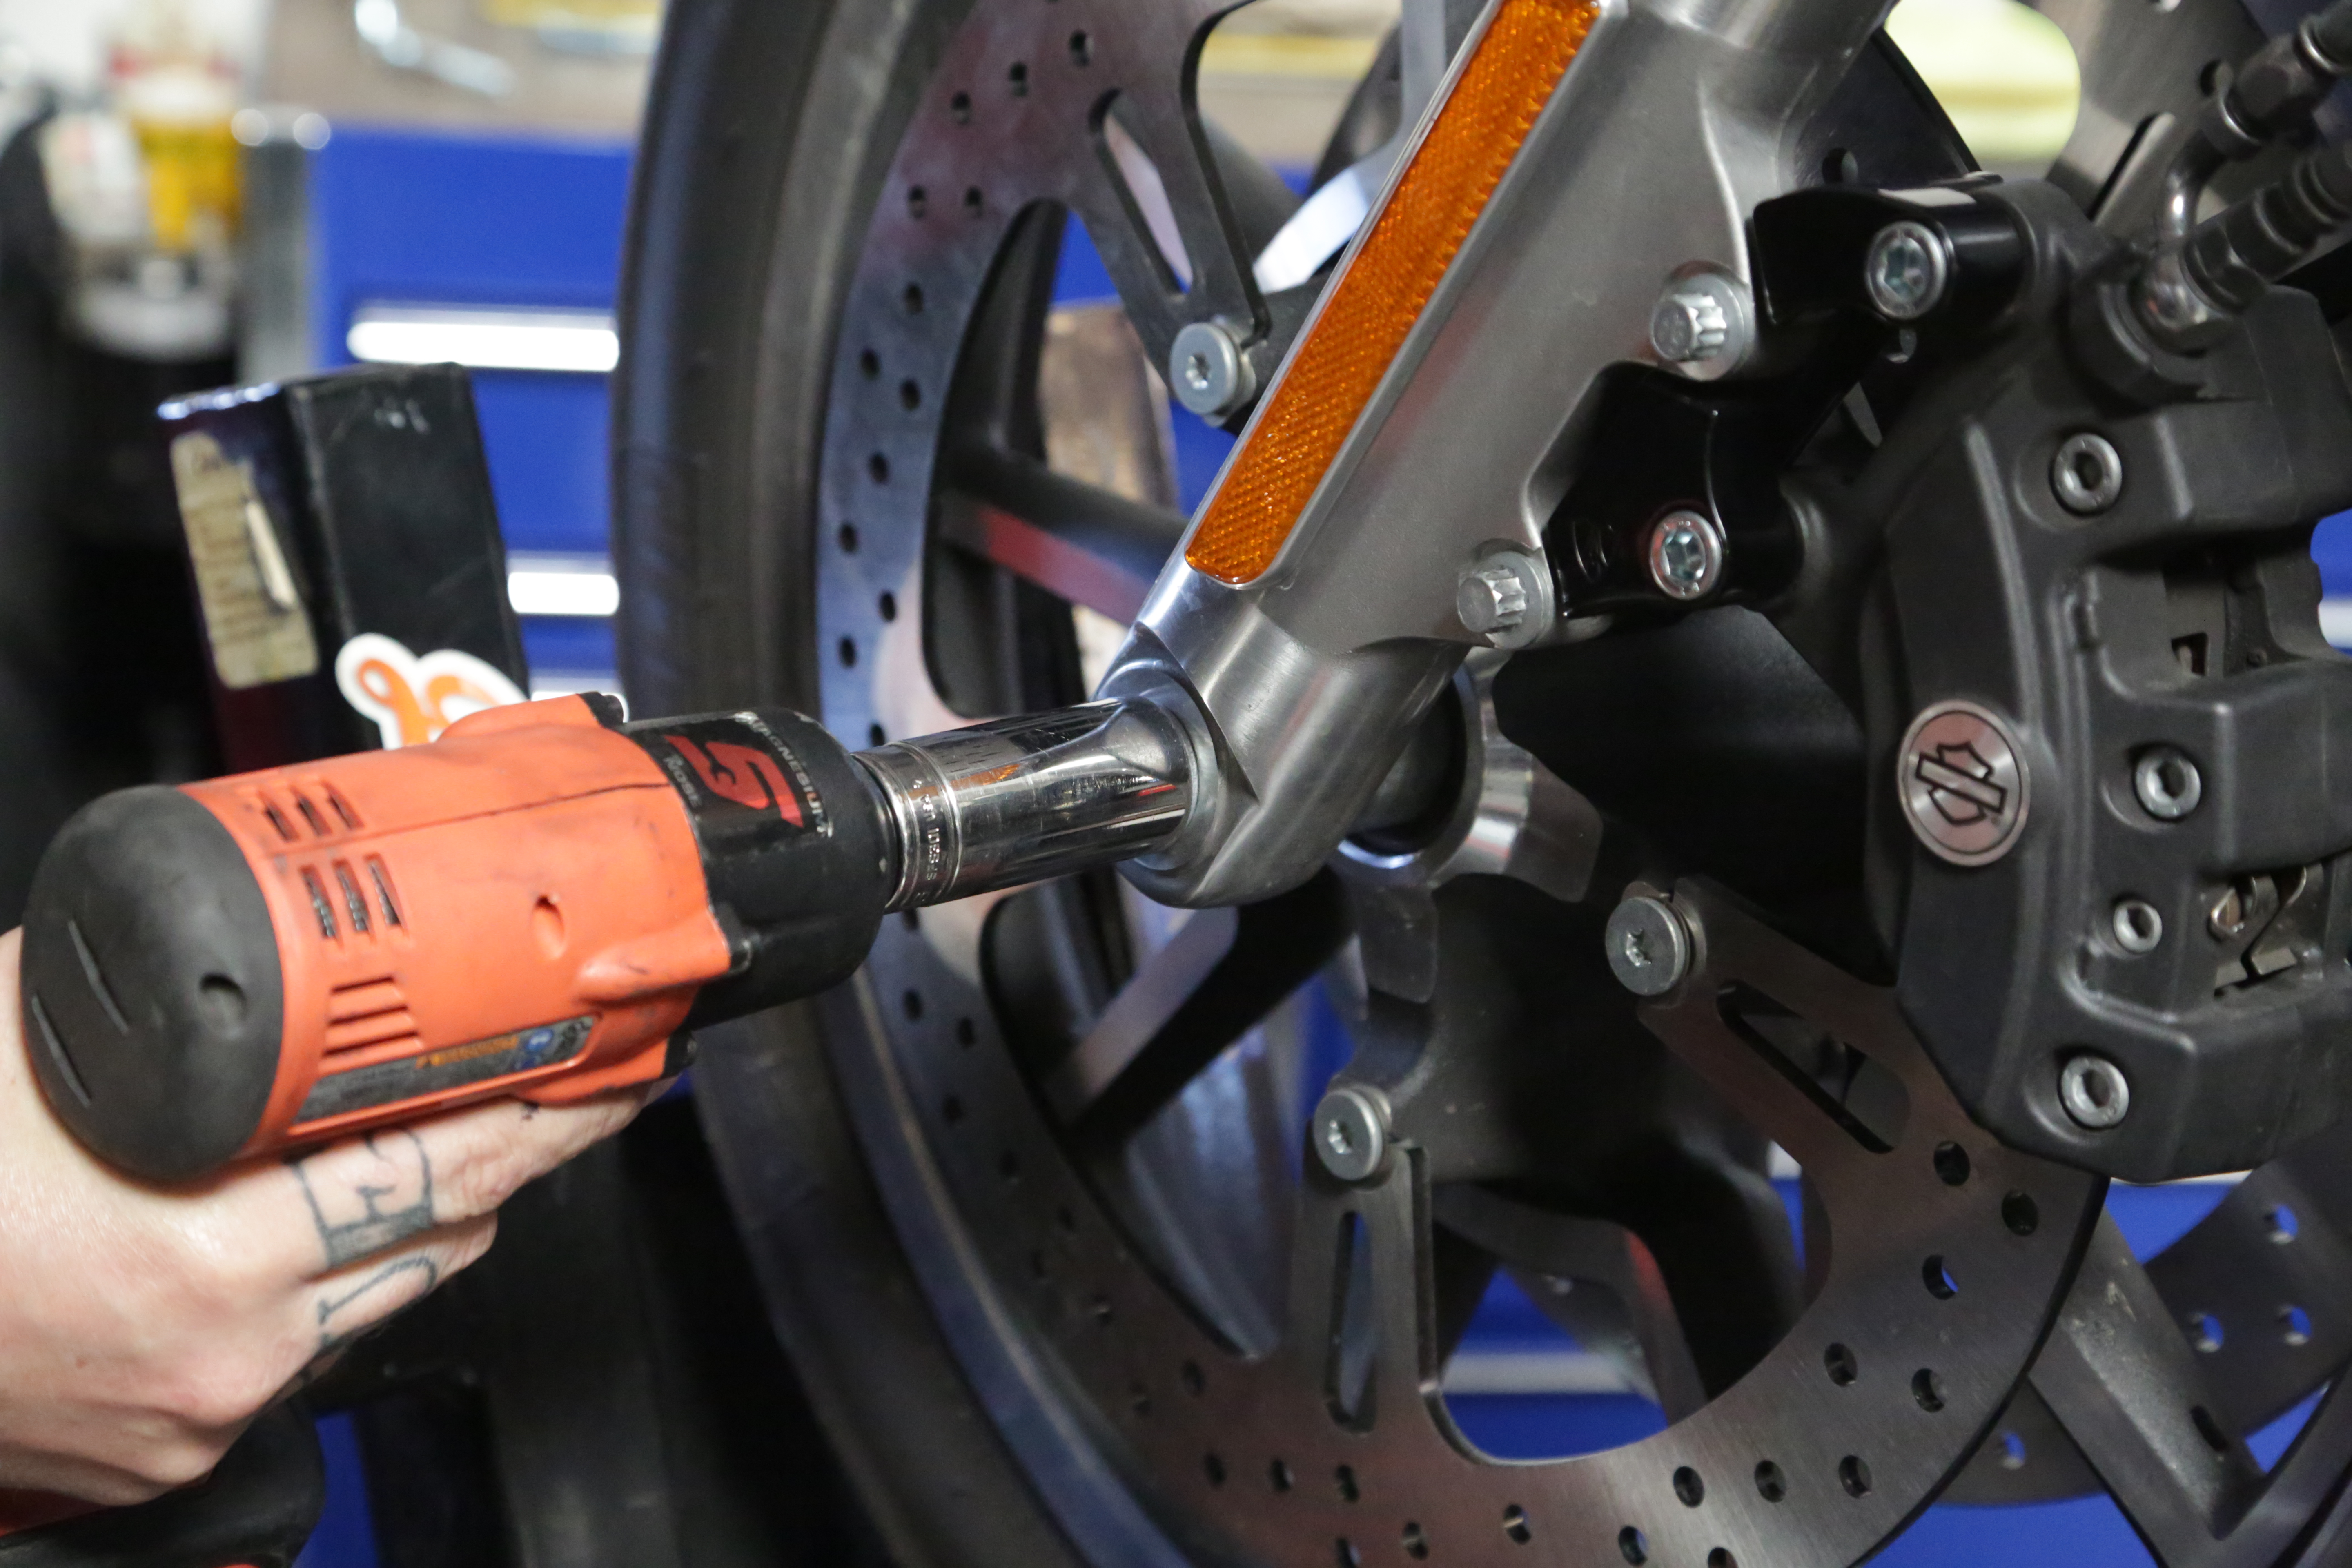
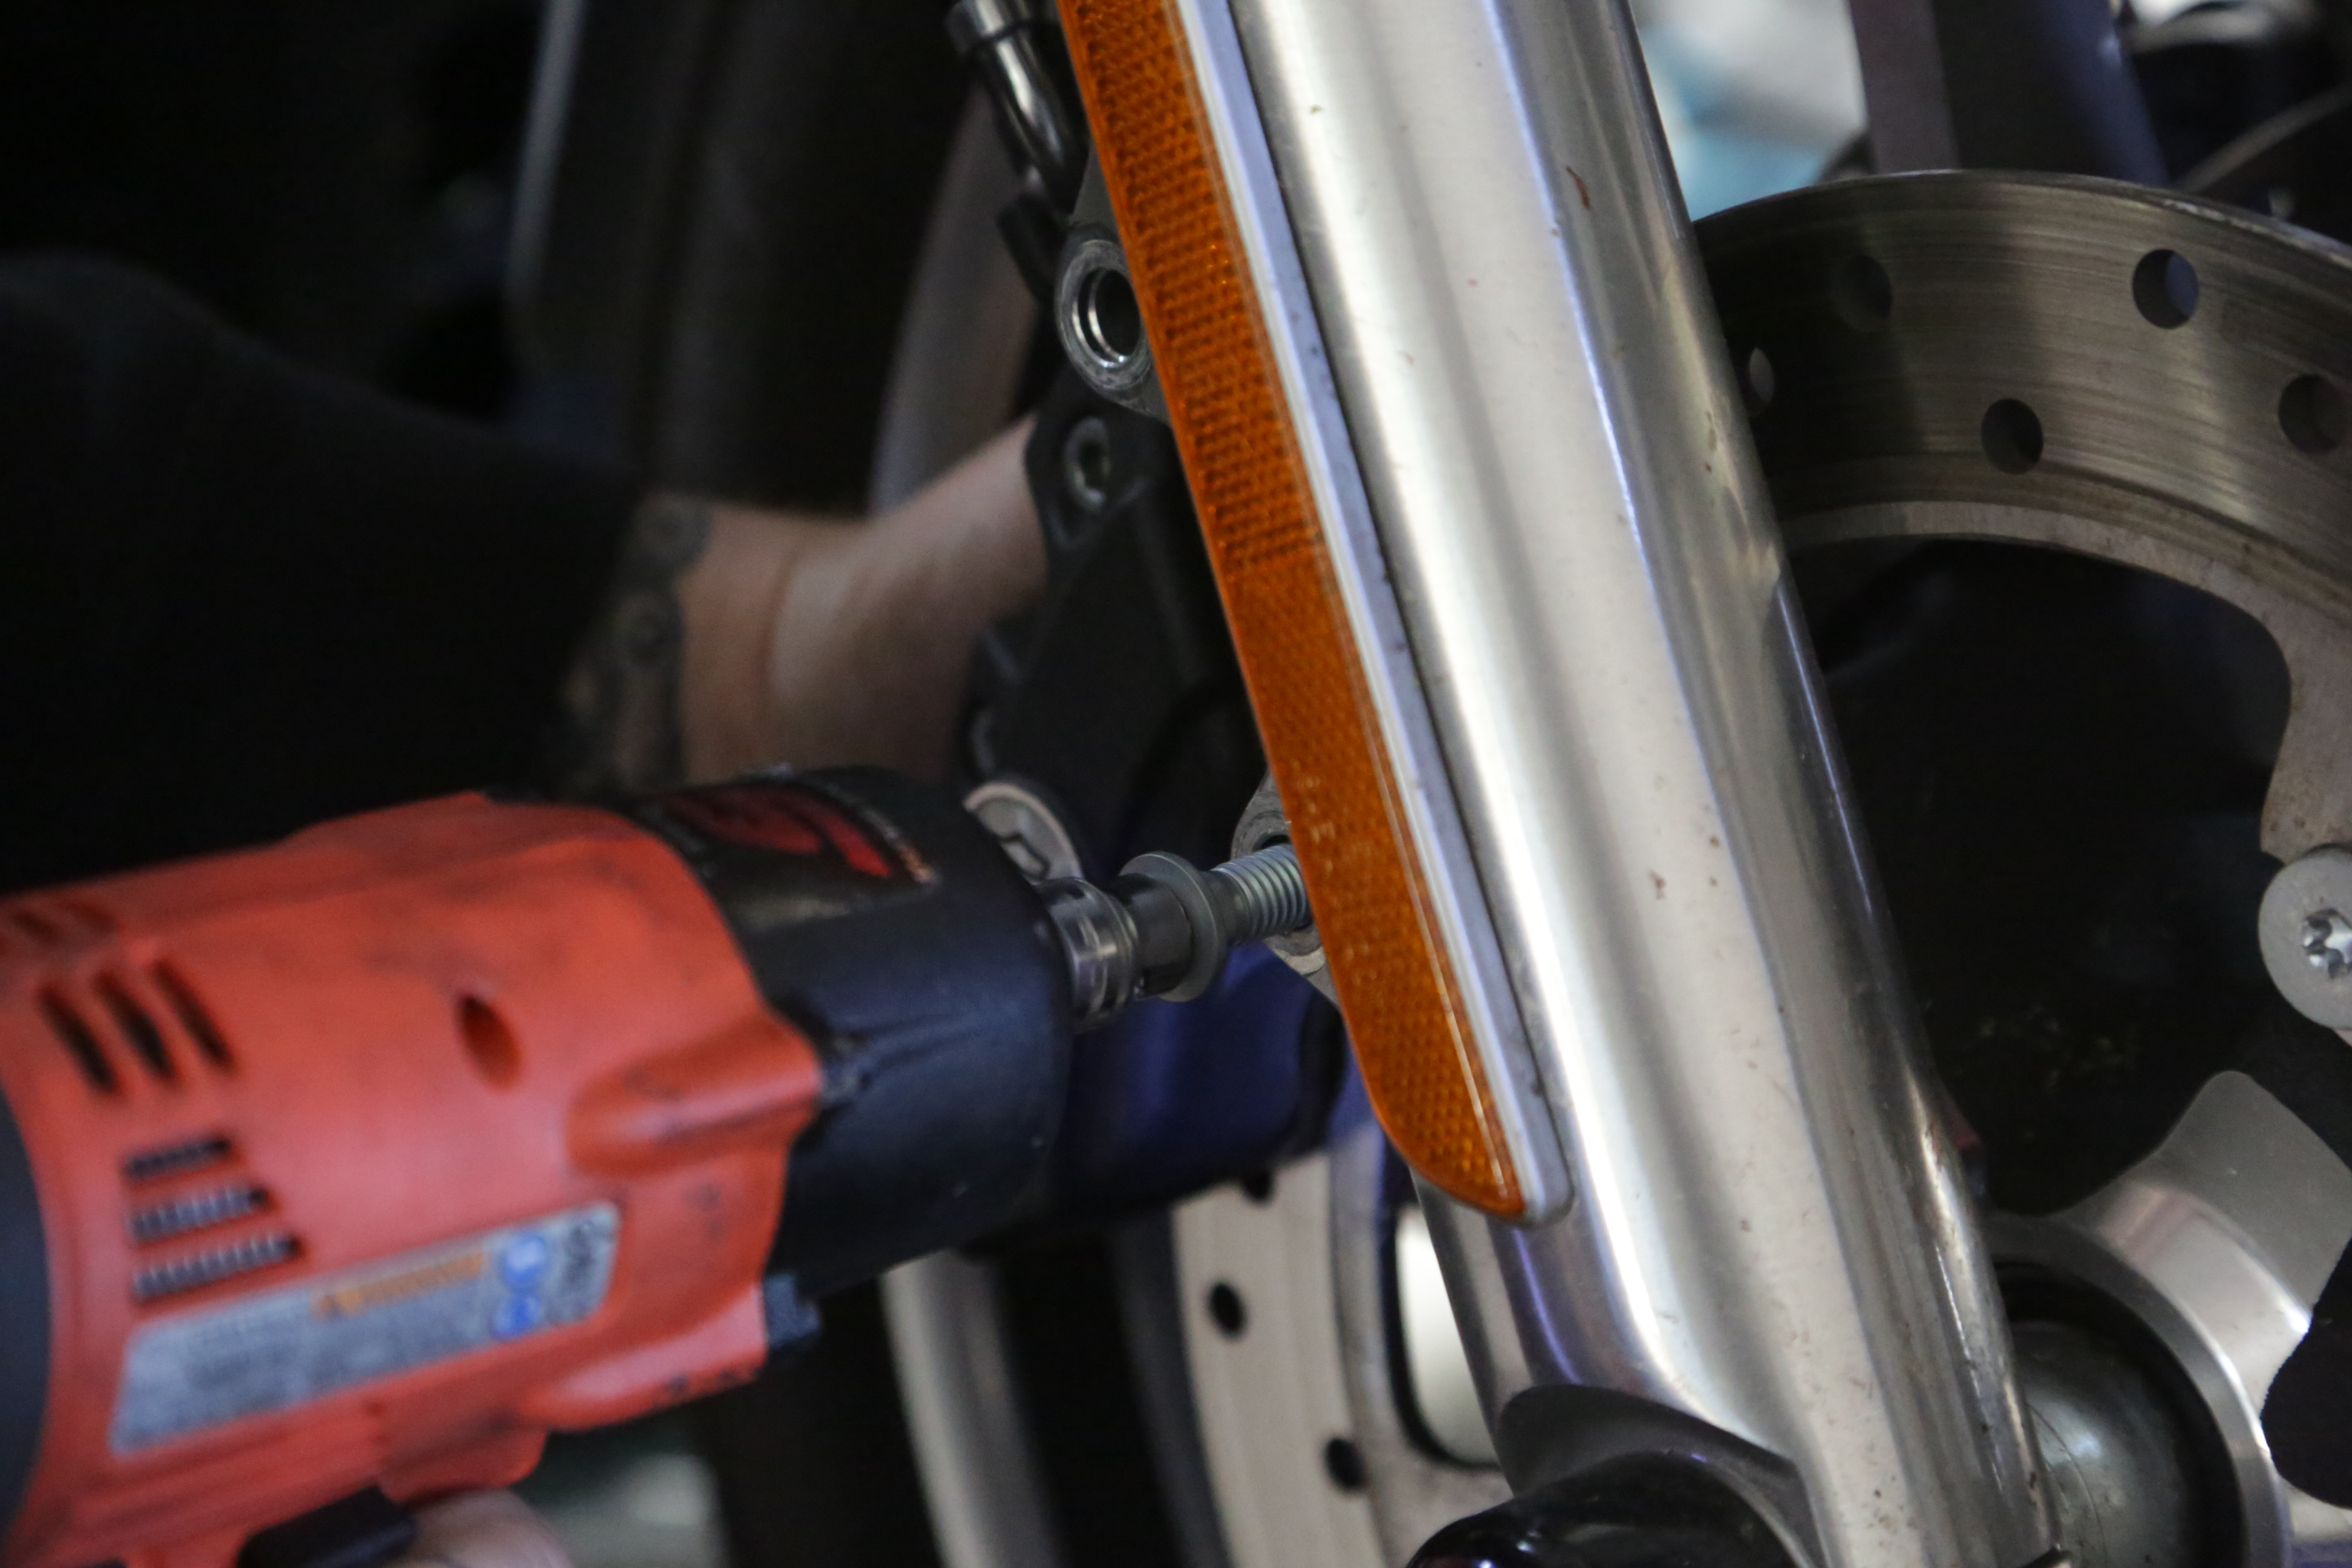
Tighten the stock axle nut and torque to specs.
Photos: John Zamora
Don’t forget to replace the pinch blots on the opposite and tighten to specs.
Photos: John Zamora
RELATED | MORE DYNAS

Replace the axle caps and you’re done. Here’s what the new oversize rotor looks like and on a stock Low Rider wheel.
Photos: John Zamora
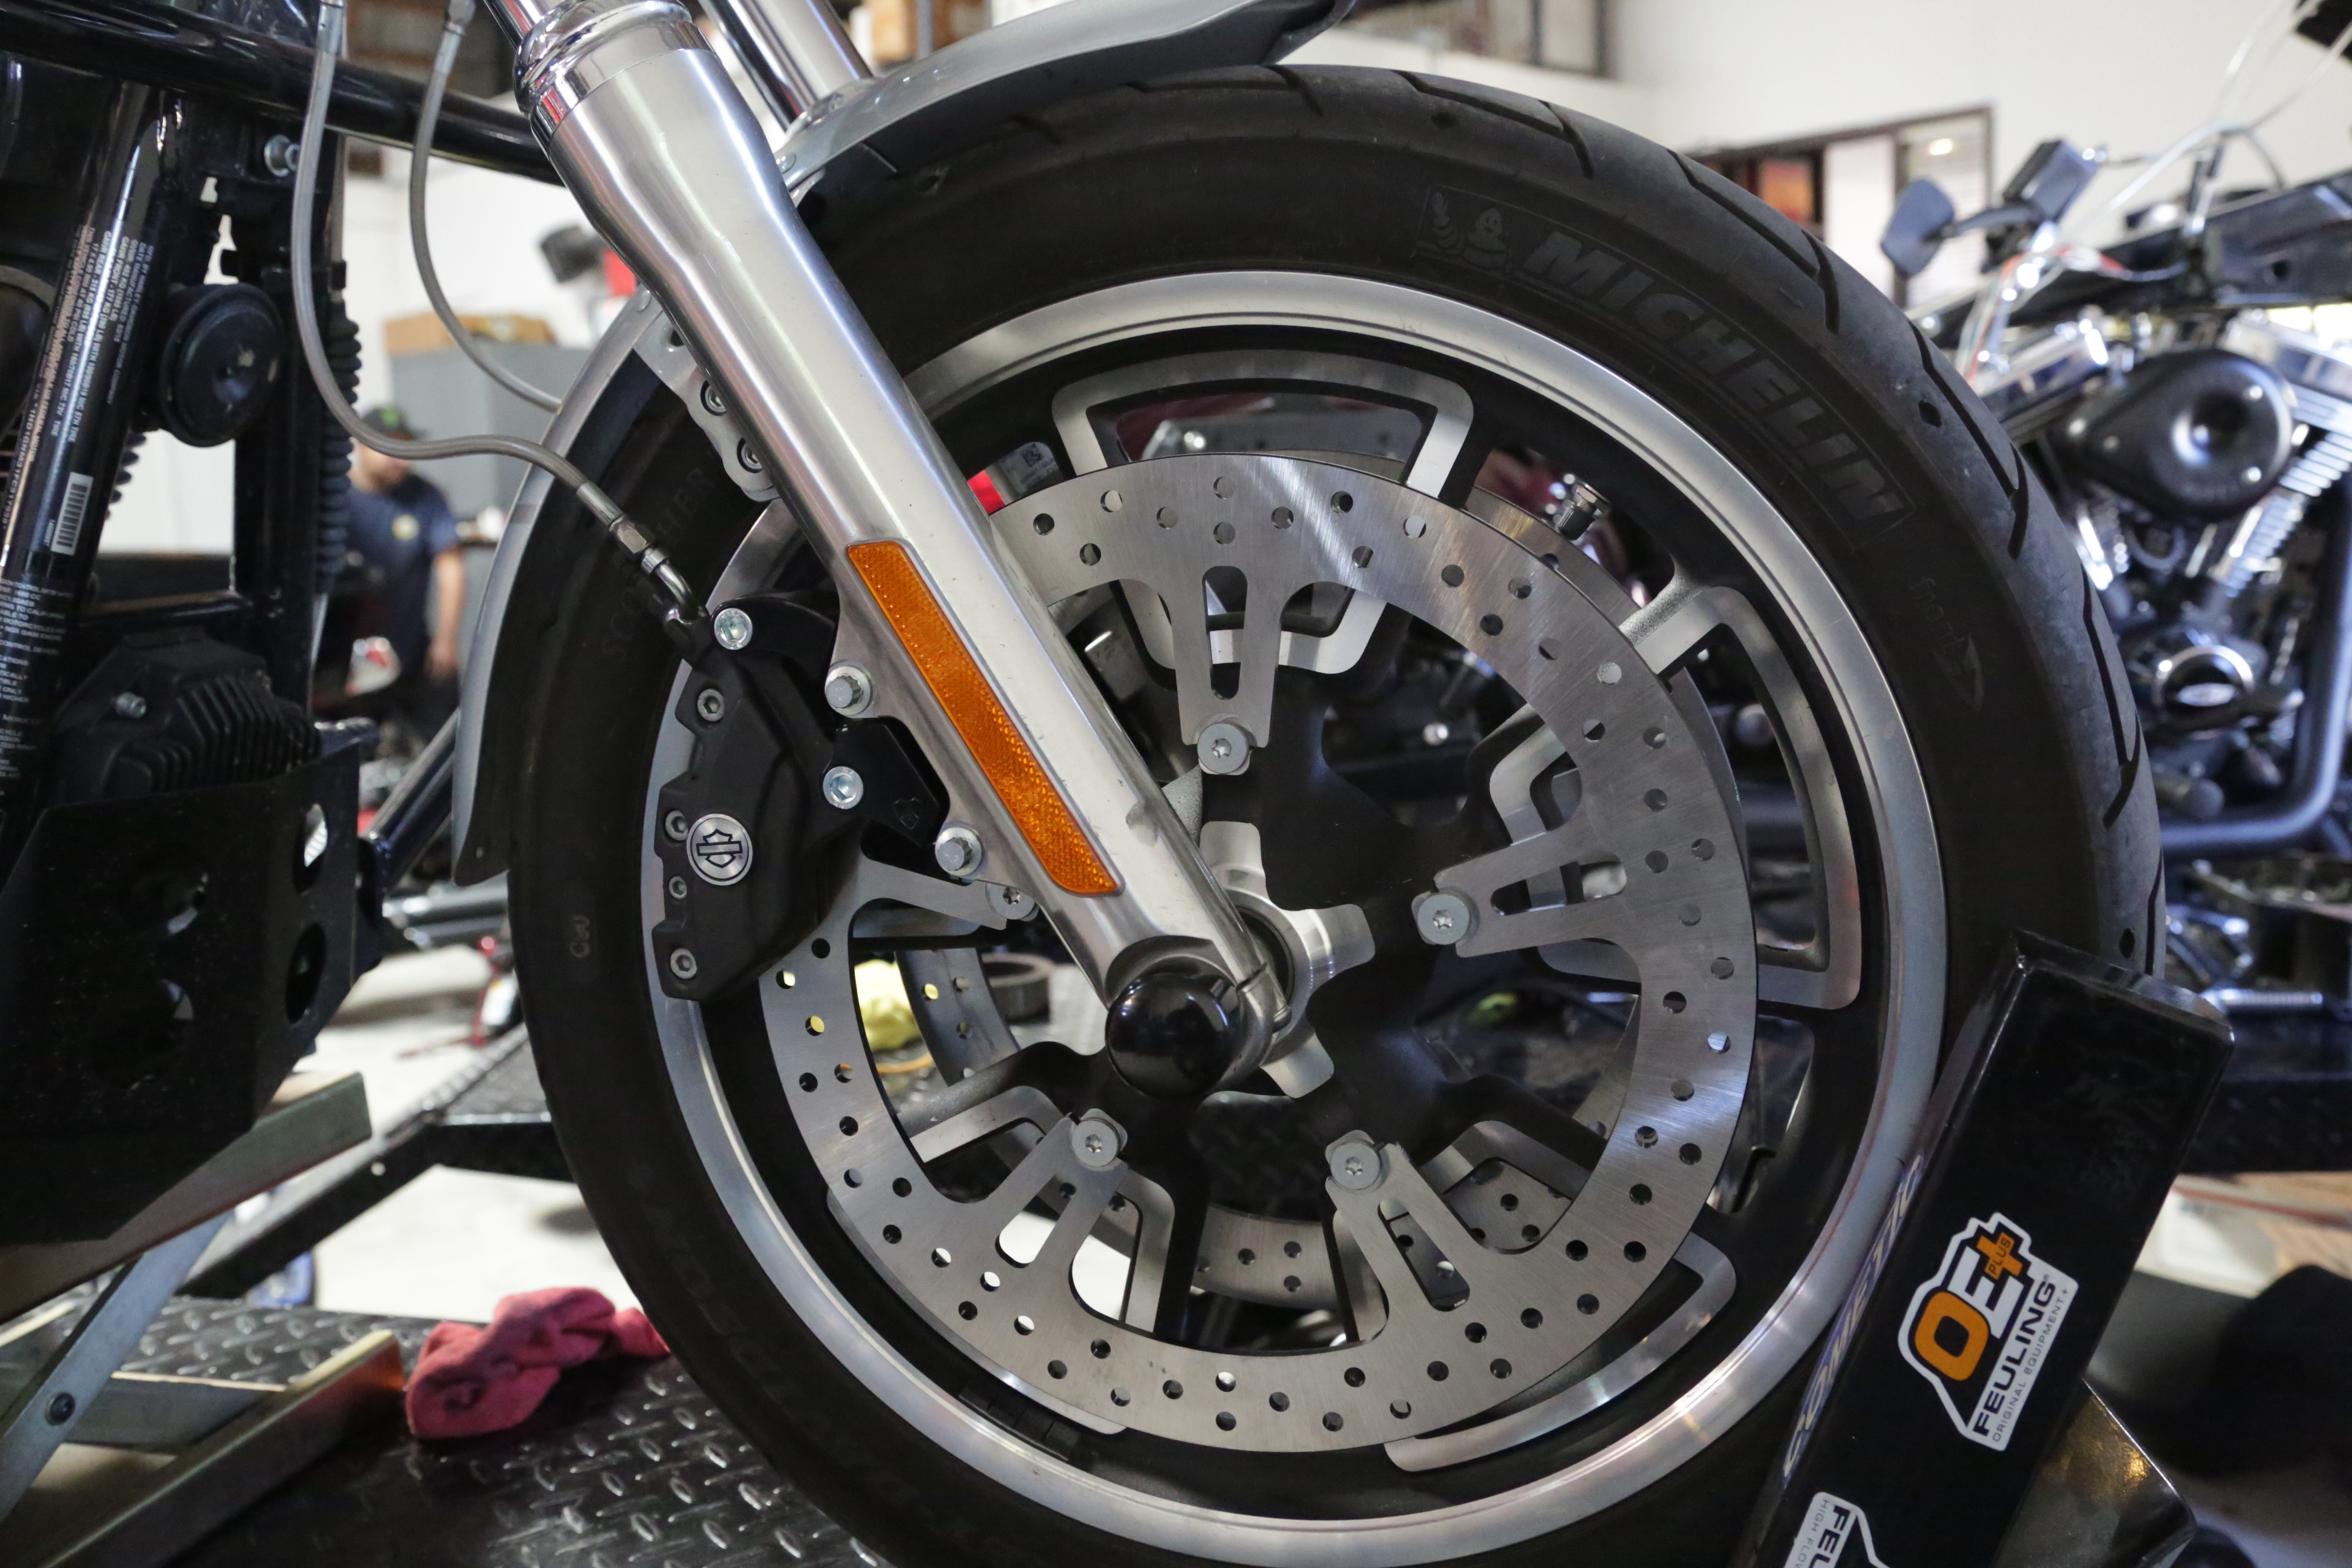
Here’s the opposite, and it shows just how massive this rotor looks.
Photos: John Zamora
Sources:
If you’re looking for more ideas and how-to’s for your motorcycle, start your search here.


