
Detachable Fairing – Rock N’ Roll Highway
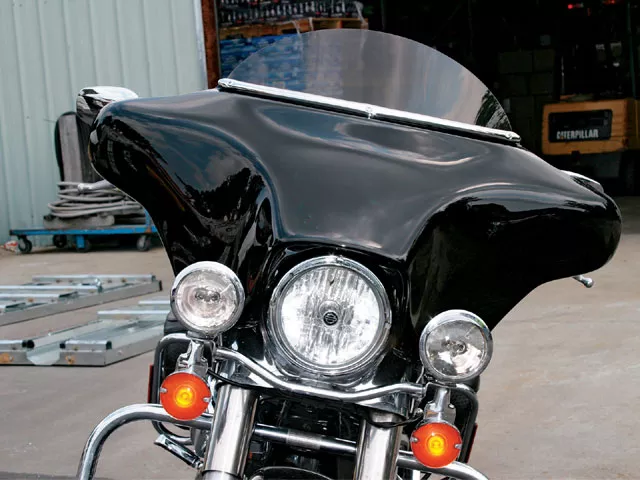
1. After
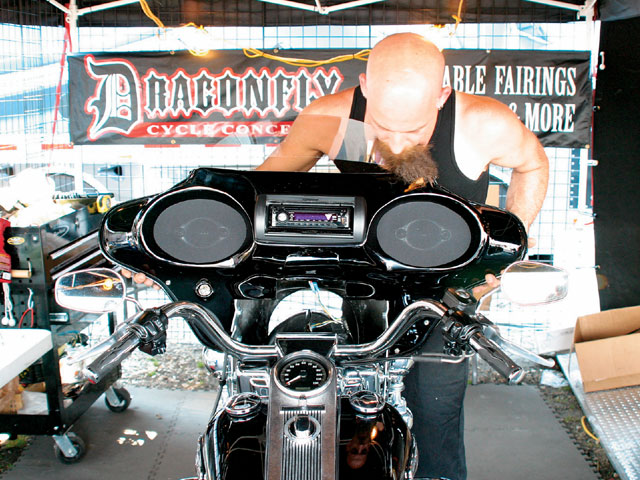
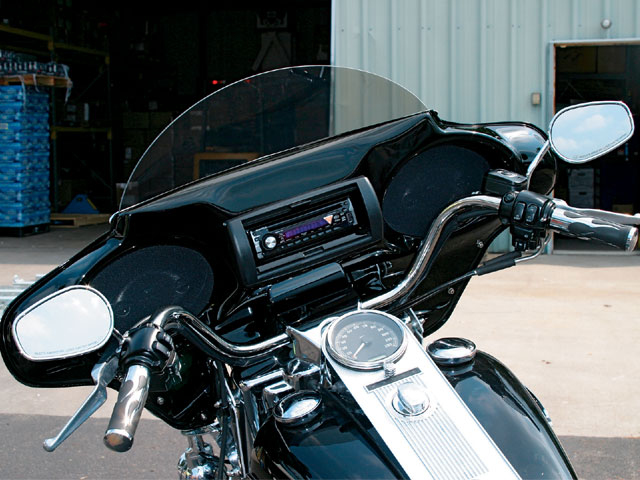
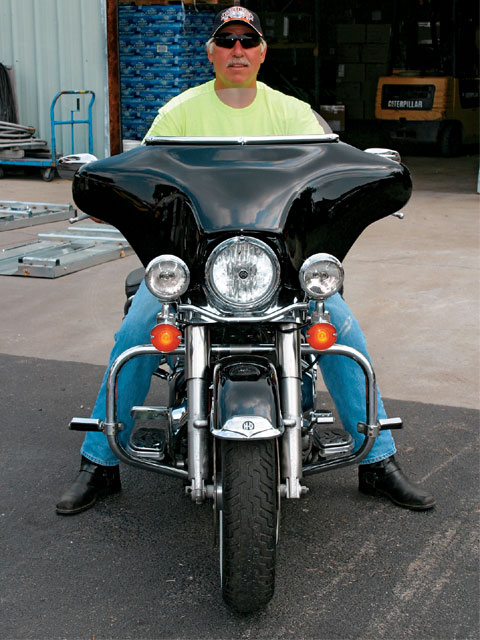
The color-matched DCC fairing installed on a Road King.
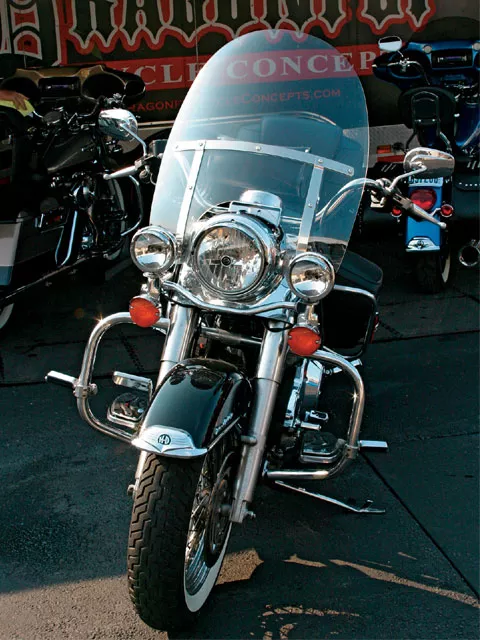
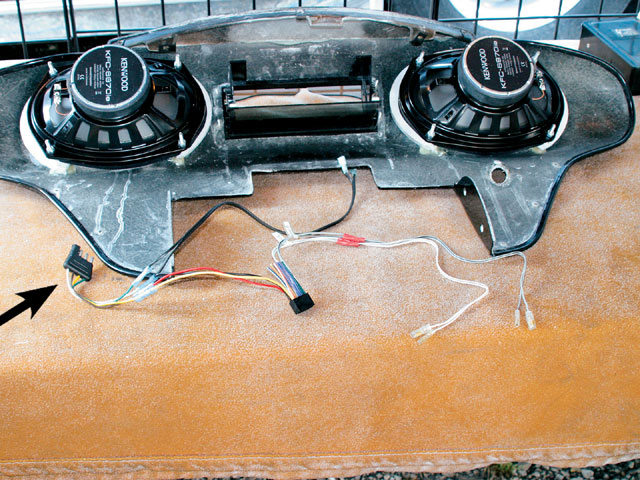
2. Before
Before the installation.
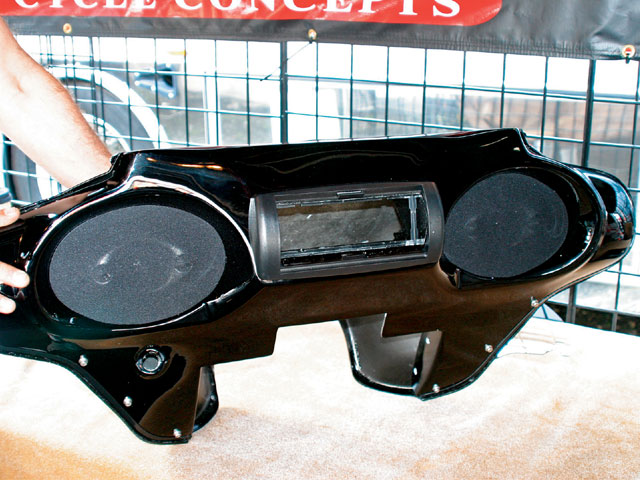
3. The fairing is a two-piece system with an inner and outer shell. Here’s a shot of the inner shell of the DCC detachable fairing. The owner added the audio package, which includes a marine grade CD player and two 6×9 speakers. Mike also opted for a 12v plug. Speakers on the DCC fairing are mounted on the inside of the fairing for that “factory look.”
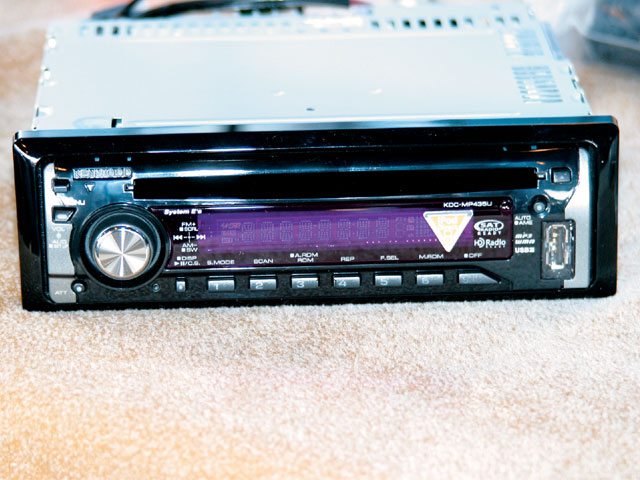
4. Supplied in the stereo package is a Kenwood CD player with a built-in 50 watt x 4 amplifier and front and rear pre-outs for system expansion. It plays CDs, MP3s and is SIRIUS or XM satellite and HD-Radio ready, you can even add an iPod adapter, store your iPod in the saddlebag, and use the radio to control your iPod.
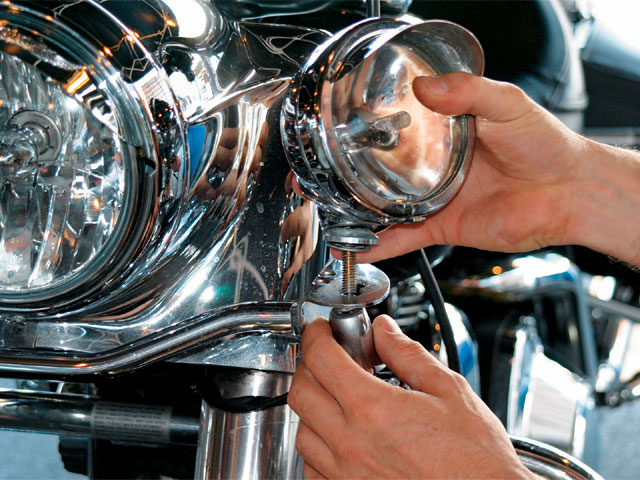
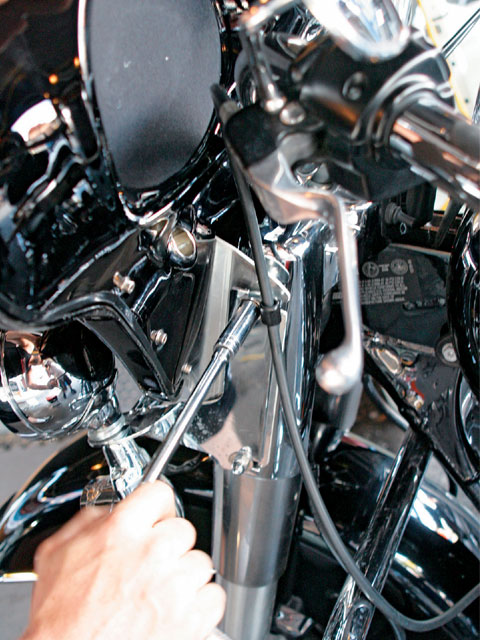
5. Installation for this RK began by unbolting the front spotlights.
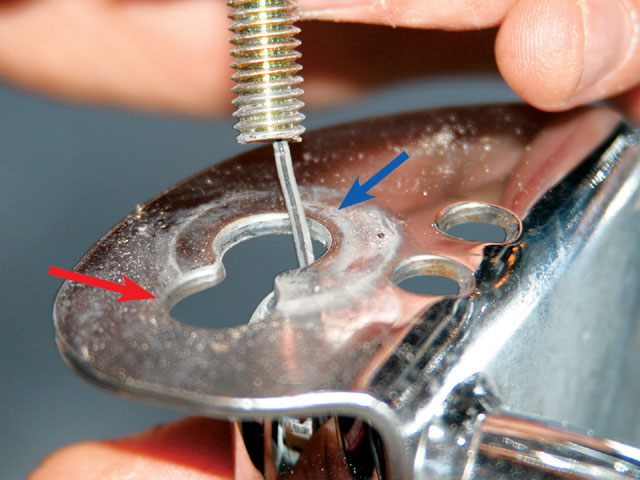
6. The spotlight mounts have two mounting holes, a front position (red arrow) and a rear position (blue arrow). To allow the fairing to slip into place, the lights were moved from the rear position to the front position.
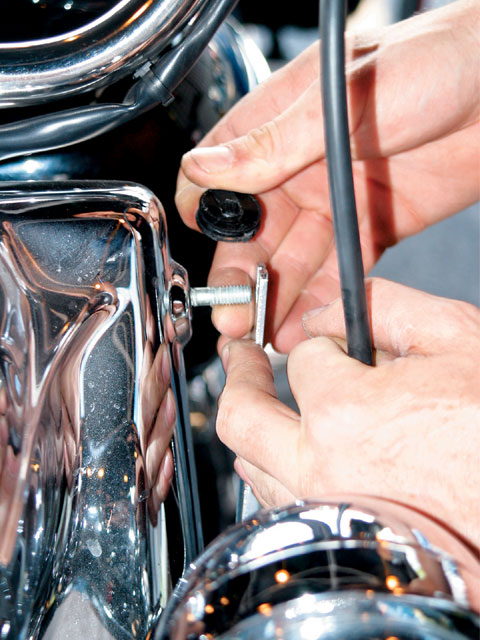
7. Next, the top left and right side rubber grommets for the stock windshield mounts were removed and replaced with four washers (two for each side).

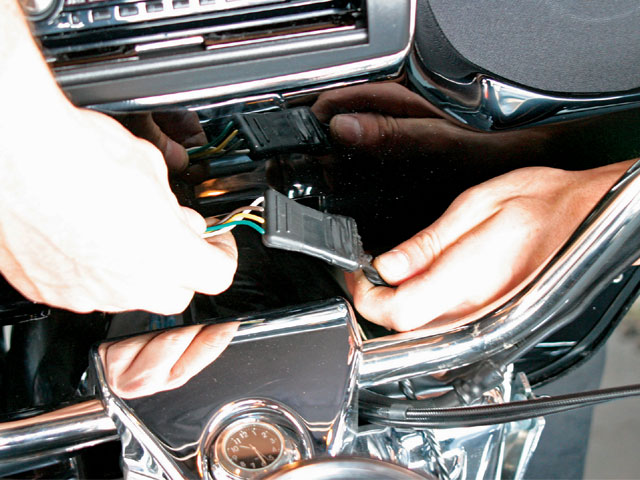
8. With the seat removed, the rear tank mount was unbolted and the rear of the tank was lifted up a little bit so the wire harness for the radio and 12v plug could be routed through the front of the tank, along the backbone to the rear of the tank.
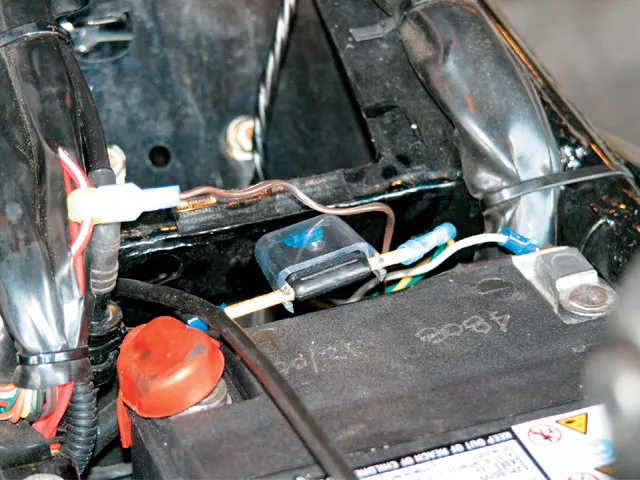
9. Wiring was pretty straightforward. Kevin cut into the stock harness, and then spliced the radio’s power (brown wire) into the bike’s ignition/turn on wire (red w/silver stripe). An in-line fuse was installed and connected to the positive battery terminal, while a white ground wire was connected to the ground terminal.
10. With inner and outer shell separated, you get a good look at the inside of the water-resistant, 300W max power, 6×9 Kenwood speakers. Here’s the rest of the wiring harness that connects to the speakers and stereo. Notice the plug (arrow)?
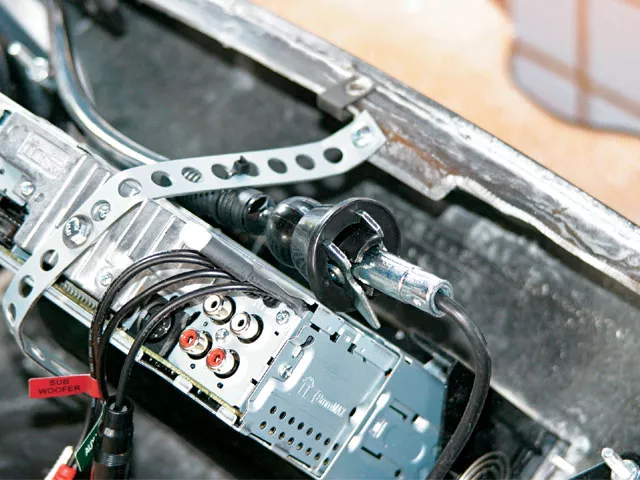
11. The stereo was slid into position and then secured in place with a metal strap. The stereo comes with an antenna that’s hidden inside the fairing (arrow).
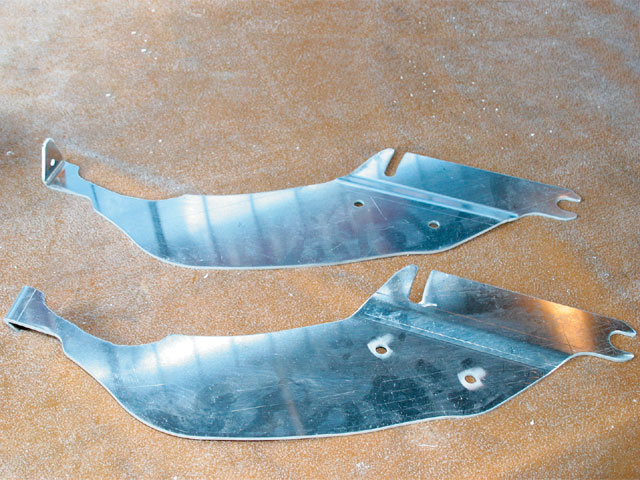
12. The fairing will be secured to the bike with these two mounting plates, one for each side.

13. The plates attach to the inside of the fairing for a clean look.
15. With everything buttoned up, the fairing was slipped into position on the bike. The fairing mounts to the RK utilizing the stock windshield mounts.
16. Here’s that plug that we pointed out in pic #10. The quick connect/disconnect plug allows you to power up the radio in a matter of seconds. Then when you don’t run the fairing just tuck the accessory plug out of sight and nobody would know any better.
17. The lower groove on the fairing mounts were slid onto the stock lower rubber windshield grommets. The top groove of the fairing mounts were slid between the two washers that replaced the rubber grommets. Then everything was tightened down.
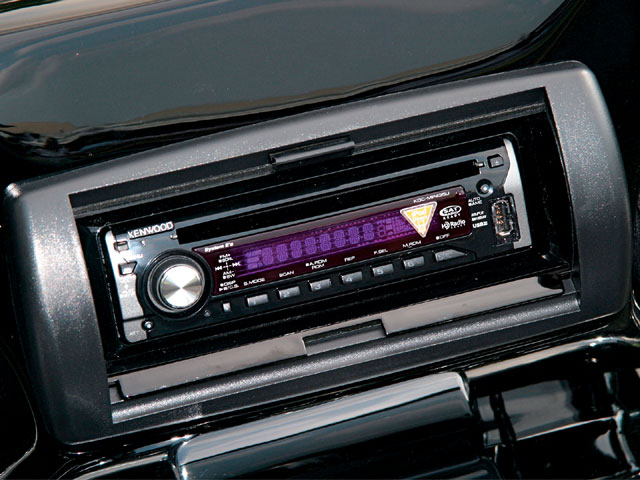
18. With the stereo installed, the fit and finish is perfect. To help deter the thieves who might want to steal your tunes, the stereo’s faceplate is detachable, so you can take it with you when you park.
19. Total cost of the fairing with the stereo, 12v plug and upgraded chrome trim was $2,352. Pretty good deal, considering installation was free and the owner now has a true “bagger” from fender to fender, plus he can take the fairing off if he just wants to run around town-we doubt it, though.
20. In a matter of 40 minutes (yes, that’s all it took) the DCC crew made Mike’s ride back home from the rally 100 times better. A clean-looking fairing with protection from the elements and tunes for the road-what more could he ask for?
OK, so baggers are a big deal, and now it seems like everyone and their mother owns one. Sure, they are excellent for packing on a bunch of crap, and the fairing and radio make long trips go by much better. But if you own something like a Road King, Heritage Softail, Deluxe, or even a Fat Boy, you have a one-up on all those bagger lovers-you can run a stripped-down bike to the local bike night, or pop on a set of bags and a quick install fairing and you’re ready to bomb cross country.
Ever since he whipped up his first prototype fairing for his personal Road King back in ’02, Dragonfly Cycle Concepts (DCC) owner Kevin Martin has continually improved upon his quick detach fairing line and expanded his company. The latest version is comprised of injection-molded composite material, and finished in black gel-coat for easy paintability or color matched to your OE paint scheme. When installed, it looks like it came straight from the factory. What’s so big about injection molding? In short, the process of curing the parts at 300 degrees Fahrenheit means no post-production warping, tight tolerances, reliable quality, and no fiber strand print-through when the parts sit in the sun or high temperatures. Add to that all the available options like 12v plugs, various windshields, iPod and satellite connectivity, and you are ready to rock on down the road.
Now here’s something all your buddies who just dropped nearly 20-grand on a new bagger will envy you for: The initial fairing install will probably take the novice mechanic less than two hours to perform. But then once your bike is set up, the fairing will pop on and off in less than two minutes. Let’s see a Street Glide do that! But wait, it gets even better. The DCC team hit all the major rallies across the country, and if you roll up to the rig and purchase a fairing at the show they’ll install it for free-that is, if they have any fairings left and if they can fit you in-they are usually slammed from sunup to sundown.
Recently we were at a rally and stopped in the DCC tent just as Kevin was about to install one of his fairings on a Mike Standish’s ’04 Road King. Follow along as we show how easy the install was.
**Sources
Dragonfly Cycle Concepts
www.dragonflycycleconcepts.com
(877) 374-6359**


