
EPA-Legal Harley-Davidson 103ci Hop-Up
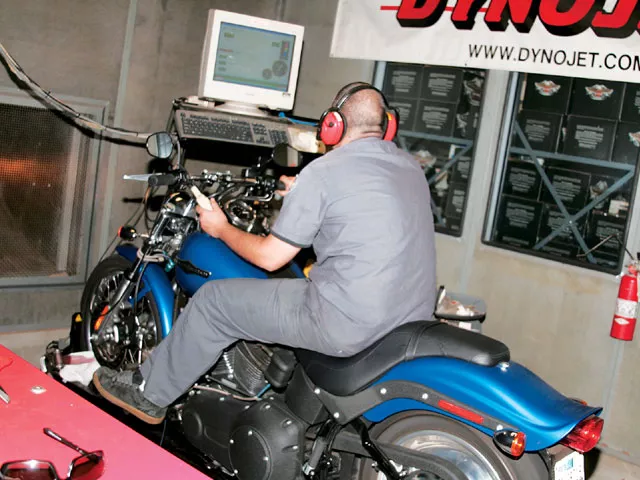
We got started on this job by getting a base run on the dyno. To help us out with this part, service tech Chris Biles rolled the bike onto the dyno, and checked tire pressure, oil level, and temp. We got some base numbers: 66.97 hp and 83.55 lb-ft of torque. Now we know these numbers differ from others; this is what we got on our ’07. We know that there are several factors involved, like different dynos, different days, weather, time of day, type of gas, and so on…this was our starting point.
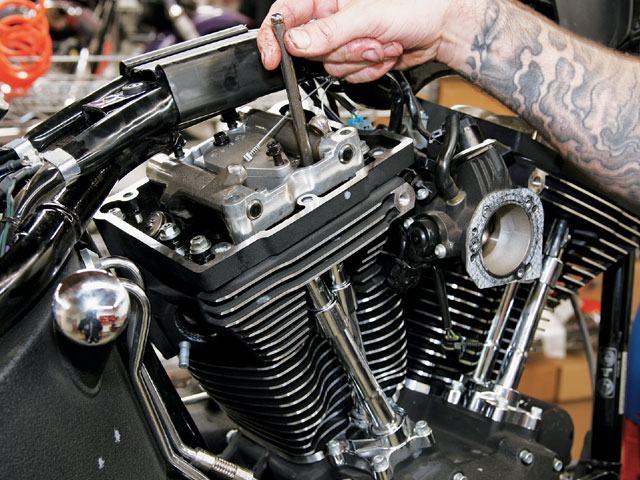
Next, the bike was rolled over to shop tech Brian Breeland, who placed the bike on the lift and started by disconnecting the battery, removing the seat, gas tank, rocker boxes, air filter, backing plate, and EFI. Then he removed the heads, pushrods, and tubes, and pulled the cylinders and pistons off together by removing the wrist pin from the rods. There is a lot to remove to get to the heart of this story, so we don’t want to spend a lot of time on the removal of the old parts.
Then the cam cover and camplate were removed. Brian needed to pull the stock cams and tensioner off the camplate and check and change out the oil pump O-rings before installing the new cams.
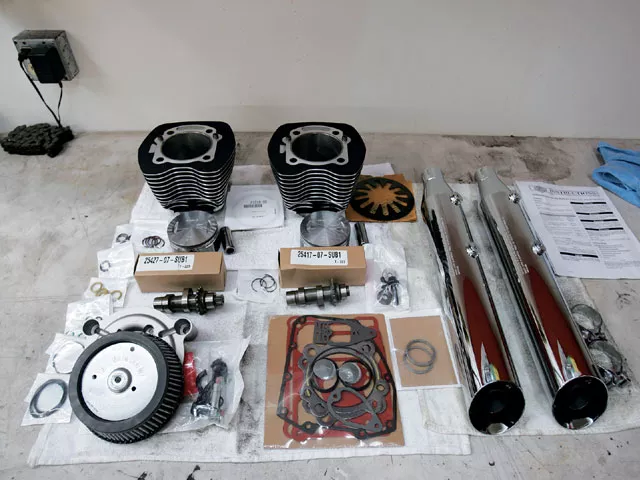
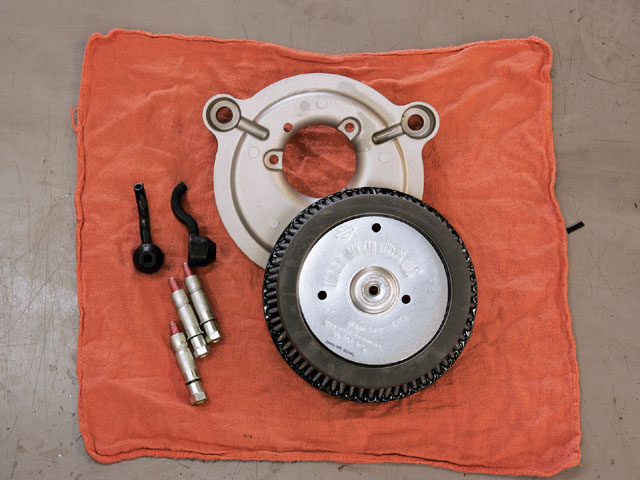
Brian pulled all the Screamin’ Eagle Big Bore Stage II Kit parts for EFI models from the box. There were a set of SE-255 cams, two Big Bore cylinders, two Big Bore flat top pistons, clips, a Stage I Air Cleaner Kit with one-piece backing plate, integral breathers, all mounting hardware, gaskets, a high-performance clutch spring, and catalyst mufflers.
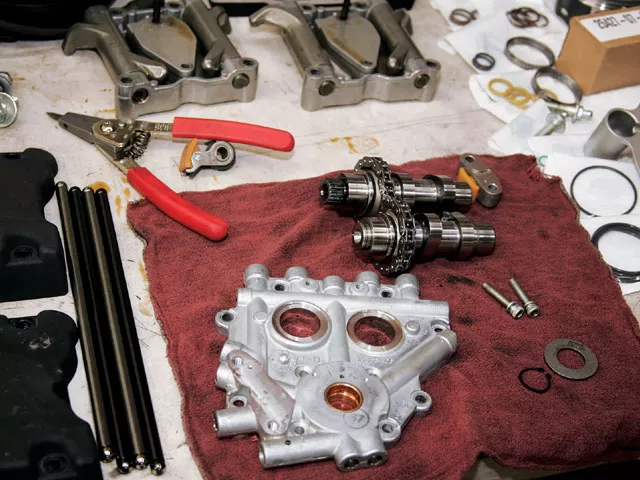
To get started on the install, Brian removed the stock cams from the camplate.
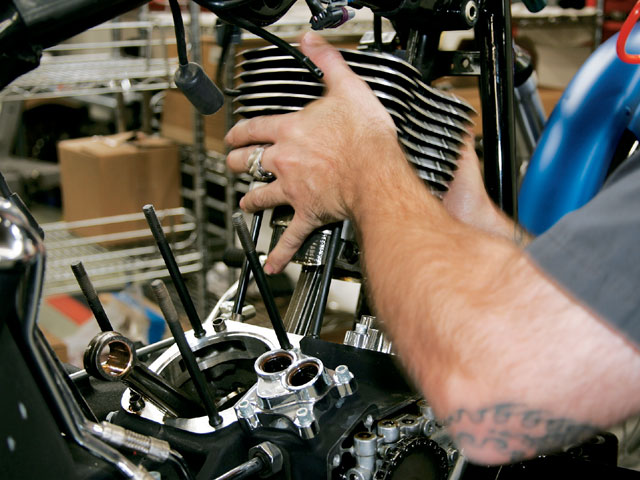
The new cams were lined up by the timing marks from the front, then Brian took a black marker and drew a line across the two on the back of the cams to help ensure that the timing marks were lined up as he installed them back into the plate.
Afterwards, he checked that the timing marks were right as he spun the cam by hand to see that they lined up.
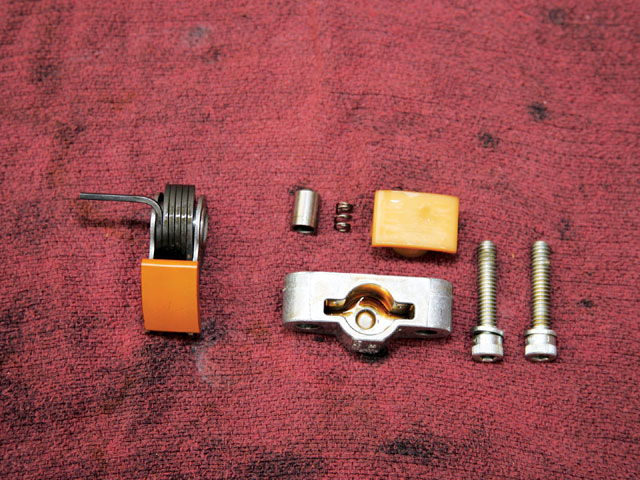
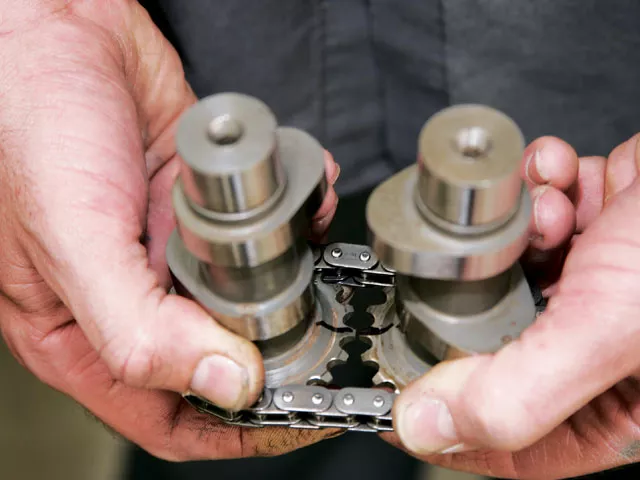
Next, the chain tensioner was reinstalled. Here is a photo of the old style with the pressure spring on the left and the oil-filled hydraulic tensioner on the right. It had an oil cavity to hold the pressure spring that filled with oil as the oil pump was running, keeping the chain tight (you cannot compress a liquid).
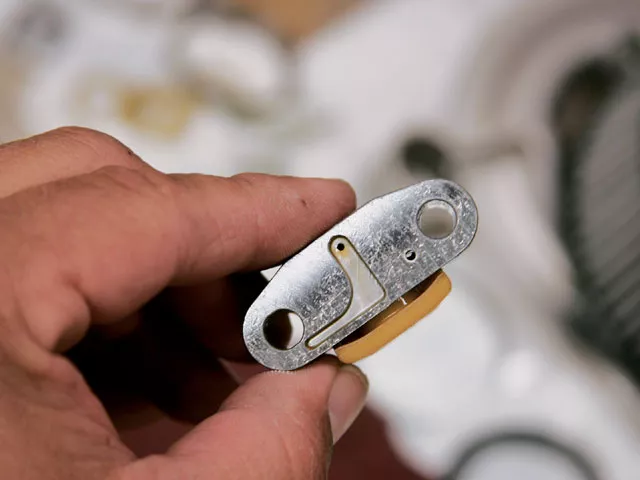
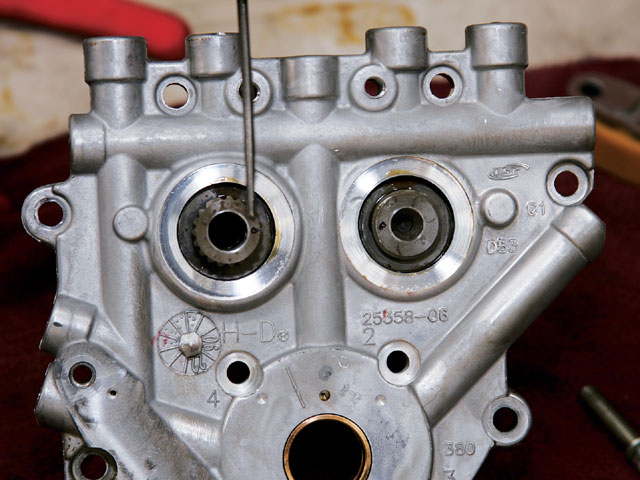
When the chain tensioner was bolted to the camplate, the oil pressure was fed through a small port on the bottom, shown here.
Before the cam plate was reinstalled, Brian removed the stock oil pump from the motor to change out the pump’s O-ring and inspected the oil pump for wear.
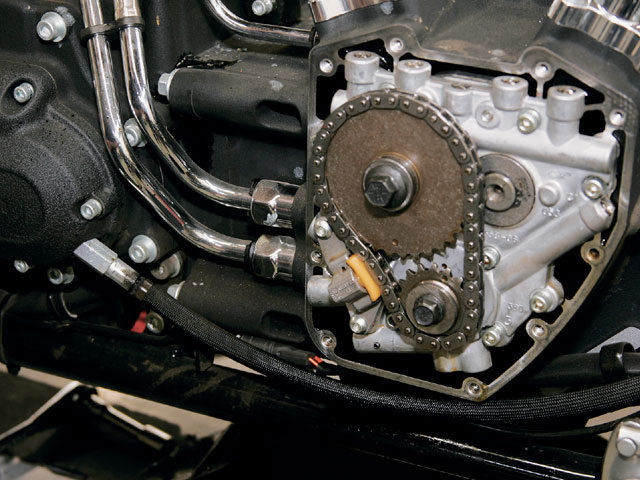
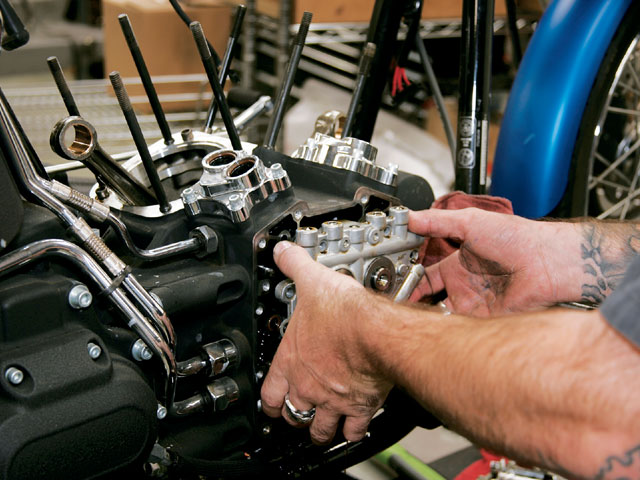
The camplate (with the SE-255 cams) was reinstalled and torqued to factory specs. You can see the new-style tensioner as it holds the chain.
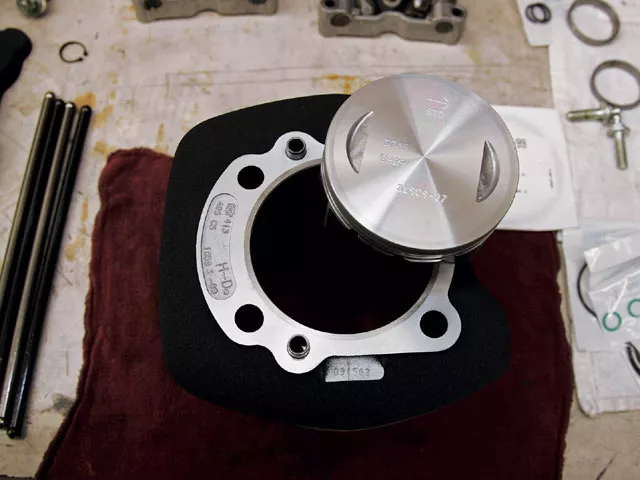
Brian moved onto the install of the new 3-7/8 flat top pistons into the new Big Bore cylinders. This increases the displacement of your Twin Cam-equipped model from 96 cubic inches (1584cc) to 103 cubic inches (1690cc).
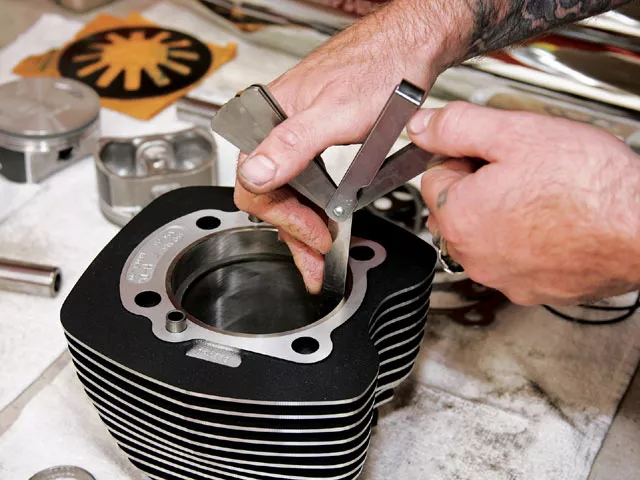
The first thing he did was check the ring gap. They were within spec.
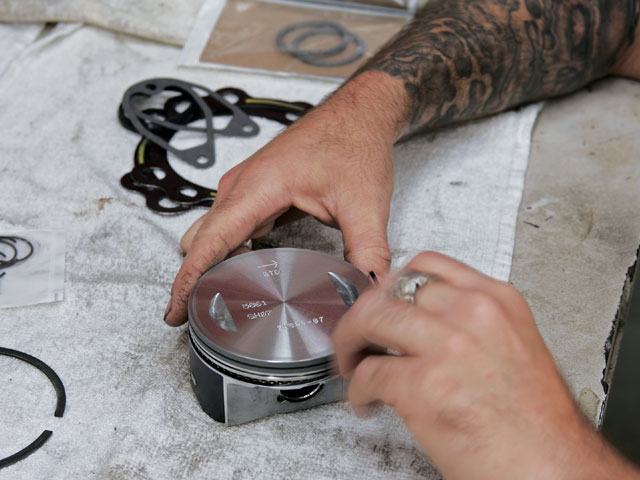
Next, he installed the rings, starting with the upper compression ring, then the lower, and lastly the oil ring set.
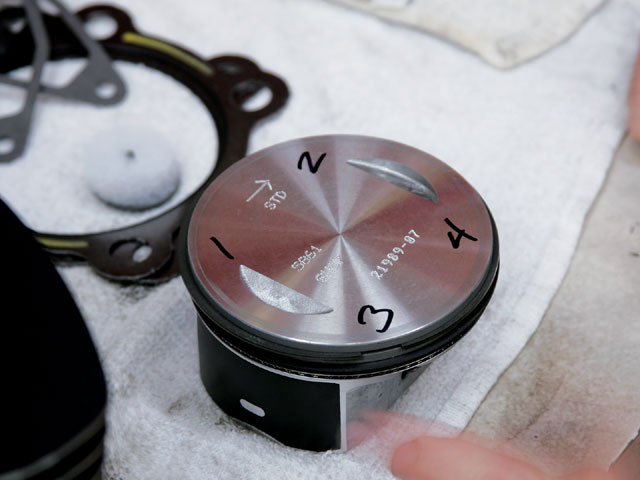
Afterwards, the top of the piston was numbered with a marker to show where the ring gaps were to ensure a good seal.
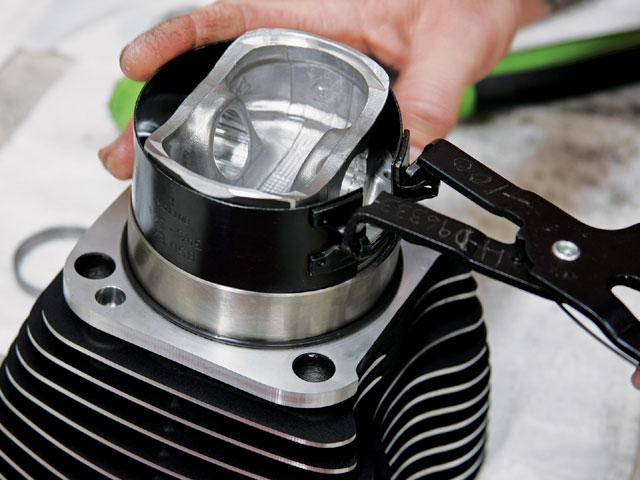
To get the pistons into the cylinders, Brian coated them with assembly lube, then used a ring compressor to hold the rings in place as he installed the piston.
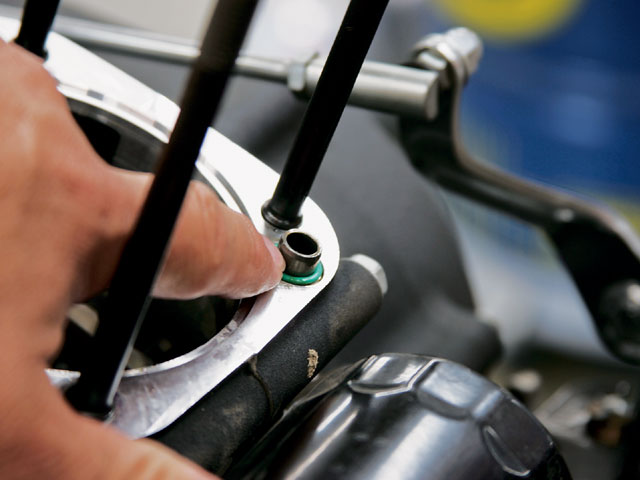
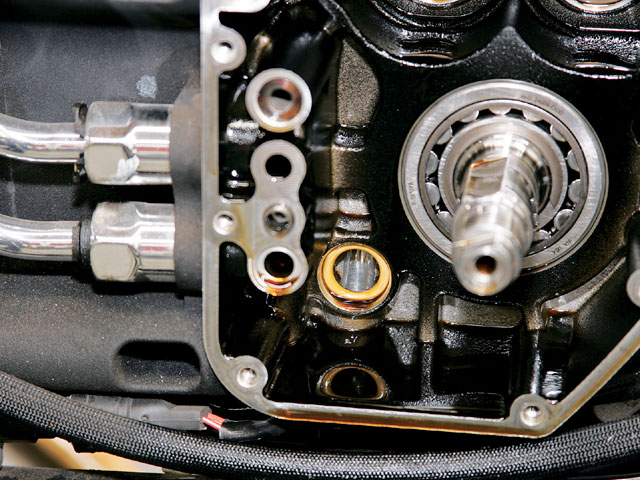
Before the new cylinders were installed, he replaced the O-rings for the case port shown here.
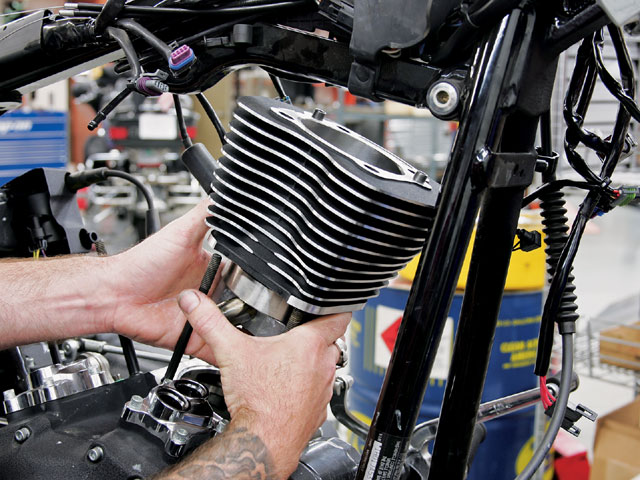
Then Brian installed the new pistons and cylinders to the rods, and then installed the heads.
Even though this is a kit install, Brian checked valve clearance with a small amount of clay on the top of the piston, rotated the motor by hand, then measured the marks left in the clay. All of the valves were good and within spec.
Next, the rockers, pushrod tubes, and rods were installed. Brian re-adjusted the pushrods, then installed the rocker boxes.

This kit came with a new set of catalyst mufflers; Brian removed the old mufflers and replaced them with the new catalyst mufflers.
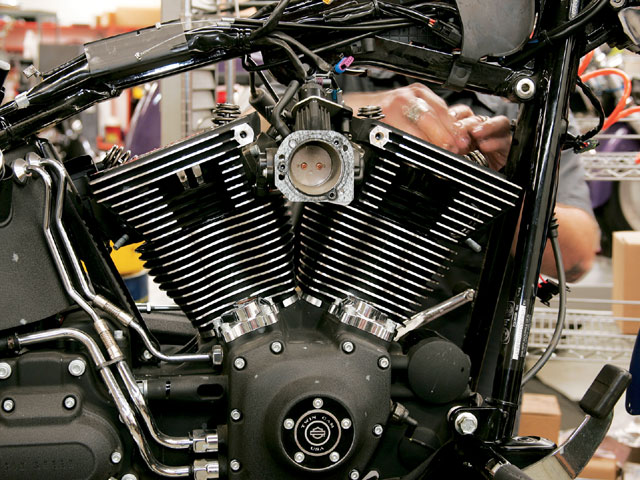
A Stage I air filter kit is included in this kit, shown here with breathers and backing plate.
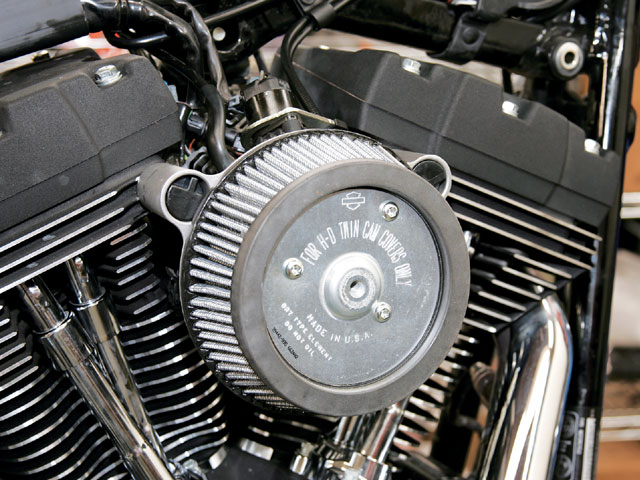
With the Stage I air filter you still use the stock cover; however, if you check the P&A; catalog, there are a few different options to choose from.
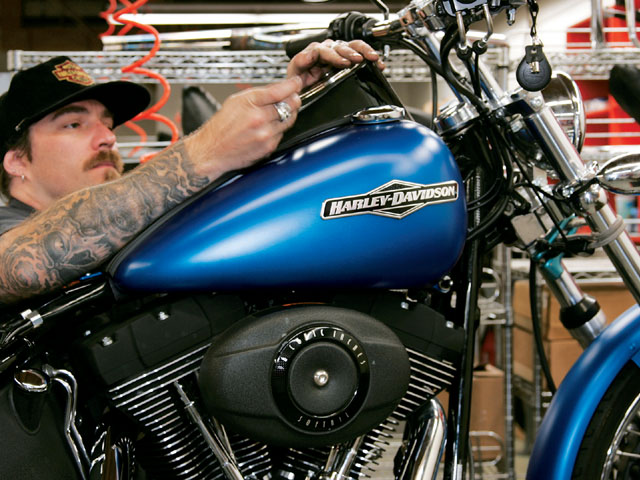
Lastly, the gas tank was bolted back on the bike, and all the wires were reconnected (including the battery).
After completing a required ECM calibration we were off for a few test miles. After Brian returned he checked oil temp and levels. Over the next few days we put just over 400 miles on it before we ran it on the dyno.
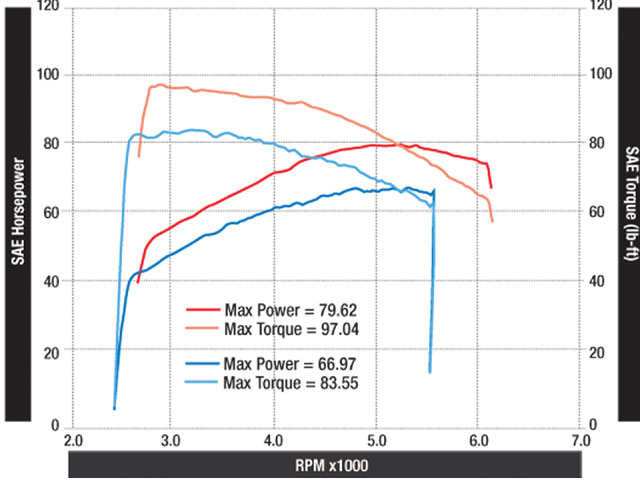
The bike was placed back on the dyno, and the numbers were 79.62 hp and 97.04 lb-ft of torque. The numbers were not huge, but the torque was where we wanted it, right at the mid-range as we pulled through Third gear into Fourth, and with a passenger on the bike we still had plenty of pull and acceleration. The whole job was done in less than eight hours, we were on the road the same day, and we have a 50 state-legal EPA bike that still has the factory warranty.
Bigger is better-at least, that is what we want when it comes to our motorcycles. Back in the days of the 88s (last year before the ’07s came out) if you were a Harley-Davidson/Screamin’ Eagle purist and you wanted to take your 88 to triple digit displacement with a Screamin’ Eagle hop-up kit, that meant about two days of downtime (for a good mechanic) to pull the motor, split the cases, and install a Screamin’ Eagle 103 kit with the Stroker flywheel assembly and big bore pistons. In the end there was a lot of time and energy spent, and if you paid a mechanic to do it, a lot of cash out of pocket for labor. However, the introduction of the 07s with their 96ci motors cut the time it takes to get into triple-digit displacement down dramatically. Basically now all you’re looking at is popping the top end off to install a Screamin’ Eagle Big Bore Kit.
Now here’s where things get interesting. We’re not just showcasing this kit for those die-hard H-D/Screamin’ Eagle fans like us. This is to show how to increase the displacement of your new 96ci motor, and still have a street legal motorcycle. That’s right, with the new restrictions that are being put in place by the EPA and Area Resources Board (ARB), tampering with your motor and even exhaust can result in it being an illegal vehicle for the open road. With this knowledge in mind, Harley-Davidson has lead the pack creating EPA-approved kits and components to improve the performance of your motor. Another key factor to this kit is when it’s installed by an authorized Harley-Davidson dealer, it will not impact the vehicle’s limited warranty.
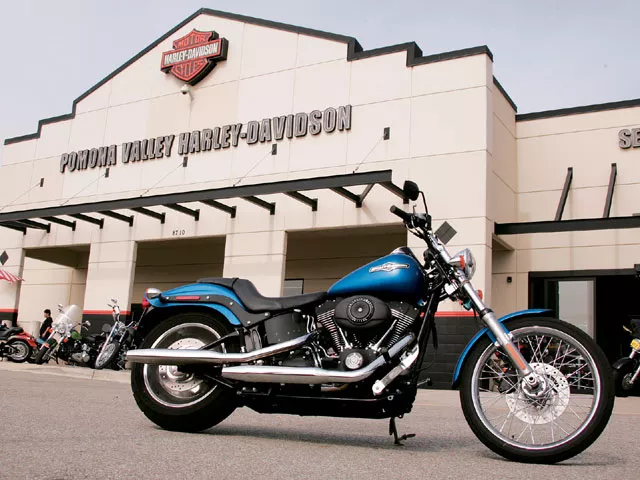
We stopped by Pomona Harley-Davidson and talked with service manager Chris Dyer about getting this kit installed and ended up snapping a few photos along the way.
Sources
Pomona Harley-Davidson
(909) 981-9500
www.pvhd.com
Harley-Davidson
www.harley-davidson.com


