
Evil Engineering HT Beltdrives
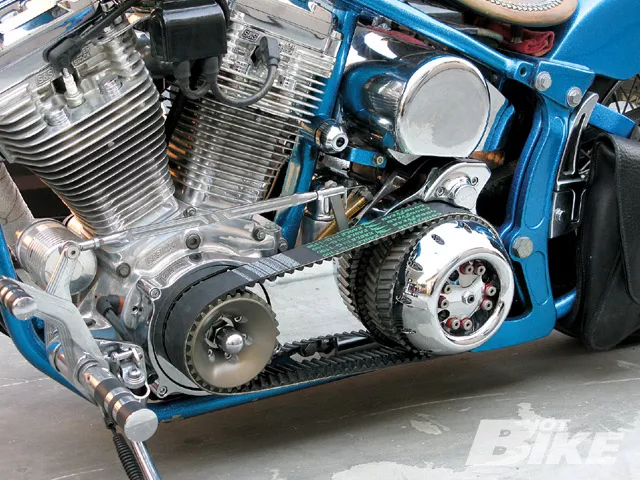
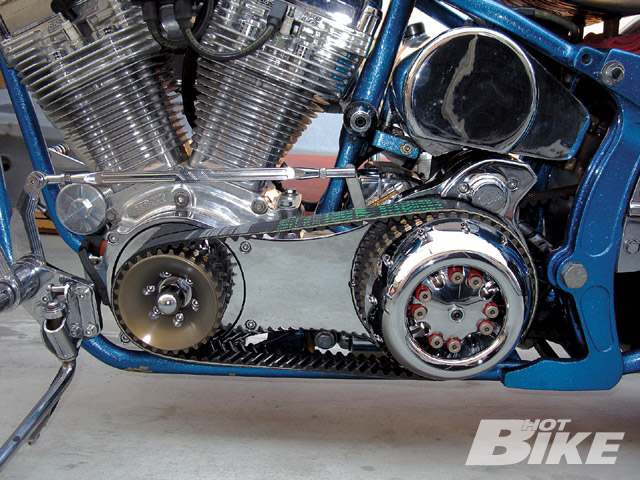
Here is the HT 2-inch Bobber Style beltdrive installed. One very evil looking set up, hell even my jeans are scared.

The HT 2-inch Bobber Style beltdrive kit includes the belt Spread-Her tool, backing plate, clutch hub, springs, front pulley, chrome stator cover, starter jackshaft cover, and the HOT belt.
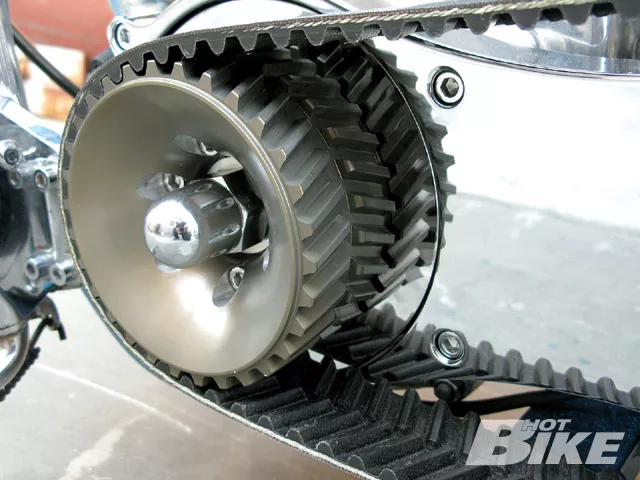
Here’s a close up shot of the pulley and the Helical Offset Tooth (HOT) design.
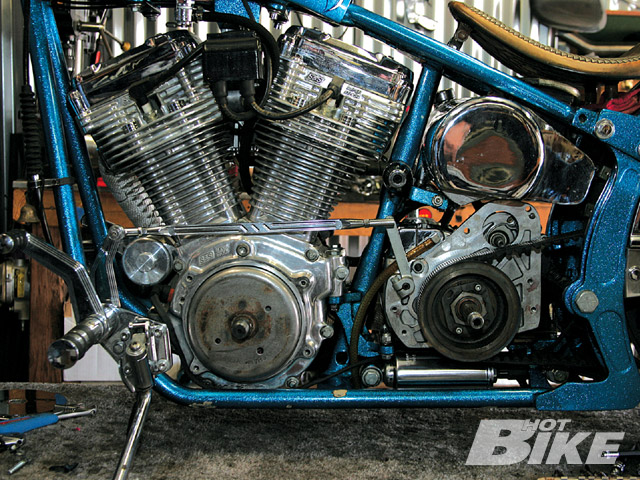
The first thing we did was disconnect the battery, then removed the existing primary drive. Next we checked the stator, rotor, and tranny pulley and cleaned up the area of any oil and dirt. We also ran a tap through all the bolt holes for the backing plate.
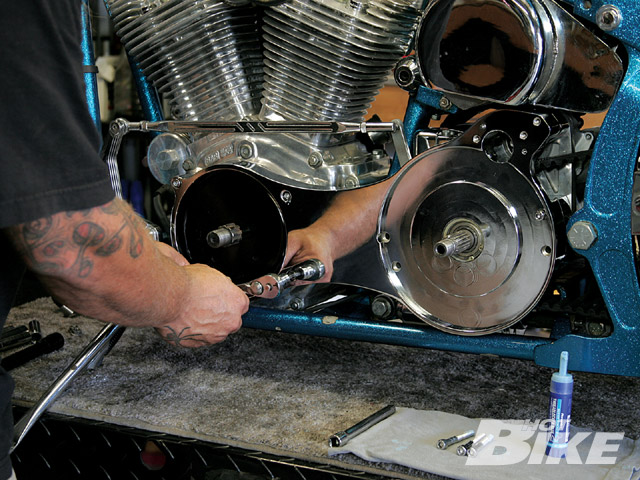
First we installed the backing plate to the motor and tranny using a little blue threadlocker on all the 5/16 bolts and then checked to see that all the engine pads had a solid contact, if not the engine would need to get shimmed. Everything fit right so we went ahead and torqued the bolts to 25 lb-ft.
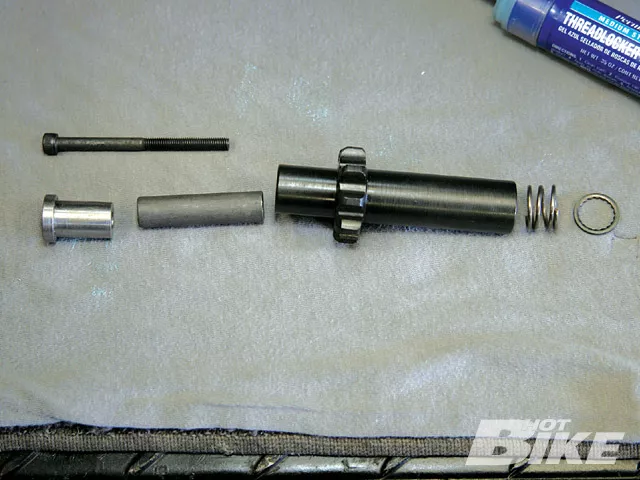
Next, we installed the starter to the backing plate making sure that there was enough clearance for the oil bag and torqued the starter bolts to 20 lb-ft. Here is a look at how the starter jackshaft assembly goes into the primary. We started with the spring seat followed by the spring and starter pinion gear, then the tube and collar, and last the starter bolt.
Once all the starter parts were installed the pinion starter bolt was torqued to 12-15 lb-ft.

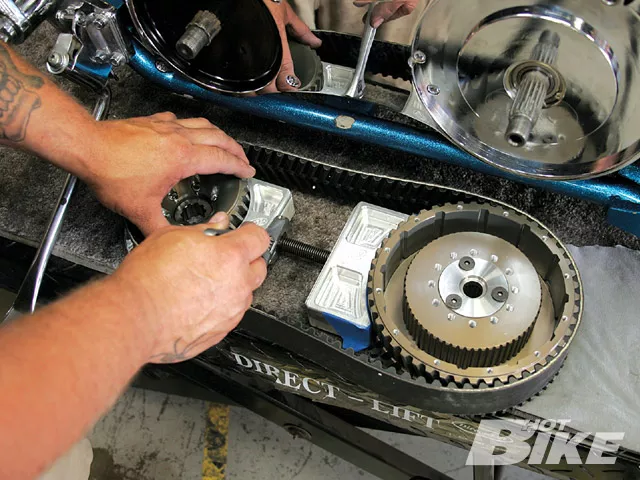
Next, we installed the main shaft hub to the front pulley with a little blue threadlocker on each of the six bolts.
Then we installed the chrome stator/rotor cover to the pulley.
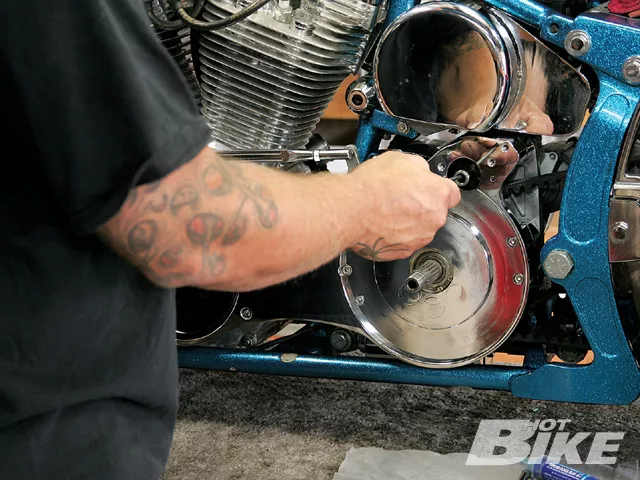
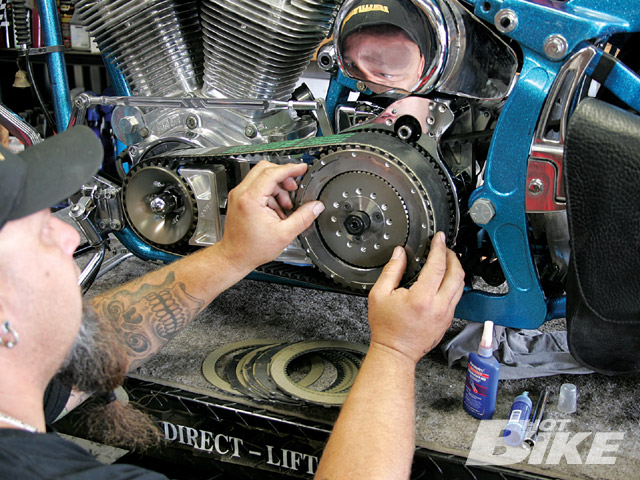
We placed the pulley on the mainshaft to check for clearance.
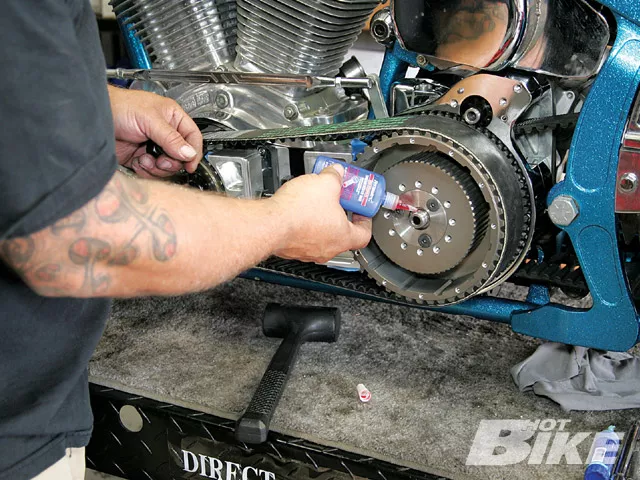
Then we installed the clutch hub, and secured it in place with the main shaft nut. With both the front pulley and clutch hub in place we took a straight edge and placed it on the outside edge to check for belt alignment. We needed to shim out the front pulley .020-inch. If needed the kit comes with six different shim sizes to mix and match for the right size.
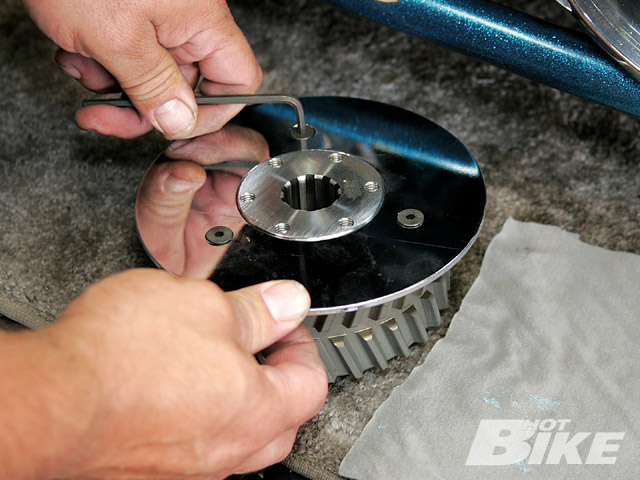
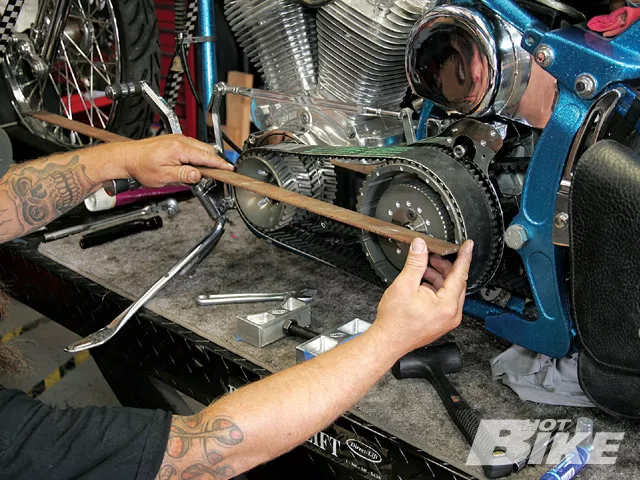
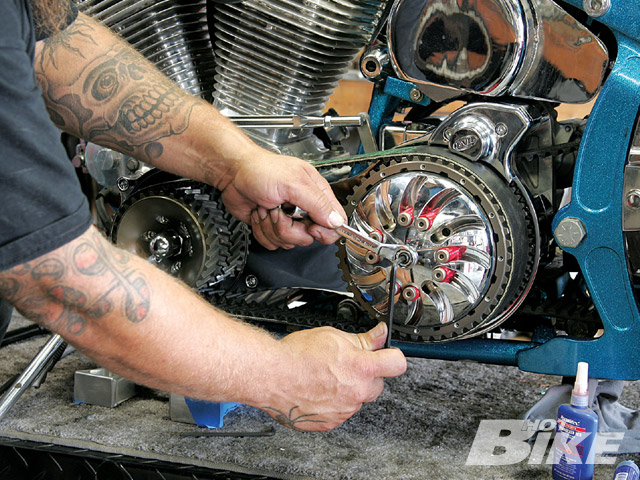
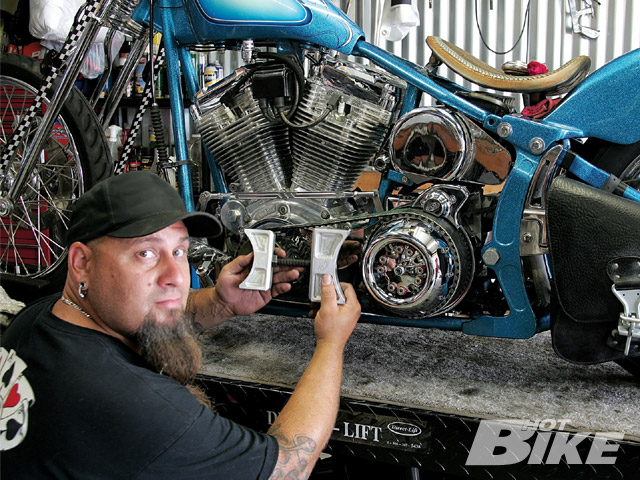
To make installing the belt easy, we removed both the front pulley and the clutch hub from the bike. Using the Spread-Her tool (thanks Evil Engineering for this tool) we placed the belt around the two pulleys and then placed the tool between the two and tightened the adjuster nut on the tool until it was tight.
The idea was to install the two pieces with the belt as one. It is impossible to slide the belt onto the pulleys once they are on the bike.
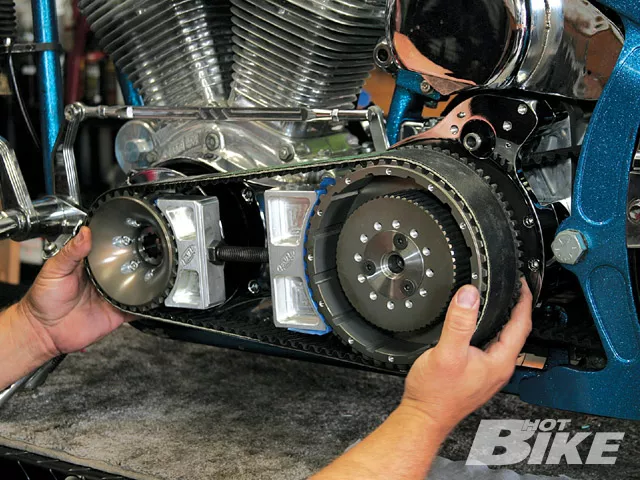
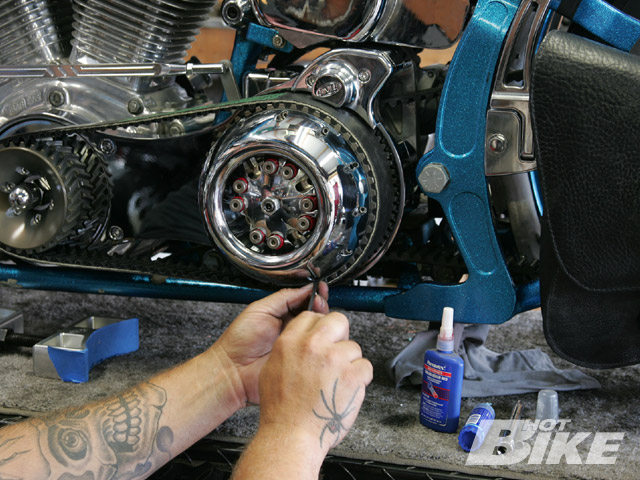
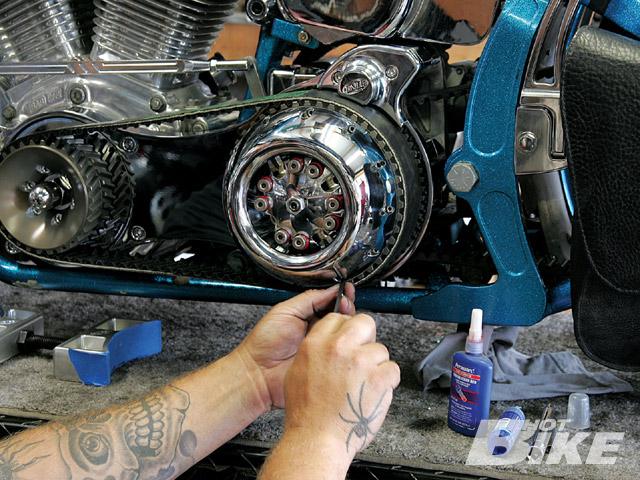
All we needed to do was place the clutch hub on the splines, then tighten or loosen the nut on the Spread-Her tool until the front pulley lined up with the mainshaft. With both the pulley and clutch hub installed with the belt, we installed both the mainshaft nut and the clutch hub nut, both were treated to some threadlocker.
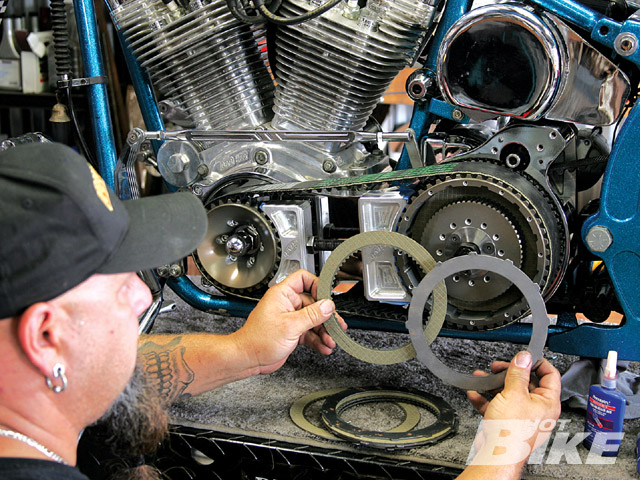
Here is a look at the clutch plates, you can see how the friction material covers the whole plate giving a better hold on the clutch.
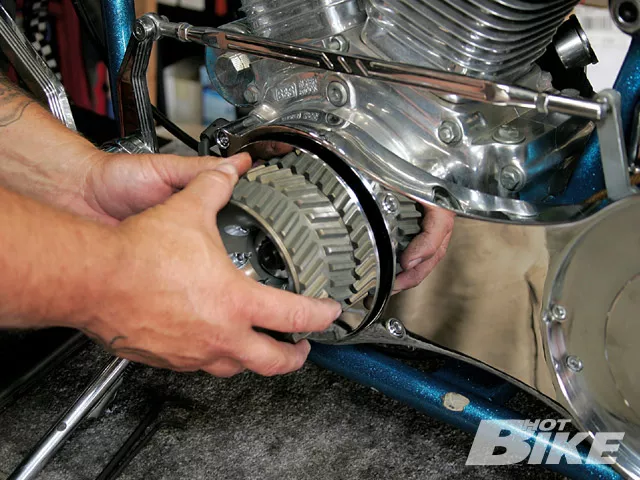
Next, we installed the clutch plates starting with the thickest steel plate followed by a friction plate and repeated this step until all the plates were installed.
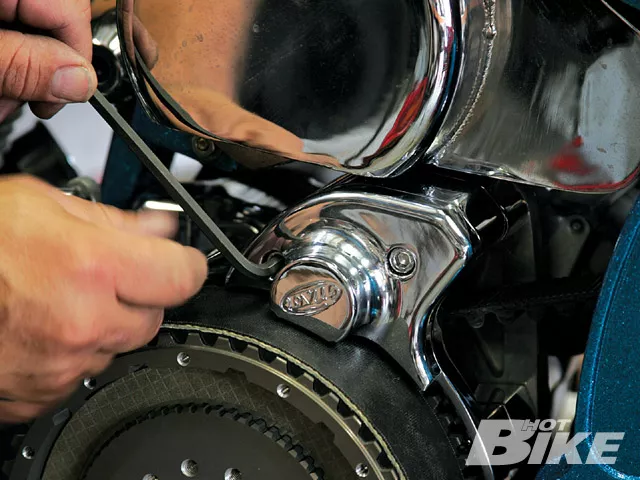
Once we had the belt and clutches in place we installed the starter pinion shaft cover.
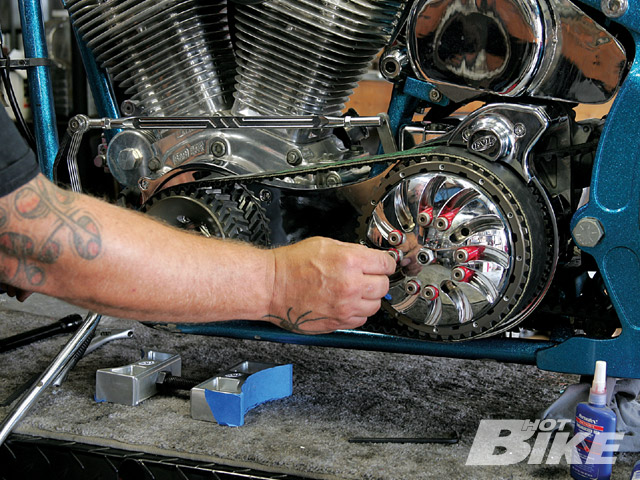
Next, we installed the pressure plate, there are four styles to pick from, we went with the Twisted. Then depending on the size of your engine, you’ll need six, eight, or nine springs. Six springs are recommended for 80ci up to 100ci, eight springs for 100ci to 145ci, and if you need a little more add the ninth spring.
Then we adjusted the clutch adjuster screw and set the jam lock nut.
With the adjuster lock nut set if any fine adjustments are needed then we can do this at the cable.
The last thing was the clutch basket cover, it looks good without it, but this just helps keep your leg out of the springs when you come to a stop and put your foot down. There are 12 small 1/4 inch long screws that hold the cover in place.
There you have it, one Evil looking beltdrive. We like the look a lot and once we fired the bike we could tell a difference in the drive noise being lower and after just a few miles on the bike the clutches felt like they could hold a Mac truck. I want to point out that due to the design of the HOT belt and pulley it would have been impossible to install this unit without the Spread-Her tool. The cool thing is we were told by the guys at Evil Engineering this tool could be used with any open beltdrive setup.
That is one sick looking beltdrive,” was the first thing I said when I opened the box from Evil Engineering. Inside that big white box was a fully chromed HT 2-inch Bobber Style beltdrive.
What makes this setup so different is the Helical Offset Tooth (HOT) design. The HOT setup can handle more horsepower by design than the same size straight tooth while still offering a reduced beltdrive noise up to 30 percent and greatly reduce beltdrive associated vibration. Also, the HT Belt Drive has a substantially increased torque capacity over a standard straight tooth beltdrive because its continuous rolling engagement belt always has three teeth engaged. Standard beltdrives only have one single tooth engaged at a time. This feature eliminates slipping, stretch, and can handle the power of big inch motors. The clutch plates have friction material covering the full ring for more engaged surface area and better holding power.
Evil Engineering is based in St. John, Michigan, and all of the products are manufactured and assembled here in the USA. We wanted to see how this beltdrive looked and how easy it was to install on one of our bikes, a ’98 custom Softail with the help of the Evil Engineering’s, Spread-Her tool. This tool fits between the two pulleys along with the belt so that they can be installed as one piece. Unlike normal beltdrives, with the helical offset teeth of the HT Beltdrive the belt can’t just be slid onto the pullys, therefore this tool is necessary.


