
Flat Top Forward Controls – Getting Control
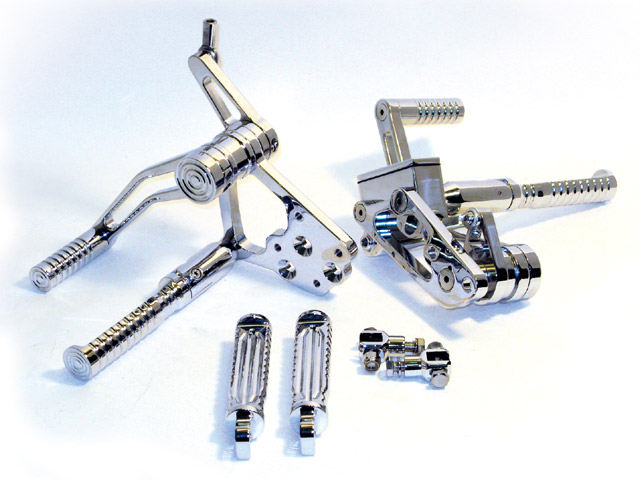
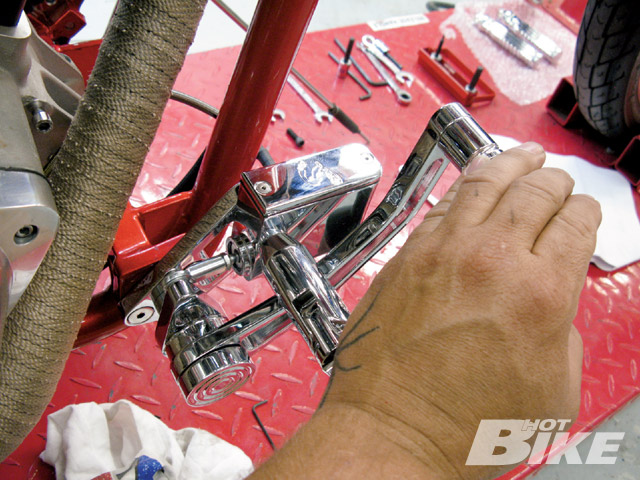
1. Here are the Flat Top cut ball-mill Forward controls along with a set of passenger pegs.
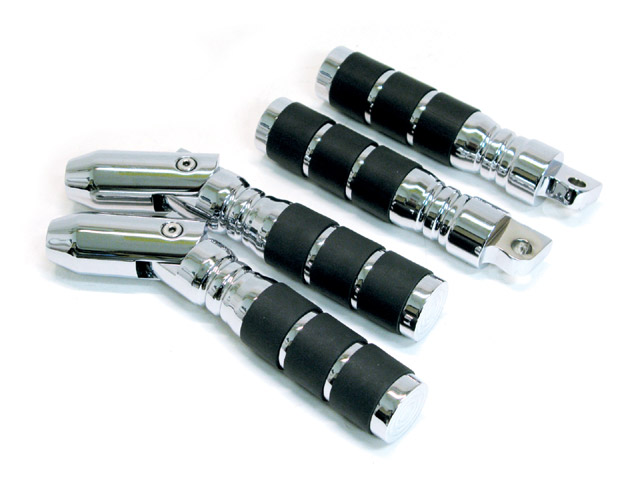
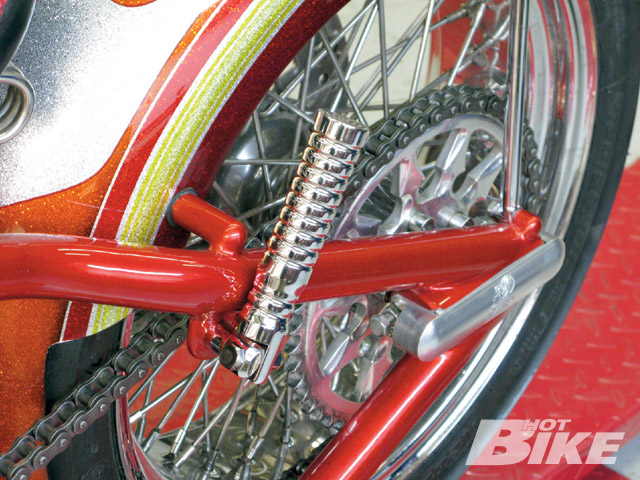
2. Also if you would like a set of o-ring pegs to suck up the vibration for a bit more comfort there are a few different styles available. Here is a set of the company’s most popular pegs.
3. If you are replacing a set of controls, take the time to carefully remove all the fluid, linkage, and brake lines if you plan to reuse them. If you are installing on a new build chase the threads on the frame to make sure that they are clean of any paint or powdercoating.
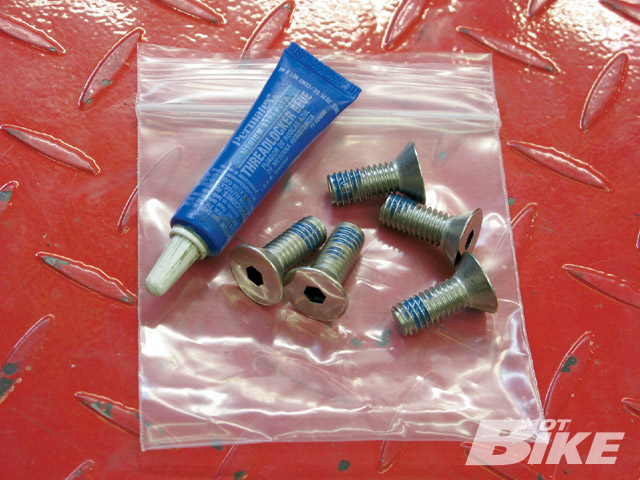
4. Next, all the mounting hardware was treated to a little thread locker before we installed them onto the bike.
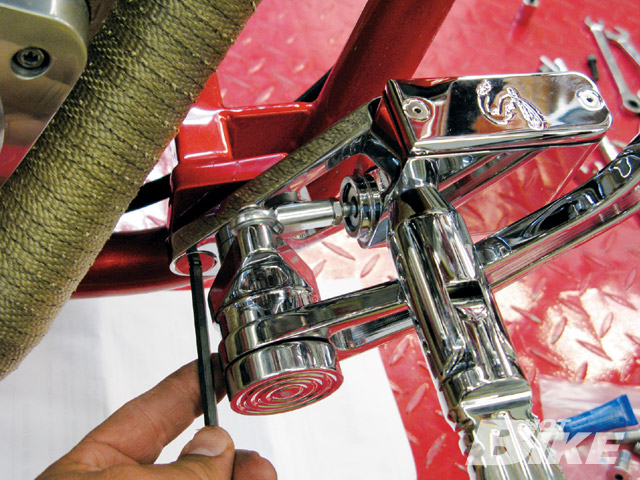
5. Starting on the right side, we mounted the new brake control. Using a 1/4-inch Allen head driver, the bolts were then tightened to factory specifications.
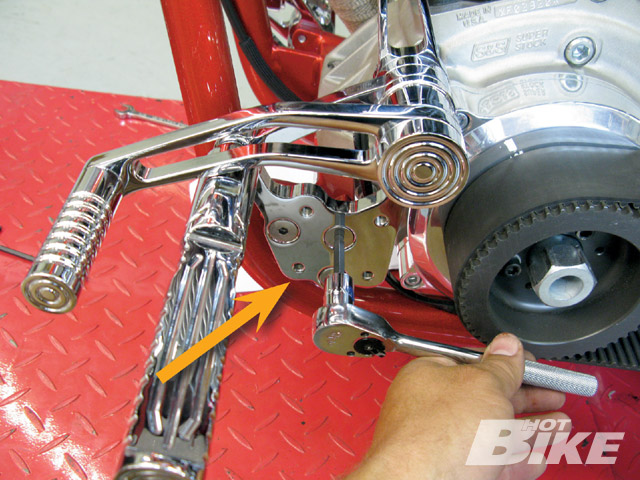
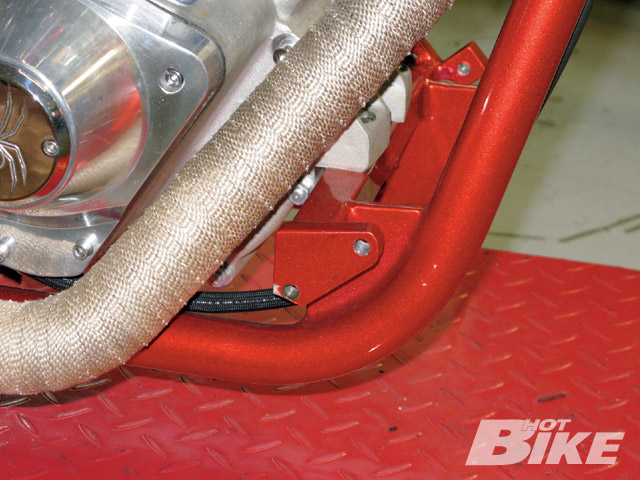
6. Next, we did the same for the left side control. We chased the threads on the frame then installed the control by using the provided hardware. You will also see four additional boltholes on this side that can be used for the kickstand mount (arrow).
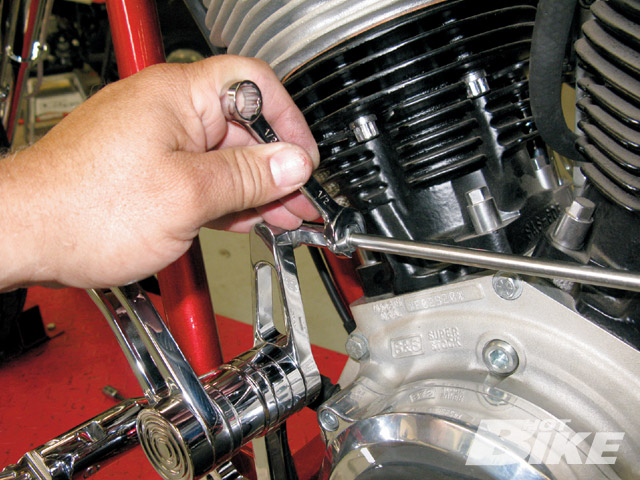
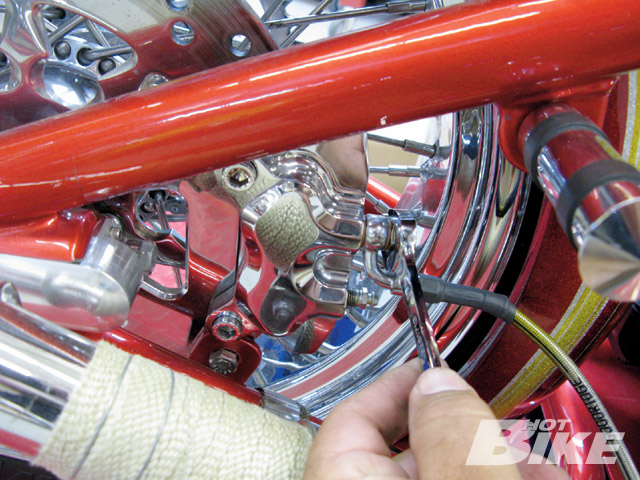
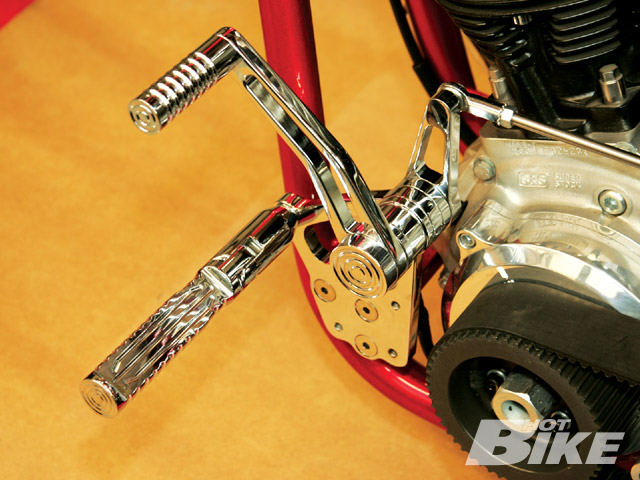
7. Once the control was mounted the next thing we did was install the shift linkage. First we bolted the Heim joint at the shift arm on the transmission, then installed the other side of the rod to the control arm. We needed to adjust the height of the lever to fit the rider’s boot. There is a bolt holding the arm to the center pivot bolt that can be adjusted by removing and re-aligning the arm to fit the boot.
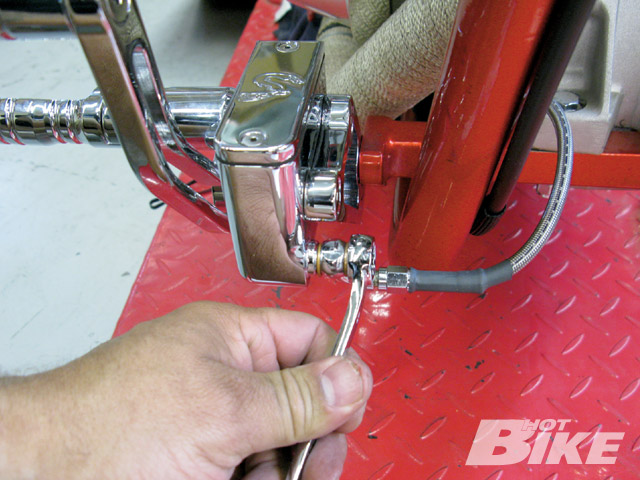
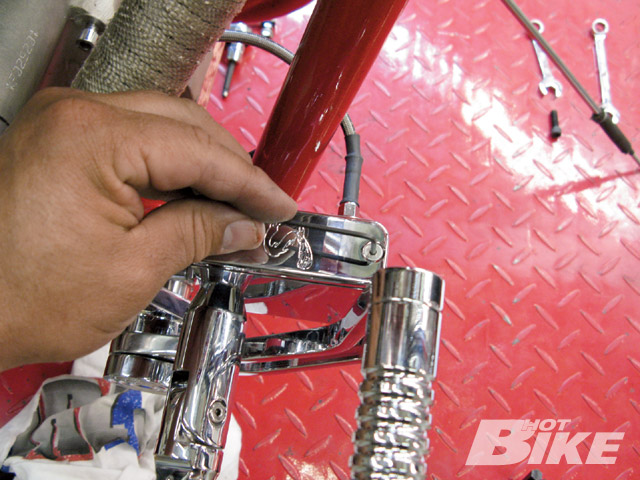
8. Next, we installed the brake line starting at the master cylinder. The fluid port is in the front inside of the control so that it will be easy to route the line back. With the banjo bolt and all new washer the bolt was tightened to spec.
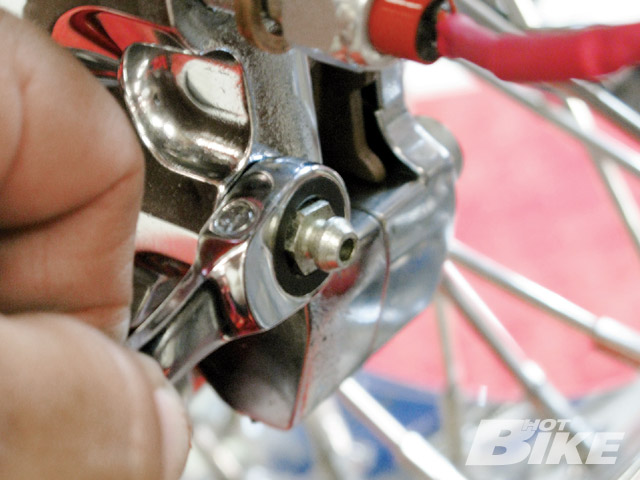
9. The same goes for the rear caliper. If you need to, here would be a good time to install your in-line brake switch.
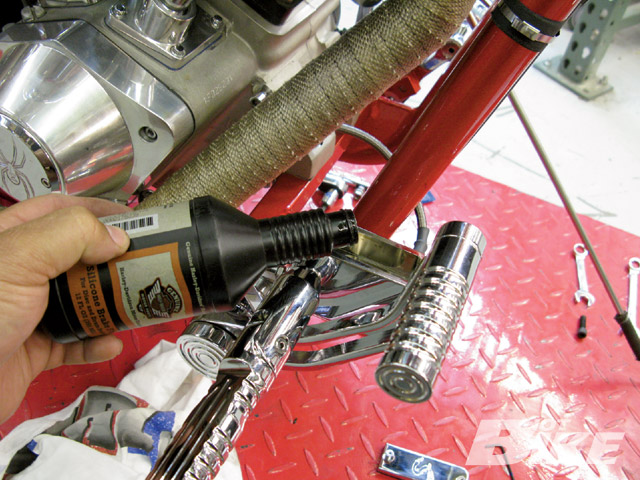
10. Next, we filled the master cylinder with DOT 5 brake fluid, and started to pump the line.
11. The line was bled of all the air until we had a solid feel in the brake lever.
12. Then we made sure everything was tight and there were no leaks in the lines.
13. We topped off the master cylinder with Dot 5, cleaned the rubber gasket and installed the cover.
14. To finish the install we also installed a set of matching passenger pegs to complete the look for this bike.
15. This is a well-built set of controls and a very nice look for the bike. The install was easy and did not take long to do. Anyone with a basic tool set and a little time can do this at home without worries.
Supreme Legends USA is not a new company to the motorcycle industry, it has been around for over 15 years, and is most notably known for its hand and foot controls. With new ownership of the company, brothers Bill and Jim Rebensdorf have reinvented Supreme Legends to make sure that product quality and customer service are better than ever. The Rebensdorf family acquired the company outright in October 2007, and has been working hard to put the name and the product at the top of the list of must-have parts. The controls come cosmetically redesigned with a 3/4-inch bore master cylinder, and an industry leading 18-month warranty. With a large amount of styles to choose from and even a lineup for the metric and Victory rides there is something for anyone looking to swap out stock controls for a custom set.
We needed to add some foot controls on one of our bikes here at the shop, so we checked out the Supreme Legends website to find some controls with style to fit our hardtail. After looking at over 24 different sets of forward controls that Supreme Legends has to offer, we went with the ball-mill-cut Flat Top forward controls, which are new for this year. The Flat Tops are a good looking set with matching passenger pegs to add a nice look to the bike, and come with all the hardware to make for an easy install.


