
Glide-Pro Stabilizing System | Replace the Rubber Wobble With Firm Urethane
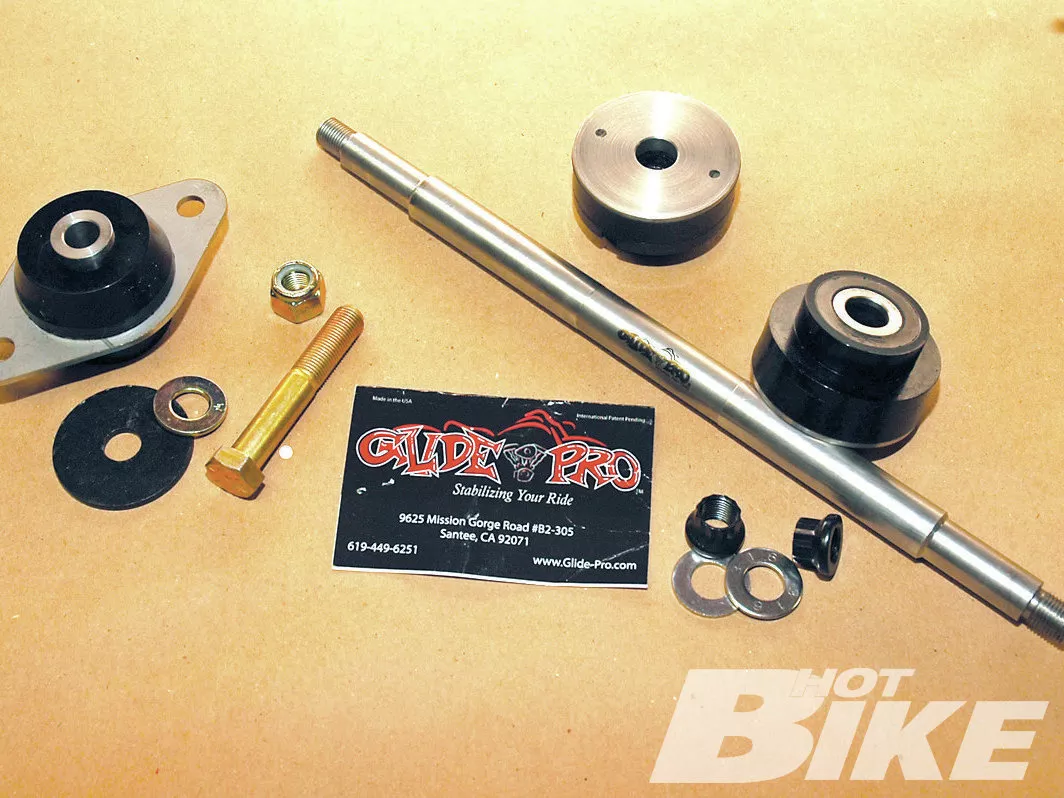
Here is the complete Glide-Pro Stabilizer System including the new urethane motor mount, stainless swingarm pivot shaft, and urethane isolators.
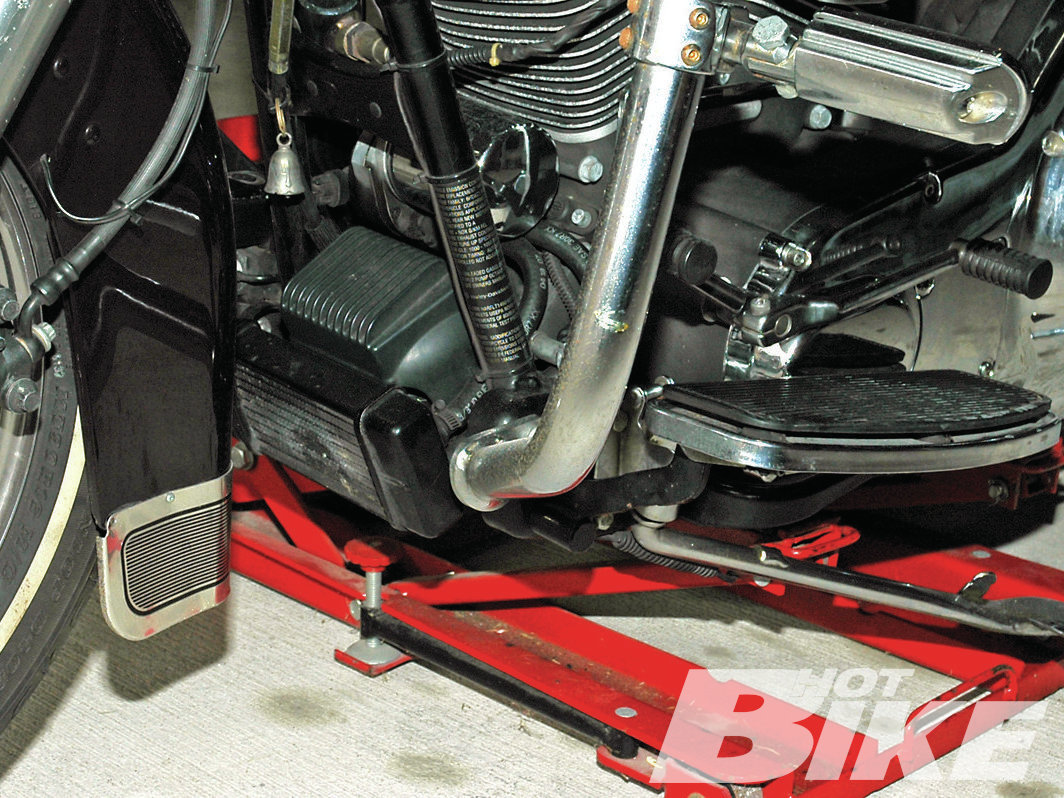
01. To begin, John put his bike on his shop lift, removed the saddlebags and both passenger foor boards.

02. Next he loosened the front and rear exhaust bolts at the head and removed the exhaust clamp at the transmission.
03. He then removed the two bolts on the right muffer support bracket. Loosening the exhaust allows access to the right side swingarm bracket bolts and allows the engine to rotate slightly when removing the front motor mount.
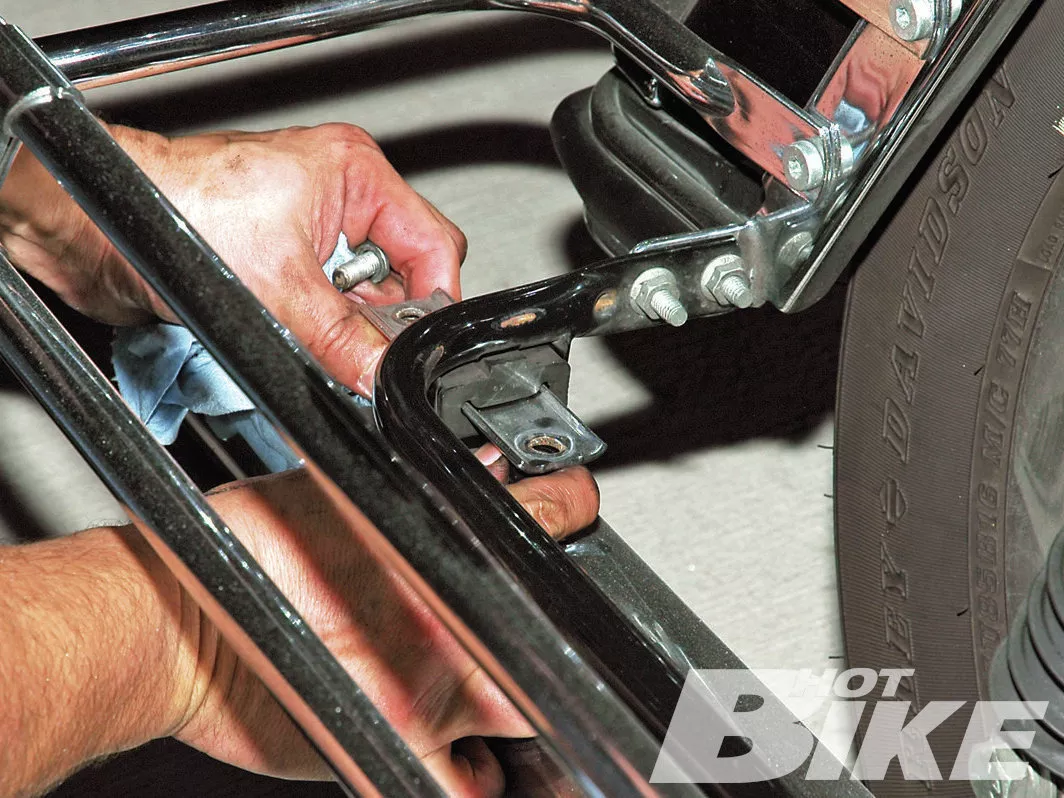
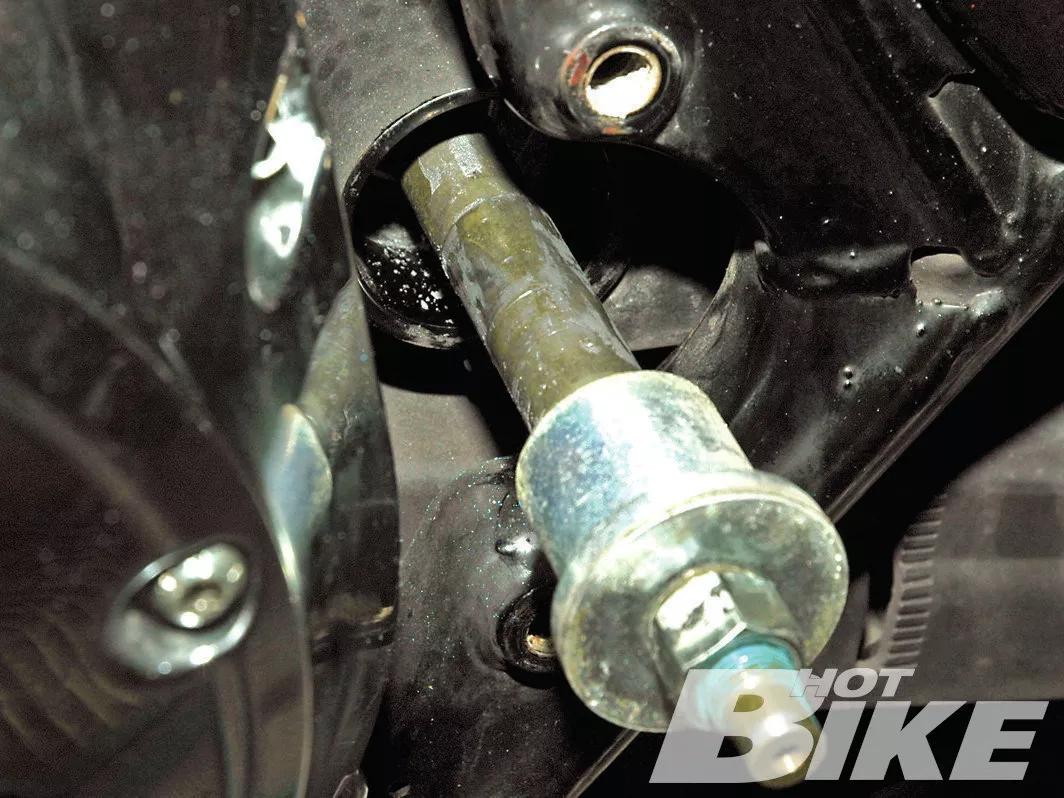
04. John then pulled the exhaust out far enough to remove the lower bolt on the right swingarm bracket and removed the top bolt and the screw holding the wire clamp.
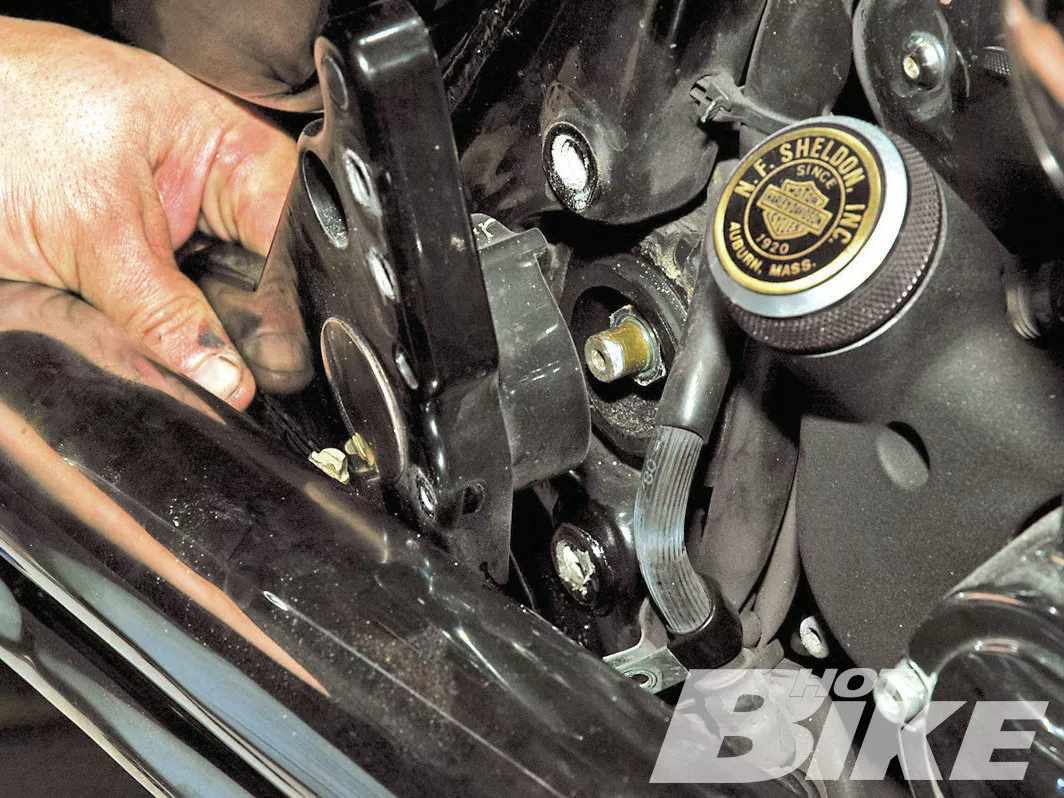
05. The right side swingarm bracket was then removed…
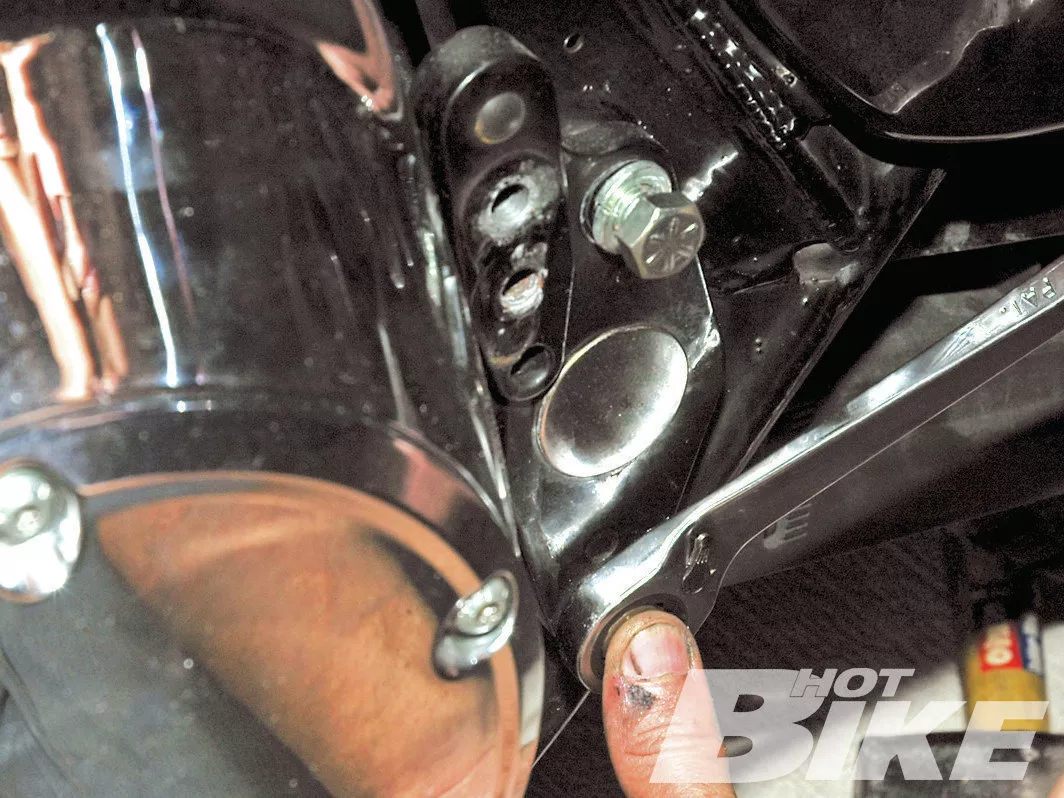
06. …followed by the left side swingarm bracket.

07. Next, John removed the shaft locknuts, washers, and rubber isolators from both sides.
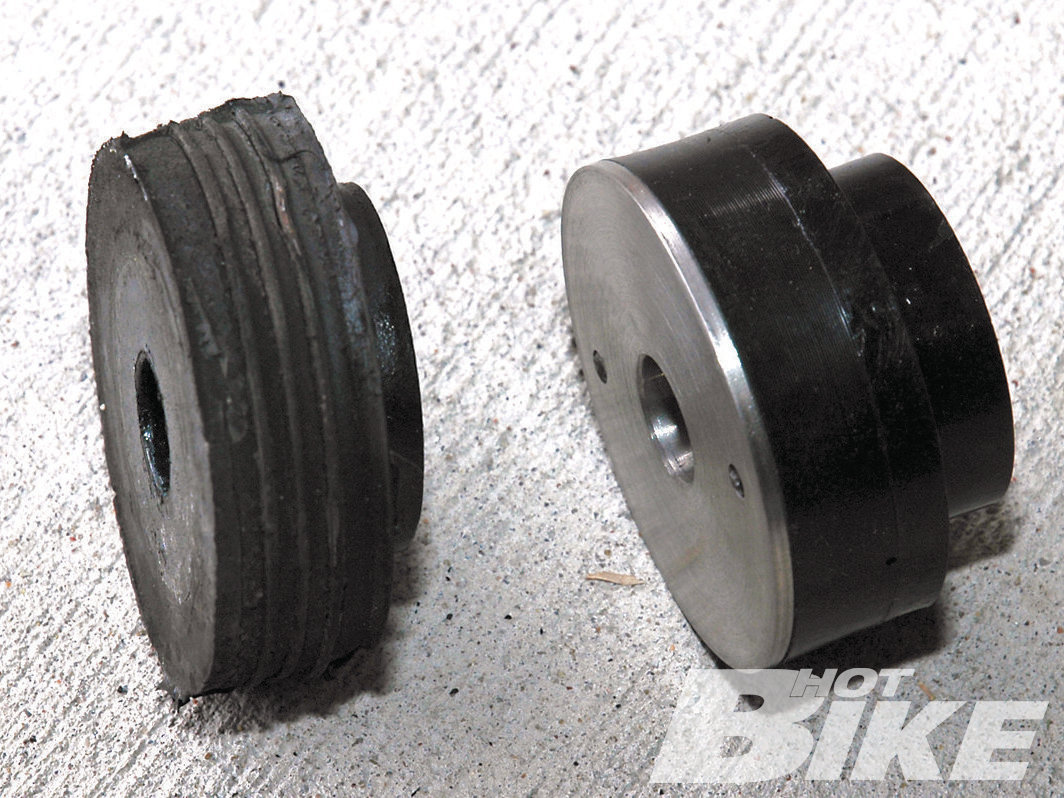
08. The stock rubber isolator is on the left and the Glide-Pro urethane isolator is on the right.
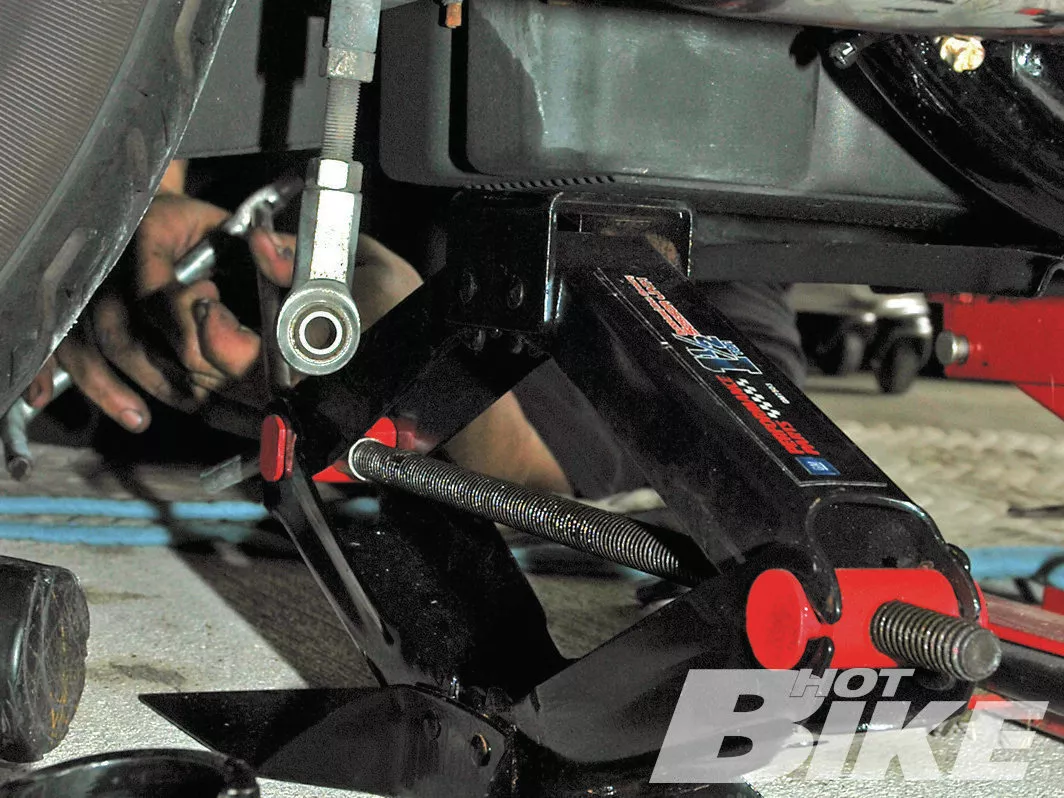
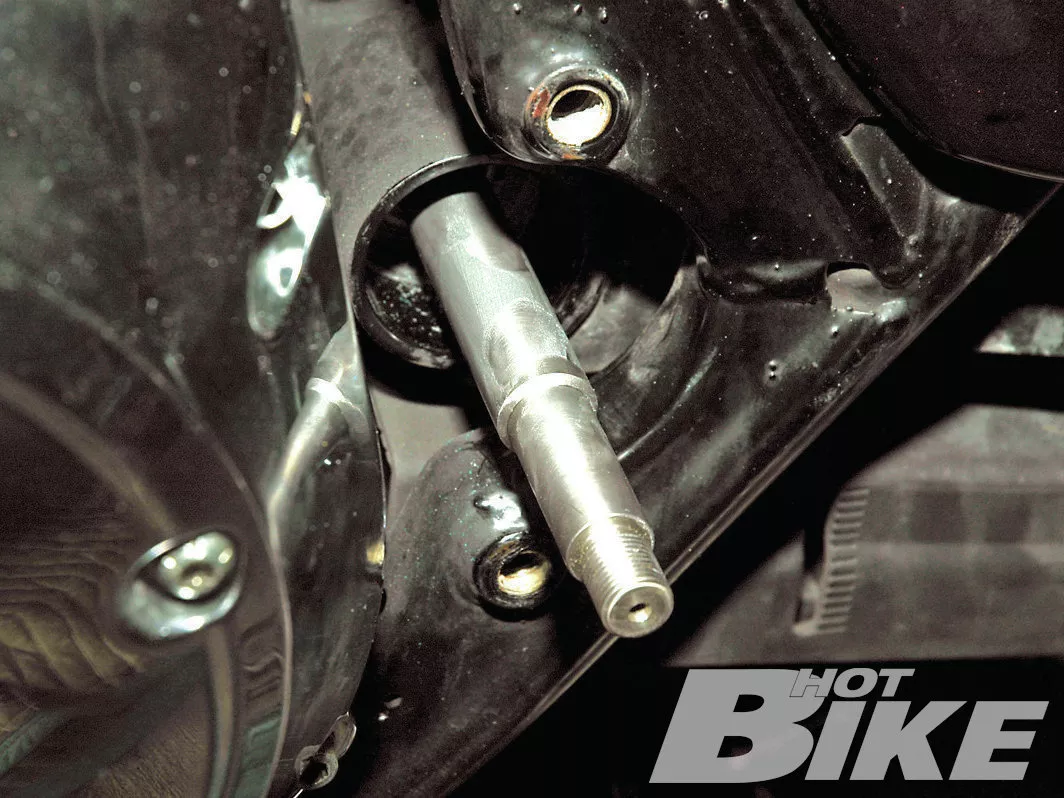
09. John raised the transmission slightly and rocked the rear wheel to loosen the swingarm shaft.
10. He used the new shaft to push the stock shaft out the left side. He also temporarily reinstalled the shaft locknut on the left side so he could rotate the shaft as it was pushed out. The shaft should move easily. If not, raise or lower the transmission jack until the swingarm holes are aligned and the shaft moves.
11. Here is the new swingarm shaft being installed from the left side.
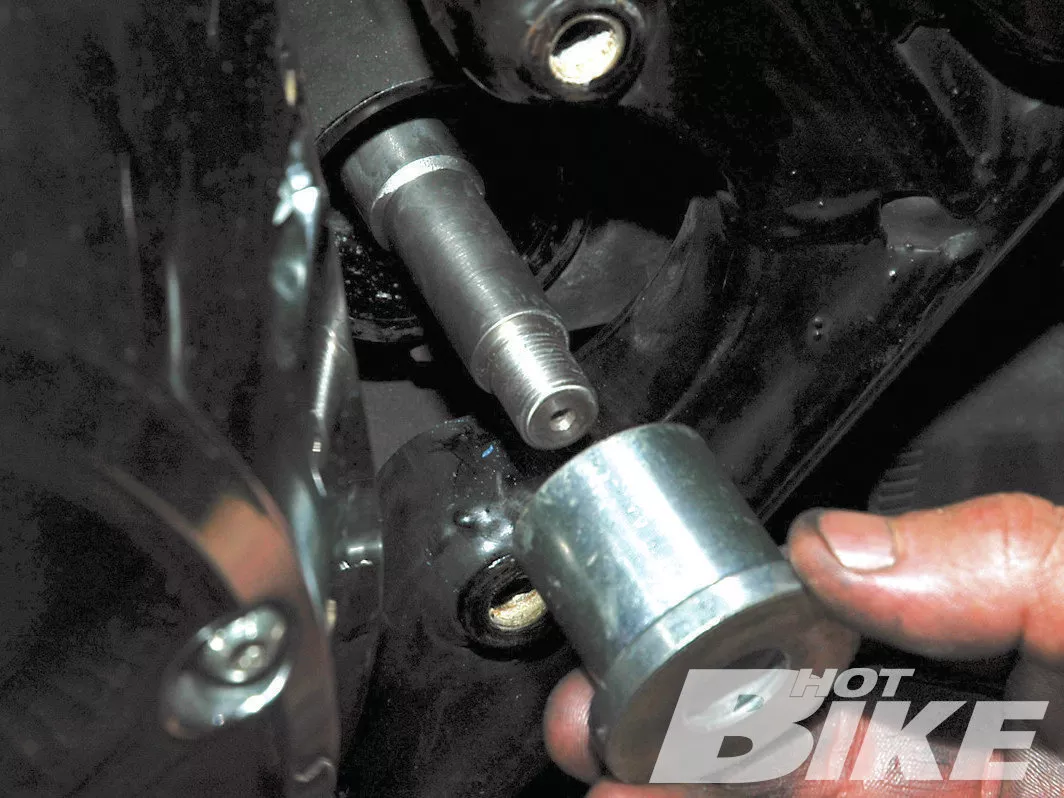
12. Next, John installed the left side outer spacer.
13. On both sides, he installed the new isolators, washers, and shaft locknuts.
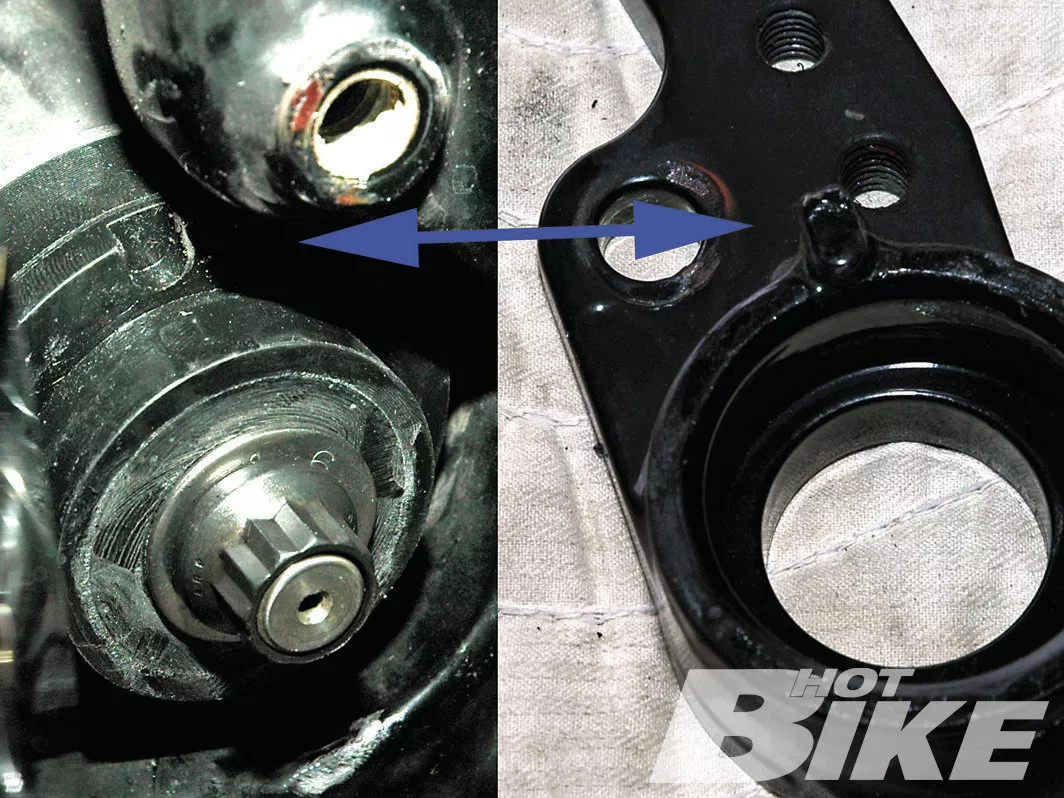
14. To reinstall the swingarm brackets, the notch on the isolator must align with the pin on the back of the bracket (see arrows).
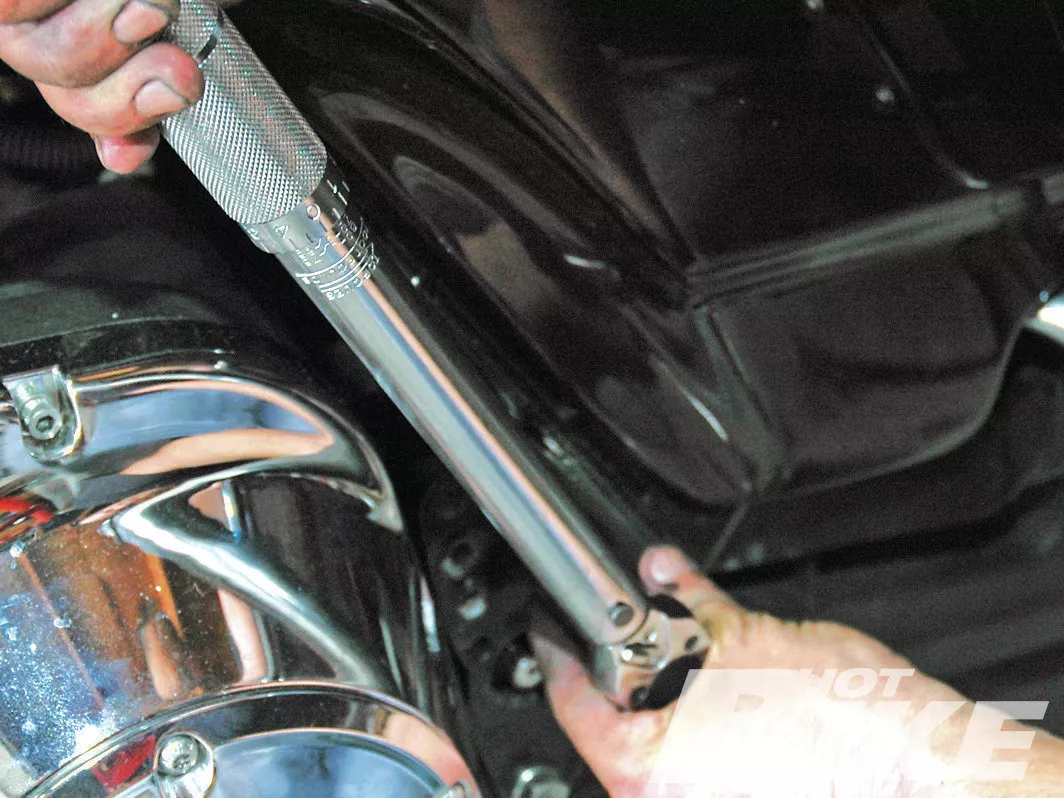
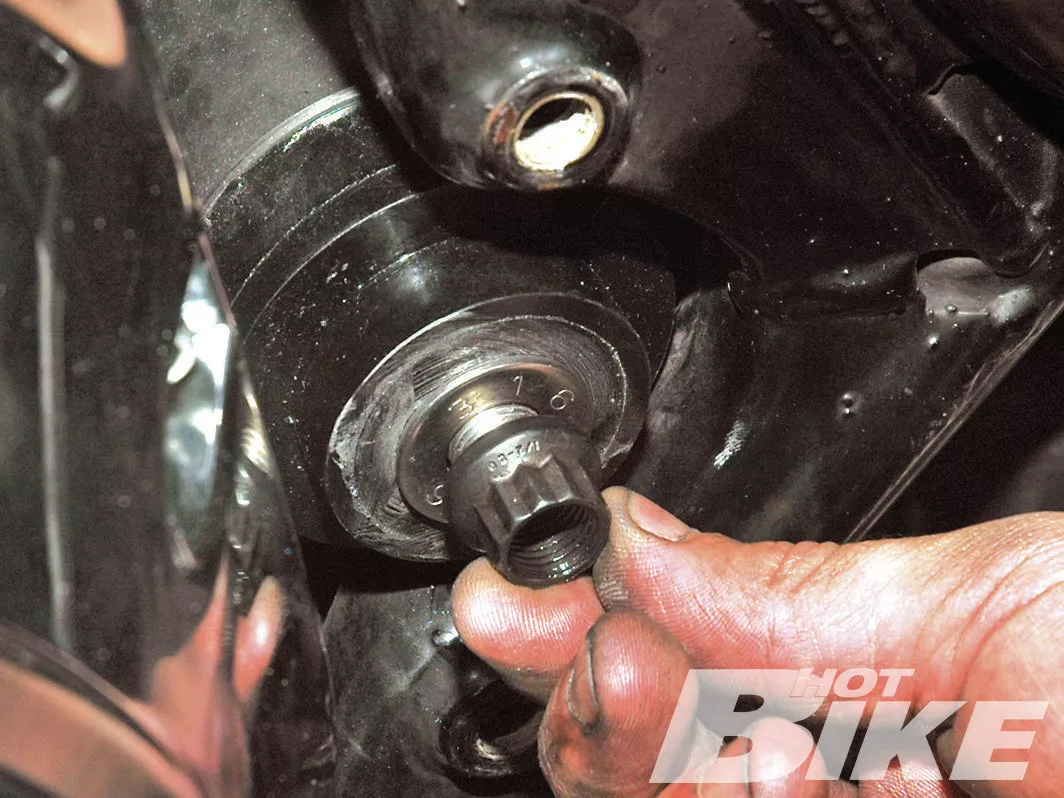
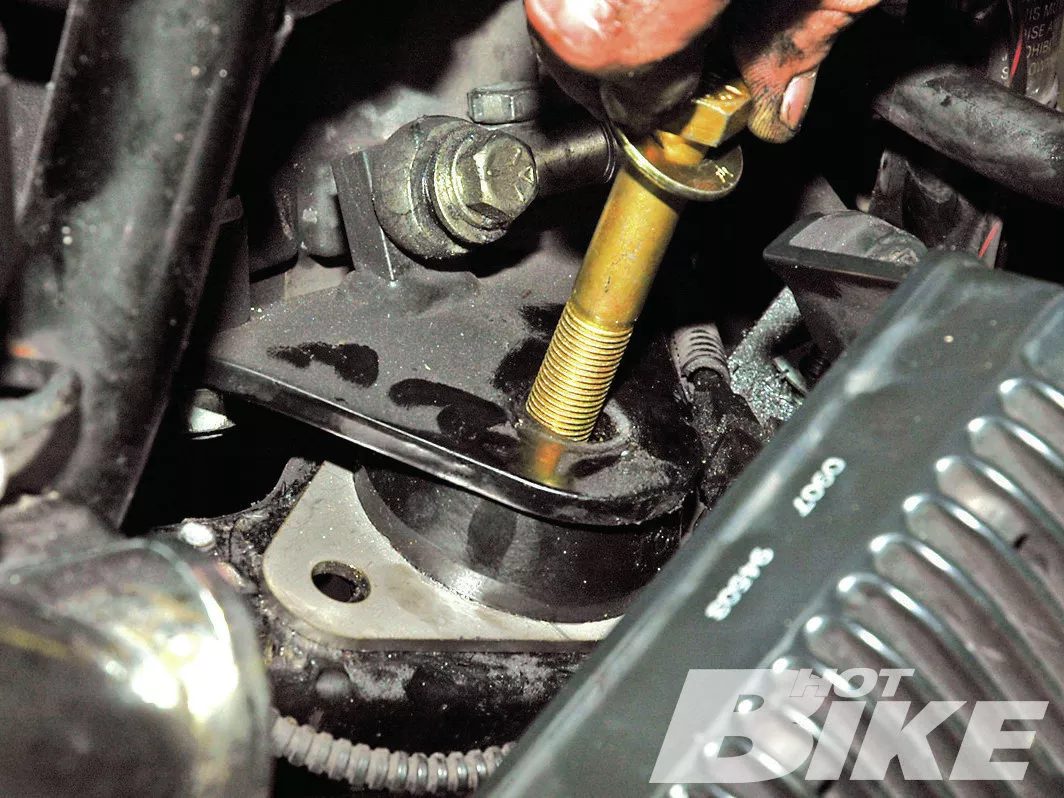
15. John fnished up the swingarm by torquing the bracket bolts to spec and then torqued the swingarm shaft locknuts to 40 lb-ft.
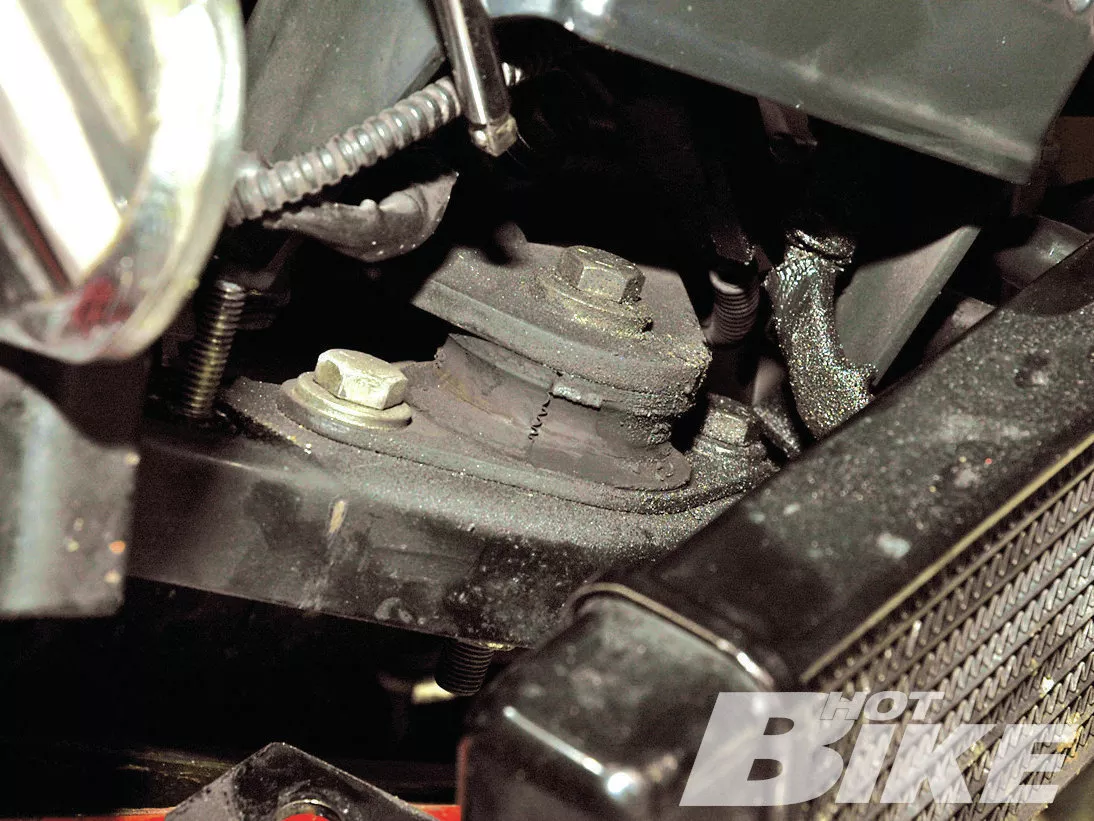
16. Moving to the front of the Electra Glide, John removed the nuts holding the regulator and oil cooler in place and lifted them out of the way to expose the stock front motor mount.
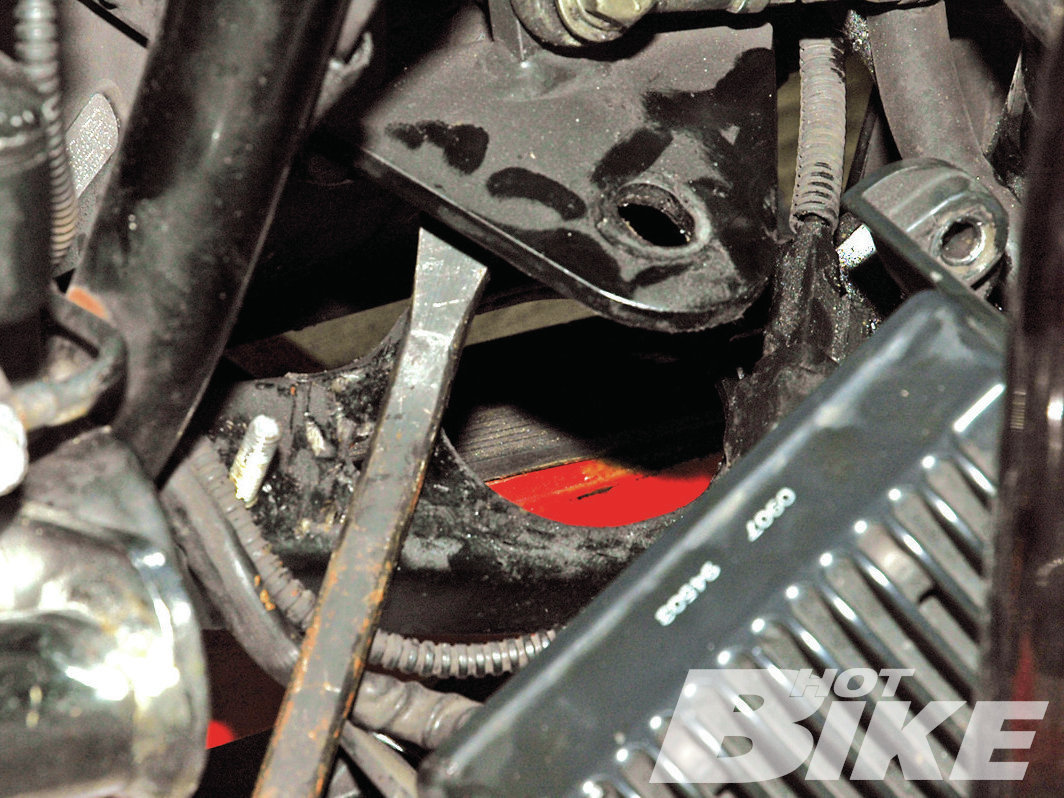
17. Next, he removed the two side motor mount bolts and the center bolt. By prying up on the motor mount attach plate, he removed the stock motor mount. With the exhaust loose, the engine rotated enough to remove the mount.
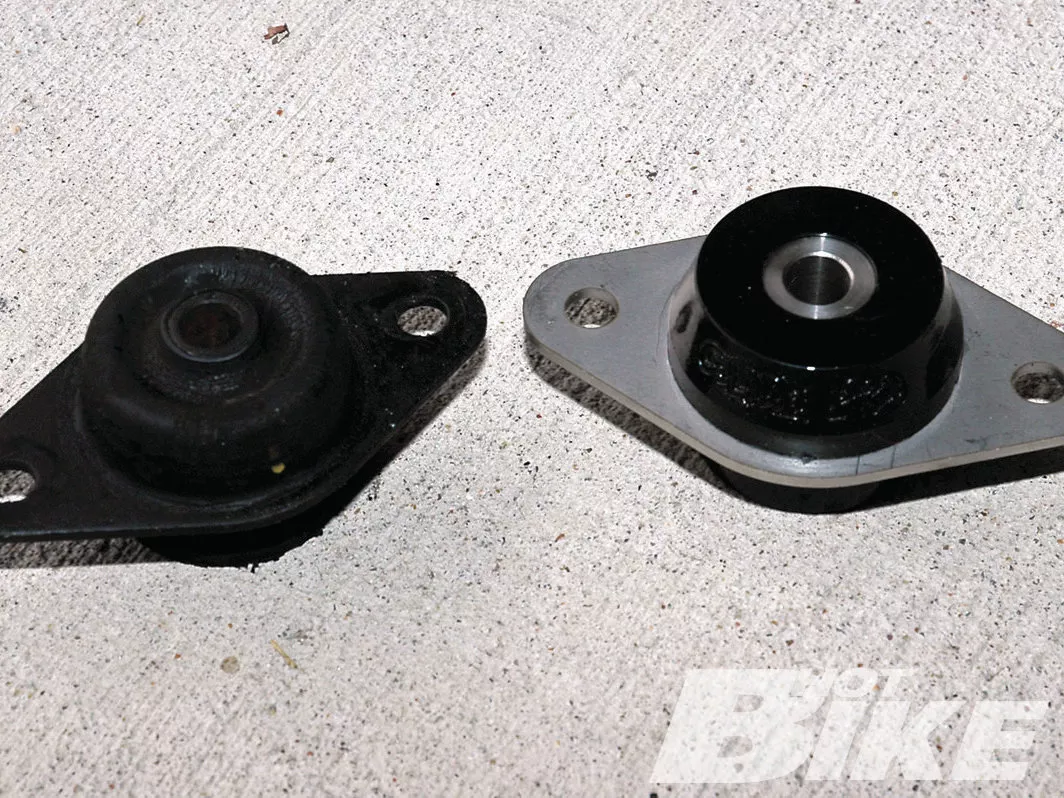
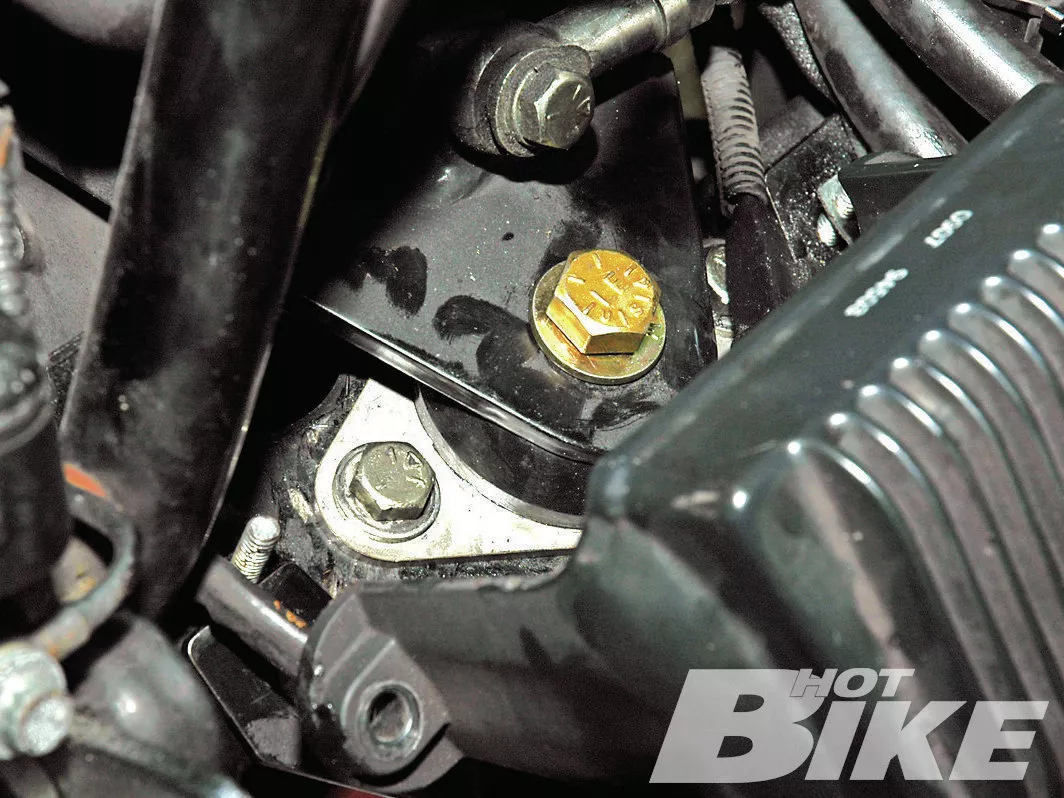
18. Here is a comparison of the stock motor mount (left) and the new Glide-Pro urethane motor mount (right).
19. Next, John installed the new motor mount replacing the center bolt and two side bolts.
20. He torqued the side bolts to spec then reinstalled the exhausts. He ran the bike for a few minutes to seat the front motor mount then torqued the center bolt to 12 lb-ft. With the remainder of the parts replaced, John was ready to test his newly stabilized ride. As we stated earlier, John reported that the bike ran smoother, was more comfortable to ride, and handled better.
One of the joys of customizing a motorcycle is replacing humdrum stock parts with higher quality, better looking, and distinctive aftermarket stuff. We want the bike to be our own unique set of wheels—like no other bike on the road—and we want that individuality to show. However, sometimes we need to improve performance and stability by replacing an internal stock part with an improved part that will never show. Such is the case with Glide-Pro’s Stabilizing System. Looking at the bike, you won’t see it, but ride the bike and you will feel it.
Most vehicle makers choose rubber for suspension and mounting bushings. Although rubber bushings are fine at first, over time they usually deteriorate and wear down which creates performance issues. So when it’s time to replace those rubber bushings, why not use a better performing material like urethane. Urethane will last longer because it’s extremely resistant to oil and road contaminants. It’s also a firmer material that won’t crush down which maintains frame rigidity for ride stability.
When our friend John complained that his ’06 Electra Glide was wobbling and rattling more than normal, he decided it was time for the rubber to go. A quick call to Glide-Pro got us its Glide-Pro Stabilizing System, GP 2302-3/4, for ’02-08 FLH models, including a front motor mount (MSRP $398).
The Glide-Pro system replaces the stock swingarm pivot shaft with a heat-treated, high-grade stainless steel shaft for more strength and heat resistance. Also replaced are the stock rubber mounts on the ends of the pivot shaft with heavy-duty urethane bushings. In addition, Glide-Pro’s testing determined that overall performance is improved by replacing the stock rubber front motor mount at the same time as the swingarm mount, so it includes a urethane motor mount in its kit. However, you can order only the swingarm upgrade if you desire.
John installed the complete stabilizing system in his garage in about two hours without any special tools. Glide-Pro’s instructions are simple and easy to follow but it’s always a good idea to have a service manual for your bike to check procedures, torque specs, and safety cautions.
Afterwards, John performed a testride by re-tracing a route he’d run before the Glide-Pro installation. One left turn in particular where he had previously felt a wobble was now firm and wobble-free. In general, John reported that the bike ran smoother and was more comfortable. He did not notice any additional vibrations at idle or running through the gears. Out of sight, but not out of mind. HB
Source:
Glide-Pro, Inc.
(619) 449-6251 | glide-pro.com


