
Hill Country Handlebar Swap Part 3 of 3
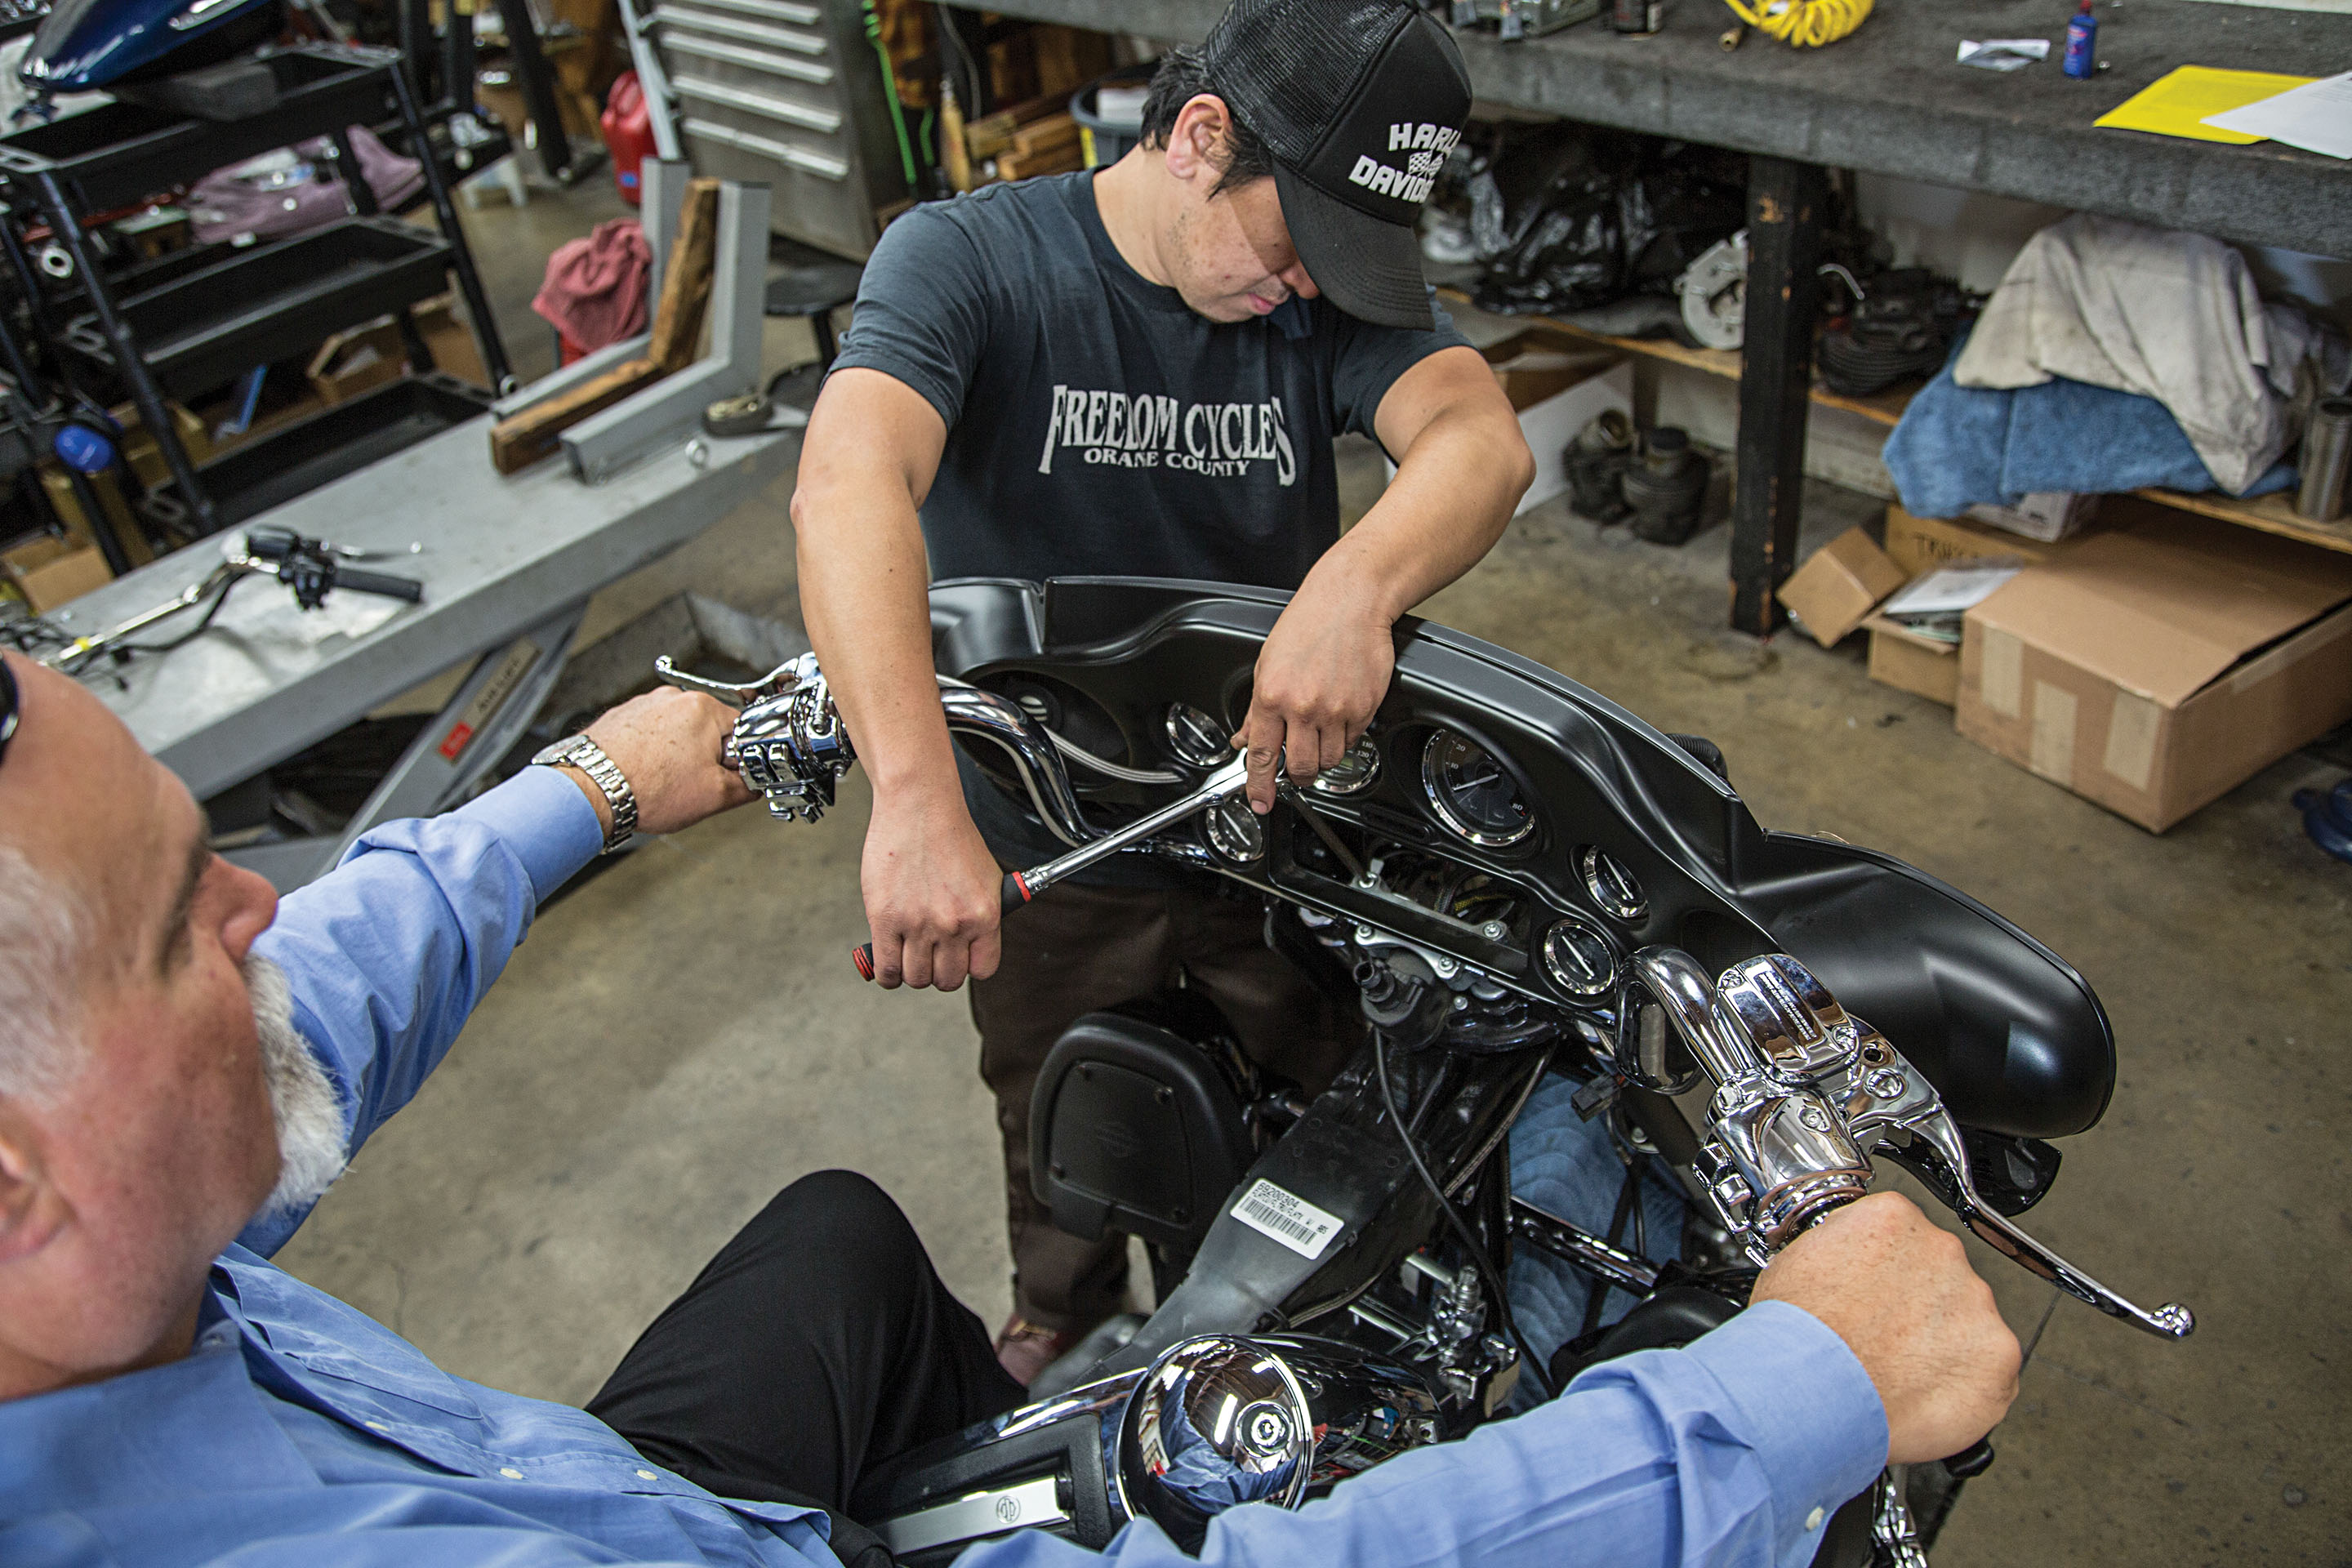
We called in our bike owner John at this point. We temporarily put the seat back on and had him sit in his normal riding position and set the bars to his exact request.
Words and Photos: John Zamora
Alrighty, time to put this custom handlebar project to bed and get John DiMassa back on the road. At the end of part 2, we were clamping the new Hill Country Customs bars in place. Now we’re attaching the relevant controls to the bars and completing final assembly.
It’s important to remember that when you change the size and location of the bars, it’s also necessary to change the brake and clutch lines and control wires that are attached to them. Short cables on a longer bar won’t reach (obviously), but too much slack from overly long cables can become bunched up or snag on other parts of the motorcycle. There is also the matter of the wires that must be extended or shortened to fit the modified height of the bars. Wire extensions can be manually done, or kits with prewired bars are also available.
If you have ever taken a bike to a shop and asked for a quote for a bar swap, you might be in for a big surprise. With the necessary removal of the front fairing and brake and cable swap that came with our Hill Country Kit, it still required almost a full day from start to finish with the meticulous and extremely skilled mechanic Kazoo from Freedom Performance behind the wrench. Gaining access to the bolts is an extensive process, and a good portion of the bike must be disassembled to reach that point. Don’t be surprised if your local shop quotes you with a large labor cost. This job could be done at home with basic tools if you have the patience and time to carefully disassemble everything and put it back without missing any steps along the way. For that reason also, this is a quick overview of the process, and a proper shop manual is necessary to accomplish each portion.
For our 2012 Ultra Classic, we wanted to improve the look and style of the bars with a small increase in height. The owner, John DiMassa, is a tall guy and wanted the extra height, so he chose 12-inch Hill Country apes to better fit his size with chrome accessories. He didn’t want to go overly tall because that defeats the purpose of the protection of the fairing if your knuckles are up and sticking out.
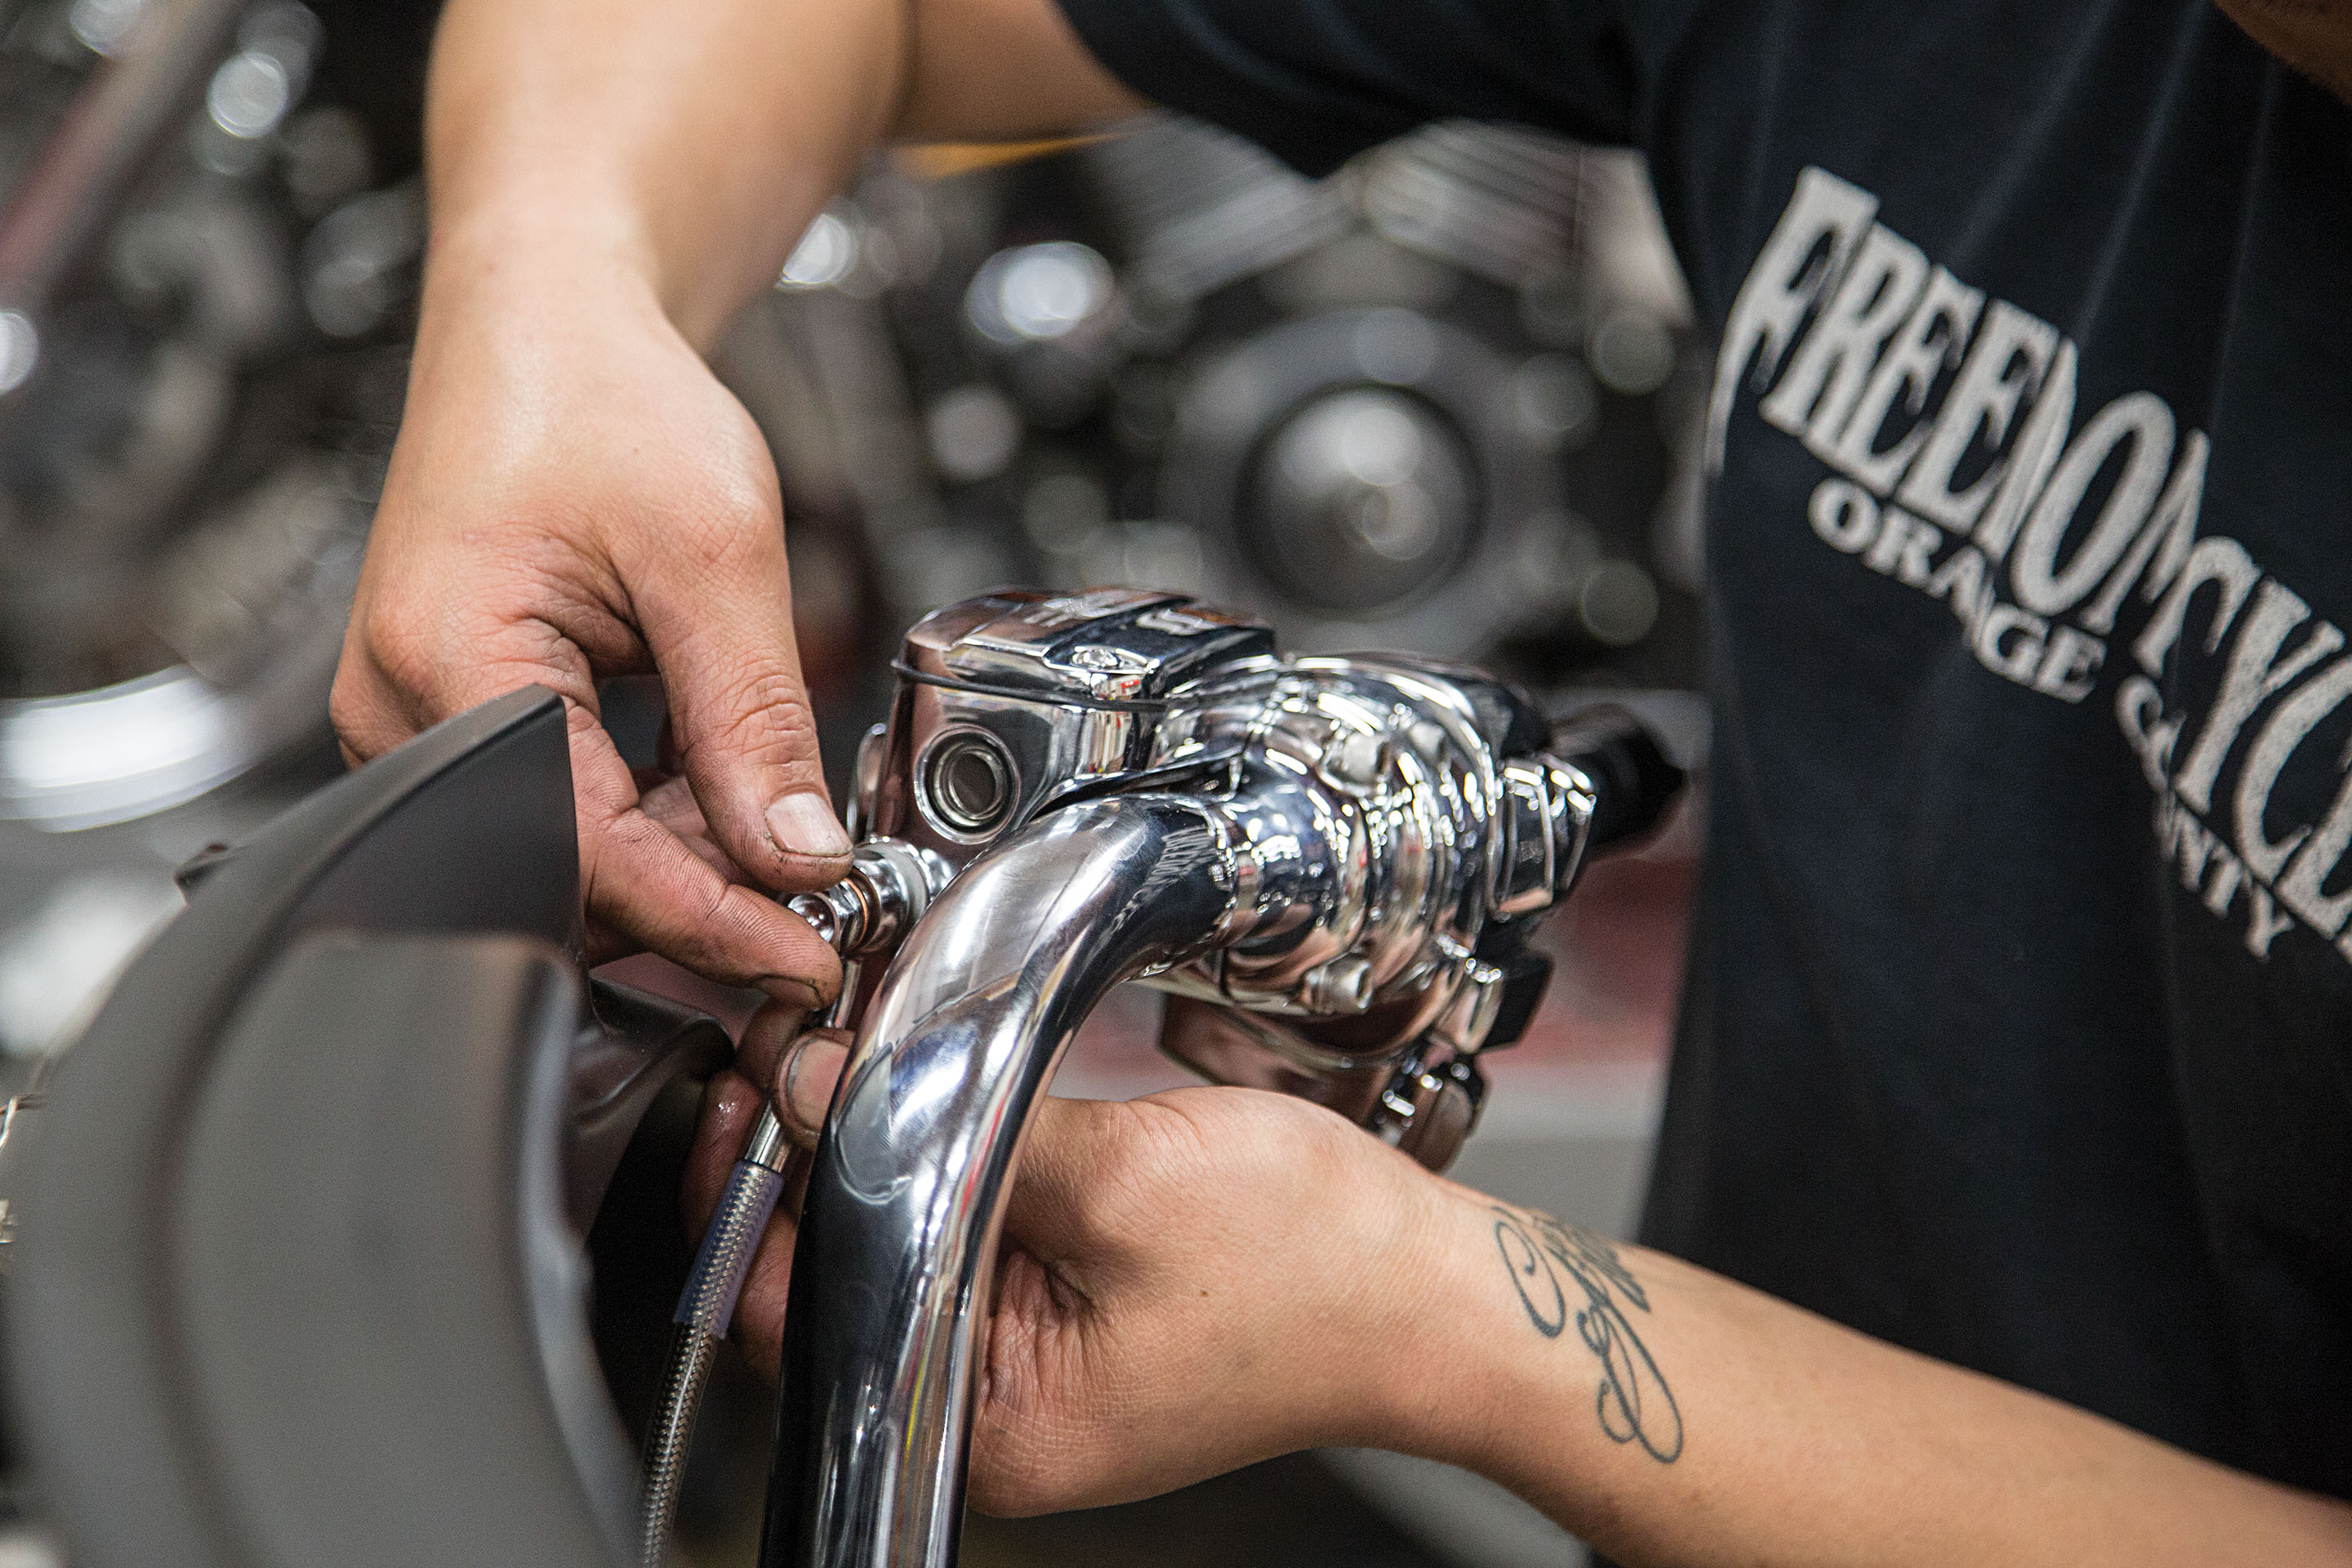
Attach the new brake line to the master cylinder.
Words and Photos: John Zamora

Next attach the clutch line to the new lever and adjust the clutch.
Words and Photos: John Zamora
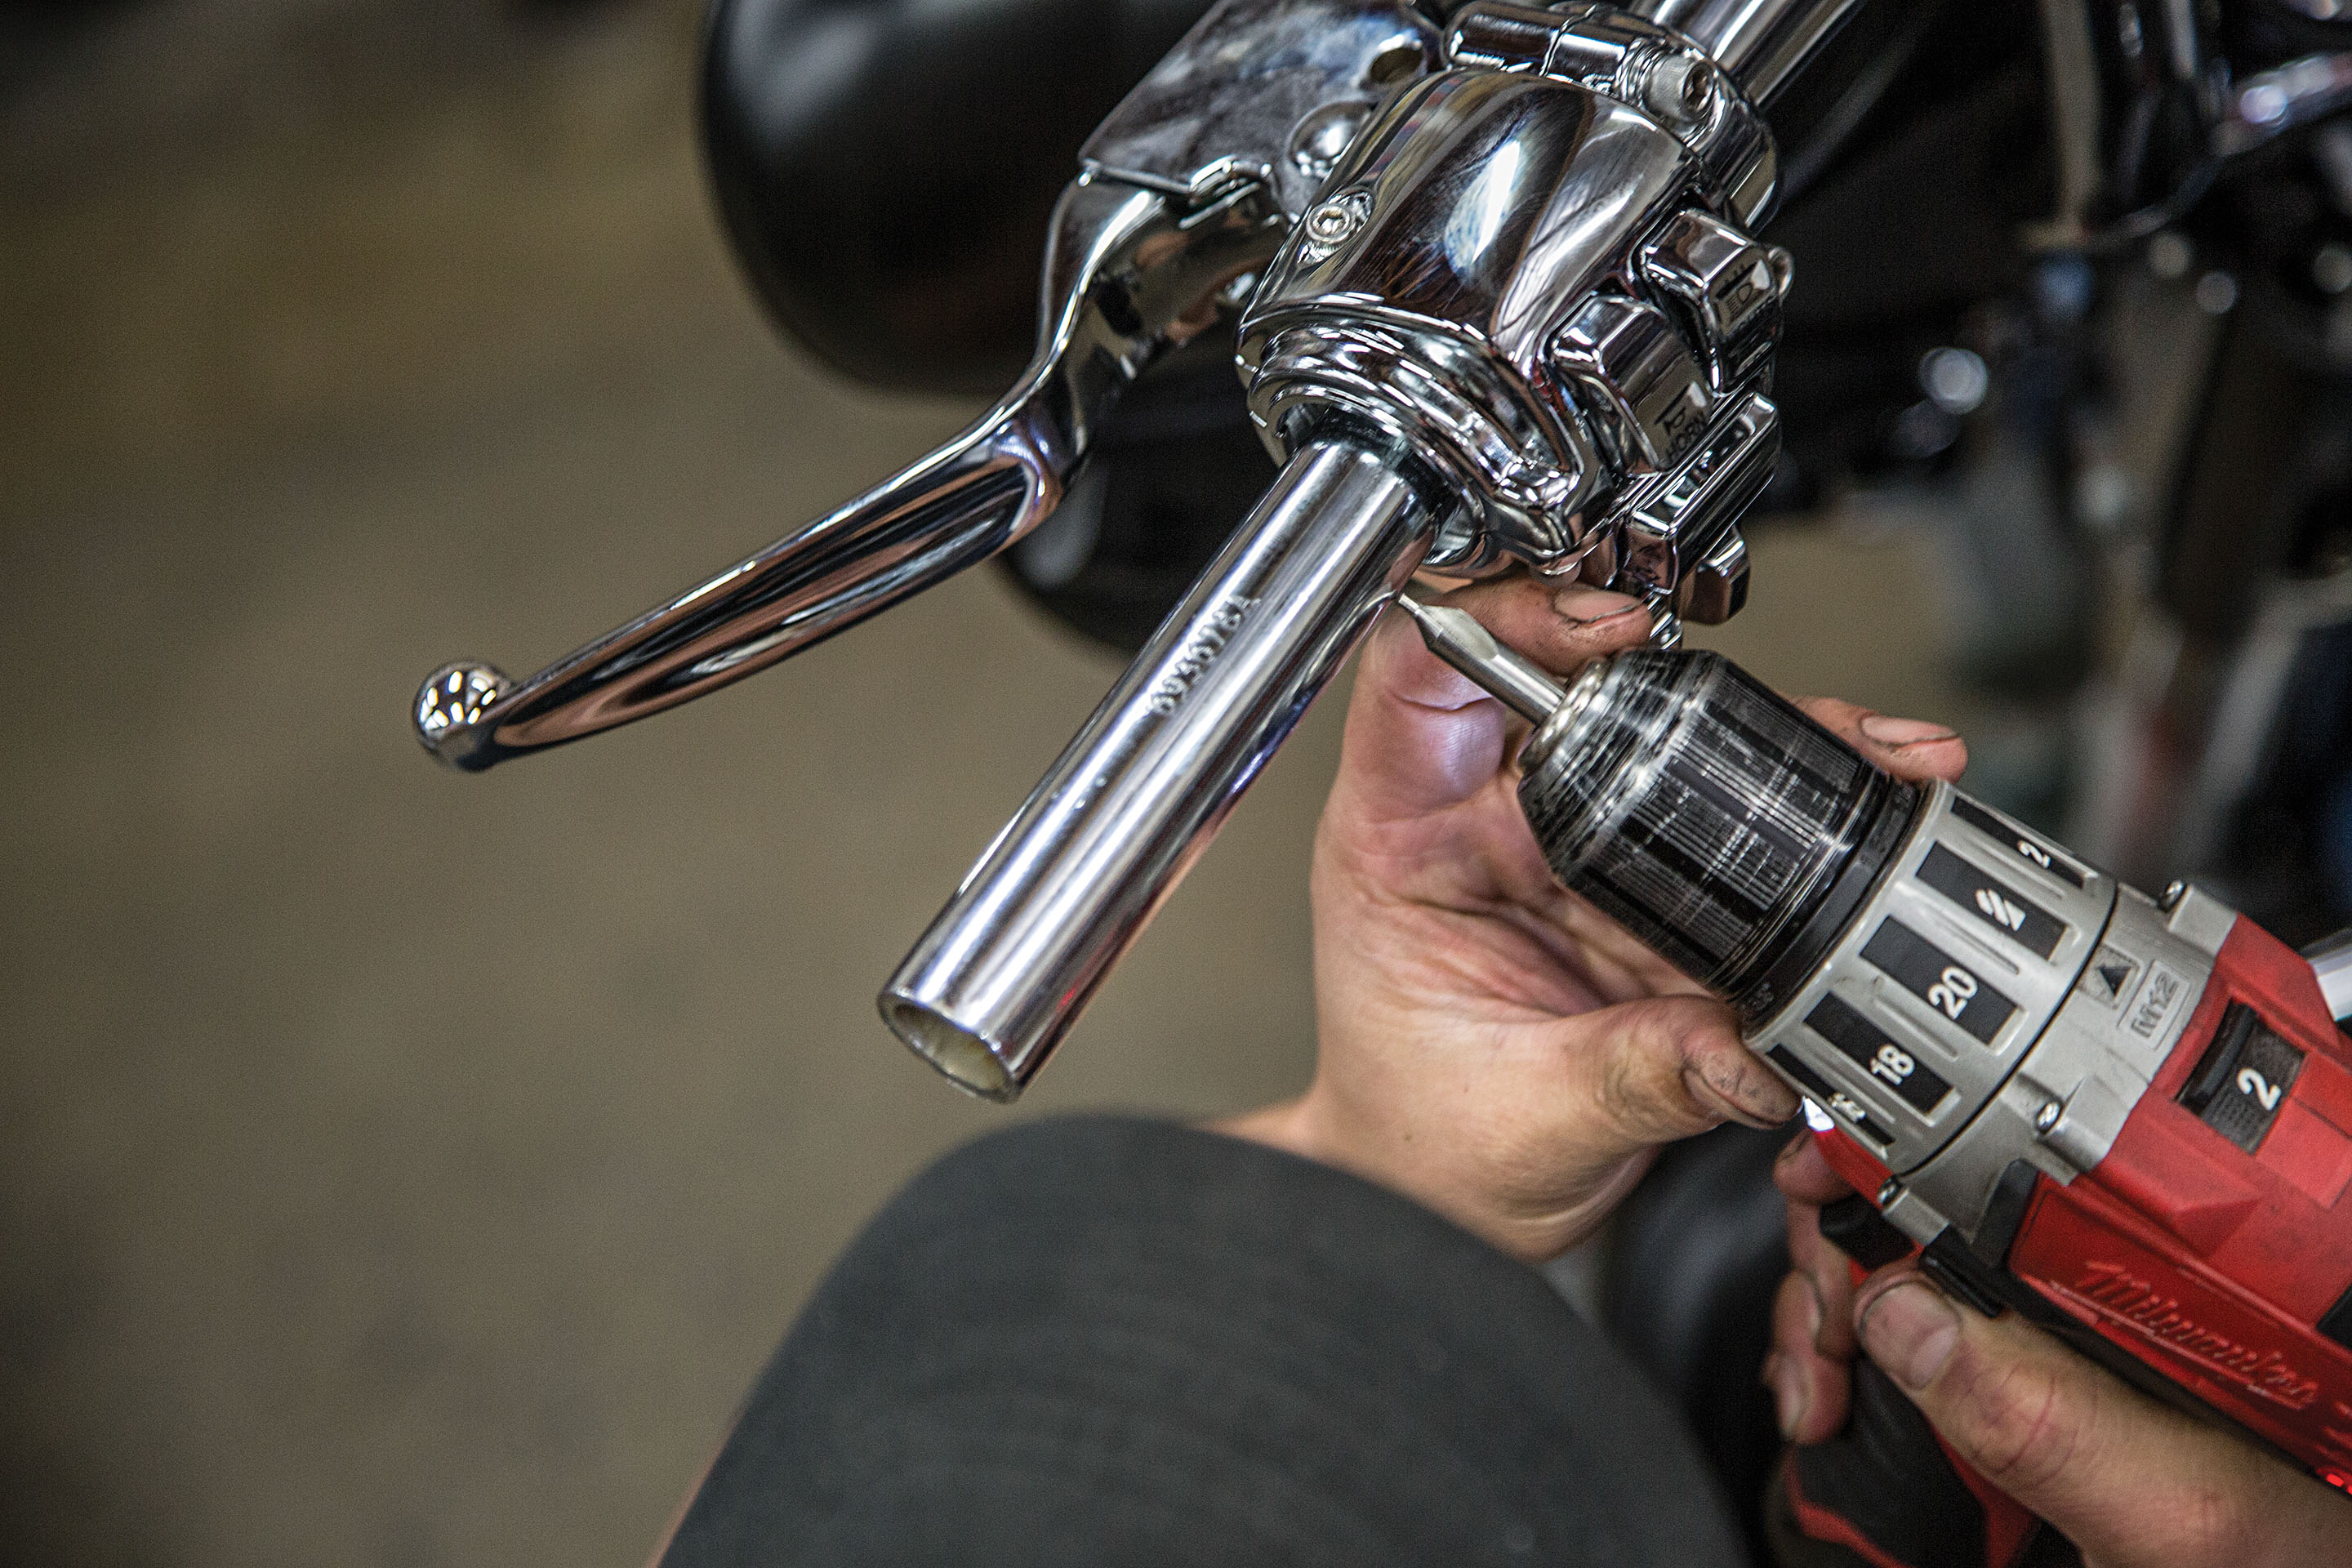
If the old grips are worn out and dirty, replace them. We grabbed a set from Performance Machine. Before the new grips could be mounted, a small indent was made to give the setscrew something to mount to.
Words and Photos: John Zamora
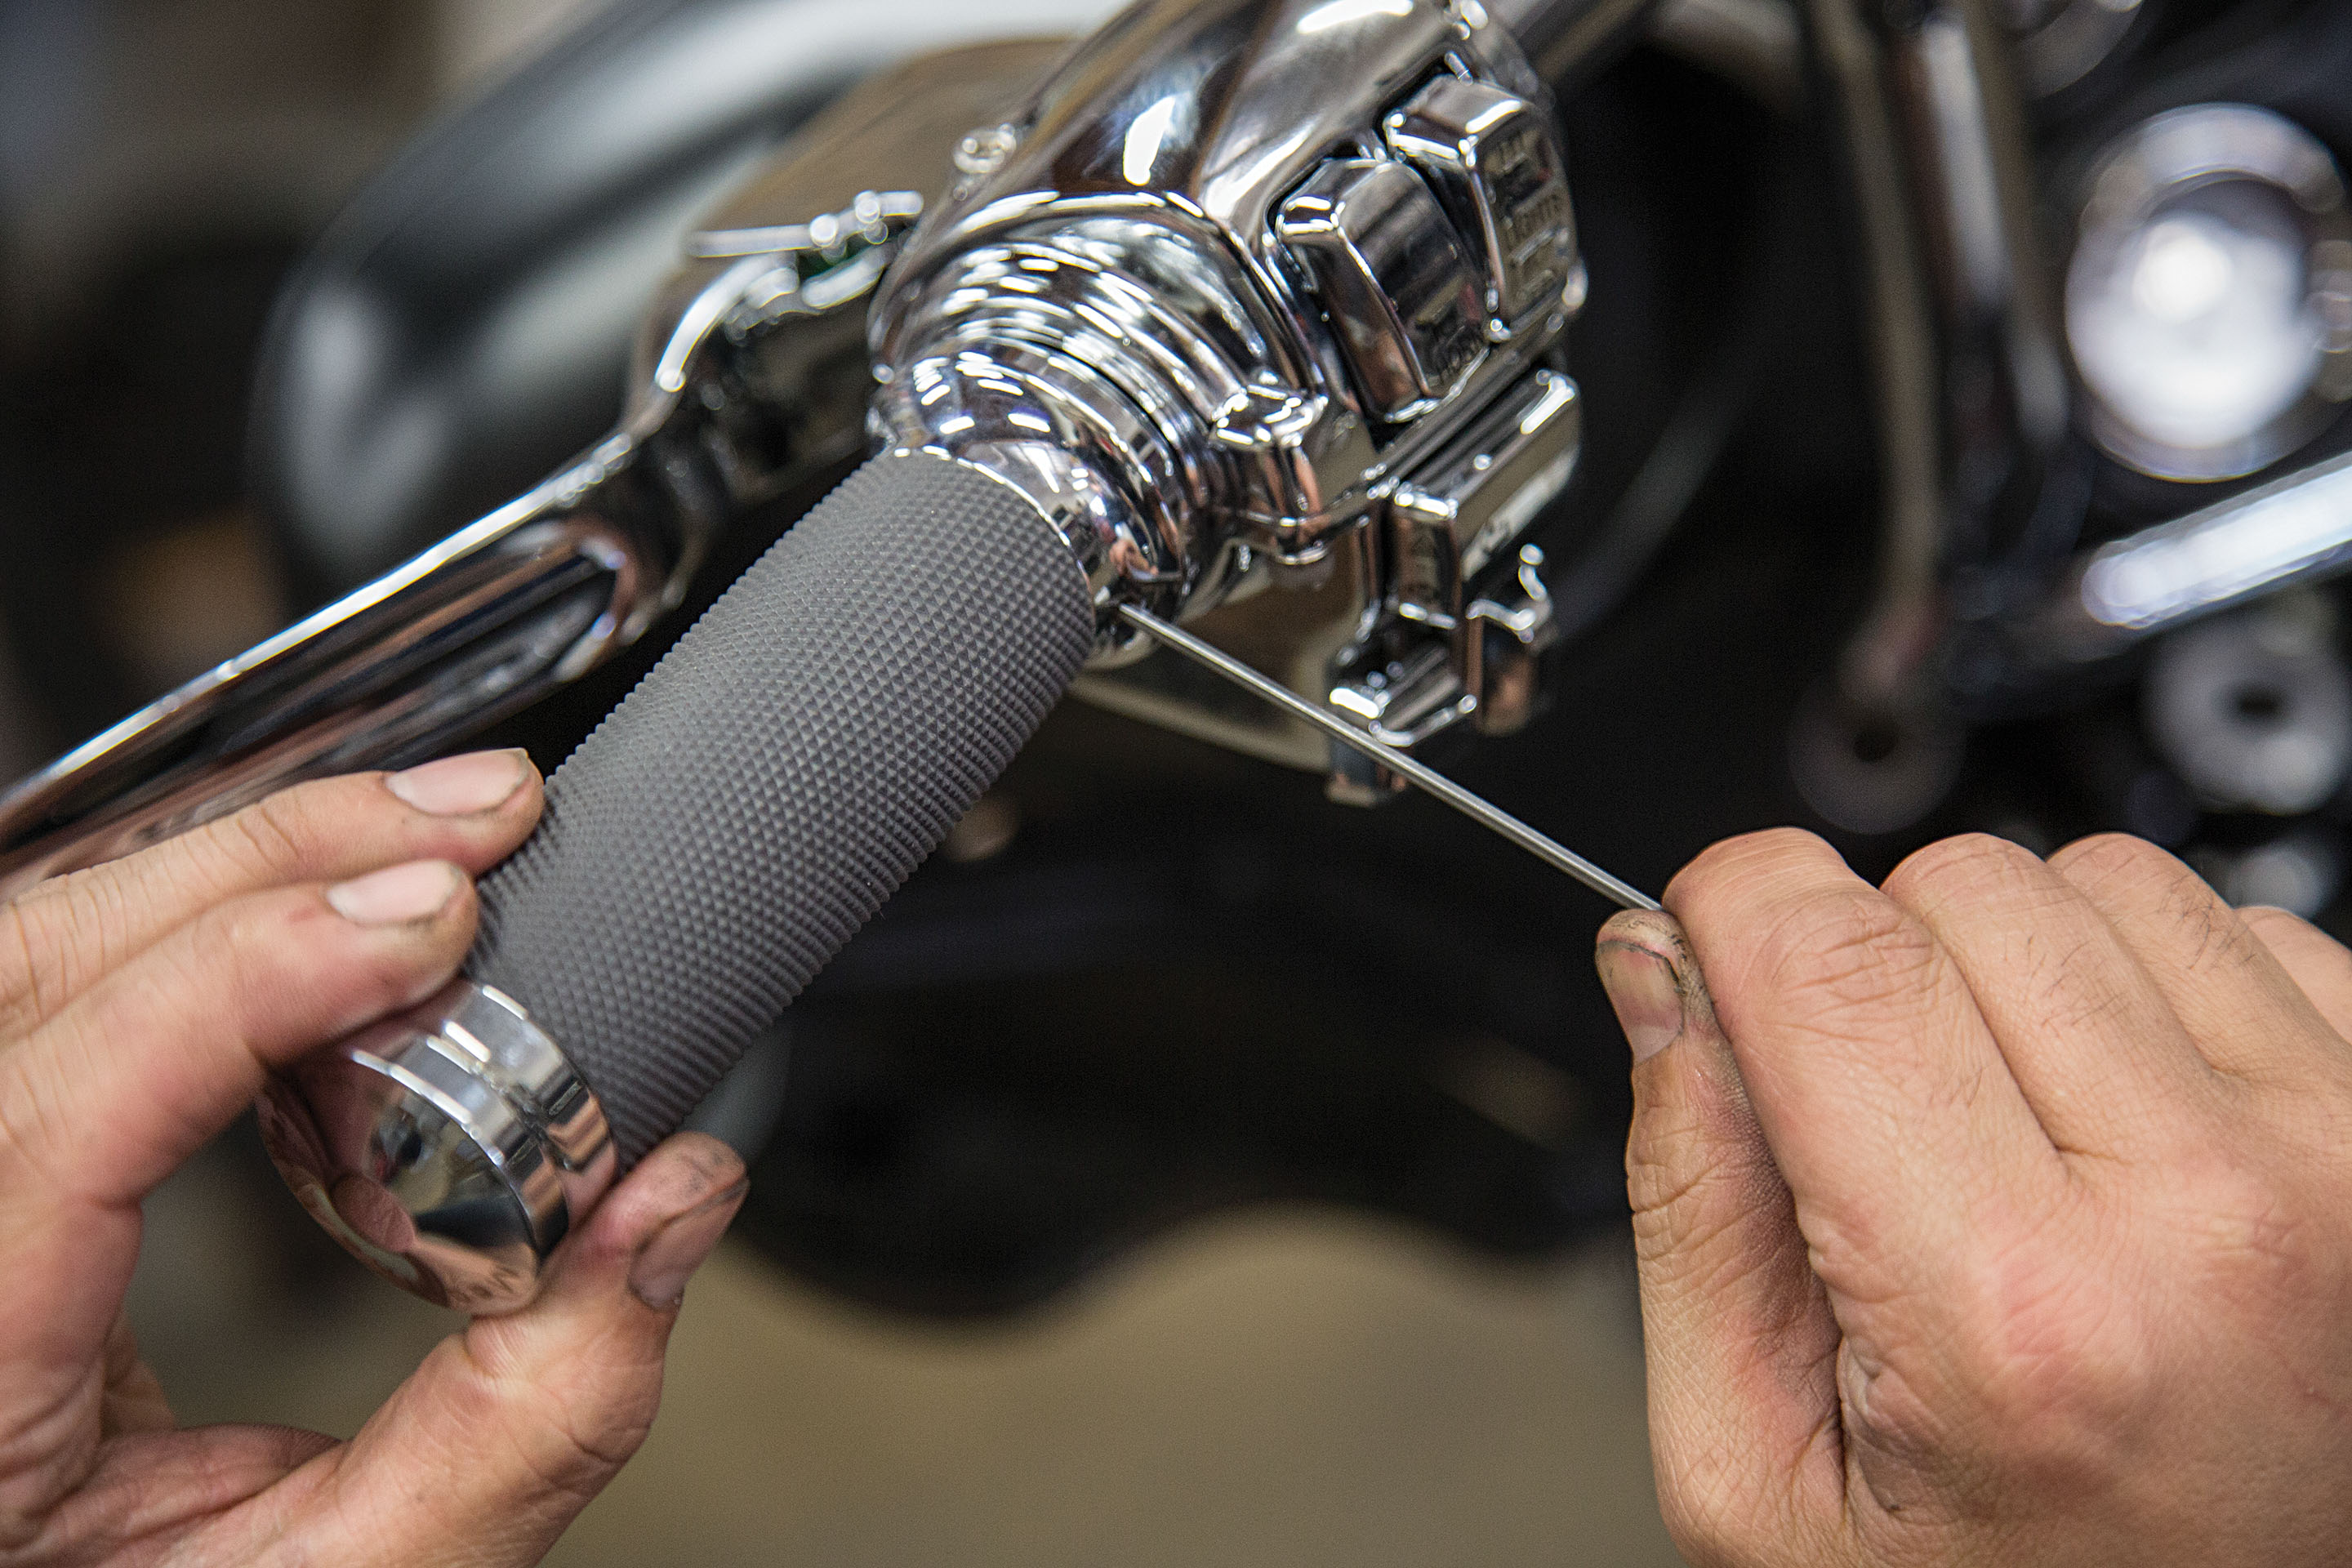
Secure the new grips with setscrews.
Words and Photos: John Zamora
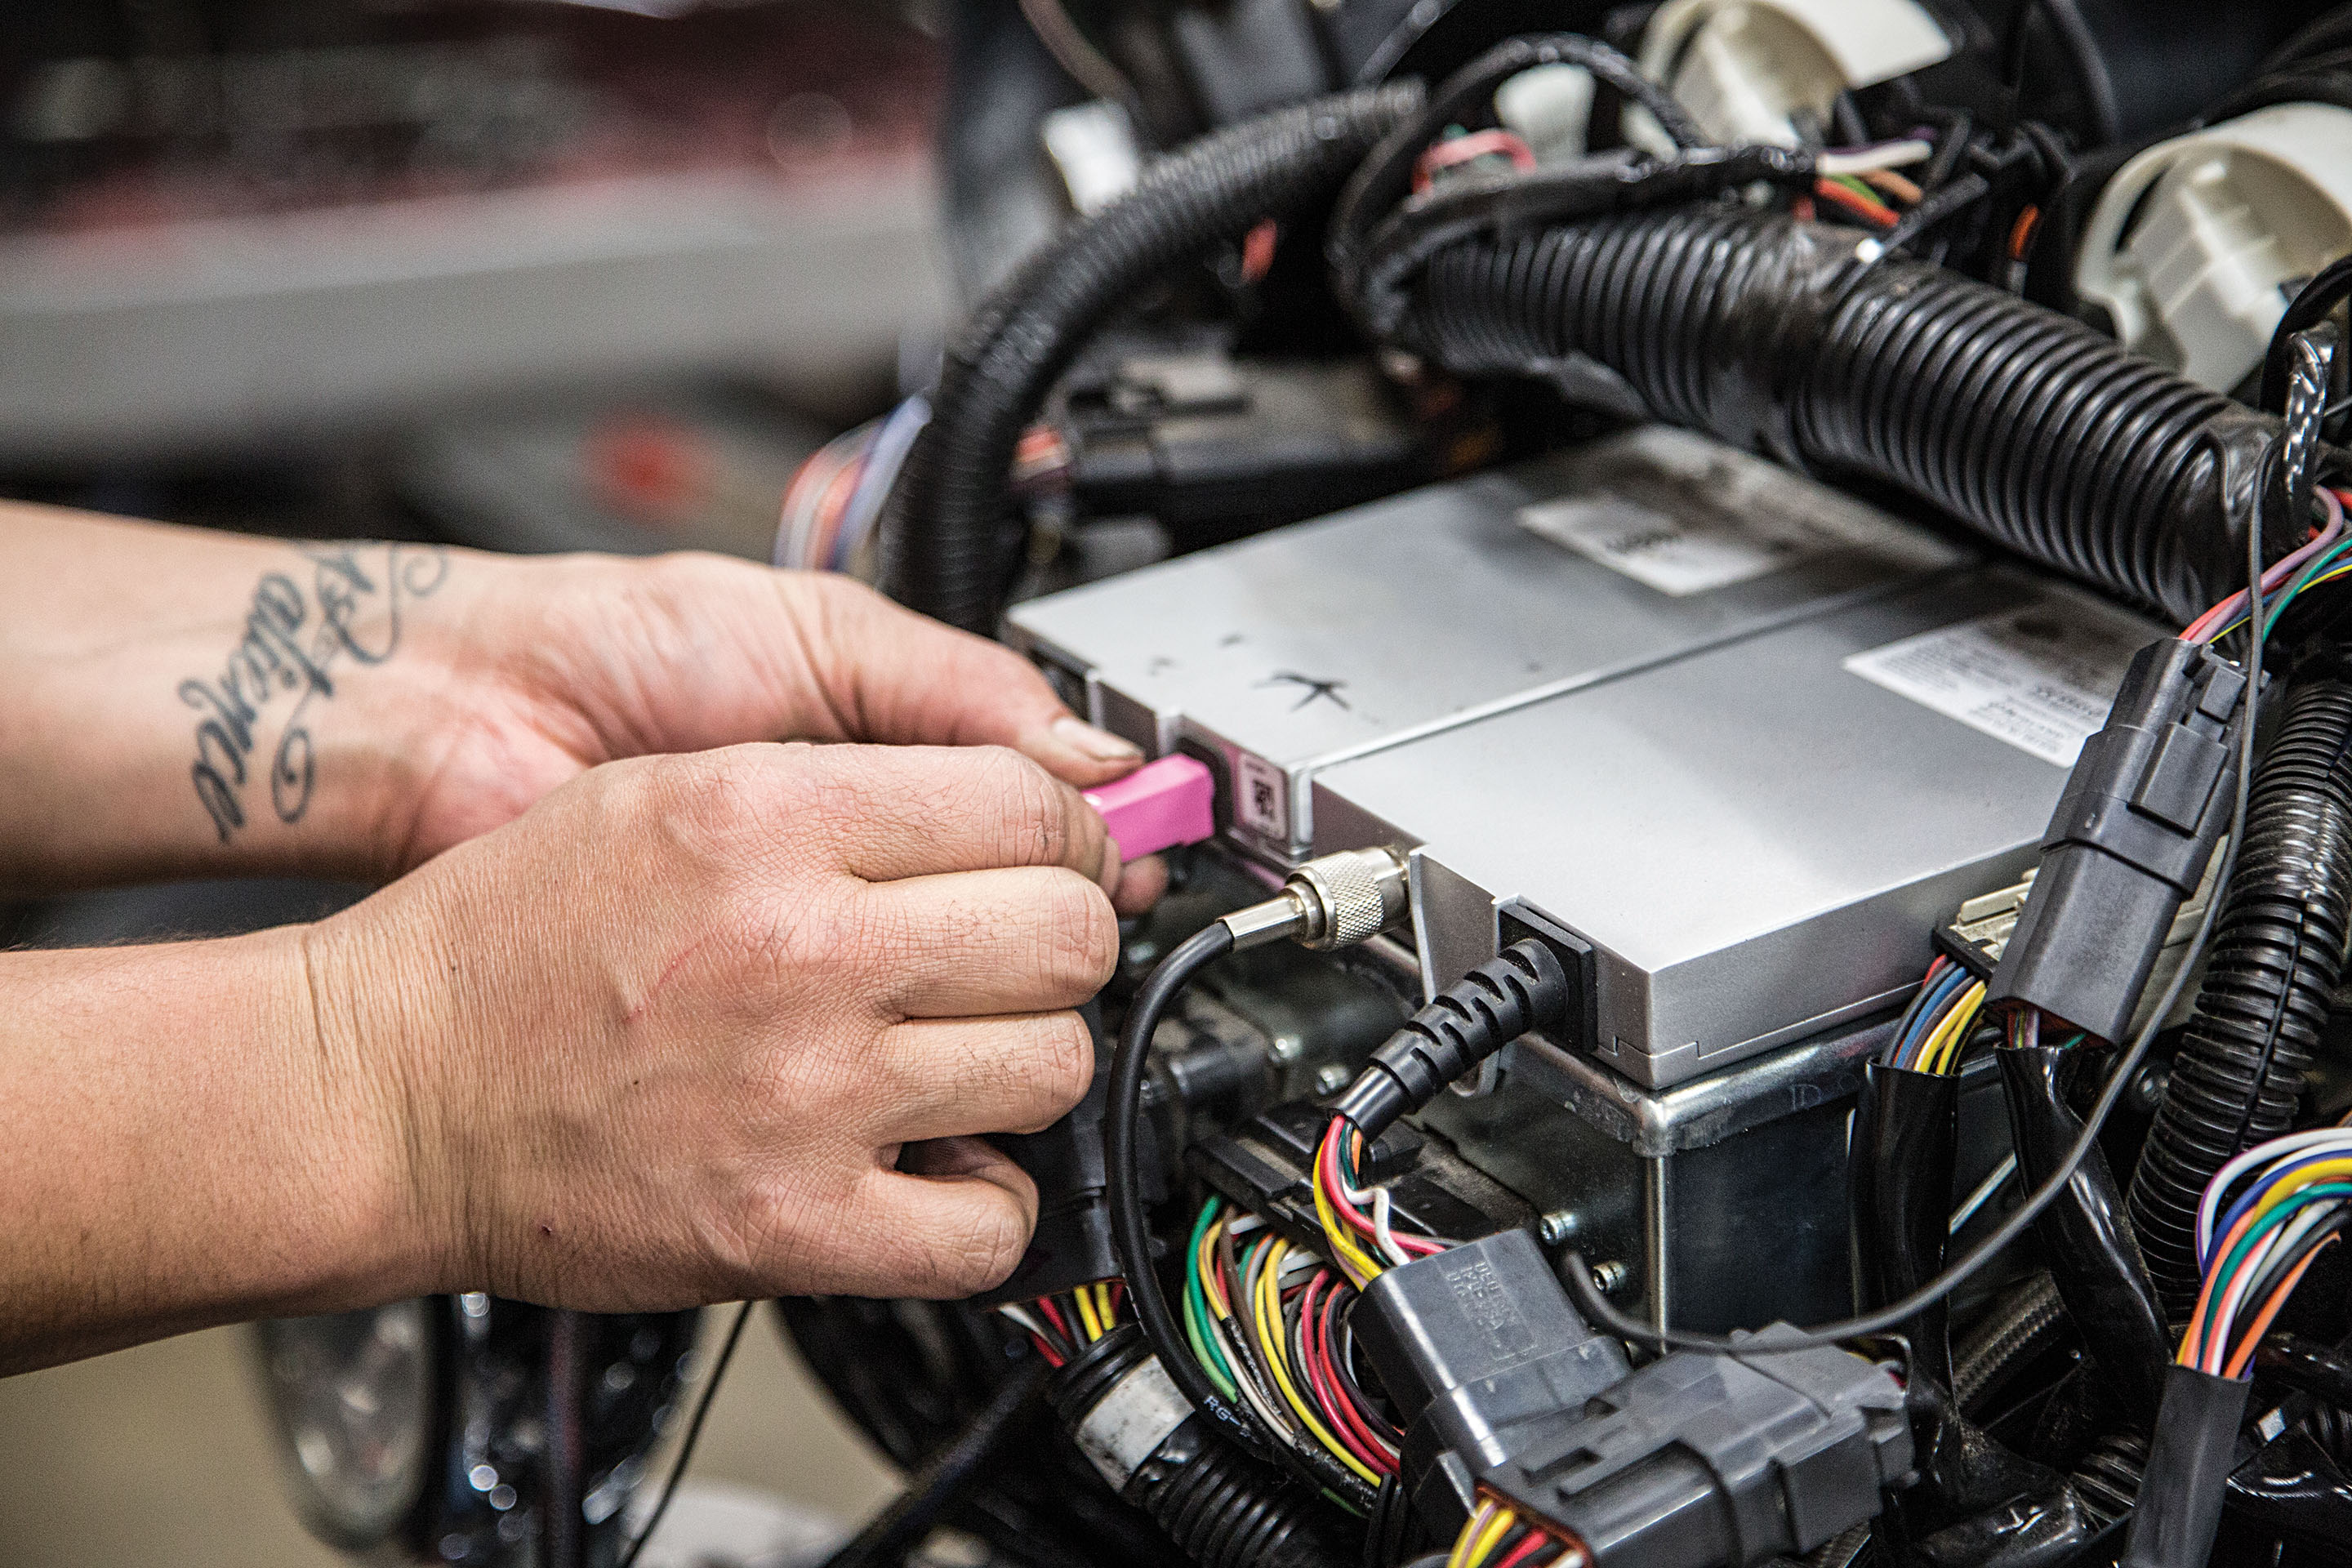
Put the factory radio back in place and all the connections to the pre-wired bars.
Words and Photos: John Zamora
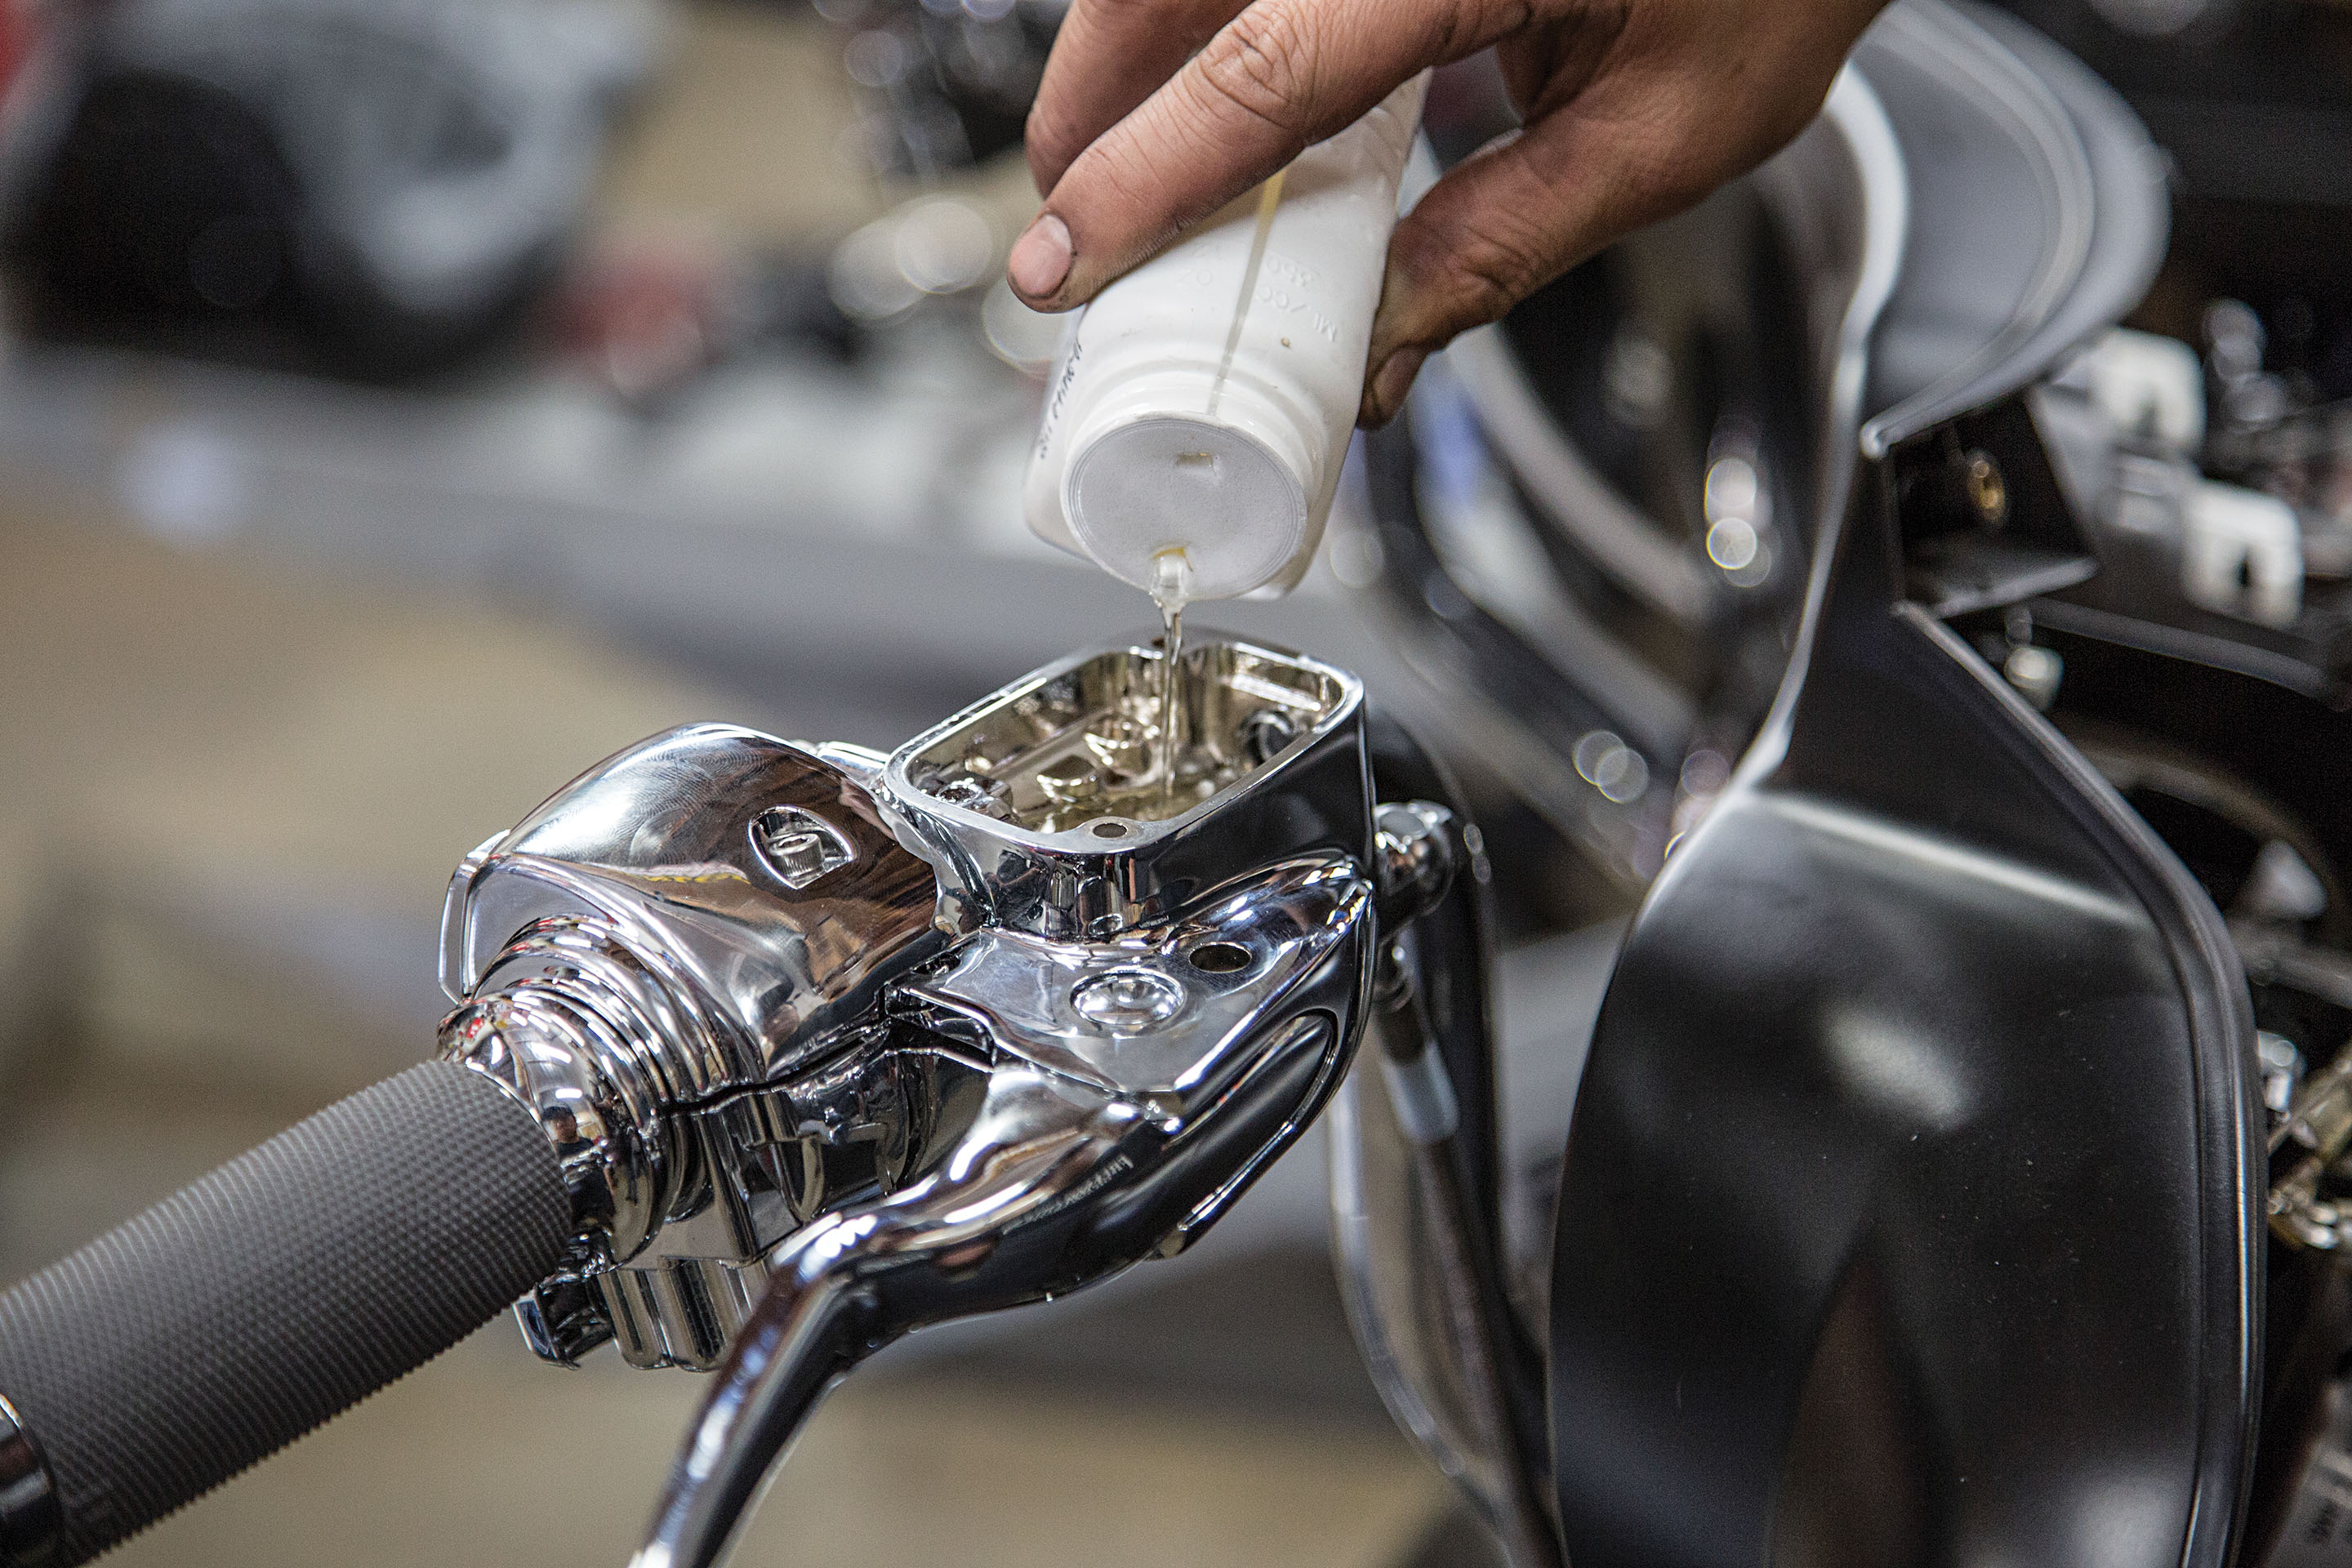
Fill the brake master with fluid and bleed until the feel is solid and firm.
Words and Photos: John Zamora

Replace the dash and key assembly. It’s a good idea to check all the functionality of the switches at this point to make sure no connections were missed.
Words and Photos: John Zamora
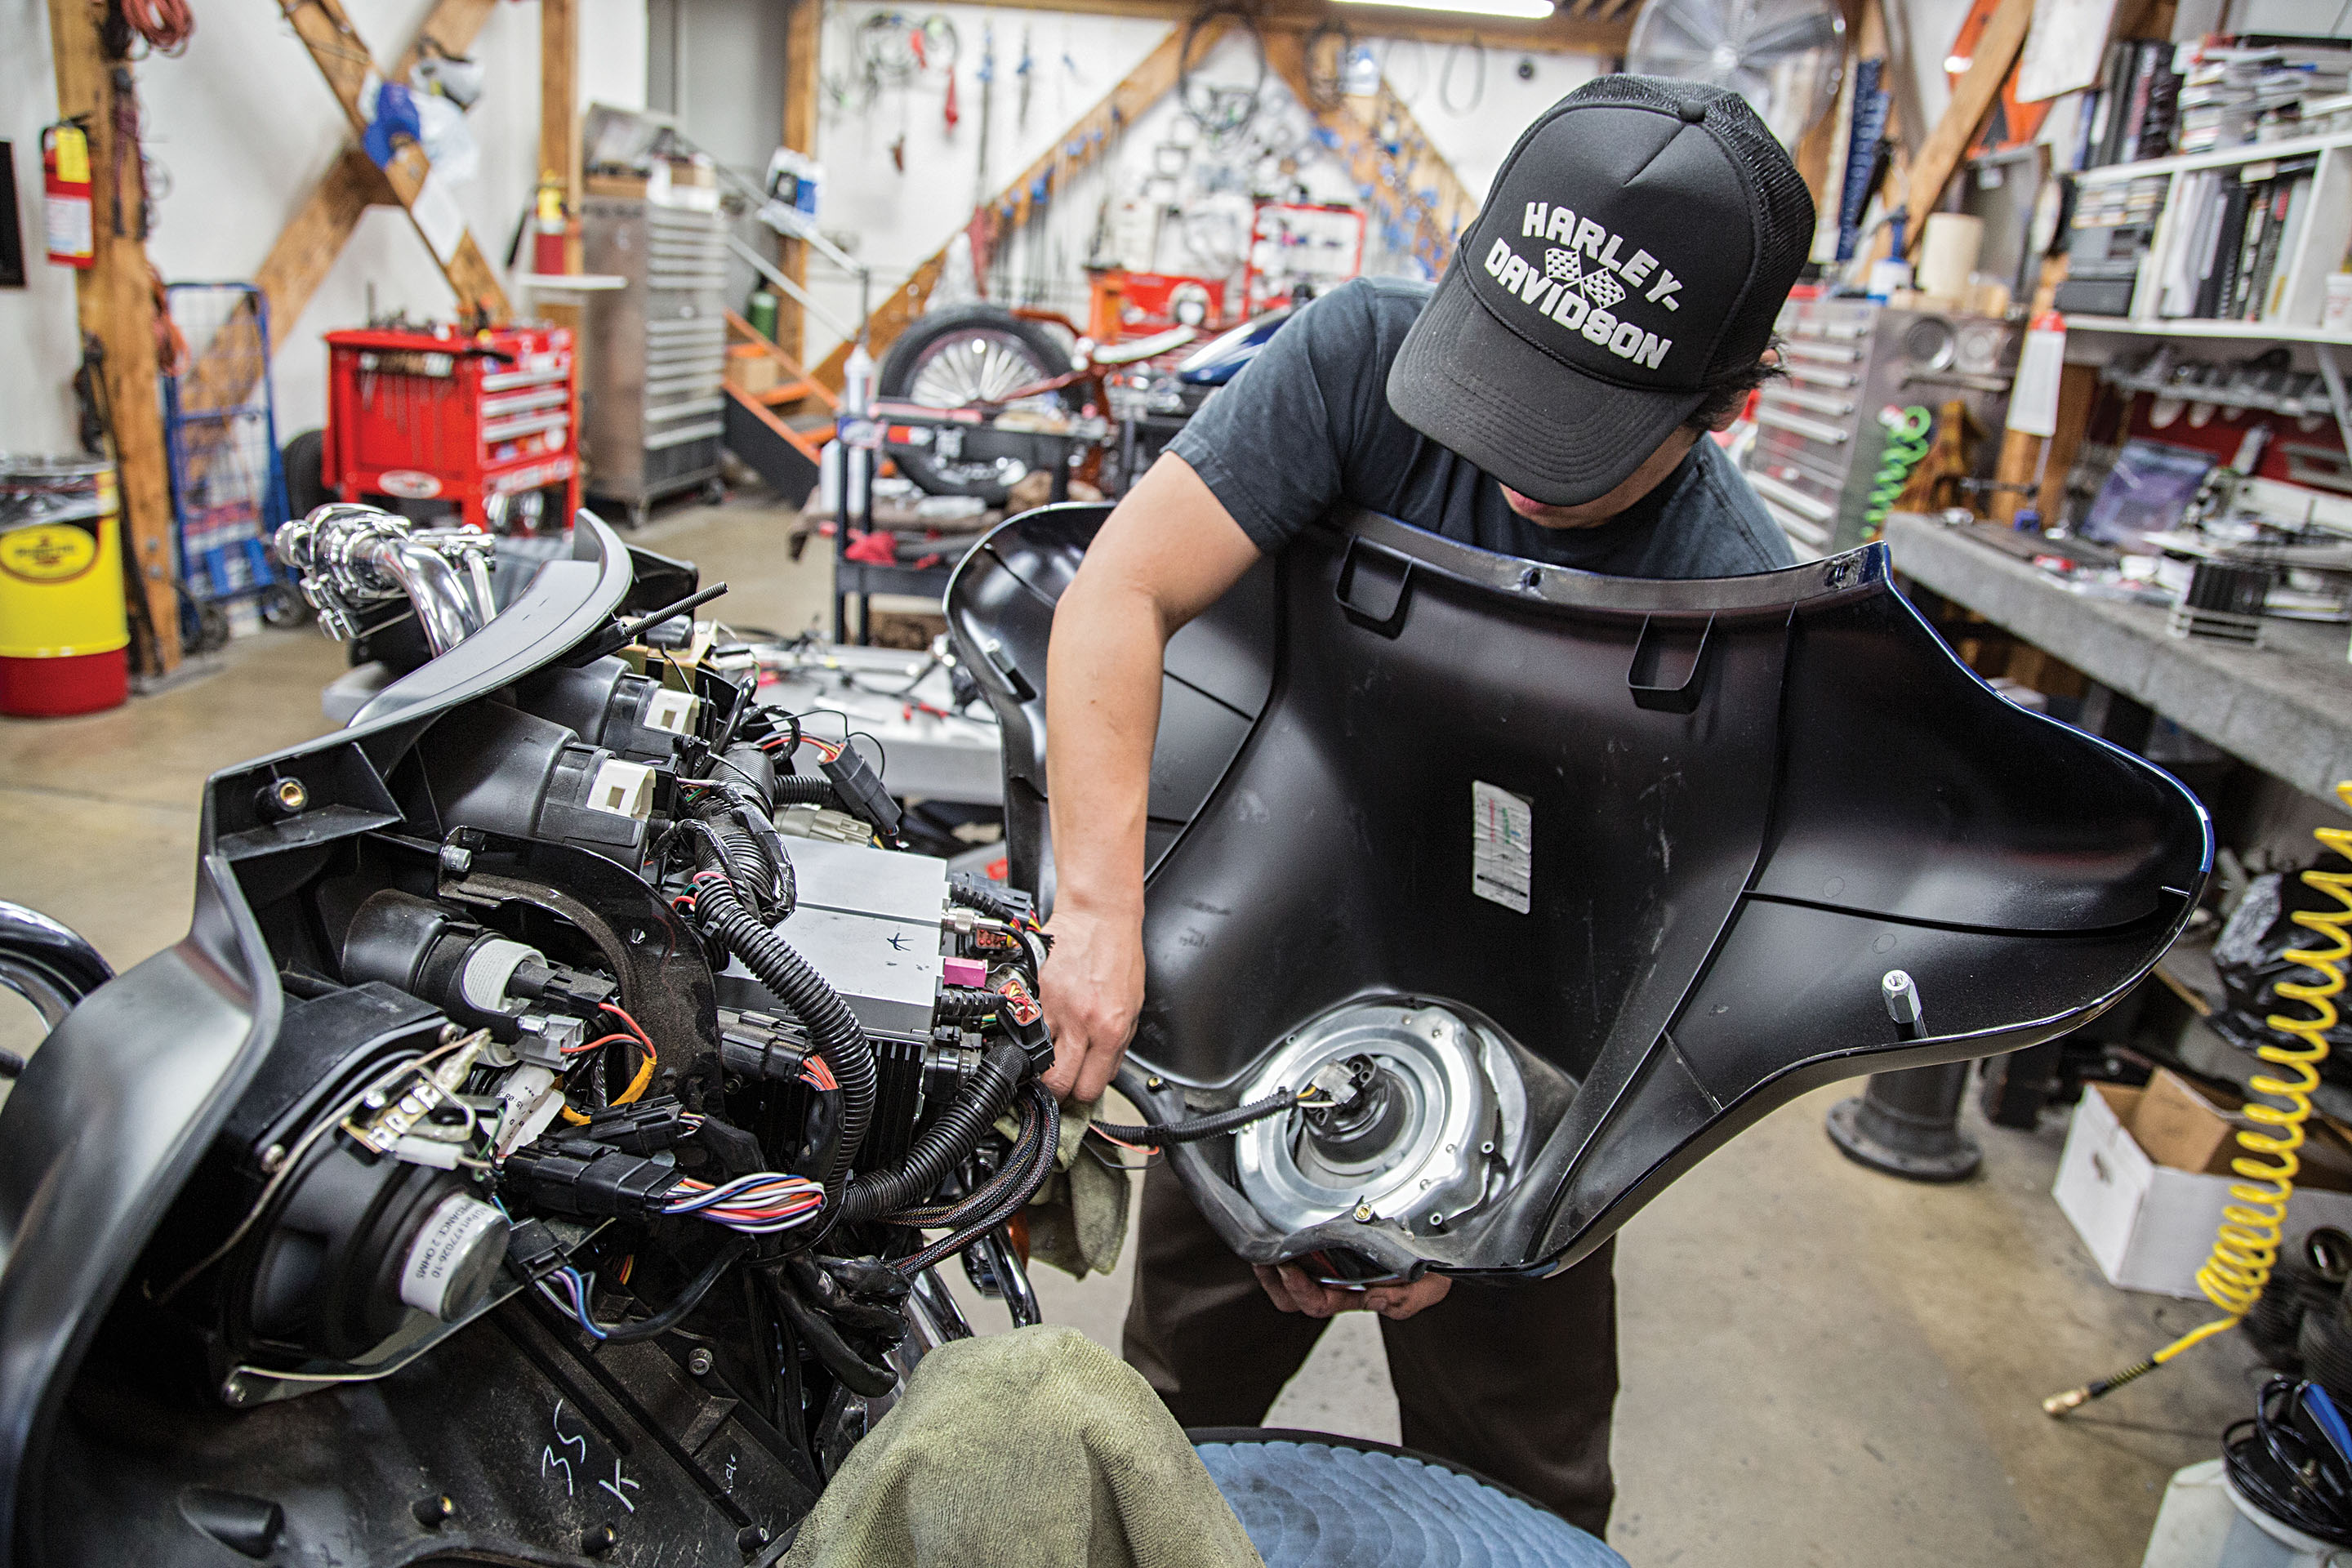
Reattach the headlight and replace the outer fairing with the inner fairing.
Words and Photos: John Zamora
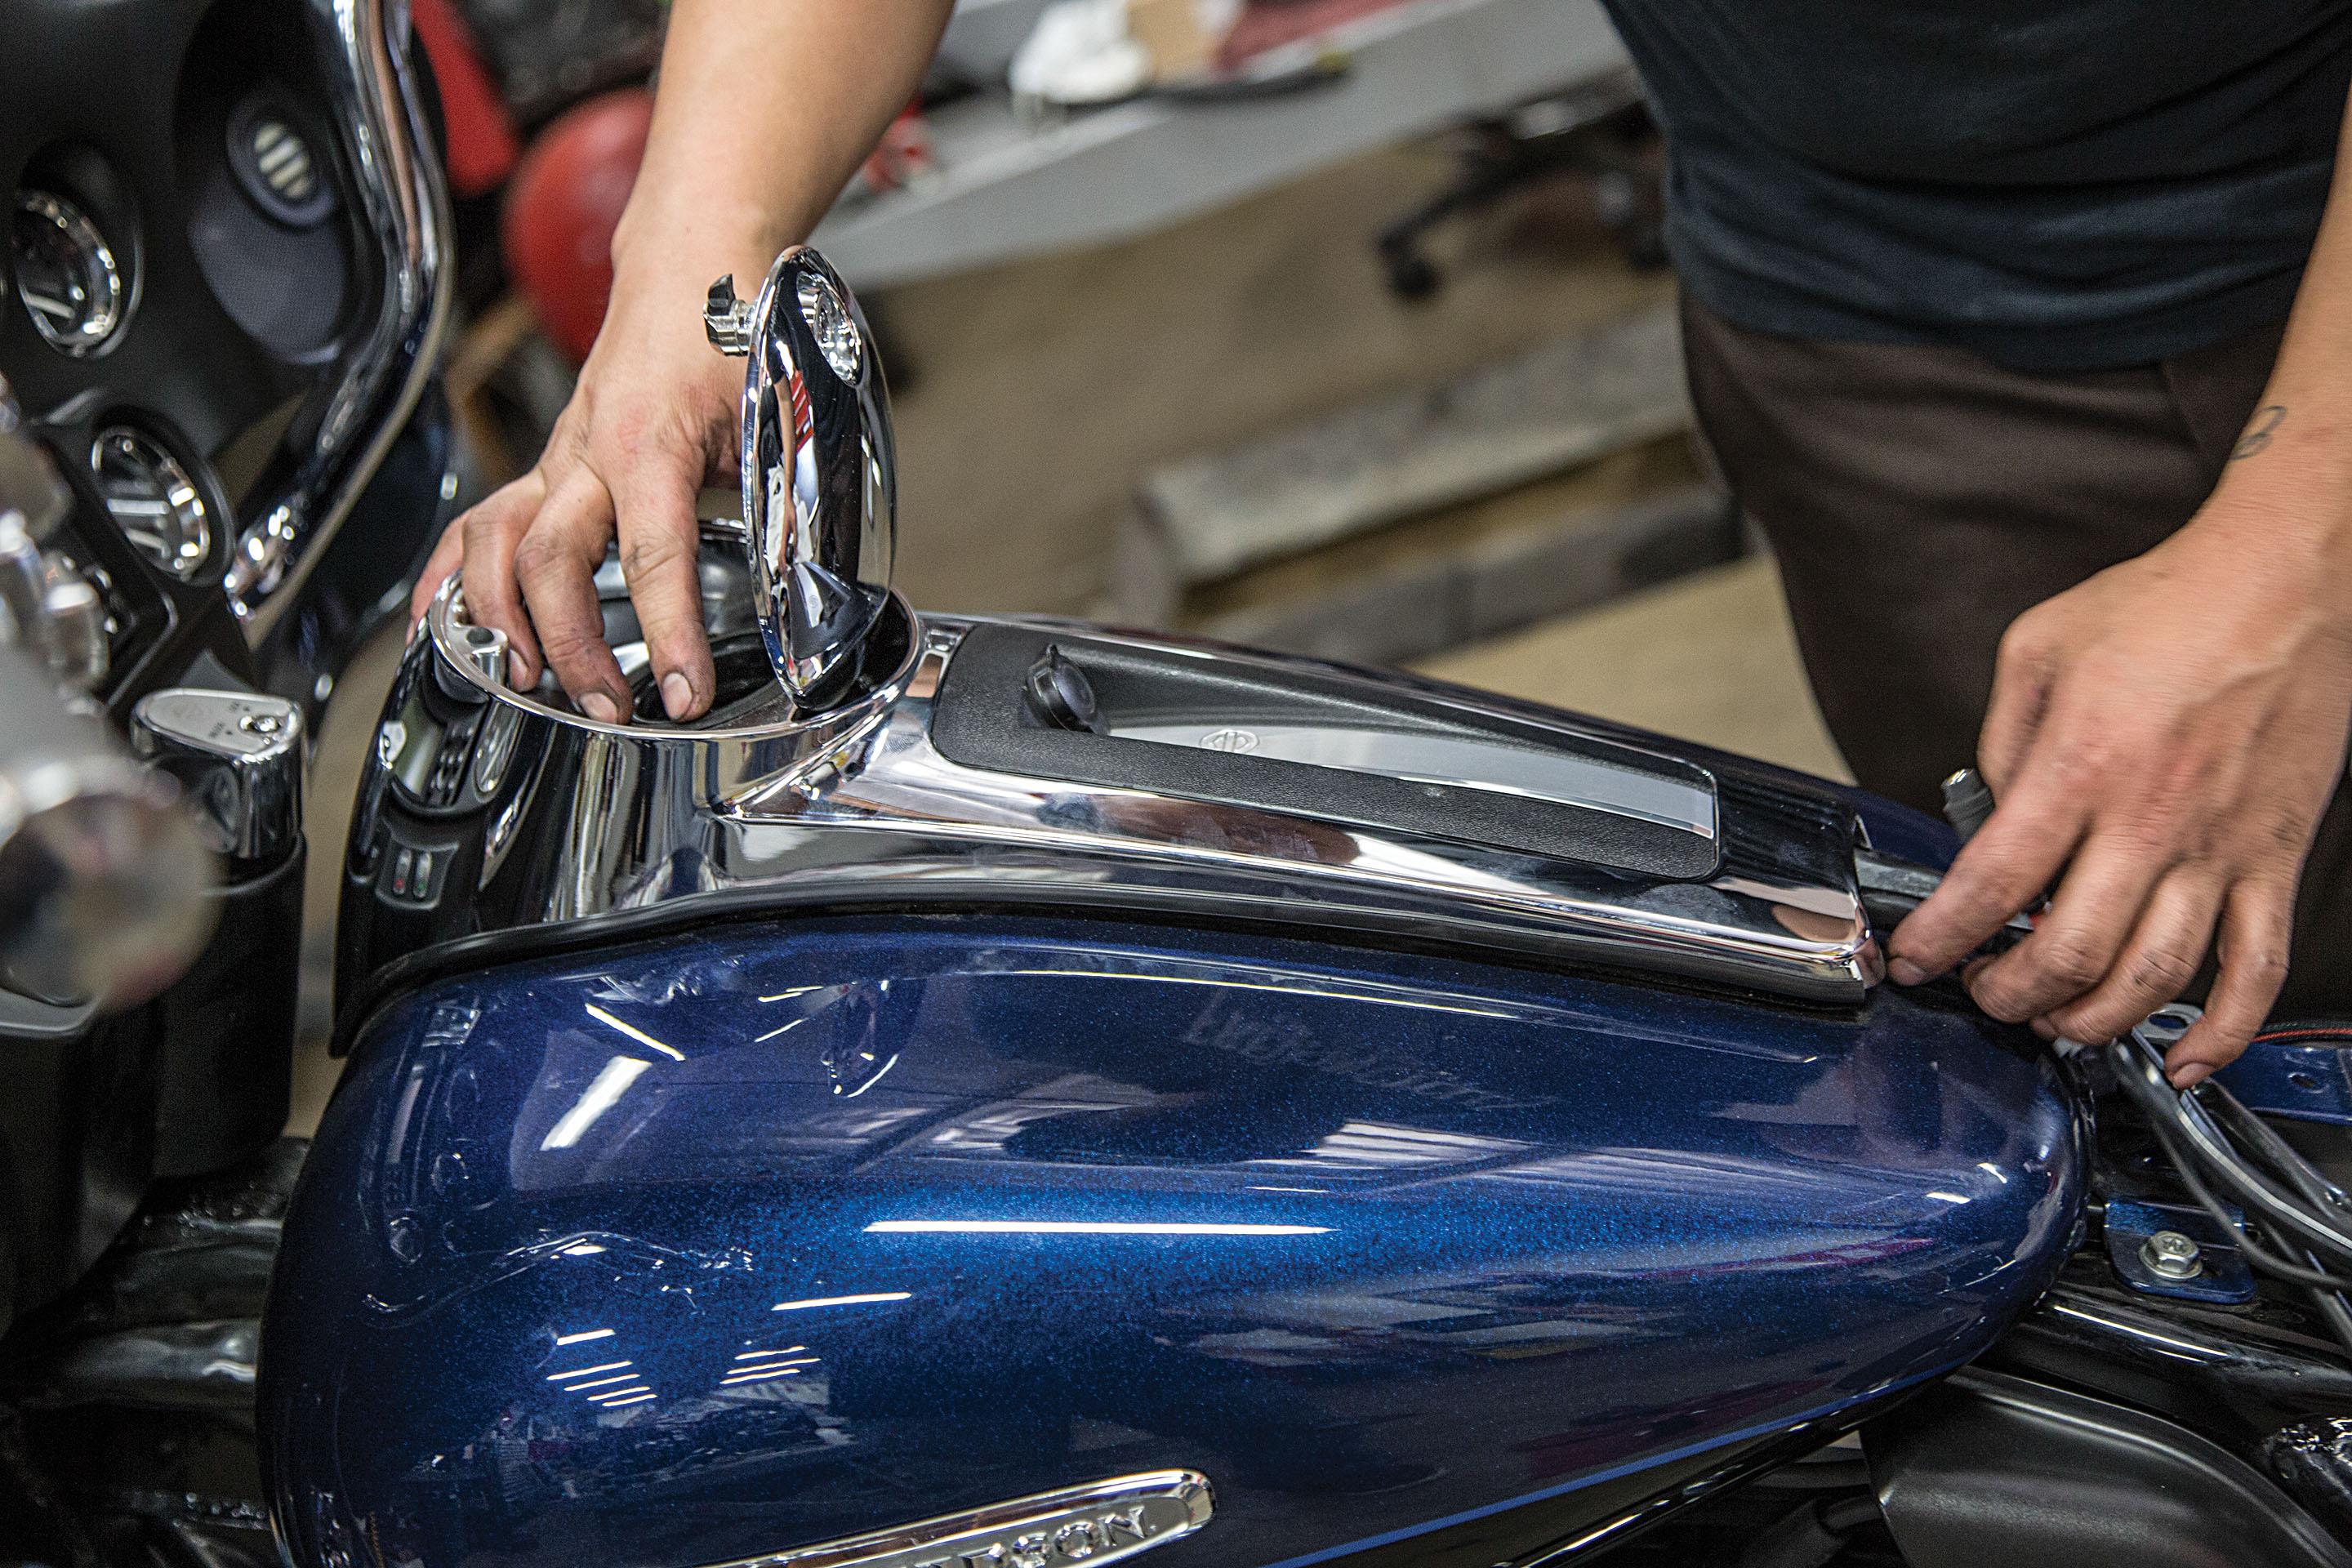
Replace the gas tank and center dash.
Words and Photos: John Zamora
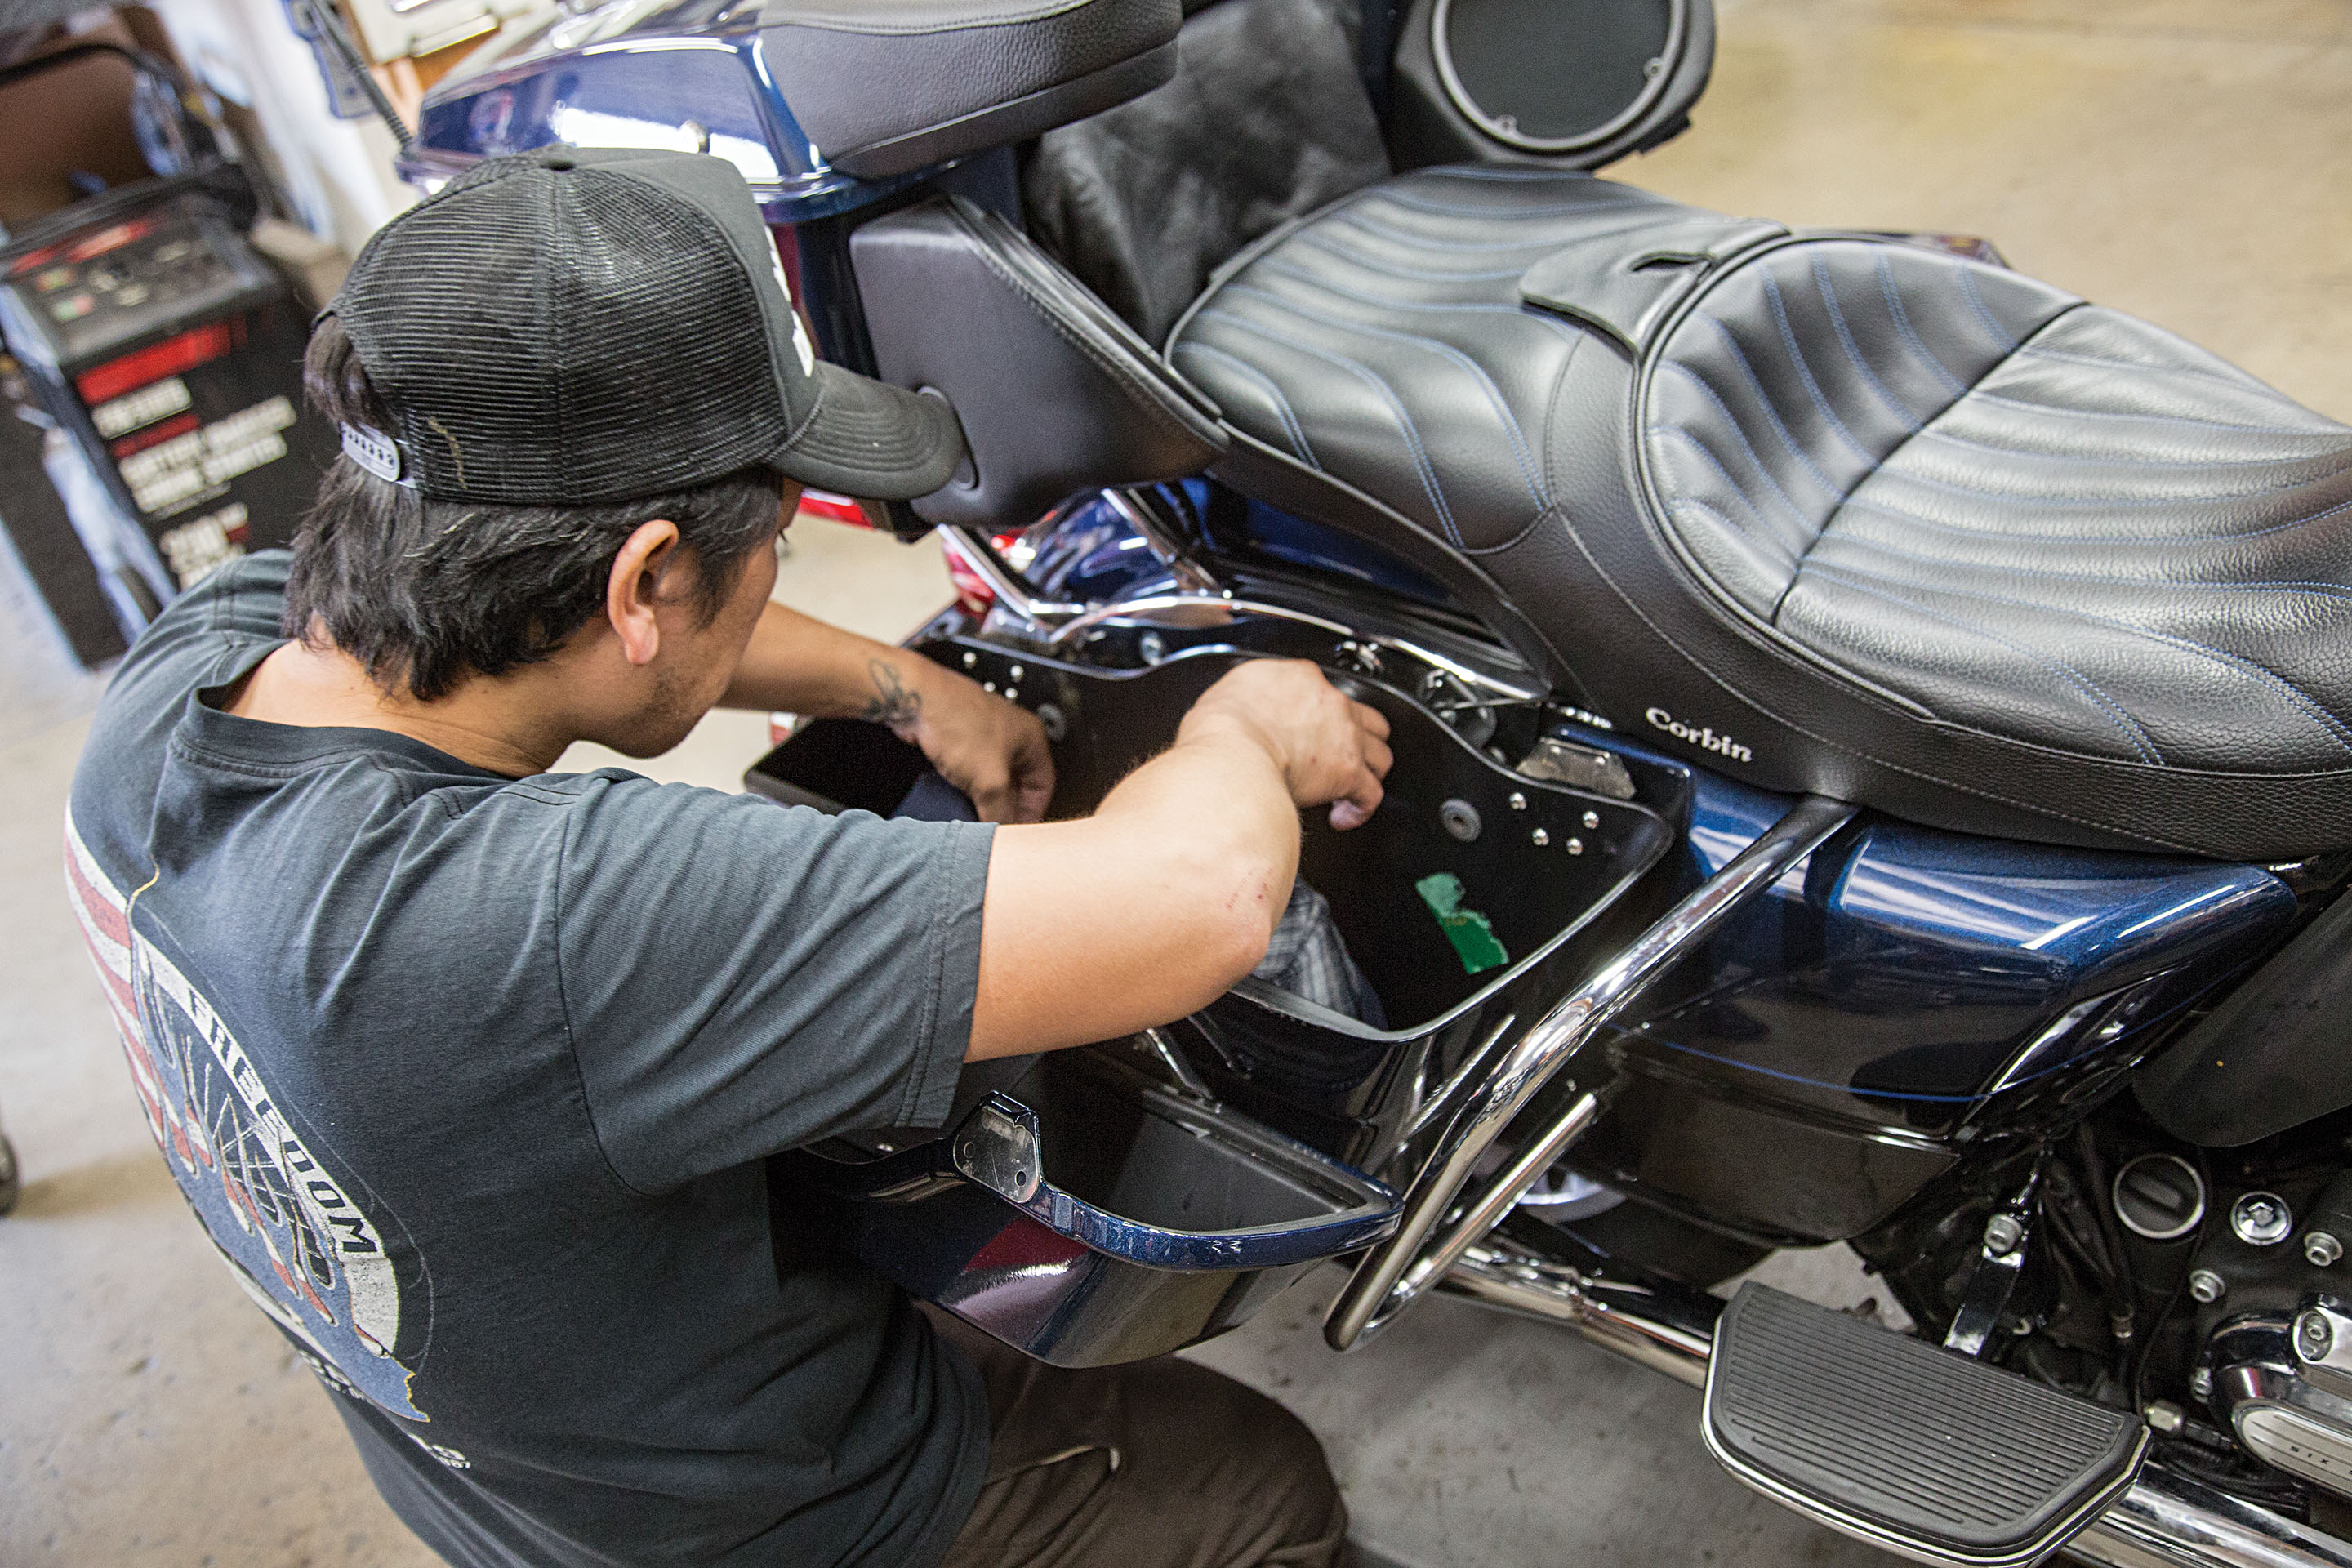
Reattach the bags and side covers.
Words and Photos: John Zamora
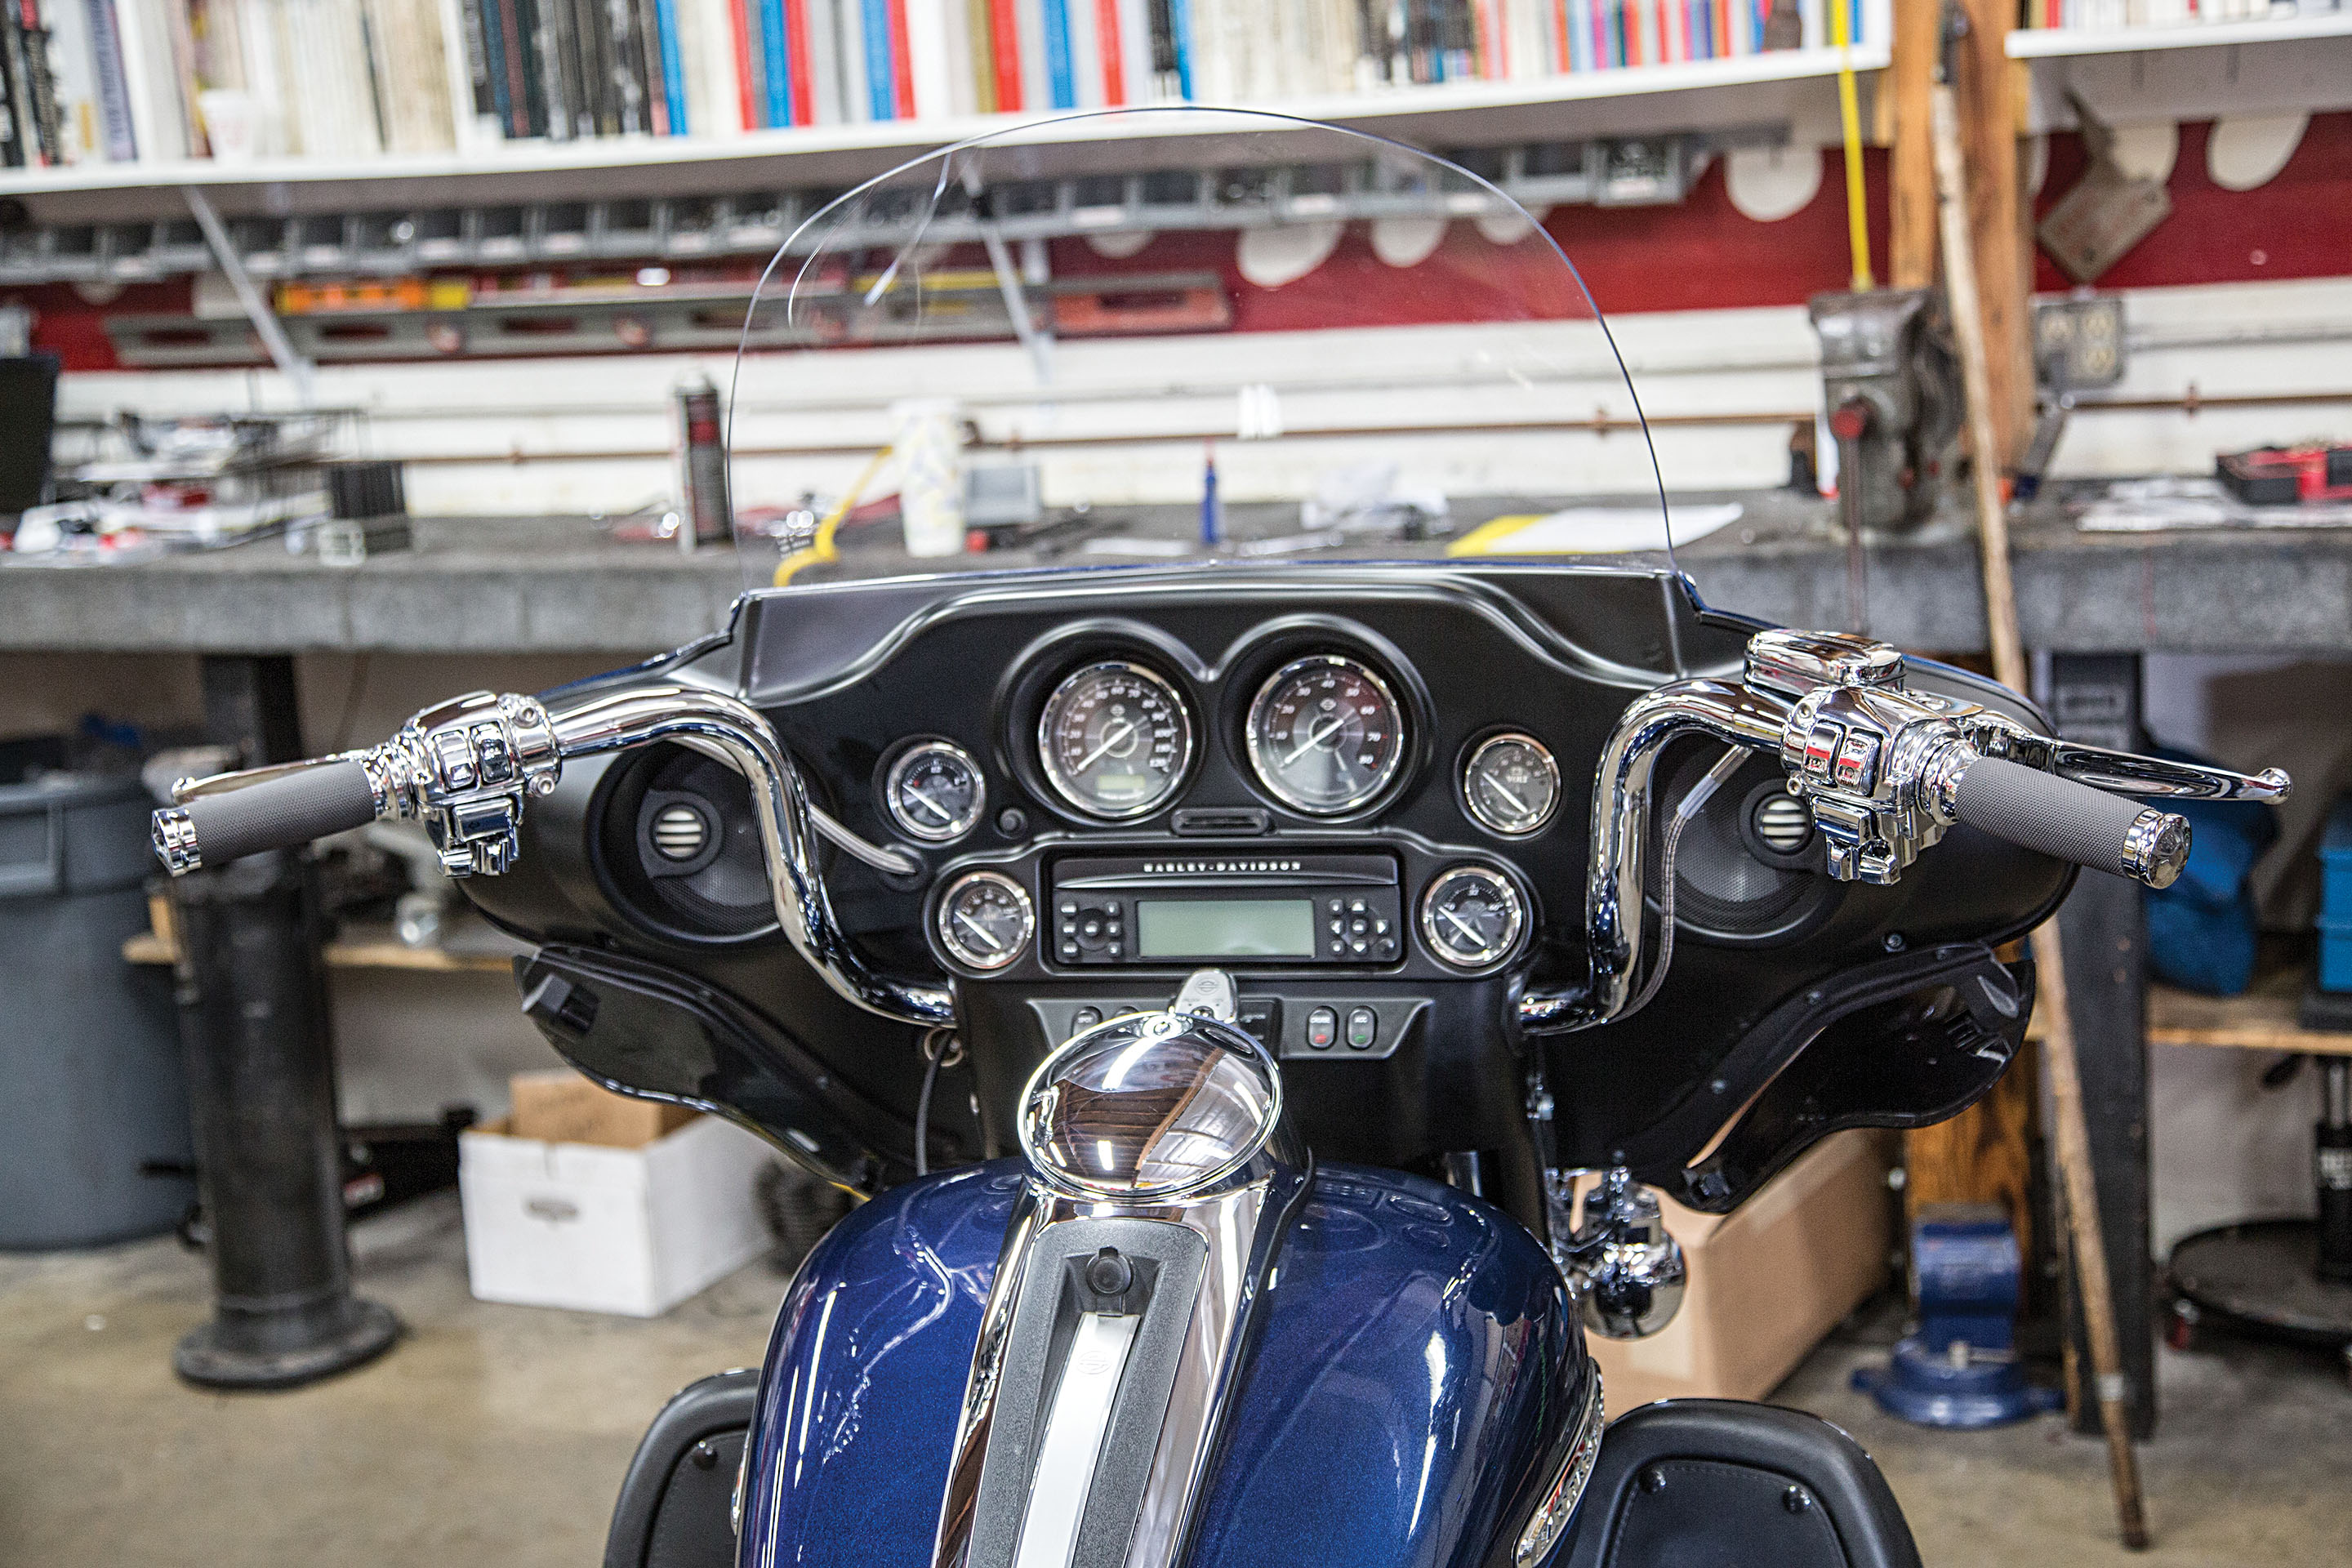
Here are the new bars ready to hit the open road. They are slight higher and slightly wider than the stock ones and that worked out perfectly for our taller bike owner John.
Words and Photos: John Zamora
Sources:

")


