Installing Rapid Air Compressed Air Piping System
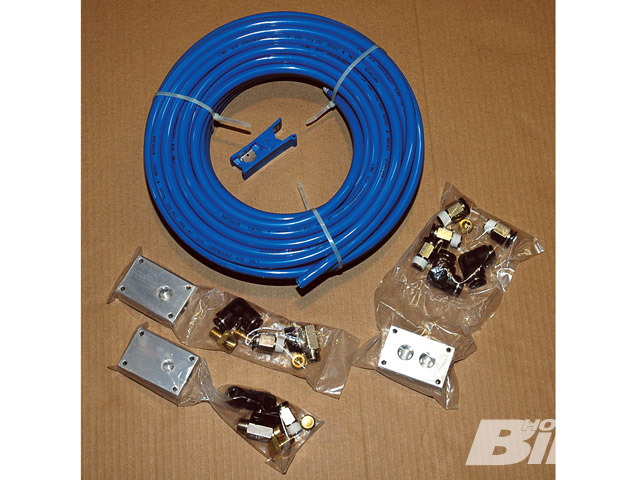

The Master Kit includes 100 feet of tubing, one manifold kit, two outlet kits, and the tube cutter.
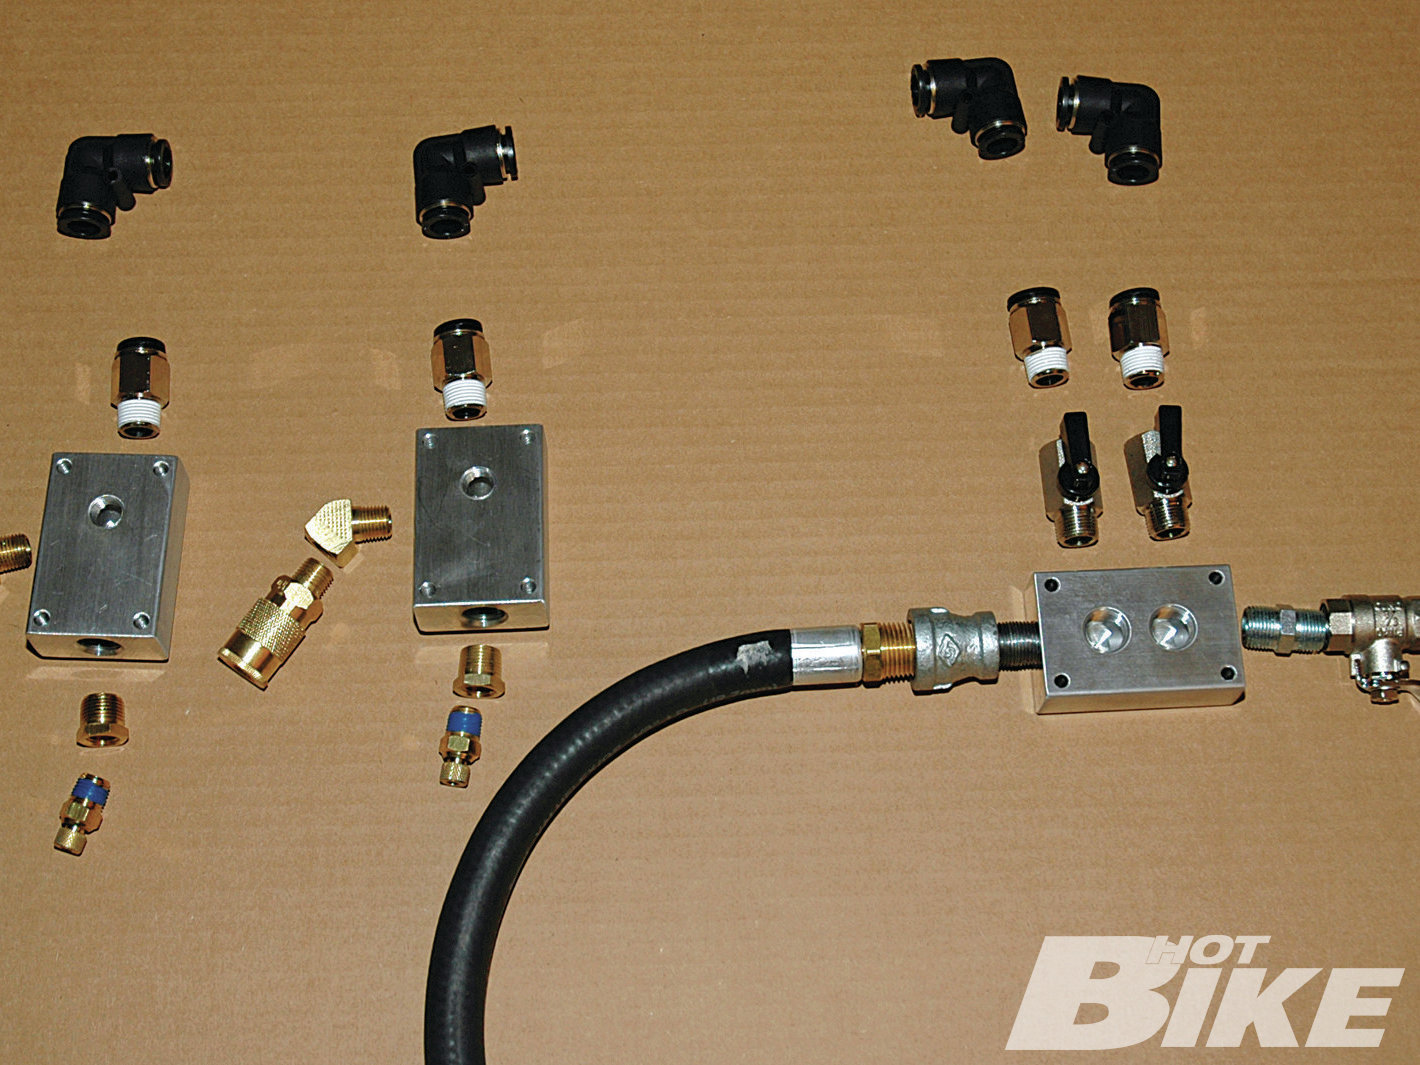
01. Here we laid out the components (minus the tubing) to create three drop lines. We added our own water vapor drains and quick-connect air couplings to the outlet blocks and our own valve for a third line coming out the right of the manifold. The black hose goes to our air compressor. If we’d planned ahead, we could have ordered the individual RapidAir fittings for everything.
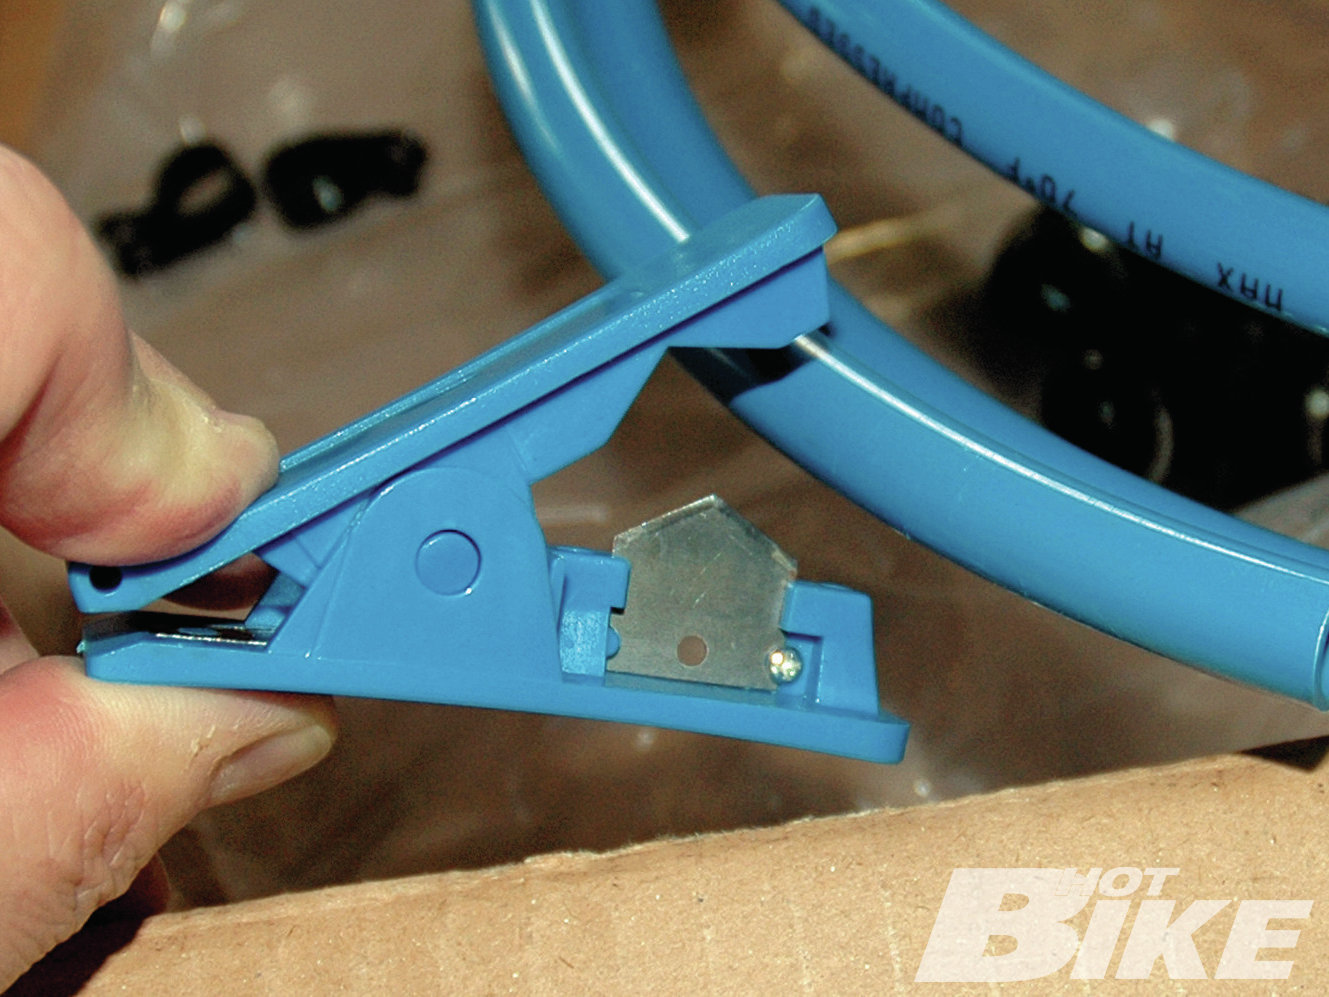
02. The nylon tubing is a semi-rigid coil that wants to wrap around you like a Boa constrictor. Once it’s stretched out and allowed to relax, it’s easy to run along the wall or over the ceiling rafters. The tube cutter makes a clean square cut.
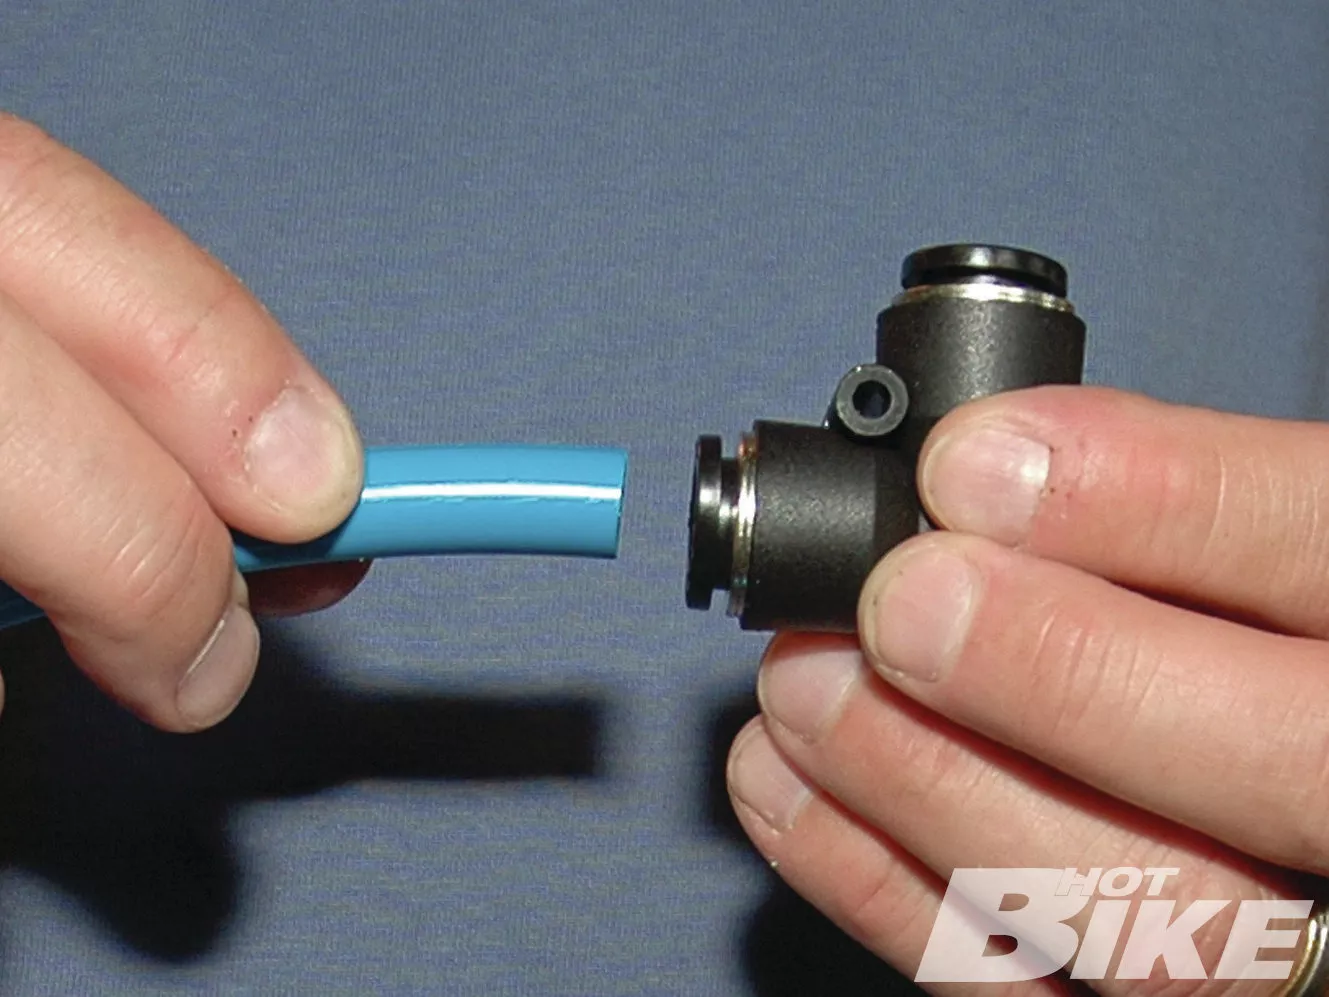
03. The tubing and fittings push-fit together. No tools are required for an airtight connection. To install tubing into fittings, insert the tubing into the fitting until it bottoms; a slight twisting motion will ease insertion. Lightly pull on the tubing to verify it is properly seated in the fitting. They can easily be disconnected by simply pushing in the release ring with one hand and pulling on the tubing with the other. For re-insertion, cut off the marred end of the tubing and repeat the process.
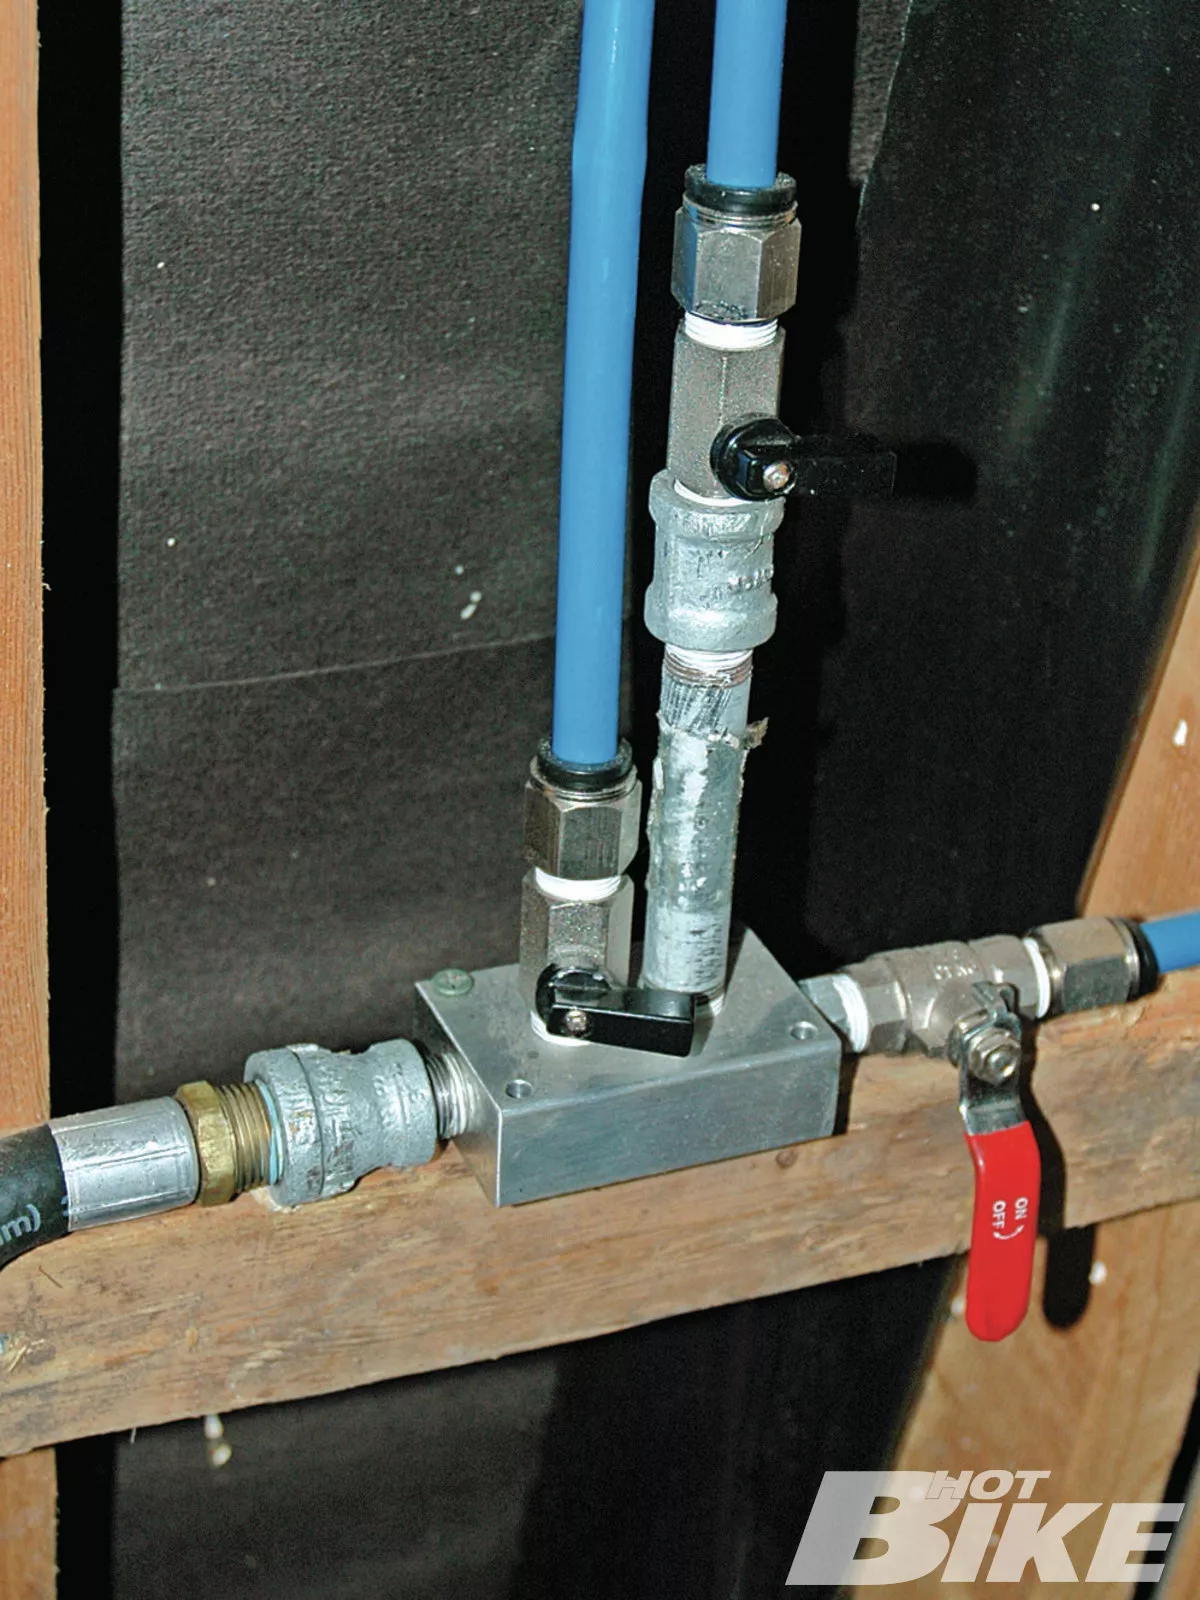
04. Here’s our manifold in place with two lines out the top and a third line out to the right. The left line goes to the air compressor. We added a short pipe to one of the top lines so that the valves wouldn’t interfere with each other. The RapidAir fittings come pre-coated with a Teflon sealant. We used Teflon tape for all the other bare threaded connections.
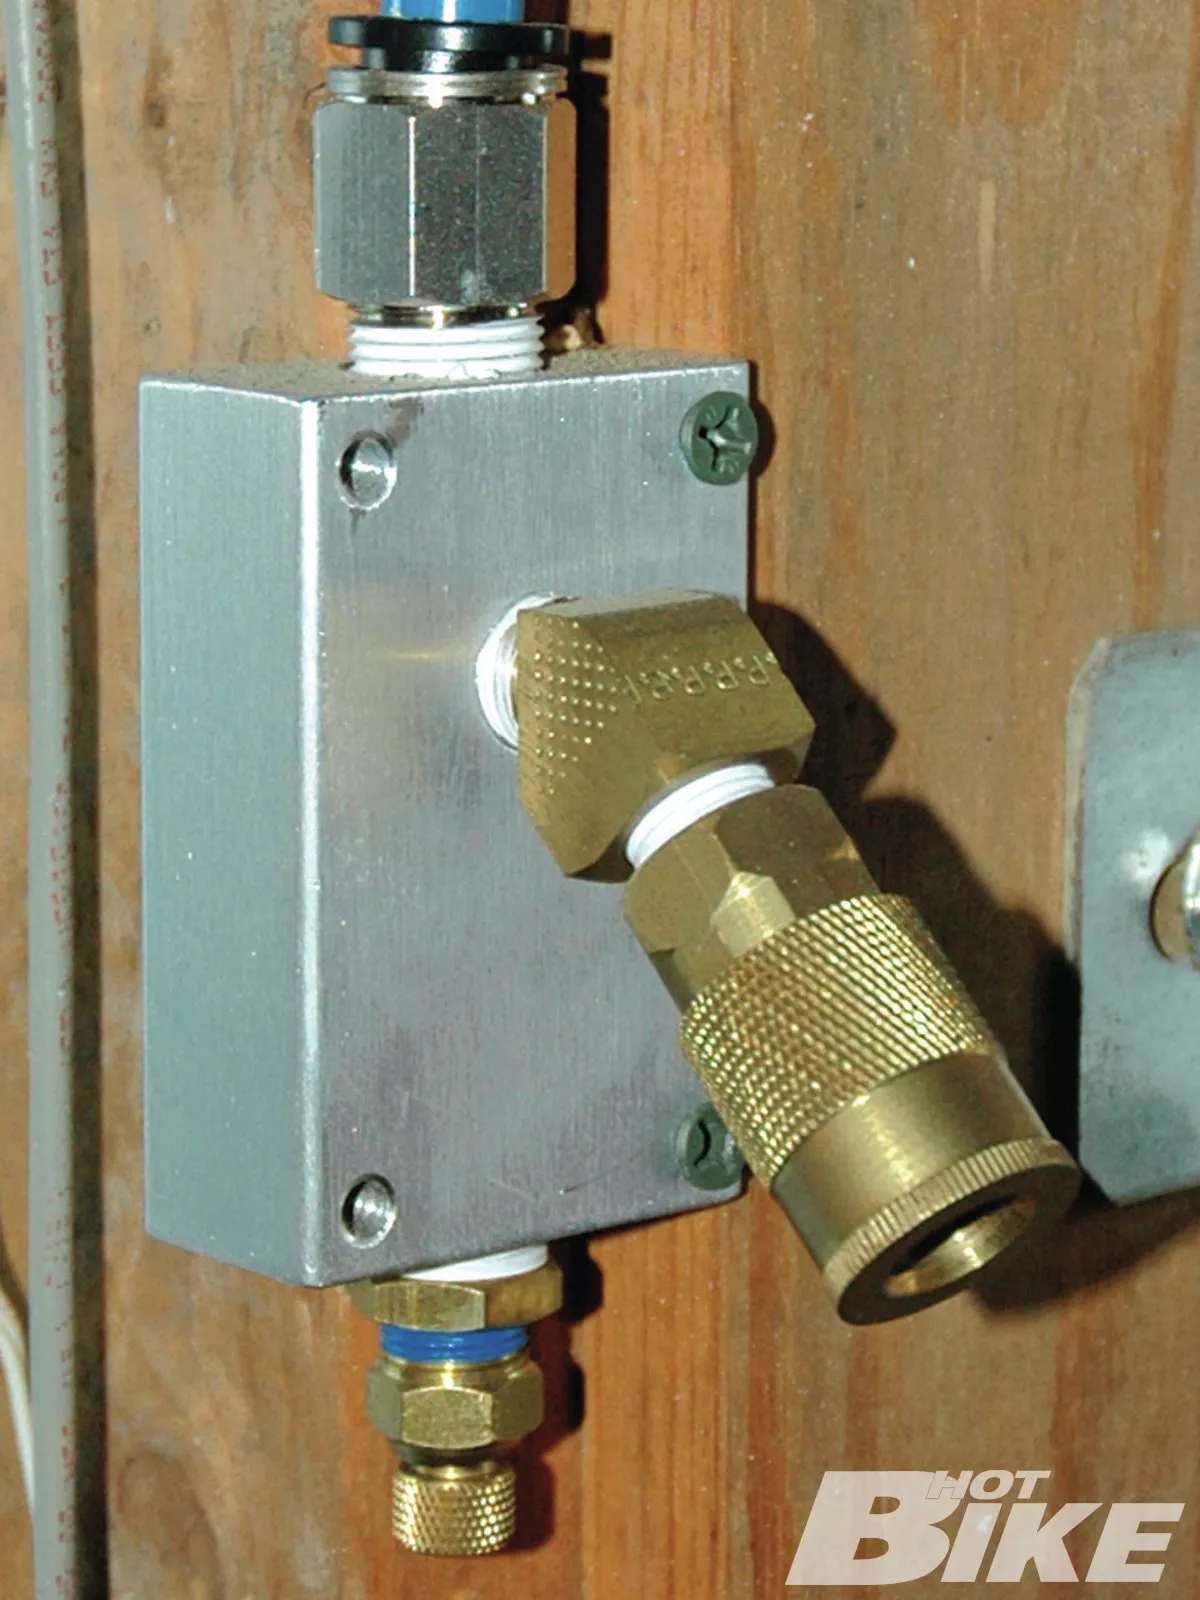
05. Finally here’s one of our drop outlets. The quick-connect coupling makes it simple to connect any hose. The entire system is flexible enough for almost any situation and is easy to install.
Compressed air and air-powered tools are very useful in any shop. When we upgraded our air compressor, we also installed a RapidAir compressed air piping system. With the RapidAir system’s convenient air drops, we won’t be dragging hoses across the shop and more than one mechanic can tap into the system. This is much better than our old hose reel setup.
The RapidAir system is made of industrial-grade nylon tubing rated at 150 psi. The tubing cuts easily with the supplied tubing cutter and terminates into push-to-connect fittings. The Master Kit (Product Code: 90500, MSRP $139.99) contains 100 feet of tubing, an aluminum manifold, and two-outlet kits. That’s enough for an average sized garage. The nylon tubing is superior to and easier to install than black, copper, or PVC pipe. We were able to install the entire kit in only a couple hours. HB
A Simple Plan
Before beginning the installation, you will need to decide on which method you will be installing the air line. The air line can be installed inside the wall or mounted to the wall surface. All the aluminum blocks included with the RapidAir kit are ported for both methods. In either case, create a plan as to the location of the air compressor and where you are most likely to use compressed air. On the plan, locate outlets, tees, and elbows as this will determine the quantity of components and length of air line needed. It is best to keep air tools that require large amounts of air as close to the air compressor as possible to minimize pressure/flow drop.
The RapidAir tubing will expand and contract slightly with changes in temperatures. For an in-the-wall system, allow slack between studs/fittings. For surface mount, use wall clips to allow for expansion/contraction. Before installation, unroll the tubing and allow it to relax for several hours, putting it in sunlight helps this process.
Source:
Engineered Specialties LLC
(800) 954-3310 | rapidairproducts.com


