
Lil Devil Bike Build Part 1 | 1200cc’s STAT!
We decided that this year we would again go on the El Diablo Run (eldiablorun.blogspot.com) and that we needed to build a fun little bike that could handle the mix of paved and dirt roads strewn across the Mexican desert.
After putting the word out and searching far and wide for a cheap V-twin-powered bike, our buddy Chris Breksa of Alchemy Tattoo gave us a shout. Chris decided that after letting Paul Cavallo and his talented crew at Spitfire Motorcycles start to rehab his battered and beat 1999 883 Sportster, he was actually going to bow out gracefully and donate it to our cause. And thus the Lil Devil was born.
When the bike was parked a few years back it was having some issues with its head gaskets and carburation, so some top-end work needed to be performed first and foremost. The decision was made for more horses and torque, but we also wanted the bike to be dependable, so the fine folks at S&S; were contacted for one of its Sportster 883cc-to-1200cc cylinder and piston conversion kits. Installing this kit is simple, takes the same amount of time as replacing a stock top end, and is a great way to get more power. So how could we not do it?
This S&S; kit (PN 910-0301) has a 4.650-inch bore and a 3-13/16-inch stroke and is an easy parts swap for the do-it-yourself mechanic. With only a few specialty tools, anybody with some brains and a lot of patience could tackle this project. The conversion comes complete with pistons, rings, wristpins, 3½-inch bore cylinders, cylinder head, base and exhaust gaskets, assembly lube, and instructions. With this kit cylinder head modification or any other sort of machining is not needed. You don’t even need to rebalance your stock 883cc flywheels since the new S&S; pistons weigh the same as the stock pistons. Another good thing about the pistons is that the dished piston keeps compression down to a nice 9.4:1 with the stock 883cc heads we are running. We also topped off this upgrade installation with the tried-and-true S&S; Super E carburetor for better throttle response and dependability. All this work is not worth it if we don’t get any power when done, but S&S; reports that the peak horsepower with this kit should be around 69 horses, which is a nice jump from the stock 883’s 46 horsepower.
Once we got the parts from S&S;, we took them over to T-Rods Speed Shop and had the proprietor, Rod Requejo, aid us in getting the old stuff off and the new parts on. The job took less than four hours from tip-to-tail and that was even stopping for a much needed sandwich and soda pop.
After all was said and done, we were very happy with the ease of installation as well as the quality of parts used, which leads us to tell you this: if you have an 883 Sporty and are looking for some more power, S&S; easily has you covered with the right parts for the job.
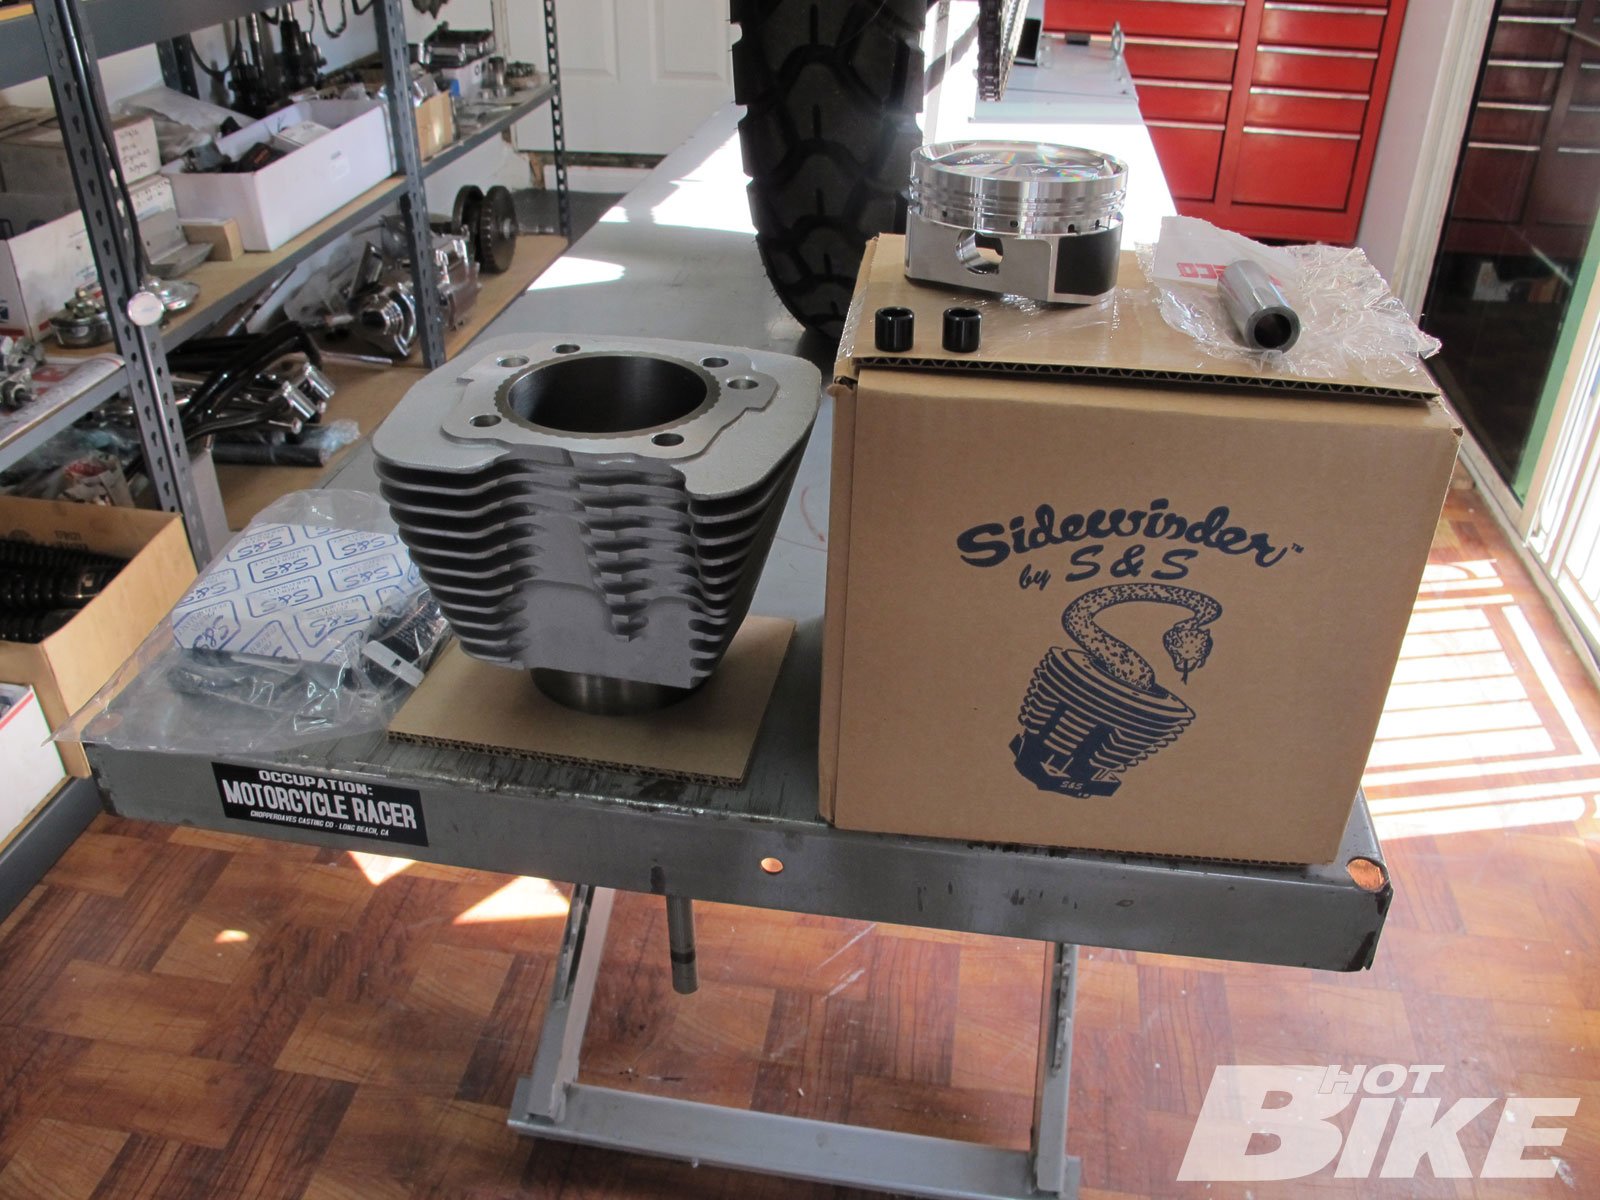
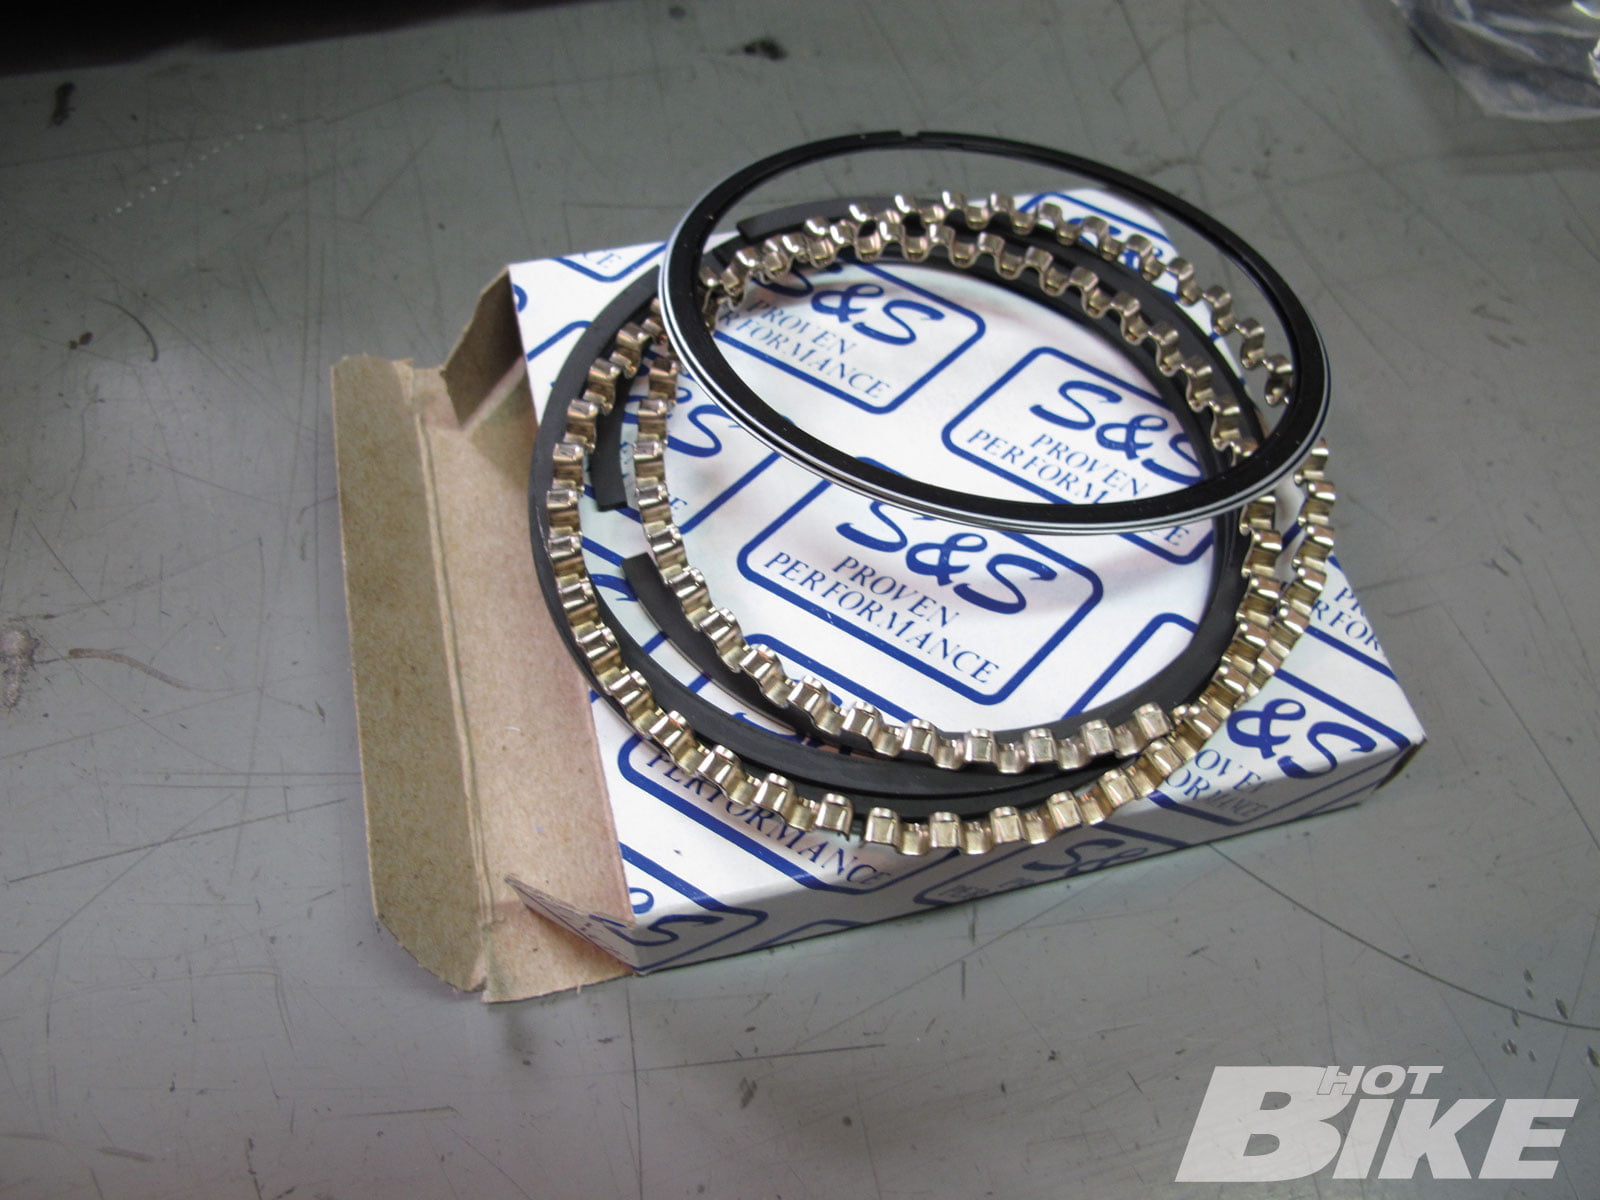
1 Here’s the S&S; kit right out of the box. It has everything you need to pep up the puttering 883 engine.
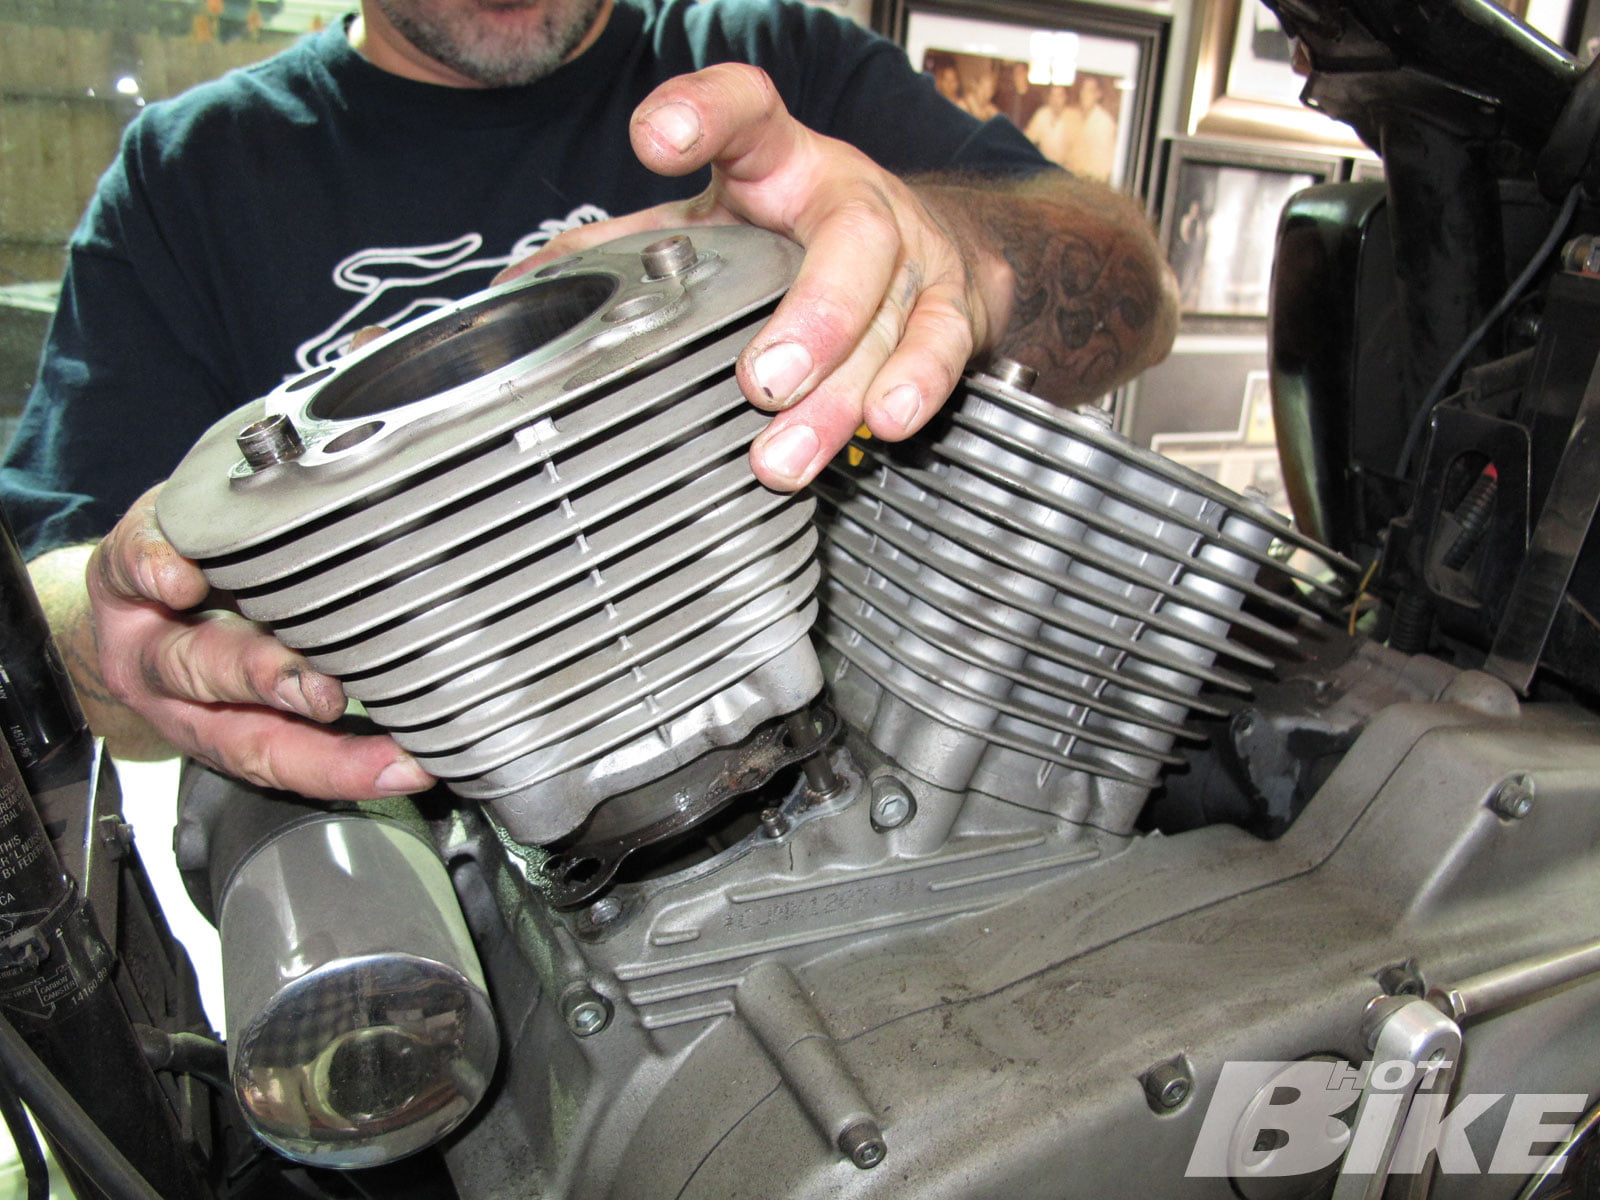
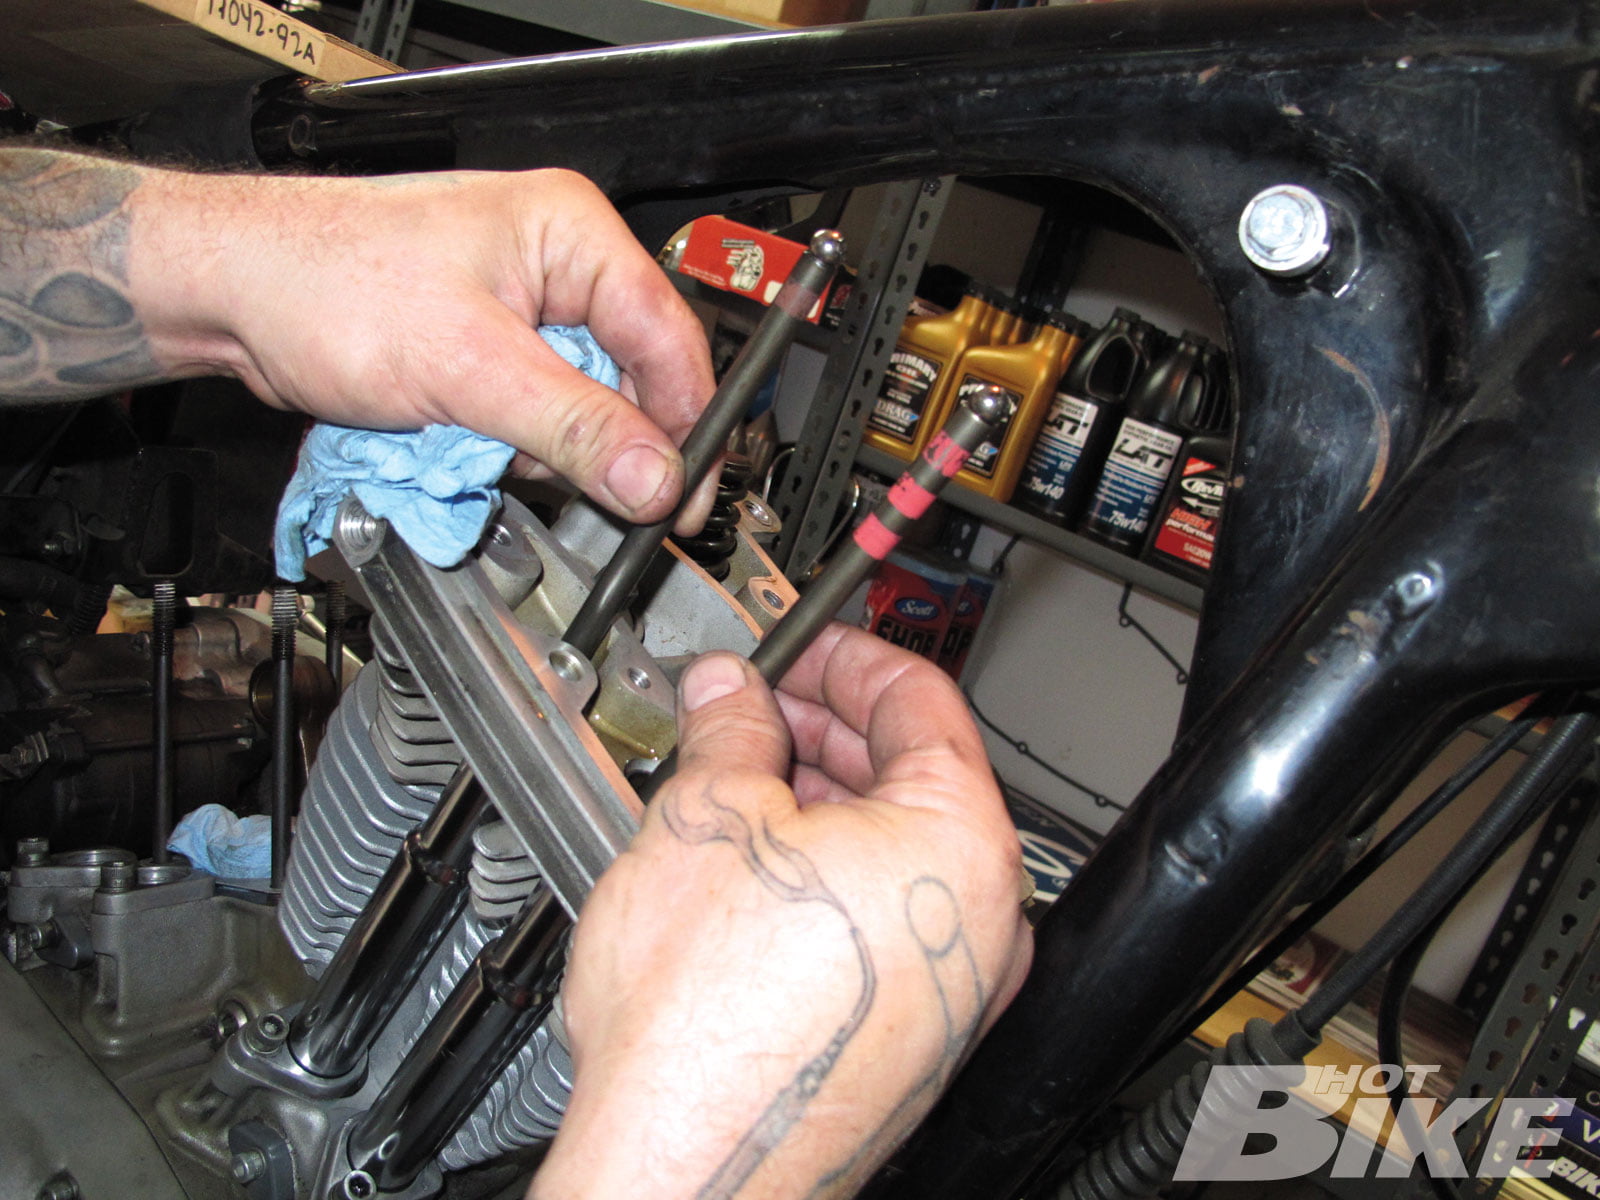
2 Disassembly of the engine took no time at all.
3 Though the old pistons and barrels weren’t beat by any means, we were on the hunt for more power, so they had to go.
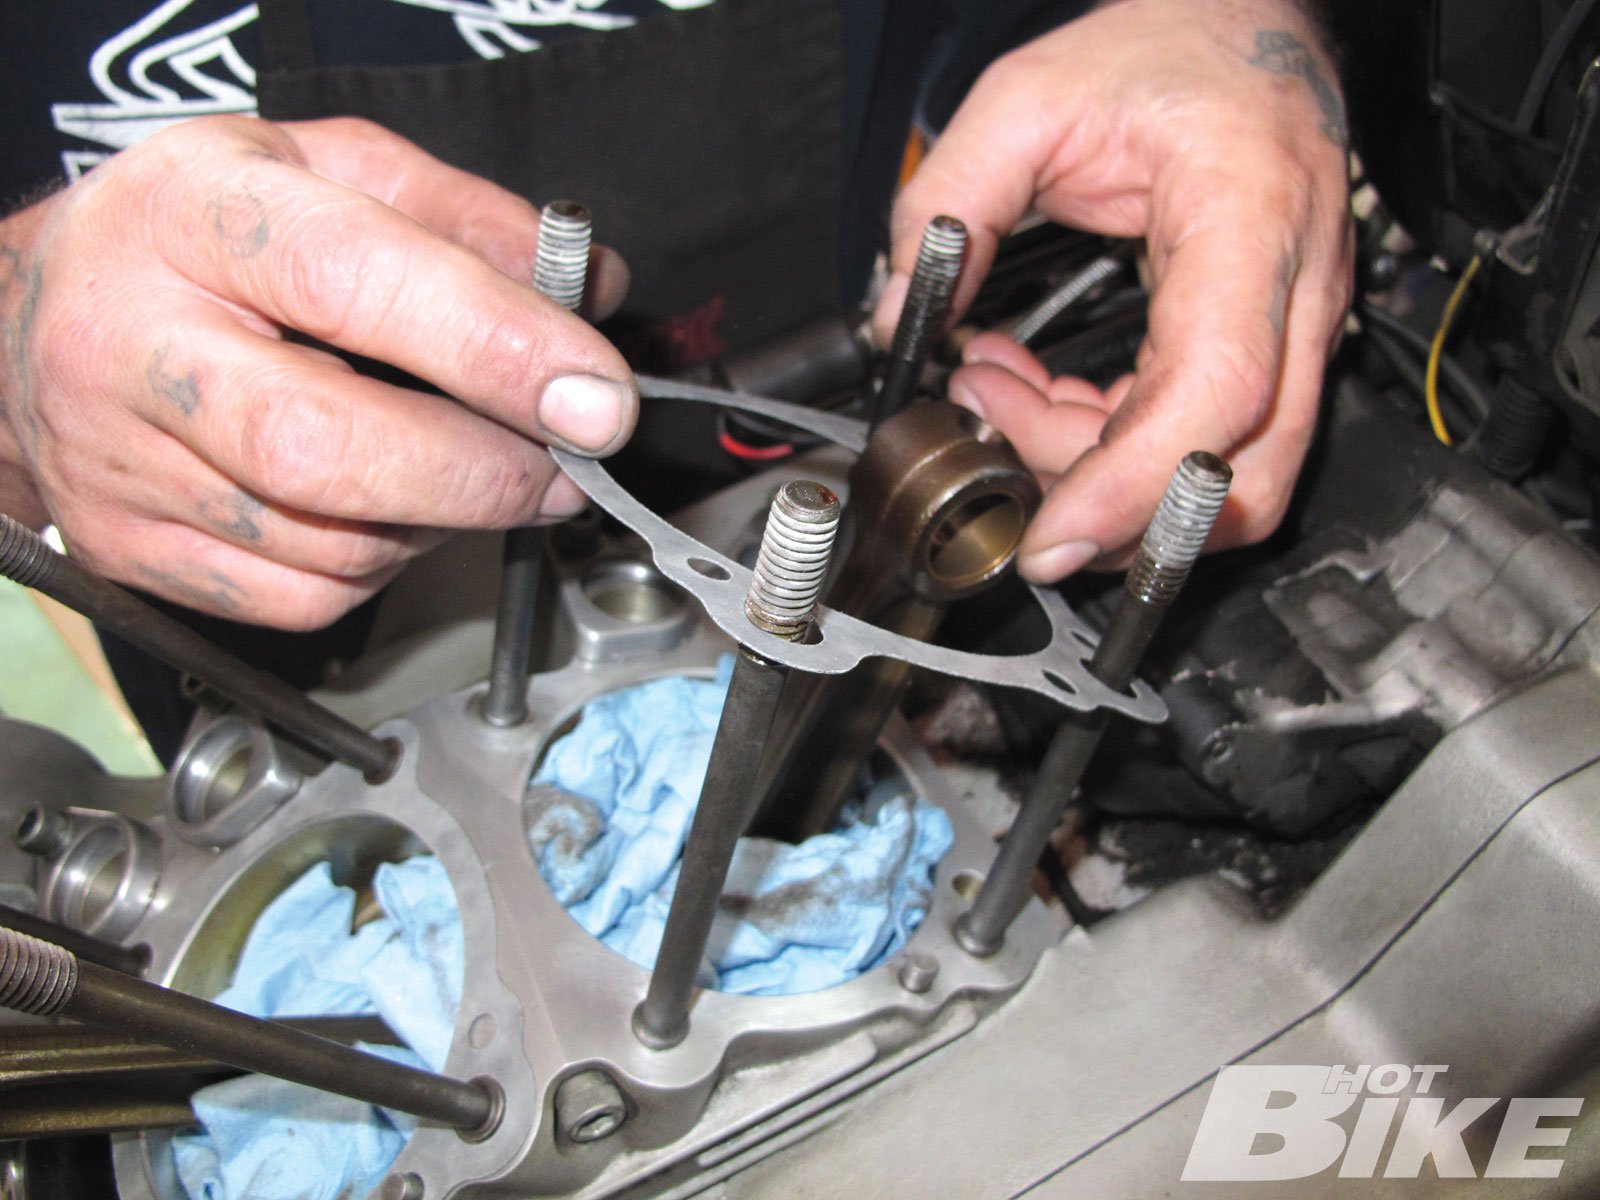
4 Once the stock items were removed and the engine cases cleaned up, we installed the new gaskets, which were included in the kit.
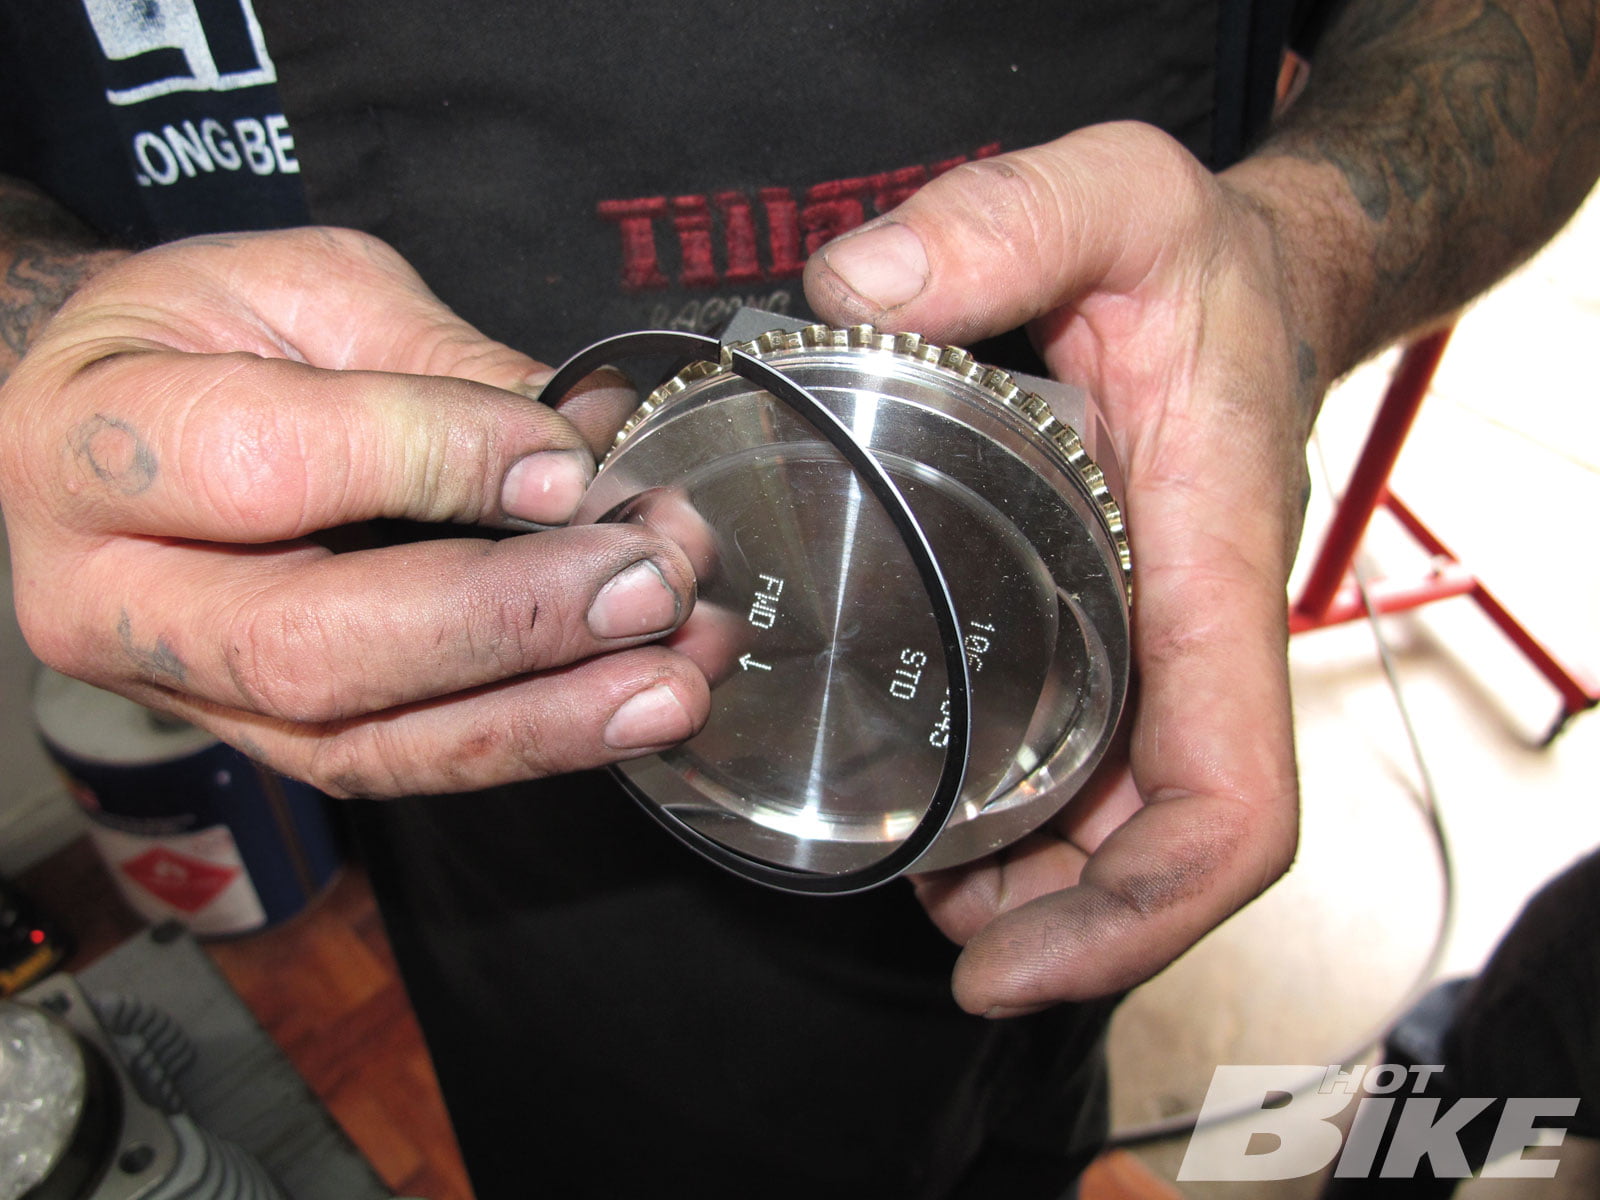
5 S&S; also supplied the proper piston rings that were tailormade for this kit.
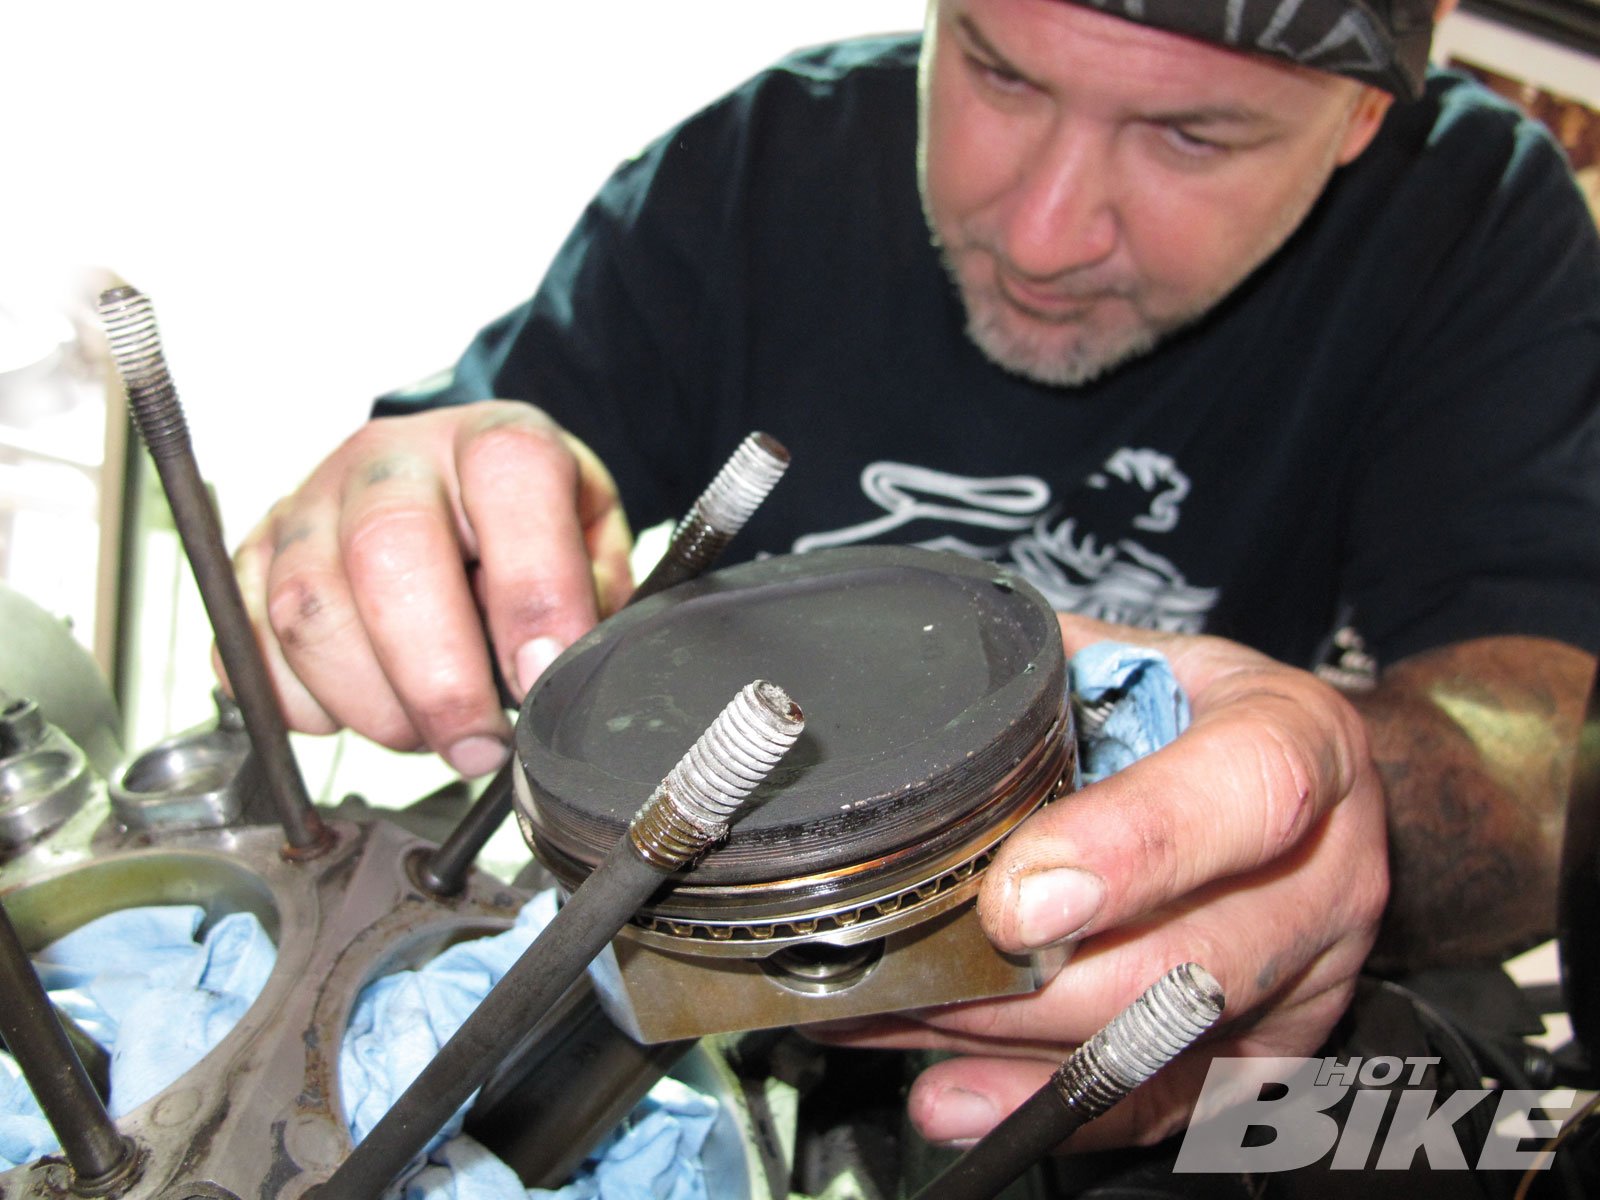
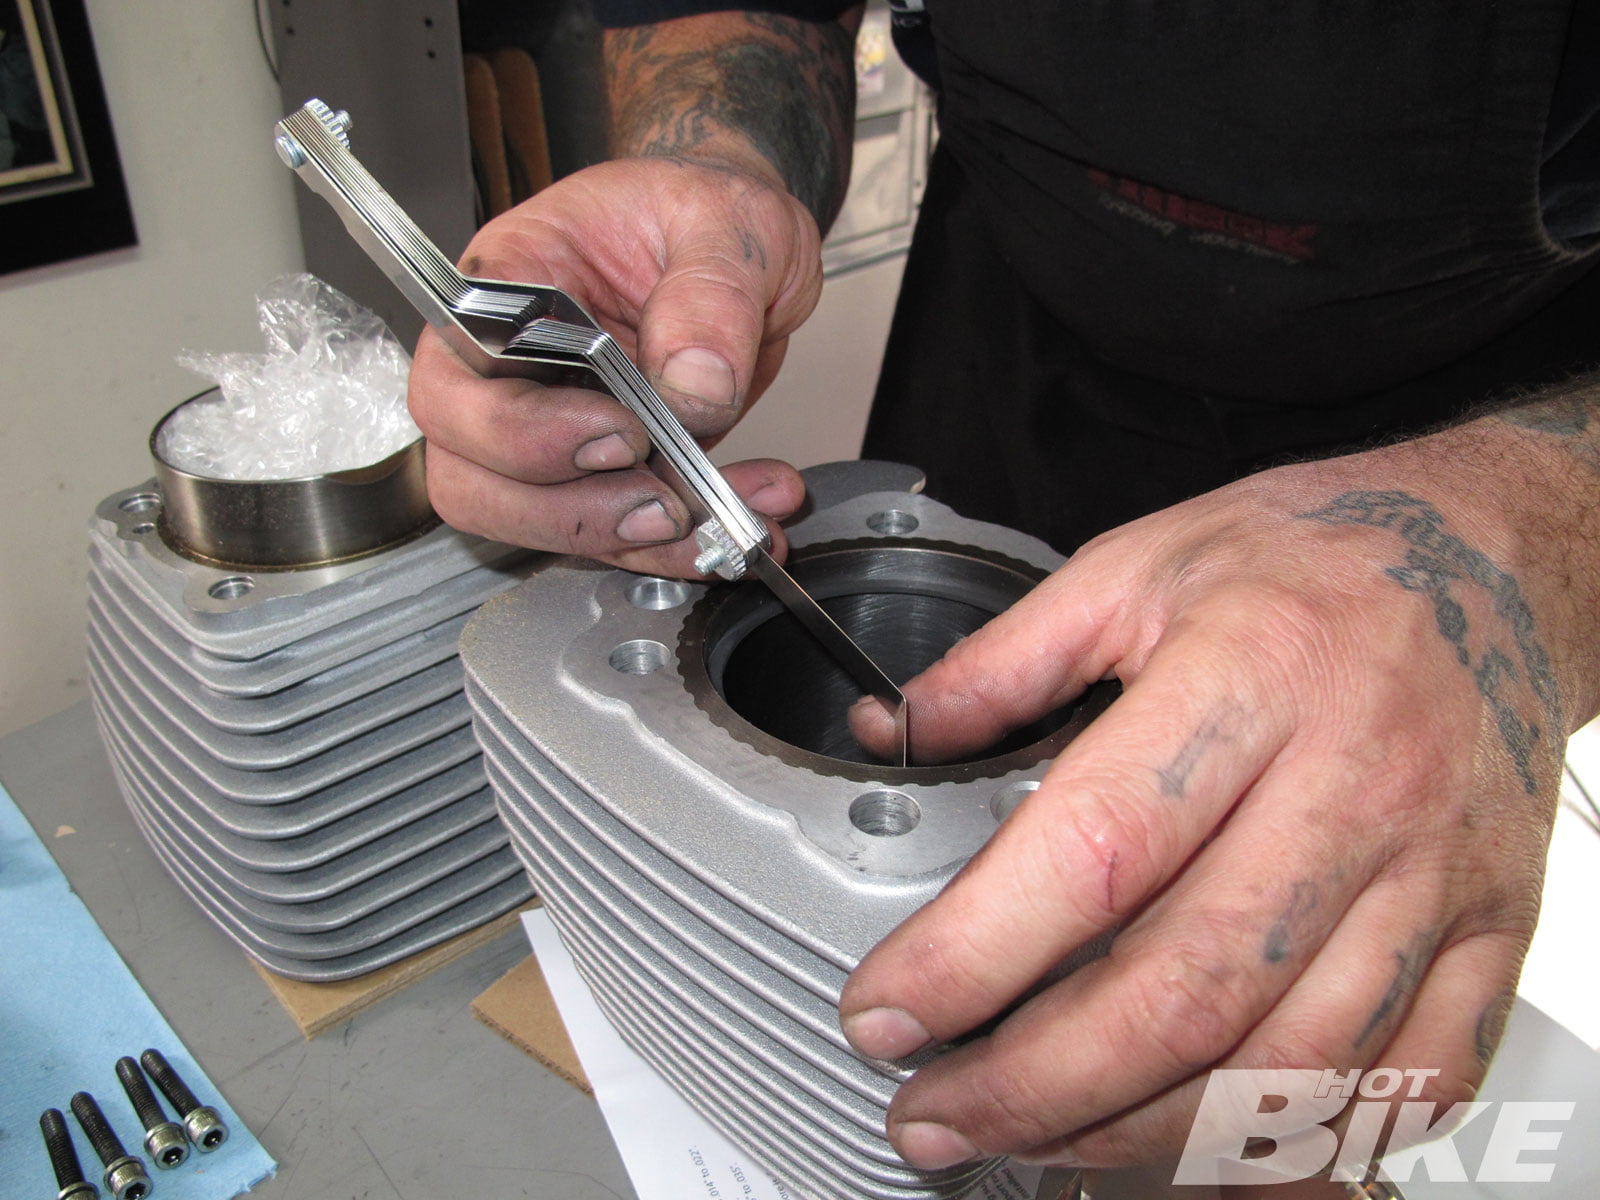
6 Checking the end gap of the piston compression and oil rings was critical and should be between 0.014 inches and 0.022 inches.
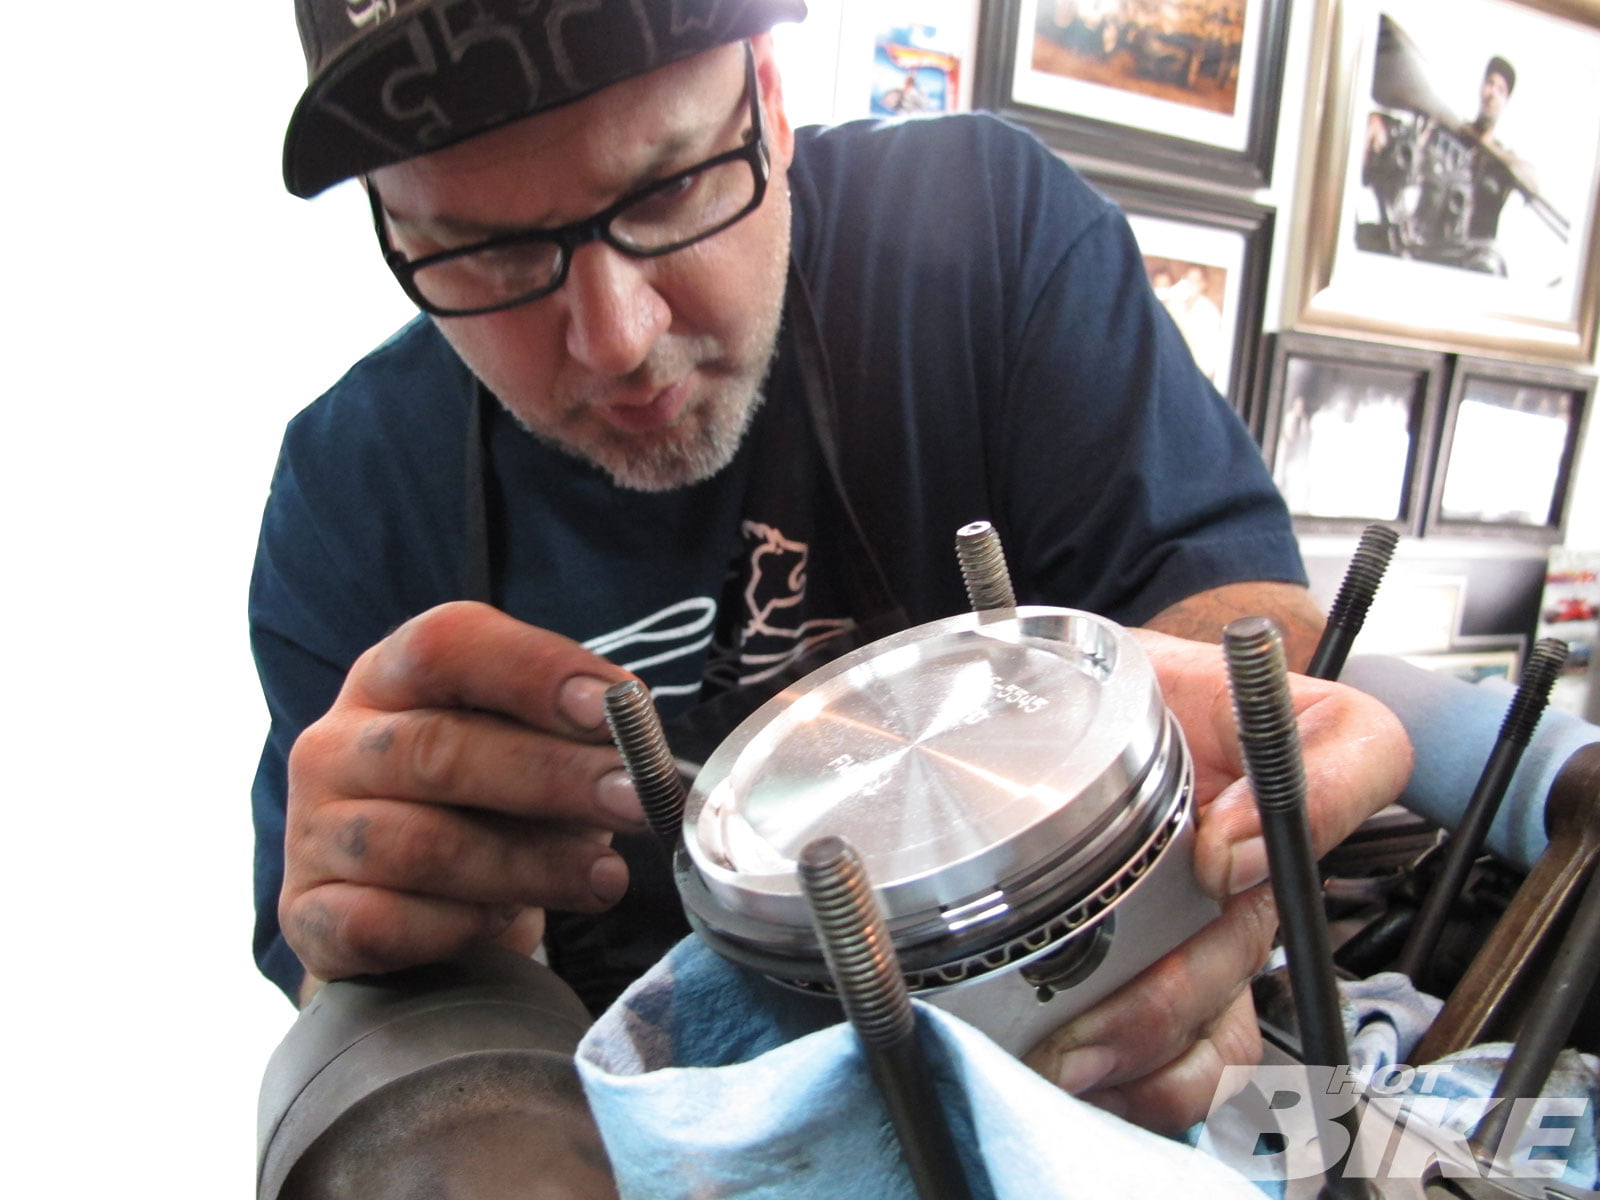
7 Our rings ended up being 0.016 inches, so they were immediately fitted to the piston.
8 The piston was attached to the stock connecting rod with a new wristpin, which was also supplied in the S&S; kit.
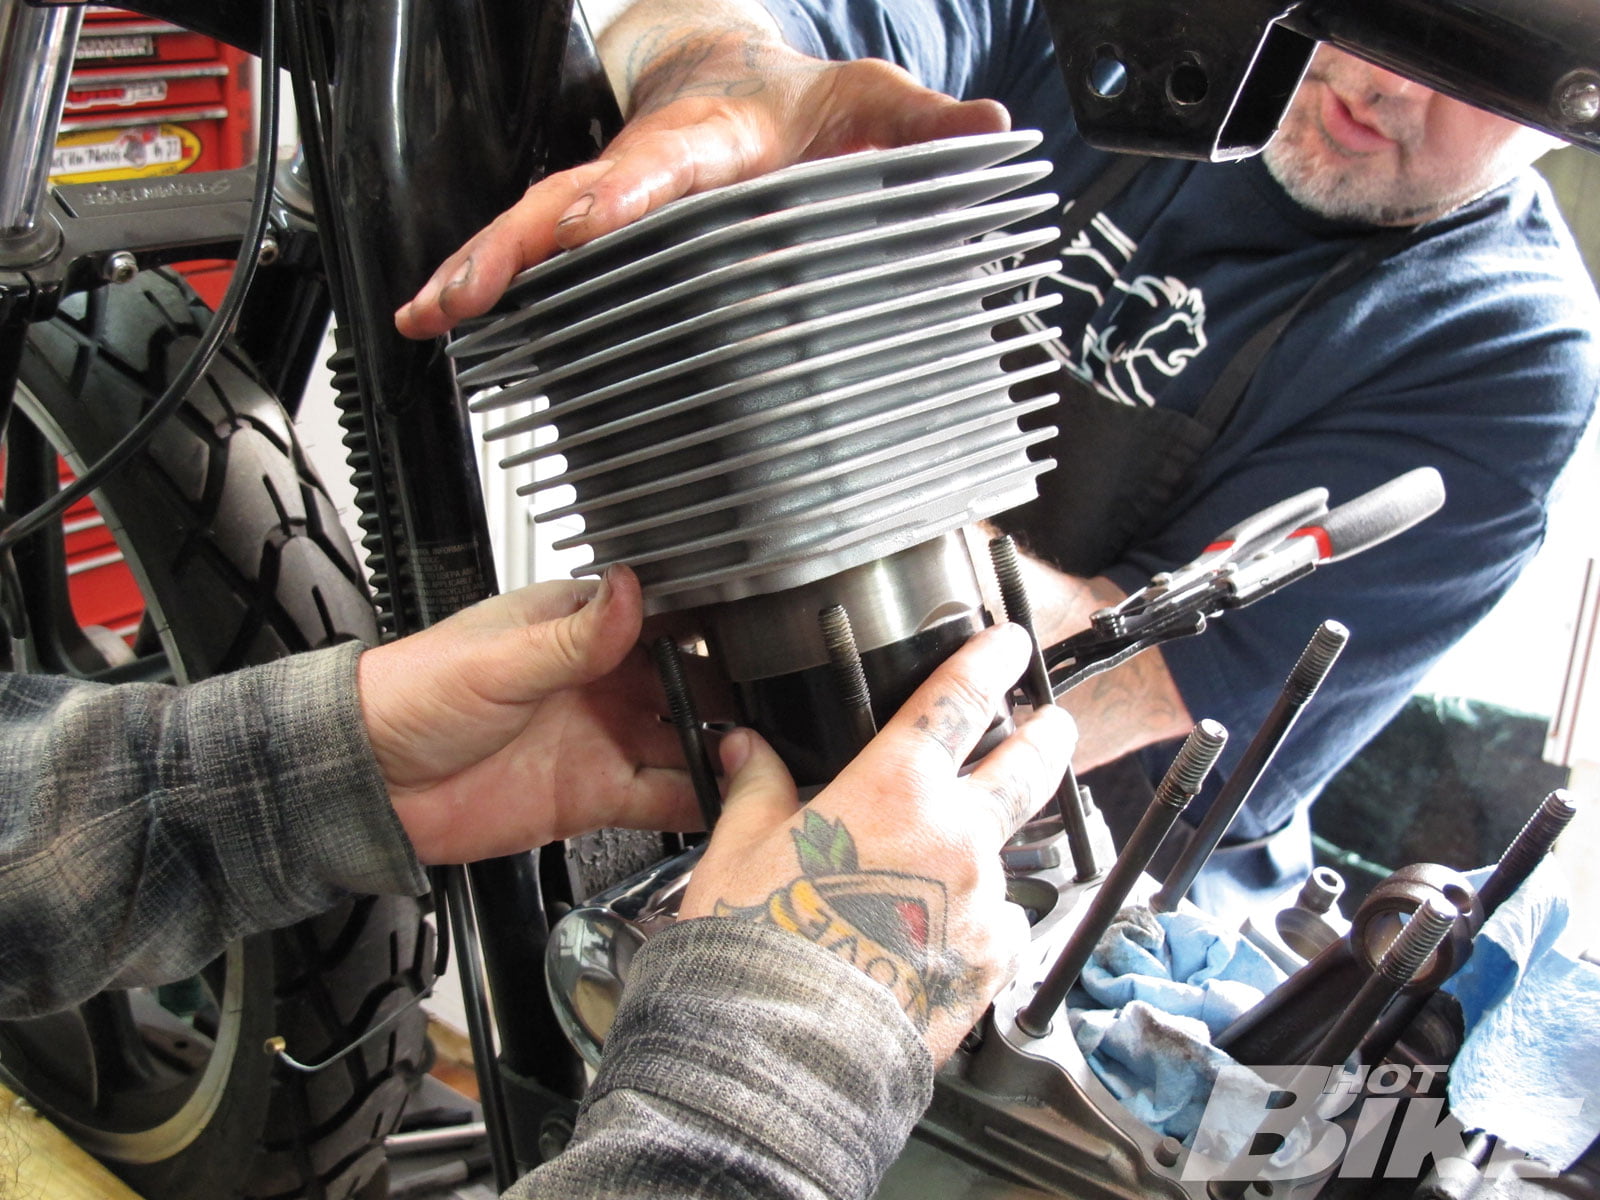
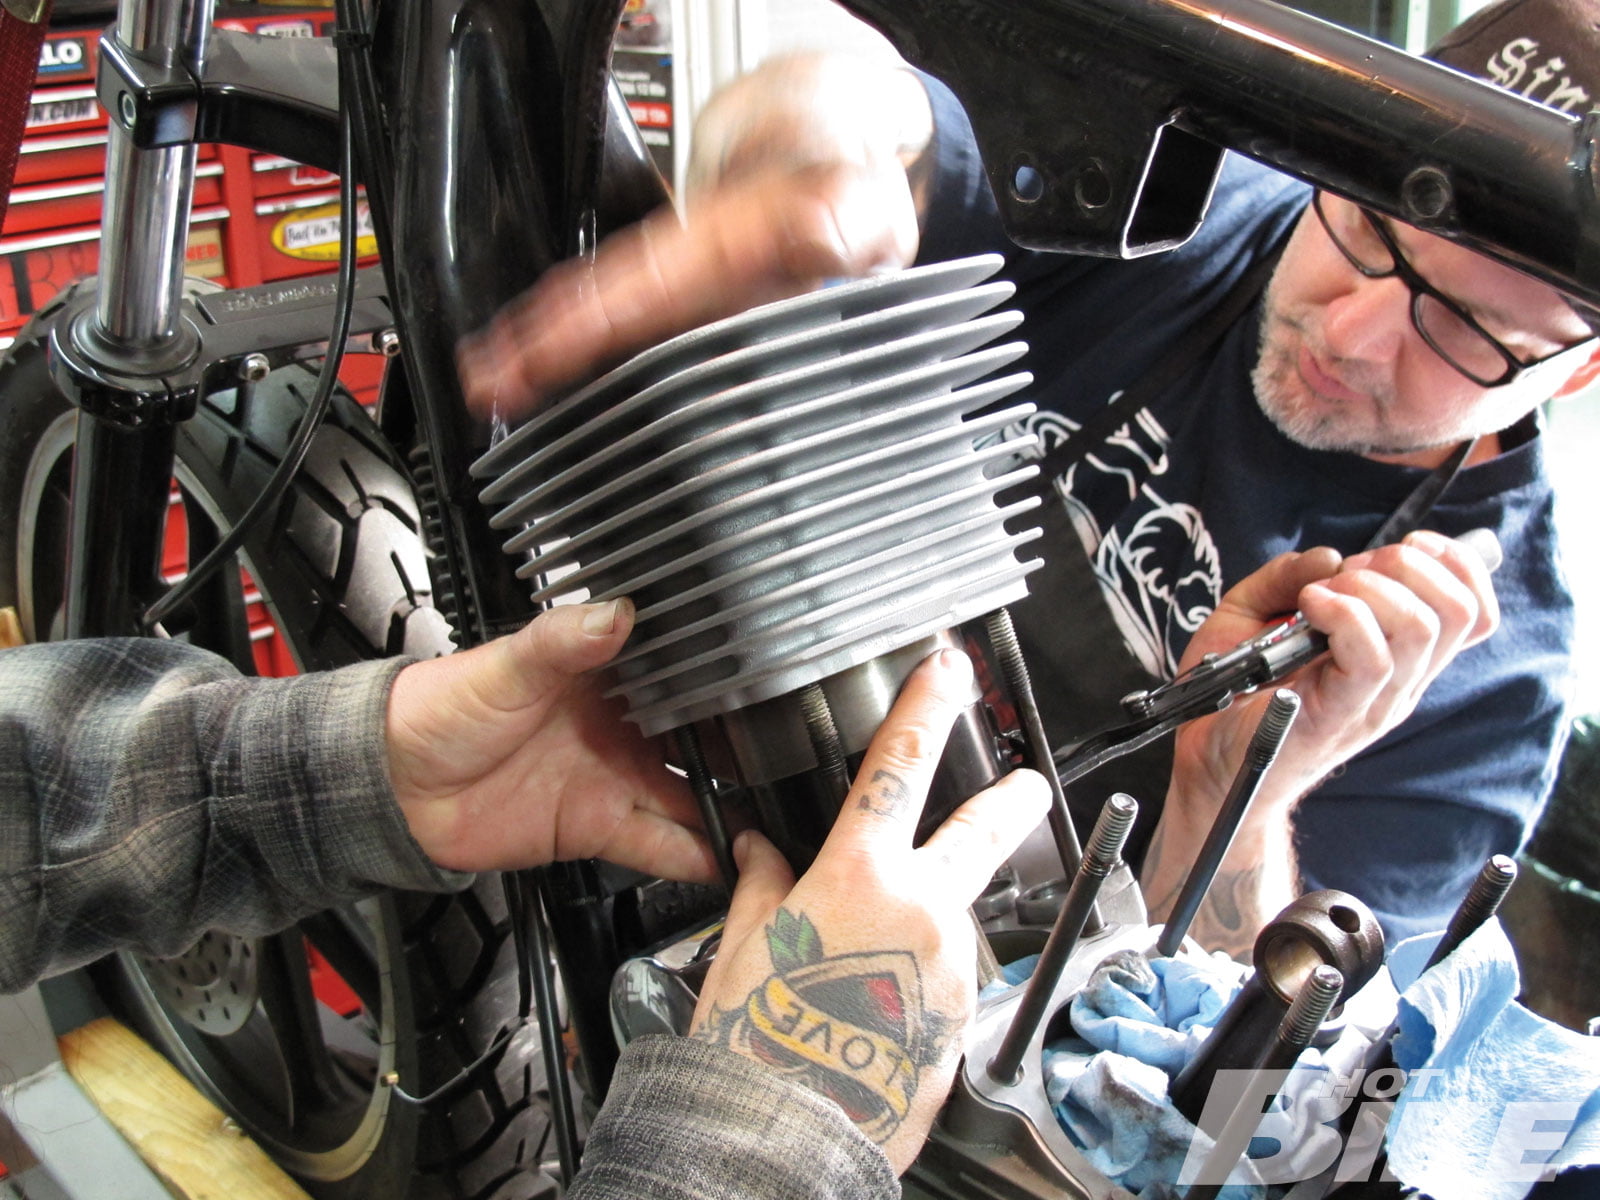
9 A piston ring compressor tool from George’s Garage was employed to properly get the new S&S; cylinders over the pistons without damaging the rings.
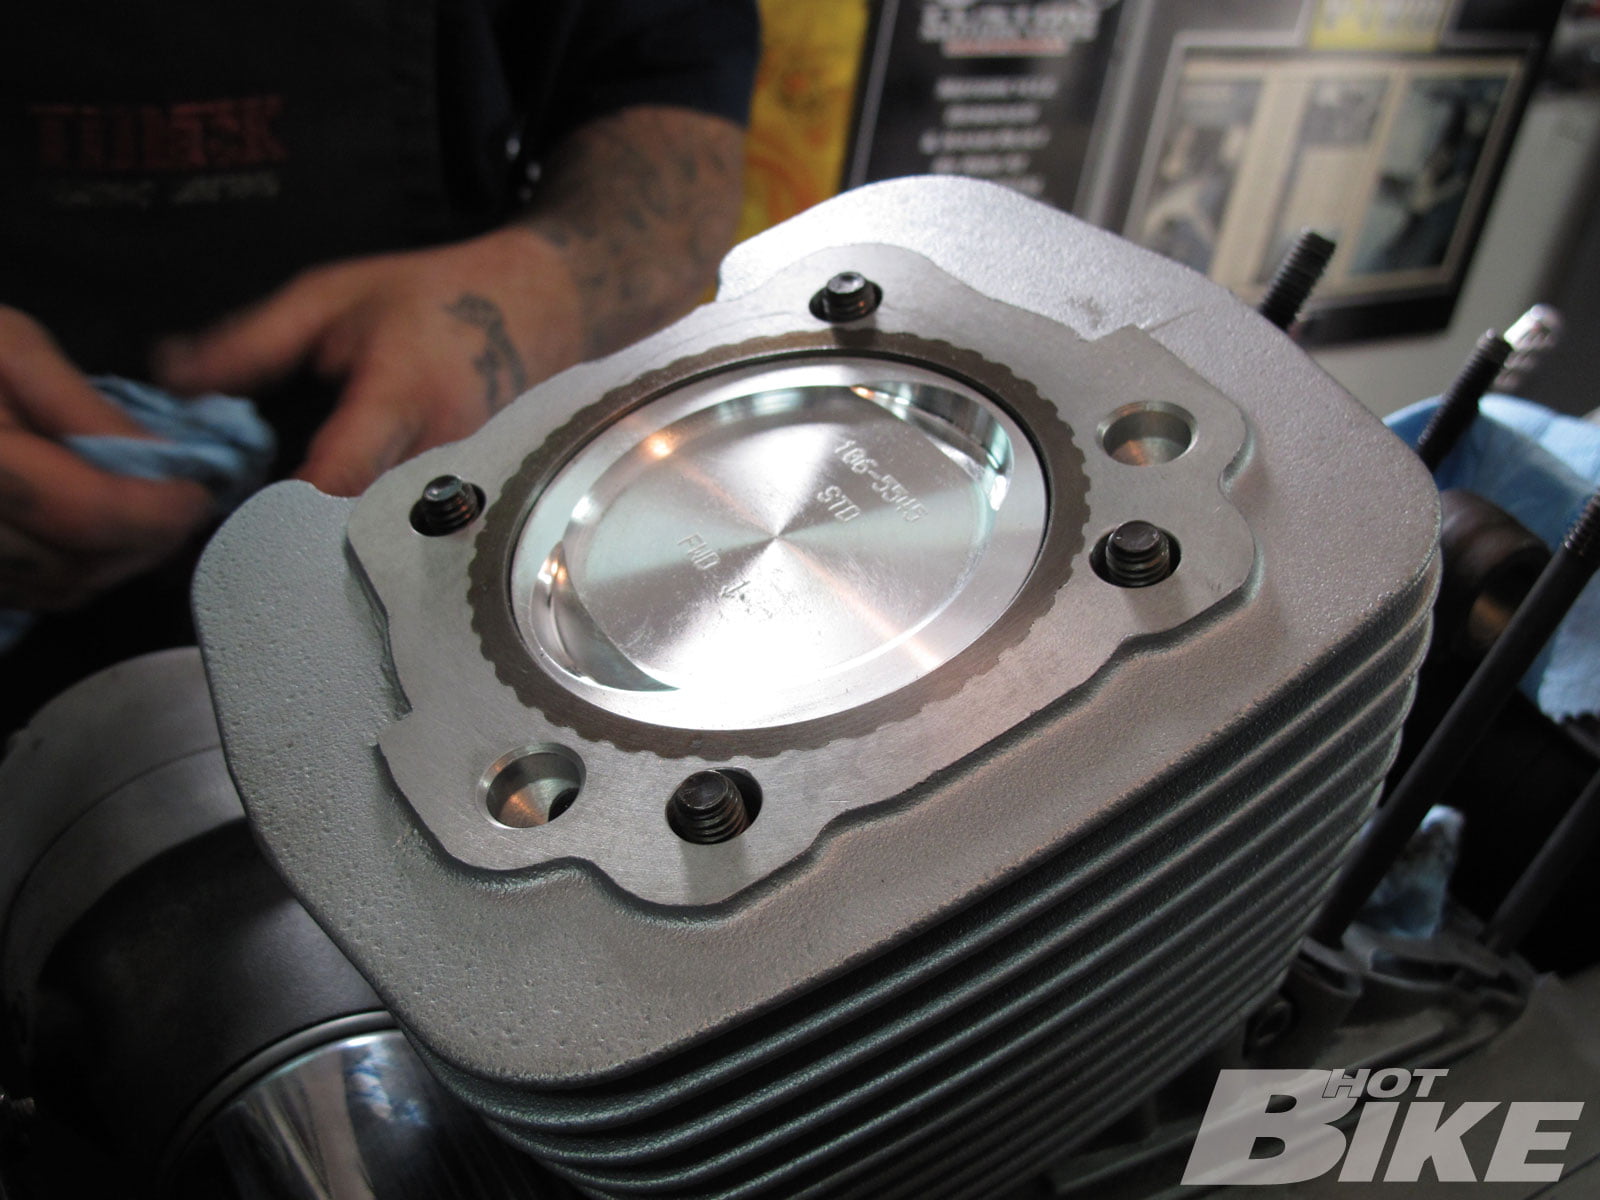
10 Here’s a shot of the new 1,200cc pistons and cylinders installed onto our engine. Looking good!
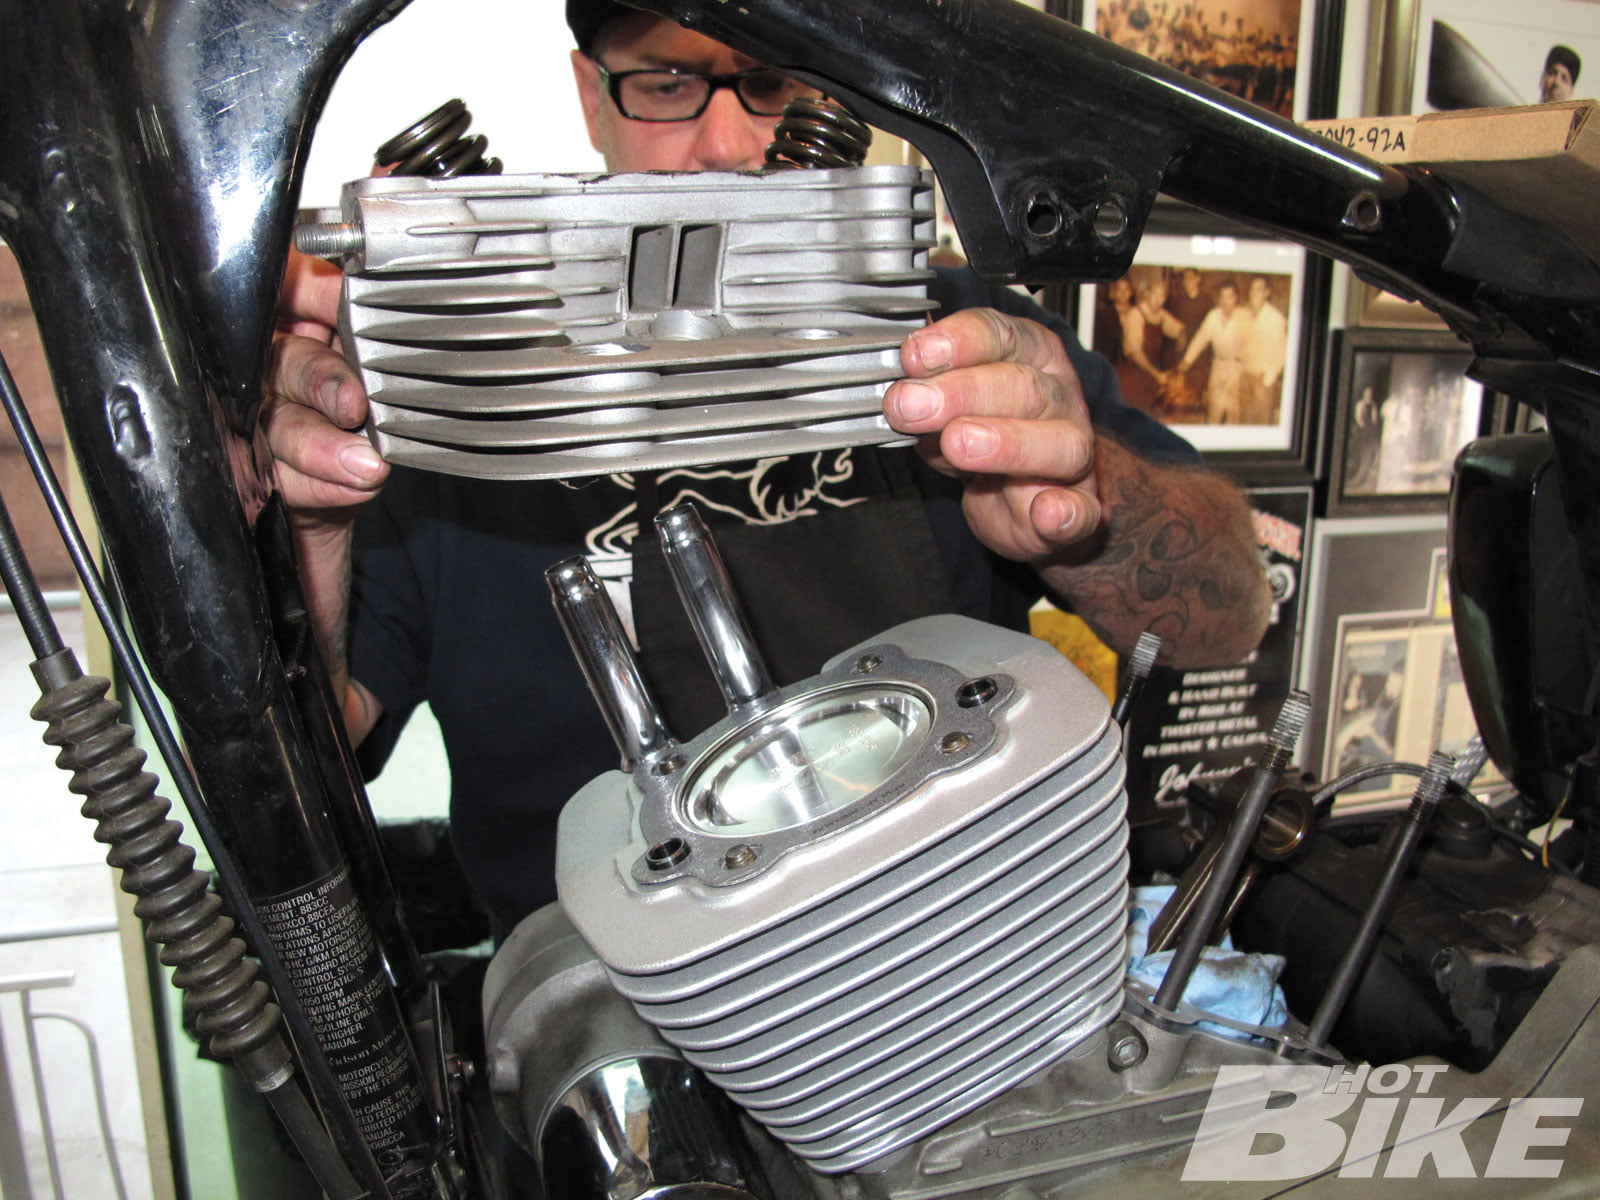
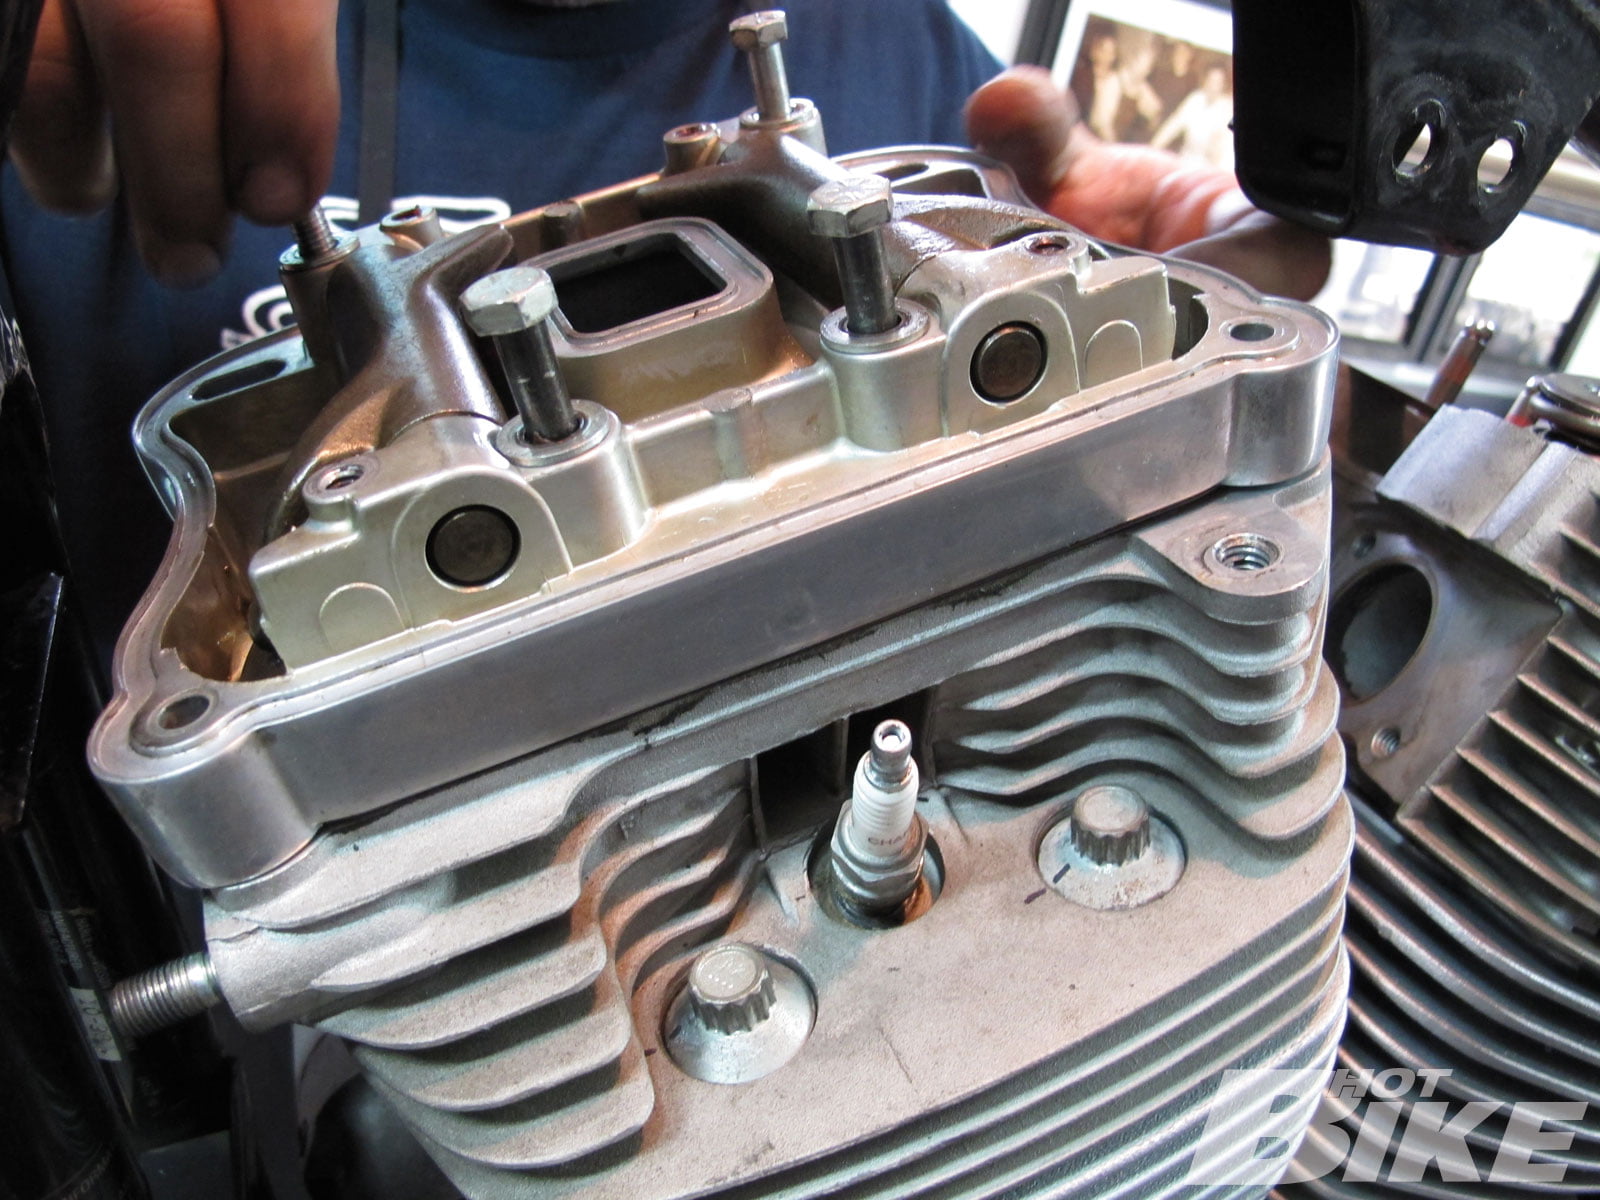
11 The stock heads were then slid onto the new cylinders and checked for proper fitment.
12 Once everything checked out to be a perfect fit, the heads were snugged down to the new cylinders for the time being.
13 A piston ring compressor tool from George’s Garage was employed to properly get the new S&S; cylinders over the pistons without damaging the rings.
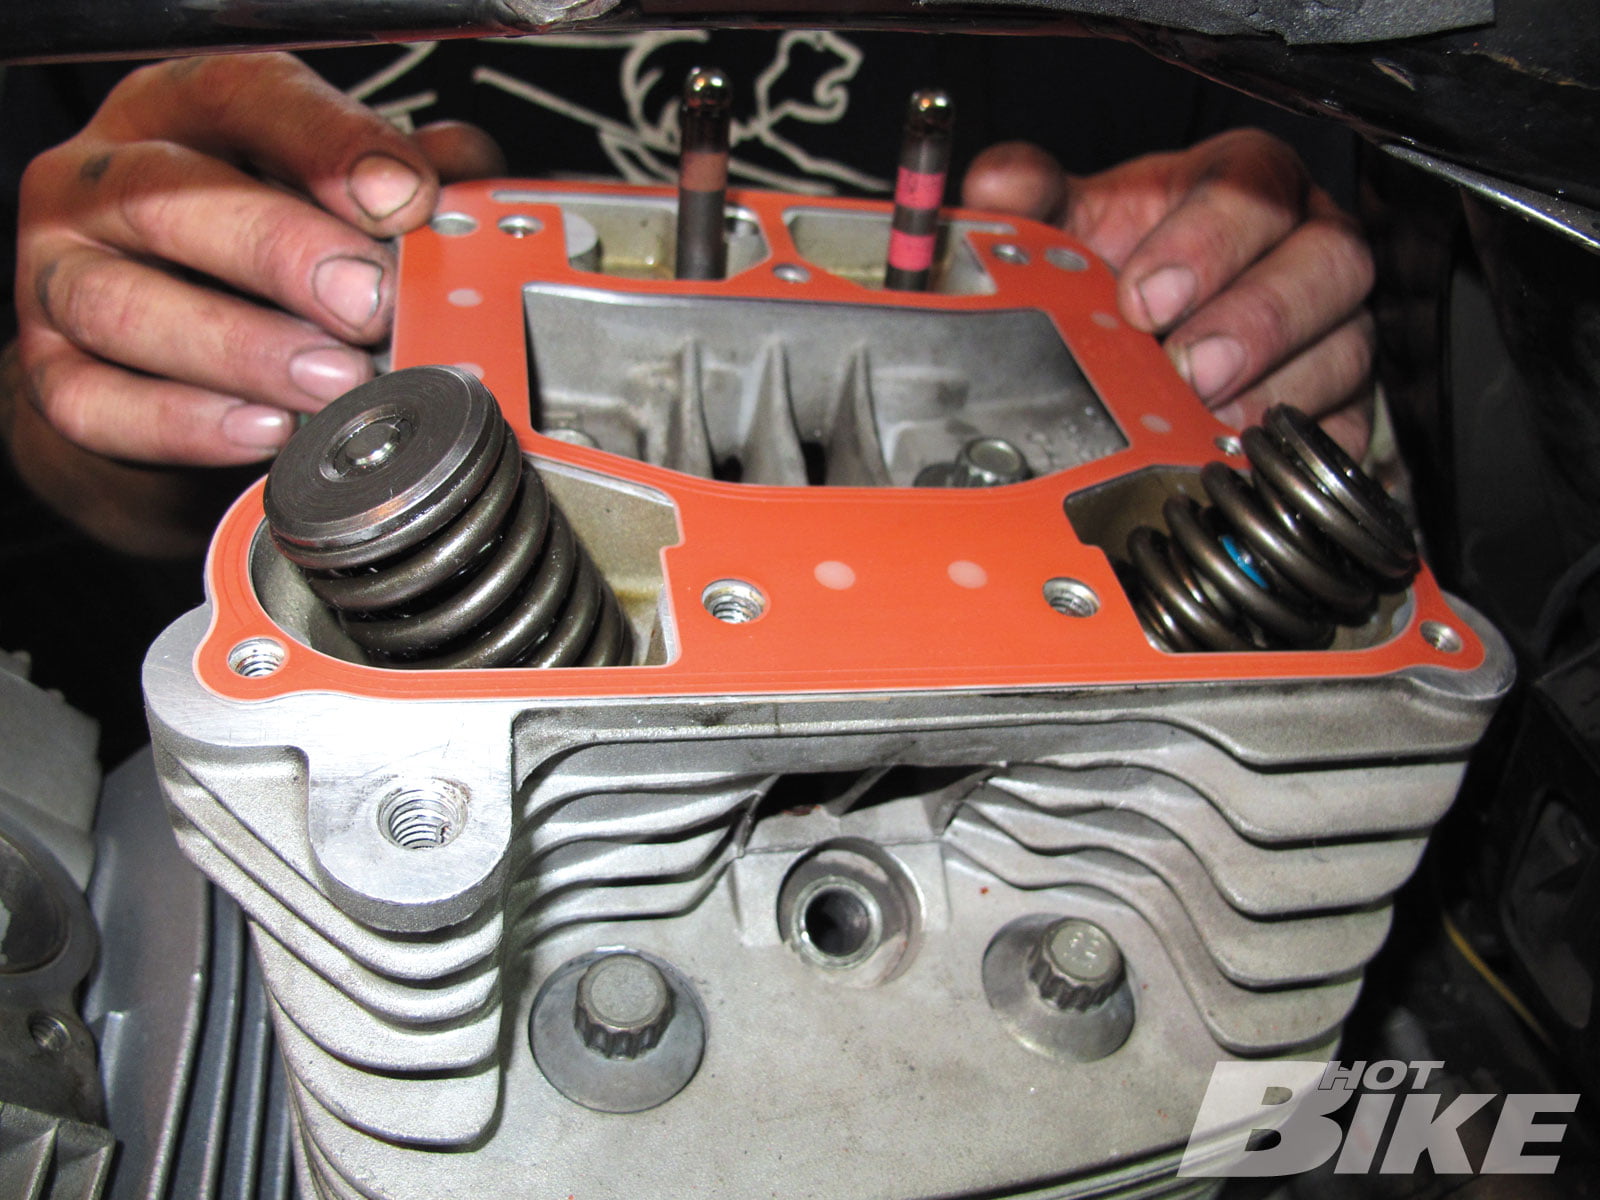
14 The new rocker base gaskets, which are also included in the kit, were correctly fitted.
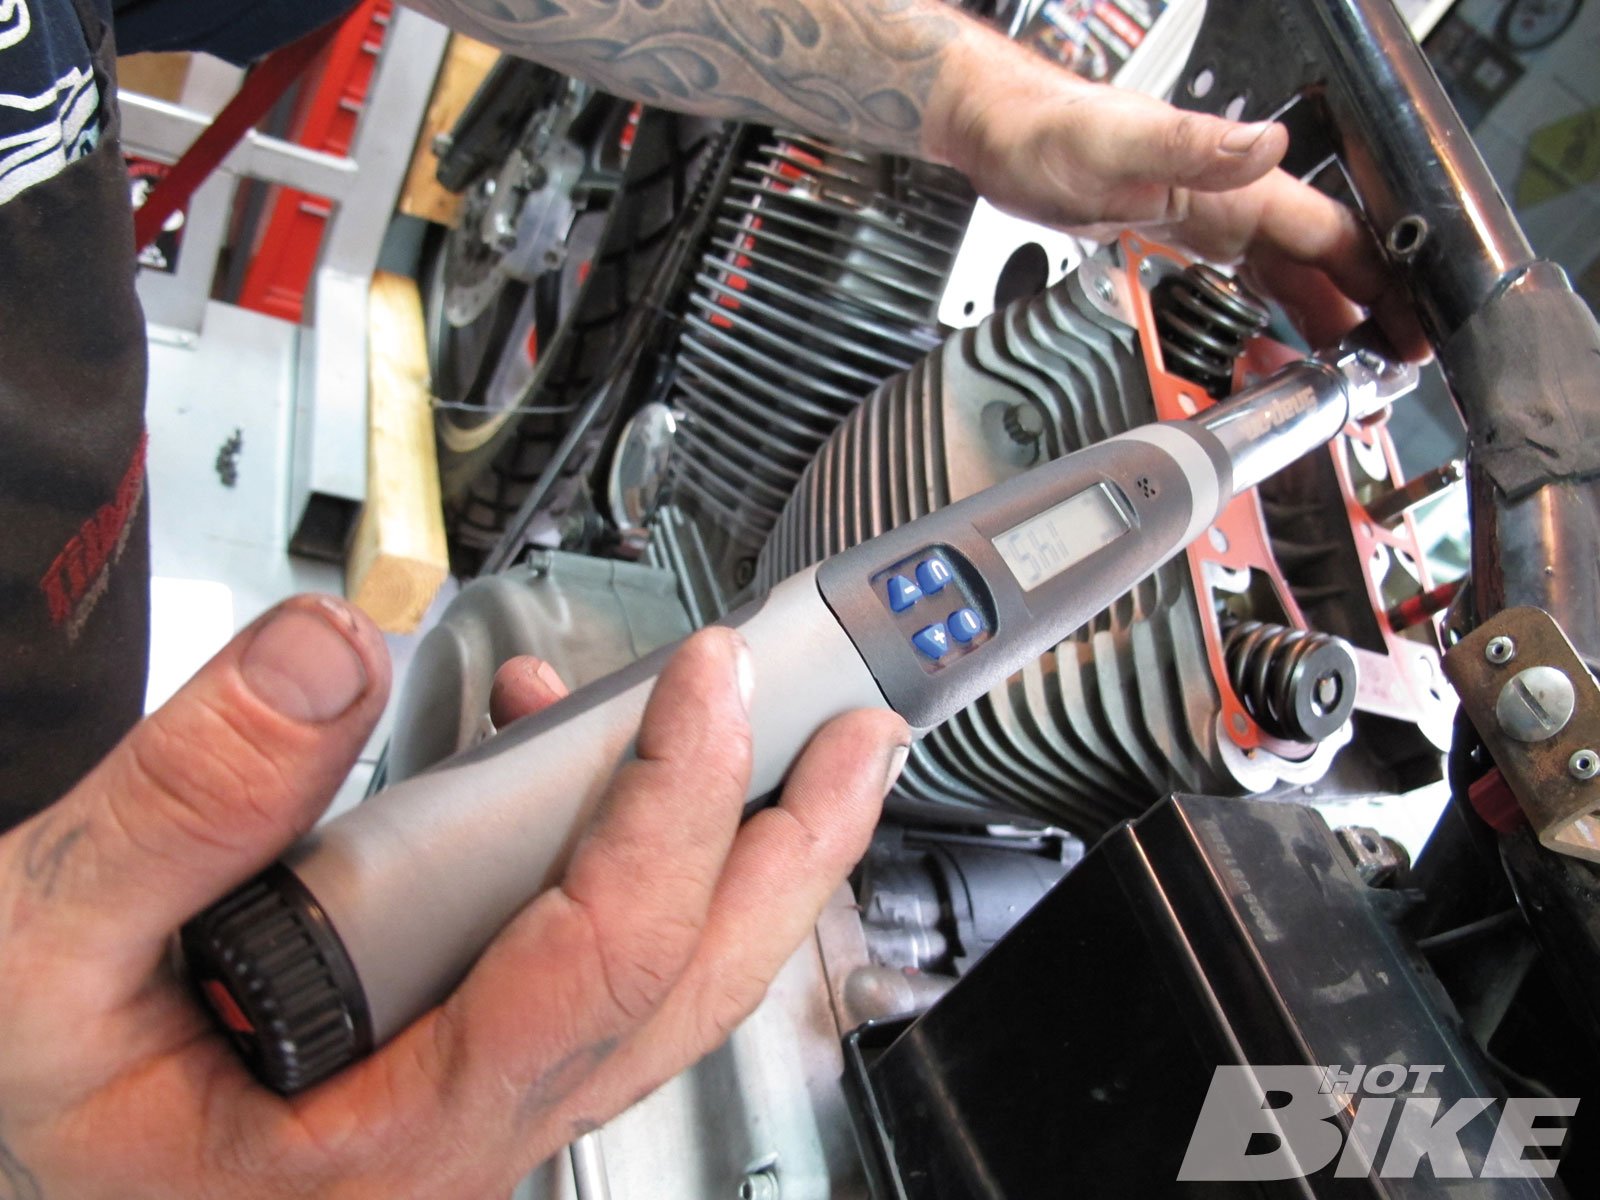
15 Before we went any further, we torqued down the cylinders and heads to factory specifications.
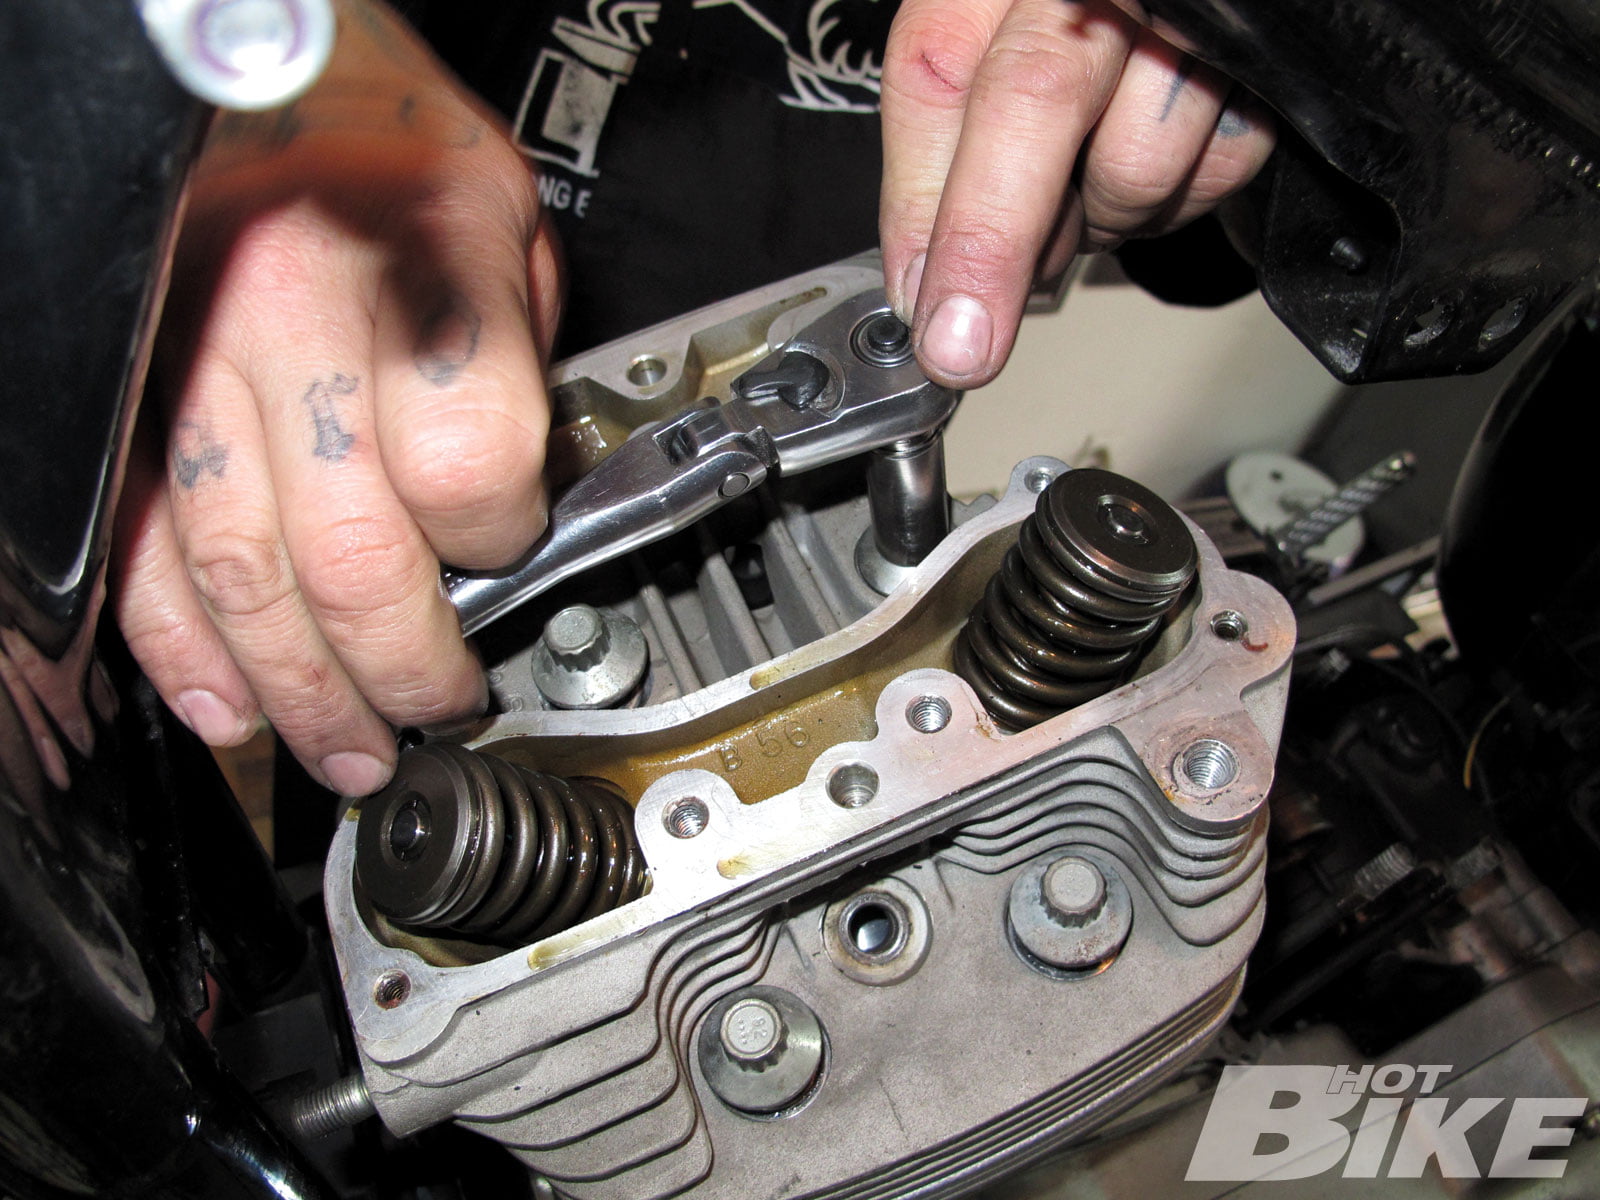
16 Next the stock rockers were bolted into place using the original hardware.
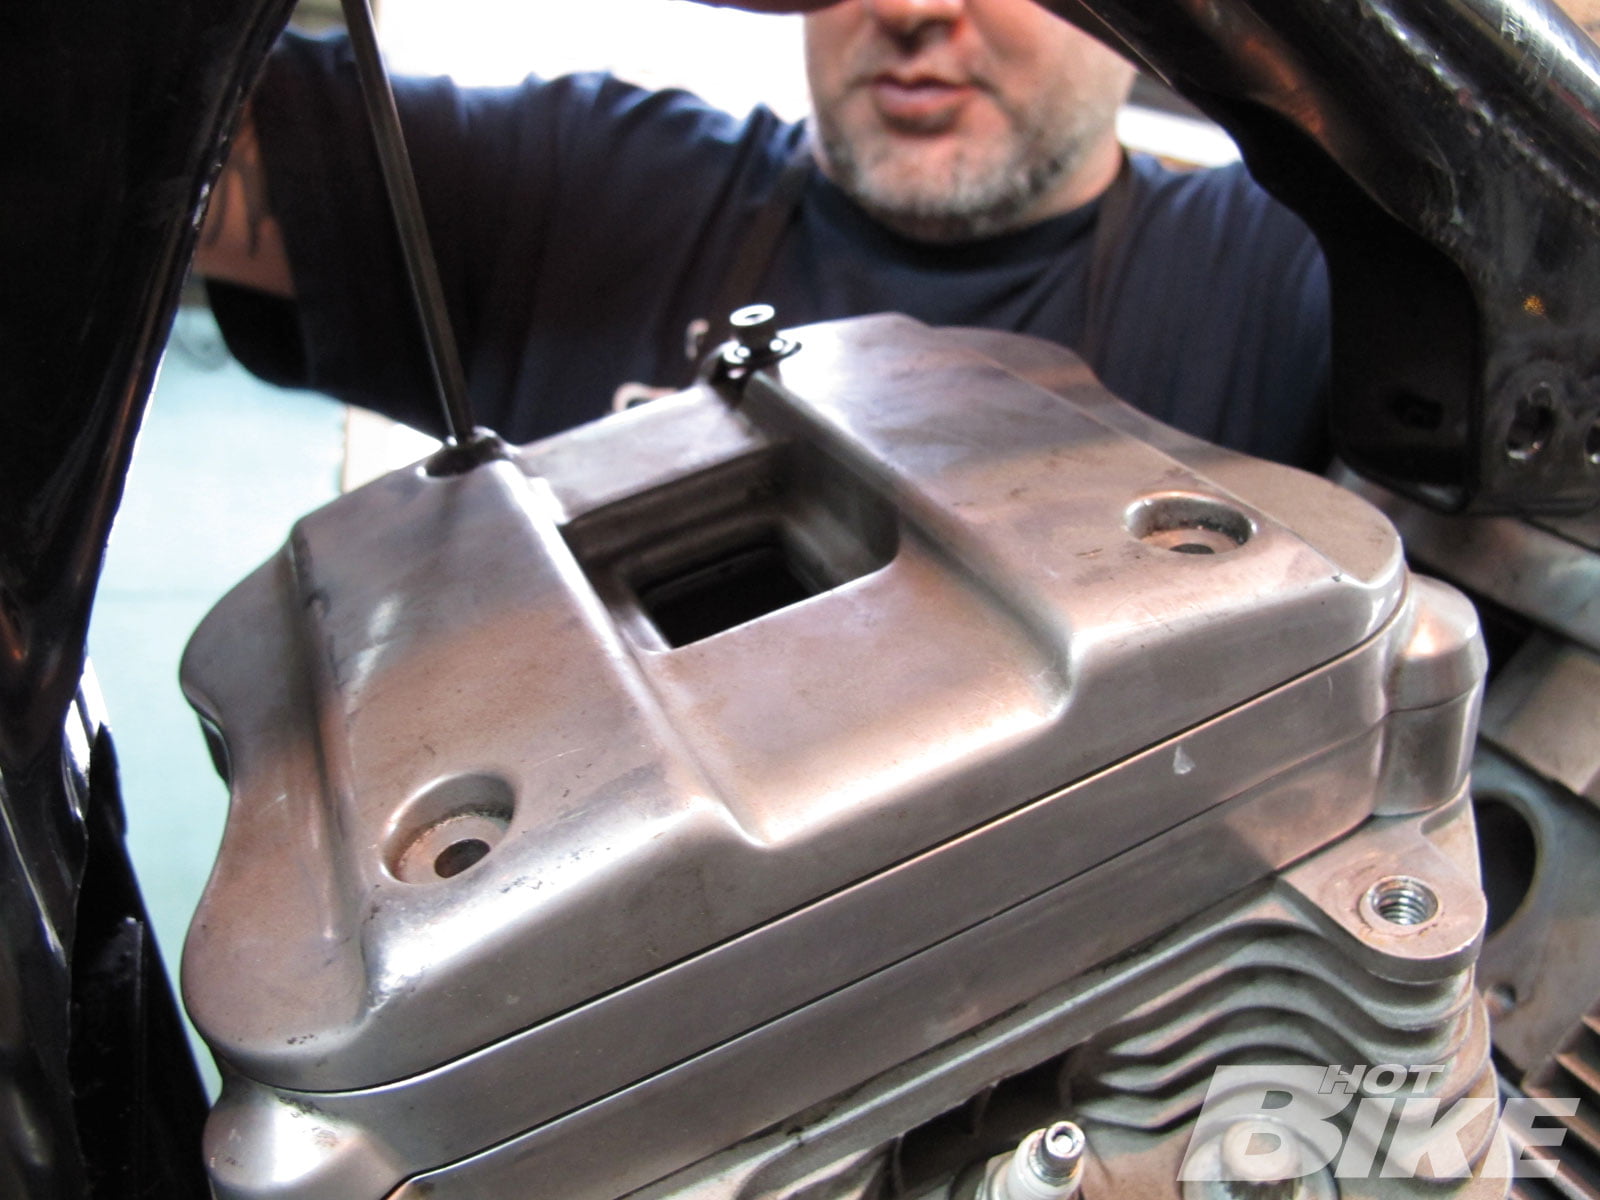
17 Once the rocker boxes were torqued to factory specs, we installed the rocker box covers, efectively finishing the 1,200cc swap out.
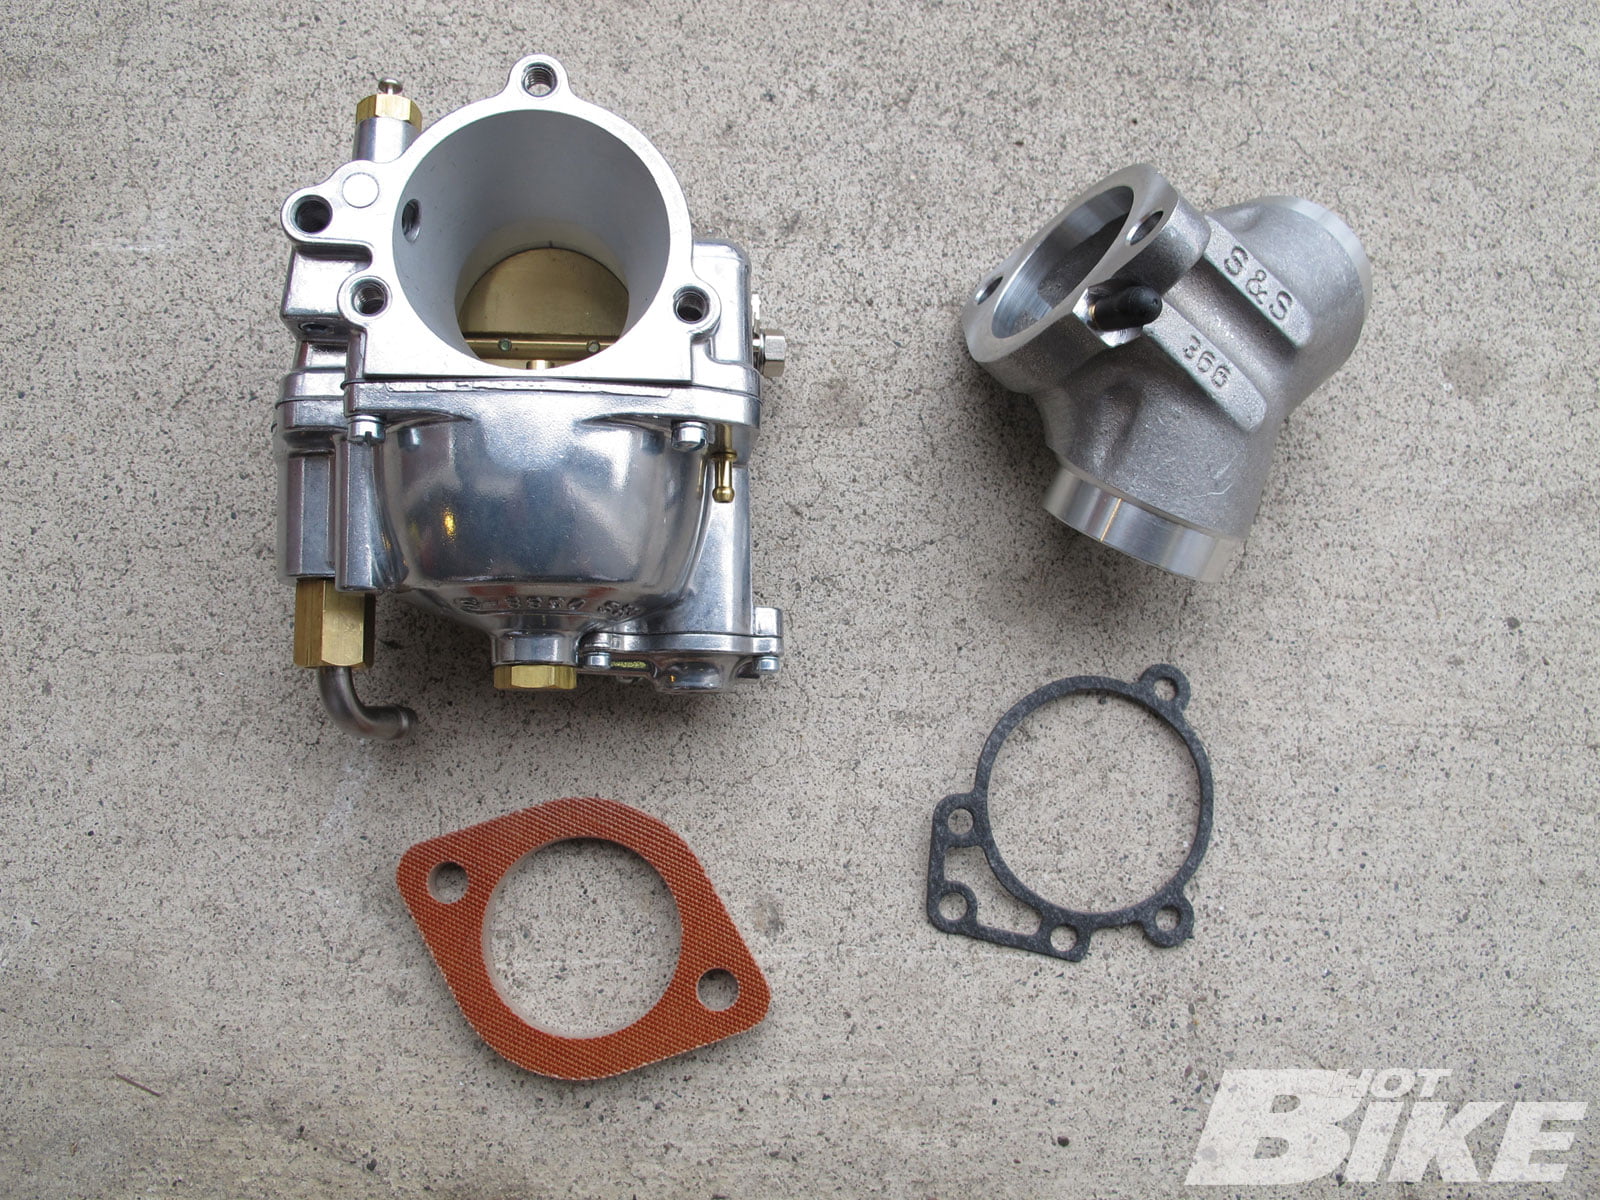
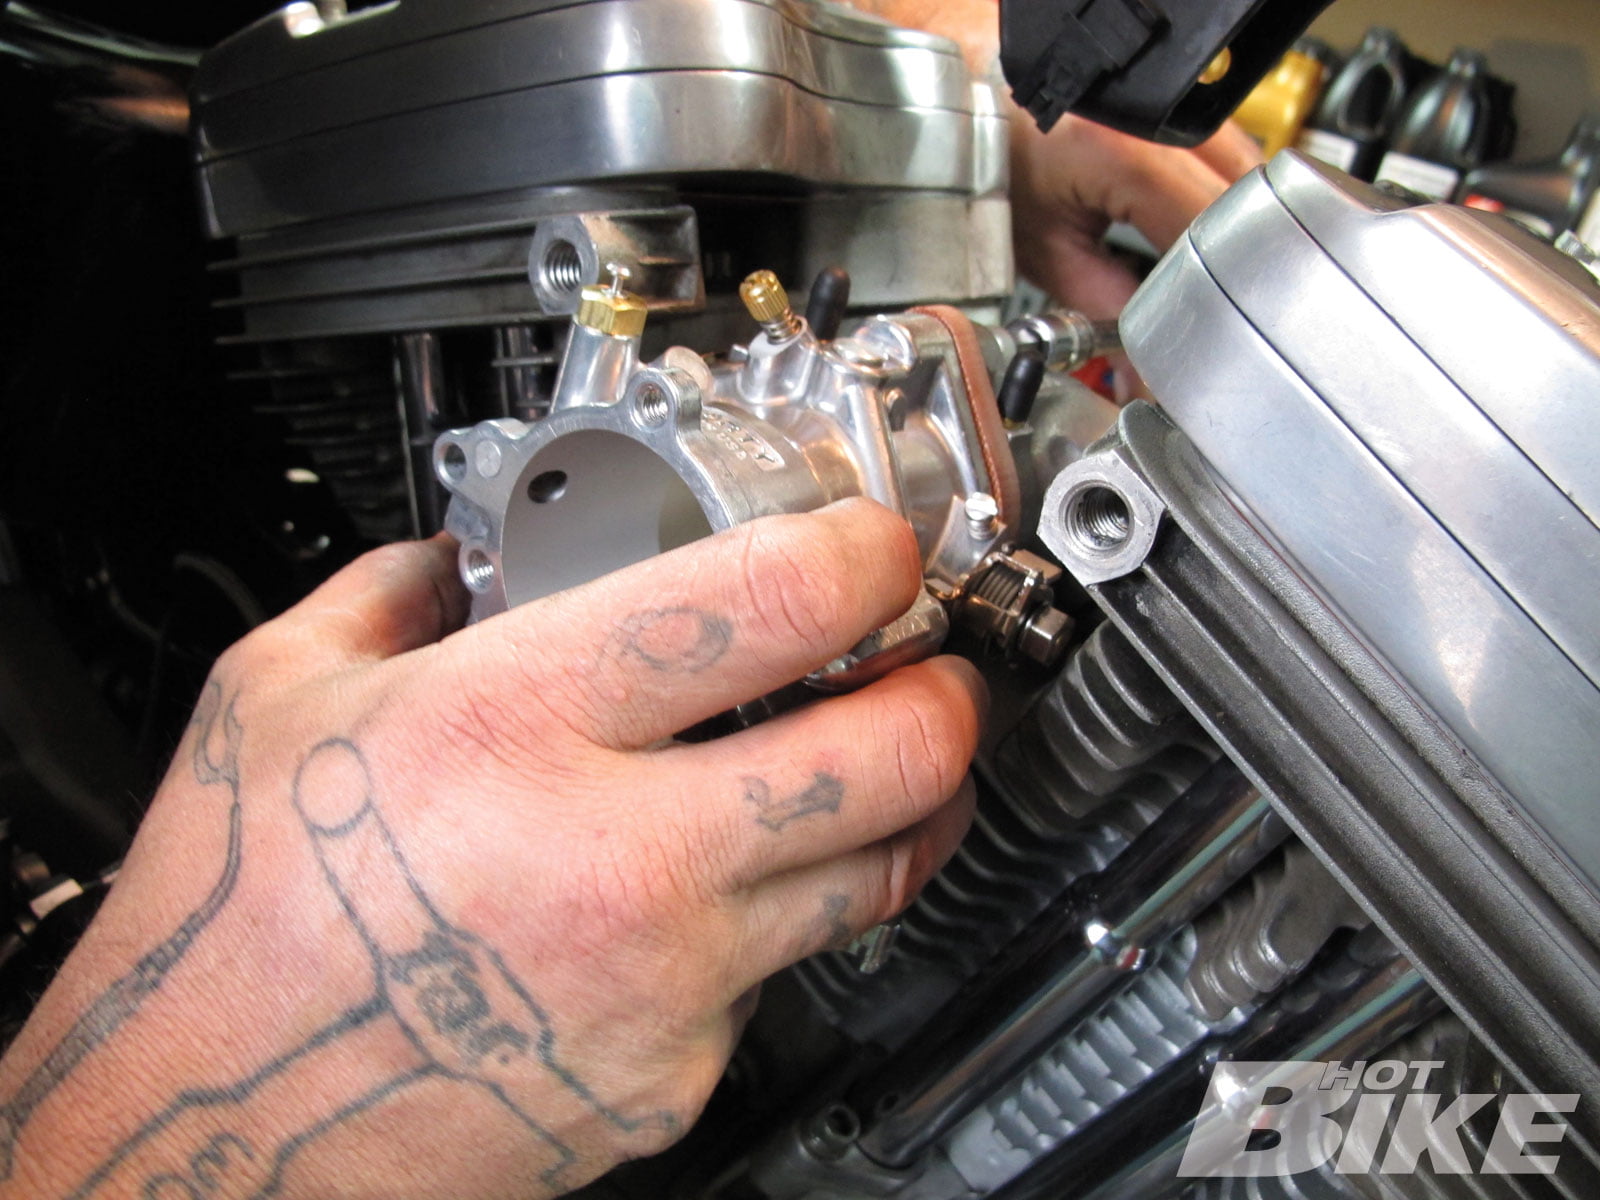
18 Not wanting to put an old gummed-up carb on this newly hotrodded bike, we opted for an S&S; Super E carburetor upgrade. The 1-7/8-inch bore size creates a higher air velocity resulting in better low and midrange response and power than stock.
19 The S&S; Sportster carb kit comes complete with this manifold and all the hardware necessary to install it on the bike.
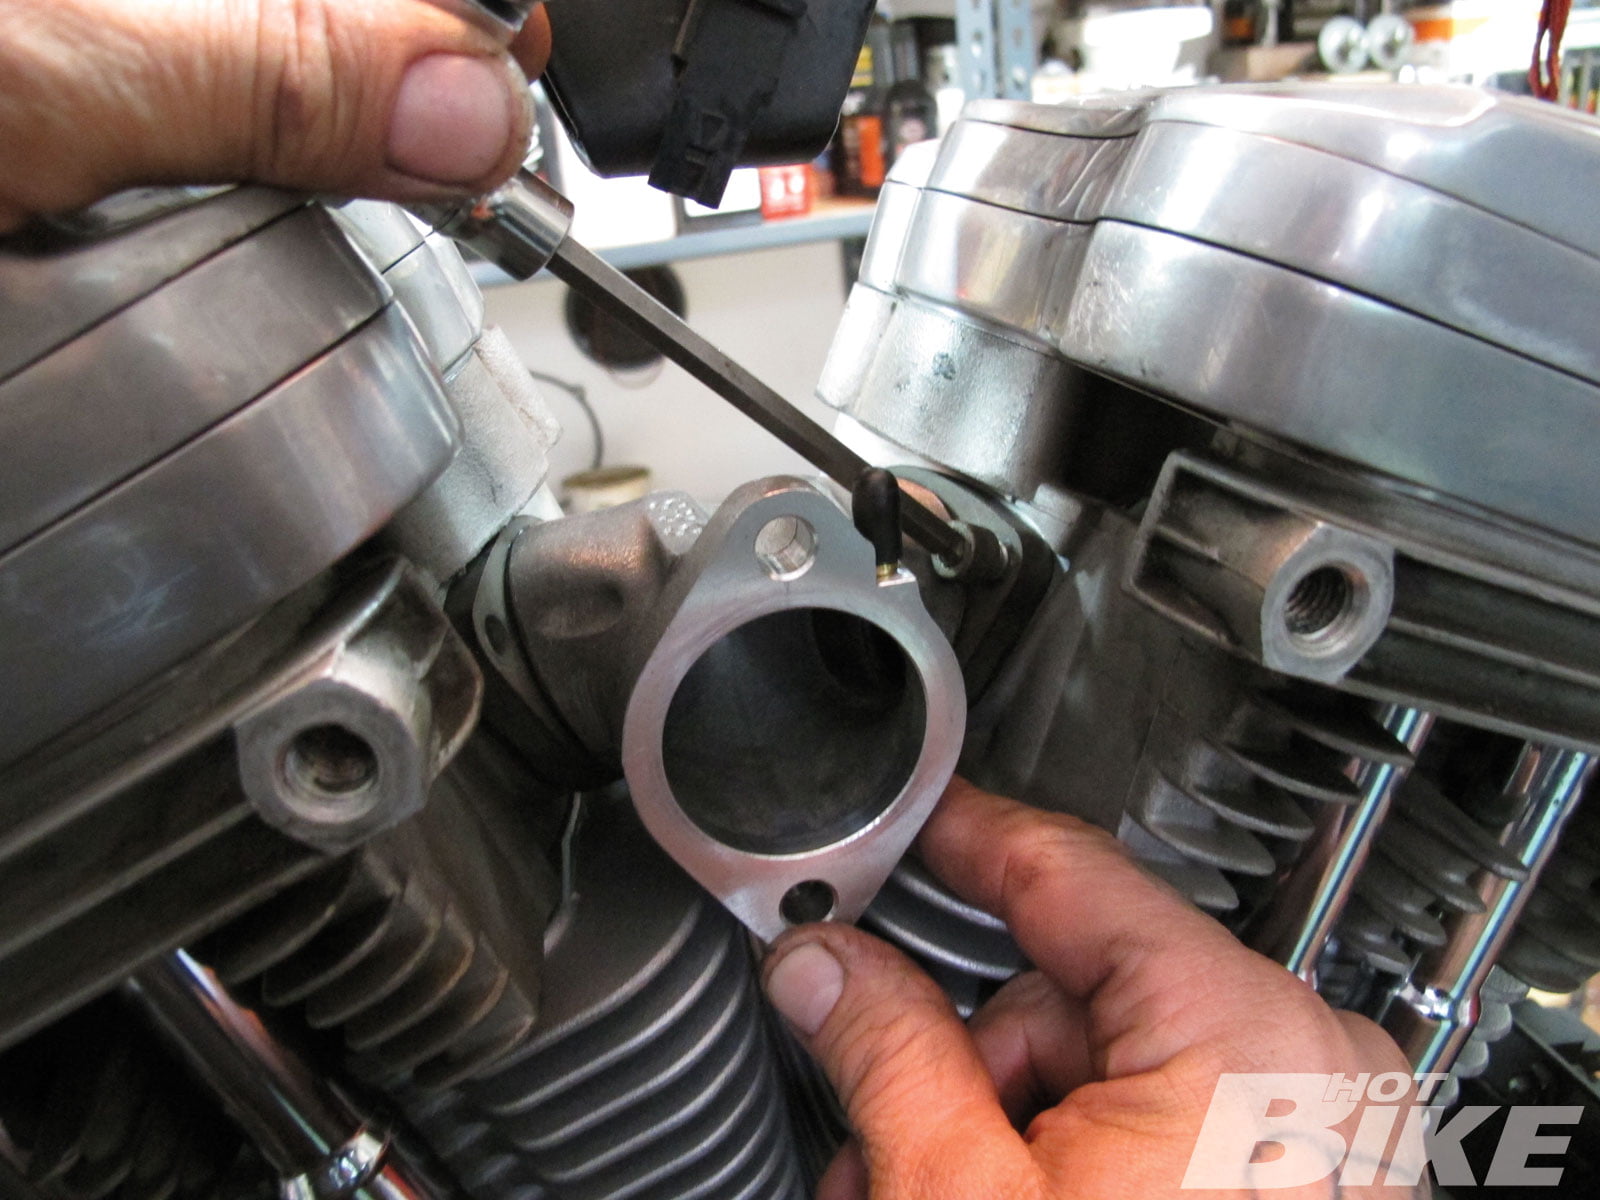
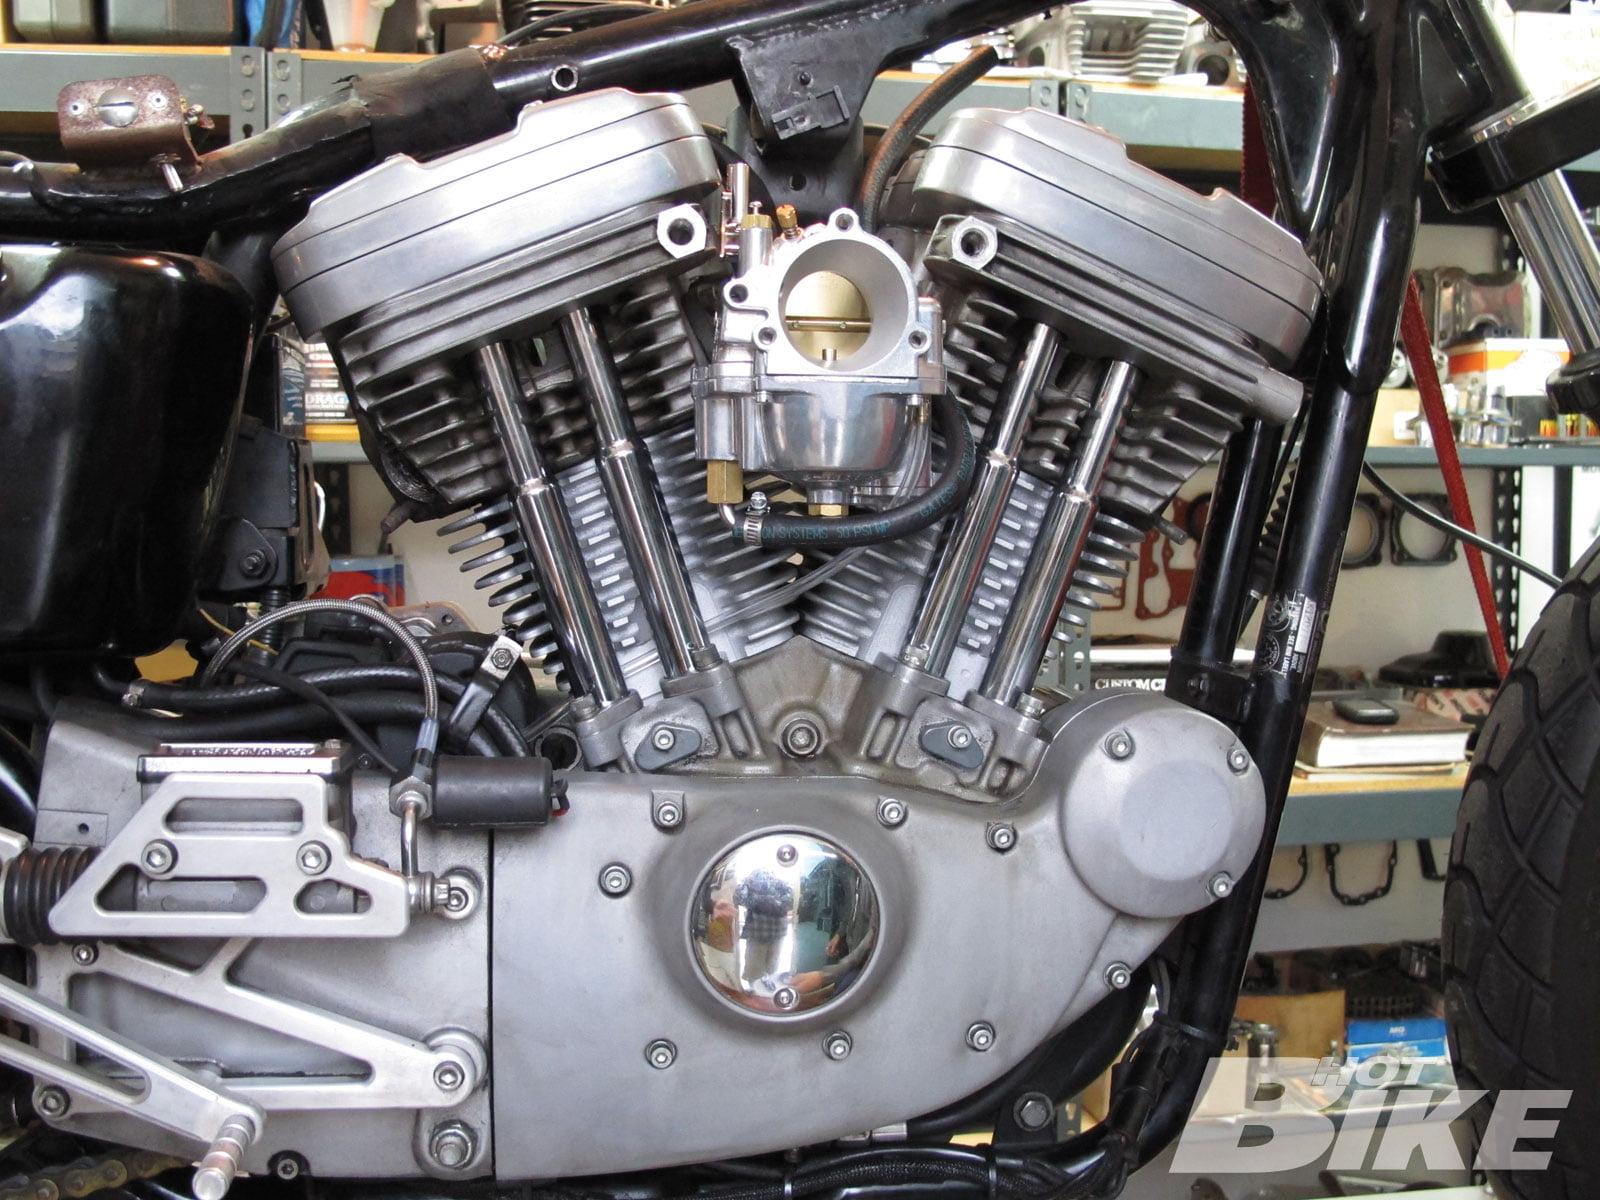
20 Once the S&S; intake manifold is bolted to the cylinders, the Super E carb easily installs to the engine via two Allen head bolts. And with this we were done with the S&S; engine upgrades.
21 Step one of getting the Lil Devil together for Mexican mayhem is complete. Stay tuned in the next issue of Hot Bike as we get more of this bike’s issues fixed as well as getting the bike on the dyno and into the paint shop in future issues.


