
Art Of Engraving – Motorcycle Jewelry
Click on the ” next ” tab to see the entire process
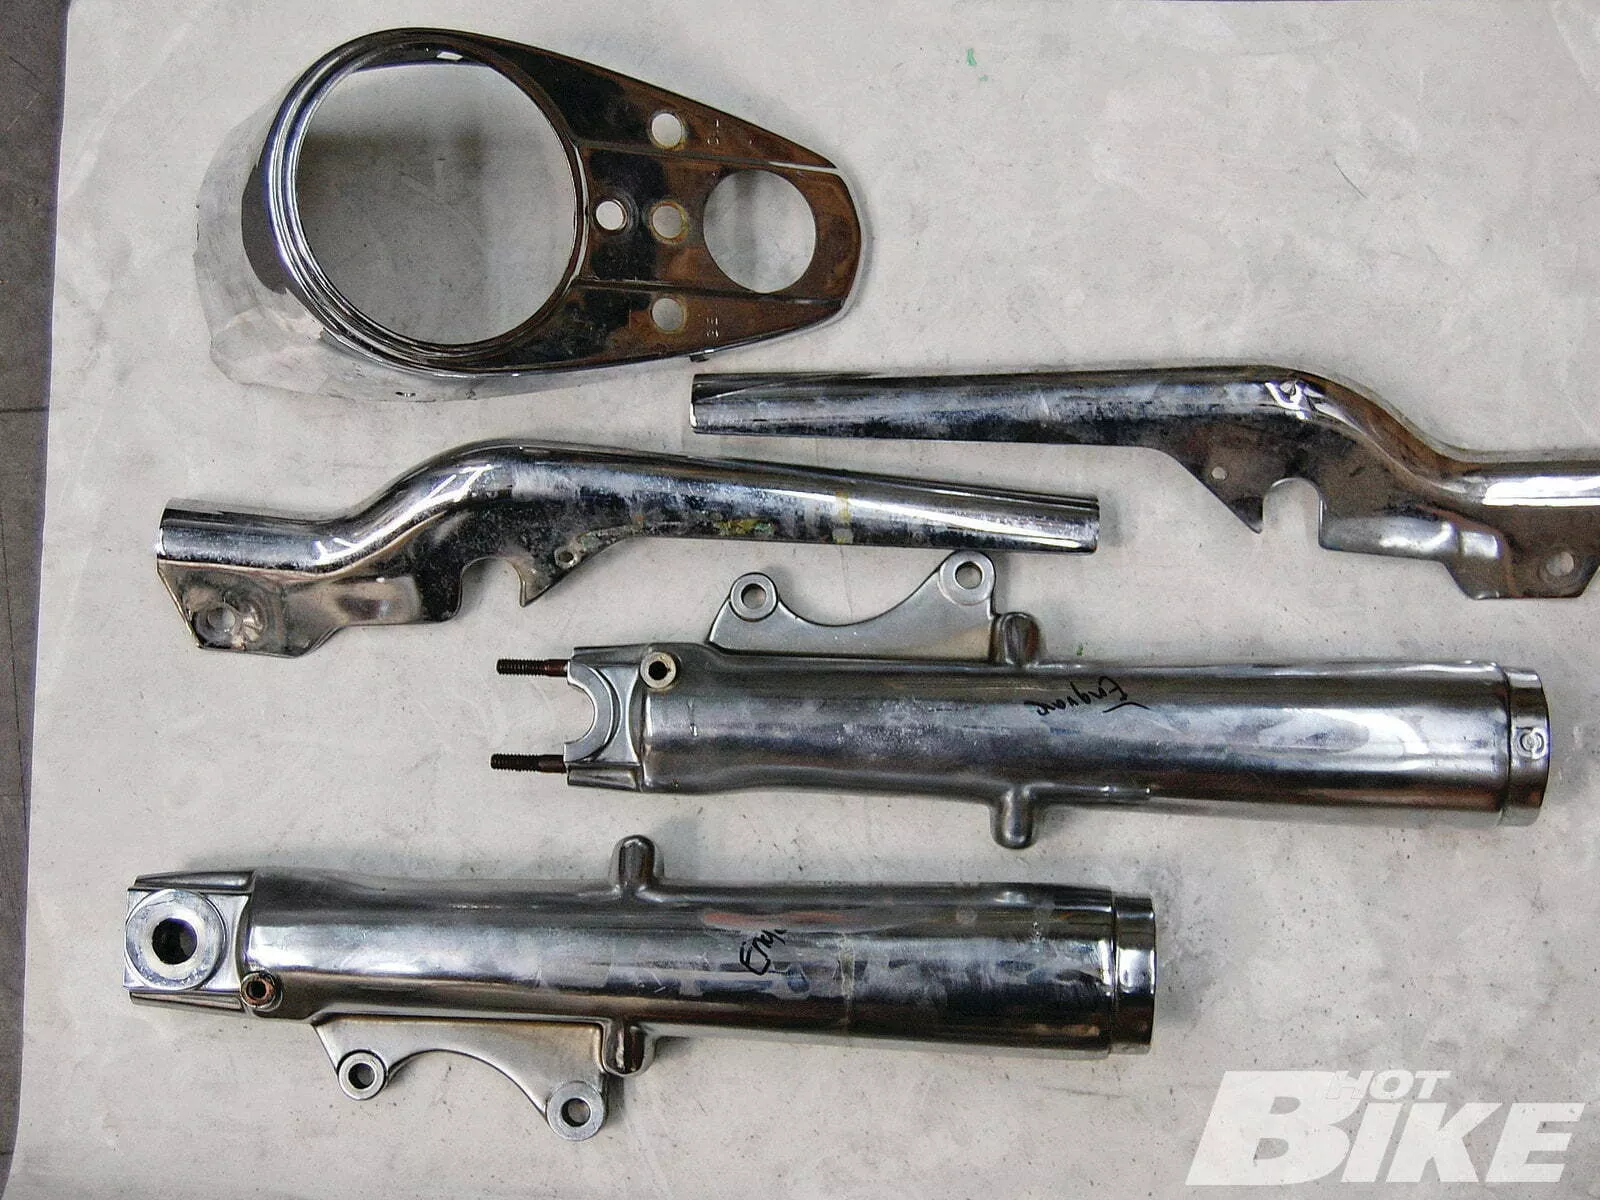
Our selected parts for engraving were marked for inventory.
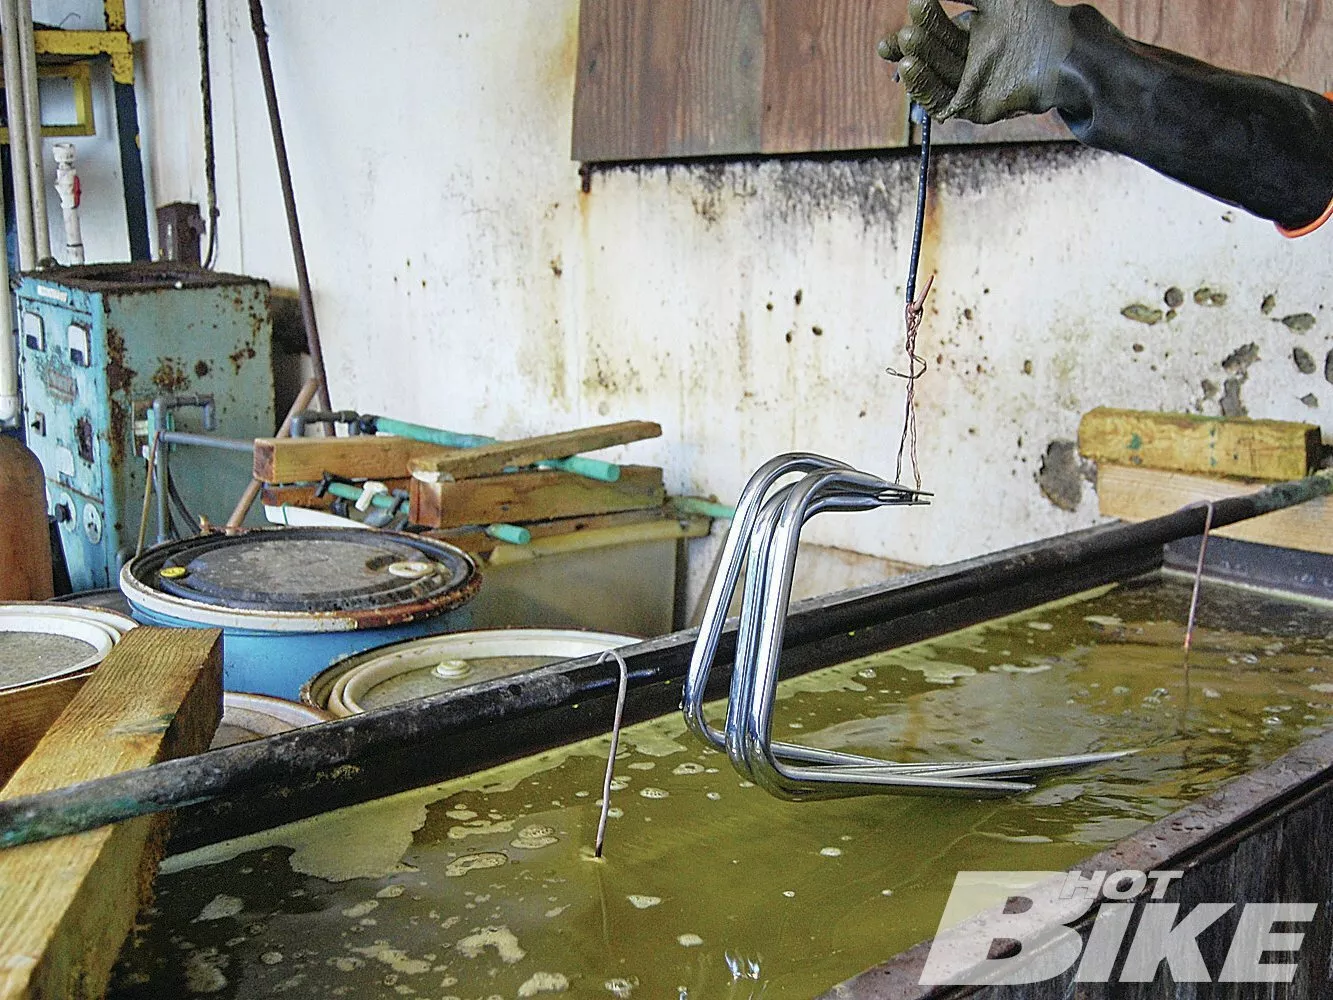
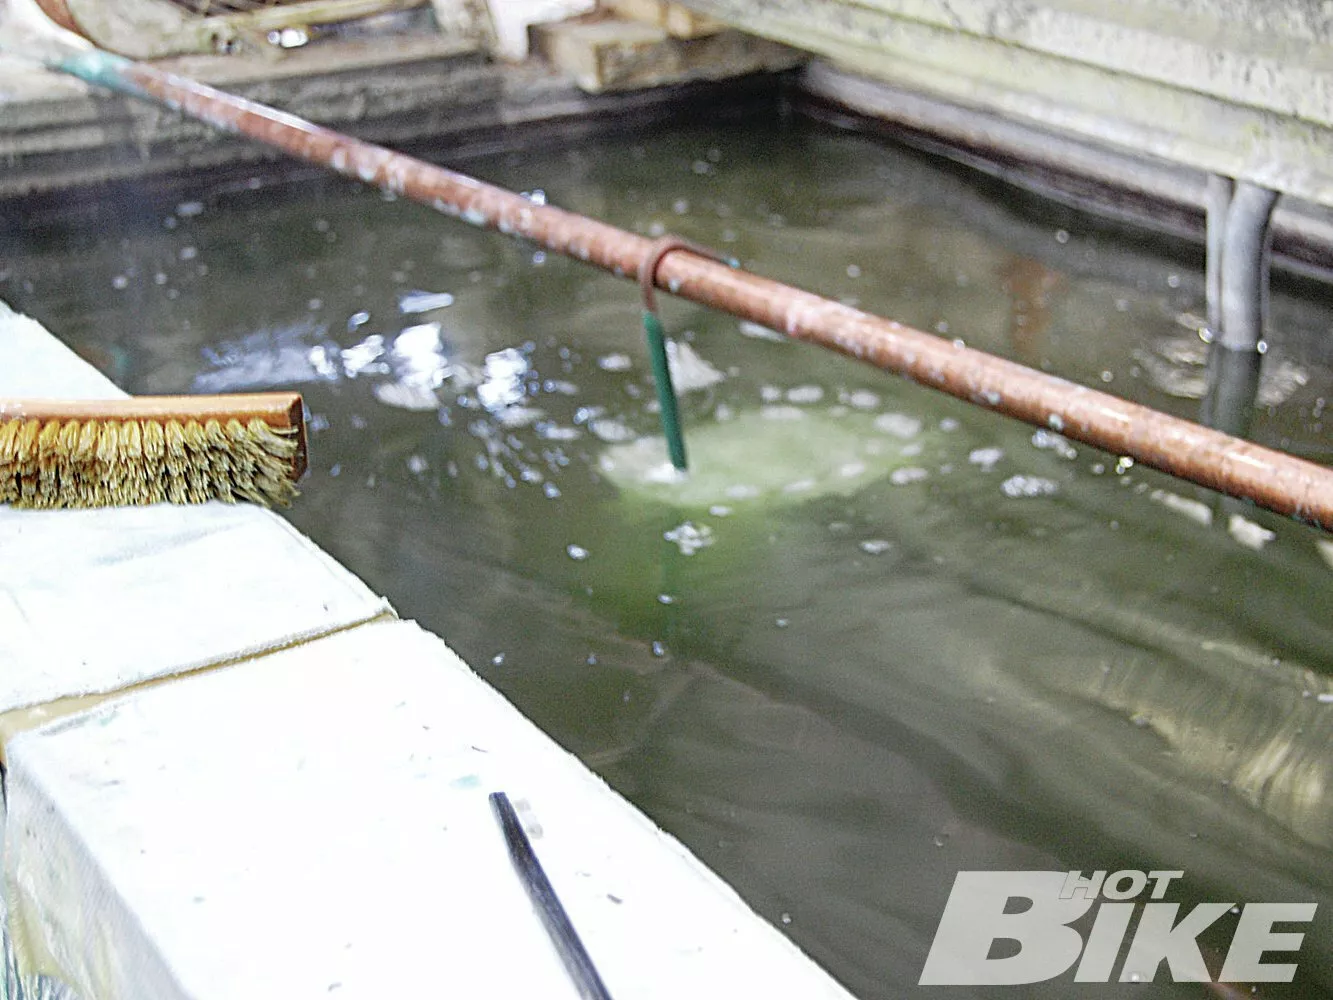
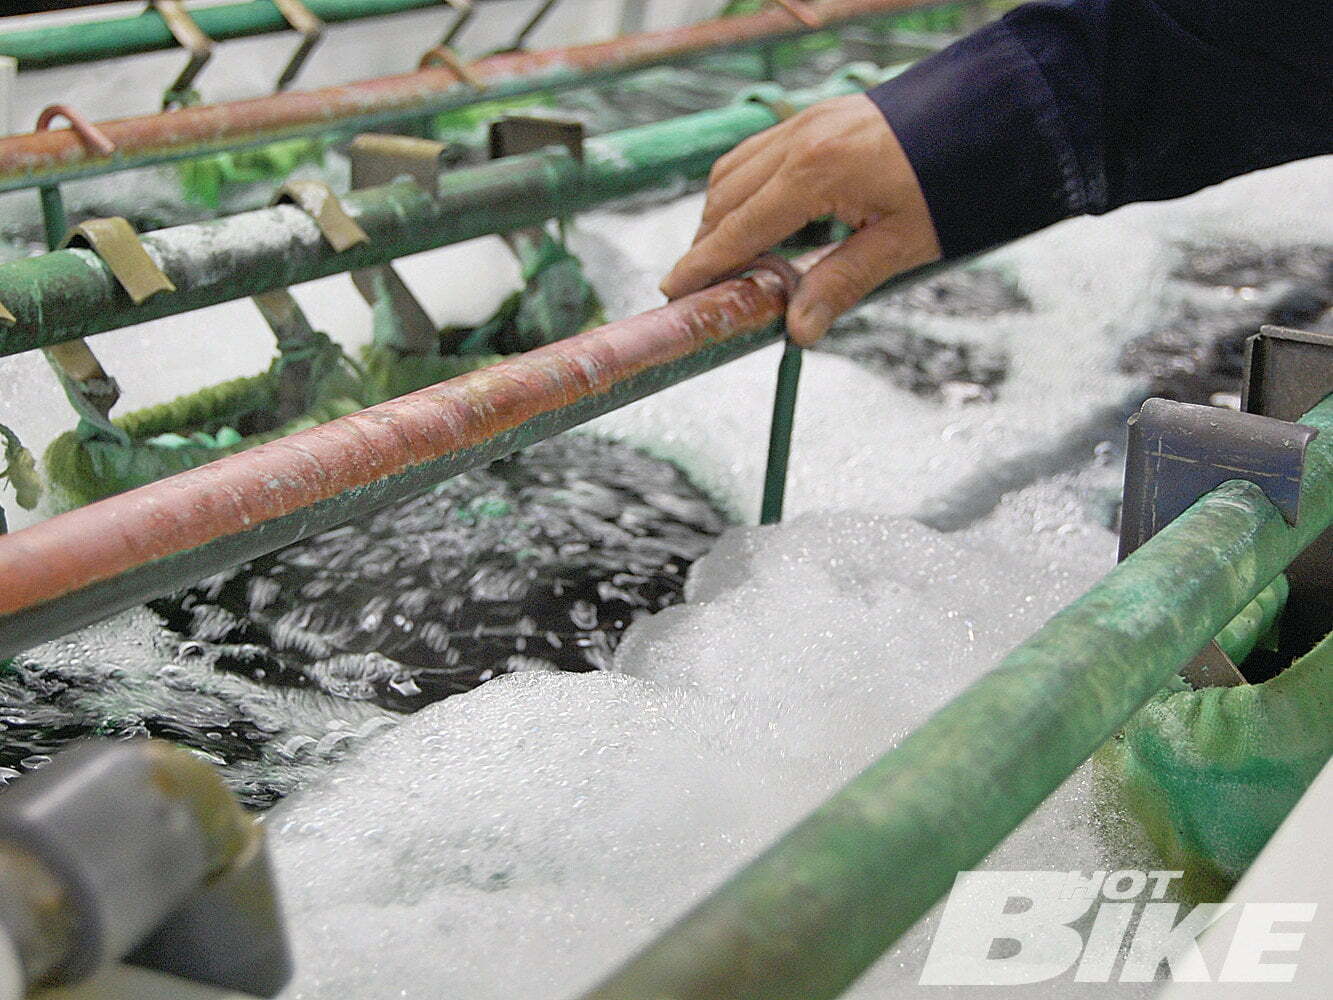
The first step is a dip in caustic soda that removes the old chrome.
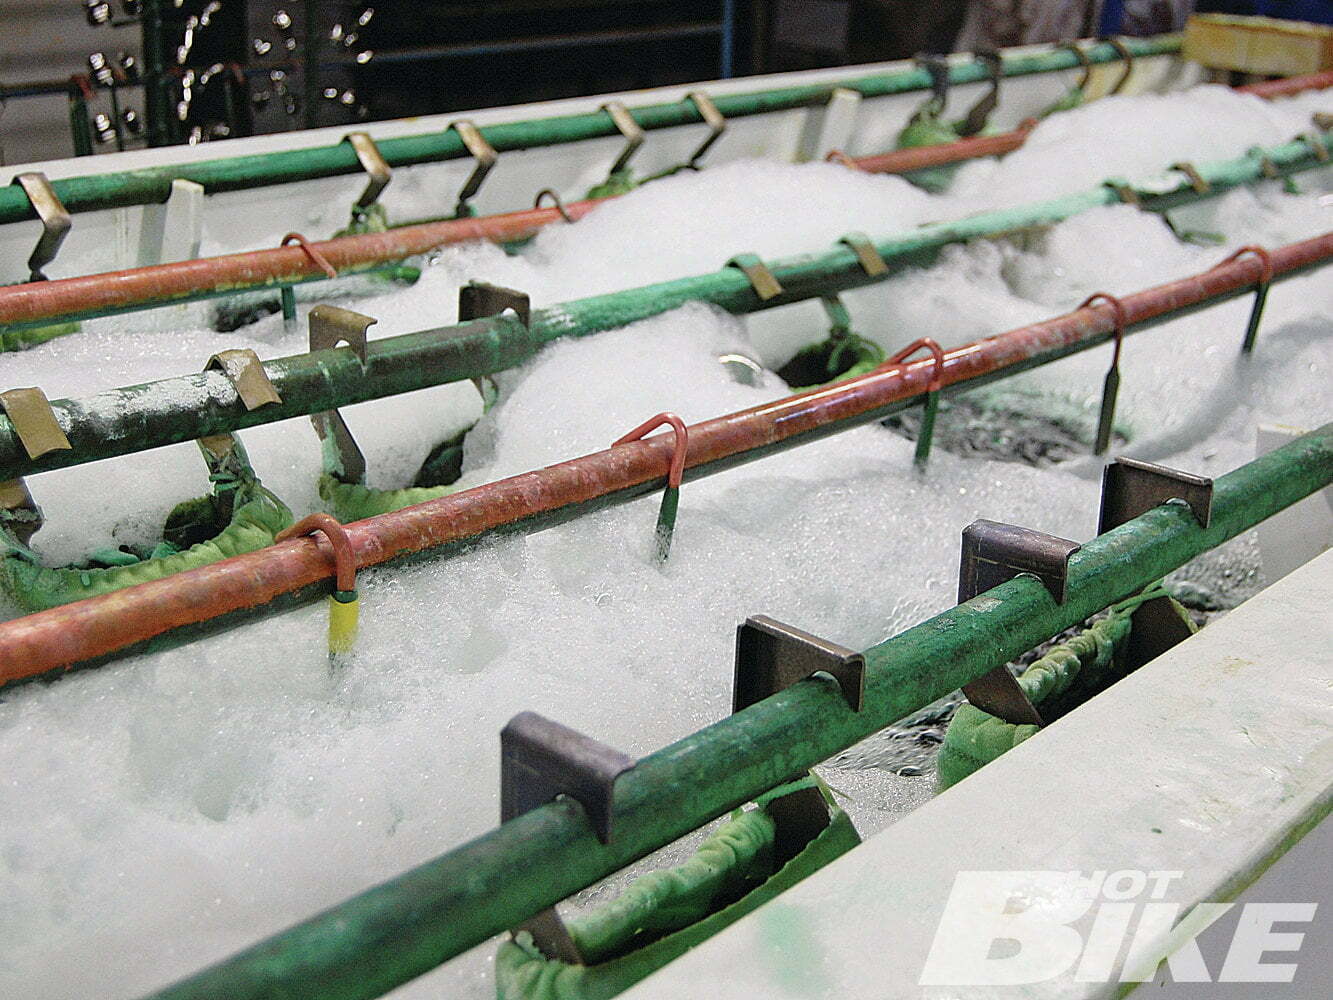
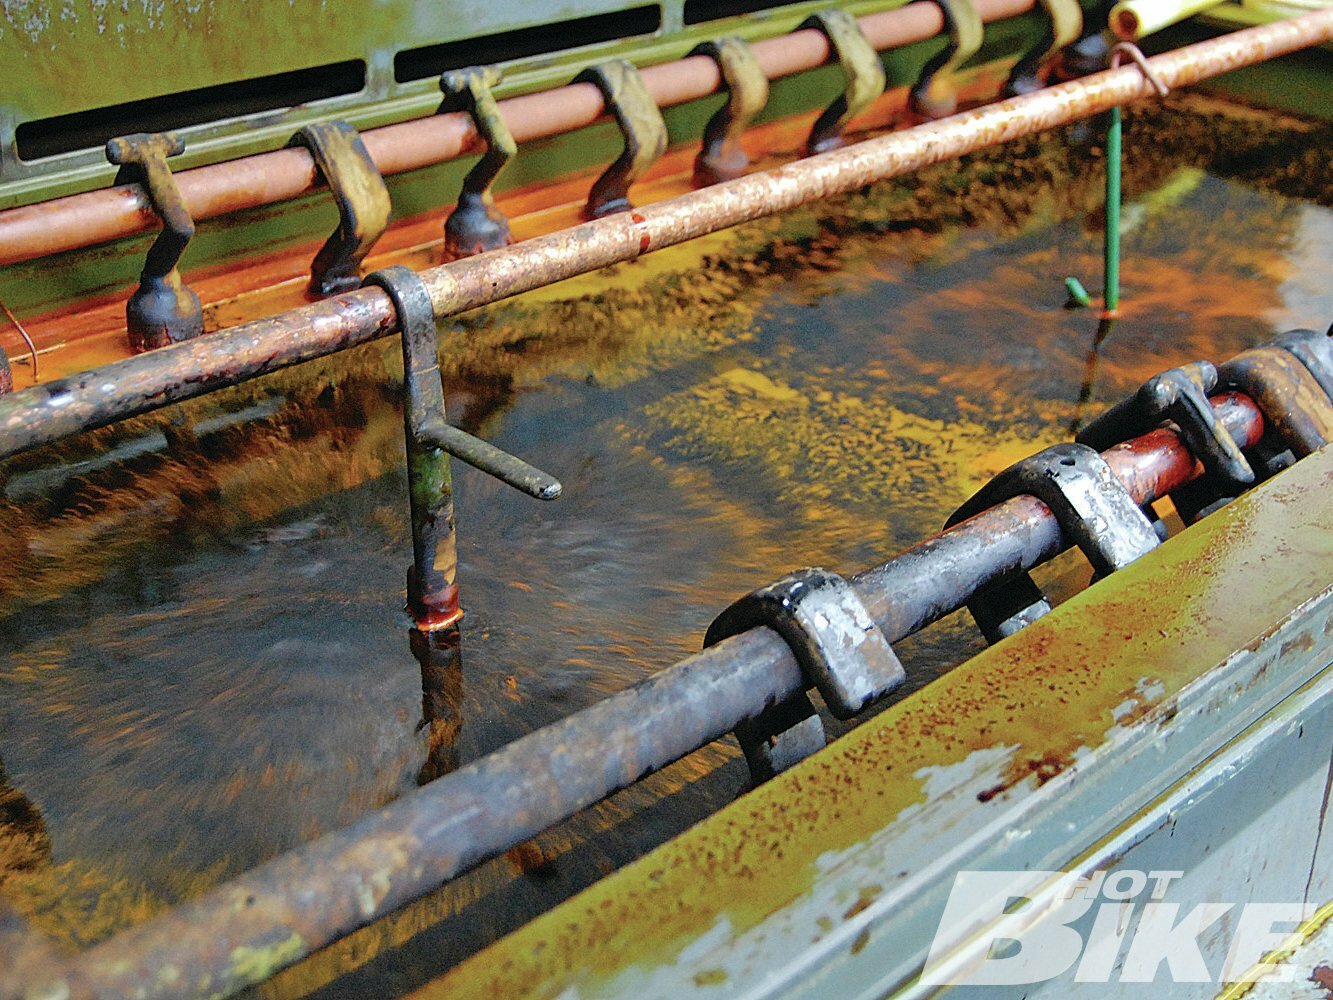
The parts are hung with copper hooks and electrified. Bubbles indicate a reaction.

Aluminum parts require a nitric acid wash that will remove nickel and copper metals.
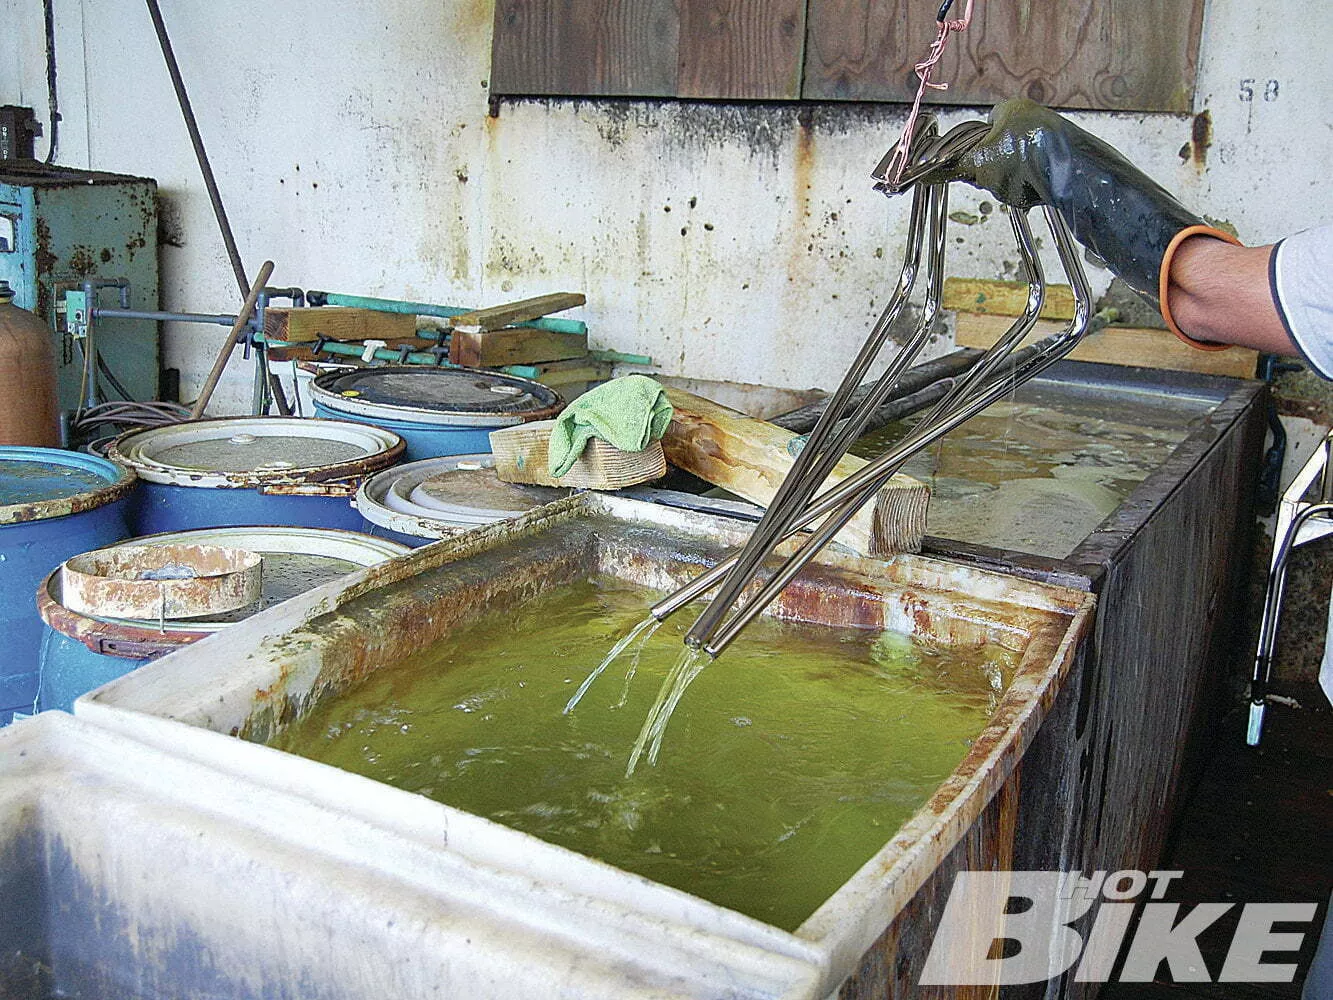
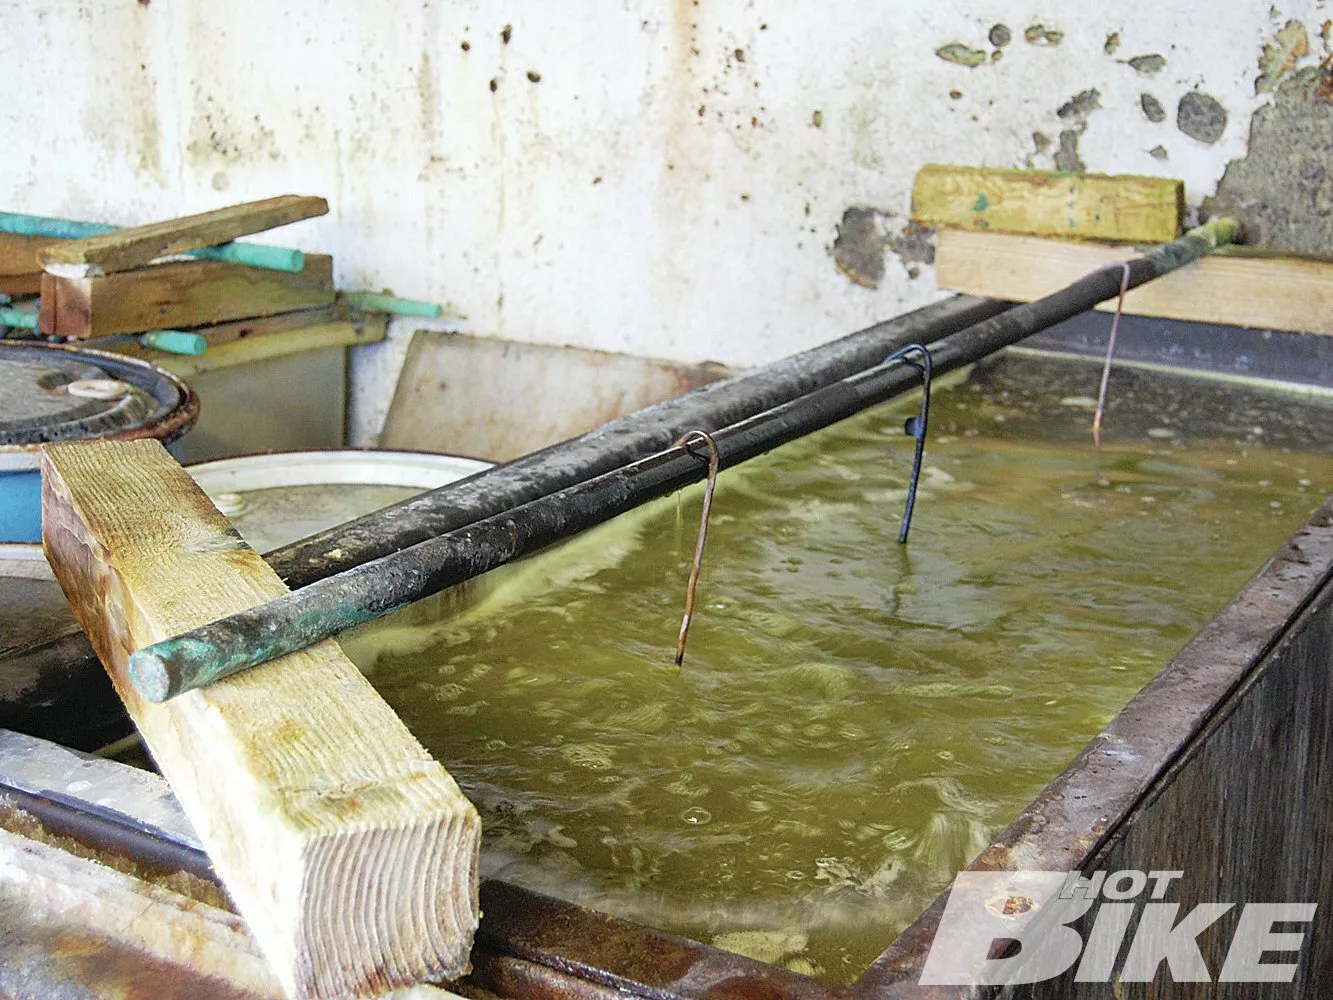
Next the parts move to a diluted acid rinse.
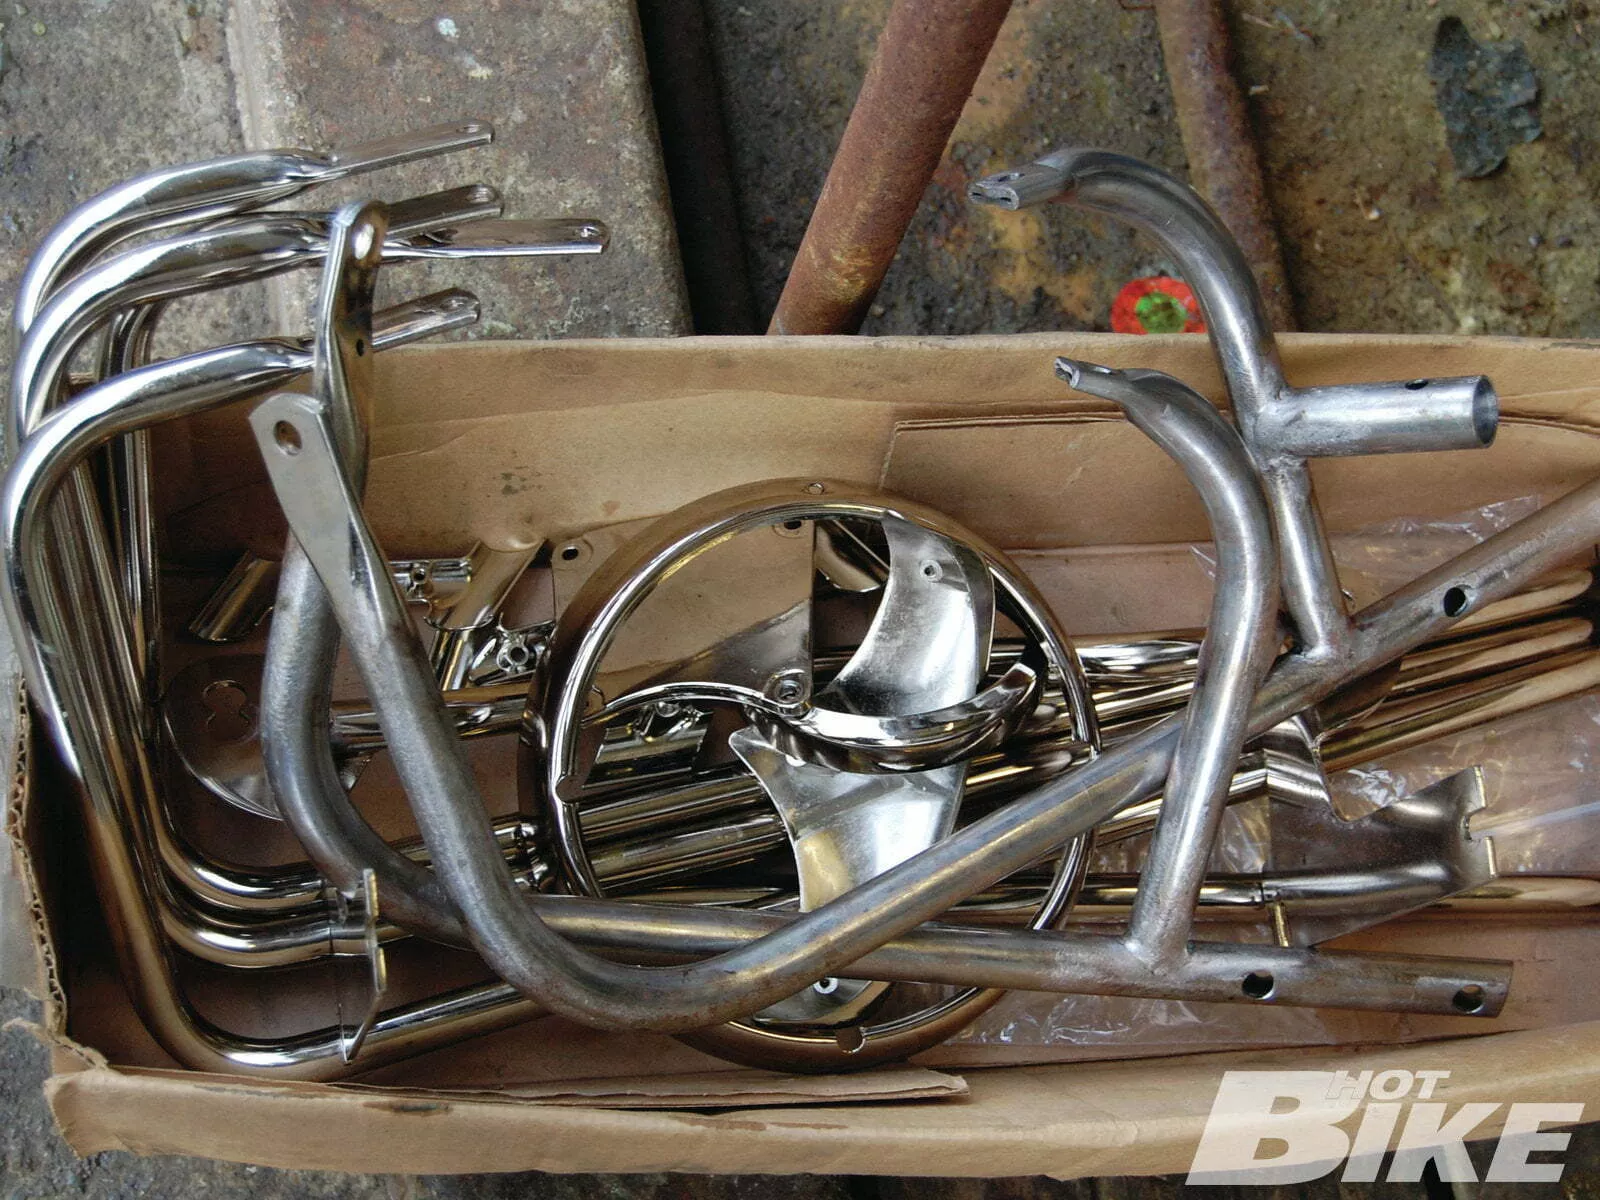
These parts are fresh out of a chemical strip and are ready for polish
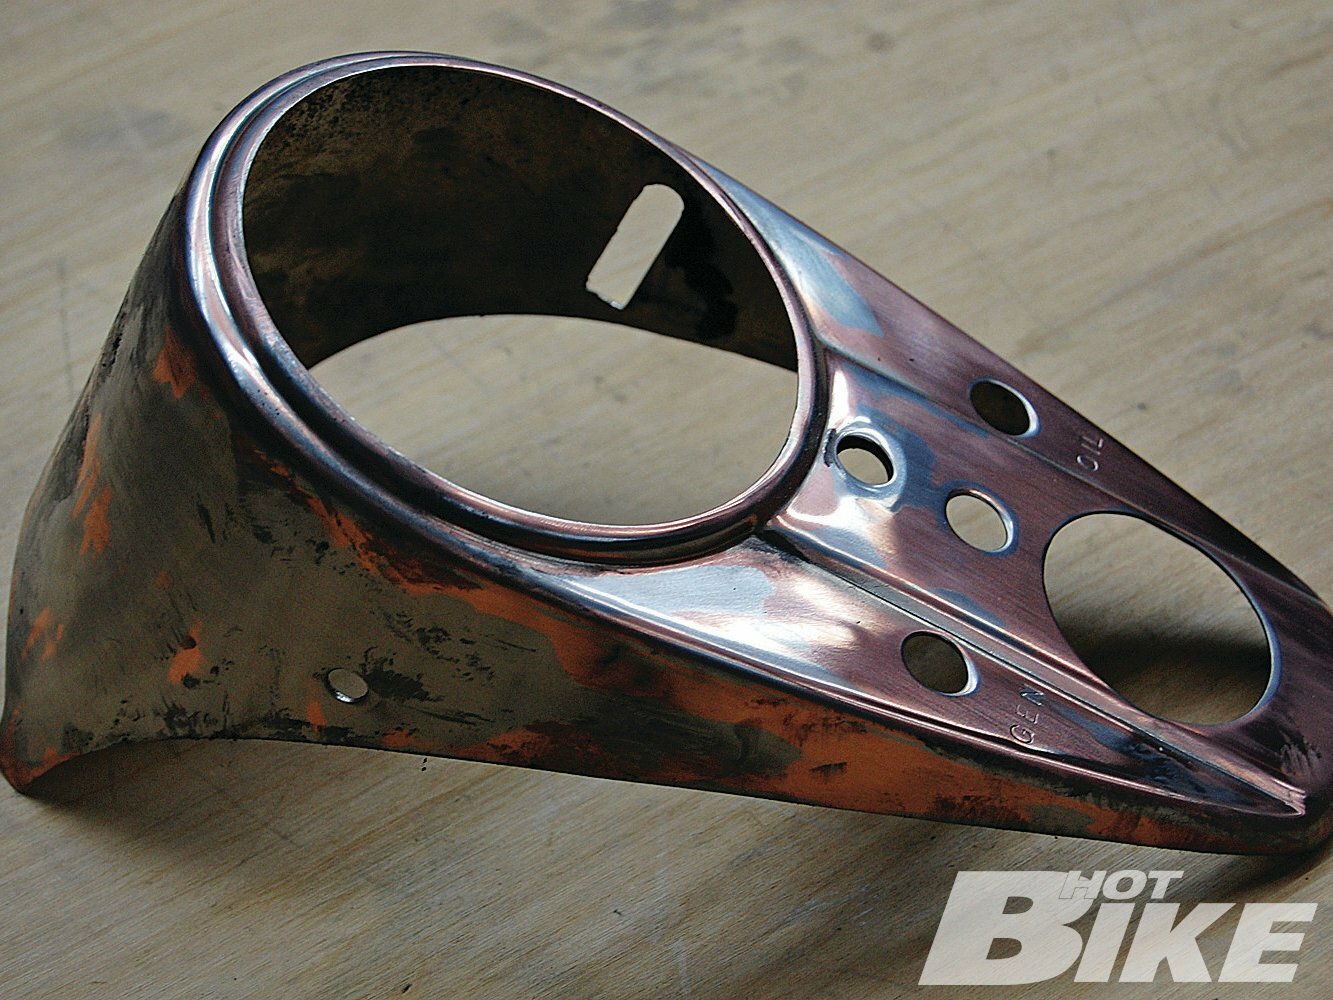
Our dash was buffed with a fine-grade belt to remove nickel, then polished and buffed
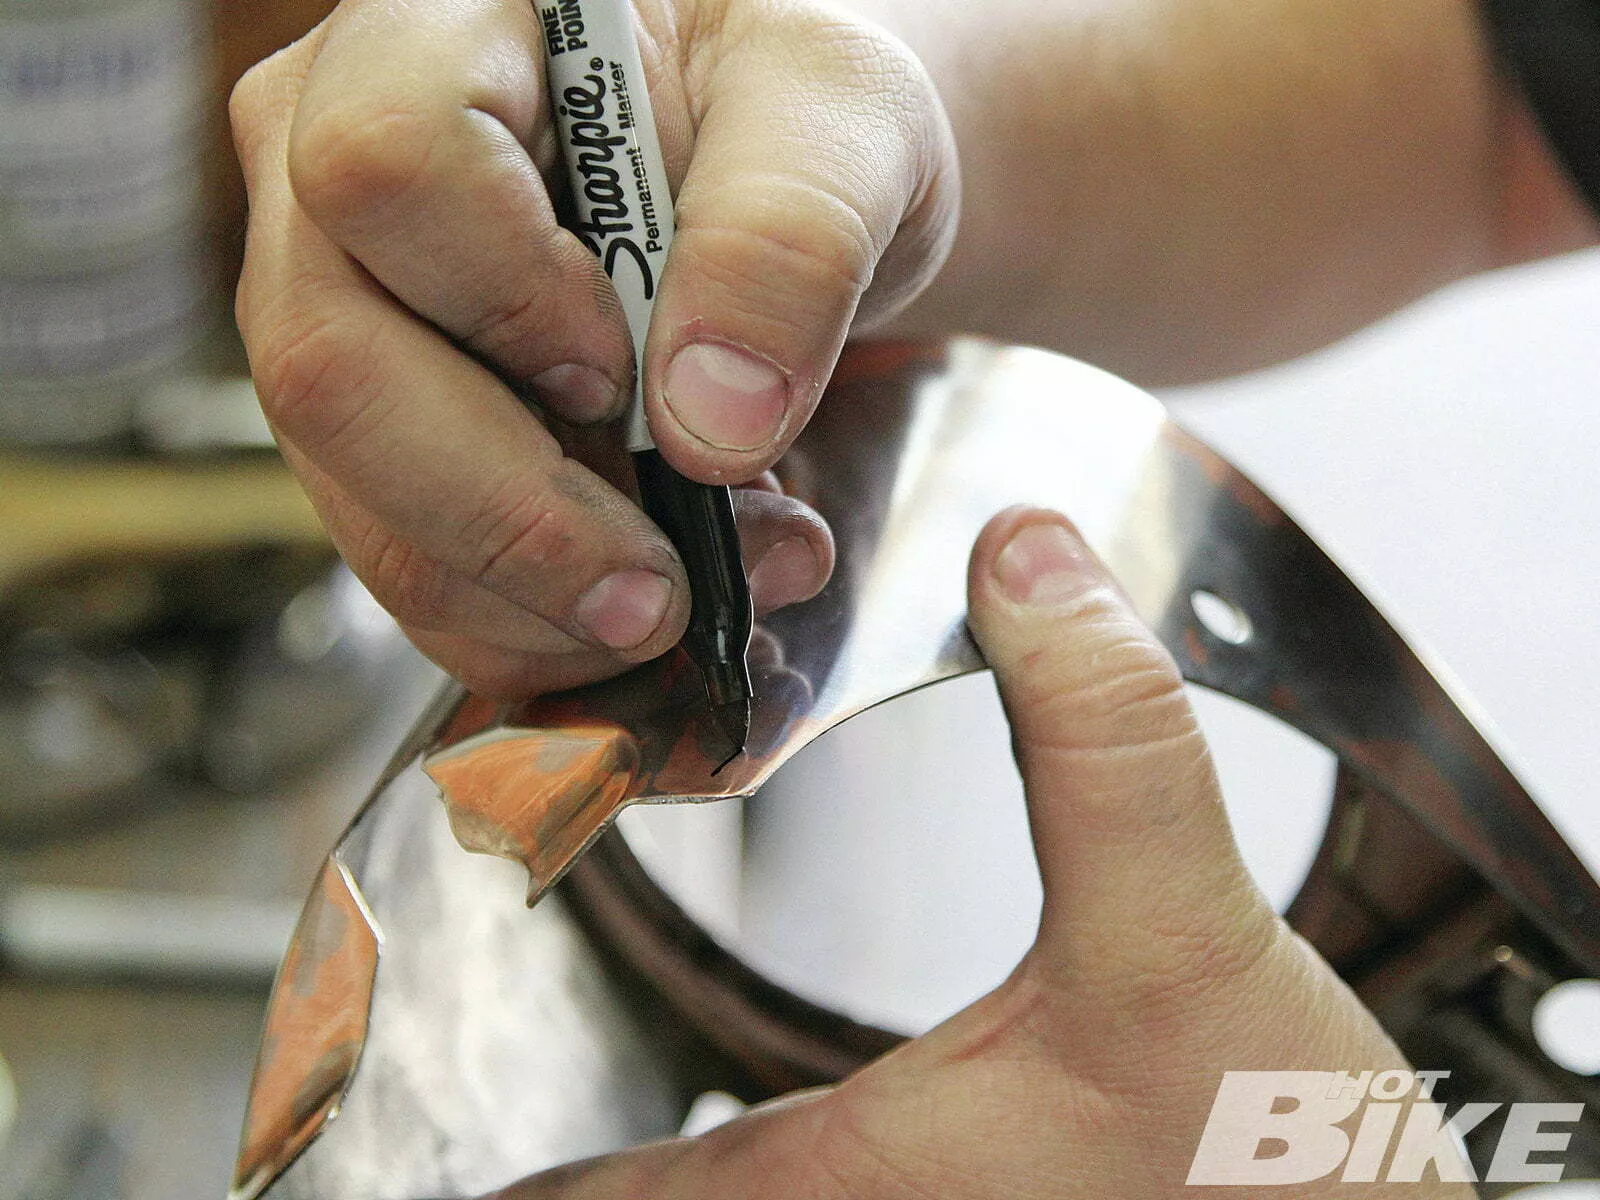
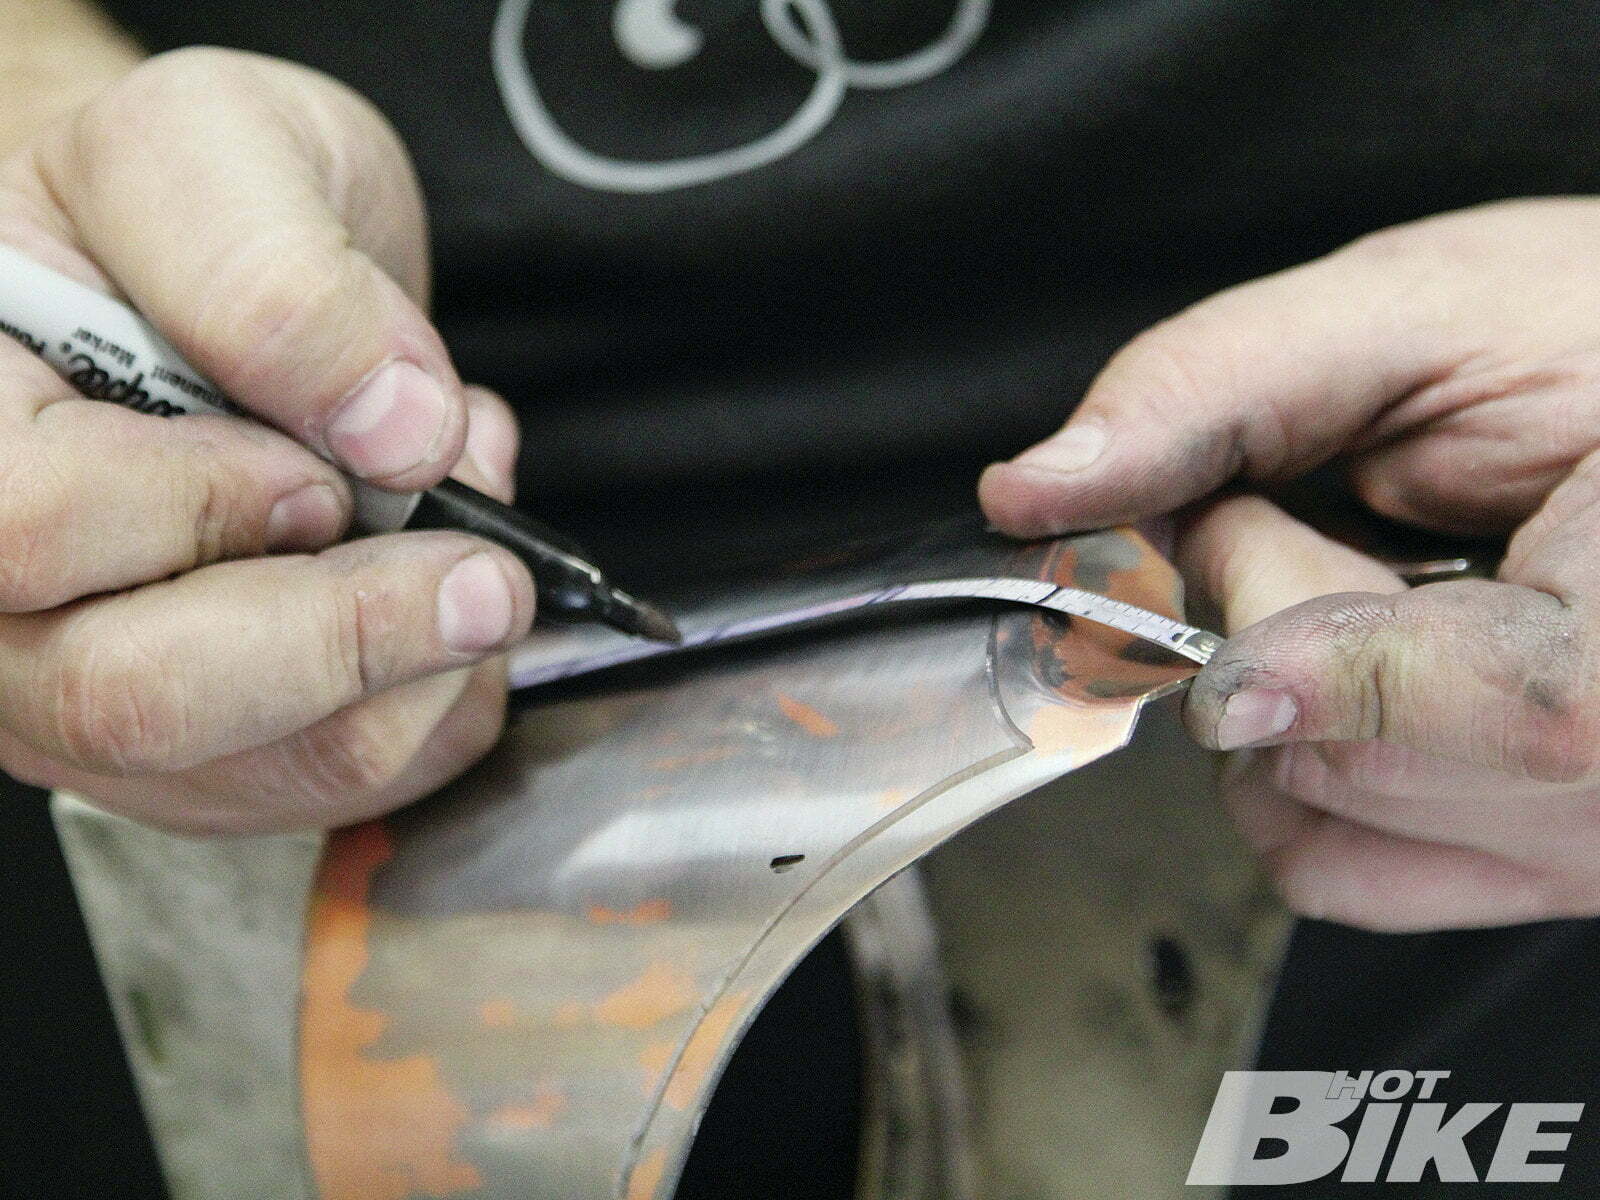
Off to Hernan. He uses a sharpie to mark a boarder around the dash.
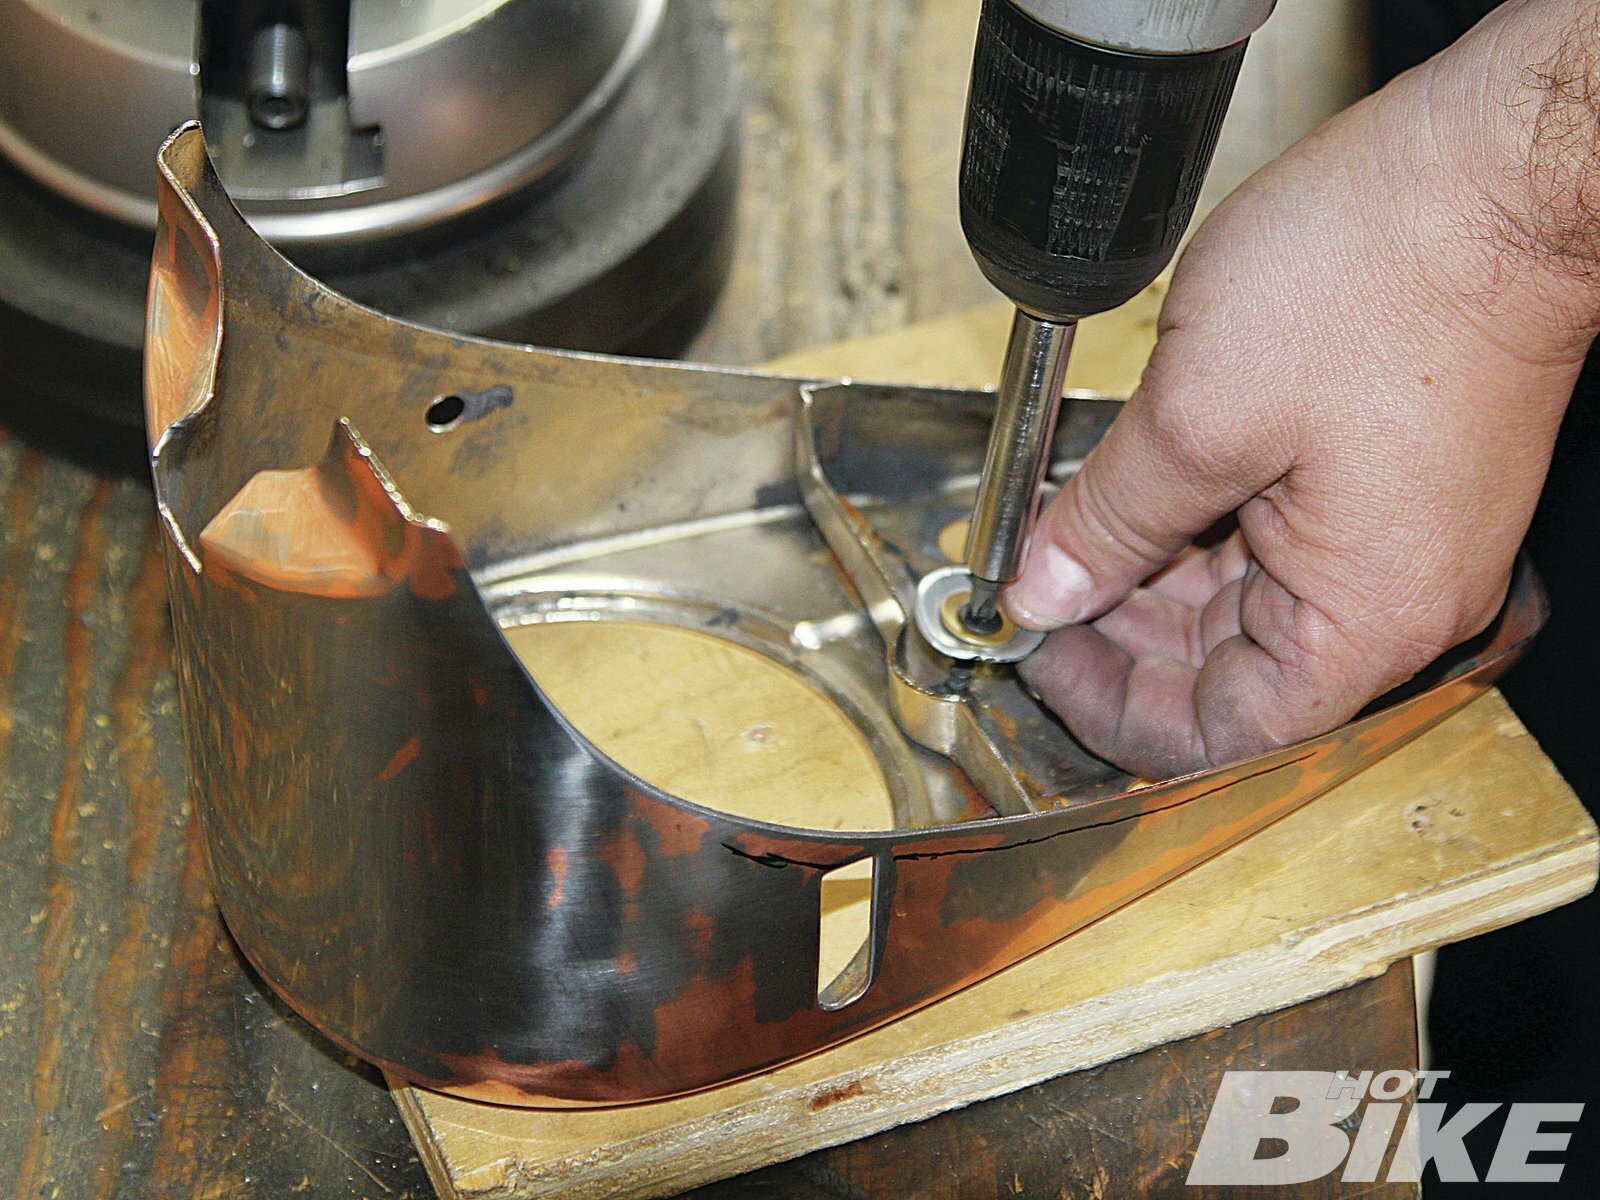
Next the dash is bolted to a piece of wood for easier handling.
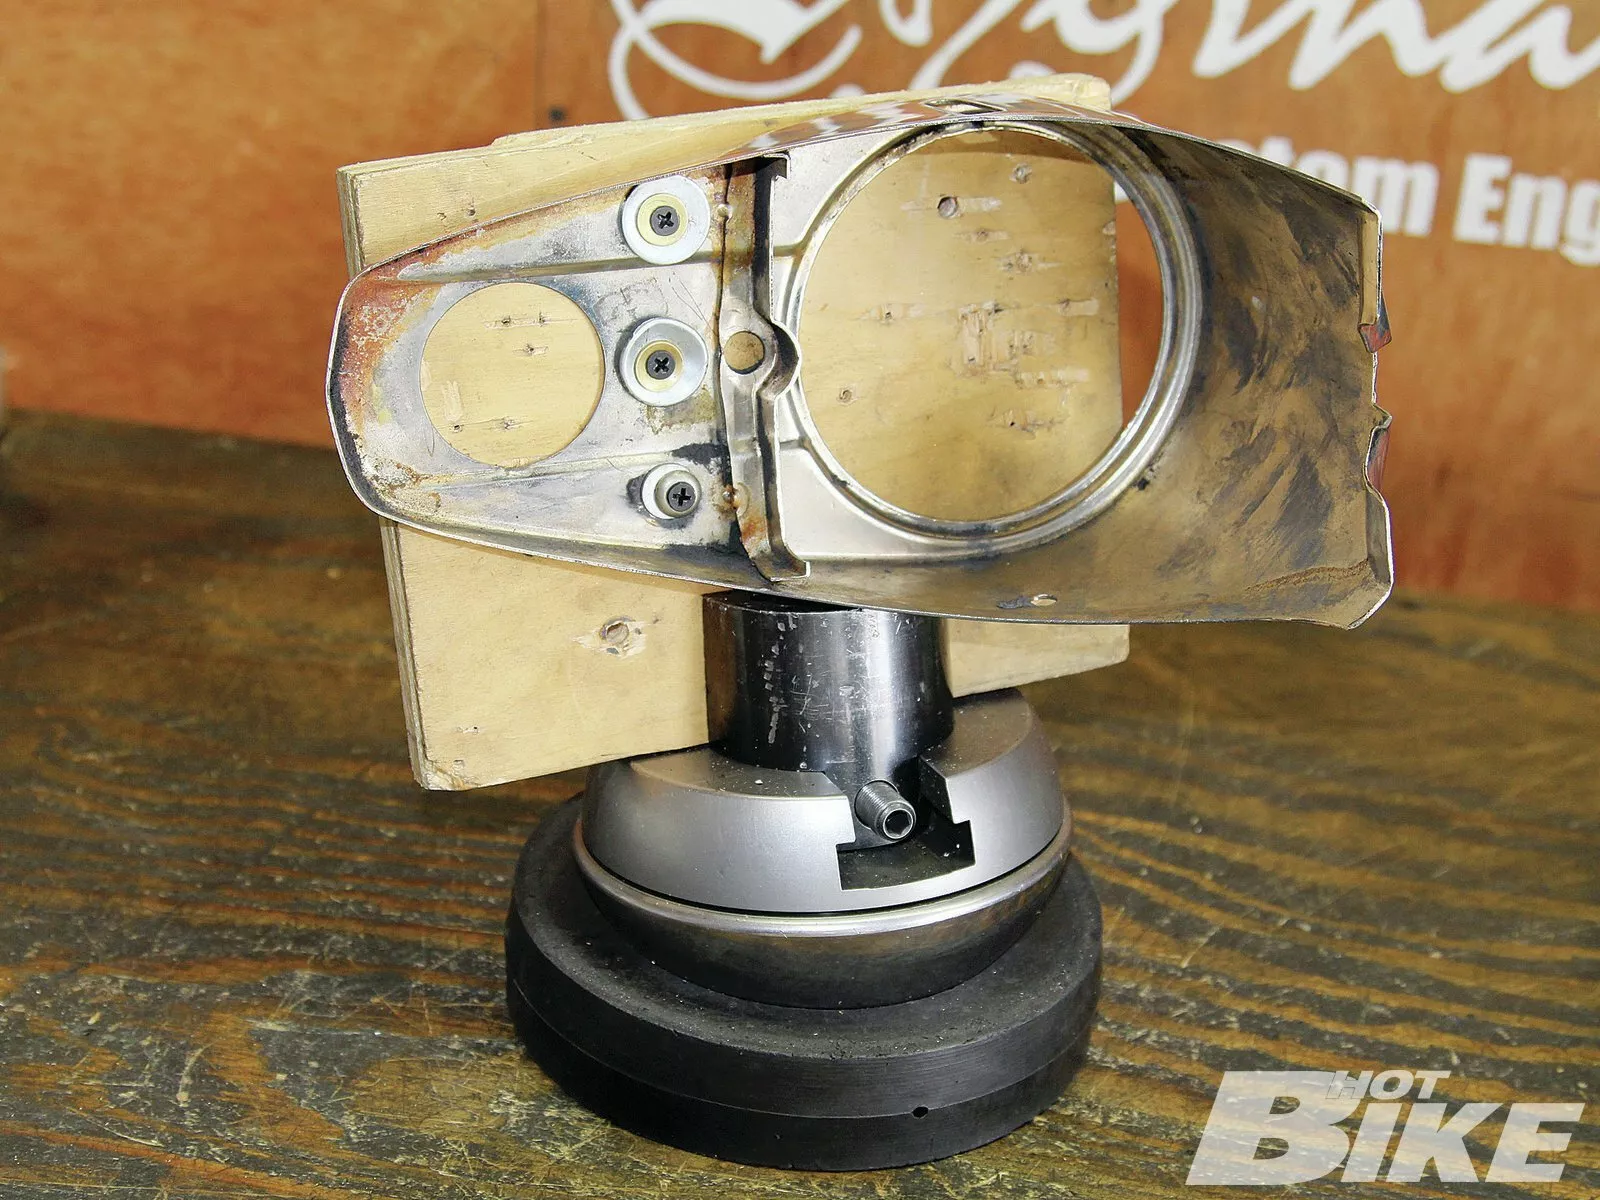
A special clamp designed for jewelry allows for a smooth and firm working vise.
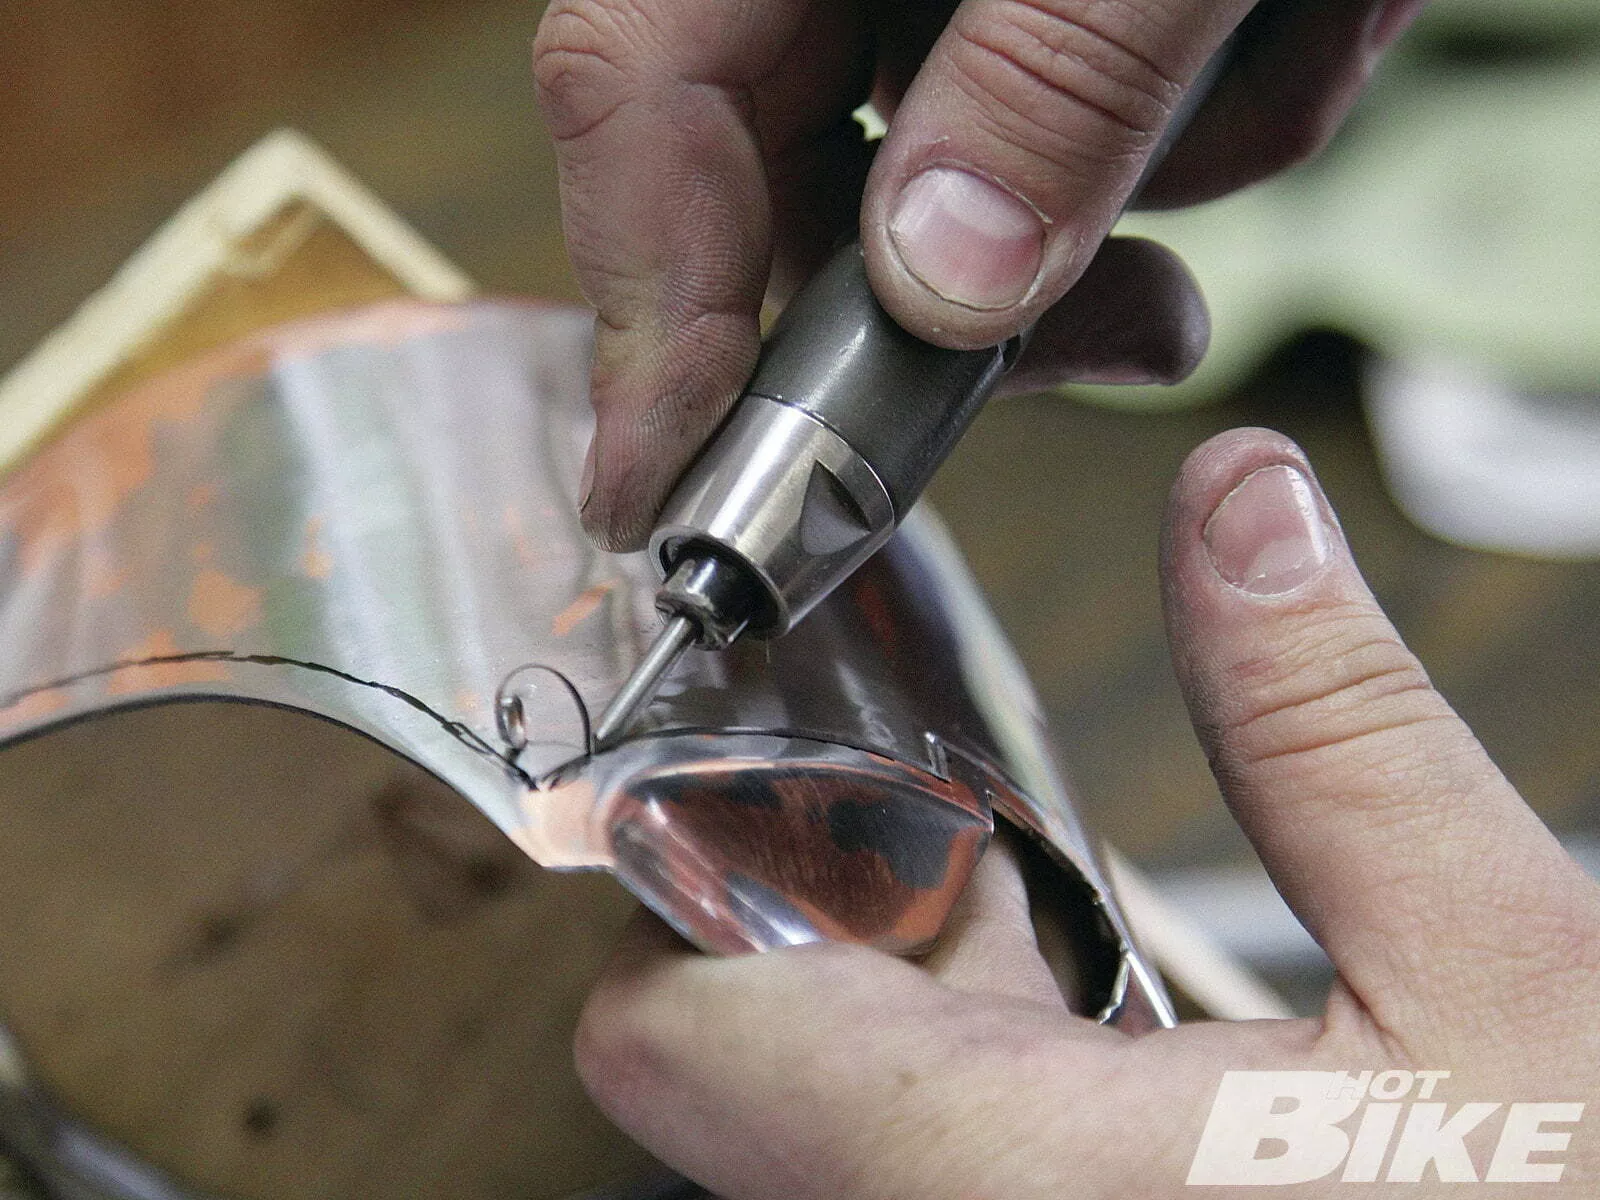
The outline is cut first.
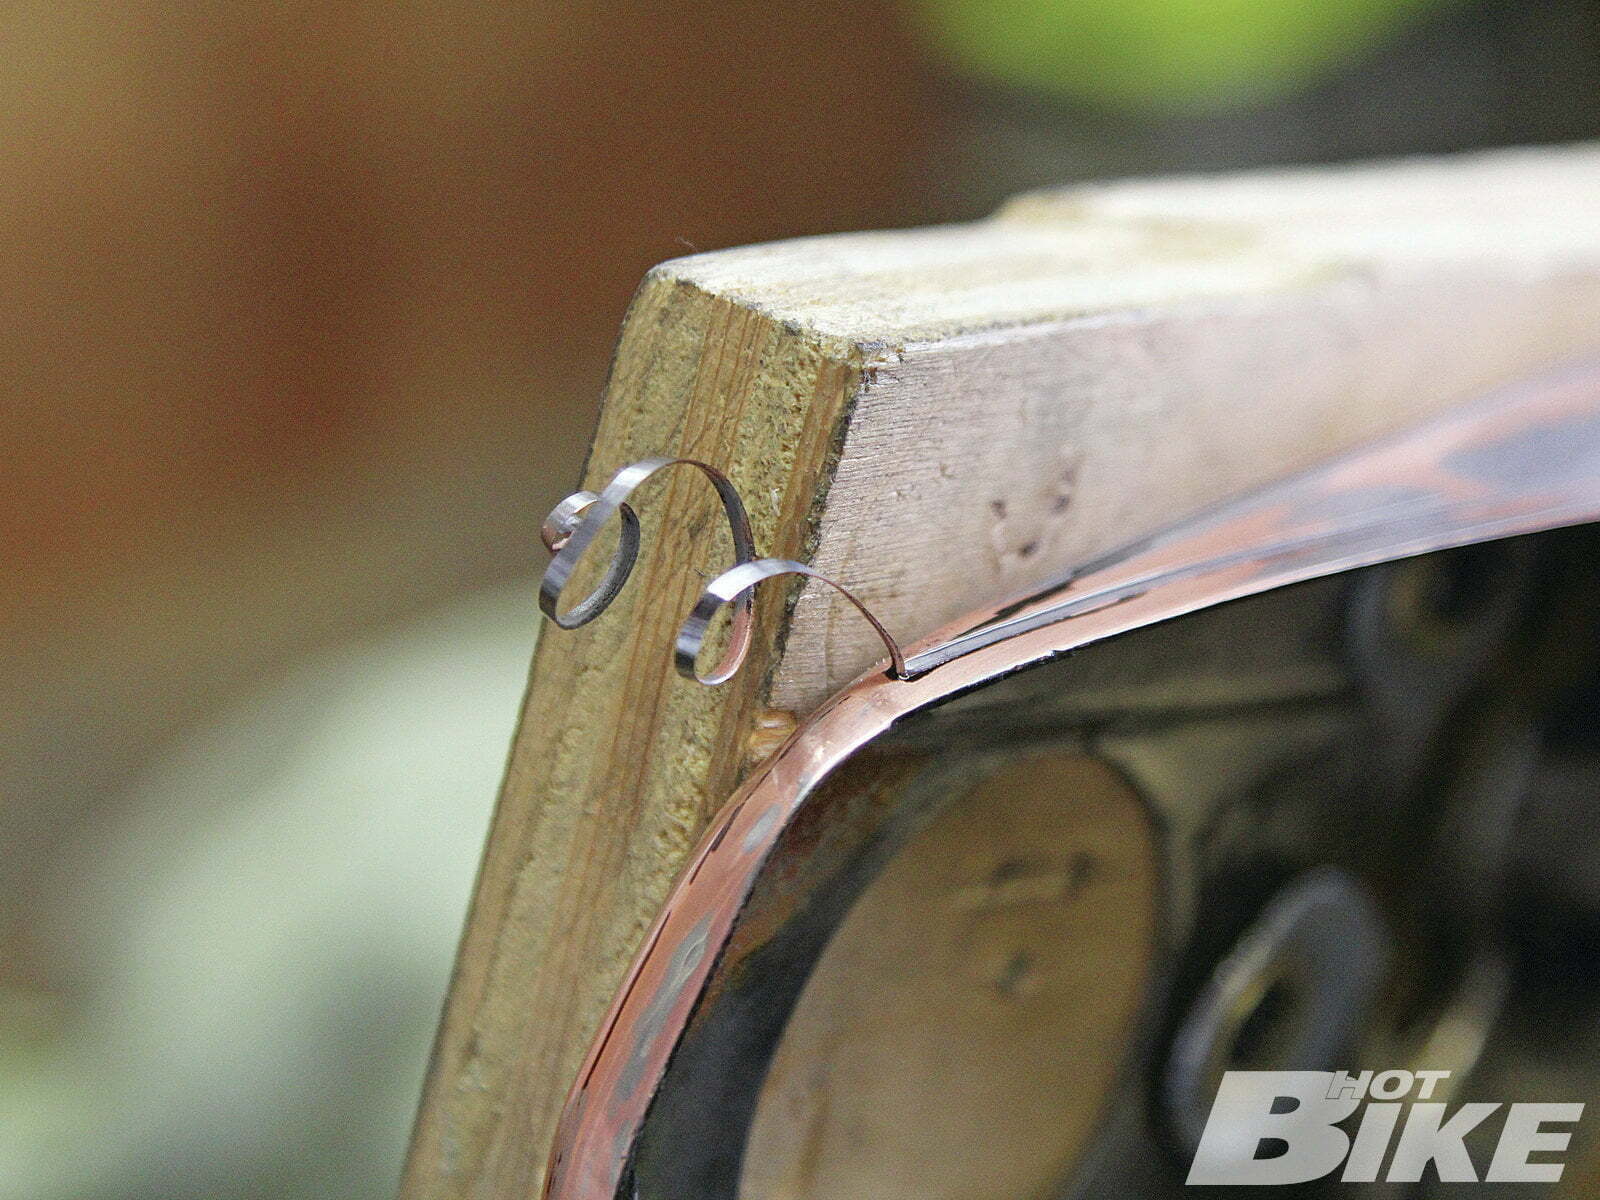
Long curls are a sign of true talent and a steady hand.
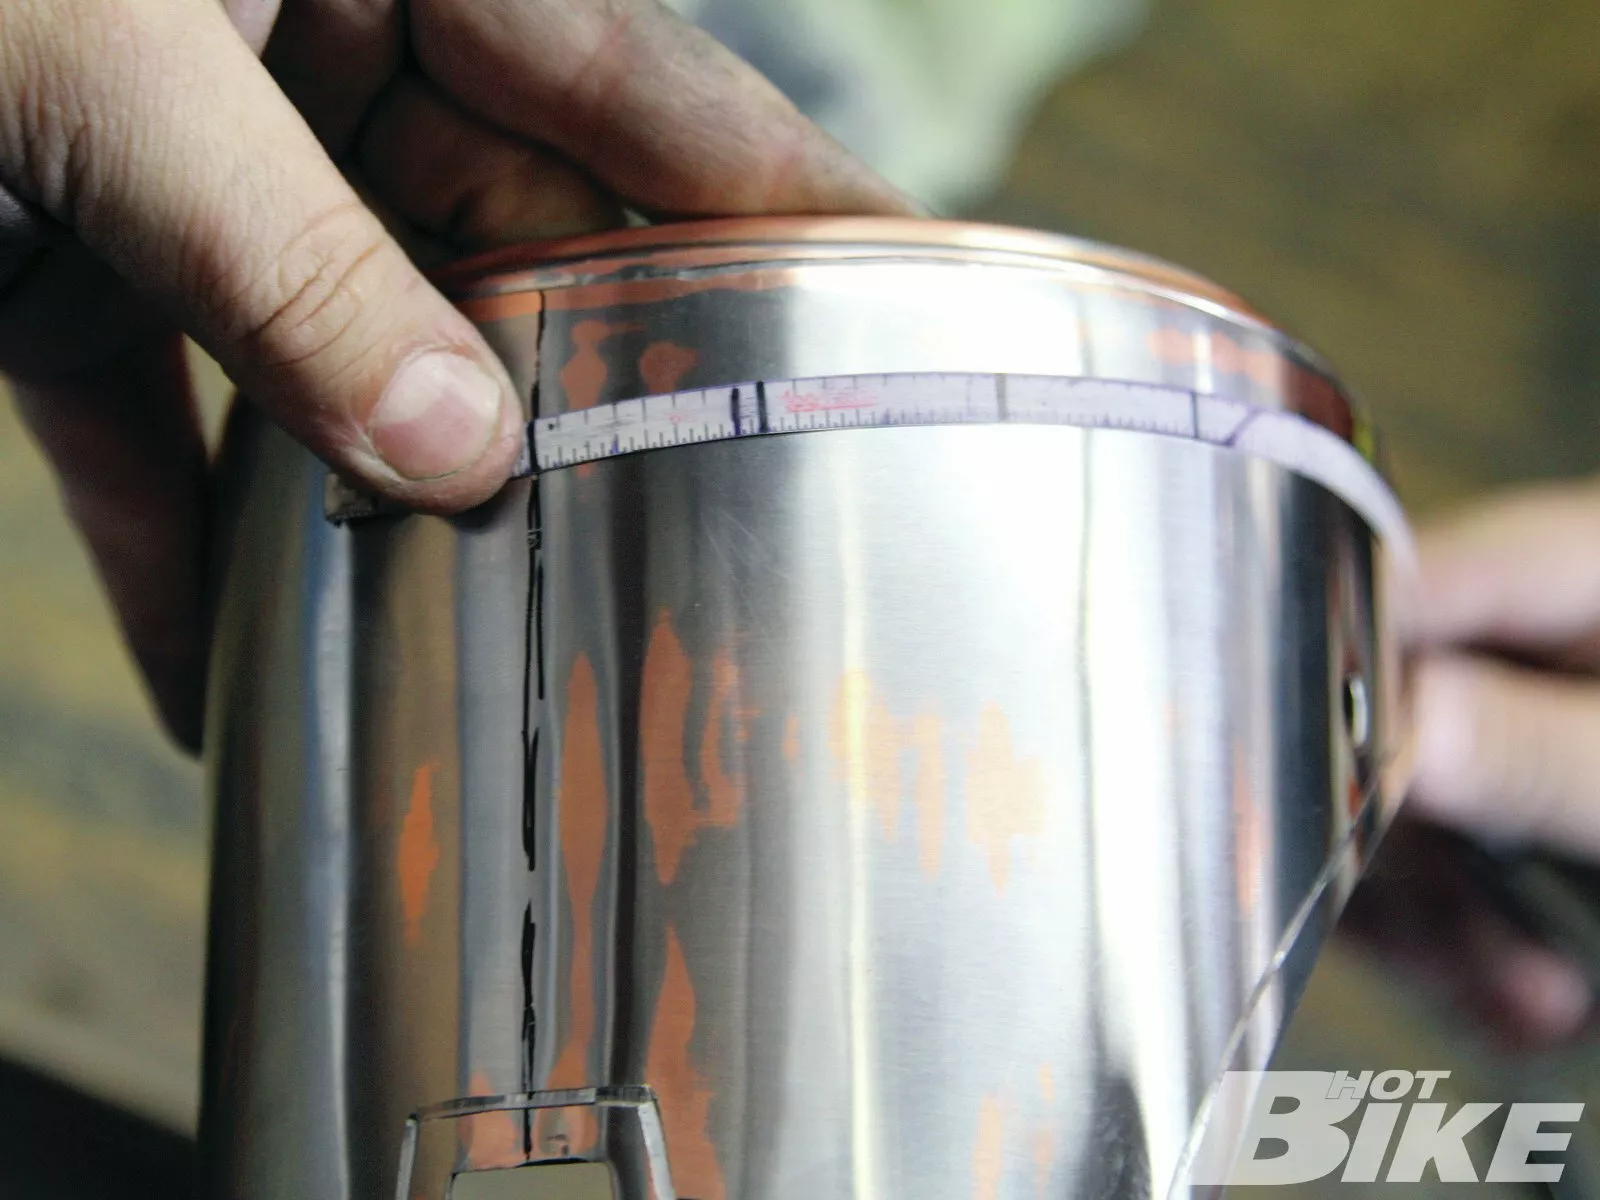
Next the dash is measured to ensure a symmetrical design.
The inner design is then drawn on.
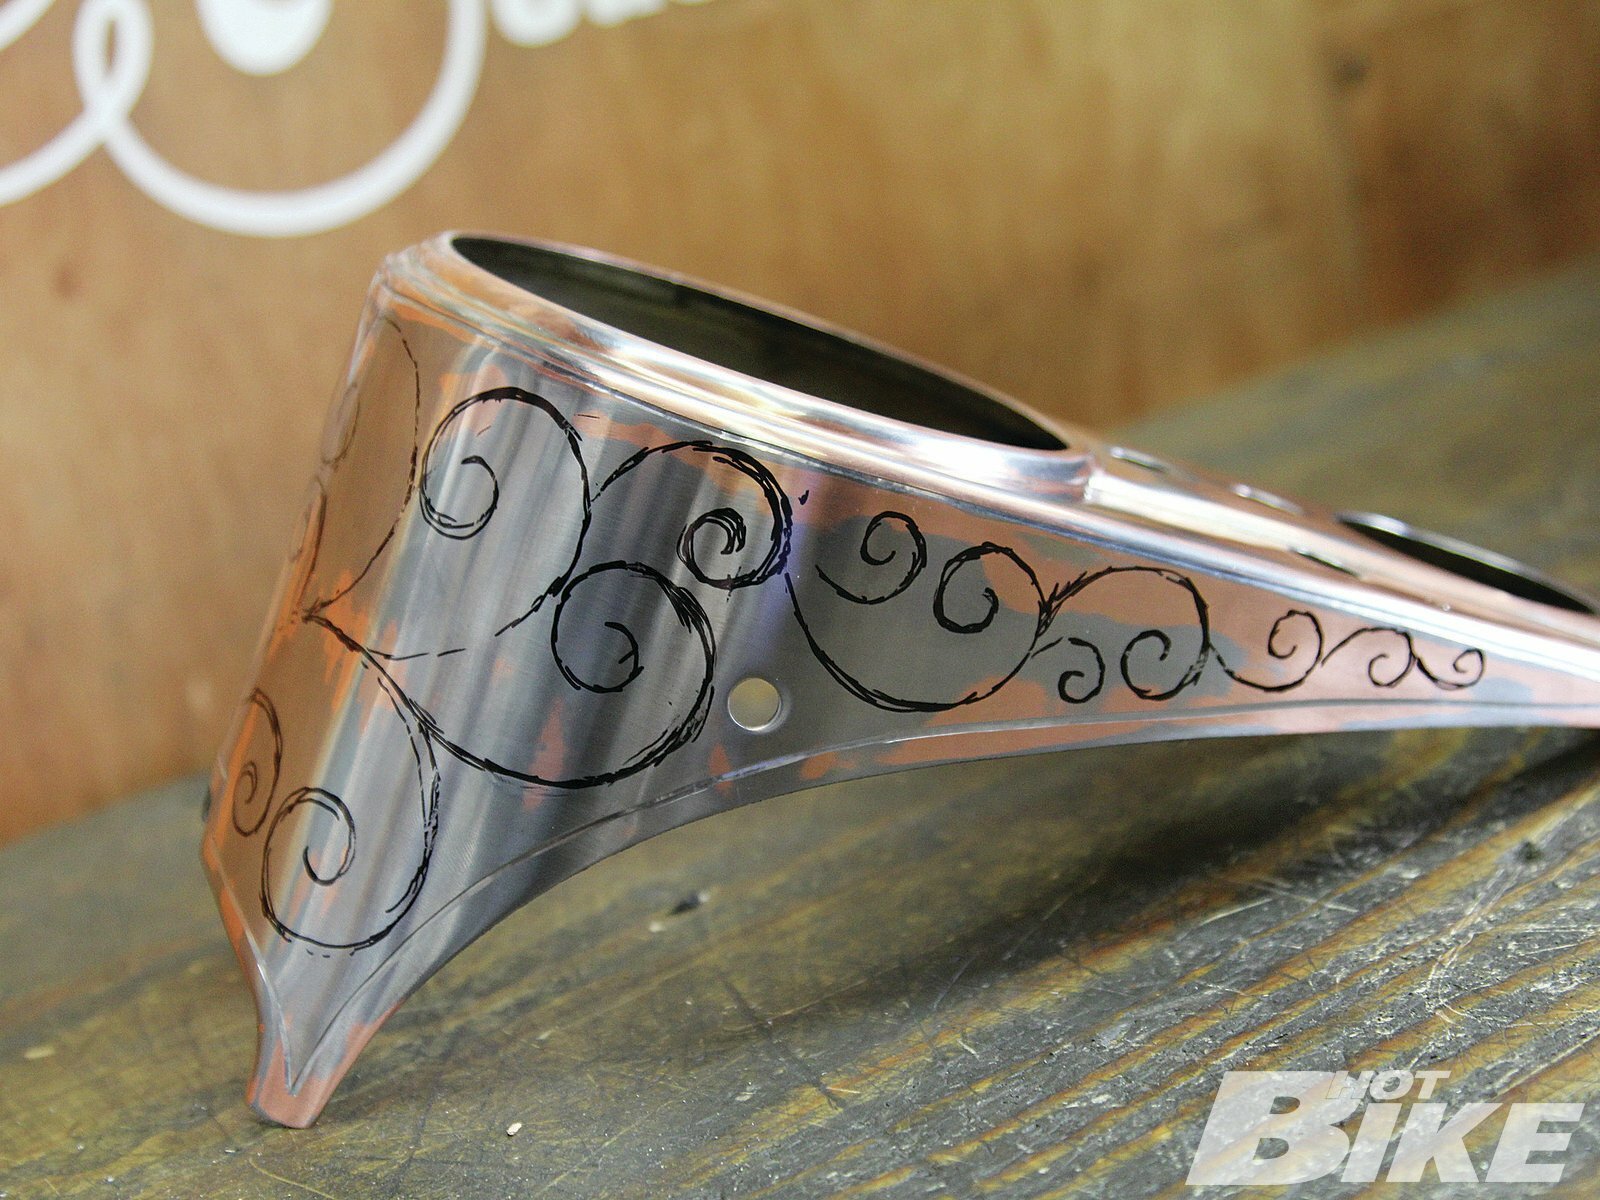
A rough design is drawn on. It’s used more as a template than an outline.

The curved front is especially difficult to engrave.
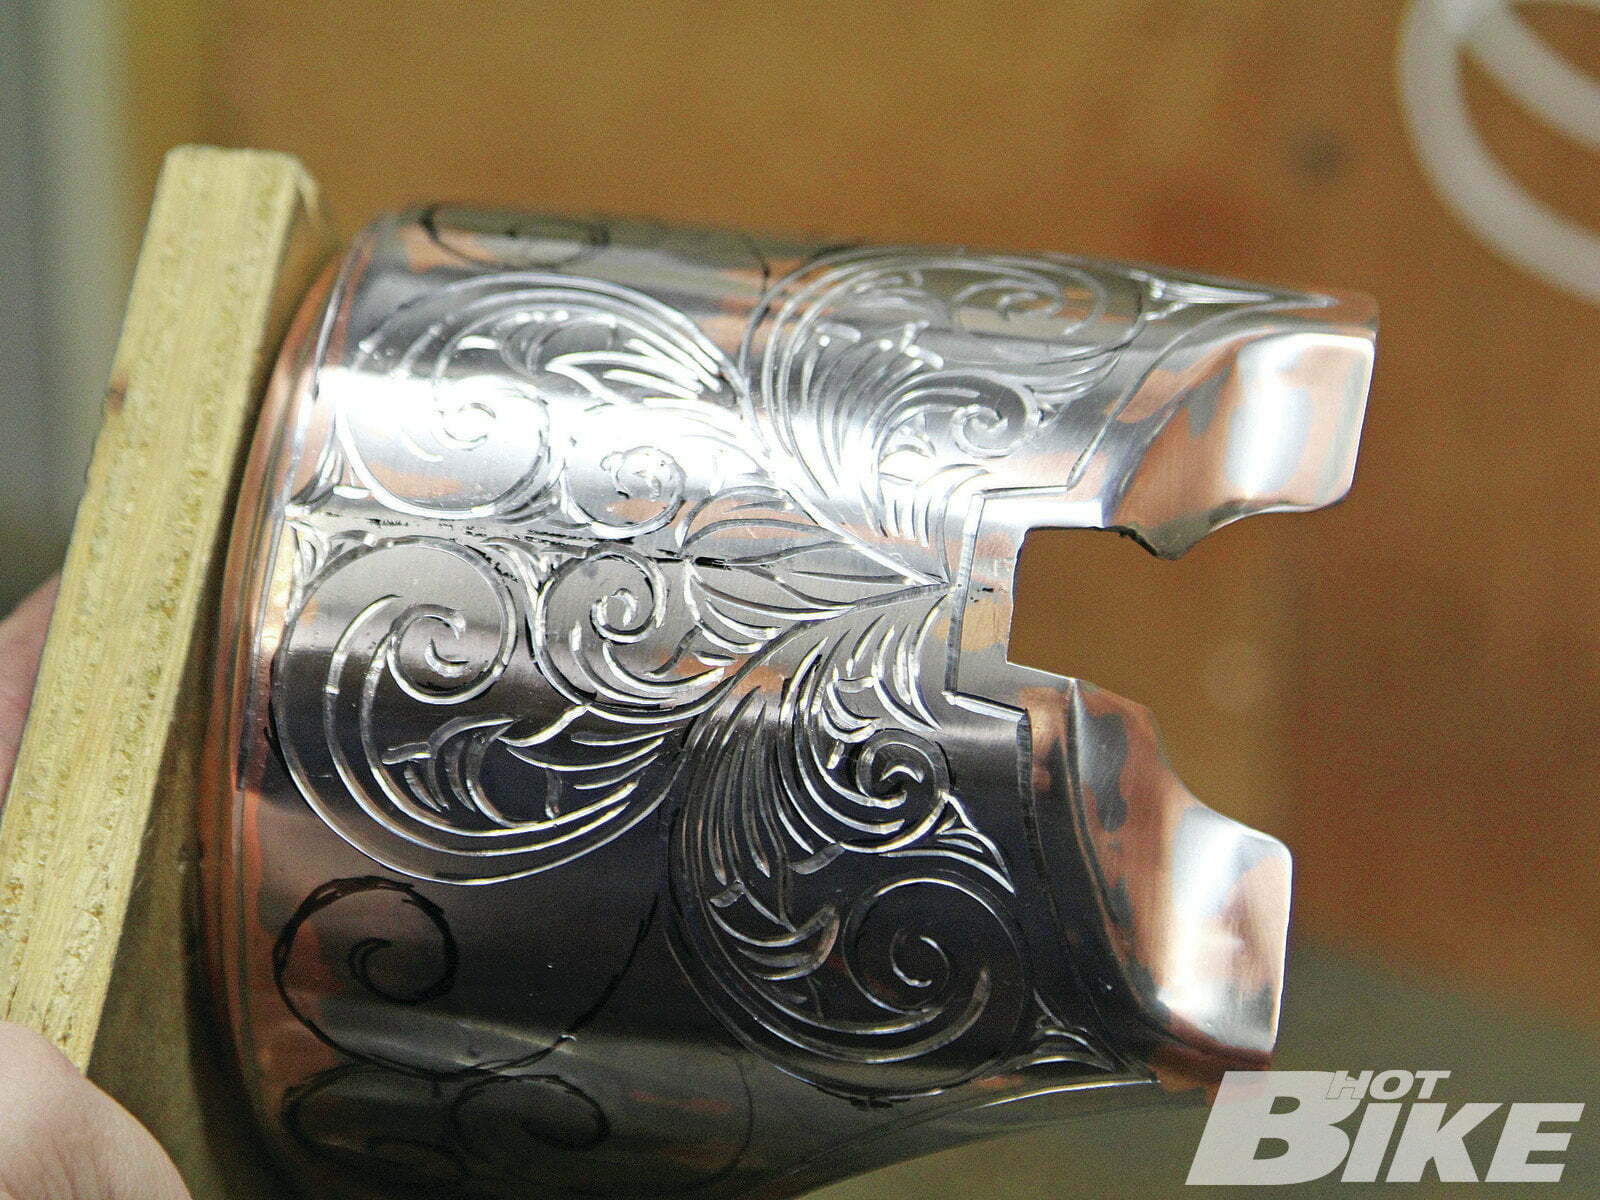
The sides are cut next. Hernan uses his art to come up with the design.

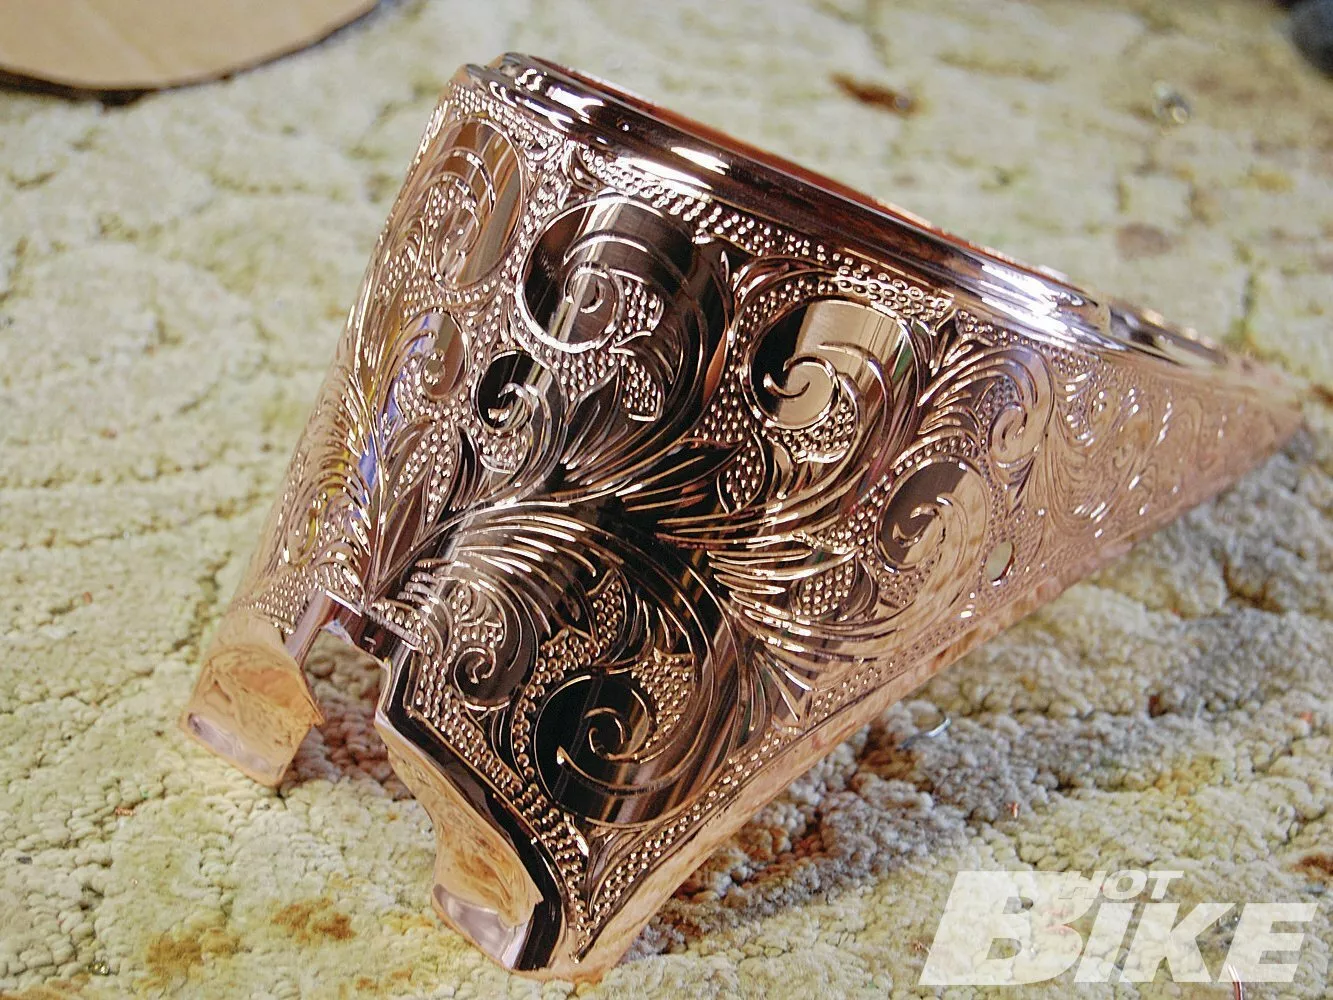
The design is all cut by hand and now ready for filler.
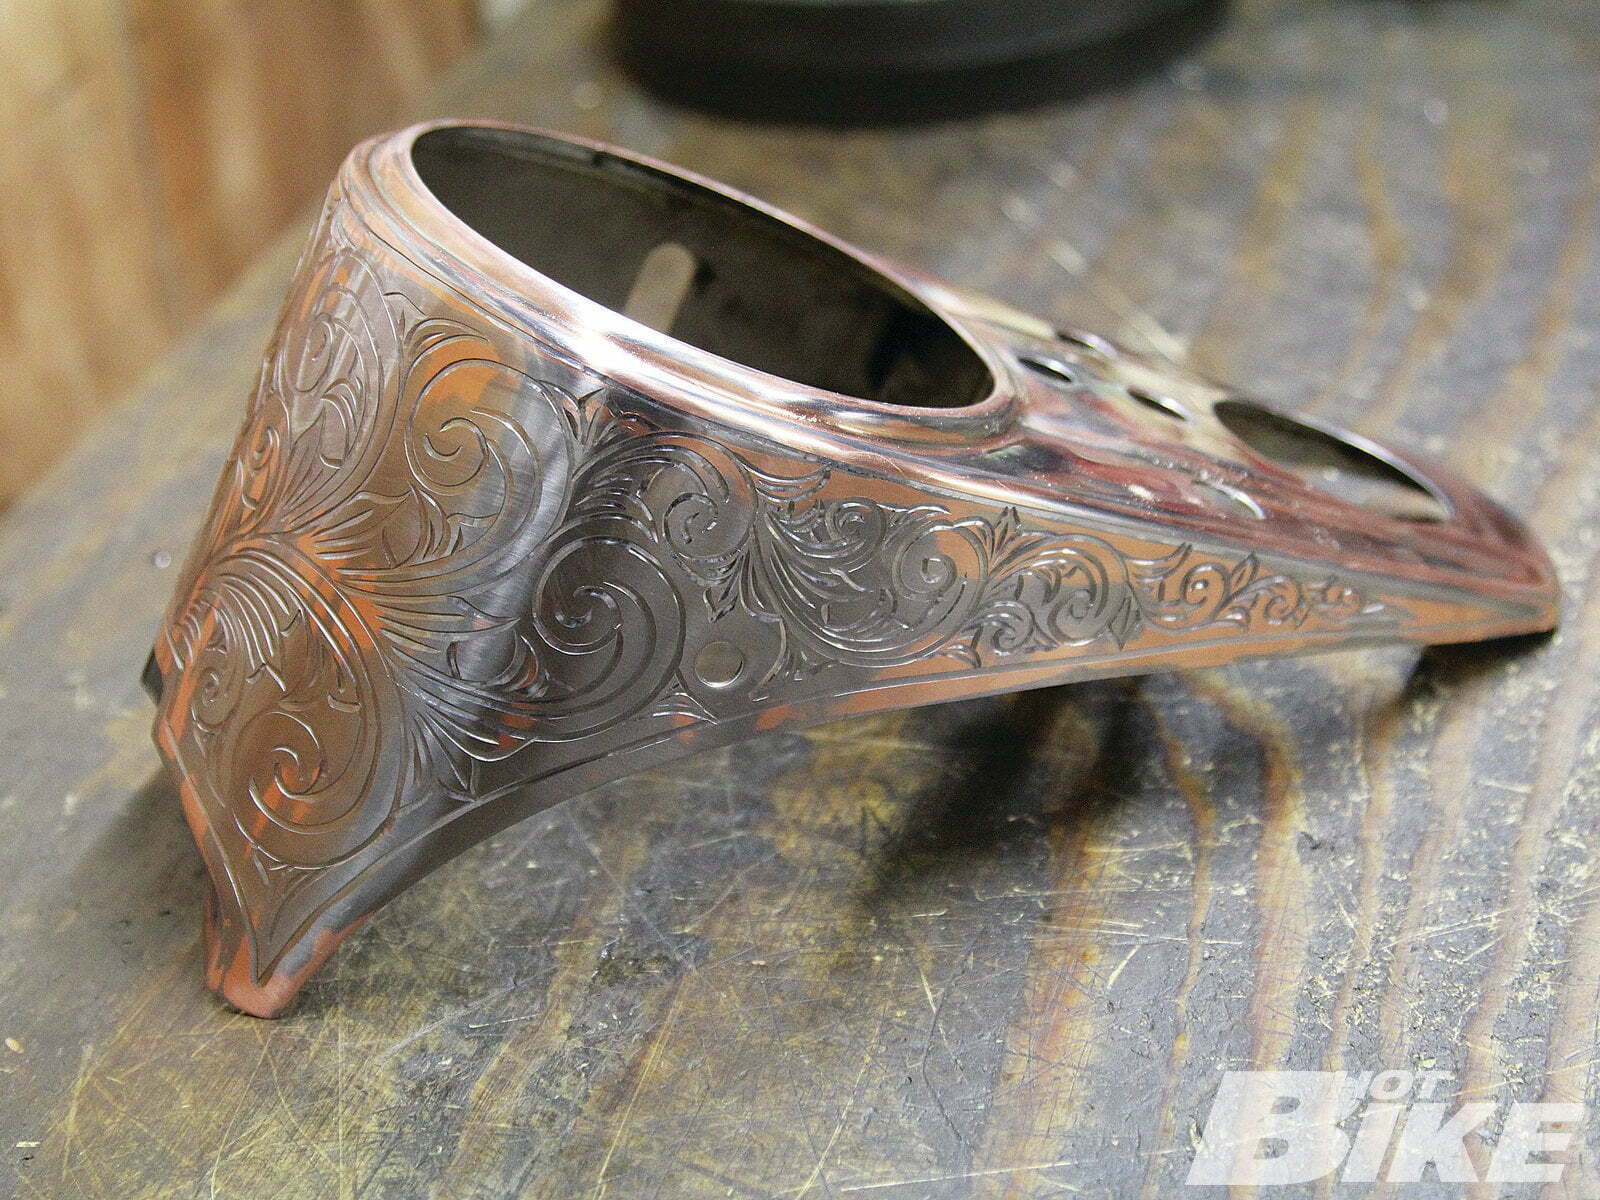
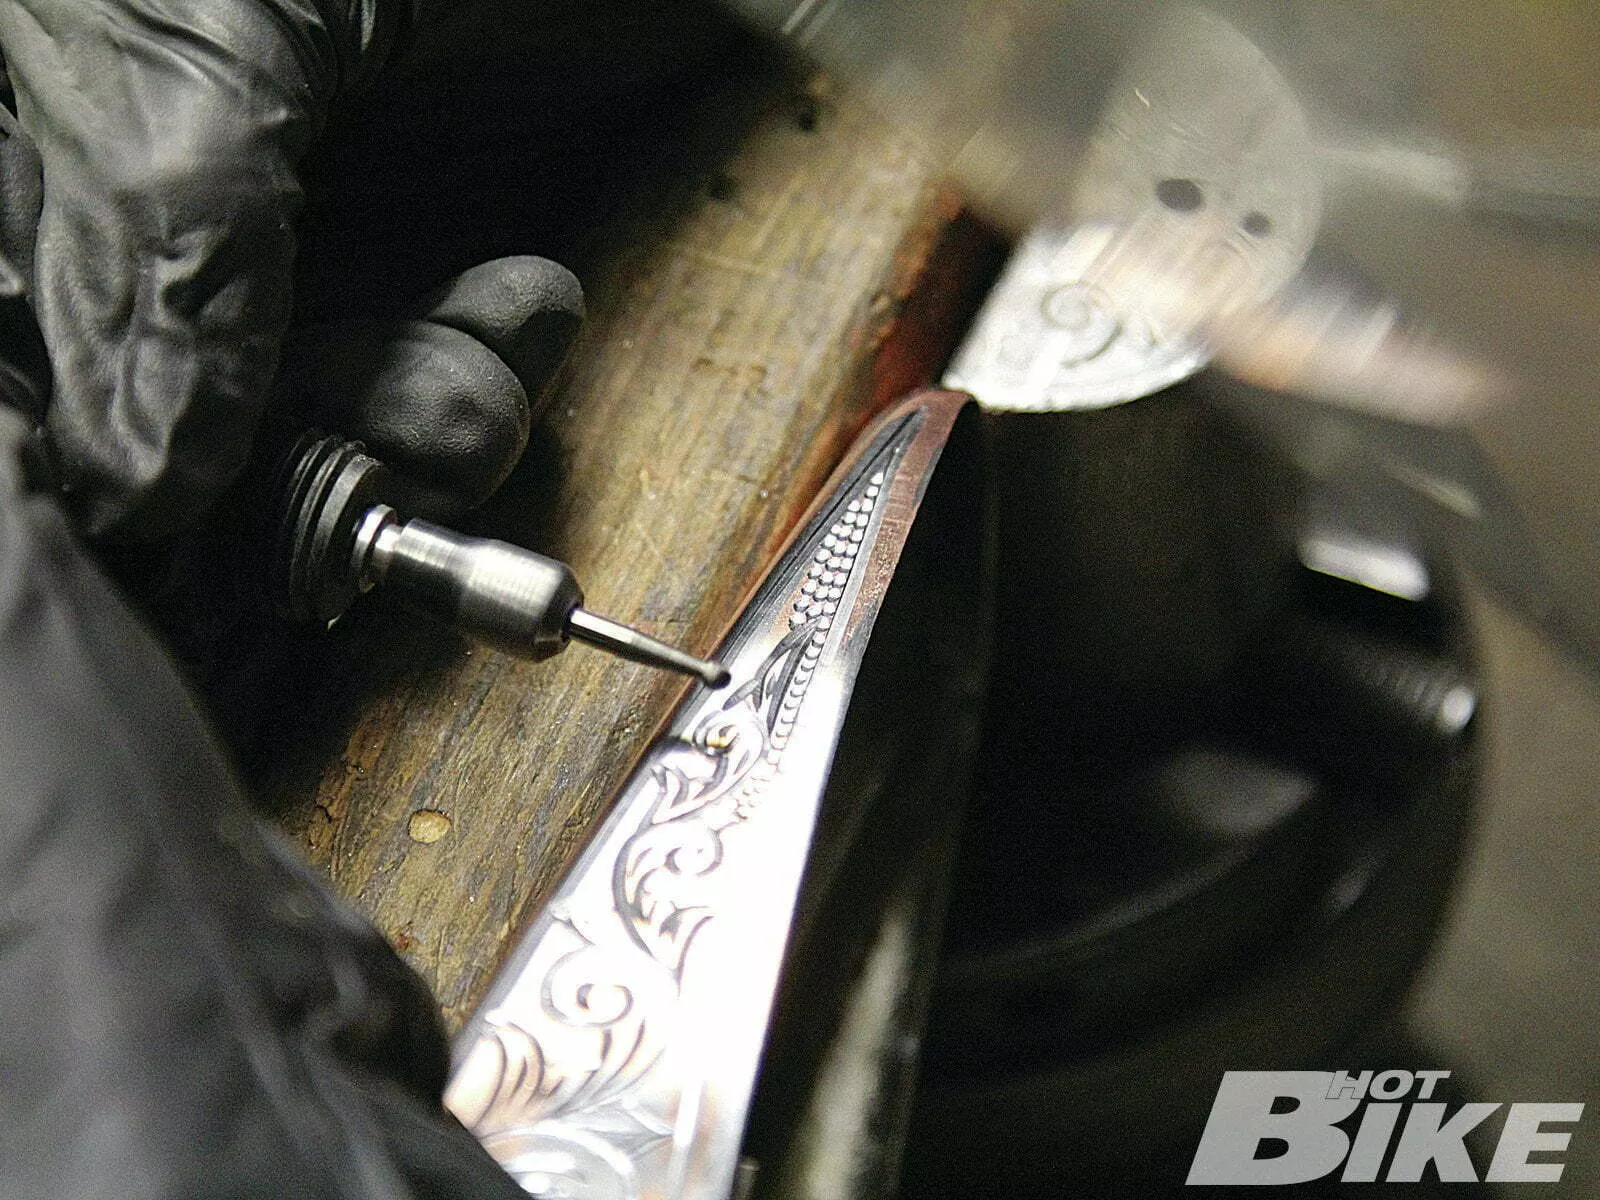
A Dremel is used to fill in the gaps and make the final piece pop. There are also different styles to choose from.
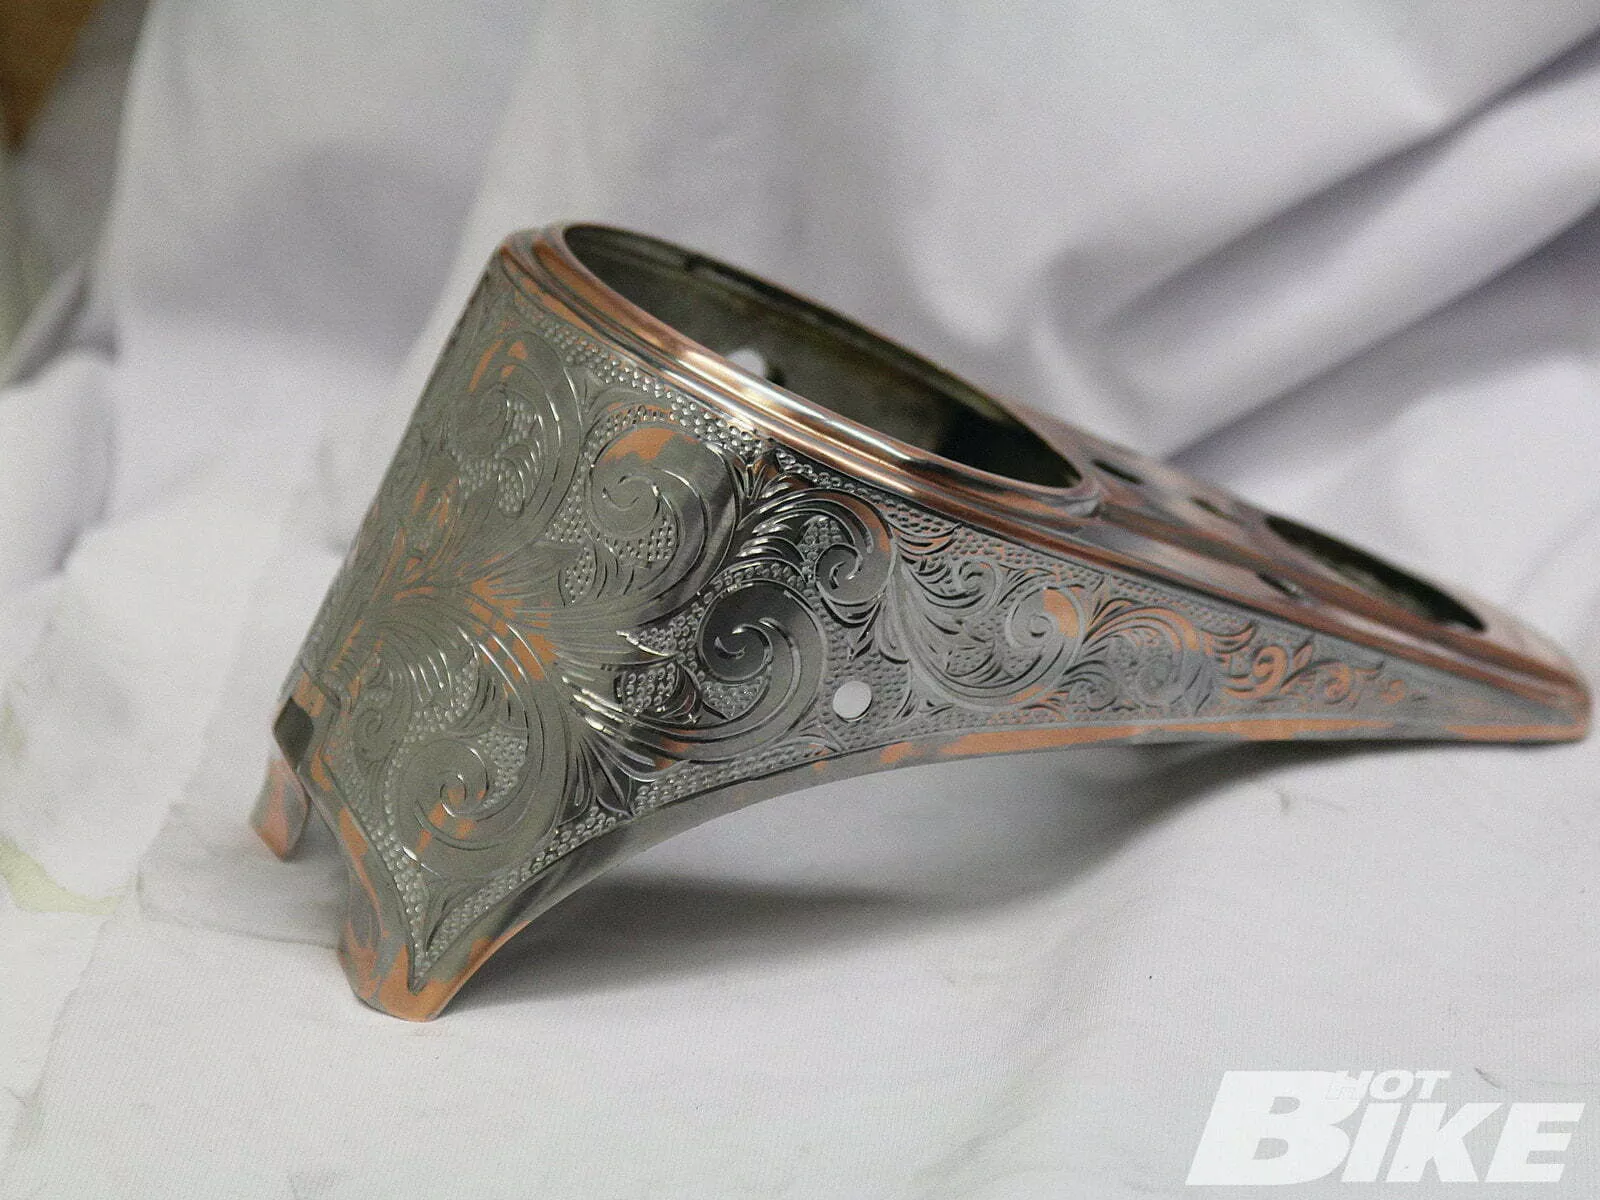
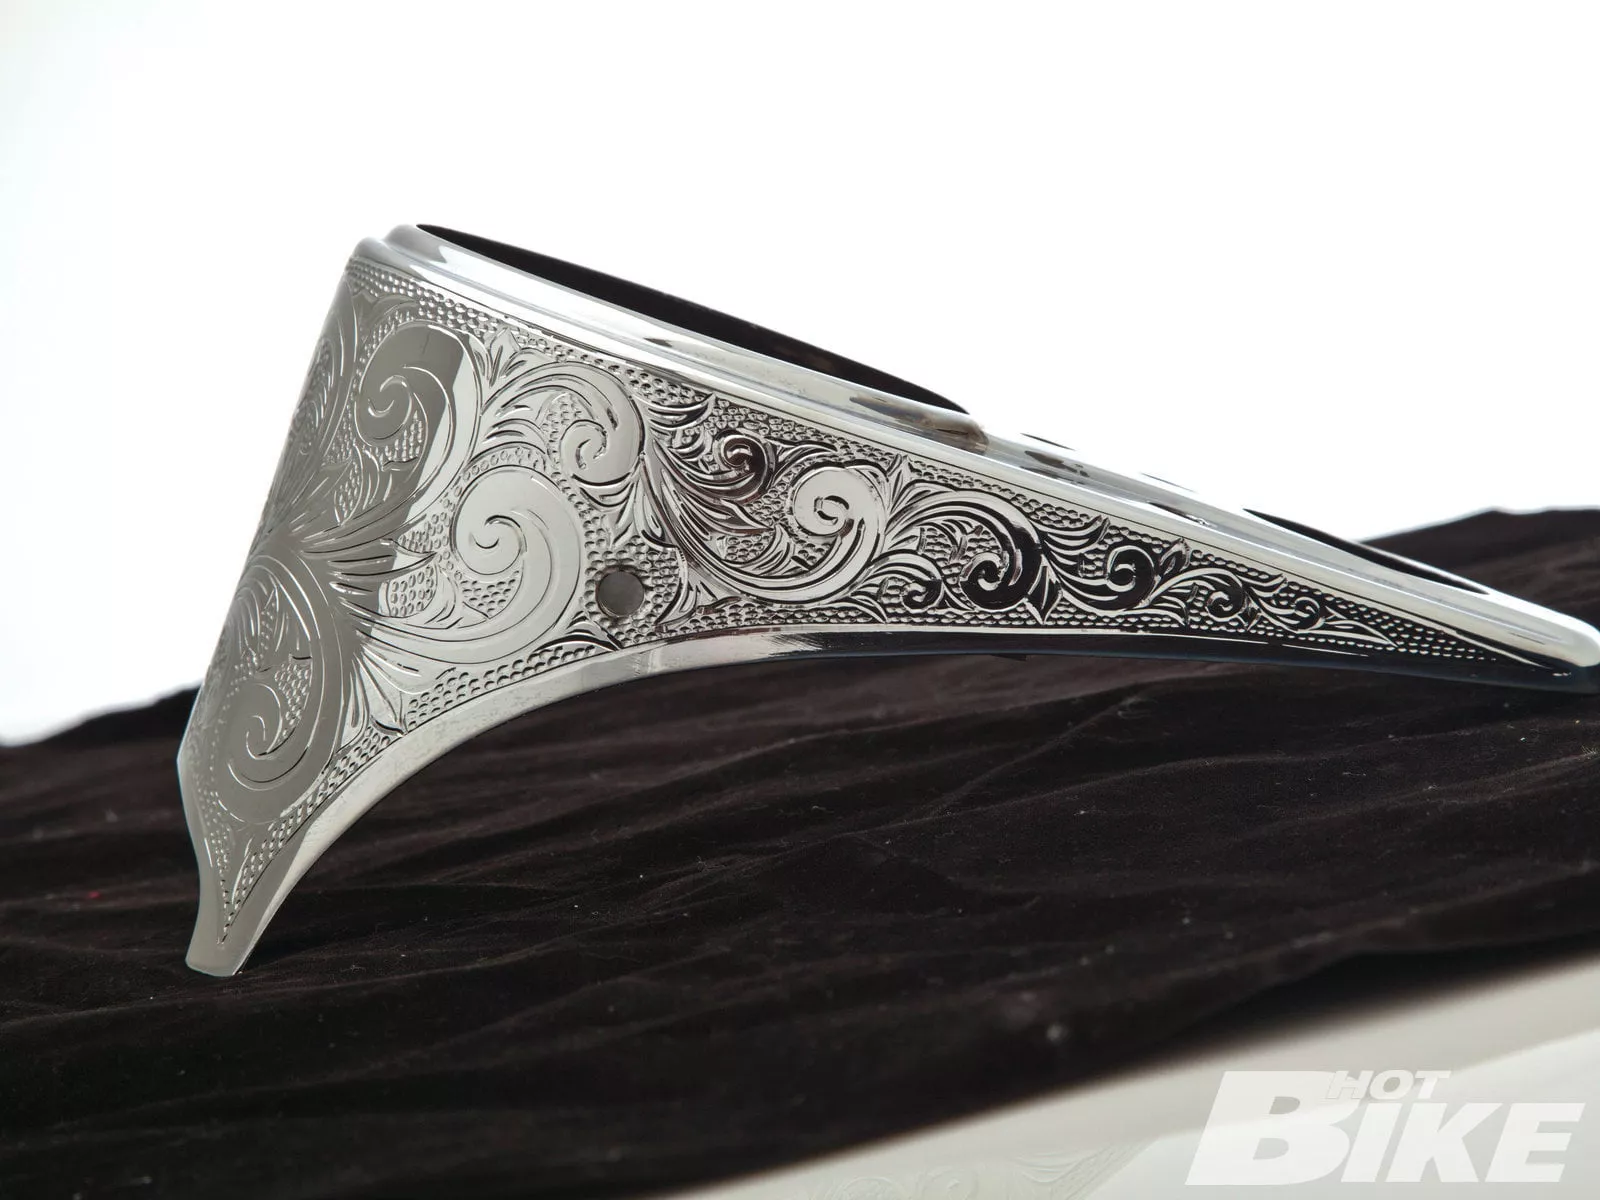
The final piece is all cut and ready for chroming. From start finish, the engraving took a few hours. There is no rushing art.
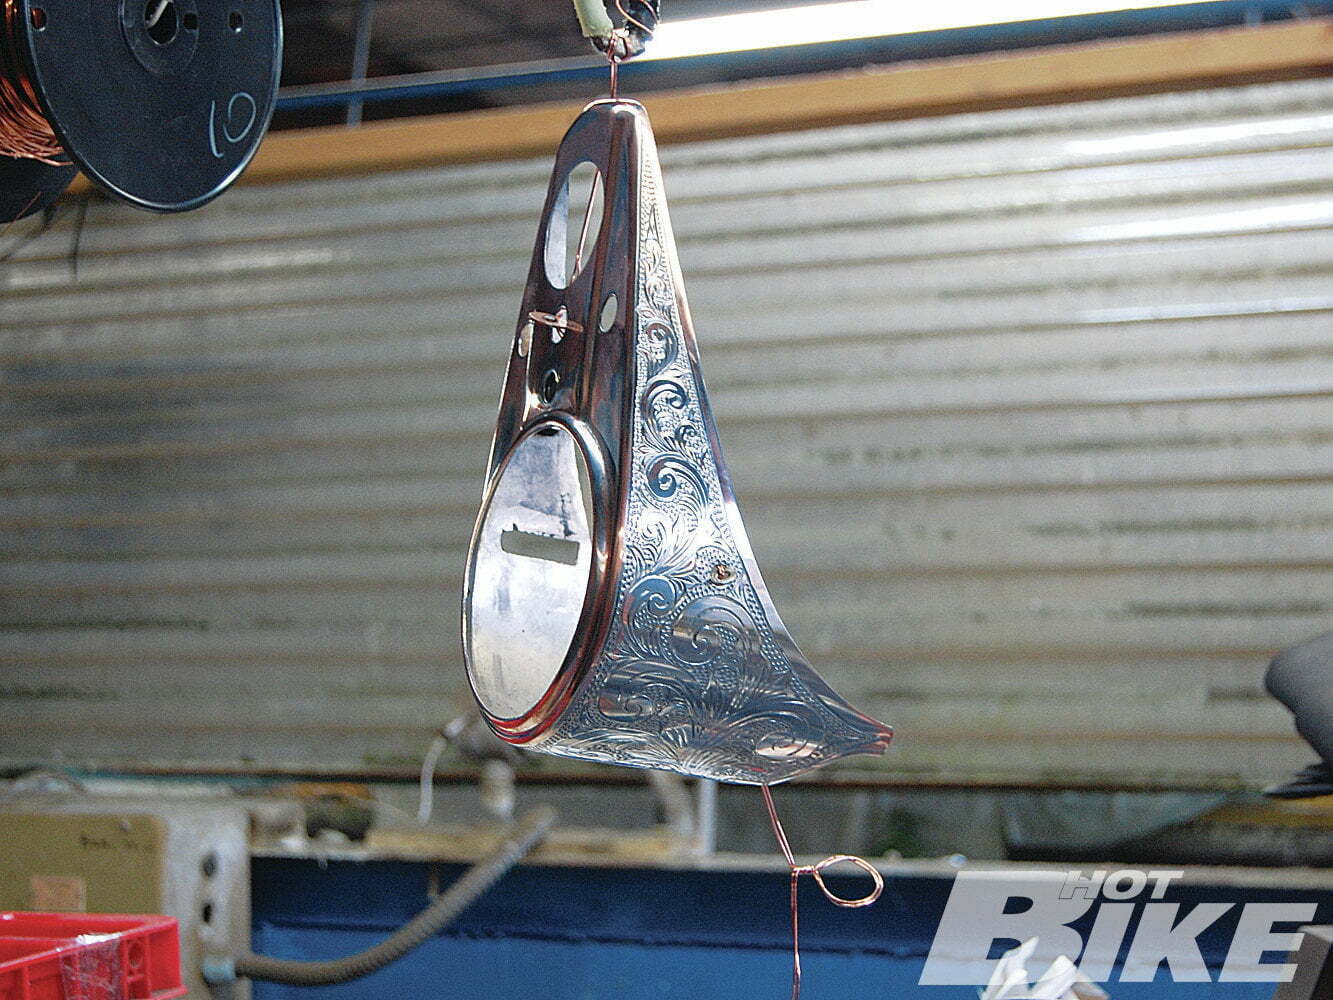
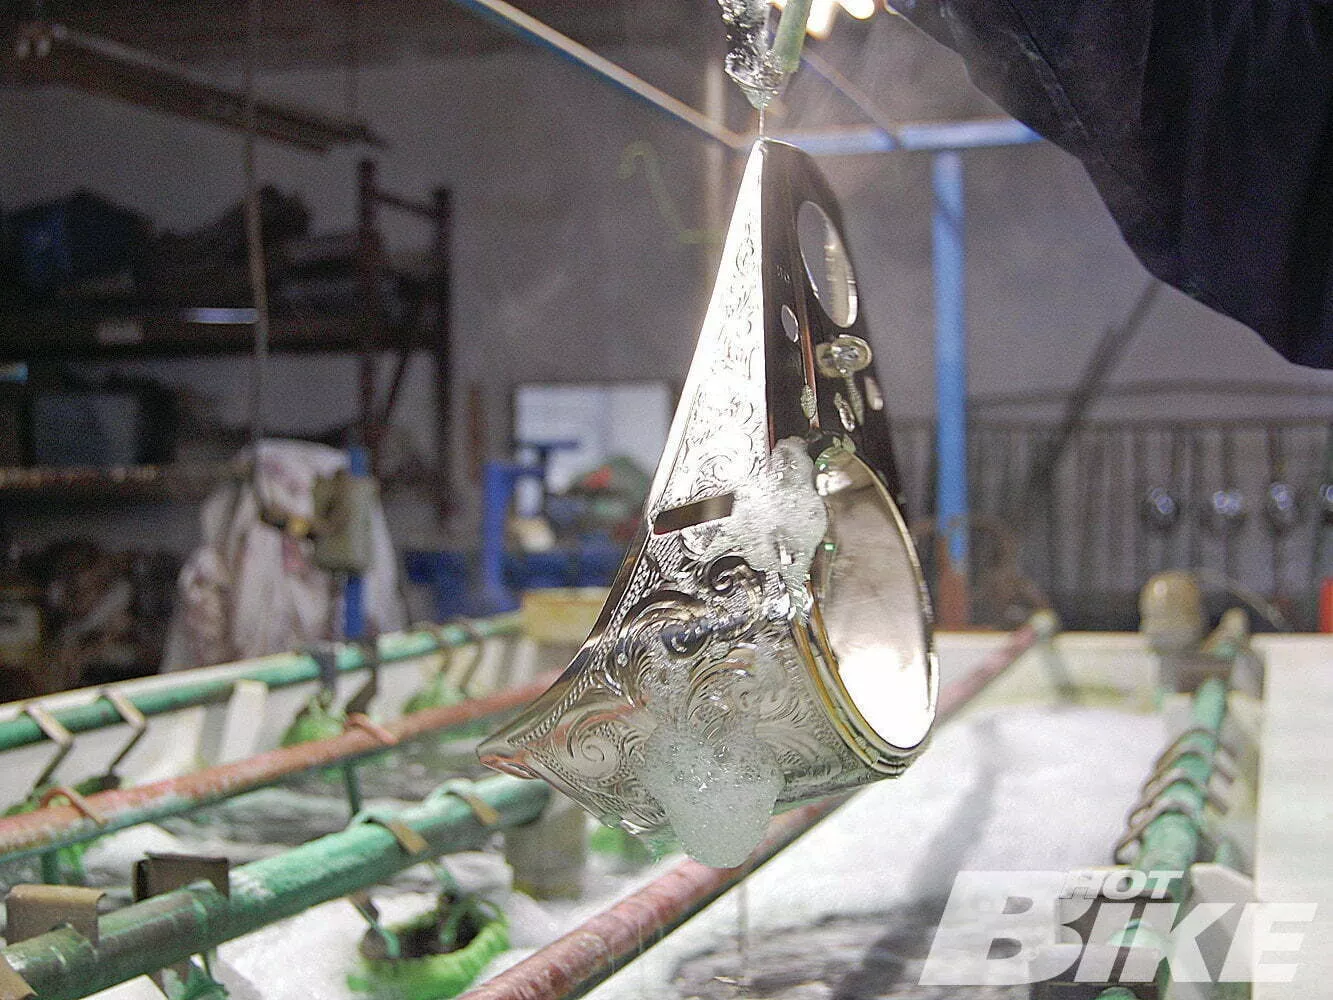
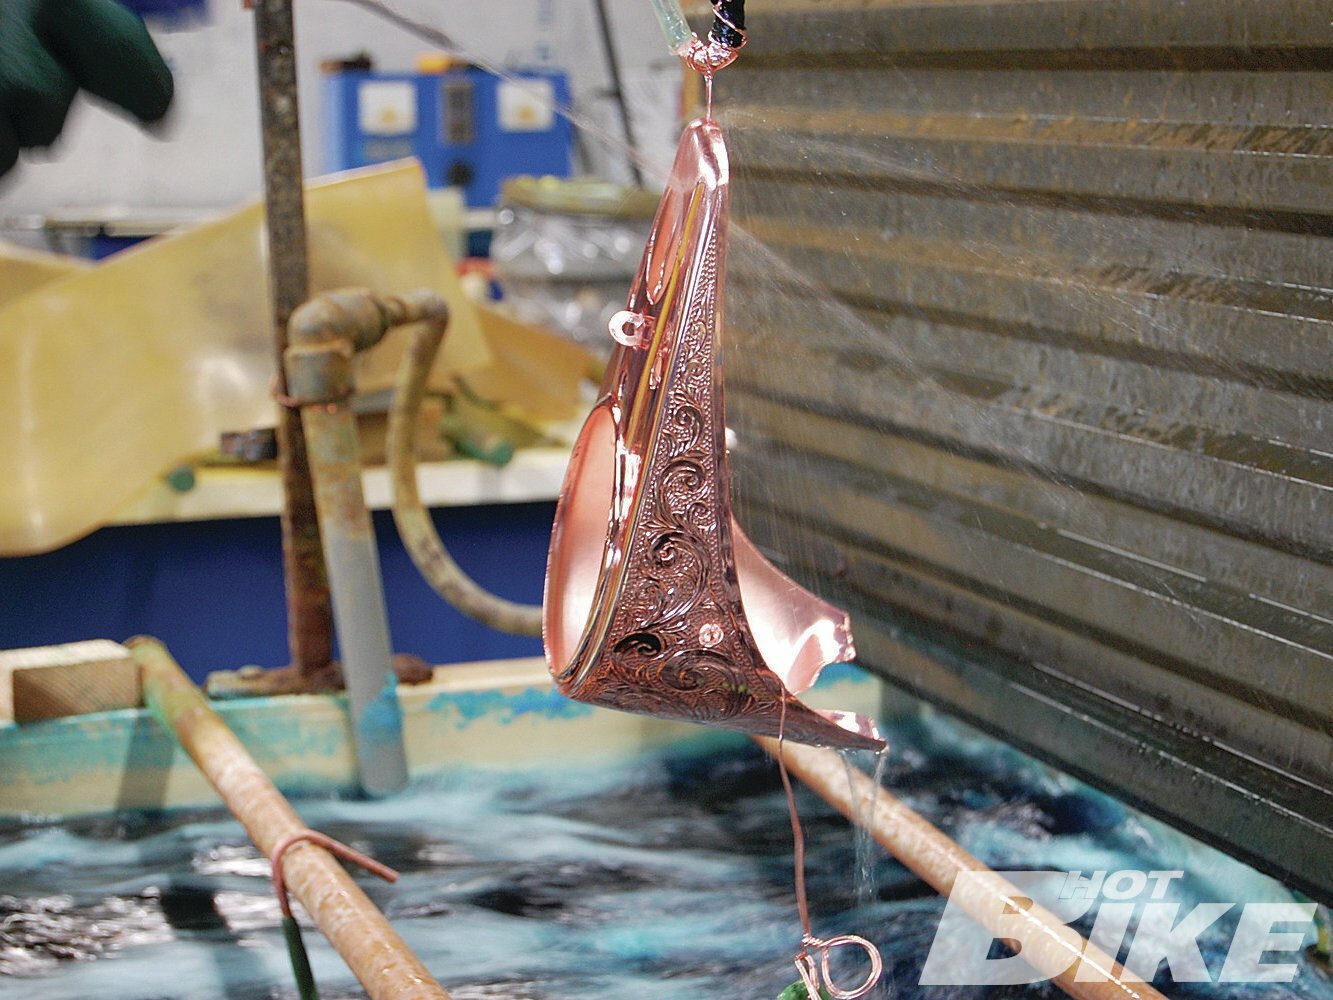
Back at True Finish, the dash is buffed and wired for the plating process.
The dash is rinsed in a soapy water solution to activate the metal.
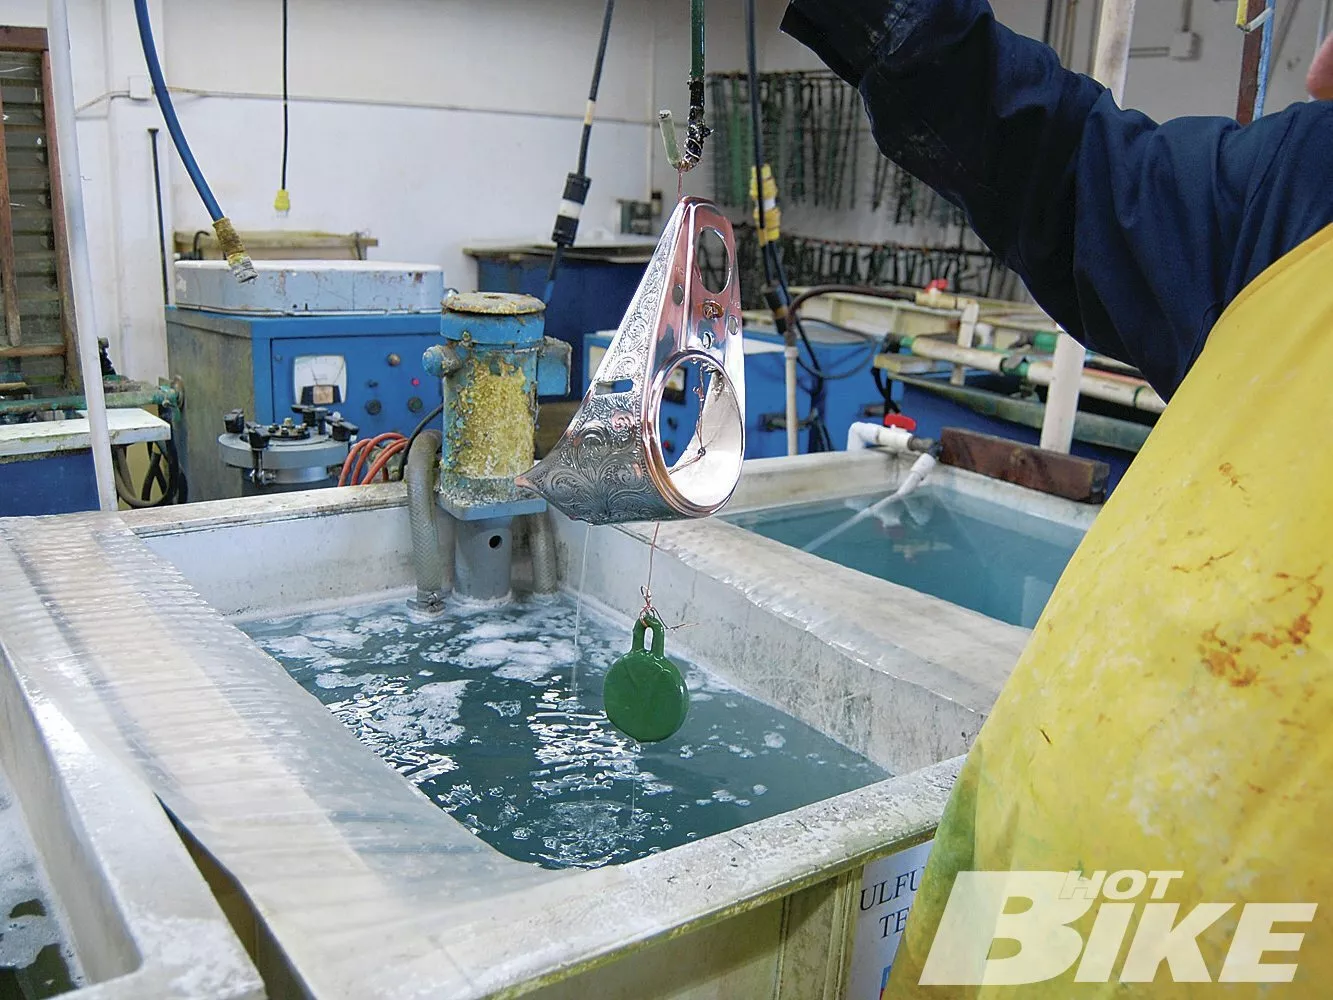
Next it’s dipped in sulfuric acid for cleaning.
A water solution rinses off the sulfuric acid.
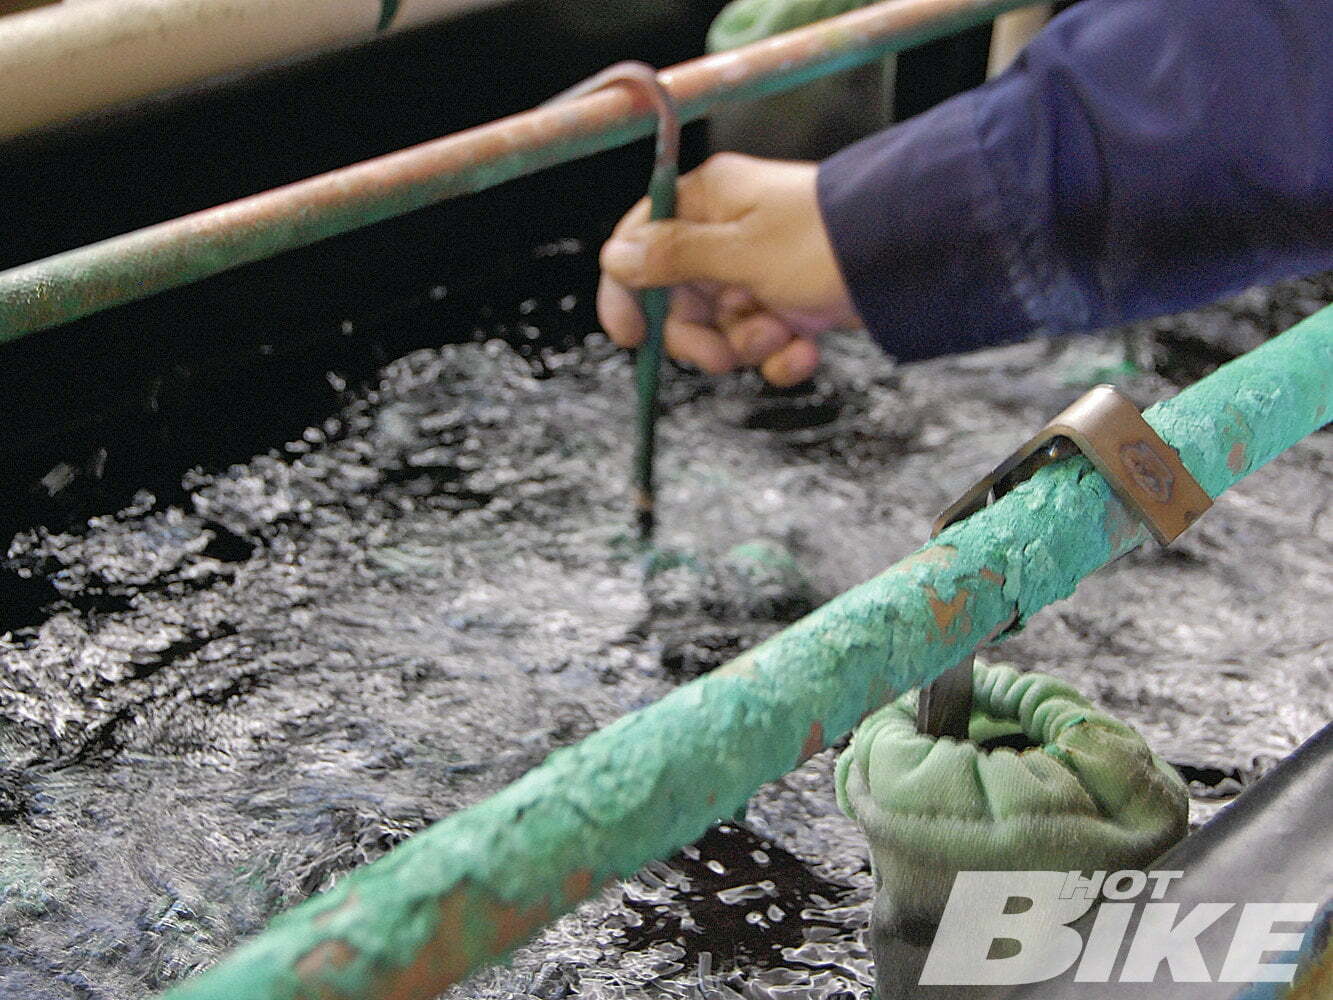
A dip in a nickel strike promotes adhesion for the semi-bright nickel.
Here is the dash shown after a nickel strike.
Next is a dip in semi bright nickel.
- Fresh out semi bright nickel, it’s starting to have a shine.
Next, another rinse, then reactivated using soapy sulfuric water.
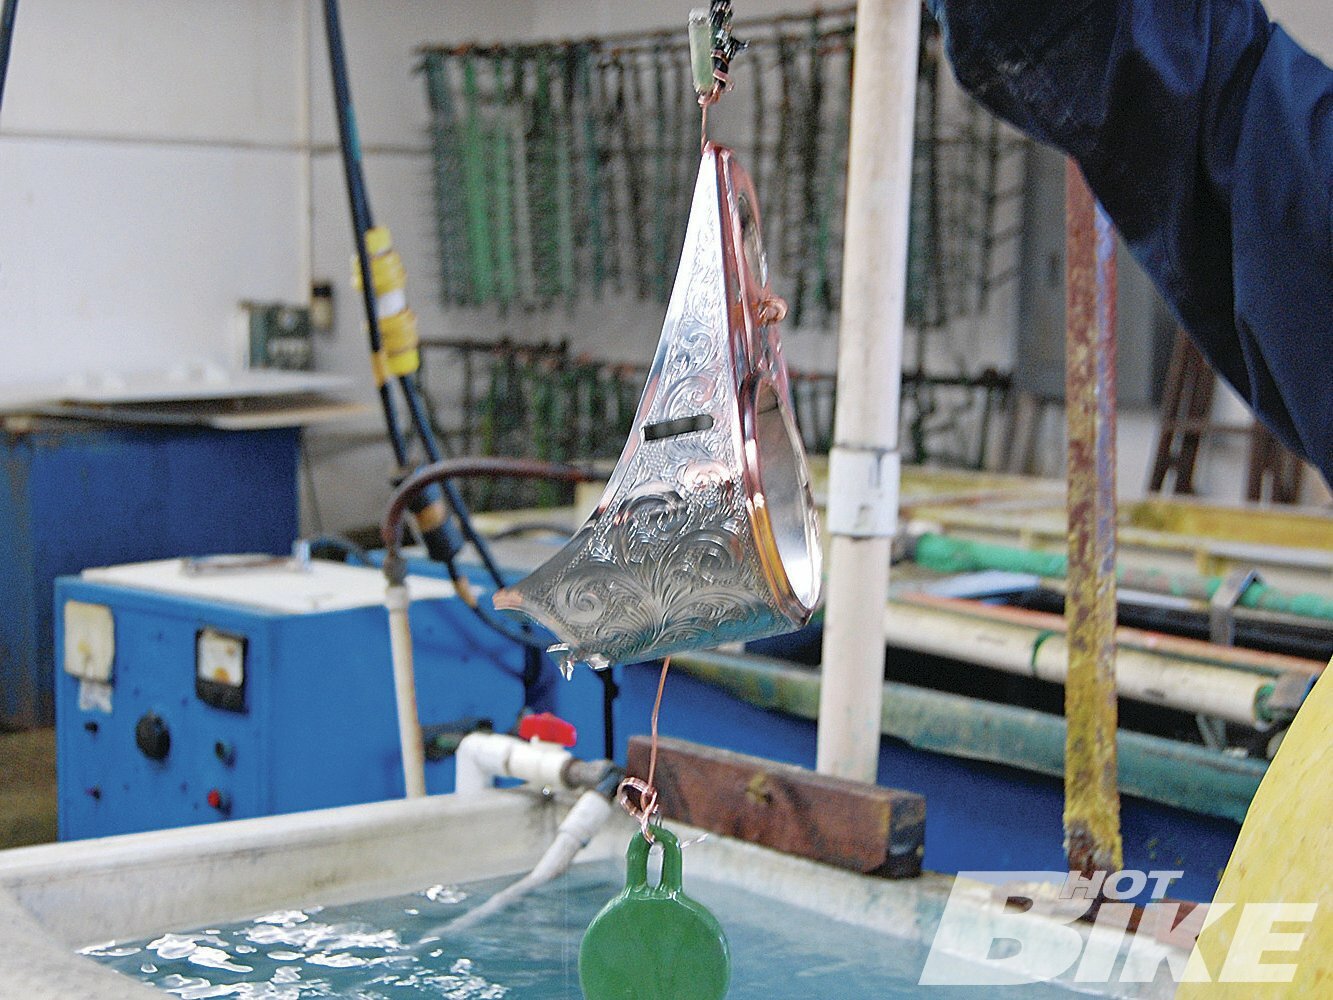
Fresh out of copper and shinier than a new penny.
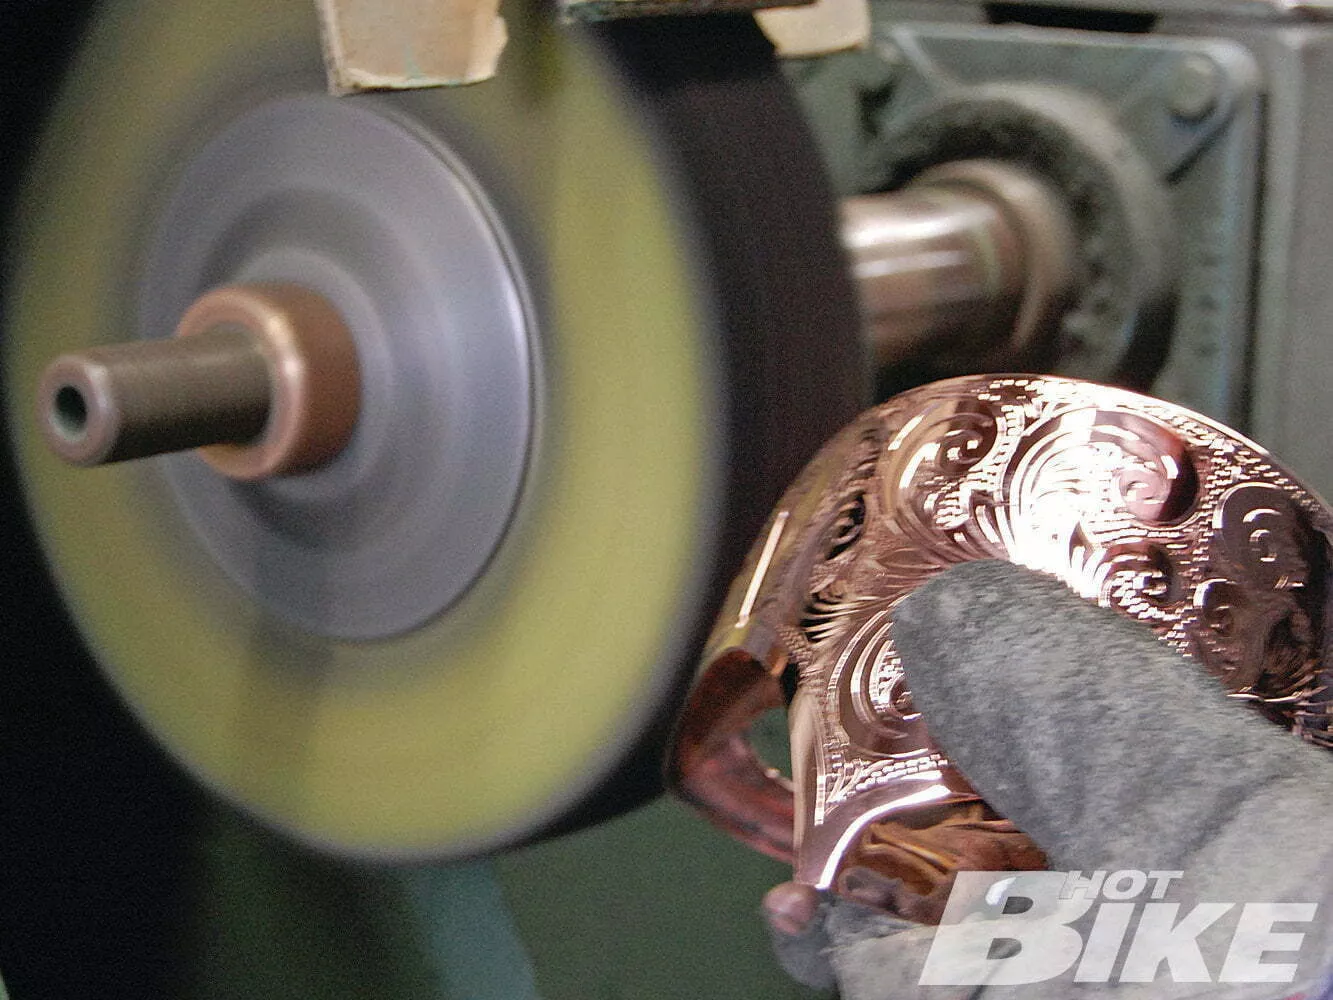
Next the dash is buffed to smooth out the copper.
After the copper buff, the dash is ready for bright nickel.
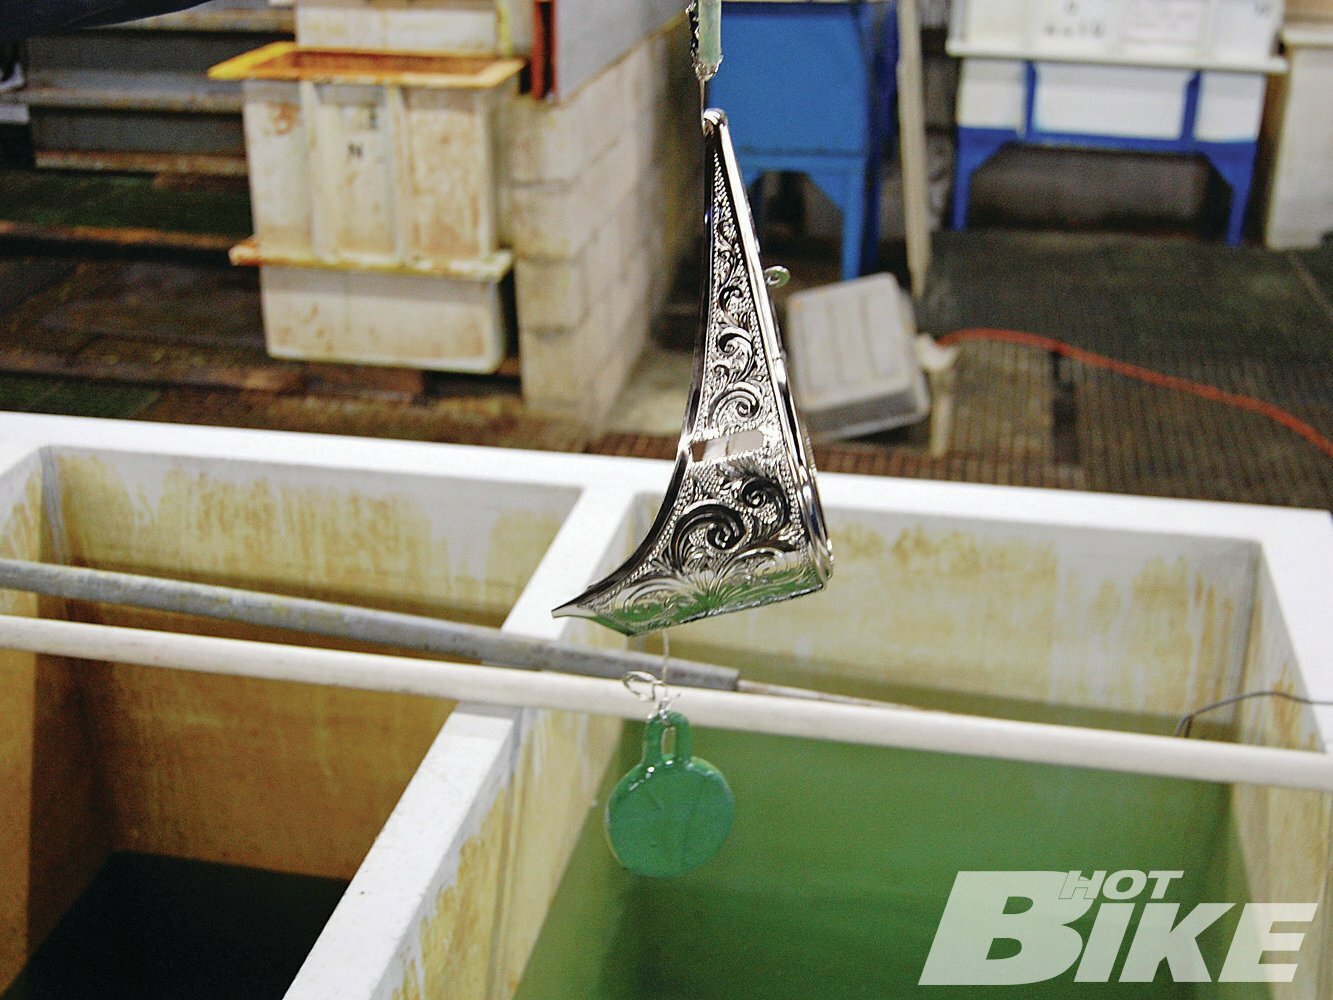
The dash is then put in bright nickel.
One final nickel rinse before chrome.
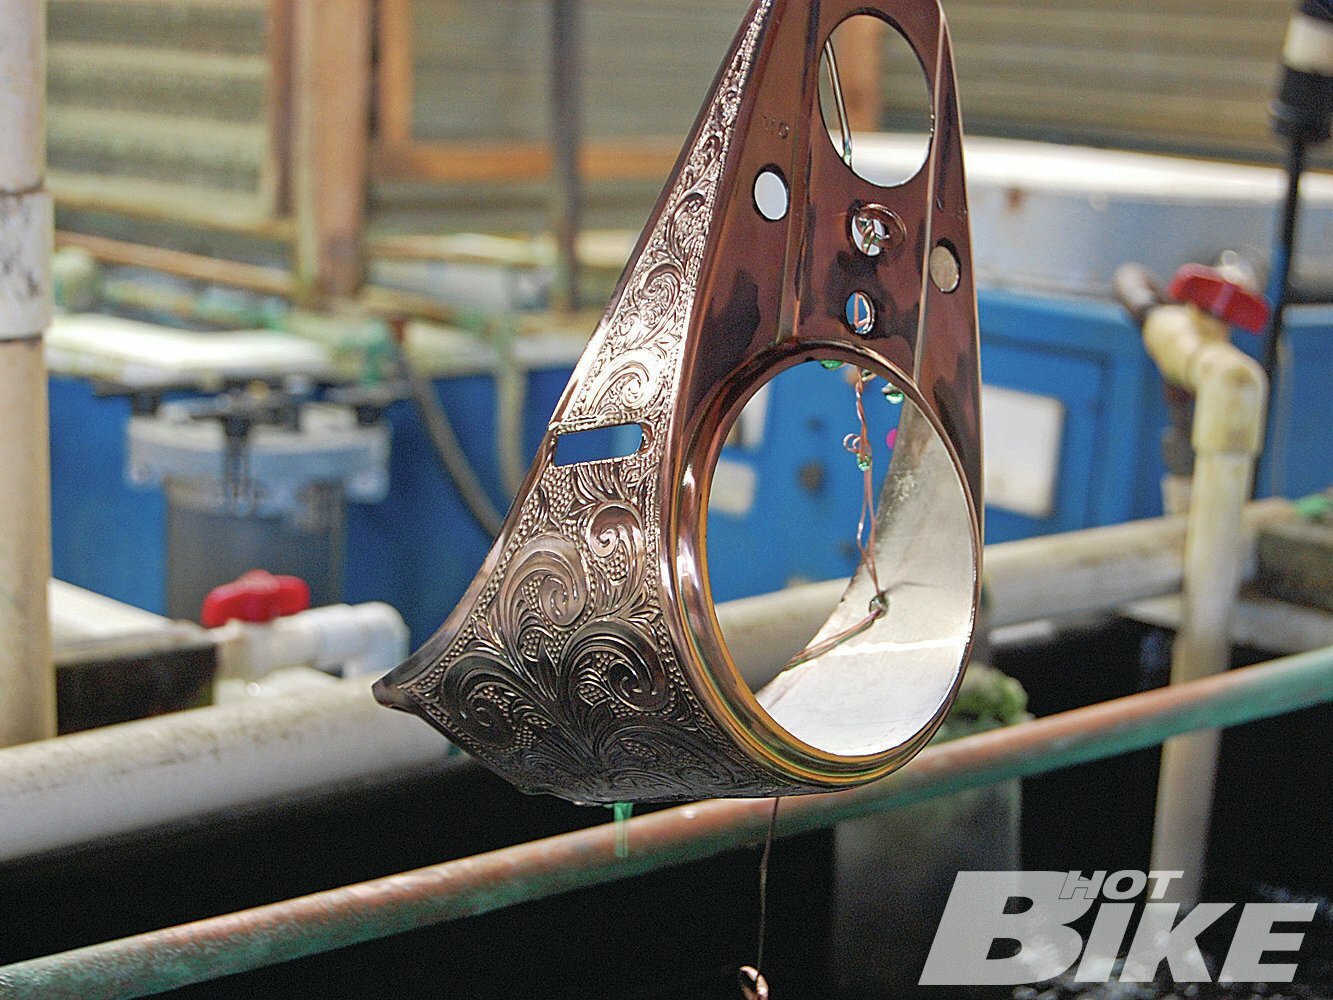
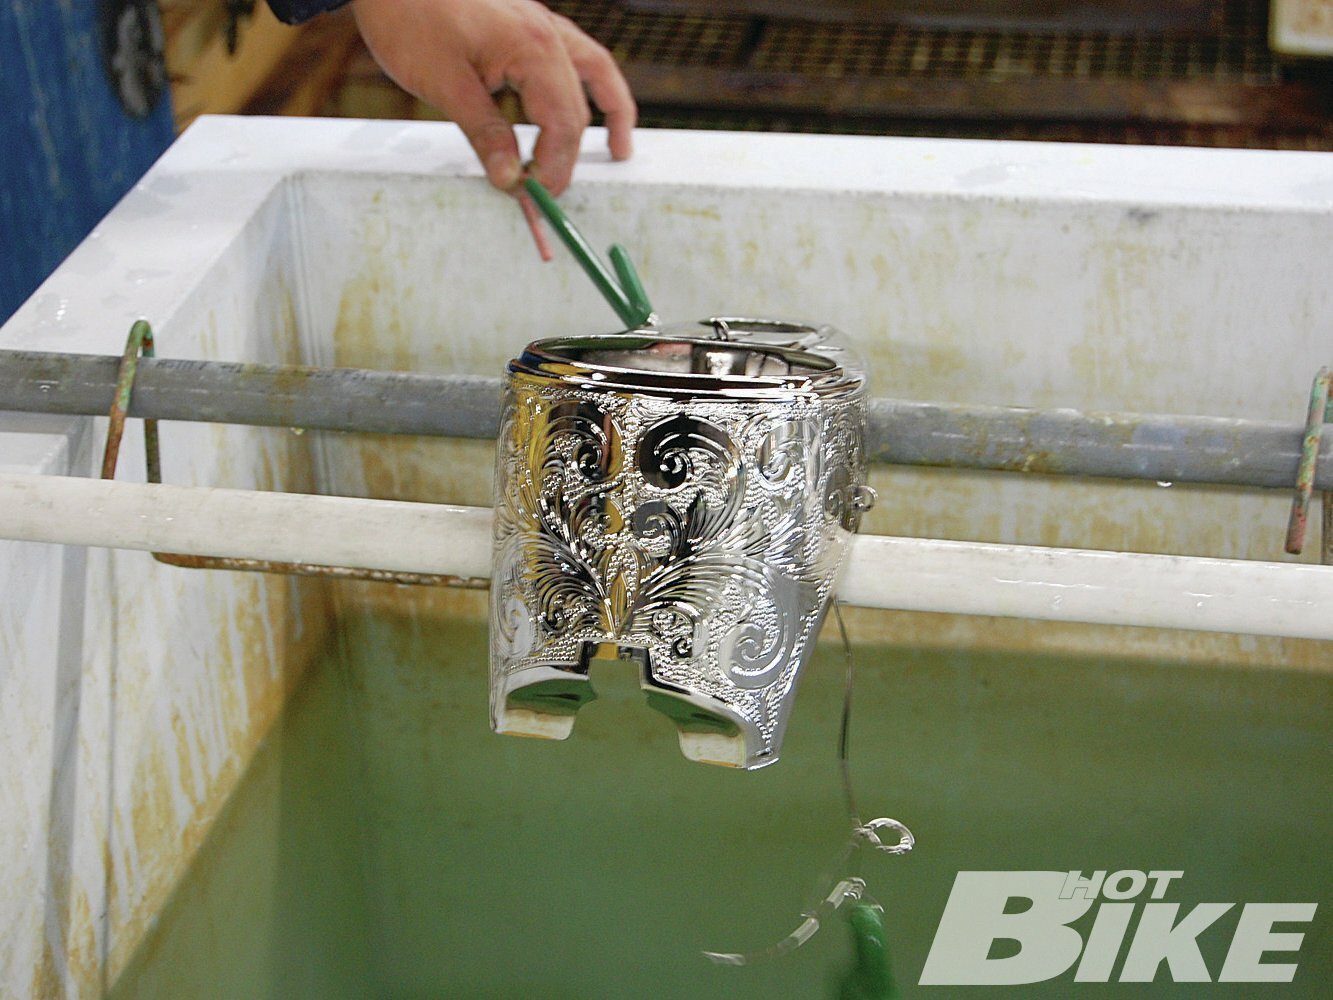
Finally, the dash is dipped in a black and yellow liquid that is actually chrome!
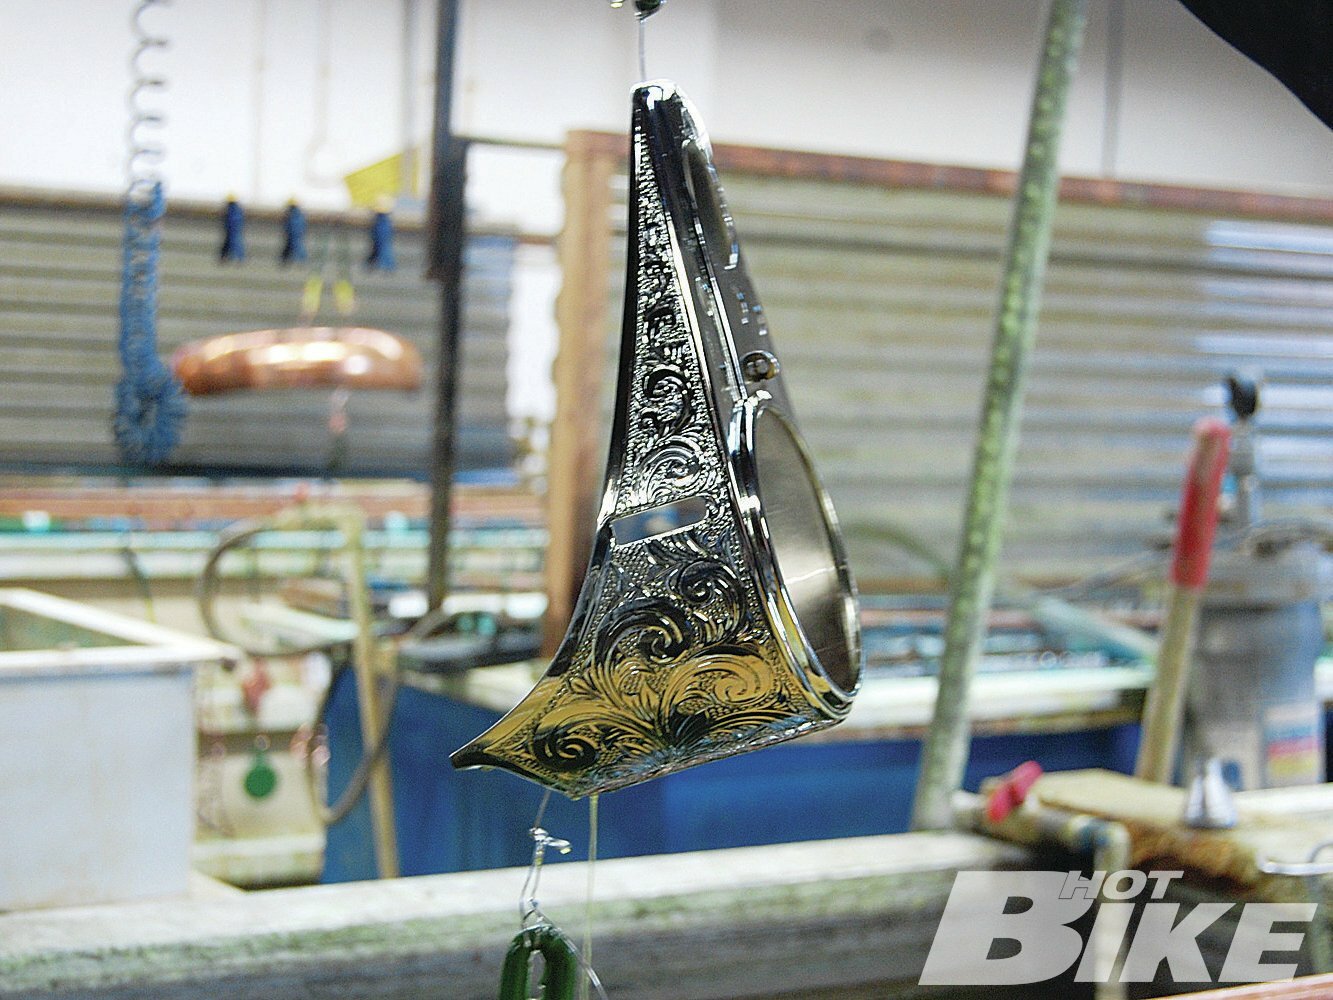
After a final rinse, the dash is finally looking like piece of art. It was a long road to get to this point, but well worth the effort.
Engraving has been practiced since the Stone Age where eggshells used for water containers were decorated. The practiced grew and evolved over time and gained popularity for jewelers, typesetters, and gunsmiths. Its use on motorcycles dates back to choppers and customs and its popularity, like most artistic elements, comes and goes. While computer-aided engraving has started to make its way onto mass-produced motorcycle parts, there is still no substitution for the human hand. After following a single piece make its way from a stock dash to a piece of motorcycle art, we grew to learn that engraving is nothing short of an art form on par with painting, tattooing, or drawing.
Hernan D’Aloia, from Hernan’s Custom Engraving, has been honing his skills for more than a decade and has established himself as one of the top craftsman in the lowrider engraving community. We followed the dash for our project 1989 FLHS purchased at a swap meet as it was prepped by True Finish Chrome Plating for stripping and polishing, over to Hernan for hand engraving, and back to True Finish for final chrome. The end result can only be described as motorcycle jewelry and we can’t wait to get this, and our other parts, mounted on our project bike.


