
Made-To-Order Exhaust Part 1 of 2
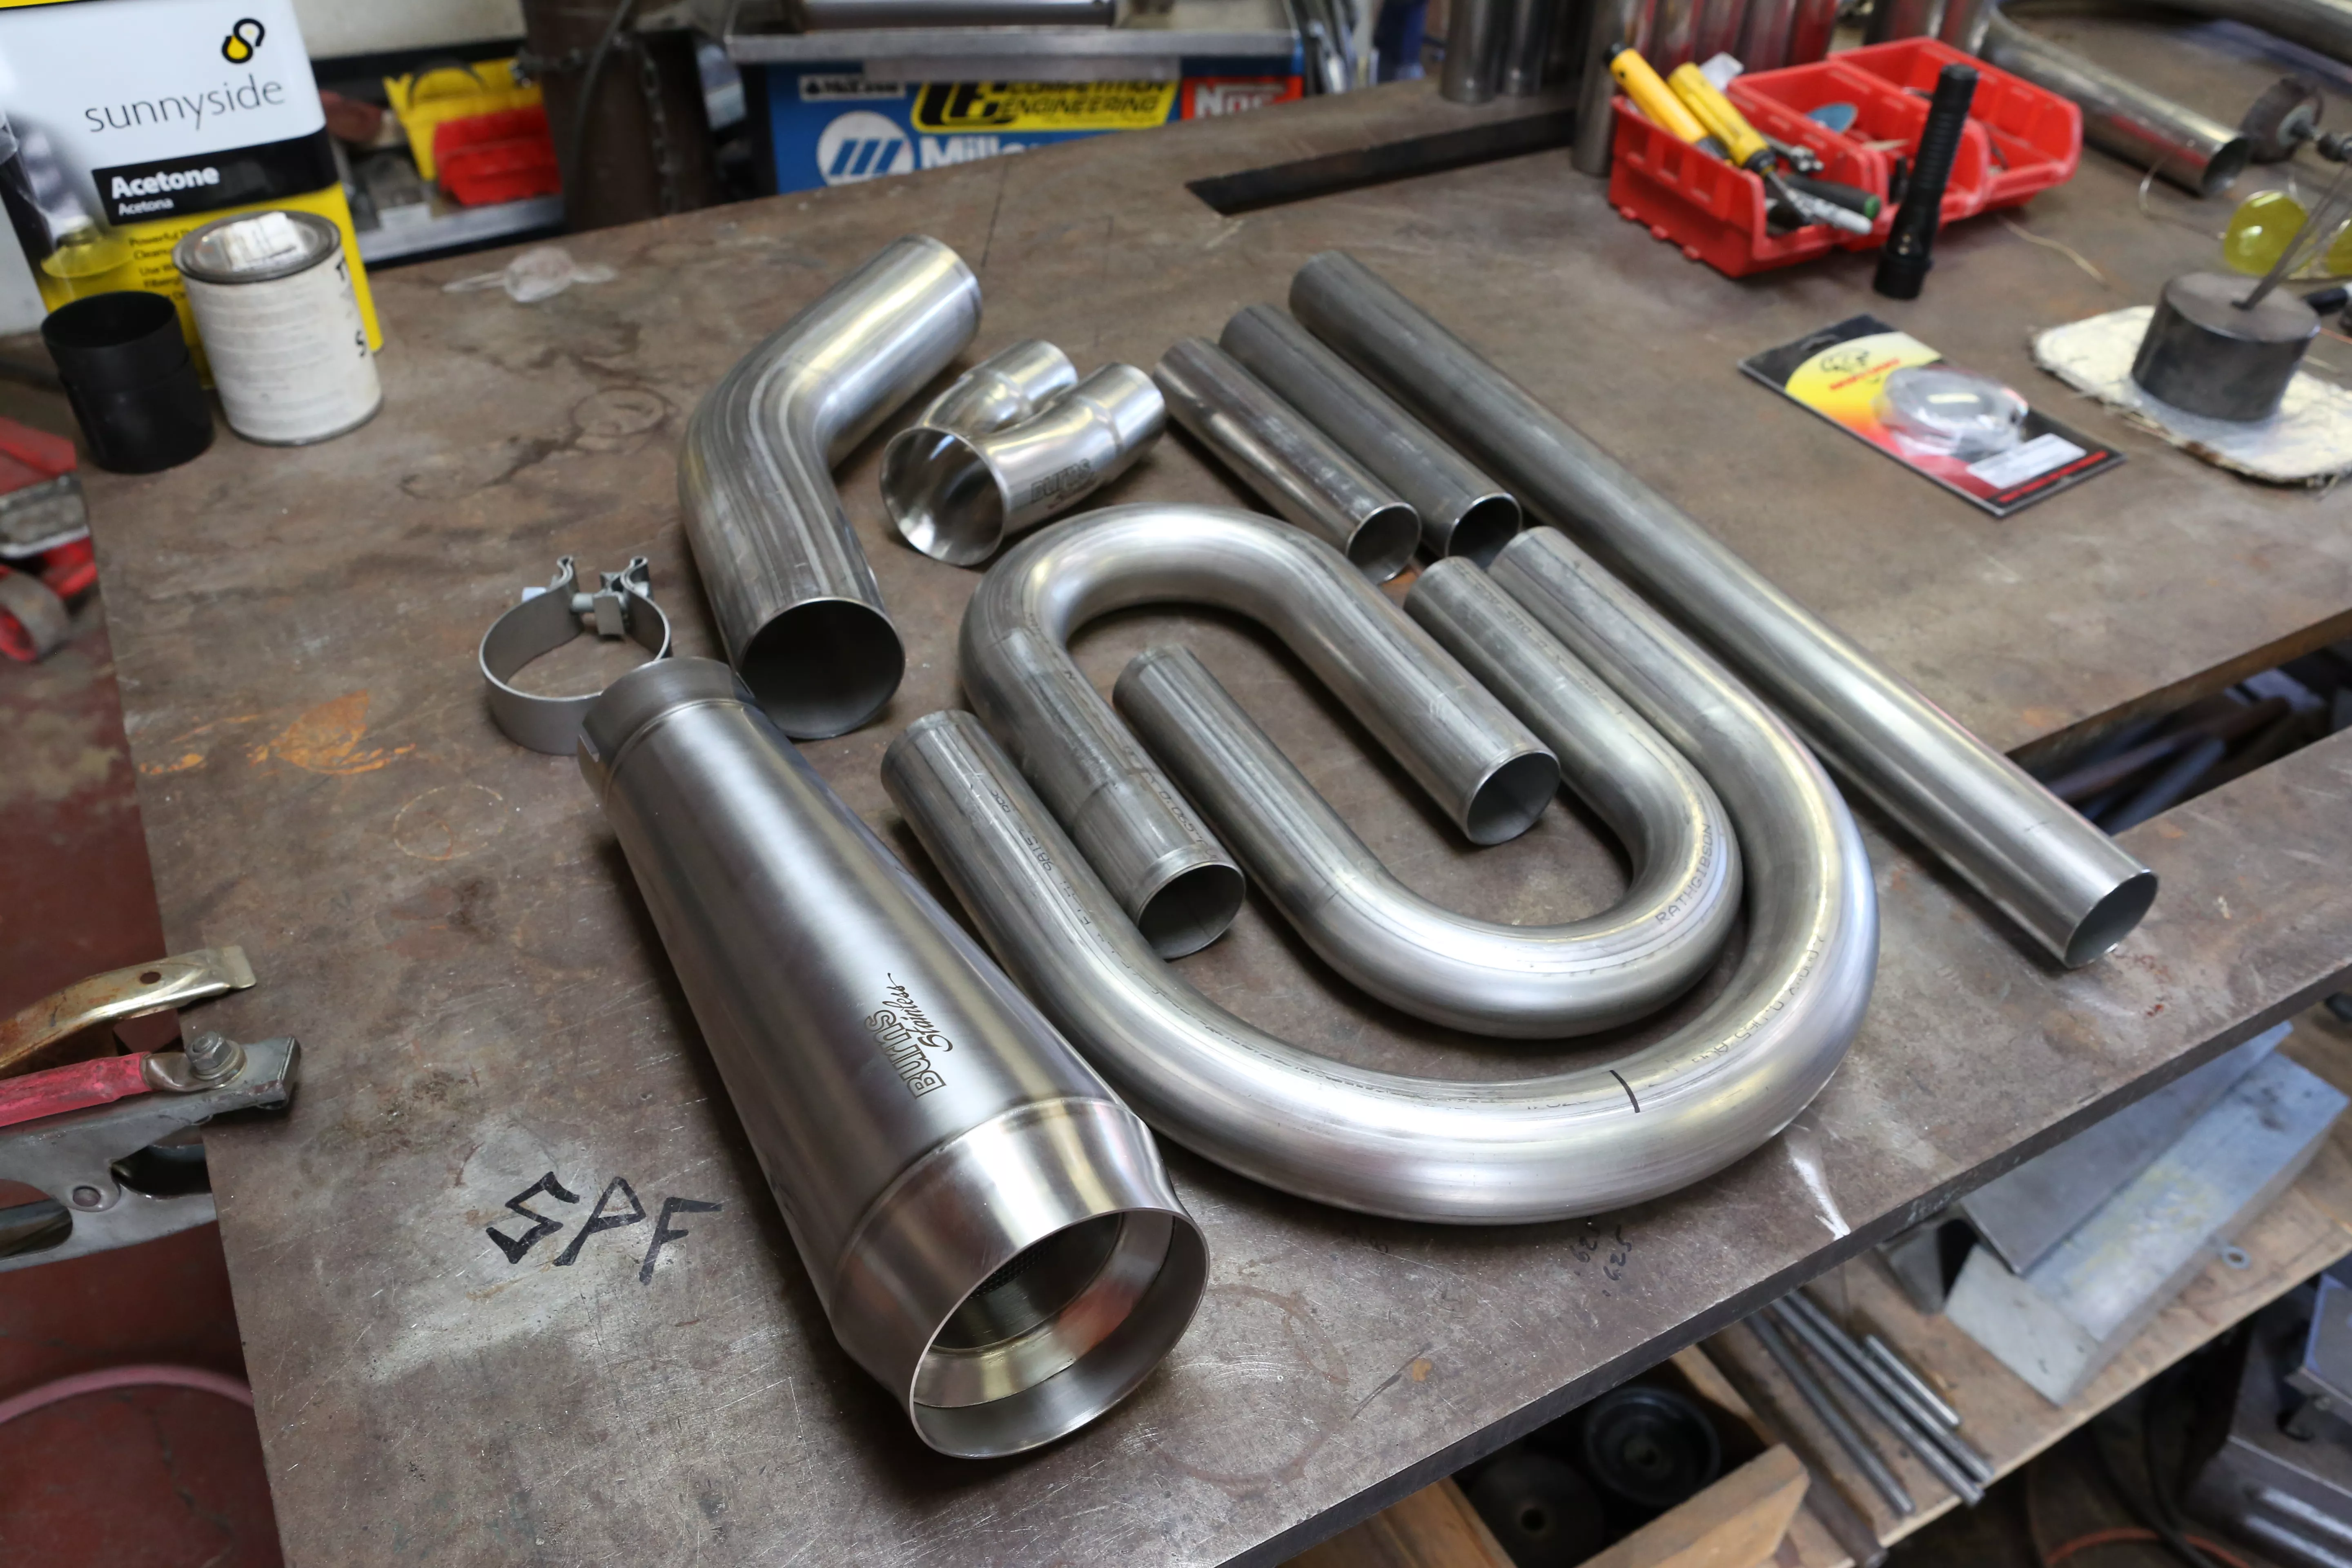
Burns Stainless provided a nice package consisting of a bunch of its bends, a collector, and a muffler. Each system has to go through its exhaust system software, which allows Burns to give you the correct pipe materials for your size engine build
Words: Chip Kastelnik Photos: Mikey Van Senus
Making an exhaust system that works is not an easy task. When we decided on our motor size, we also decided that no store-bought exhaust systems would be able to provide us the performance we needed to ride the bike the way we wanted to. We have had our eye on a few of the high pipes on the market due to them not scraping all over the tarmac and for their race-ready looks. We contacted our friends at Burns Stainless and received a nice pile of raw materials to fab a system that would suit our bike’s needs. By simply showing them the design of the system we wanted to make, Burns provided us with the correct stepped tubing that is required to get the most out of our S&S V111 motor. We had our über-capable buddy Steve at Steve’s Precision Fabrication handle the cutting and welding duties on our exhaust, but any of you with adequate welding skills can fabricate one up for yourself. Here’s a step-by-step of how we did ours so you can see how it’s done.
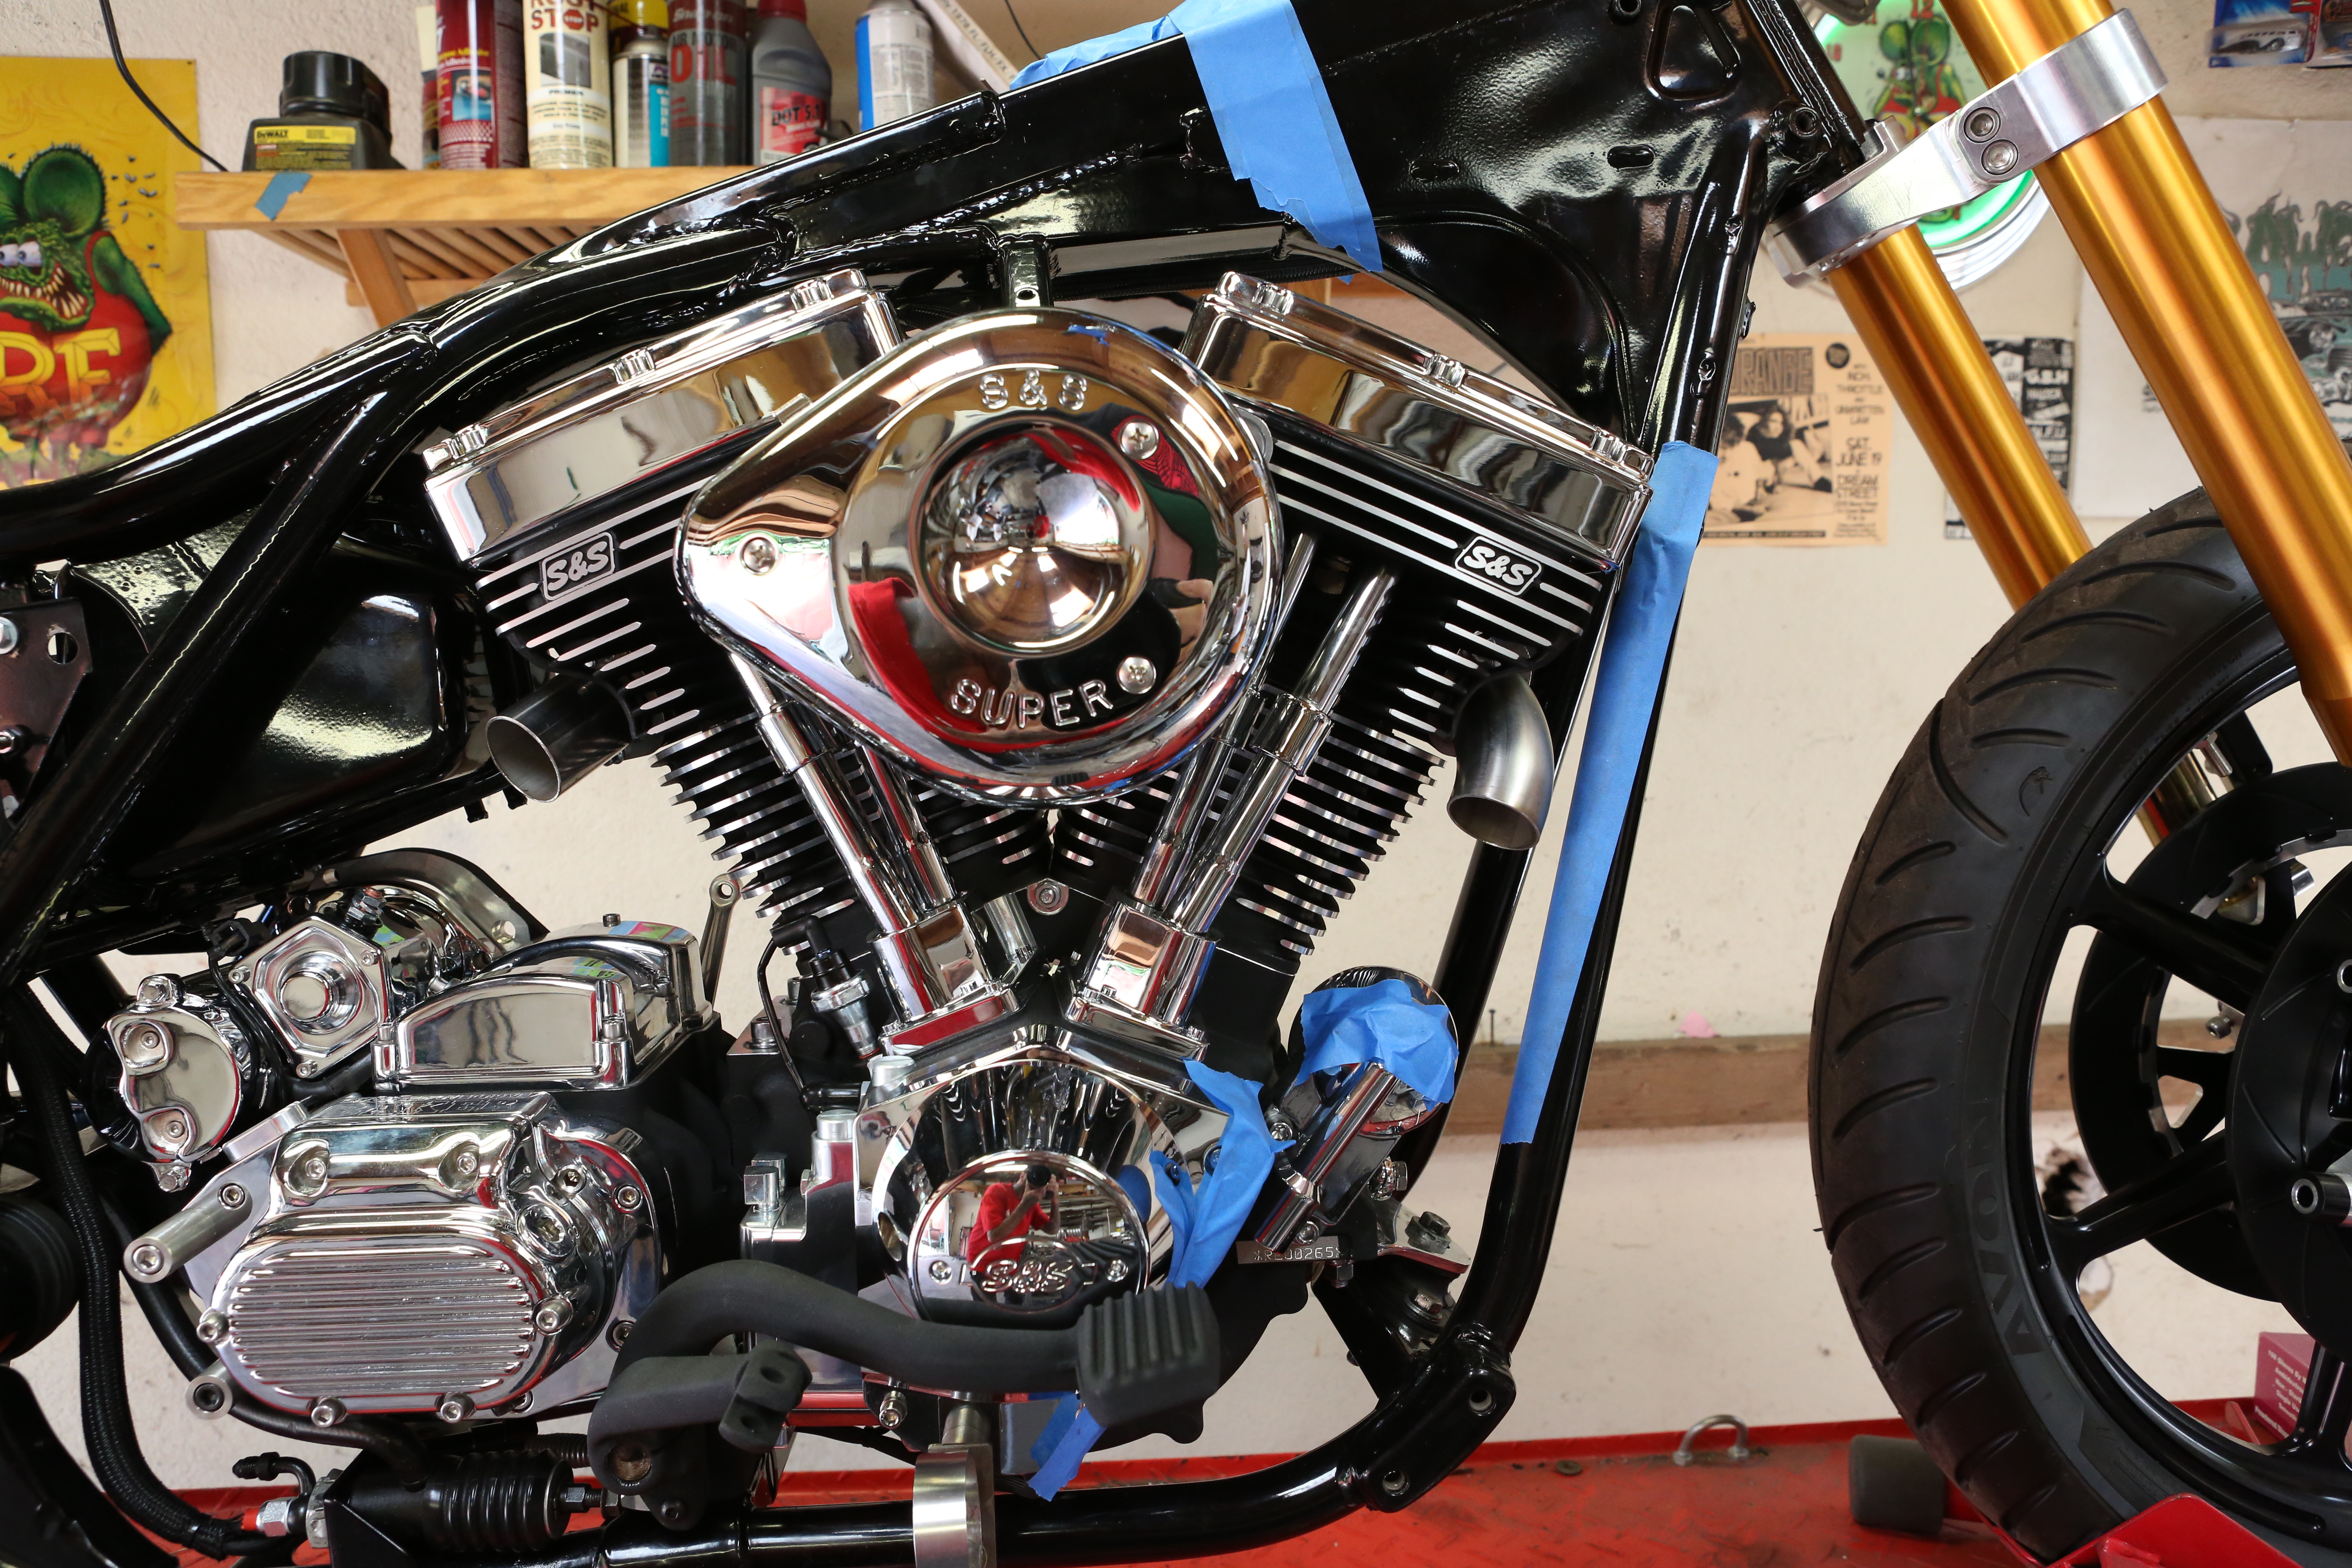
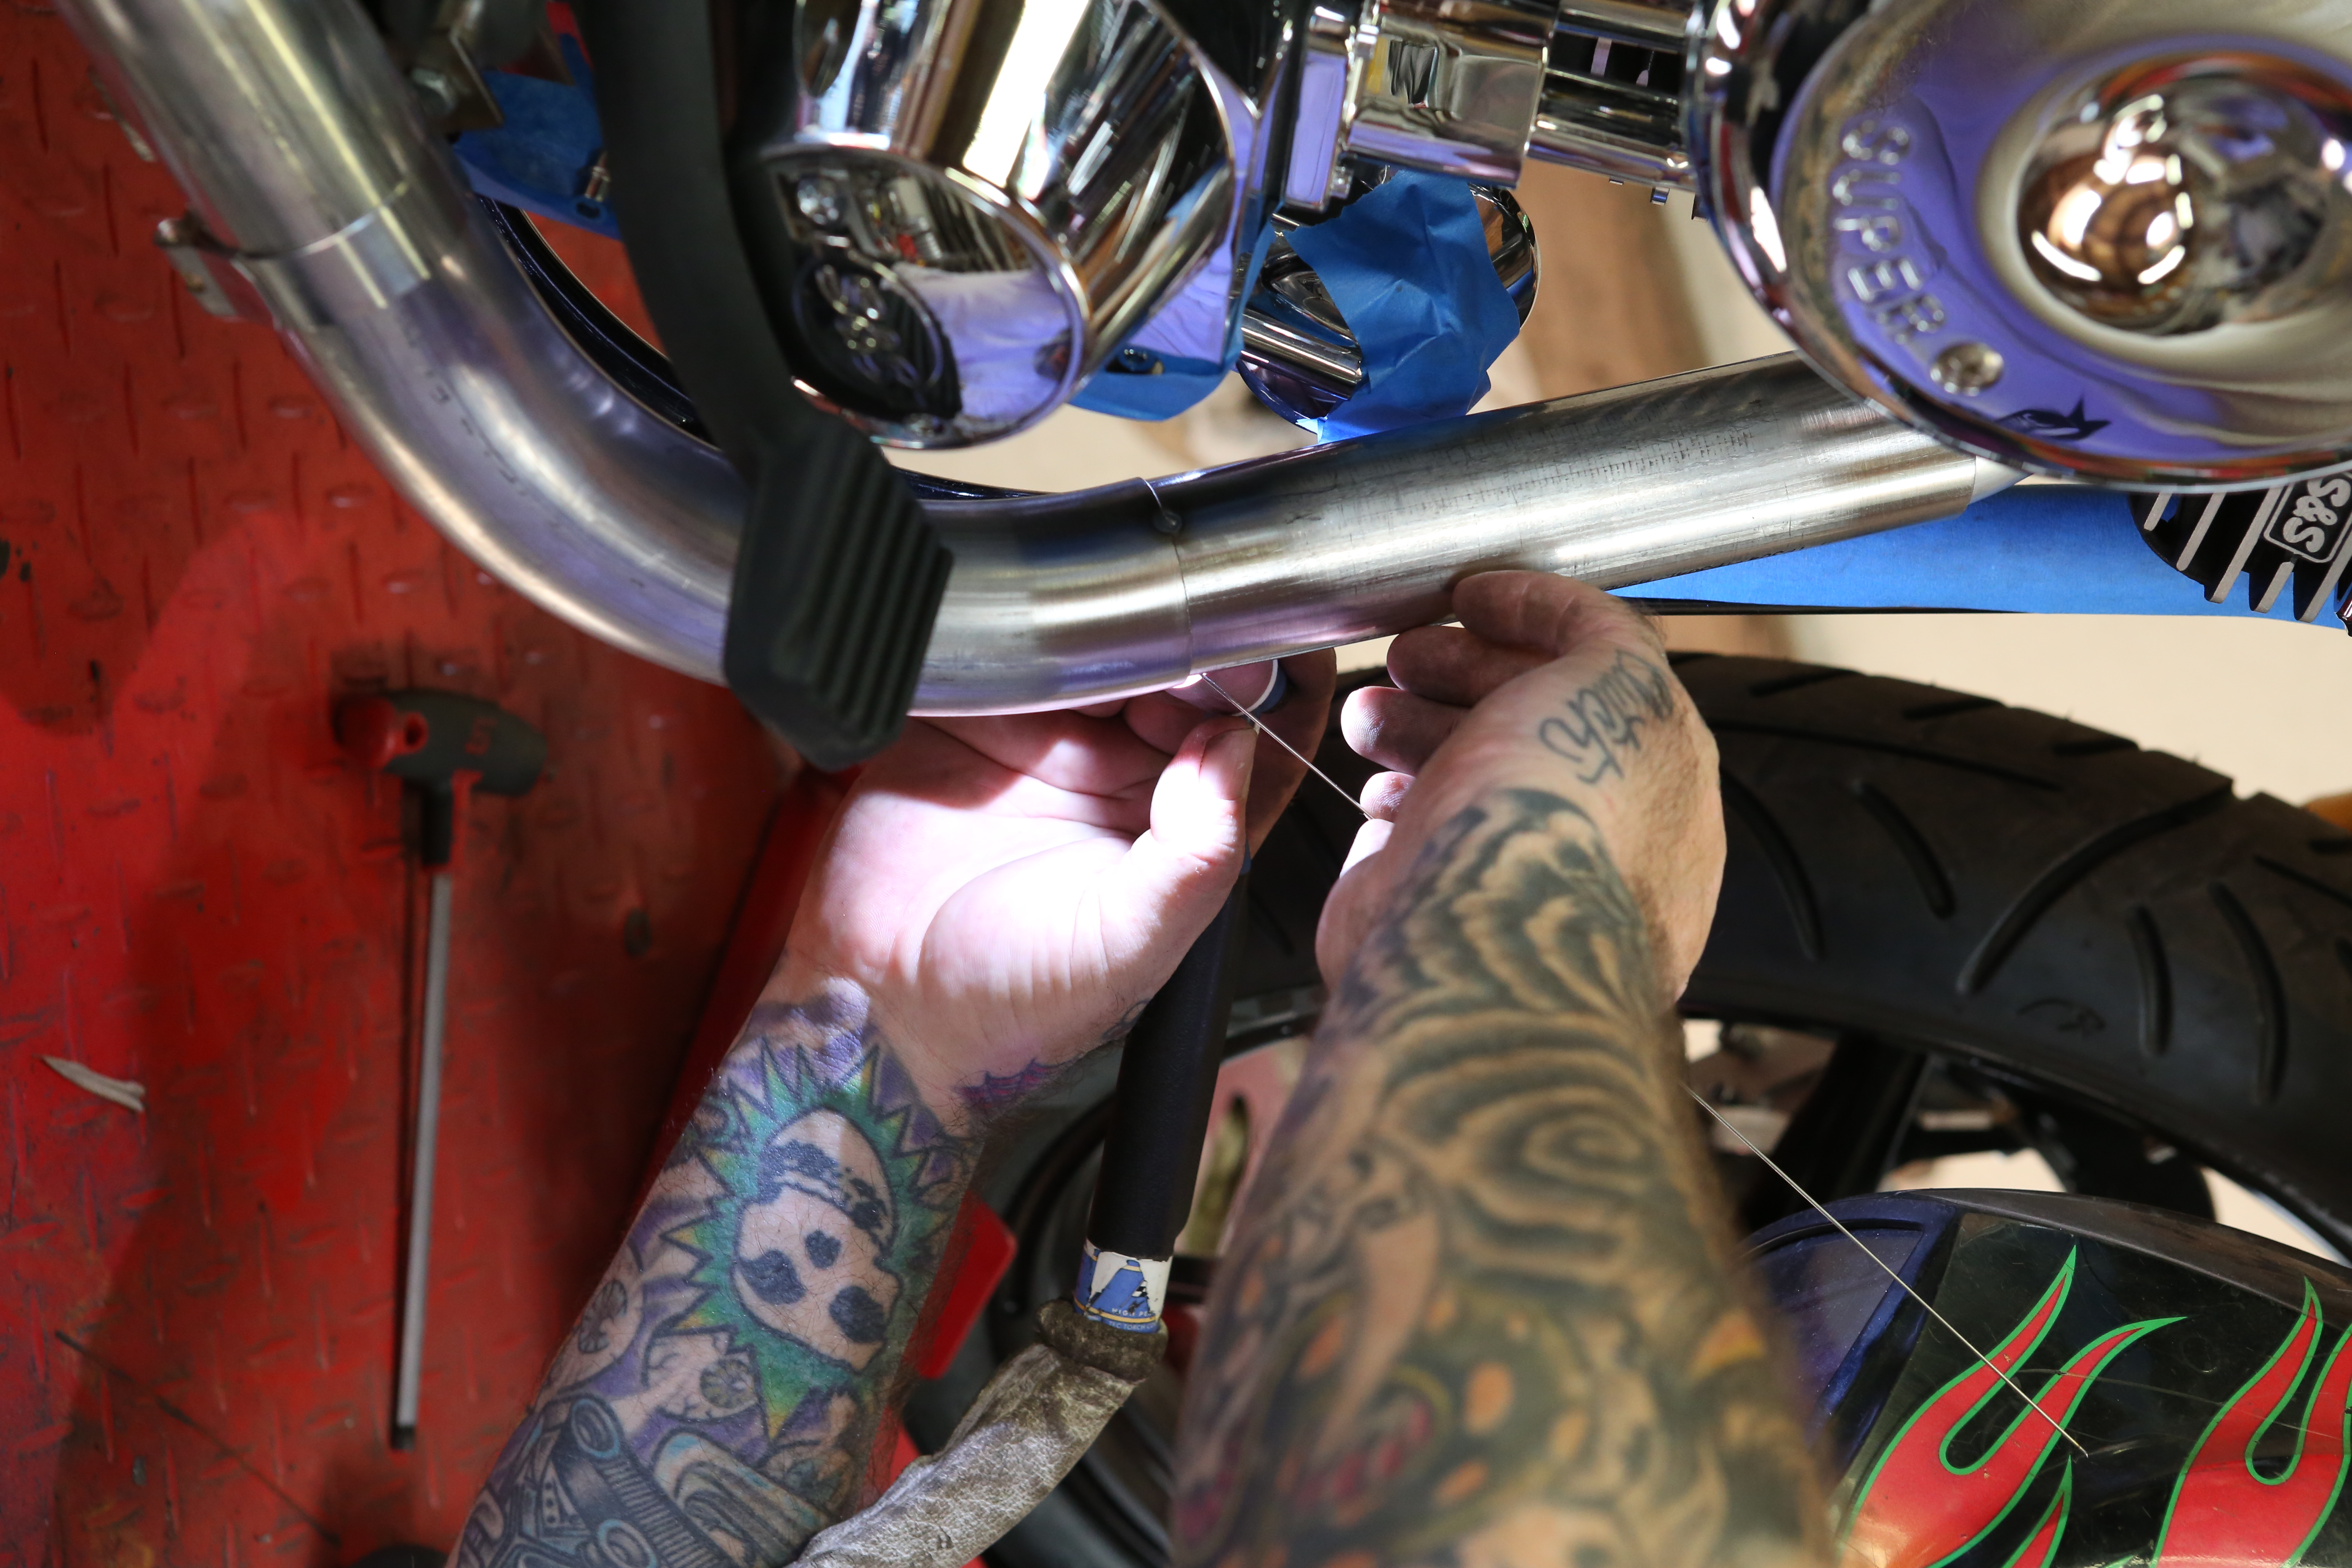
First we cut the bends that will begin our exhaust. After cutting the pieces, we insert them through exhaust flanges and attach them to the cylinder heads.
Words: Chip Kastelnik Photos: Mikey Van Senus
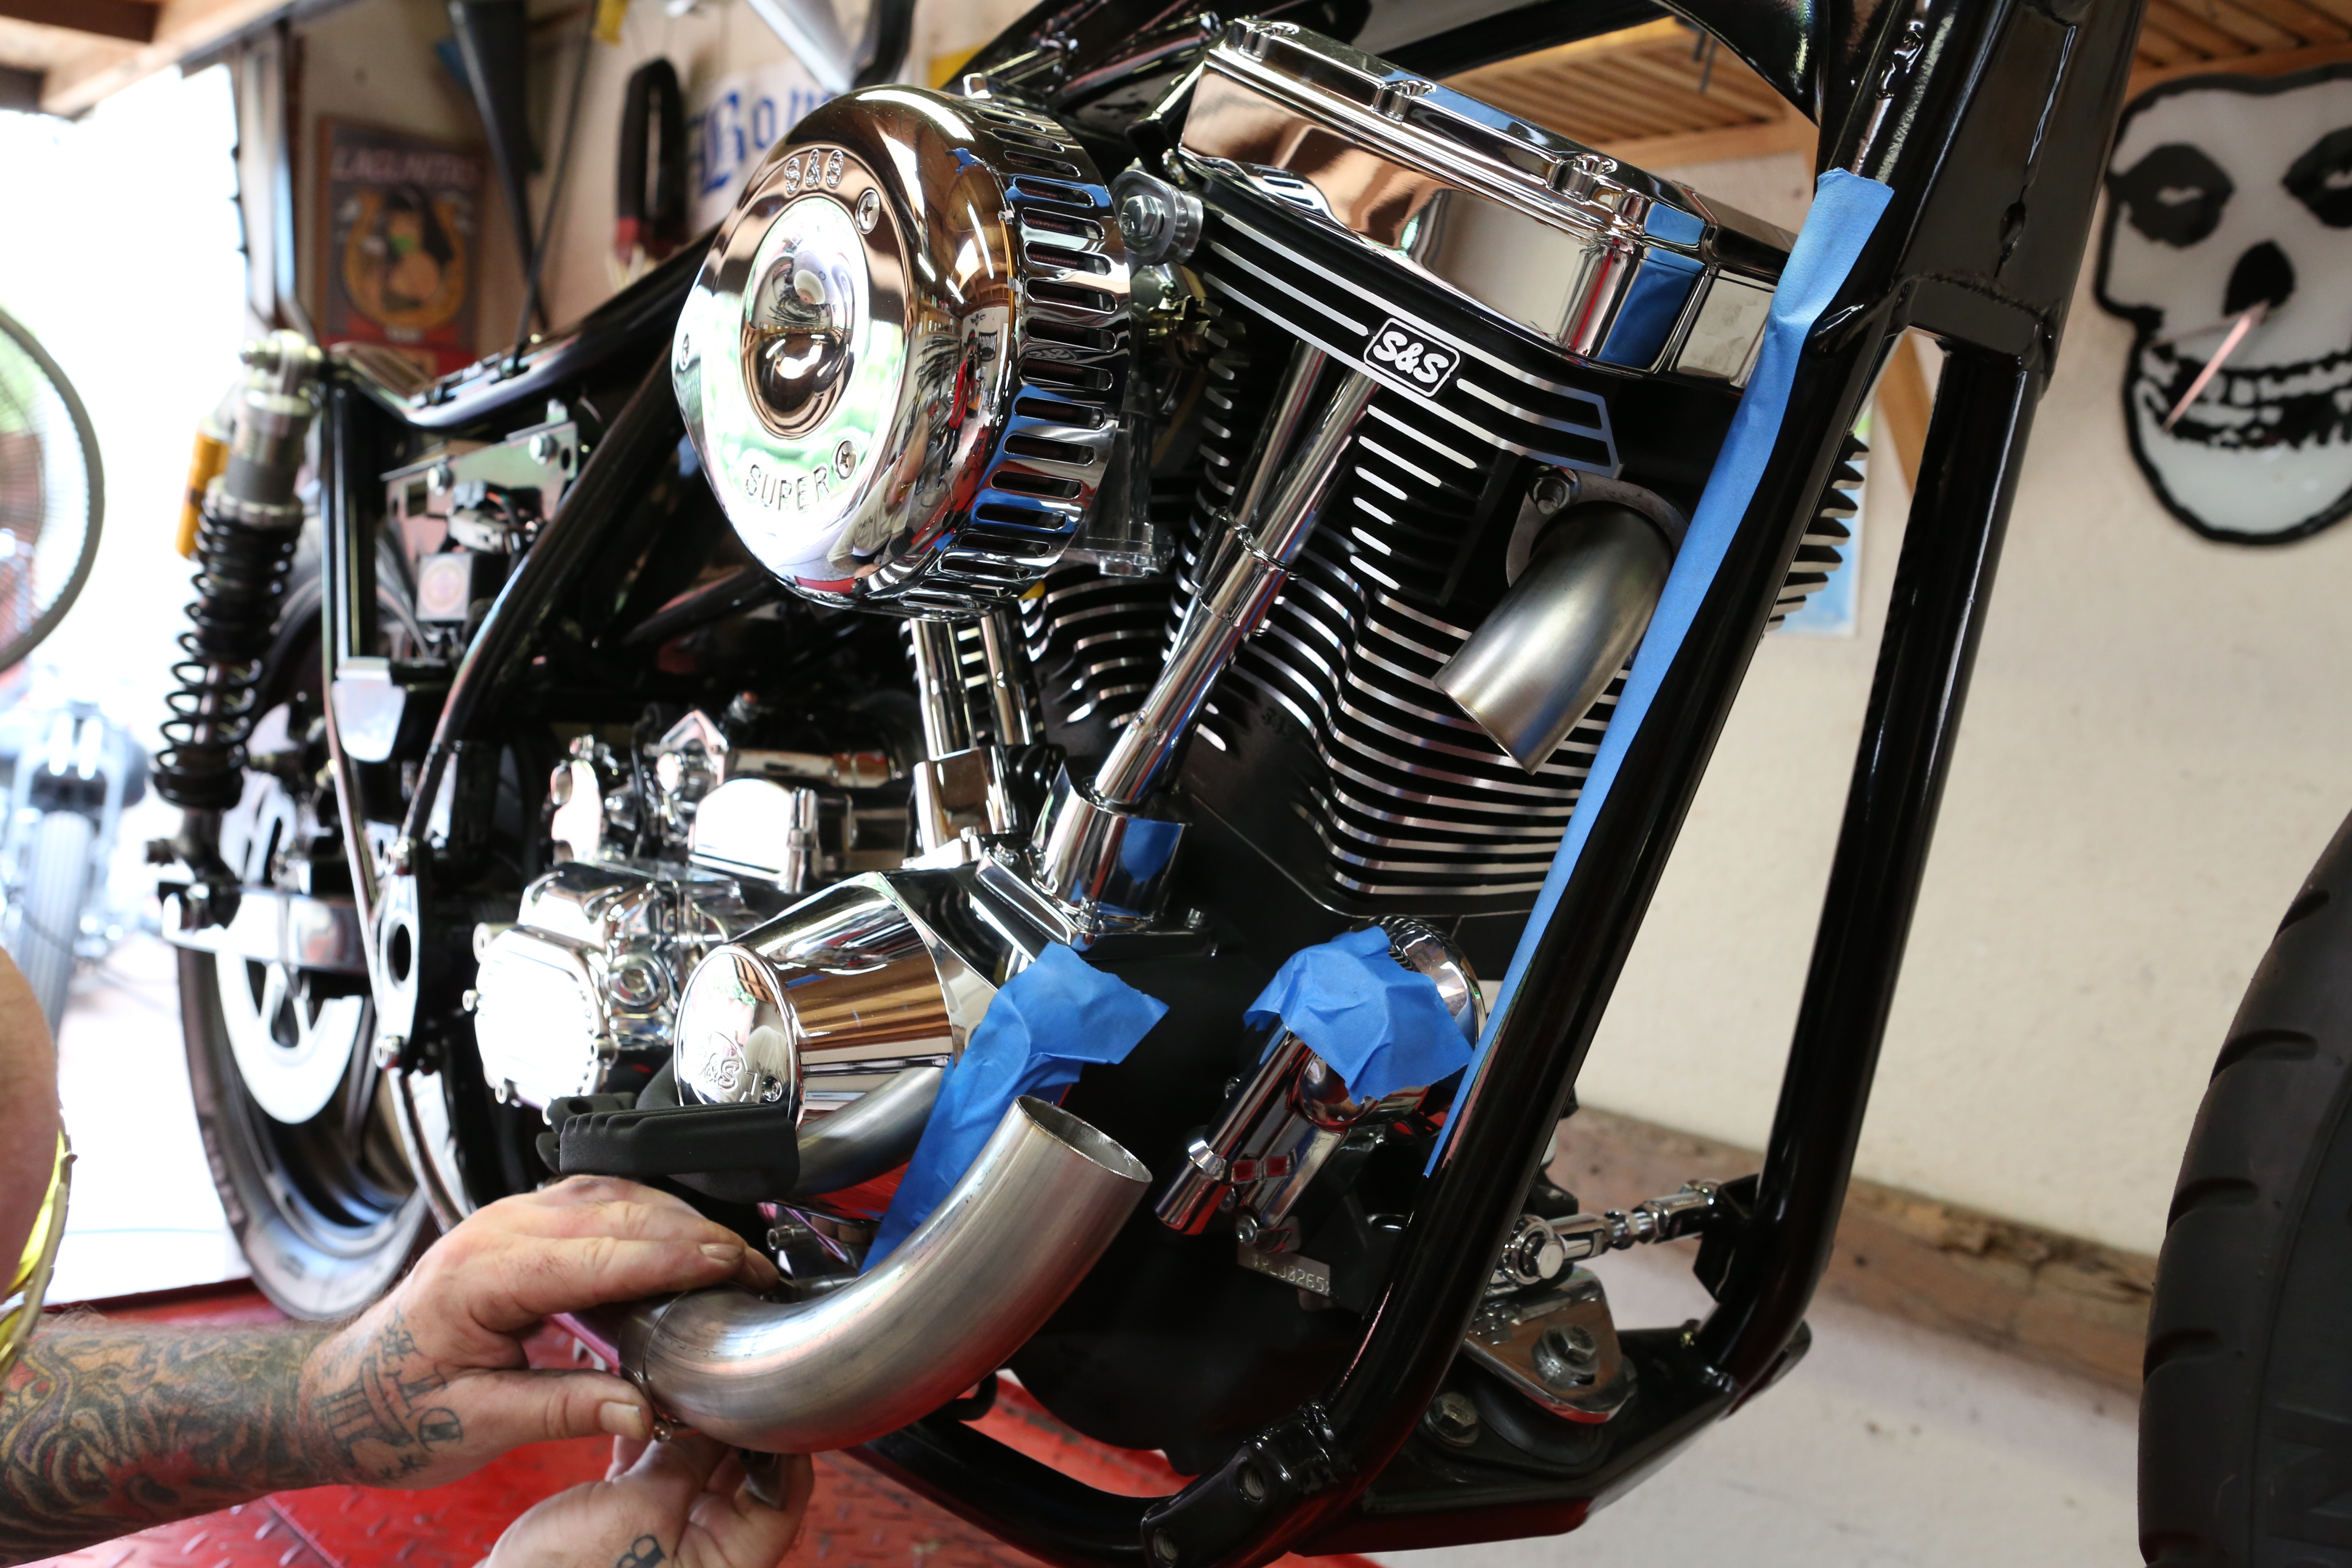
Next, we cut the front header pipe’s first bend and align.
Words: Chip Kastelnik Photos: Mikey Van Senus
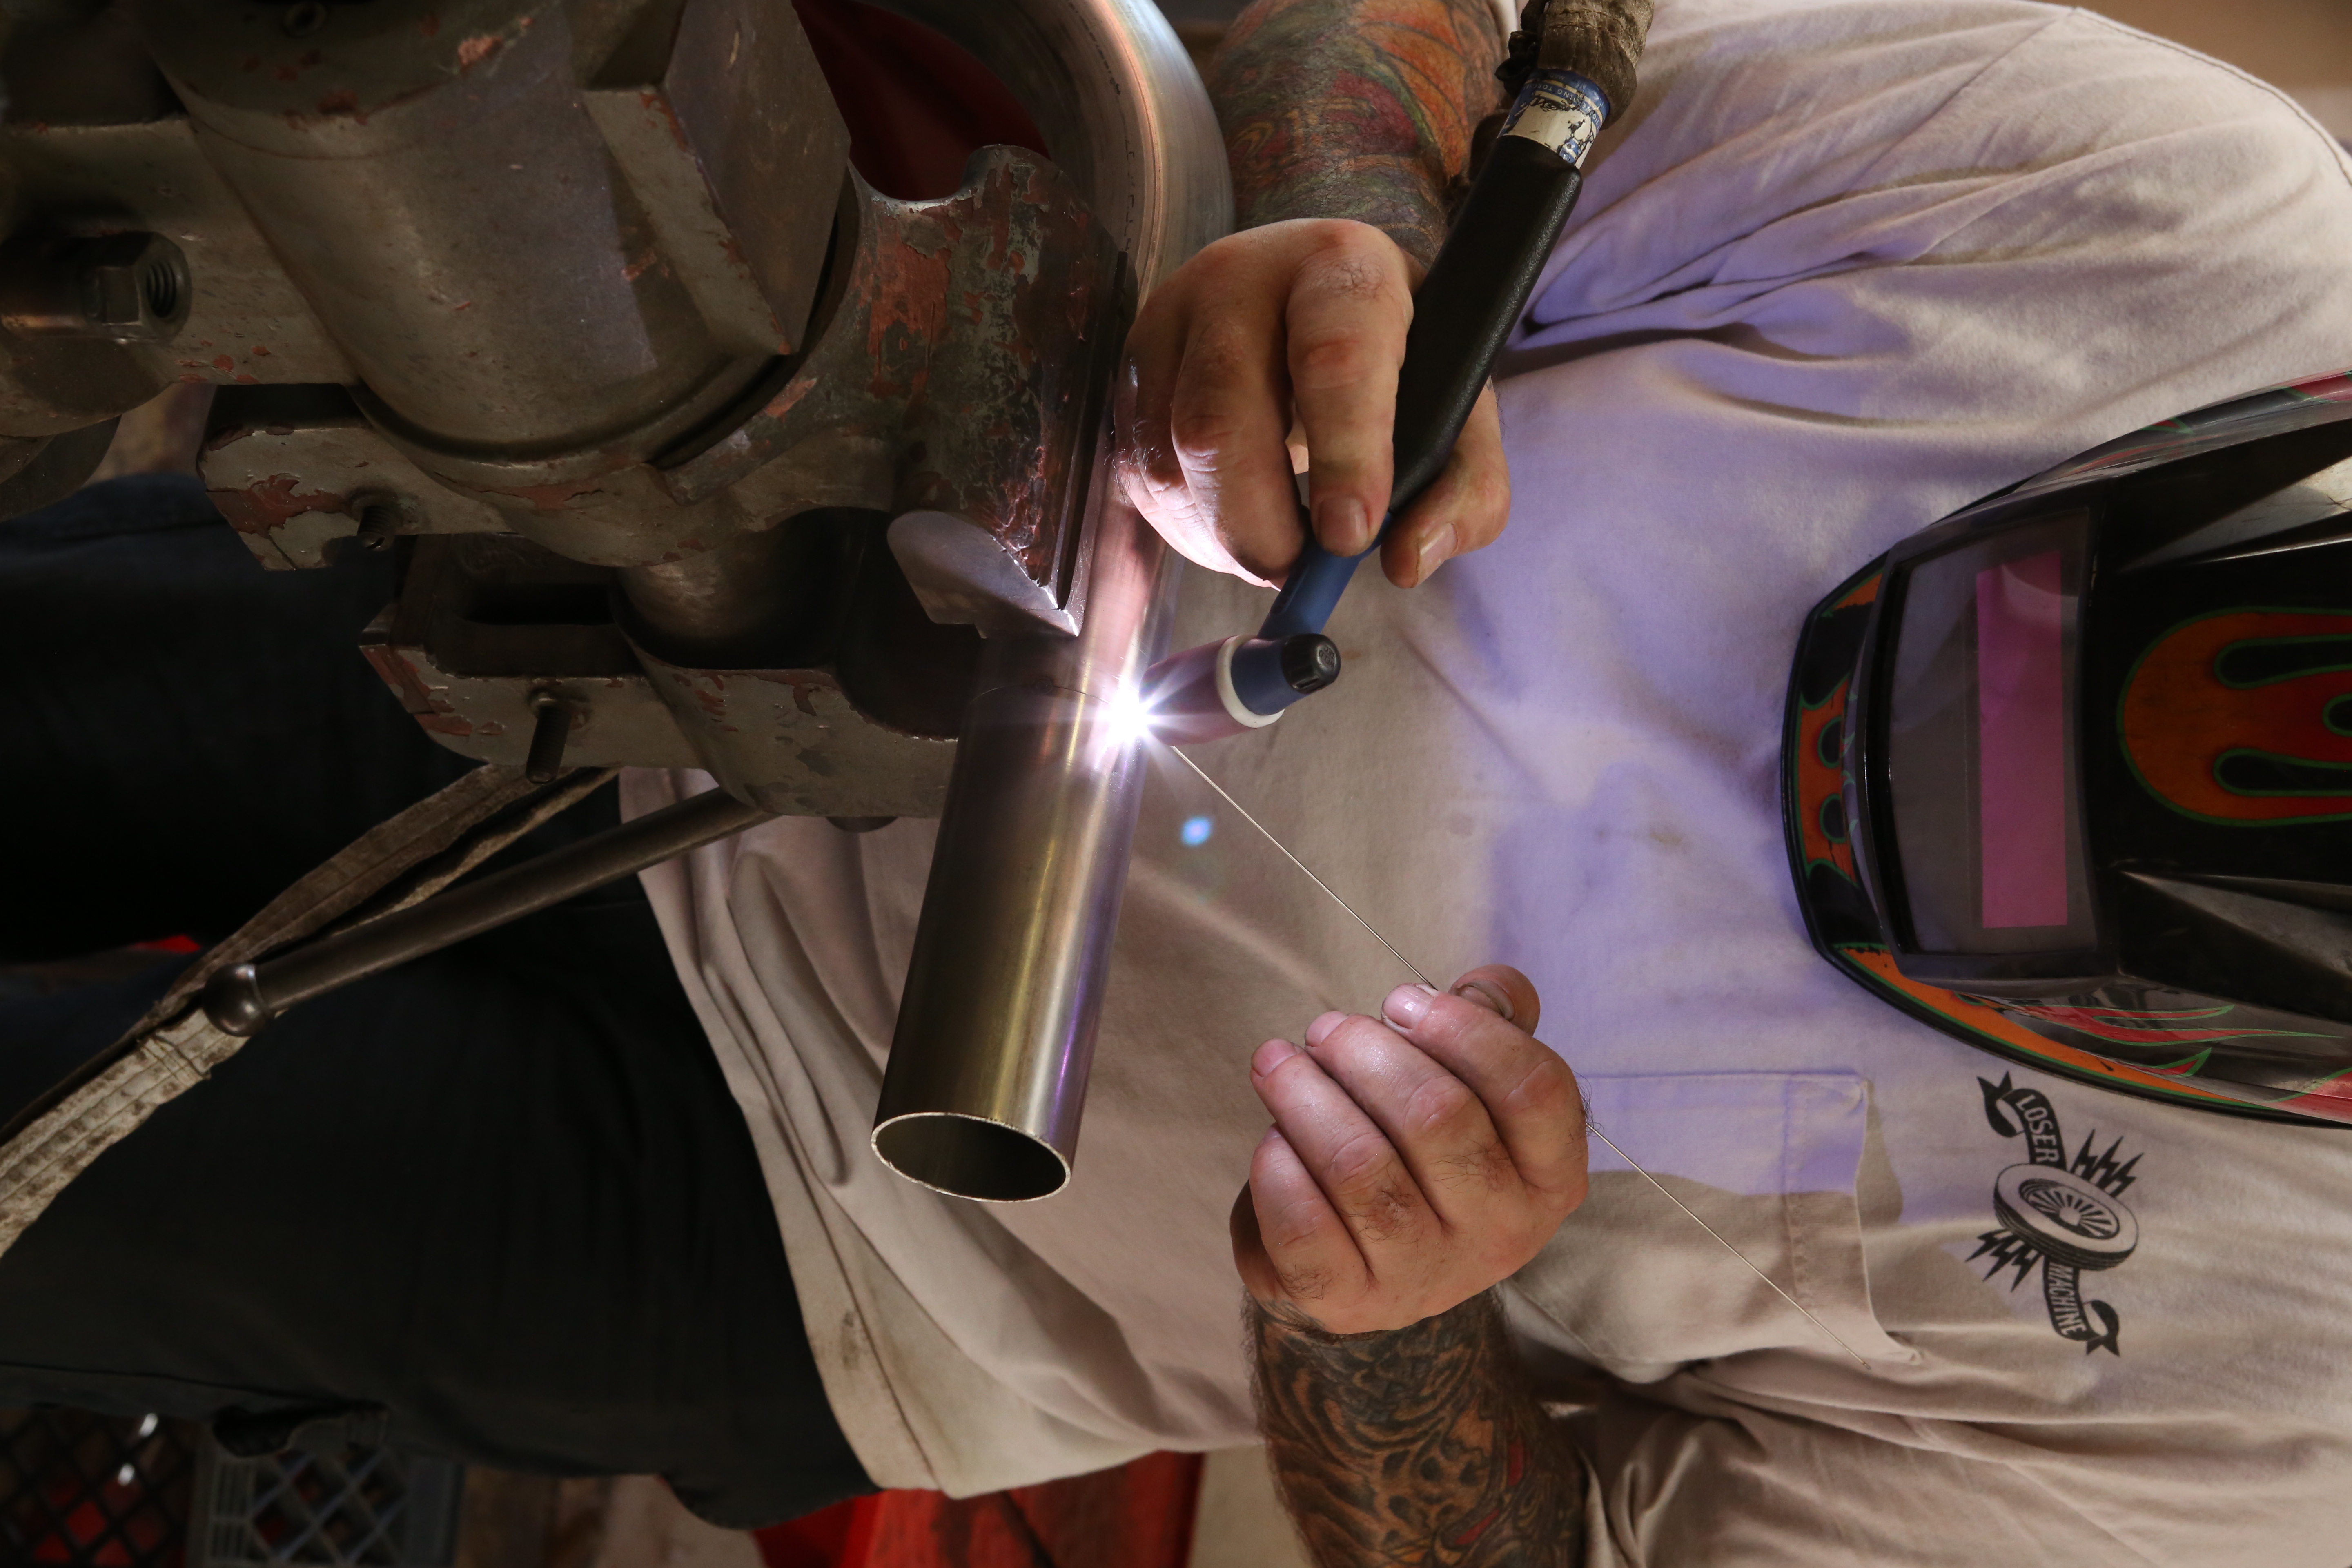
Steve tacks the header pipe pieces together.
Words: Chip Kastelnik Photos: Mikey Van Senus

After a few tack welds and using pipe clamps we can start to see the exhaust lines coming to life.
Words: Chip Kastelnik Photos: Mikey Van Senus
We add a few more tack welds to keep the pieces in place as we move around the bike and prepare additional pieces.
Words: Chip Kastelnik Photos: Mikey Van Senus
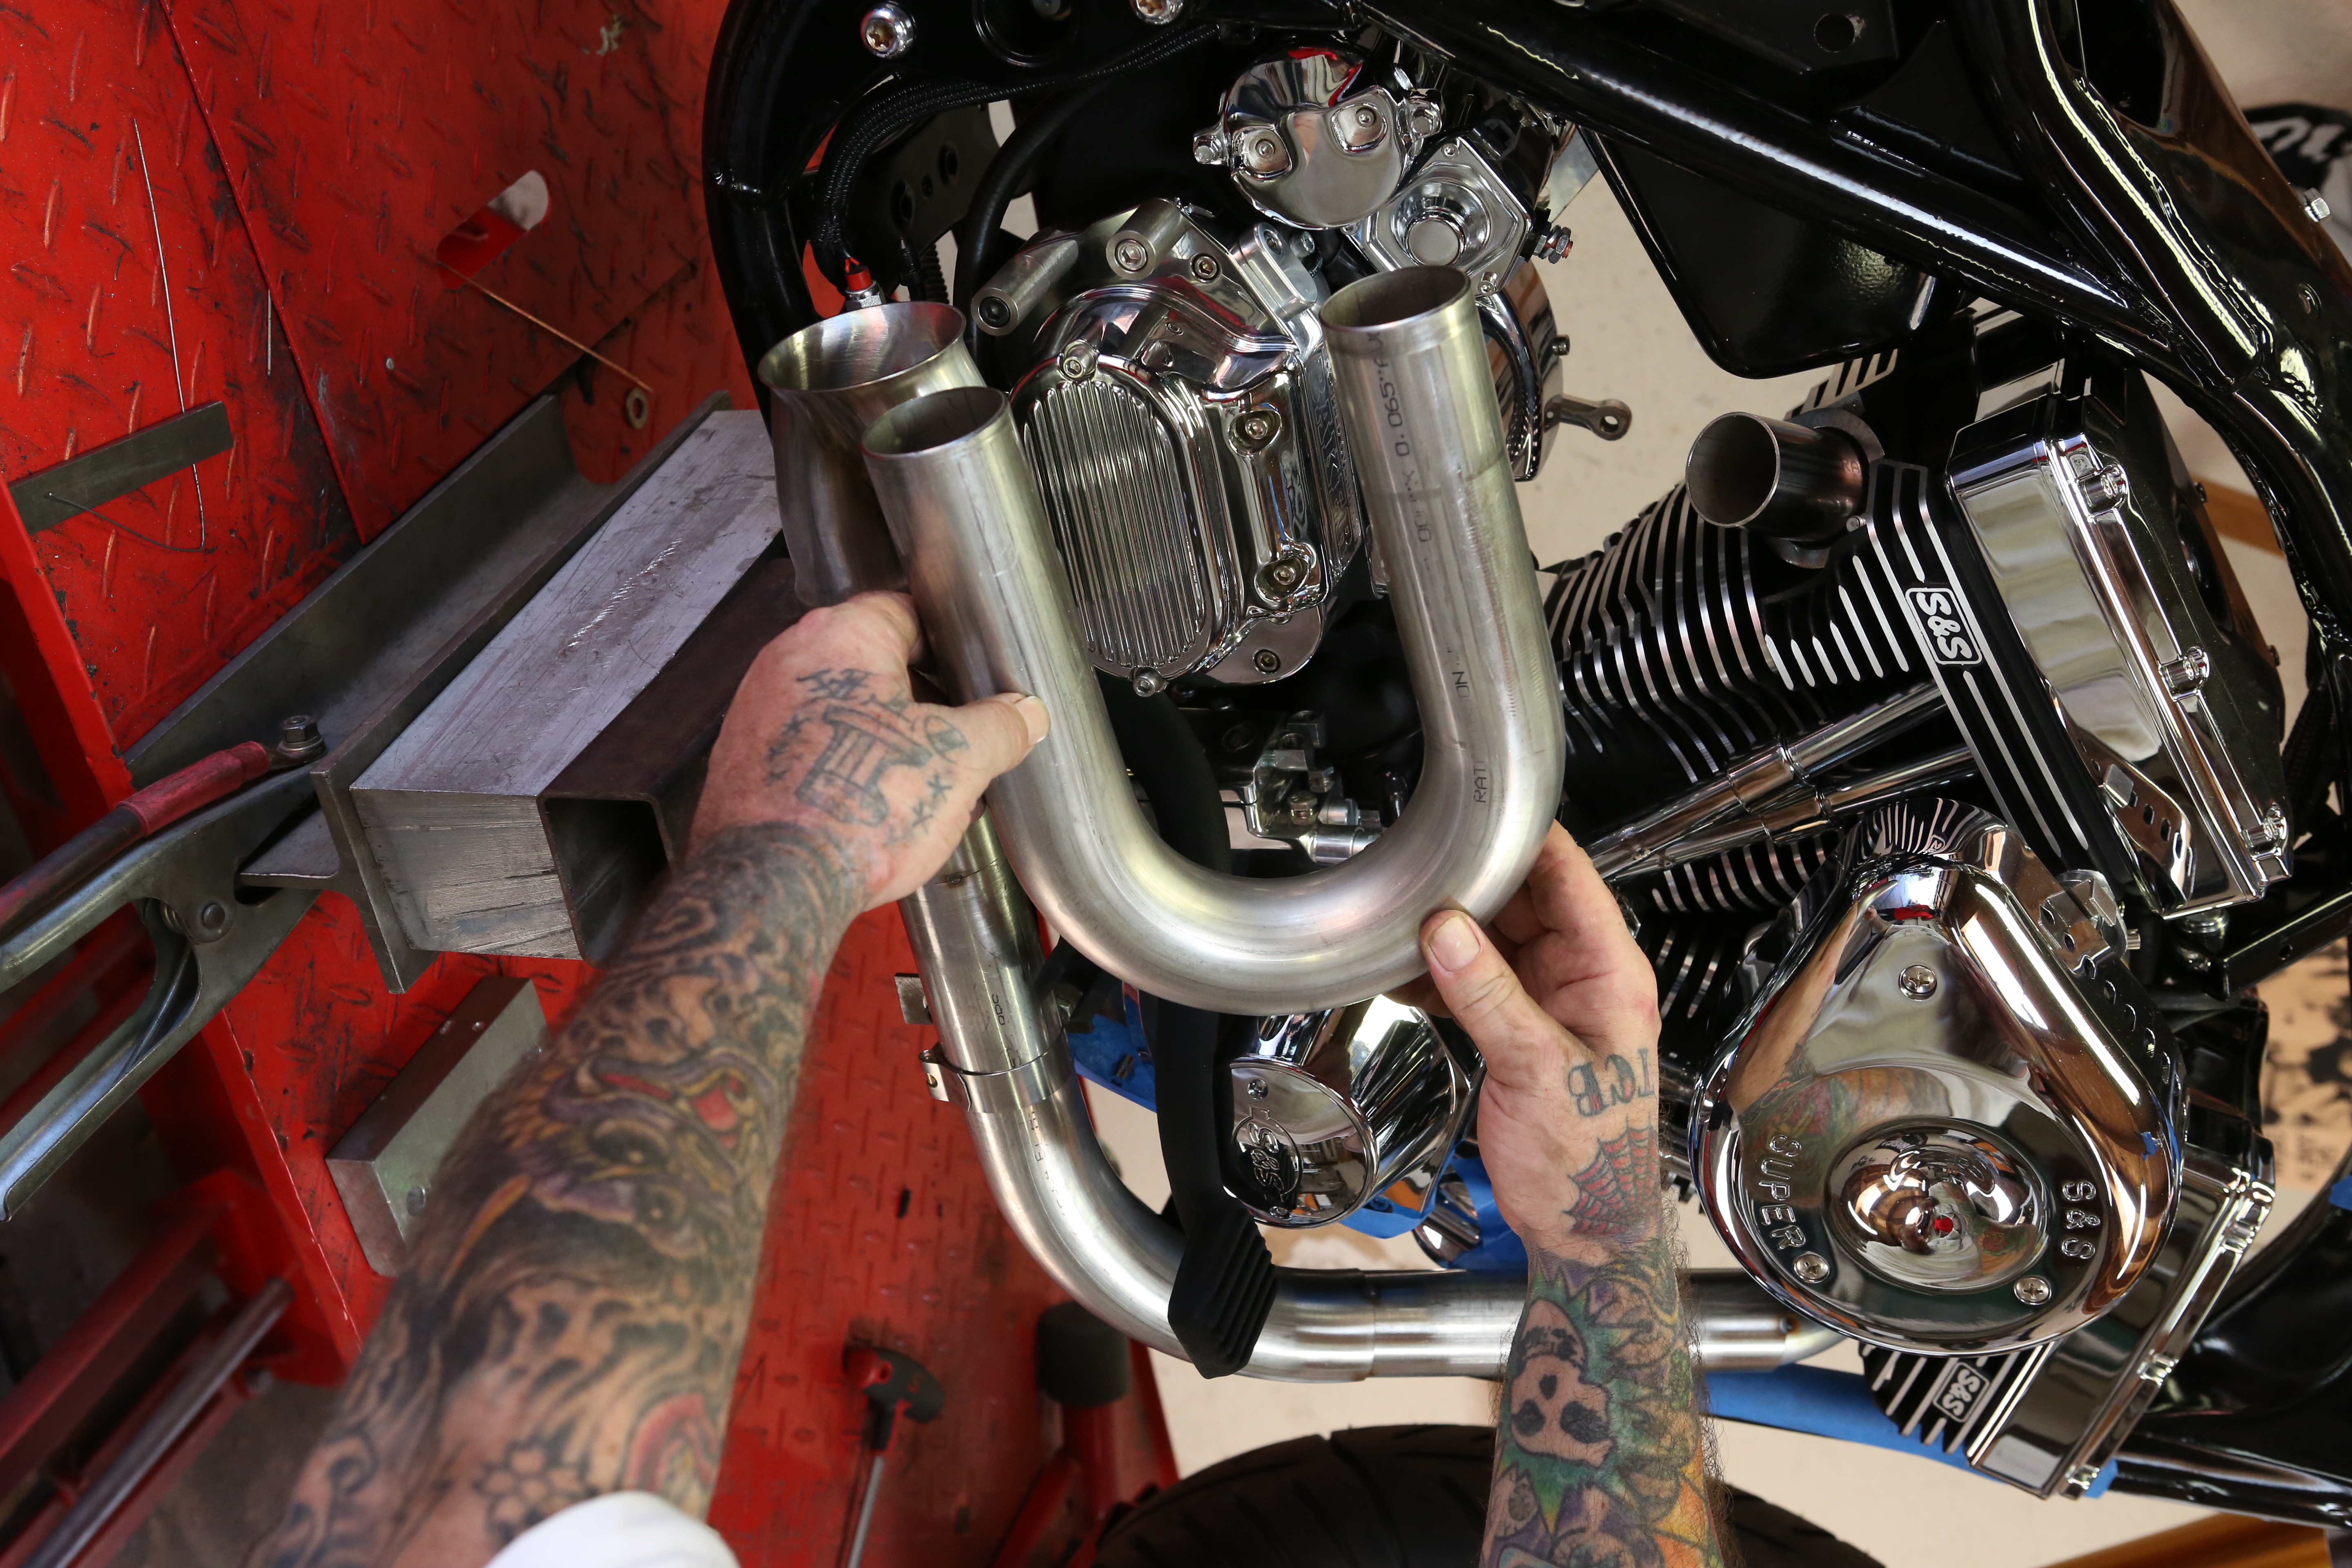
Moving on to the rear header pipe, we take a “U-style” bend to wrap the rear header pipe around the transmission case.
Words: Chip Kastelnik Photos: Mikey Van Senus
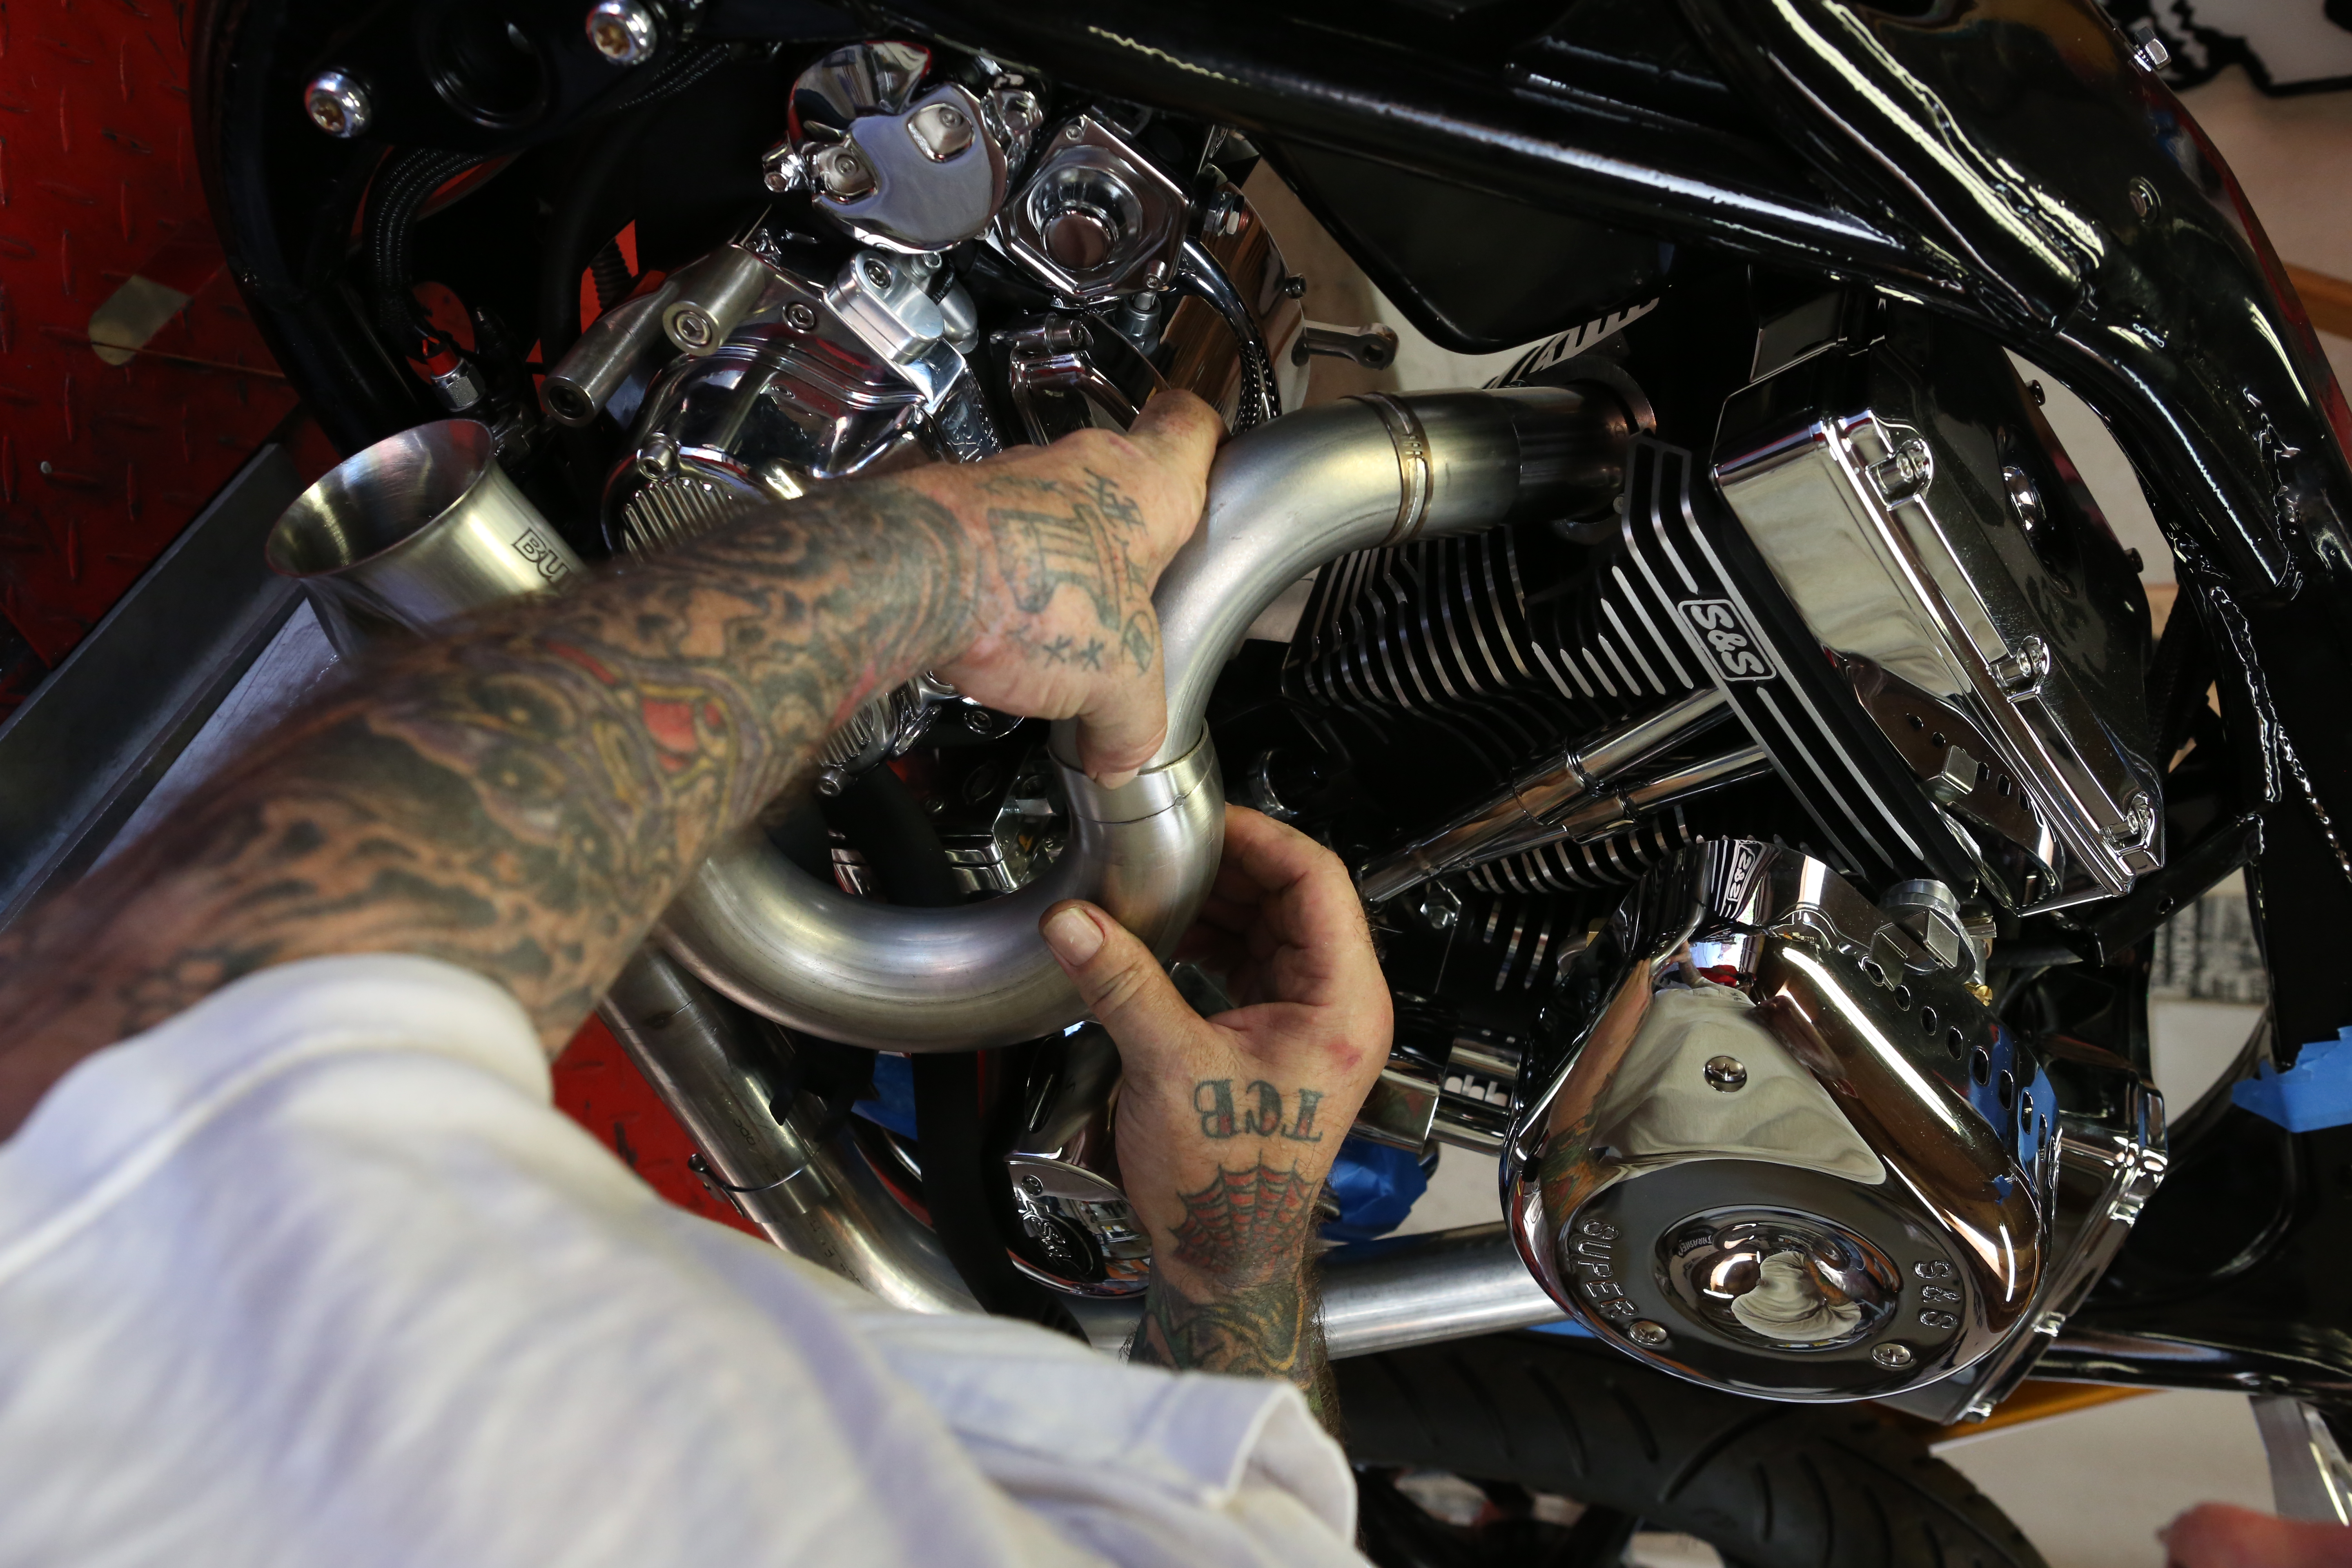
After cutting to size, we re-verify the fitment of the pipe. Measure 10 times and cut once is a good rule of thumb.
Words: Chip Kastelnik Photos: Mikey Van Senus
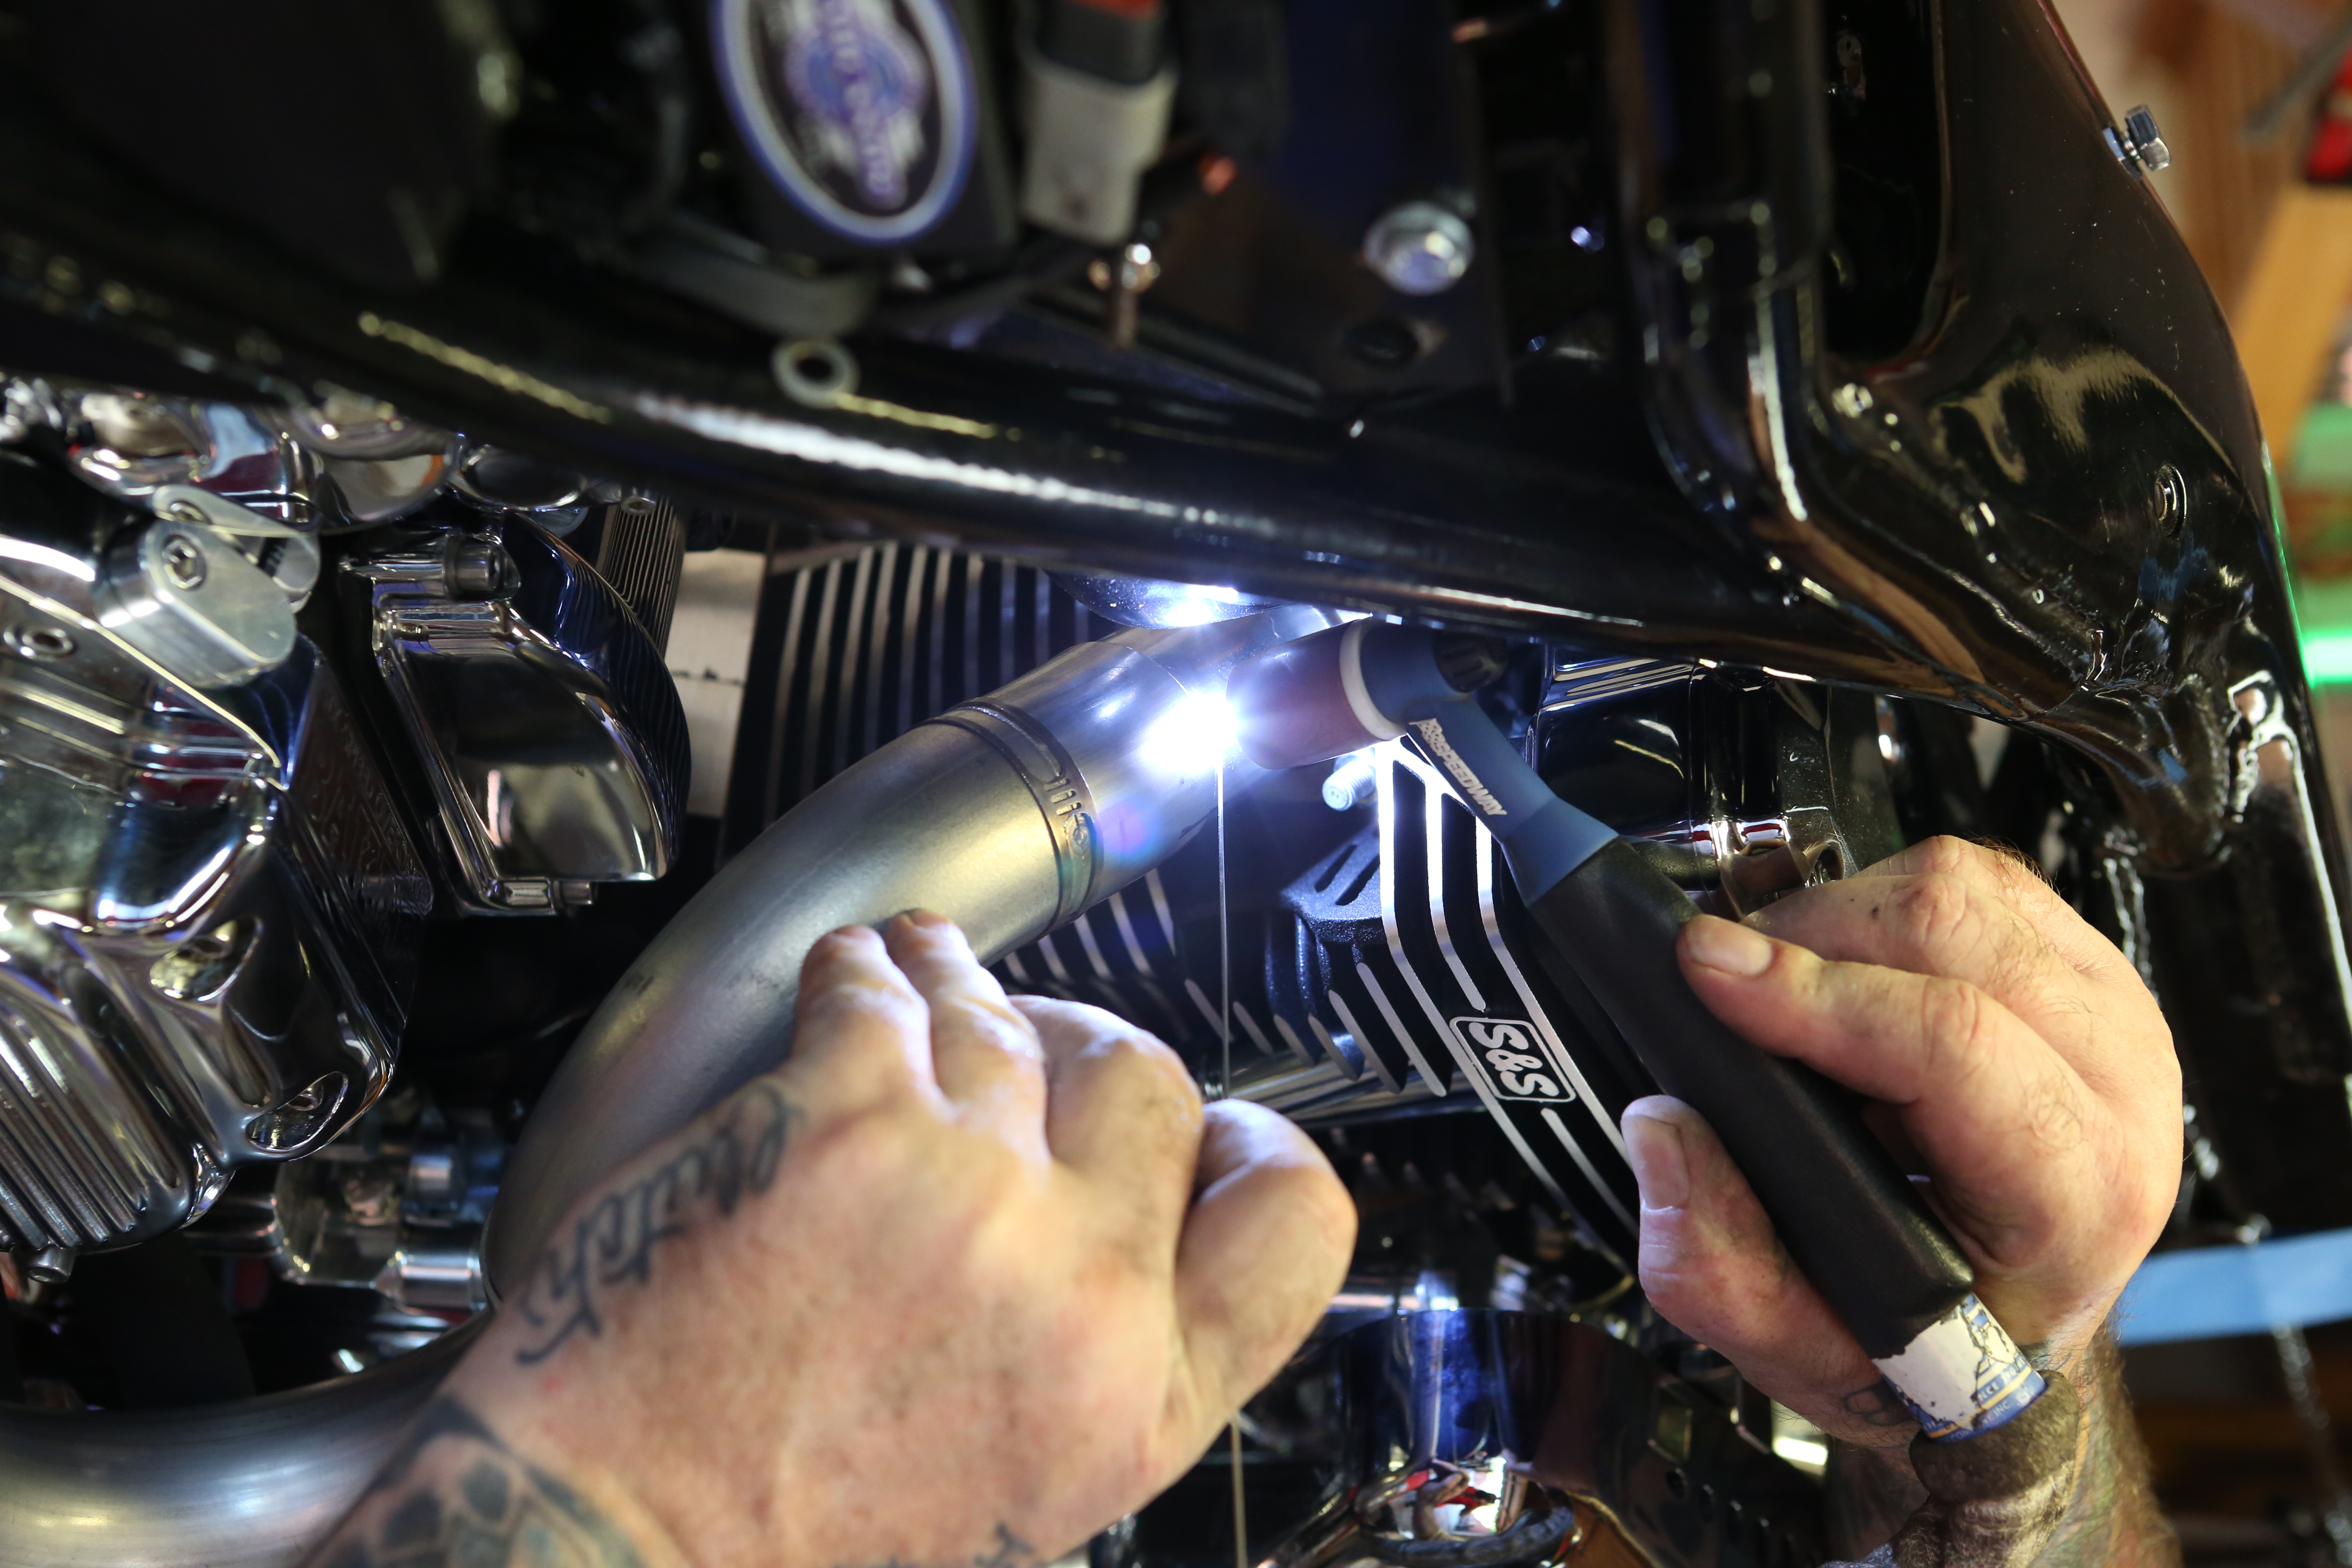
Pictured here, Steve tacks the rear header into place.
Words: Chip Kastelnik Photos: Mikey Van Senus

After we have all the exhaust pieces cut and tacked into place, we can add our collector and muffler. Take a step back and look at your work; now is the time to make any changes to things you don’t like.
Words: Chip Kastelnik Photos: Mikey Van Senus
")


