
Ness/Battistini Speed-Hole Grips And Pegs – Holey Moley
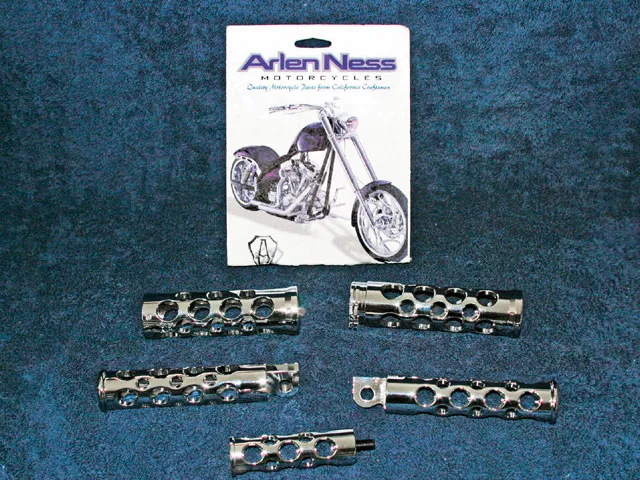
1. Here’s the Battistini Hand Grips (A), Footpegs (B) and Shifter Peg (C), They are offered in chrome, black anodized, or satin finish with either round or oval holes-ours are round. The complete set goes for $262.40.
2. The grips will fit 1-inch O.D. bars. Unlike most grips, which call for a plastic sleeve on the right side of the bars for smooth throttle action, the throttle side of these grips slip right over the bar. To keep the throttle from binding up, the throttle side utilizes a slick roller bearing setup.
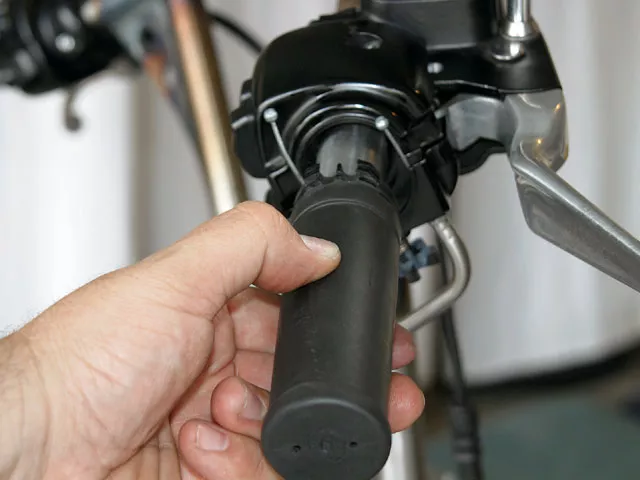
3. We started on the throttle side by loosening the throttle cable and the control housing so we could remove the stock grip.
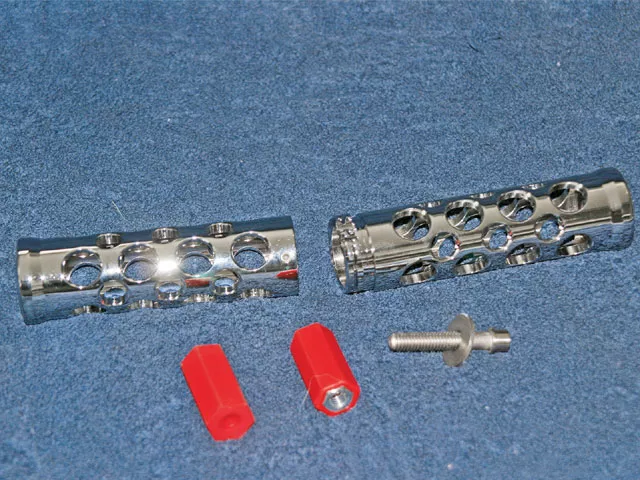
4. In photo #2 you should have noticed there were two red rubber inserts. They are different sizes; you only need to use the one that best fits inside the end of your bars. The insert has a keeper mounted in it on one side to prevent the nut from sliding through.
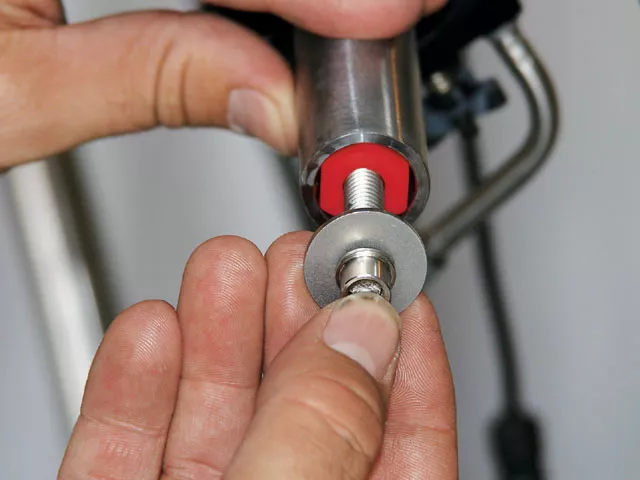
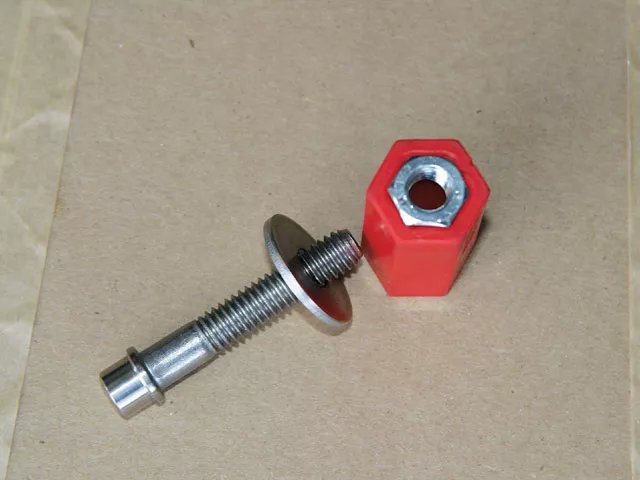
5. The nut end of the insert was slid into the bar first. The insert was pushed in so that it was flush with the end of the bar. The washer was then slipped onto the cap screw and slid into the insert, and threaded into the nut. As the screw is tightened it pulls on the nut, forcing the rubber insert to expand against the inside of the bar, thus securing it in place.
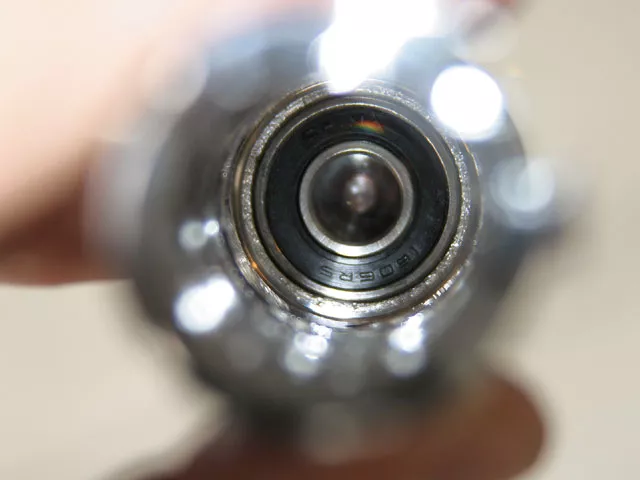
6. Here is a look inside the throttle side grip. At the end of the grip you can see the bearing mounted inside. When the grip is slipped onto the bar, the head of the cap screw fits into the middle of the bearing and the washer rests flat against the bearing. This setup will allow the bearing to rotate freely against the face of the washer, giving you smooth throttle.
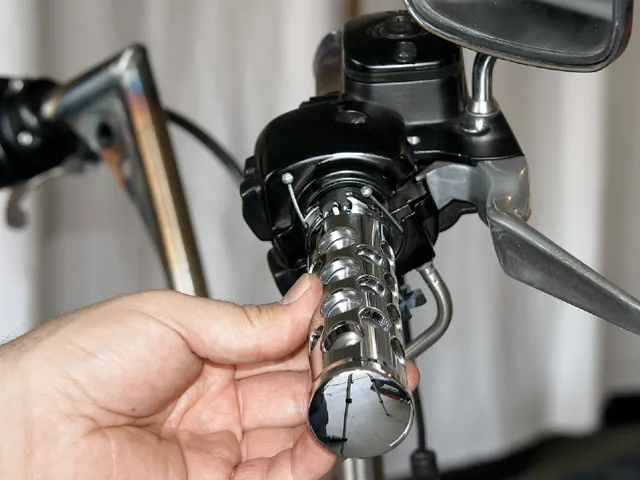
7. The grip was then slid in place, the throttle cables installed, and the switch housing was tightened down. The other side was much easier as all we had to do was remove the old grip and slide on the new chrome grip and secure it with the provided set screw.
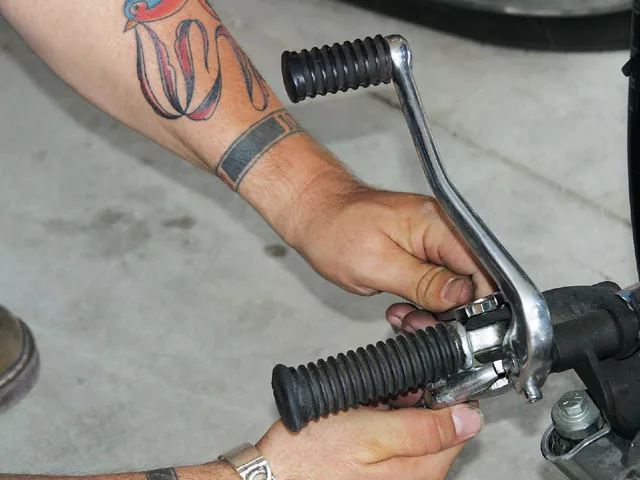
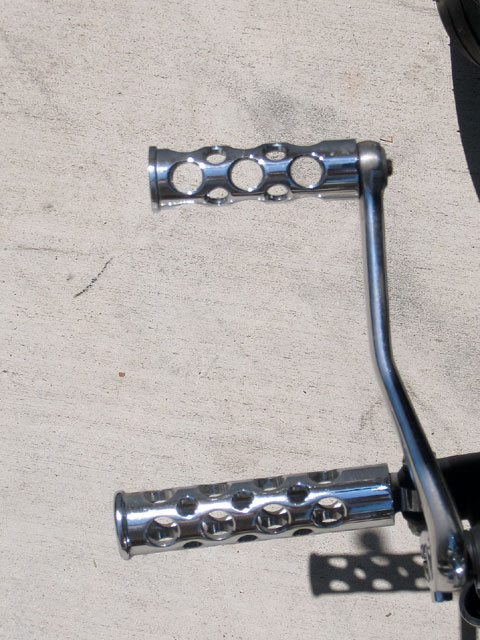
8. Installing the footpegs and shifter peg was really easy. All we had to do was remove the bolt holding the peg in place and pull the stock footpeg.
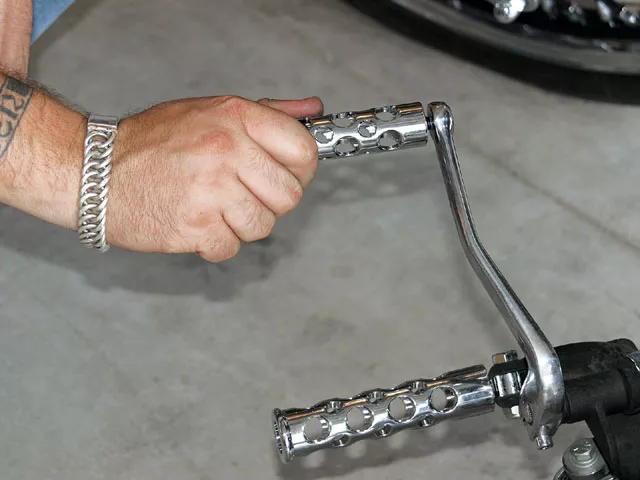
9. The new peg was then bolted in place. The shifter peg was unscrewed from the shift lever, then with some threadlocker on the threads of the new shifter peg. It was then secured into position.
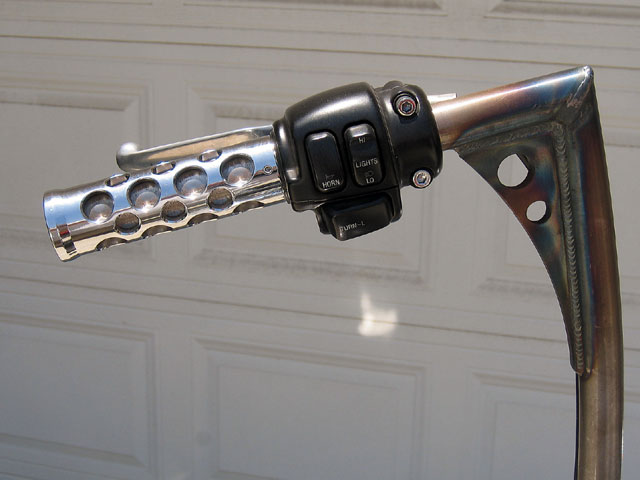
10 & 11. Here you can see the drilled gusset we were talking about on the bars. The new speed-hole pegs and grips match pretty well, and it took less than an hour to make the swap from stock rubber to new chrome.
A few issues back we installed a set of Knuckle Bars from Todd’s Cycles on our ’96 Softail Springer project bike. And while we weren’t going for a specific theme or style for the bike, when we were looking over our current cover bike we quickly picked up on the speed-hole theme and especially noticed the grips and pegs from Battistini available through Arlen Ness, and thought they would look good with the drilled gussets on the bars.
Many years ago, the drilled or speed-hole design came about more out of necessity rather than style. In the never-ending quest for speed, once every unnecessary part was stripped off the bike, racers looked to lighten the load by removing as much metal material as mechanically possible and still make a safe pass down the strip. This could be done in a number of ways, one of which was to just drill holes wherever you could. From that point, like many themes, it became more of a style or look and less of an actual performance enhancement. Even though we don’t plan on running this Springer down the drag strip, we do like the look of the speed-hole theme.


