
Old Style Paint Part 1
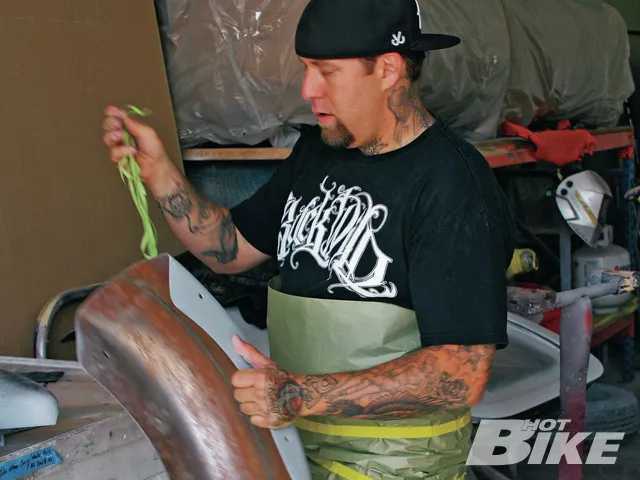
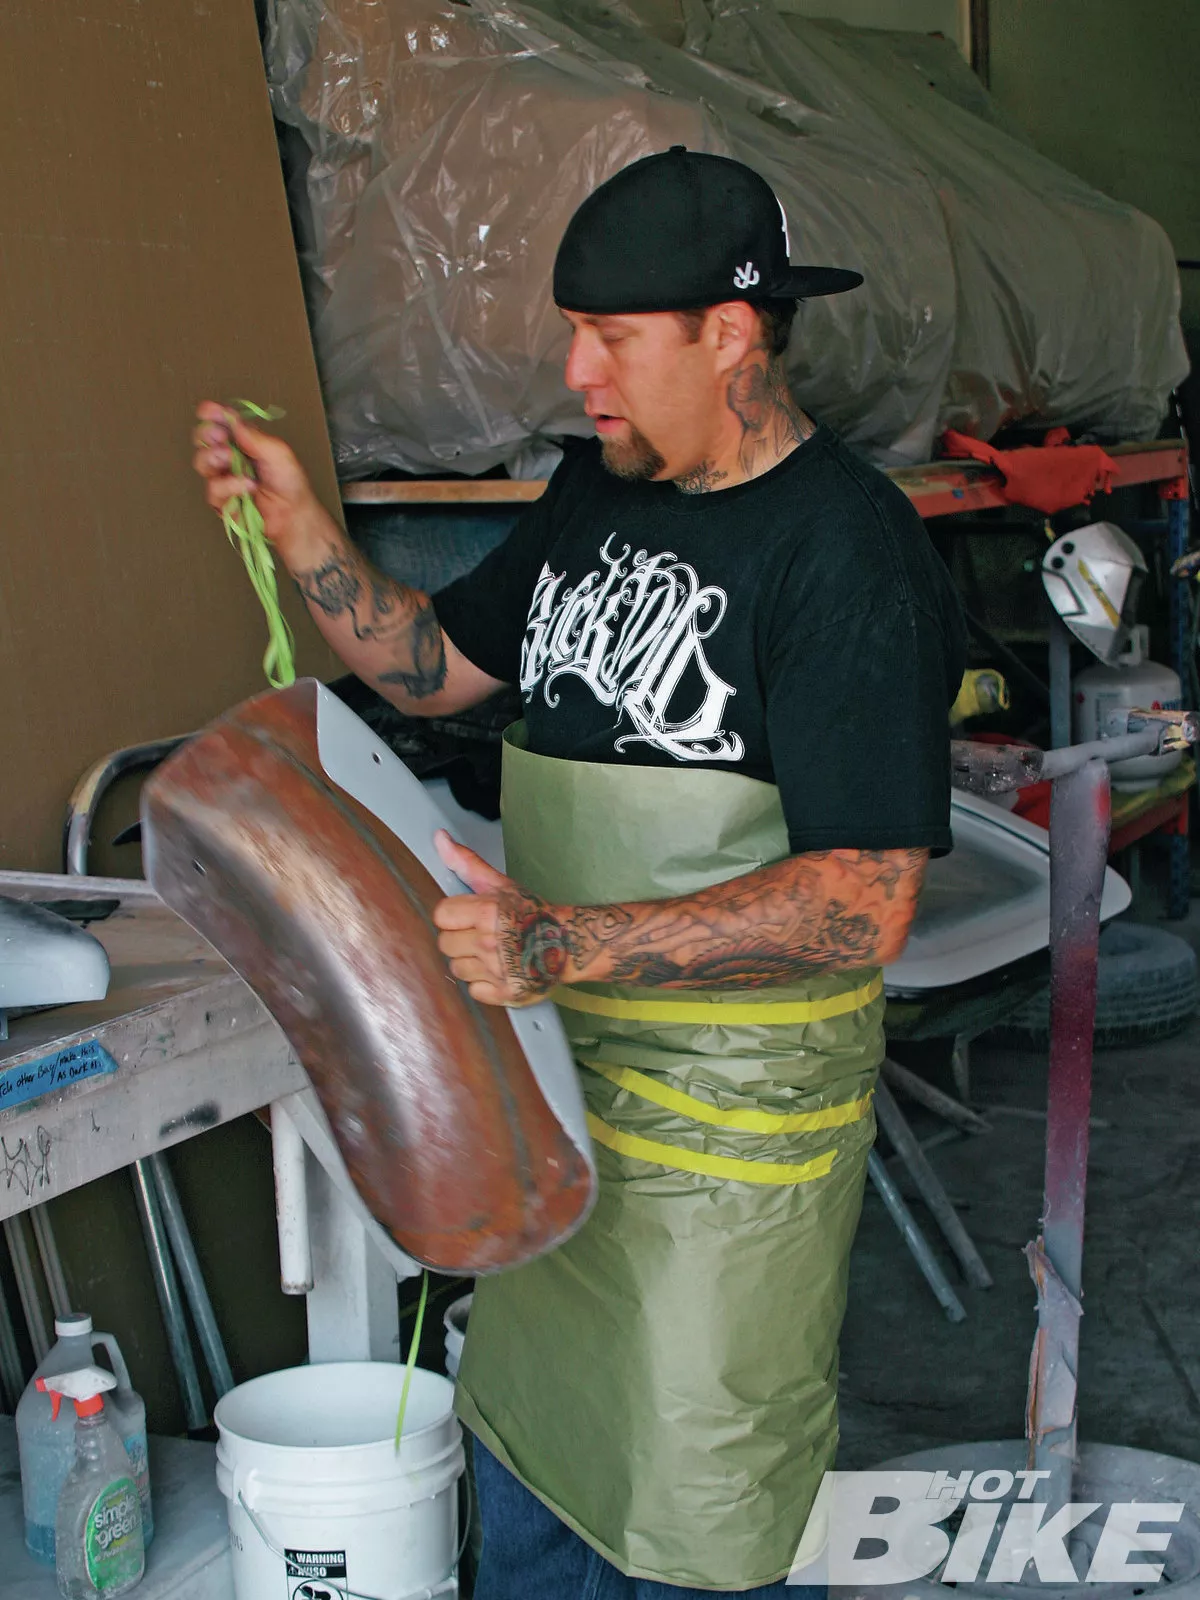
01. When we arrived at the shop, Mike had finished with all the bodywork and was ready to lay down some primer. Here we see him displaying one of his tricks of the trade: using masking paper as a work apron.
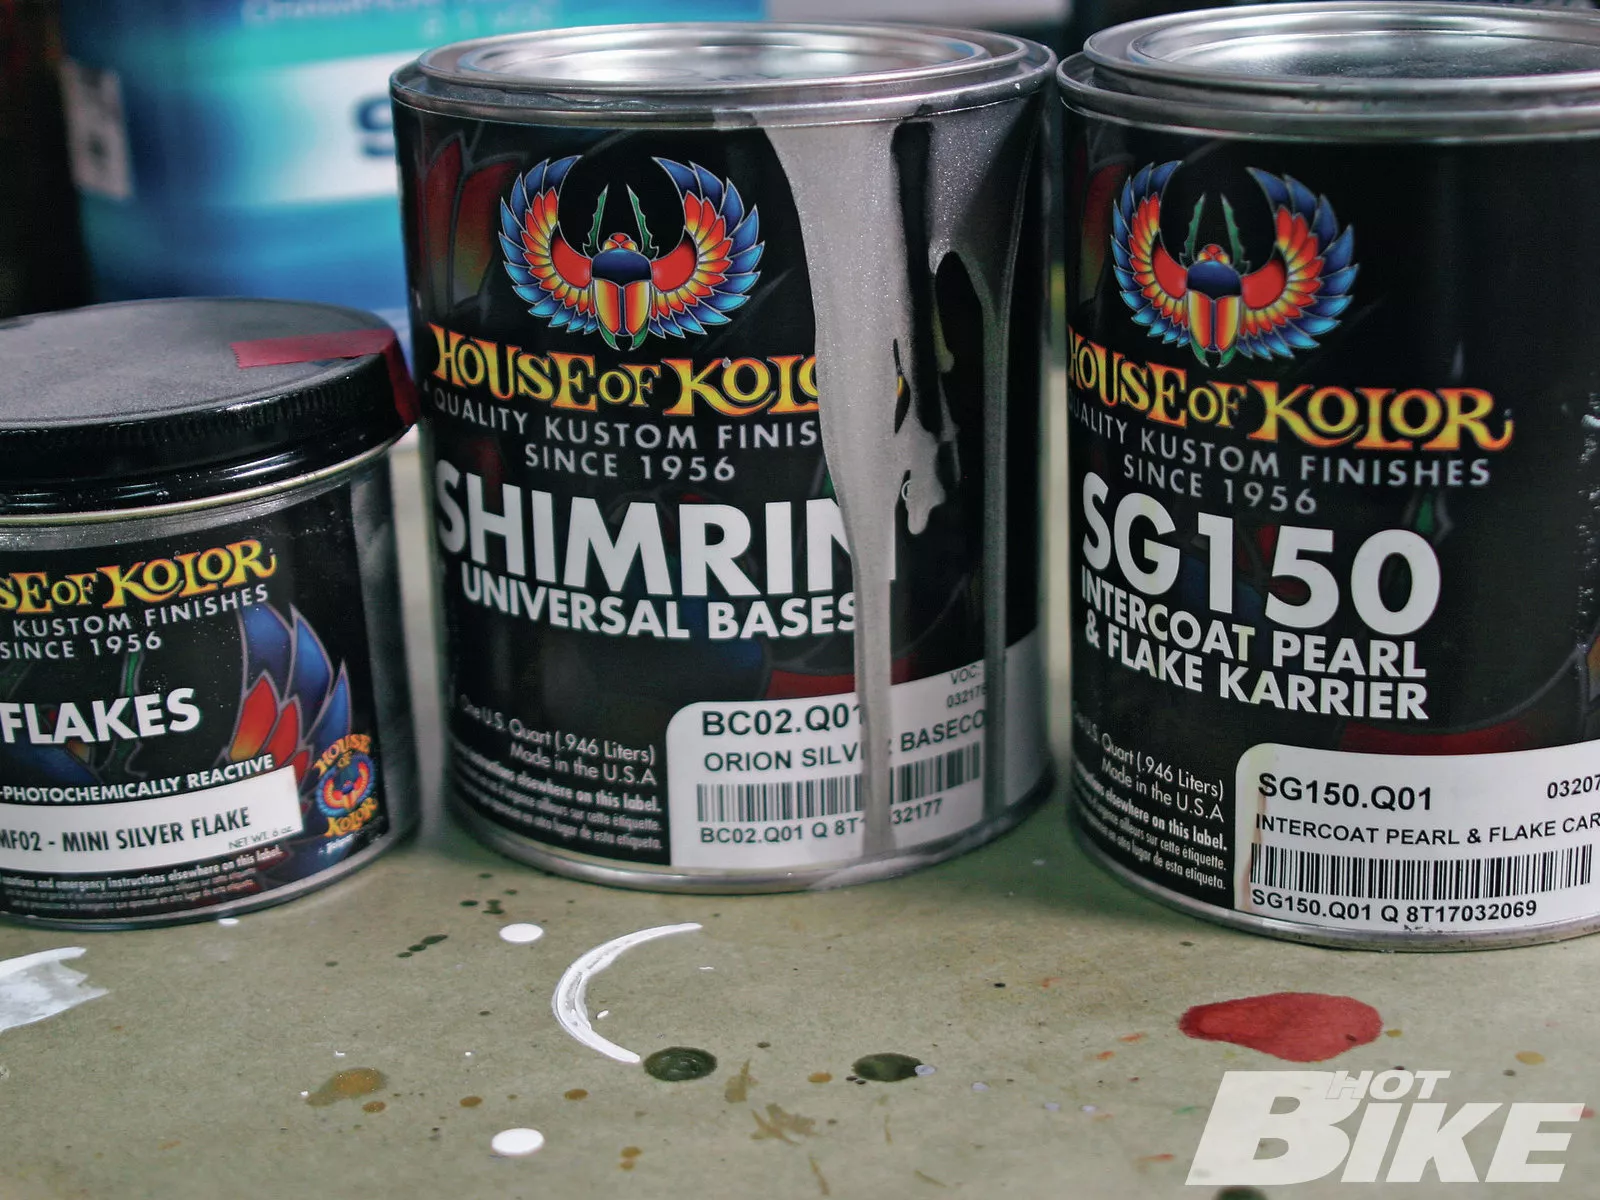
02. Here’s a display of some of the materials that will be used for this project. Mike only uses House of Kolor brand because he says it’s made for the custom painter, it has a high build potential, a wide range of custom colors, is easy to work with, and is comprised of quality materials that make for an overall better finished product. For this project, he will be using silver base, Silver Flake, black, transparent Oriental Blue, blue, teal, and Kandy Blue.
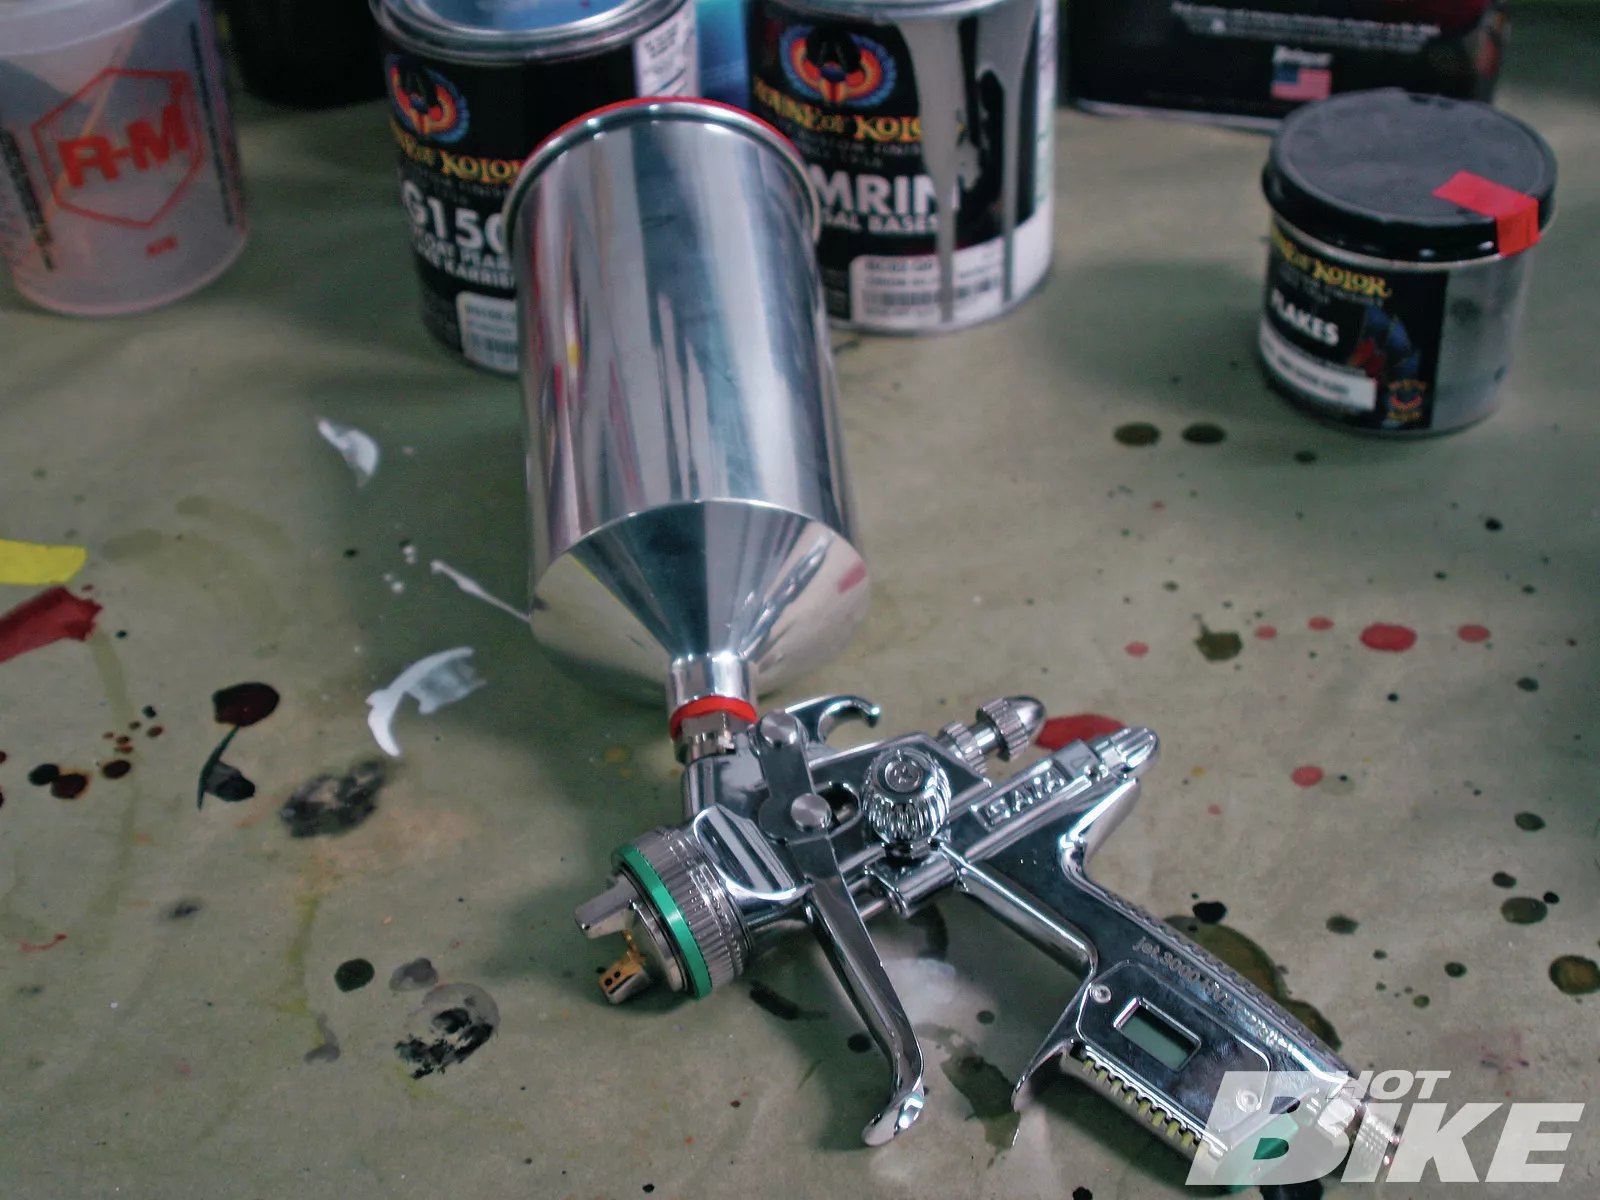
03. When it comes to laying basecoats and covering large areas, Mike uses Sata spray guns because he says they last forever, provide excellent and fast coverage, are efficient, and don’t waste a lot of material. This particular sprayer is an HVLP gun, meaning that it utilizes a higher volume of air but at a lower pressure to disperse the paint. This results in less overspray and loss of material.
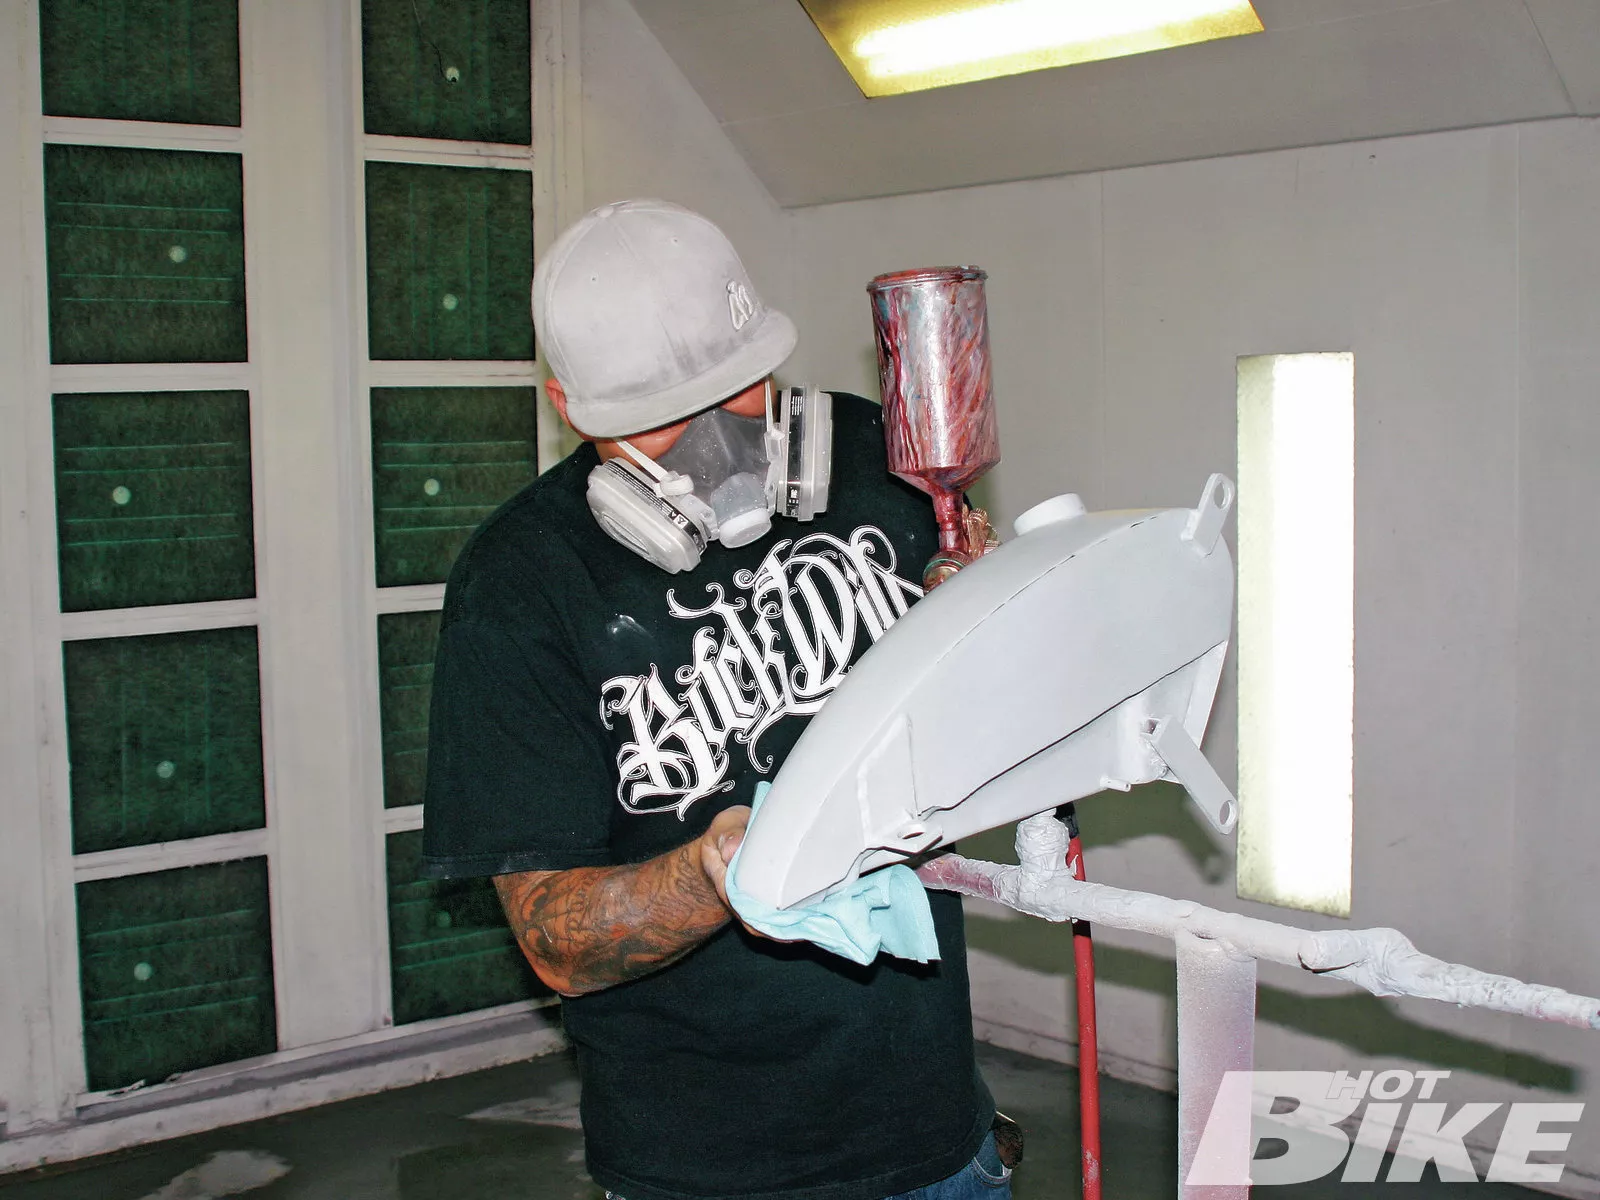
04. Moving into the paint booth, Mike set the sheetmetal up on stands and started applying the primer coat. Mike put down about four coats of primer with about five minutes of flash time between each coat. Flash time refers to an allotted amount of time in between coats to allow solvents or reducers to evaporate. Proper flash time is crucial for the adhesion of each coat.
05. With the primer down, Mike prepped the surface and began laying down a Shimrin Orion Silver Basecoat. He sprayed three coats of base with 10 minutes of flash time in between each.
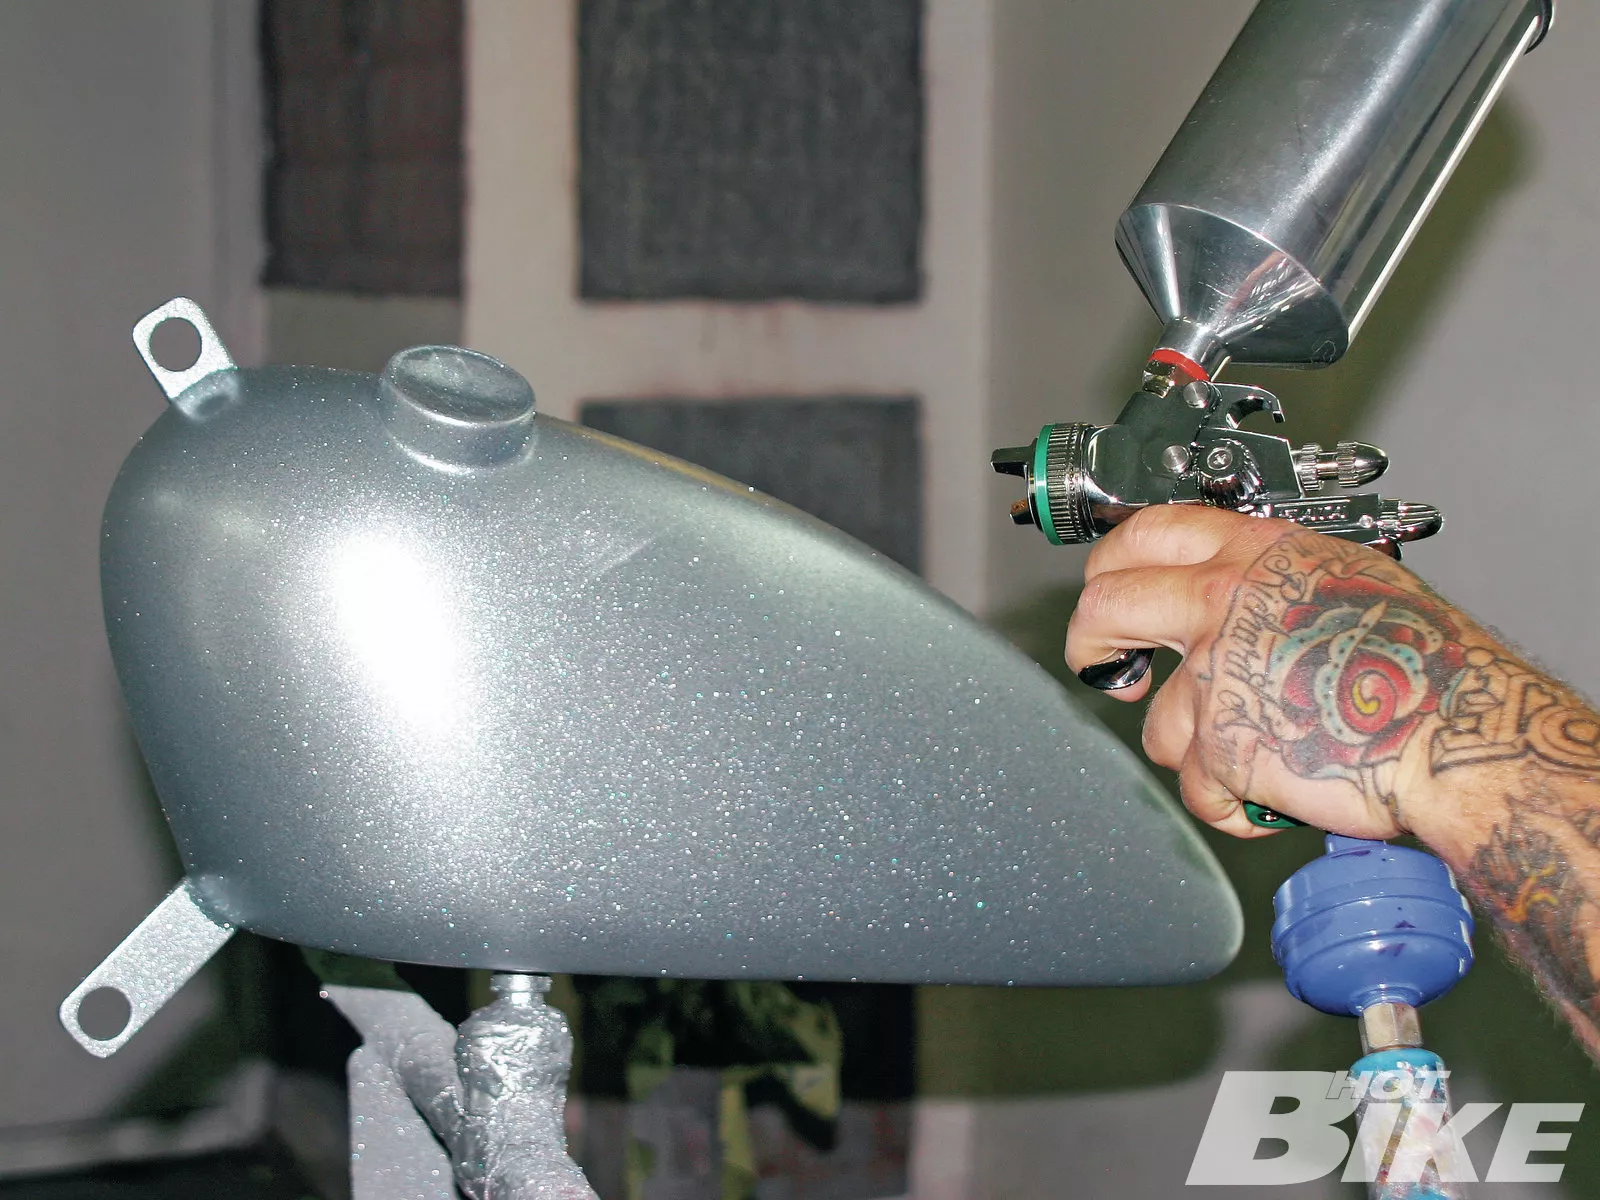
06. Next came the Mini Silver Flake. The flake was put into the Innercoat Pearl & Flake Karrier. Mike said when applying the flake you want 50 percent overlap on each pass, like mowing a lawn. You want to be careful of the edges because the flake will run with the clear if you hit them too heavy. It’s important to keep a smooth, steady pace as you move across the surface, otherwise you’ll see the flake bunched up in certain sections. Another tip is not to forget the bottom surfaces. Many people overlook the parts you don’t see. This took two coats of flake with 15 minutes of flash time.
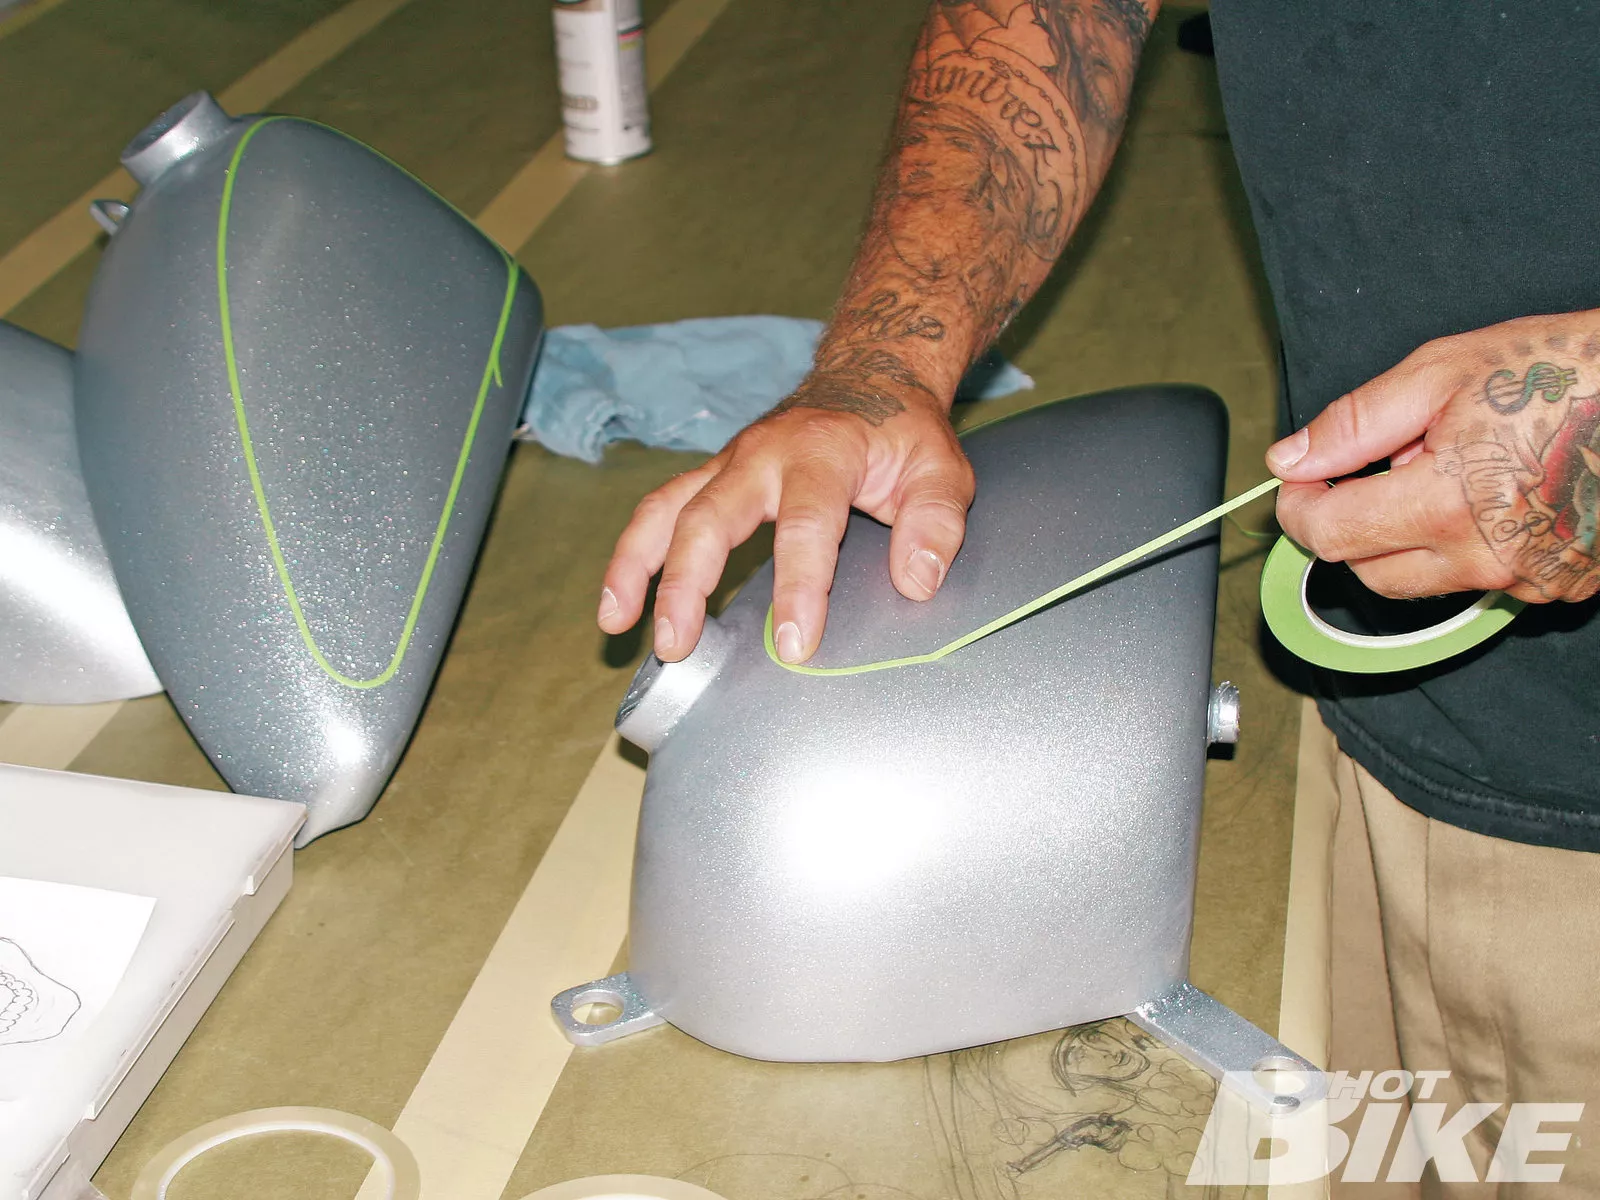
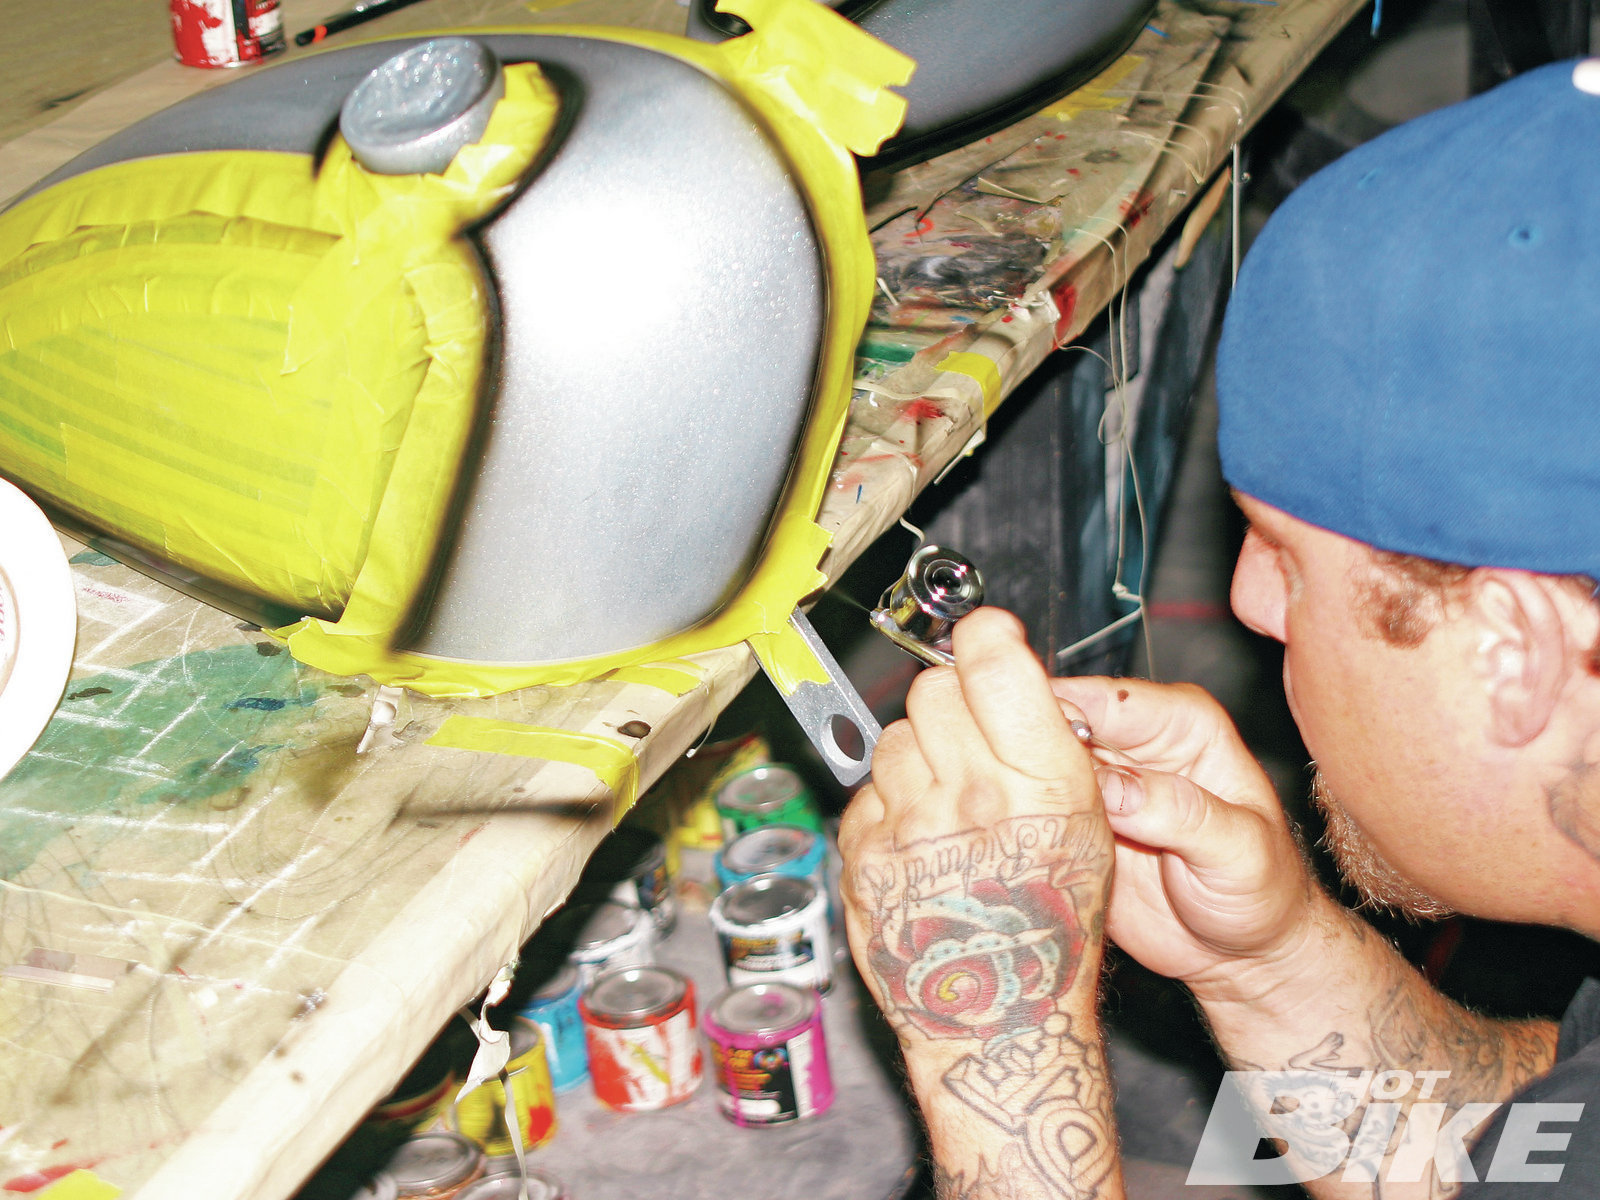
07. The next day, after prepping the tanks for the next stage, Mike began taping out the panels of the tank. For this he used some Scotch Fine Line tape. Here’s where thinking five steps ahead comes in. Mike follows the contours of the tank leaving plenty of room for him to work on the inside and outside of the panels and uses several different widths of tape to get varying lines.
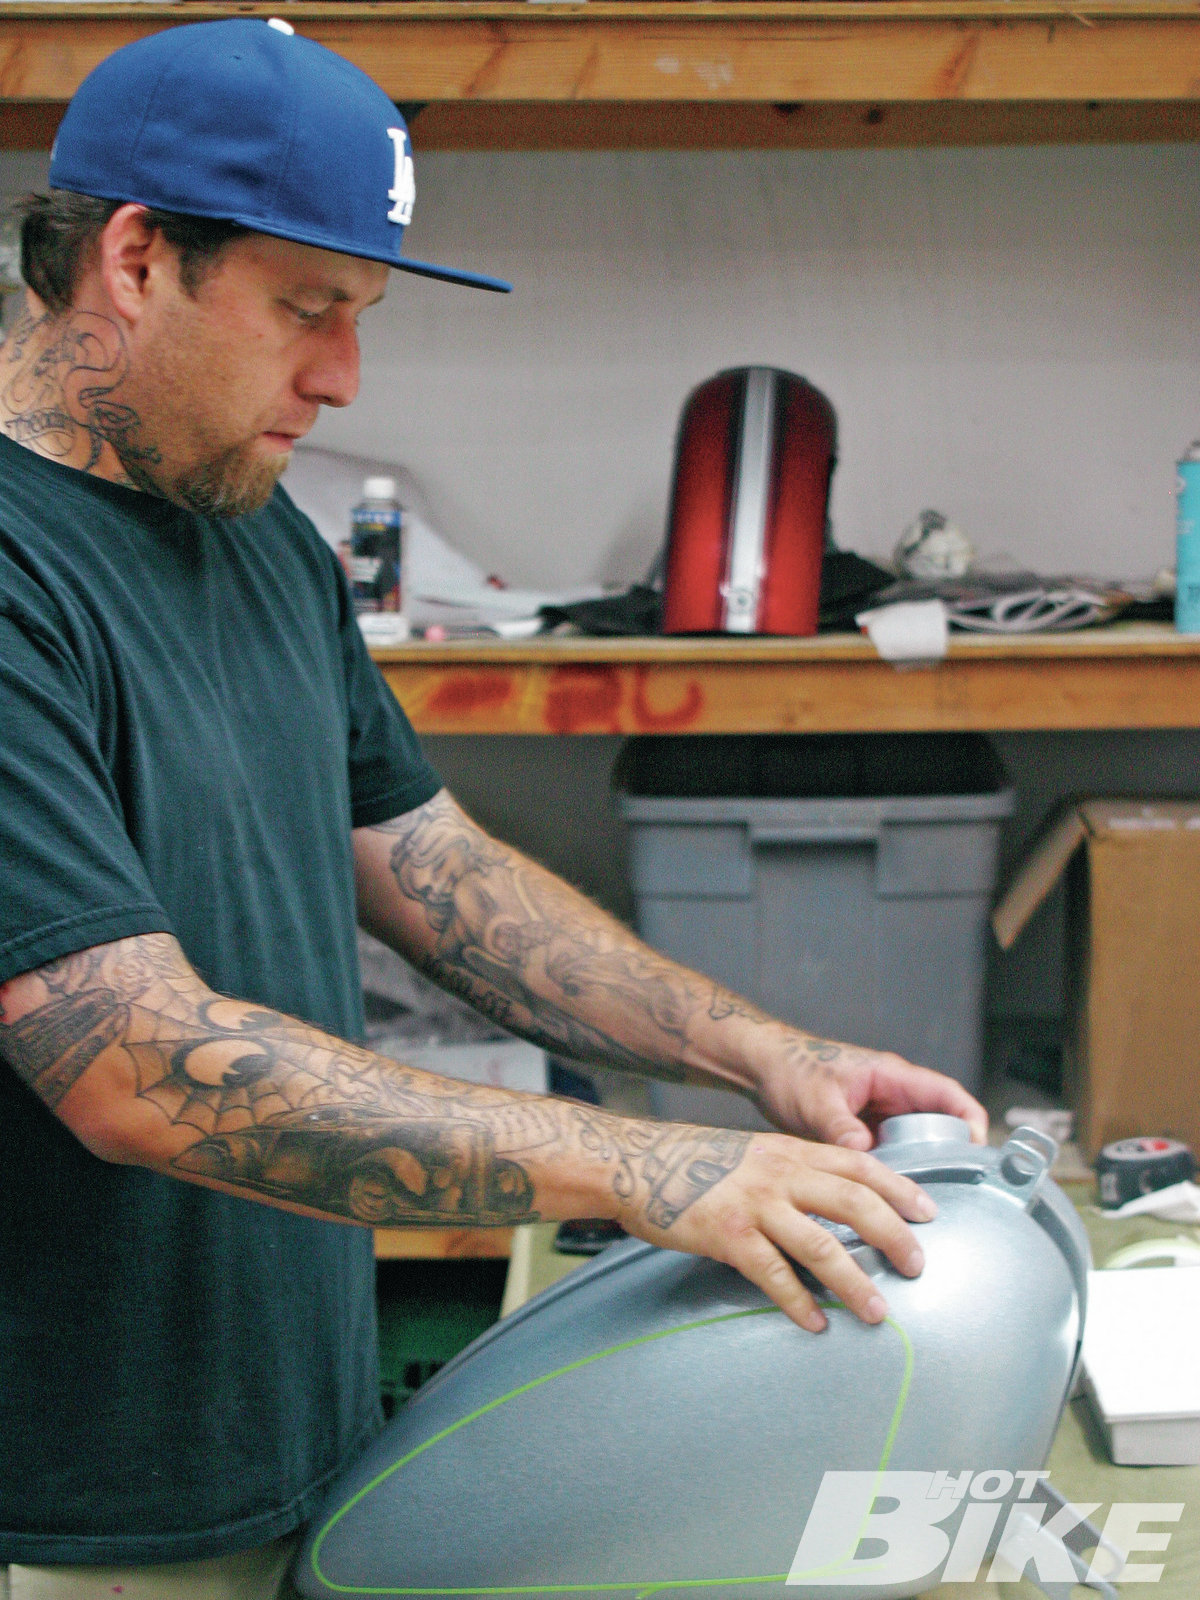
08. It’s also important to keep symmetry between your work. Here Mike is making sure the tapelines on the two tanks match up.
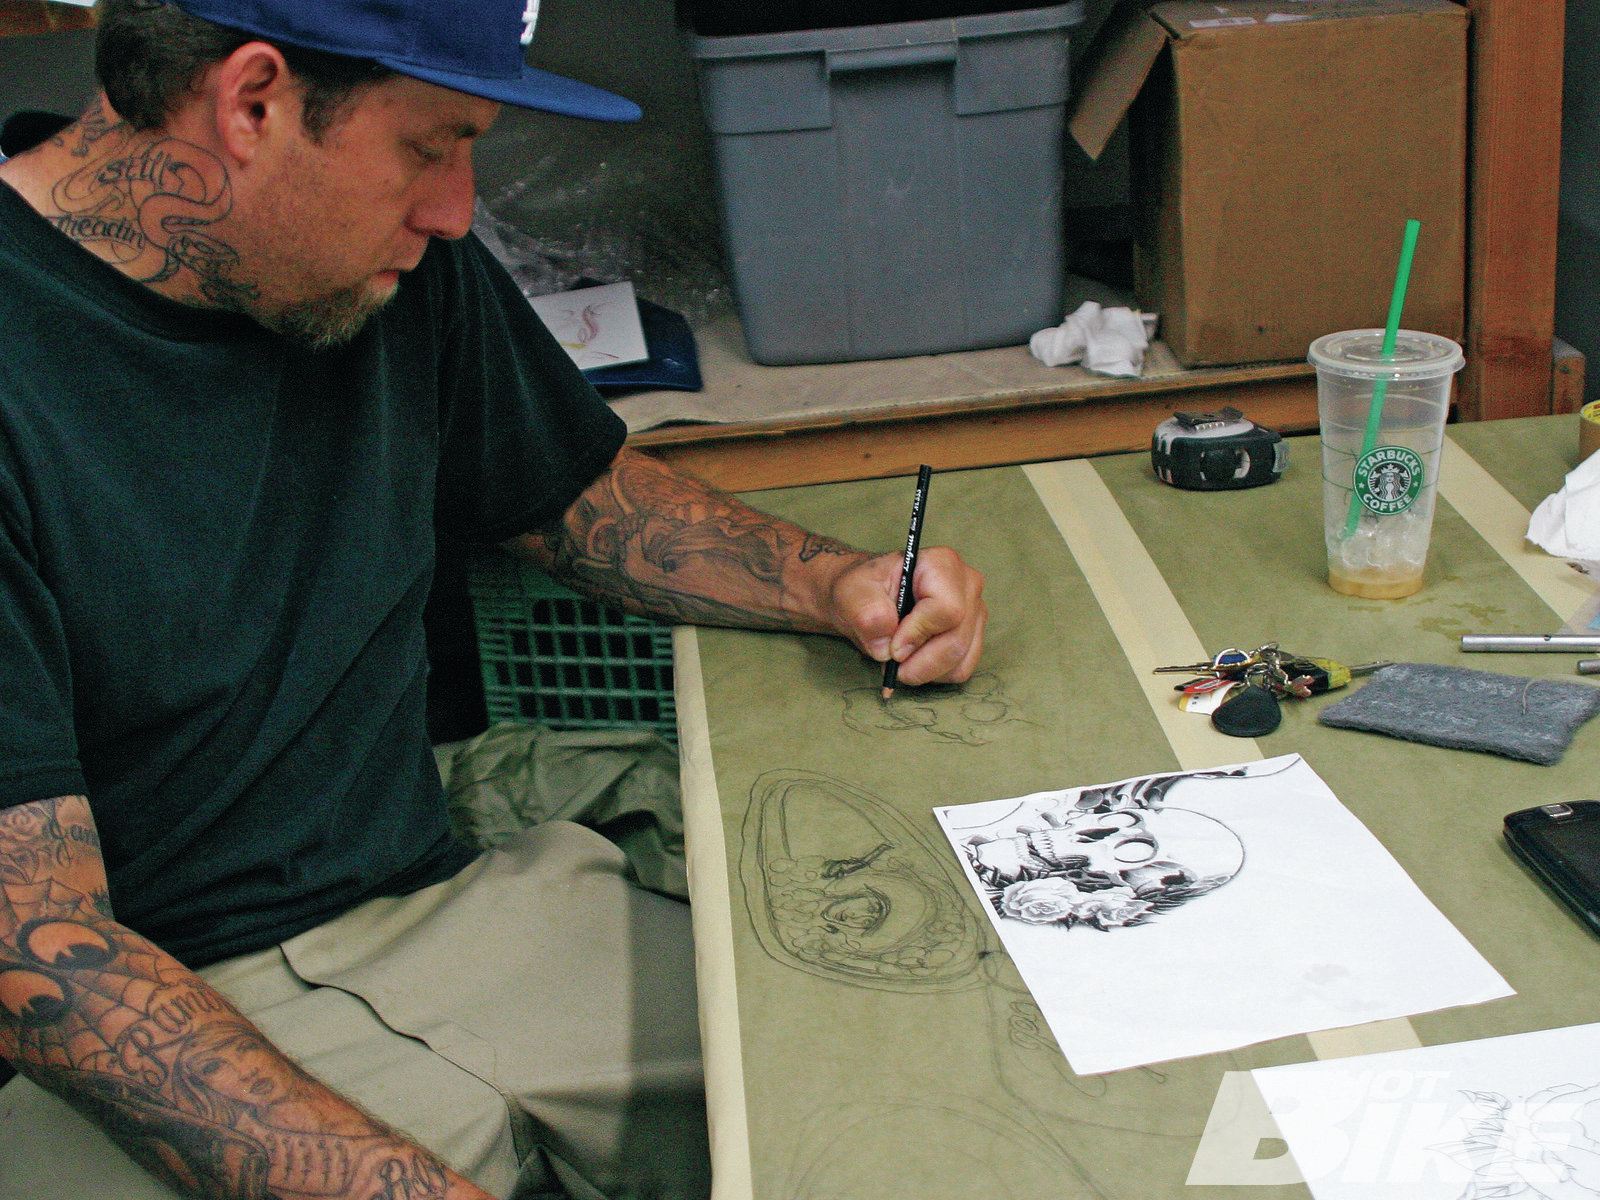
09. It was only a matter of time before Mike felt the urge to grab a pencil and start drawing. Here he’s sketching out a few samples as we kicked around ideas for the details.
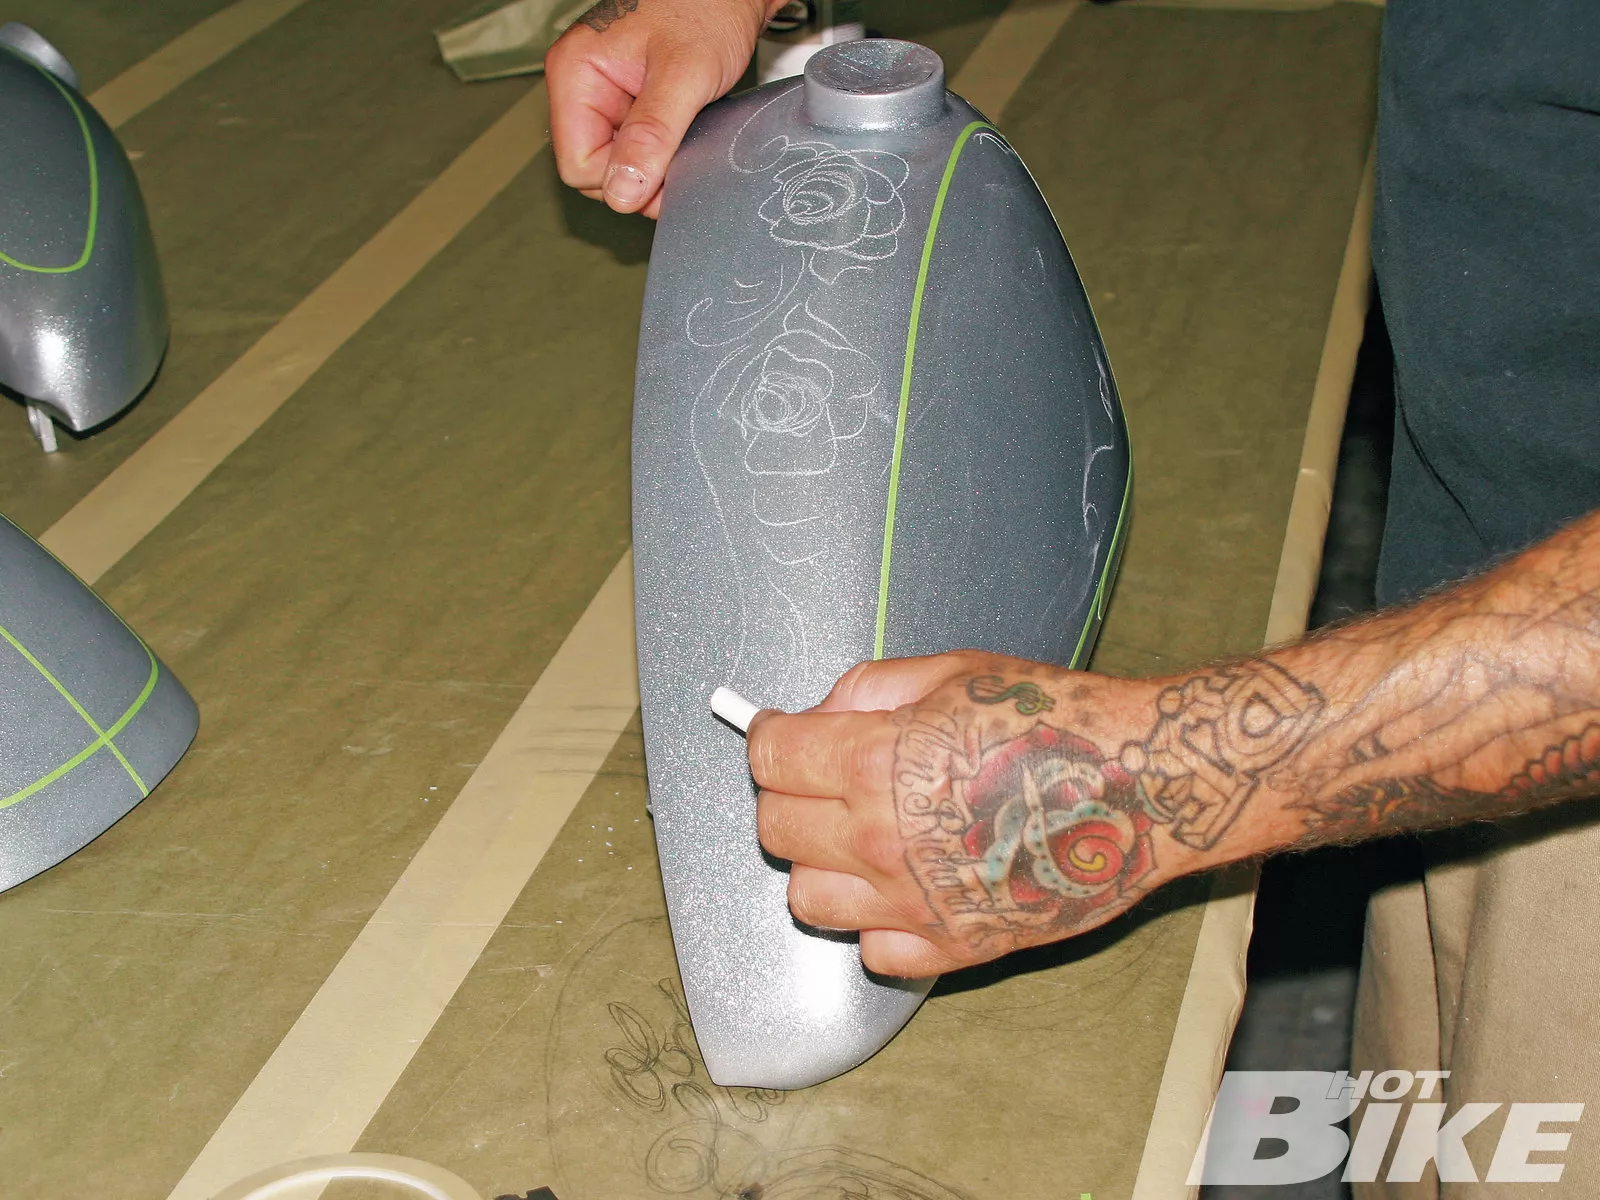
10. Using a piece of chalk, Mike sketches out one of the ideas we talked about to see how it would flow on the tank. Once again planning ahead is key.

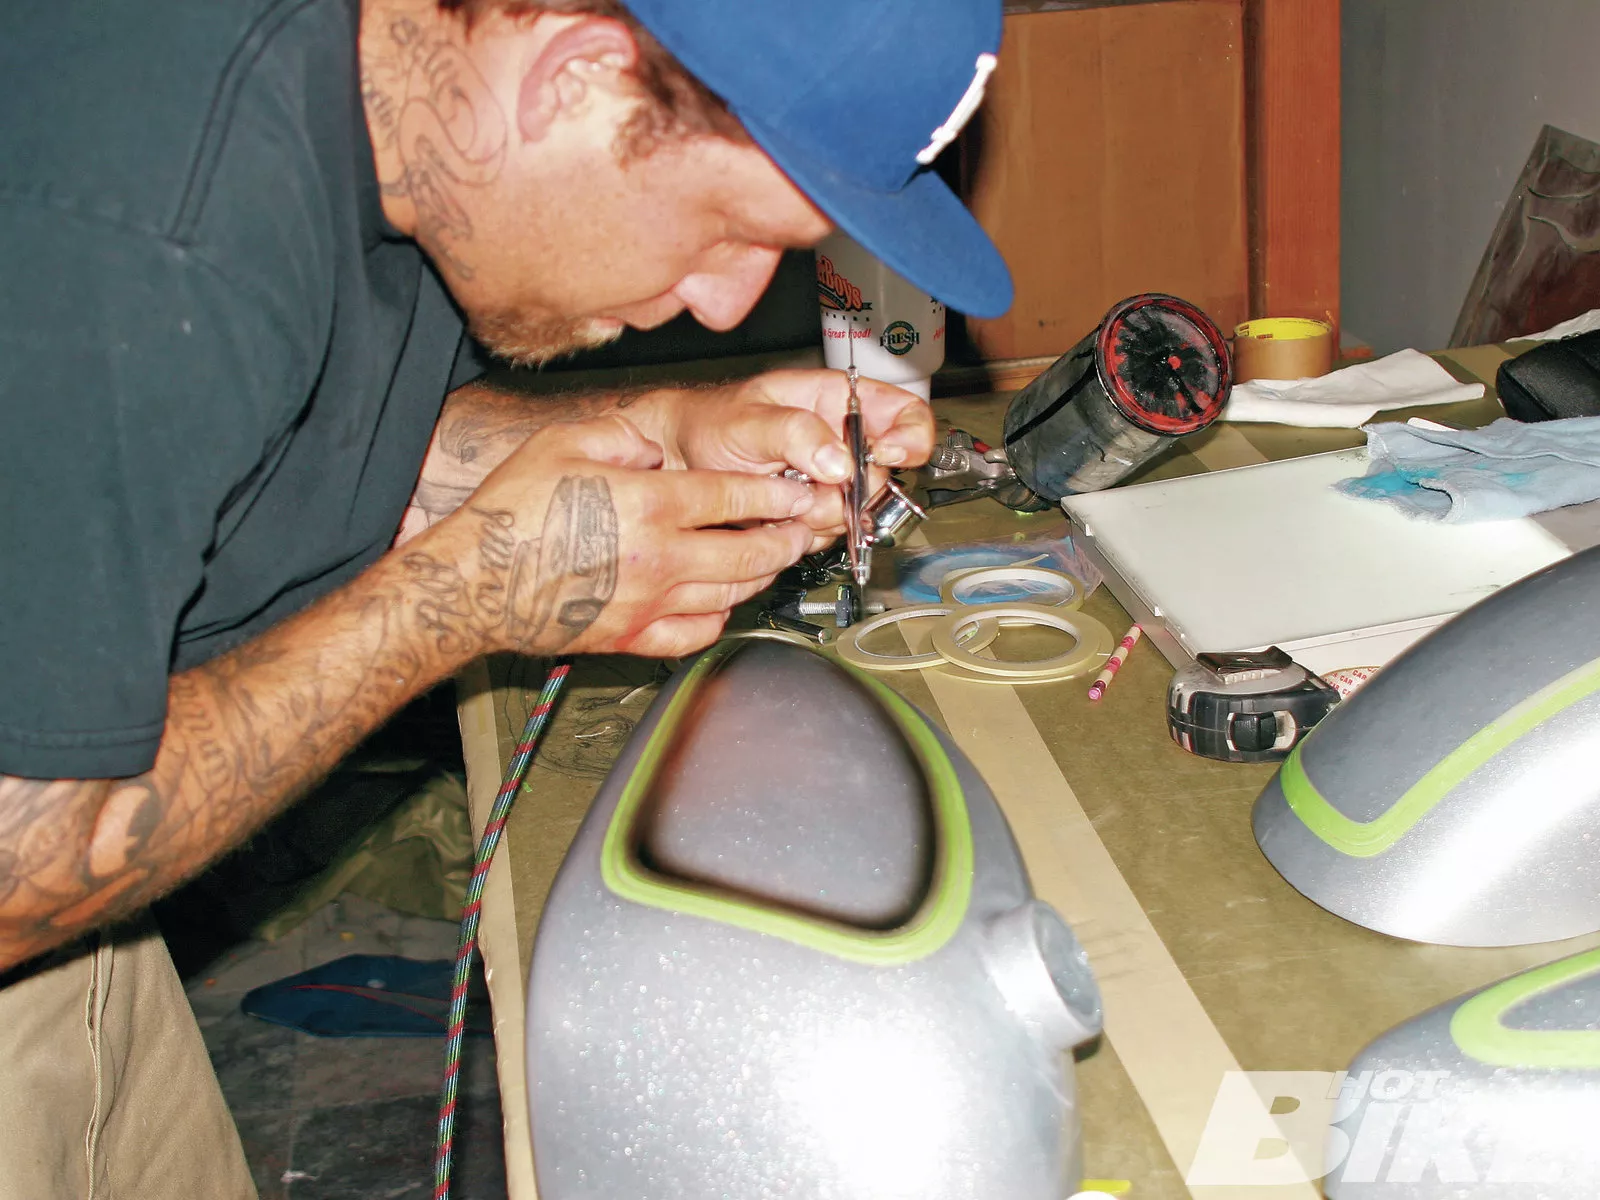
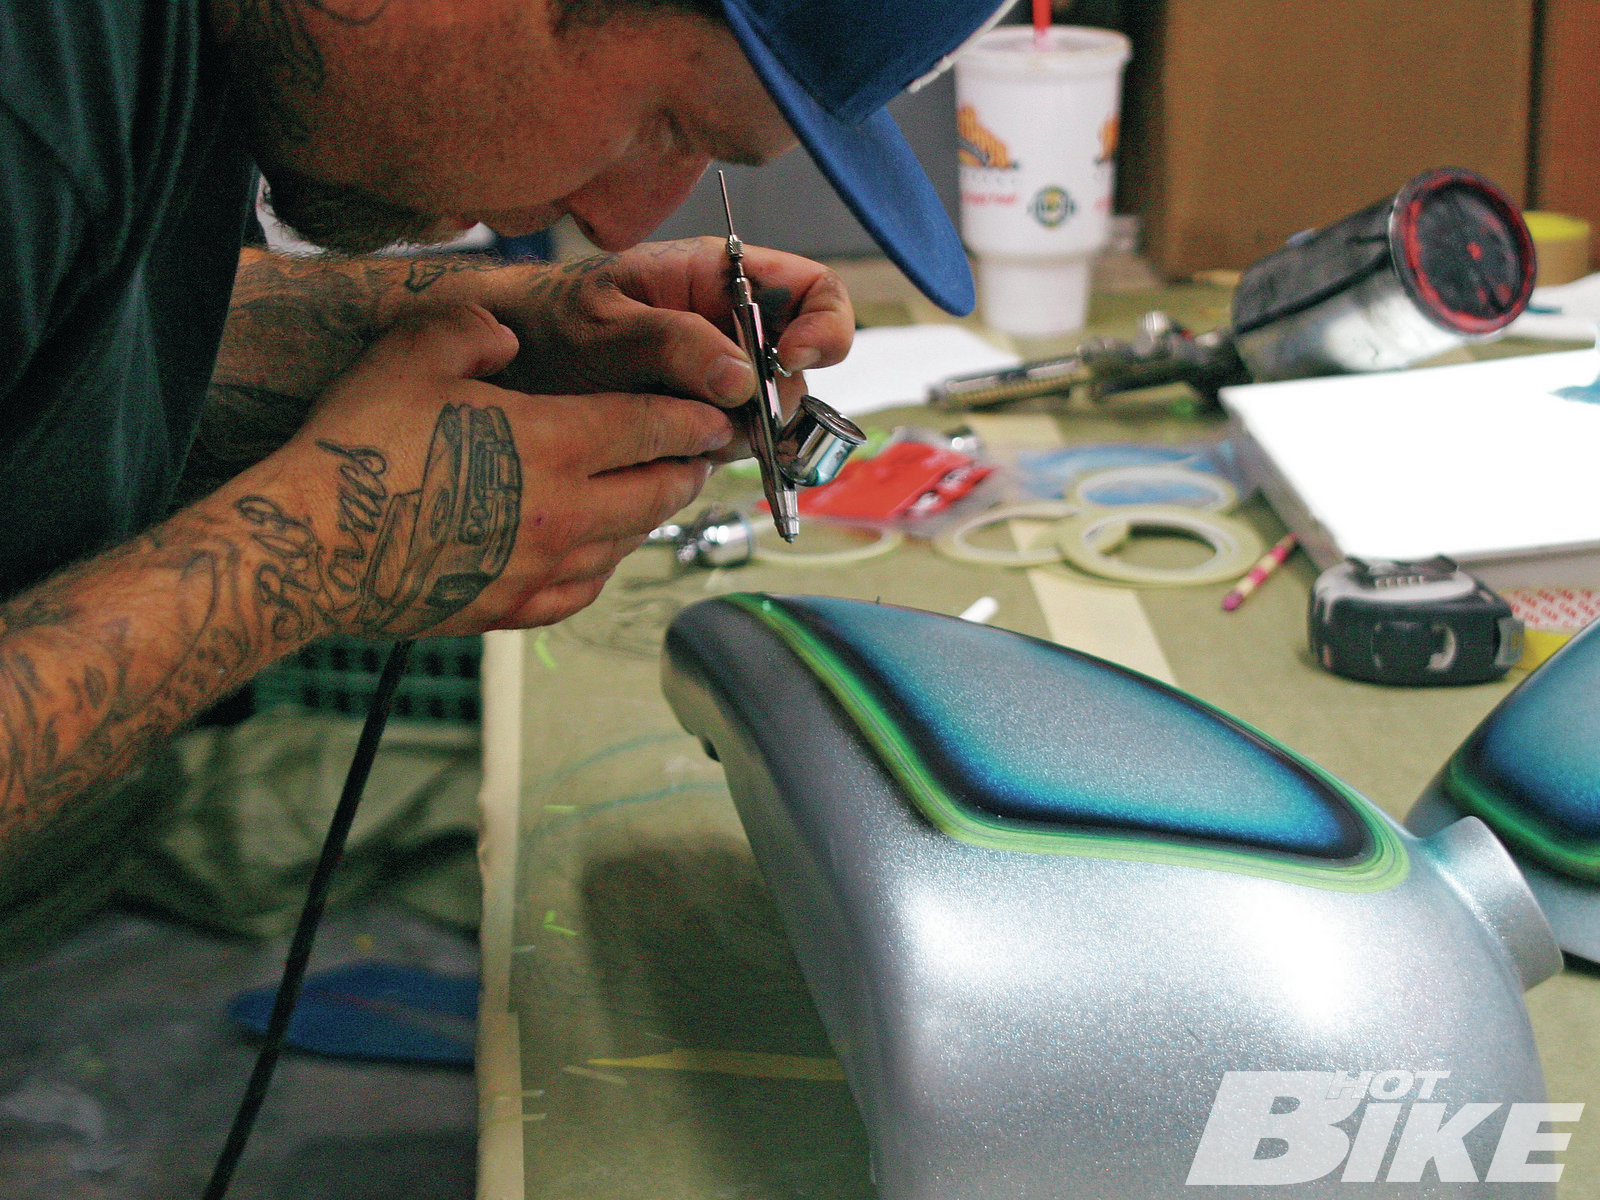
11. When it comes to the more intricate work, Mike uses Iawata airbrushes. Mike says he likes these because they are workhorses and are great for custom car or motorcycle applications.
12. With the panels laid out, Mike began applying black around the inside of his tape line. The black was the starting point to which he worked the colors dark to light. The black leaves a sharp edge and will make the rest of the colors look deeper as they are applied against it. The technique here is to keep close to the surface so you don’t get too much overspray but you also want some overspay to shade into the next color.
13. Next Mike filled the airbrush with Transparent Oriental Blue and began spraying. Working a little further away from the surface, overspray isn’t as big a concern because the transparent blue doesn’t stick out as much. Here he worked with higher air pressure and sprayed two times more paint than with the black. He also created a little bit wider spray pattern.
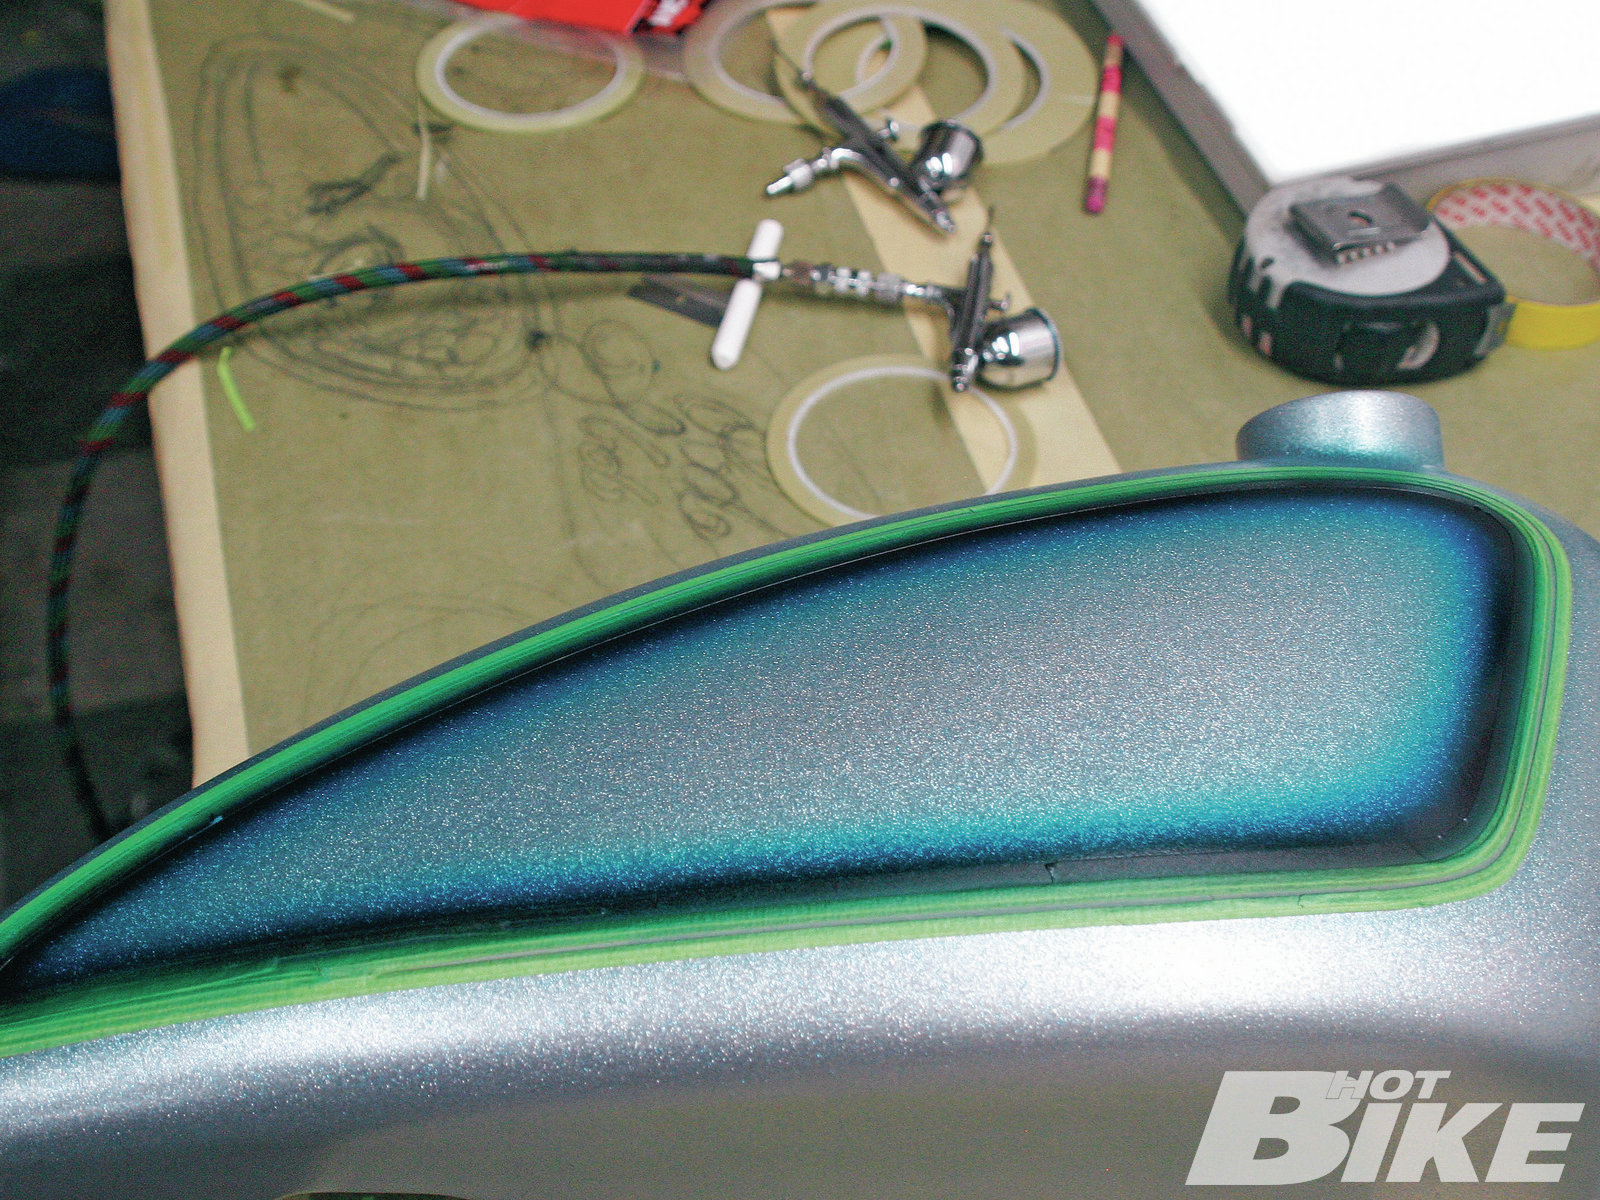
14. You can see how the black enriches the look of the blue and how the blue shades from darker blue to a lighter blue as it flows away from the black and towards the silver center.
15. Working on the outside of the tape, Mike sprayed a finer black line around the perimeter.
16. With the inside of the panel taped off, and one of the perimeter tape lines removed, Mike sprayed some transparent teal. One of the other benefits of the transparent colors is that it allows the metalflake to shine through.
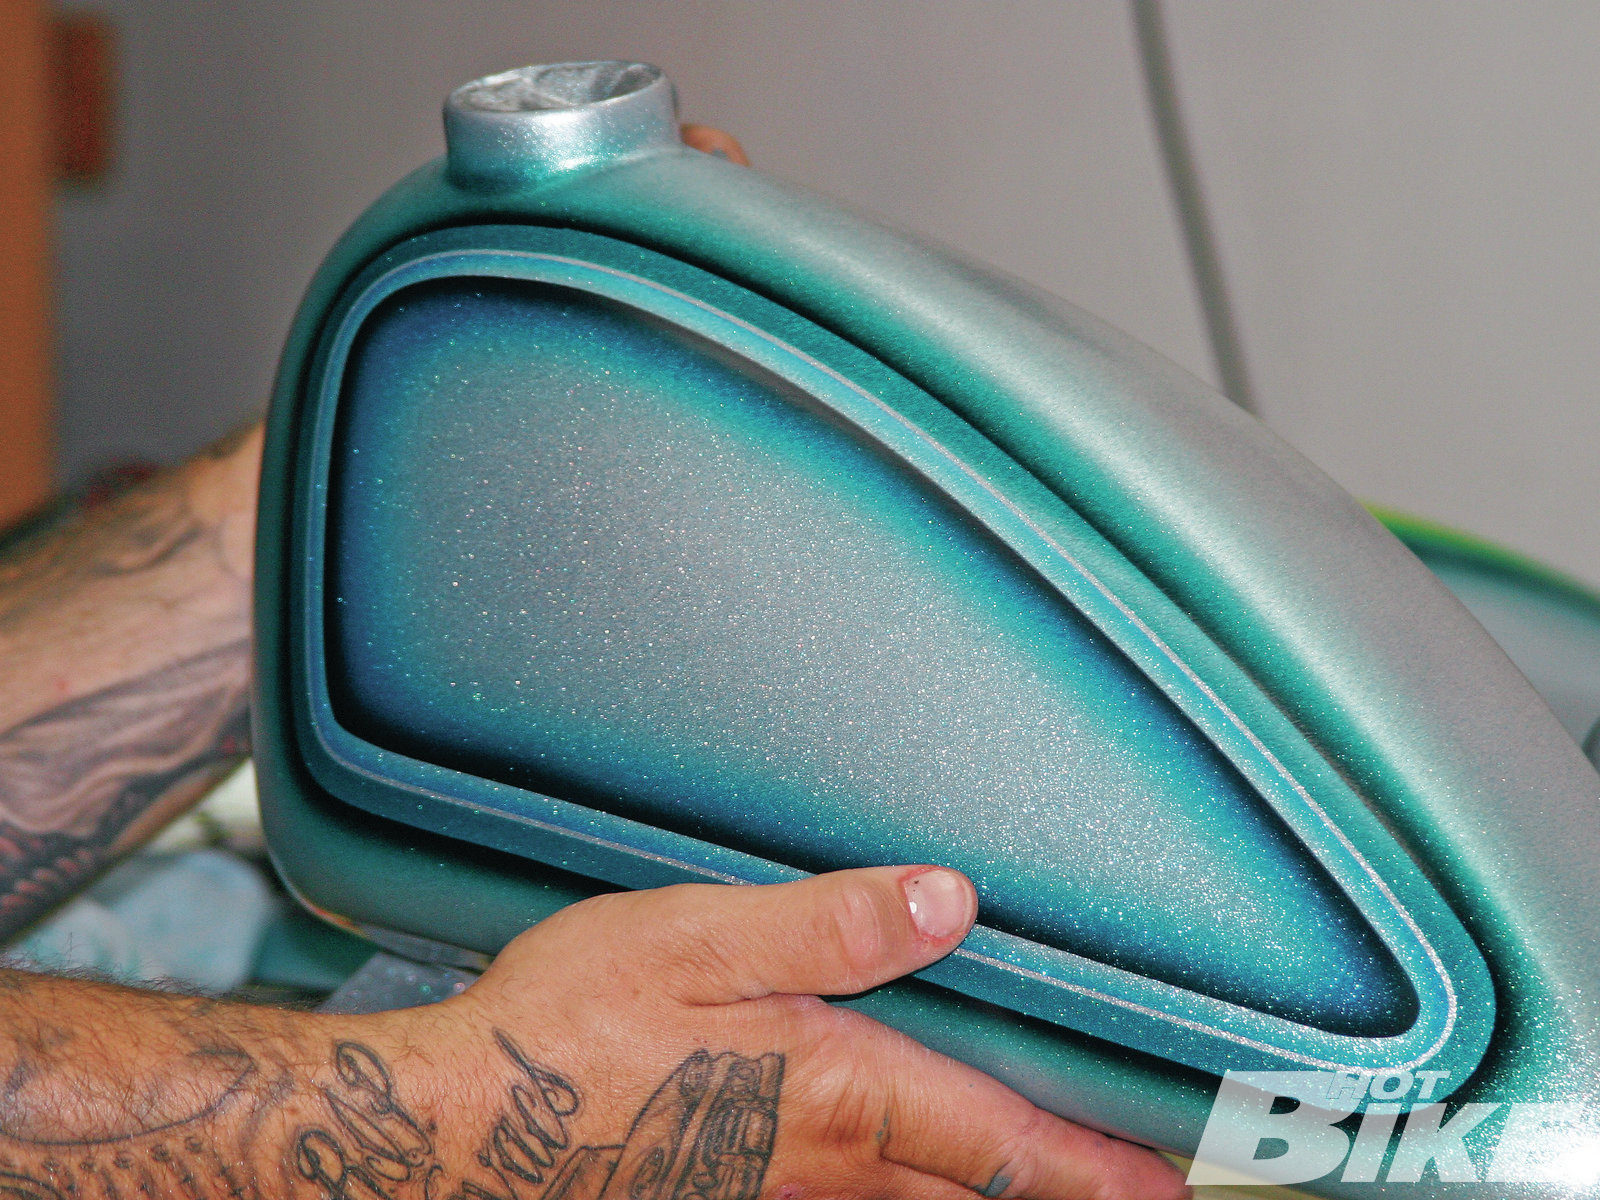
17. Once again you can see how the black under the teal helps it develop a richer look, then the color fades out as it moves away from the black.
18. Next, Mike used black to highlight the lines and contours of the tank.

19. Here’s a look at the black-out lines.
20. Closing in on finishing the base part of the project, Mike mixed up some Transparent Blue Kandy.
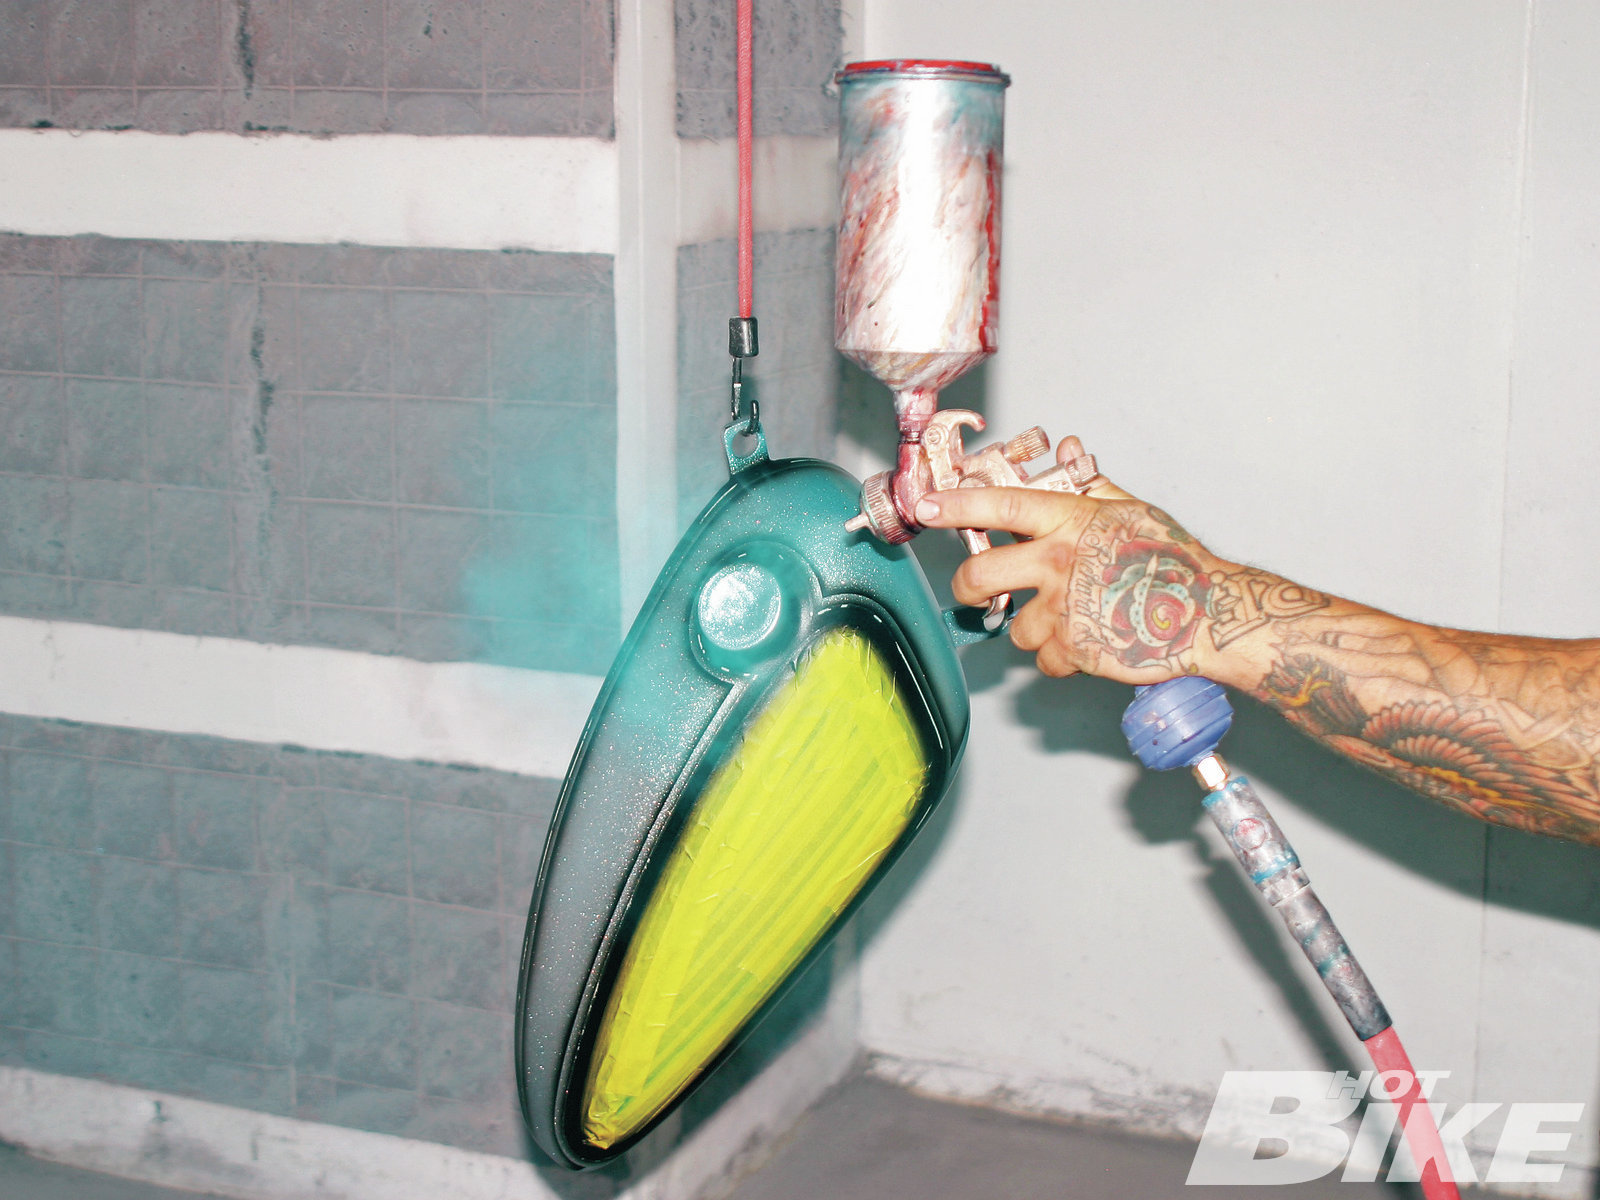
21. The entire tank was doused in Kandy except for the panel.
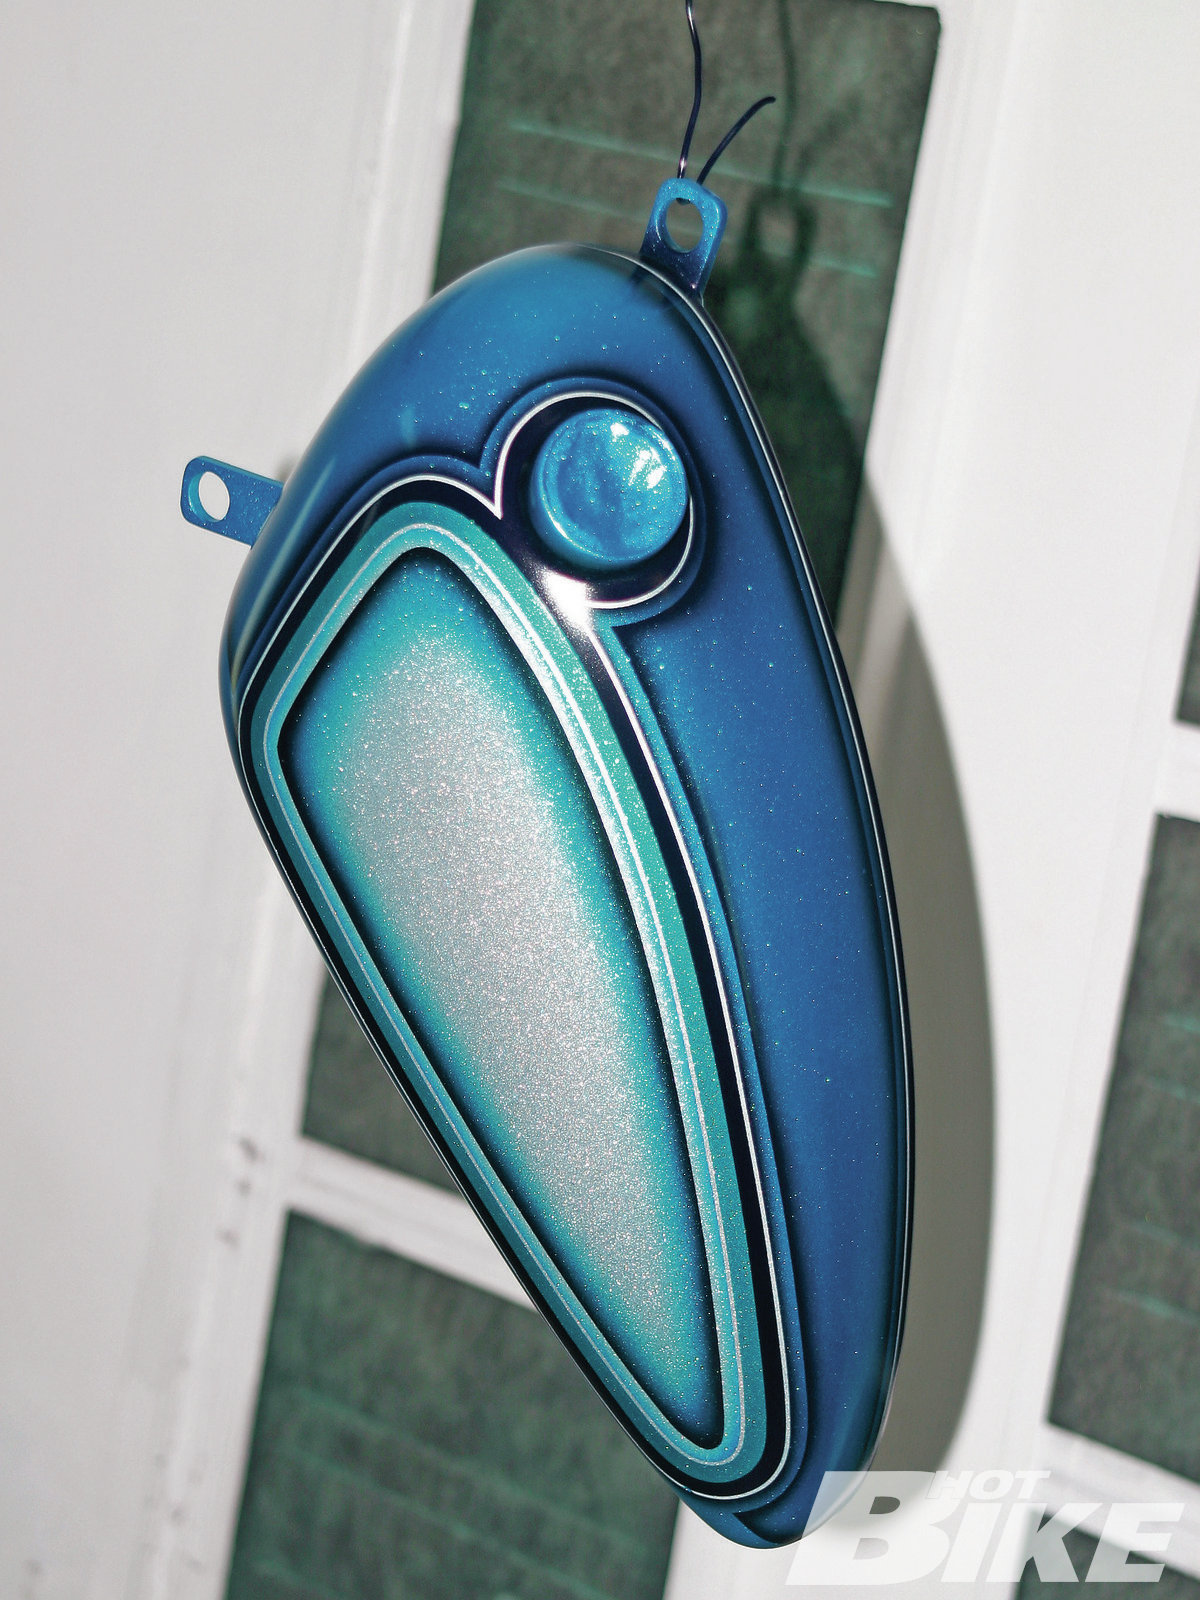
22. And here’s how it looked after four coats. While we didn’t cover every single step, this should give you a general idea of how this style paintjob can be done. Check back next issue as Mike applies details, such as hand-drawn artwork, silver leaf, airbrushing, and pinstriping, and we show you the finished bike.
Walk into the Buck Wild Design Studio in Covina, California, and tell the owner/artist/painter Mike Ramirez you want an old-school paintjob, and he’ll give a stern glare and might even sick his blue pitbull, T-Money on you. To Mike, the words old school bring up that acidic burning sensation you get in your throat right after you slam too many chili cheese dogs. Mike instead prefers the term old style when referring to the paintjobs of the ’60s and ’70s when custom painters in the lowrider scene were going wild taping/shading and coloring the hell out of anything and everything they could point a spraygun or airbrush atbasically establishing the style and techniques that still influence the artists of today.
So what exactly is old-style paint? Well, I figured who better to give a brief explanation than my office neighbor, Joe Ray, editor of the beacon of the lowrider industry, and our sister publication, Lowrider magazine. Back then, custom paint styles were elaborate colorful paint schemes that included everything from body lined panels, scallops, flames, tape shades, cob webbing, and more. The choice of materials were metalflakes, kandies, and pearls. All of those back then tricks have been perfected today, but the ideas are never replaced.
Growing up in Southern California, Mike’s style was inspired by the custom car culture all around him, especially the lowrider scene. It all comes from lowrider culture. It came from there and then transferred to the motorcycle scene. What we’re seeing now is nothing new, it’s all been done before by the originators. Nowadays we’re just more refined and have learned from the past, Mike comments.
Mike, got his start early on working in a body shop as a teen, sweeping floors and picking up around the shop, and at night he would work on improving his art skills. Over the years he developed the basics and continued to study the style of the masters before him. As he refined his skills, he began to progress not only as an artist but as a painter as well. As his talent continued to grow, Mike struck out on his own establishing Buck Wild Paint where he’s applied his work on everything from cars, motorcycles, sandrails, boats, and just about anything else that’ll take paint. In fact Mike’s artistic skills have even landed him on TV on sows like Pimp My Ride, Over Haulin’, Biker Build Off, Chopper Challenge, and several others.
We asked Mike about the process and technique of creating an old-style paintjob and he responds with, It’s all about working with and utilizing the contours of the piece of material you are working on to your advantage. You have to understand color theory, layering of colors, and contrast of colors. It takes years to learn what will fade with a certain color and what won’t or how to manipulate colors. For example, if you want darker green, put some red in. It takes practice to learn how to lay flake evenly so you don’t load it up in one spot. Knowing how close or far away to get with the airbrush for your fades without getting too much overspray is also a delicate skill. You also have to understand how to work from light to dark or dark to light. But the most important thing and one of the hardest and longest skills to master is to work five steps ahead. Professionals who know what they are doing work five steps ahead, amateurs will only work one-to-two steps ahead and run out of space. You have to prepare for lines that aren’t there yet. That’s what separates me today from me 10 years ago.
With that said, follow along as we take you though some of the process of Mike applying one of his old-style paintjobs to the sheetmetal on our project Springer. There is a lot to the process so we decided to break it up in to two parts. This first part will cover the base work and the second part will cover the detail work. HB
Source:
**Buck Wild Design Studios **
buckwildpaint.com
House of Kolor
(800) 845-2500 | houseofkolor.com
**Sata **
(800) 533-8016 | sata.com


