Operation Bag A Fatty | Transforming A Soldier’s Softail
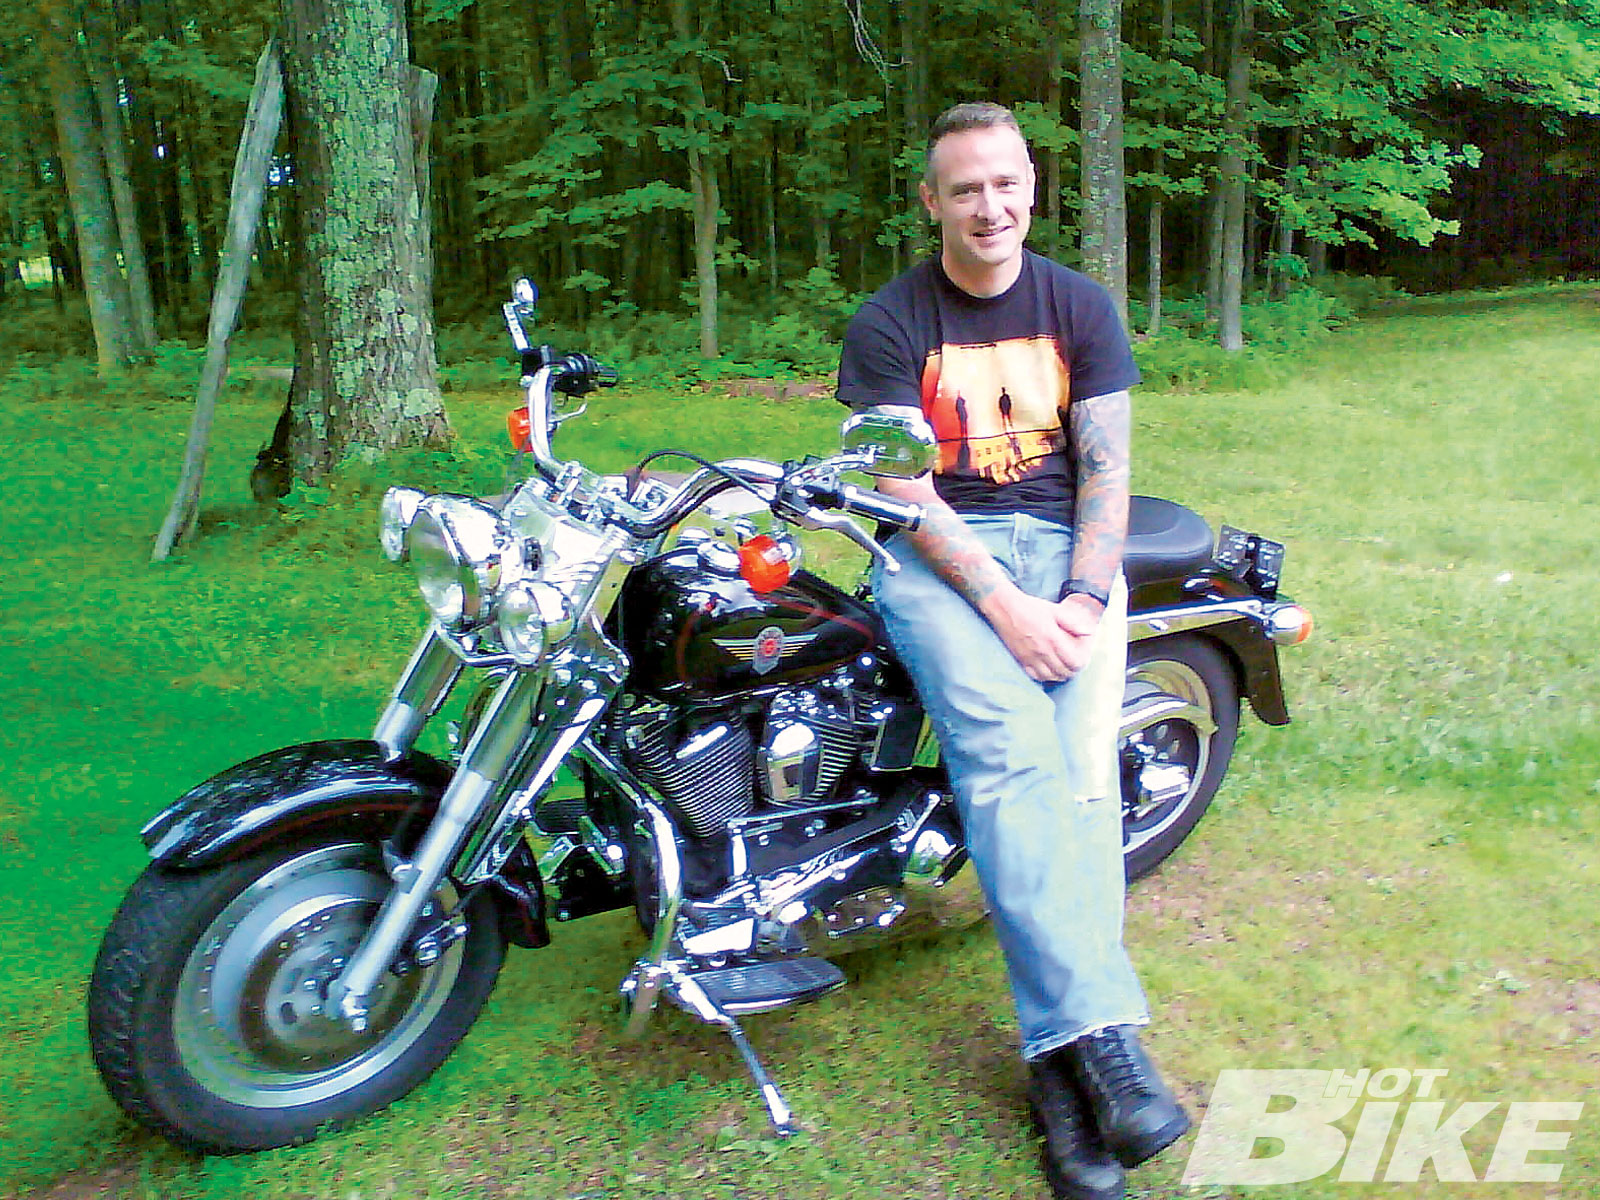

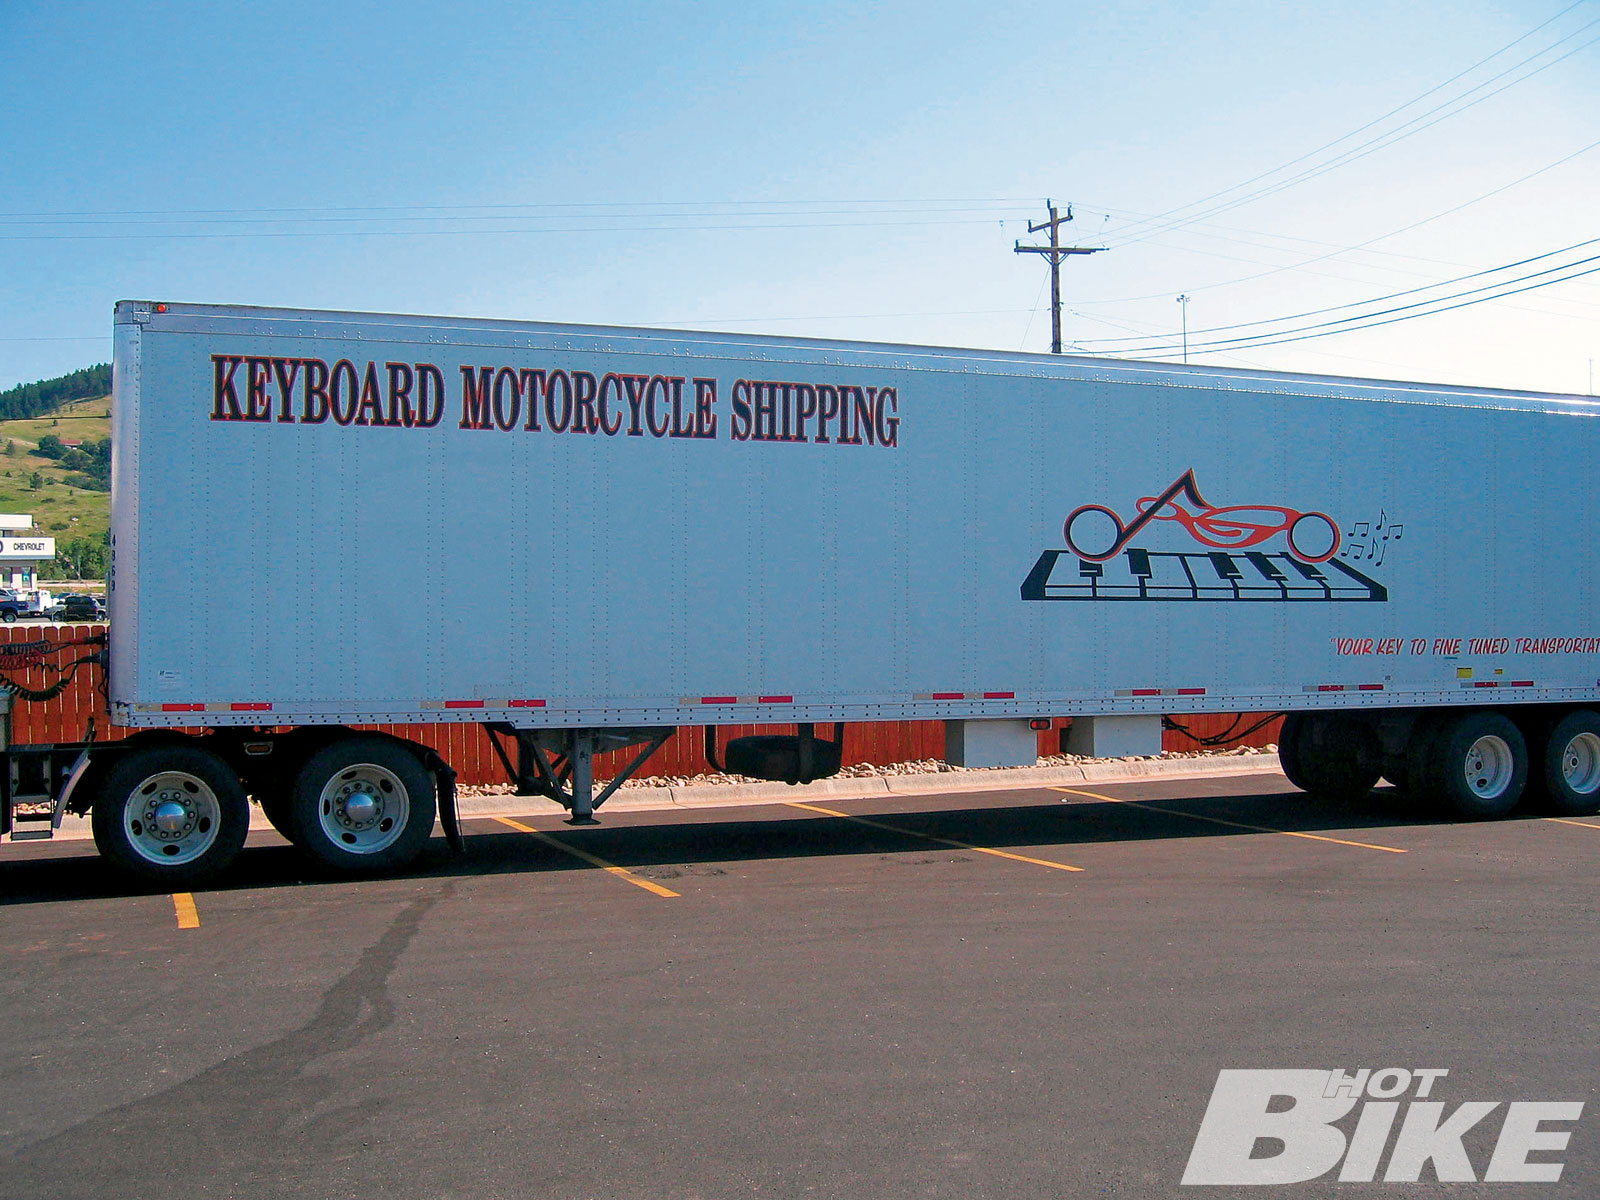
01. First thing’s first, we had to get the bike from Adam’s house in Wisconsin to the shop which was going to be doing all the work, Bad Dad Custom Motorcycle Finishes in Fort Wayne, Indiana. For this task we turned to the one motorcycle shipping company we’ve had the most experience with, Keyboard Motorcycle Shipping. Yeah we know it sounds like this company should be moving pianos-they do-but it has expanded to motorcycle transportation as well.
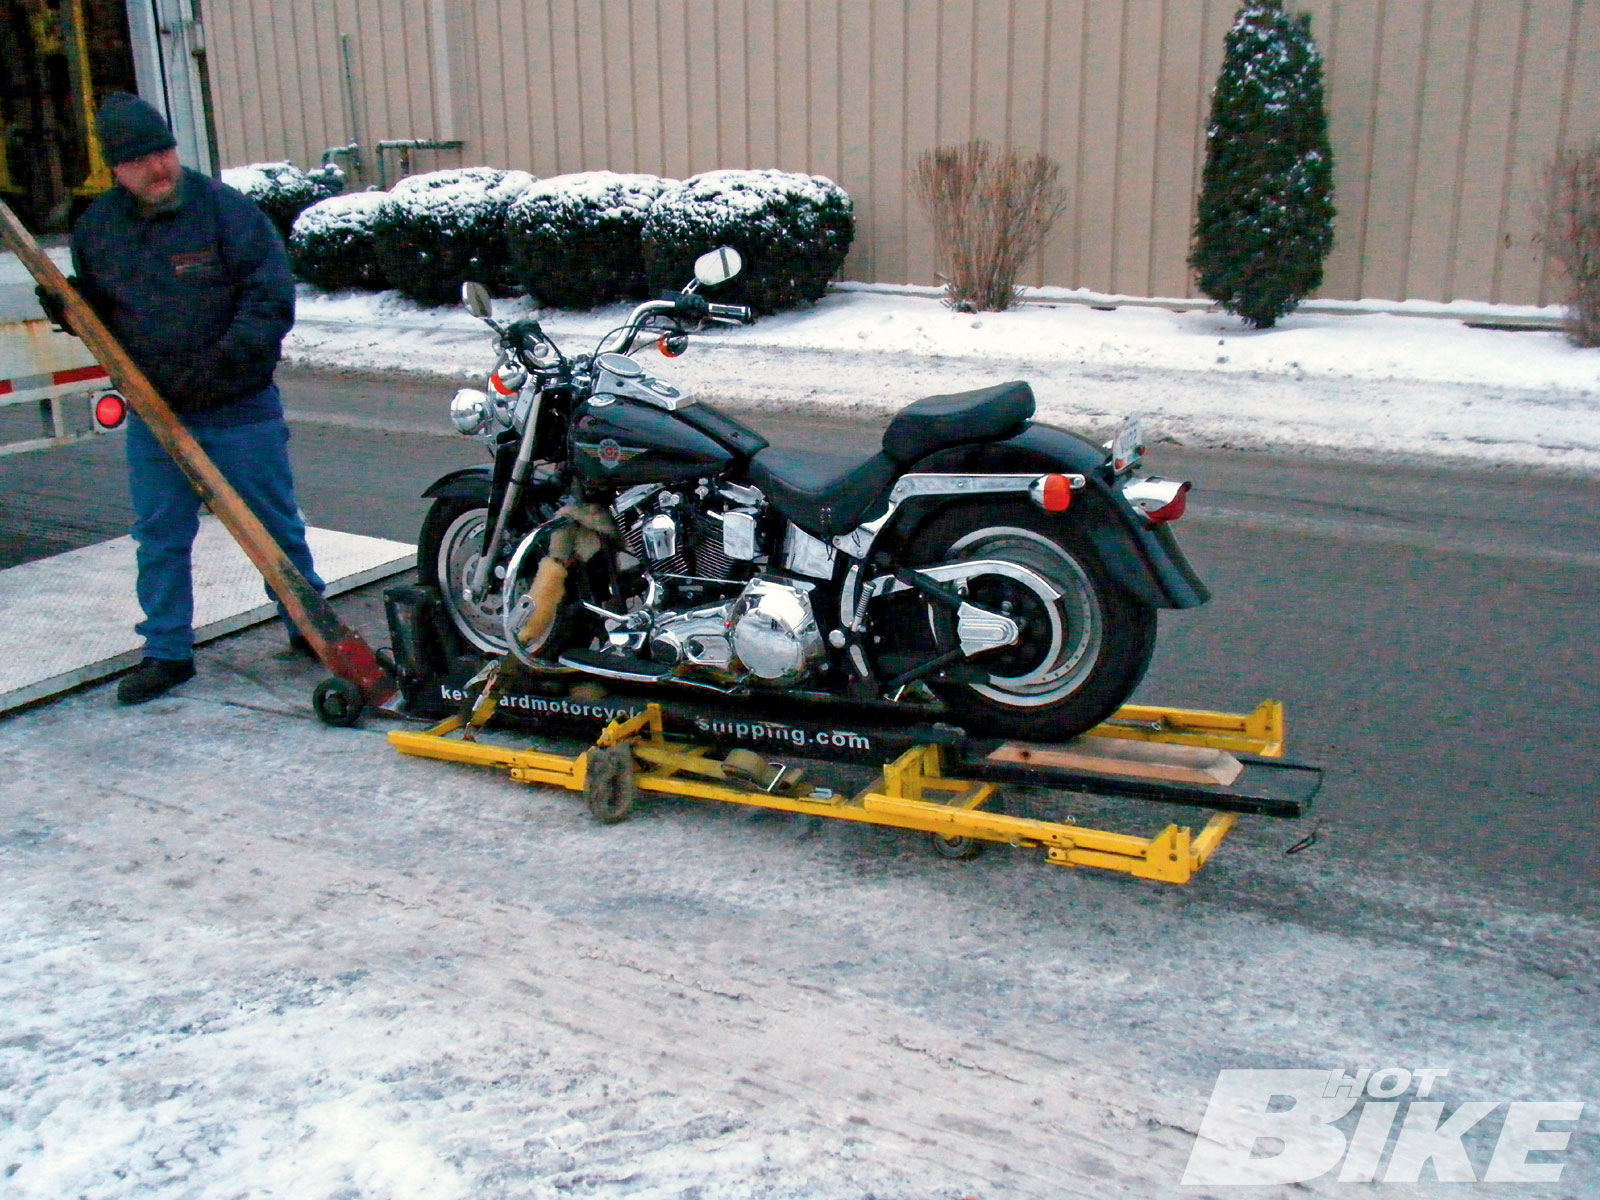
02. The unique thing about the people at Keyboard is that being motorcycle enthusiasts themselves, they know how important bikes are to the owners, so they have developed a motorcycle transportation platform that allows them to ship uncrated motorcycles safely and easily from one end of the country to the other. Motorcycles arrive unscathed and ready to ride. Pretty much all the big shots in the industry use Keyboard when they need a bike transported. Coincidentally, Charlie, the driver who delivered Adam’s bike, had also “visited” the Middle East from 2003-04.
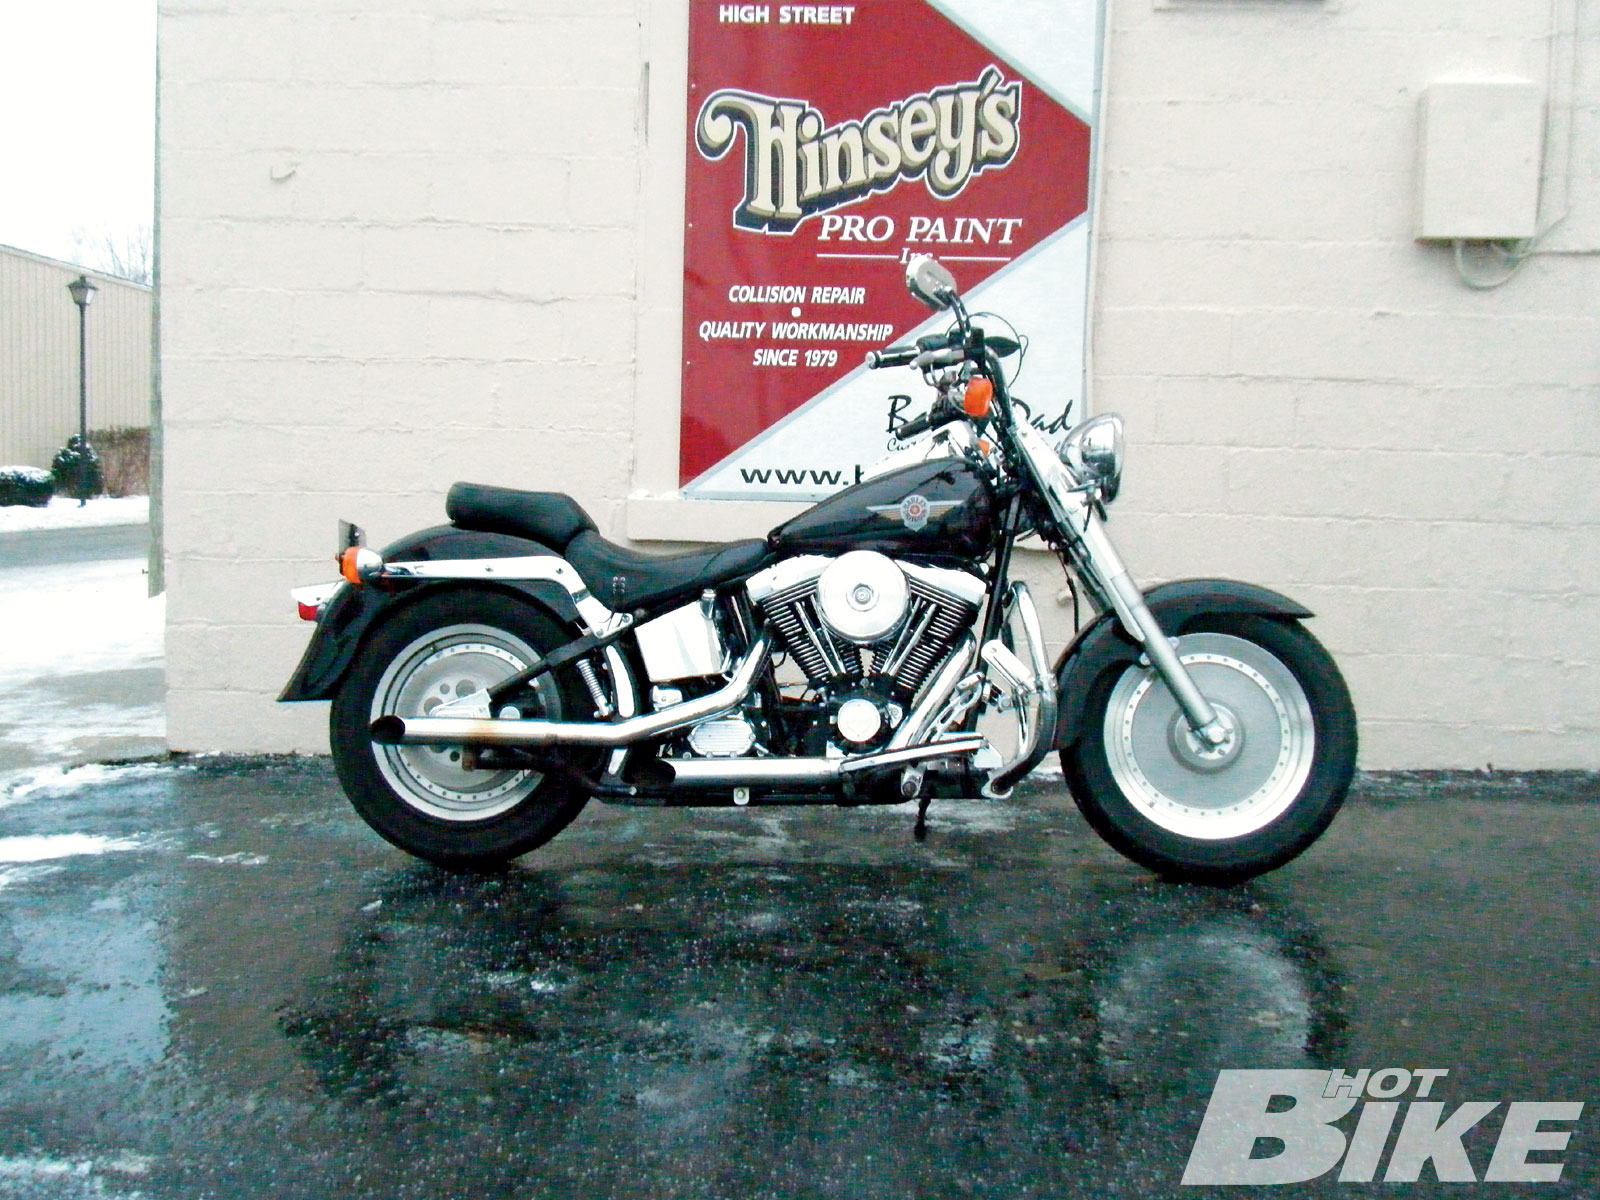
03. Here’s Adam’s pretty much stock Fat Boy as it was delivered to Bad Dad. What originally started out as Hinsey’s Pro Paint owned by Derk Hinsey, began to evolve as Derk and his crew churned out a few clean customized Harleys. As the shop’s popularity grew among the local Harley owners, Bad Dad was born with its own parts line catering to the Harley crowd. In a short period of time Bad Dad has become one of the industry’s go-to shops for parts to dress up your bagger, or in our case, for parts to bag a Fat Boy
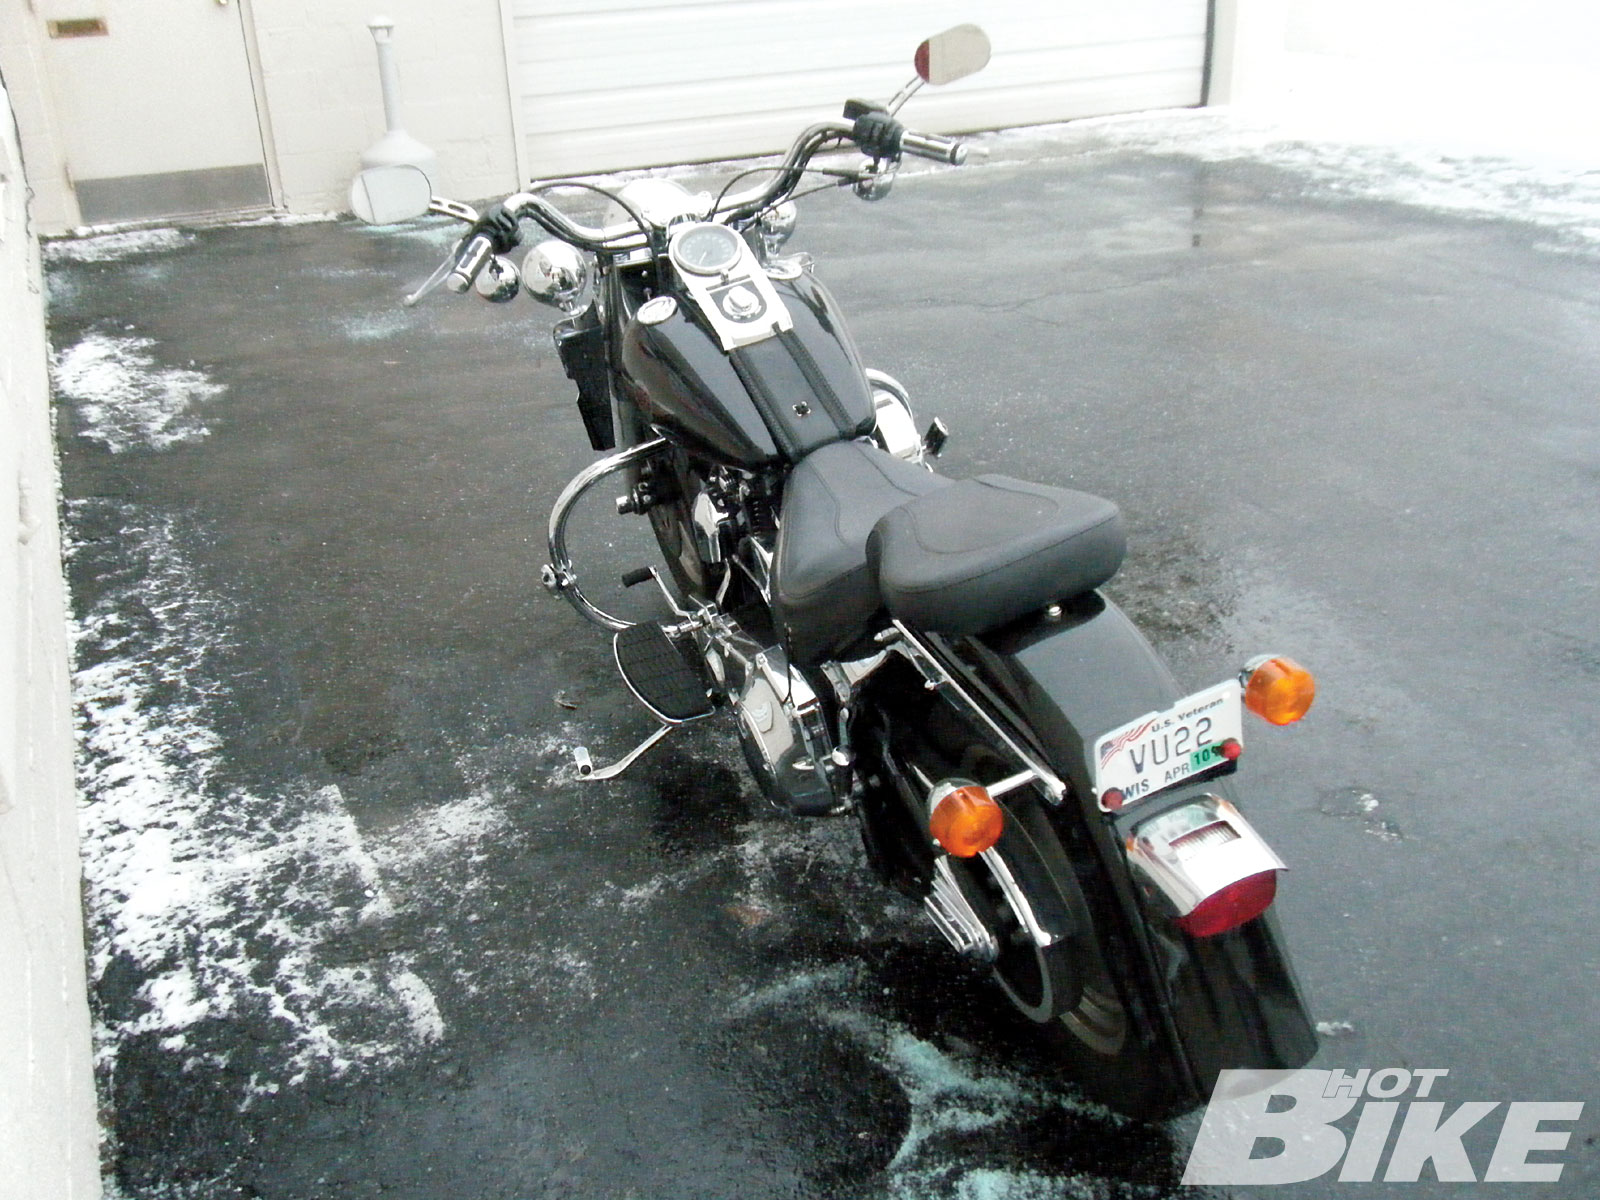
04. This would be the last time Adam’s old Softail would look like this. Minutes after the Keyboard truck rolled away, the Fat Boy was pushed out of the cold and onto a lift in the shop.
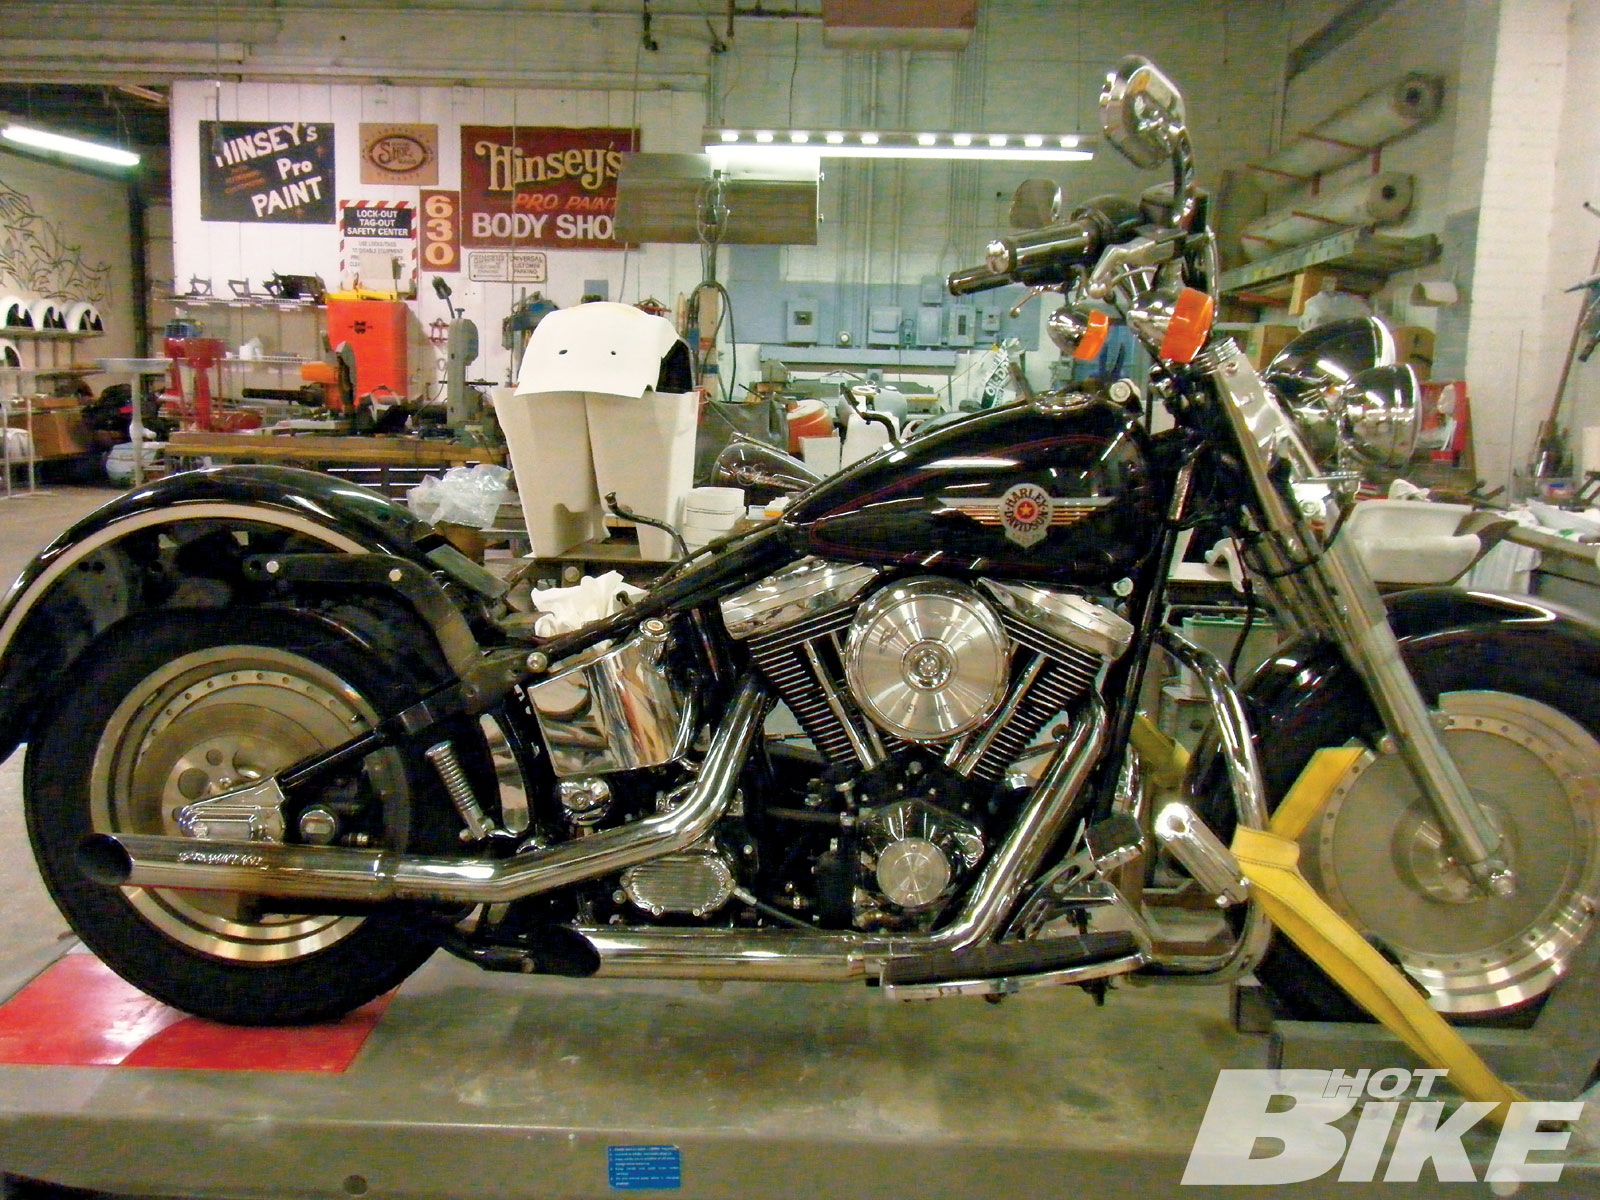
05. It didn’t take long for the Bad Dad crew to secure Adam’s bike to a lift and begin pulling off the parts it would no longer need, such as the seat and the rear fender lighting/license plate mount. You can see some of the Bad Dad components (rear fender cover and stretched saddlebags) waiting to be installed in the background.
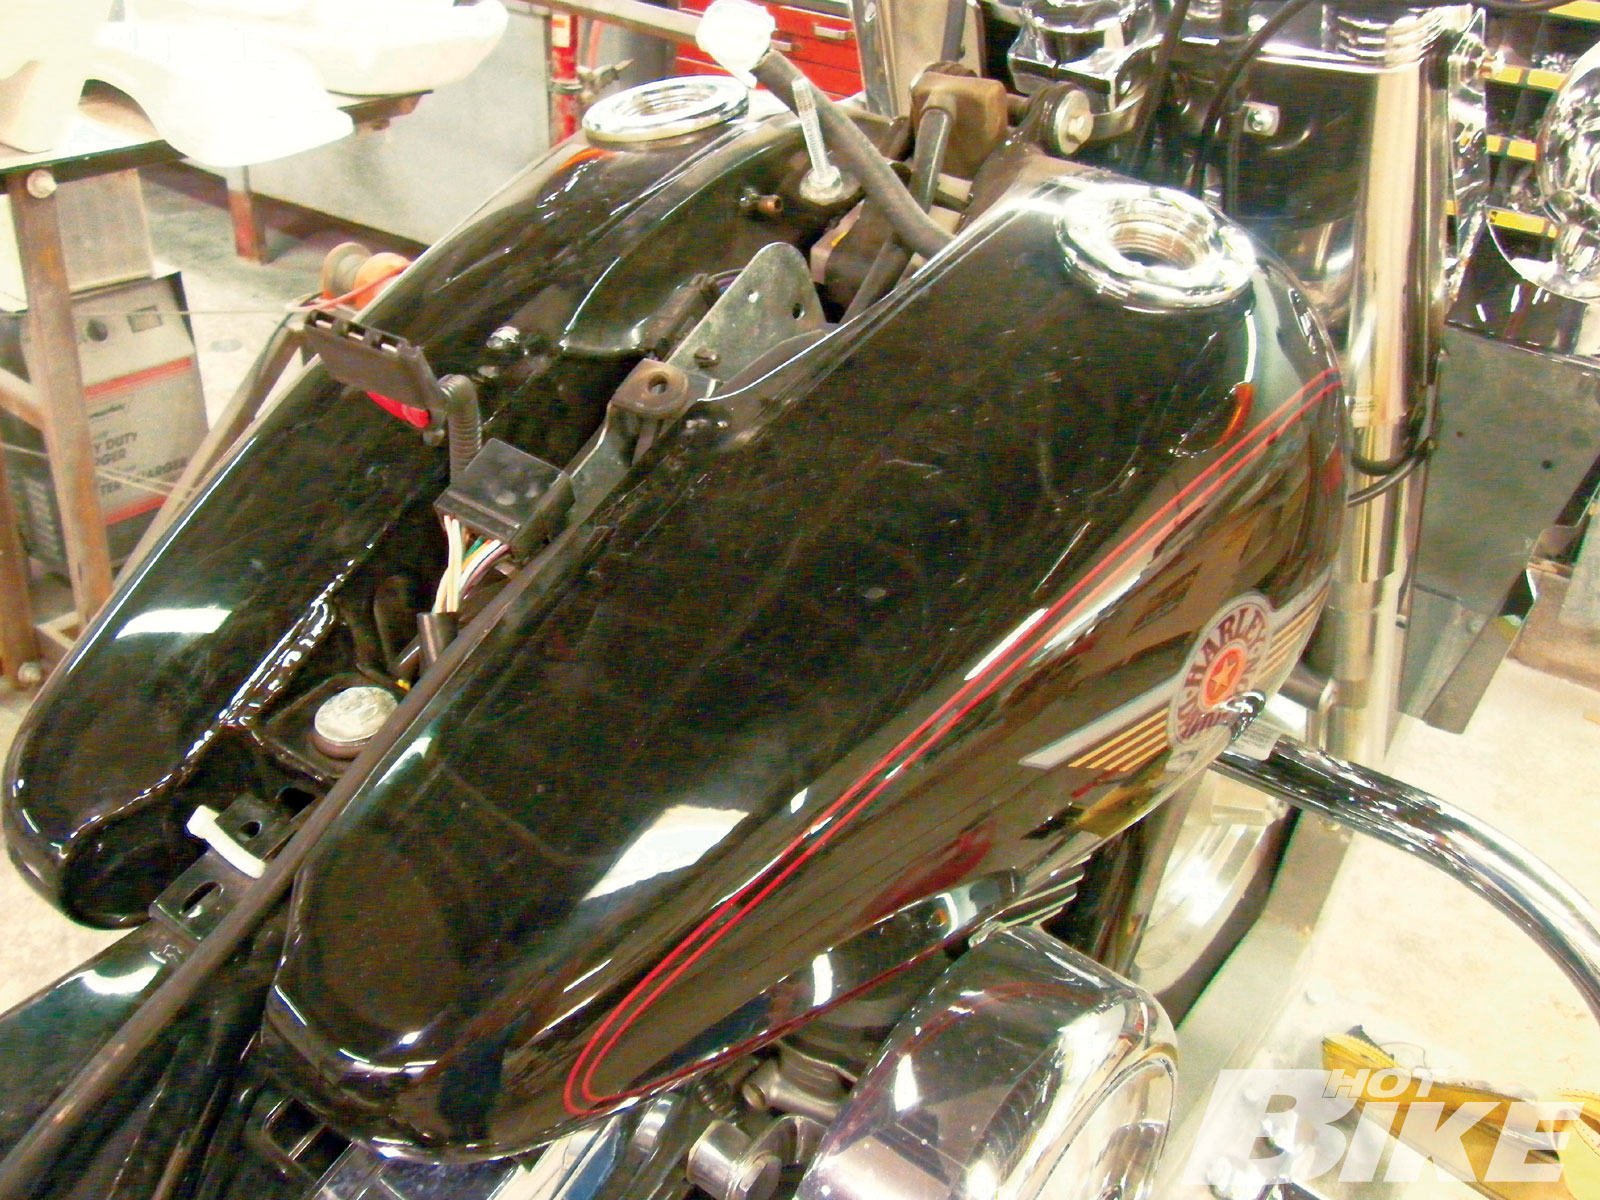
06. One of Adam’s desires for his Softail was to get rid of the stock leather panel that covered the tank below the dash console. Rather than just replacing the leather panel with something like a decorative billet piece, Derk decided to take things further, a lot further, so the stock console, speedo, ignition switch, and the leather panel were removed.
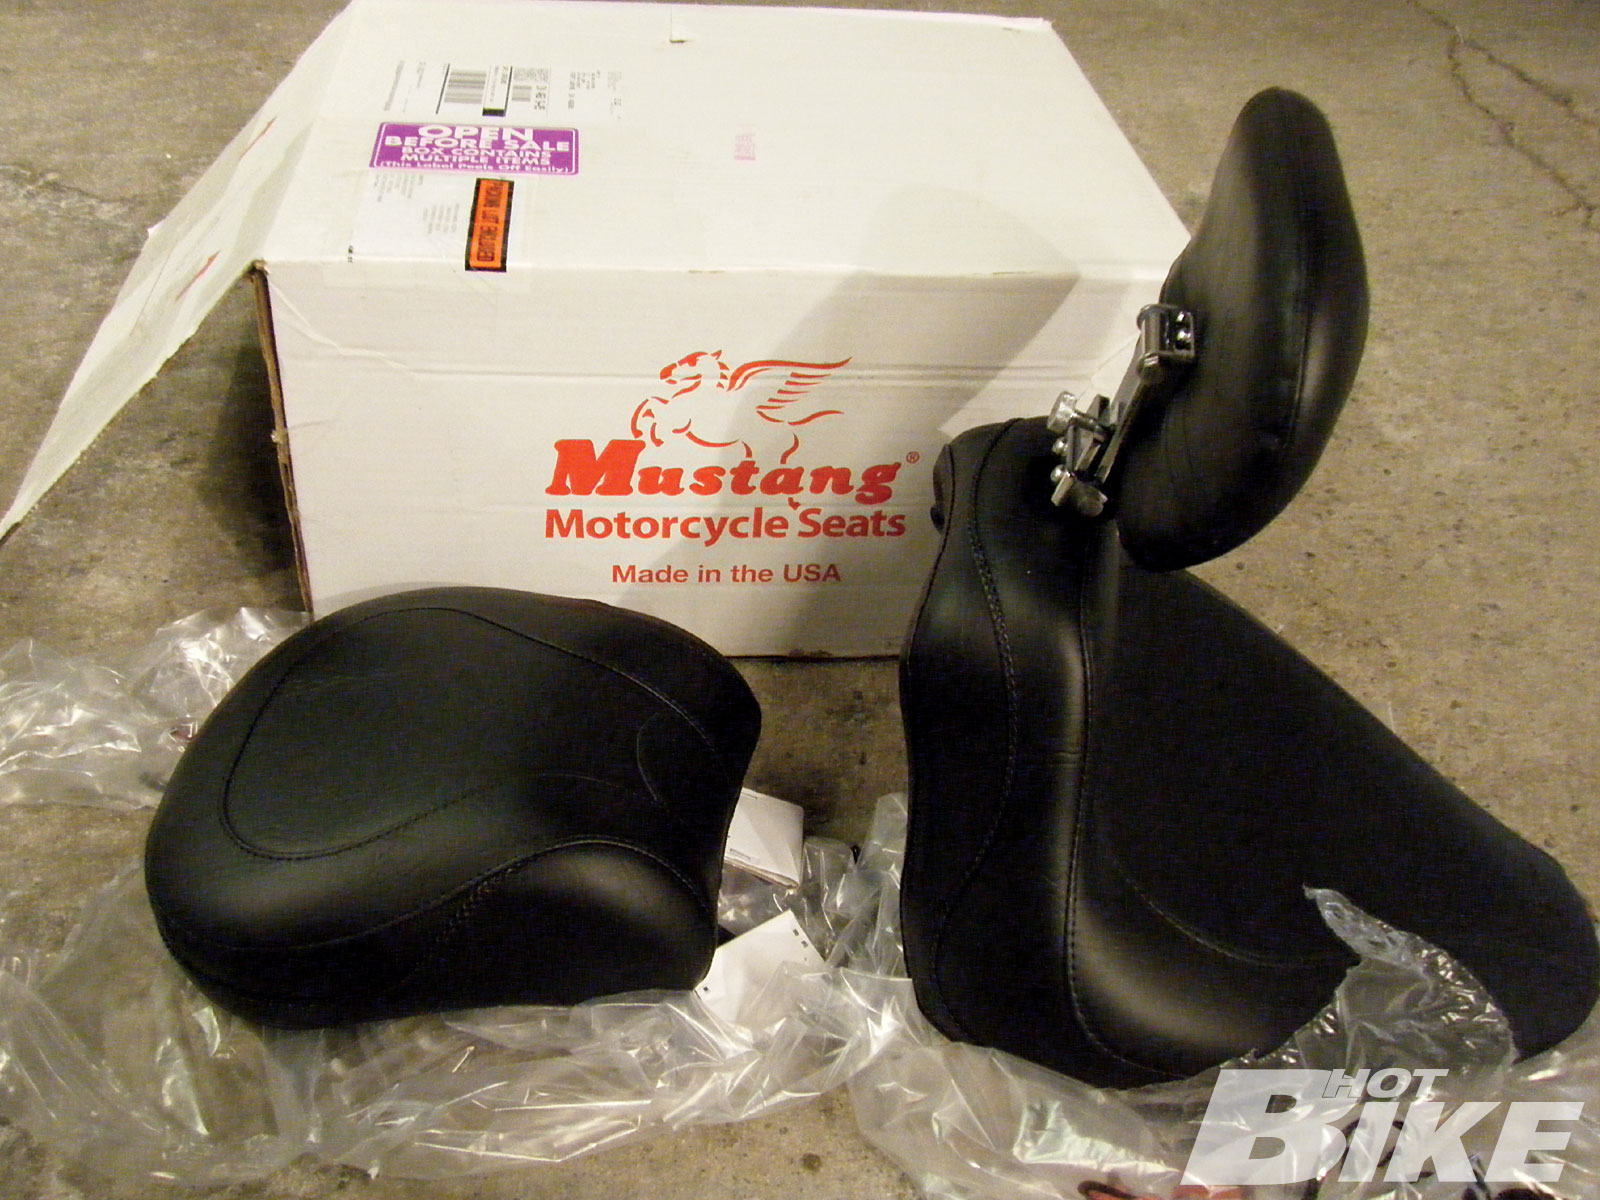
07. As the bike was torn down, new parts from our supporting contributors began arriving at the shop. The first to arrive was a Sport Touring Vintage Solo Seat with Driver Backrest ($449) and a Sport Touring Vintage Recessed Rear Seat ($169) from Mustang. This seating setup would not only meet Adam’s desire of having the ability to go solo or two-up in a matter of seconds, but it would also allow him to do so in style. The seats are slim and sporty-looking but also provide plenty of padding for all-day comfort. The addition of Mustang’s adjustable driver backrest will allow Adam to adjust his riding position to further enhance his comfort.
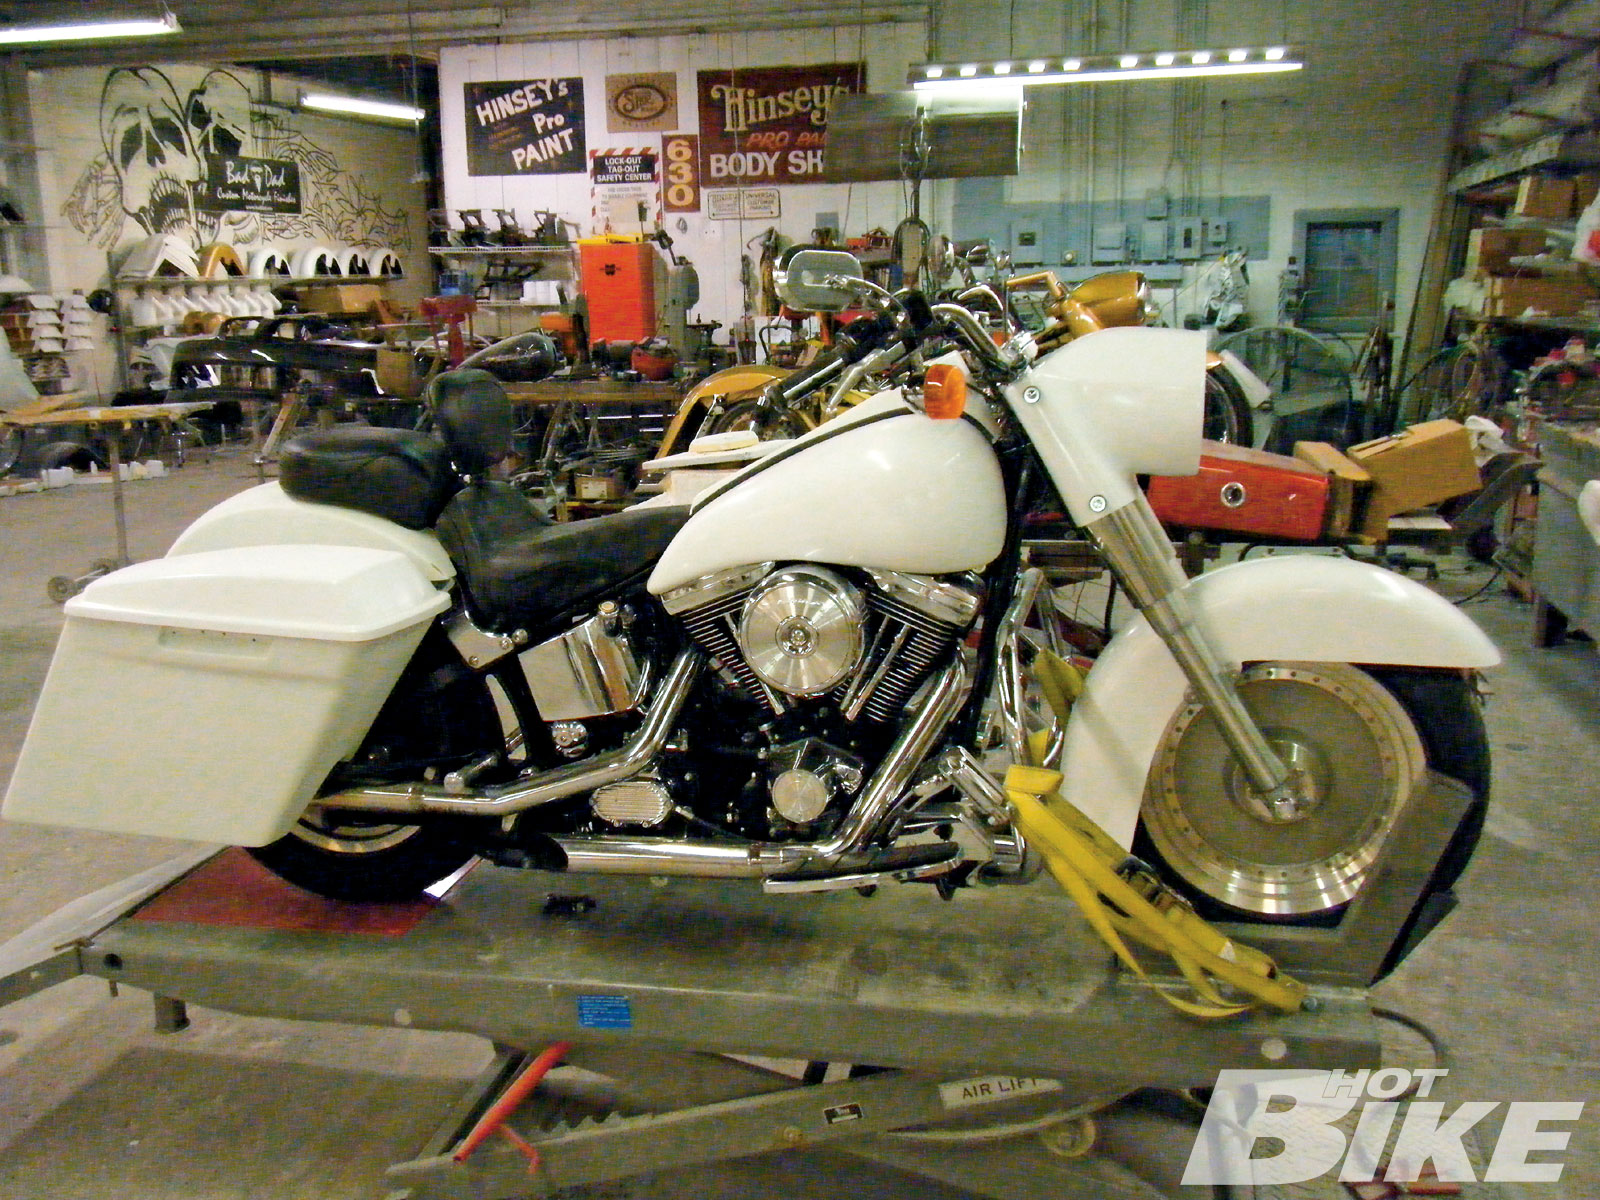
08. With the new seat fitted to the bike, Derk used a Cycle Visions BaggerTail Kit he had on hand and started to mock up Adam’s bike with some Bad Dad bodywork. As stated before, Bad Dad offers parts for baggers, but it also provides parts for Softails as well. From front to rear is a Slammed Fender ($240) made to fit without any spacers, a Stretched Headlight Nacelle ($260) made to fit the larger Touring-style 7-inch headlight assembly ($115), Stretched Tank Shrouds ($365) and Stretched Dash ($175), Shaved and Stretched Saddlebags ($2,150-lids, hinges, weather strips, and assembly included), an All-in-One Fender ($285), and an All-in-One Taillight with wiring harness ($295). All of the body pieces are made from hand-laid fiberglass and come gel-coated so they are ready to paint. The good thing about these parts is that they are easy to modify to suit your needs.
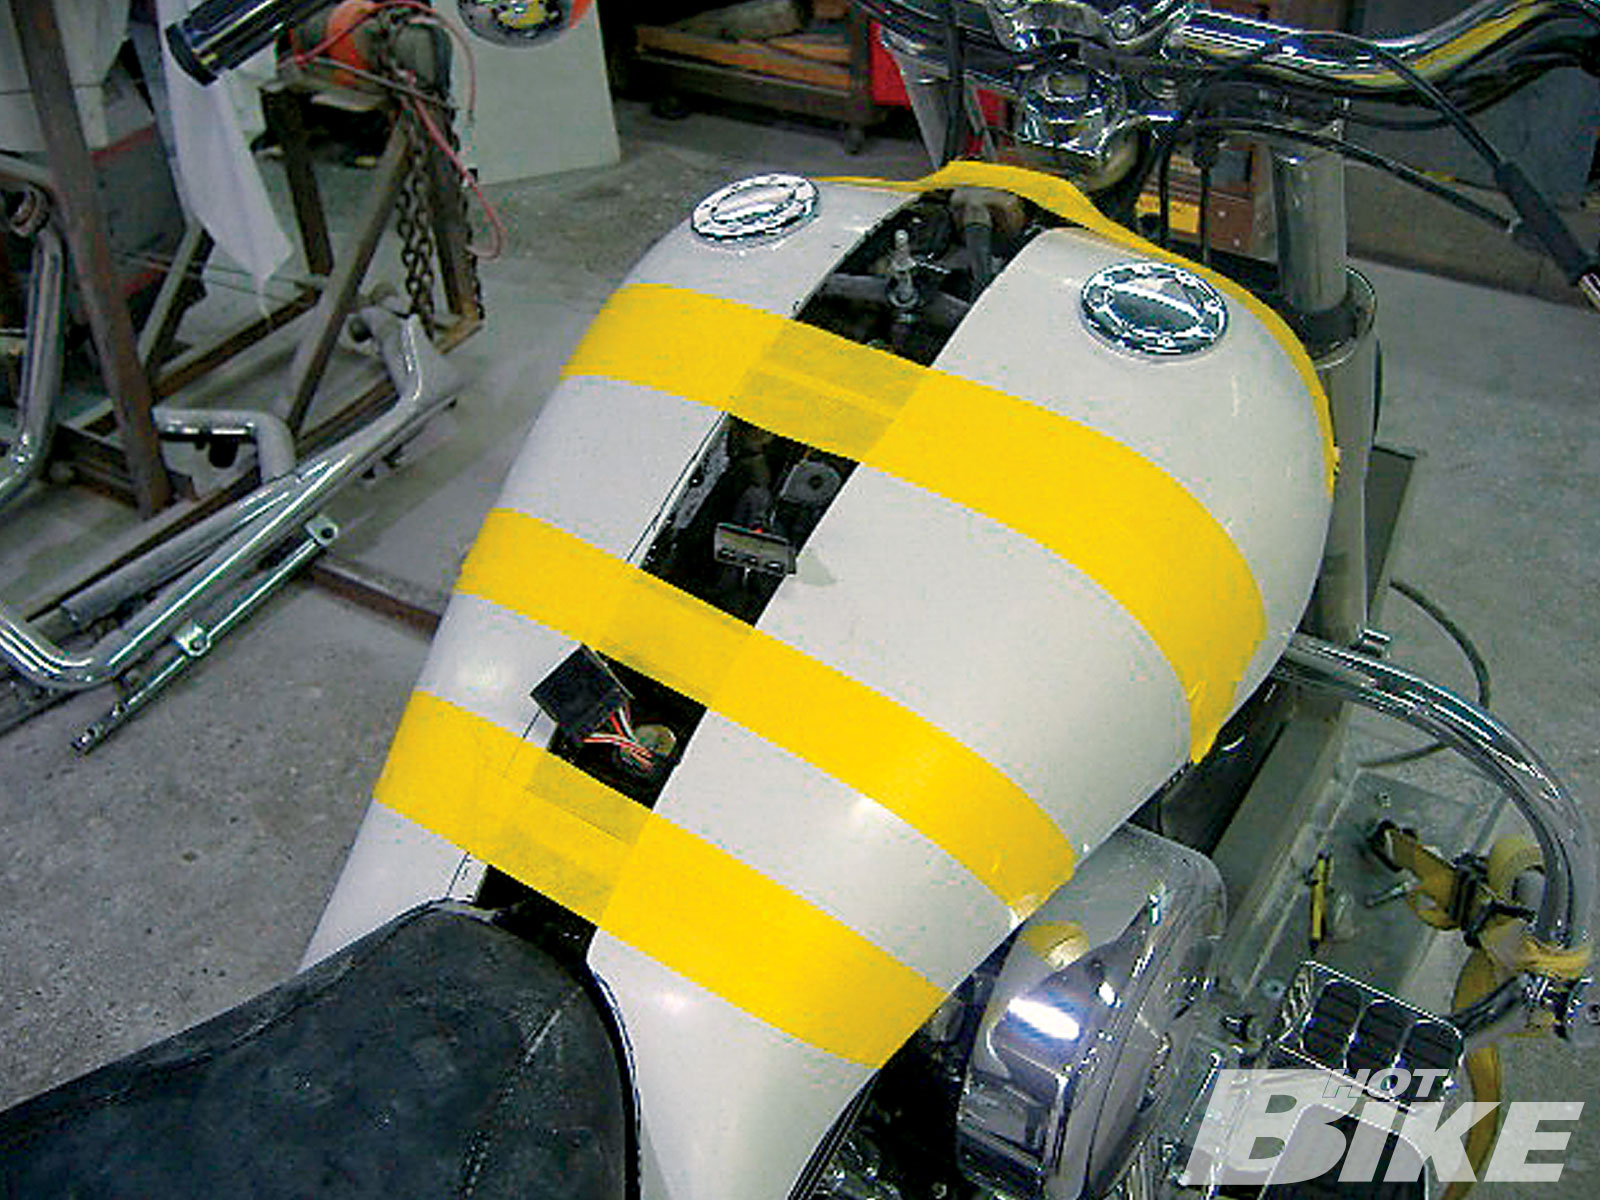
09. Installation of the stretched tank shroud is pretty straightforward and doesn’t even require removing the tank from the bike. You can simply remove the emblems and sand the top of the tank with any sandpaper from 80-220 grit, and this can be done by hand or with a dual-action sander. Once the top half of the tank has been sanded, you can apply the adhesion material, either two-part epoxy or silicone, then install one of the tank halves. Next, you would use some tape to secure the half while the adhesion material dries. You’d then repeat the process for the other side, and once both sides have set, you can cut the tail section to fit your stock or aftermarket seat.
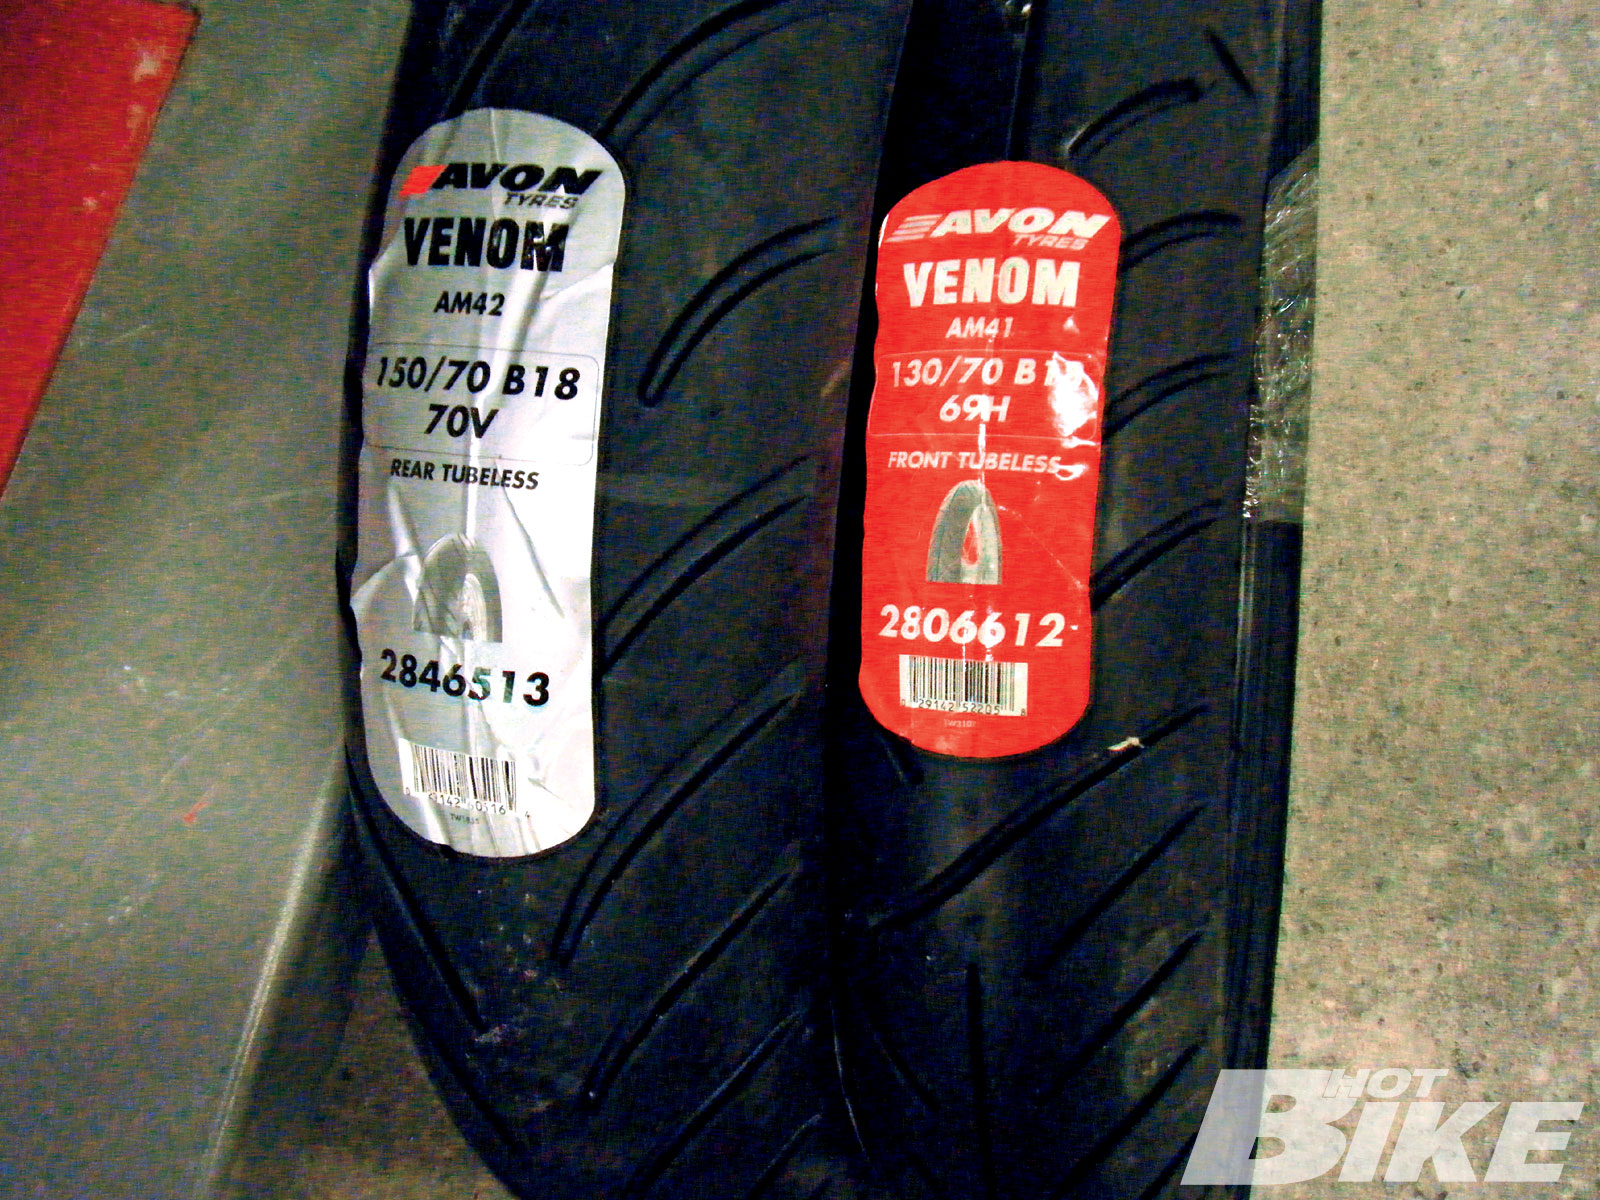
10. While the bodywork was being mocked up, the Avon tires showed up. Instead of sticking with the stock wheels and tires, we decided to add a little more rubber and metal between the fork legs and swingarm, and stepped up to 18 inches front and back. Up front we ordered a Venom AM41 130/70-18 ($208.95) and out back we picked up a Venom AM42 150/70-18 ($242.95). The Venom line is geared toward heavyweight cruisers to provide long mileage, low noise, and excellent traction in all conditions with its aggressive tread design. The multiarc tread design on the Venoms is countered for light, neutral turning and steady cornering. All of these characteristics will greatly benefit Adam as he logs mile after mile.
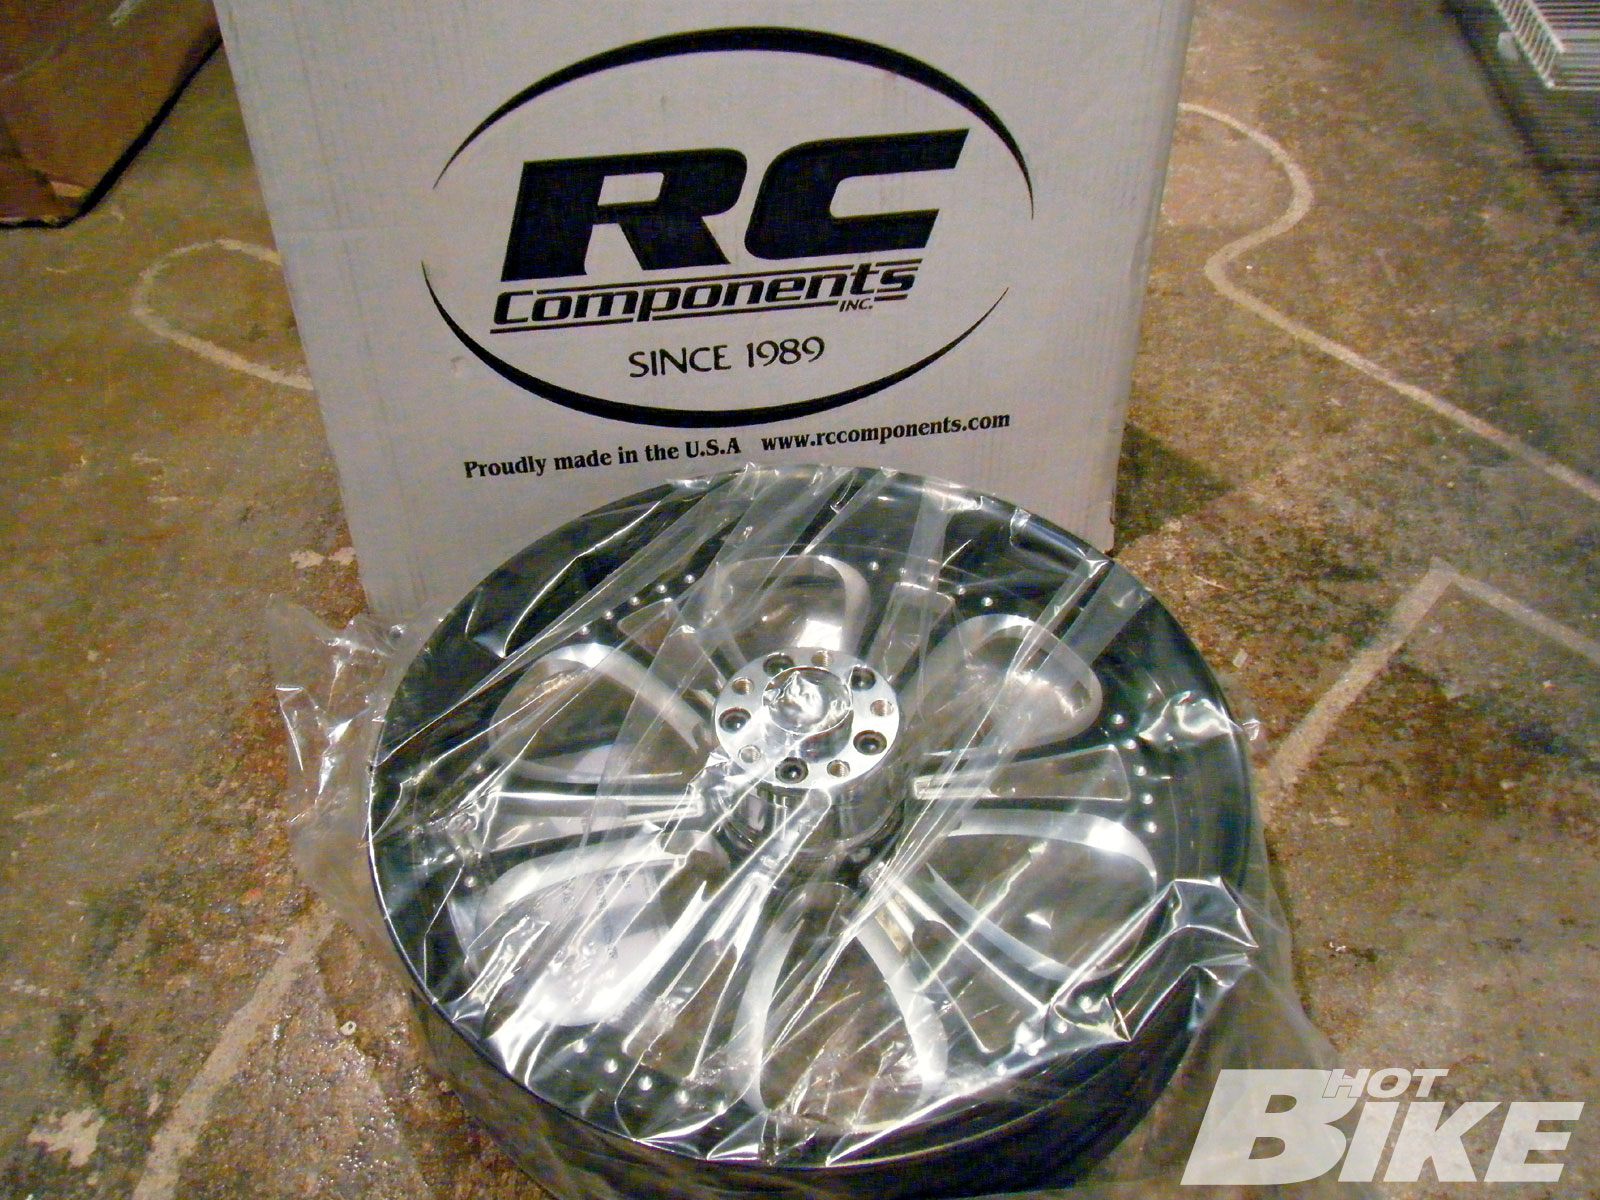
11. Right behind the tires were the RC Components wheels. While everyone likes chrome, and RC has one of the top chrome warranties in the industry (seven years) we thought he’d like something a little more sinister, so we opted for RC’s Czar ($2,690.21-wheels, rotors, pulley) design in its recently added Eclipse Series. The Eclipse Series features a black powdercoated finish with certain parts of the wheel left raw, this really helps draw attention to the wheels. RC offers matching rotors and pulleys as well as the option of either chrome or black hubs; we went with chrome. The Czar wheel is a six-spoke design with the outer edges of the spokes machined down to a knife-like edge.
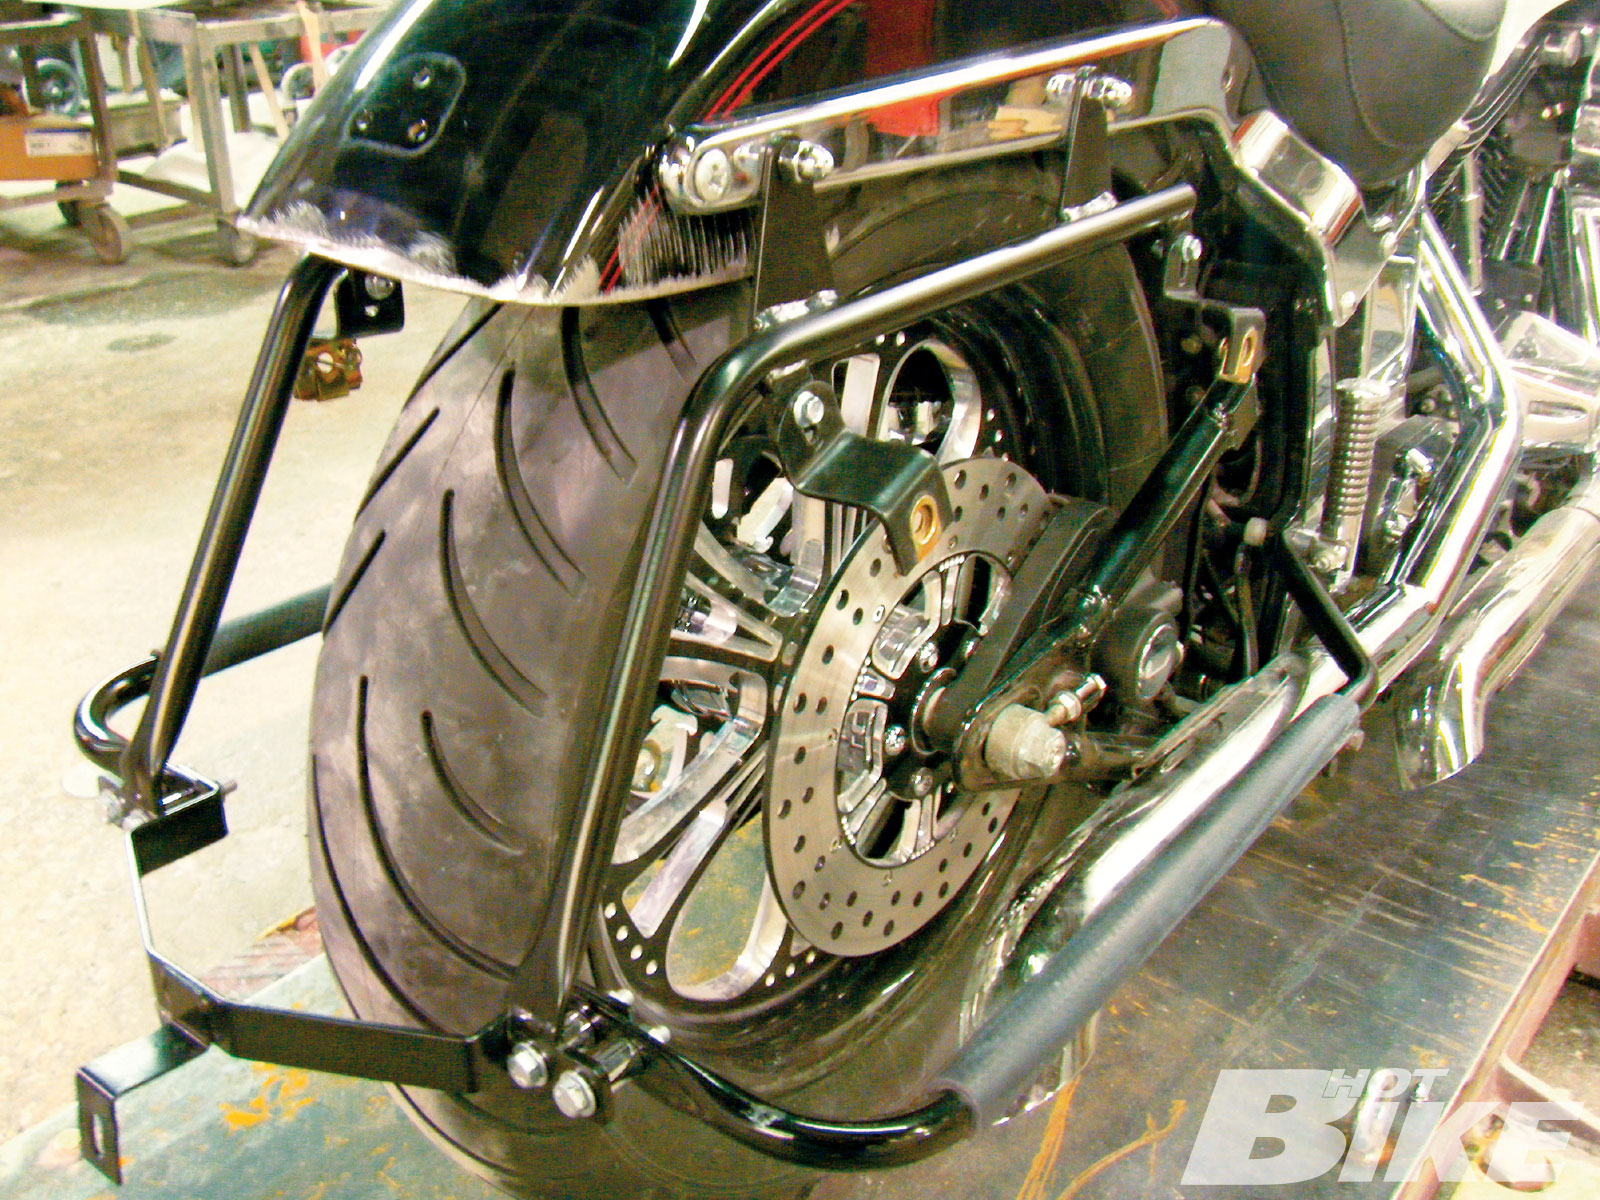
12. With the wheels and tires on the bike, the Bad Dad team fine-tuned the rear of the bike so that the new rear fender and extended saddlebags would all line up evenly. The Bad Dad All-in-One rear fender fits right over the stock fender and fills the gaps between the fender and saddlebags. As you can see, the rear fender was heavily trimmed to allow the new fender to fit in place. To ensure the new bags and fender line up at the rear and between the bags and fender, Bad Dad incorporates its own brackets into the BaggerTail setup.
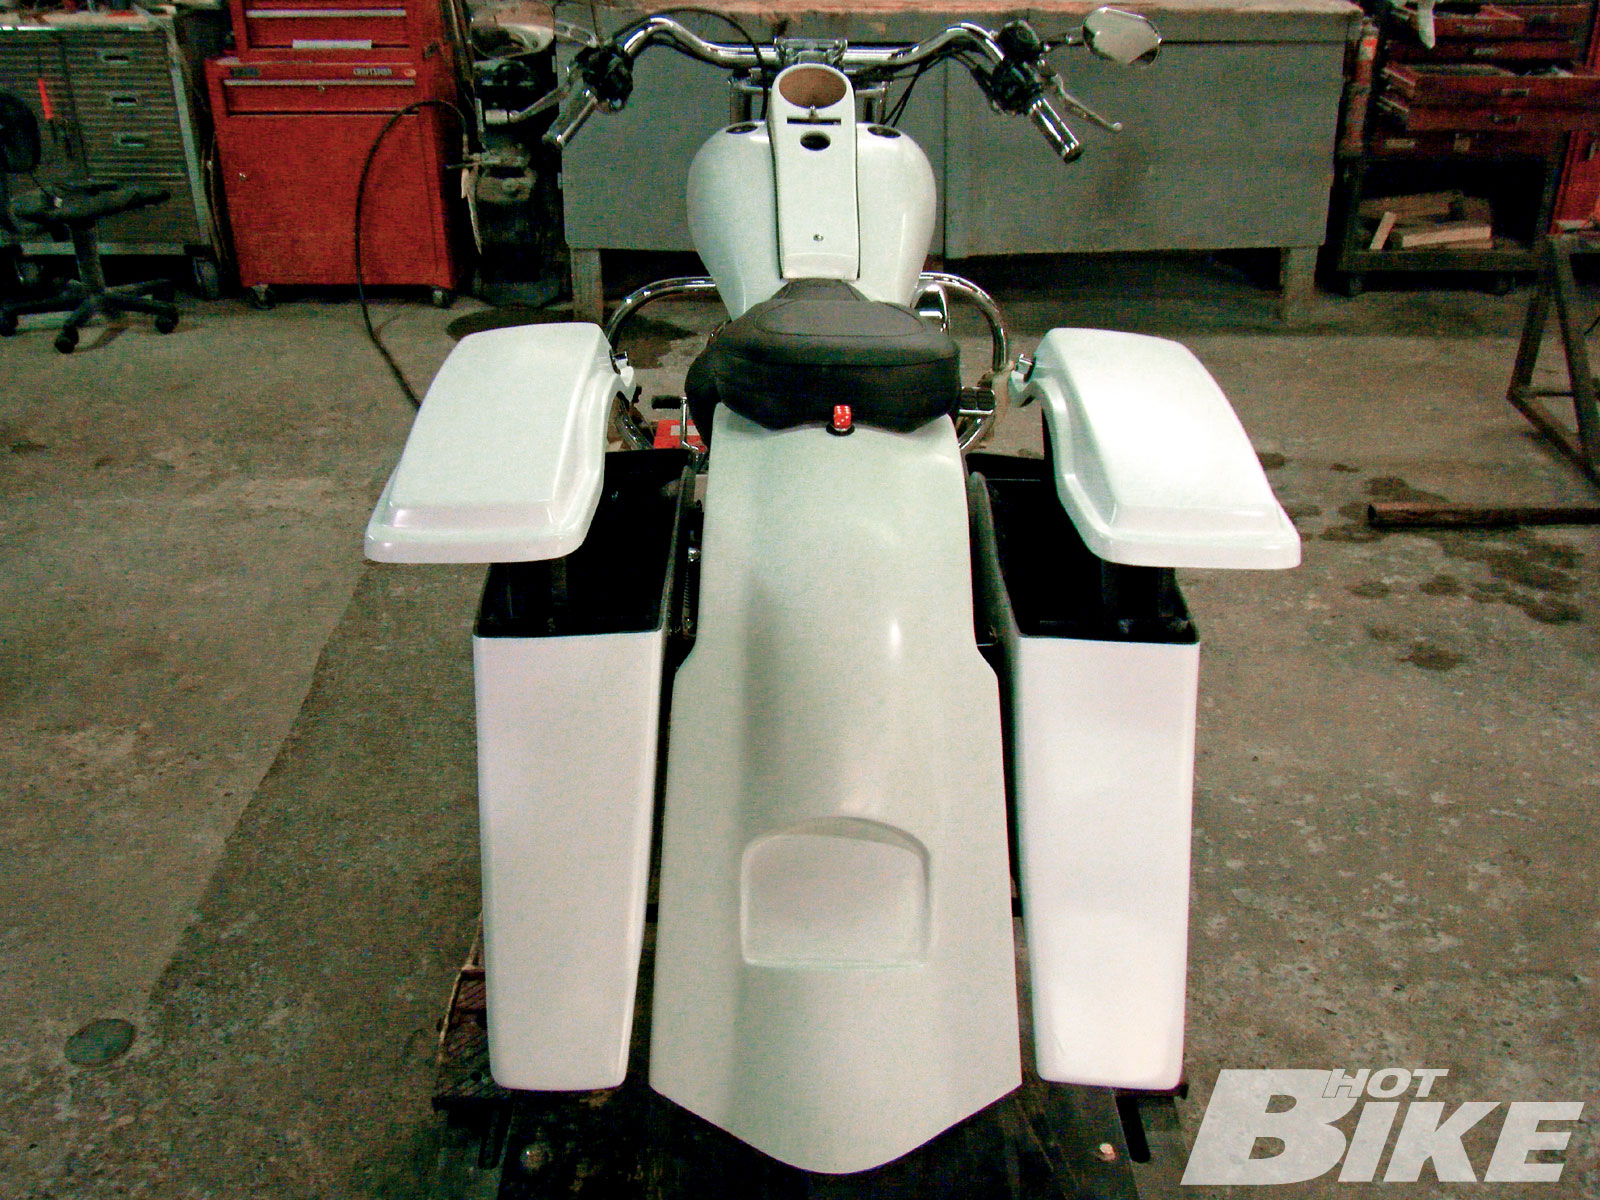
13. Here you can see the mock-up was almost complete, the dash was cut to accept the stock speedo, indicator lights, and ignition switch, and the bags and fender were properly aligned. No, those saddlebag lids are not magically floating in midair. It turns out that Adam’s bike was the test bed for Bad Dad’s newest product: Shaved Saddlebags. There are no latches on the outside like typical bags. What you can’t see is at the front of the lids (facing the fender) is a lockable push button which, when pressed, allows the lids to pop up then slide outwards (away from the bike) so you can get inside. It’s a pretty trick setup and provides a nice clean and custom appearance.
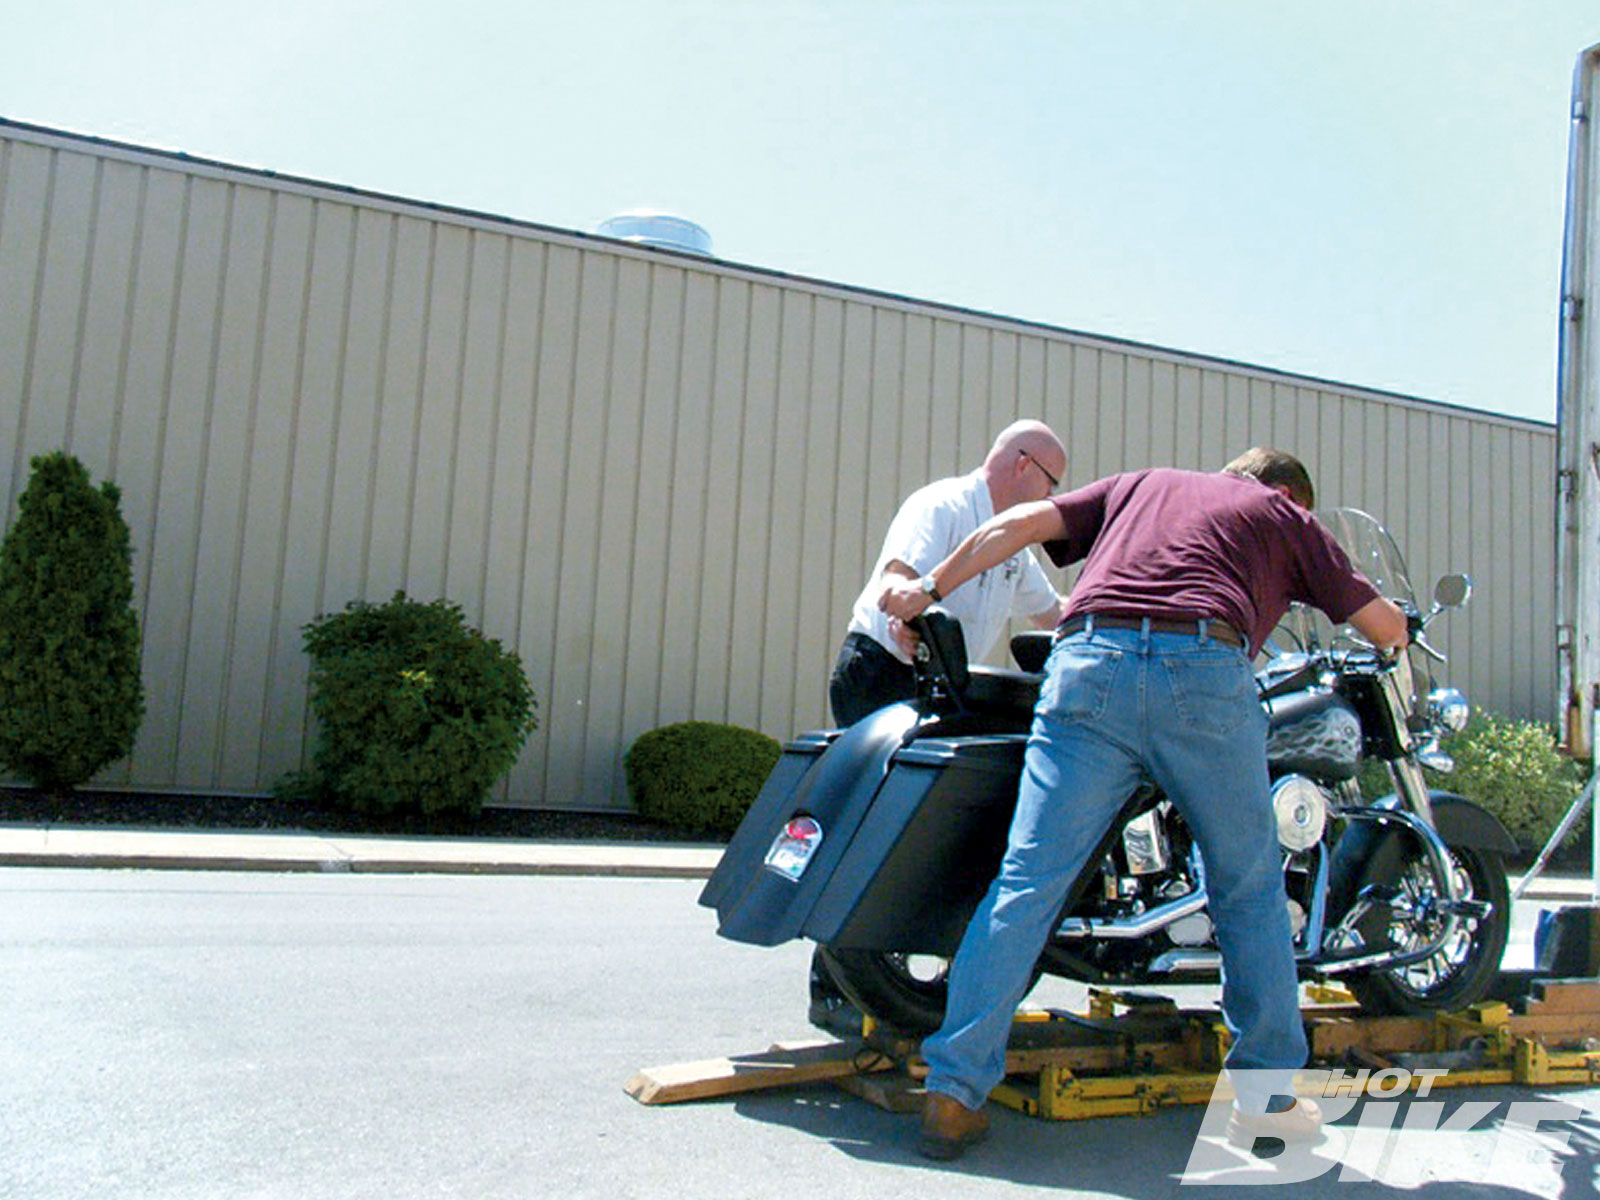
14. After everything was dialed in, the bodywork was pulled off the bike one last time and sent over to the in-house paint booth to get doused in several coats of black with matte clear. While we don’t want to reveal too much and spoil the surprise, we’ll leave you with this last shot of Adam’s newly bagged Fat Boy being loaded up into the Keyboard truck before it makes its way back home. Check back next issue, as we show you the final results.
A while back we received an email from a Sgt. Adam (last name withheld) of the US Army National Guard. Adam explained to us how he was currently on deployment in the Middle East and was desperately missing time on his ’99 Fat Boy. Adam told us he was due back stateside in a few months and was interested in turning his Fat Boy into a more comfortable long-distance rider while maintaining that Softail look-basically a bagger without the fairing.
With only a few years of Harley experience under his belt and his long stretches of deployment, Adam was looking for some insight as to whom or where he could send his bike to have the transformation done. He had several specific ideas that he wanted incorporated, such as hard bags, a new dash to replace the ratty leather piece that was currently zip-tied down, and a seating arrangement that could go from one- to two-up with removable backrests.
We exchanged emails with Adam back and forth for several weeks tossing out ideas as to shops in the Wisconsin area that could handle his project. Then one day while watching an old episode of Overhaulin’ we thought, “Wouldn’t it be cool if we could do something to give back to a young man who is risking his life to serve our country? It would be great if we could kidnap Adam’s bike and have it made over while he was on deployment and have it ready for him when he got back.”
After making a few calls to see if some of the industry’s heavy hitters, such as RC Components, Avon Tires, Bad Dad Motorcycle Finishes, Keyboard Motorcycle Shipping, and Mustang Seats, would be interested in chipping in on a project like this, we immediately ran into our first and biggest obstacle; the gate keeper to Adam’s bike while he was deployed: Adam’s father.
It’s probably much easier to approach someone out of the blue and try to convince them you want to “steal” his son’s prized possession for a makeover when you have a huge budget and a production/film crew hanging over your shoulder. Adam’s father was real skeptical with our initial pitch and rightfully so. So we decided to let the cat of the bag and tell Adam about our intentions. We informed him everything was taken care of, all he had to do was make sure his dad was home when the truck arrived to pick up the bike, and a few months later when he returned from deployment his “new” bike would be ready to cruise cross country. Adam didn’t hesitate to get on board with our plan.


