
Re-Dressing A Softail Dresser
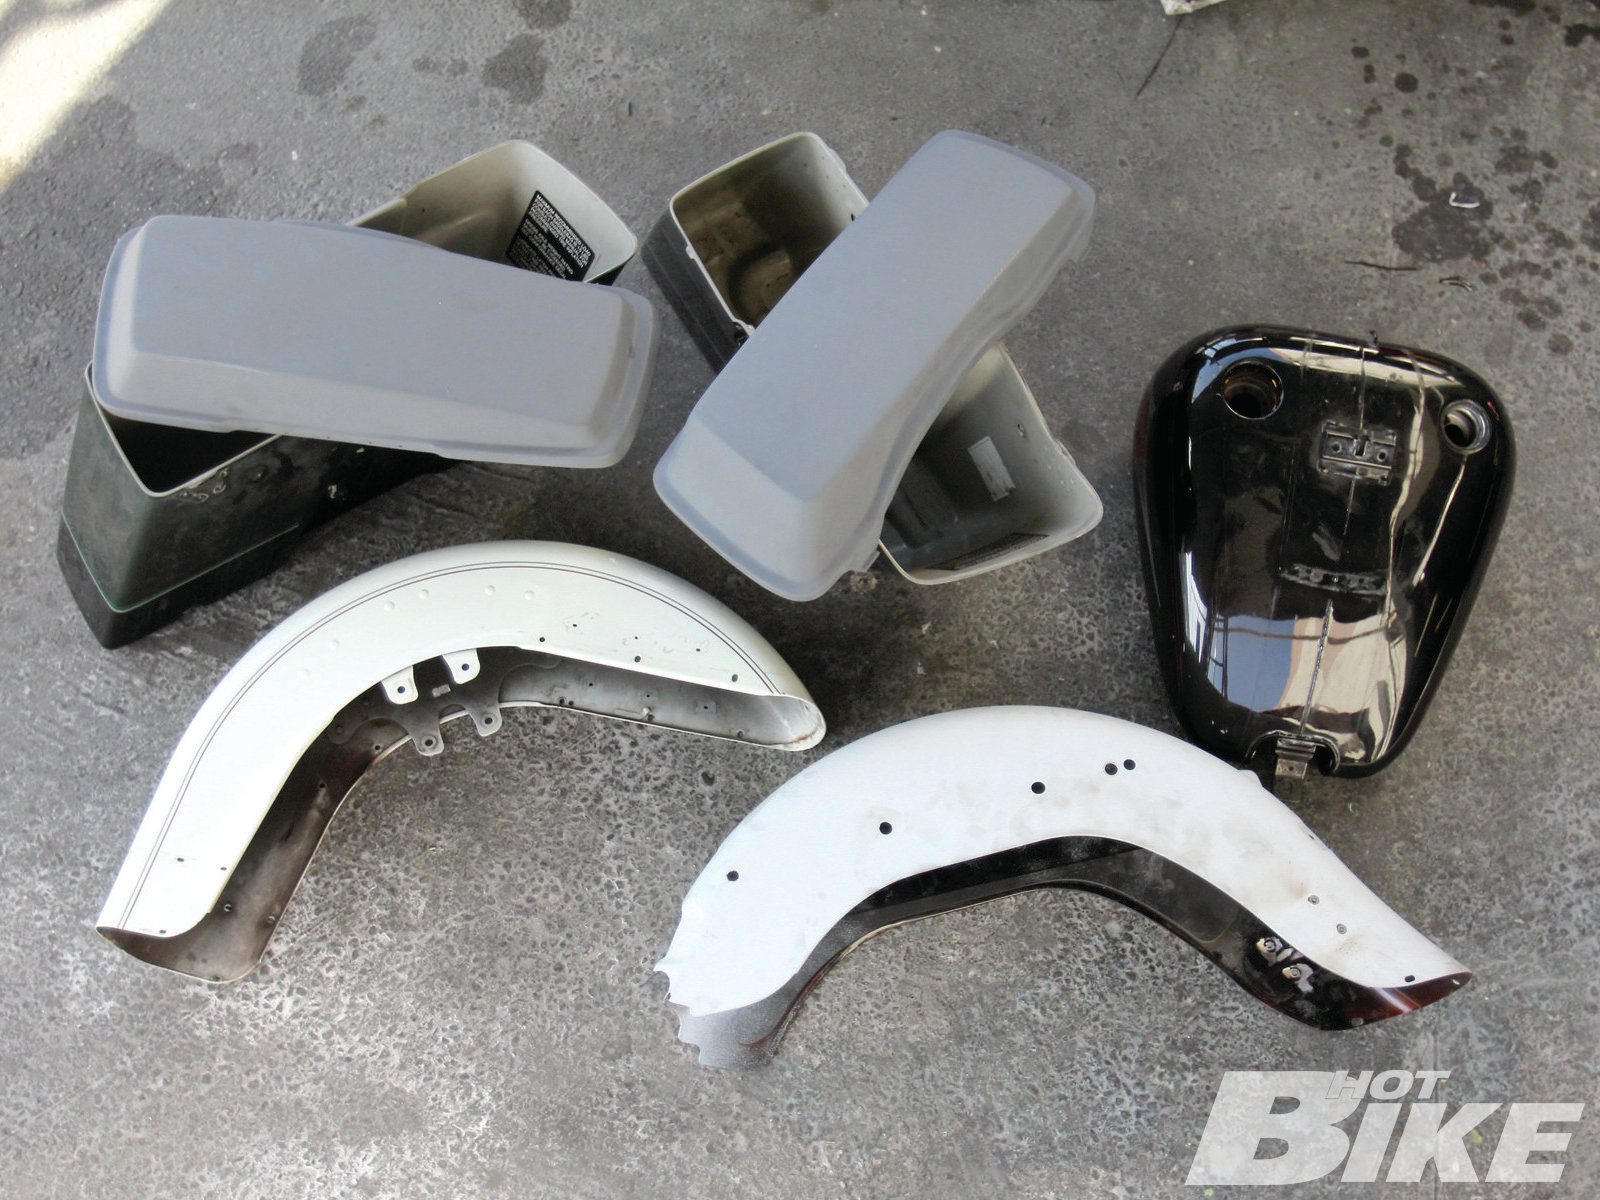
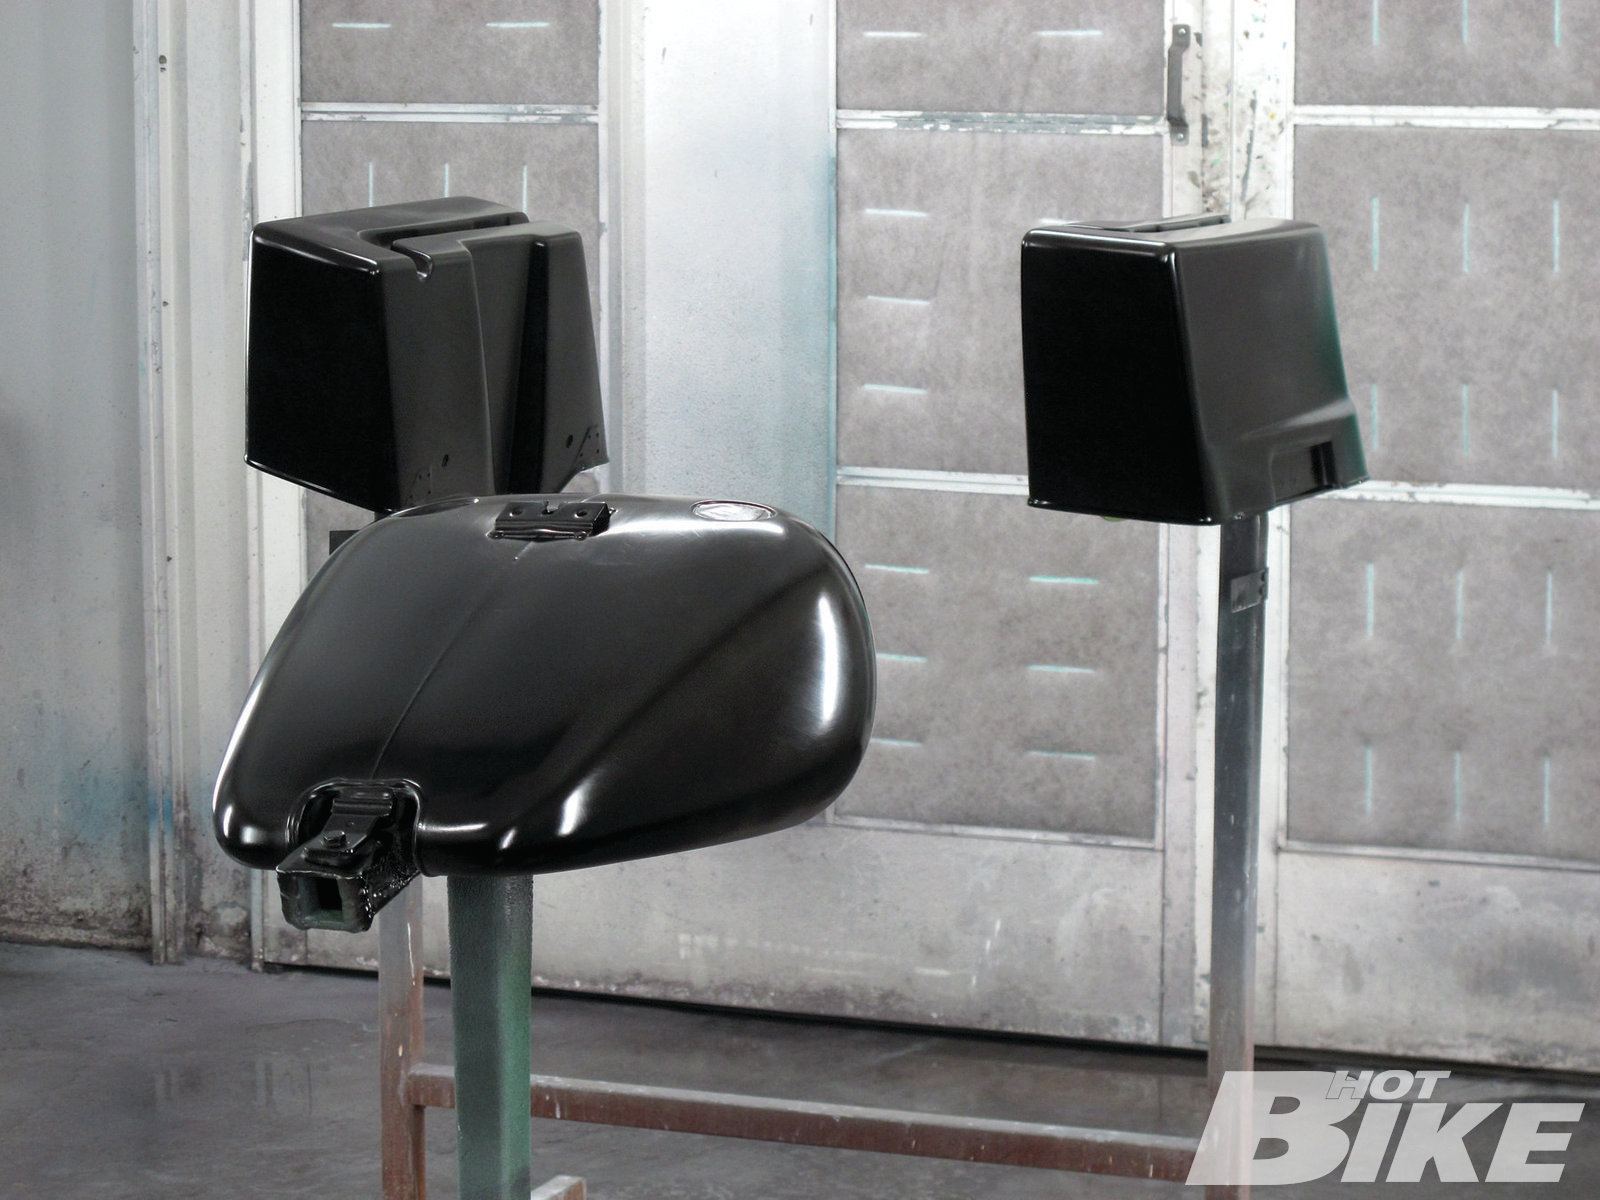
01. The following parts were to be painted: front and rear fenders, stock Harley gas tank, saddlebags, and saddlebag lids. When Robert was done with these, you never would have guessed the parts looked like this.

02. To get started, Robert used 150-grit paper on a buffing wheel in a feathered pattern in order for the primer to stick come prime time.
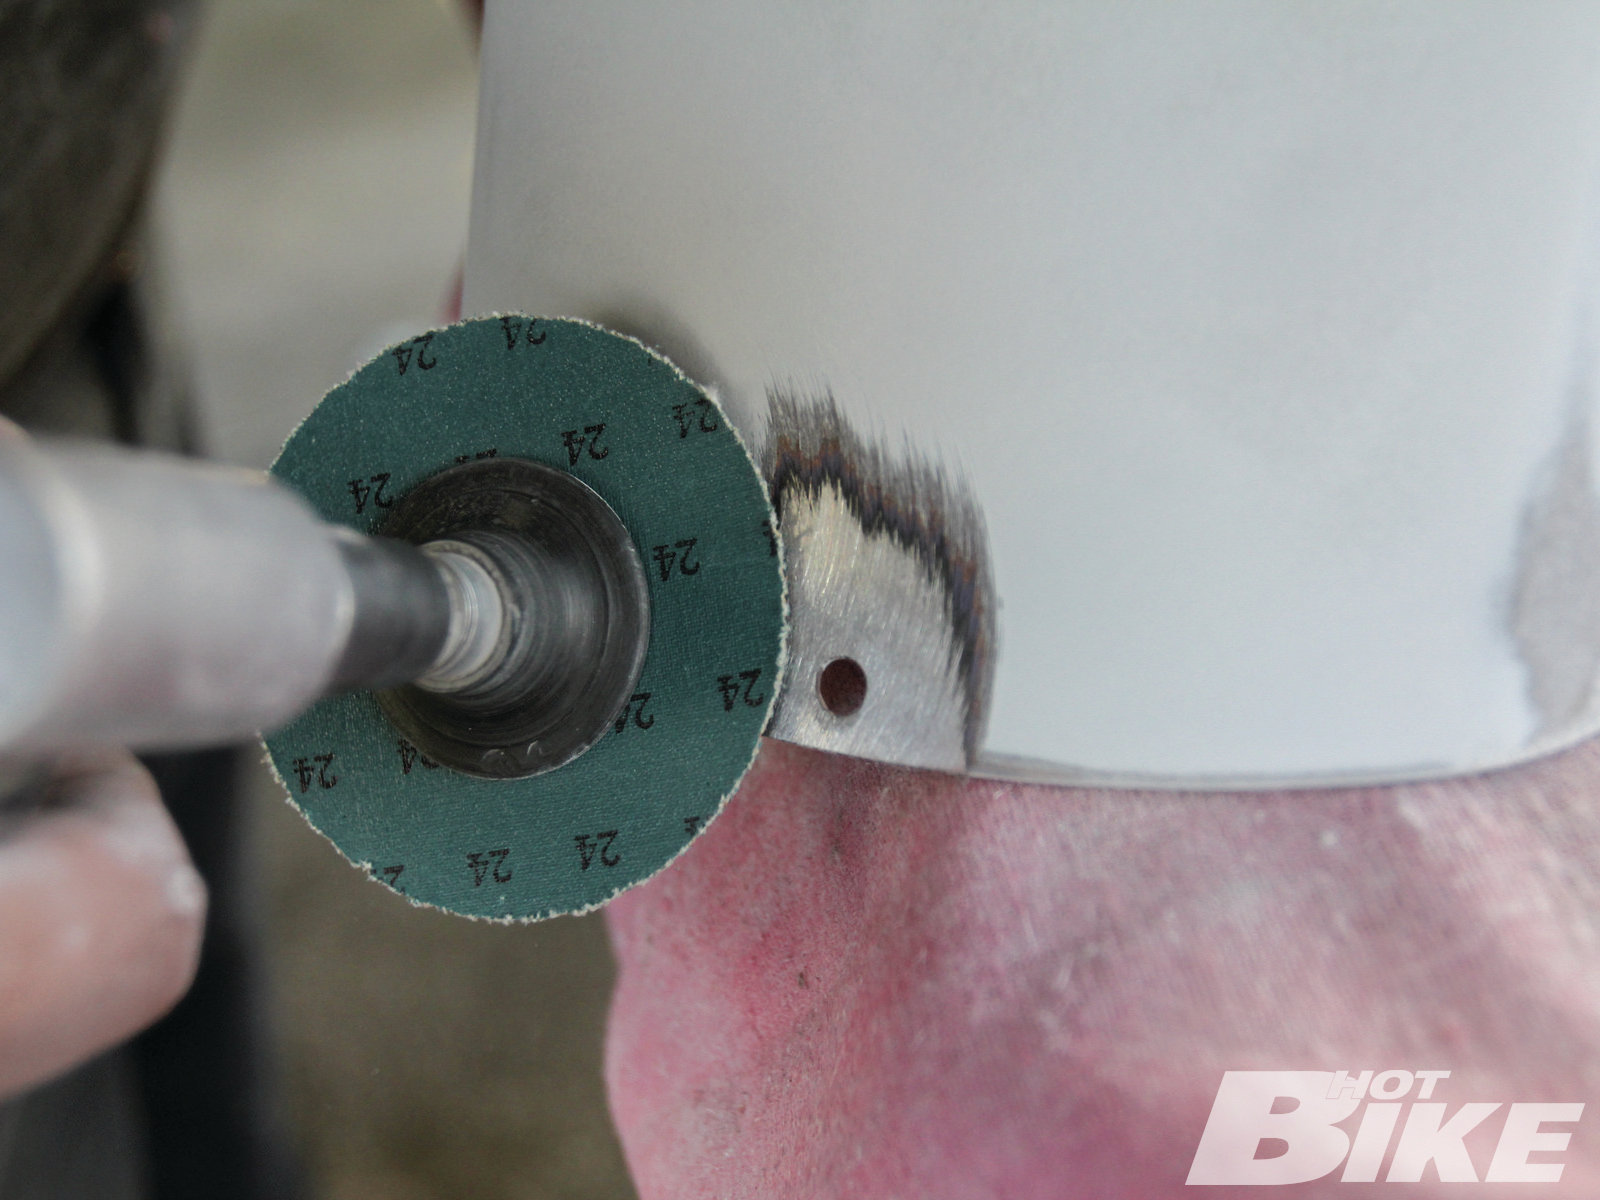
03. Because Mat wanted the holes on the bottom of the fender filled in, Robert needed to weld them first. Taking the fender down to the bare metal where the holes were located with a 24-grit grinder…
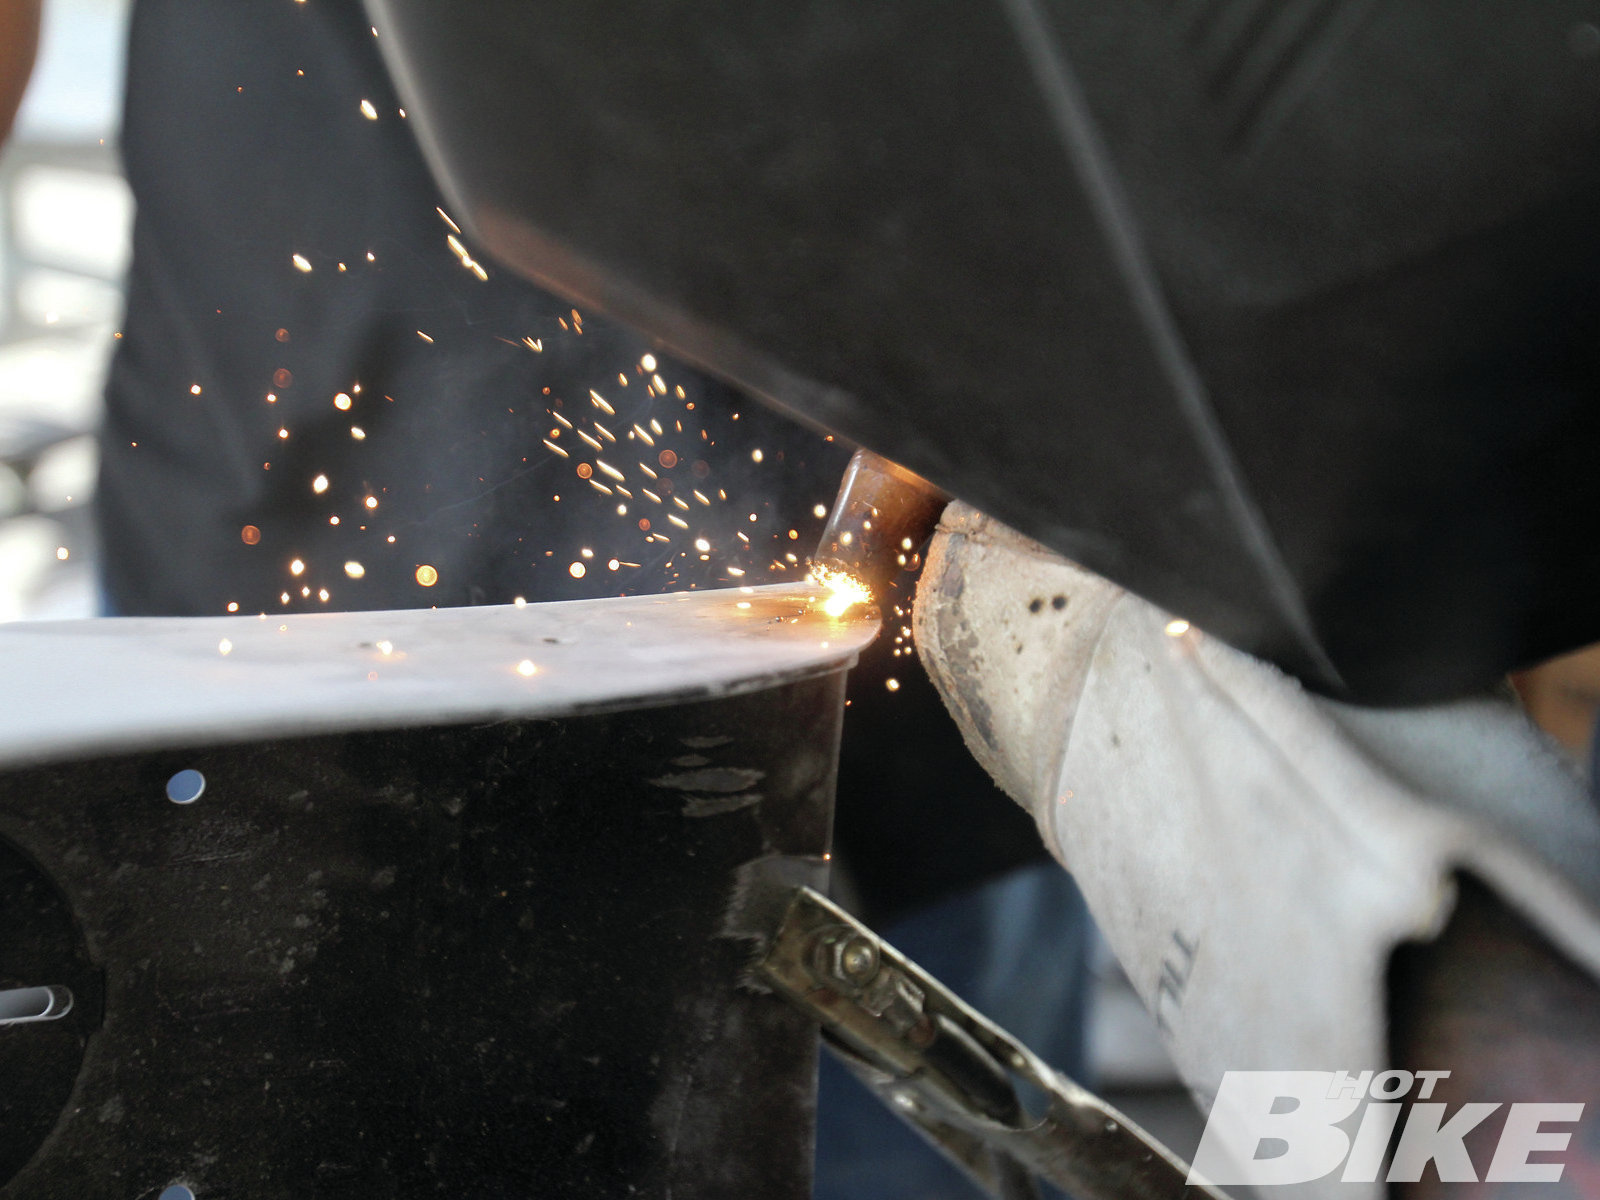
04. …Robert placed dime-sized 14-gauge steel tabs on the backside of the fender and welded them from the front side using a MIG welder. When filling holes, metal is used instead of body filler because the vibration would cause the filler to fall through the holes. Robert practices the “do it right the first time” discipline.
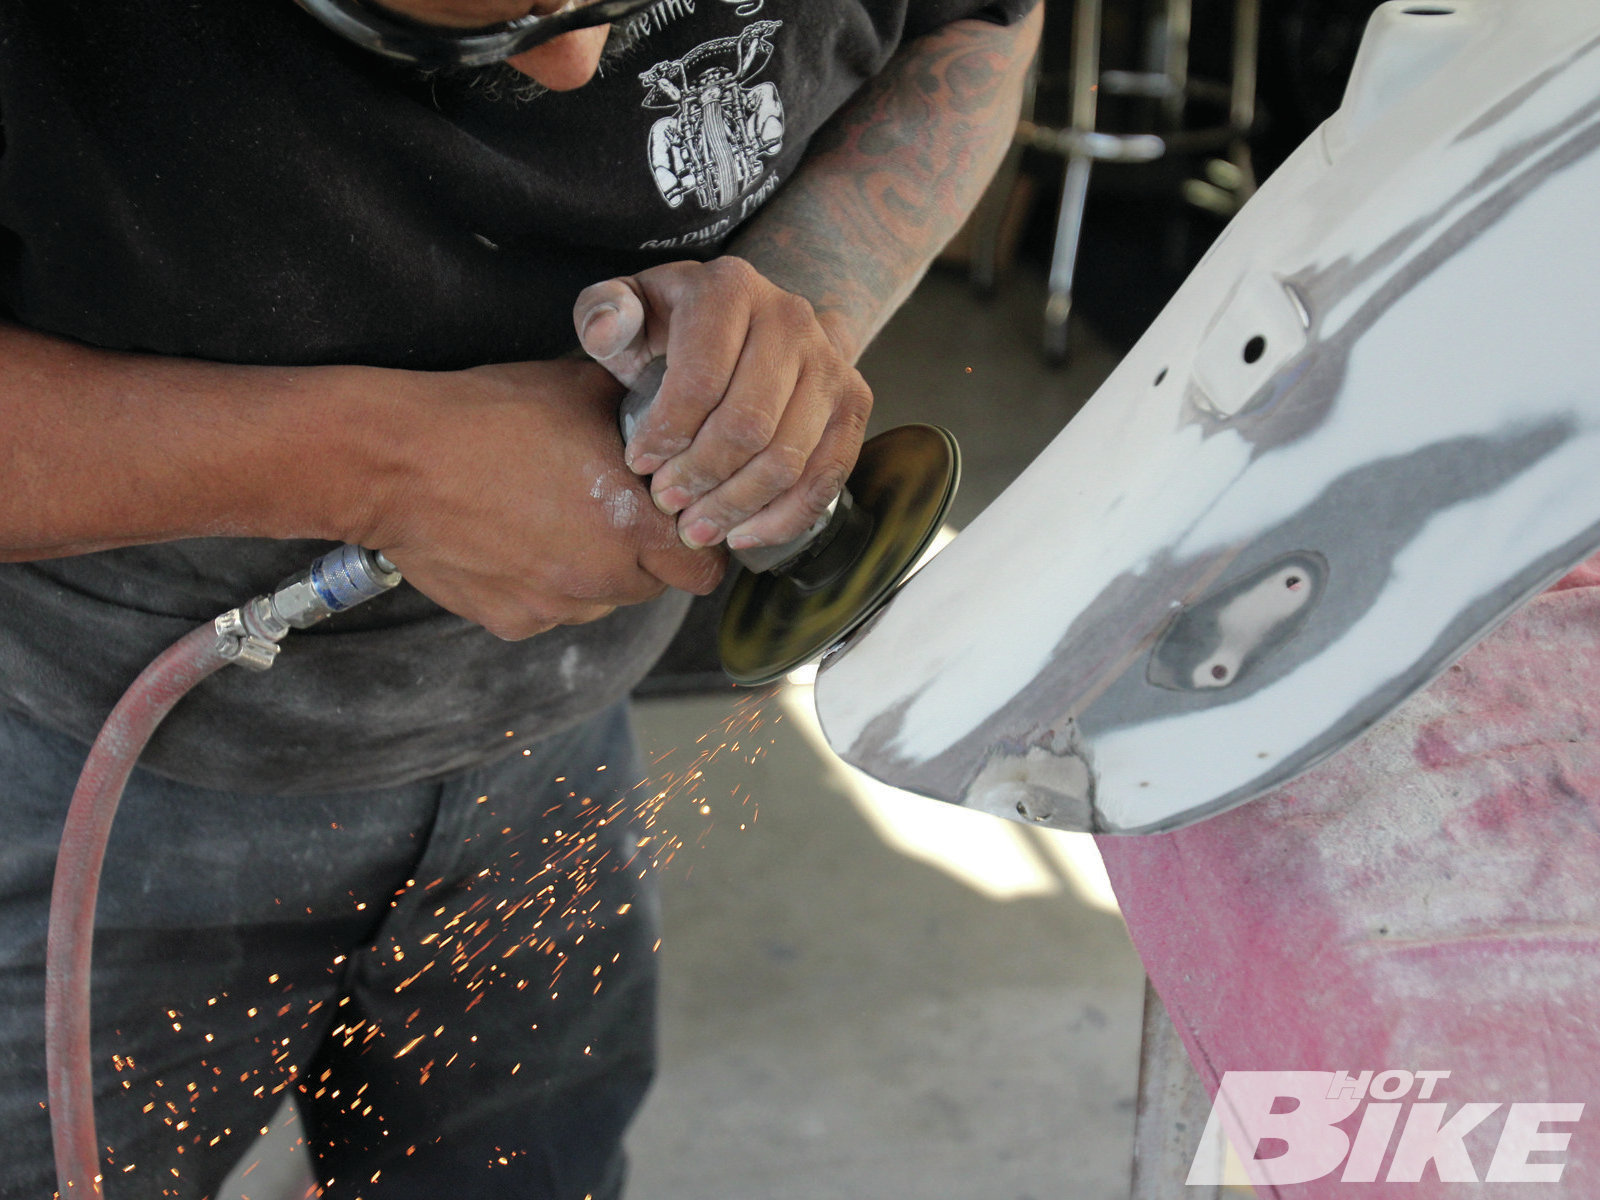
05. The beads of weld needed to be cleaned up, so Robert ground down the welds smooth with the rest of the metal.
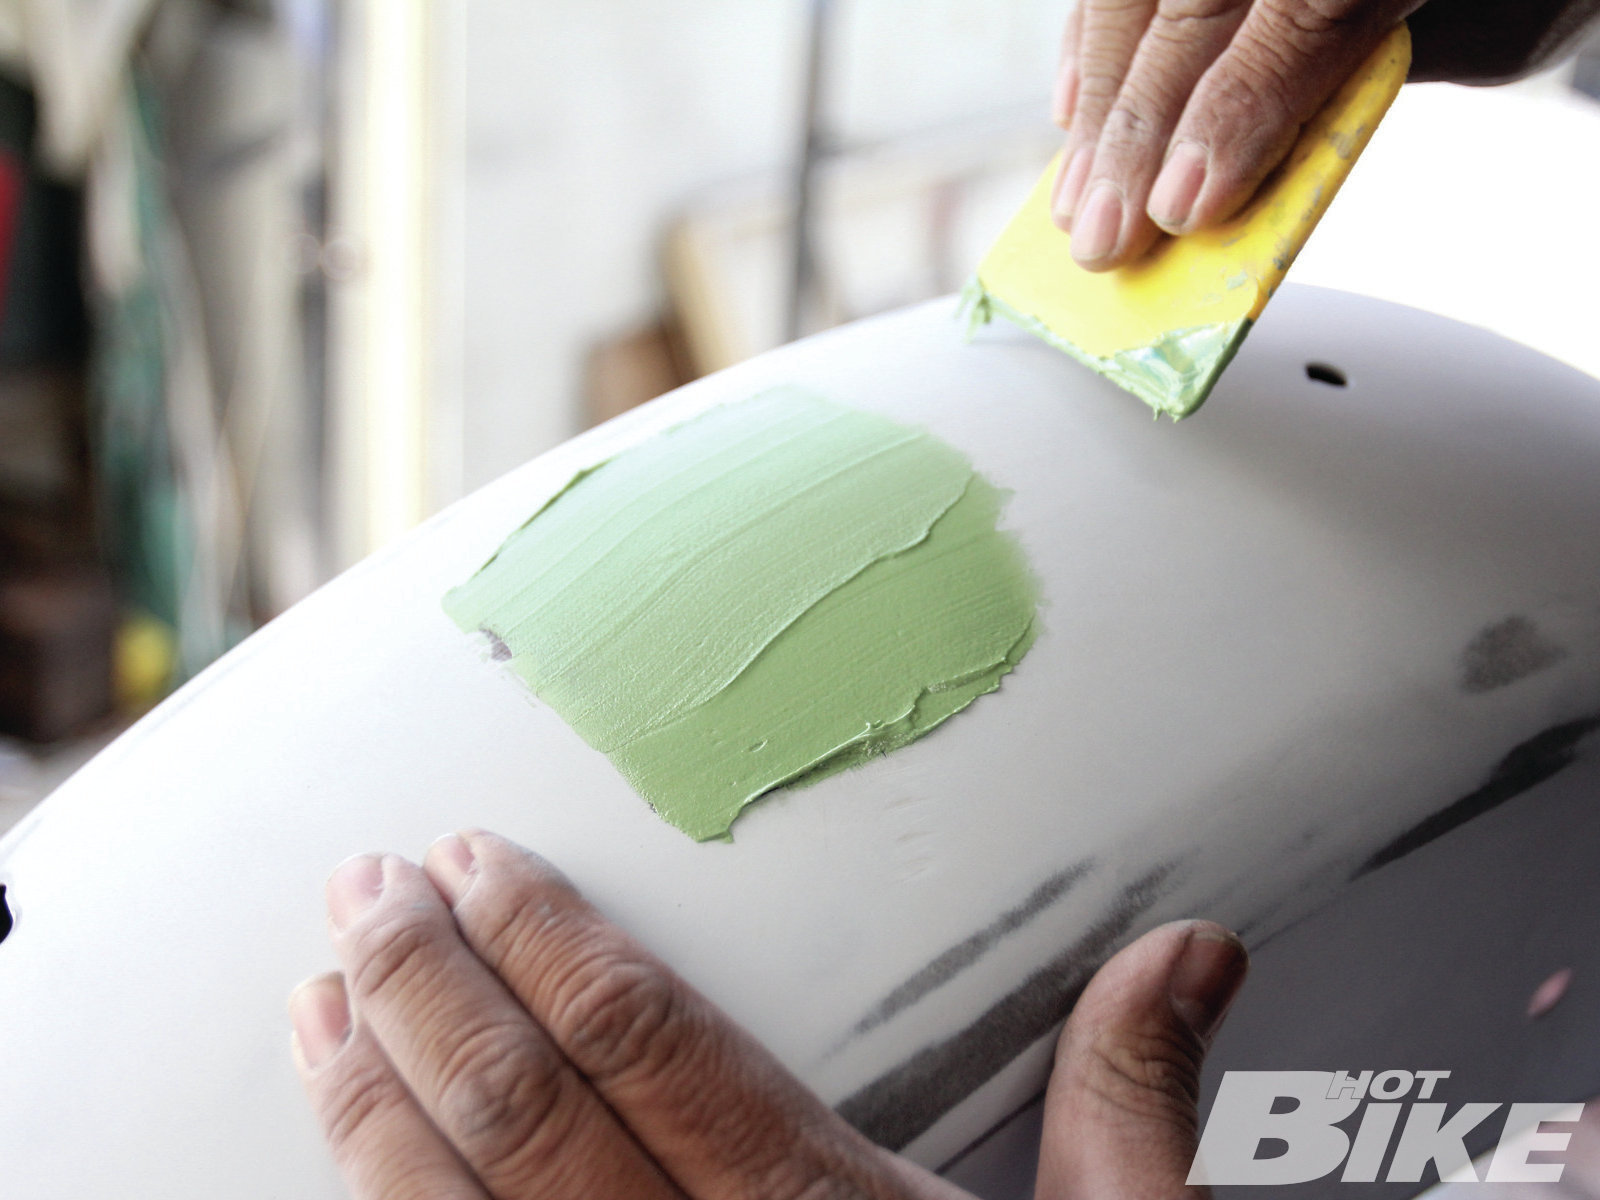
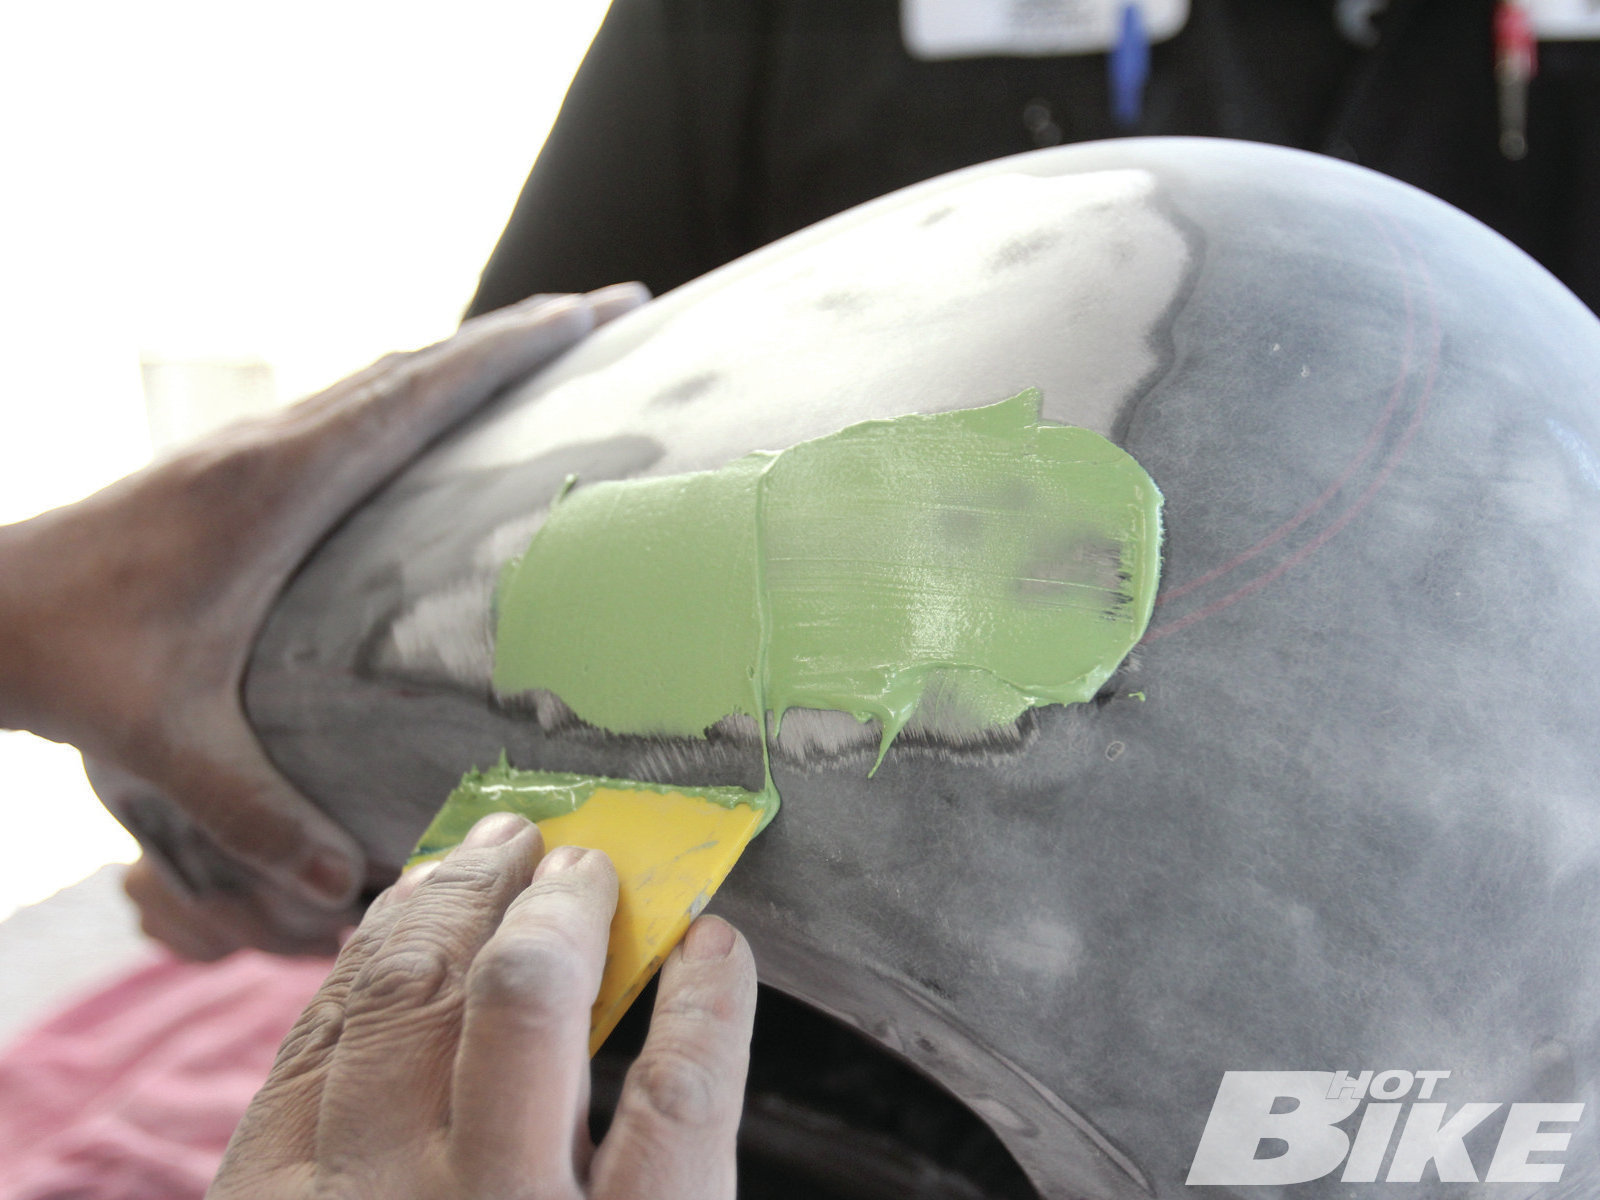
06. Time for putty. Robert uses Evercoat Rage Body Gold body filler (yellow in its natural state) because it spreads smooth and dries quick. This particular filler is more expensive, but way worth it in Robert’s opinion. He mixed the yellow body filler with a bluish hardening cream until green. Once properly mixed, the filler was spread in a criss-cross pattern over the areas needing it (fresh welds, dings, chips, basically any imperfections).
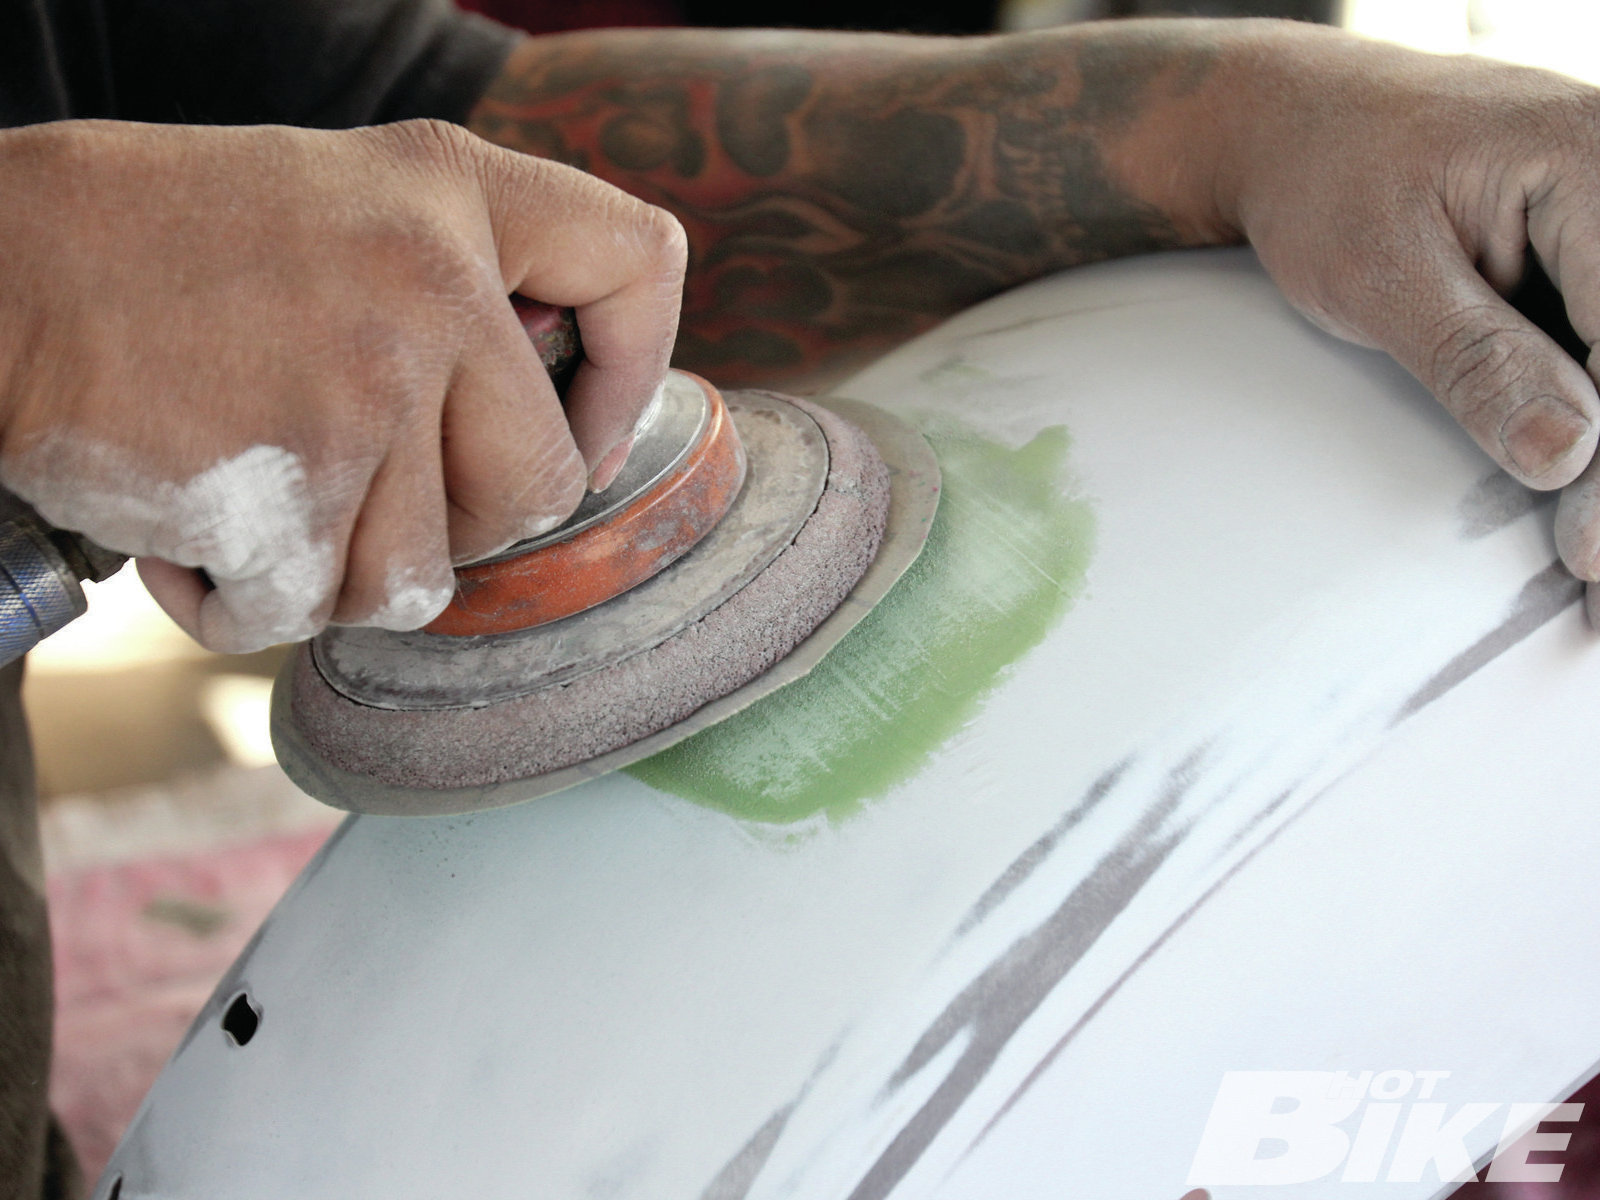
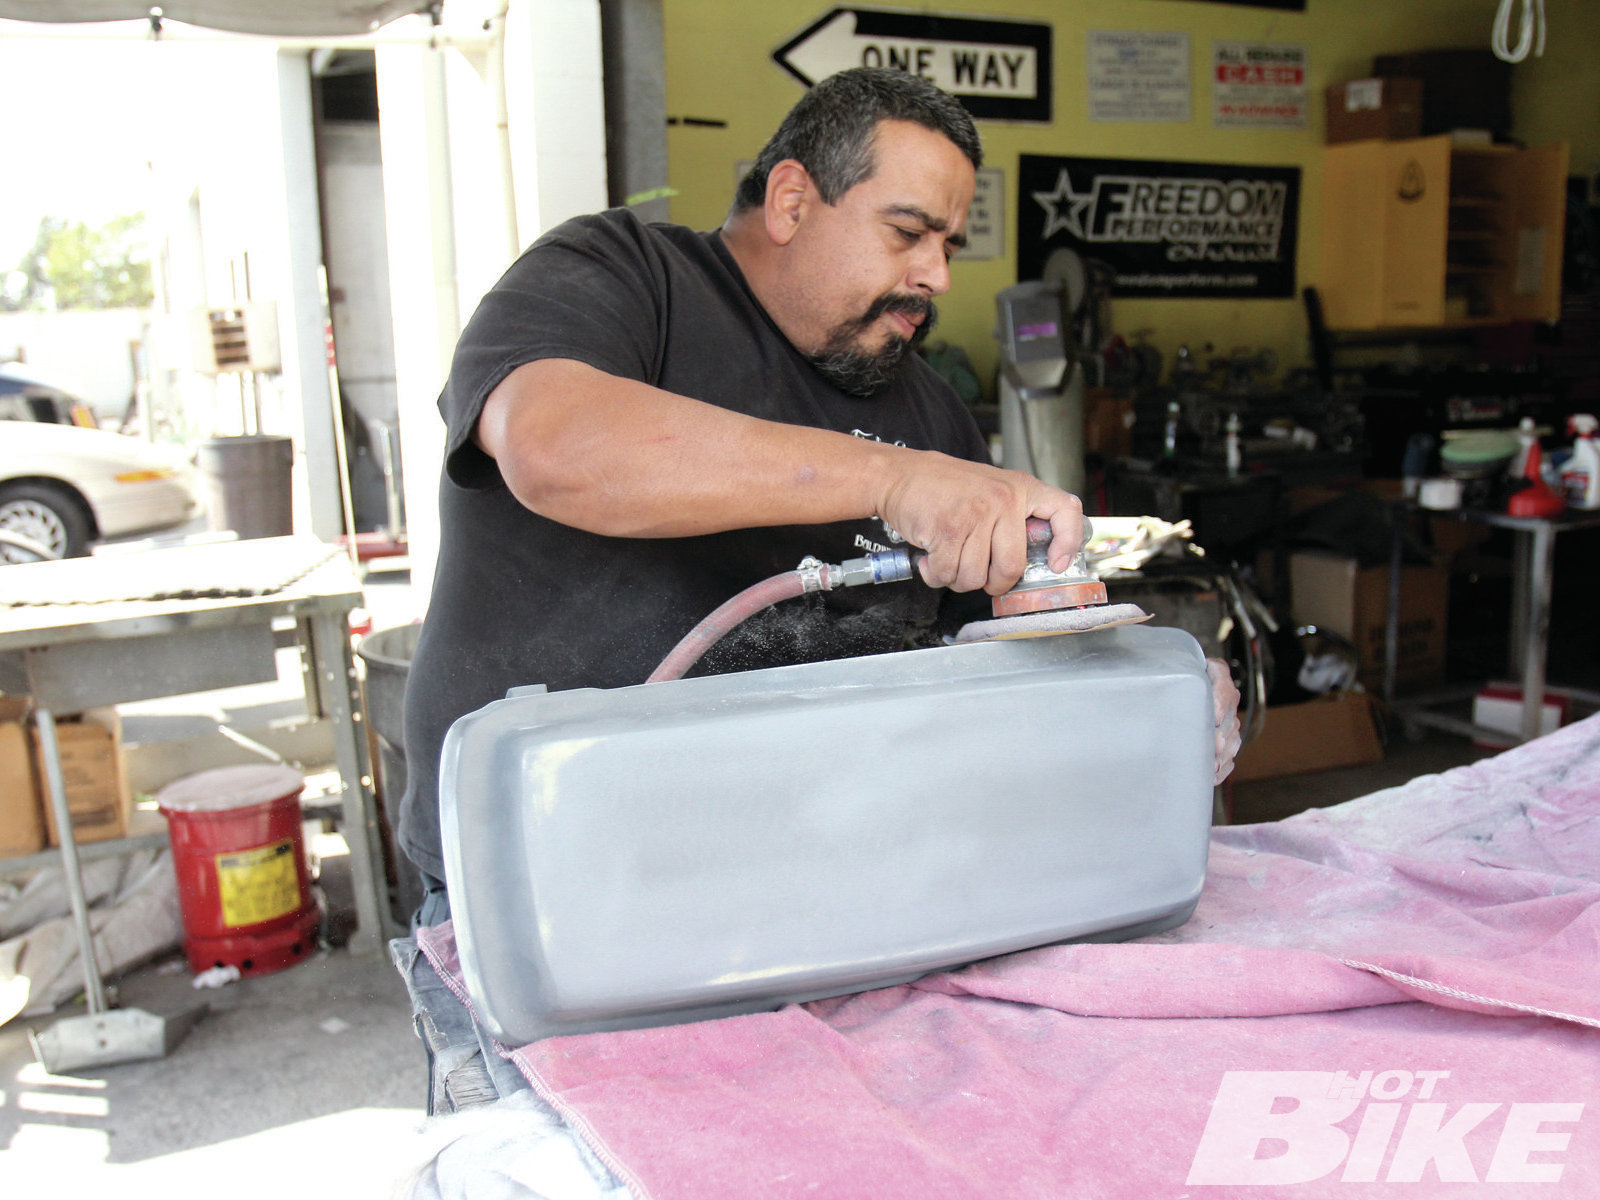
07. After about 10 minutes in the sun, the filler was dry enough for Robert to sand using 80-grit sandpaper, first with the buffing wheel, then by hand. Next, he used 150-grit sandpaper to shape the body filler with the curves of the fender. Robert emphasized the importance of feathering/tapering the edges of the body filler. You don’t want to leave a noticeable edge when priming or painting, otherwise it will clearly show.
08. Once the rear fender was dialed in, Robert taped off the fuel tank’s gas cap bung, petcock, etc., to protect the inside from debris.
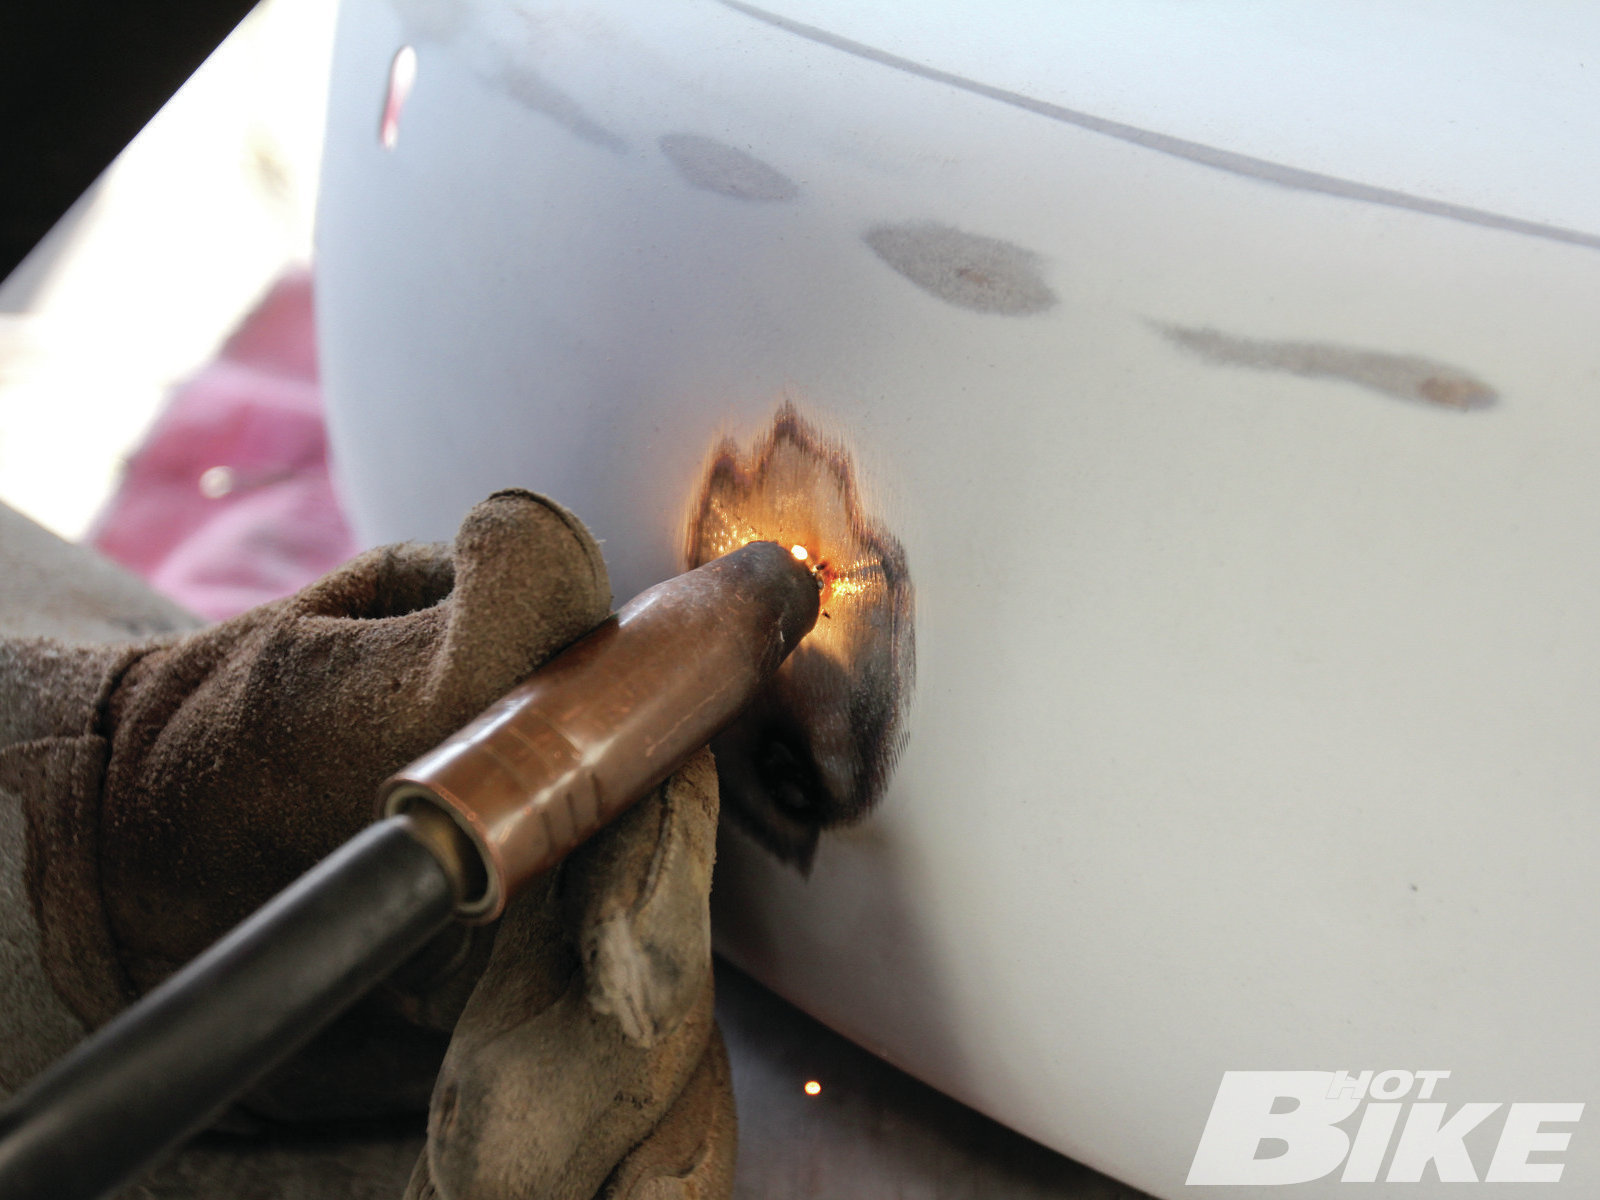
09. Robert sanded the logos and pinstripes on both sides of the tank, taking it down to bare metal. Here, he filled said areas with filler using the same criss-cross pattern to ensure thorough coverage. Once the filler dried for 10 minutes in the sun, Robert sanded the filler down with 80-grit, then 150-grit sandpaper until it was properly shaped with the rest of the tank, and of course, nice and smooth.
10. With the tank prep done, Robert moved on to prepping the swap meet saddlebag lids. Not much work was required here since they were already primed, but he hit them with 220-grit paper on the buffing wheel, followed by some hand sanding, to get them nice and smooth.
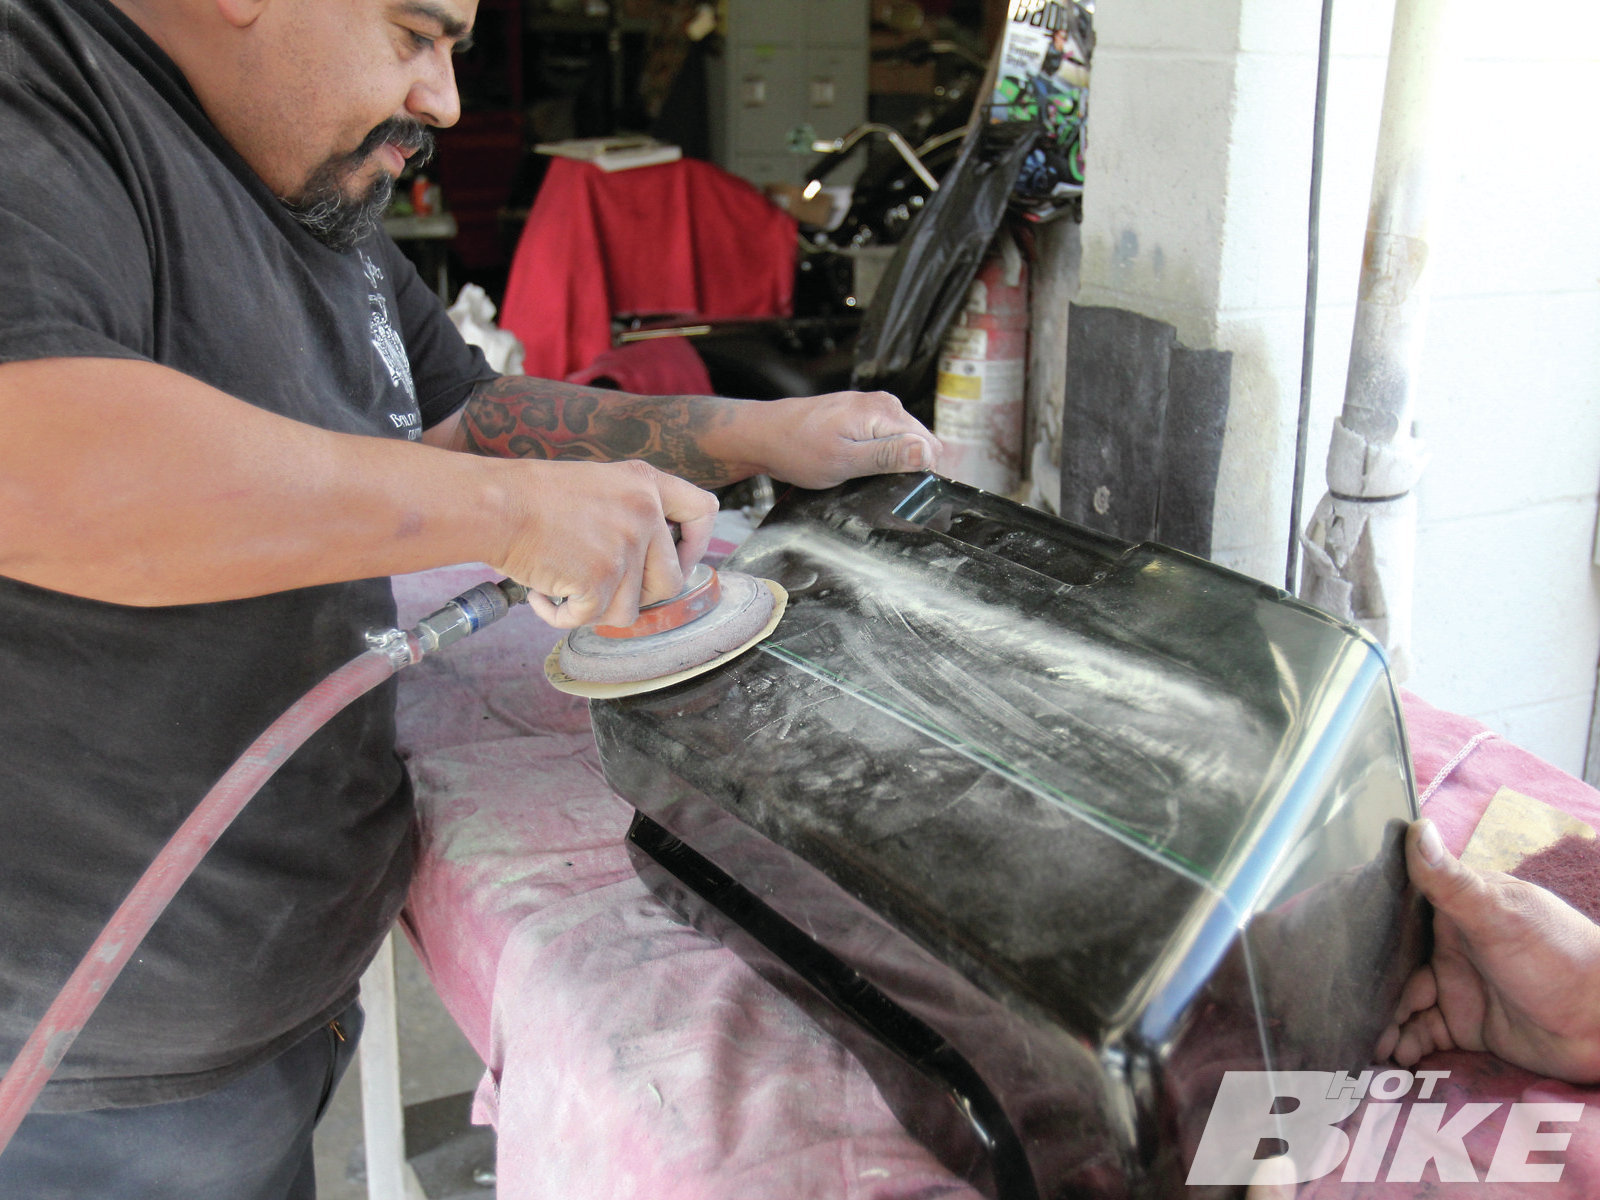
11. The last items in the prepping stage were the saddlebags. Robert noticed that the bags’ clearcoat was pretty damaged from excessive sun exposure. He used 150-grit sandpaper on the buffing wheel over the entire surface of each bag.
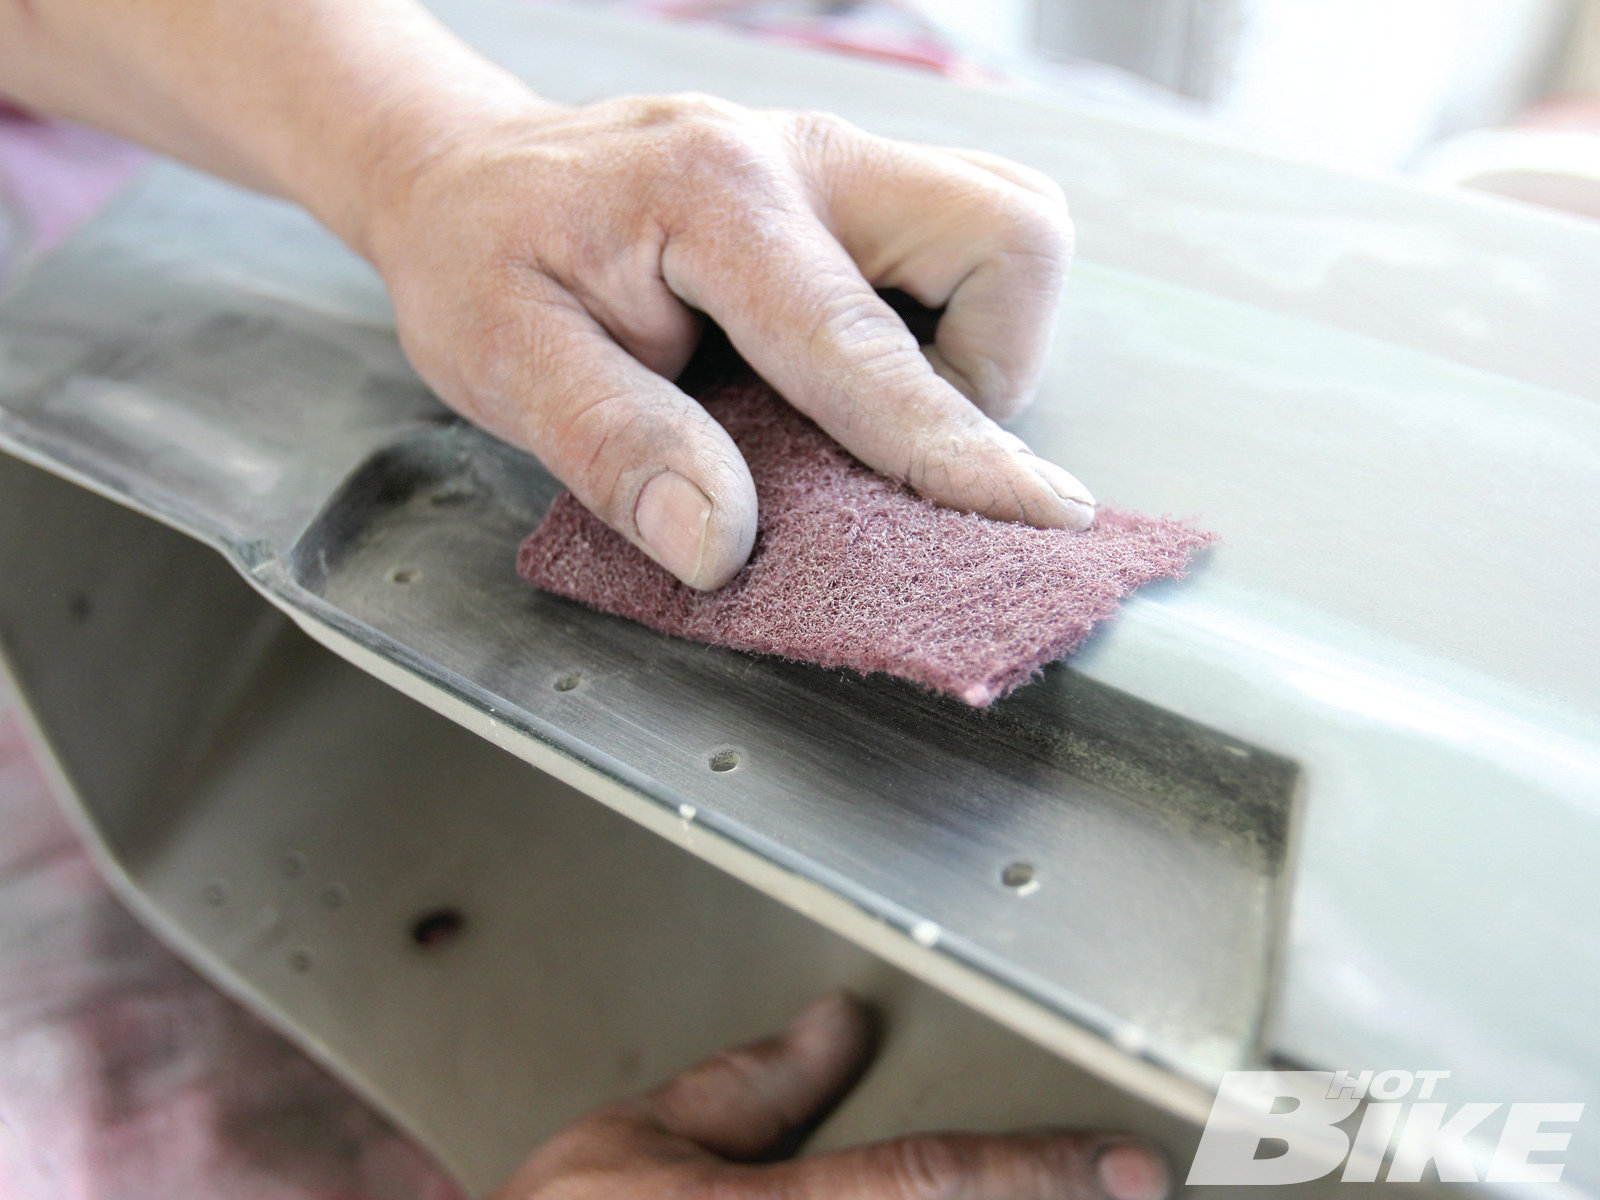
12. To get at the nooks and crannies, Robert recommends using red Scotch-Brite to remove any of the glossy spots that the 150 grit sanding process doesn’t get.
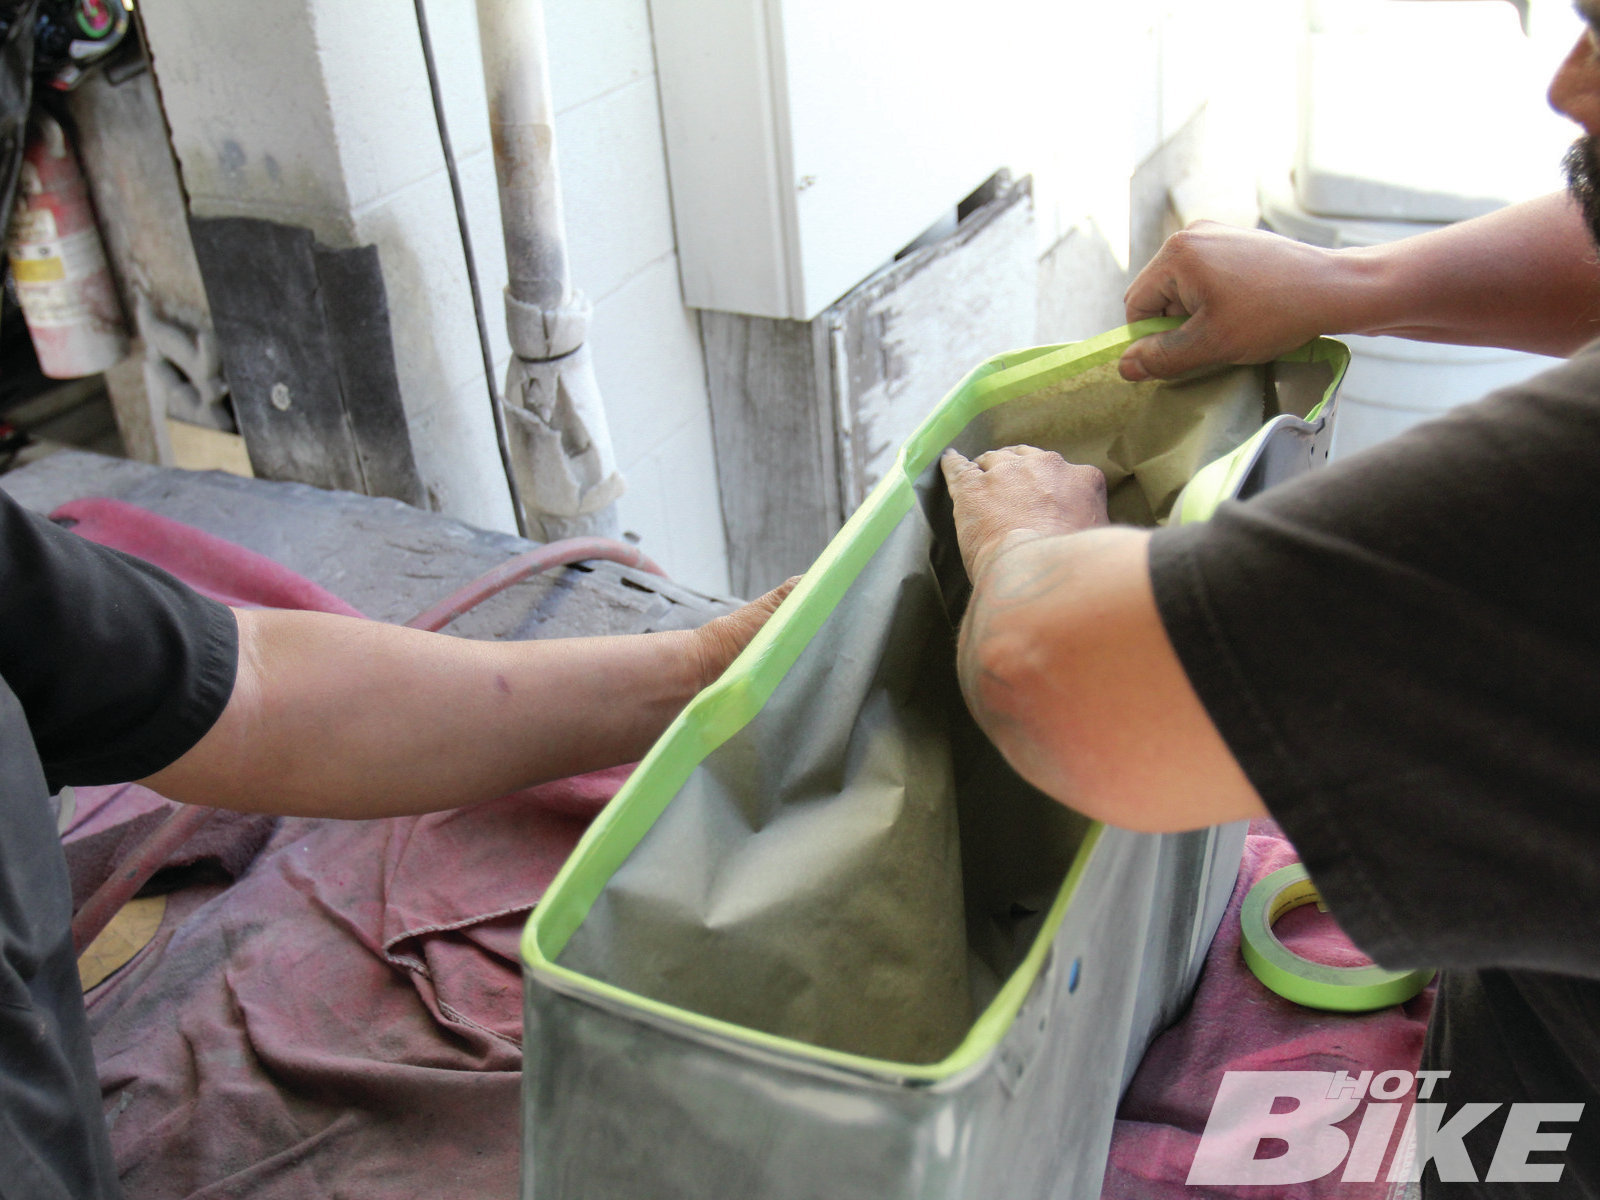
13. The inside of the bags were then taped and masked off to prevent overspray from entering the inside. Robert paid close attention to tape off the lip of the bags where the lids open and close, because this prevents the paint from peeling off when opening and closing bags on hot days. Once the bags were taped off, the parts were ready to be primed.
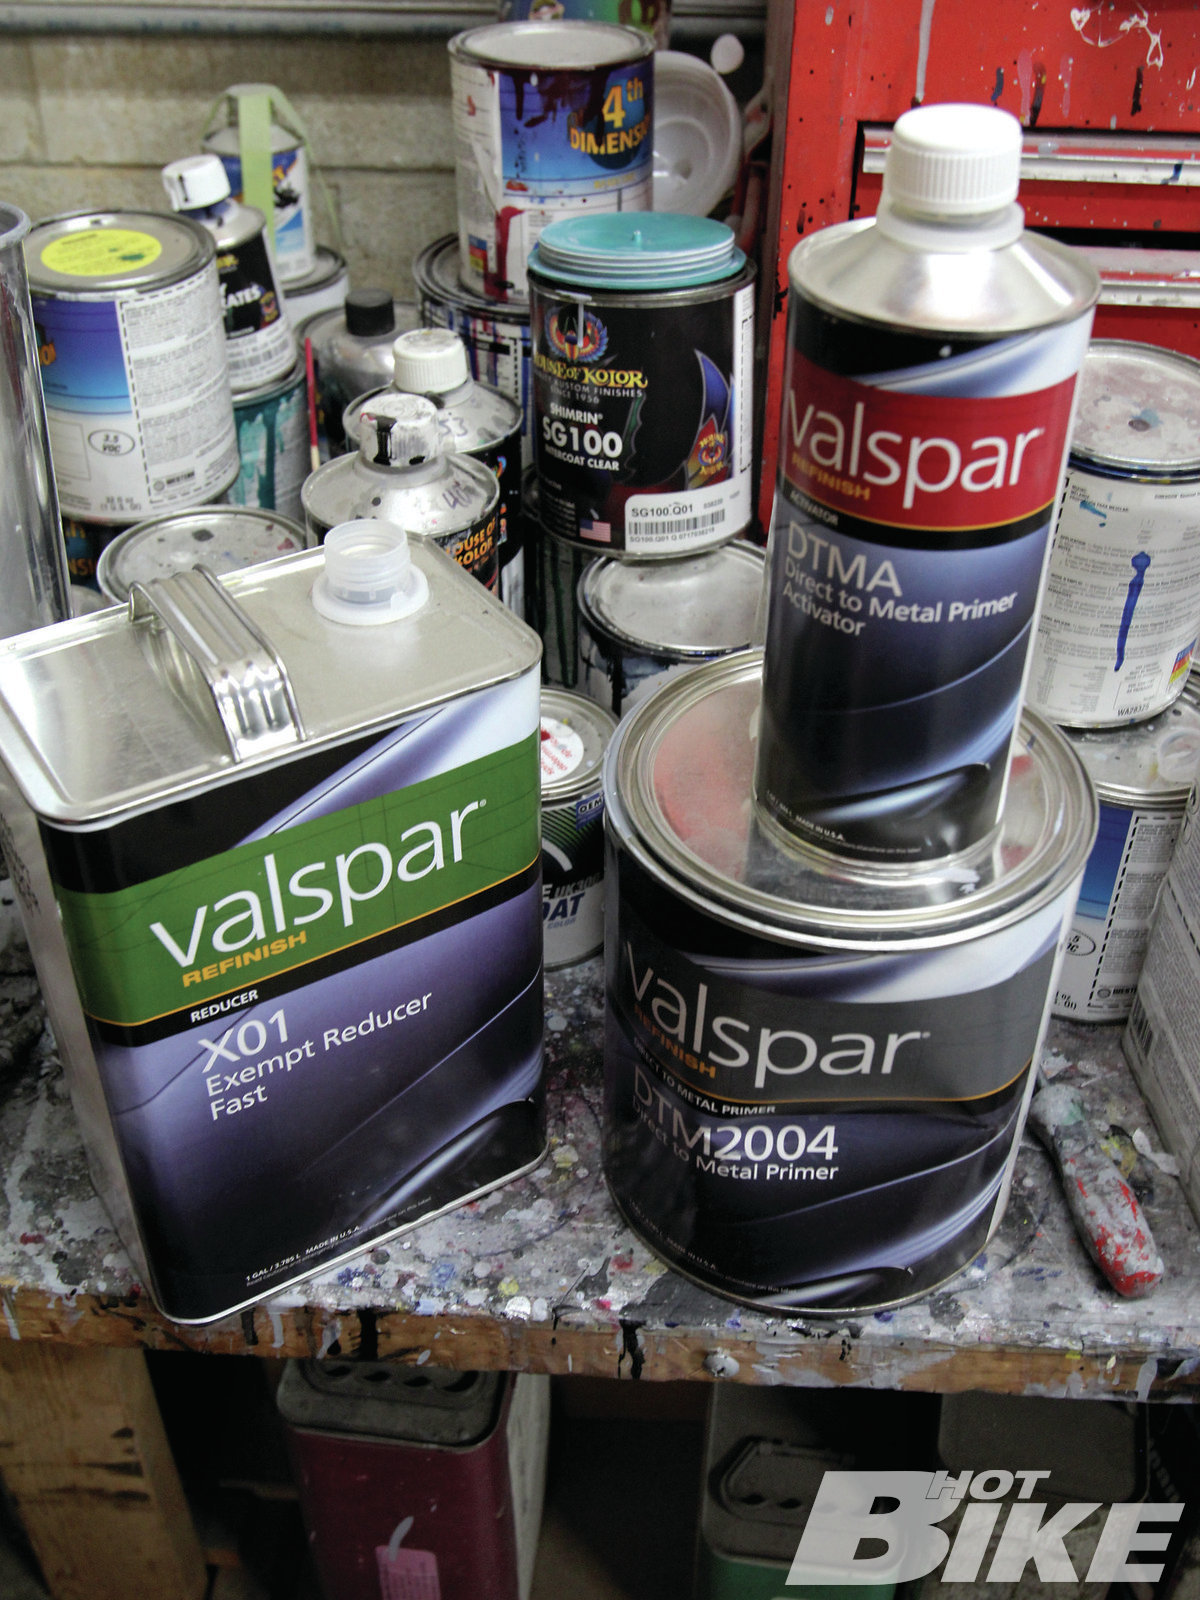
14. Robert uses Valspar products’ X01 Exempt Reducer (left), which thins out the primer a tad to spread more evenly, the DTMA primer activator (top right), which helps the primer dry quicker, and the DTM2004 primer (bottom right), which is formulated with a blend of epoxy and acrylic polymers to provide good adhesion and better corrosion resistance.
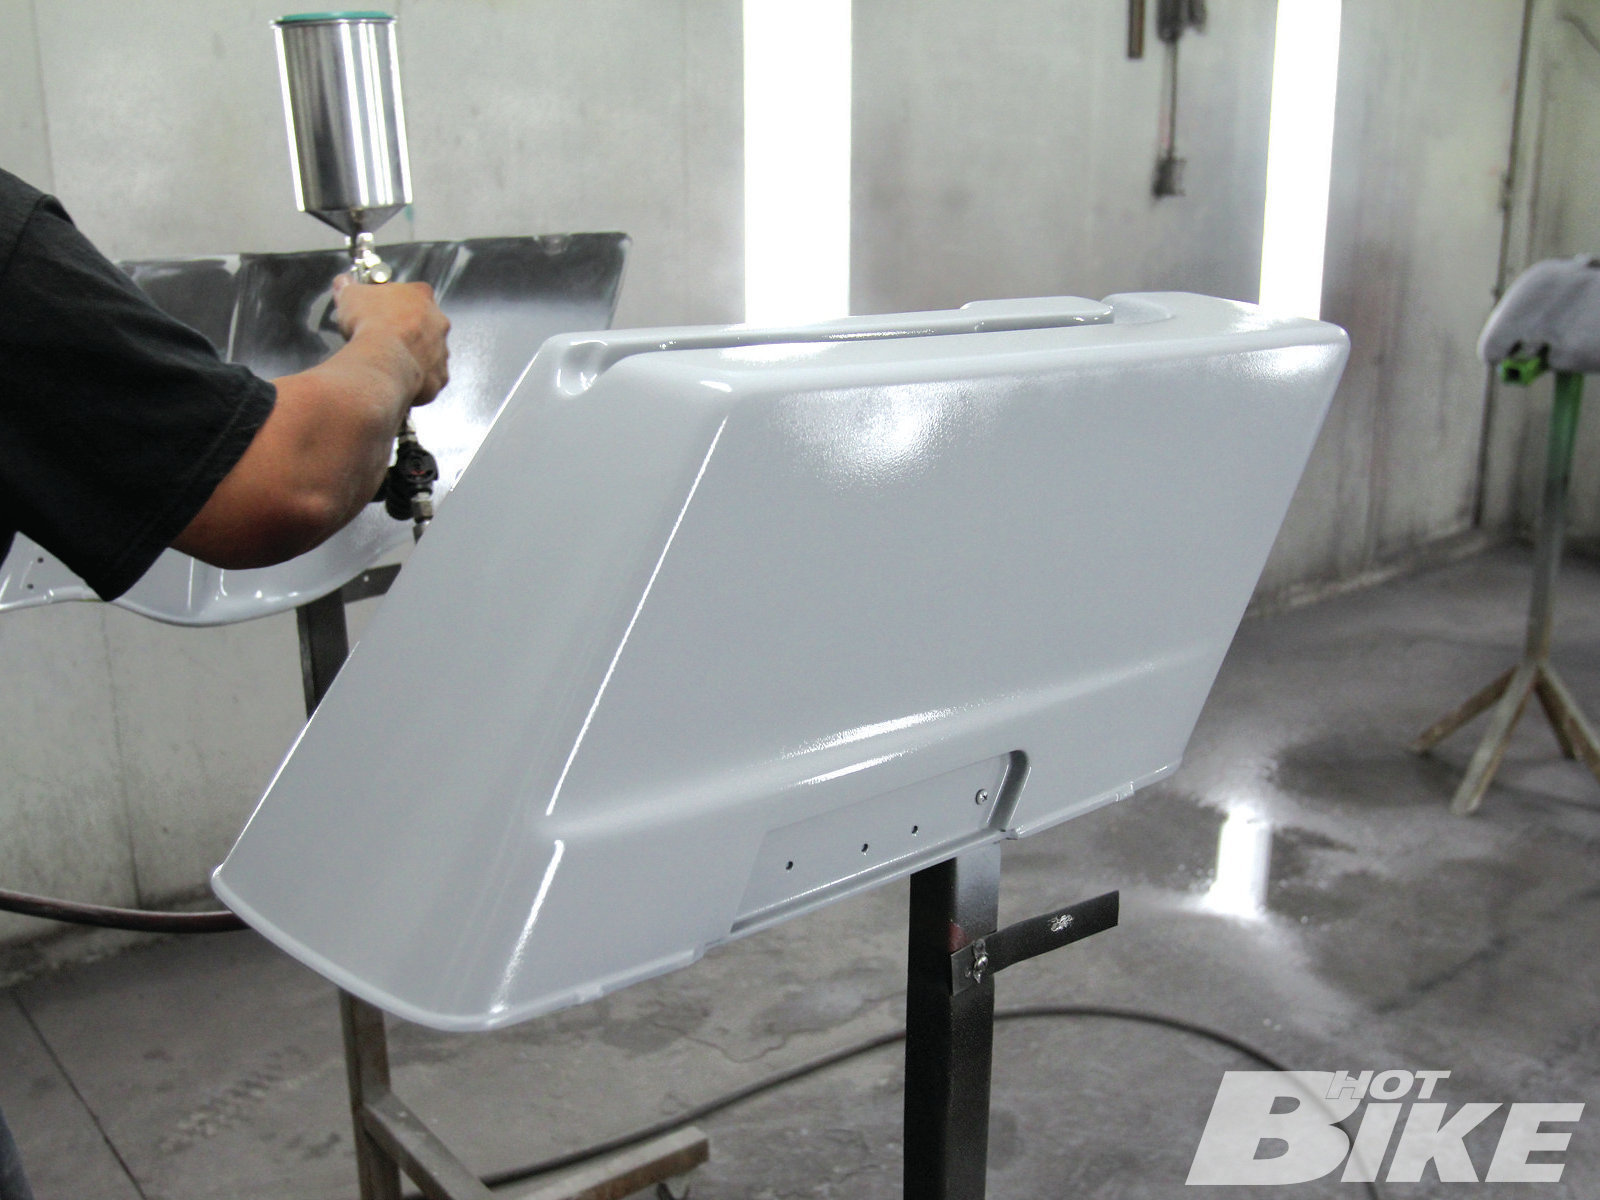
15. After thoroughly mixing the Valspar products, Robert loaded up his Iwata spray gun with a 2mm nozzle and started shooting the parts. Two coats of primer were applied, and the parts were left to dry for a day in the spray booth.
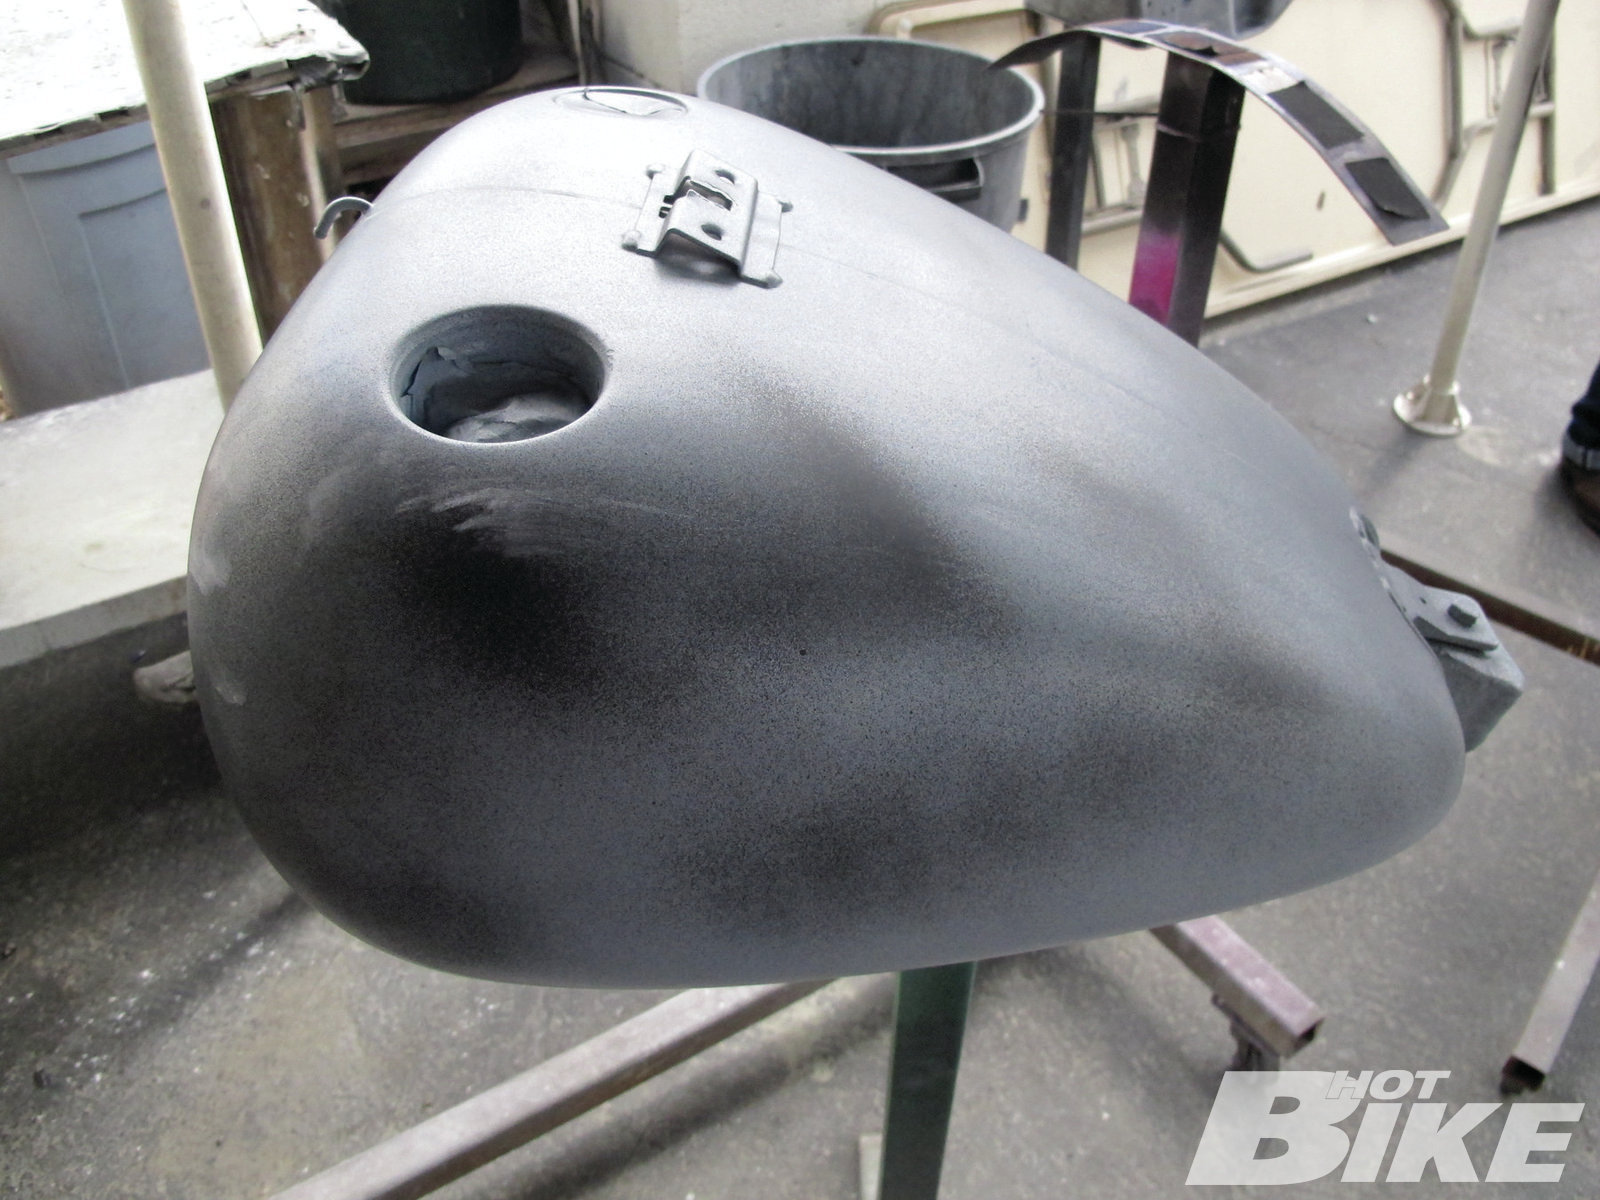
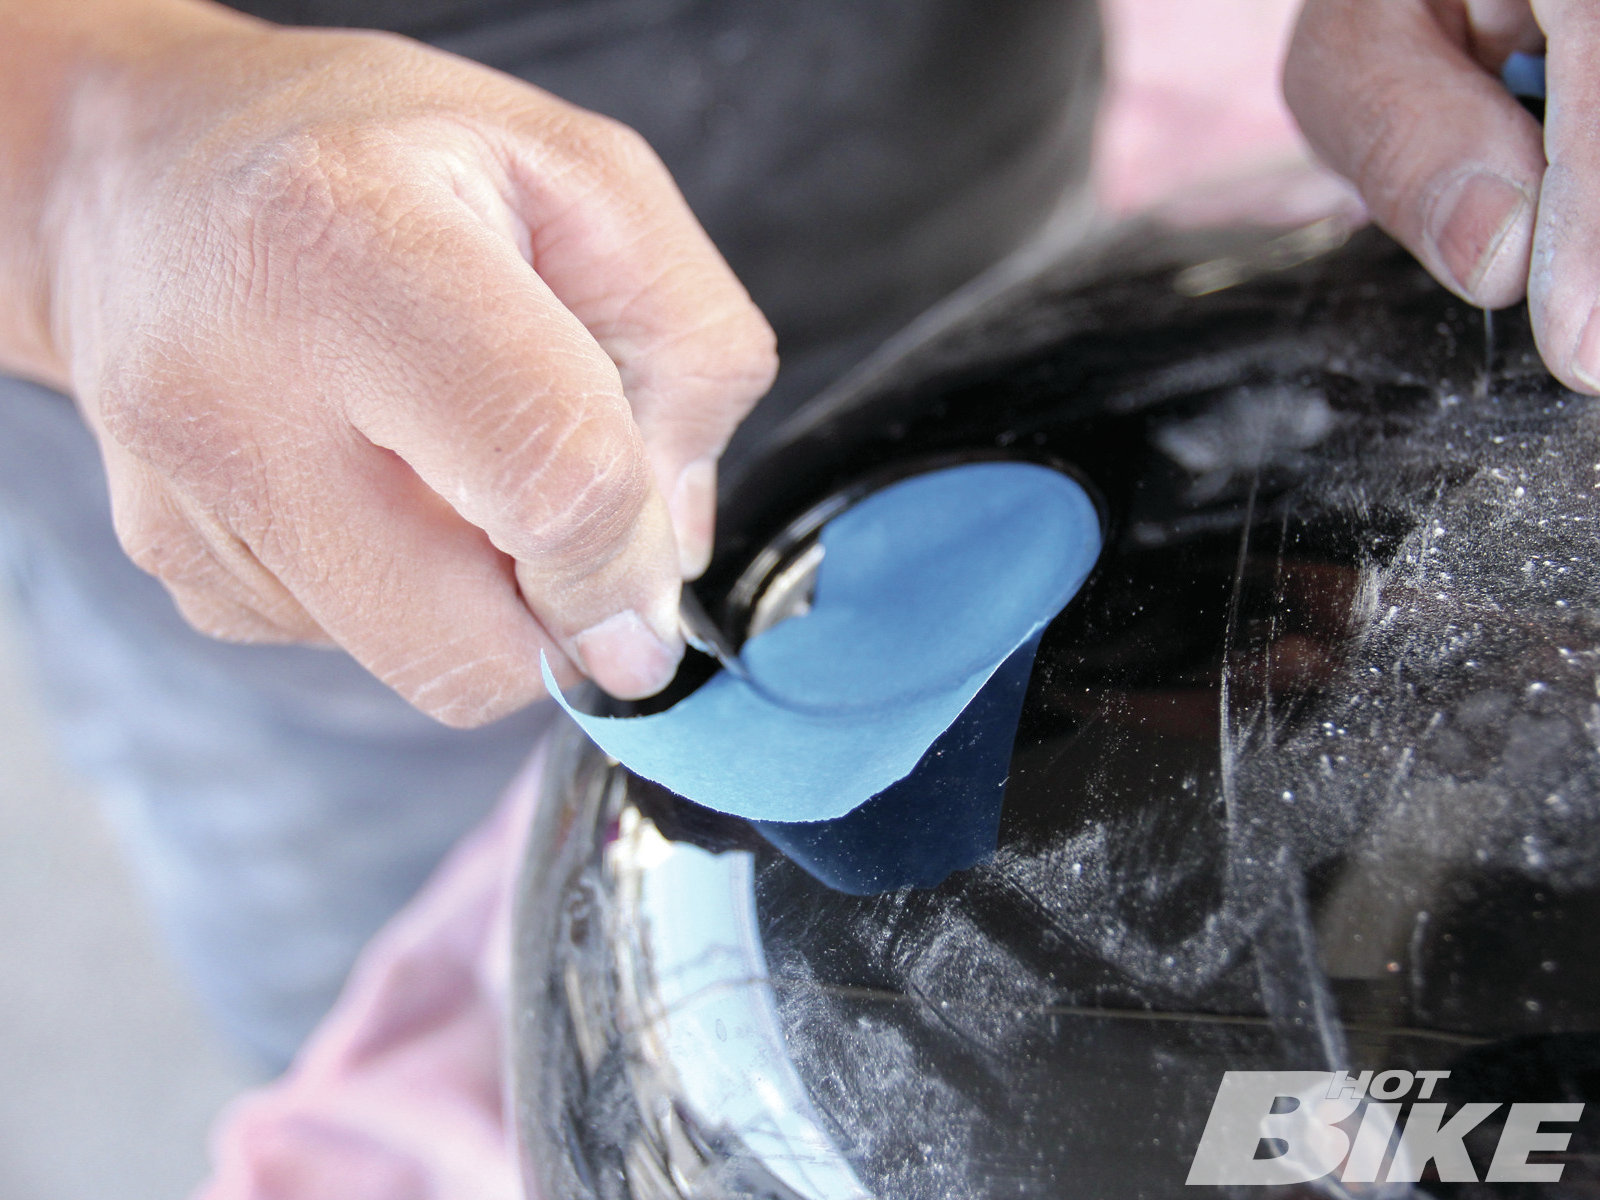
16. After careful inspection of the primed parts, Robert sprayed a rattle-can 2-into-1 black primer as a guide coat on all the parts. The guide coat, when combined with a block sanding technique (applied in an X-pattern with 500-grit paper and soapy water), shows any low spots on the grey primed bodywork that would need to be re-touched with glazing putty and more primer before applying the gloss black paint. Here you can see some of the low spots that will need some retouching with glazing putty and another coat of primer.
17. After all the low spots were attended to, back in the booth Robert began applying the gloss black paint to all the parts. Each part received four coats of gloss black with 10-15 minutes flash time between each application for drying. Once the parts were painted to Robert’s specs, he applied two coats of clear coat with 15-20 minutes to dry between each application.
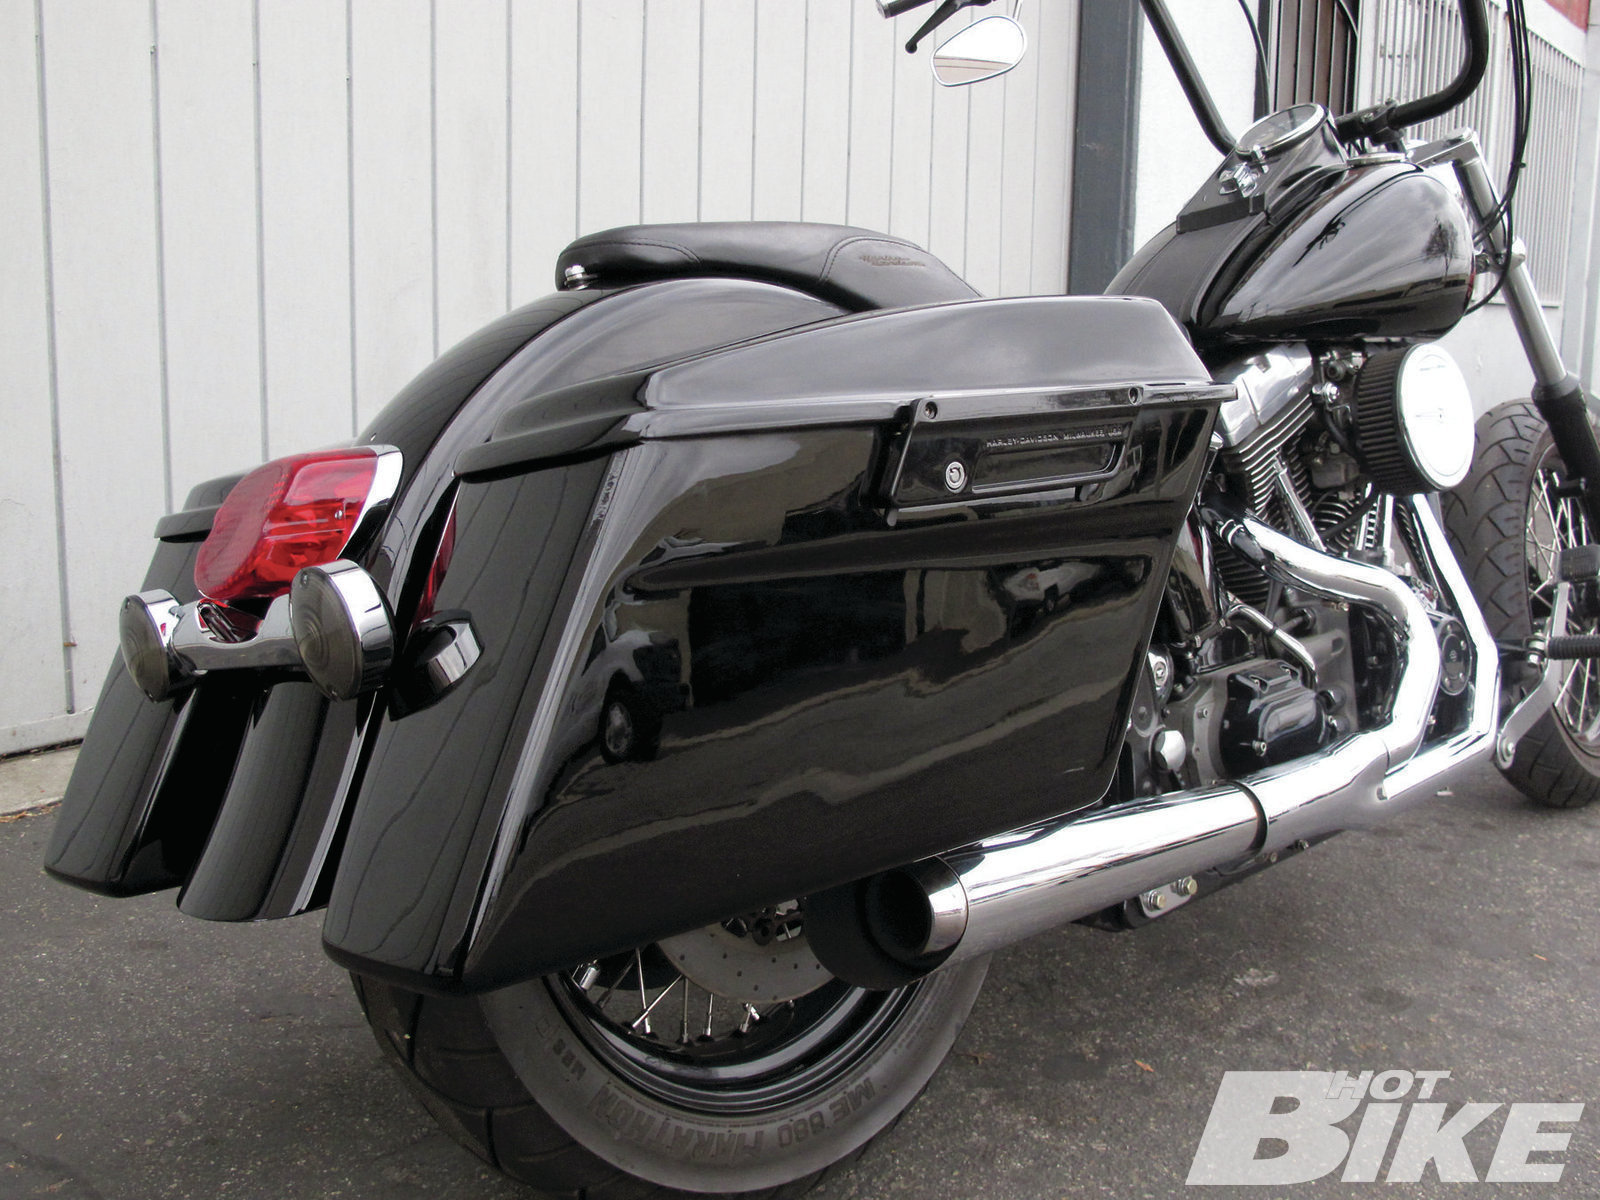
18. After the clear coats were applied, Robert let them dry for 8-10 hours and then buffed the parts with 2,000-grit sandpaper to remove any fibers, or debris that may have caked on when applying the paint. The painted parts were ready to go back on Mat’s touring Softail. Once the parts were installed, Mat was one happy camper with Fineline’s thorough work. As you can see, there’s a lot more involved when going the simple gloss black route when it’s done right. And that’s how Fineline Cycles does it: the right way.
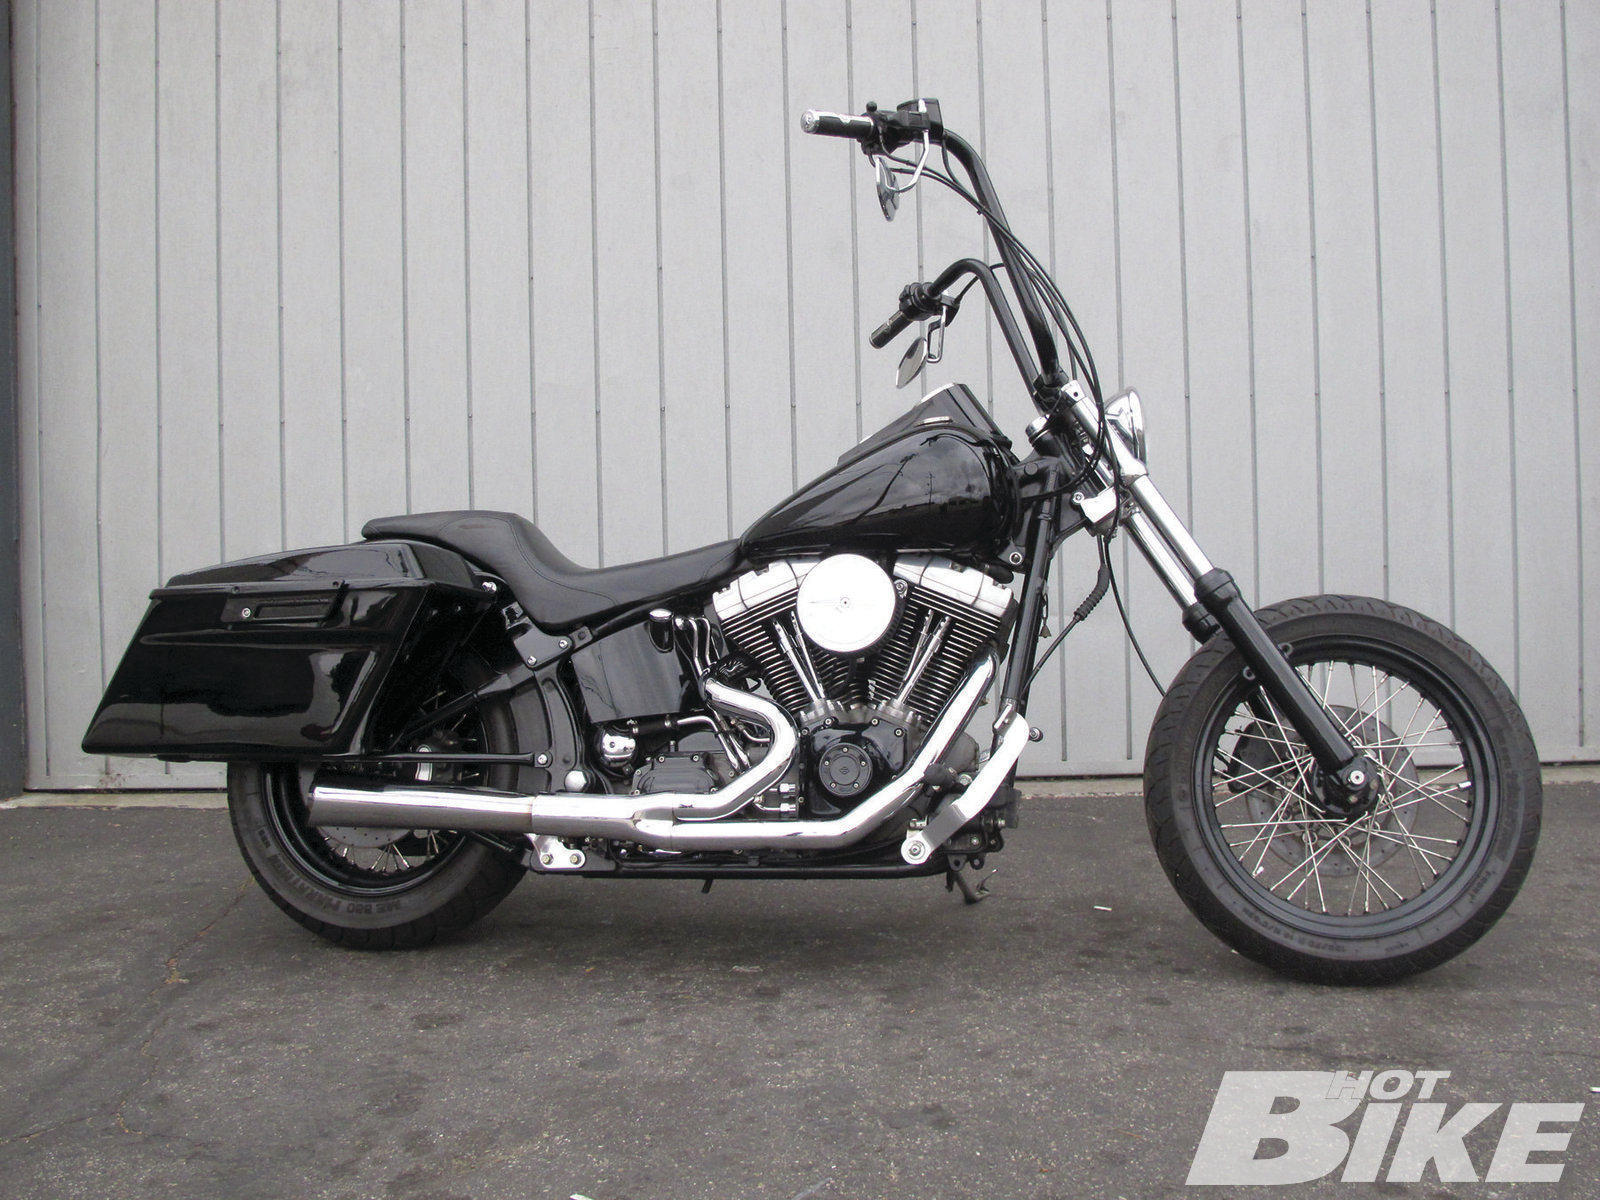
It’s inevitable that your motorcycle’s body parts are going to suffer some wear and tear over the years. Rocks, debris, etc., can really do a number on the paint. Such was the case with Mat Virgil’s ’02 Softail. Its bodywork had seen better days, plus he just added a set of aftermarket saddlebags and lids he found at the swap along with a Deluxe rear fender he procured from Craigslist. So, it was high time to transform the ghetto cruiser into something more appropriate. You see, Mat likes to keep things simple, no flash, no BS, something that won’t draw too much attention. So a gloss black paintjob was all Mat desired.
Mat heard through the grapevine that Fineline Cycles in Baldwin Park, California, knew a thing or two about a thing or two (in this case, painting motorcycles) so he decided to give the shop a jingle to see if they were up for the task of repainting his bagged Softie. Owner Robert Cordero has been painting cars, bikes, basically anything with a surface, for more than 30 years. He and his crew at Fineline Cycles are adept to transforming pieces of shit into rolling works of art. From mild to wild, Kandy to flat, pinstripe and intricate graphics to subtle yet pretty masterpieces, Fineline Cycles covers the spectrum.
We headed over to Fineline Cycles’ Baldwin Park facilities to document the work being done to Mat’s Softail, and it was quite the learning experience. Most notably, how tedious and detailed one must be when prepping. For this project (gas tank, saddlebags, saddlebag lids, front fender, and rear fender) Robert quoted a starting price of $750, which is a pretty sweet deal considering the quick turnaround time and thoroughness of the job; however, pricing may vary depending on your application. HB
Source:
Fineline Cycles
(626) 337-9676 | finelinebp.com


