
Stretching and shrinking metal 101 | Tech How To
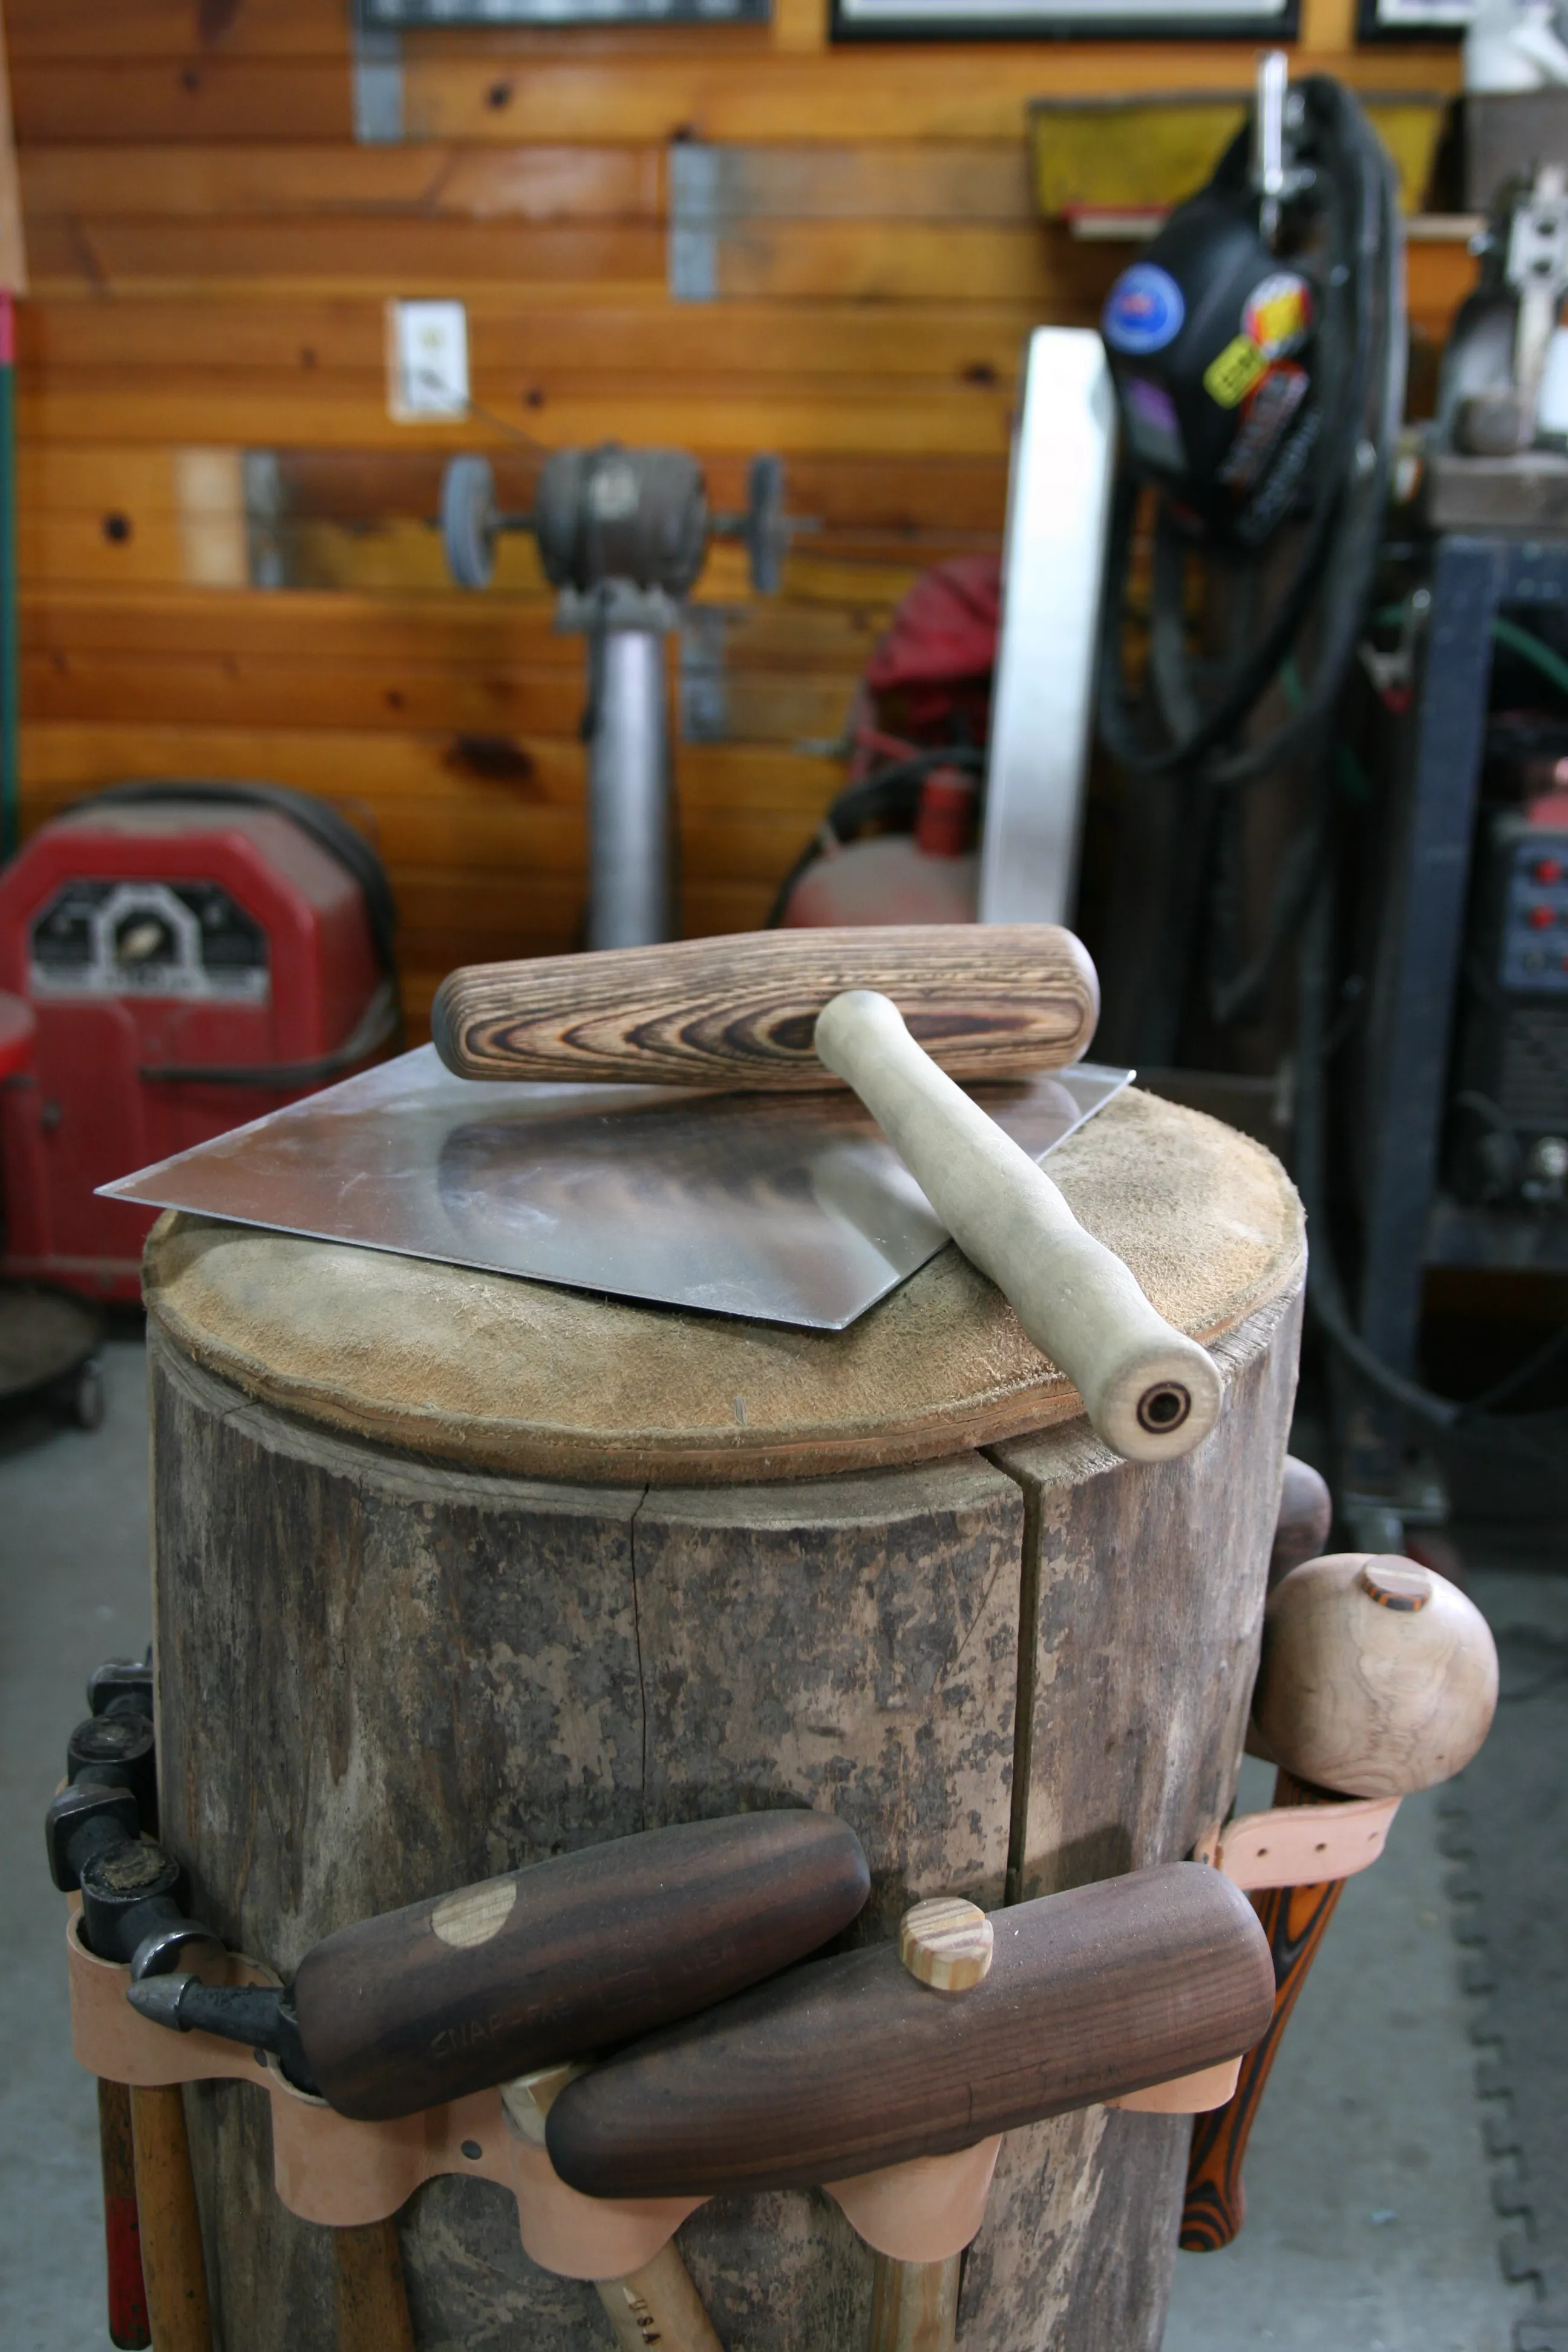
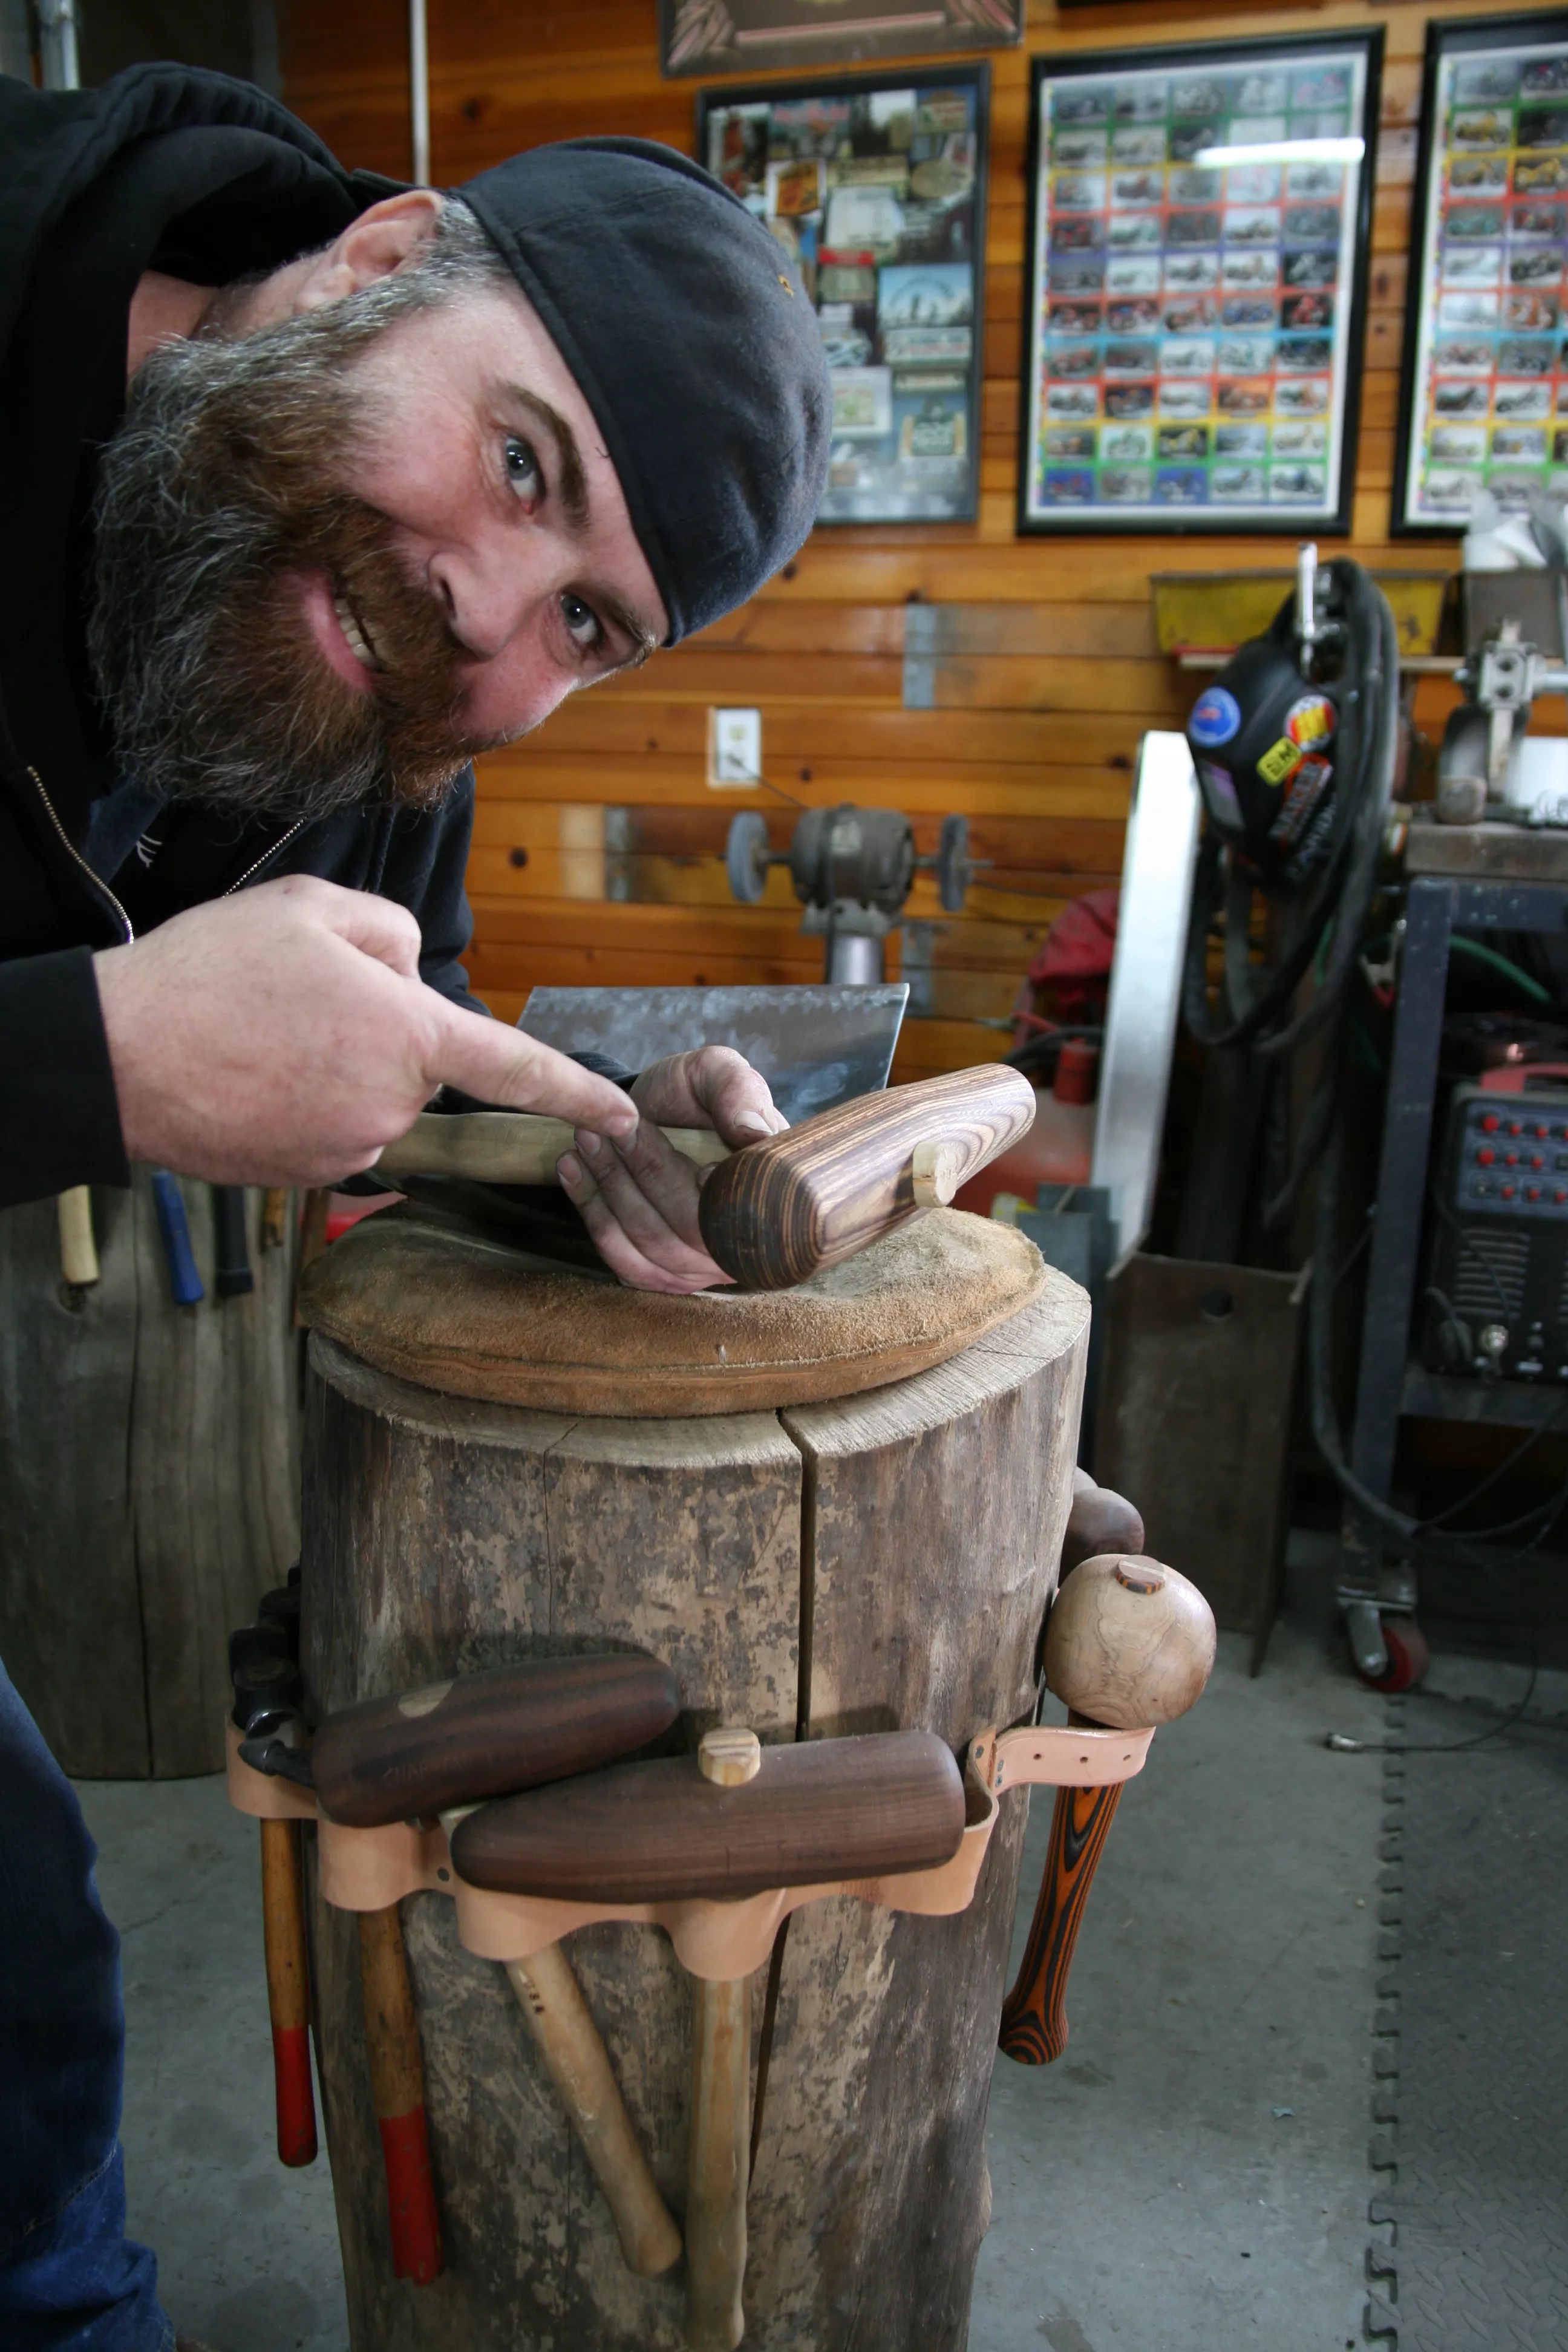
Here, we take a look at the very basic art of shot bag and stump work. We are going to use a square piece of .063 sheet aluminum to easily illustrate the stretching and shrinking process. The tools used will be a simple wooden mallet, leather sand or shot bag, and wooden stump.
Words and Photos: Big Joe
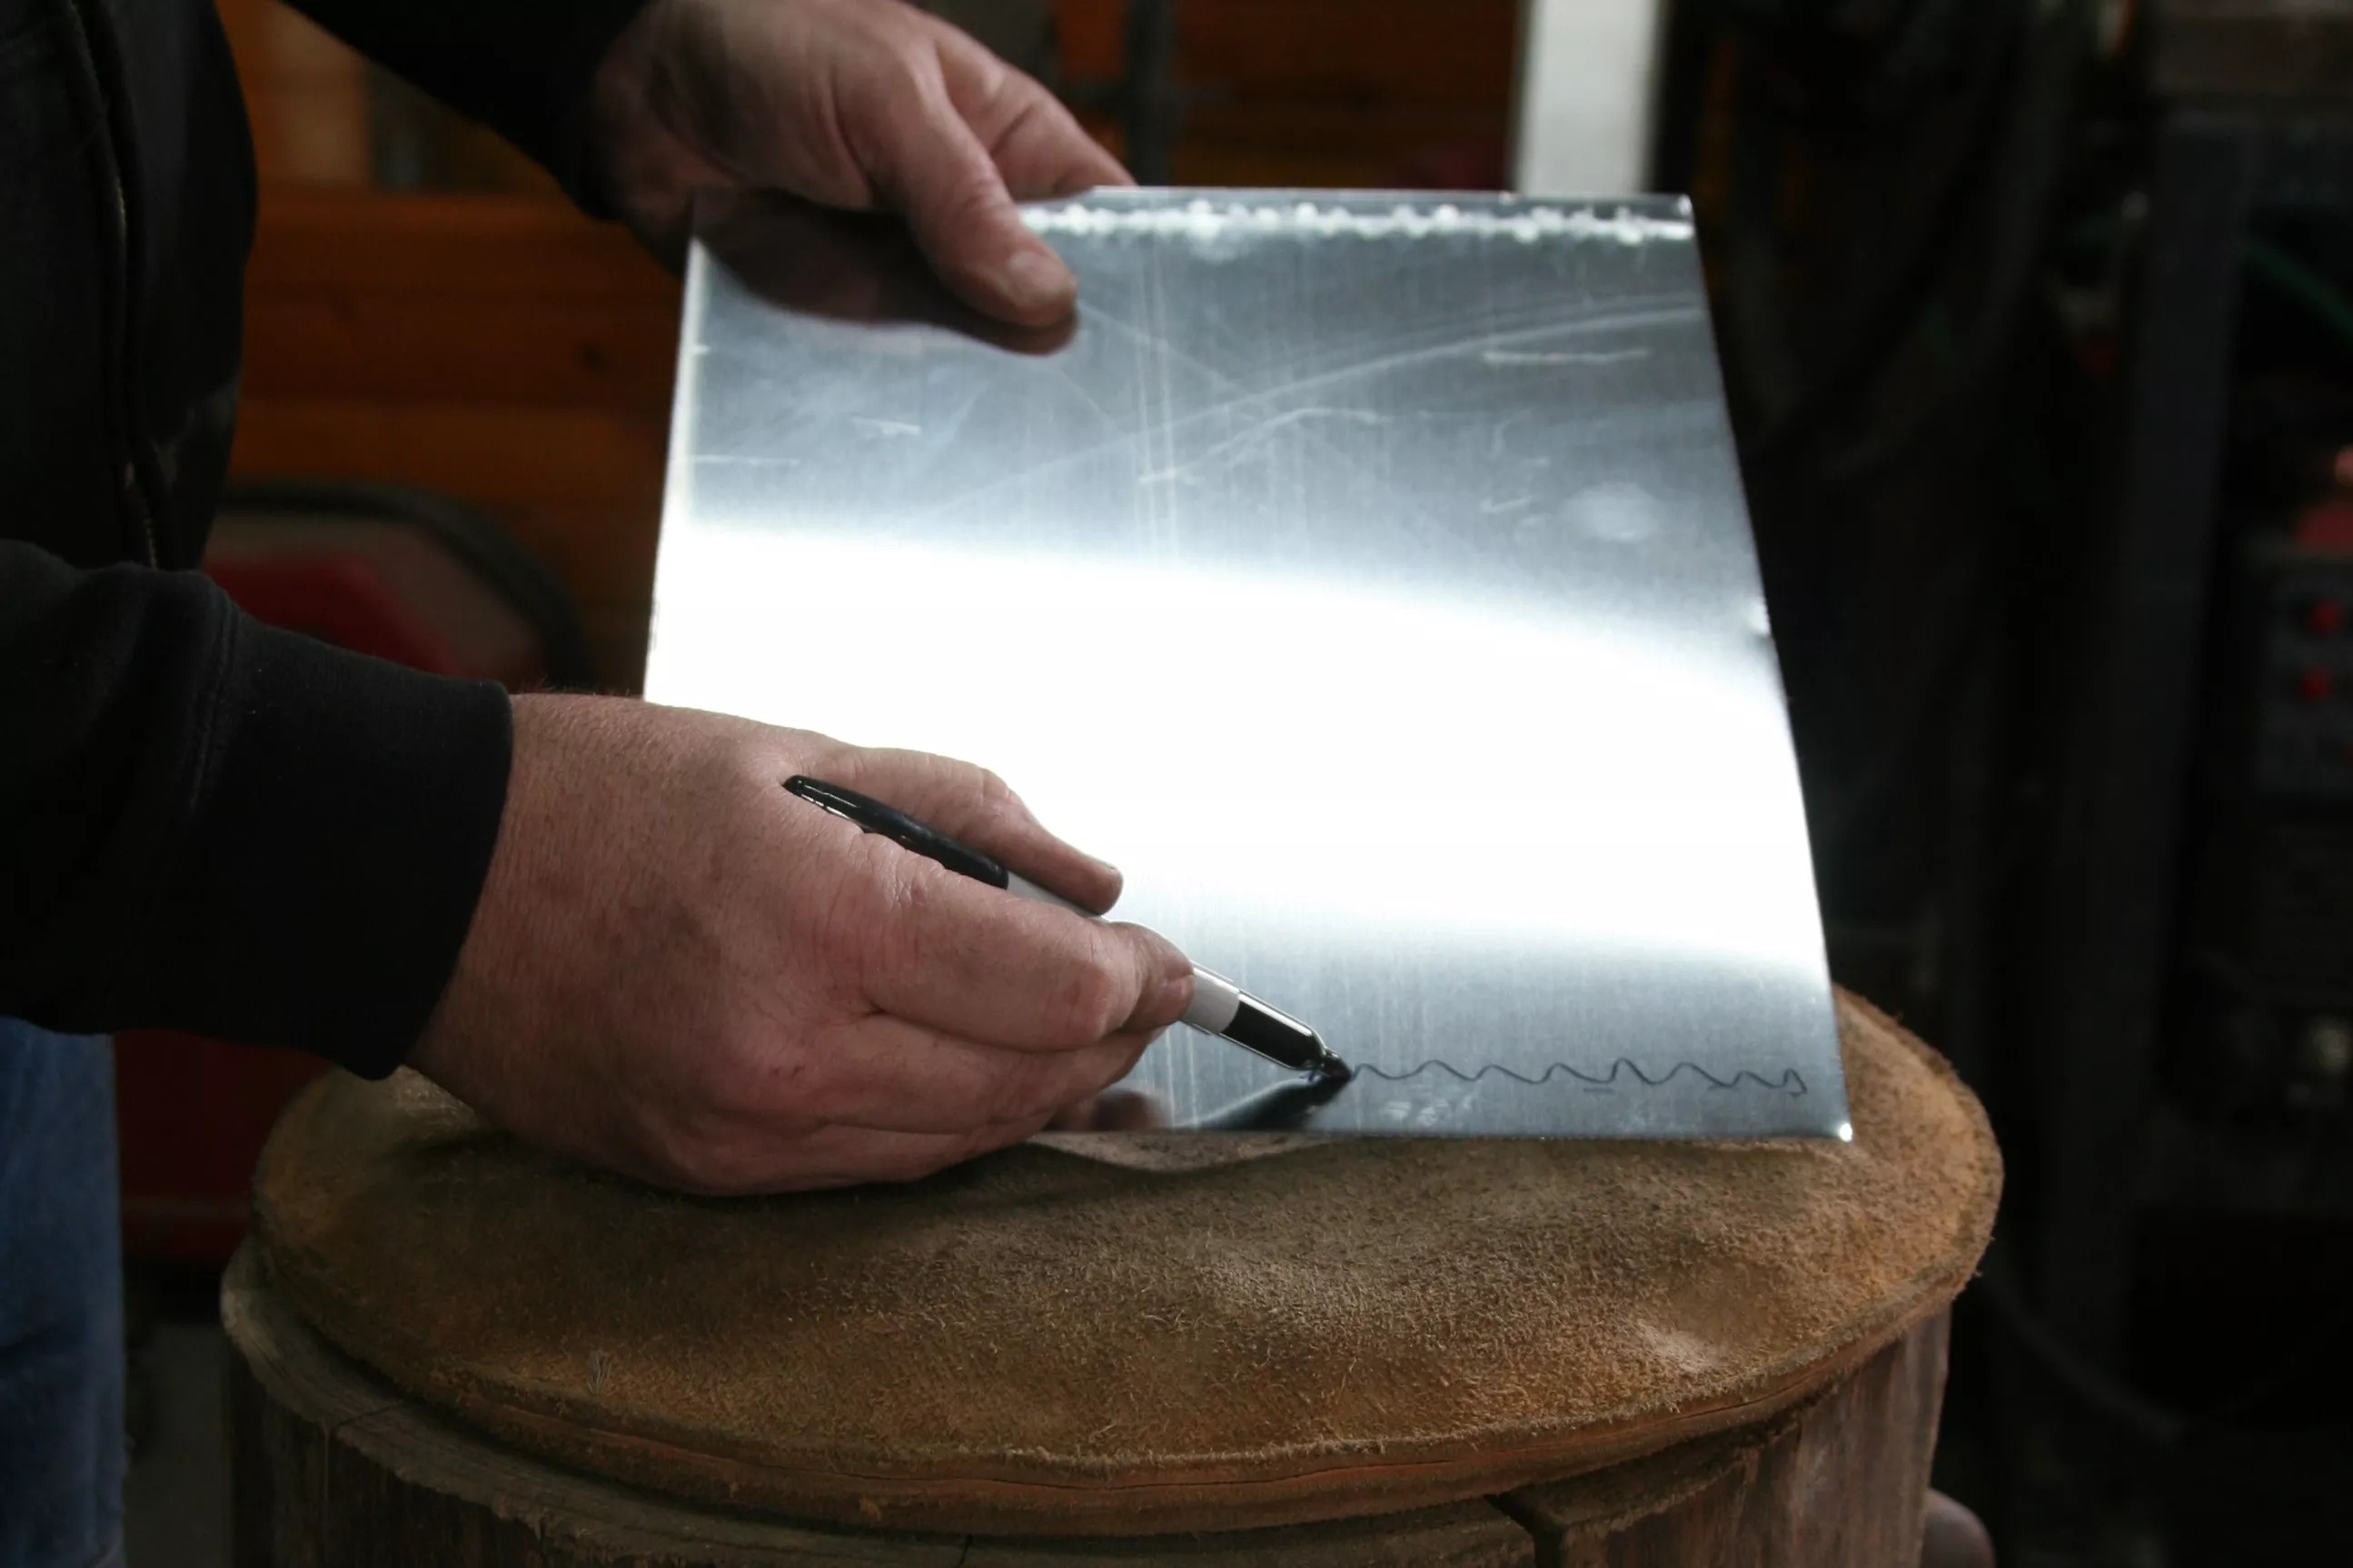
The first thing we are going to do is concentrate all of our hammer blows to one edge of the sheet.
Words and Photos: Big Joe
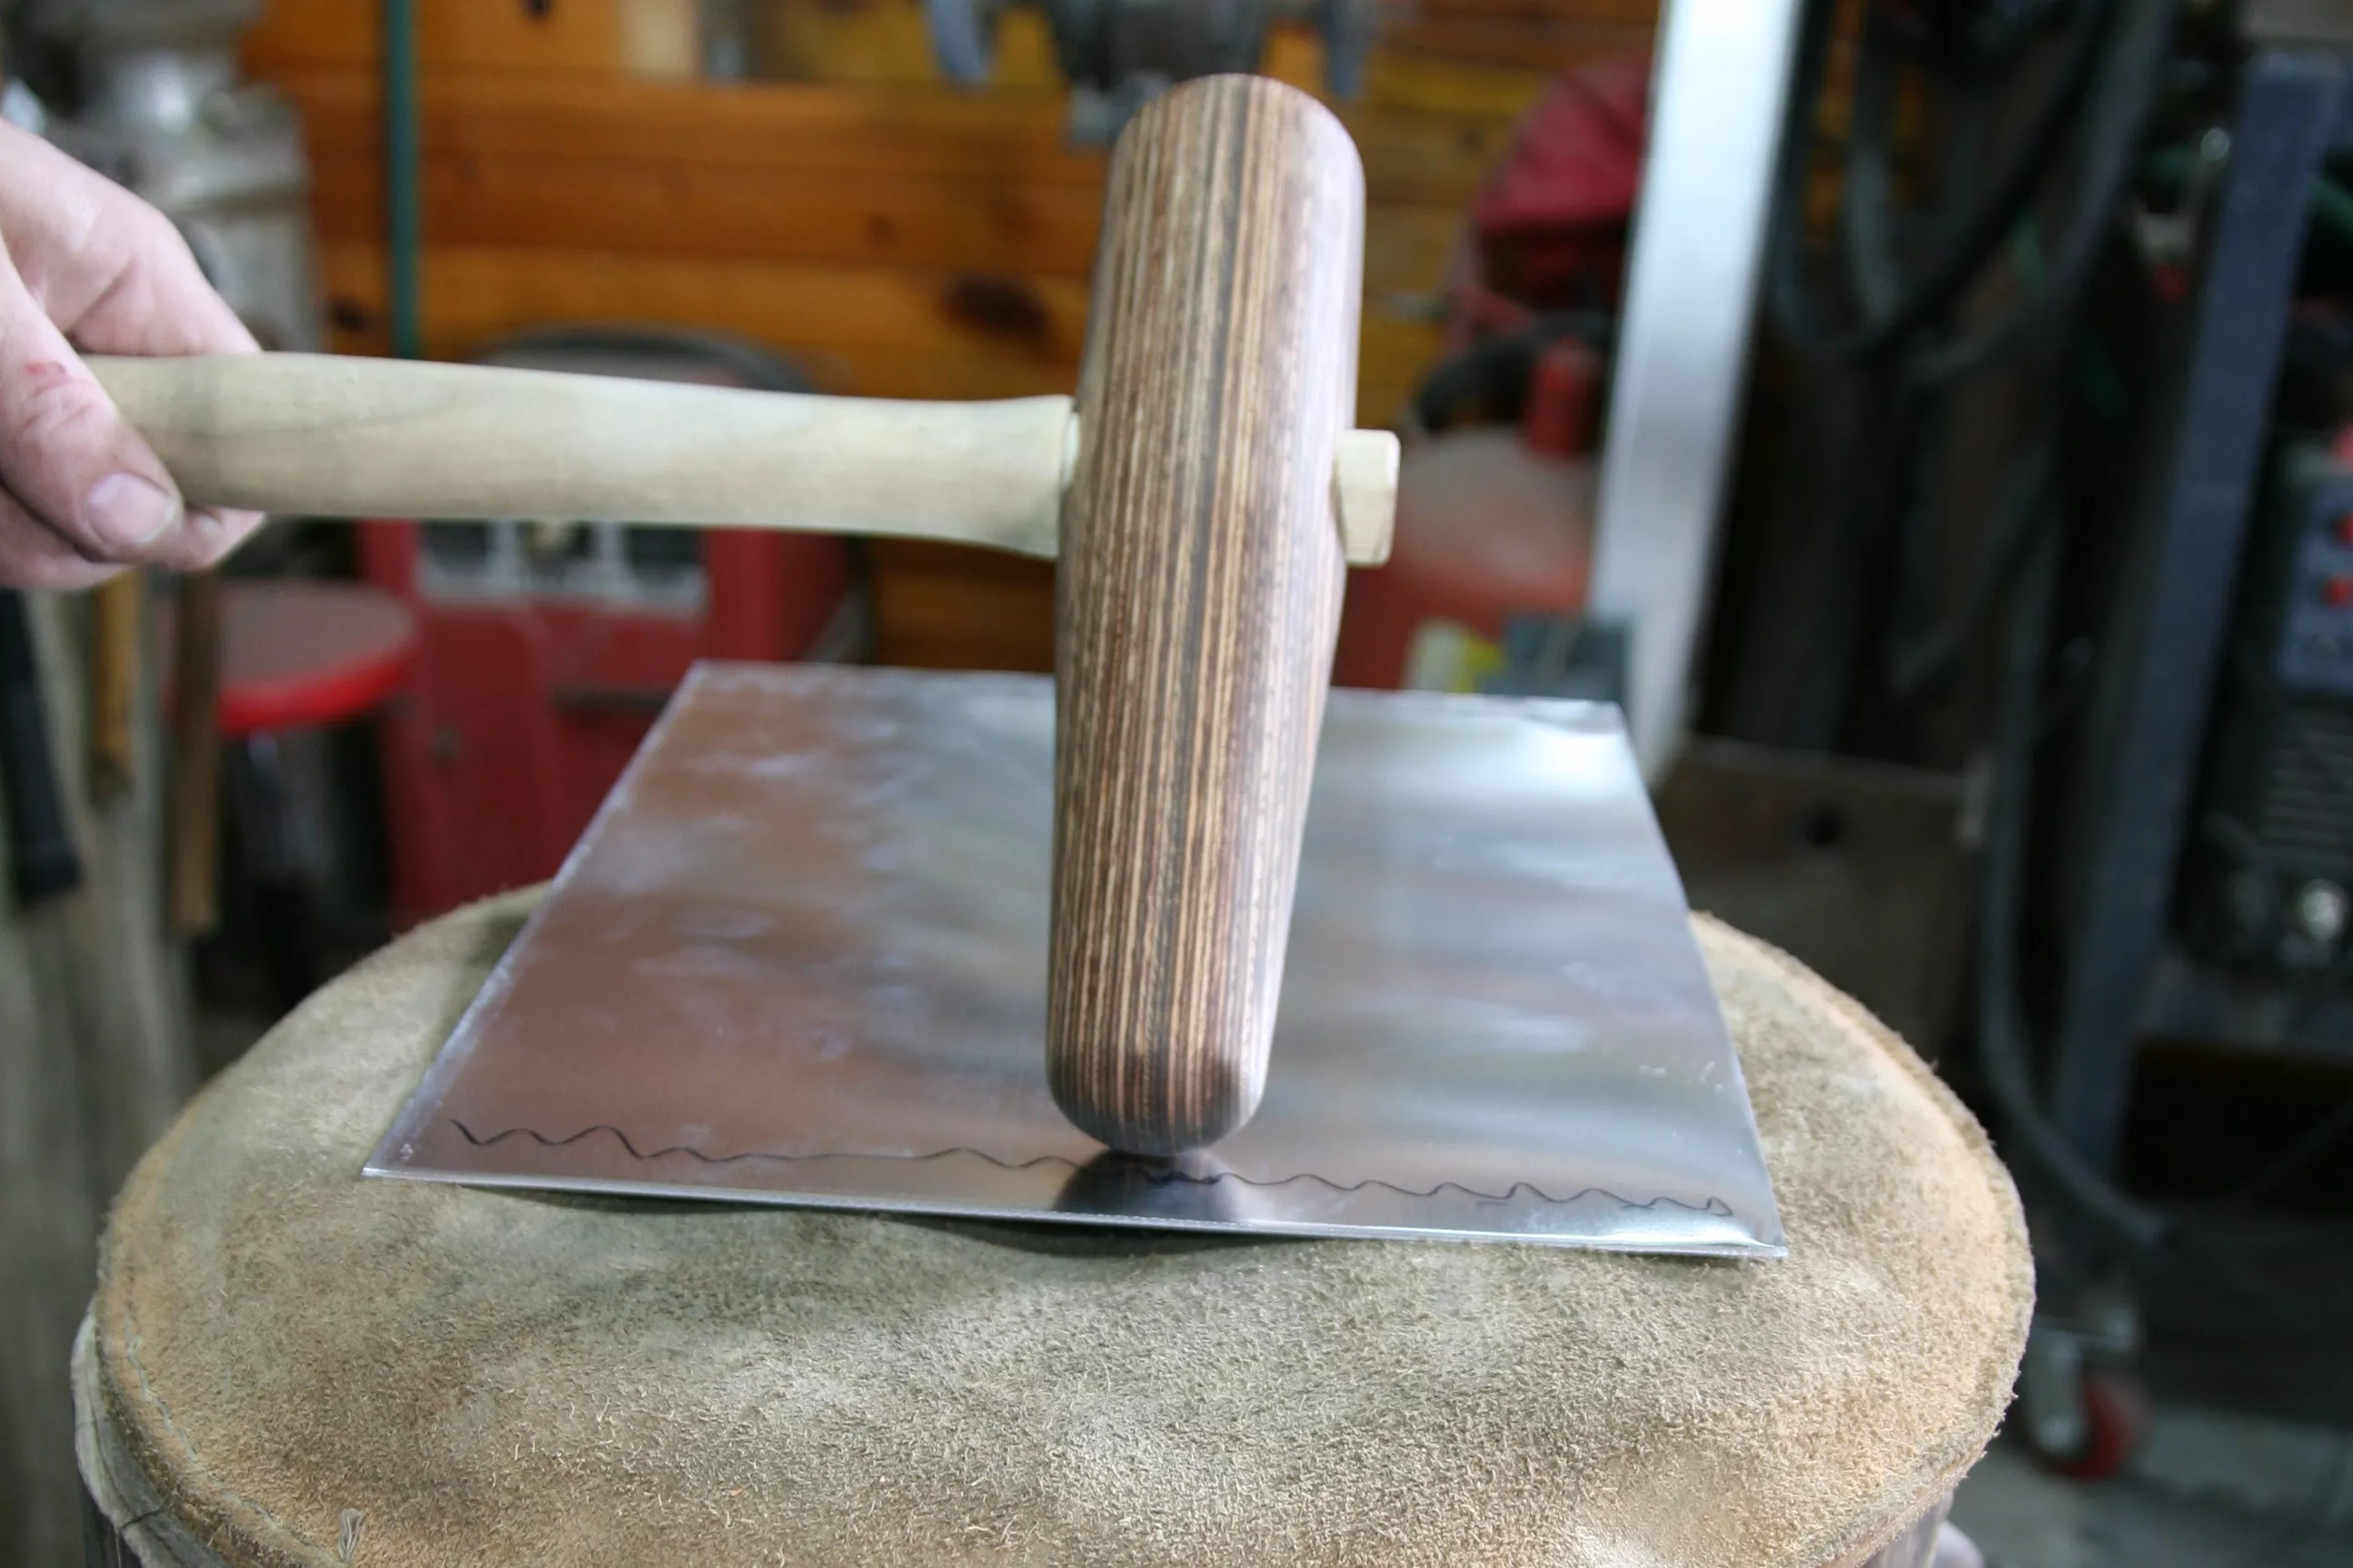
We will use the sharp end of the mallet to start to stretch the material on the edge of the sheet very quickly.
Words and Photos: Big Joe
Be sure to keep all of the hammer blows with this sharp end of the mallet on the edge. It will make very pronounced dents to the inner surface of the sheet, and we don’t want to have to smooth those out later.
Words and Photos: Big Joe
Once we have hammered the edge of the sheet with dents you will see the edge start to ruffle or tuck like fabric. When that happens we now move to the blunt end of our mallet.
Words and Photos: Big Joe
We begin stretching the inner surface of the sheet to give the sheet some shape.
Words and Photos: Big Joe
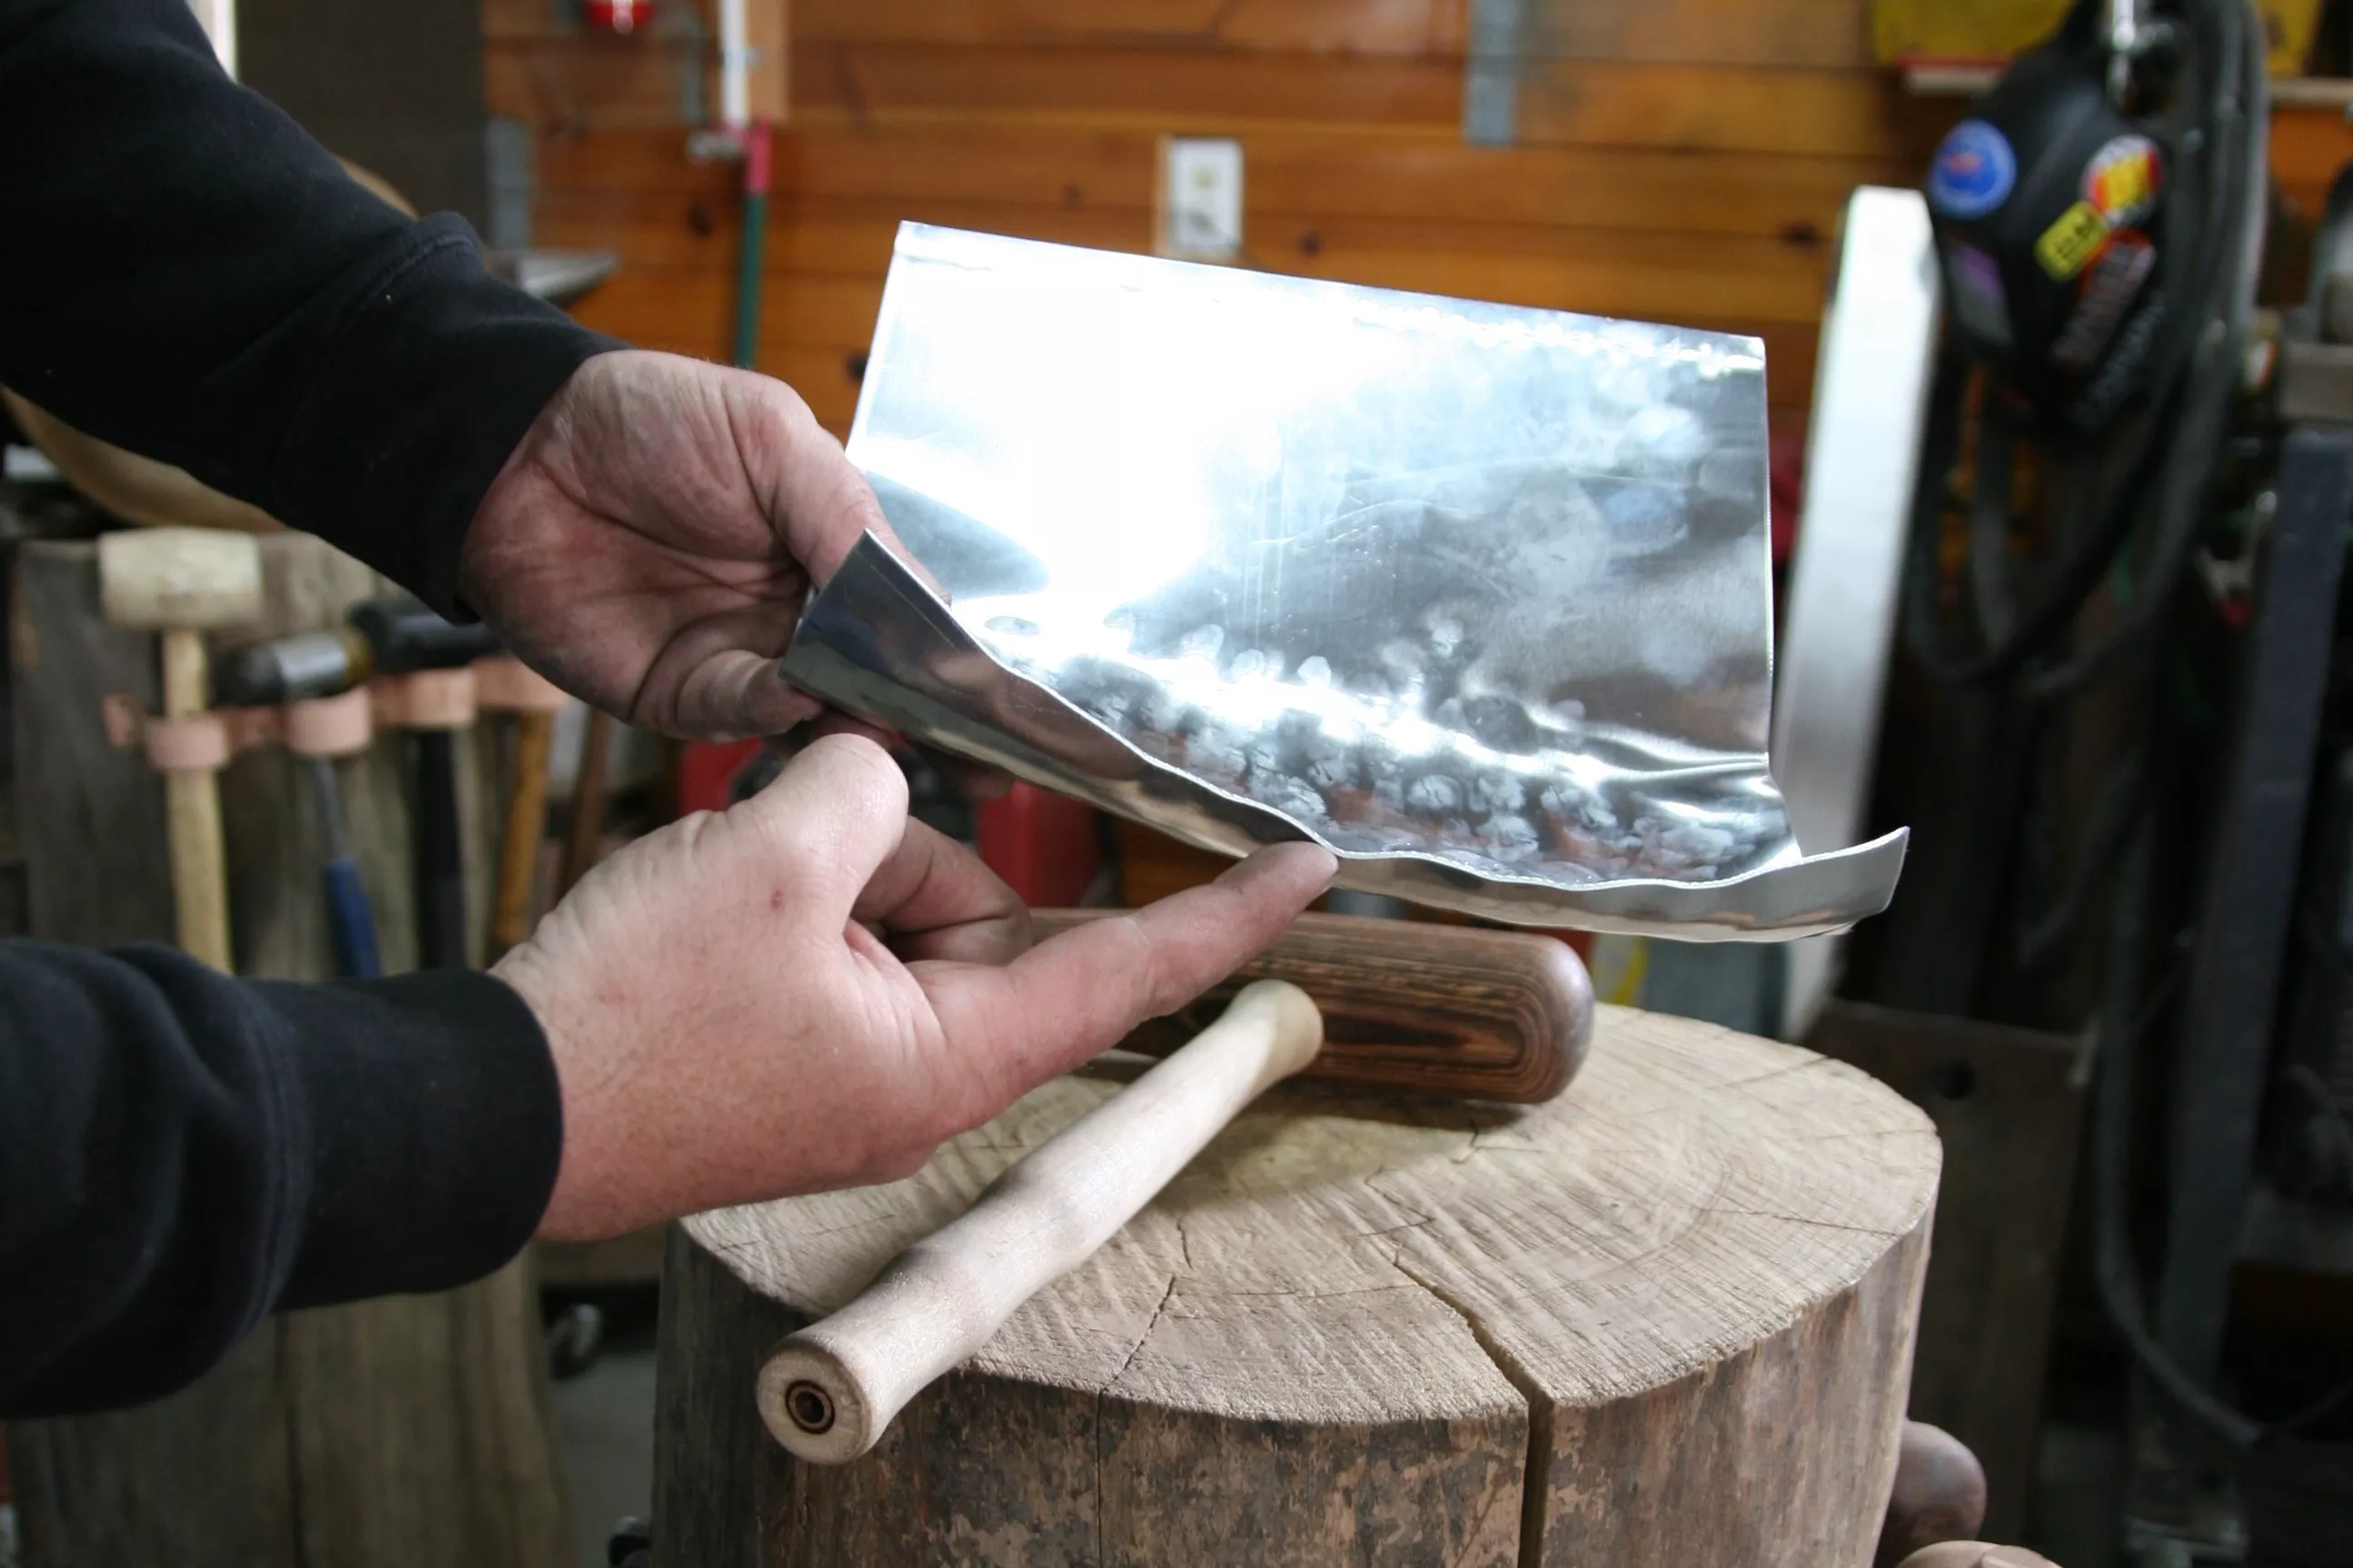
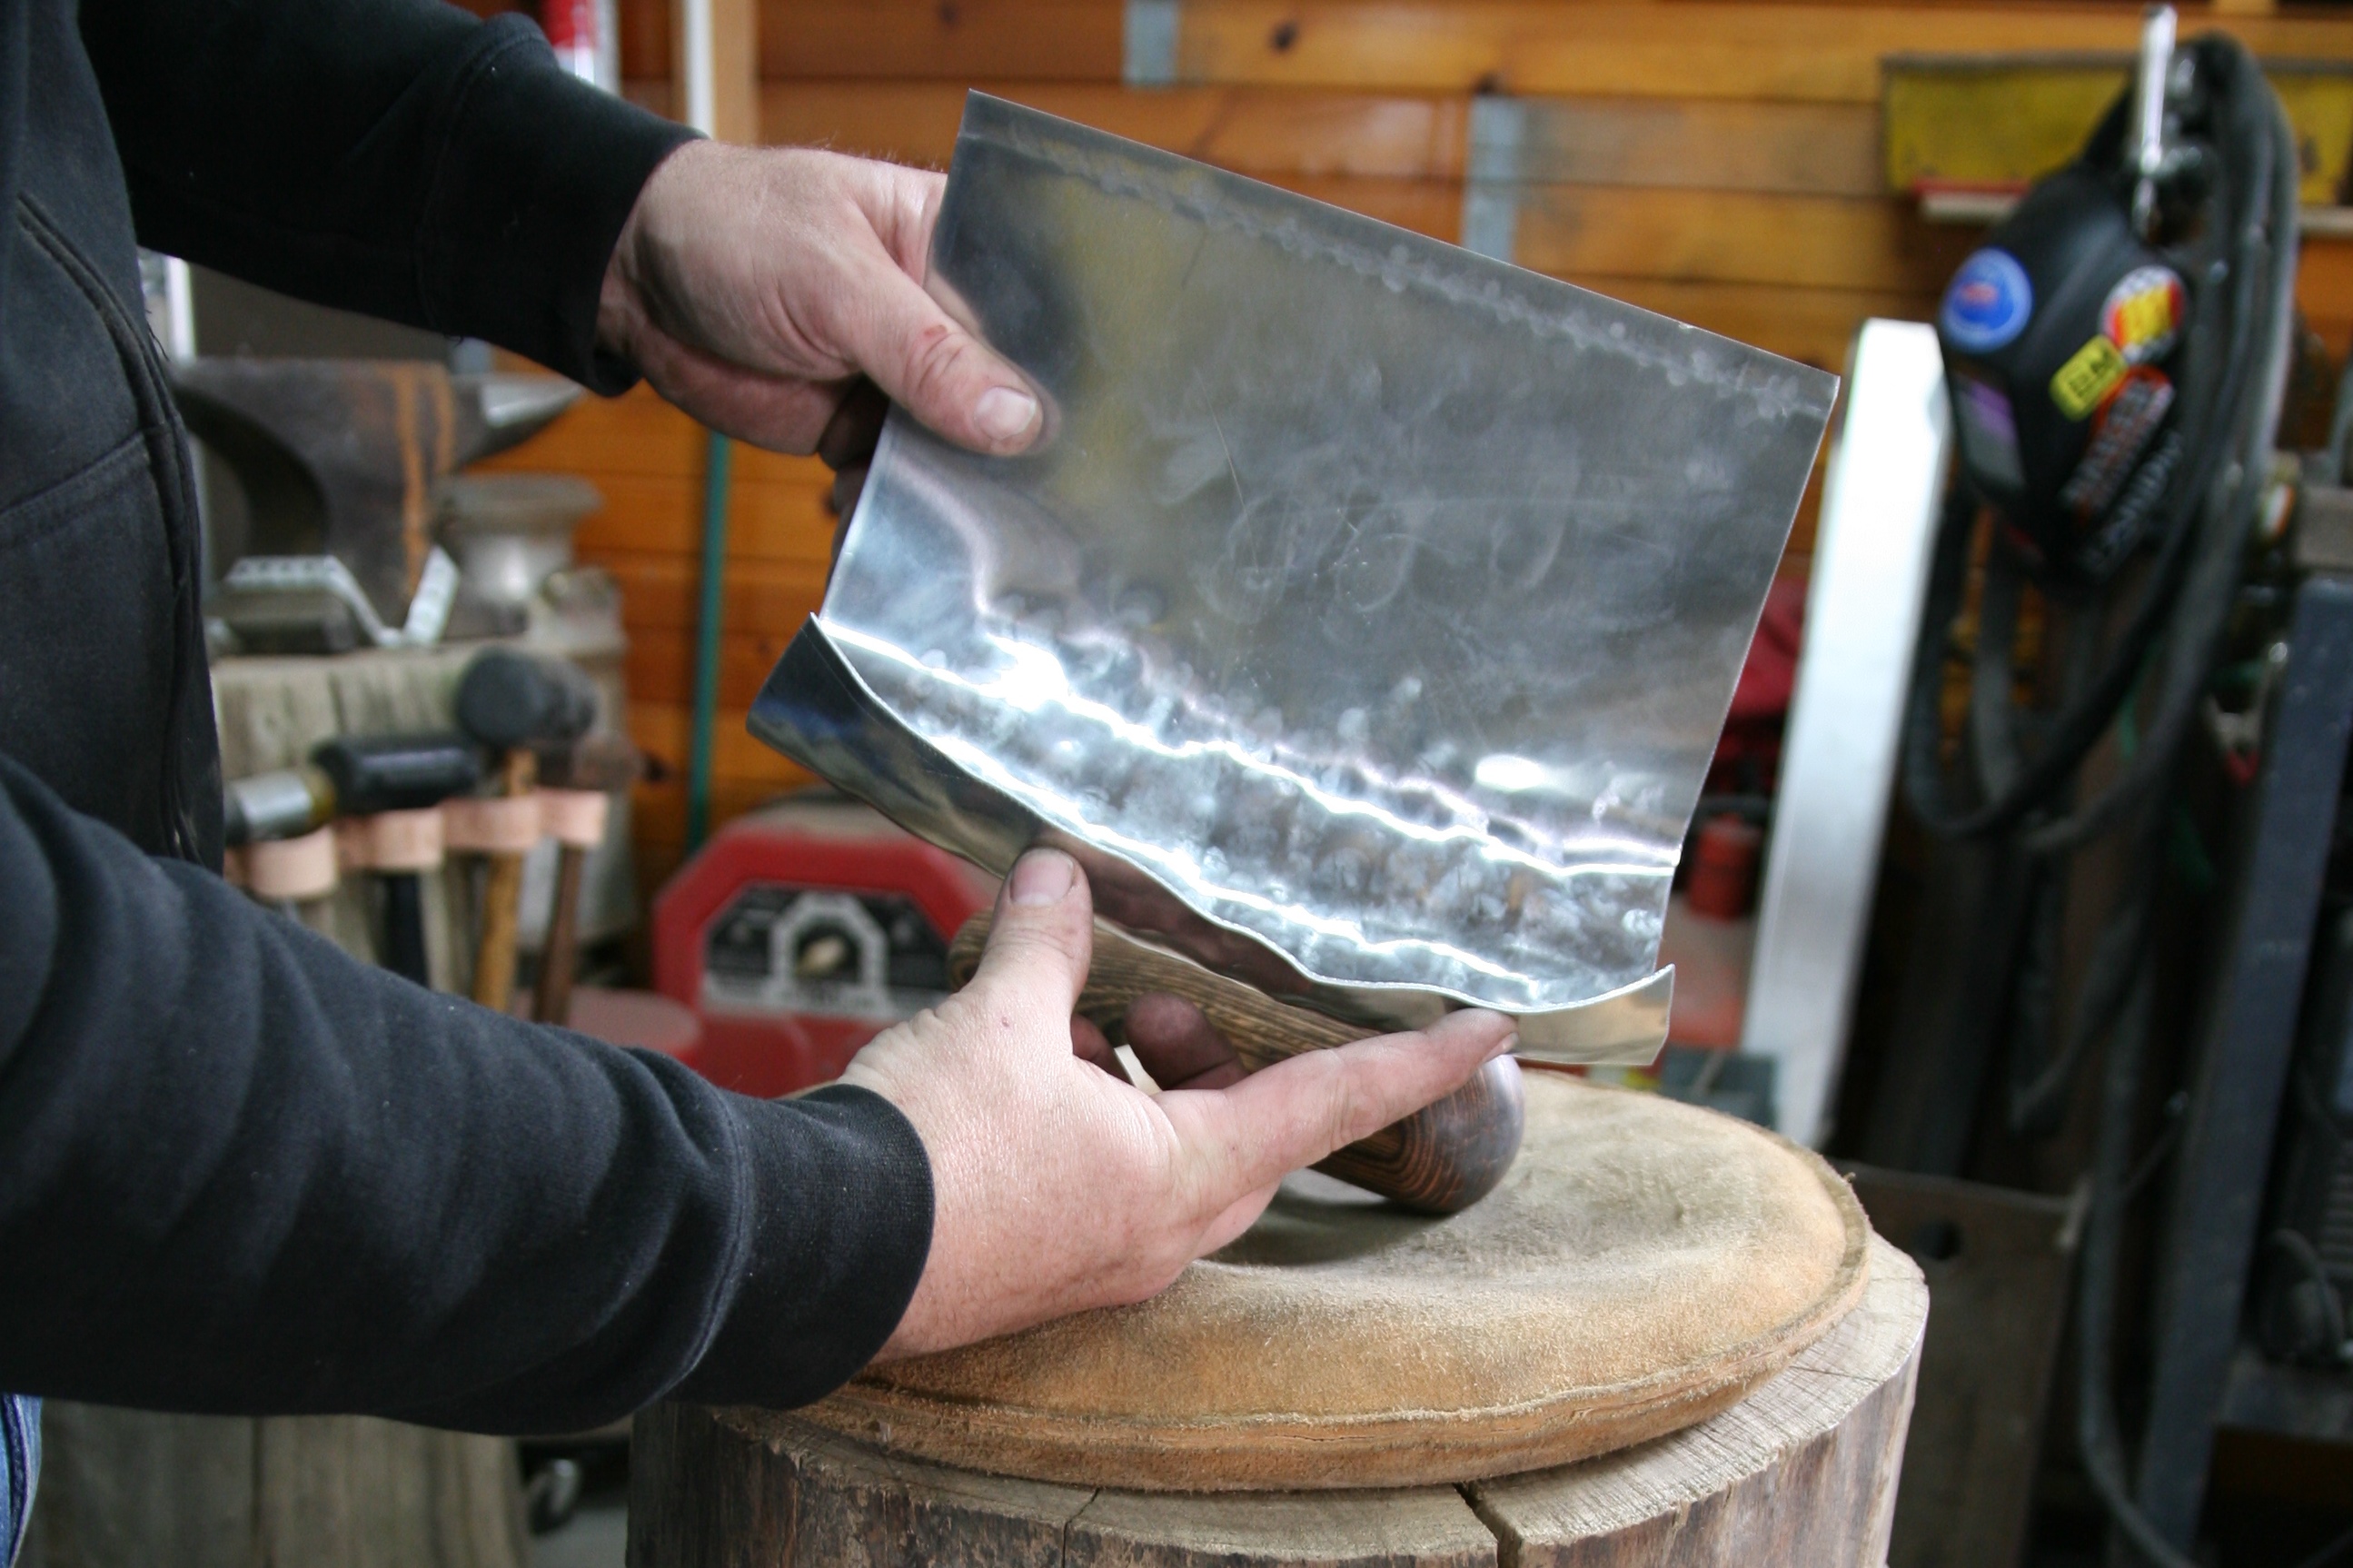
Once we have sufficiently shaped the inner part of the sheet you will see the sheet begin to curl. I have purposely hammered only one half of the sheet. You can see that the un-hammered side of the sheet has begun to twist and pucker even though we have not hammered it. That is because all of the stretching we have done to the sheet is forcing the entire sheet to distort to relieve the pressures the stretching has caused. We will resolve that before we are done.
Words and Photos: Big Joe
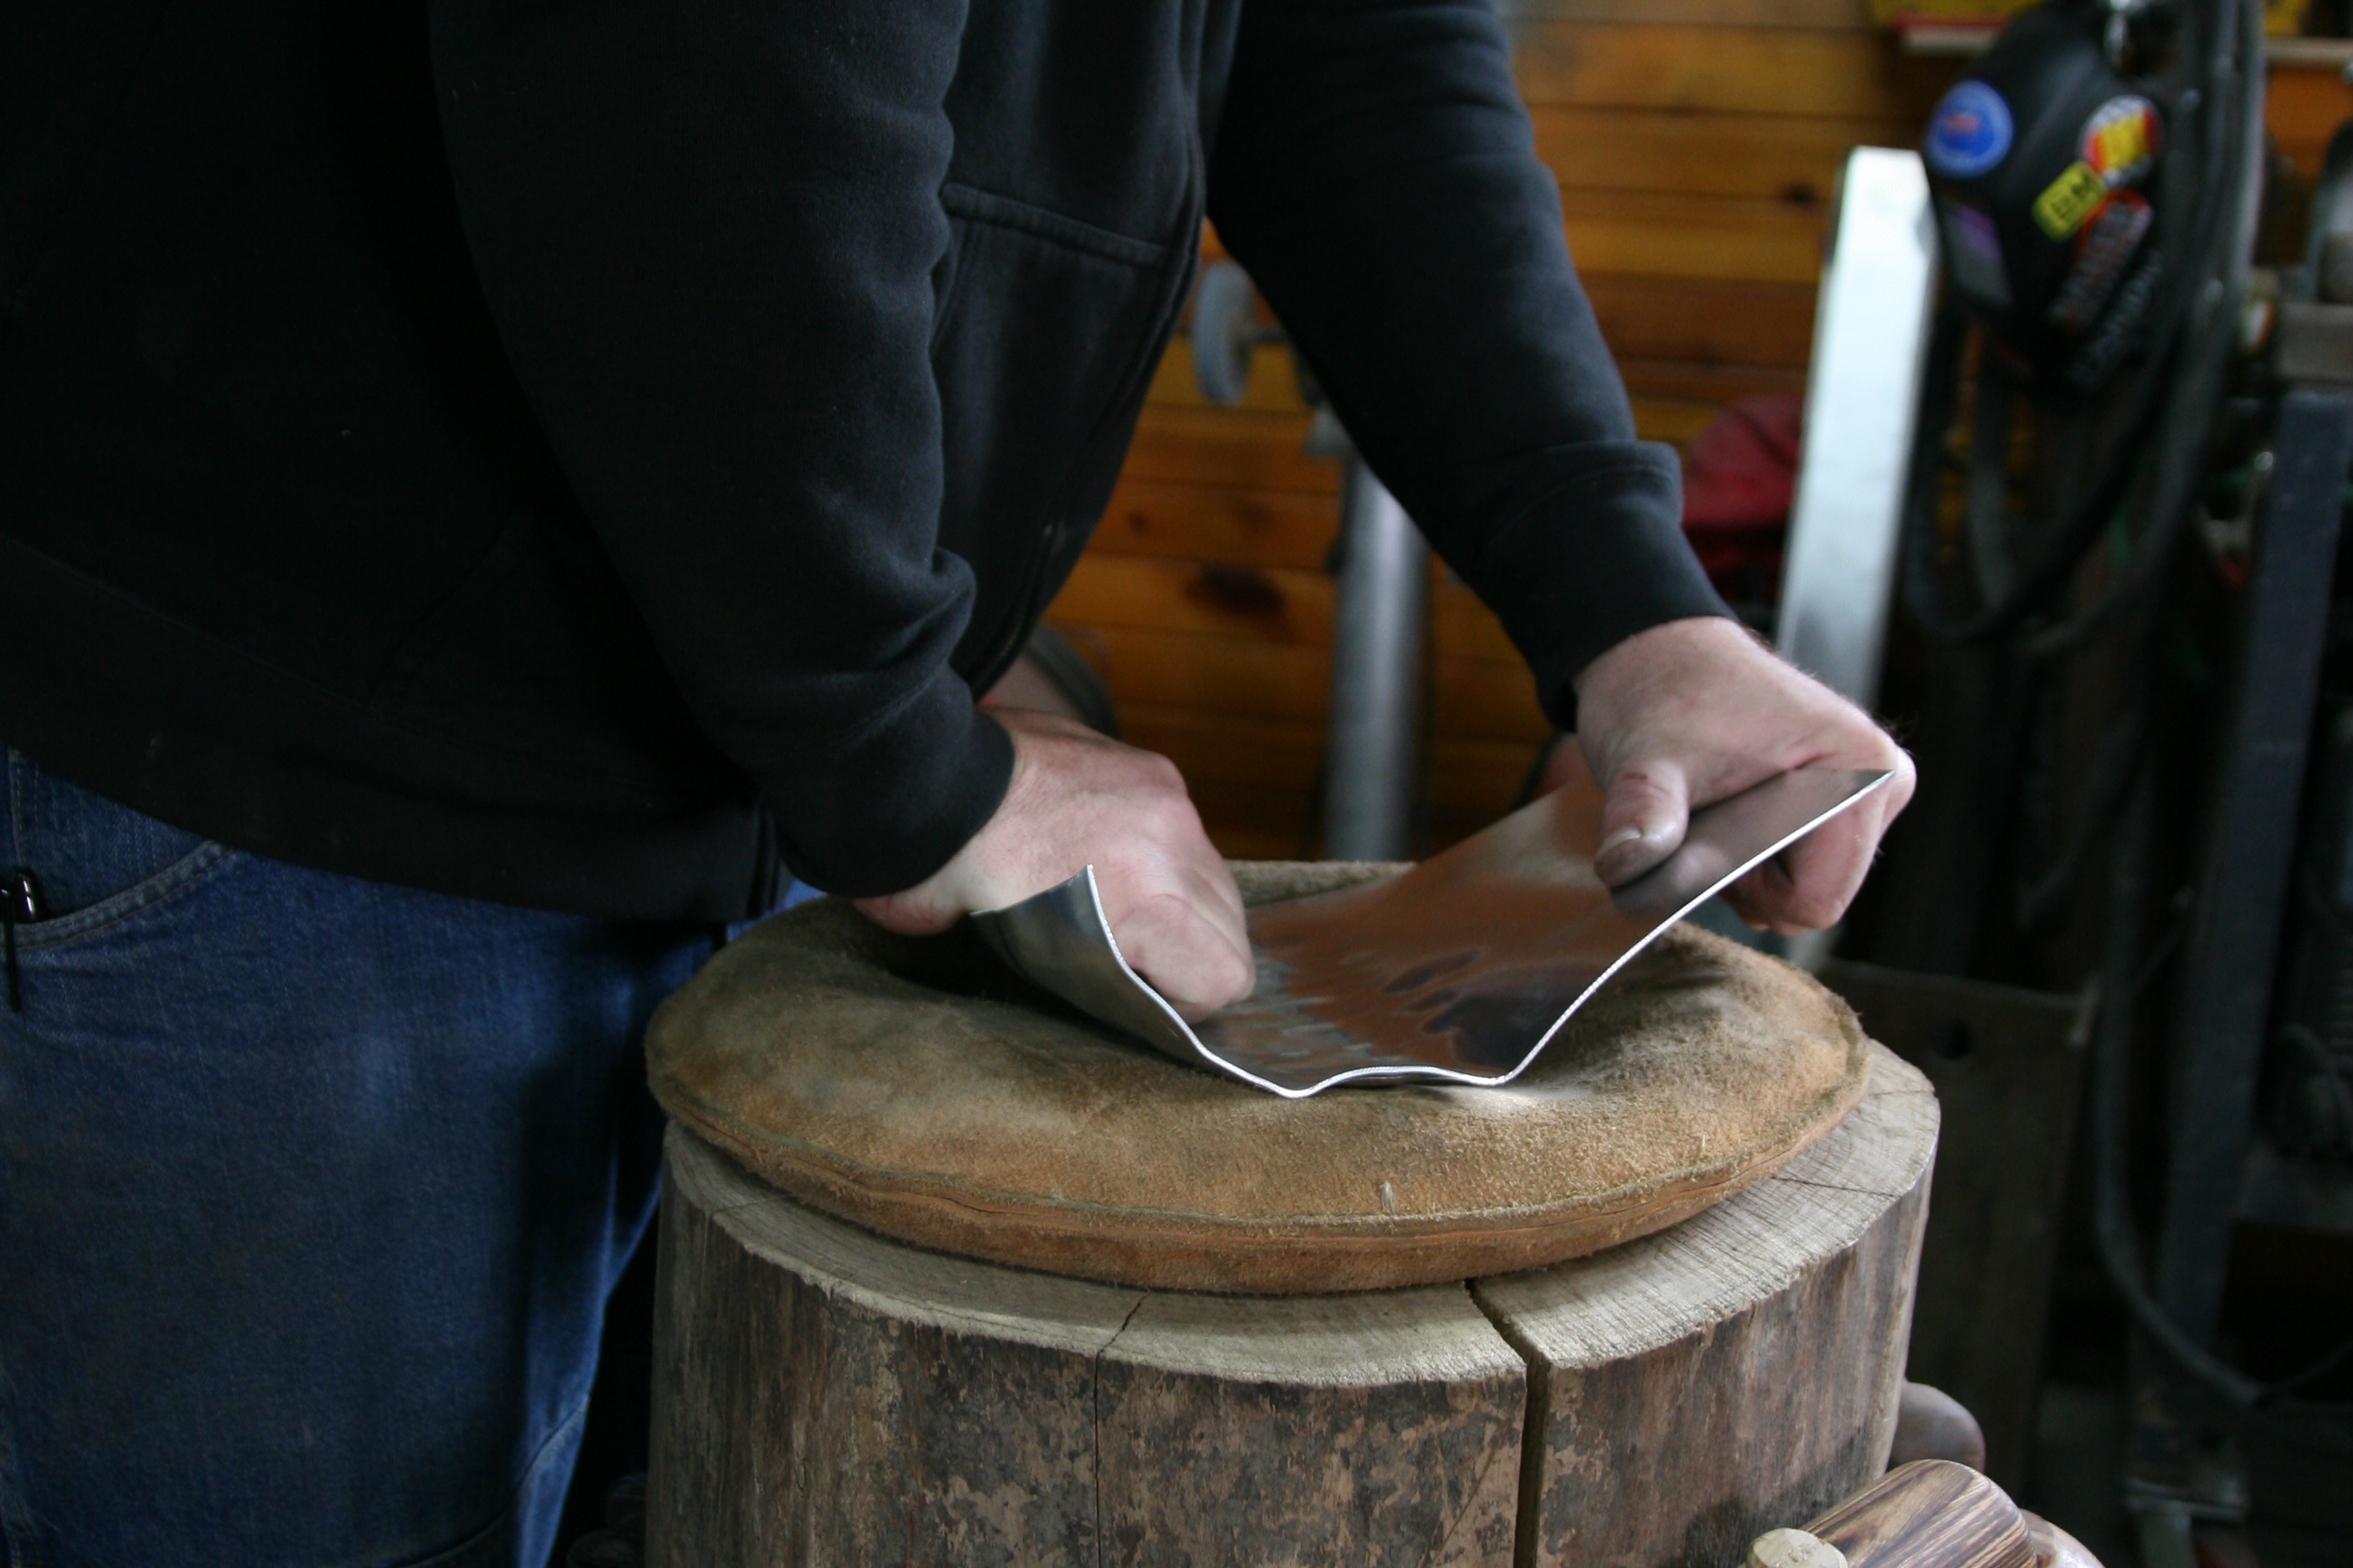
At this point, using my hands I will flatten the sheet out a bit to force the material out of the way so I can continue to hammer the areas I want to continue working. When aggressively stretching a sheet of metal it will begin to curl in on itself. From time to time you will need to use your hands to flatten it out of your way. Don’t be afraid to do this often.
Words and Photos: Big Joe
Now if we take a look at the edge of the sheet you will see some of the tucks have become more pronounced.
Words and Photos: Big Joe
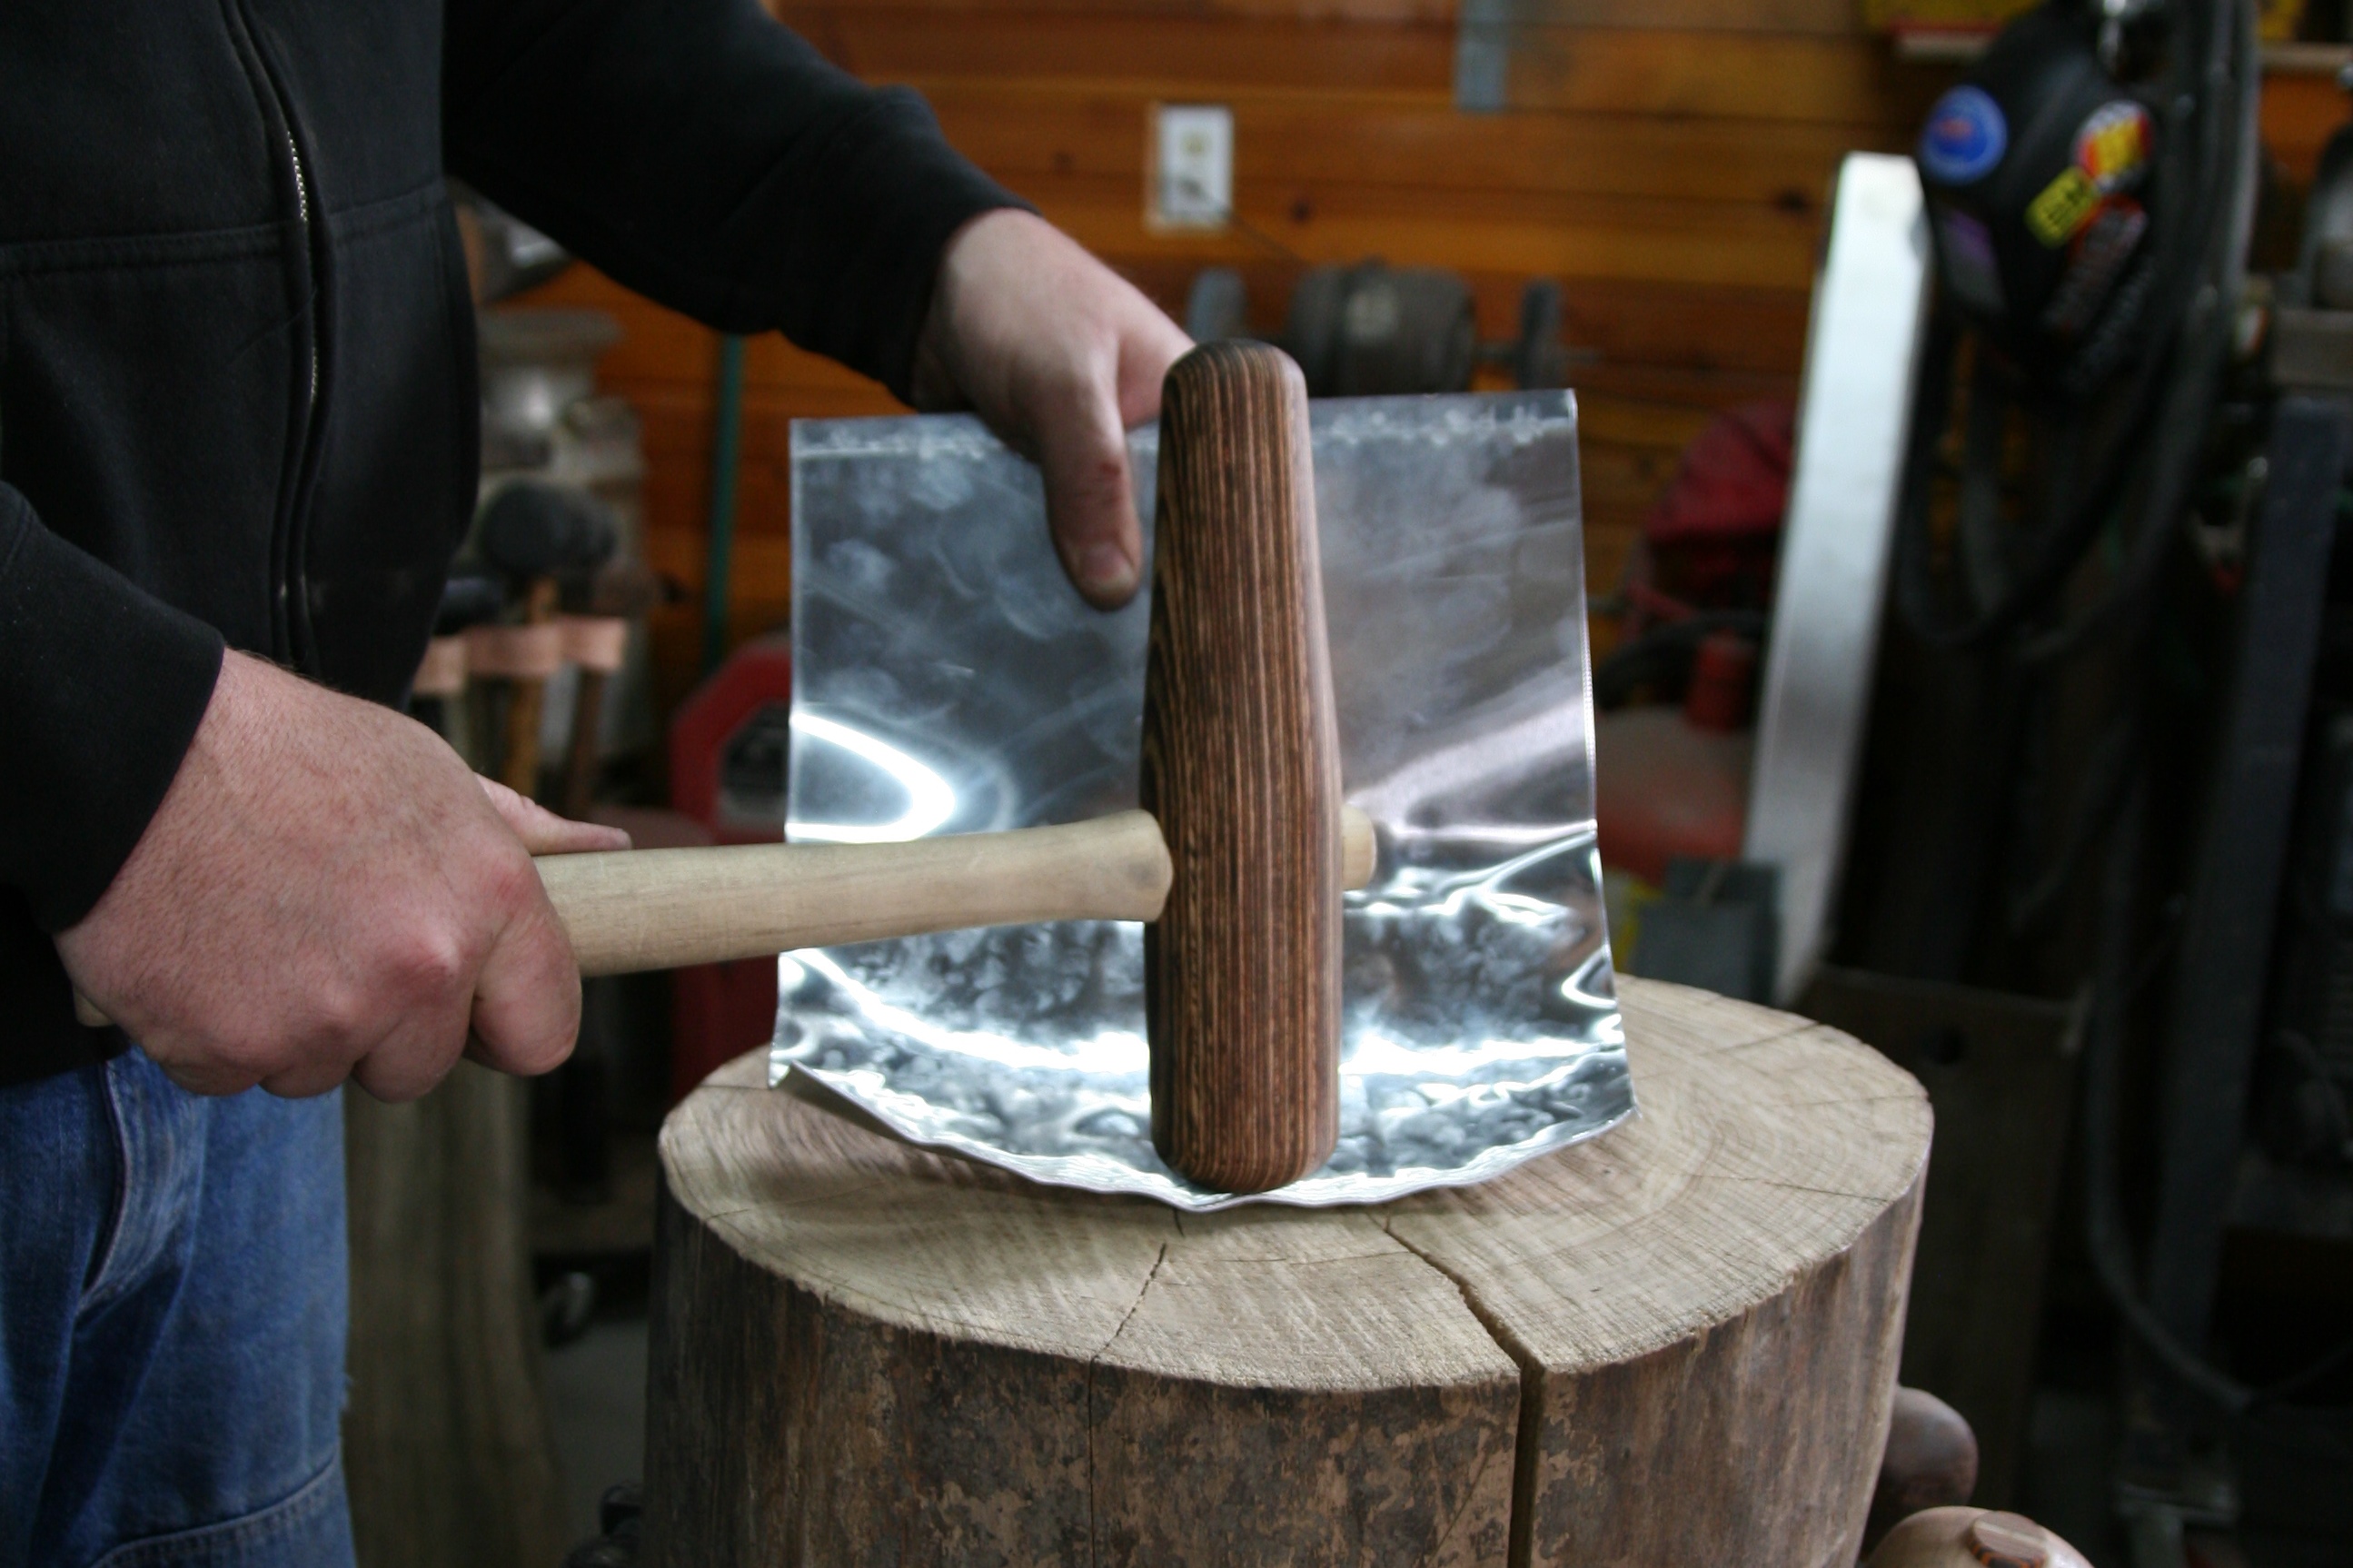
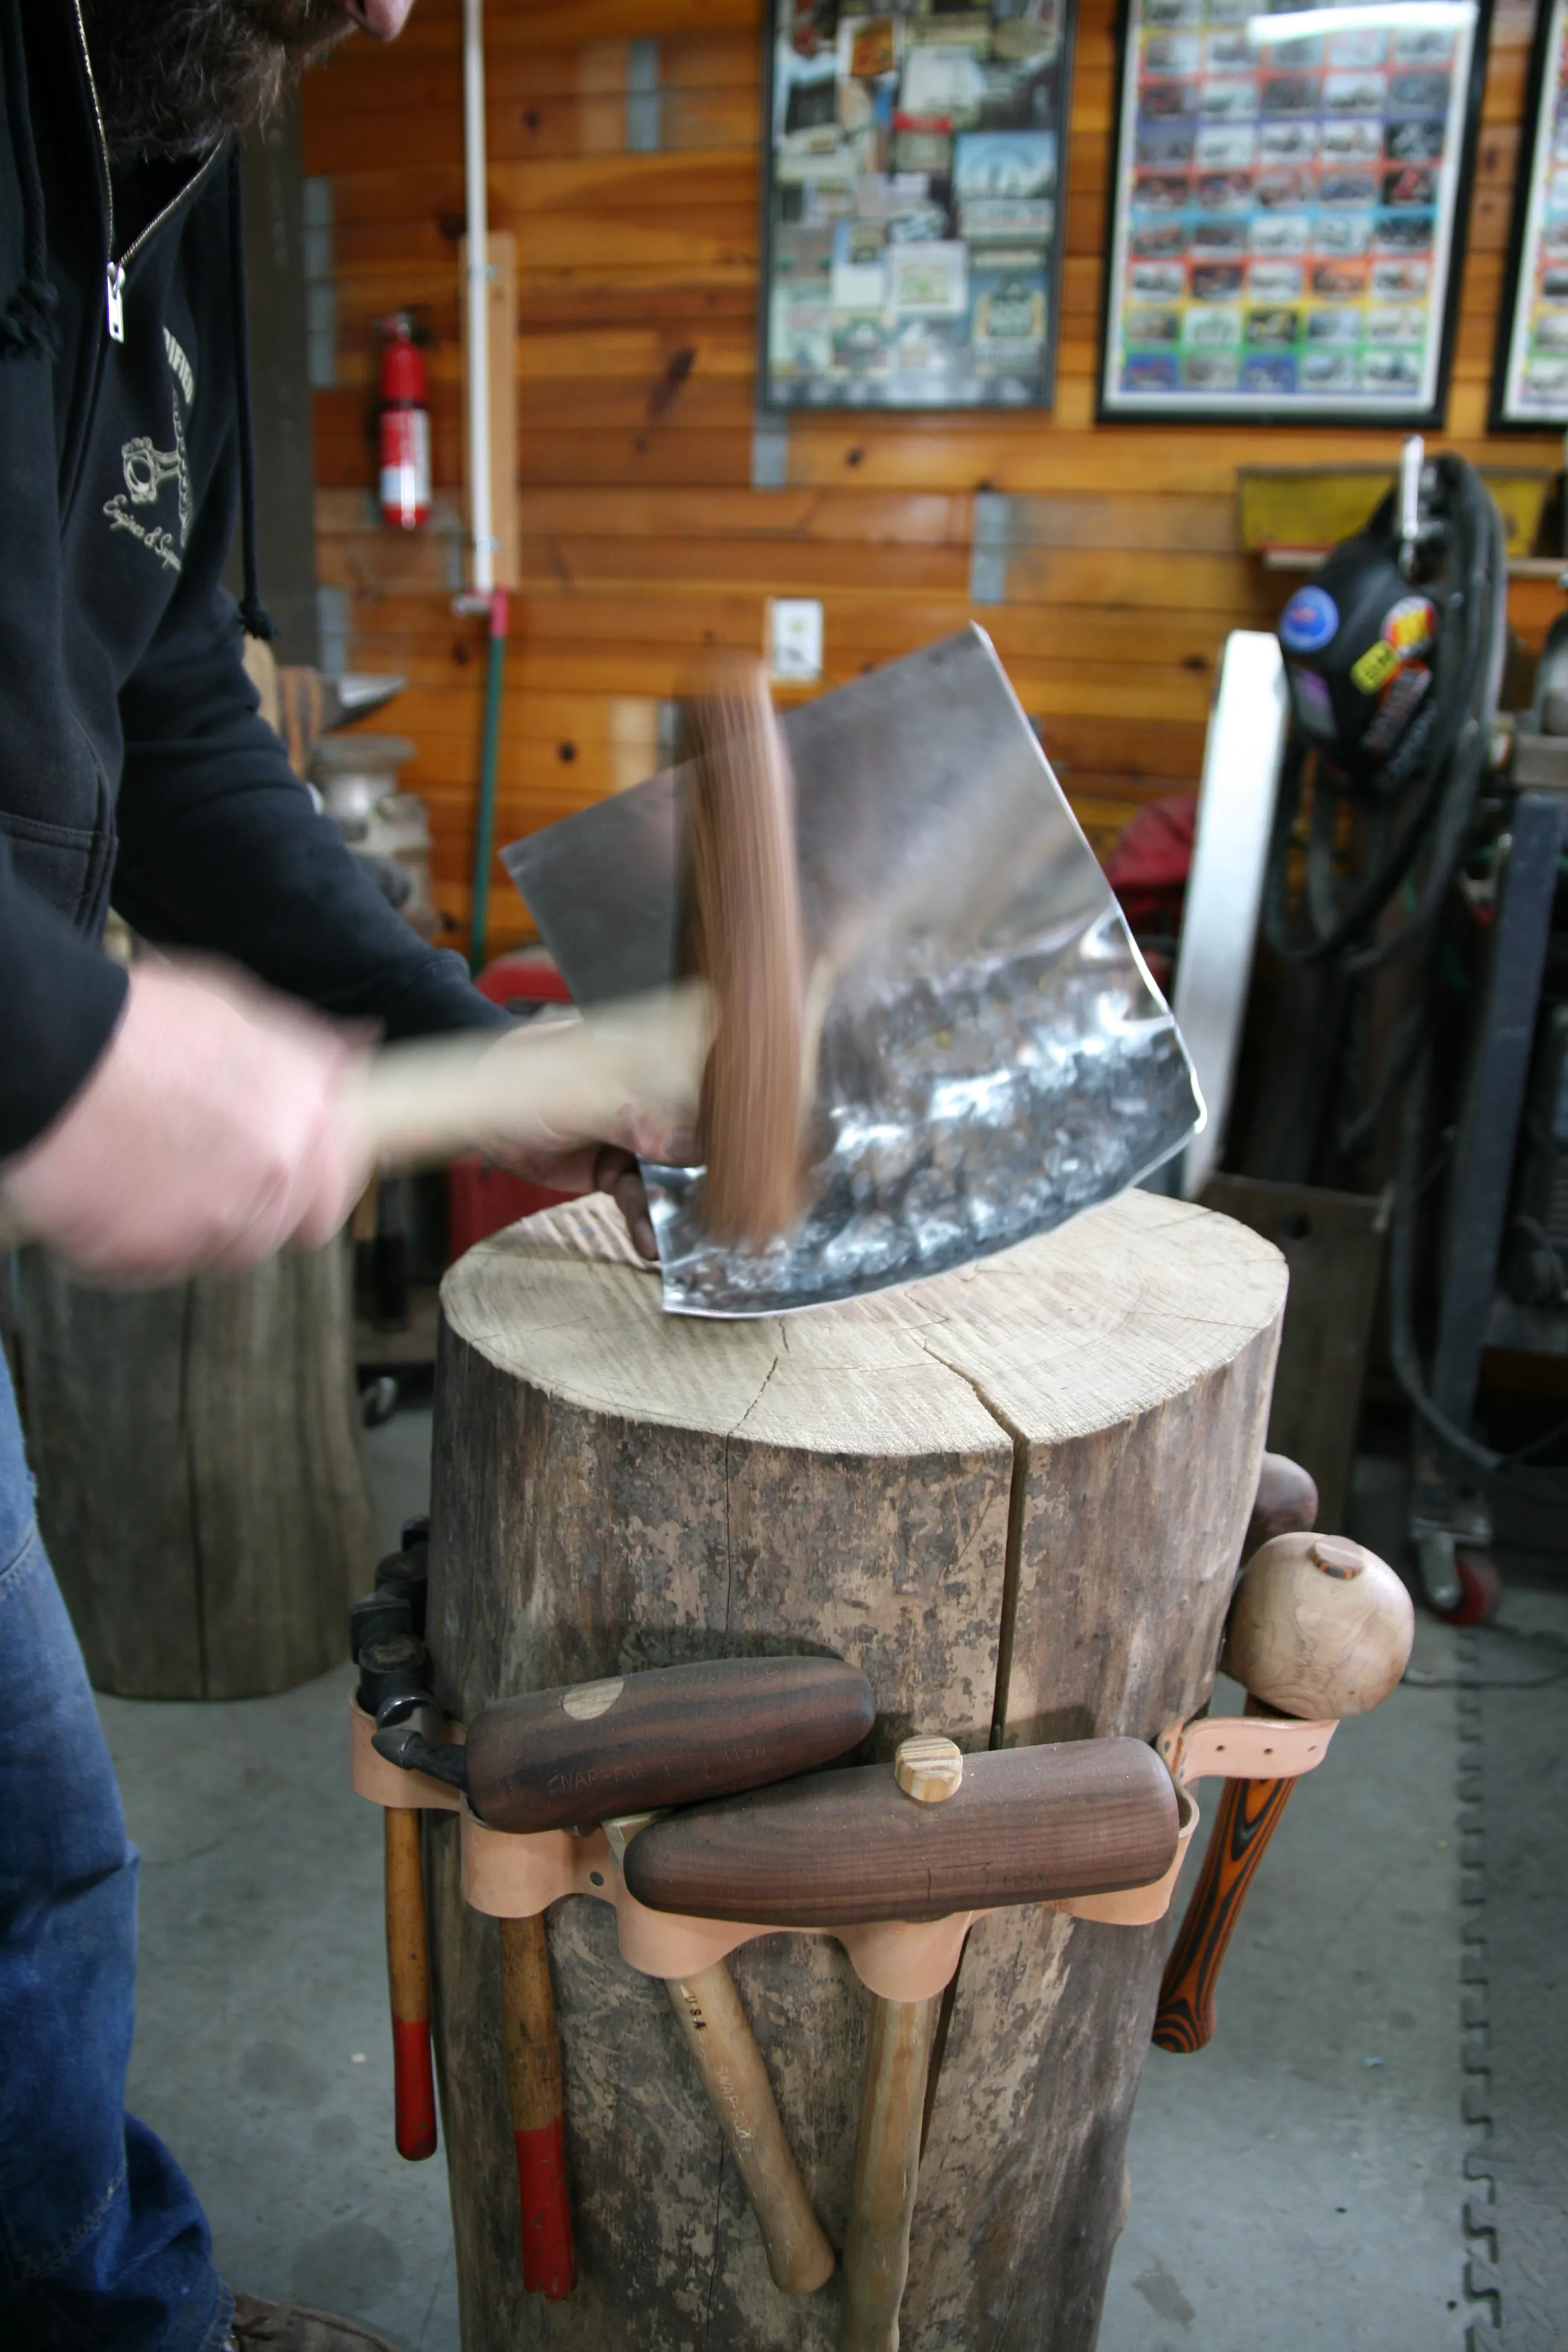
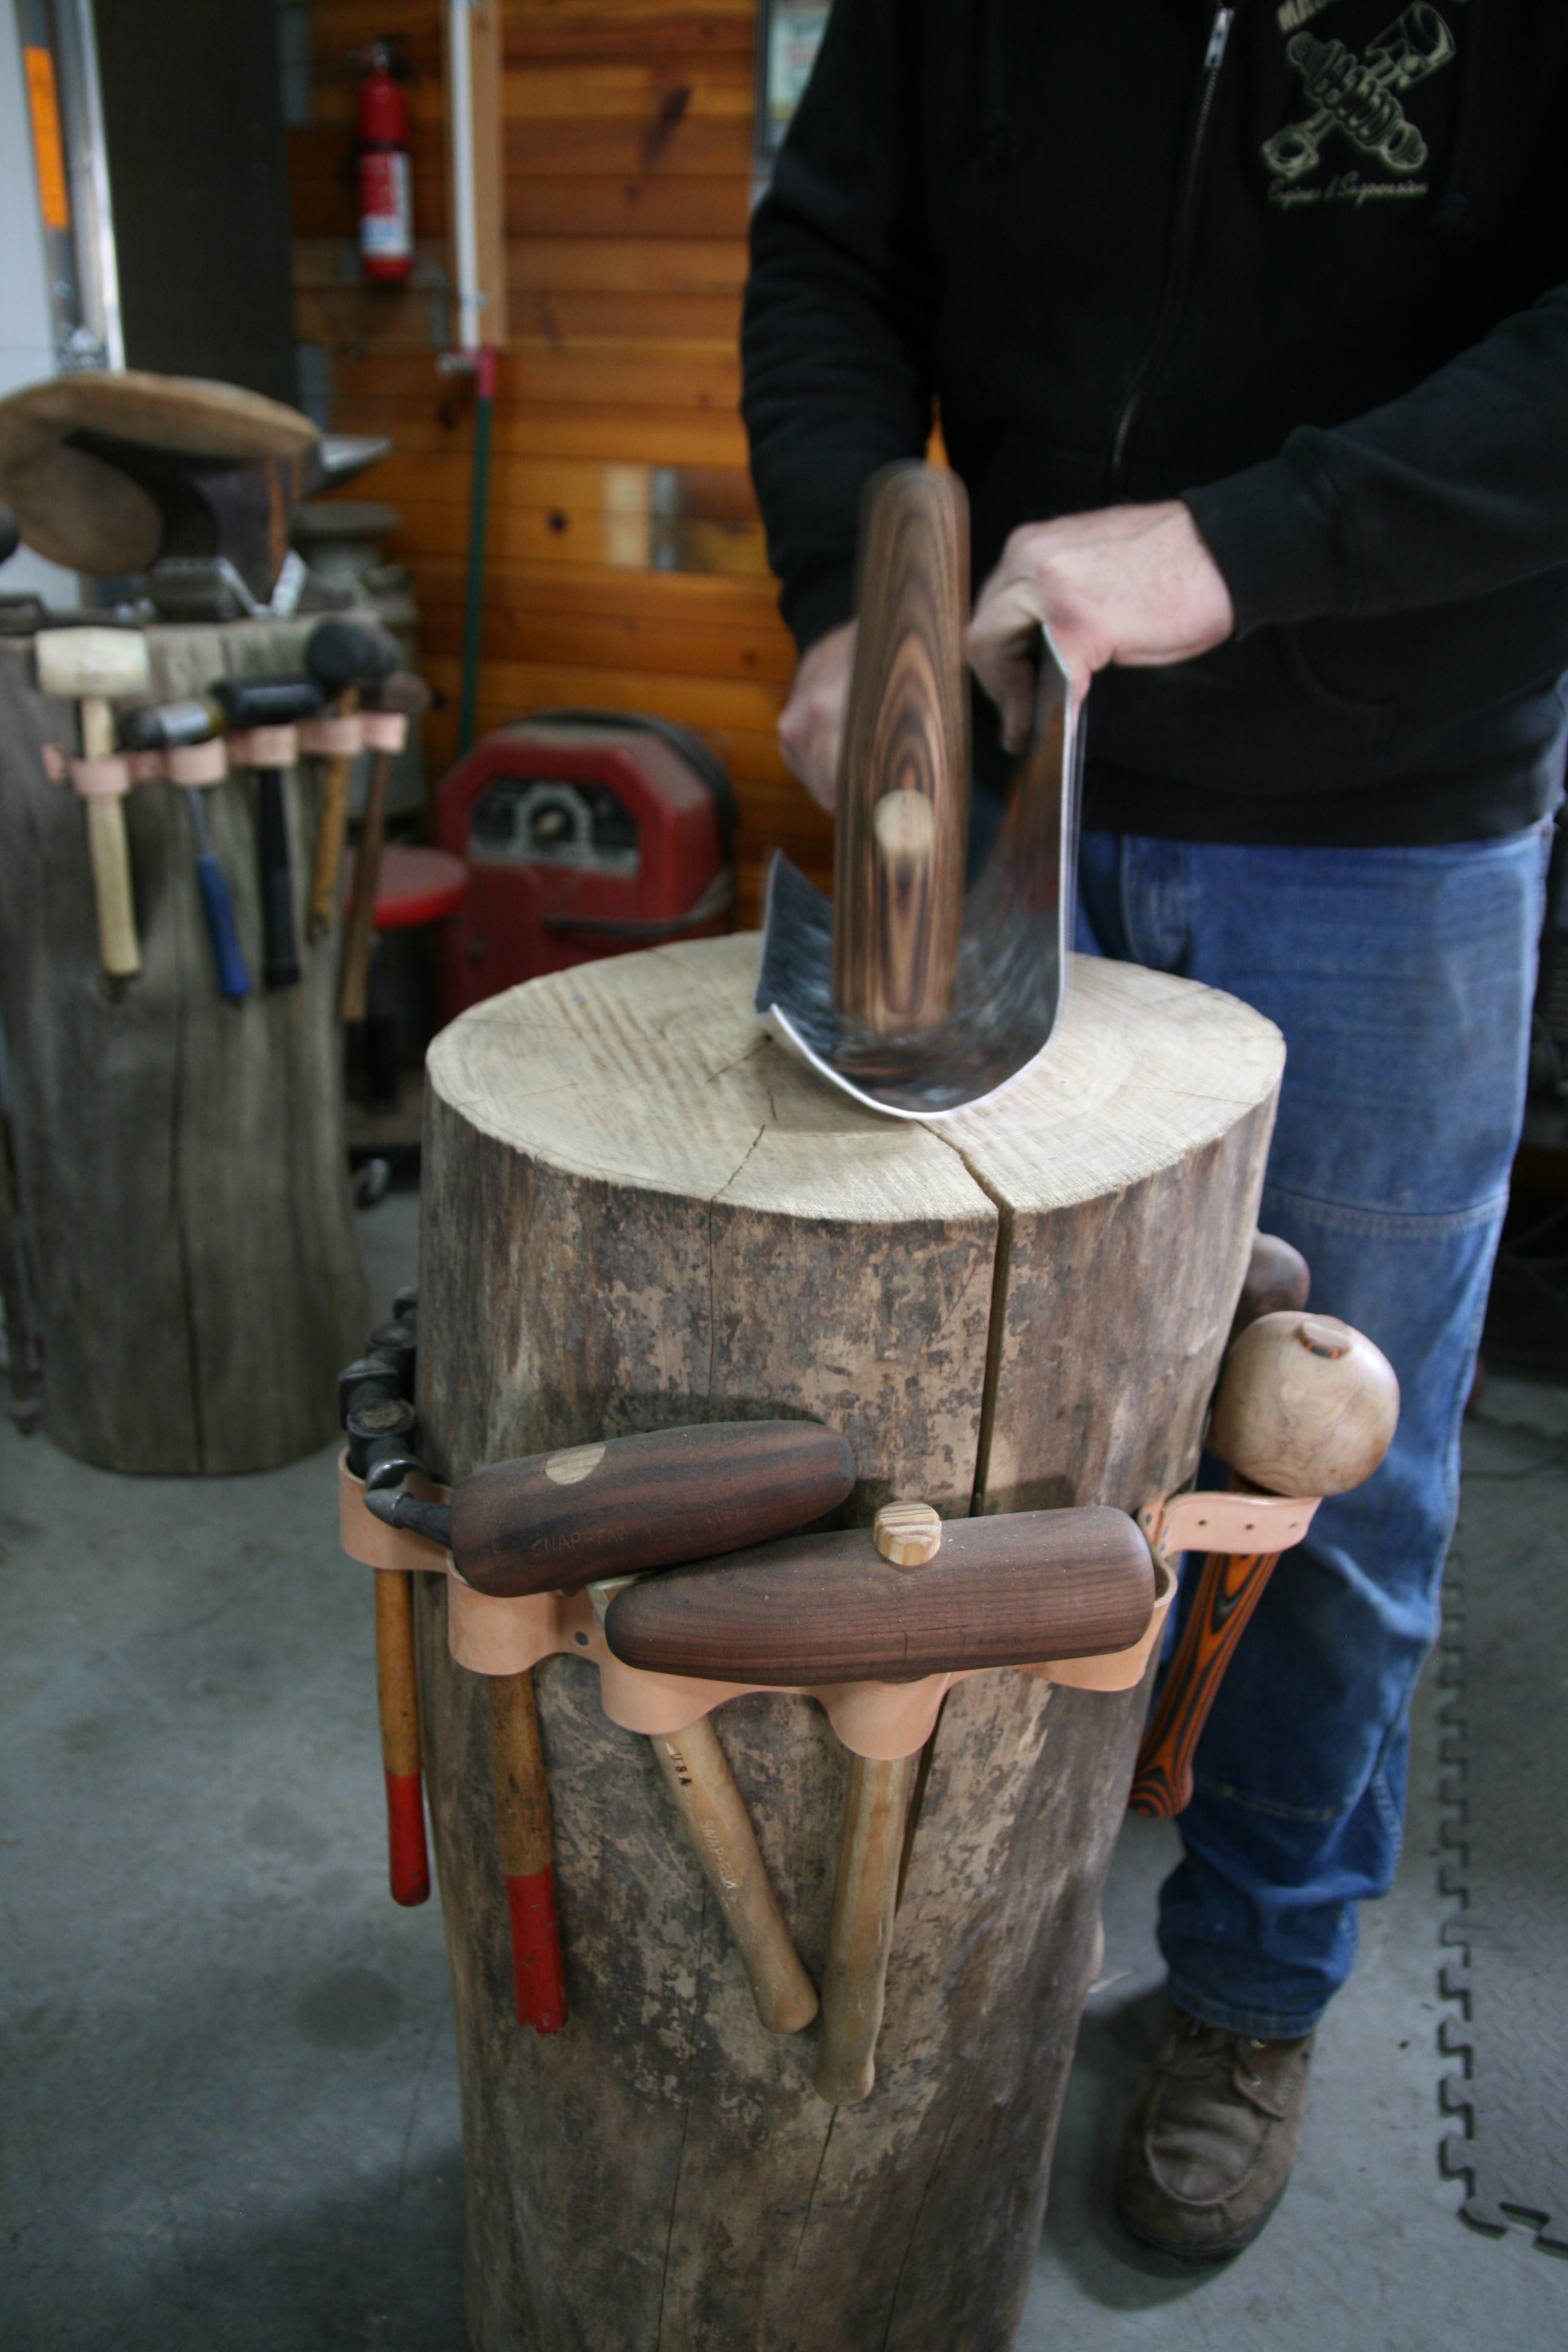
Using the blunt end of the mallet and the bare stump we will flatten or planish these out. We’ll also planish some of the dents out of the inner surface as well.
Words and Photos: Big Joe
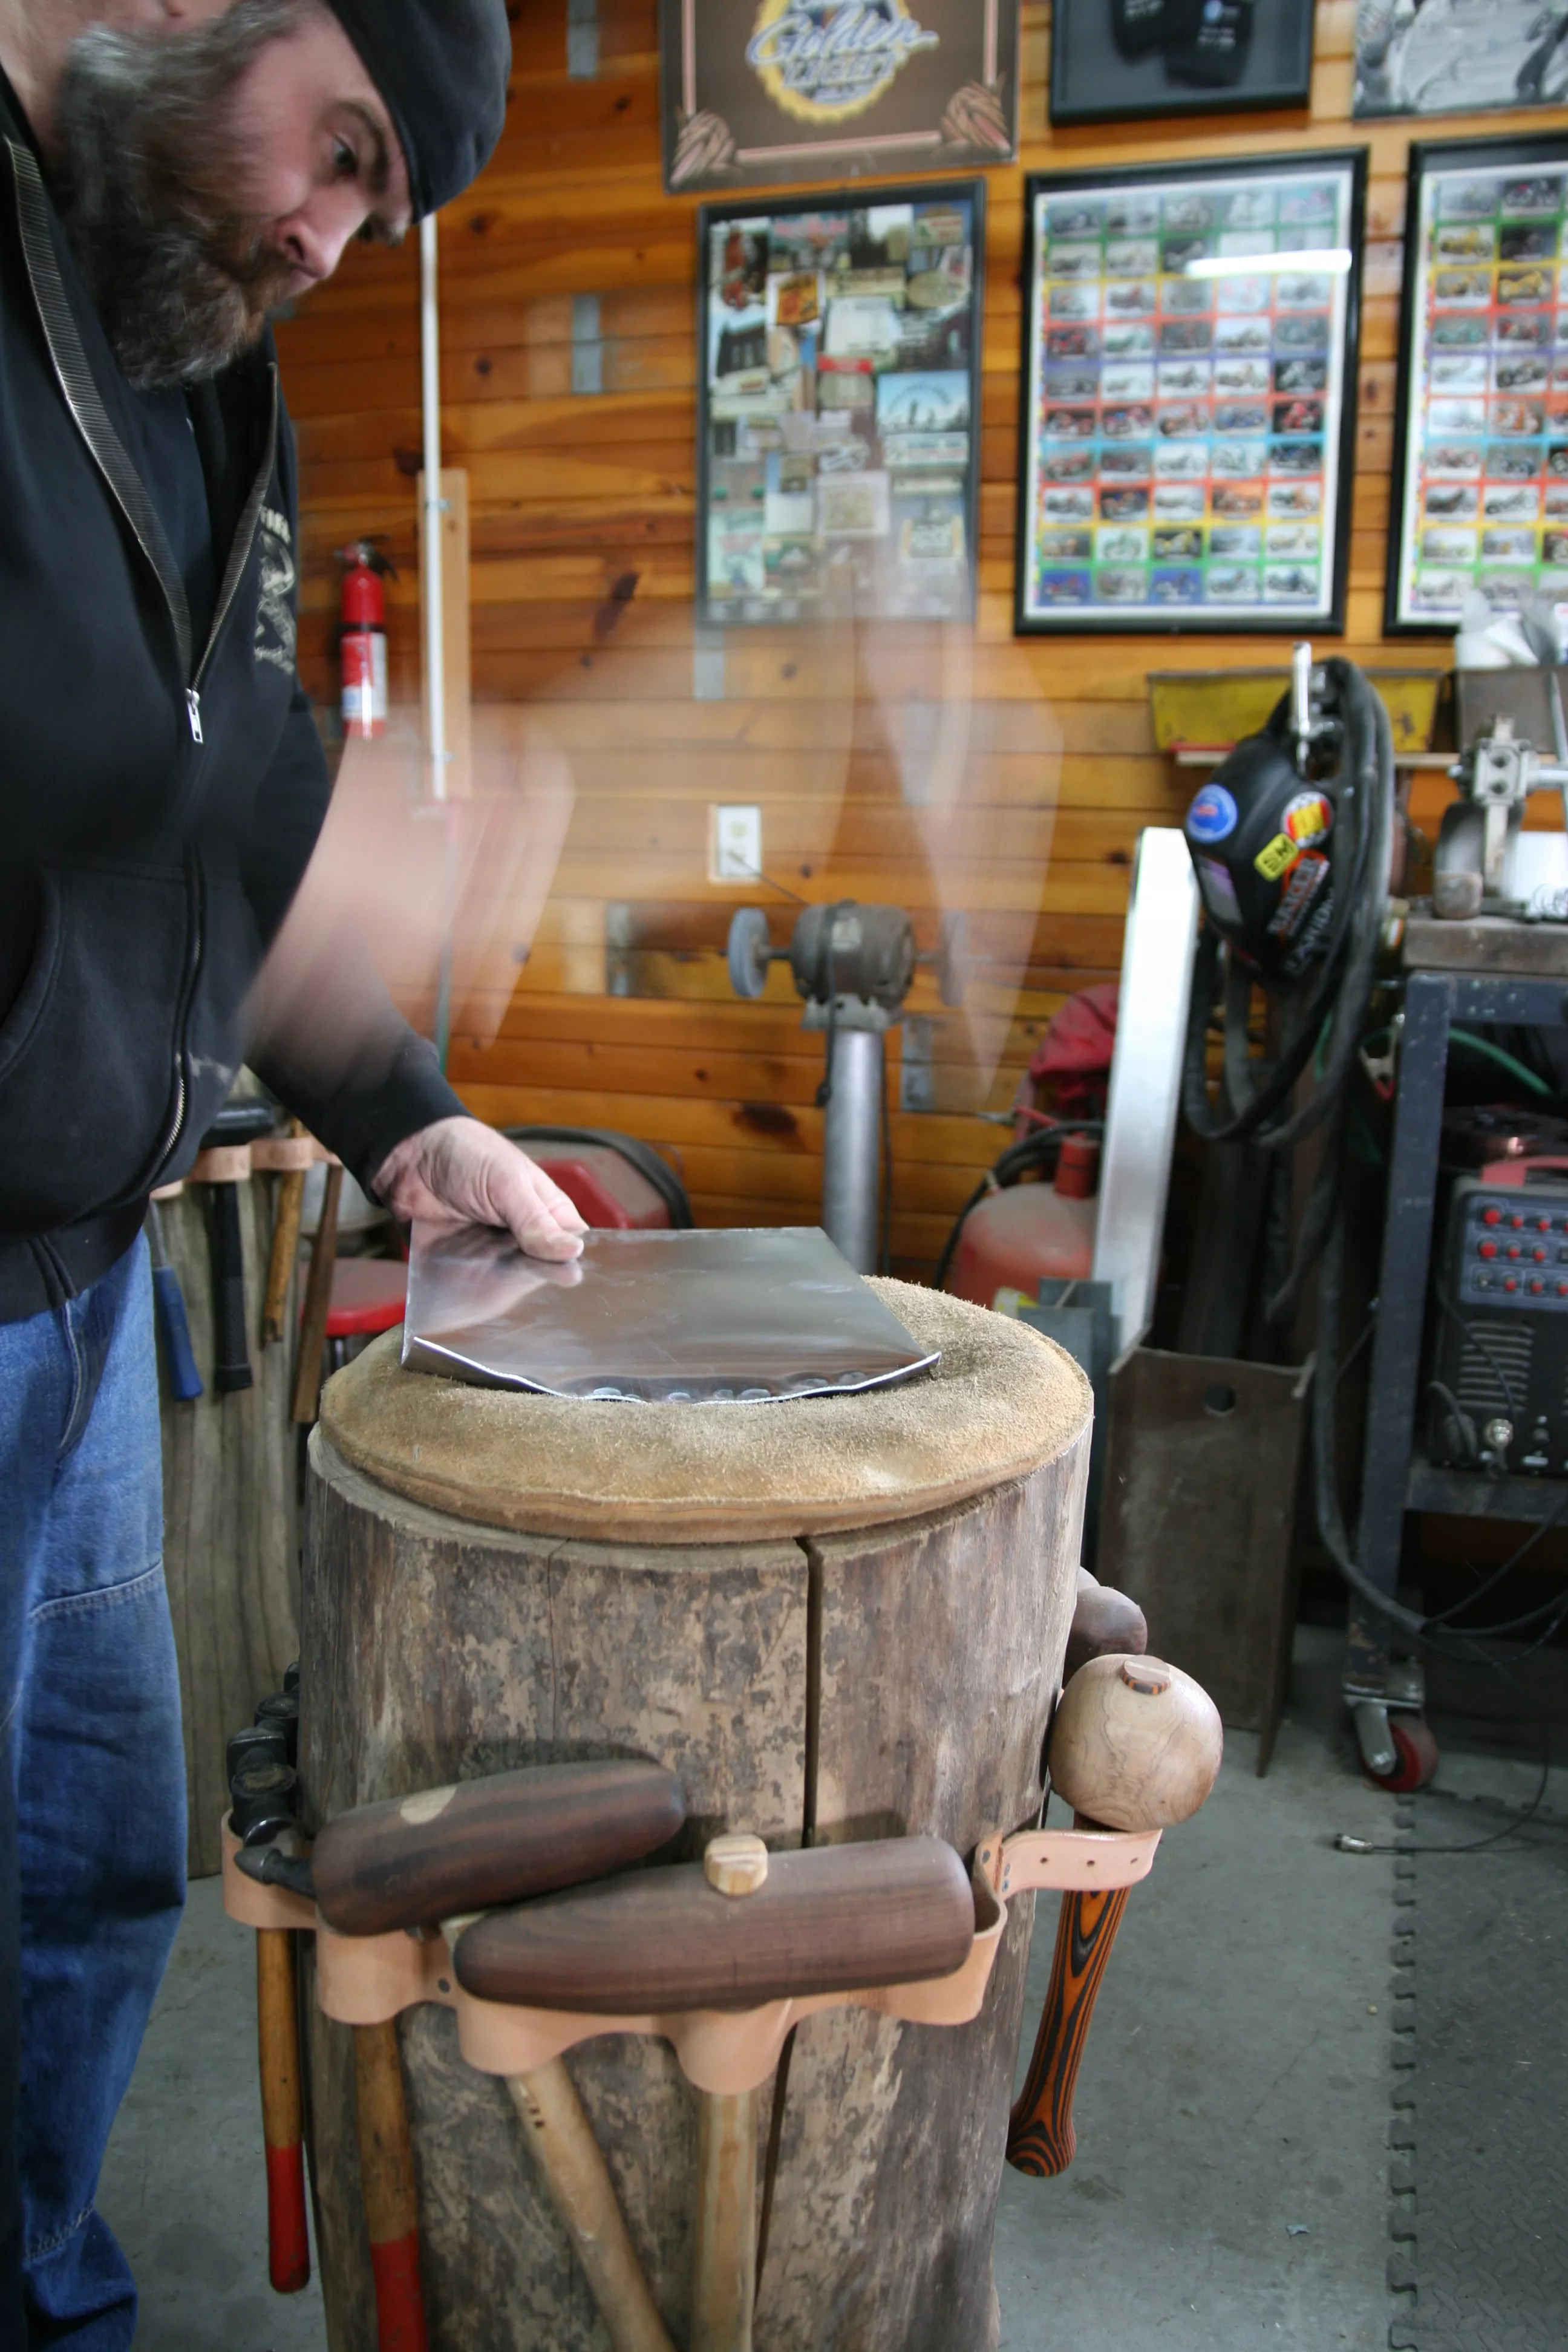
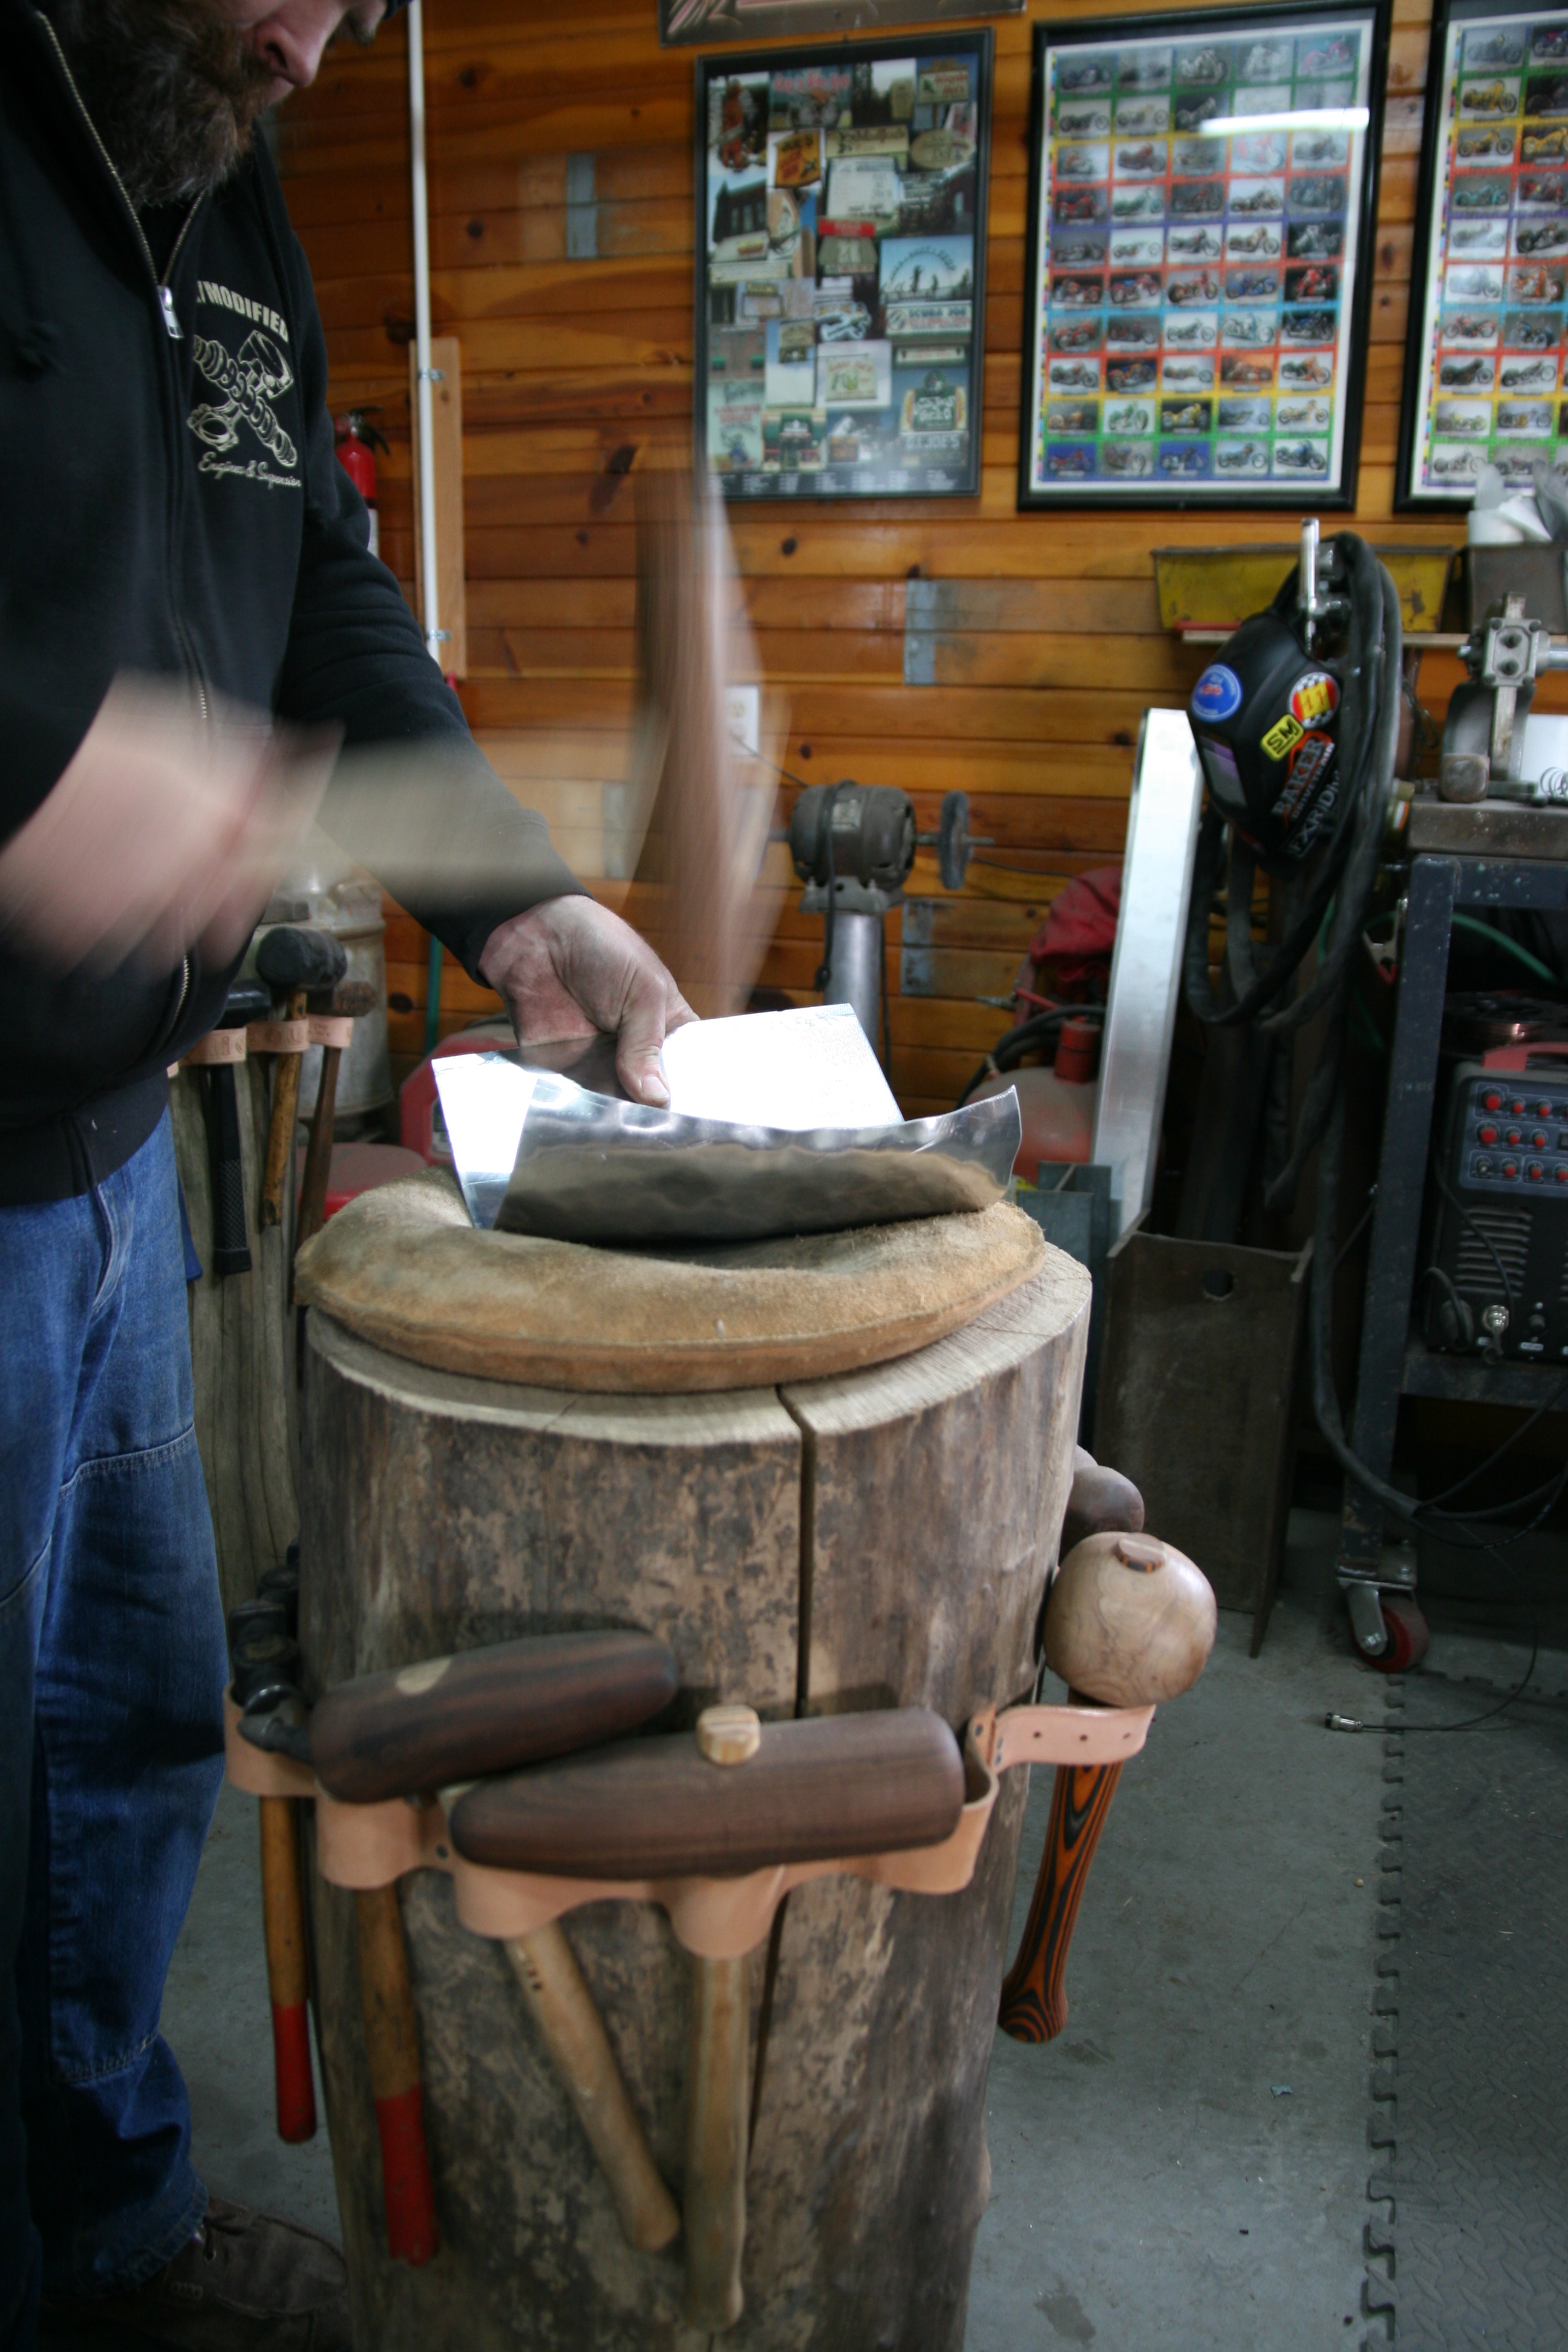
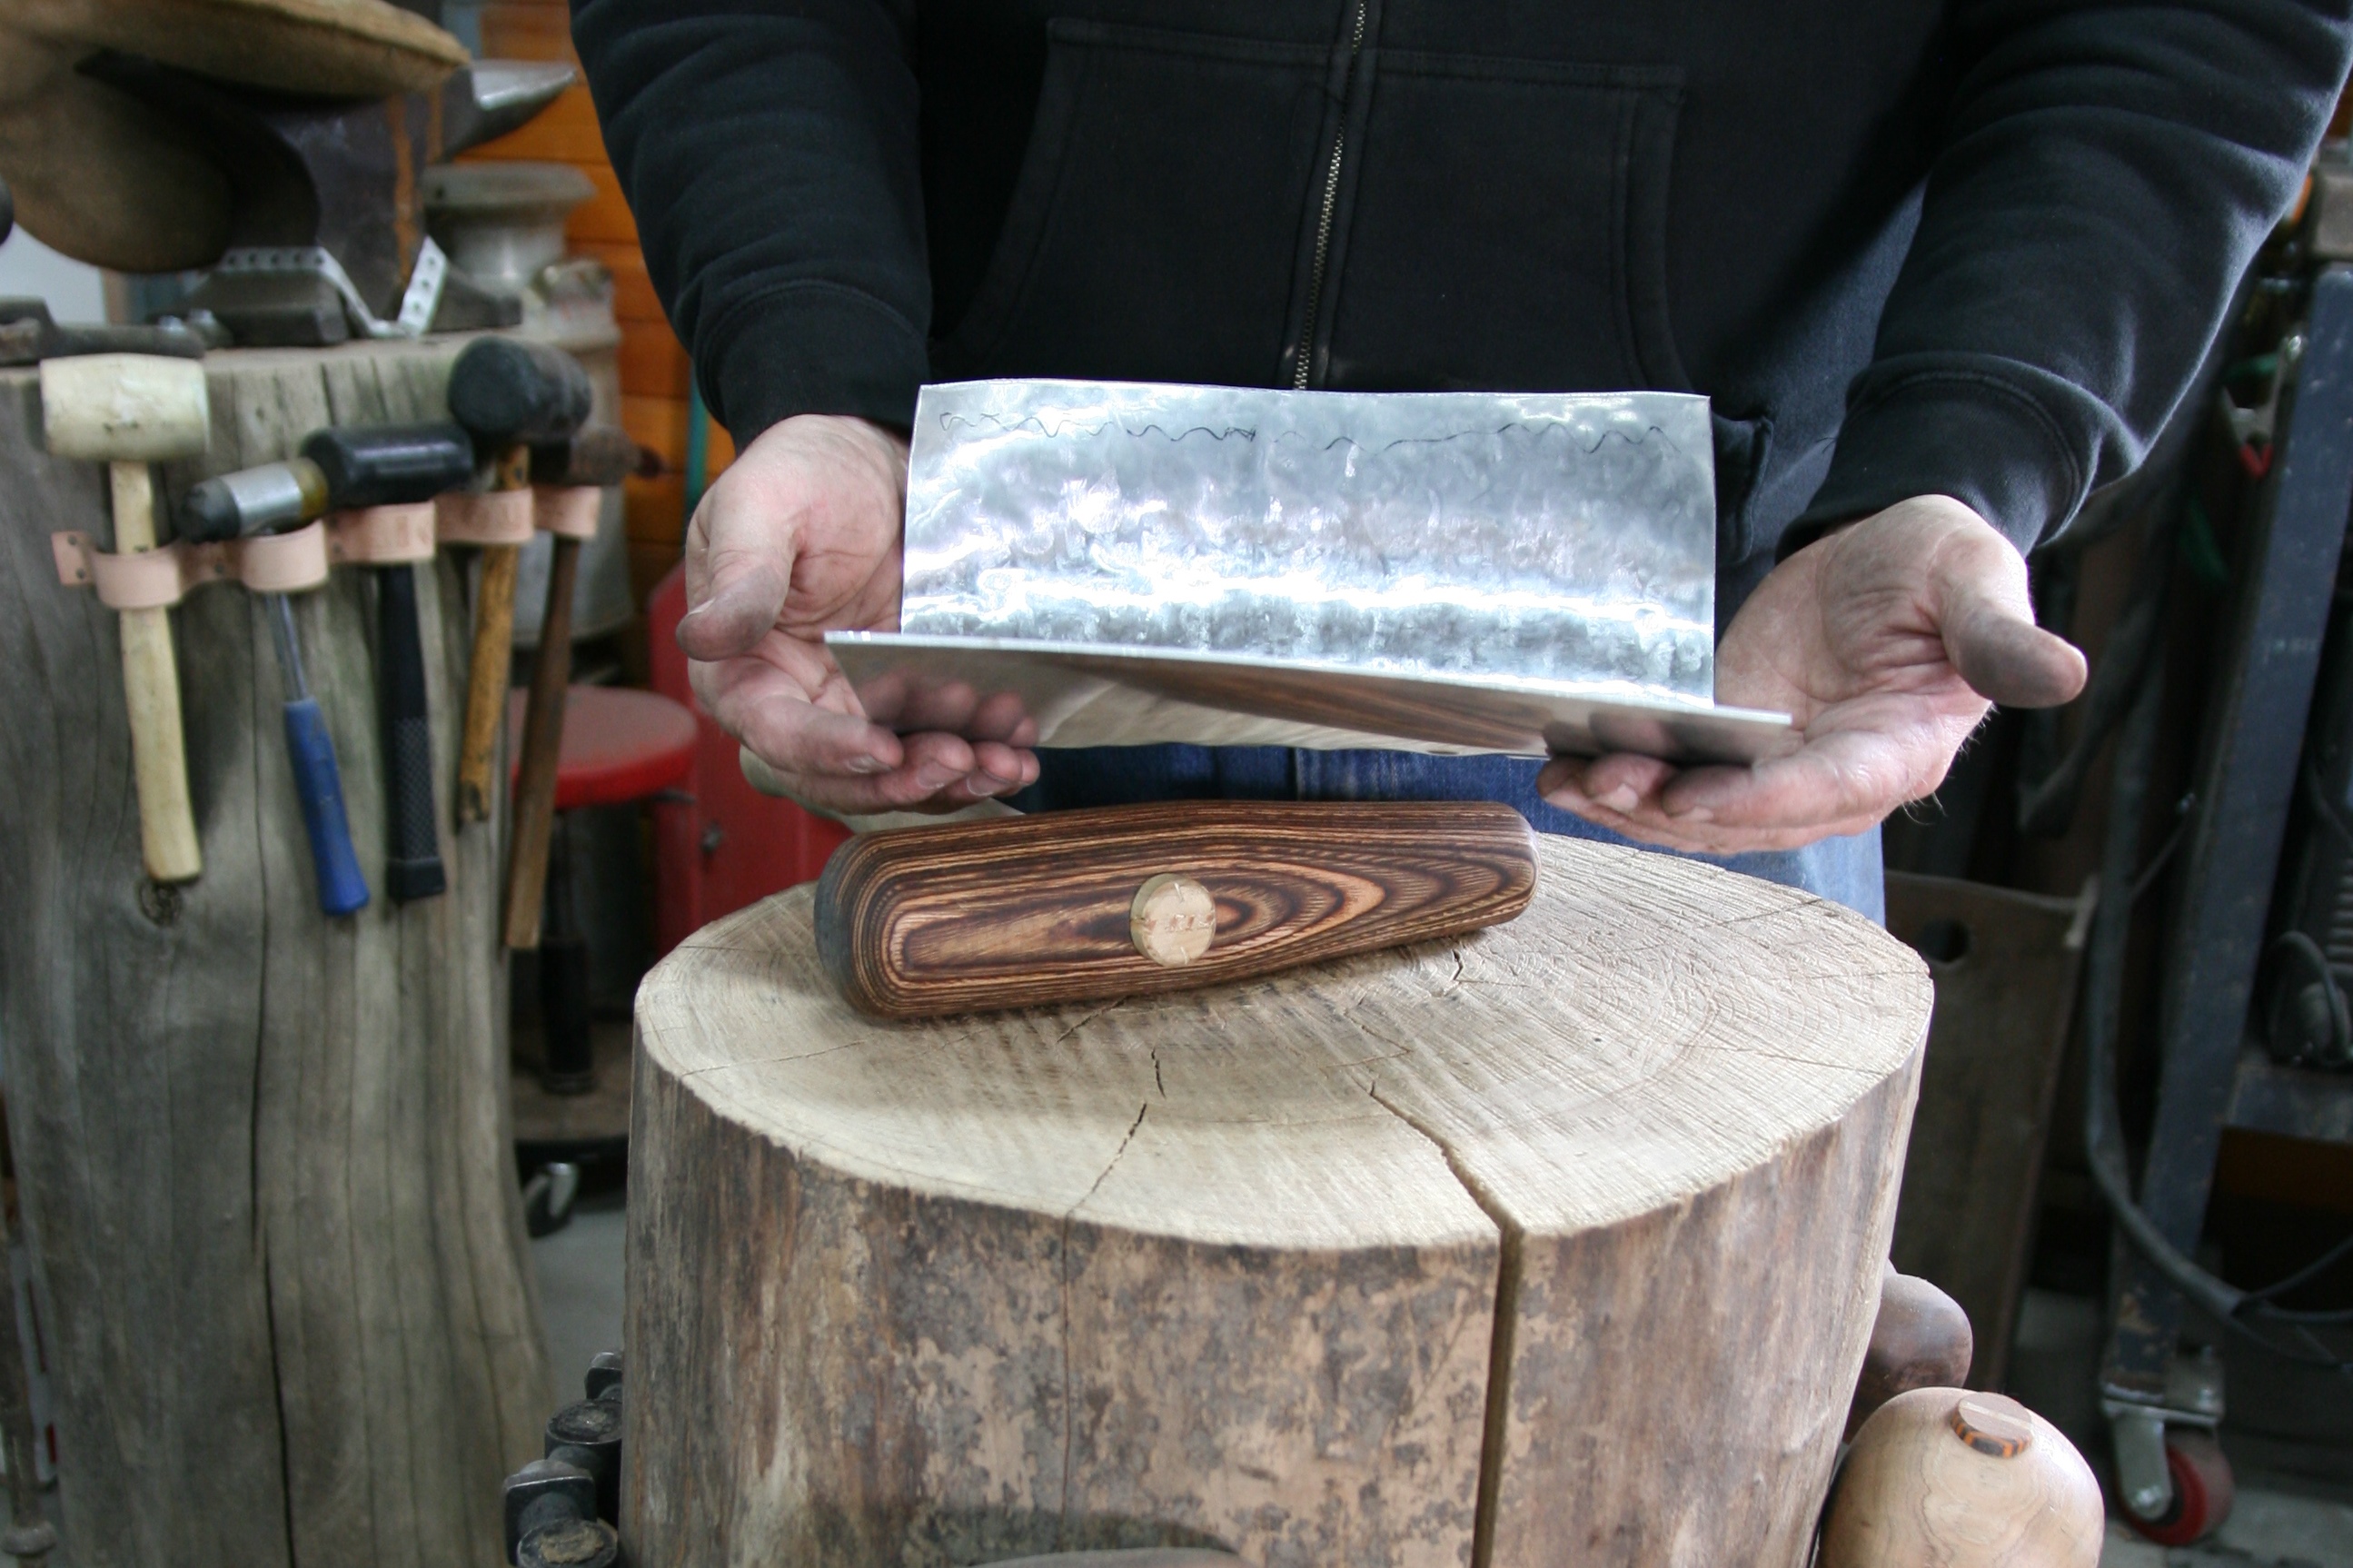
Now that we have planished out all of the tucks on the edge of the sheet and smoothed out the inner surface let’s take a straight edge and see what we have done.
Words and Photos: Big Joe
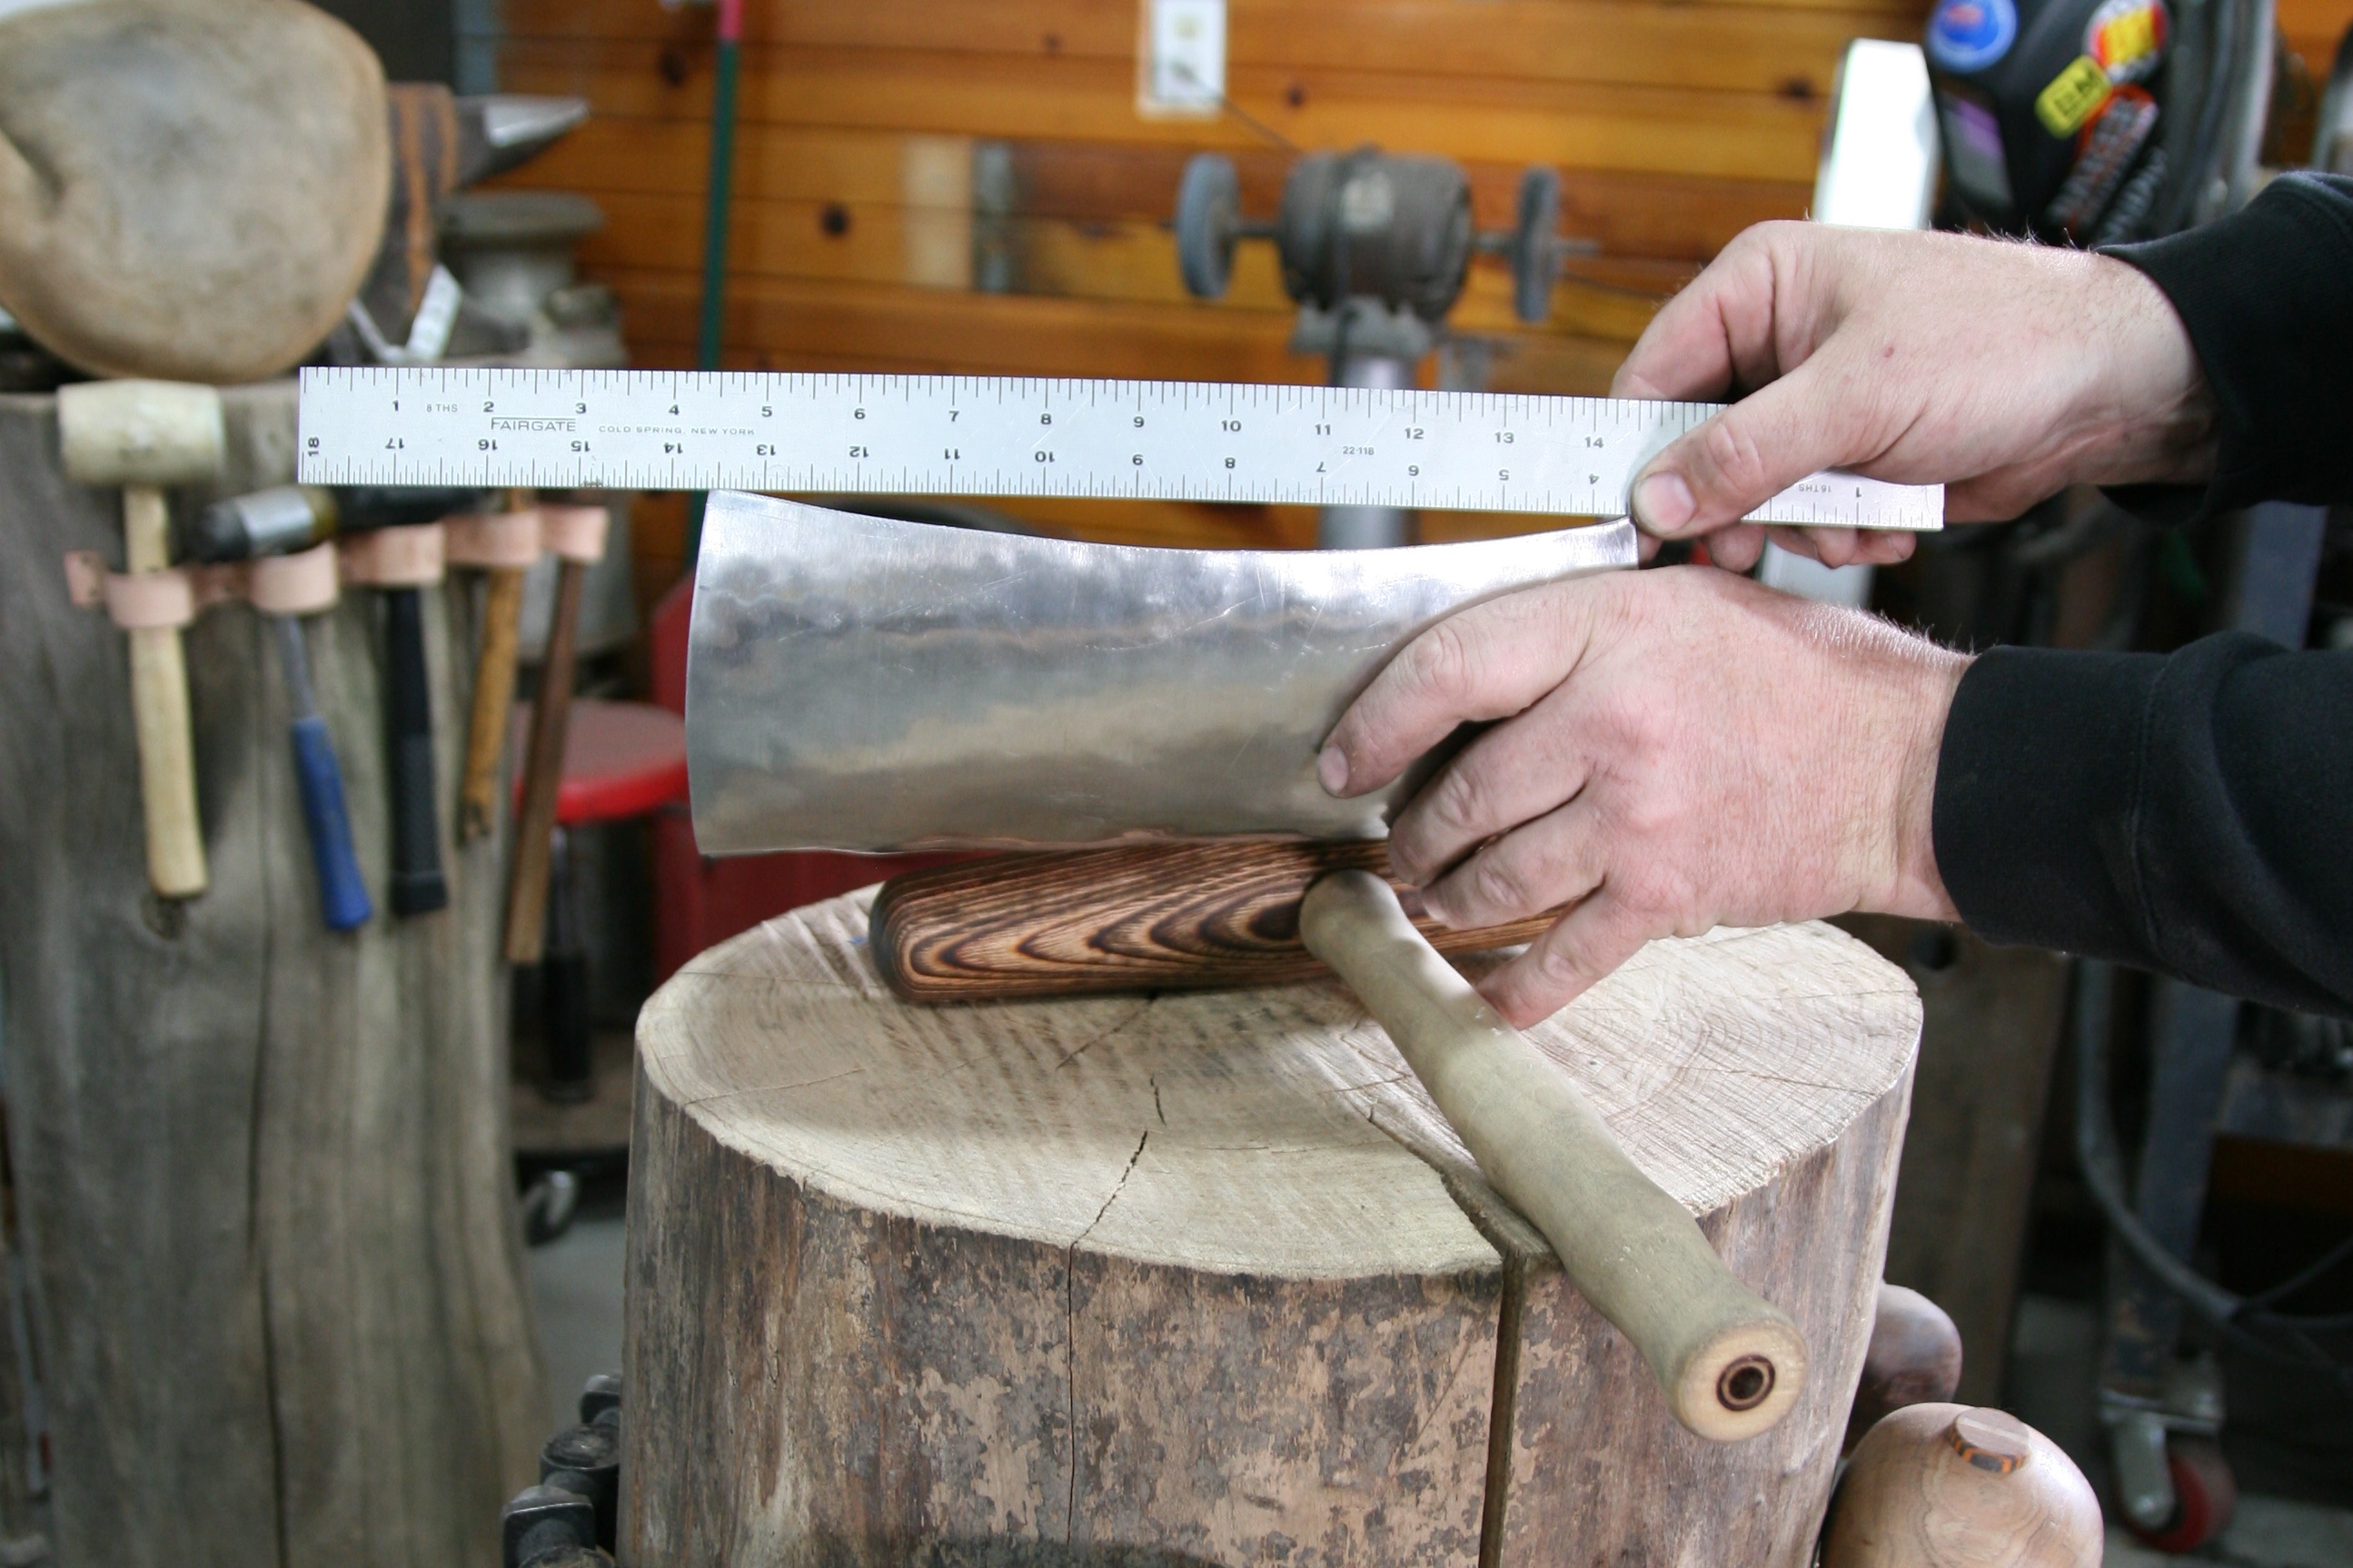
If we look from the end of the sheet we can see that the surface has been stretched quite a bit and has started to curve into shape.
Words and Photos: Big Joe
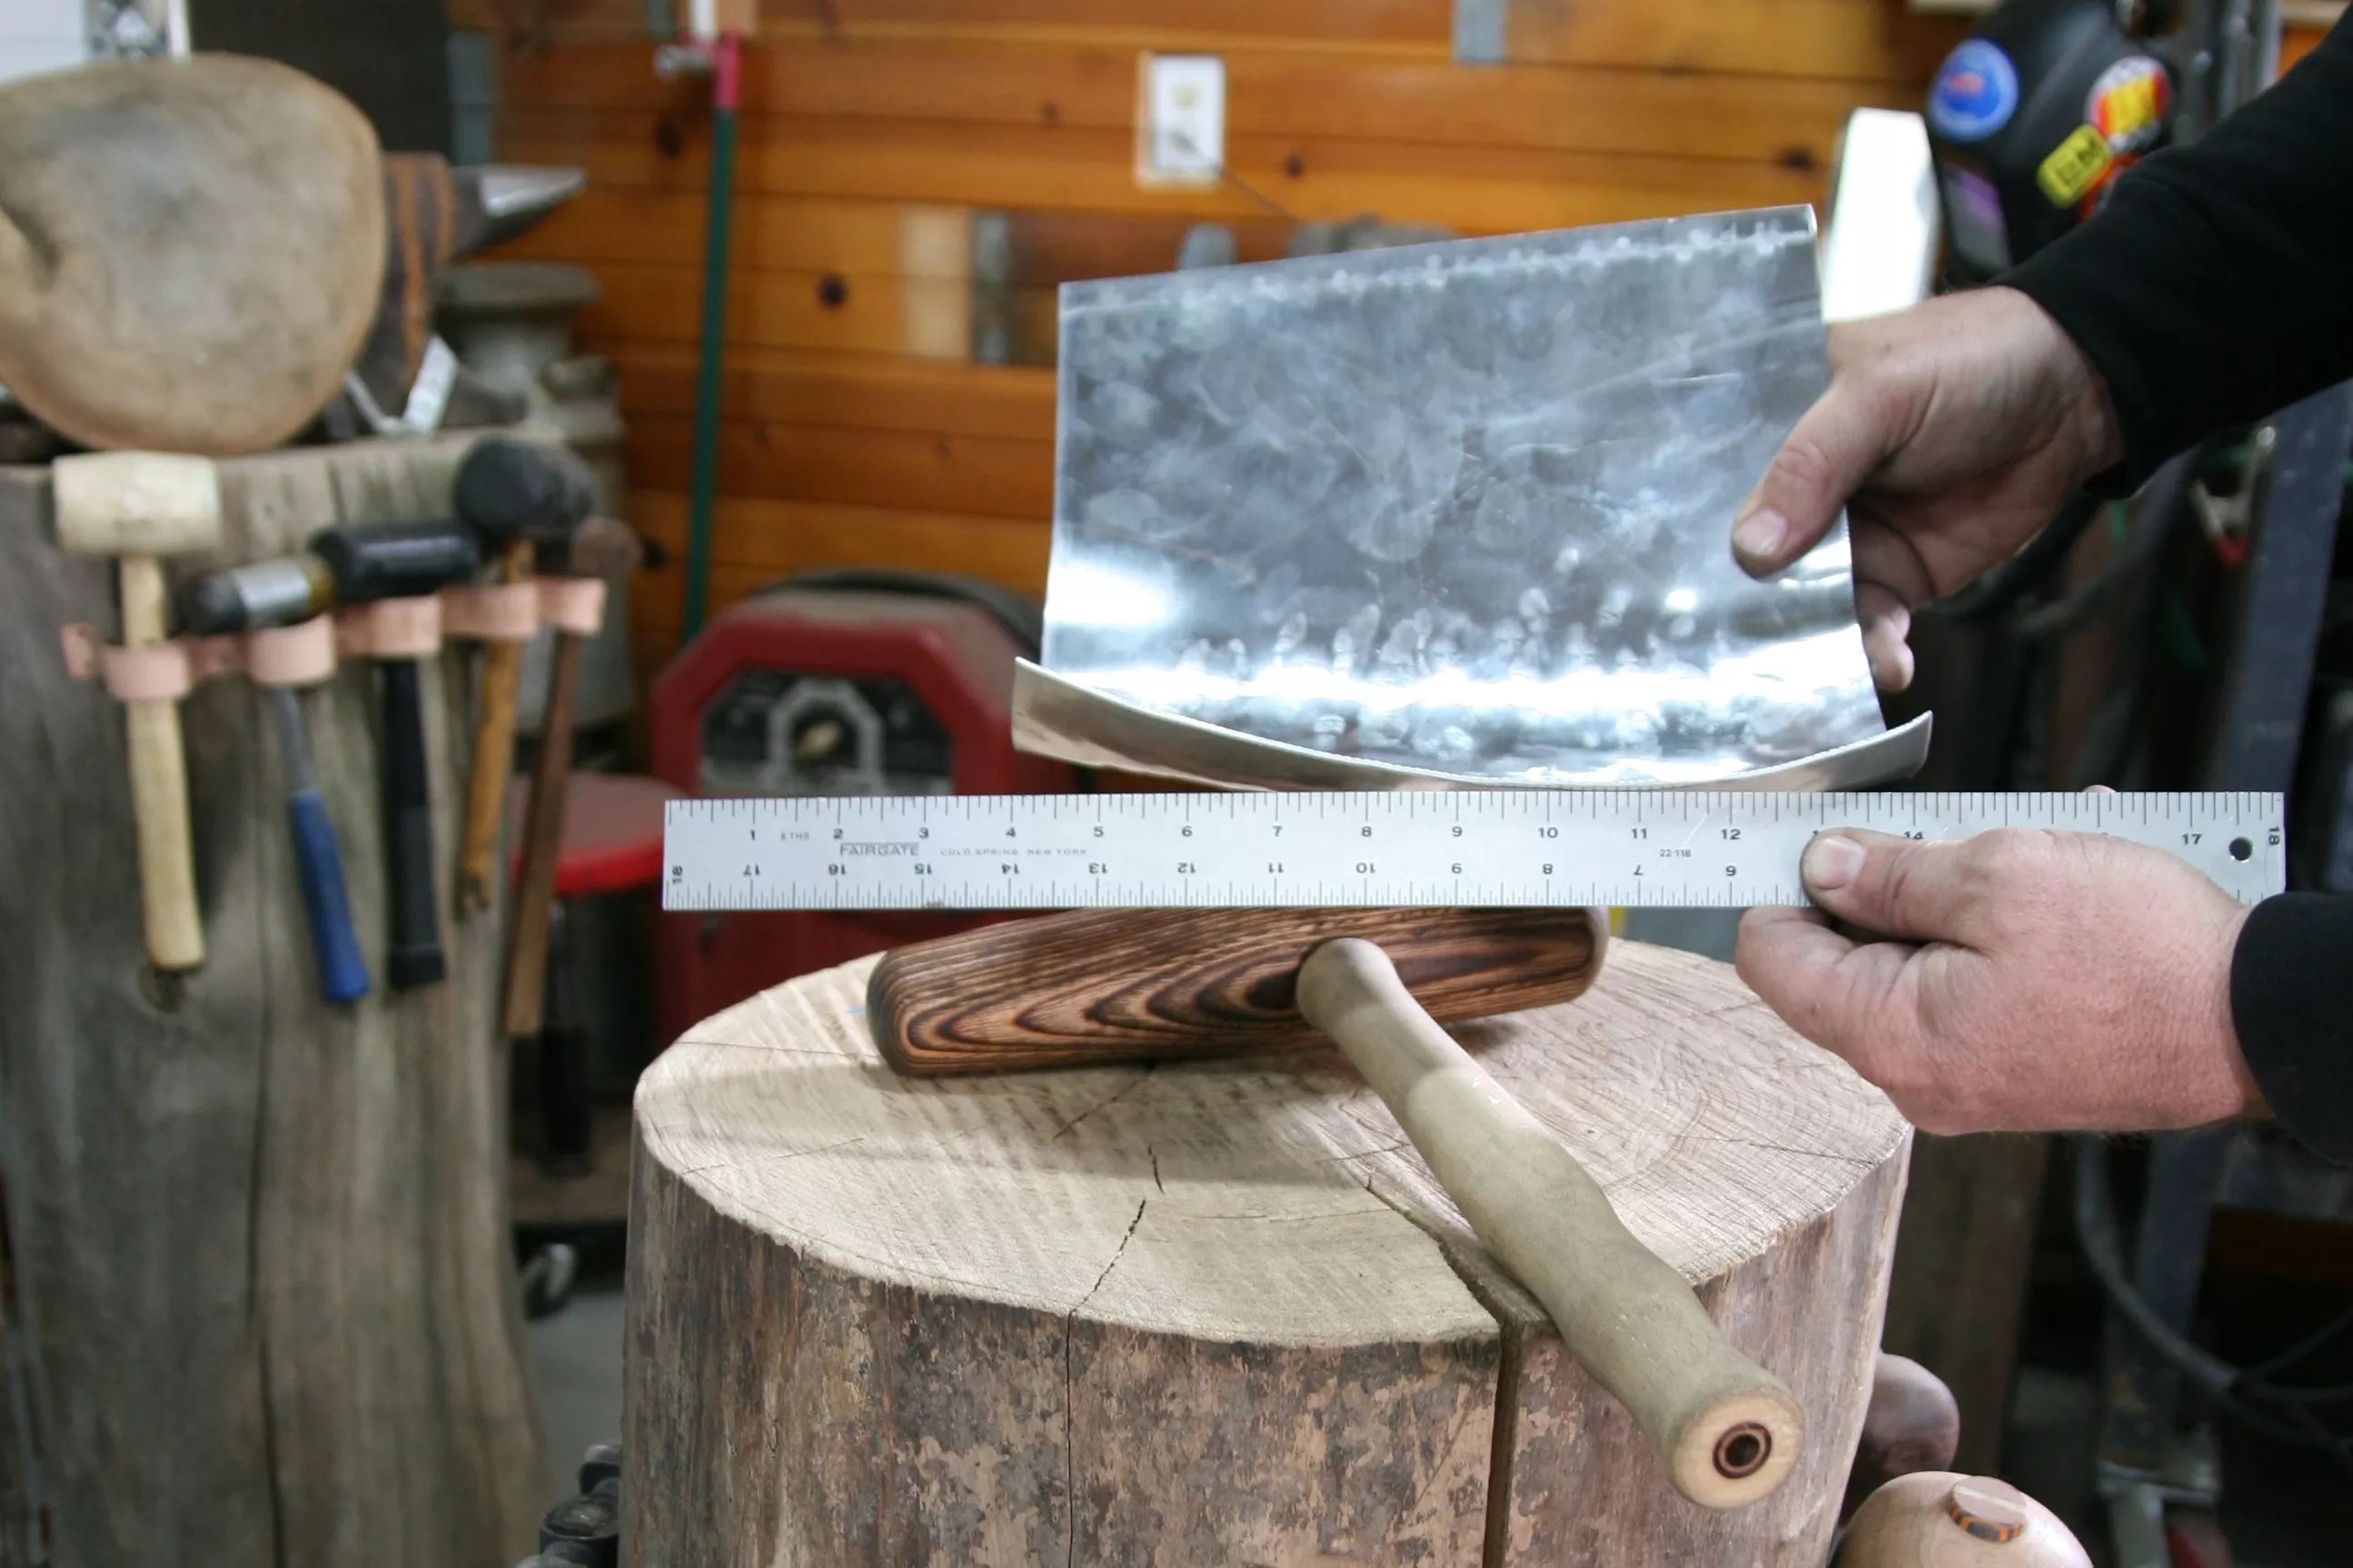
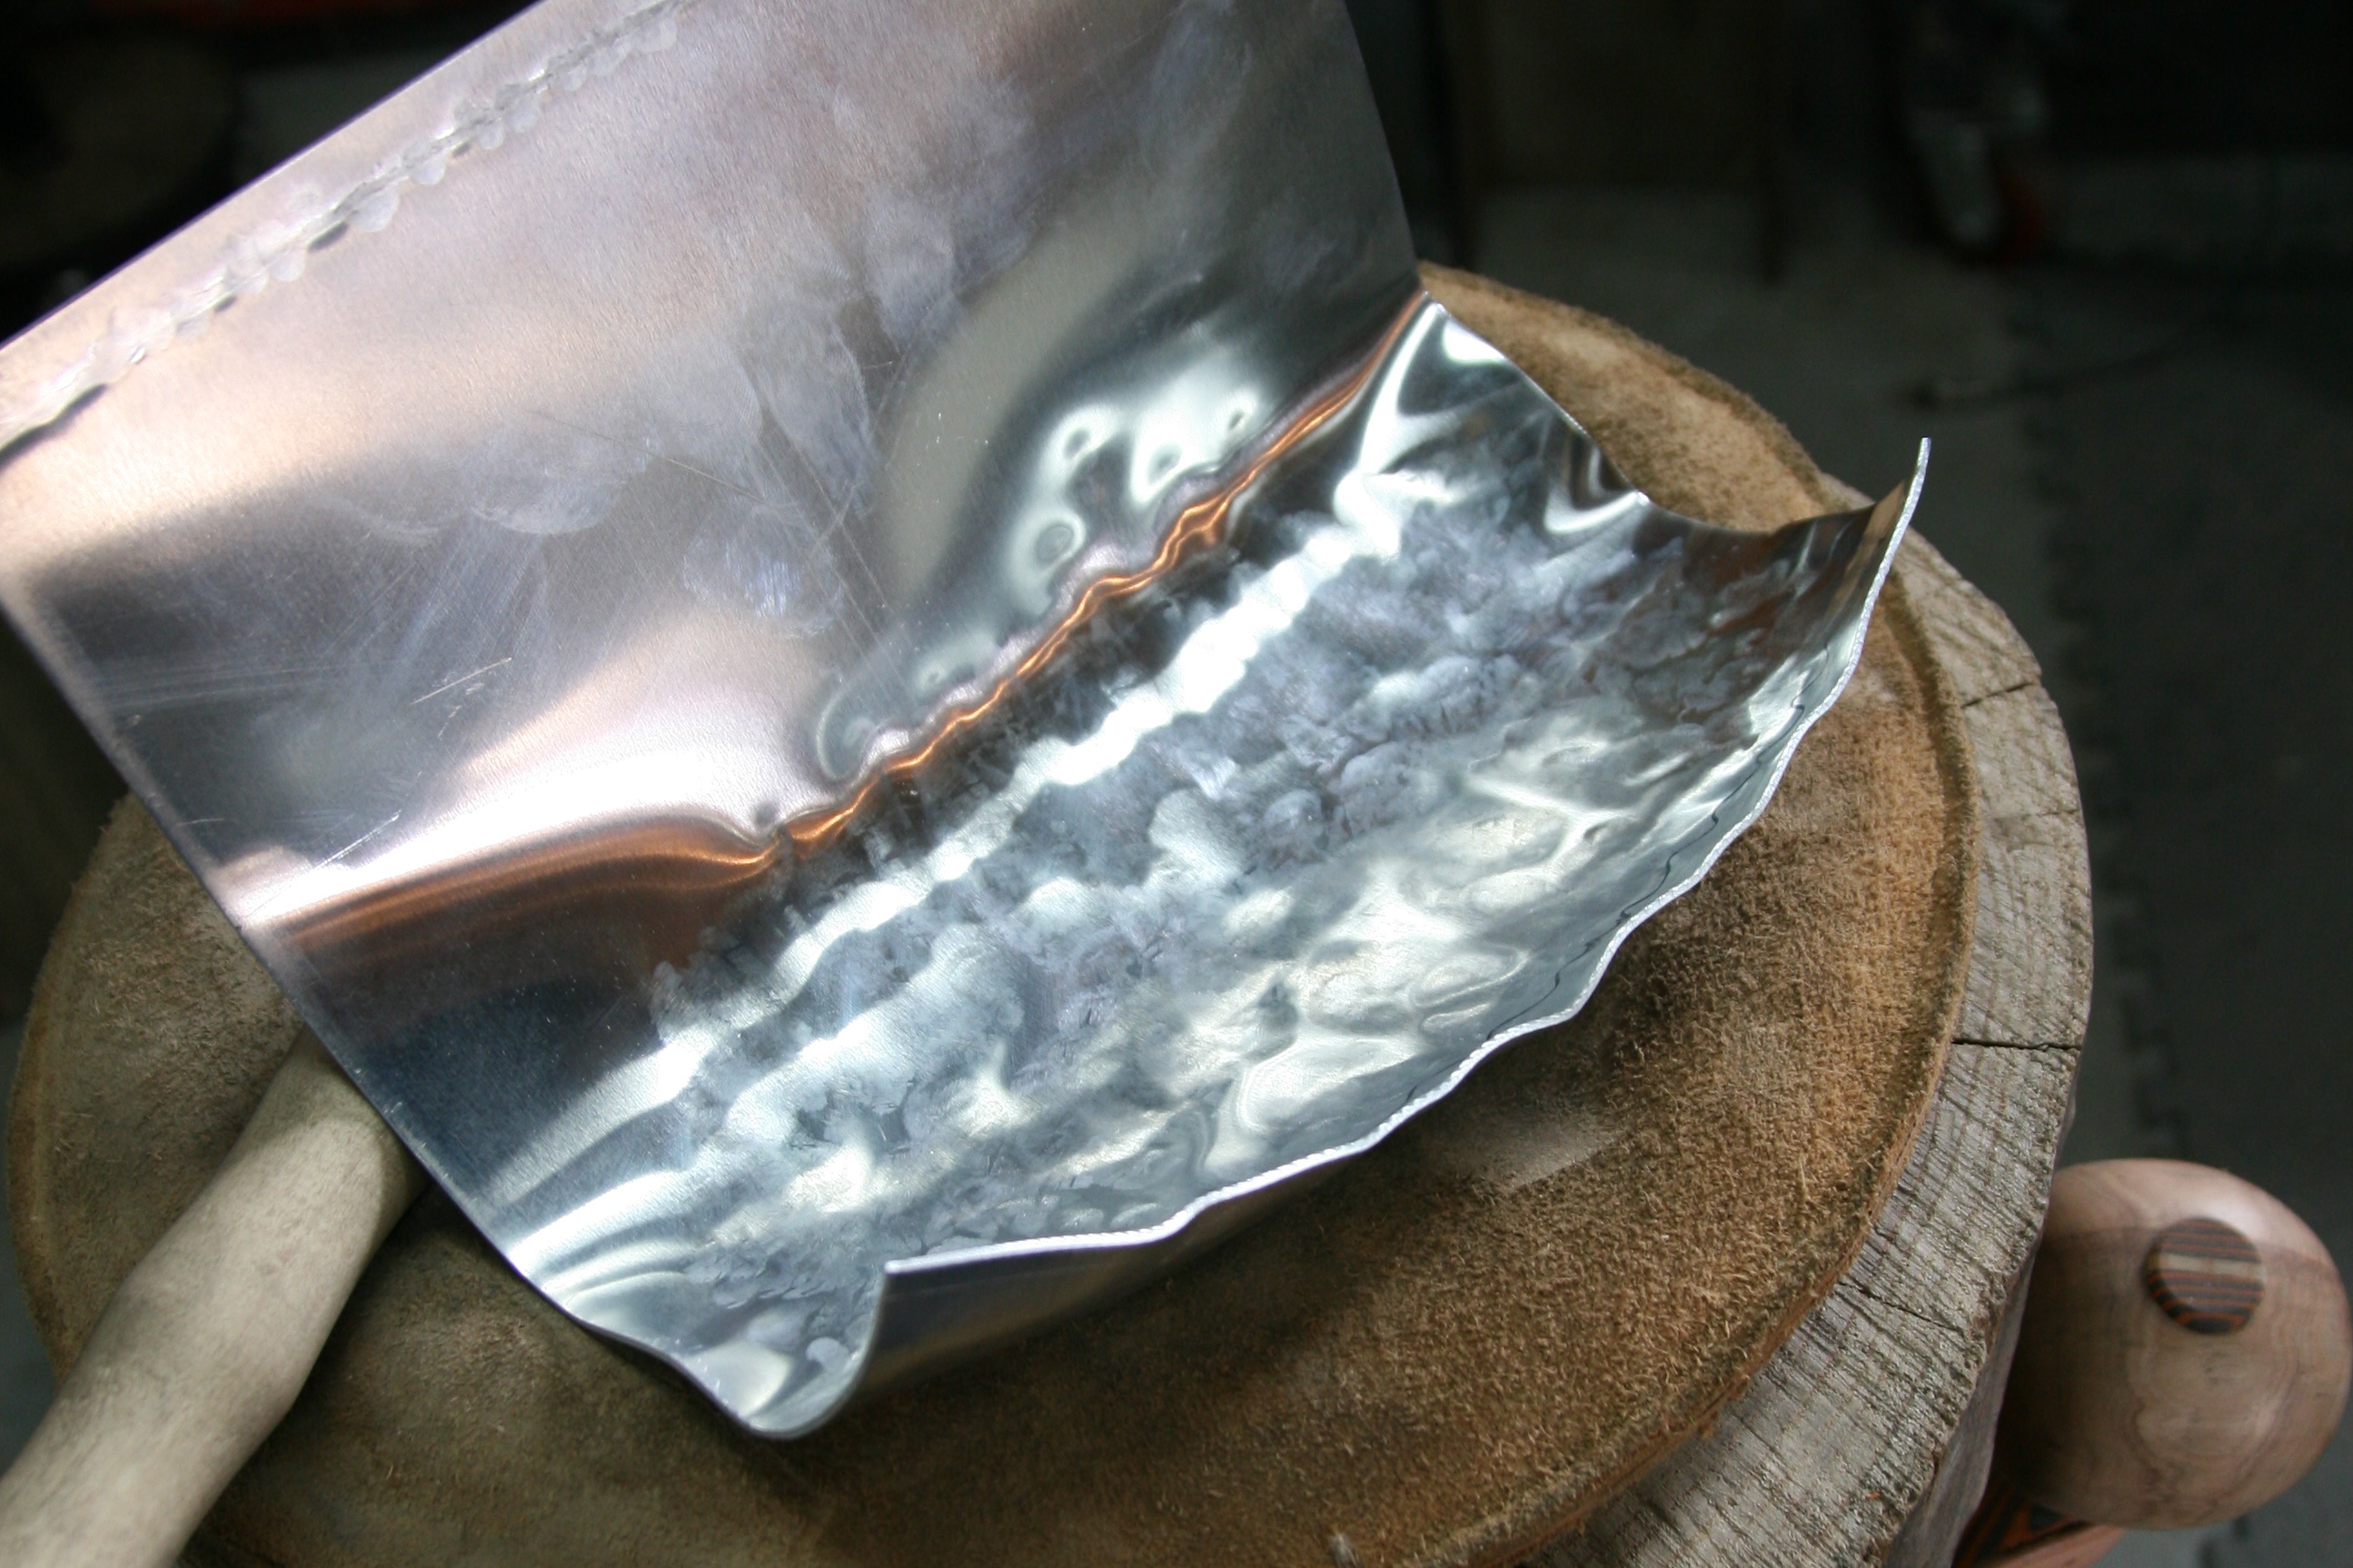
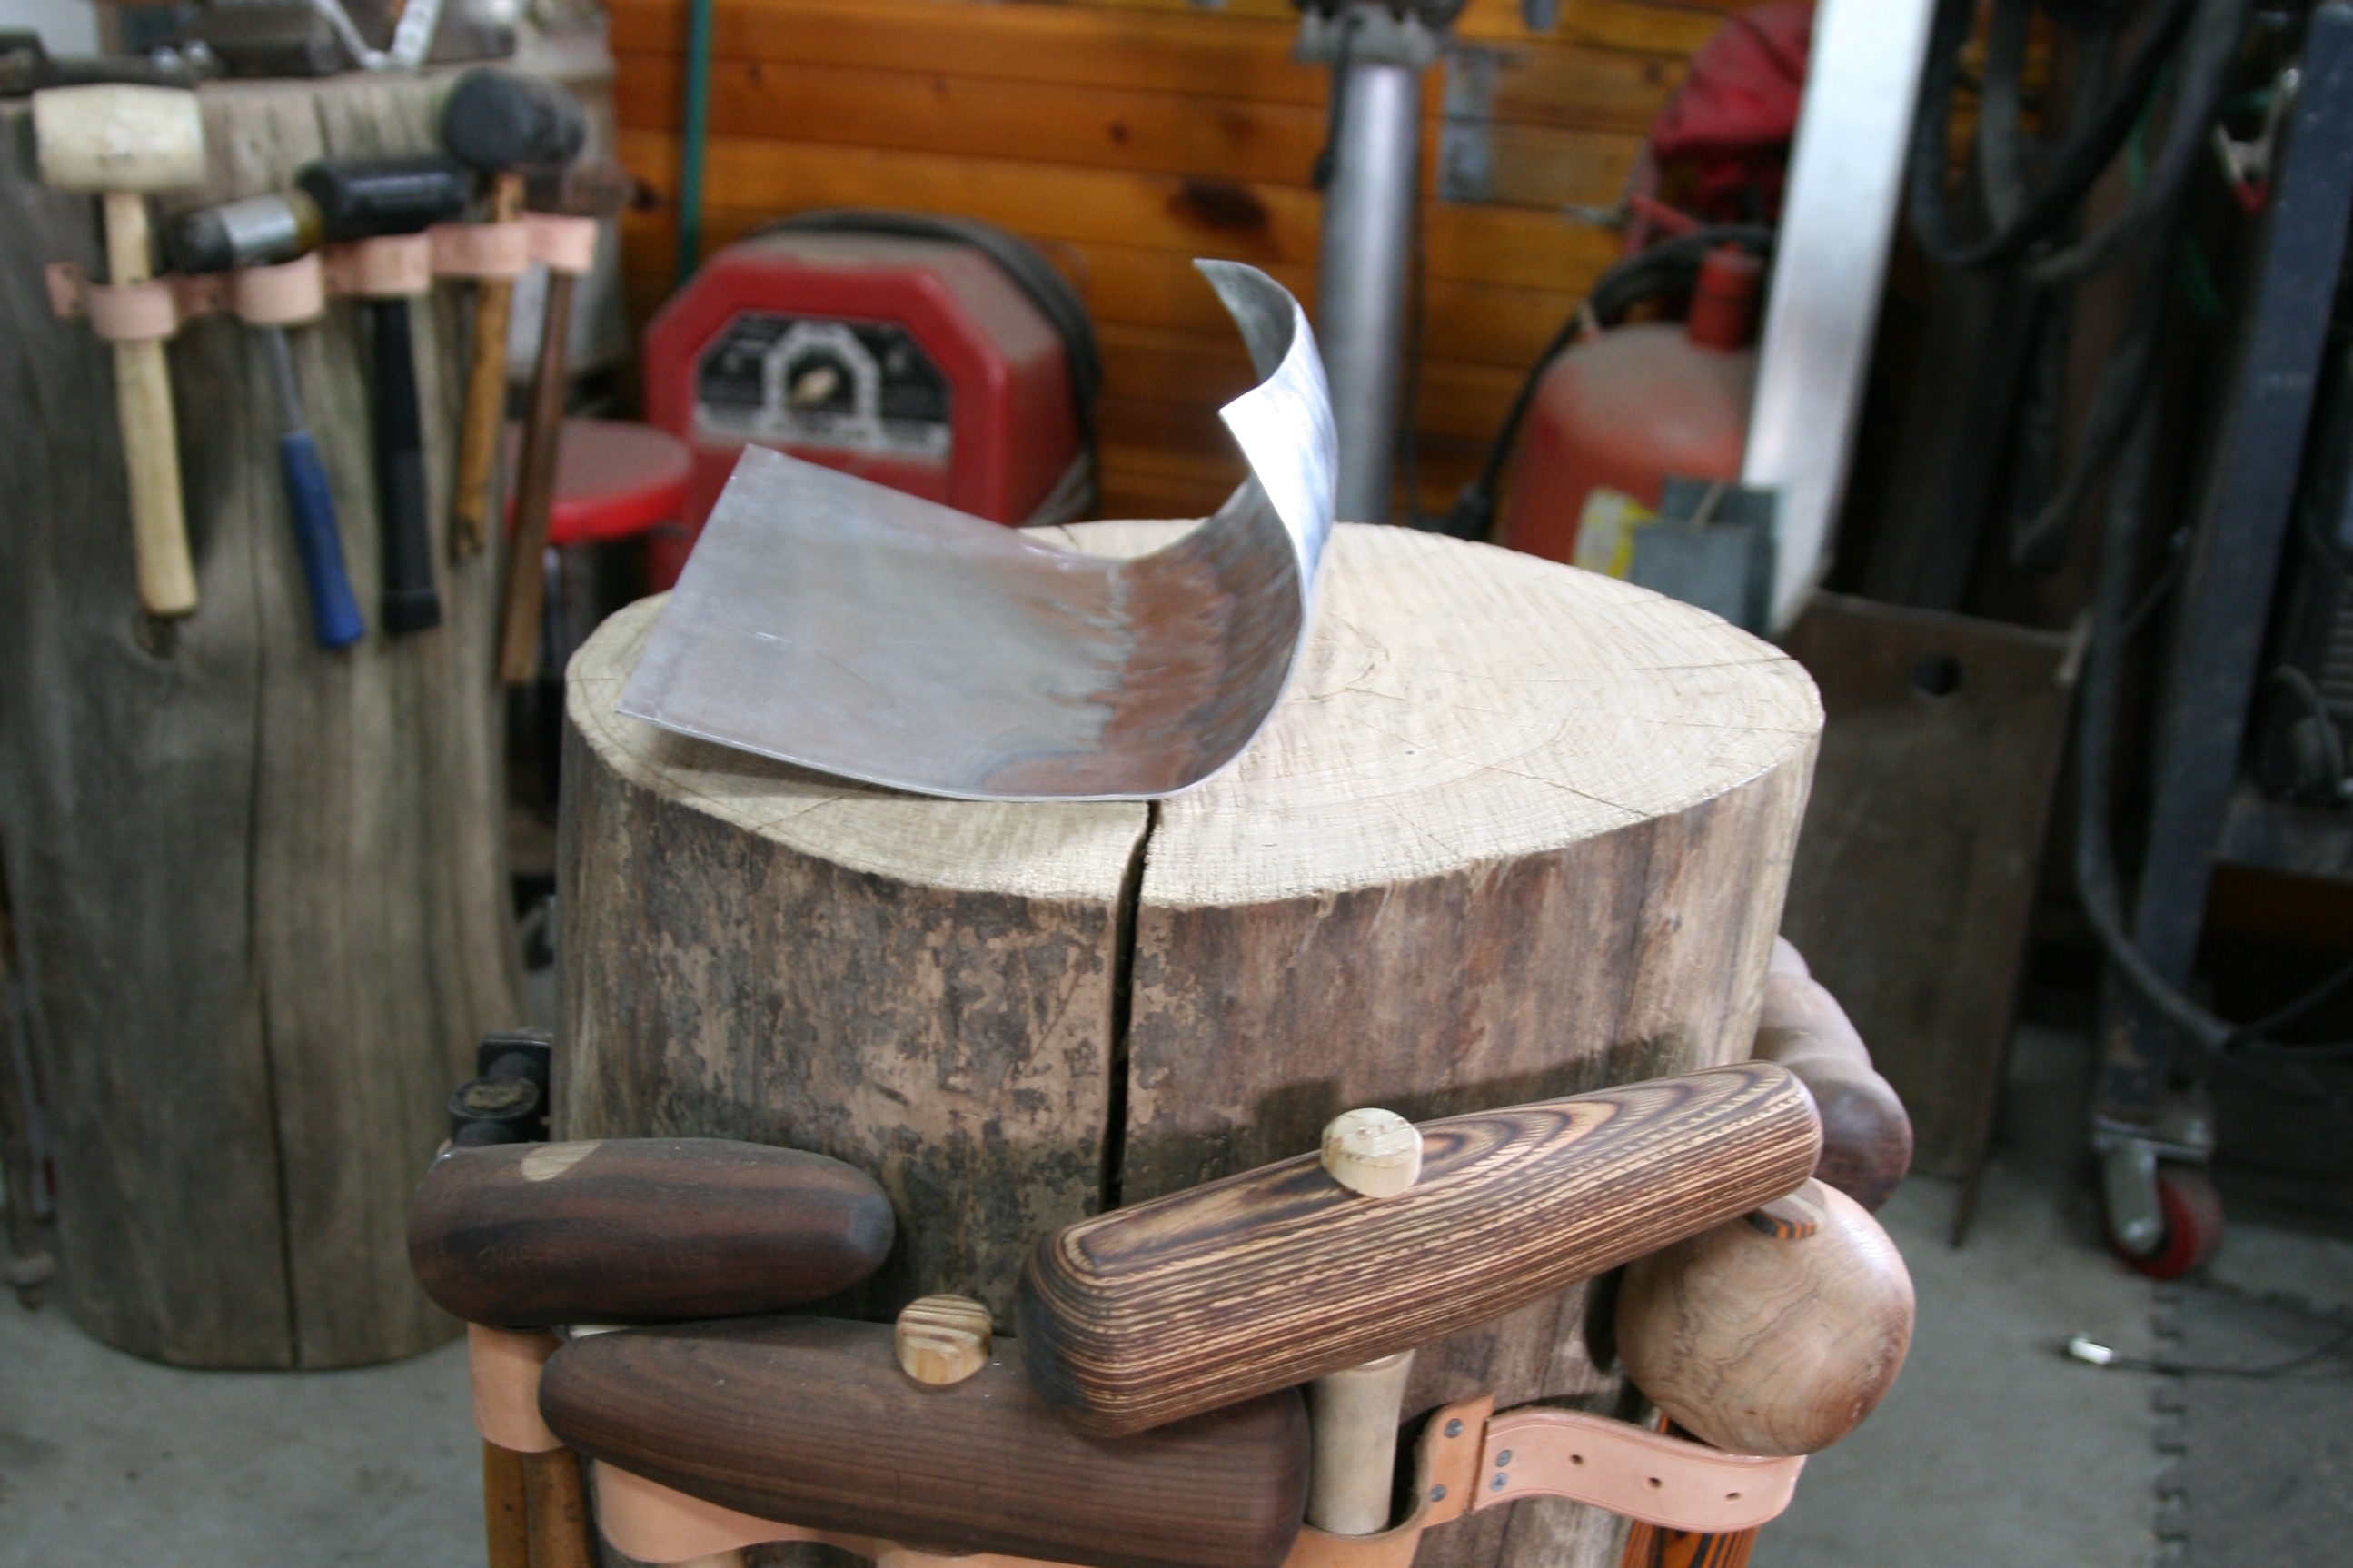
Now if we lay the straight edge across the edge of the sheet we can see that the corners of the sheet have turned up, causing the edge of the sheet to create an arc. This is because we have been shrinking the edge of the sheet. When we created the tucks on the edge of the sheet and hammered them flat we caused the sheet material to gather together and shrink. I hope this is exciting to you as the reader. There are a lot of mechanical tools out there designed specifically for shrinking sheet metal. They all work well and they all have their place in metal shaping. But just know that with basic metal-shaping tools you can shrink sheet metal!
Words and Photos: Big Joe

To get more shape from the metal…
Words and Photos: Big Joe
…and shrink the edge of the sheet even more…
Words and Photos: Big Joe
…I repeat the process.
Words and Photos: Big Joe
RELATED | MORE TECH
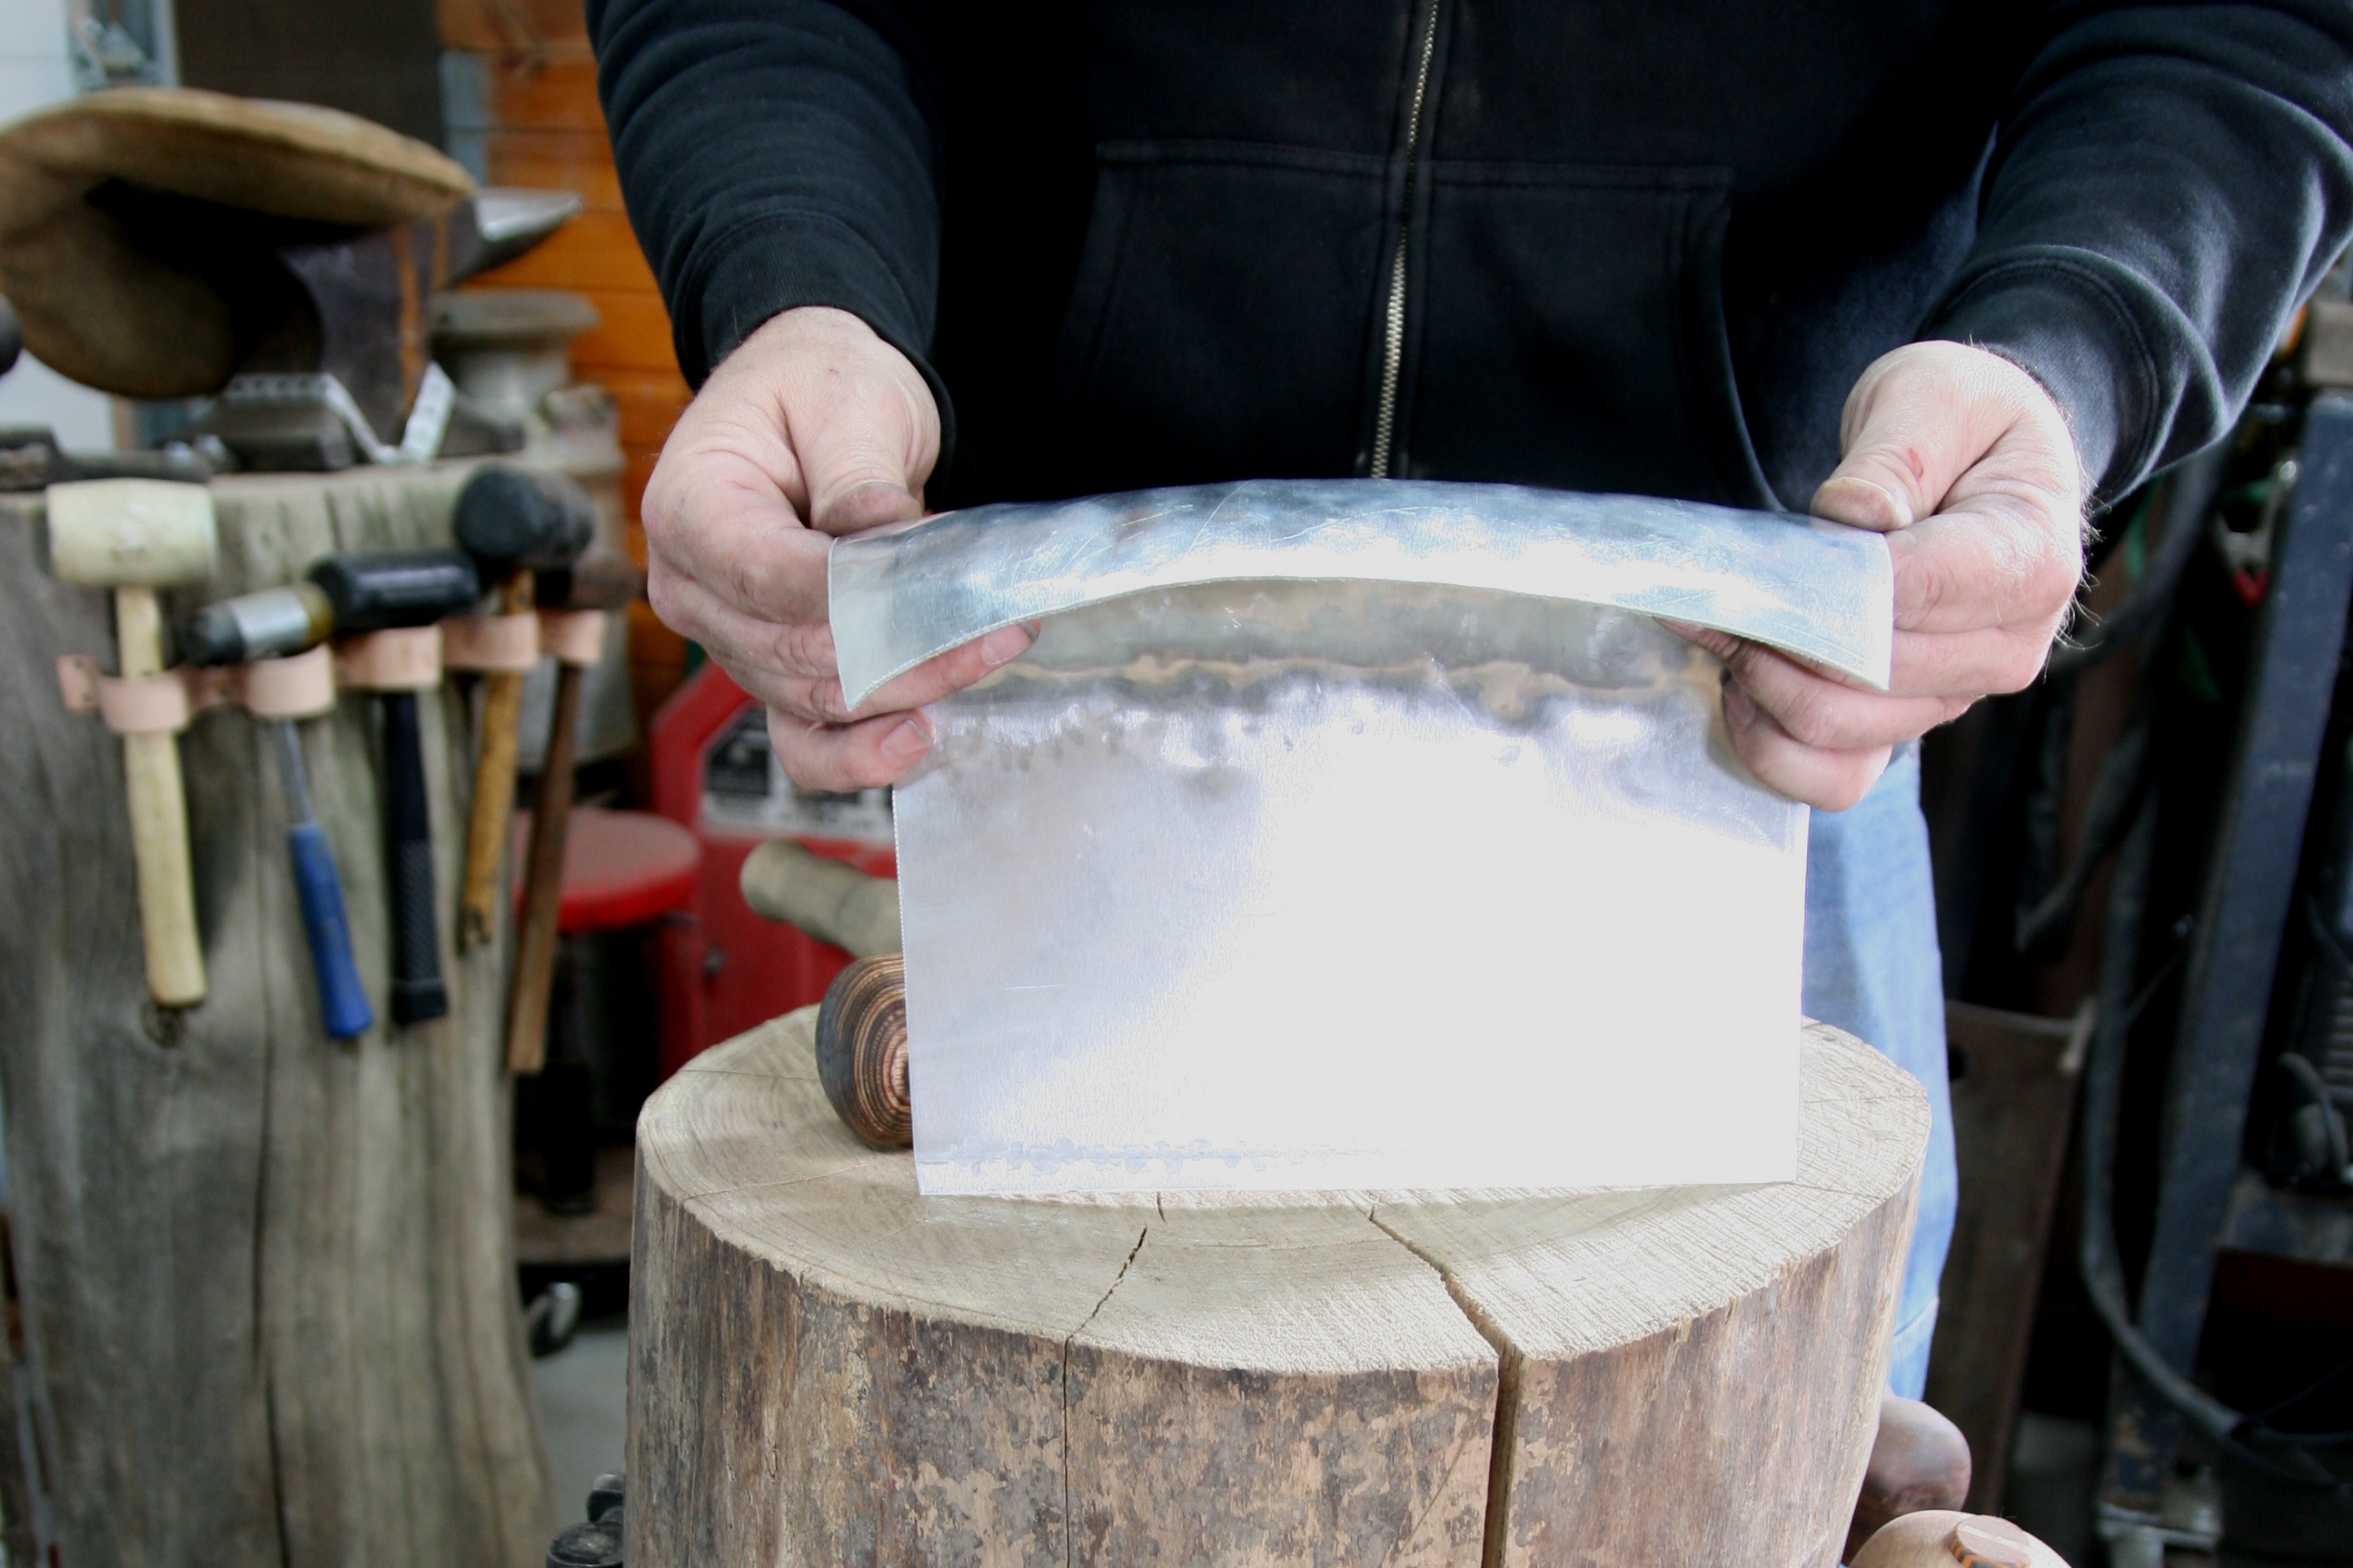
After stretching, tucking, planishing, and shrinking a second time we can see that there is more shape coming to our piece. We would repeat the process as many times as necessary to get the desired effect.
Words and Photos: Big Joe
If you remember I told you that I only hammered half of the sheet for a reason. However, now you can see that through the shrinking and planishing I have done I have relieved all of the stress I created and the un-hammered section of the sheet has almost completely flattened out again.
Words and Photos: Big Joe
I have about 10 minutes of mallet work into this piece, and it already shows drastic change in the shape of the material. The surface is still rough and will require some metal finishing. We will address that in next month’s column using simple hammer and dolly work.
Words and Photos: Big Joe
I hope this story has encouraged you to try metal shaping. You don’t have to have a large investment of tools to do the basics. You can basically do two things to sheet metal when shaping it. You can stretch it and shrink it. We’ve done that with a wooden mallet, a leather sand bag, and a wooden stump. The only thing in this equation I purchased was the aluminum and some other materials to make the wooden mallet. I hand stitched the leather bag, and Mother Nature gave me the sand to fill it, and she also provided me with the stump. So go out there, give it a try, and make some dents! If you have any questions or suggestions for future installments of the column you can reach me at [email protected].


