
Tanks A Lot | Sheetmetal Welding Tips and Tricks
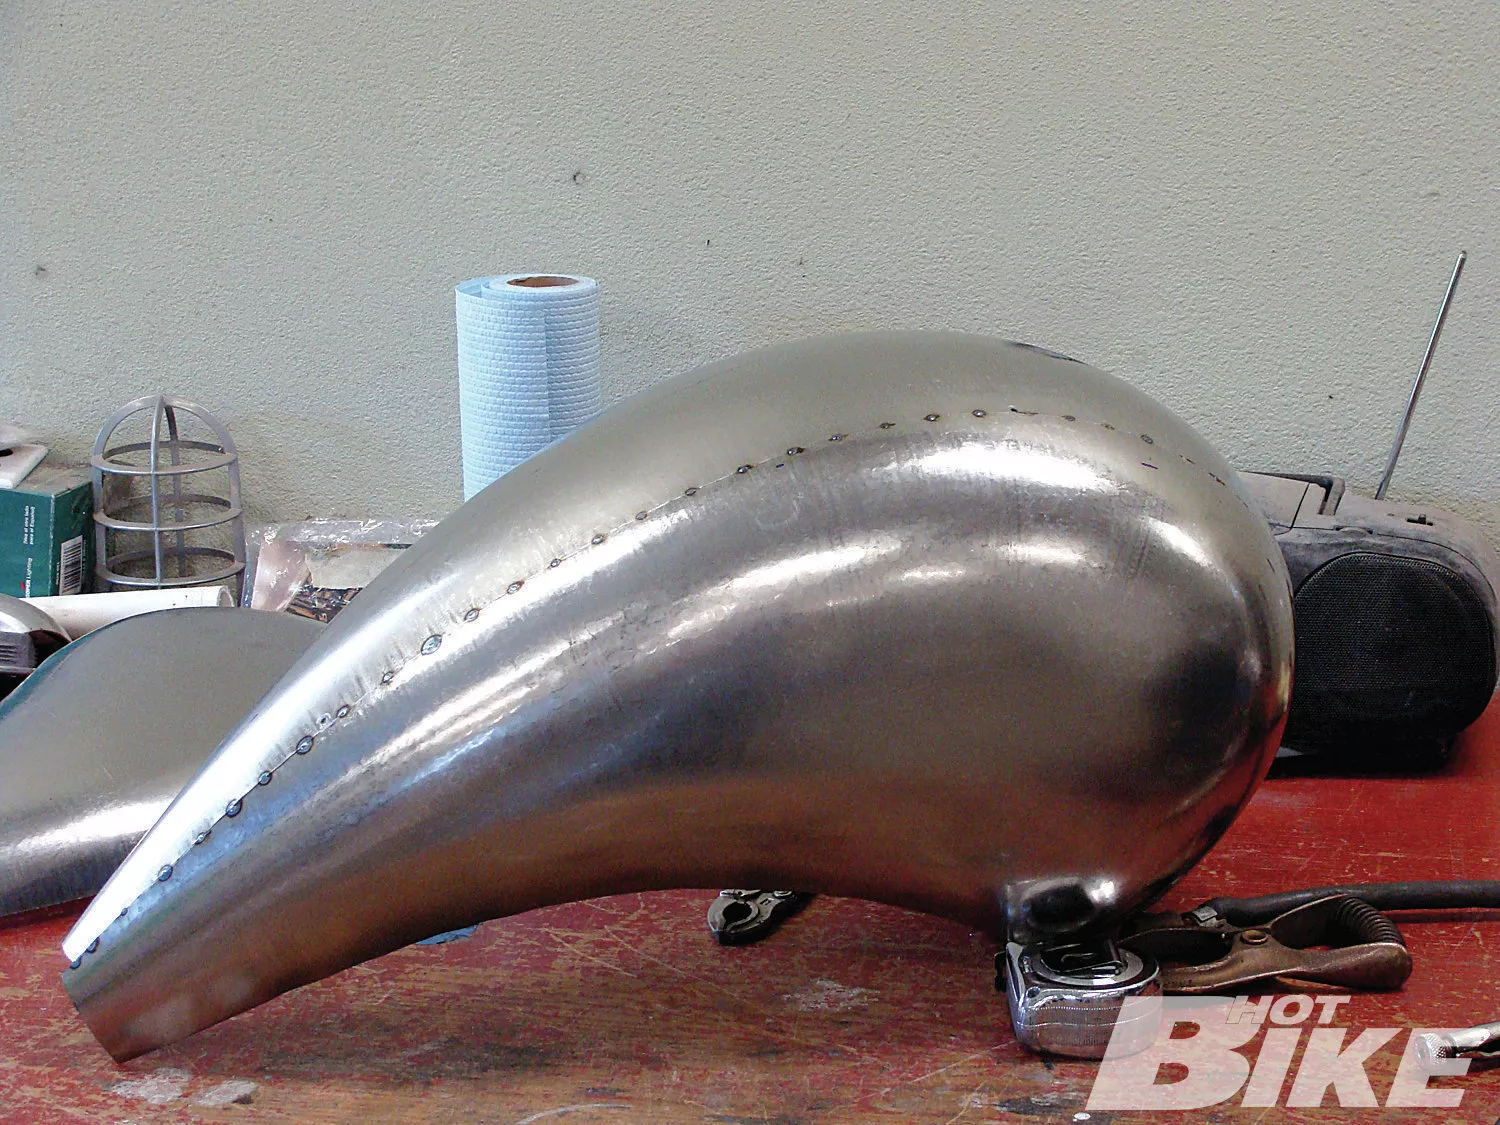
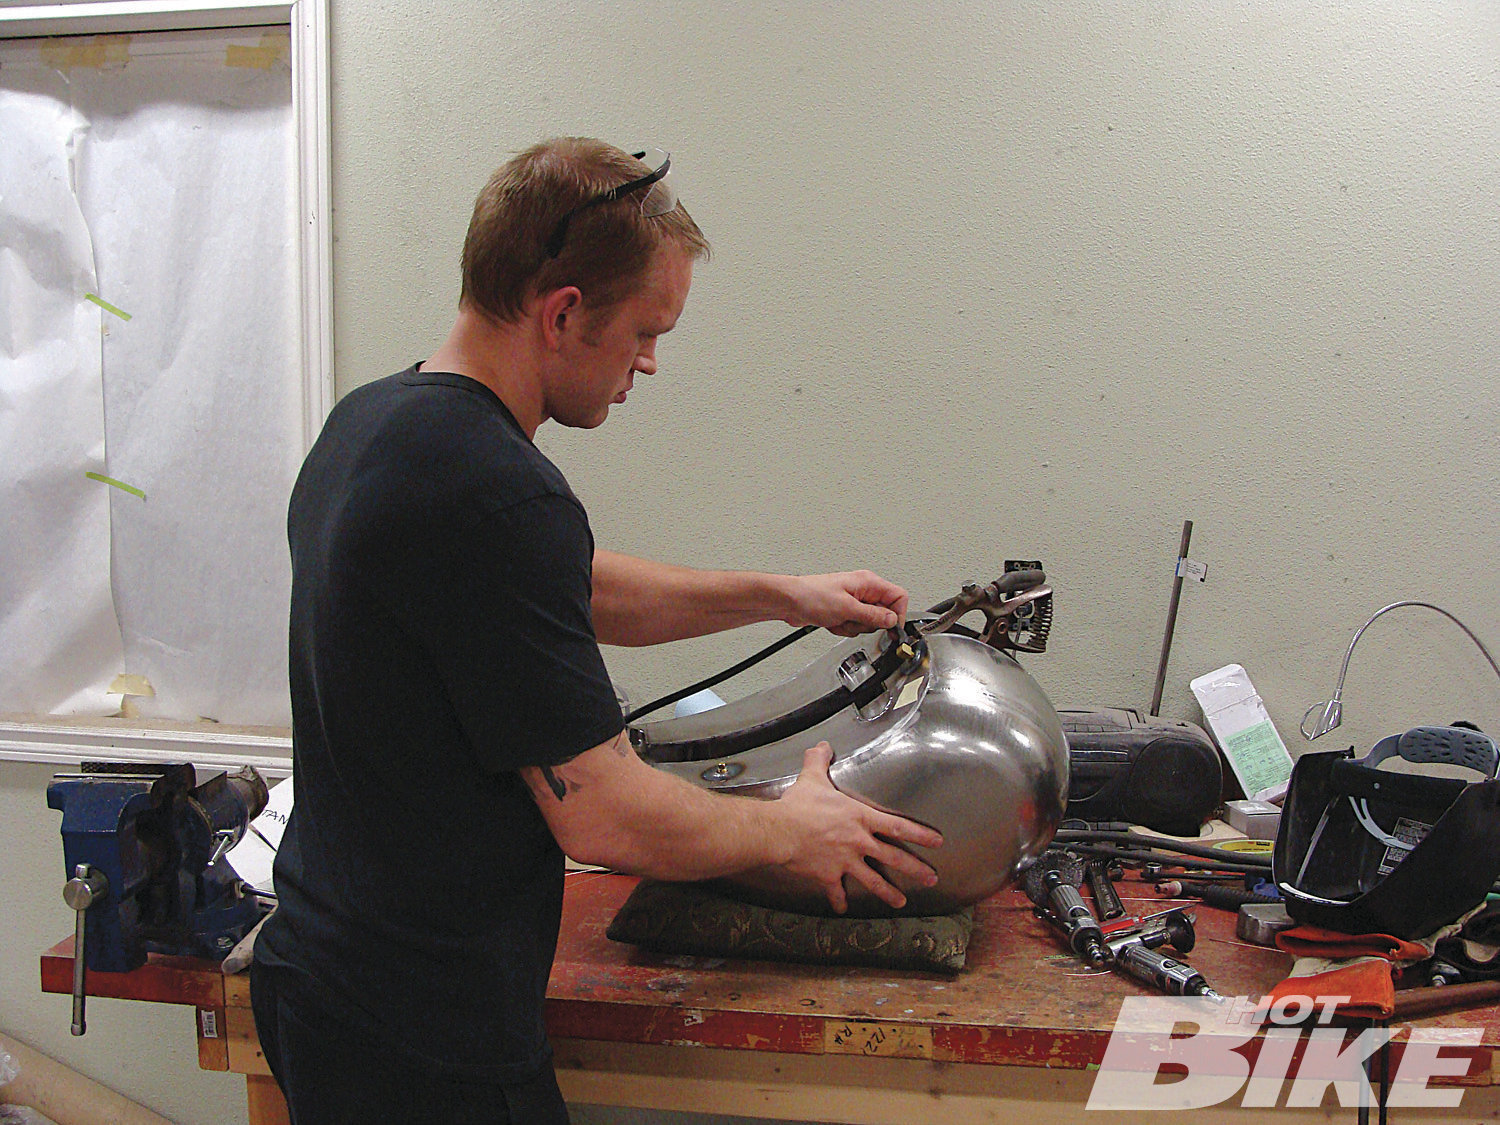
01. Here is a tank I was in the process of making for a customer. The pieces have all been cut and shaped to fit together tightly, and the freshly cleaned panels were carefully fit up with zero gap and were TIG tack-welded every inch or so.
01. Here is a tank I was in the process of making for a customer. The pieces have all been cut and shaped to fit together tightly, and the freshly cleaned panels were carefully fit up with zero gap and were TIG tack-welded every inch or so.
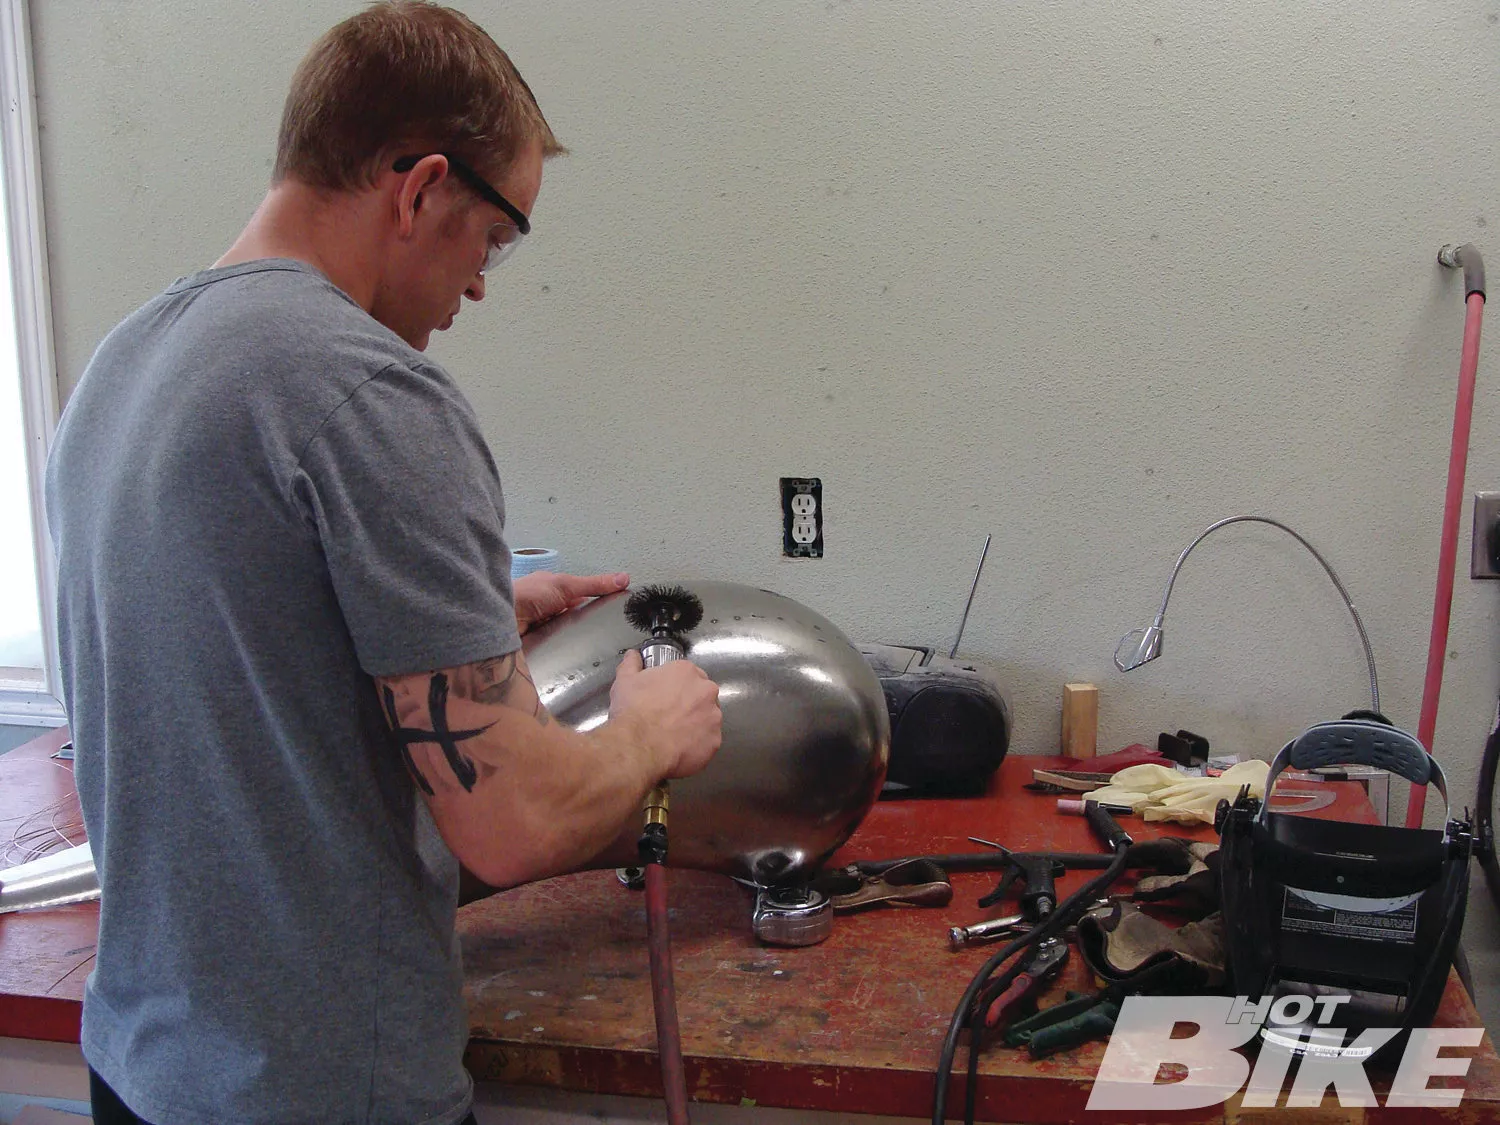
02.Here I used a wire wheel to remove surface oxides from the seam inside and out.
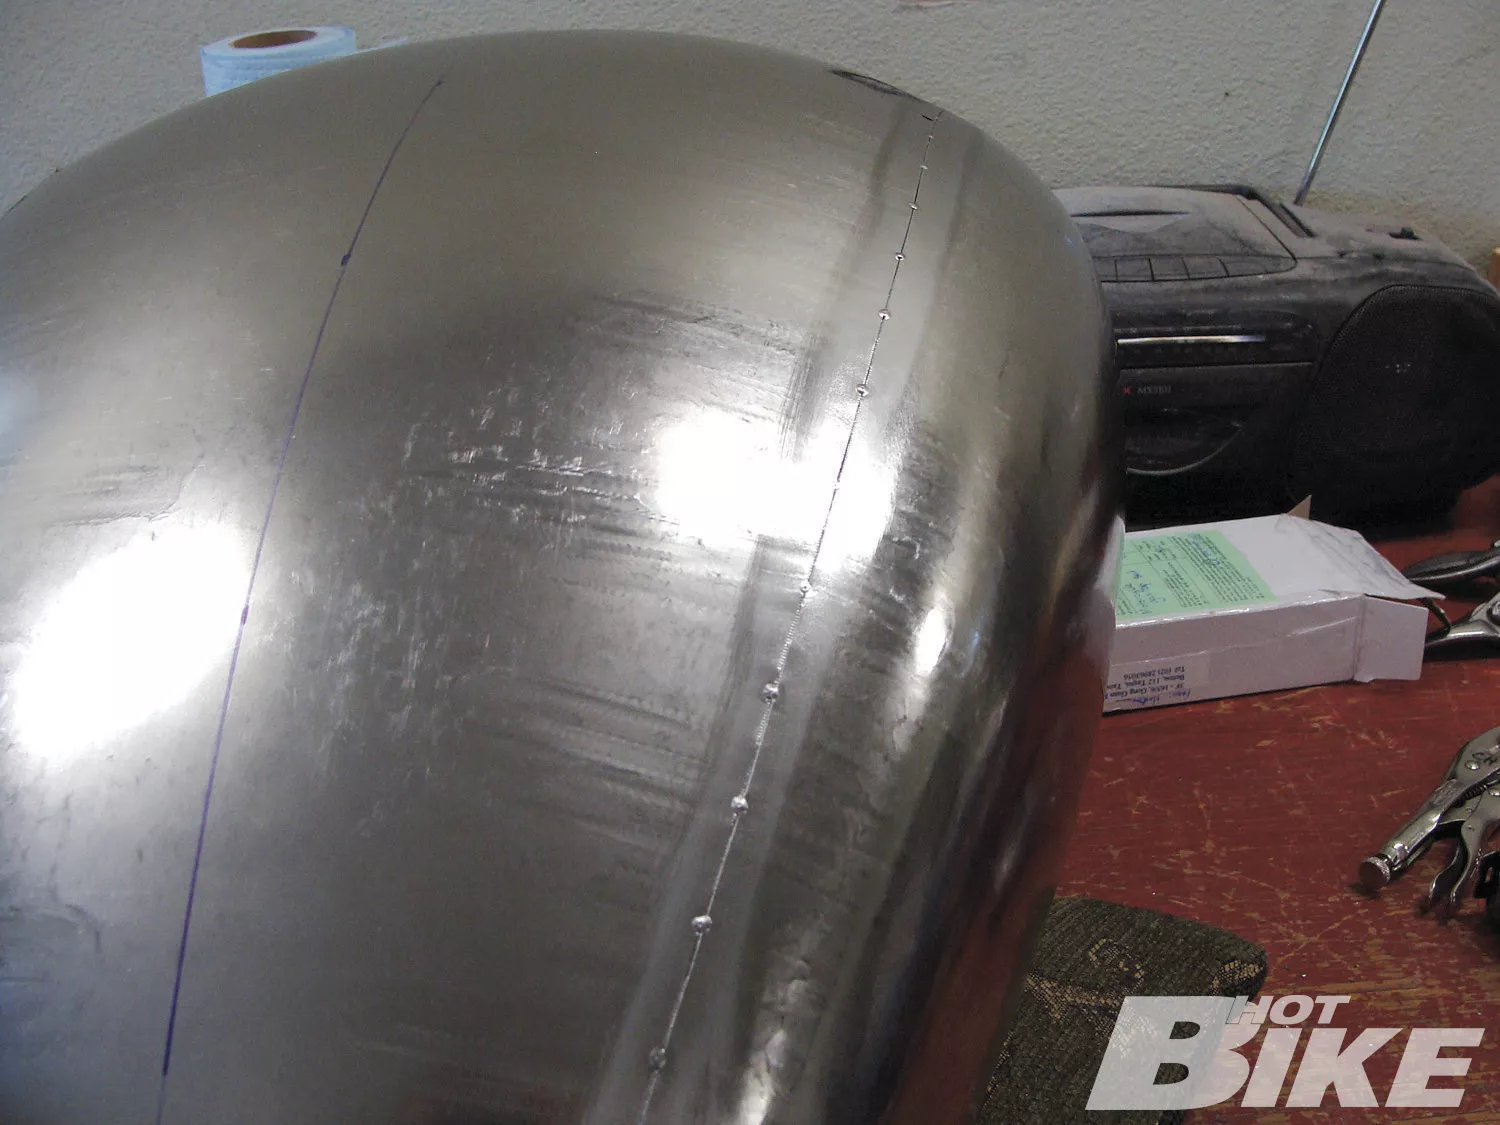
03.A hammer and dolly or planishing hammer was used at this stage to ensure the two panels edges were lined up exactly. Notice the tight fit.
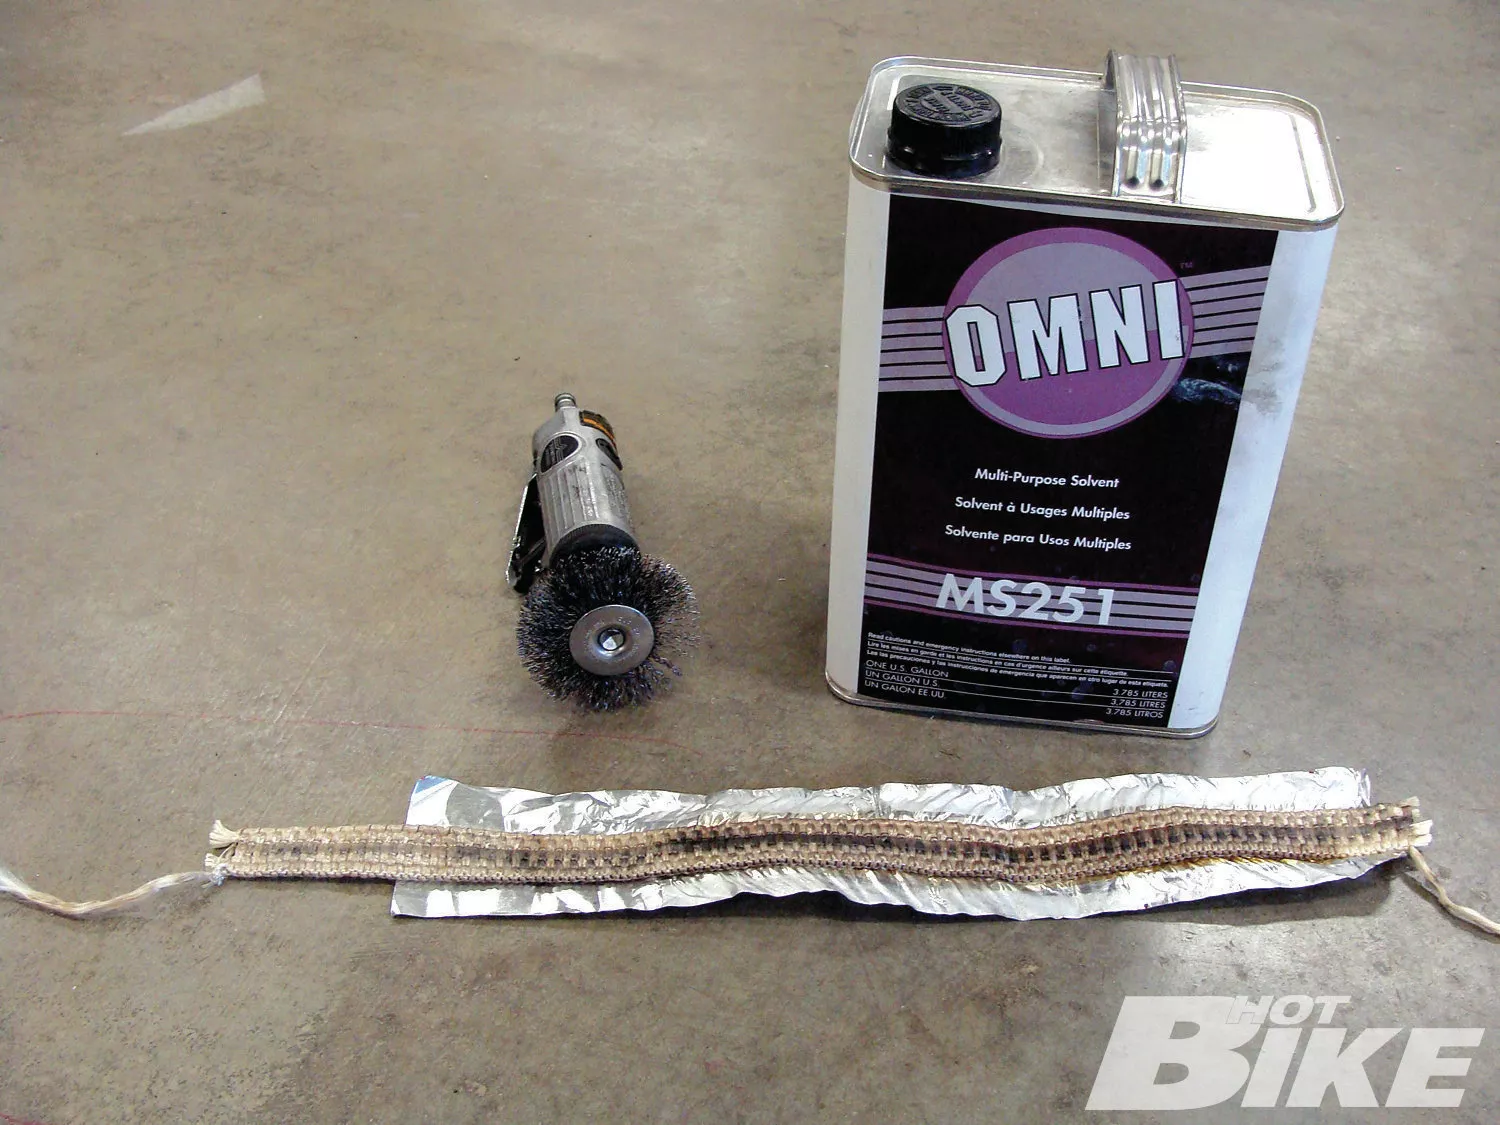
04. Cleaning with acetone or thinner and a wire wheel will make sure there are no contaminants on the surface and the special backing tape helps protect the back side of the weld from the atmosphere/contamination.
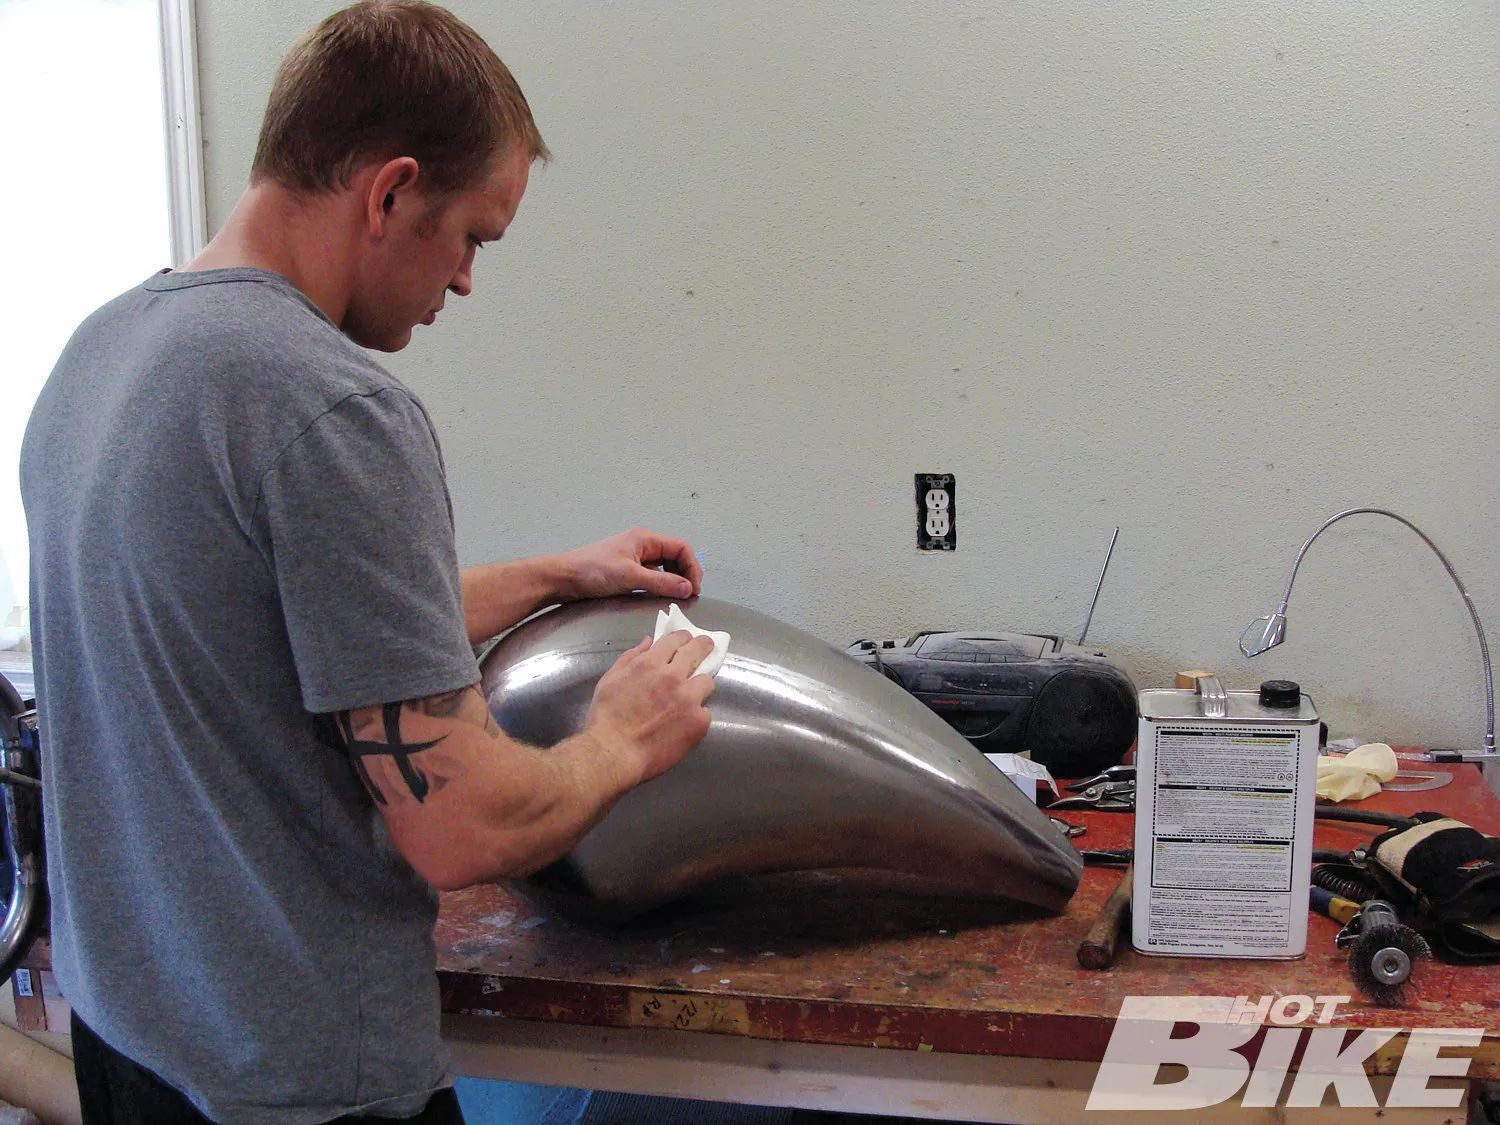
05.When cleaning with thinner, a lint-free rag was used.
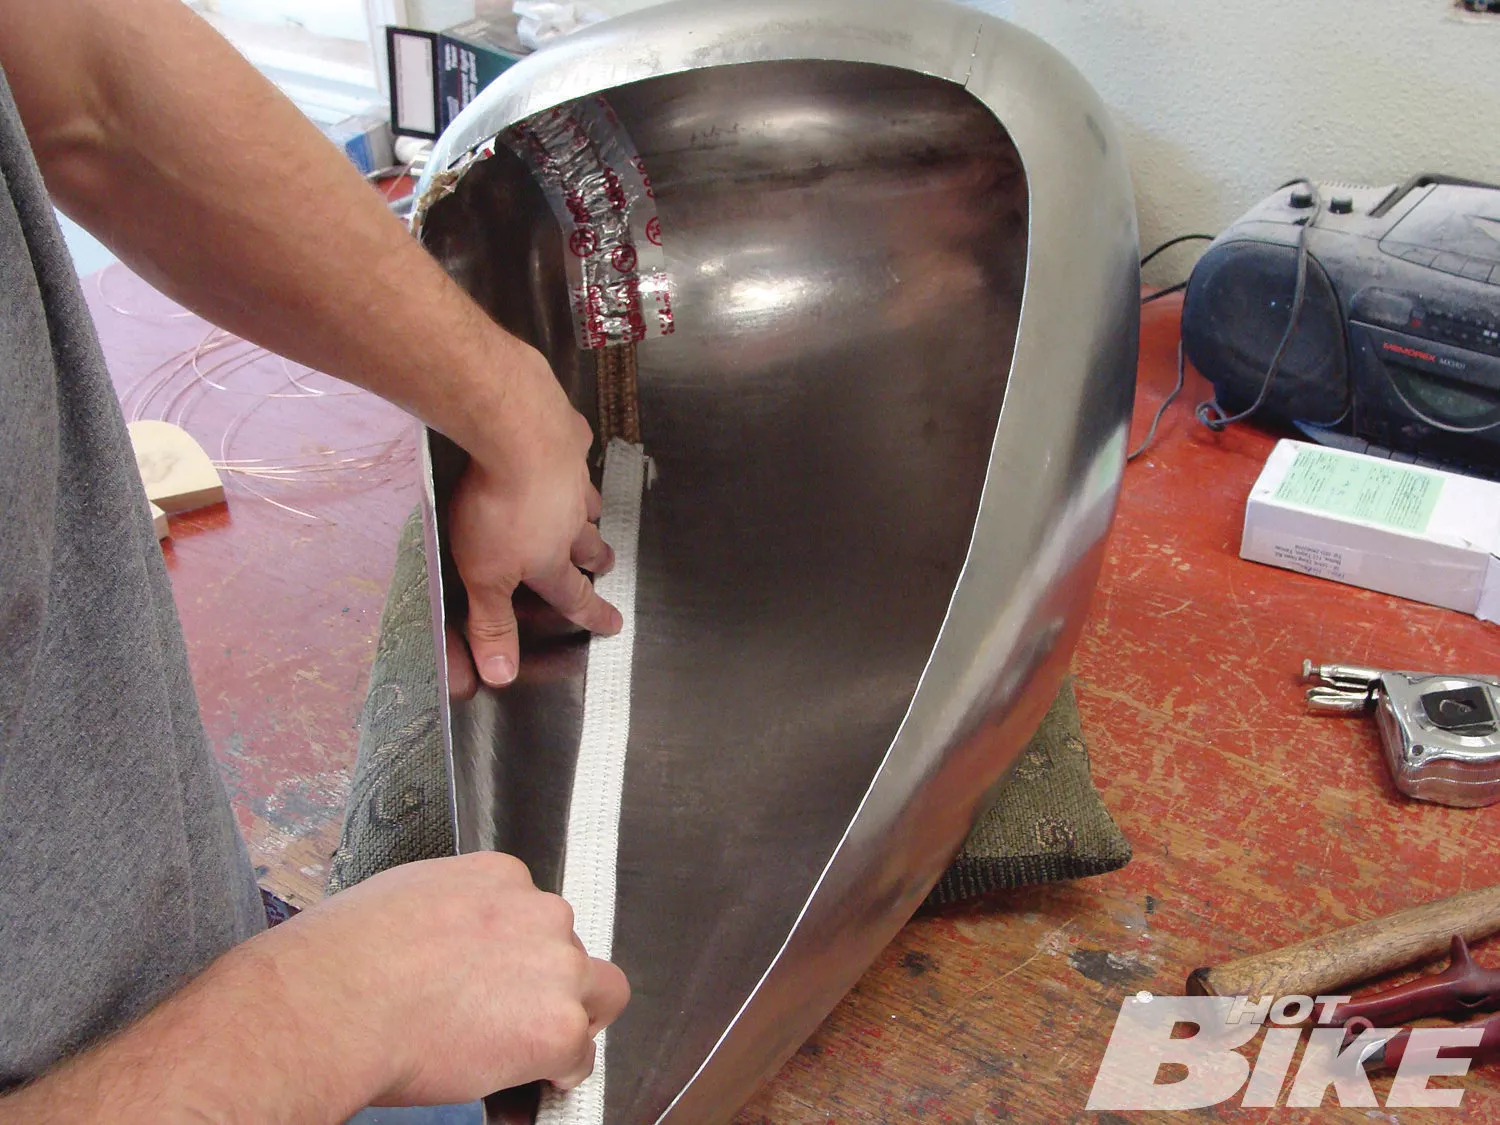
06.Here I am applying the backing tape to provide shielding and a solid weld.
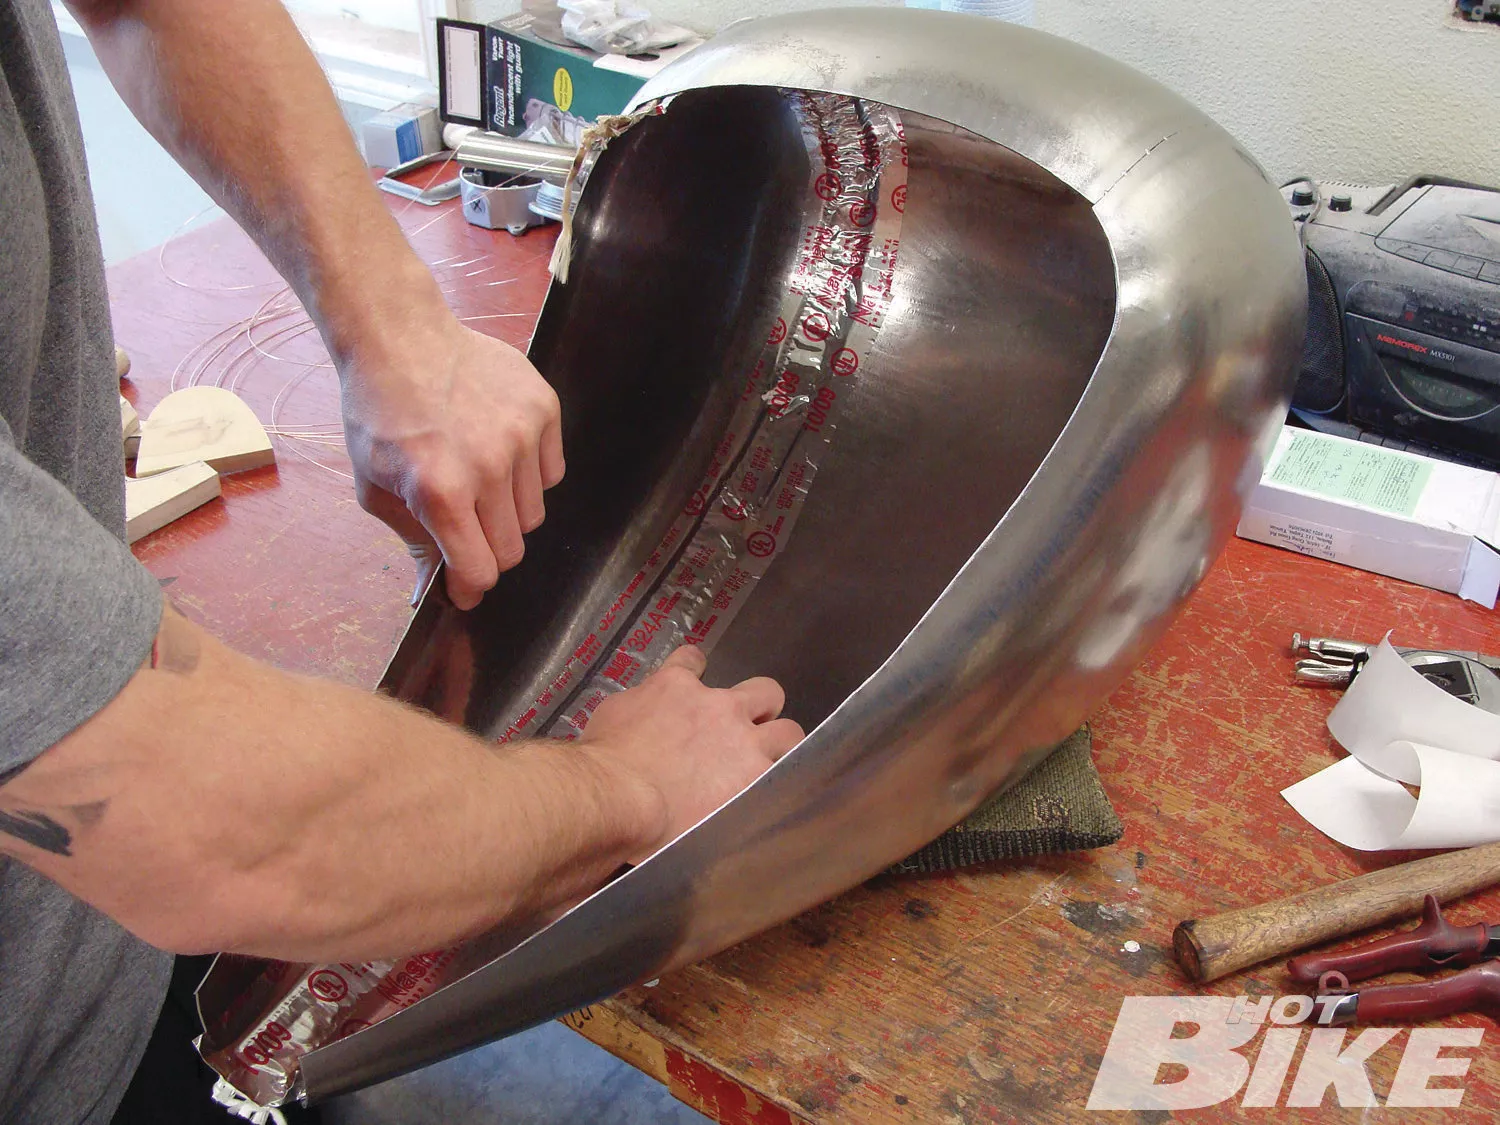
07.The fiberglass was centered over the seam and the edges were worked down with my fingernail.
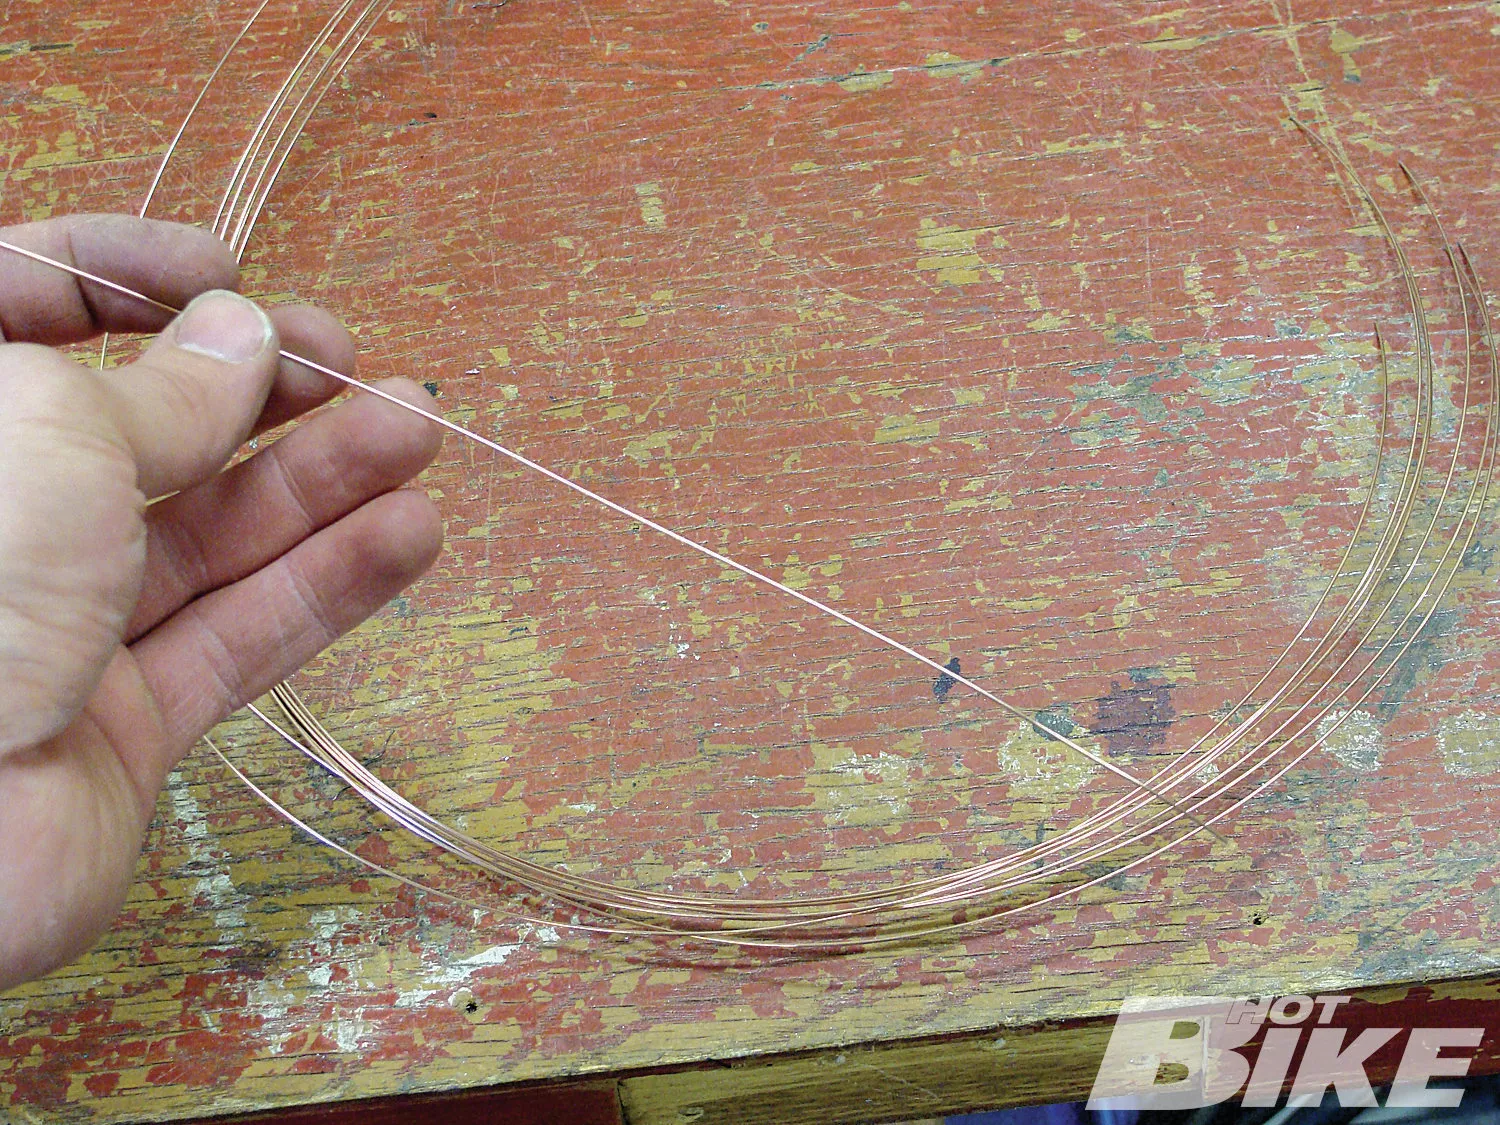
08.If your welding supply shop doesn’t have 0.030-inch ER 70S-6 cut rod, I suggest buying a small spool of MIG wire and cutting/straightening it into workable lengths.
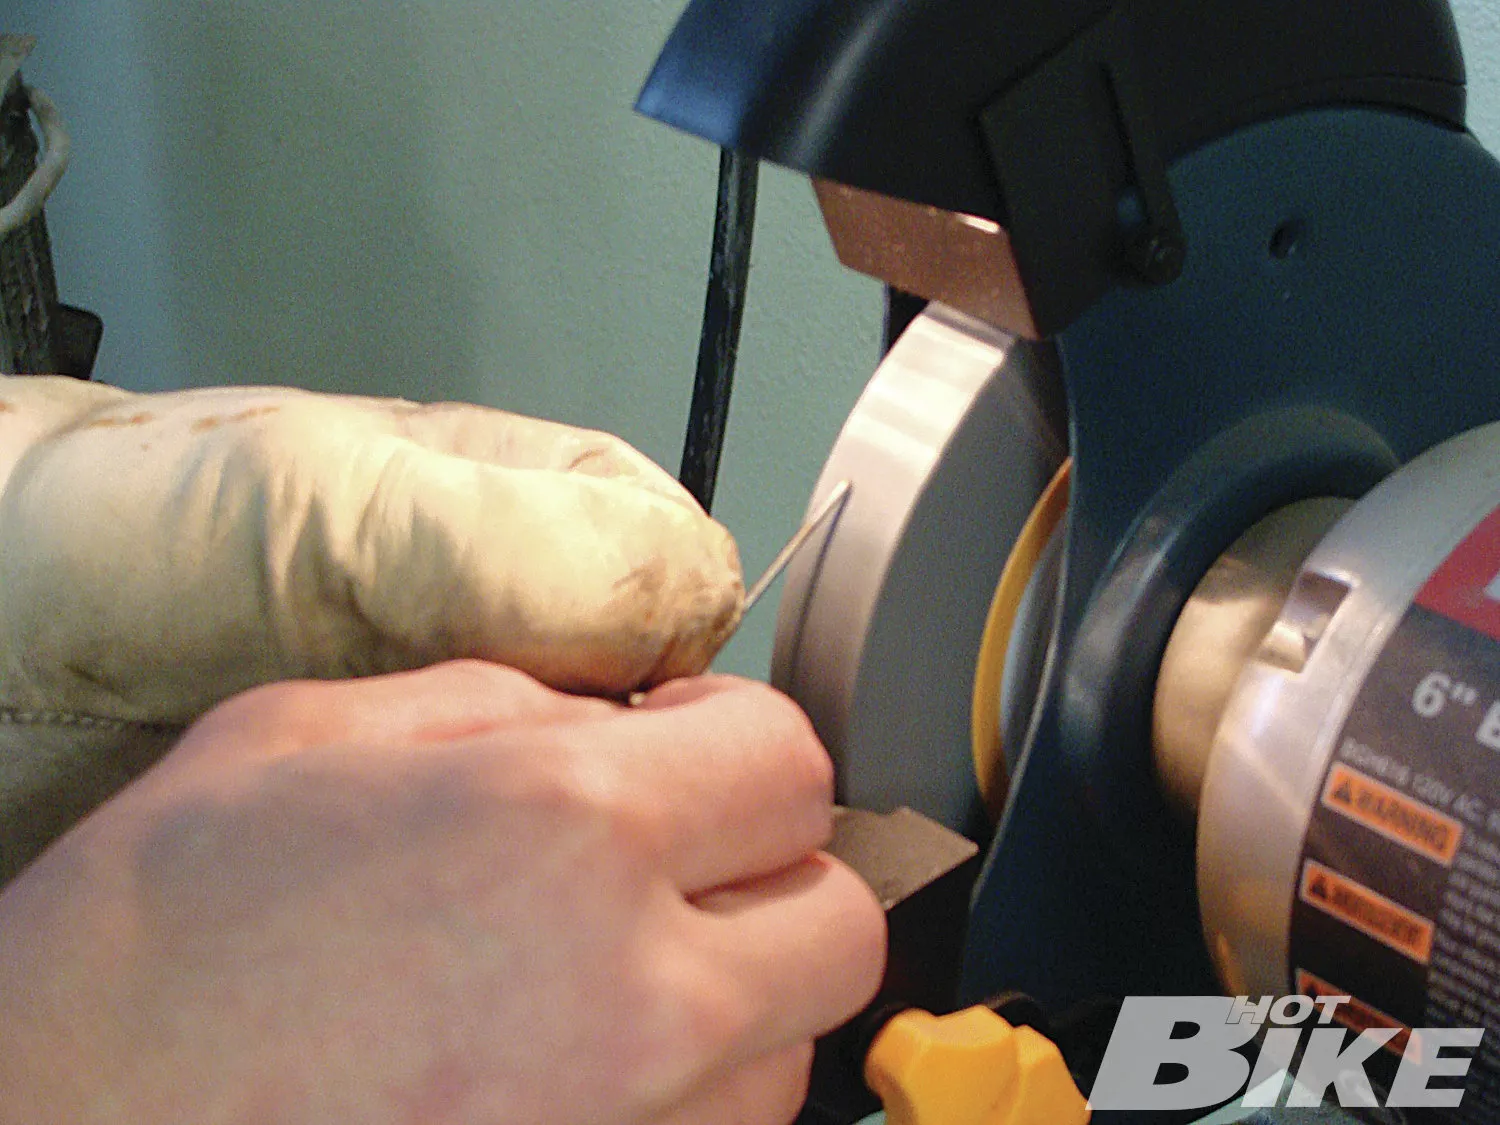
09.Here I am putting a fresh sharpened point on 2 percent thoriated tungsten.
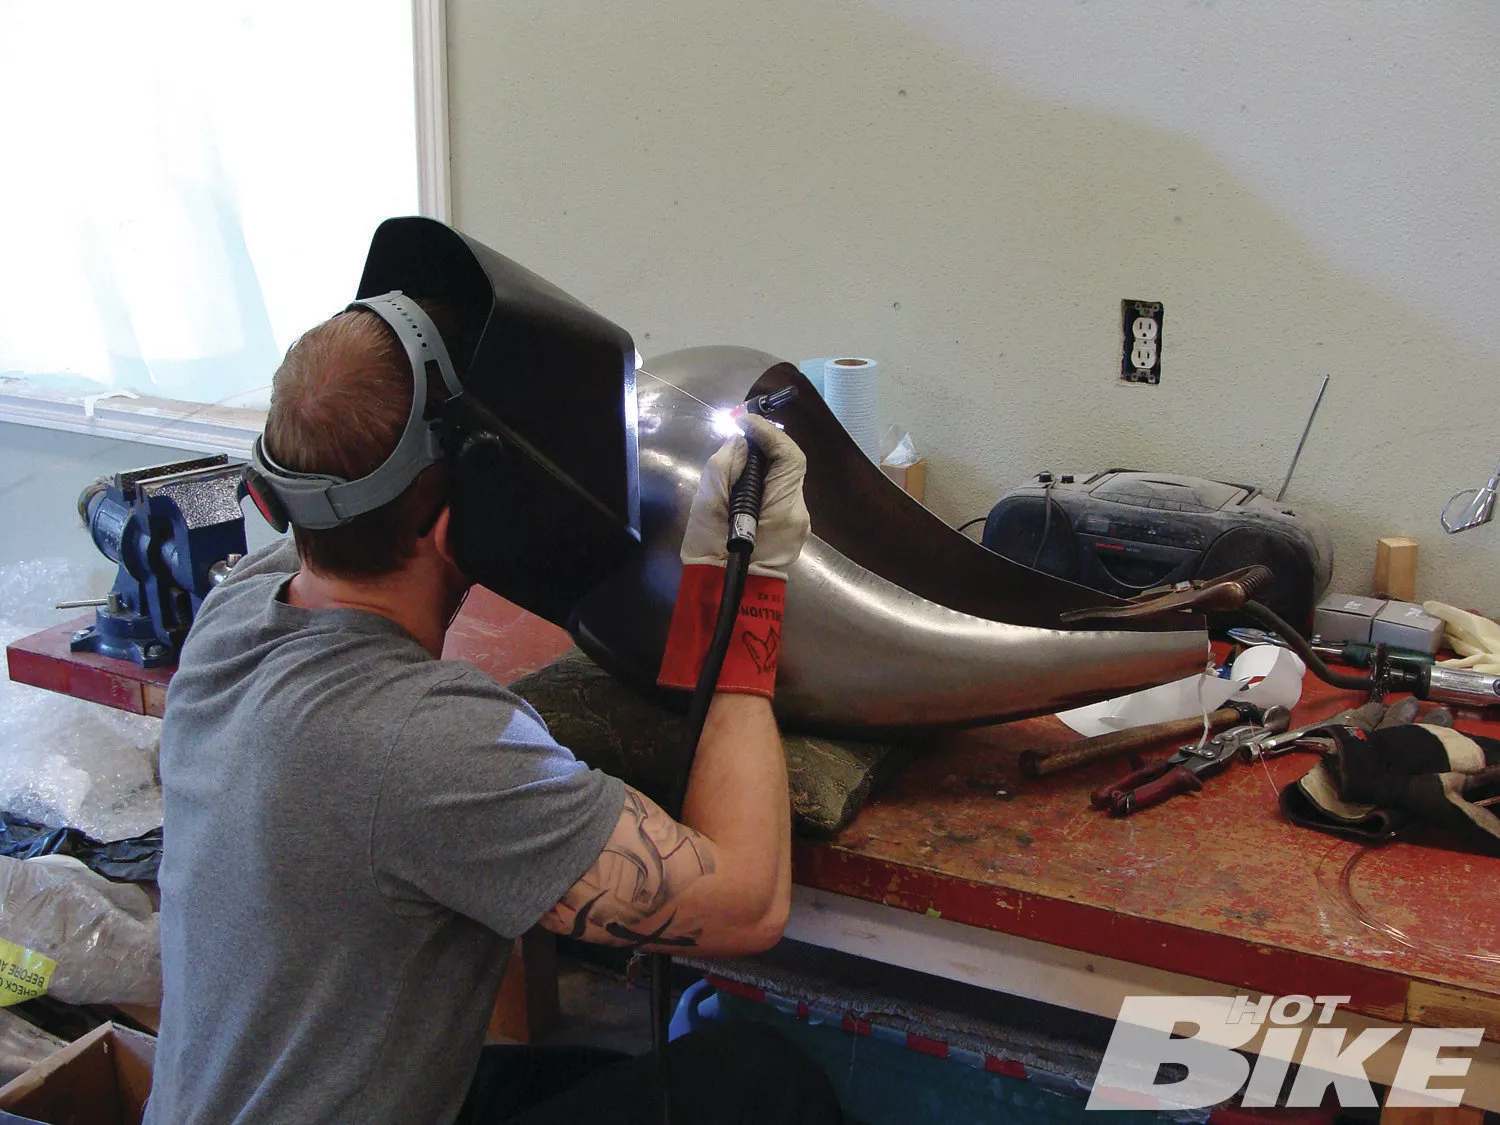
10.For final welding the seams, I weld from one edge to the other only stopping briefly if necessary to adjust position. I do not skip around.
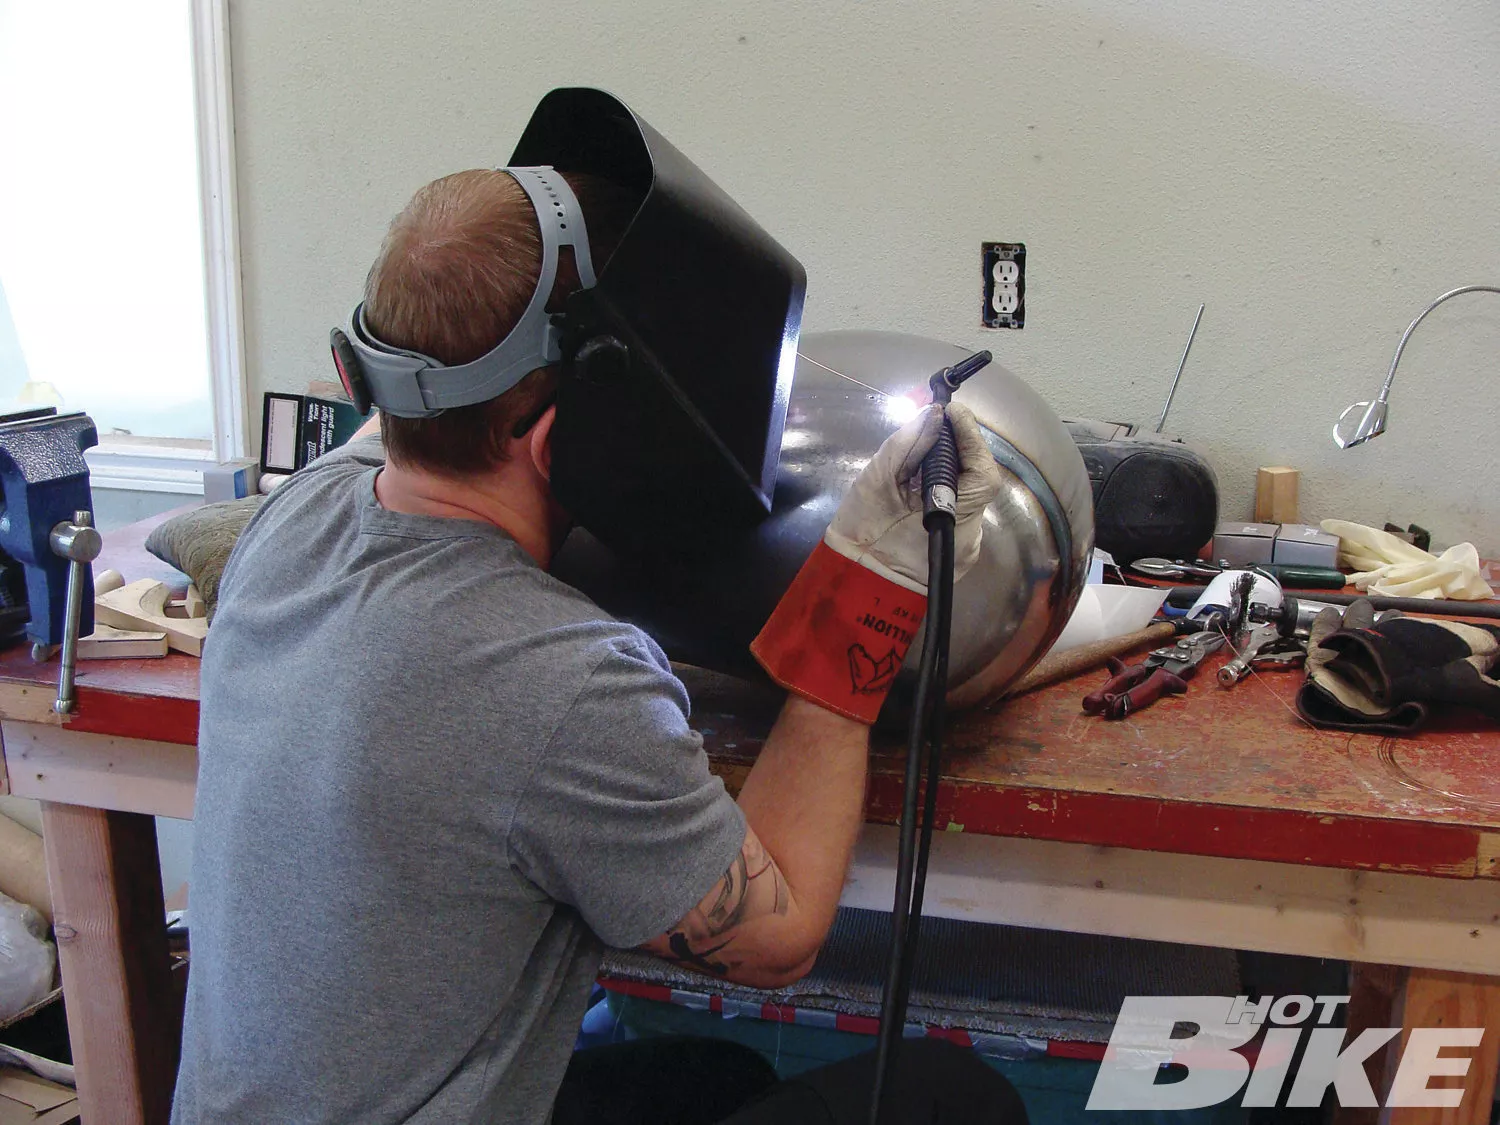
11.Keeping a short arc and adding filler rod directly to the molten puddle rather than in front of it are two things that help keep the heat concentrated and allow full penetration with less total heat.
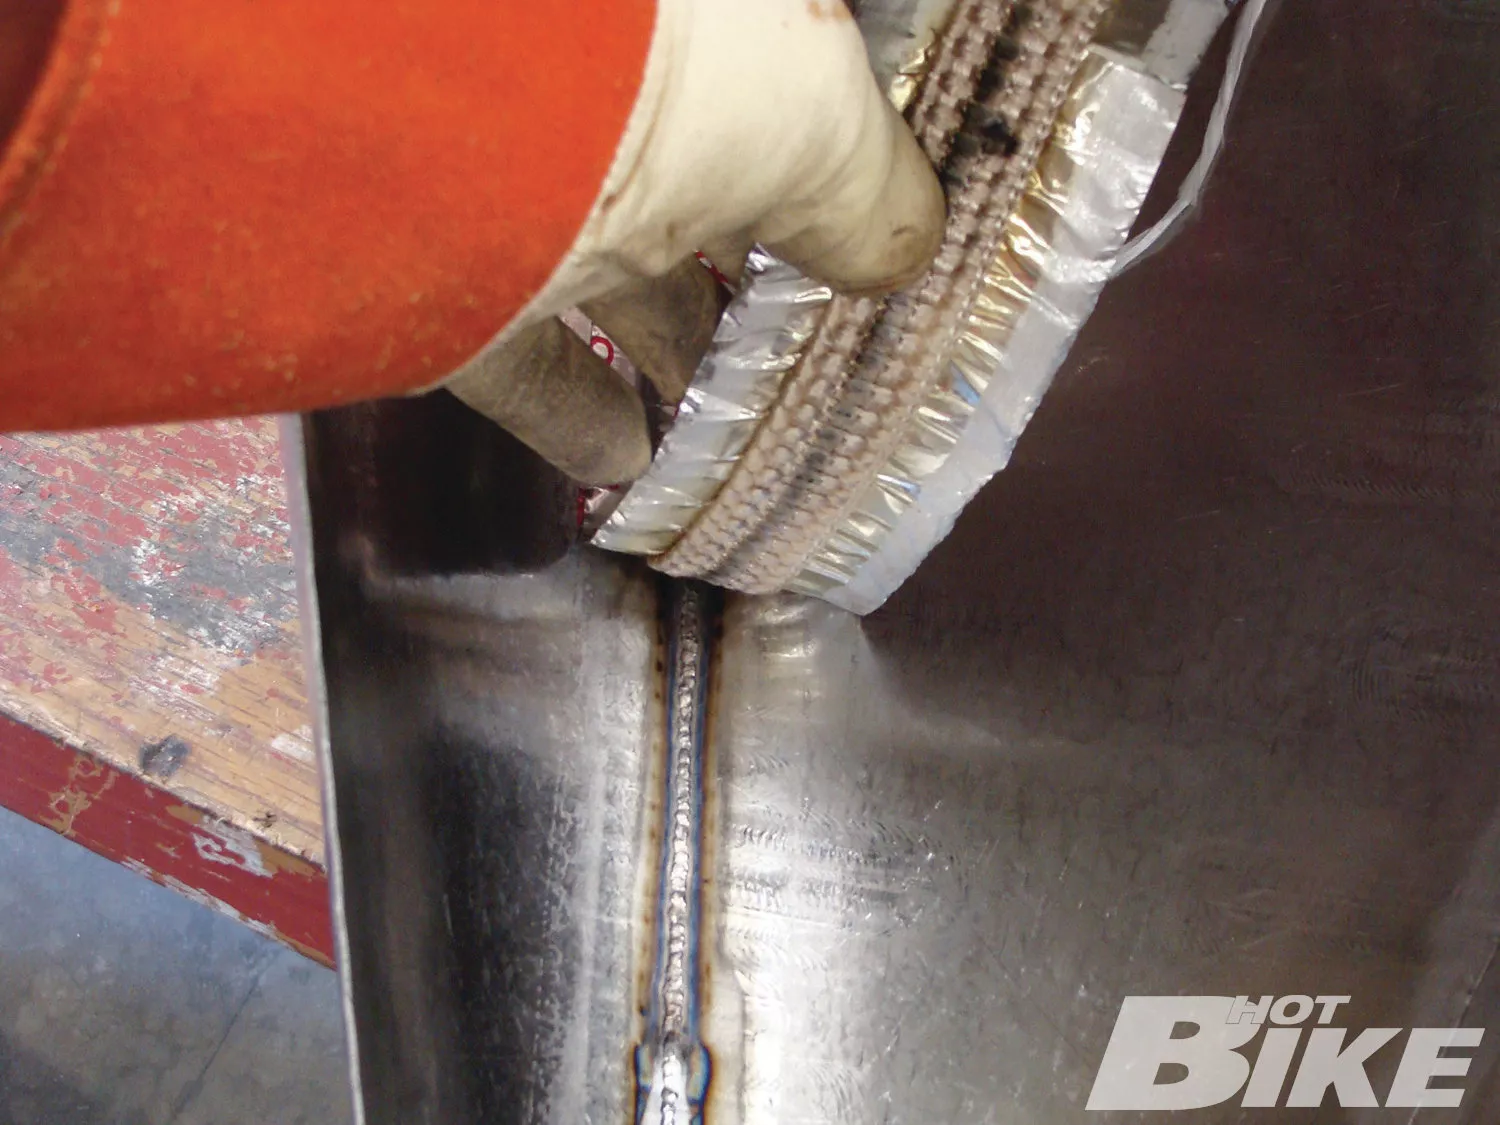
12.Here you can see how effective the backing tape was keeping the weld contamination free all the way through.
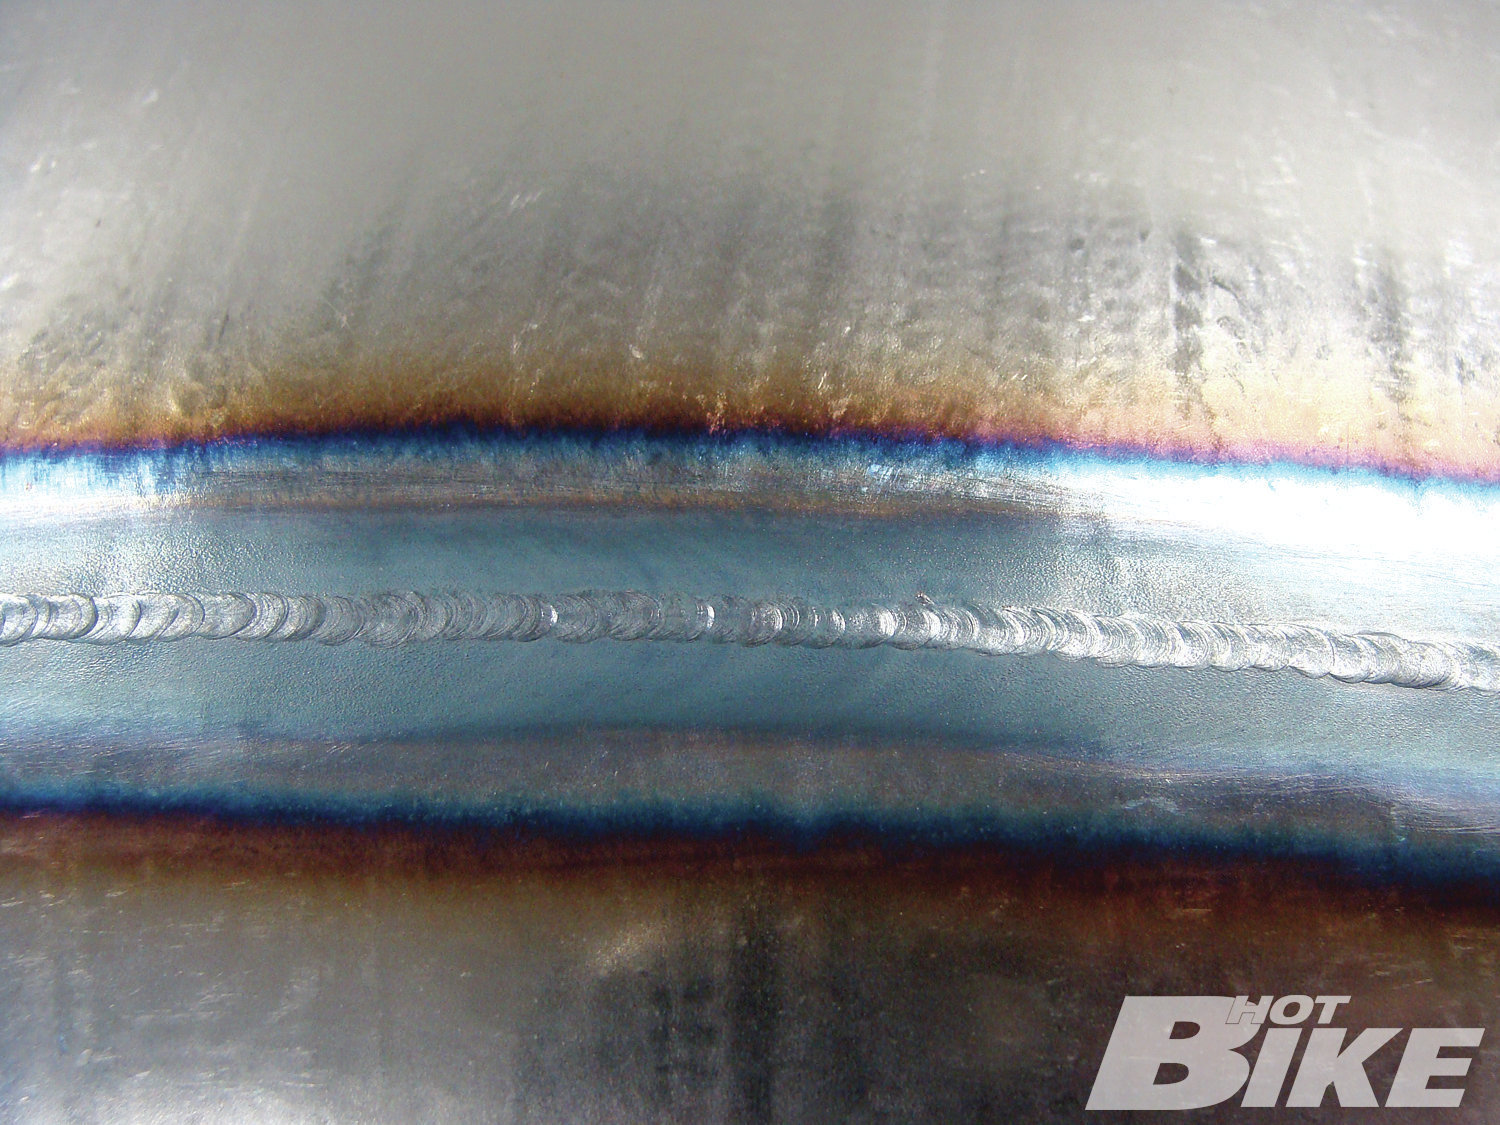
13.When the proper amount of filler rod is used, the weld bead is even and just barely above the surface. If too little filler is used, the center of the bead will be undercut and lower than the surrounding metal. Too much rod will result in valleys on either side of the bead after hammer and dollying.

14.Here is the weld bead after stretching in a planishing hammer. This relieves the slight distortion caused by the metal’s shrinkage that results from welding. The same can be accomplished with a hand hammer and dolly.
**15. **When it comes to welding the bottom panel of the tank I can’t use the tape so I attach an argon line to purge the atmosphere from the inside of the tank.
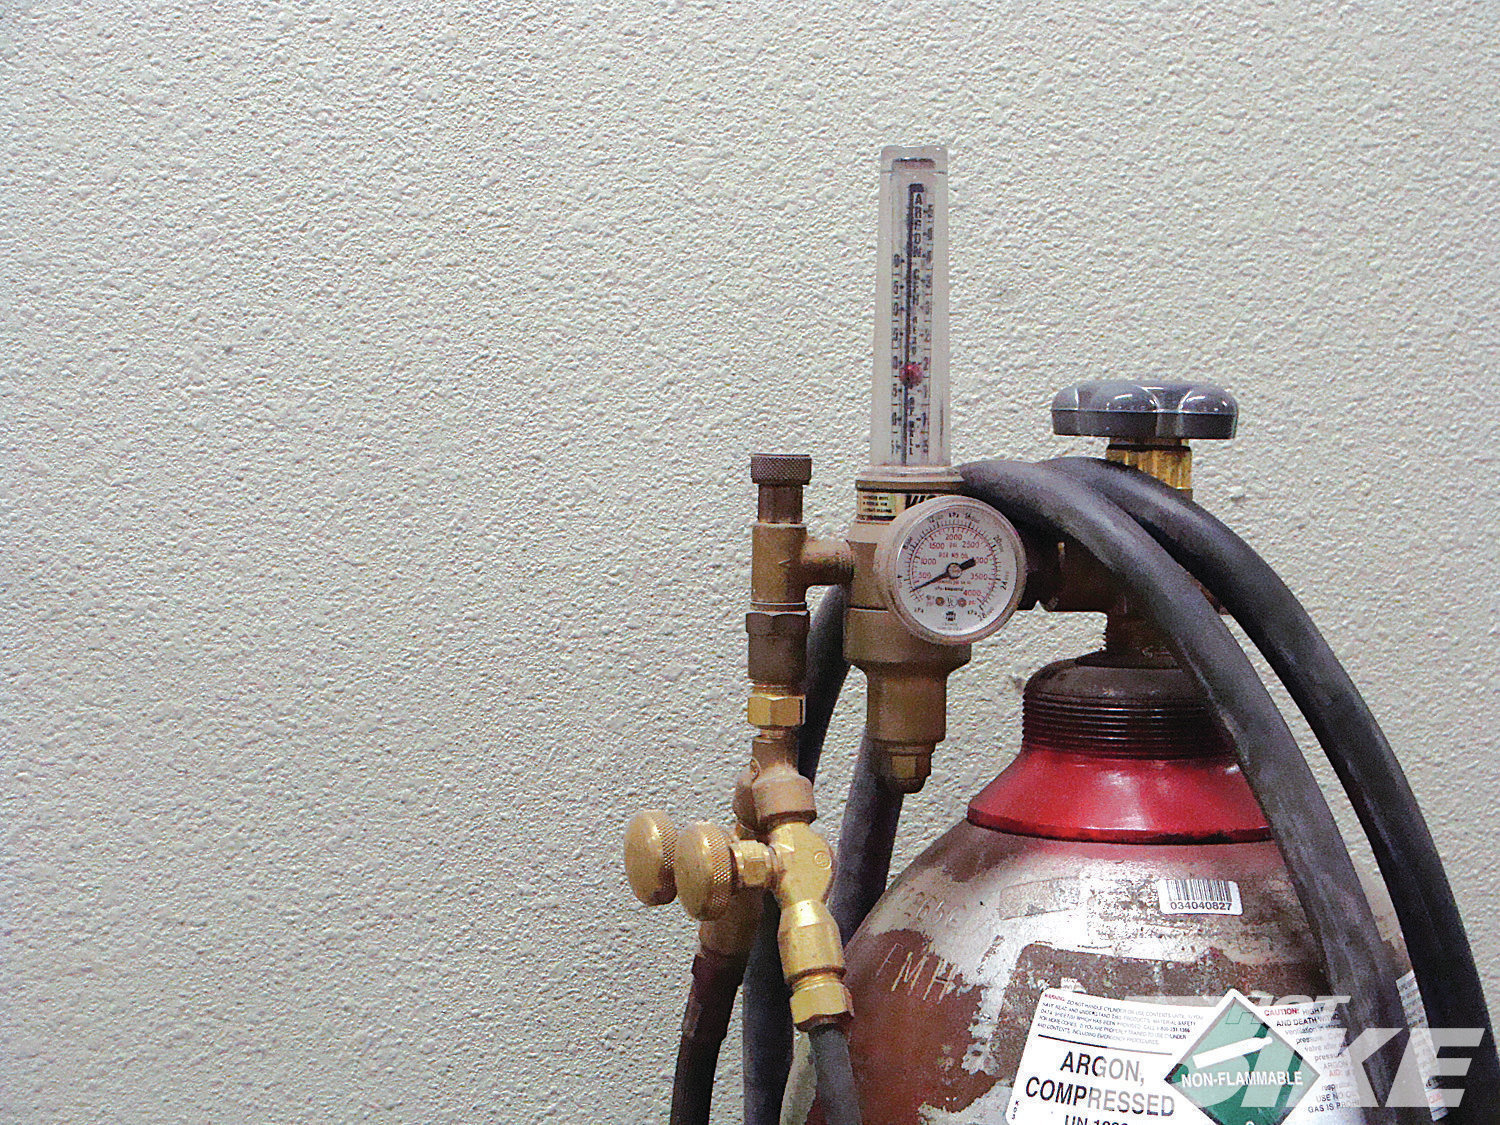
16. I use a Y-fitting and restrictor valve to feed the purge line from the welder’s tank.
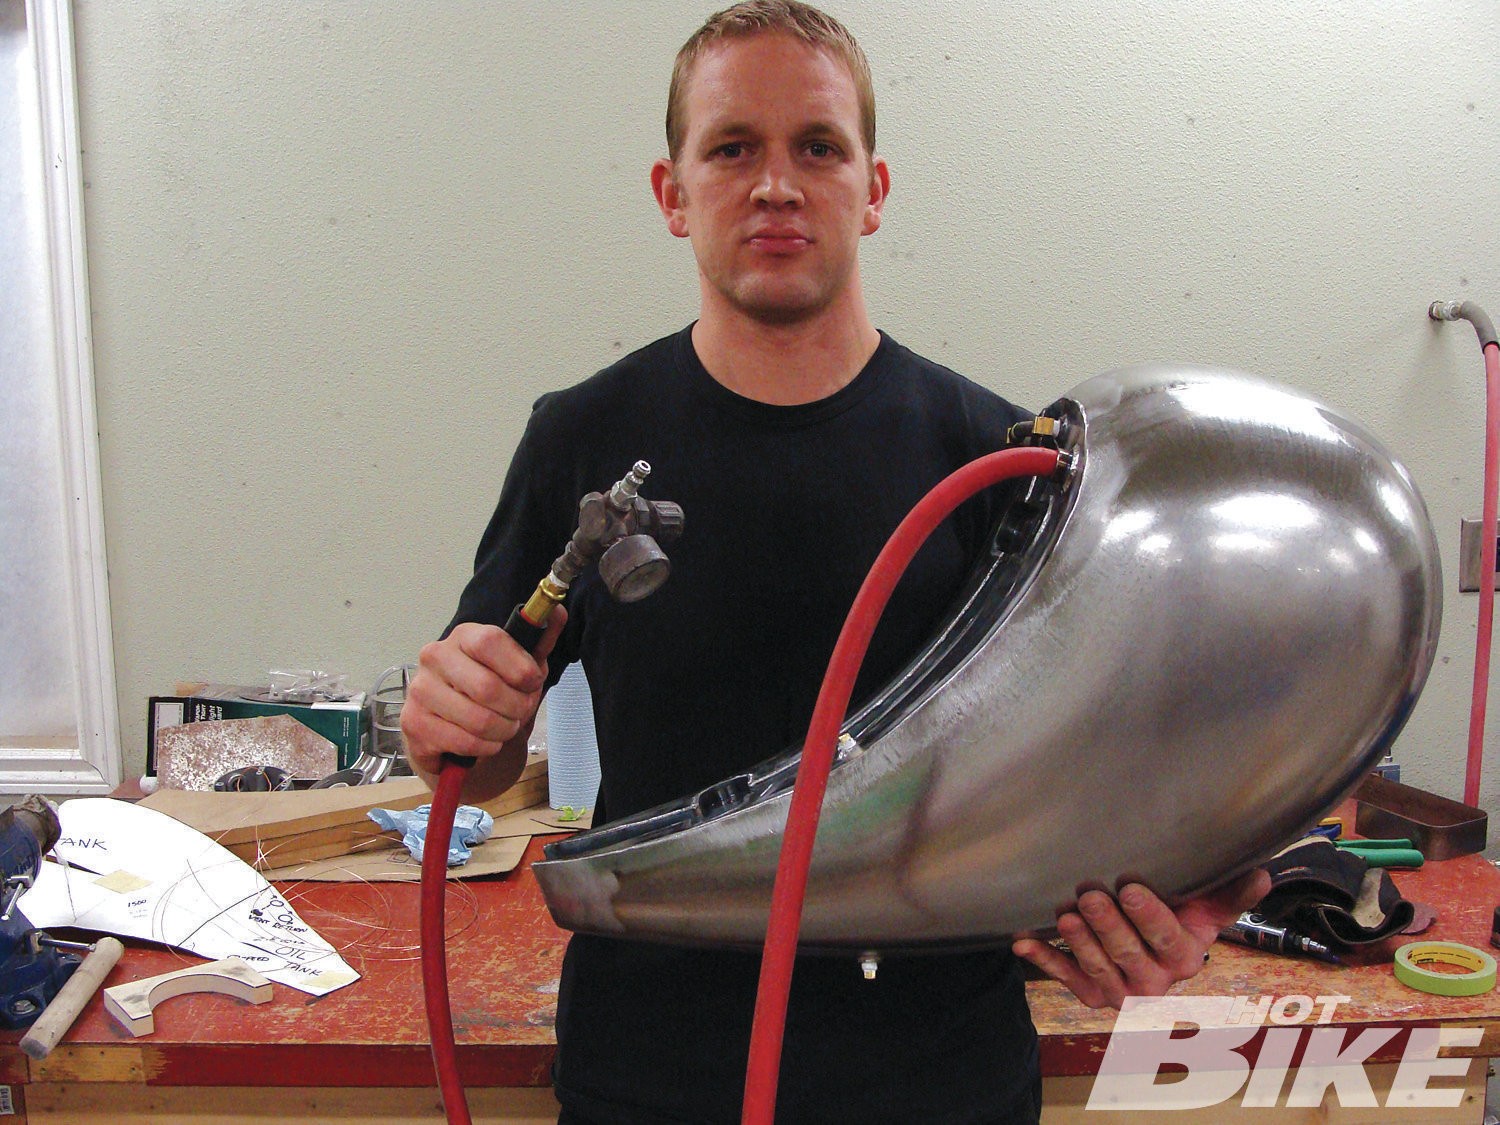
17.When the tank is finished it is always a good idea to pressure test. I use a small paintgun regulator (not a restrictor valve) and a short length of 3/8-inch air line. I have found that simply forcing this size hose inside a standard 22mm petcock bung is a simple airtight seal. Only a few pounds of pressure are needed.
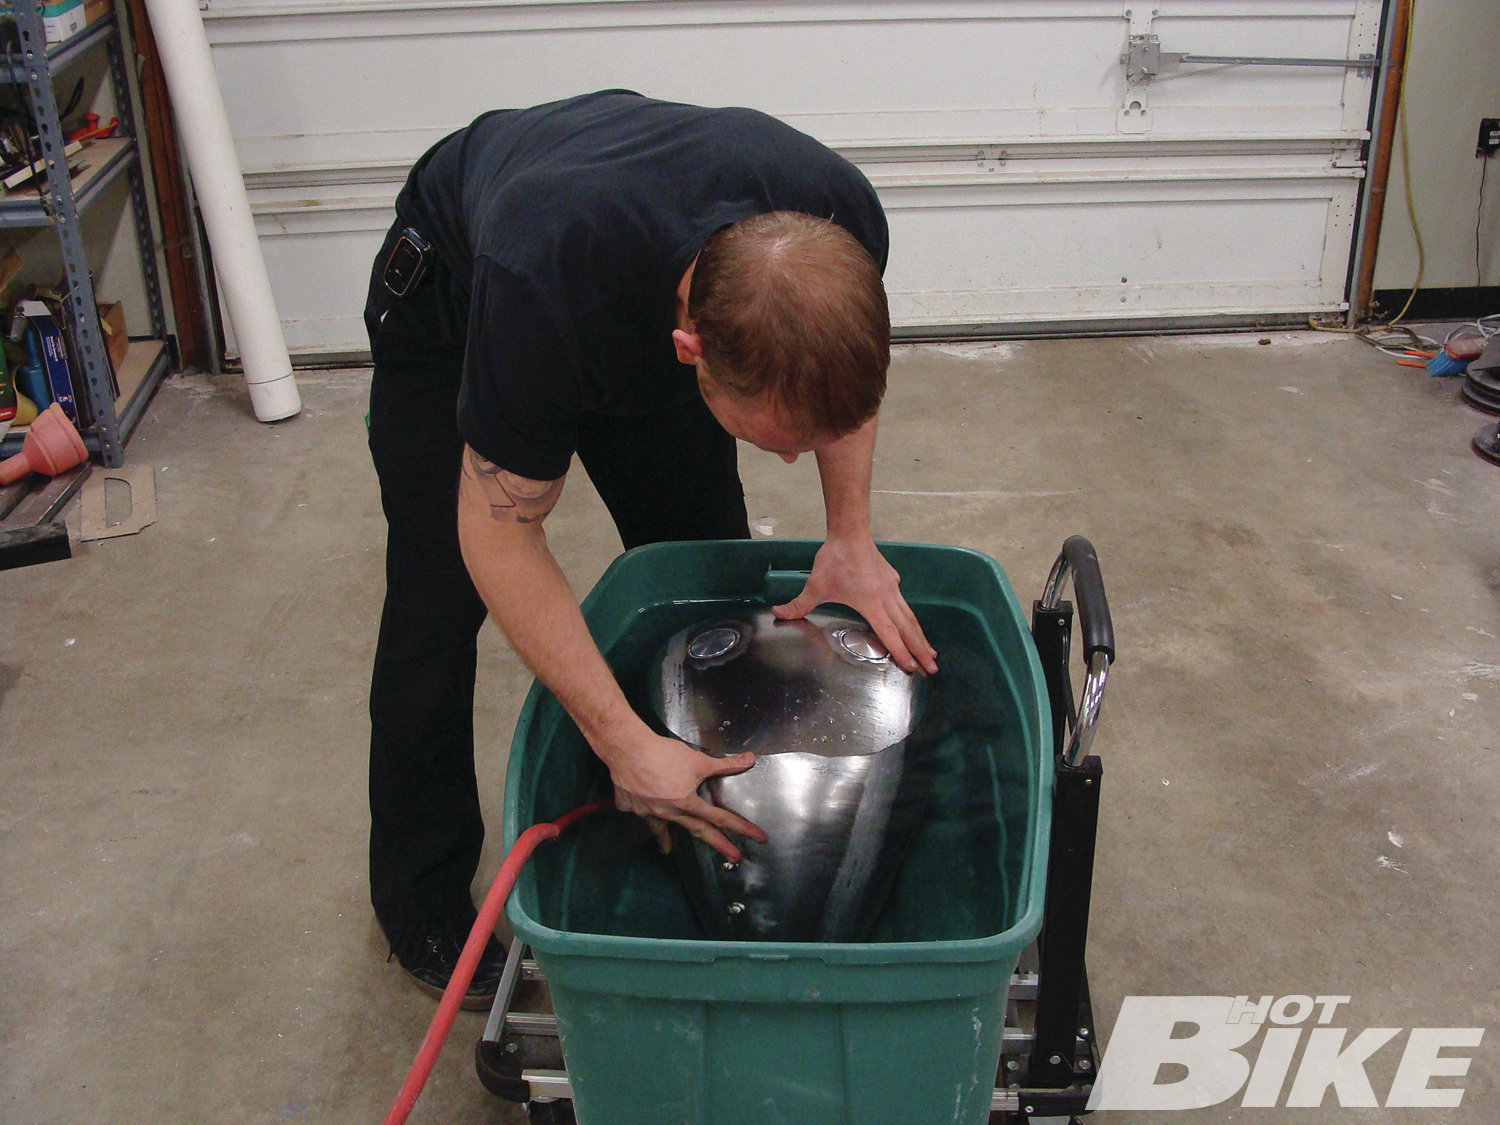
18.All weld seams were confirmed to be leak free by submerging the pressurized tank in water.
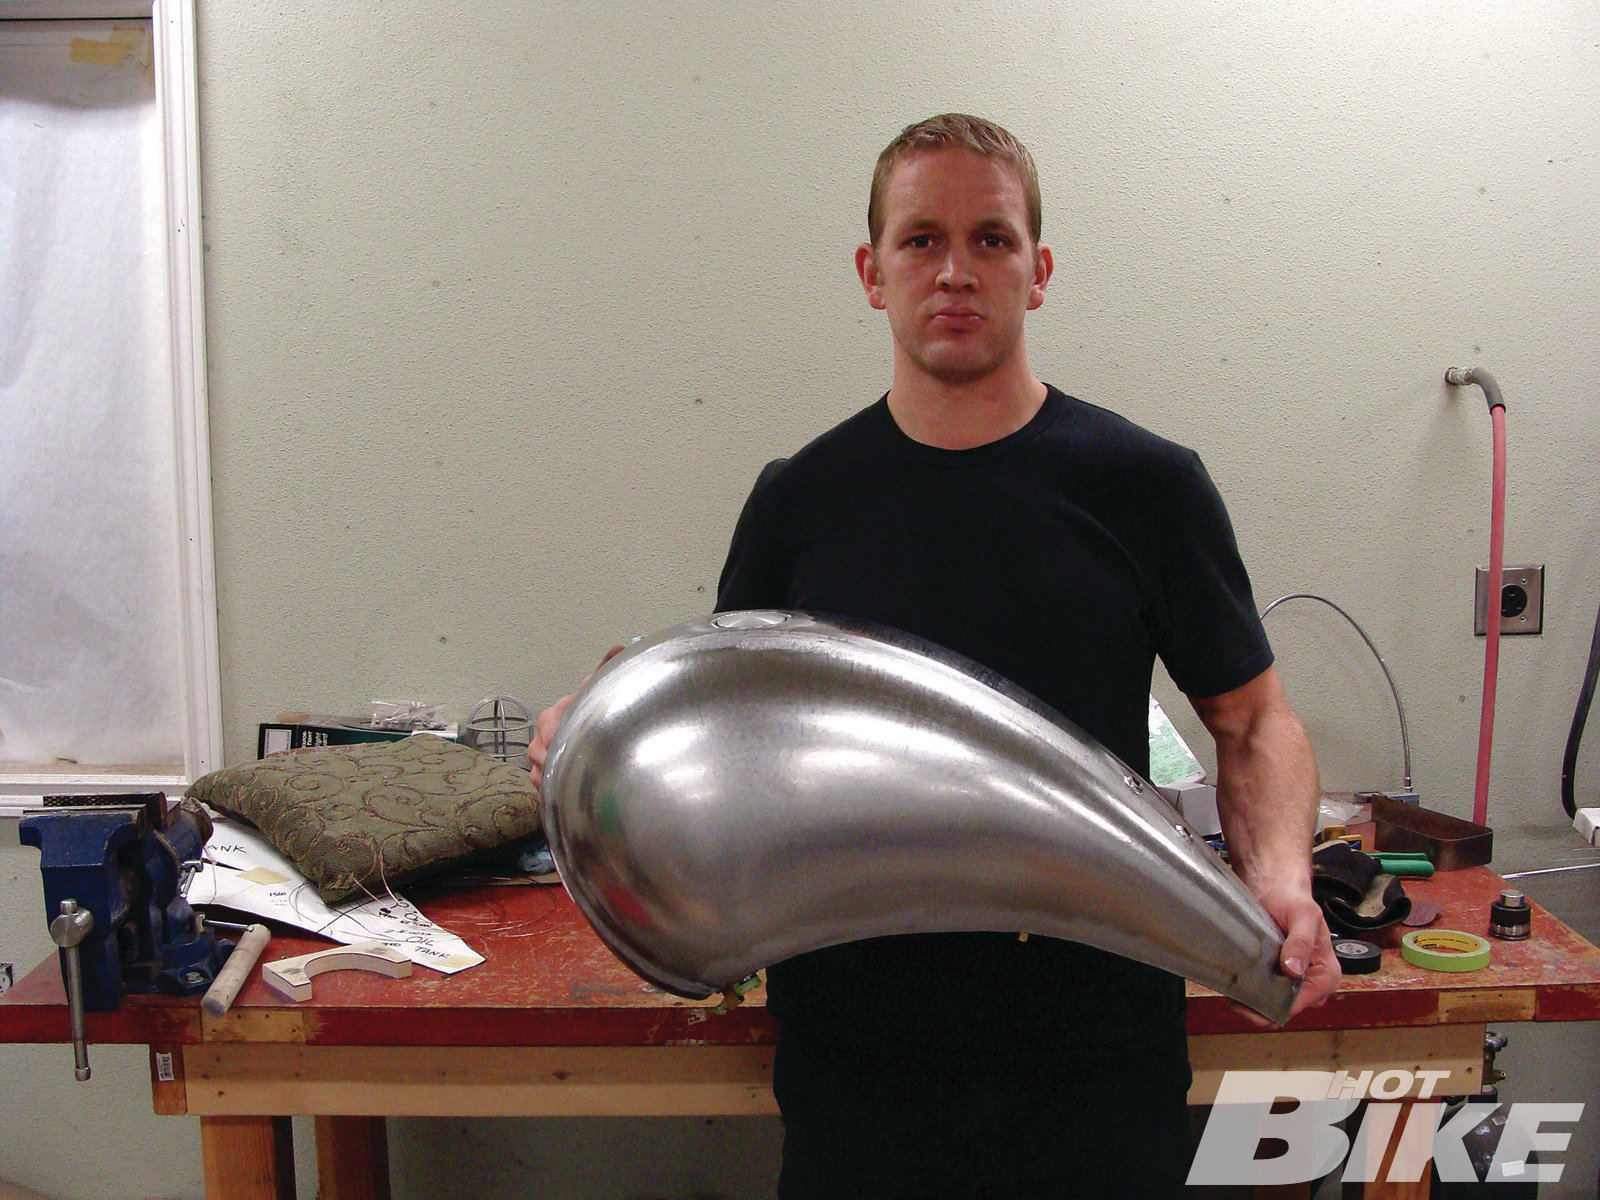
**19. **Here is the finished tank ready for paint. It is important that the paint prep is done by someone experienced with tanks. Aggressive grinding can thin and weaken weld and non-weld areas.
For many of us, when we start having thoughts of a new ride, we don’t envision throwing our leg over a pile of off-the-shelf parts. Most of the time these parts need some tweaking or need to be built from scratch. You may be simply adding some width to your existing fender to accommodate a wider tire or starting a new tank from a flat sheet of steel. Regardless of the size or complexity of your sheetmetal project, the first place to focus your efforts is making sure you can produce consistent quality welds so you can enjoy the finished product and have confidence in its durability.
When researching welding, many of the available books have good information in general but fail to be very sheetmetal specific. Much of the information is good but directed at heavier fabrication. Some of the reading can also leave you with a lot of knowledge that isn’t easily translated to practical use when you get in the garage. In this article, I am going to try to streamline things I have learned in my years of automotive and motorcycle sheetmetal fabrication. I am not going to spend a lot of time covering the more basic readily available info. Instead I will try to focus on specific things that are likely not included in your welder’s owner’s manual. Hopefully it will be helpful for you in your next project or, if you are hiring work done, give you some insight into the work a quality shop might be doing for you.
First we should look at equipment. In my opinion TIG welding is the only option that should be considered for butt-welding thin sheetmetal. If you are just starting out and expense is a concern, there are some small DC only machines available that are more affordable. These machines do not have the AC capability necessary for welding aluminum and have limited maximum amperage, but for getting started with steel sheetmetal they are fine. A 2 percent thoriated tungsten electrode in either 0.040-inch or 0.063-inch diameters are good choices. The shielding gas is pure argon set to about 20 CFH on the flow meter. The torch’s gas cup should be large enough for good coverage. I find that a #6 or #7 cup works well for most sheetmetal welding. Fingertip controls can be nice in some out-of-position situations but I think more precise amperage control is possible using a foot control. For filler rod, I like to use ER 70S-6 in 0.030-inch diameter. This is sometimes hard to find at welding supply stores in cut rod. It is the same as MIG wire though, so I often times buy it in a spool and cut and straighten lengths to use as filler rod.
Probably the most important aspect of welding is keeping the molten metal free of contamination. There are many sources of potential contamination. Oils and other contaminants should be removed first using a clean lint-free rag and acetone or lacquer thinner. Next, even with new steel, there are surface oxides that need to be removed. I use a wire wheel in a die grinder to remove these oxides from both sides of the steel edges. With wire wheels, make sure the speed rating is high enough for use in a die grinder. Wheels that are rated for slower speeds are made for electric drills and come apart quickly at the higher speeds.
After cleaning, the pieces can be tack-welded together. It is very important to fit panels together with as close to a gapless fit as possible. Sometimes people are taught to leave a gap or to use special wing nut panel clamps that hold a gap between panels. I prefer not to hold a gap as I find gapped fits are more likely to take on contamination and allow for increased and uneven shrinkage/warpage. I space tacks approximately 1 inch apart. Next a hammer and dolly can be used to make sure the panels are still flush after tacking. The seam is wire wheeled again on both sides to remove the oxides from the tack welding.
Now that the steps have been taken to clean all contaminants from the surface prior to final welding, attention needs to be given to preventing contamination during the final welding process. The argon gas flowing from the torch shields the molten weld from oxygen and other gasses in the air that would otherwise readily combine with and contaminate the weld. Something that is often overlooked, however, is the backside of the weld that is still exposed to and contaminated by the air. This leaves you with a weld that is not sound all the way through. This might not seem like a big deal, but when there is less than 1/16 inch of steel separating you from several gallons of fuel, you can see the importance of a weld that is clean all the way through. To shield the backside, I use a combination of two methods. For most welds, I use a special backing tape. This is a 3-inch aluminum tape with a 1-inch woven fiberglass heat-resistant center. This is a trick I learned from my good friend, Fay Butler. His website, faybutler.com, is a good source for this tape. The tape is centered over the weld seam on the backside. When welding, a small amount of argon creeps through the seam and is held by the tape. When the tape is removed after welding, the clean weld shows how effective this method is. The final welds putting the bottom in the tank do not allow access to use the tape. So, for these welds, I purge the inside of the tank with argon. An easy way of doing this is to use a Y fitting, a second valve, and a small hose connected to the welder’s tank. Run the hose into the tank and seal with masking tape. I let the tank fill for a few minutes then I readjust the flow meter to 35 (CFH) then use the valve to restrict flow to the hose to about 15 CFH. This gives you 15 CFH flowing into the tank and 20 CFH at the torch.
Now for the actual welding. Here there are a few common practices that I avoid. First, I always weld a seam continuously from one end to the other. I never use the practice of jumping around welding short stitches at a time. Oftentimes people do this because they feel it minimizes warpage by preventing shrinkage. Anytime you weld, the heat-affected zone shrinks as it cools. This shrinkage is the cause of warpage. I find having so many start and stop points increases chances of missing penetration in spots. By planning weld seams in areas that allow good hammer and dolly access as much as possible, the weld can be stretched back out after it cools. The high-strength motorcycle type shapes are more forgiving to warpage than flatter panels, but this is the same process I routinely use for welding roof skins in ’30s hot rods.
The real key is that the shapes fit together well. If a lot of clamping pressure is needed to force the panels into alignment that can translate into larger amounts of warpage and unpredictable results. A good way of visualizing this is to imagine taking a 3-foot length of steel rod and bending it a small amount at a time along its length until it holds a gentle curve. Now if that piece of rod is heated with a torch in the center and cools, not much happens. Now imagine taking another rod, holding it at each end and flexing it to the same curve. Now a second person heats the center with a torch. In this case a large kink would develop because even though it was on the same curve, the second rod is under stress.
When welding, I try to keep the heat concentrated to get full penetration using minimum heat. I try to keep the tungsten as close as possible and the arc as short as possible without contaminating it in the weld puddle. I set the machine to around 50 amps and by modulating the foot control I am probably using approximately 30-35 amps during welding. When starting out TIG welding, people can have a tendency to hold the tungsten farther away to avoid touching it. This causes the arc/heat to spread out requiring more heat to get penetration.
Another thing to be conscious of is the way filler rod is added. I find the most efficient use of heat is to dip the rod directly into the molten weld puddle. If the rod is allowed to melt and drip off slightly ahead of the weld, more heat will be required to melt this in and get full penetration. I use approximately 8-10 inches of filler rod per 12 inches of weld. Using too little filler rod will leave an undercut weld that is thinner and weaker than the surrounding metal. If too much filler rod is used, and the excess is not ground off, small valleys will appear on either side of the weld after hammer and dollying and are difficult to sand out. After the weld cools, both sides are again wire-wheeled to remove oxides that can mark hammers, dollies, planishing dies, etc. The weld is planished by machine or hand hammer and dolly. If all steps have gone as planned, the resulting weld will have full penetration, any distortion will be relieved, and the weld bead will be even or barely above the metals surface.
I always recommend pressure-testing tanks when finished. I use a small paintgun regulator set low (probably 5 psi or so) to pressurize the tank and submerge in a tub of water. The last thing to consider is to be selective in who you have do the paint prep. It doesn’t take long for someone who is overly aggressive with a grinder to weaken a corner or other areas on a tank. Remember this is thin sheetmetal. It is strong but thin spots give it a reason to fail. Make sure the person is experienced with tanks not just automotive parts.
I hope some of this information is helpful for those of you starting out with sheetmetal projects. With practice and experience as you continue to weld you will find techniques and tricks that work best for you. HB
Weld, weld, weld
If you’re looking to do your own welding and need equipment, with some light research you’ll find welders come in all sorts of shapes, sizes, configurations, applications, prices, etc. Here are two welders from HTP that can get you started in the right direction to melting metal together in your own garage.
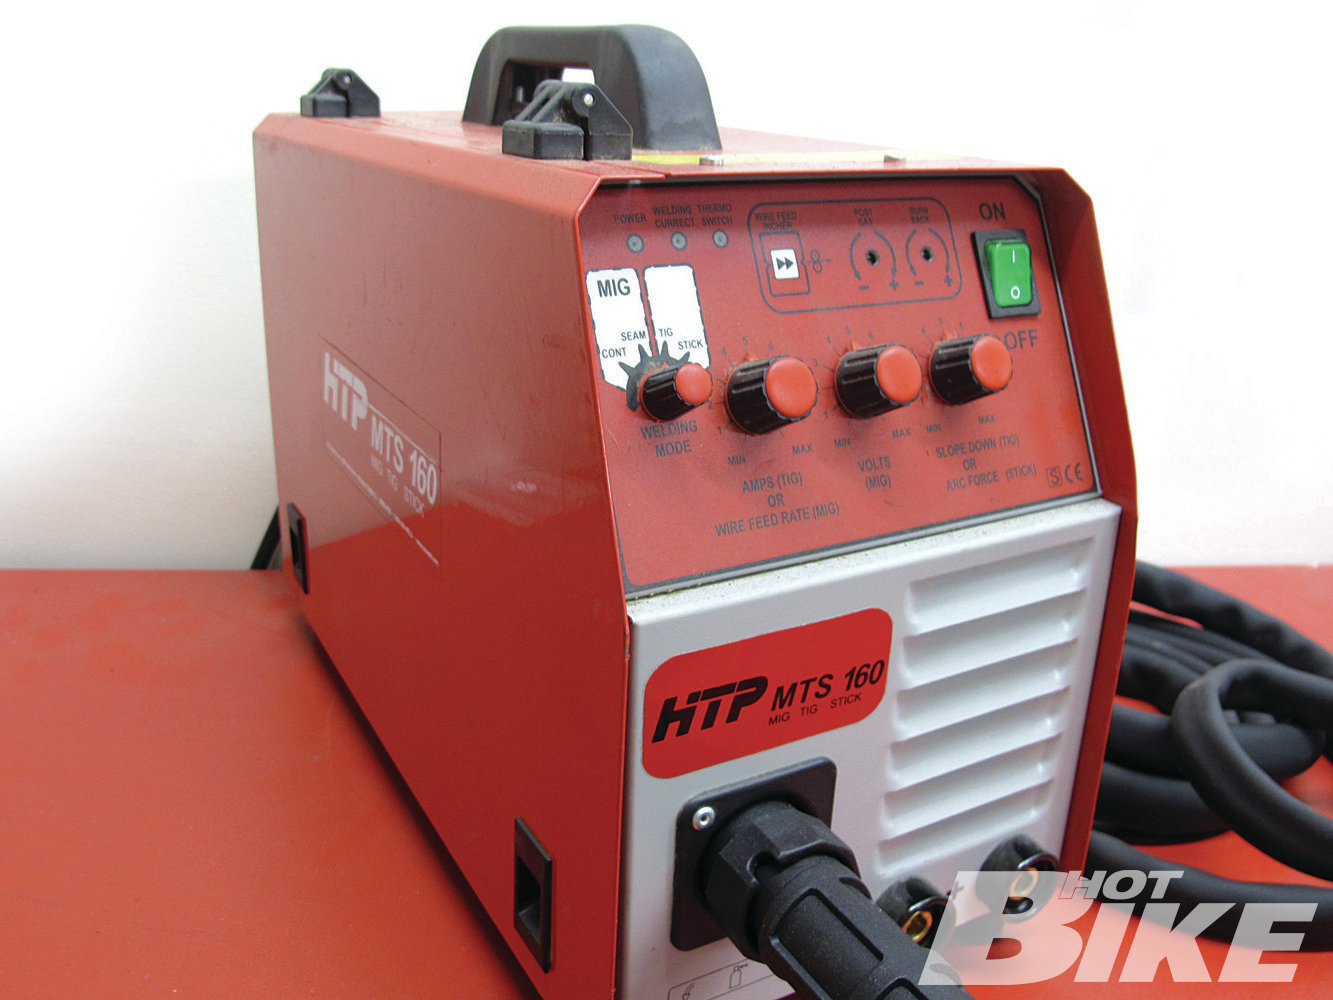
HTP MTS 160 Sale Price of $1,199
Just by looking at the side of this compact box, you notice right off the bat this little buzzer is feature packed. Capable of tackling many welding jobs and handling MIG, TIG, or Stick (hence the MTS moniker) welding, this 39-pound, 16-1/2-inch–long, 8-1/4-inch-wide, and 13-1/4-inch–tall machine is perfect for the confines of a garage workshop, and essentially gives you three welders in one. The advanced inverter power source will run on a 20-amp 220-volt single phase outlet, and the machine has a duty cycle of 40 percent at 160 amps. It welds both solid and flux-core wires in MIG mode, and can weld steel, stainless steel, and 4130 chrome moly tubing in the DC lift arc mode. Just about the only drawback is that it doesn’t TIG weld aluminum.
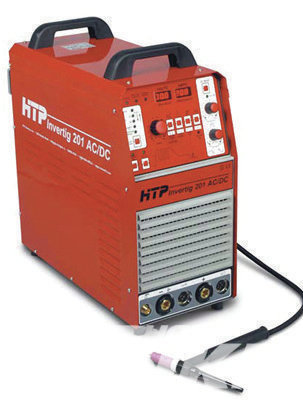
HTP Invertig 201 AC/DC Sale Price of $2,395
If you know you’re going to be doing a lot of TIG welding on thin aluminum, then the Invertig 201 might be just what you need. Slightly larger than the MTS but still rather compact, this machine measures in at 20 inches long, 9 1/2 inches wide, and 21 inches tall. With its advanced inverter technology, HTP is able to get 200 amps of welding power while only pulling 30 amps from the wall, making it very energy efficient. HTP states that compared to competitive transformer machines, the Invertig 201 produces 10 percent more welding current while using 60 percent less electricity. Inverter technology produces a smooth, stable arc, making intricate work on mild steel, chrome moly, and stainless steel a breeze. And with the variable frequency in AC, the machine produces excellent results when welding thin aluminum. When it comes to conventional arc welding, the lift arc mode in conjunction with the foot pedal makes it much easier to strike your arc without sticking the electrode.
Source:
Hardison Metal Shaping LLC
(503) 936-1079 | hardisonmetalshaping.com
HTP America, Inc.
USAWeld.com


