
Triple-Digit Displacement | Kuryakyn 103ci Hop-up, Part 2
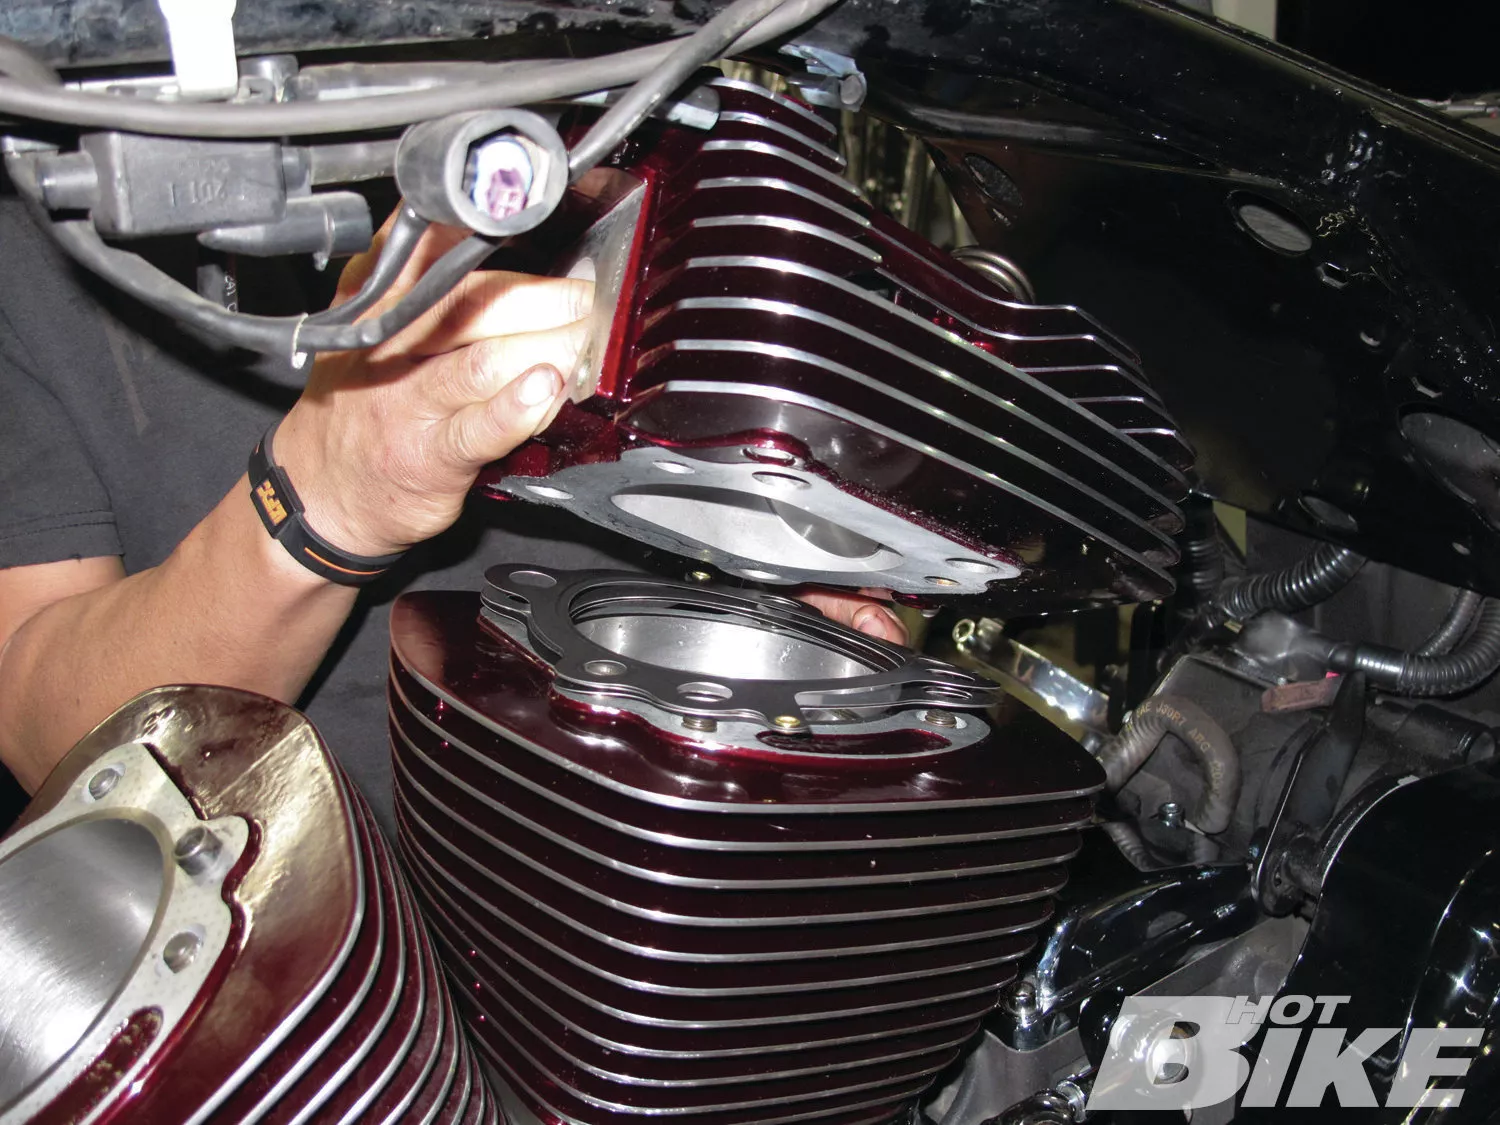
1 We left off last issue with Kazoo about to install the heads. After setting up the squish (see sidebar) Kazoo installed Cometic Multi Layer Steel (MLS) head gaskets and then installed the heads. The MLS gaskets are made up of three layers of stainless steel. The outer layers are embossed in a 0.001-inch–thick viton rubber to help provide a quality seal and corrosion resistance.
01. We left off last issue with Kazoo about to install the heads. After setting up the squish (see sidebar) Kazoo installed Cometic Multi Layer Steel (MLS) head gaskets and then installed the heads. The MLS gaskets are made up of three layers of stainless steel. The outer layers are embossed in a 0.001-inch–thick viton rubber to help provide a quality seal and corrosion resistance.

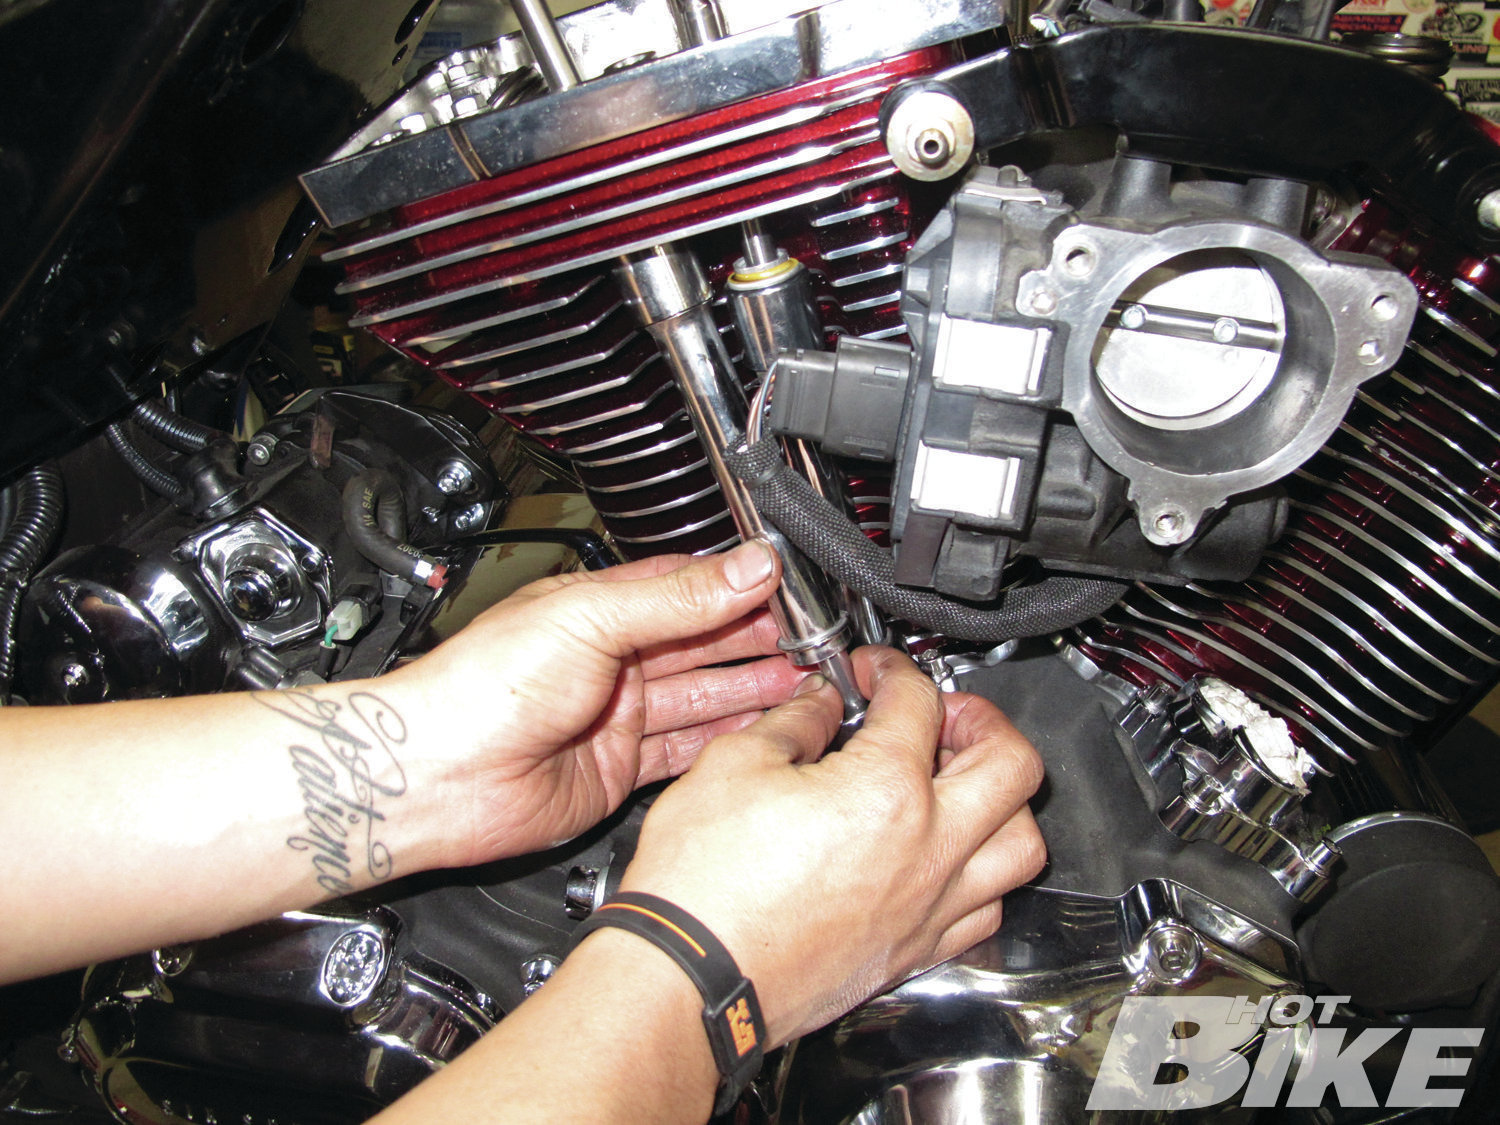
02. After both heads were torqued to spec, Kazoo re-installed the stock throttle body.
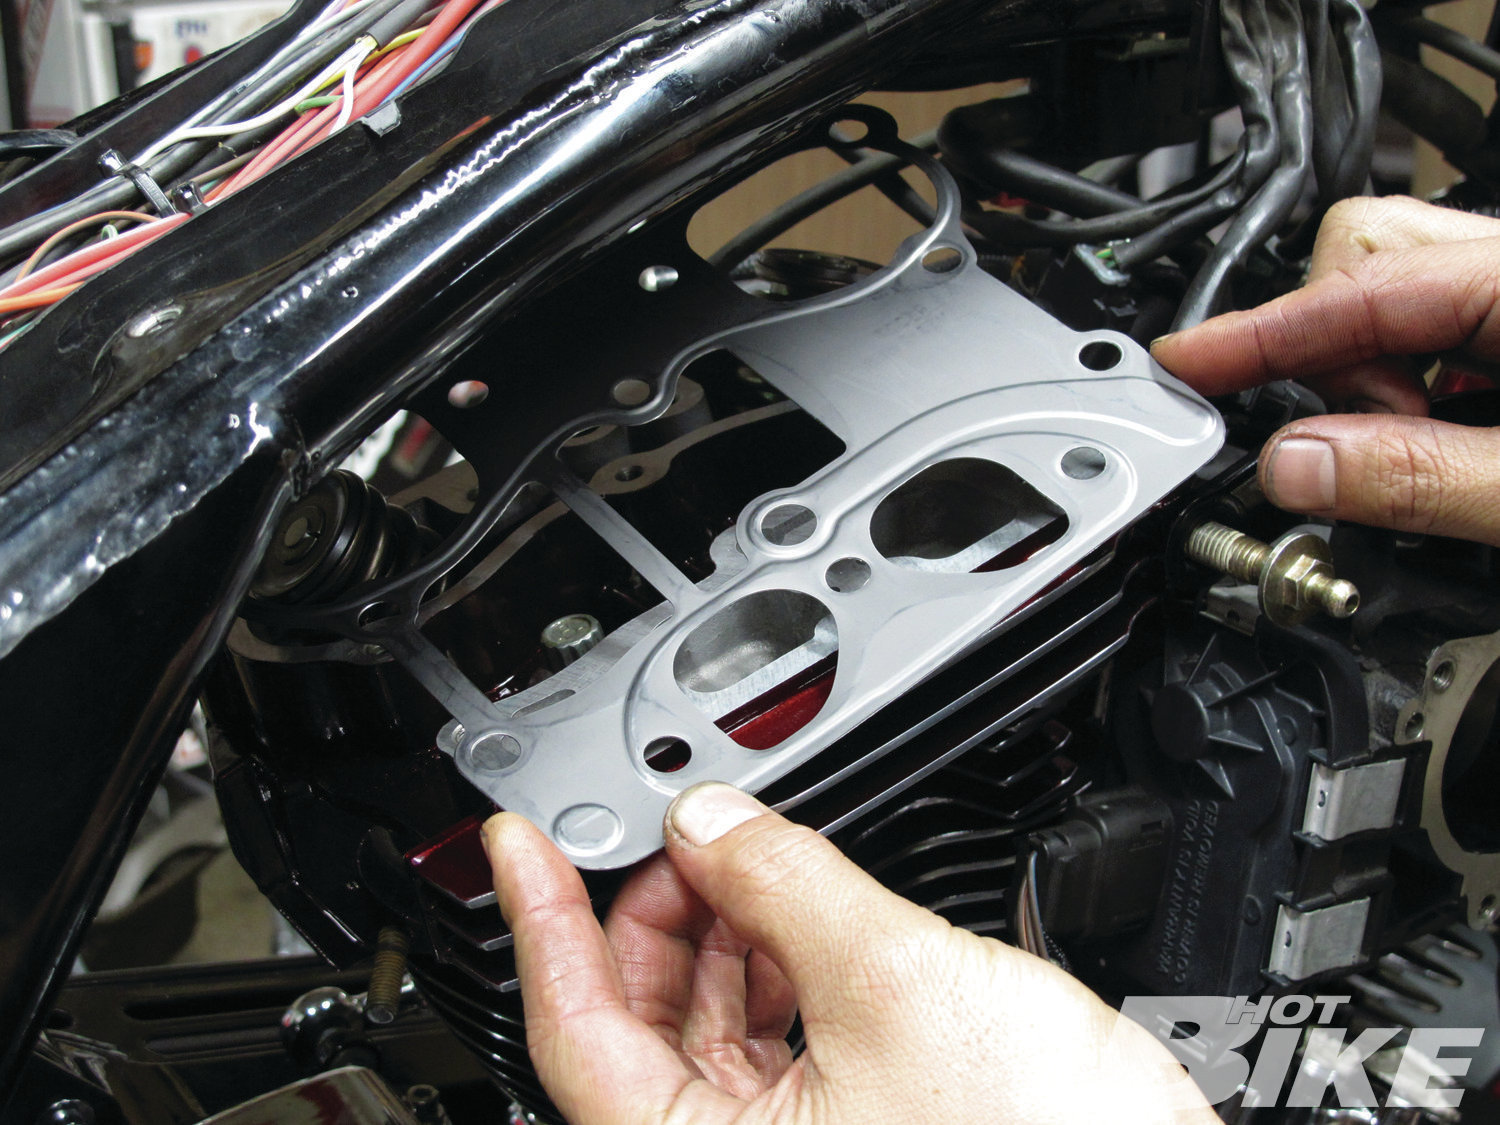
03. Then moving back to the heads, Kazoo placed the rocker arm housing gaskets on top of the heads.
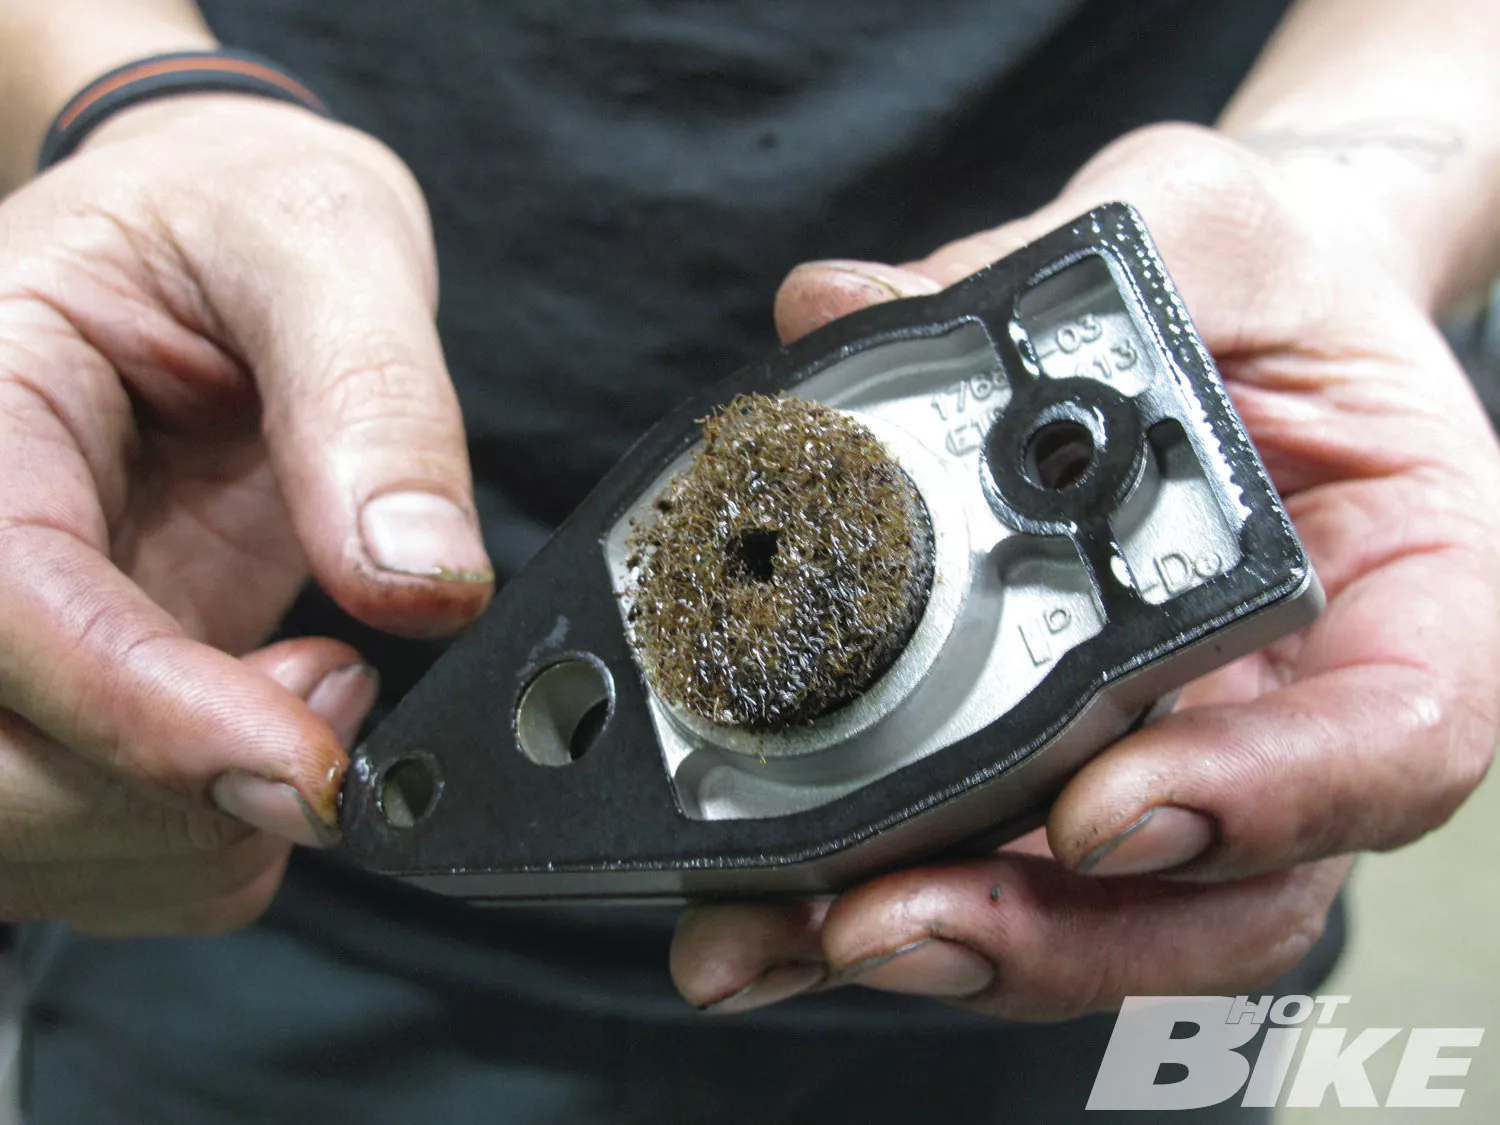
04. The gasket kit came with new breather filters, umbrella valves, and gaskets. So the stock filter element and umbrella valves were discarded, and the gasket surface of the breather baffles and breather covers were cleaned up.
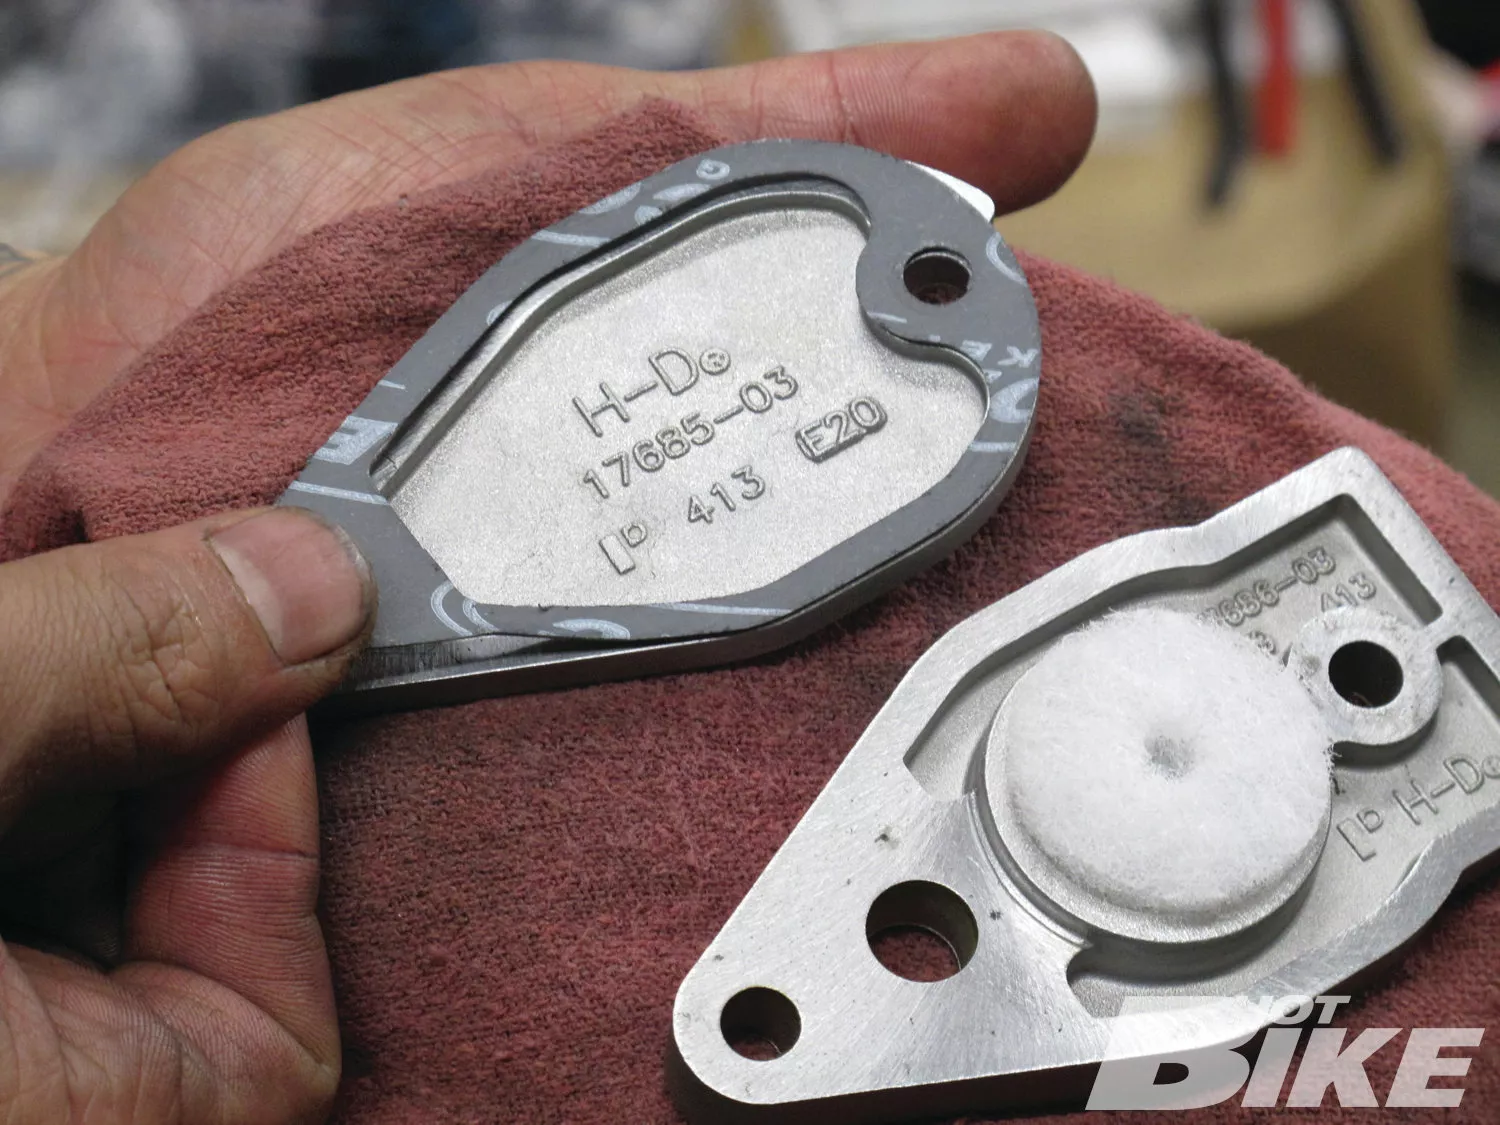
05. Kazoo then installed new umbrella valves, filter elements, and gaskets and reassembled the breathers.
06. The lower rocker box housings were then installed and adjustable pushrods were slipped into position.
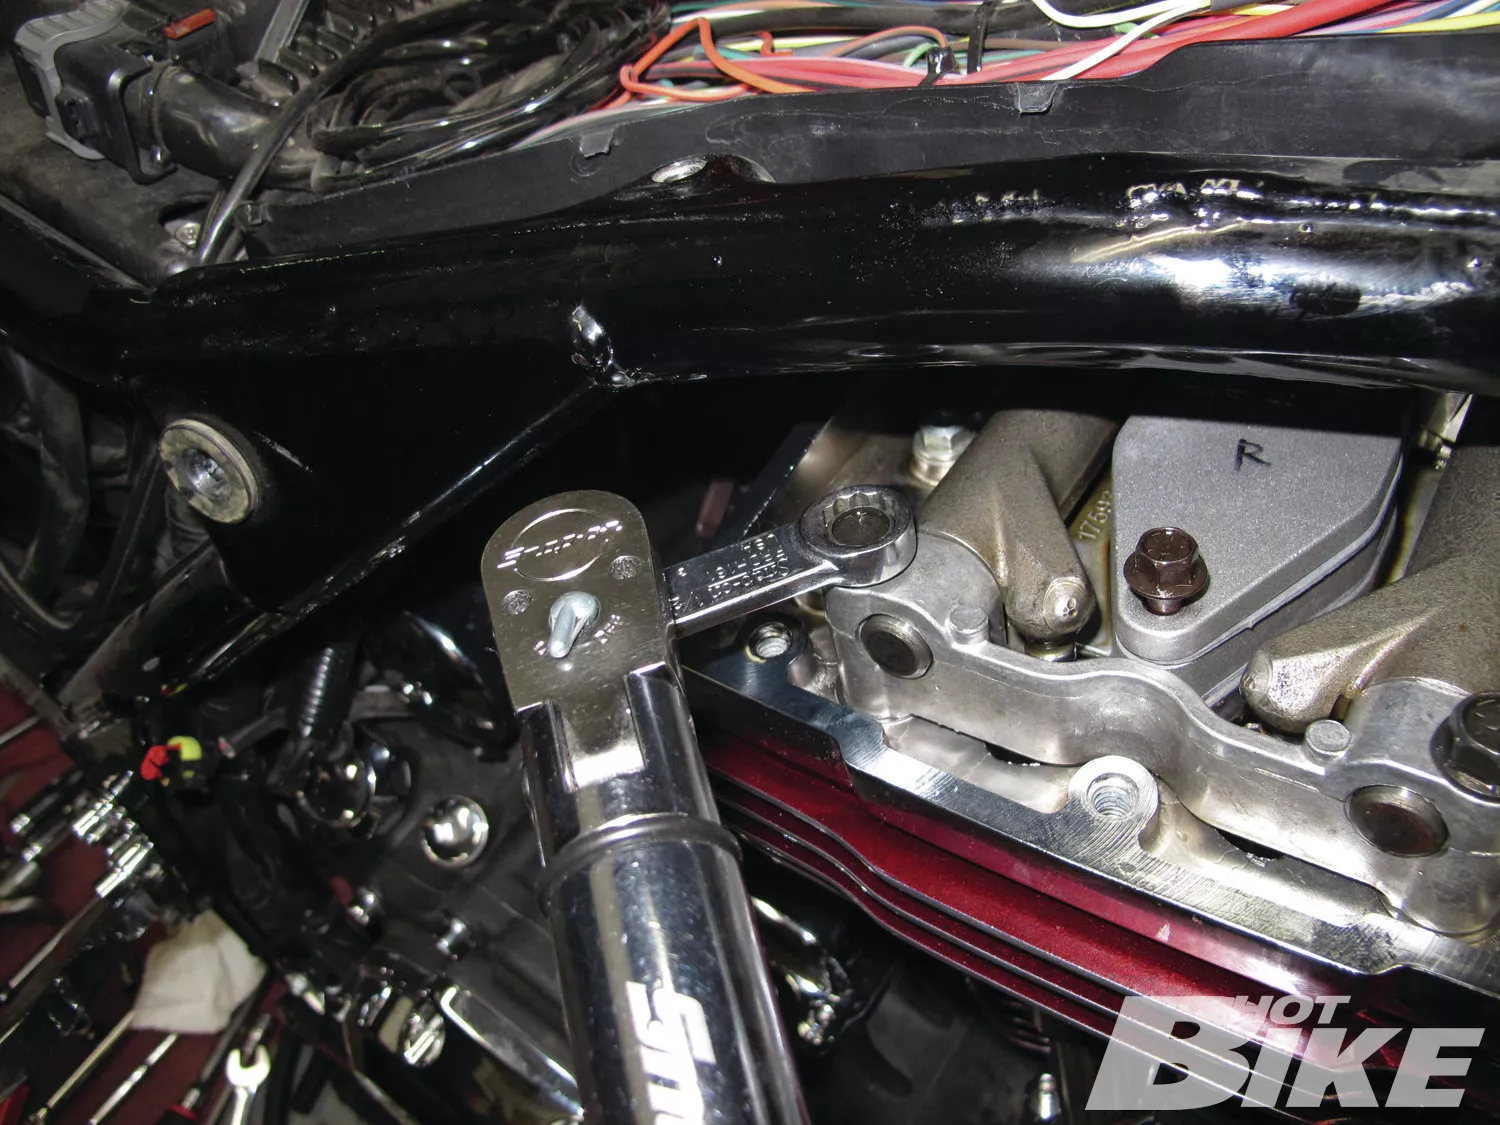
07. Kazoo then installed the rocker arm supports and breather valve assemblies and torqued them to spec. As we mentioned earlier, since he was installing such high-lift cams, he made sure there were no issues with clearance or coil bind.

08. With the upper rocker box housings in place and torqued and the pushrods properly adjusted, the engine build portion was complete.
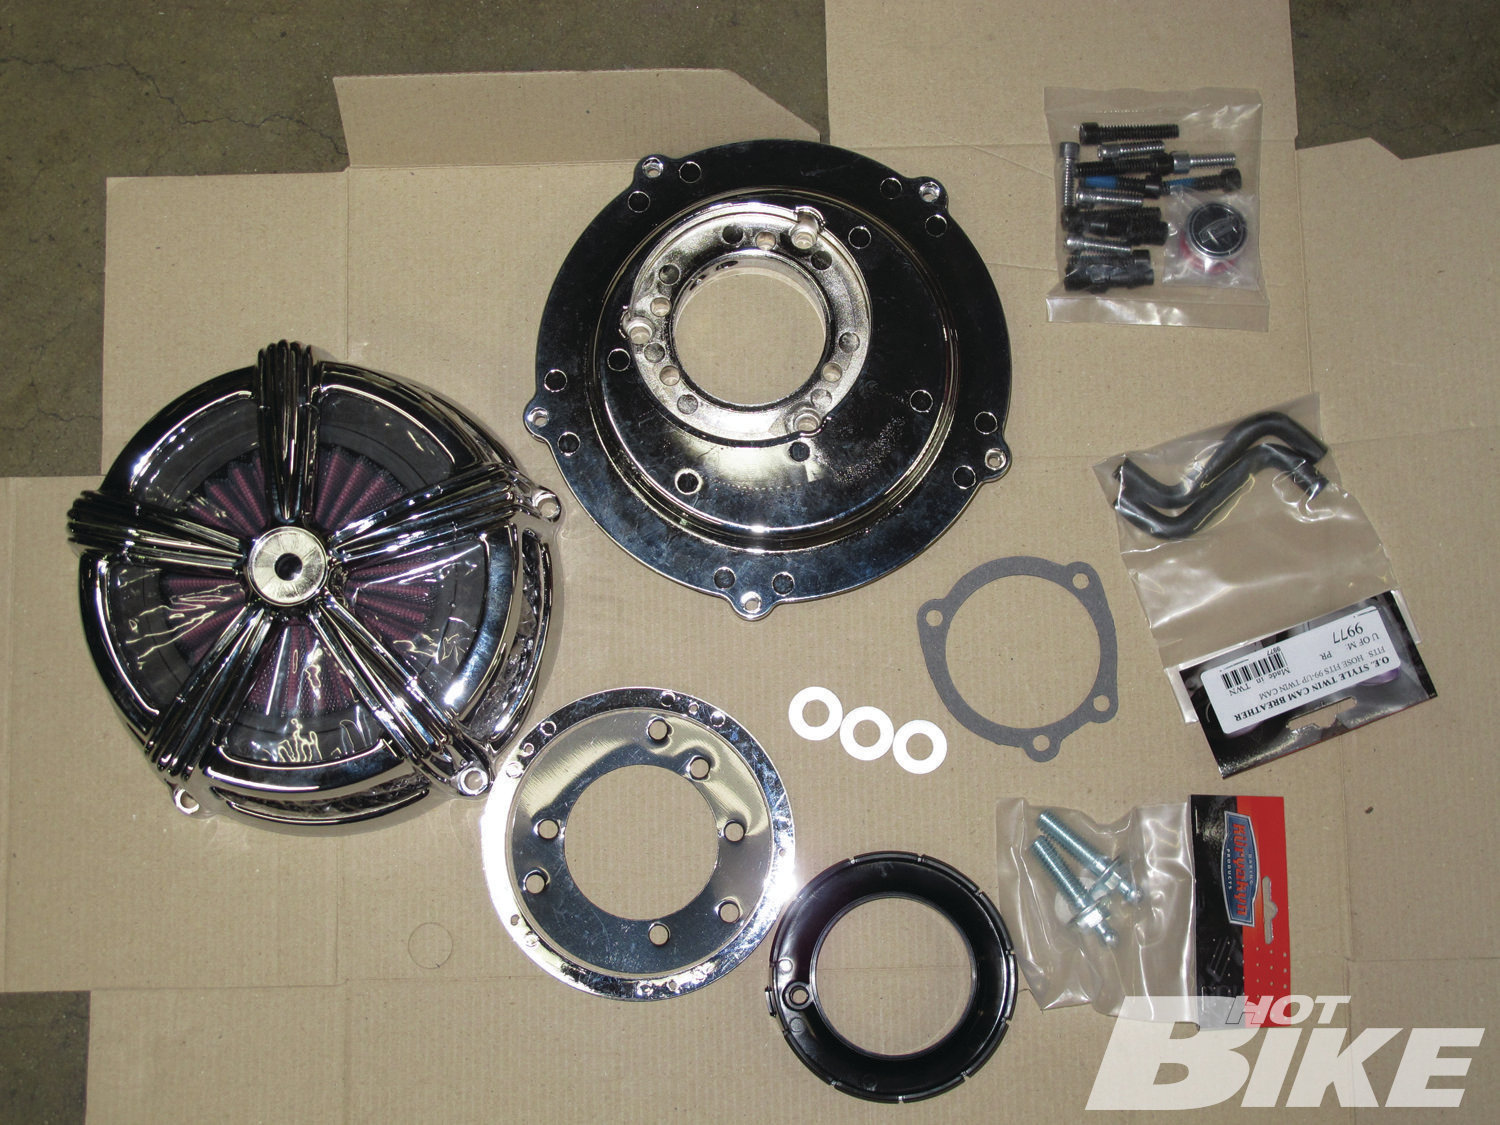
09. Kazoo then turned his attention to installing the Hi-Five Mach 2 intake kit. The kit comes with everything needed for installation: outer cover, high-flow filter, backing plate, hardware, breather hoses, breather bolts, air lock ring, dual velocity ring, and support bracket (not shown).
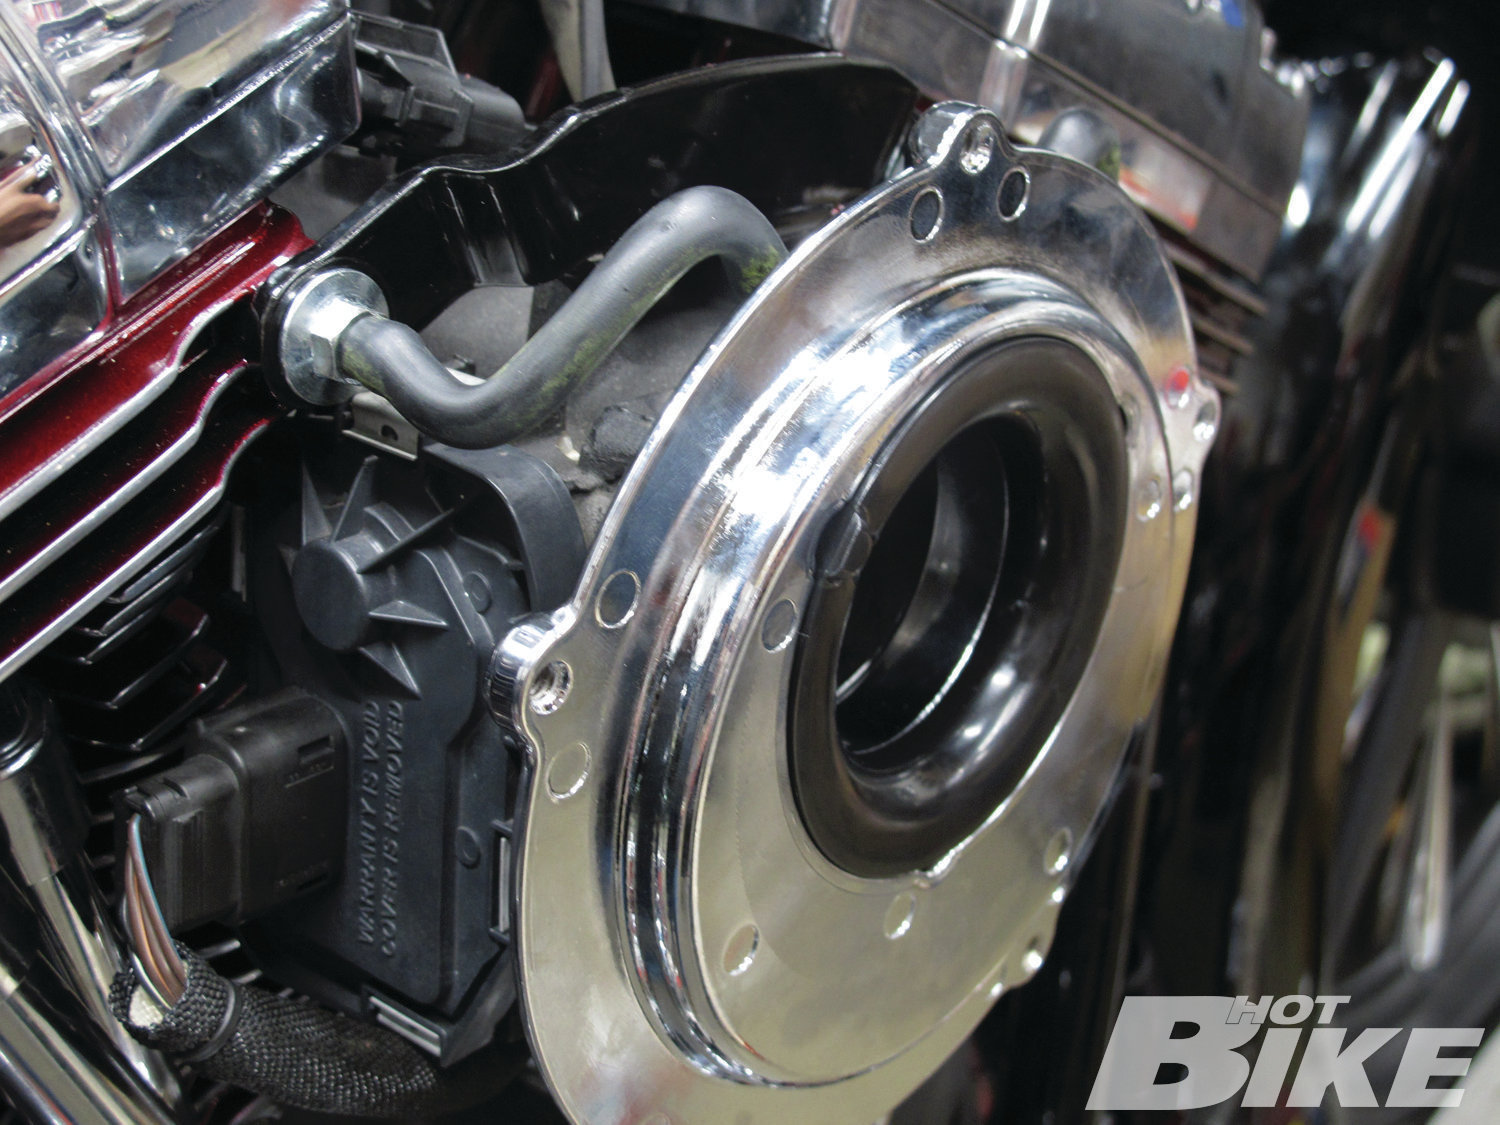
10. Following the instructions, Kazoo installed the throttle body gasket, support bracket (the owner’s support bracket was used), breather bolts, air lock ring, backing plate, and dual velocity ring. The breather hoses were popped onto the breather bolts and routed to fittings on the back of the backing plate.
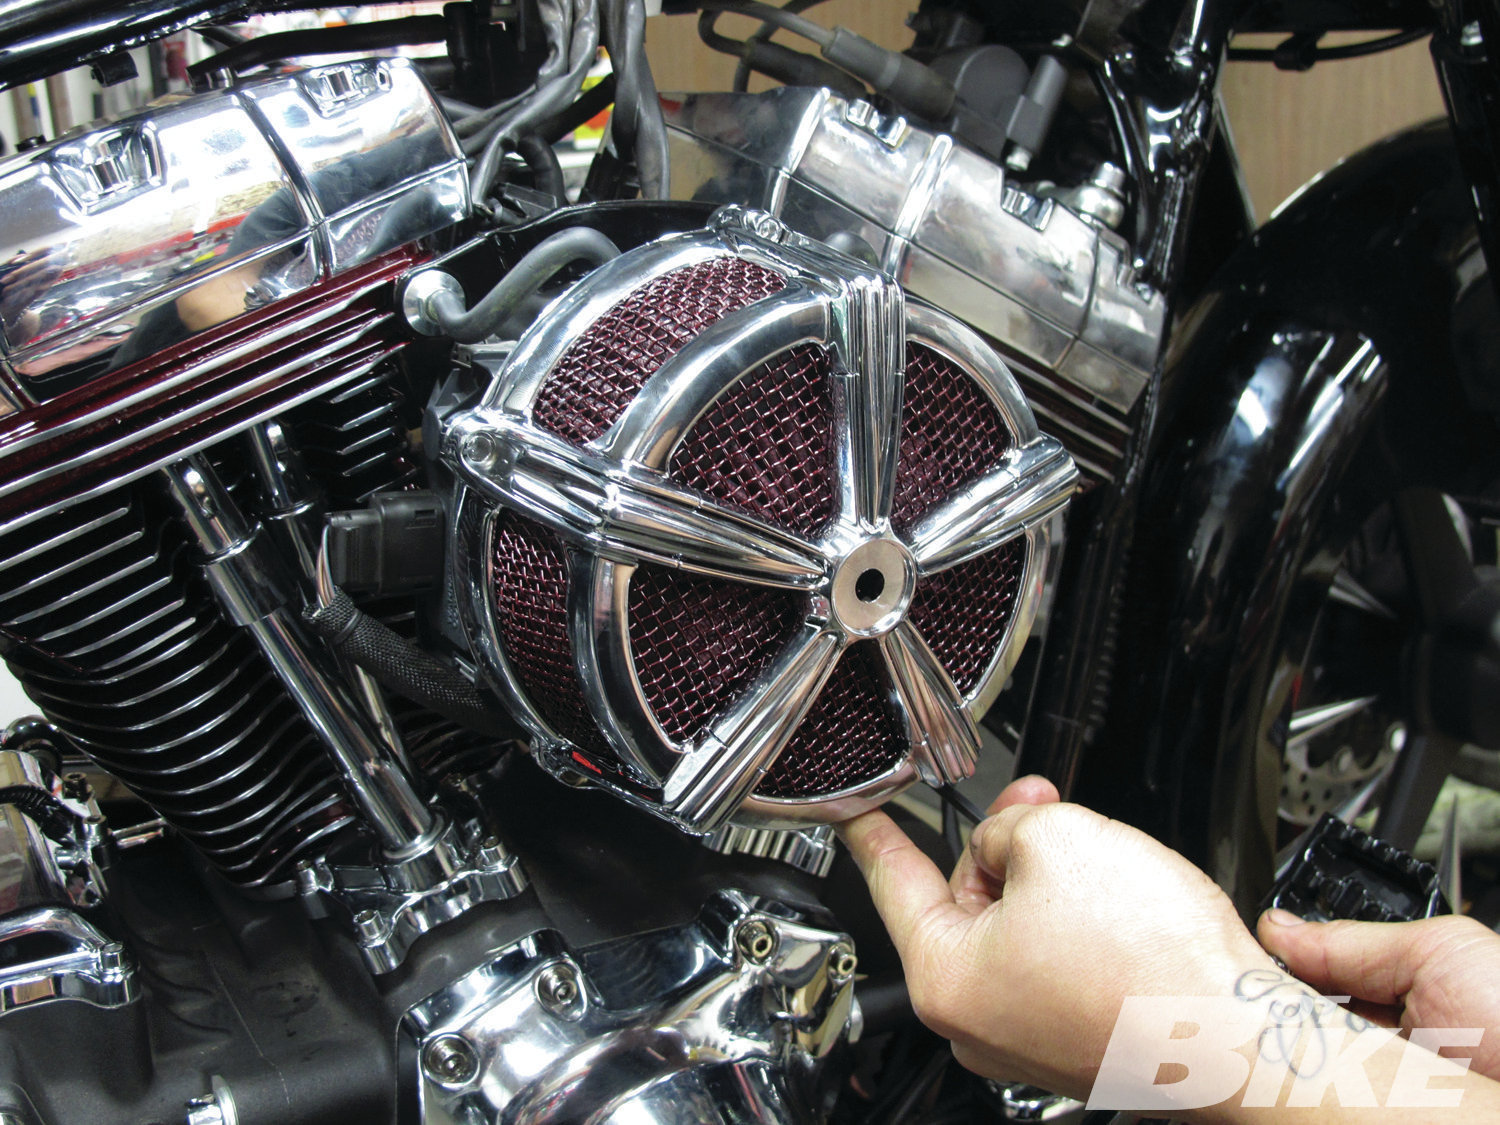
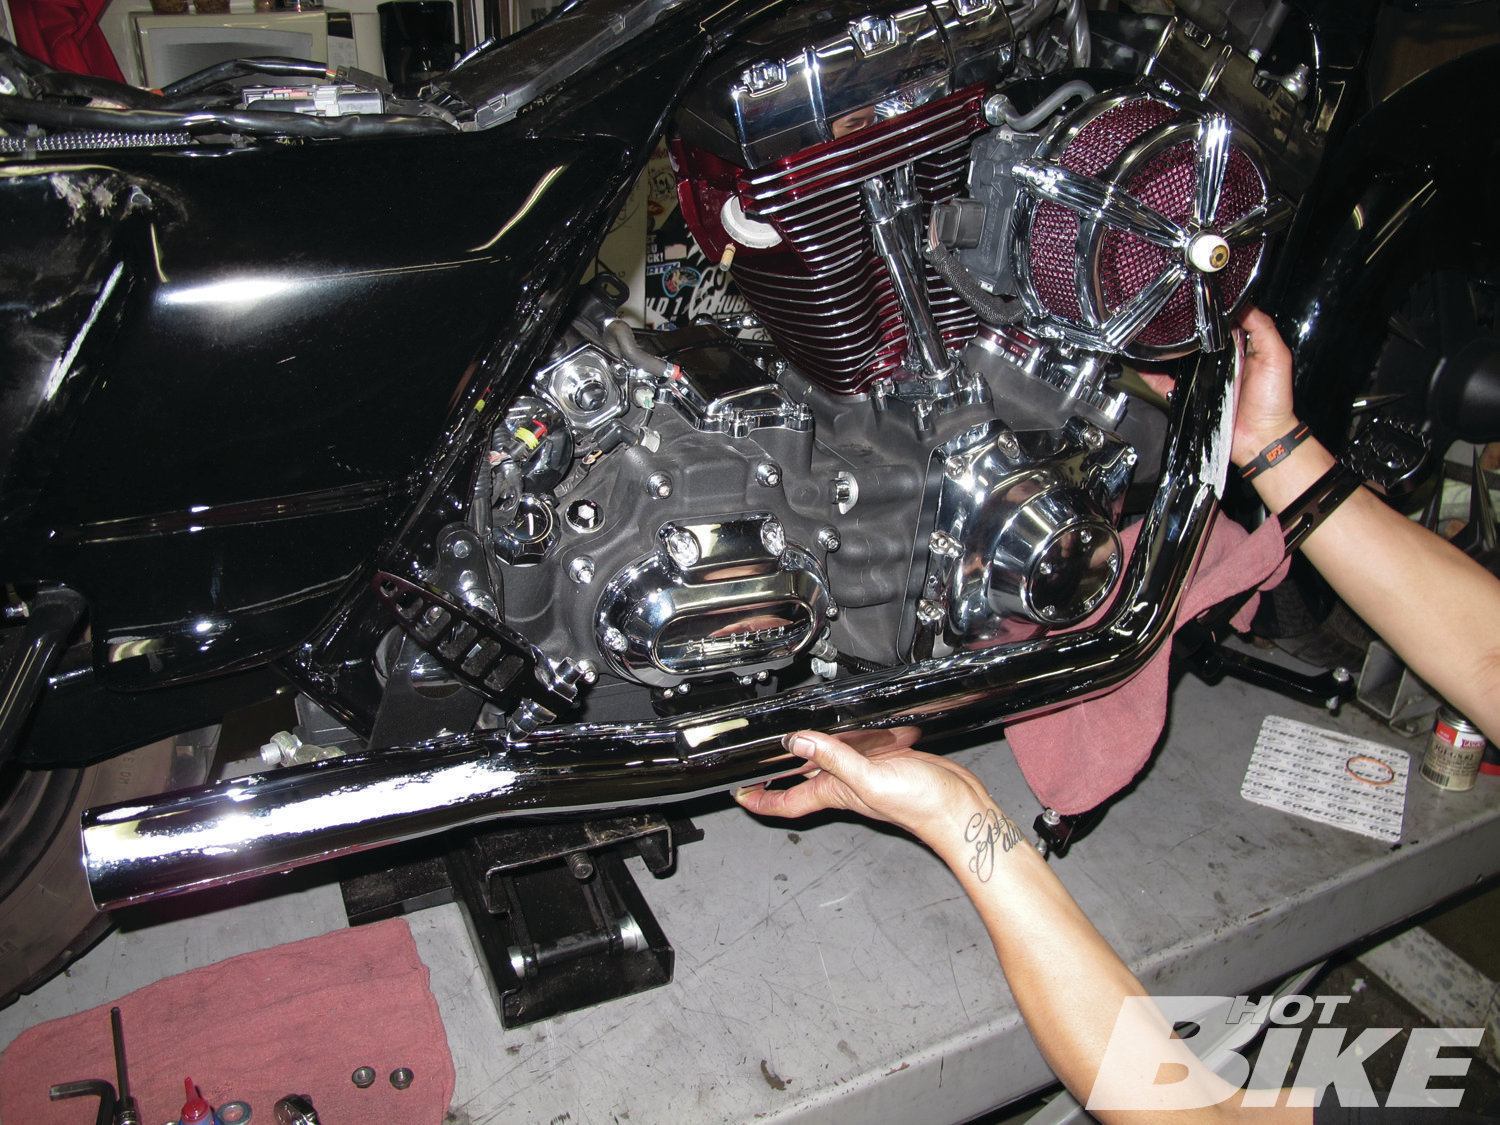
11. The filter element, mesh screen, and outer cover were then installed. Küryakyn provides a chrome screen, but the owner had the screen powdercoated Charcoal Burgundy to match his cylinders and heads.
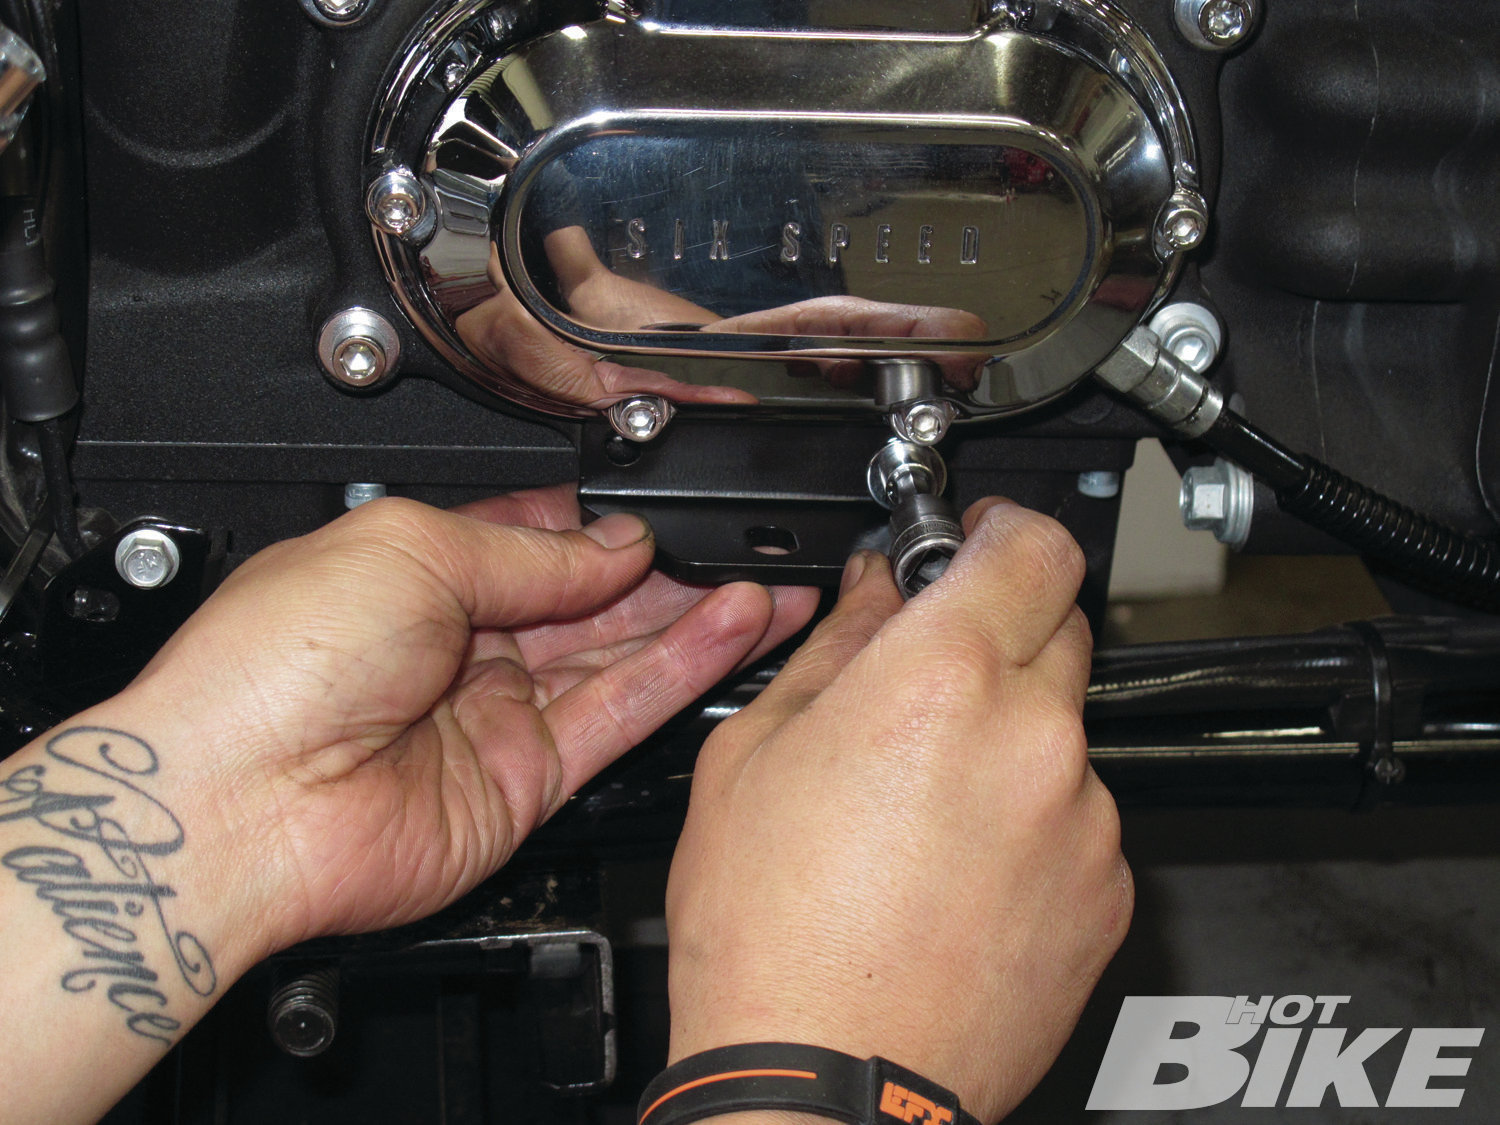
12. With the air cleaner buttoned up, Kazoo moved on to installing the exhaust. He started by installing an exhaust bracket to the bottom of the transmission for the front cylinder header.
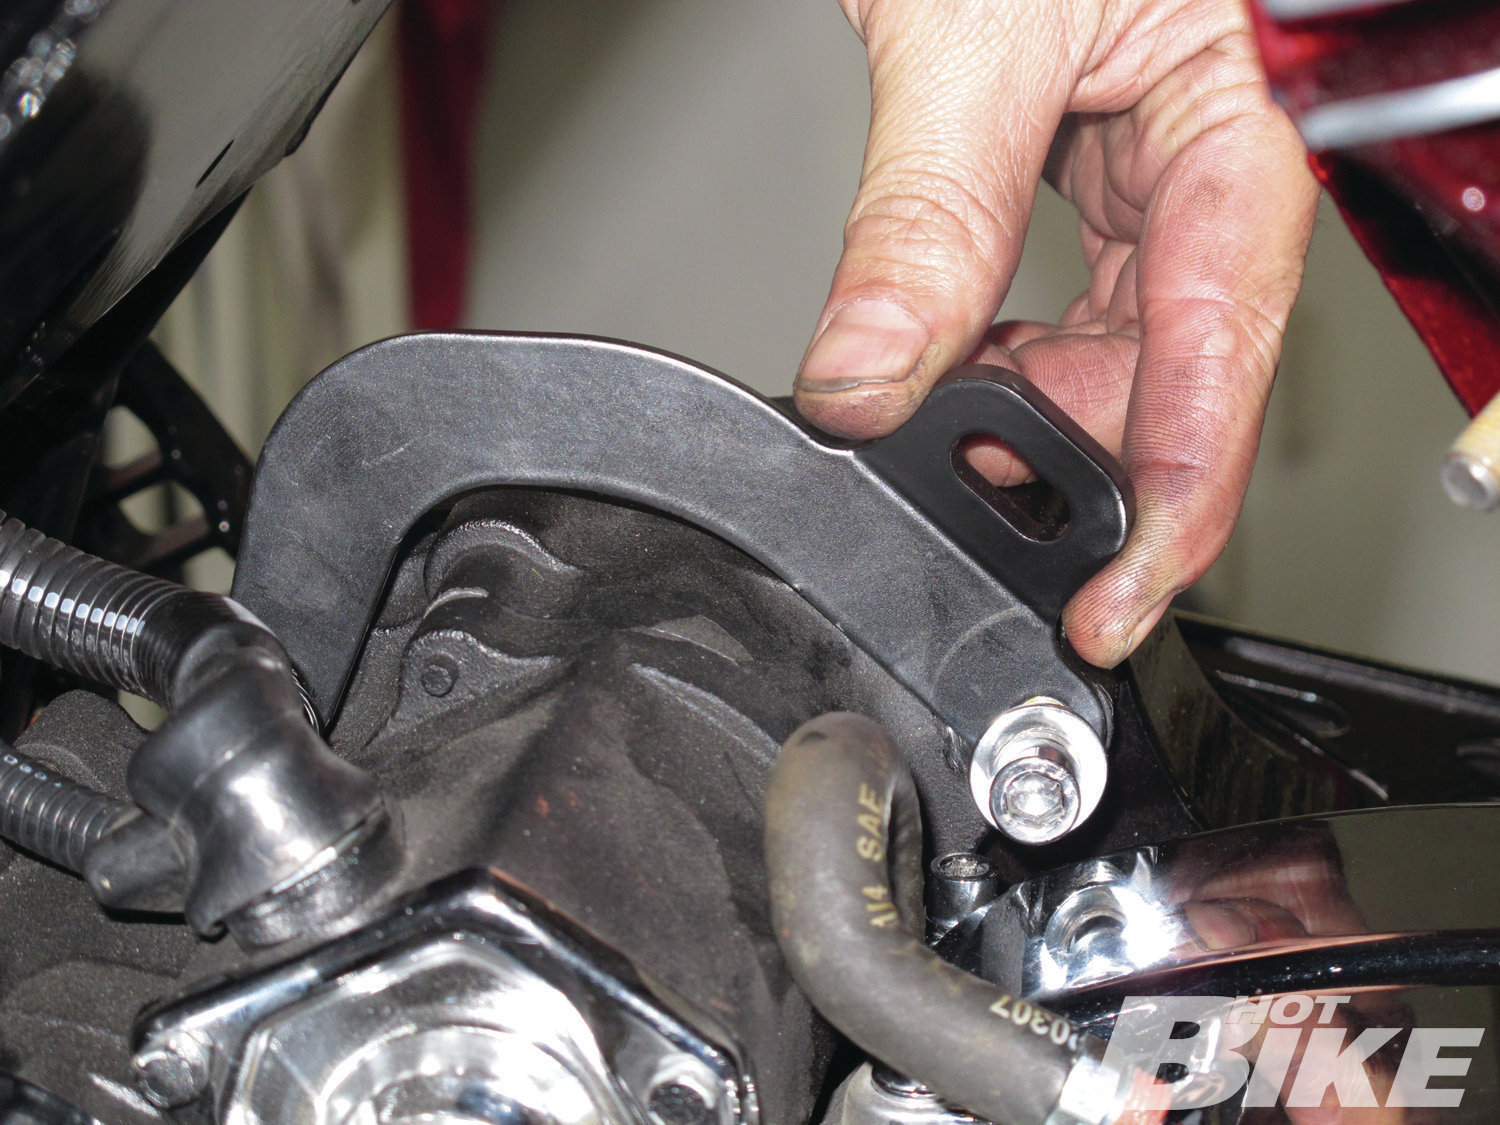
13. A bracket for the rear cylinder header was then bolted to the starter.
14. Kazoo then followed the instructions for installing the heat shields and heat shield clamps.
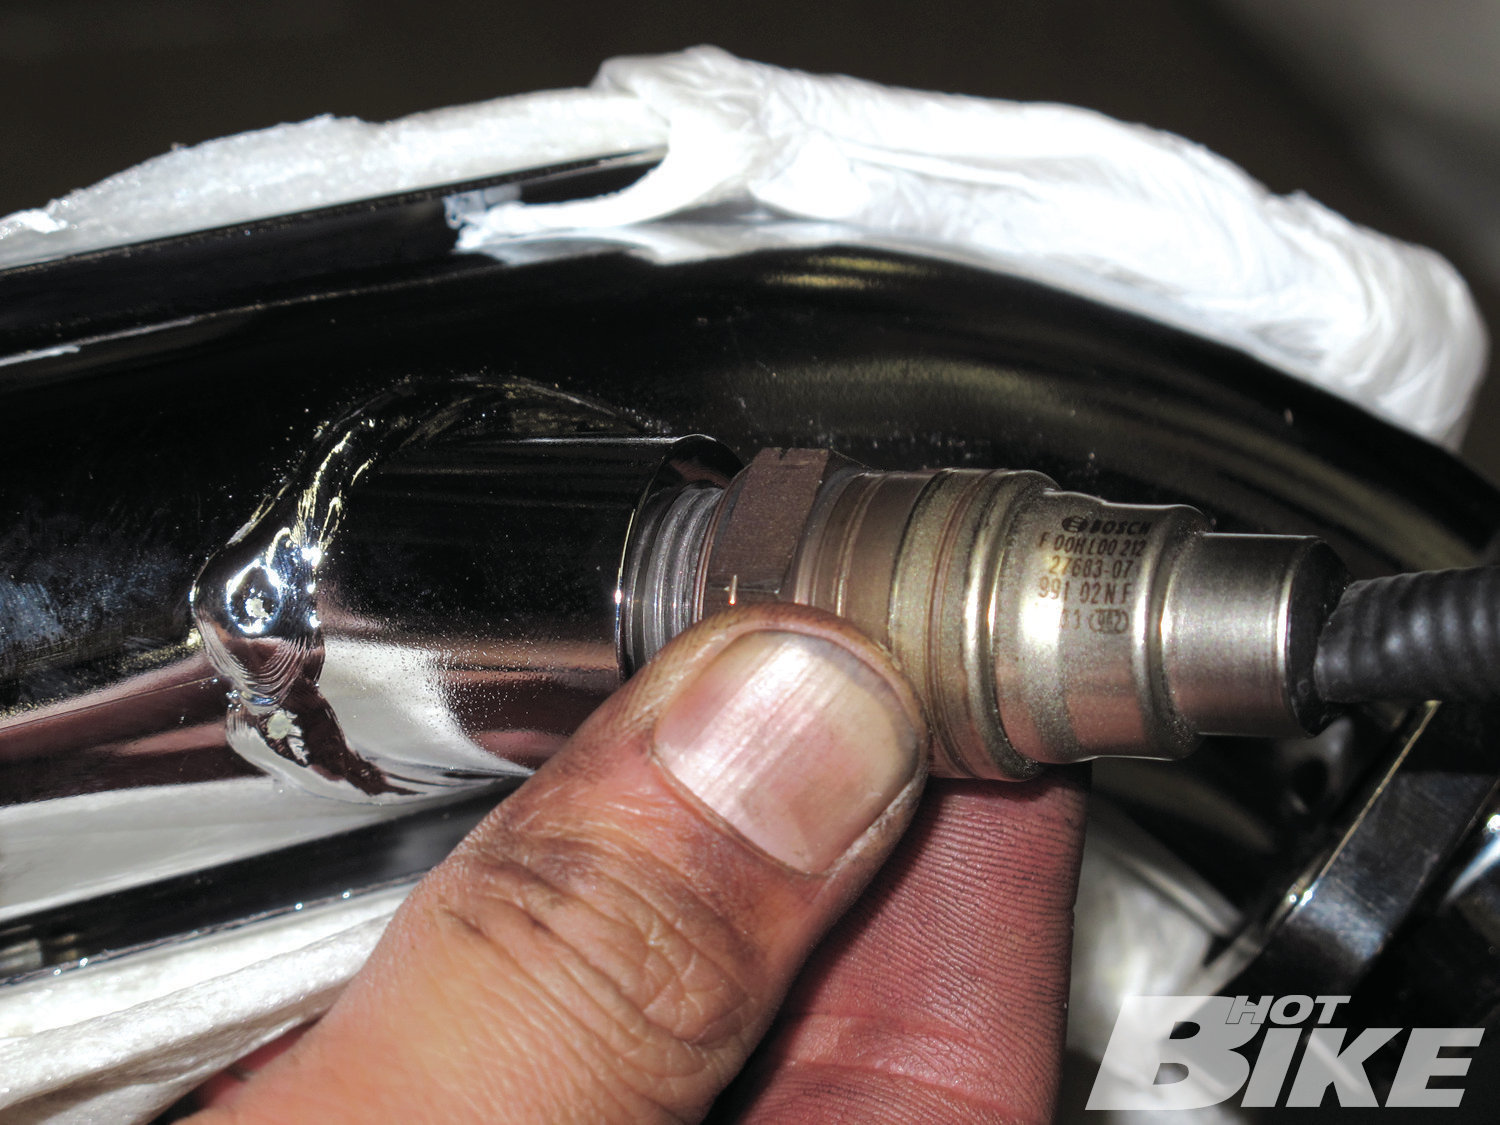
15. He then applied some anti-seize to the threads of the stock O2 sensors and threaded them into the headers.
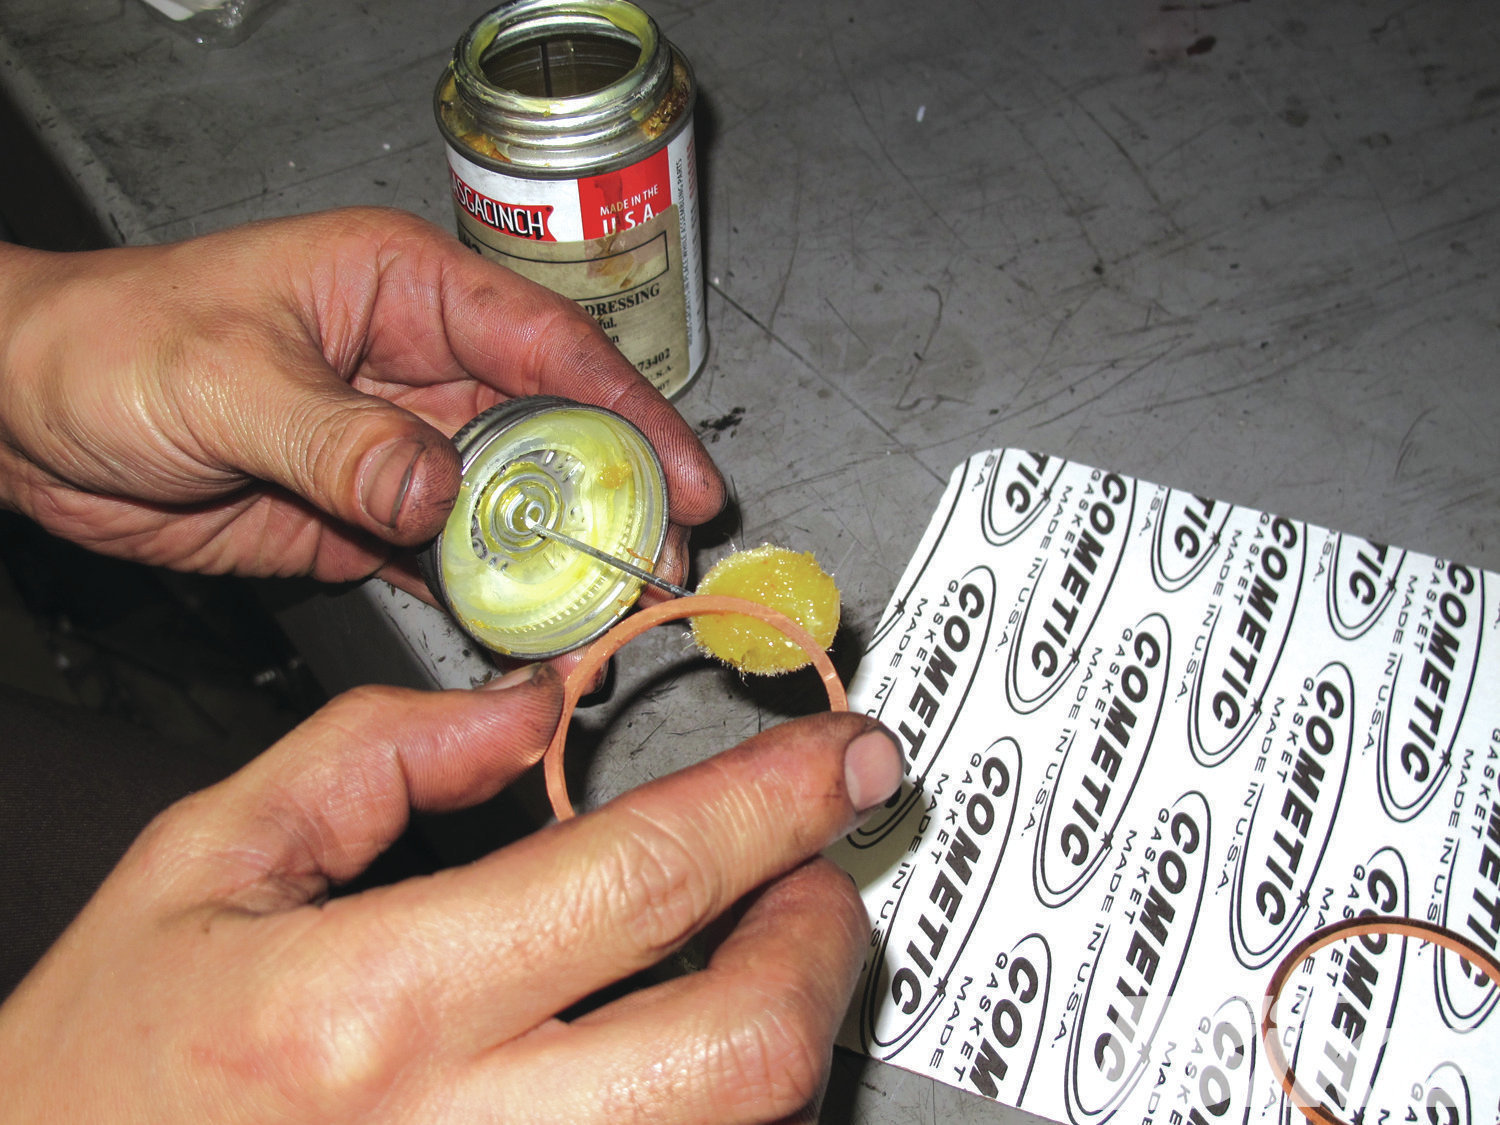
16. Next, he applied some GasGacinch Gasket Sealer to the supplied Wild Things Cometic copper exhaust gaskets. Küryakyn uses these gaskets because they will not crush and squeeze into the exhaust port, restricting flow and possibly reducing power like mesh type gaskets can.
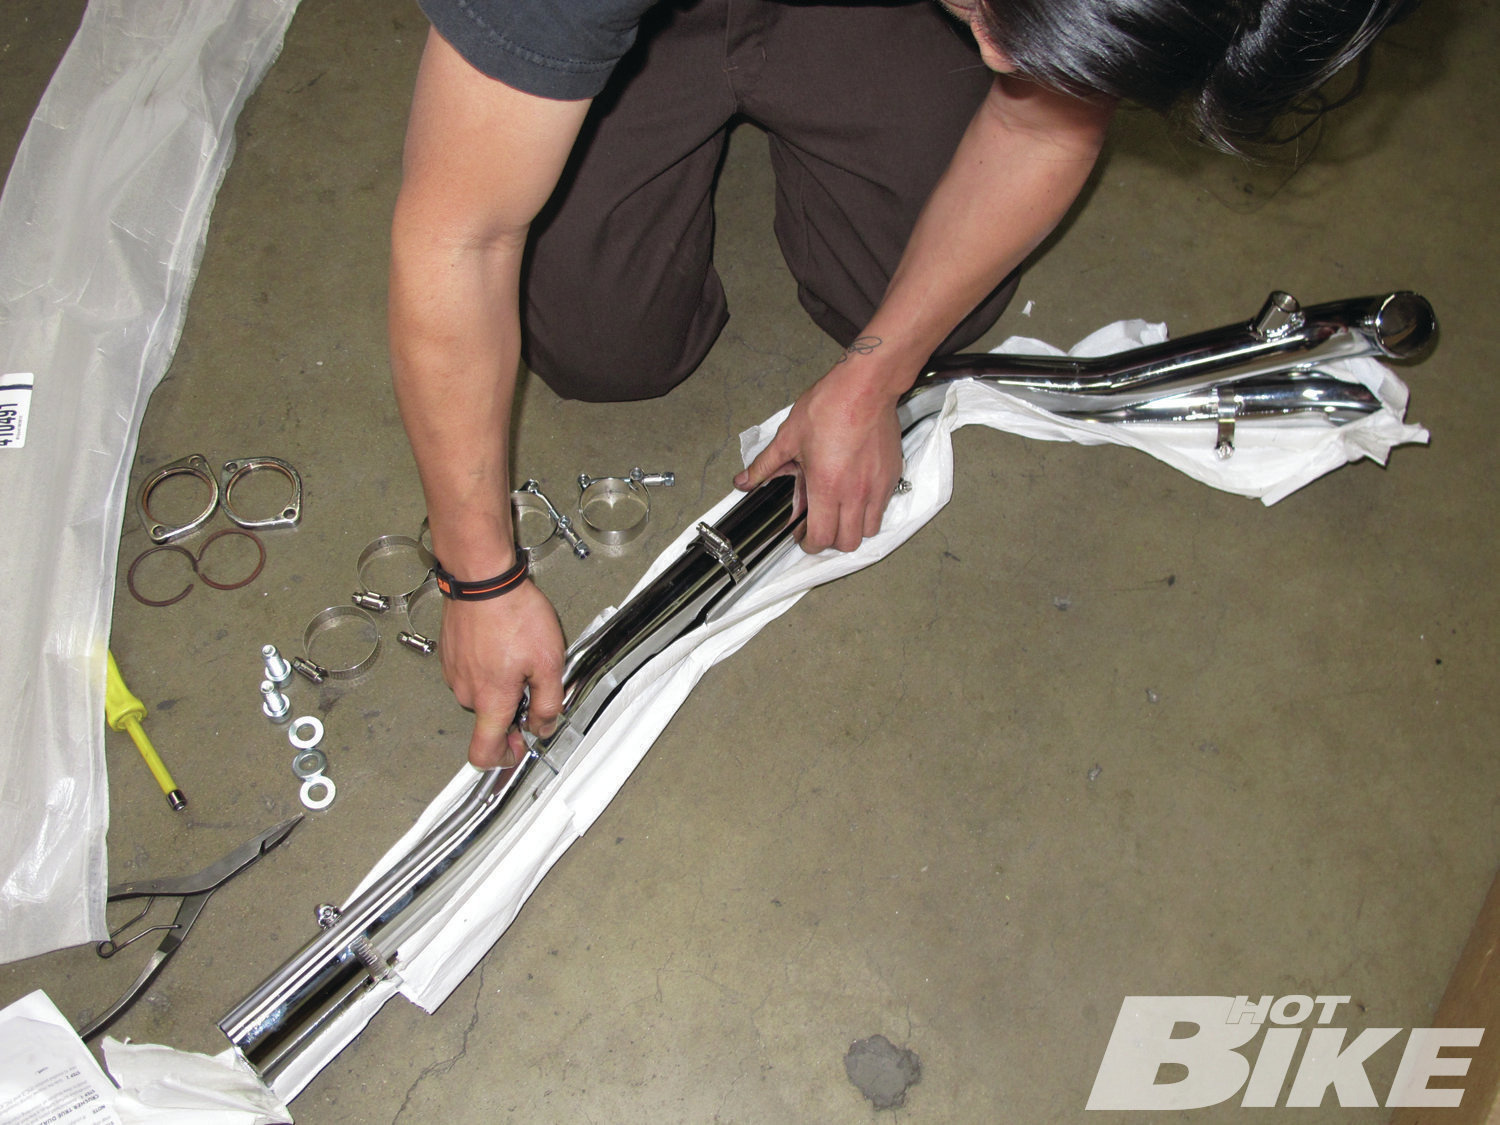
17. After installing the exhaust gaskets into the exhaust ports and slipping the stock exhaust clamps and retaining clips on, Kazoo installed the head pipes.
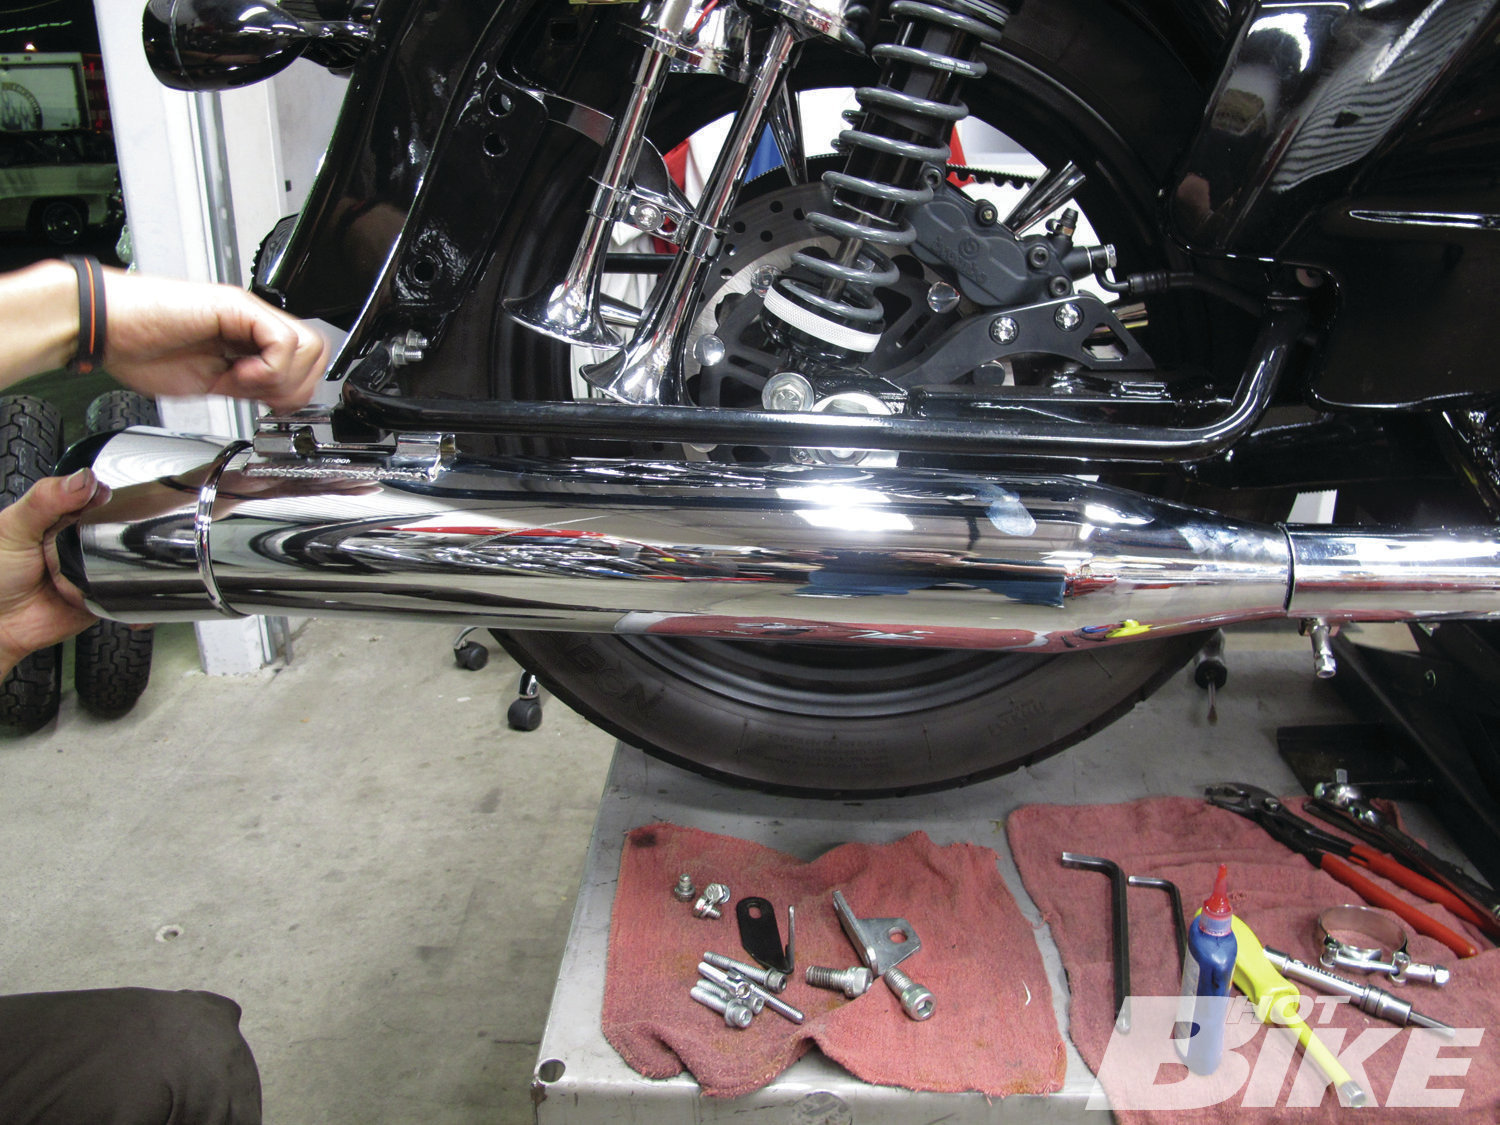
18. He then slipped on the Crusher Mufflers and tightened everything down.
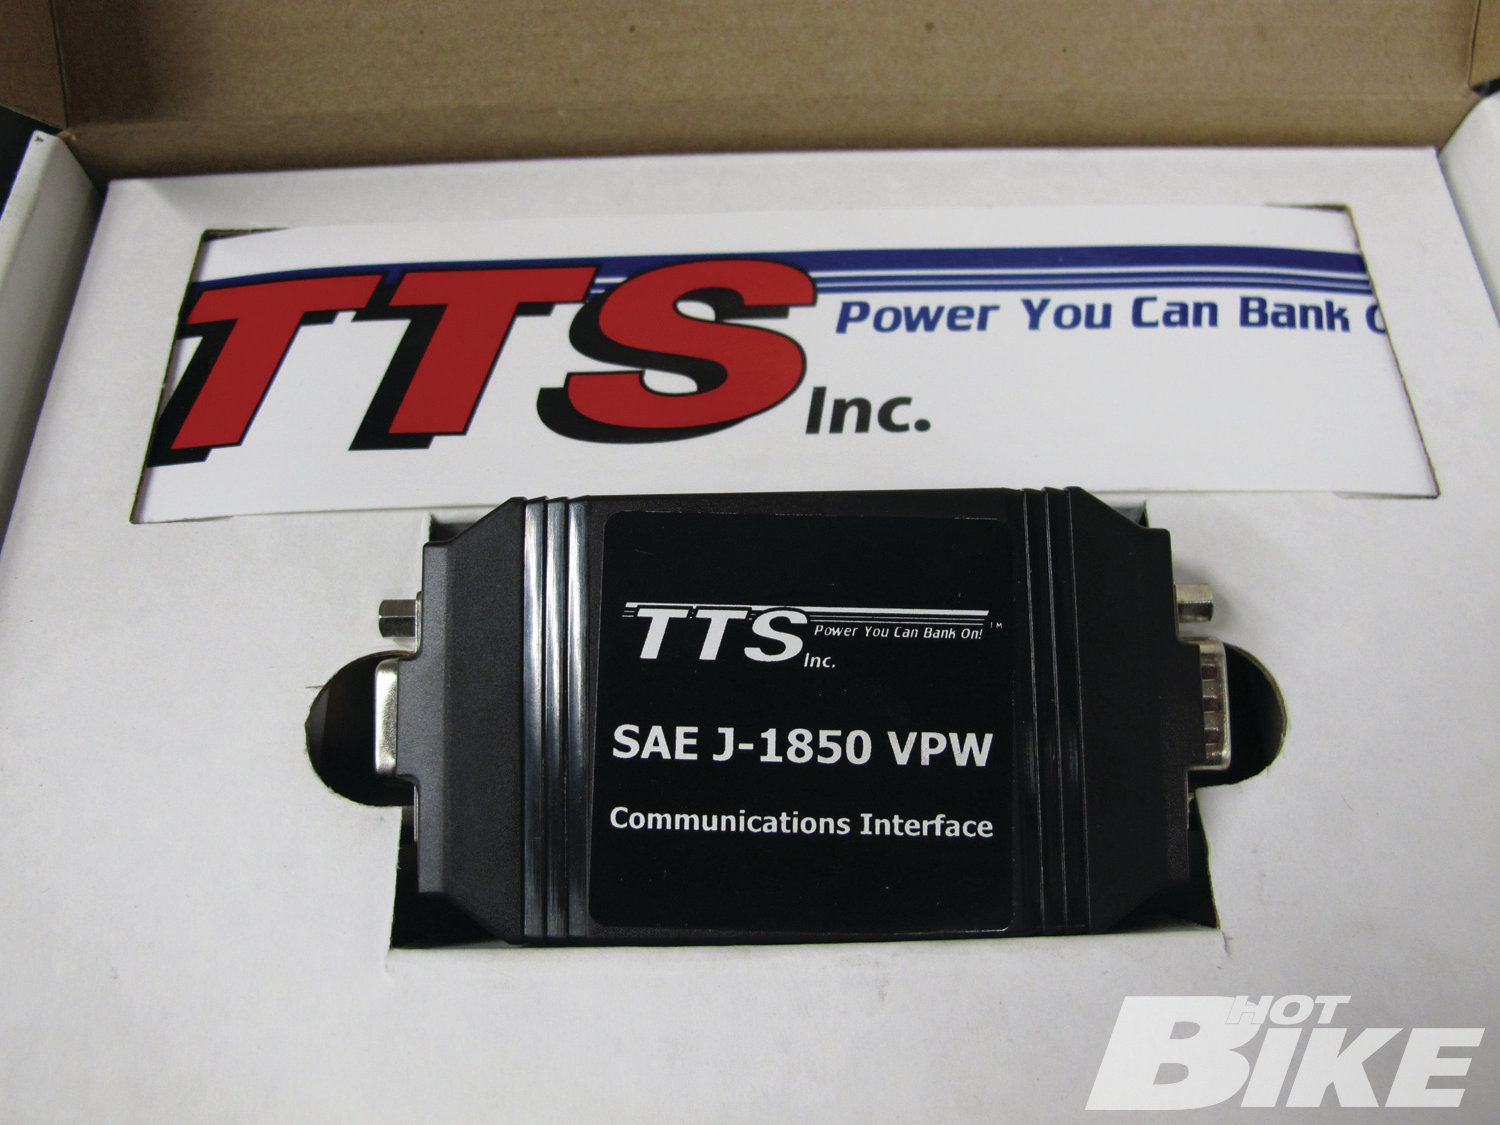
19. Next came the TTS MasterTune unit. As we stated earlier, users can get really in-depth when it comes to tuning their bikes with the TTS, or they can simply load in a base map and be on their way. We’ve covered the TTS pretty heavily in several other articles, search HOT BIKE TTS MasterTune to learn more.
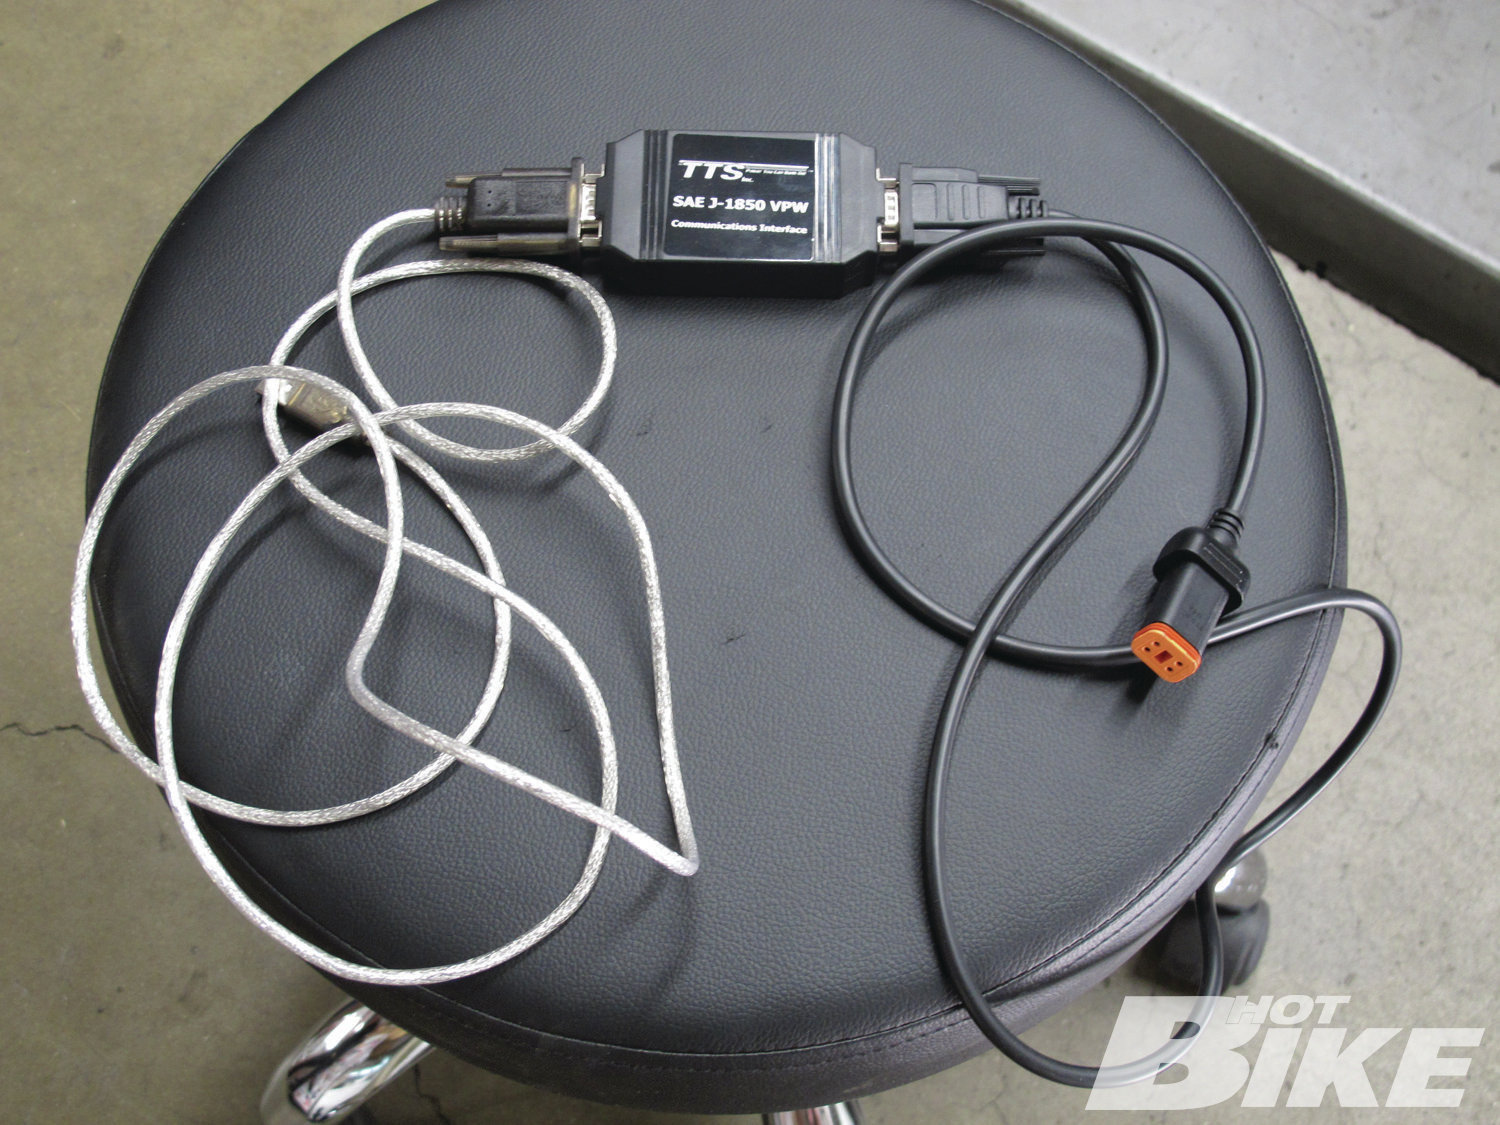
20. The TTS plugs in line between a laptop loaded up with the TTS software and the bike. A Windows-based PC and the proper cables are necessary. The TTS does not piggyback or stay on the bike like some other tuners, it actually reprograms the ECU and then you remove it.
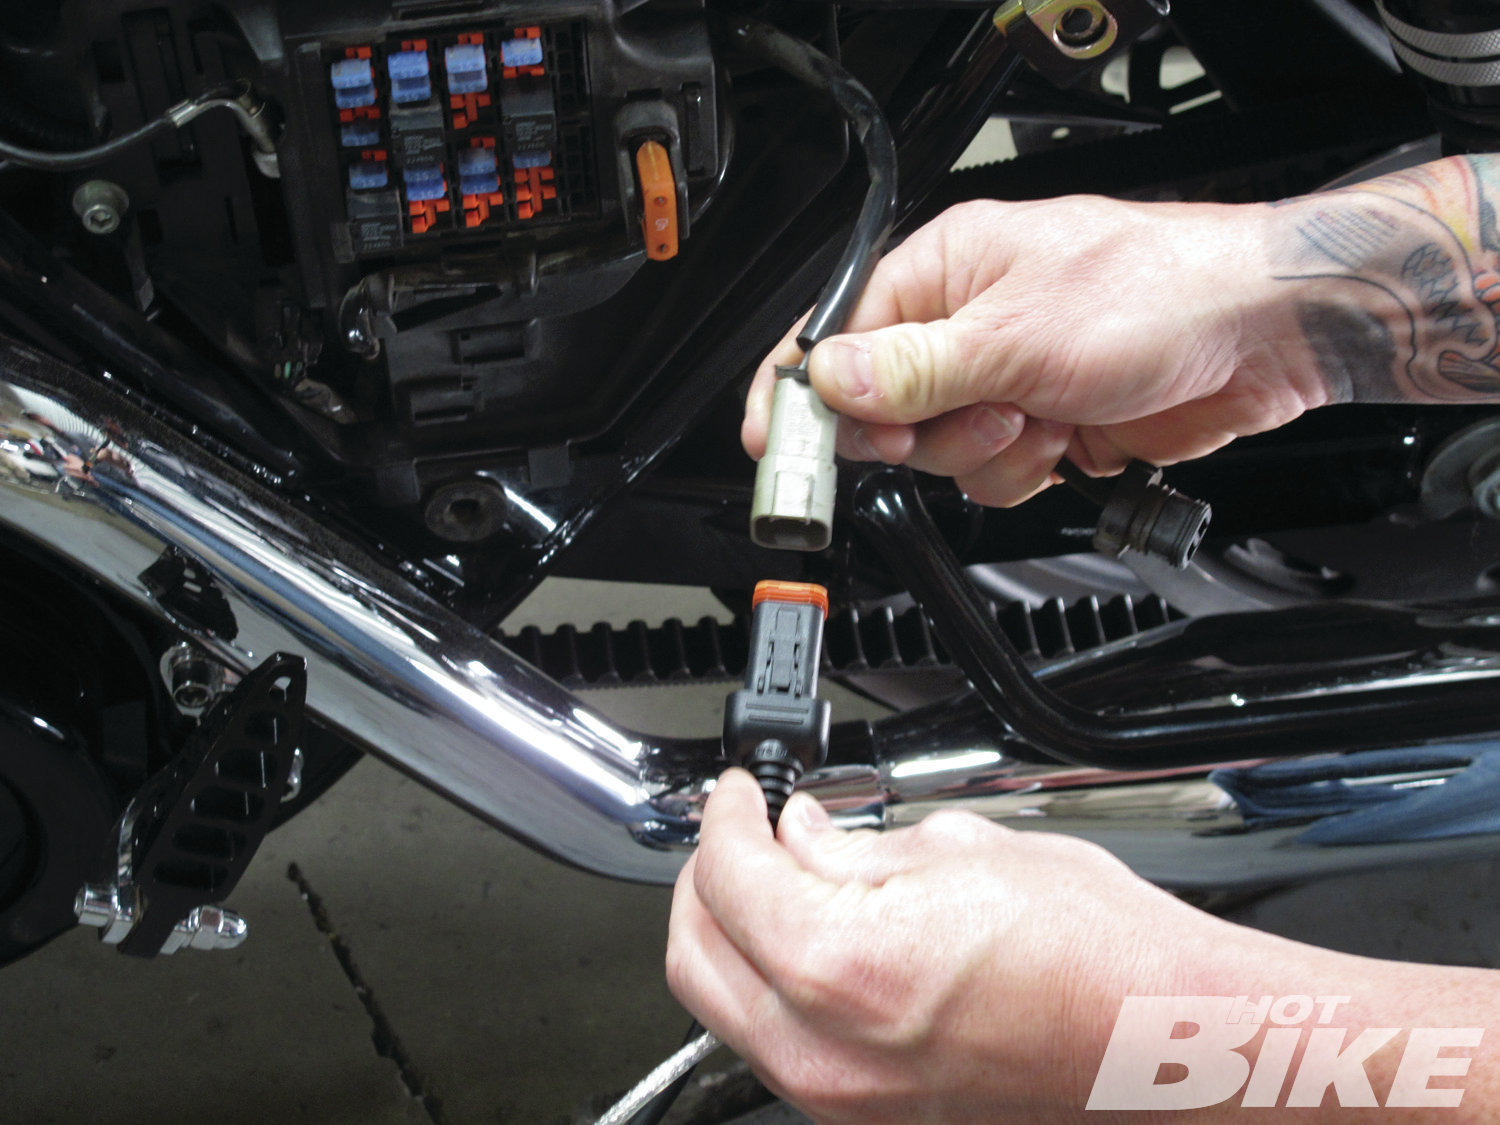
21. With the TTS software loaded onto a laptop, Kazoo then plugged the unit into the diagnostics port on the bike and started off by using the TTS unit to make a backup copy of the factory calibration of the ECU so that the owner could go back to the original factory calibrations if necessary. Kazoo then followed the instructions for loading the map and all the parameters he set up. With the ECU reprogrammed, the installation was complete.
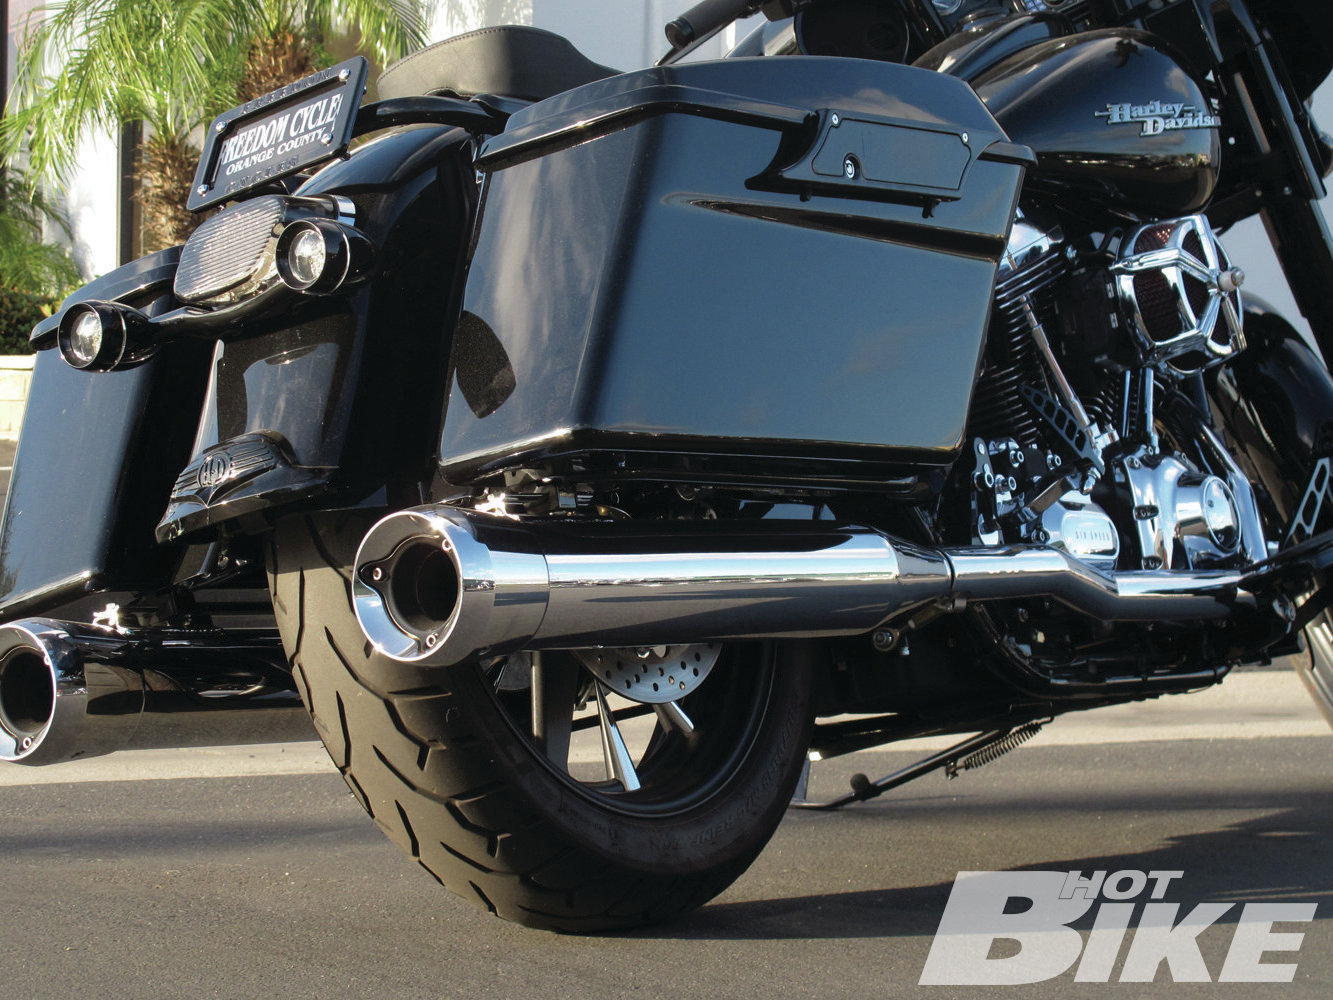
22. Here’s how the bike looked once completed. The chrome High-Five Mach 2 air cleaner adds some nice shine to the Charcoal Burgundy engine, and the flared-out Trident tips on the Crusher Mufflers give them a stout look. Upon firing the bike up, the owner really liked the mellow growl at idle. It was deep but not too loud. As he rode the bike for some break-in miles, he reported back that when he gets on it the pipes really sound good and let out a strong bark. To see/hear these pipes in action log onto hotbikeweb.com.
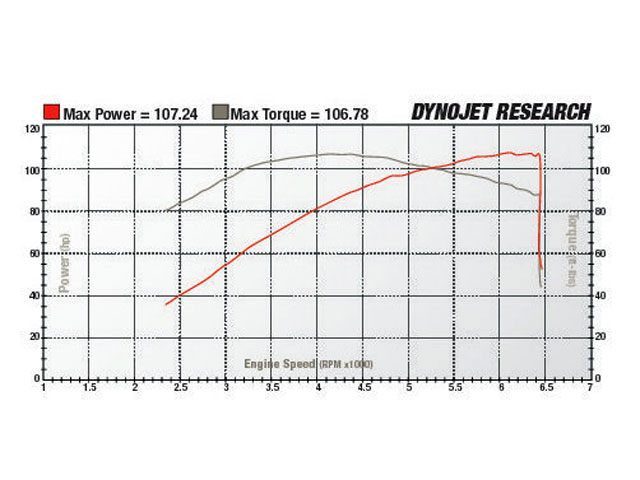
23. After breaking the bike in it was taken over to Anaheim-Fullerton Harley-Davidson where it was put through the paces on the dyno. The results were pretty good. The bike put out 106.78 hp and 107.24 lb-ft of torque. What’s really nice is from about 3,200 to 5,300 rpm the bike has a nice torque curve at or above the 100 lb-ft mark. Essentially we’re seeing exactly what Küryakyn claimed: good streetable power with a nice broad torque curve. As for the owner, he was definitely happy with the outcome and says the bike has really woken up.
Last issue we started off a two-part engine hop-up at Freedom Cycles in Anaheim, California. In that issue we showed the displacement of an ’08 Electra Glide being increased to 103 ci using Küryakyn’s Cheap Thrills Kit. The Cheap Thrills Kit, $889.99, (prices vary depending on model) includes Wild Things cams and pistons as well as the necessary hardware and gaskets. It should be noted that last issue we gave the specs for the Wild Things TC-26D cams that were installed; these were high-lift cams with a 0.575 intake. The owner of the bike, Devin, is sort of a curious cat and likes to experiment with different changes to his engine. So the high-lift cams were utilized with the knowledge that in the near future the top end would come off to see what results would come of the higher lift TC-26 cams and some head work. Knowing that 0.575-inch lift is extreme for most stock heads, Freedom Cycles tech Kazoo made sure everything would work by checking for spring coil bind and checking for clearance to the top of the seal. For a truly bolt-in application with no worries, Küryakyn recommends its TC-2D Wild Things cams. The TC-2D cams have a 0.510-inch lift on the intake, have the exact same timing as the TC-26, and according to Küryakyn, can achieve really good performance results.
In this issue we are going to button up the top end and finish off the install with Küryakyn’s Perfect Storm kit, $1,676.99, which includes Crusher True Dual head pipes, and mufflers, Hi-Five Mach 2 air cleaner assembly, and the TTS MasterTune engine management system. As with the Cheap Thrills kit, the head pipes, mufflers, and air cleaner assembly were designed and heavily tested to achieve the best performance results by Küryakyn’s Performance Division Manager and engine guru, Mike Roland.
While bagger guys will go to a 2-into-1 when looking for performance, most owners like the balanced look of duals. With that knowledge in mind, Mike set out to design a set of true duals that would perform as good as most of the 2-into-1 systems on the market, work equally well on highly modified or stock bikes, produce a broad power band, not have a dip in the torque curve, and have a nice deep sound without any high frequencies. To get the performance he wanted, Mike used wave tuning which utilizes the pressure pulses in the exhaust. By incorporating a unique chamber at the front of the muffler, he was able to separate the primary and secondary tuning in the exhaust system so that the muffler acted as a secondary tuning device. The chamber design also acts as an anti-reversionary device and Mike used the chamber to balance volume against the backpressure of the baffle to further shape the torque curve. To get the desired sound, Mike used acoustic tuning to determine the size and how many holes per-square-inch would be necessary in the perforated baffles. Acoustic tuning was also used to determine the coarseness of the stainless steel wool packing that would also be necessary to achieve the sound he was after. Aside from helping to get the sound, Mike has found stainless steel wool packing won’t burn up or rust and doesn’t break up or blow out like fiberglass.
The Hi-Five Mach 2 air cleaner was designed as an extremely high-flow unit to supply the engine of a stock or highly modified engine with plenty of air to help achieve strong horsepower. Tying it all together and getting the bike to run properly, the Perfect Storm kit comes with a TTS Mastertune engine management system. This unit was chosen to complete the package because TTS Mastertune has a long history and extensive experience that involves actually tuning the ECU, as opposed to working as an add-on device. With its wide range of options and tuning capabilities the system can be as in-depth or as basic as the user/tuner wants or needs. Küryakyn has a large library of calibration available for their combinations on its website.
Follow along as we watch Kazoo button up the second part of the build, and after some break-in miles, the bike makes a run on the dyno for some final results. HB
Get Squished:
Setting Squish
To get optimal performance out of an engine build, it’s important to set the proper squish band. The squish band is the area between the top of the piston and bottom of the cylinder head when the piston is at top dead (TDC) center on its compression stroke. As the piston reaches TDC, the air fuel mixture is compressed creating turbulence in the combustion chamber. More turbulence is preferred as it helps achieve better atomization of the fuel for better combustion, less detonation, and results in a more efficient/powerful burn, more power, and better fuel efficiency. Too tight of squish band can result in the piston hitting the head, while a loose squish band can result in less than optimal turbulence and atomization, resulting in detonation/pinging and less power. As they say there’s more than one way to skin a cat and many engine builders have their own way of setting squish. Here’s Mike Roland’s method:
I set the squish at 0.030 to 0.035 inch. I use 0.060-inch solder, or close to it, on the top of the piston to measure. I cut six pieces about 1/2 inch long for each piston. I then place a piece over the wrist pin on the top of the piston on each side and then the other pieces just ahead and behind this point. I use a small piece of modeling clay to keep the pieces in place. The six pieces of solder are now arranged to contact the quench area of the head when it is mounted in place. I then mount the head on the cylinder with a head gasket in place, I start with a 0.045-inch gasket. I then torque the head bolts to spec and manually turn the engine over a couple of times. The first revolution will turn a little hard when the solder contacts the head. After a couple revolutions I remove the head and use a micrometer or a caliper to measure the thickness of the solder. I measure all six pieces, add the measurements together, and divide the answer by six, and that number is the squish. I then adjust the head gasket thickness to get the squish to the desired 0.030- to 0.035-inch measurement.
Source:
Anaheim-Fullerton Harley-Davidson
(714) 871-6563 | harleyfullerton.com
Freedom Cycles
(714) 628-0049 | freedomcyclesoc.com
Küryakyn
(866) 277-9598 | kuryakyn.com


