
TXR Frame Stabilizer & TRI-Link – Hot Bike Tech
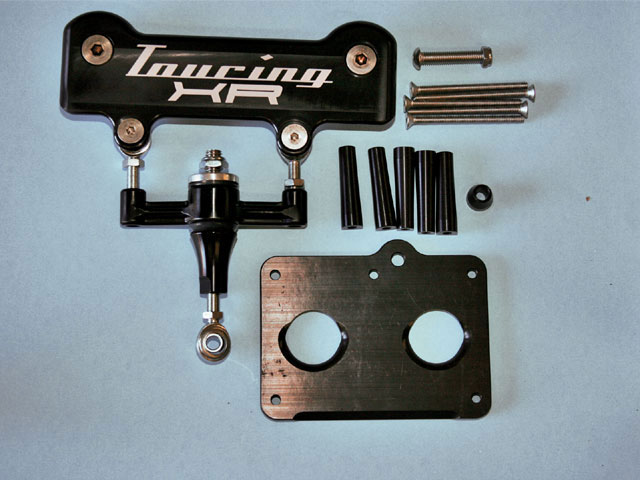
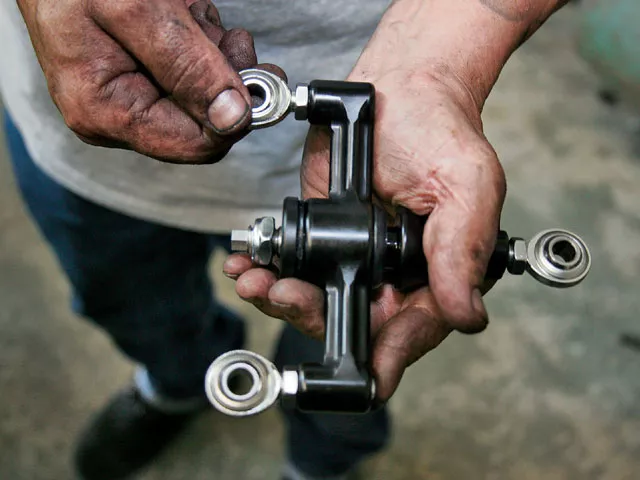
The Touring TXR, CNC-machined 6061 T-6 aluminum components, black anodized, or polished finish. Adjustable Intermediate member with integrated Patented Gooden-Tite polyurethane and aluminum Isolator bushings, stainless steel hardware, and Heim joints.Price as shown $399.95
The TRI-Link, CNC-machined aluminum components, with grade 8 and stainless hardware adjustable intermediate member with integrated patented Gooden-Tite polyurethane isolator bushings available in black anodized or polished finish.Price as shown $350.95
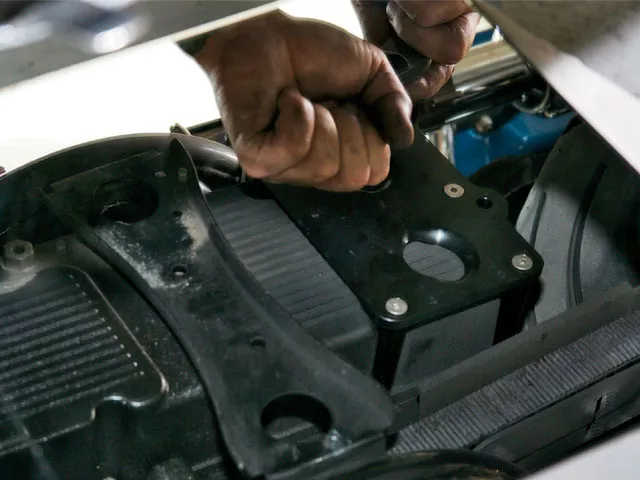
The first thing James needed to do was remove the five stock H-D bolts from the transmission pan. He placed the TXR trans plate on the pan and used the new 3-inch long bolts with the stand-offs.
Next, the two round flange bolts were placed onto the holes of the cross-member. This is where the frame plate will mount to.
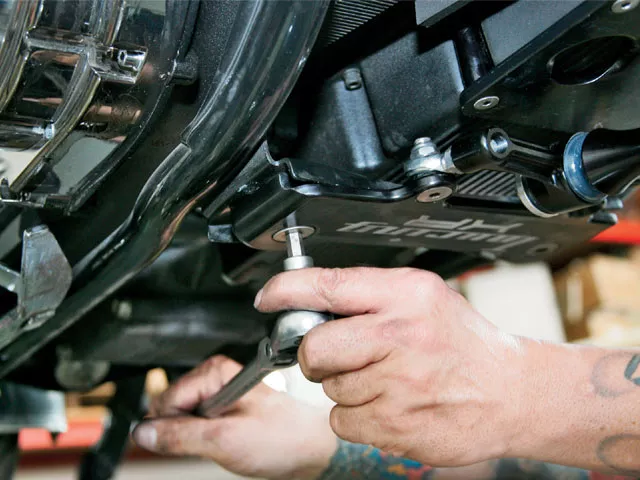
Then the TXR cross-member plate was bolted in place with the intermediate member loose. Then the rear single heim joint with the small stand-off was bolted to the rear of the trans plate (arrow #1). The intermediate member and fasten the bolts to the trans plate (arrow #2).
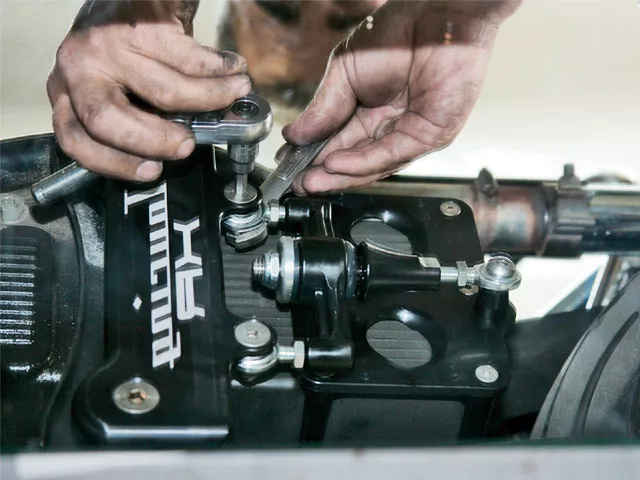
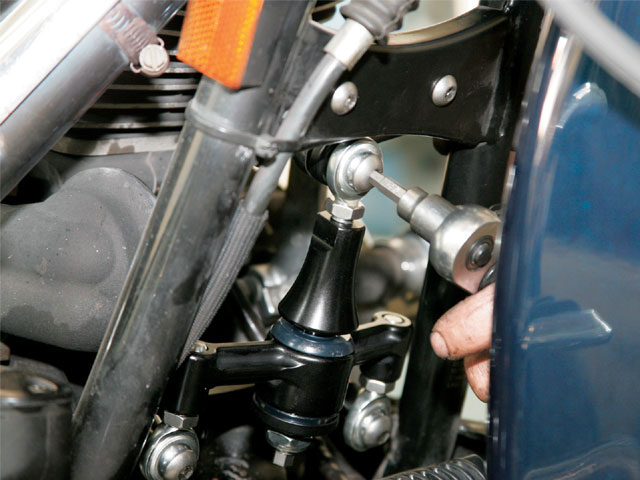
Last, James made all the adjustments. The length on the heim joints were made so that there wouldn’t be any binding on the 3/8 bolts attached to the heim joint on the cross member and the trans plate. Once everything was aligned, James tightened all the hardware, keeping all three about the same size, then locked the jam-nuts on the heim joints.
Note: Alloy Art presets the bushing tension to a recommended ride setting; however, if you are a more aggressive rider, you can tighten the bushing tension nut. This will increase some vibration through the frame-not bad, but maybe noticeable.

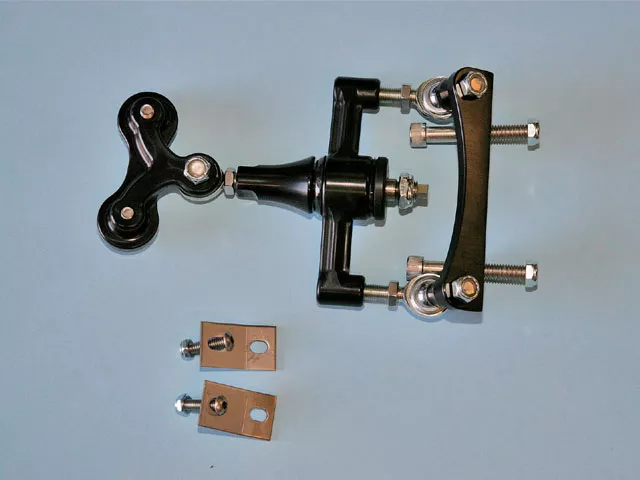
The next part of the install was the TRI-Link. Each piece works very well by itself. However, when you have both pieces on the bike the ride is very smooth and tracks the road throughout the turn, and there is very little rear end wobble or motor vibration at the bars.
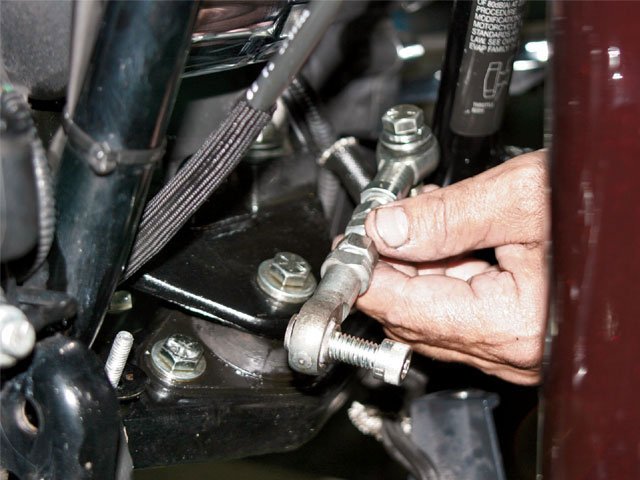
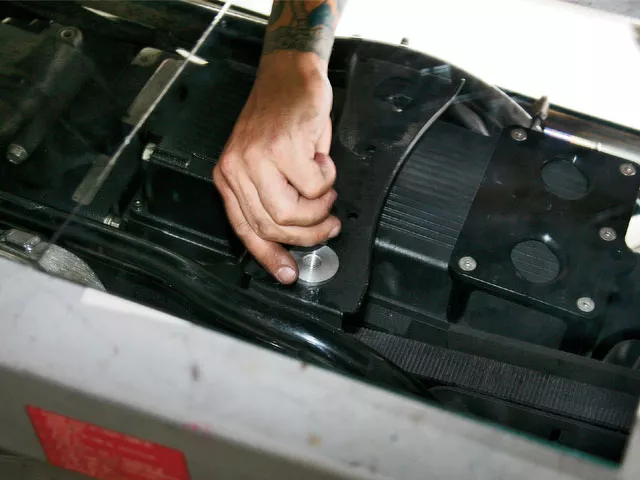
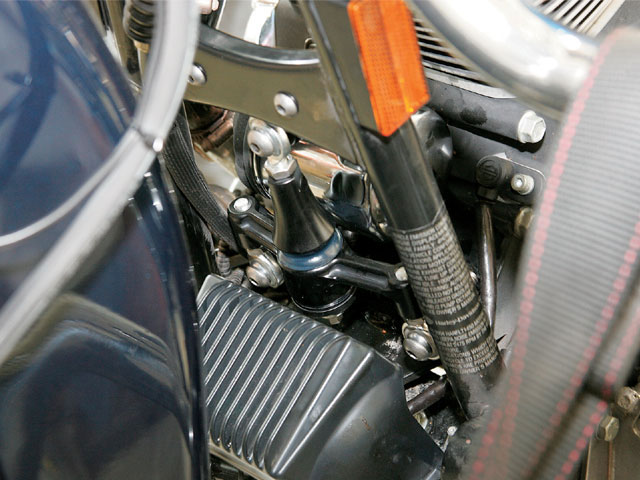
To get the TRI-Link installed the first thing James did was remove the voltage regulator, and the oil filter, and the 3-3/8 bolt from the motor mount.
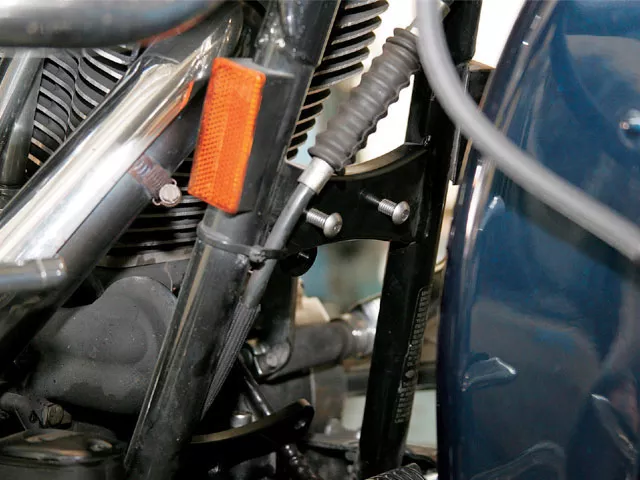
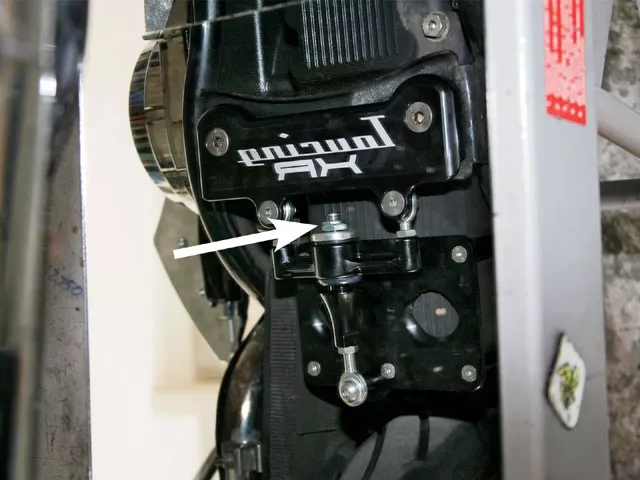
James installed the upper cross mount onto the frame’s down ubes using the 5/16×18 bolts.
Then the lower motor mount was installed using all new supplied hardware.
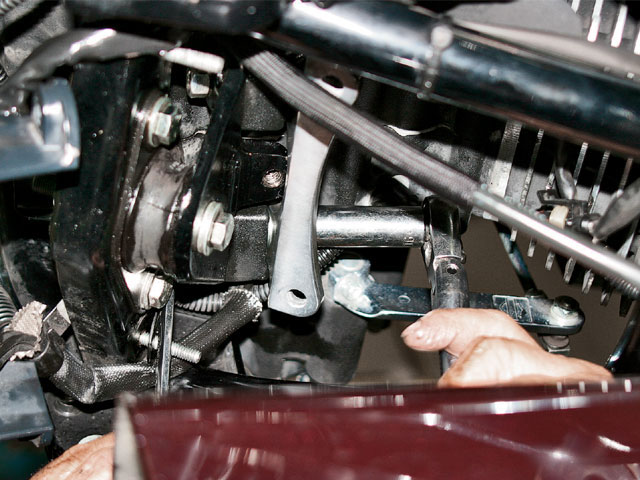
All the bolts on the intermediate member need to slide in and out of the ball joints freely before locking them in place.
Next the TRI-Link was installed. The lower bolts use the thin aluminum standoffs on the motor mounts. Then he bolted the top of the intermediate member to the top motor mount, adjusting the heim joint to line up with the mount. Once all three heim joints were in place, James tightened them all down evenly.

Lastly, James reinstalled the voltage regulator. The kit comes with relocation brackets to move it forward about 1-inch. Then installed a new oil filter, and while he was at it he changed the oil.
Once the voltage regulator was in place the TRI-Link was hardly noticed. But when we took the bike out for a ride, we sure noticed it! We ride the same highways and roads to and from work. There is one overpass that is long and sweeping, and when on it we know we need to slow down. With the TXR and TRI-Link we took the same overpass at a higher rate of speed, and the bike tracked well; we were in the same line thoughout the overpass. The handling was very smooth; there was no floating frontend or rear steer (wobble). This made a huge difference to the bike.
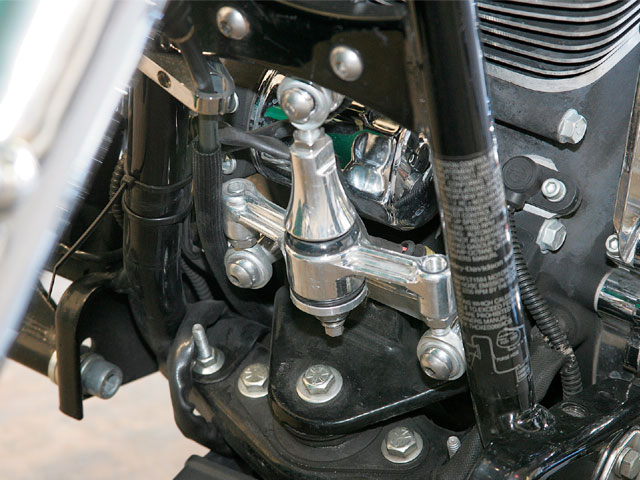
Here is the TRI-Link polished.
You and your touring bike are heading down the highway at a good speed (nothing that would break the law) when the road has a few switchbacks. As you head into the turns, do you feel comfortable, or do you worry that the rear wheel may un-track with the bike, losing control due to frame wobble? Well, if you have a frame stabilizer mounted to the bike, you would head into turns knowing the bike will handle through them, and corner without any wobble-the weight of the bike should have nothing to do with it.
What is a frame stabilizer, you ask? It’s a bolt-on part that mounts to the underside of the frame and transmission. This triangulating of the motor and transmission to the chassis keeps them straight while turning at high speeds and helps eliminates frame wobble. What happens is that the rubber bushing in the swingarm compresses and tends to flex or shift as you head into a turn. This situation allows the rear wheel to change direction slightly and actually pushes the rear of the motorcycle on a separate tack from the frontend. You should have the bike looked at if you have this problem; it could be a minor thing, like the tire may have low air pressure or cracked, worn bushings. However, if the bike still doesn’t handle securely, then you may want to think about a frame stabilizer. We were having this happen to one of the staff bikes, an ’04 Road King. When we were come back from Sturgis this past year through the mountains of Colorado, the bike was all over the lane at speeds around 70 mph. As soon as we got home we talked with the guys over at Alloy Art about their TXR Touring Stabilizer and TRI-Link mounts. This was just what the bike needed.
This is a two-part install; first the TXR does just what we were talking about earlier, it triangulates the rear of the motor and trans to the chassis, then the new addition to this is the TRI-Link. This replaces and relocates the front motormount, also triangulating the Motor to the chassis, which eliminates the floating feel in the handlebars at high speeds.
To get started, we stopped off at James Crosby’s-TXR and TRI-Link designer-shop in Pomona, California. James checked the alignment of the bike before moving on with the install, and he checked and insured the rear axle and swingarm shaft are exactly the “same distance” apart on both sides of the motorcycle, then checked the bushing. All checked out fine.
We placed a mirror on the lift to help with some of the shots; so a few photos may look backwards.
Write [email protected]


