
Blackline Black Out | Getting In Control
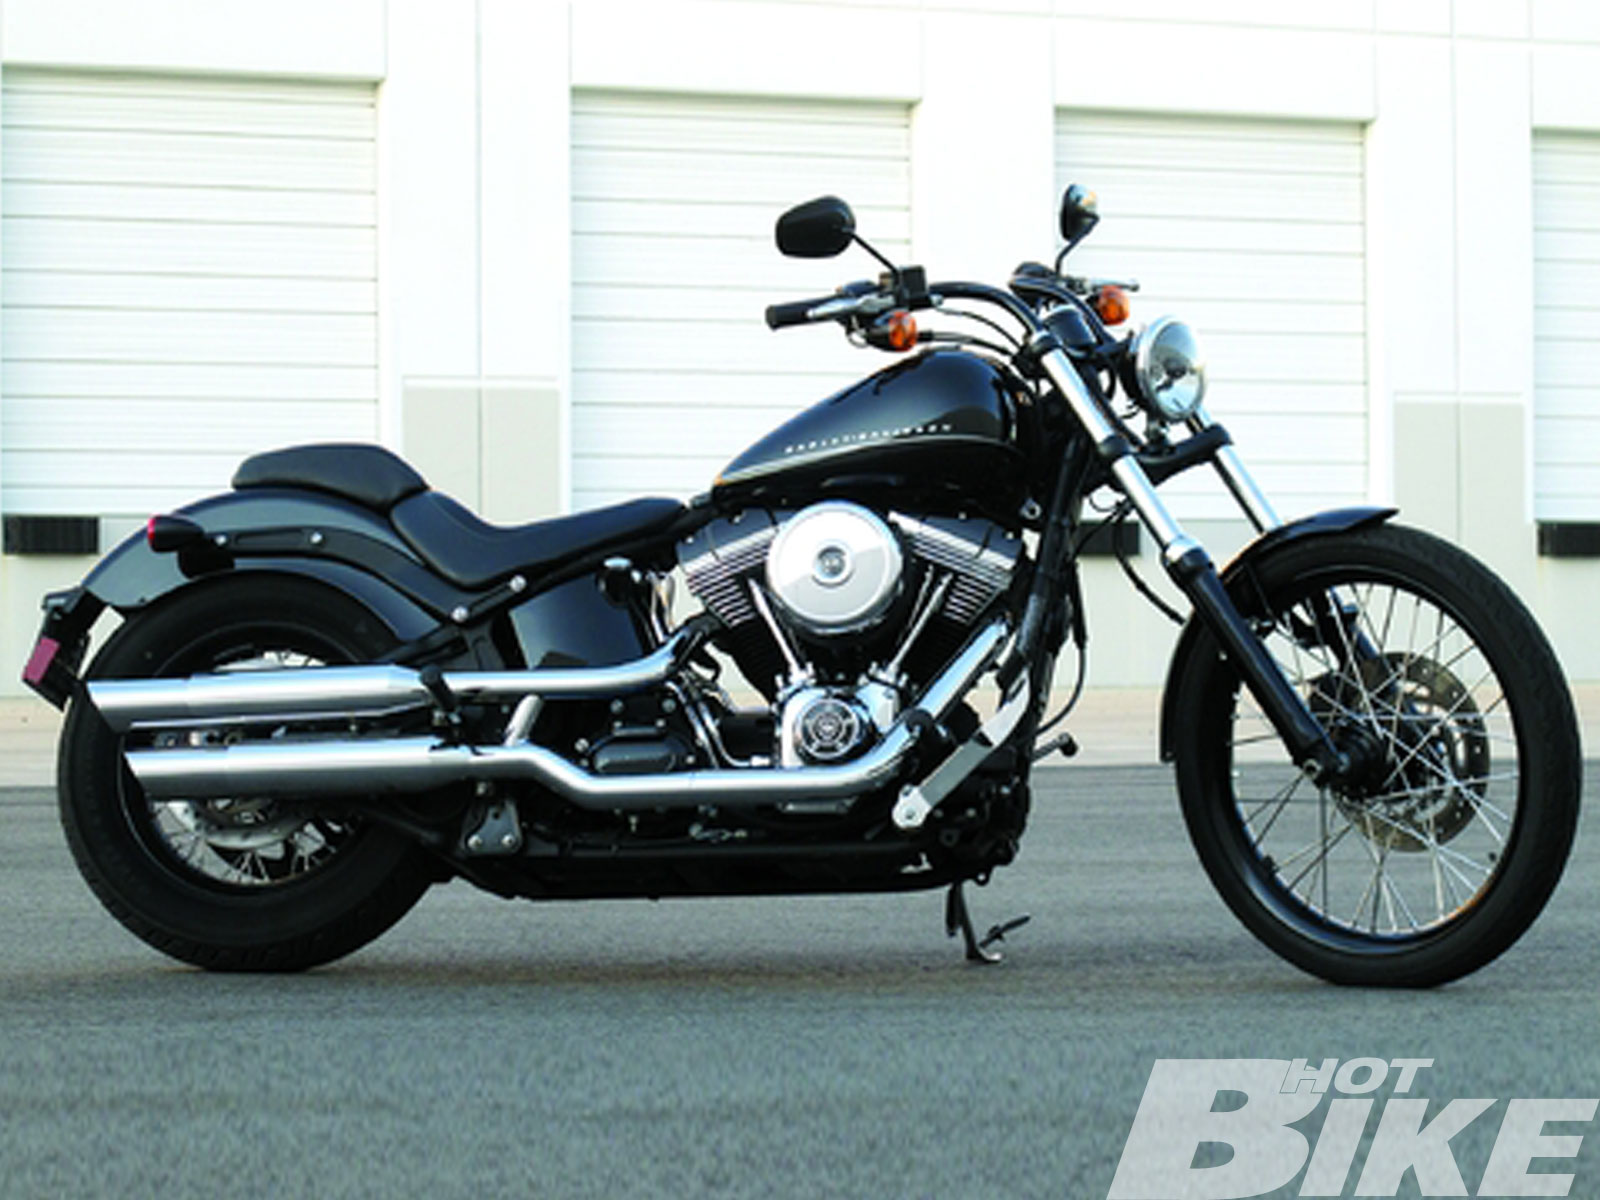
Here is our long-term project Blackline. We were hoping to get a bone-stock bike, which we nearly did. The only components that were added before we took possession were the new Pull Back handlebars. These bars are styled exactly like the stock bars but feature 4 more inches of pullback.
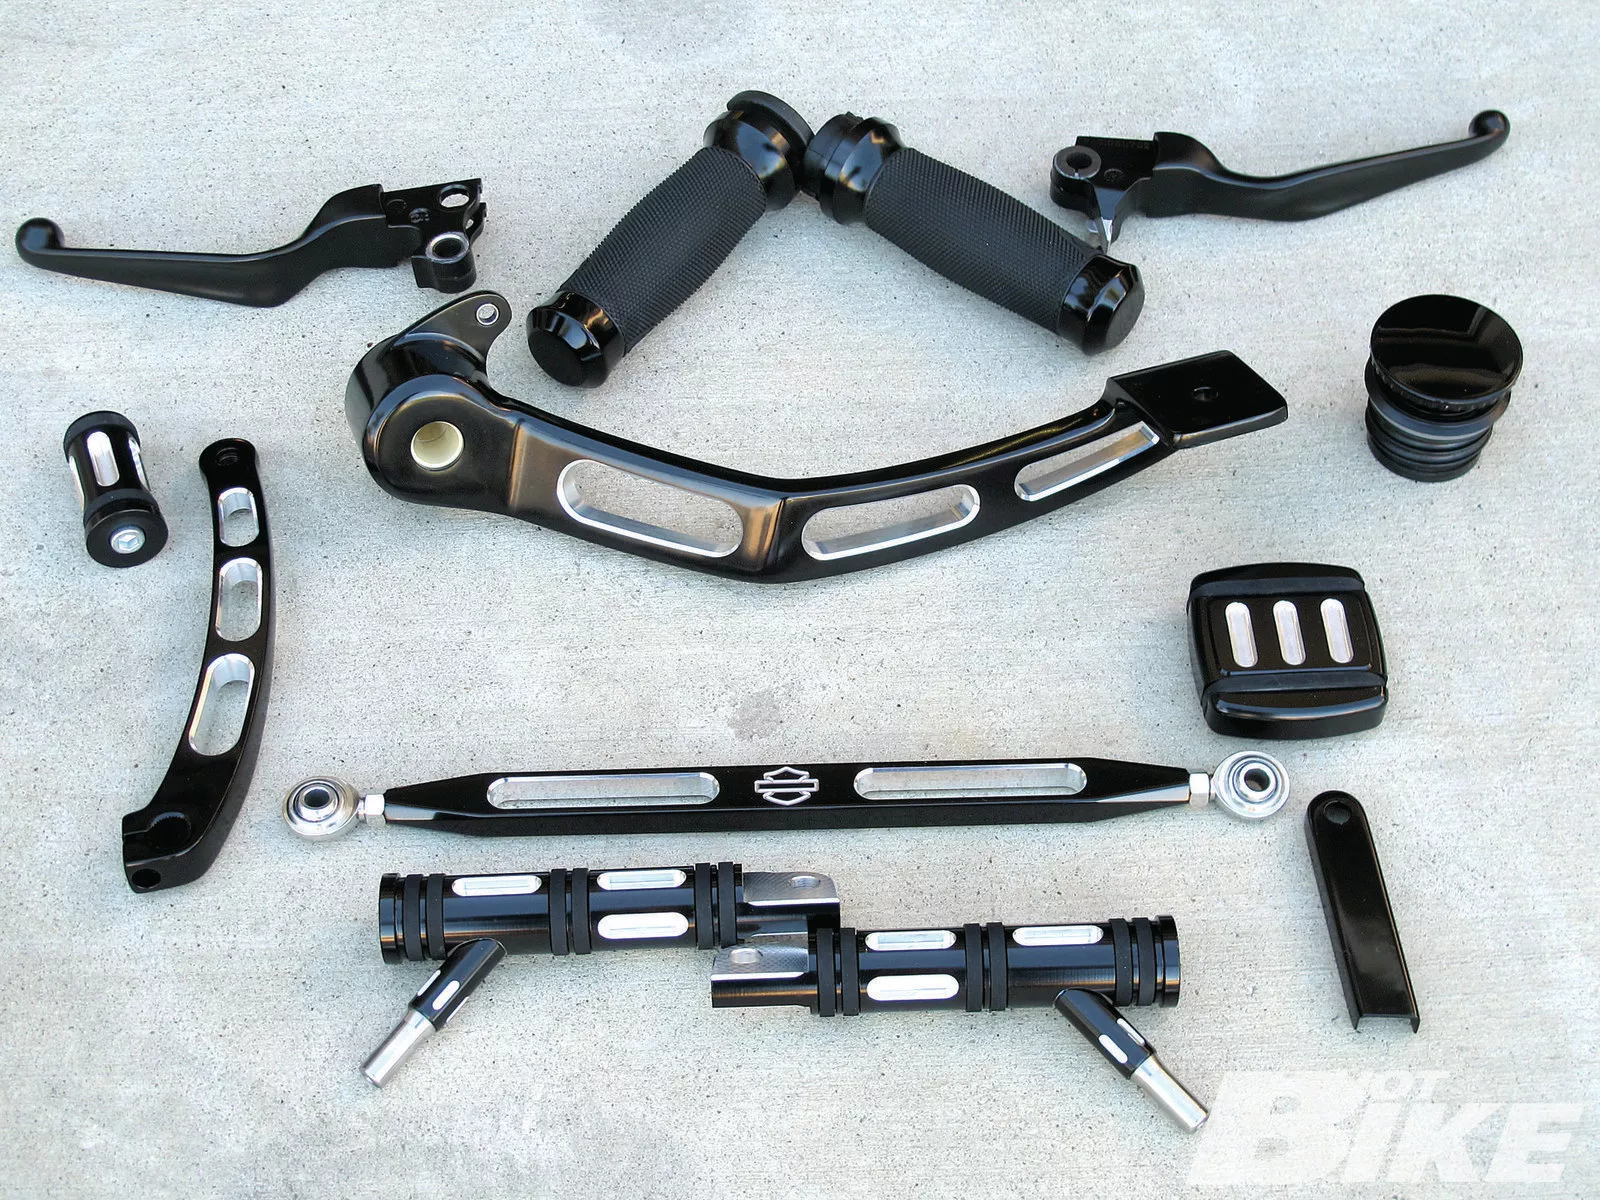
1 For this install we picked up a set of the Black Hand Control Levers ($99.95), Black Get-A-Grip Hand Grips ($79.95), Edge Cut Brake Lever ($159.95), Small Edge Cut Brake Pedal Pad ($39.95), Gloss Black Flush-Mount Fuel Cap ($79.95), Edge Cut Shifter Peg ($19.95), Edge Cut Shift Lever ($79.95), Slotted Black Anodized Shift Linkage ($129.95), and Edge Cut Footpeg with Styled Wear Peg ($89.95).
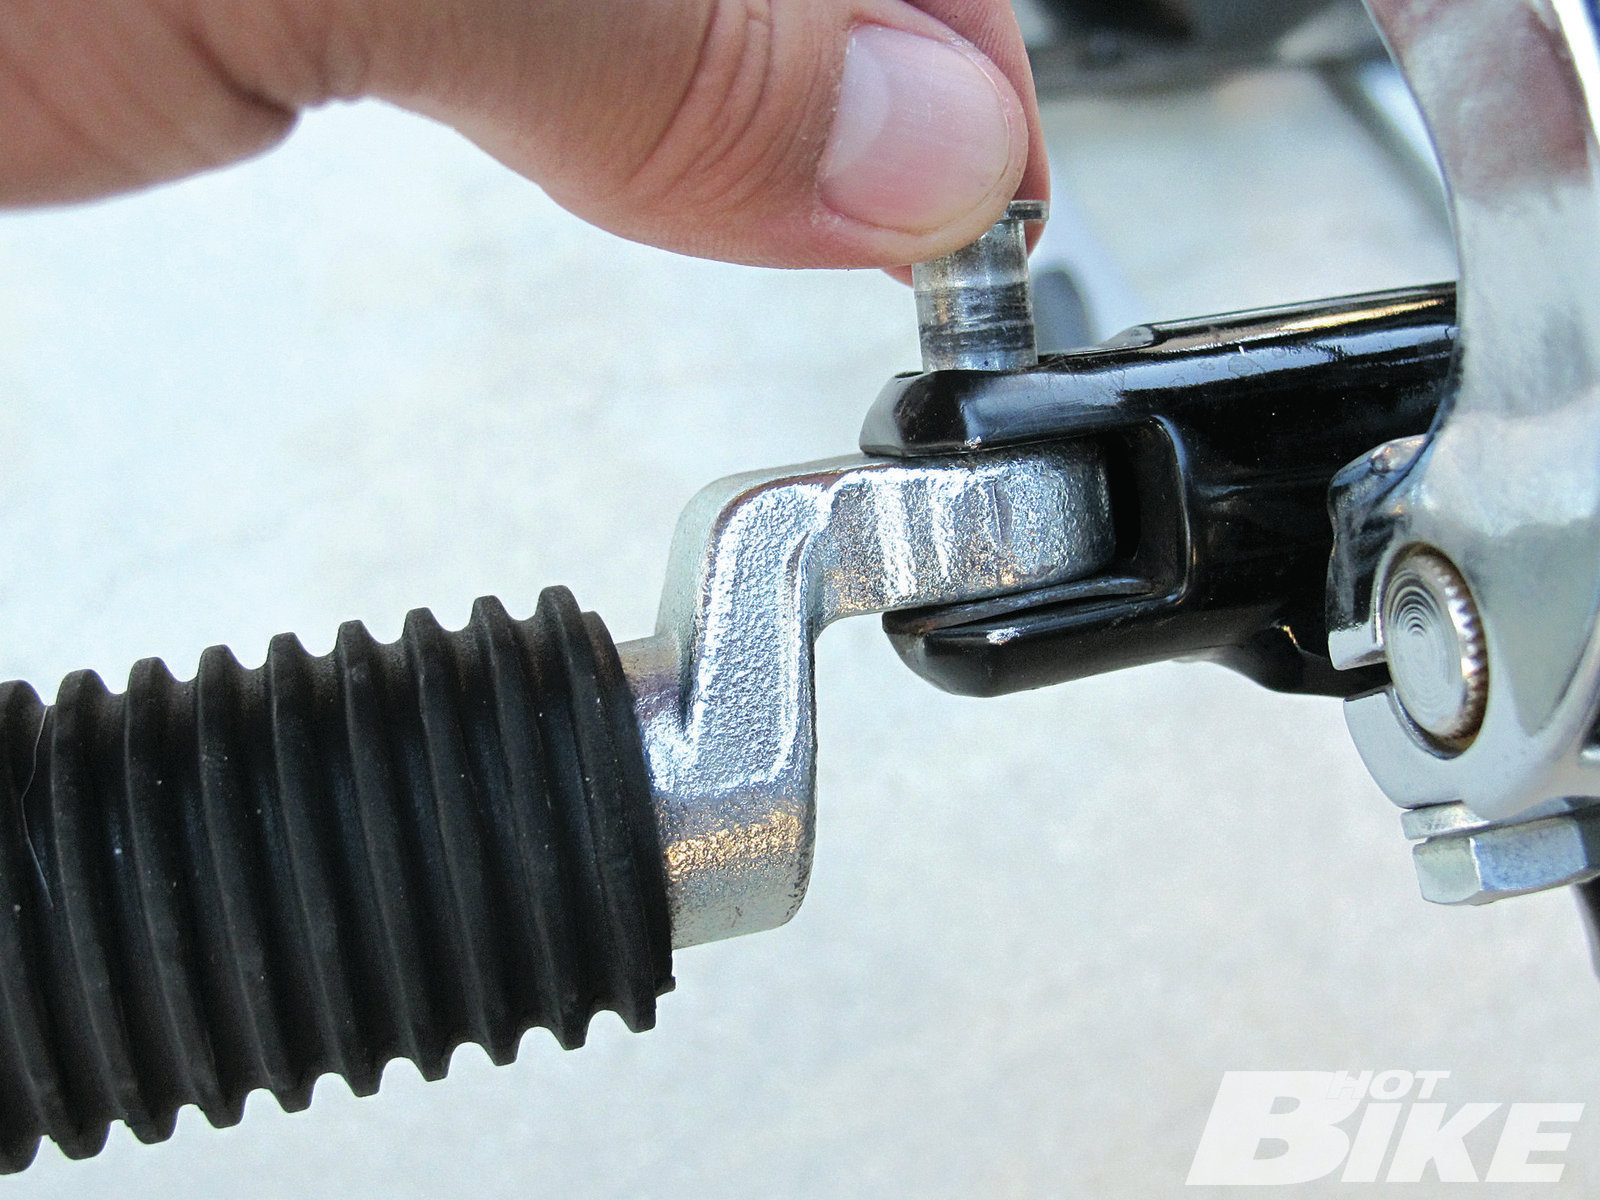
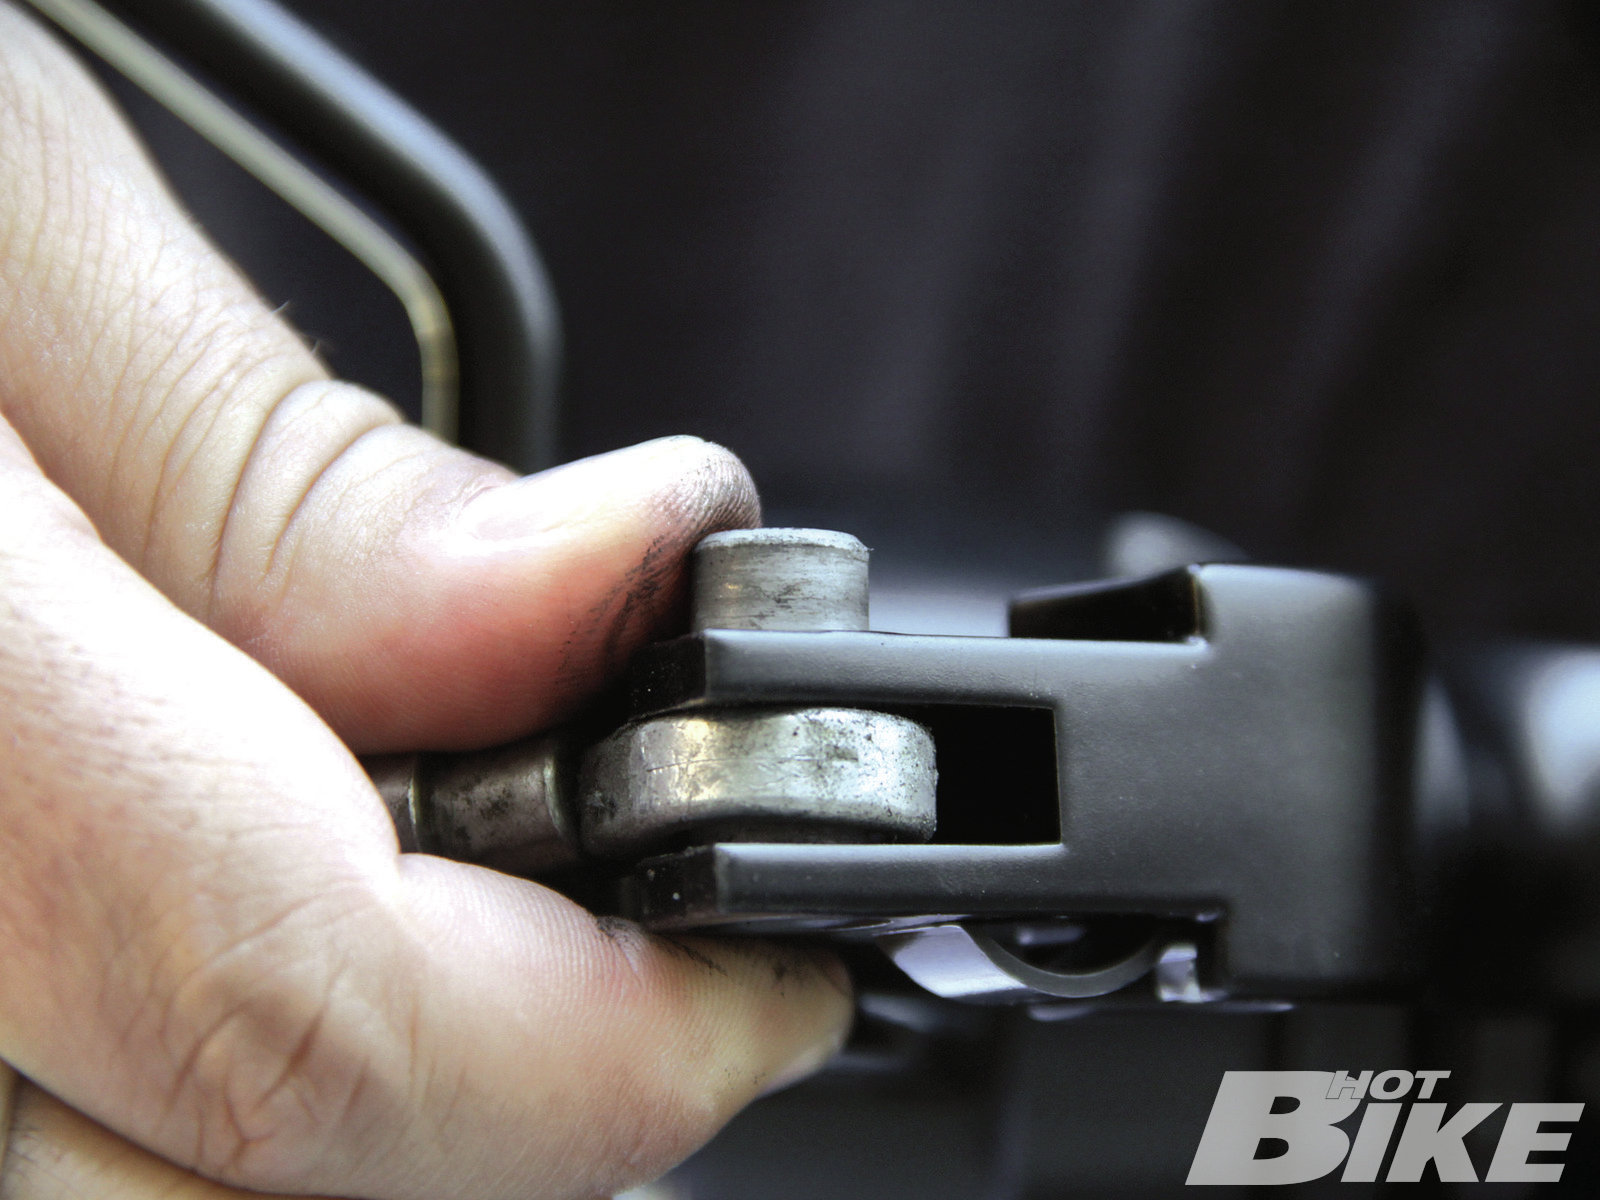
2 We started with the left-side footpeg by removing the circlip/snap ring on the underside of the pin holding the stock peg. The circlip has two small holes in it to make removal/installation easier but if you don’t have a set of snap-ring/circlip pliers, it can be carefully removed with a small flat blade screwdriver. Just be cautious not to shove the screwdriver through your hand or tweak the ring out of shape. With the circlip removed, we were able to lift the pin and remove the stock peg.
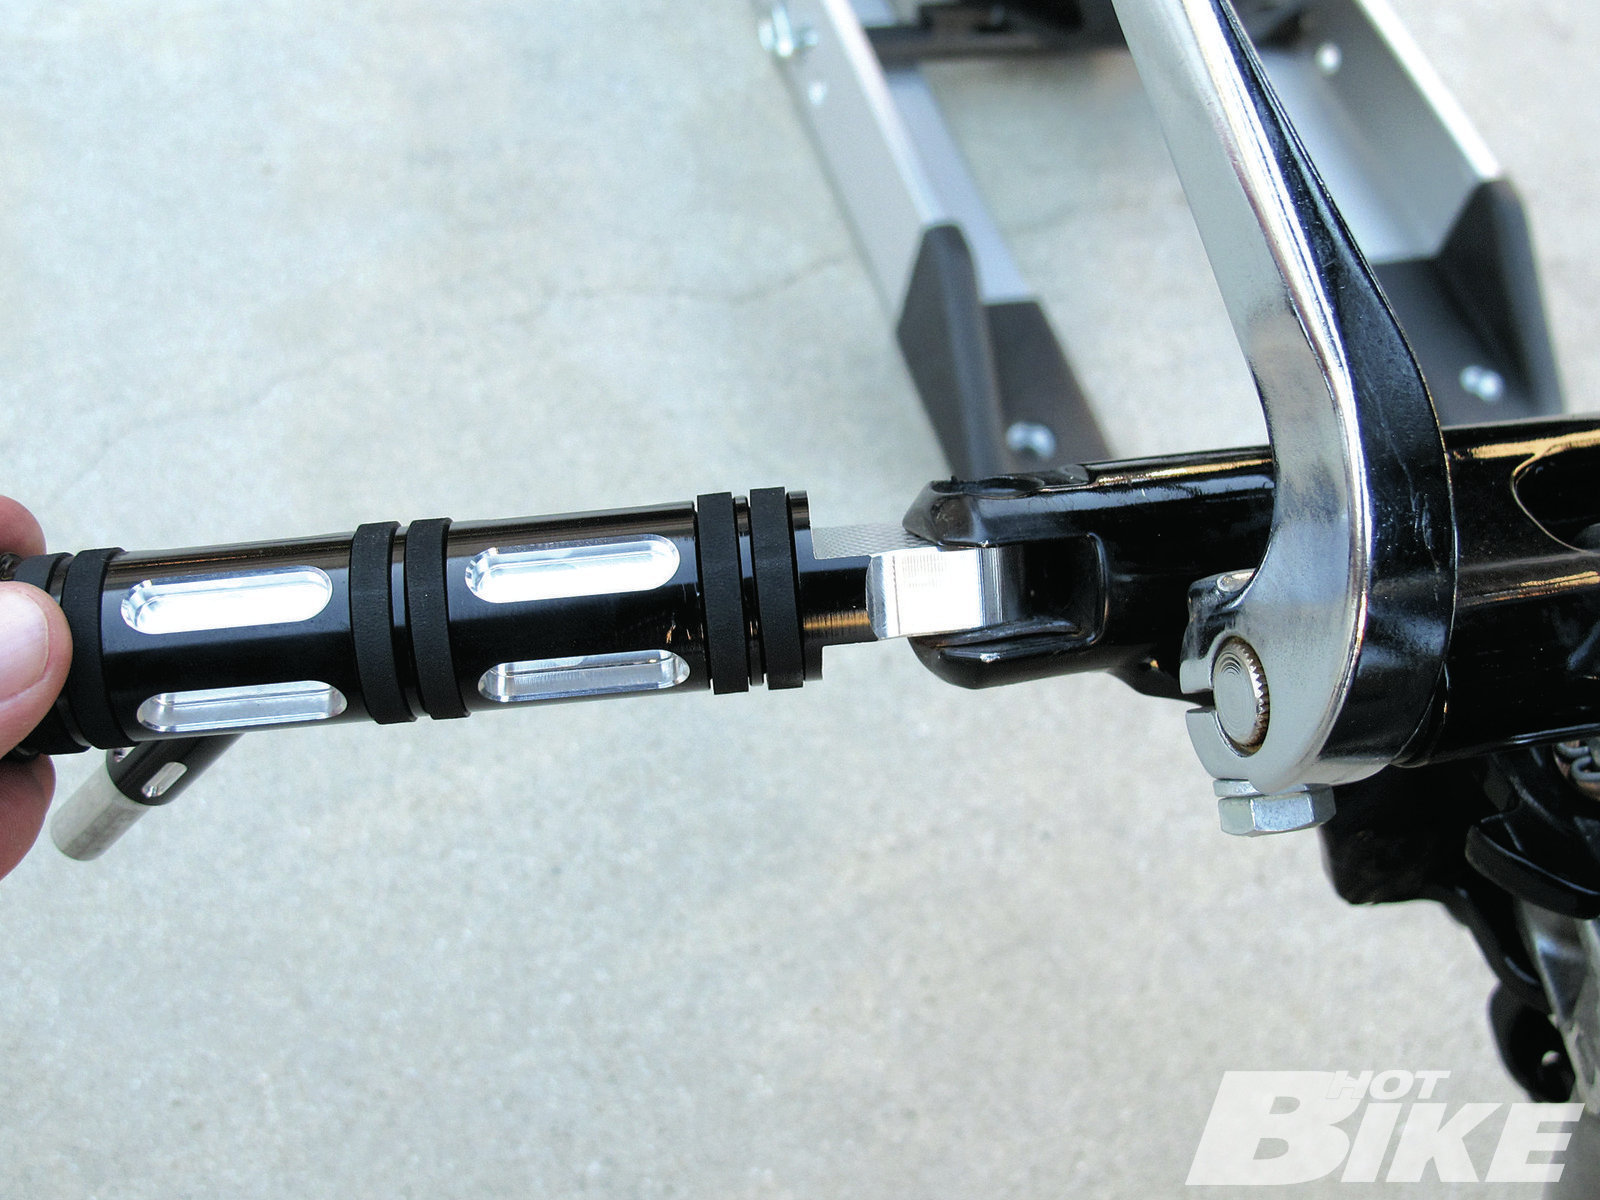
3 We then installed the new peg, followed by the pin and snap ring. Be sure the peg is in the correction orientation (so that it folds/back) and that the stock pressure clip stays in place (arrow). The same procedure was done for the right-side peg.
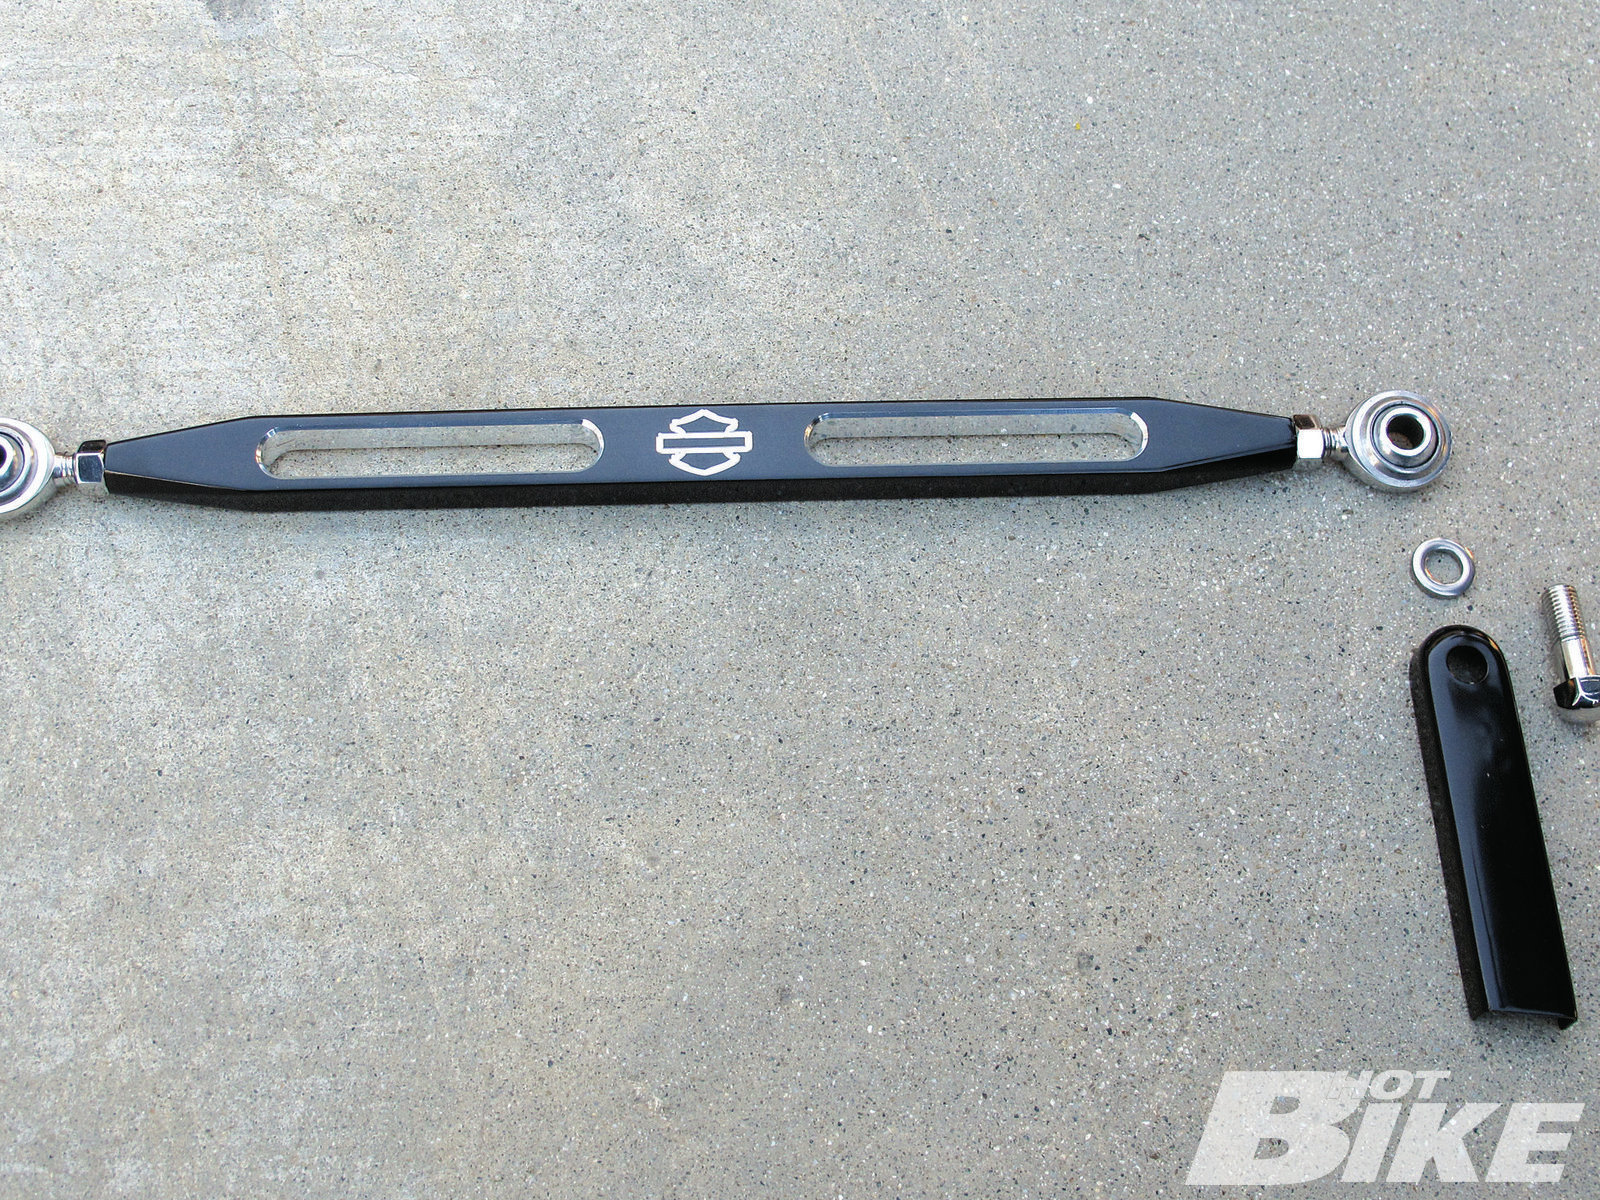
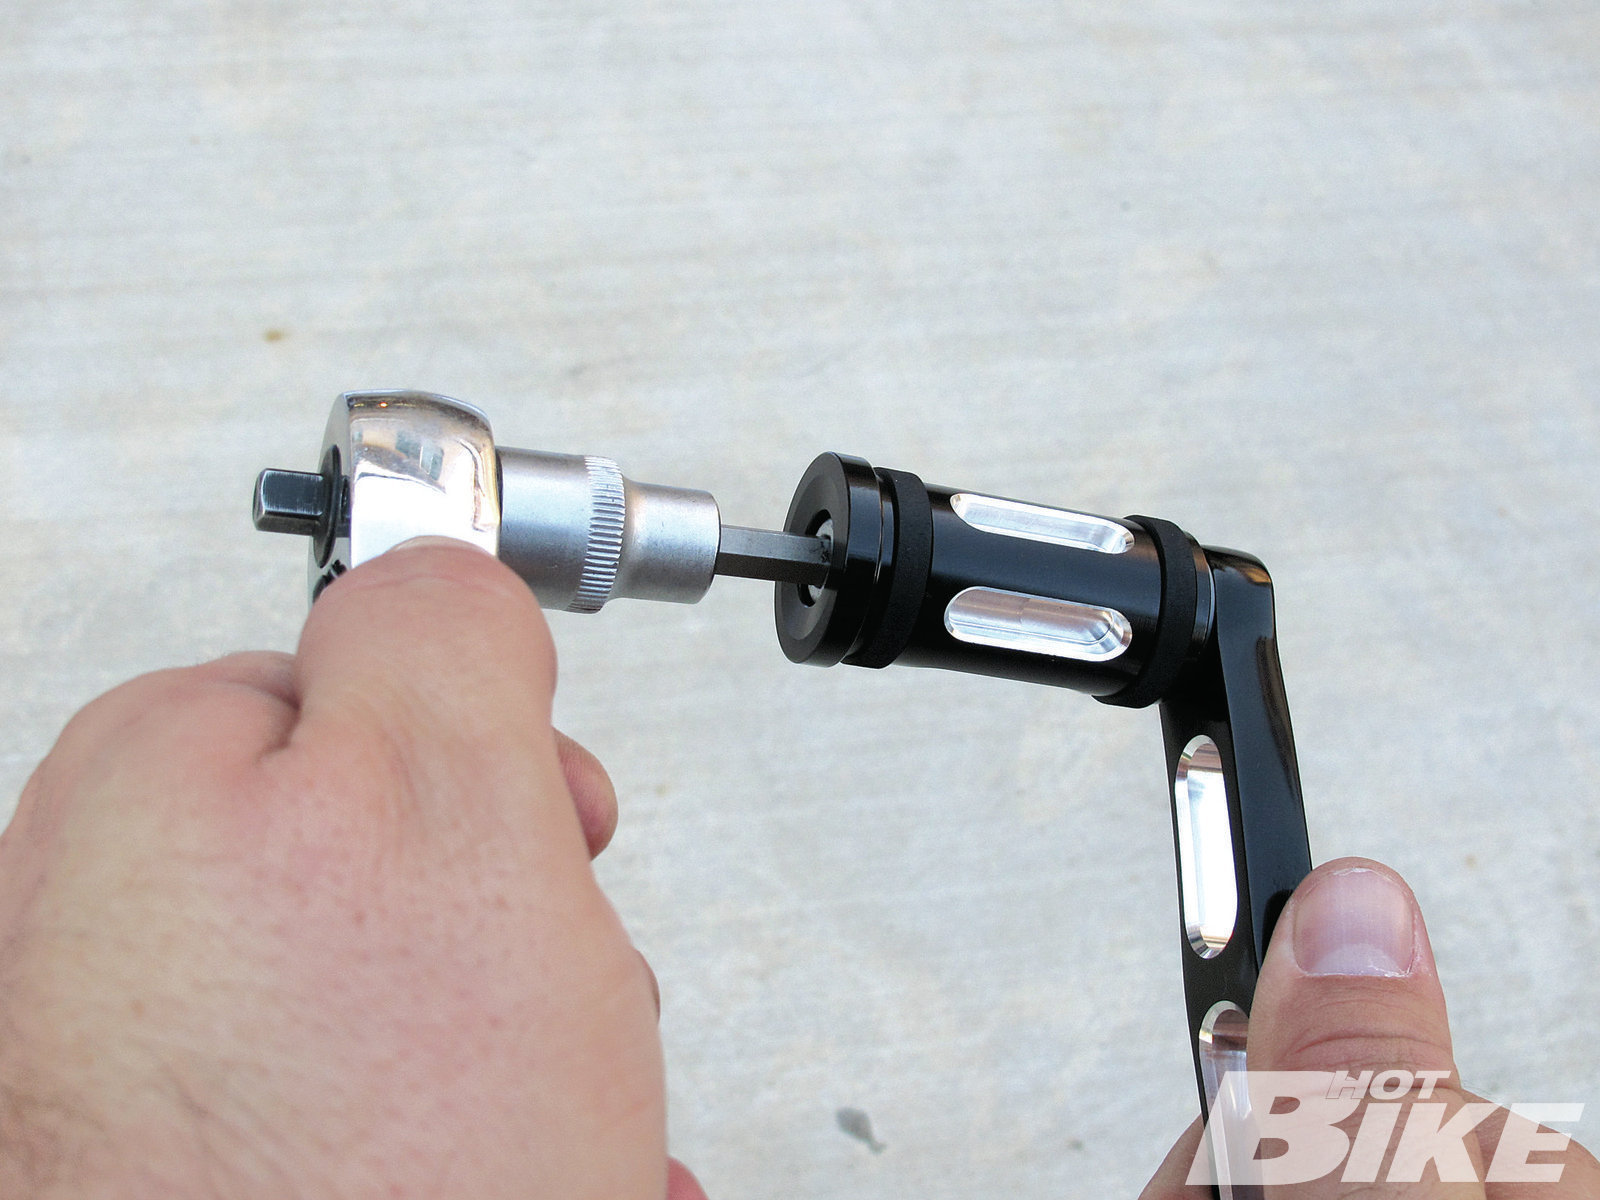
4 Next to go on was the Slotted Shift Linkage. The linkage came with a black cover that will slip over the rear shift rod lever (coming off the transmission) as well as a new bolt to secure the back of the lever to the rear shift rod.
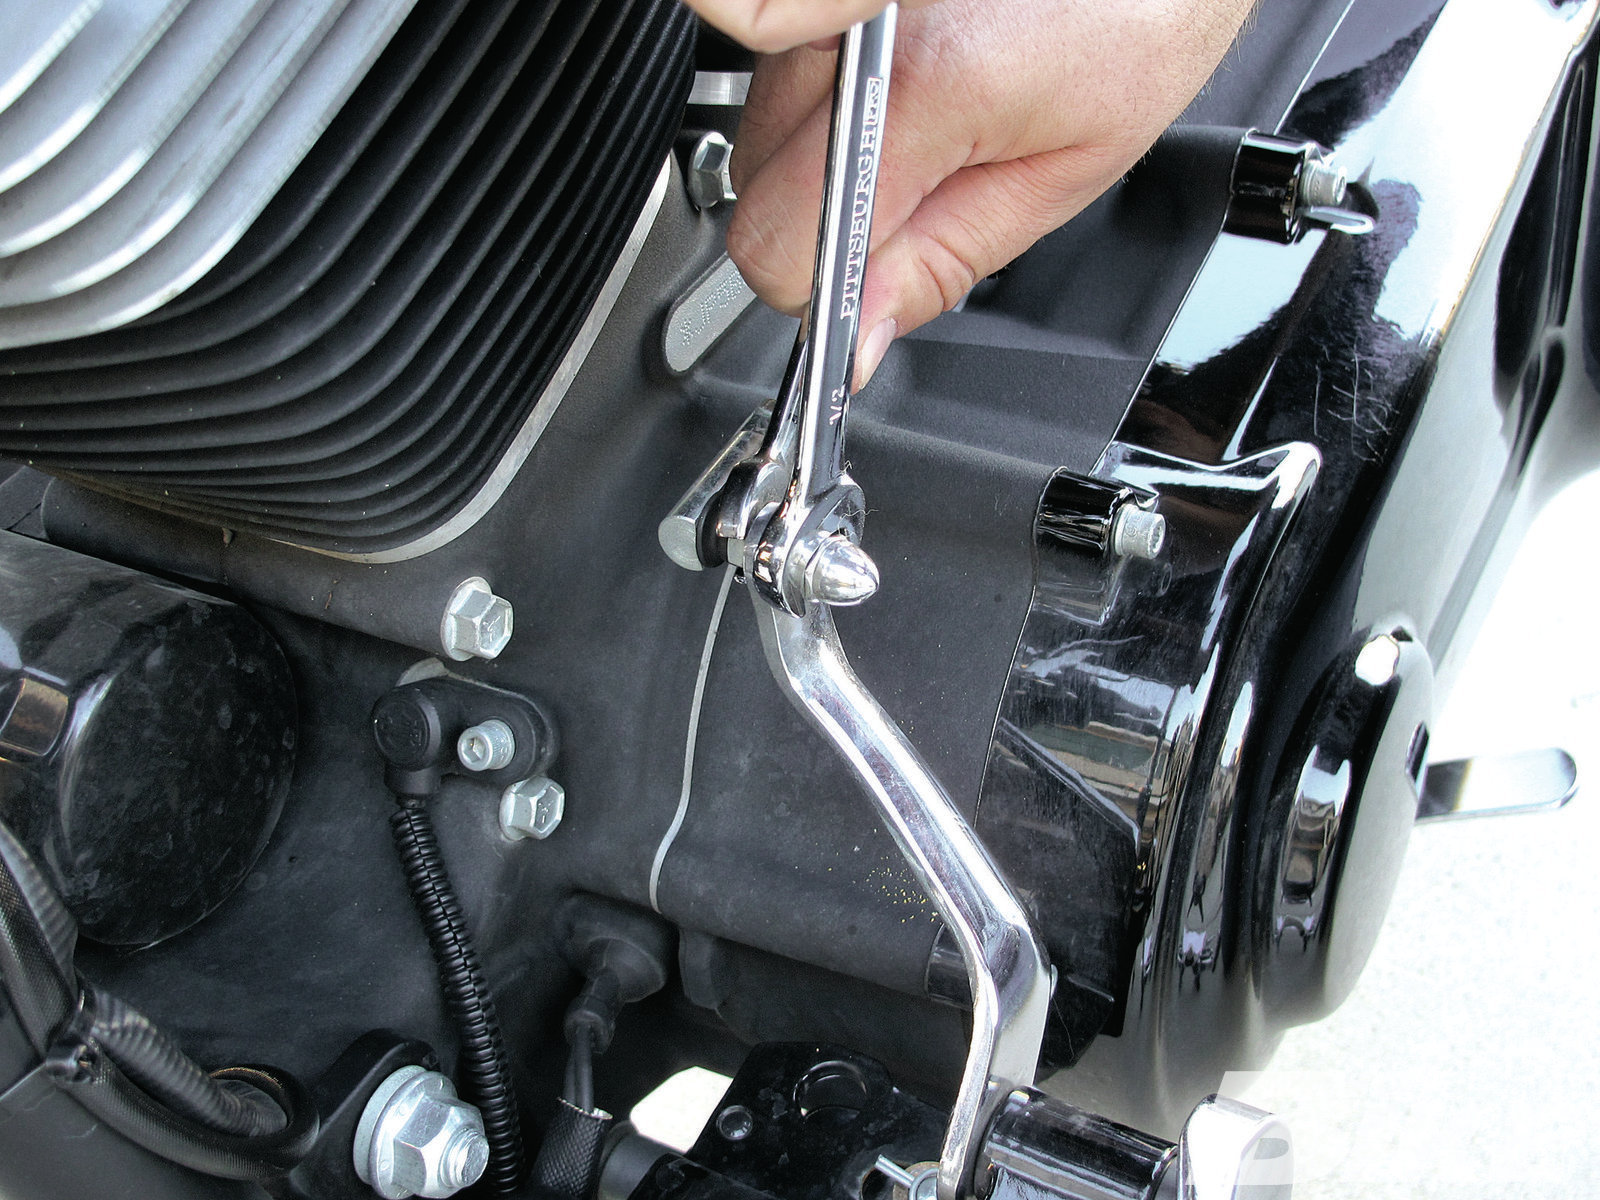
5 We unbolted the stock shift linkage…
6 …then lined up the new and old shift linkages so we could adjust the length of the new one to the same length as stock.
7 We then installed the new linkage, put the cover in place, applied thread locker to the mounting bolts and secured the linkage in place. We then tightened the locknuts on either end of the linkage.
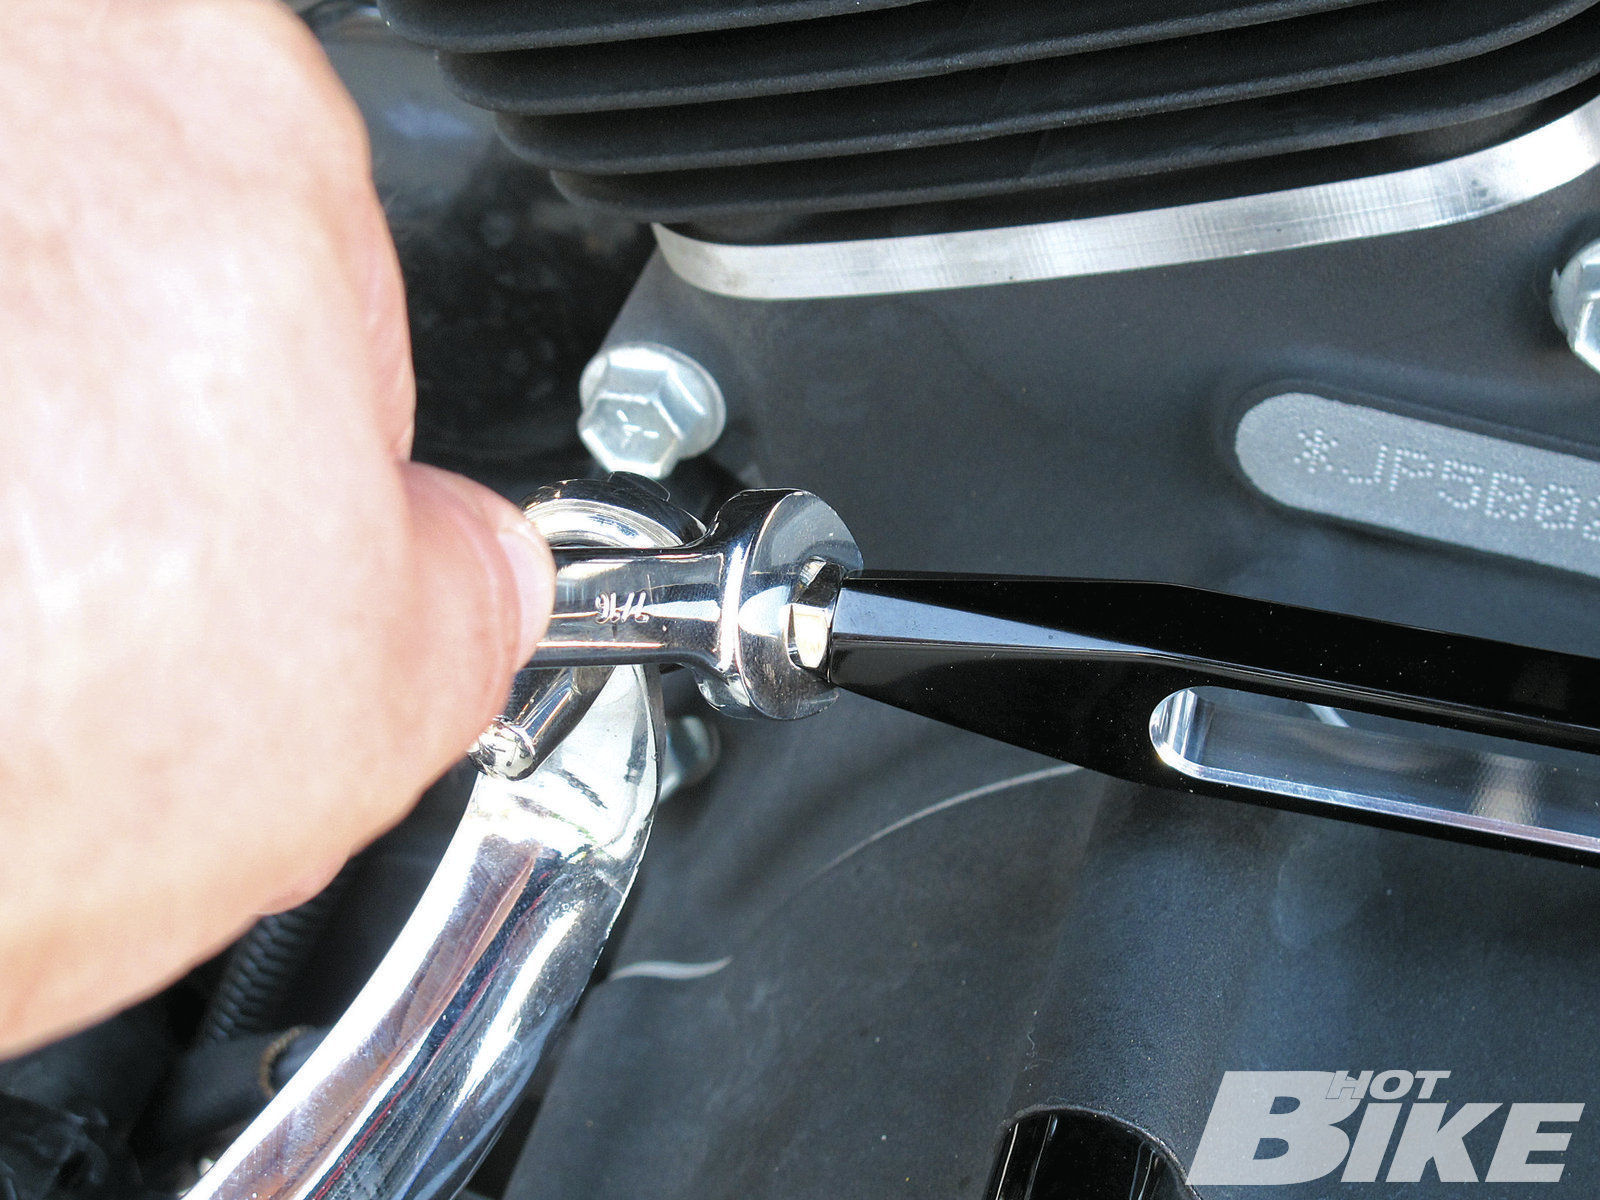
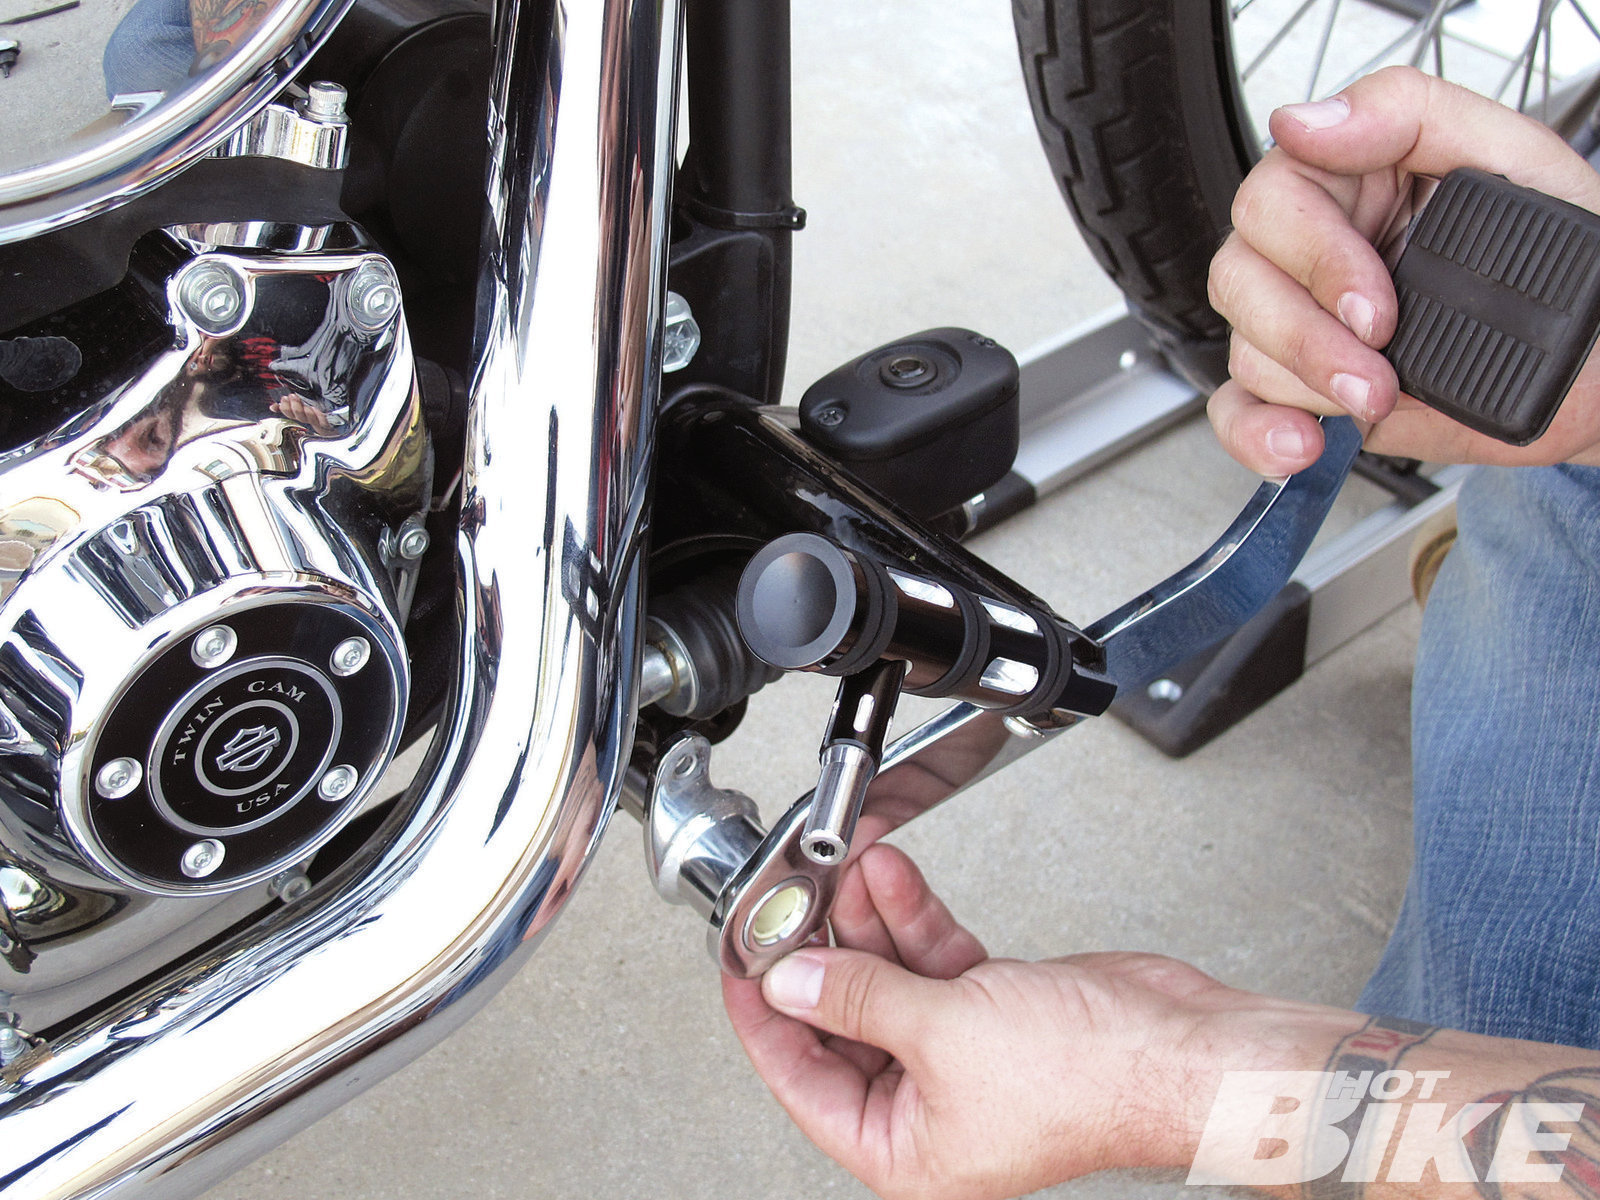
8 The shift lever was next. First we tightened the new shifter peg to the lever.
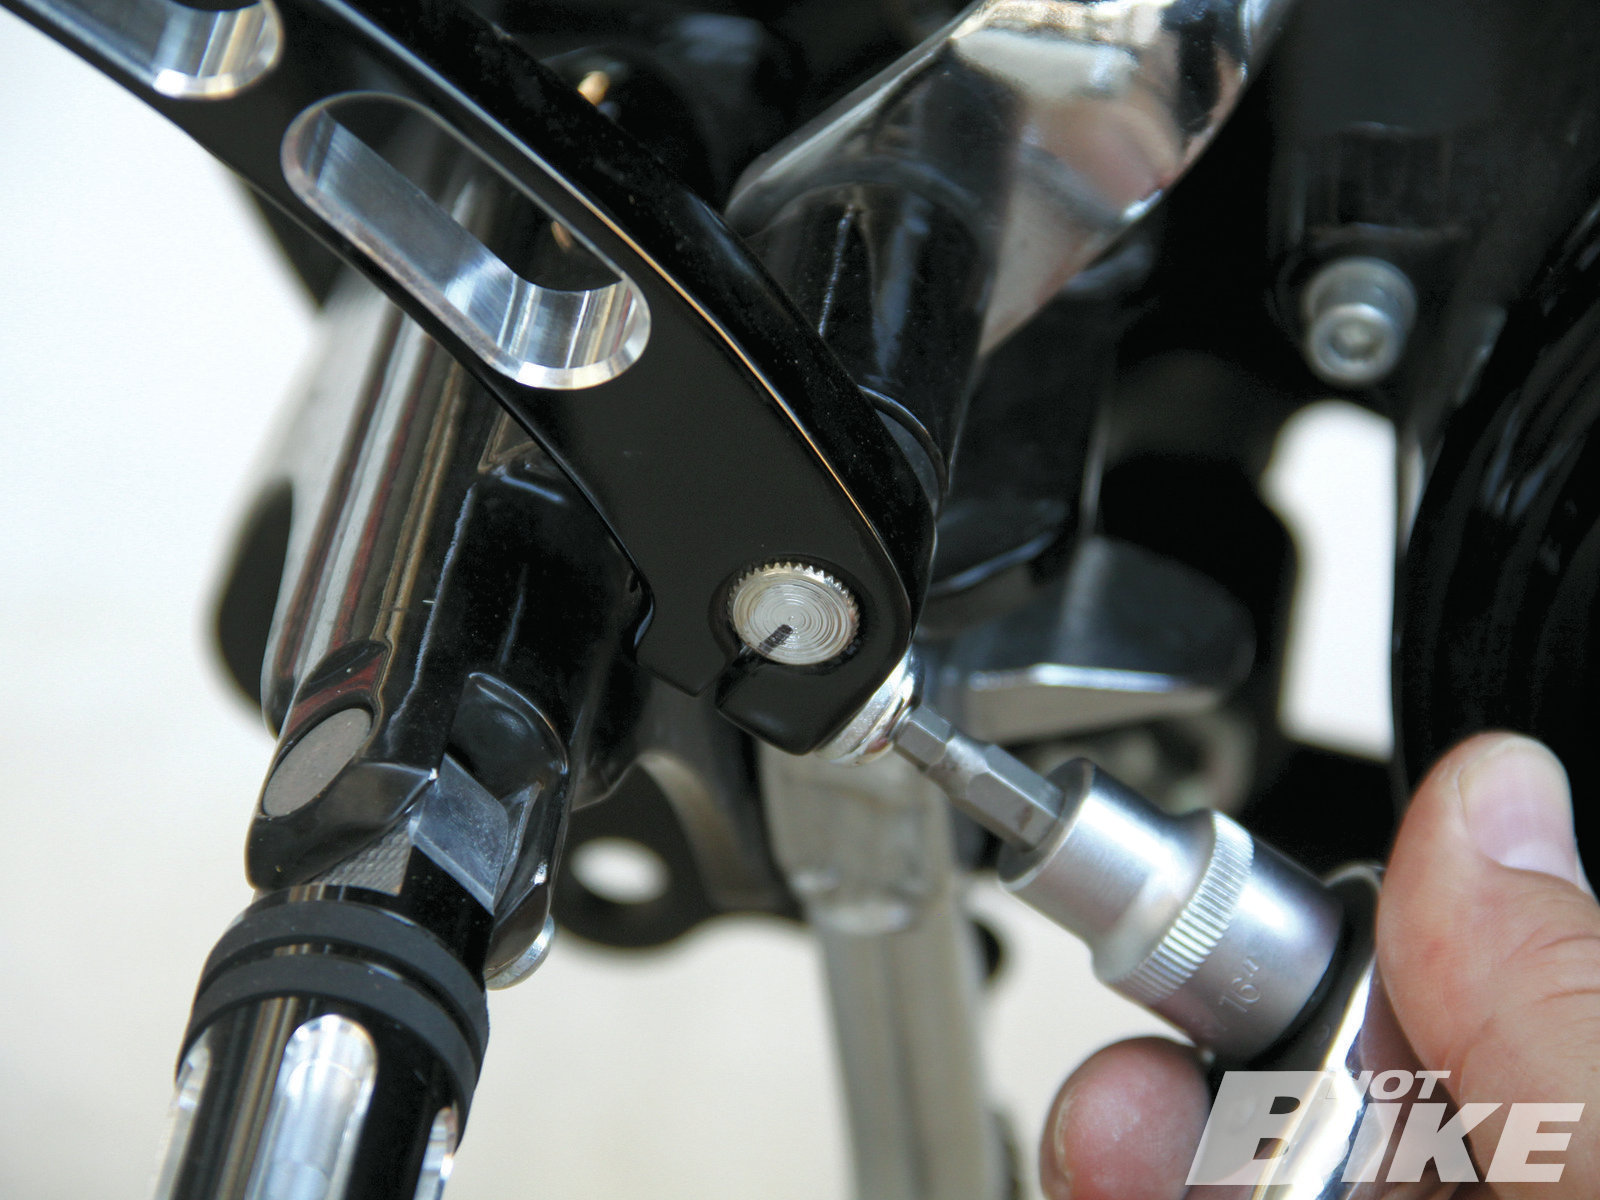
9 Before removing the stock lever, we used a black marker to draw a line on the shifter shaft (arrow) to indicate the opening on the stock lever. That way when we installed the new lever, we could align the opening with the line and the new lever would be orientated in the same position as stock. The lever was then tightened down on the shaft.
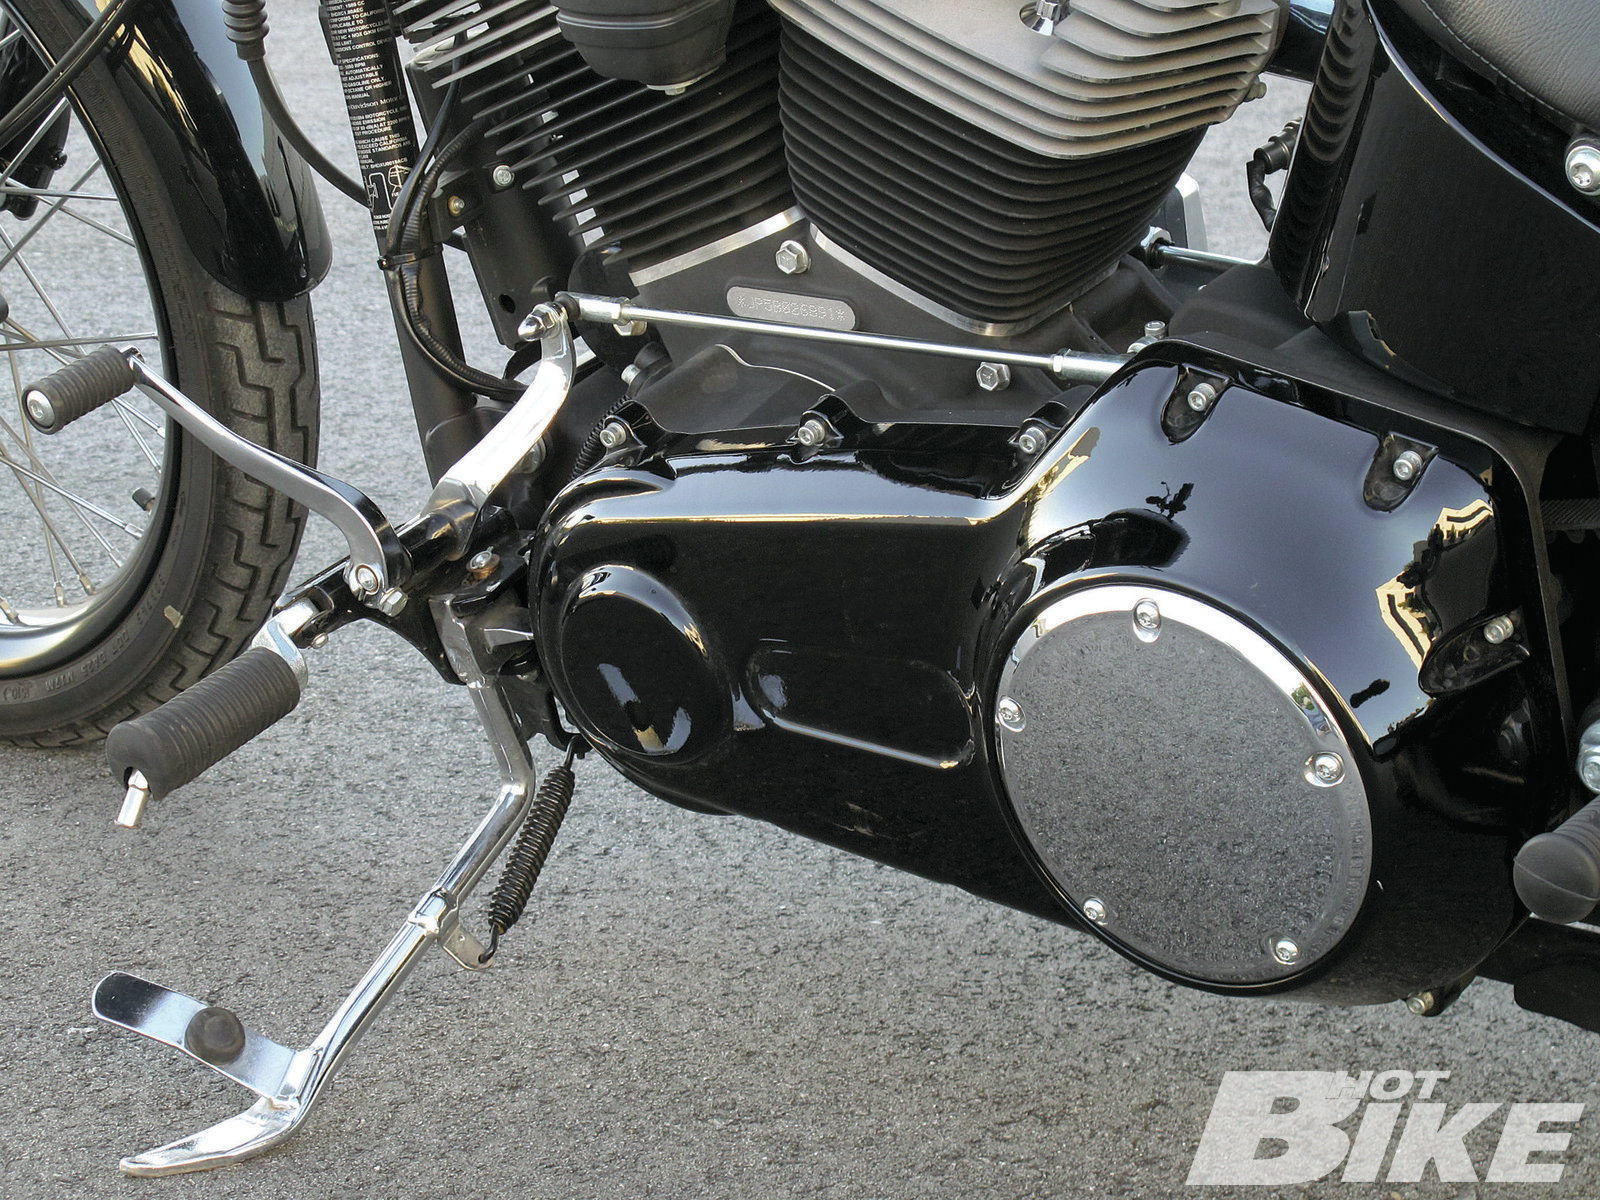
10 Here is the stock setup…
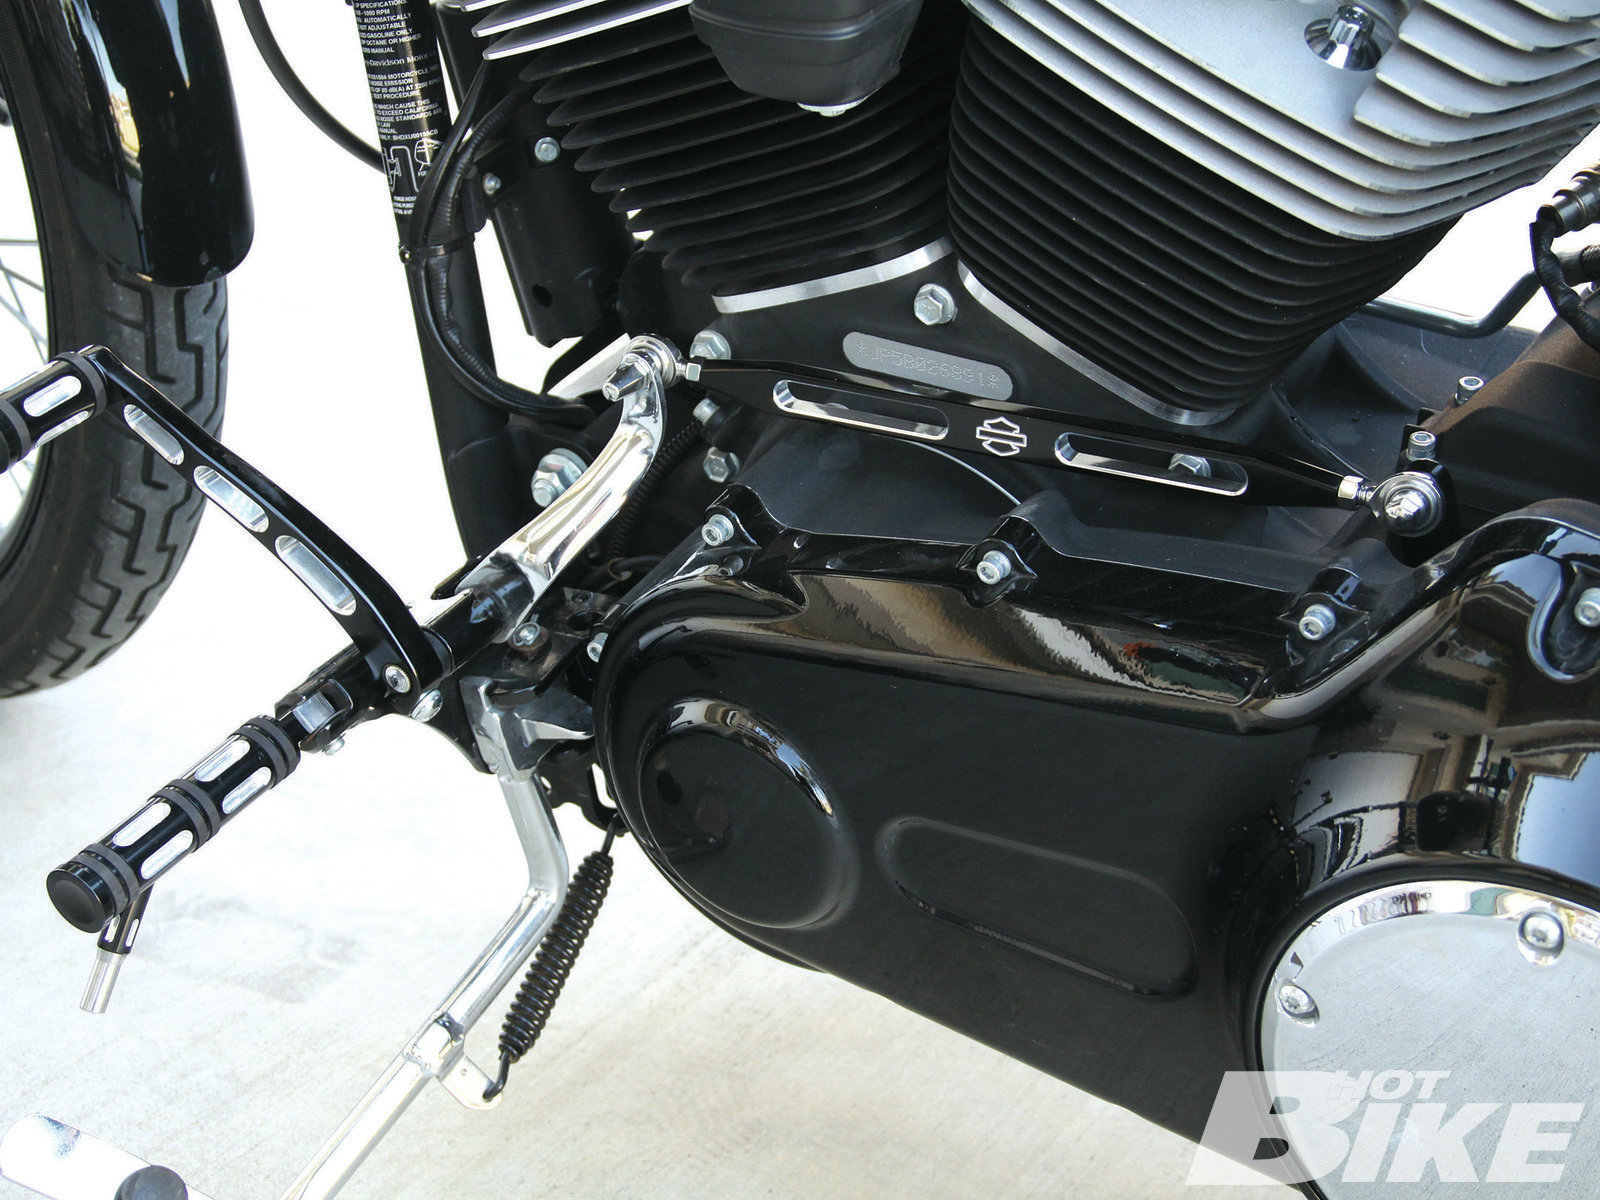
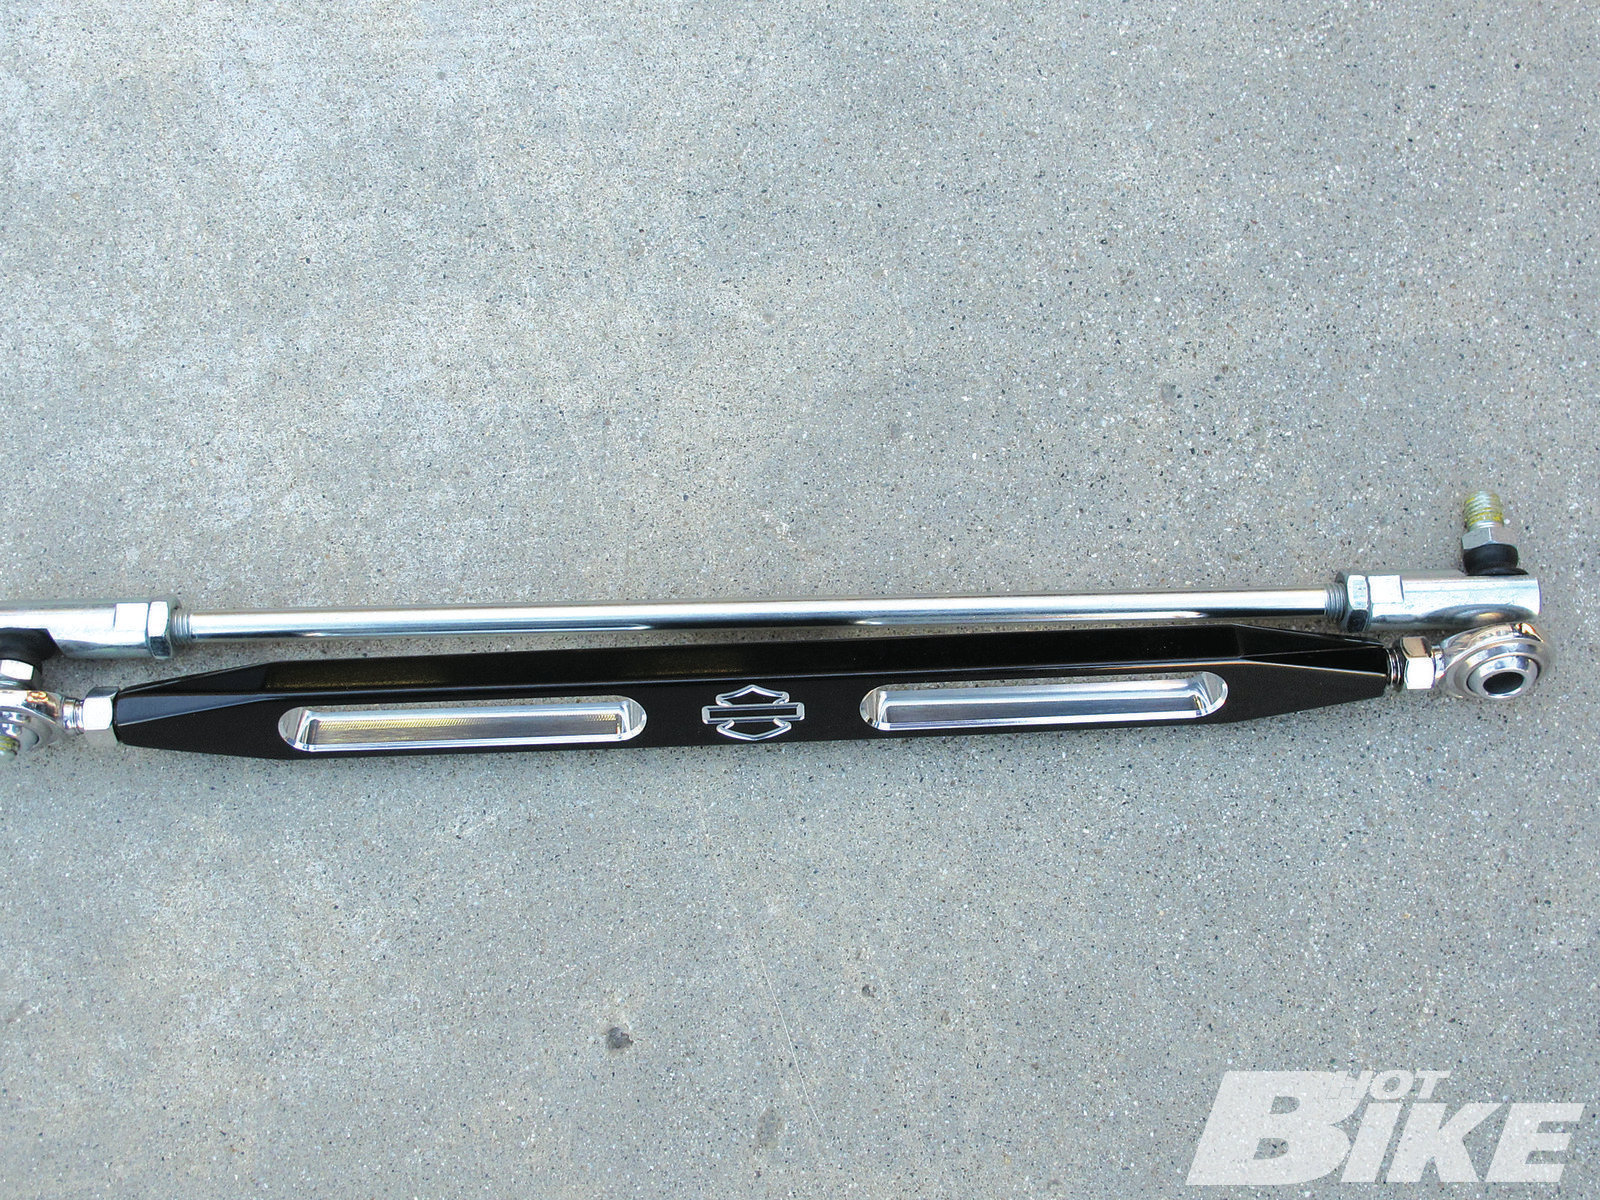
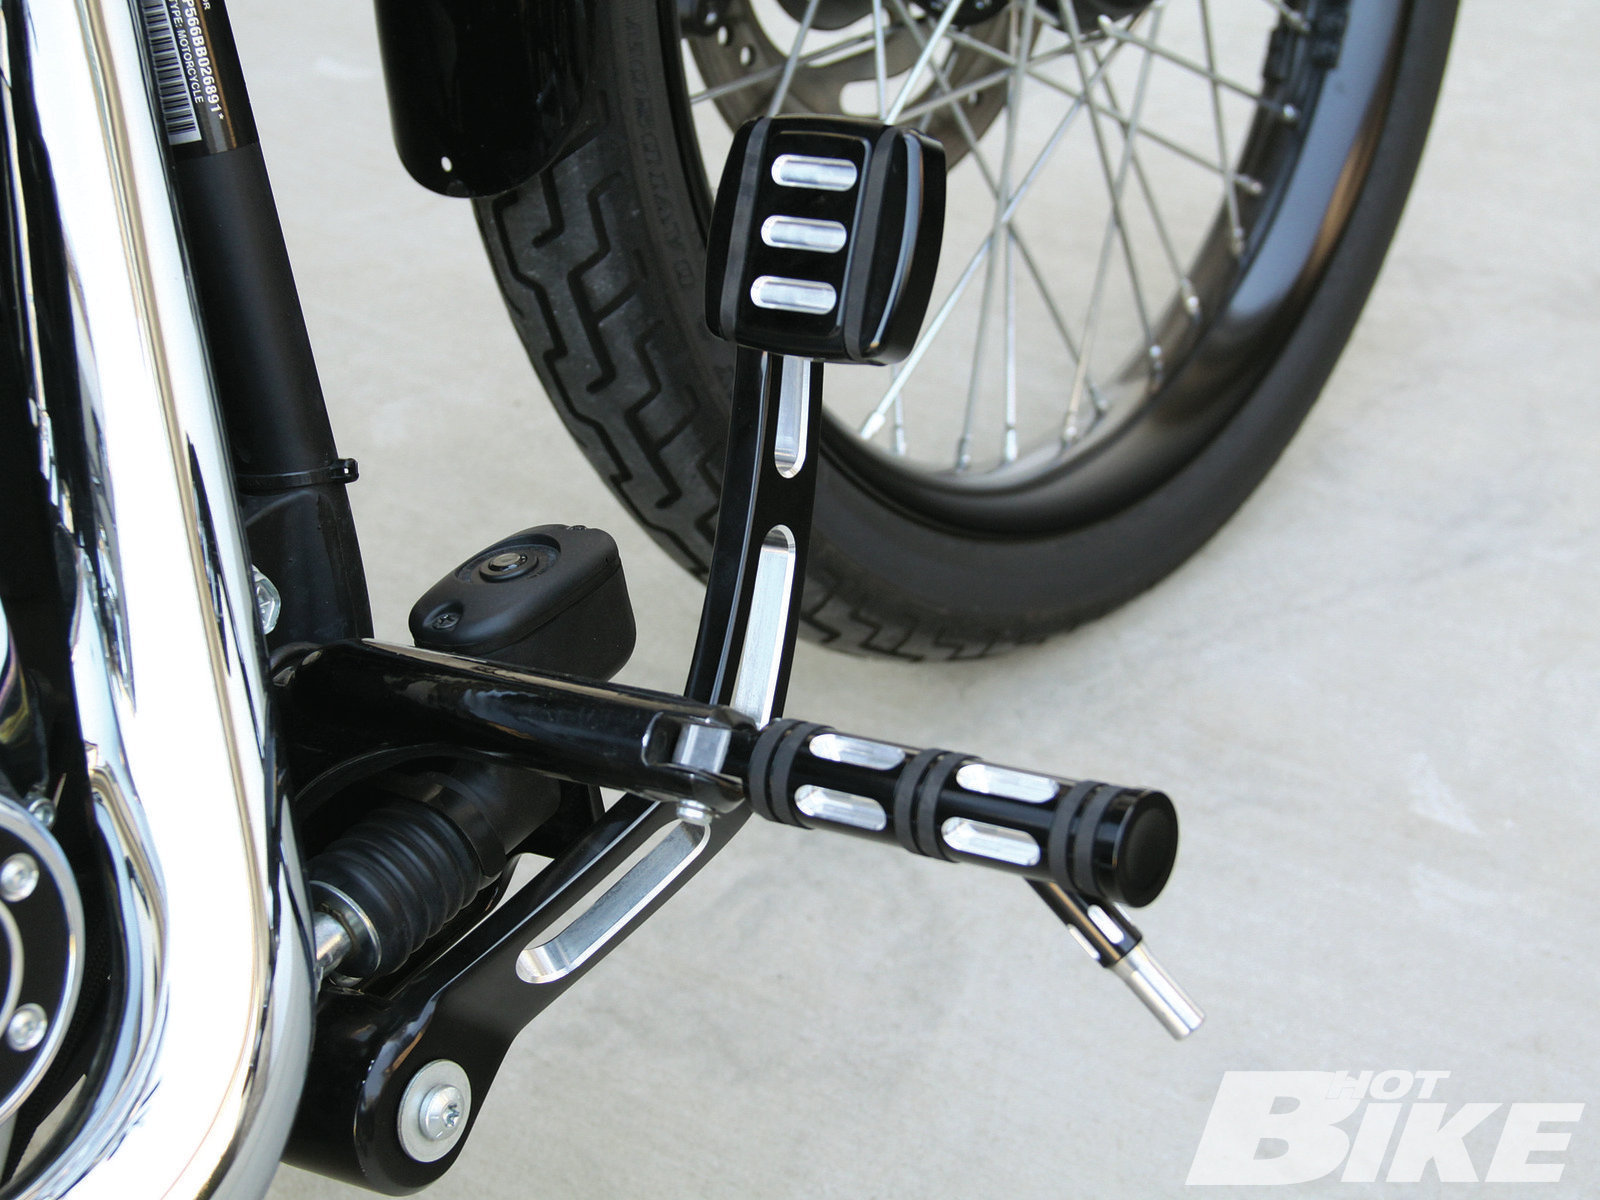
11 …and the new look with the Slotted linkage and Edge Cut Shift Peg and lever.
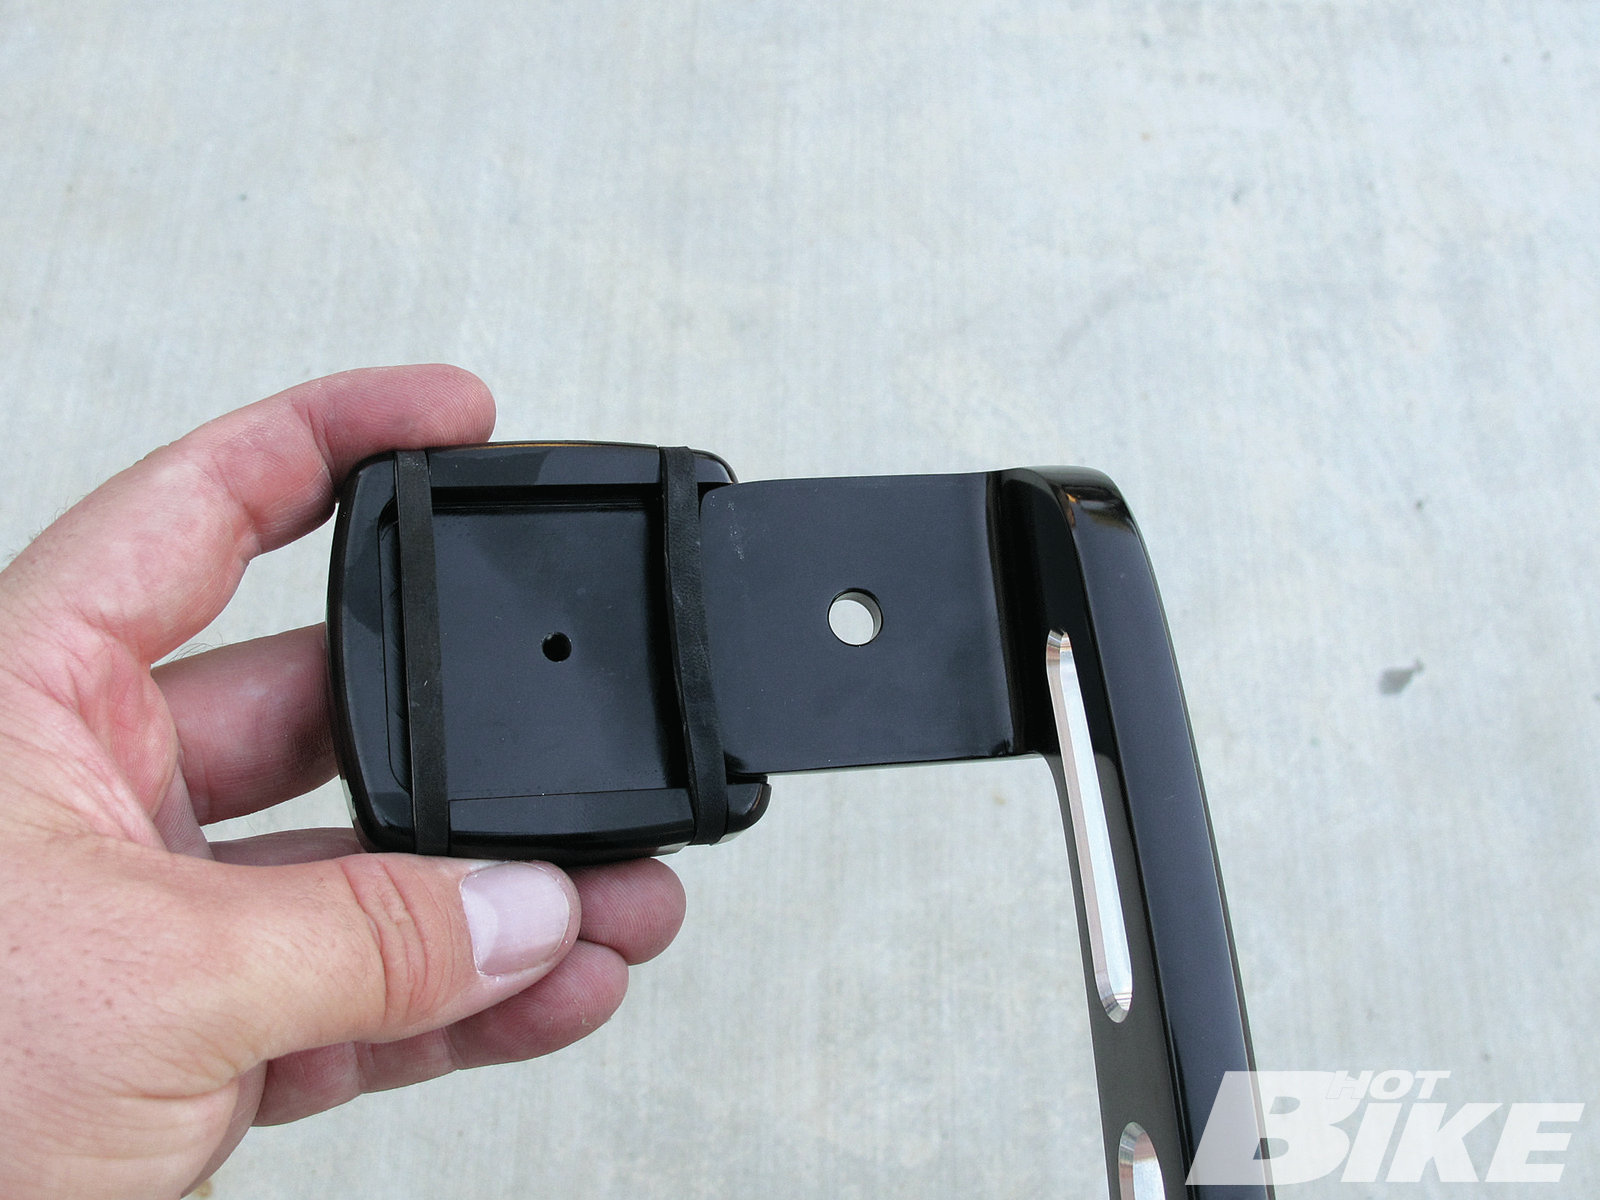
12 Moving to the right side, we slid the brake pedal pad over the new brake lever.
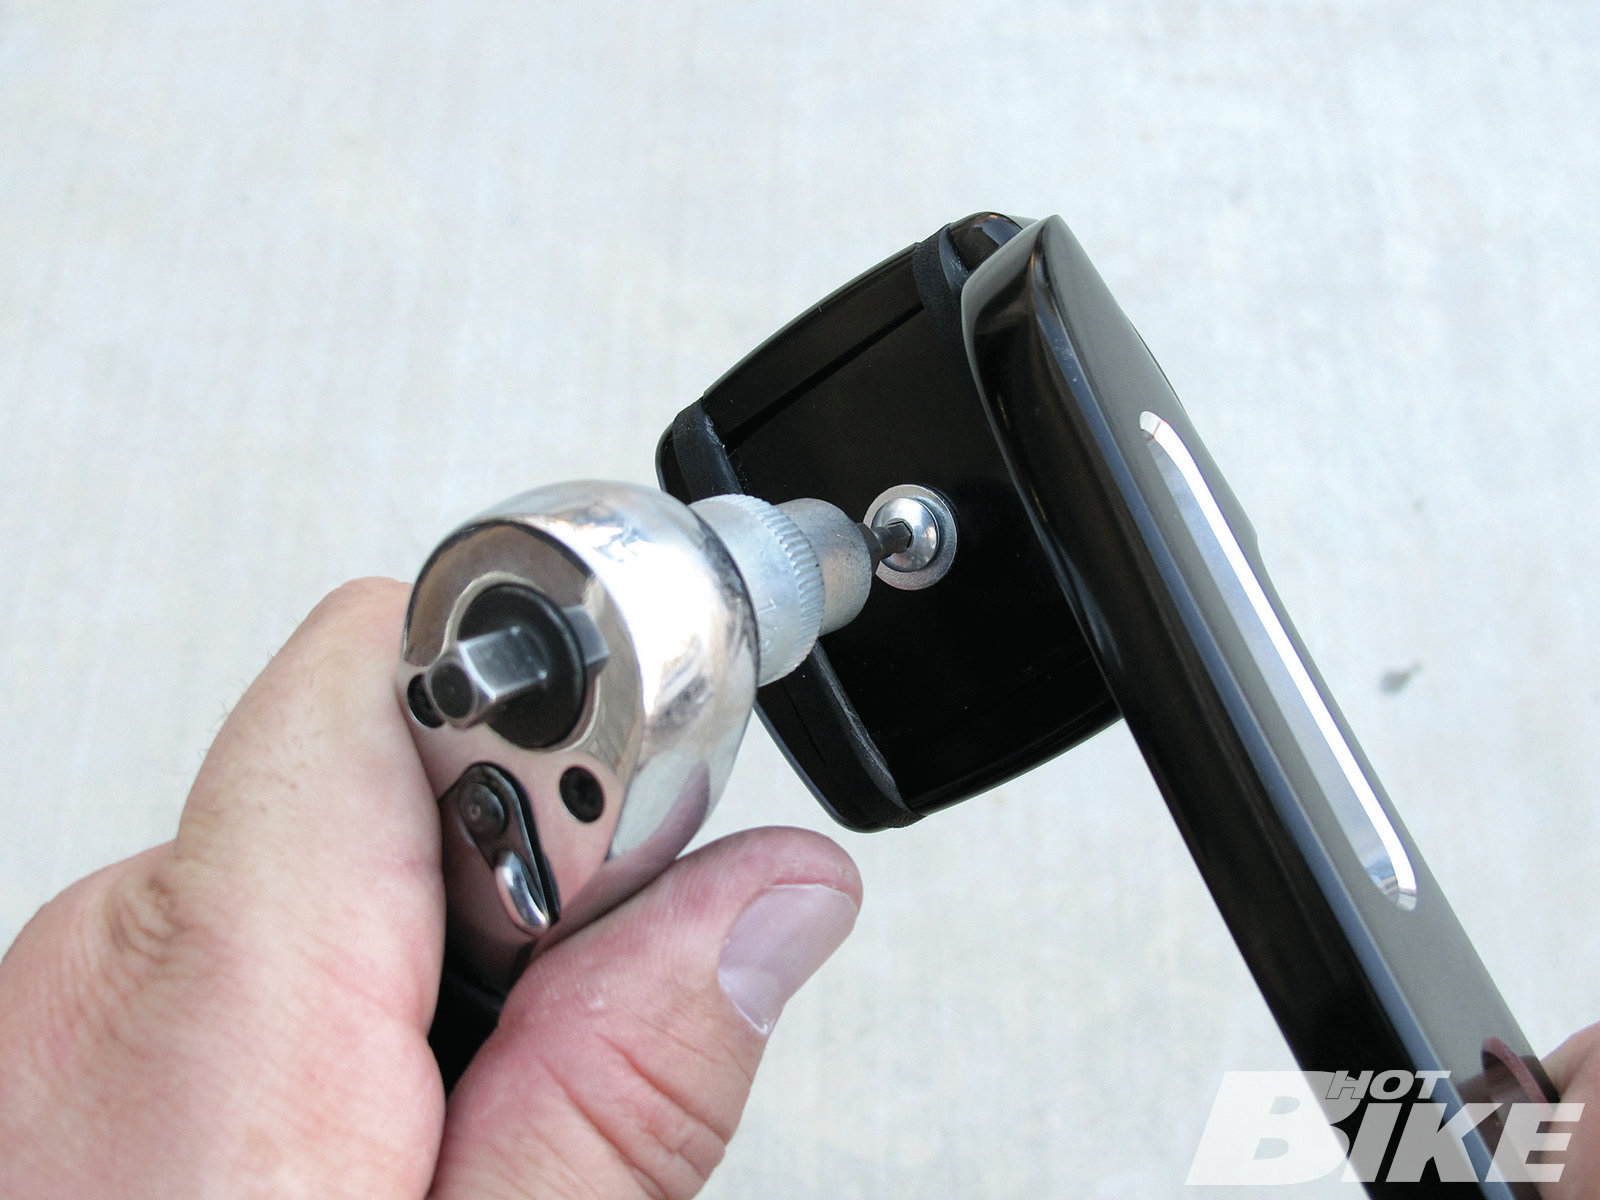
13 We then used the button head screw and washer that came with the brake pad to secure it to the lever.
14 The cotter pin and clevis pin connecting the brake lever to the brake rod were removed followed by the brake lever mounting screw. The space was a little too tight to remove the brake lever so we had to loosen the mounting screw at the front of the master cylinder, which allowed us to wiggle the master cylinder out a bit giving us enough clearance to remove the lever.

15 We followed the instructions, which called for discarding the stock inner and outer O-rings, then slid the new lever in place. The master cylinder was then tightened back up and the cotter pin and clevis pin were reinstalled. The stock flat washer was then put in place on the outside of the lever, and with some thread locker on the mounting screw, the lever was secured in place.
16 The new Edge Cut Brake lever and pad and Edge Cut Footpeg.
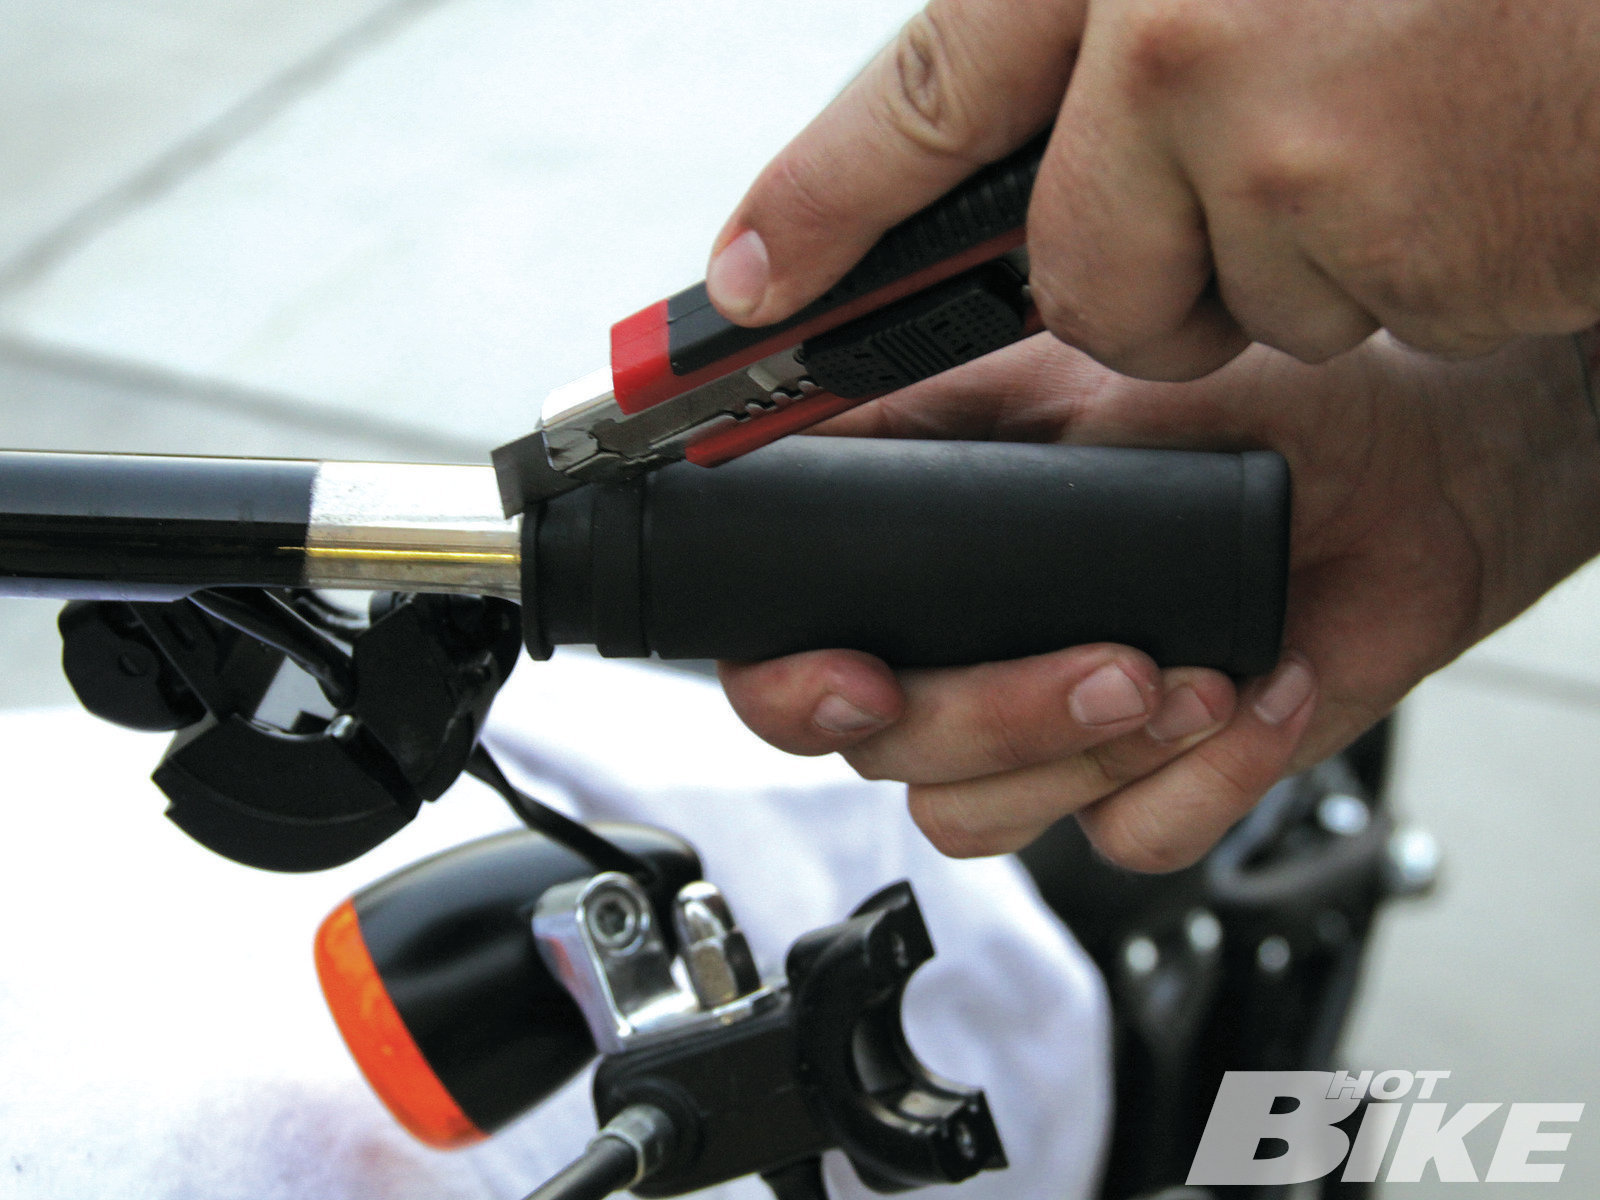
17 Moving up top, we started with the left-side grip. The grip is glued in place so after removing the switch housing we cut the grip off.
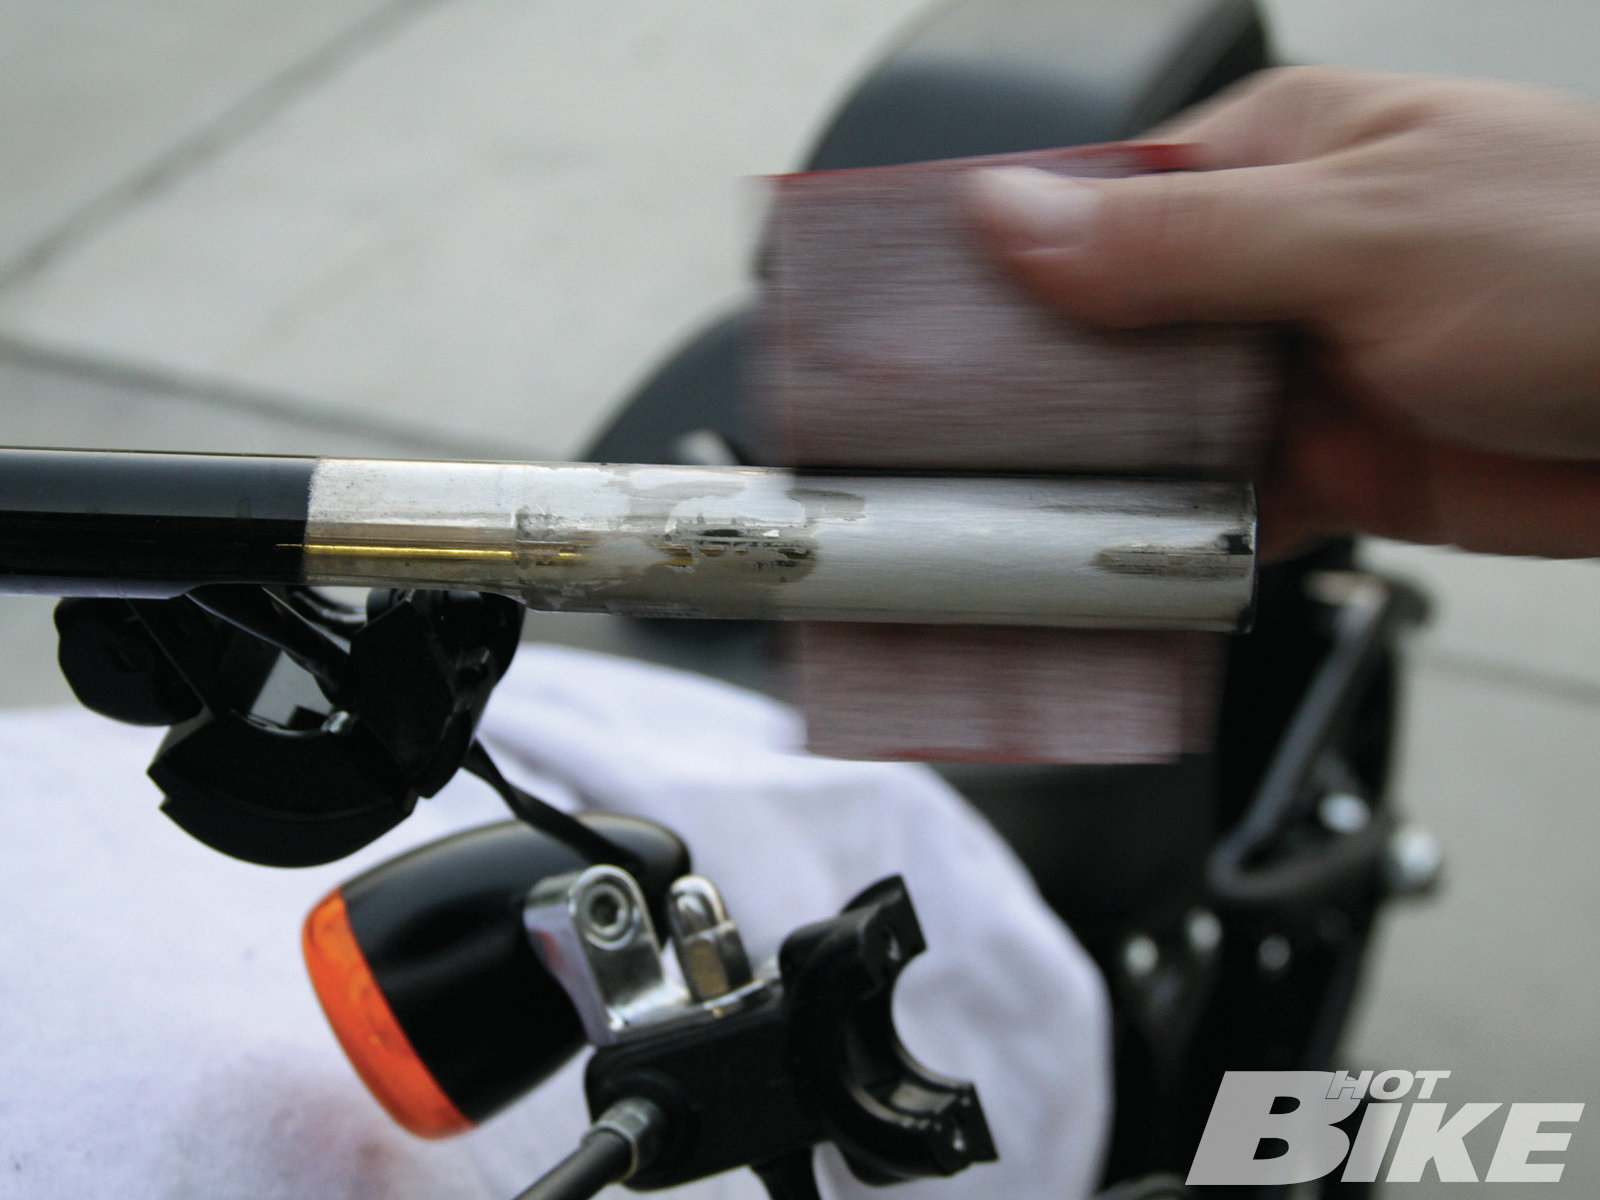
18 Some light work with fine grit sand paper helped remove the remaining glue and smoothed out the bar end so the new grip could easily slide in place.

19 The new grip was slid in place and then the switch housing was reinstalled.
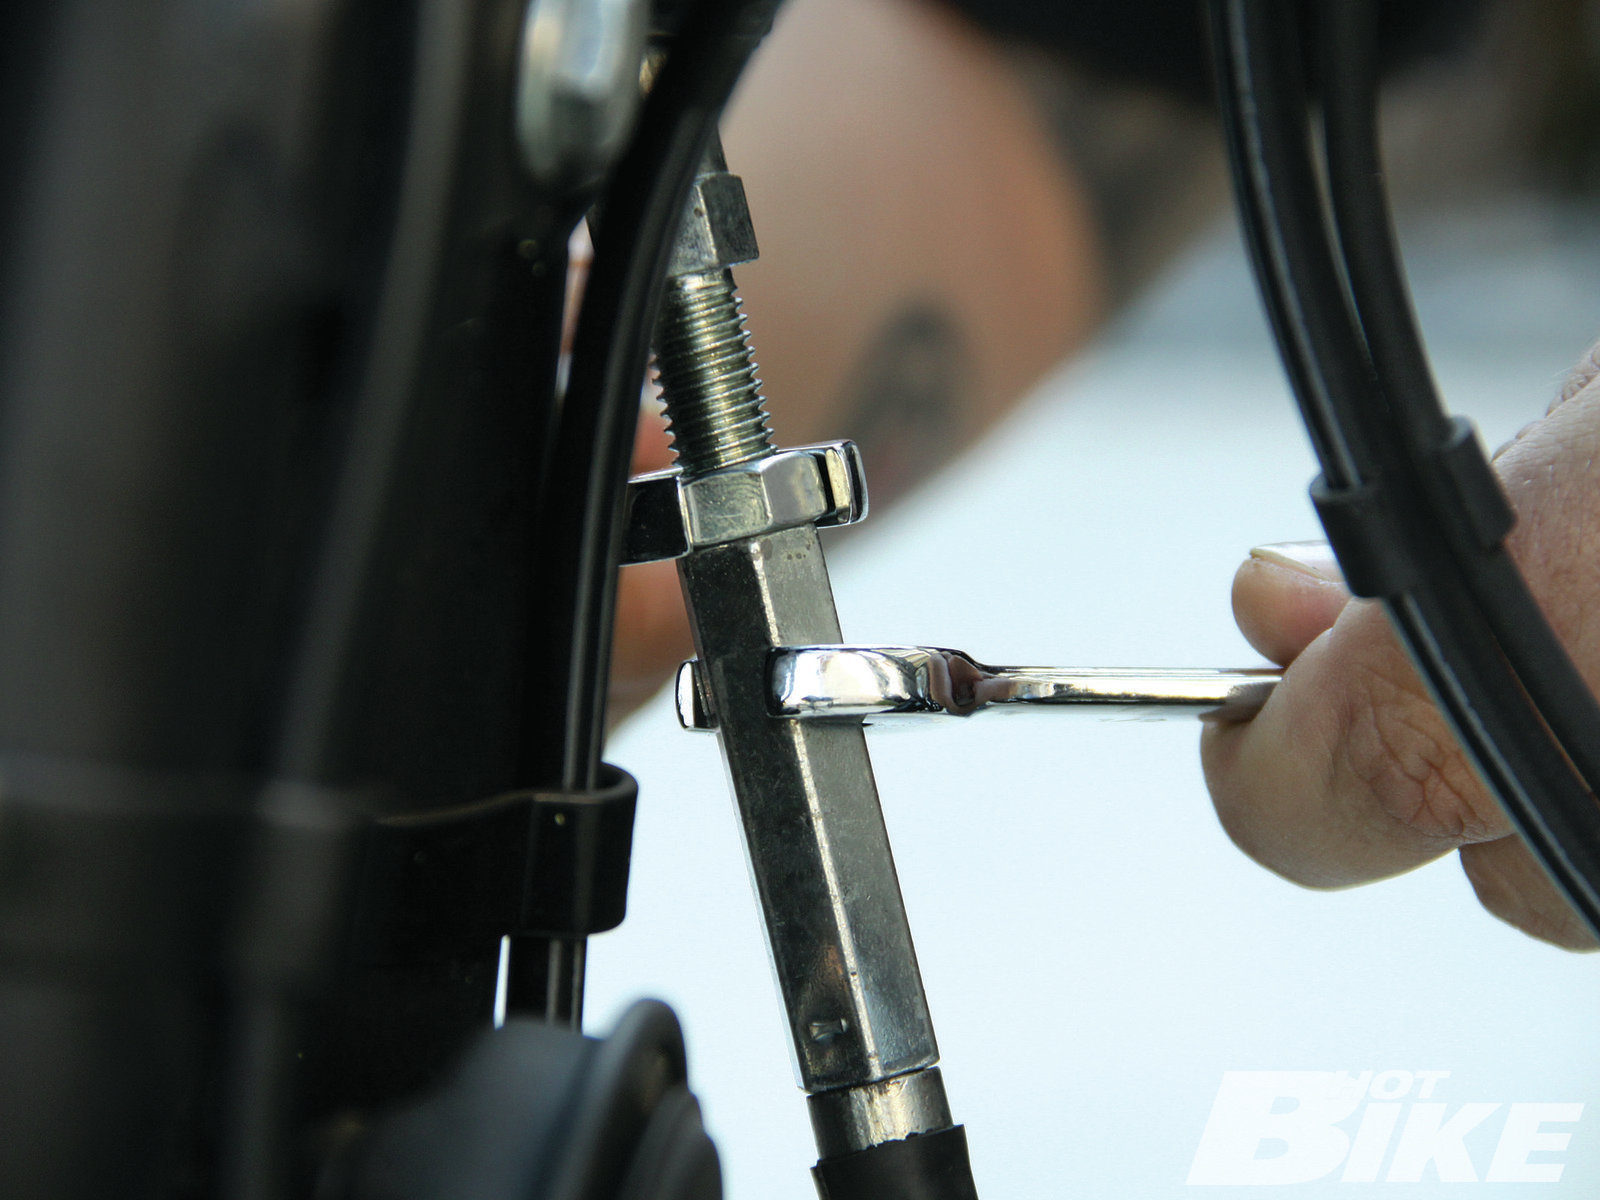
20 In order to swap out the clutch lever, we had to loosen the clutch adjustment.
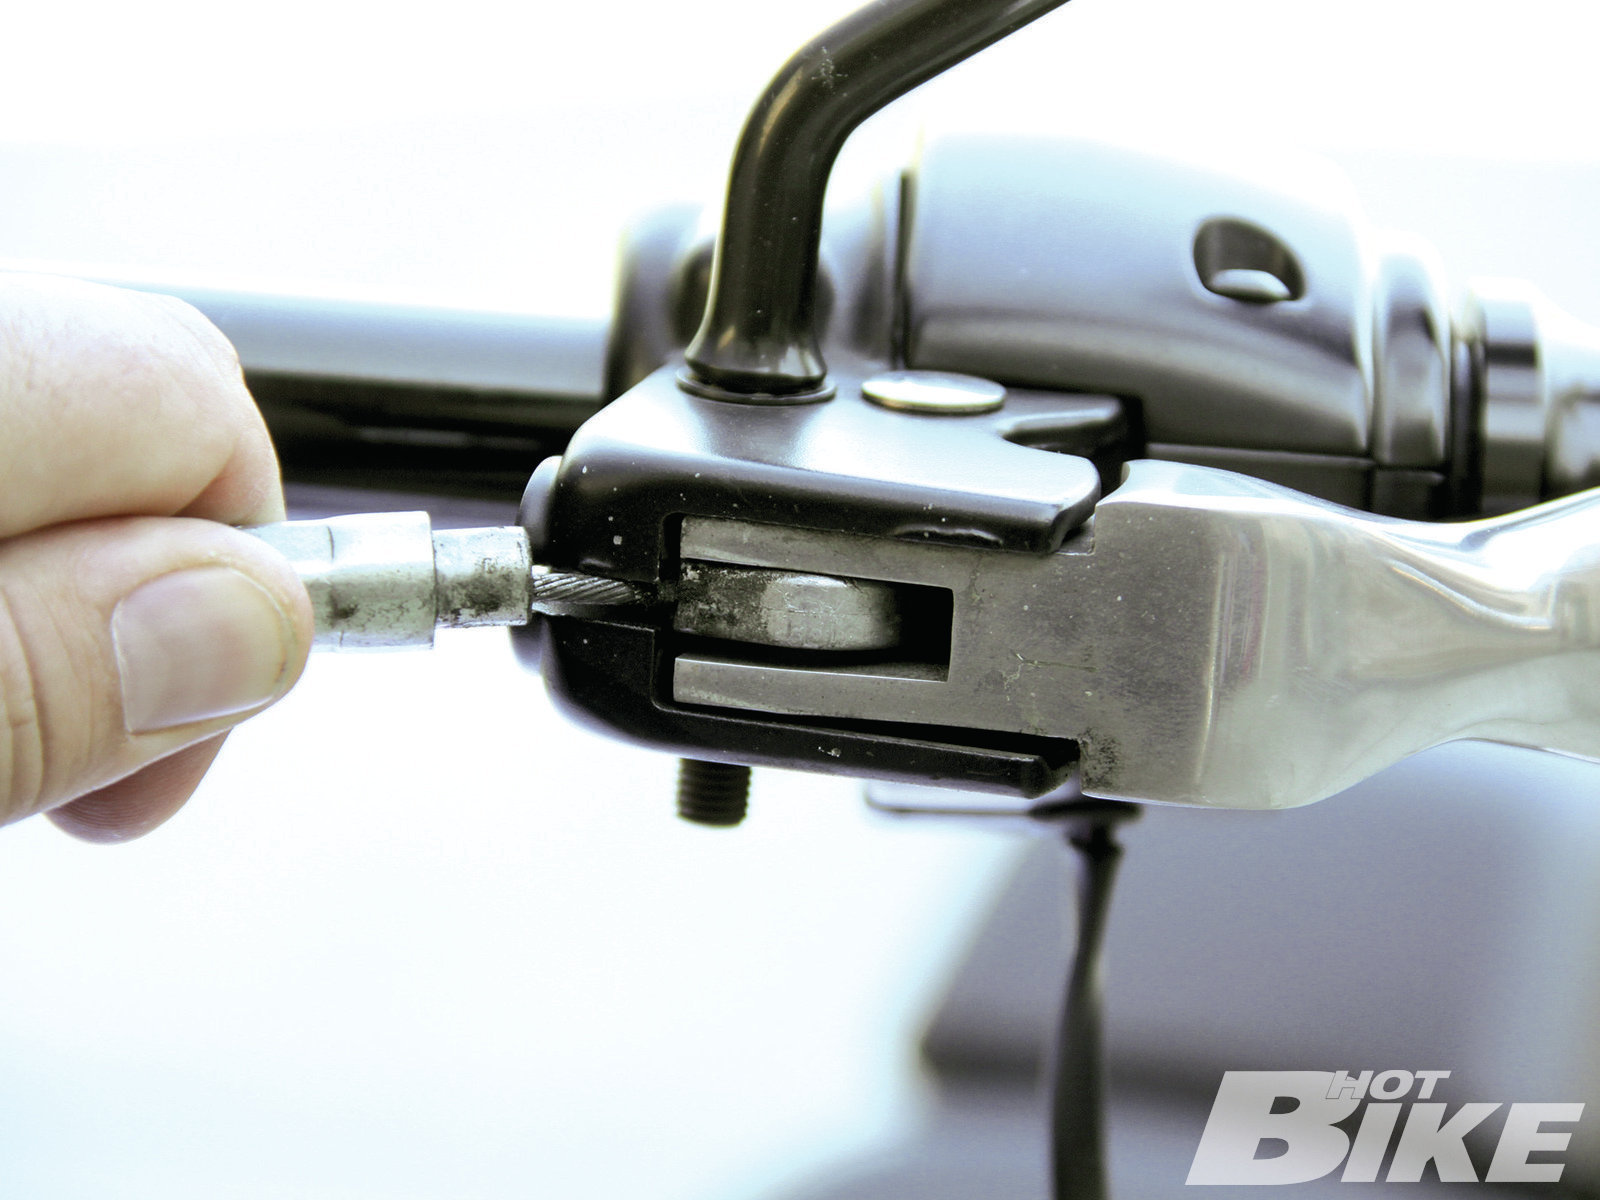
21 With some slack in the clutch cable, we were then able to pop the cable end out of the clutch perch. The front turn signal mount had to be removed to gain access to the circlip at the bottom of the clutch lever pin.
22 Once the stock lever was out, we then slid the clutch cable into the new lever followed by the clutch cable pin. The lever was then slid back into the clutch perch followed by the clutch lever pin and circlip. We then readjusted the clutch.
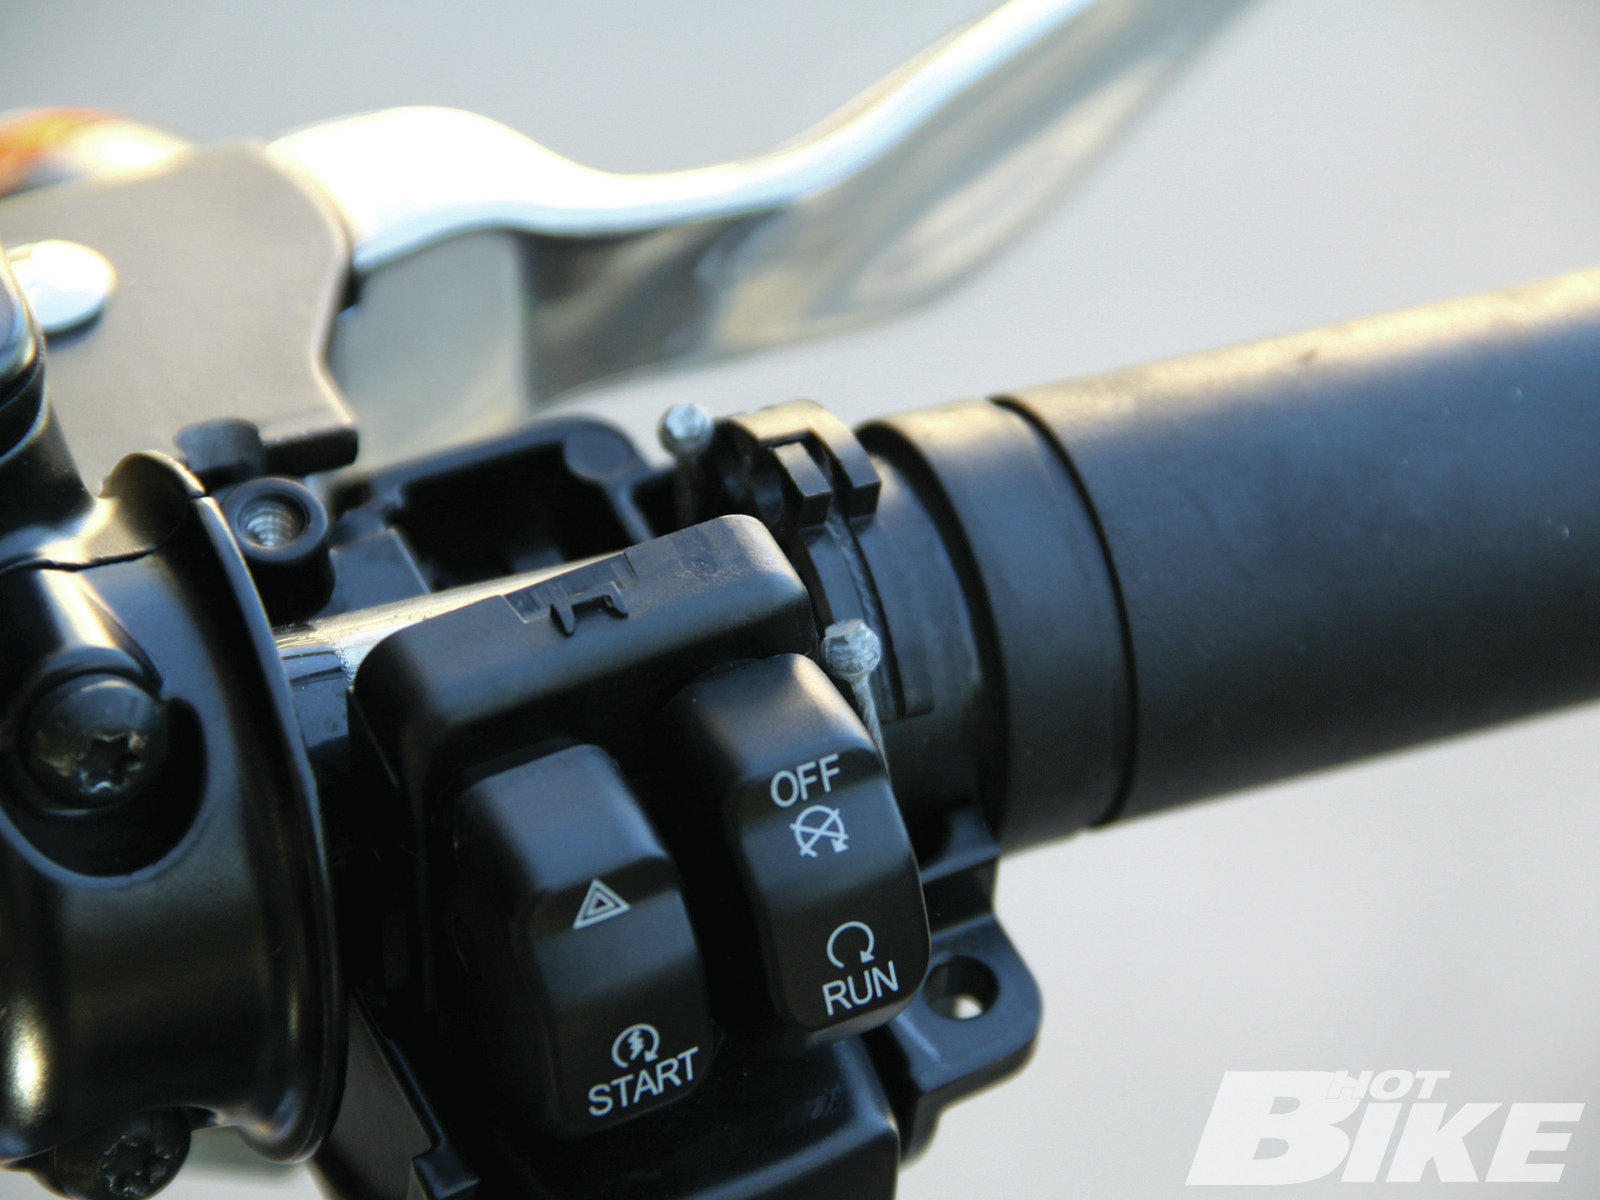
23 On the throttle side, we removed the switch housing and loosened up the throttle cables.
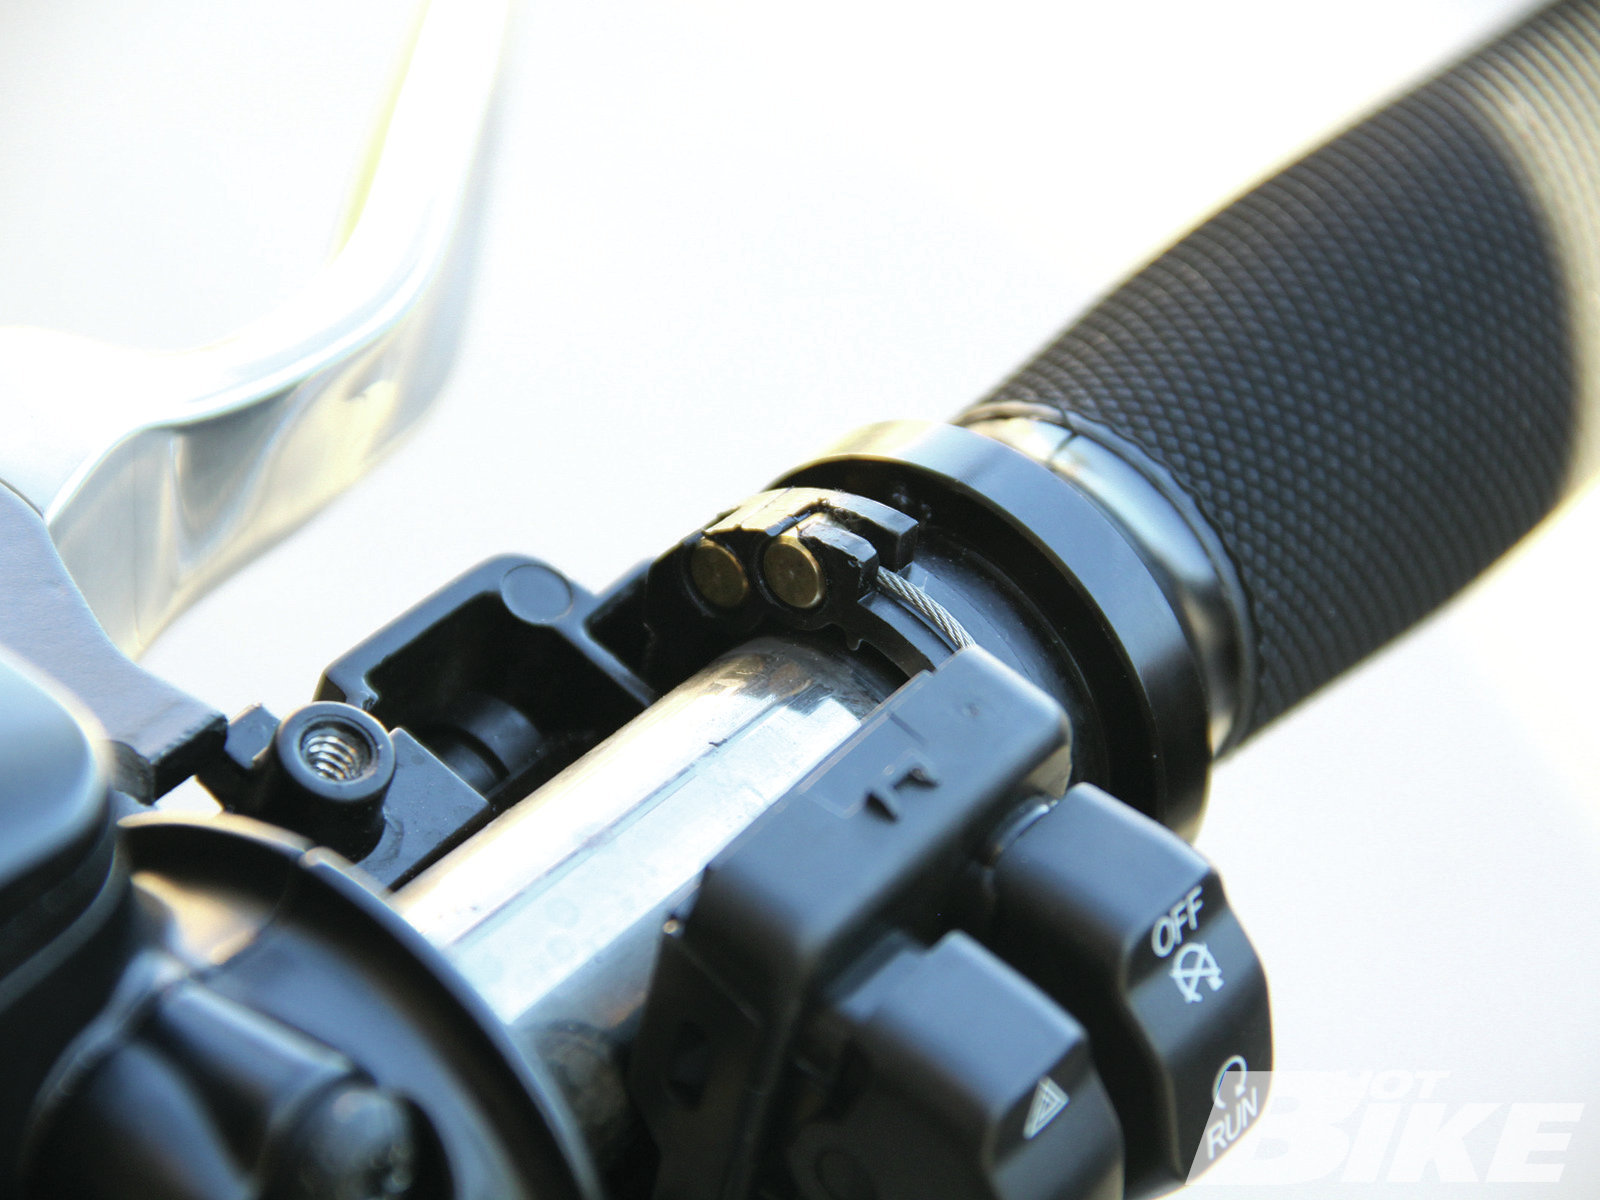
24 The stock grip was removed and the new grip was slid in place. We then installed the throttle cable ferrules into their proper slots. When removing/installing throttle cables be sure to keep a finger on the ferrules as they can easily slip off the cable ends and fall off into Never Never Land.
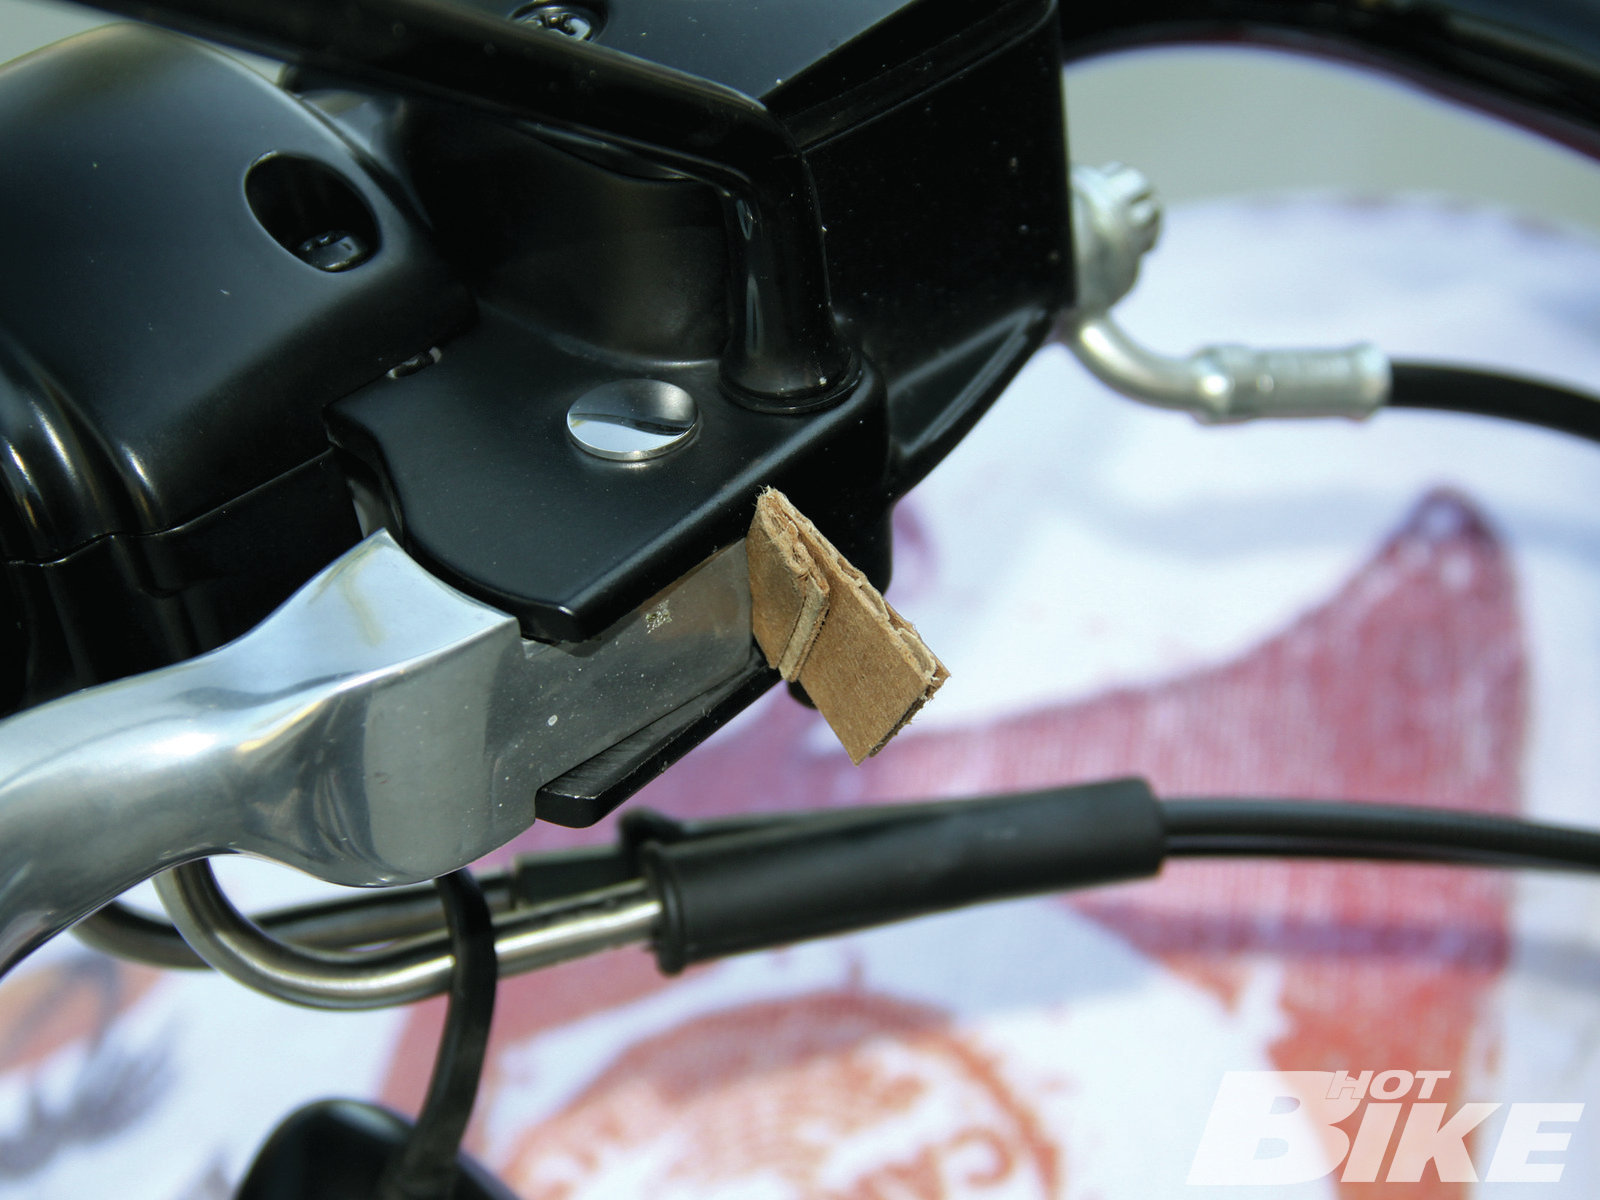
25 Next, we followed the instructions for swapping out the stock brake lever by positioning a cardboard insert between the brake lever and lever bracket; this will help protect the rubber boot and plunger on the stop light switch.
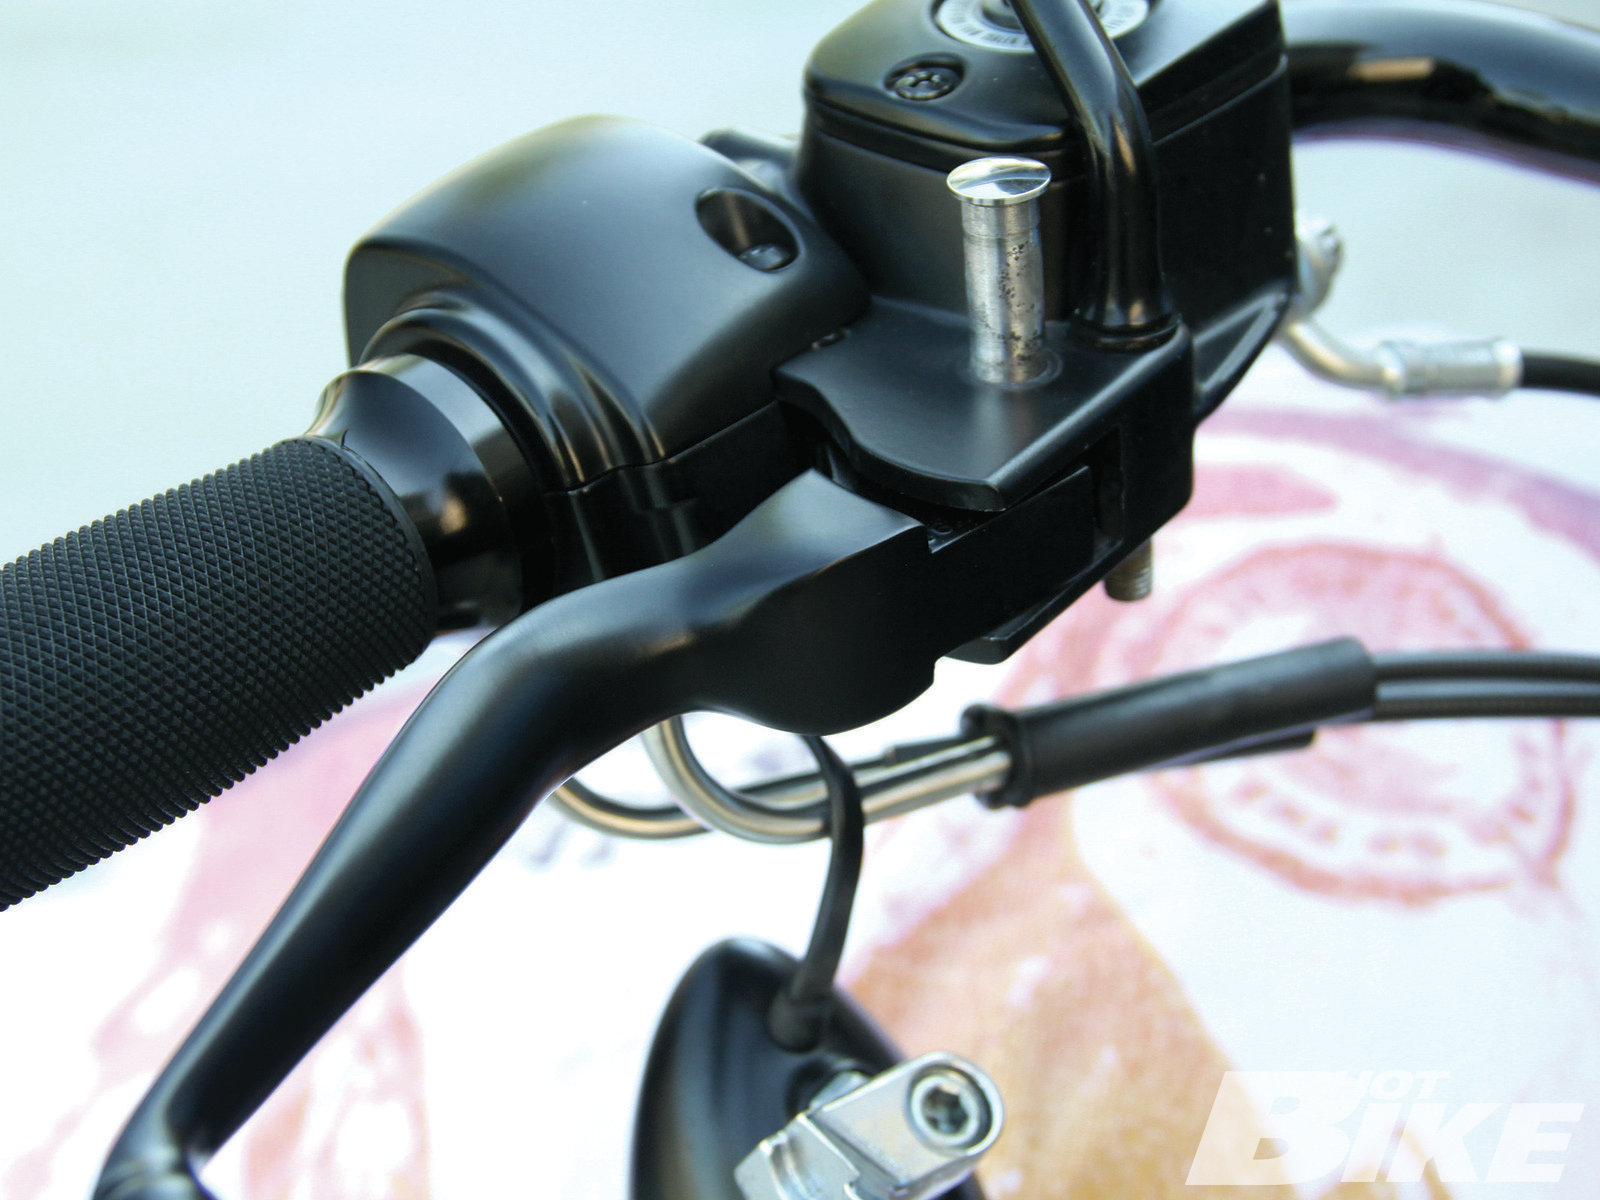
26 Once again with the front turn signal out of the way we were able to access the circlip holding the brake lever pin in place. We removed the pin and lever, then gently slid the new lever in place. We then slid the pin back into position, installed the circlip, and bolted the turn signal back in place.
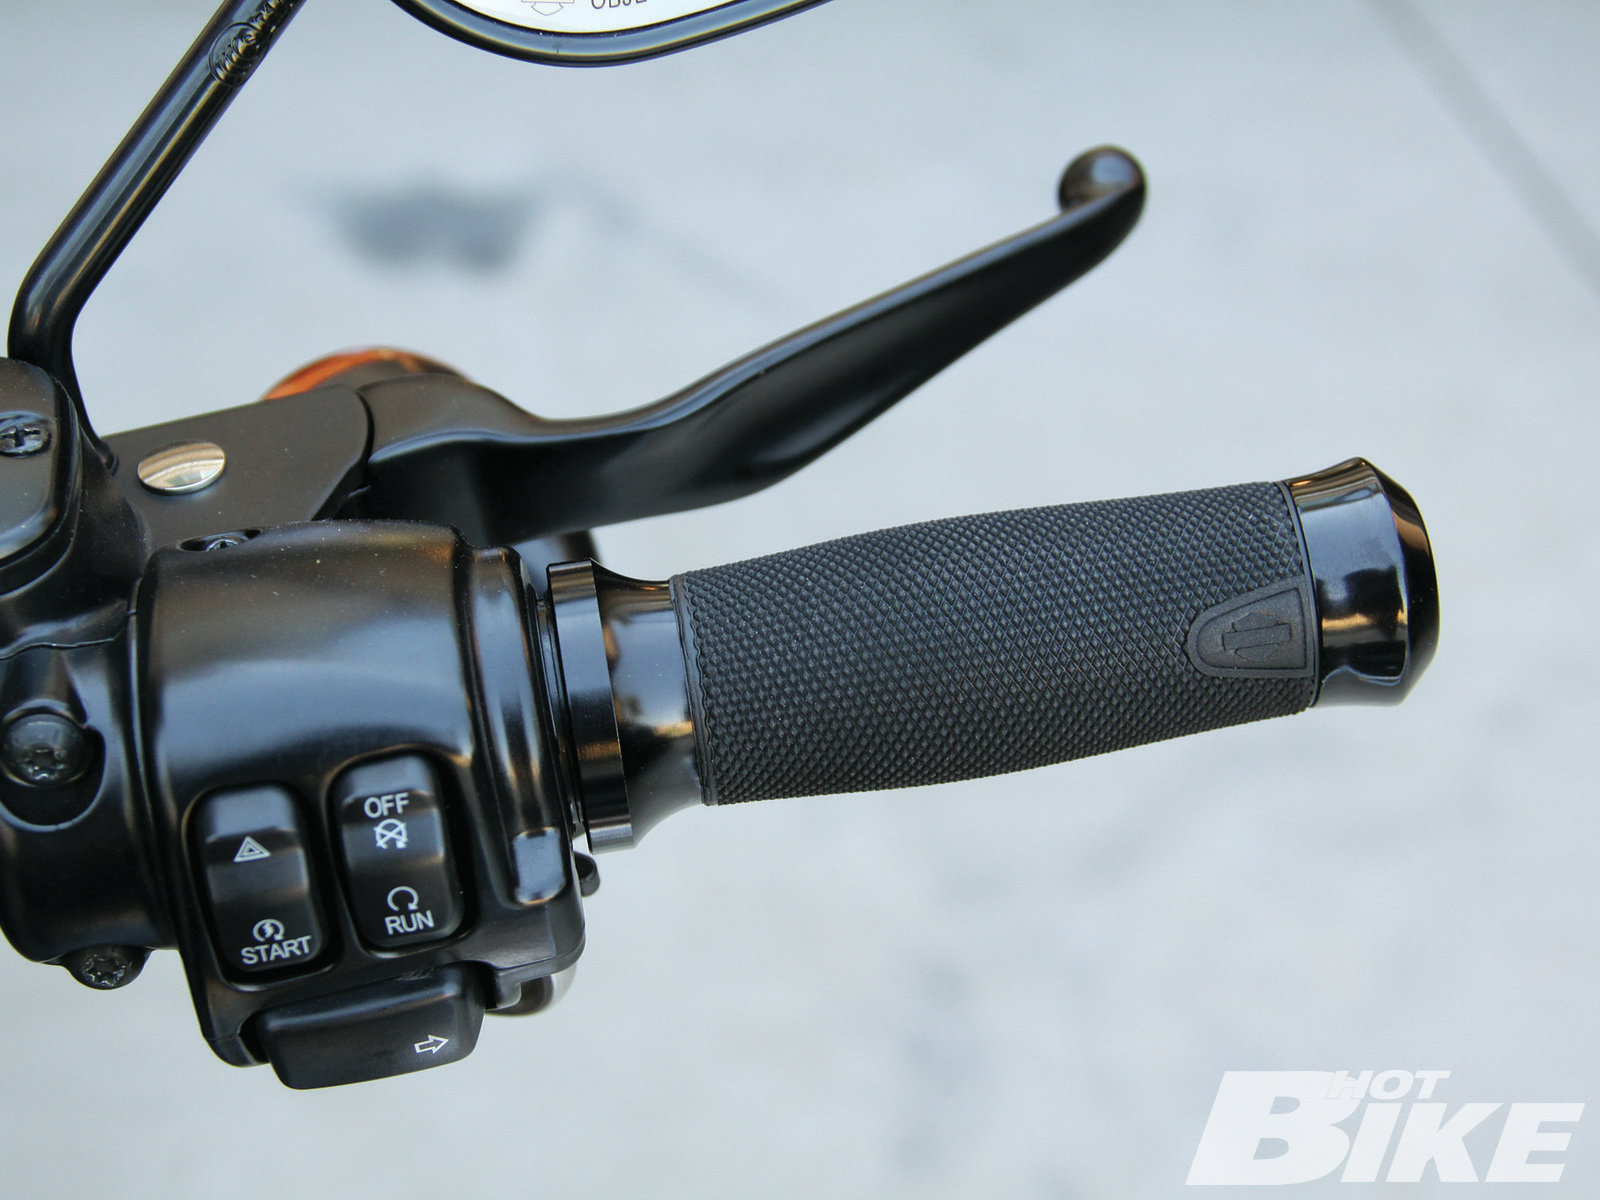
27 Here’s what the new lever and grip look like. The black lever blends in nicely with the black bars, switch housing, mirrors, and grips. The new grips feature a crosshatched rubber surface that provides steady traction in wet or dry weather with or without gloves. They also have a raised center section that gradually tapers off towards each end and provides a comfortable feel when you wrap your hands around them.
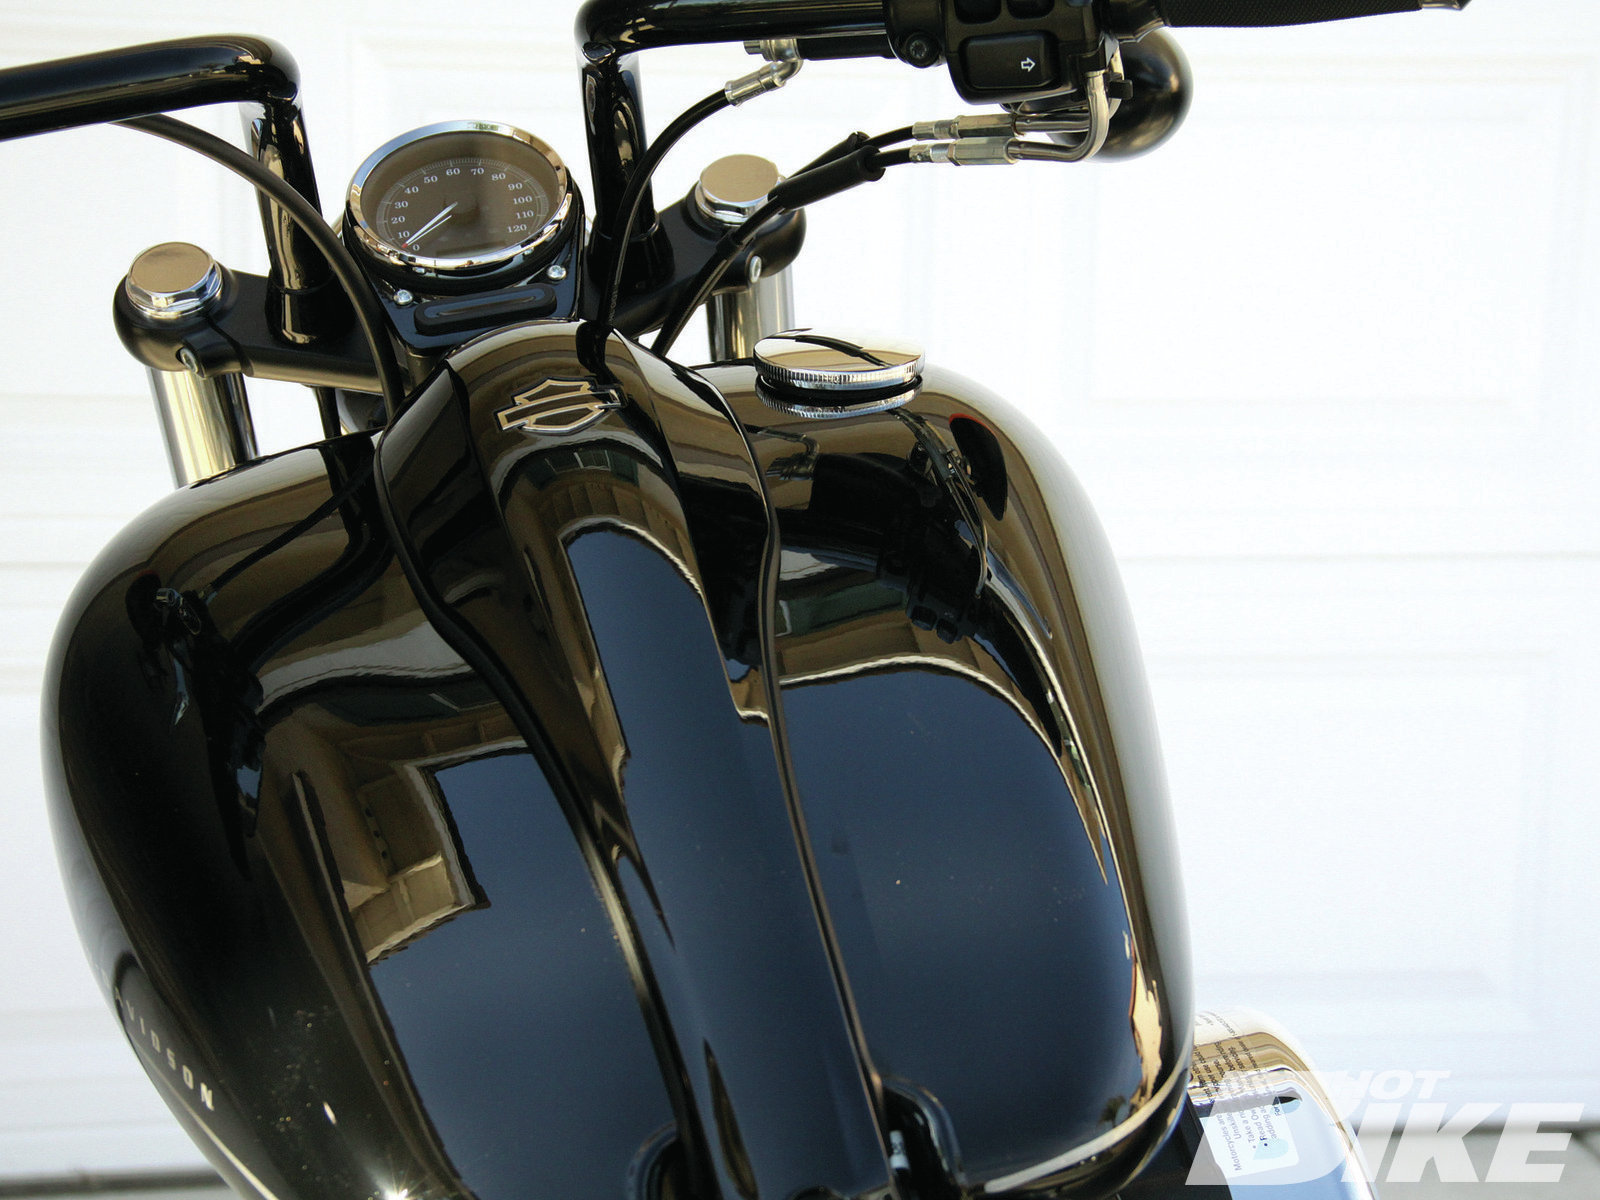
28 Ditching the stock chrome gas cap was the next step.

29 In its place we screwed in the black pop-up gas cap.
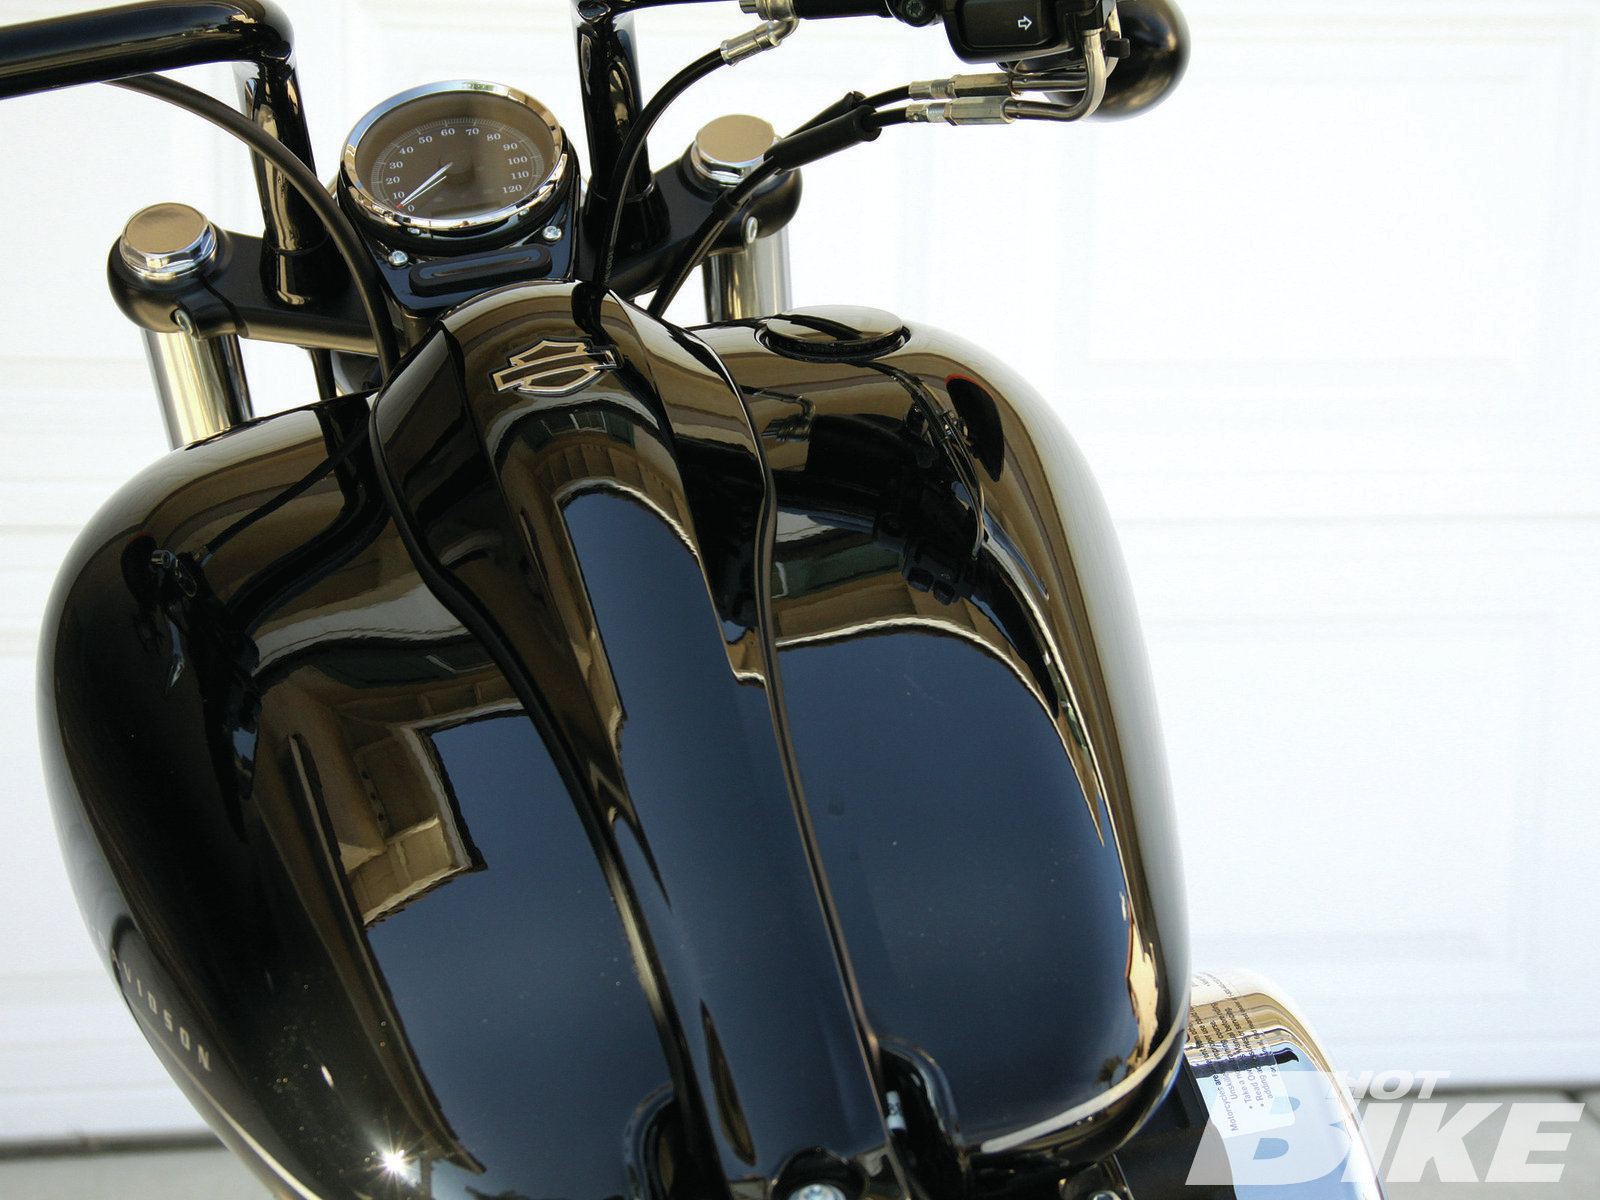
30 Simply pushing down on the spring-loaded cap and twisting in a clockwise motion, the cap nestled into the top of the tank for a smooth flush-mount look.
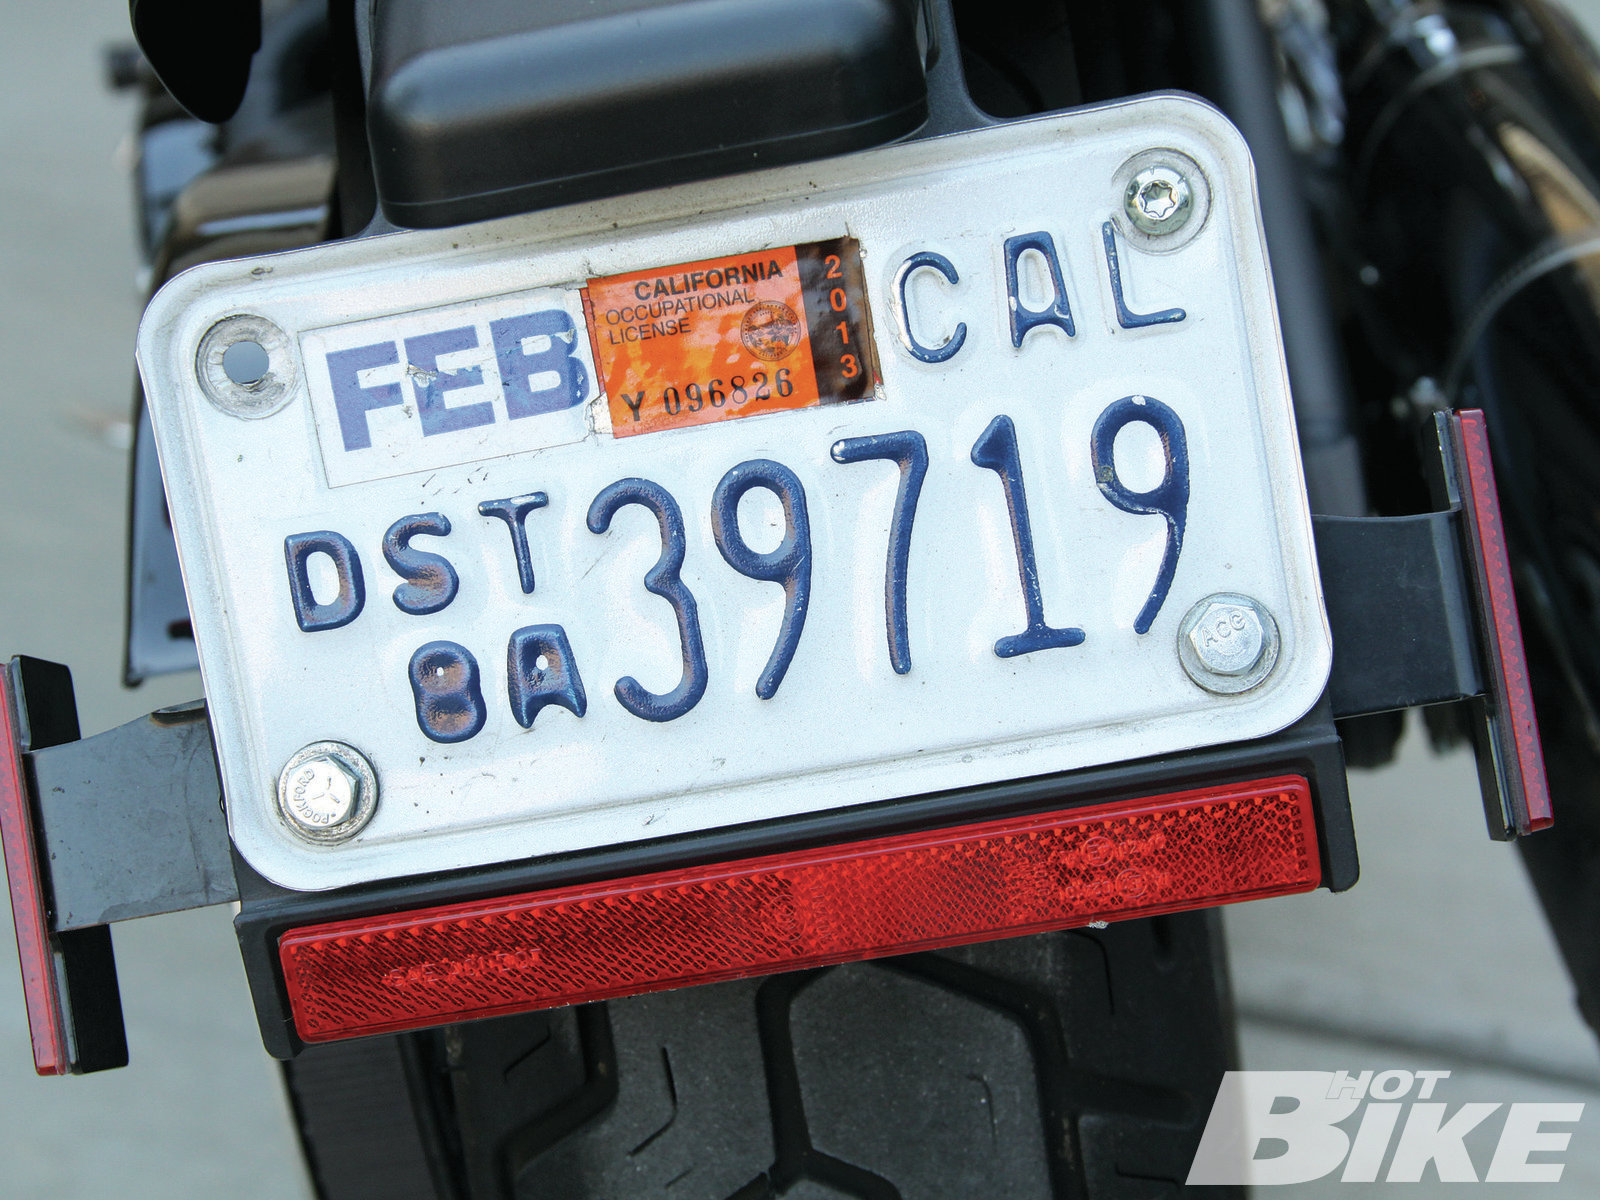
31 The last thing we did was the least expensive part of the entire article. We cleaned up the rear end by getting rid of the stock license plate reflectors.
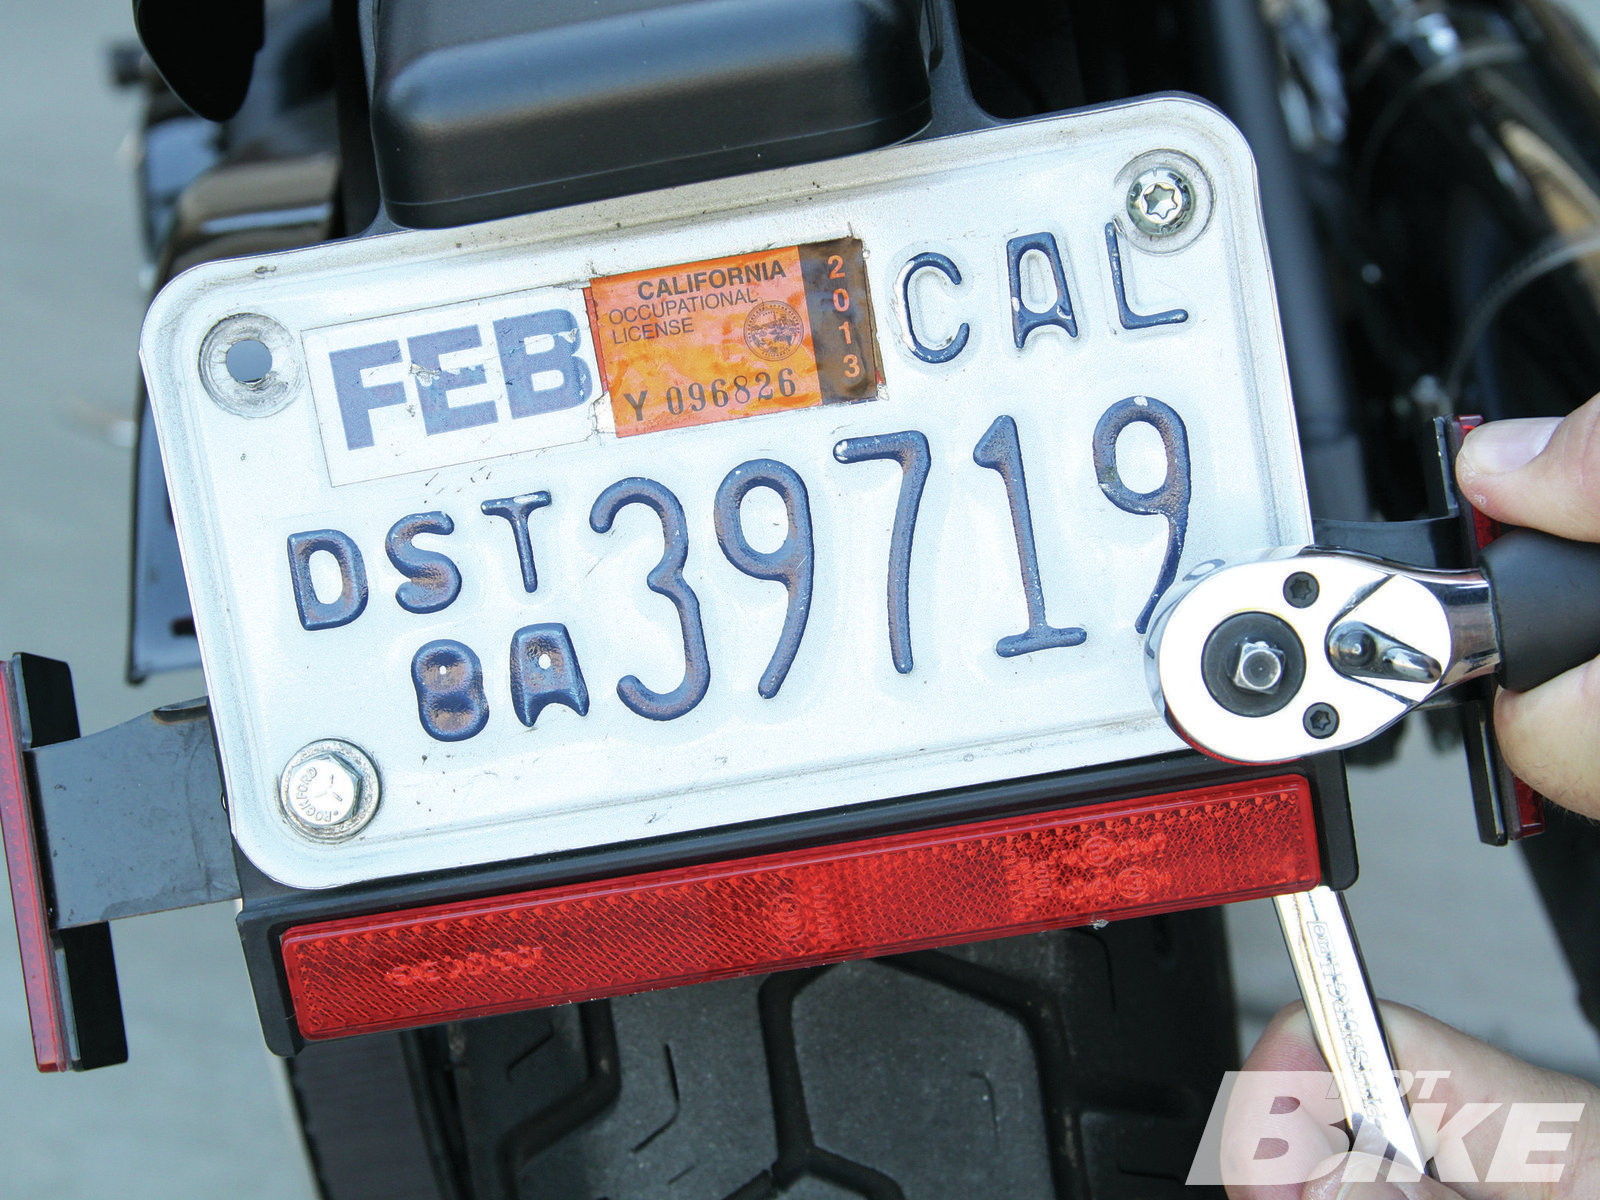
32 All we had to do was remove the two bolts that secured the bottom of the license plate and then the left and right side reflectors fell right into our hands. The reflector strip running lengthwise across the bottom simply snapped out of the license bracket.
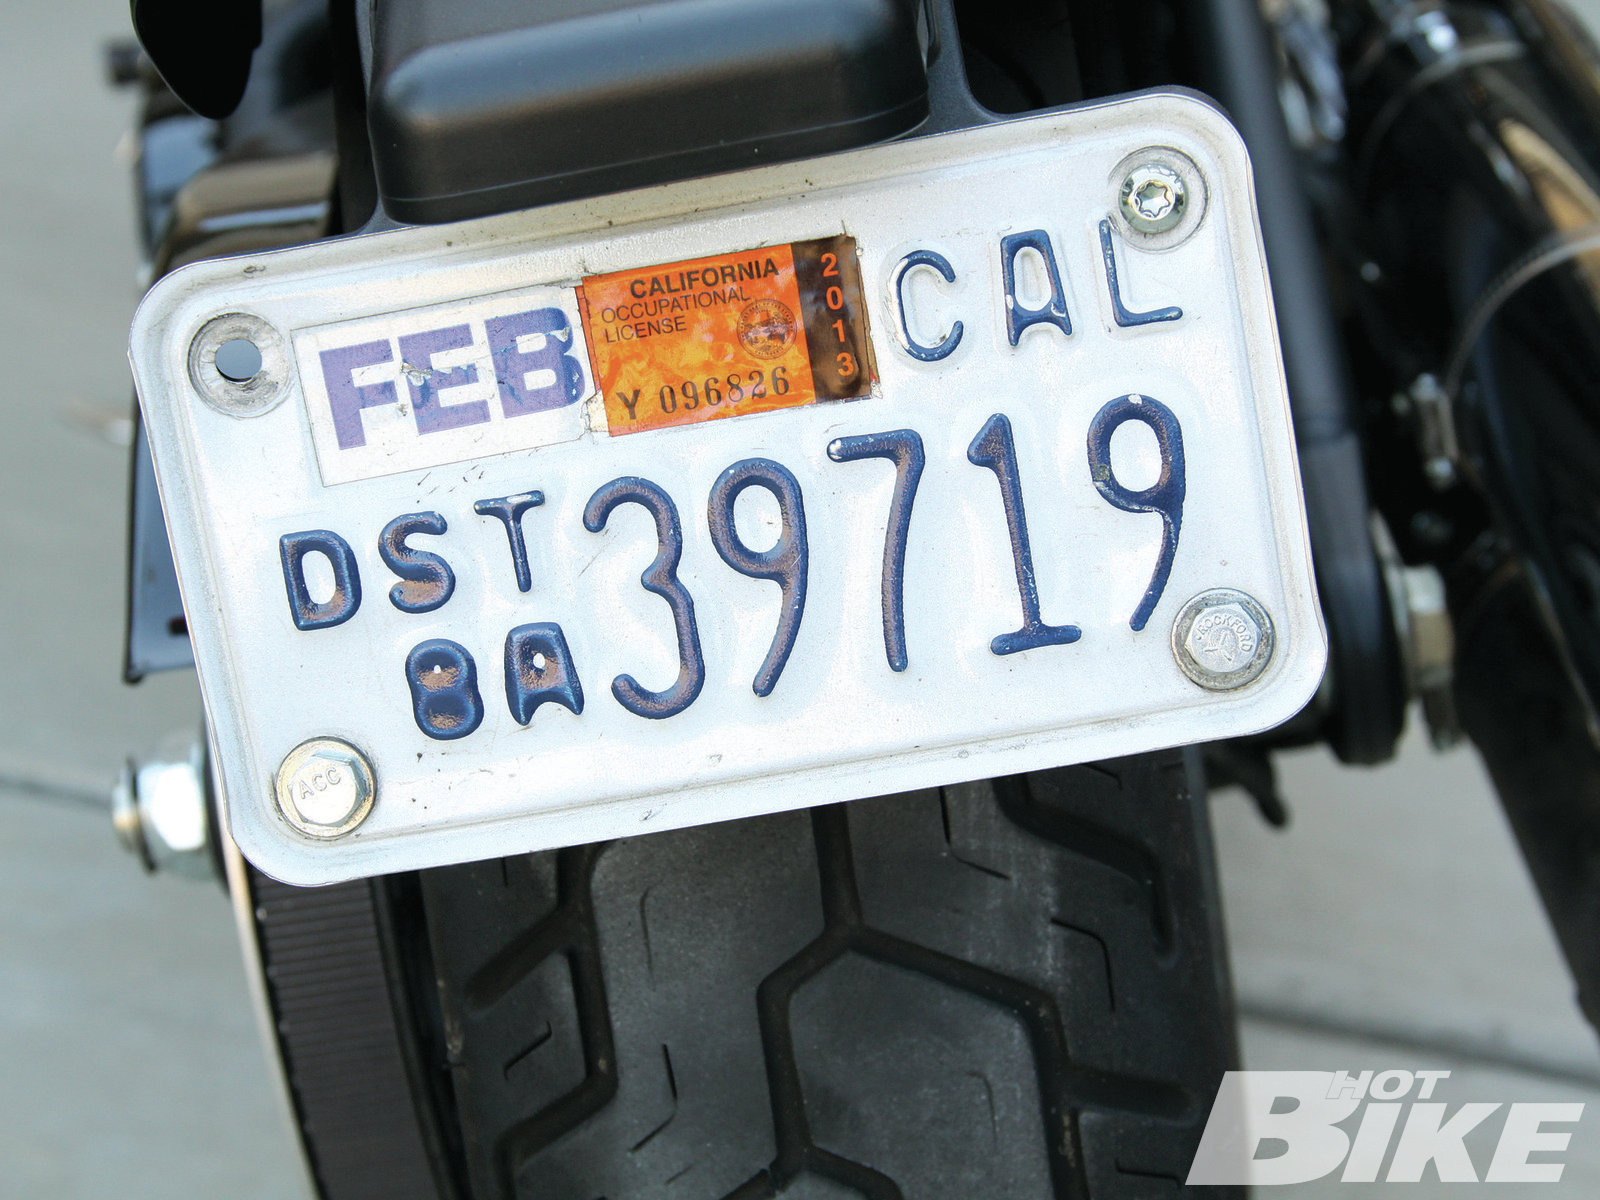
33 Much better. In less than two hours and with some basic handtools, we were able to further enhance the look and give the bike more attitude. Stay tuned as we continue to black out our Blackline and add some more components that will make this a versatile yet mischievous-looking machine.
When we attended the Harley press launch for the Blackline as a midyear model for 2011, we saw a lot of potential in the mostly blacked-out and stripped-down Softail. As is the case with any new model, it often takes a little while for the general public and customizers/bike builders to get on board and start showcasing what can be done with one of H-D’s newest models. We recently procured three photoshoots of three different Blacklines that have been customized by well-known industry veterans who have a knack for taking a good-looking bike and making it even better. Over the course of the next couple issues we will sprinkle in those features and hopefully inspire others out there to tear into Harley’s newest Softail.
In the meantime, we were able to wrestle a 2011 Blackline from the clutches of the H-D press fleet in our own attempt to give the latest Dark Custom model a slightly different and hopefully more sinister look than how it rolled off the assembly line. We already gave you our riding impression of the 2011 model back in our September 2011 issue and with the only difference in the ’12 model being the addition of the 103ci engine, we figured a Vivid Black ’11 model would be a good jumping-off point for what we had in mind. To get started on this multi-series project, we cracked open the H-D P&A catalog and began ordering anything and everything we could to make the bike look even tougher. Of course we ordered a bunch of components to further add to the sea o’ black on this bike, but we also ordered some of H-D’s Edge Cut Collection, which is a mix between black and polished machine-cut finishes. The addition of the Edge Cut parts should fit well with the chrome components and hardware already on the bike. In this first installment, we will be tackling the hand and foot controls. HB
Source:
Harley-Davidson
harley-davidson.com | Contact your local dealer


