
Burly Jail Bar & Performance Machine Components Install
Everybody knows stock sucks. That’s why there is an entire segment of the motorcycle market dedicated to making riders’ bikes work and look better. Take for instance this 2013 H-D 883 Iron Sportster. Sure, it’s a great-looking bike as it currently sat, but, man, it could look and feel better with just a few more custom items. That is why we decided to give this bike a handlebar upgrade with some 10-inch Burly Jail bars and an extended brake line and cable kit. We upped the ante even more with a set of Performance Machine grips and PM mirrors. Here is how it went down.
First, remove the tank.
Words: Sean Delshadi | Photos: Robert Martin
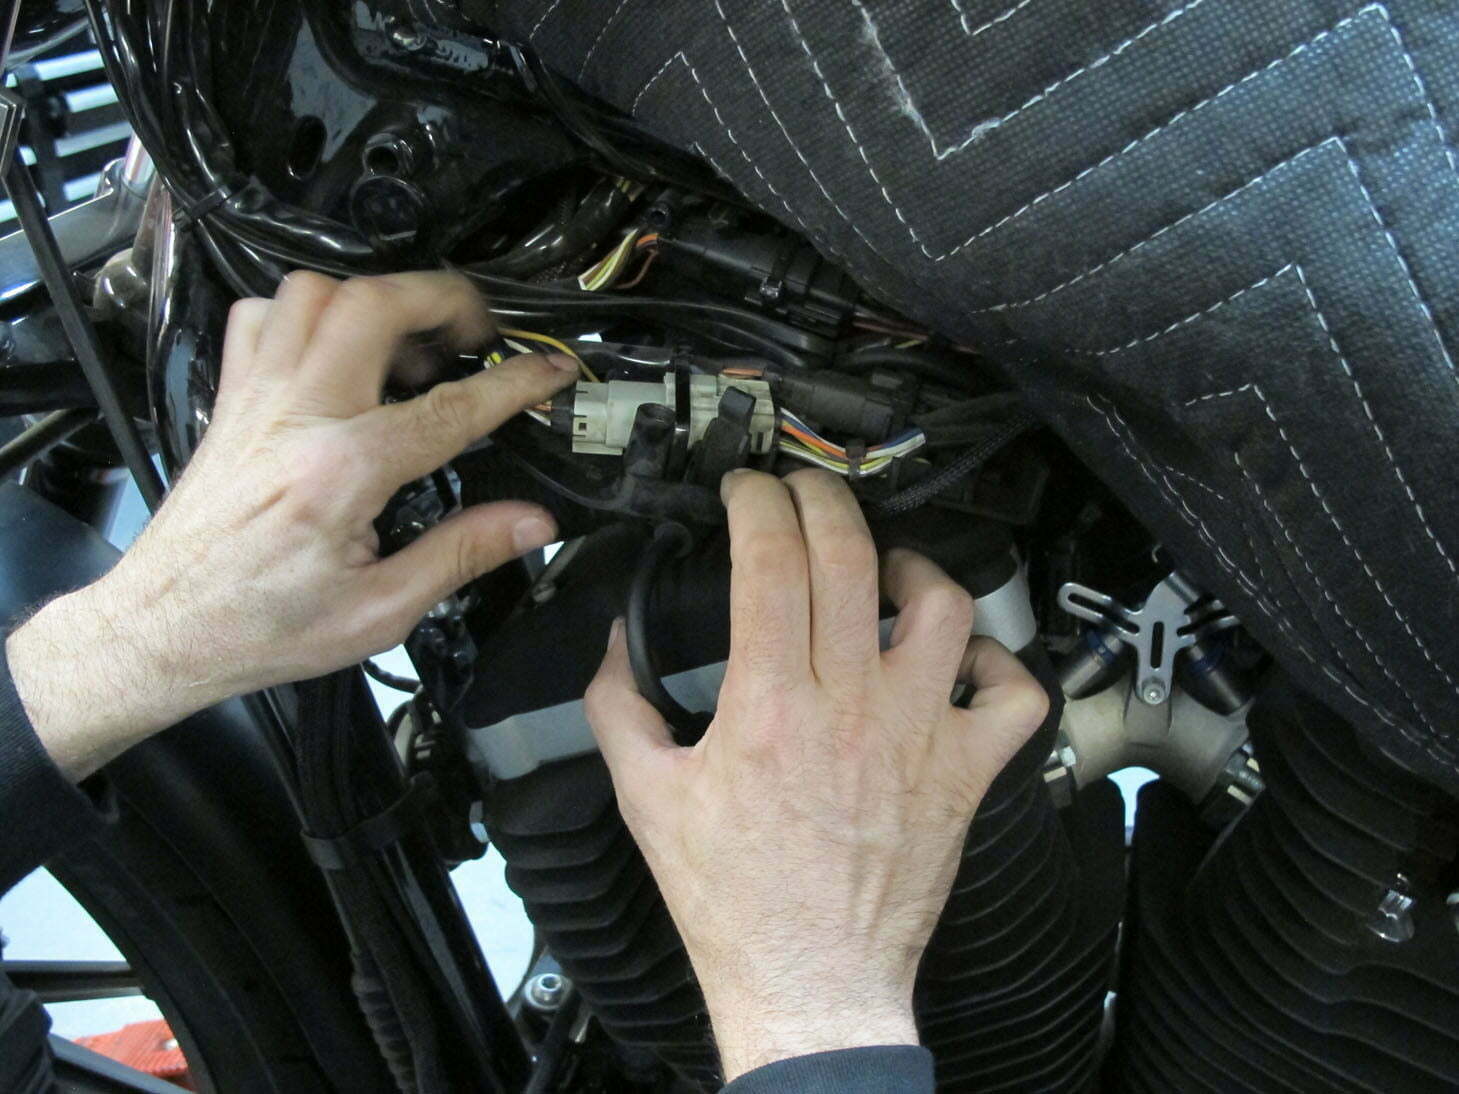
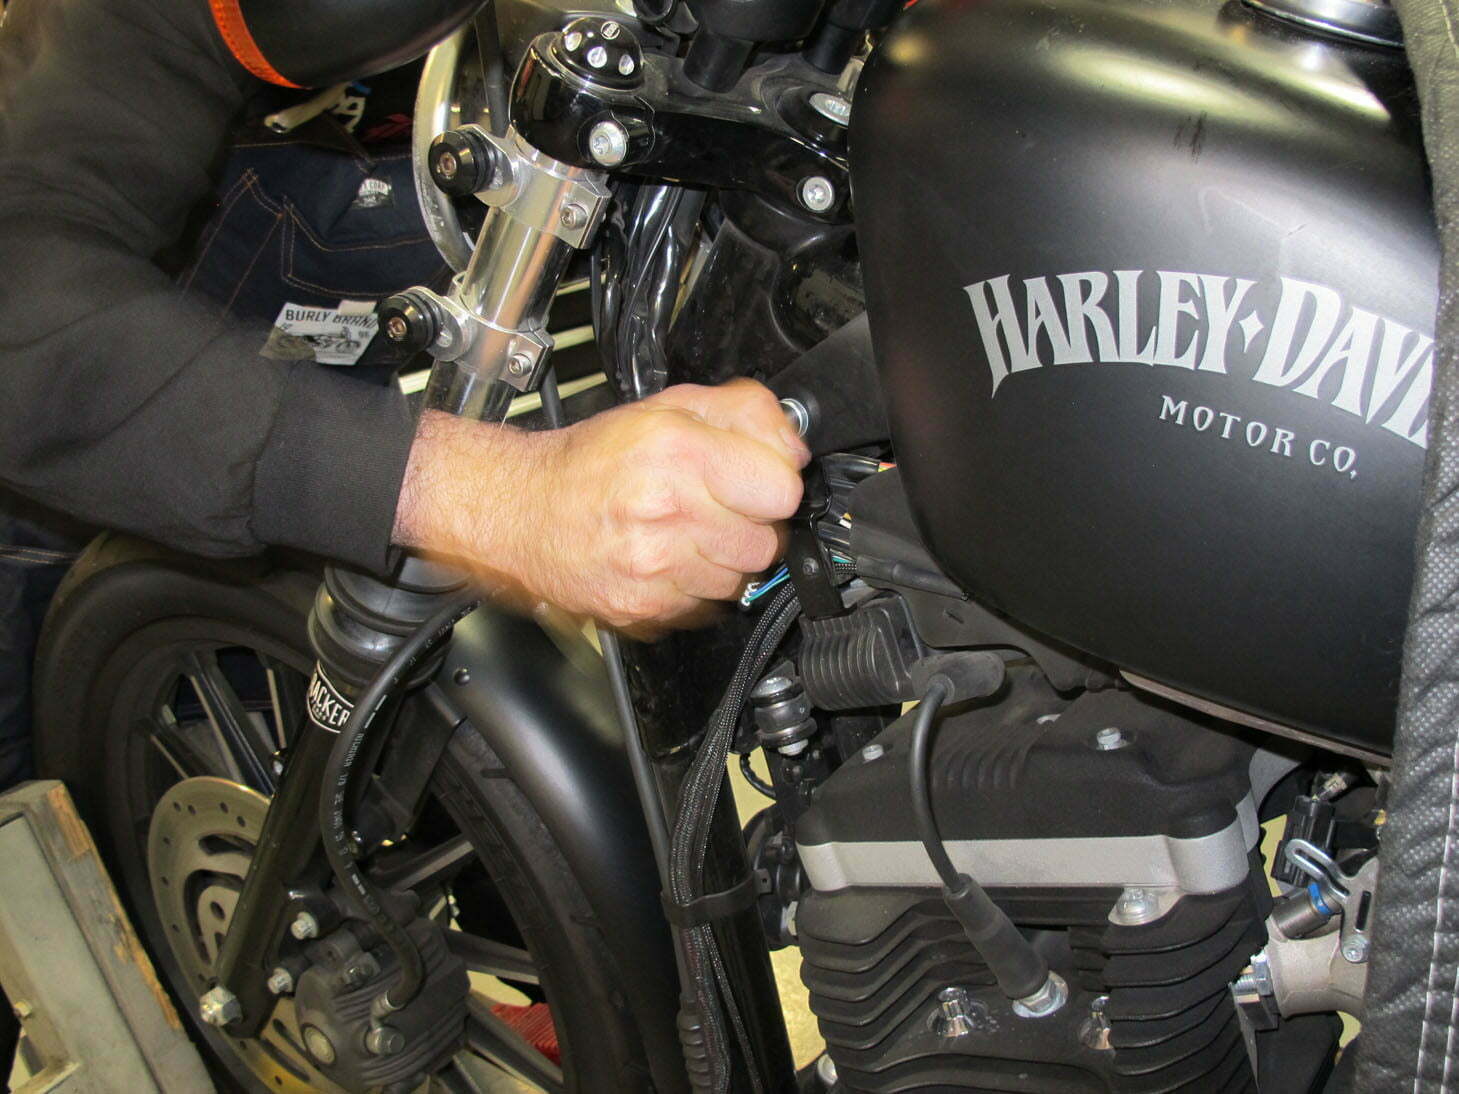
Expose the wiring harness and disconnect your lights and gauge wiring.
Words: Sean Delshadi | Photos: Robert Martin

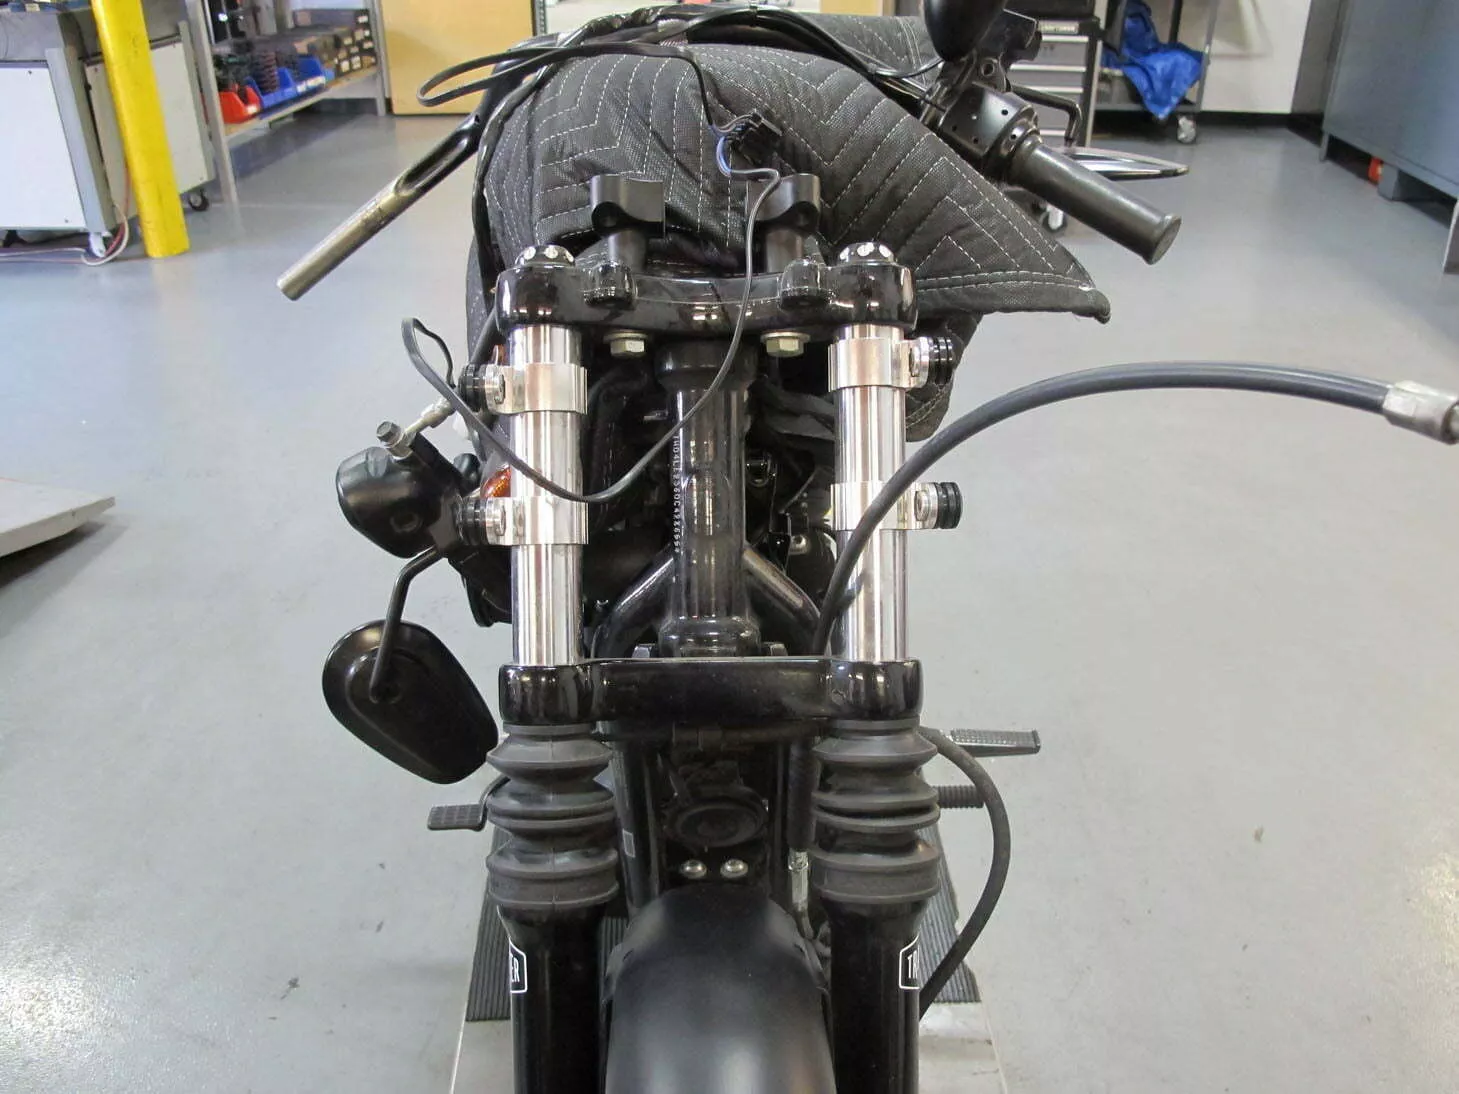
Remove the top clamp.
Words: Sean Delshadi | Photos: Robert Martin
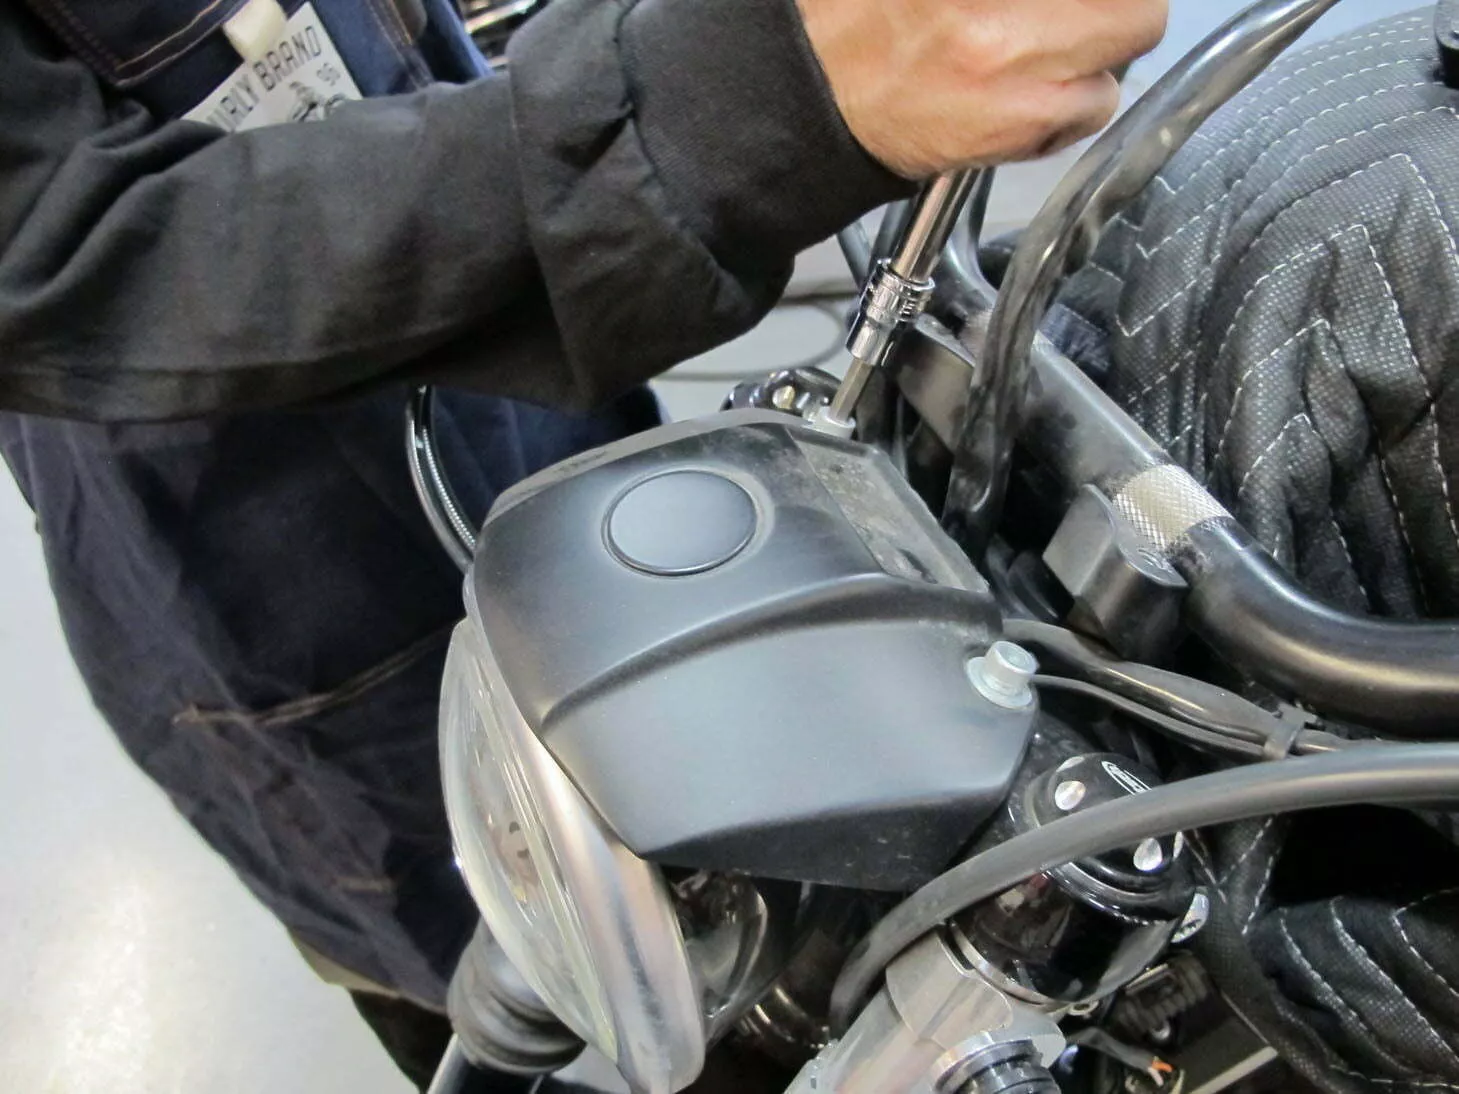
Remove the eyebrow.
Words: Sean Delshadi | Photos: Robert Martin

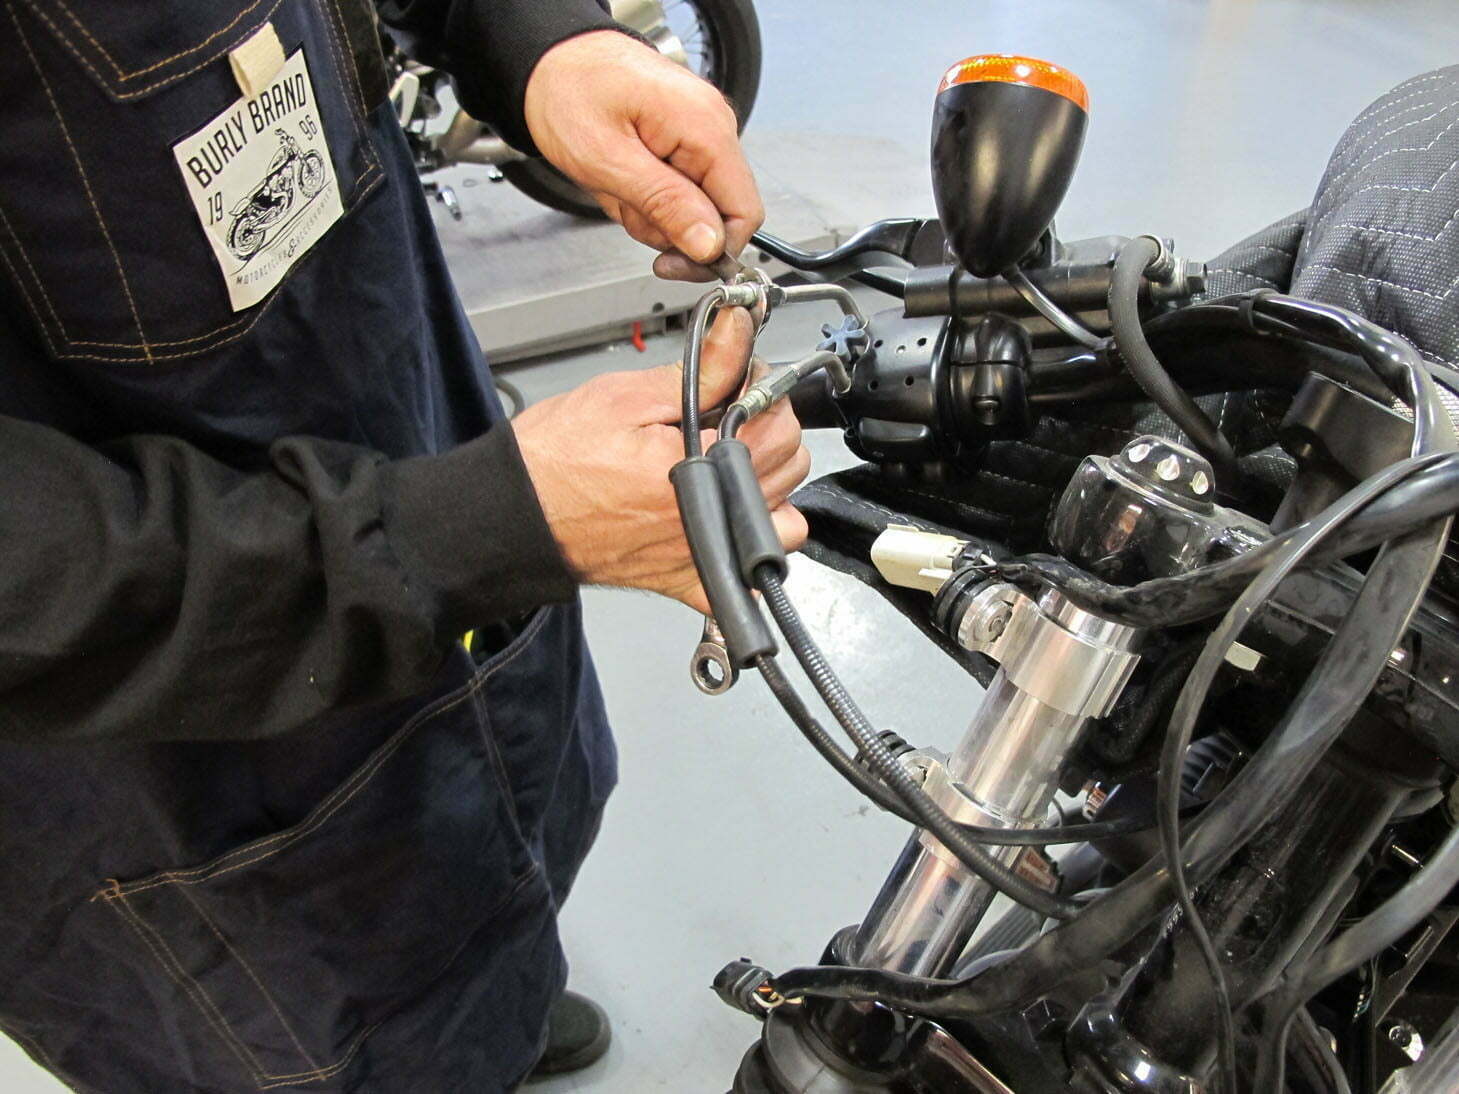
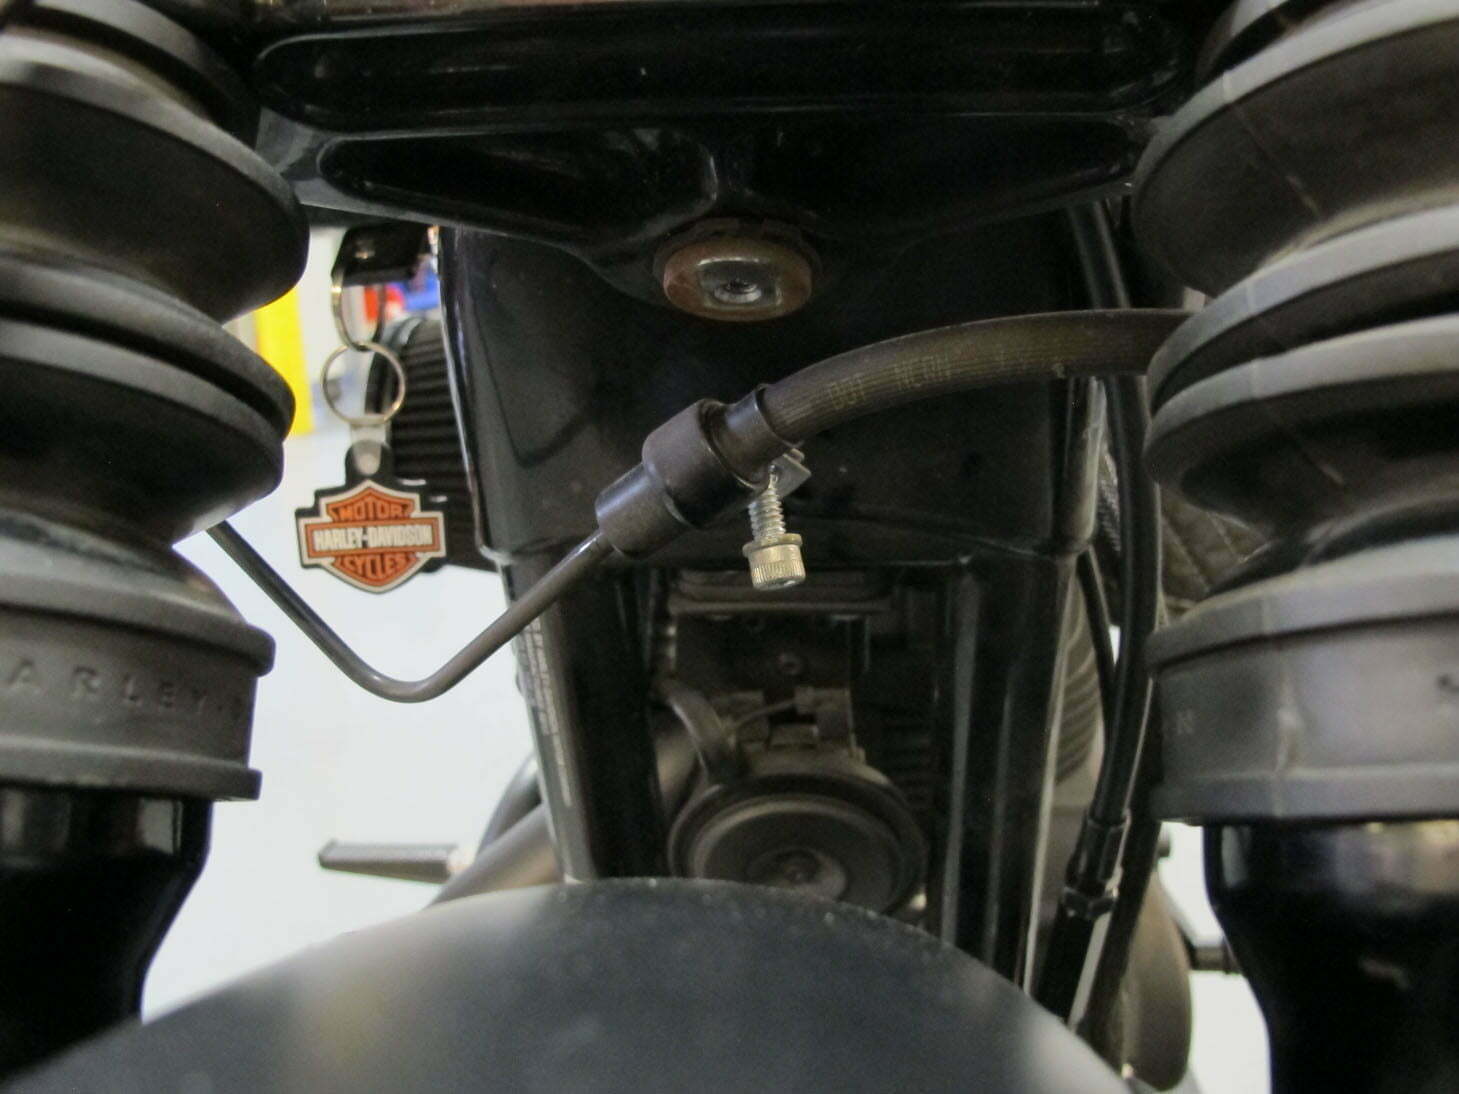
Release the tension on the clutch line.
Words: Sean Delshadi | Photos: Robert Martin
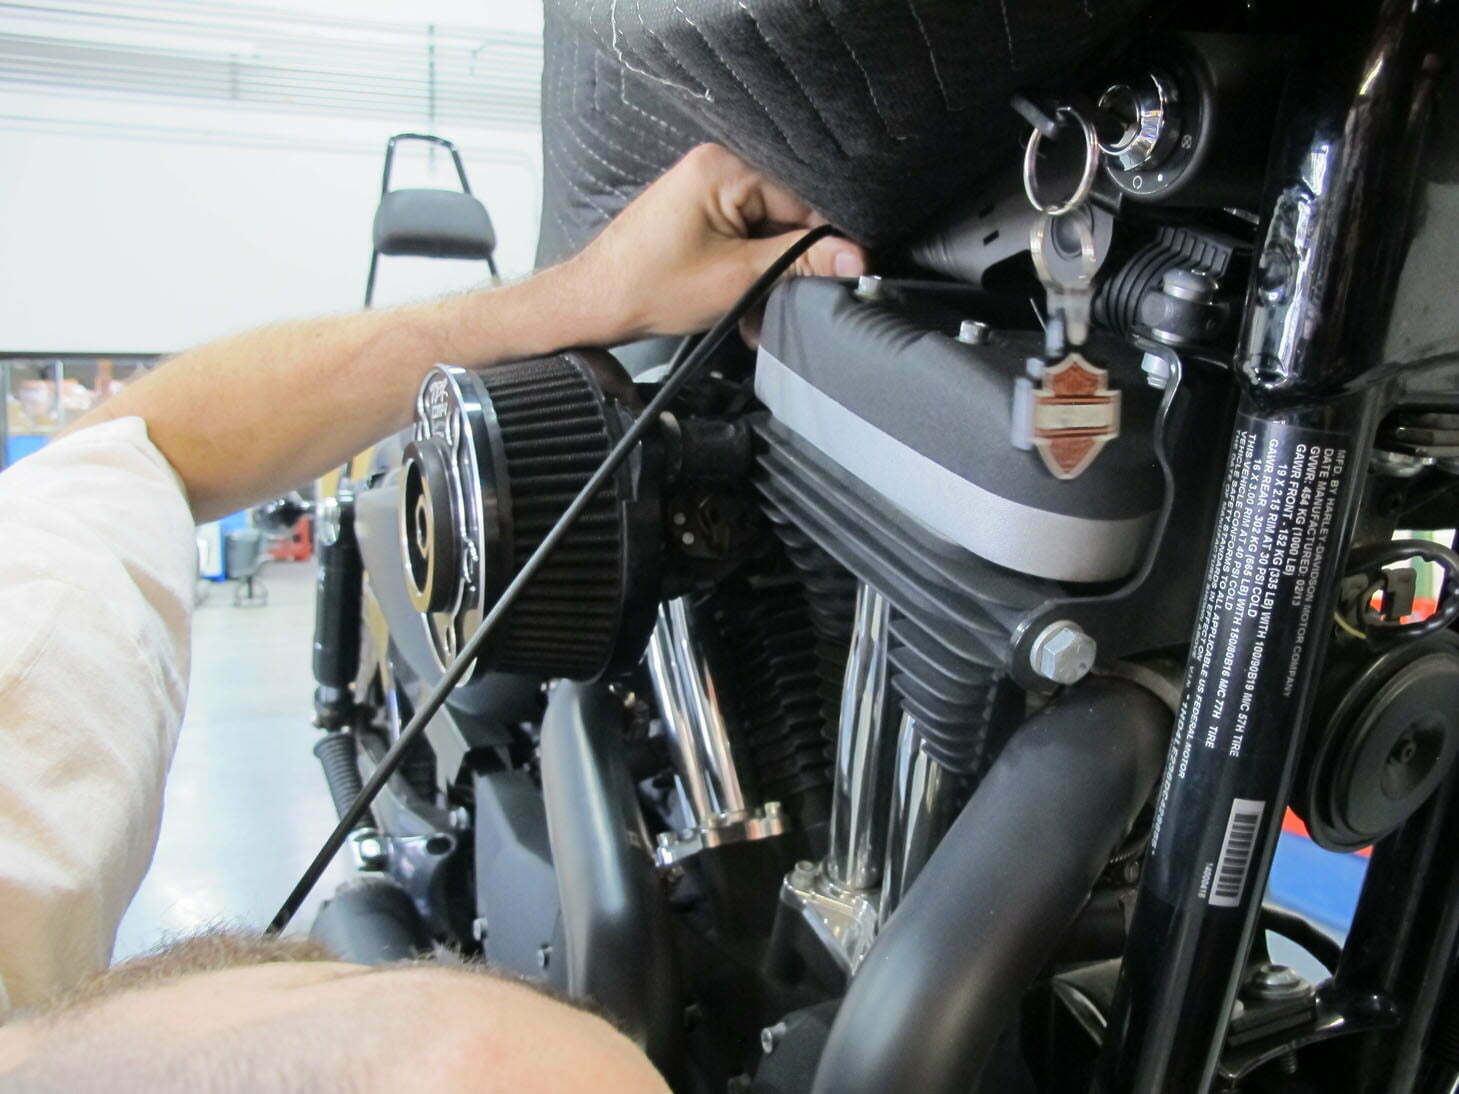
Release the tension on the throttle/idle cables.
Words: Sean Delshadi | Photos: Robert Martin
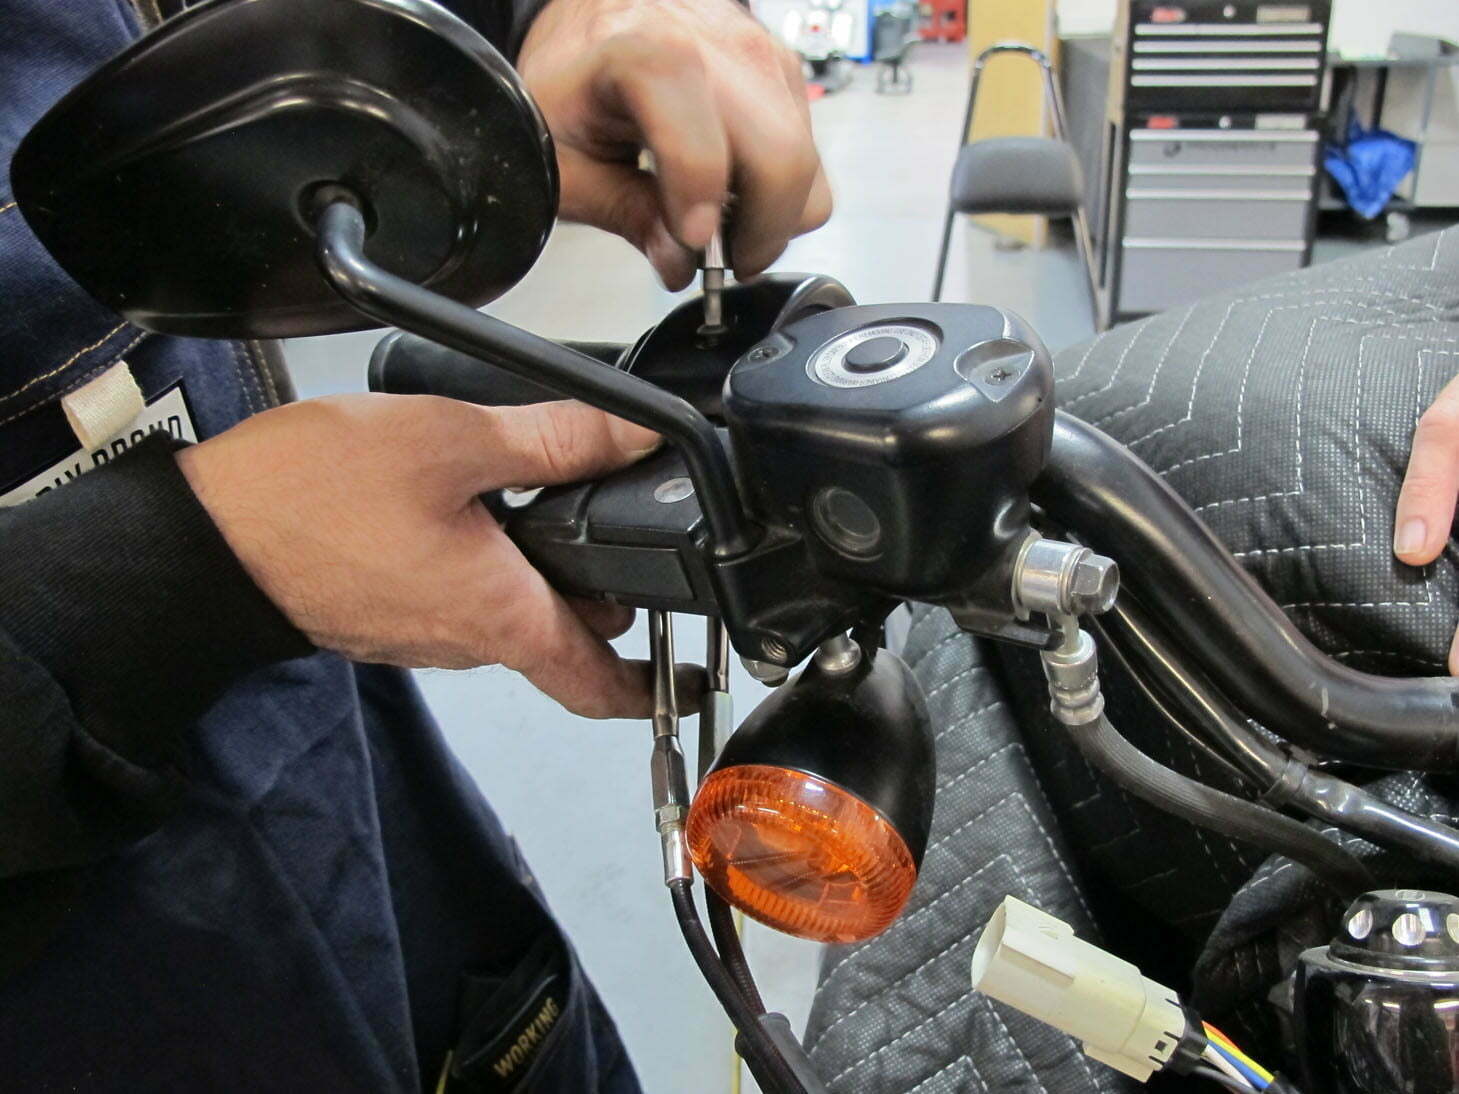
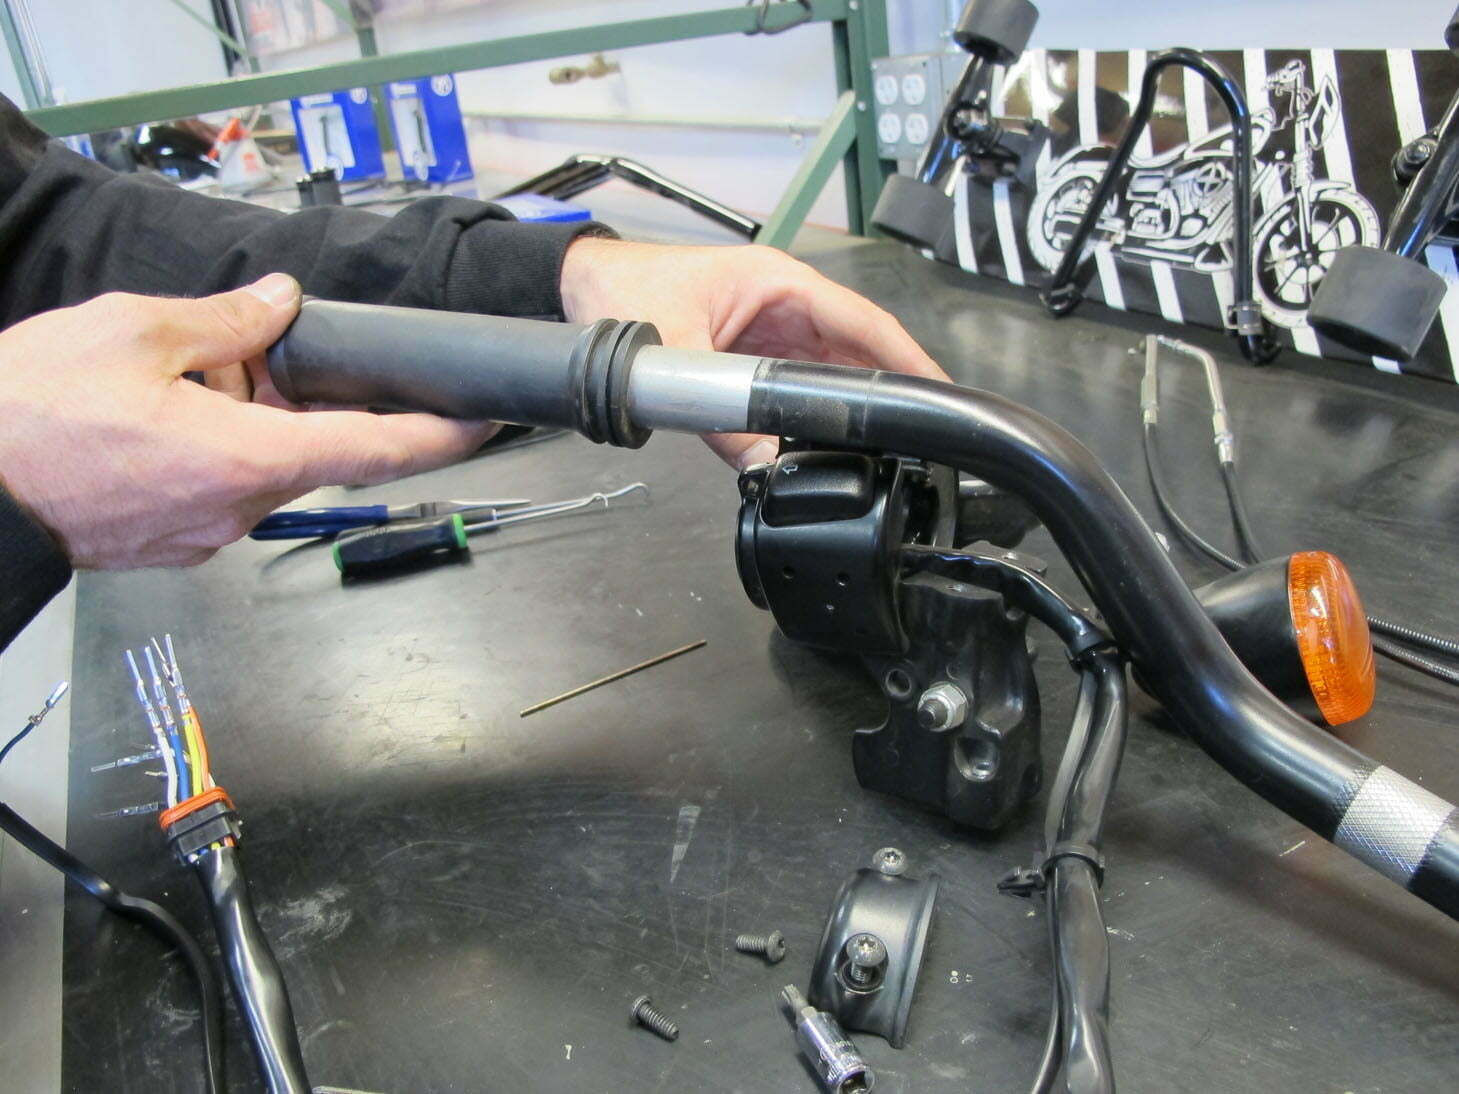
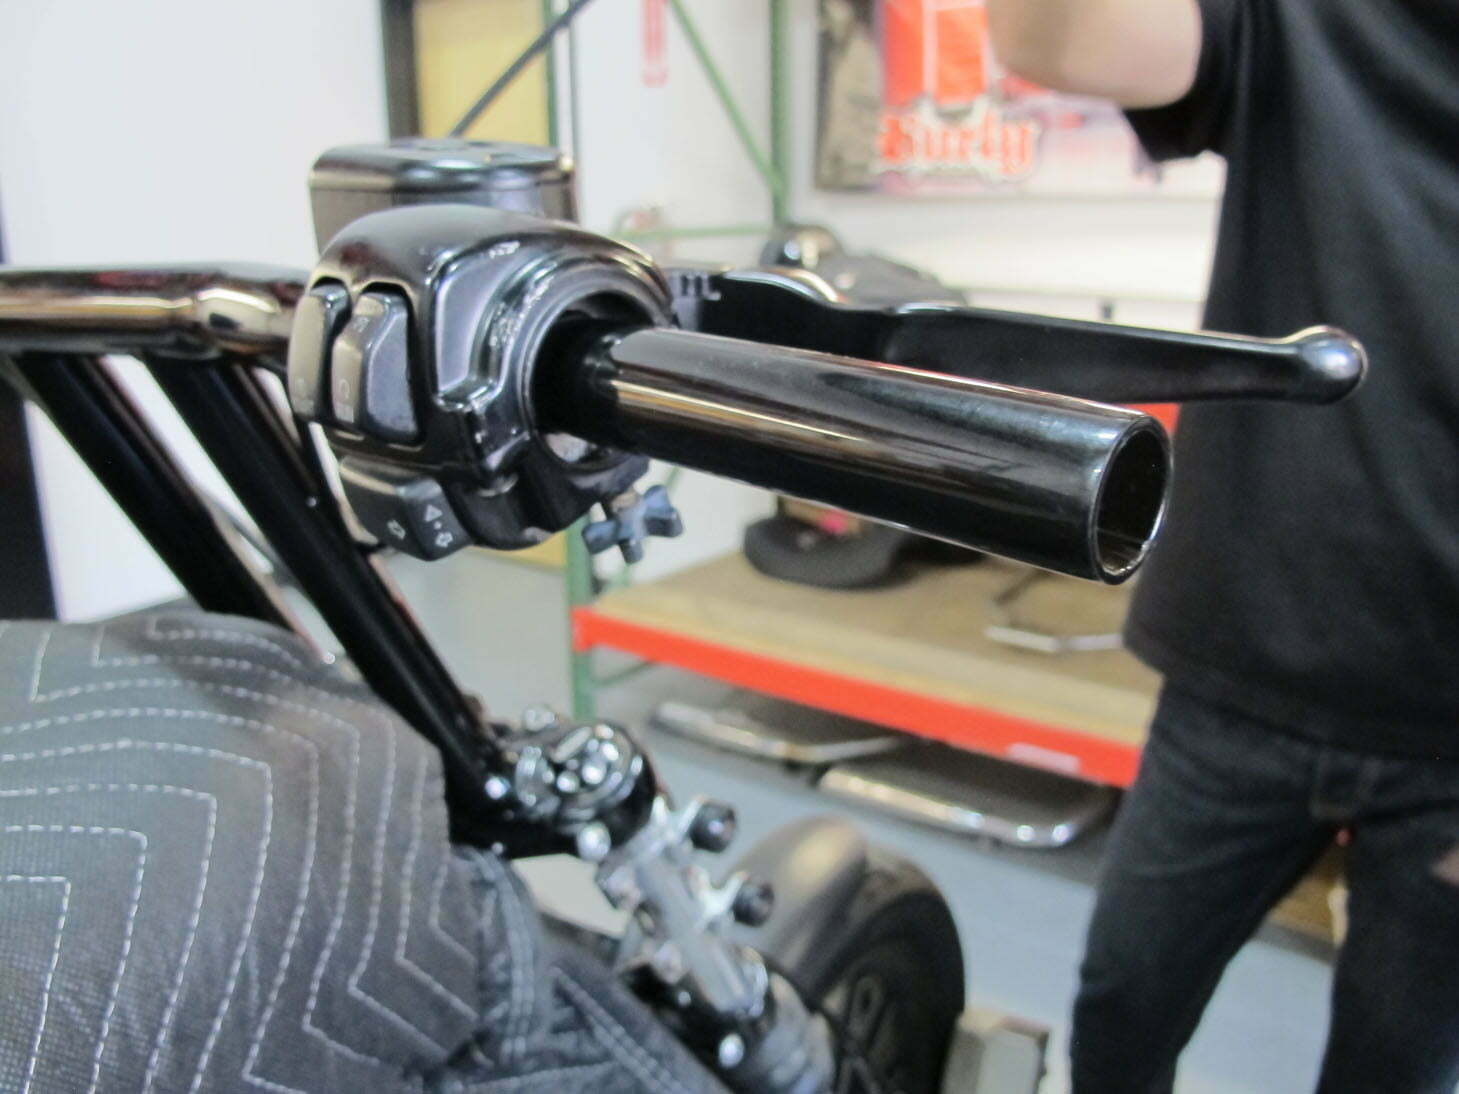
Remove the brake-side clamshell.
Words: Sean Delshadi | Photos: Robert Martin
Pro Tip: Use a moving blanket or towel to protect paint.
Words: Sean Delshadi | Photos: Robert Martin

Pop open the clip to expose the pins.
Words: Sean Delshadi | Photos: Robert Martin

Take at least one photo or use the wiring diagram sheet provided.
Words: Sean Delshadi | Photos: Robert Martin
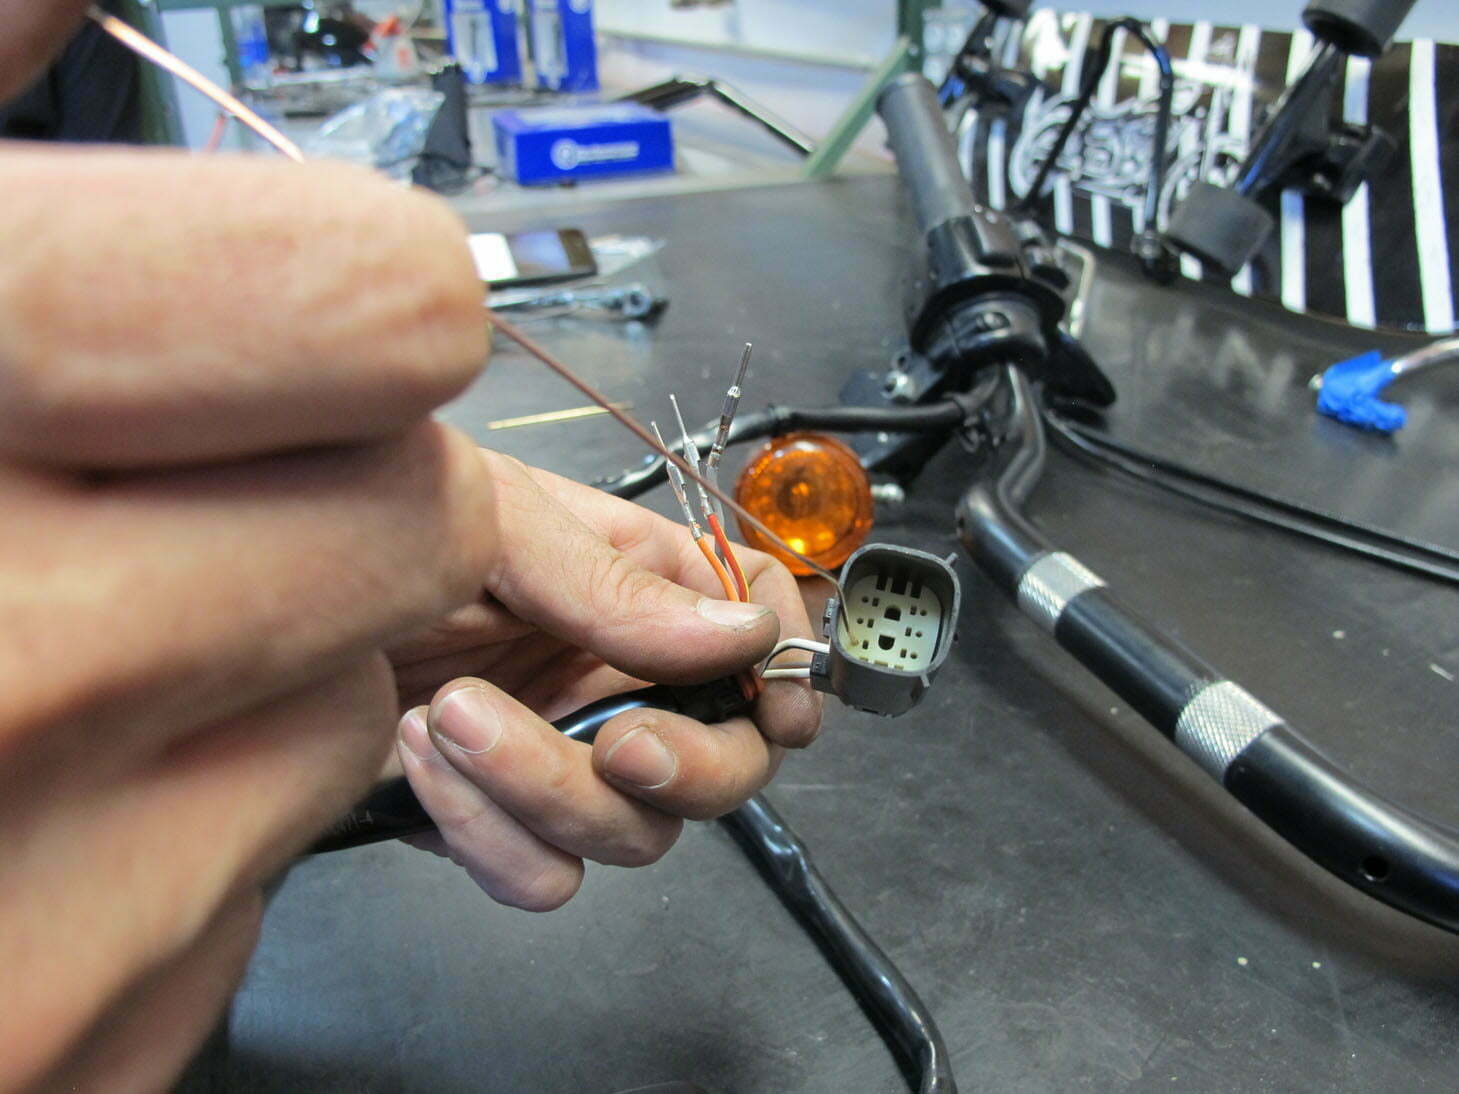
A welding rod or paper clip can help release the pins inside the clip.
Words: Sean Delshadi | Photos: Robert Martin
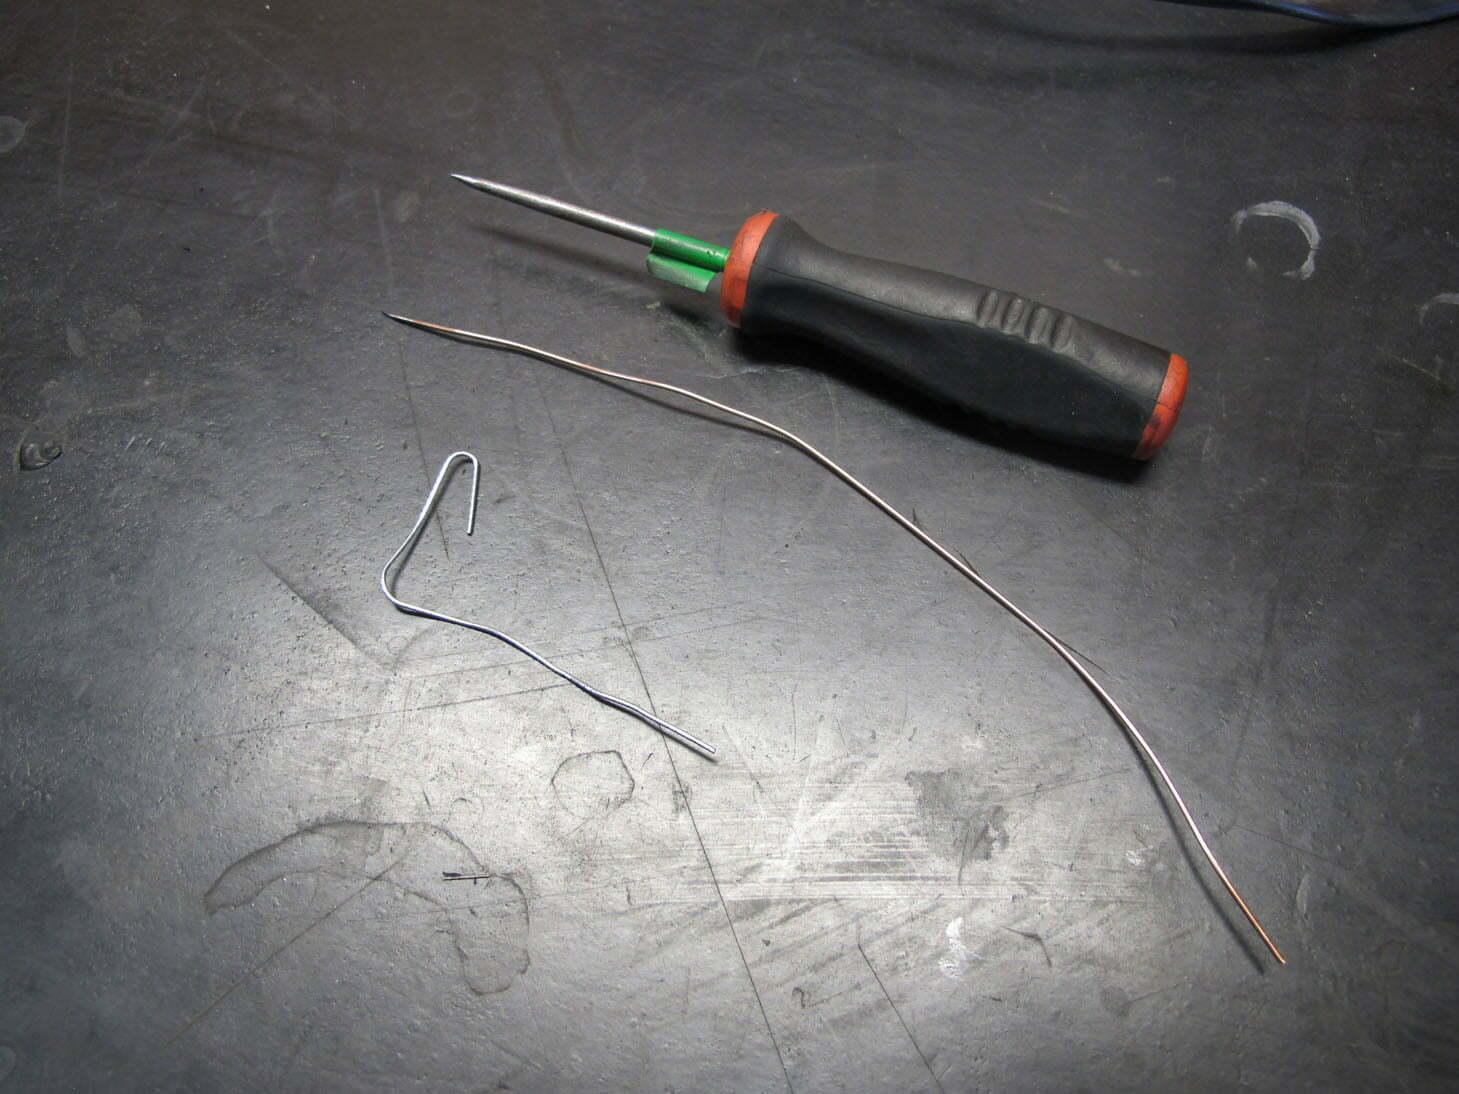
Welding rod and paper clip: tools to help release the pins inside the clip.
Words: Sean Delshadi | Photos: Robert Martin
Remove all wiring and switches from old bar.
Words: Sean Delshadi | Photos: Robert Martin
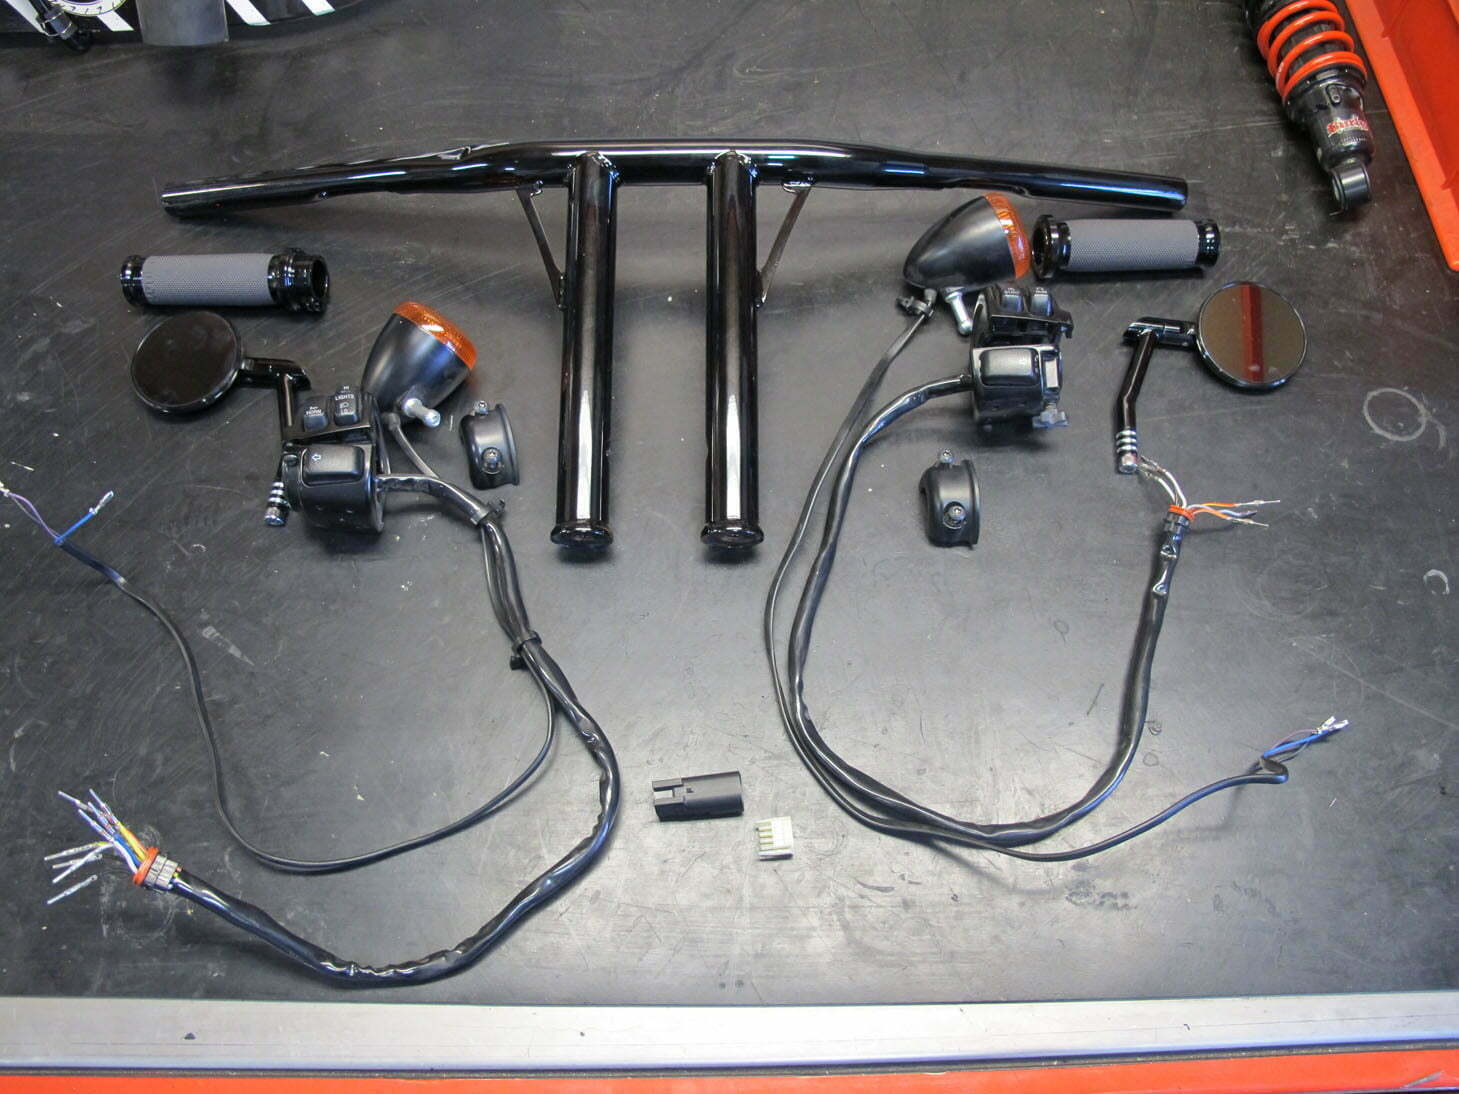
New parts to be installed.
Words: Sean Delshadi | Photos: Robert Martin
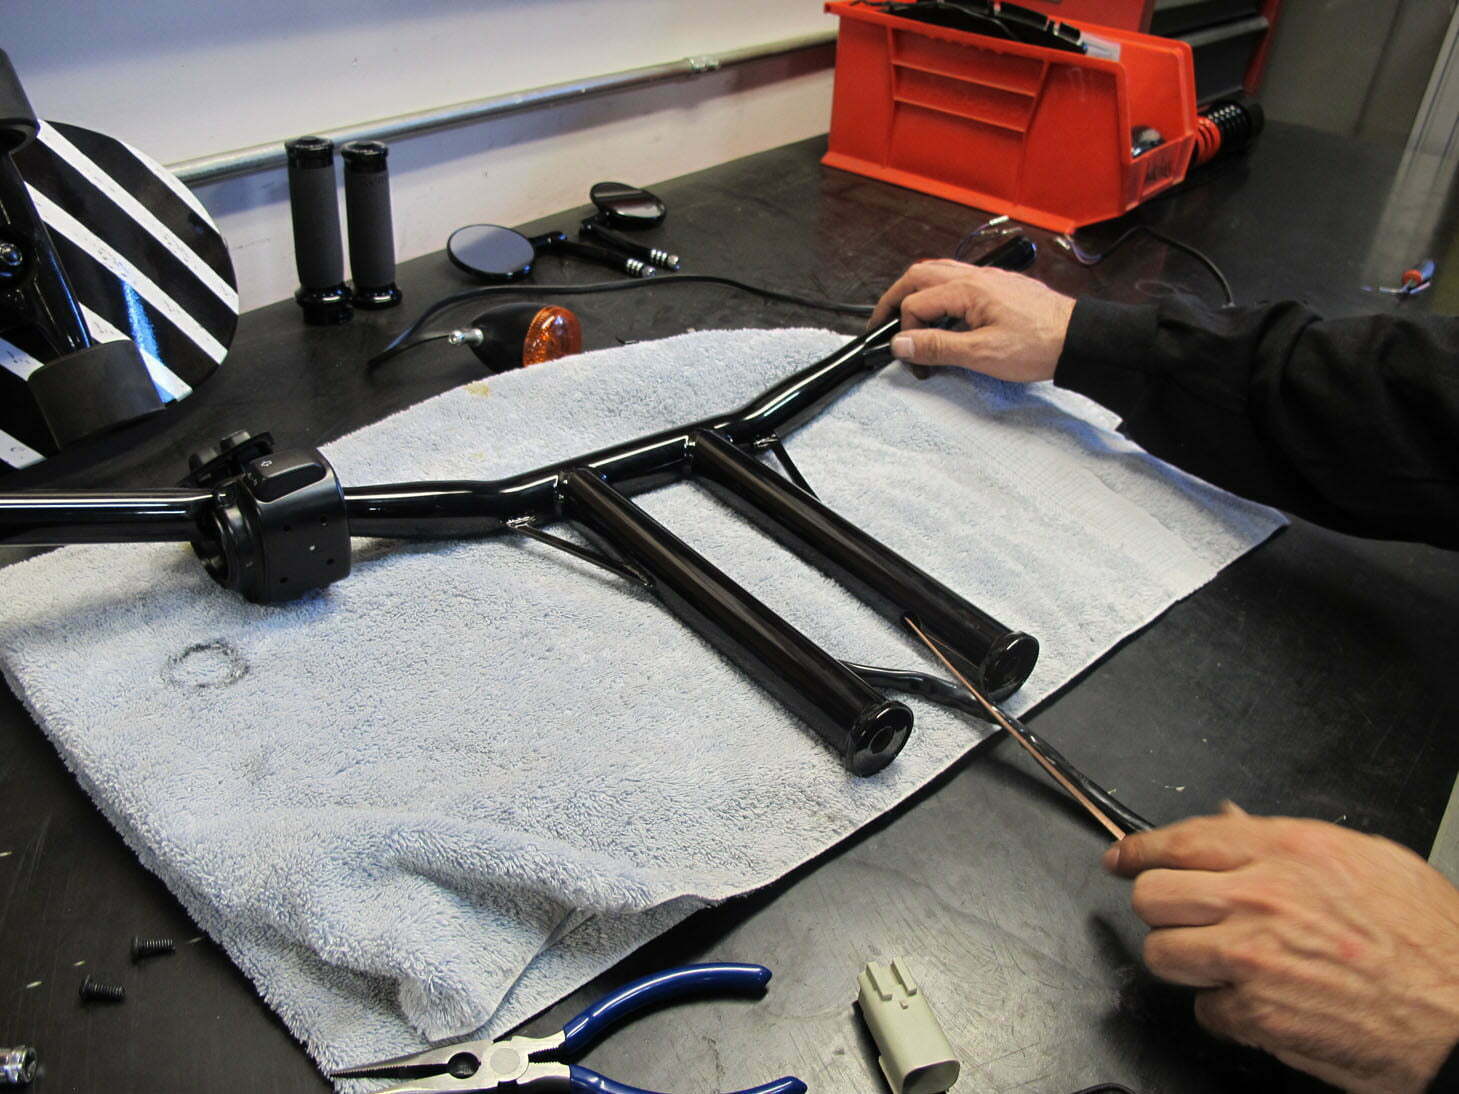
Use a hanger or rod to help pull the wire loom.
Words: Sean Delshadi | Photos: Robert Martin
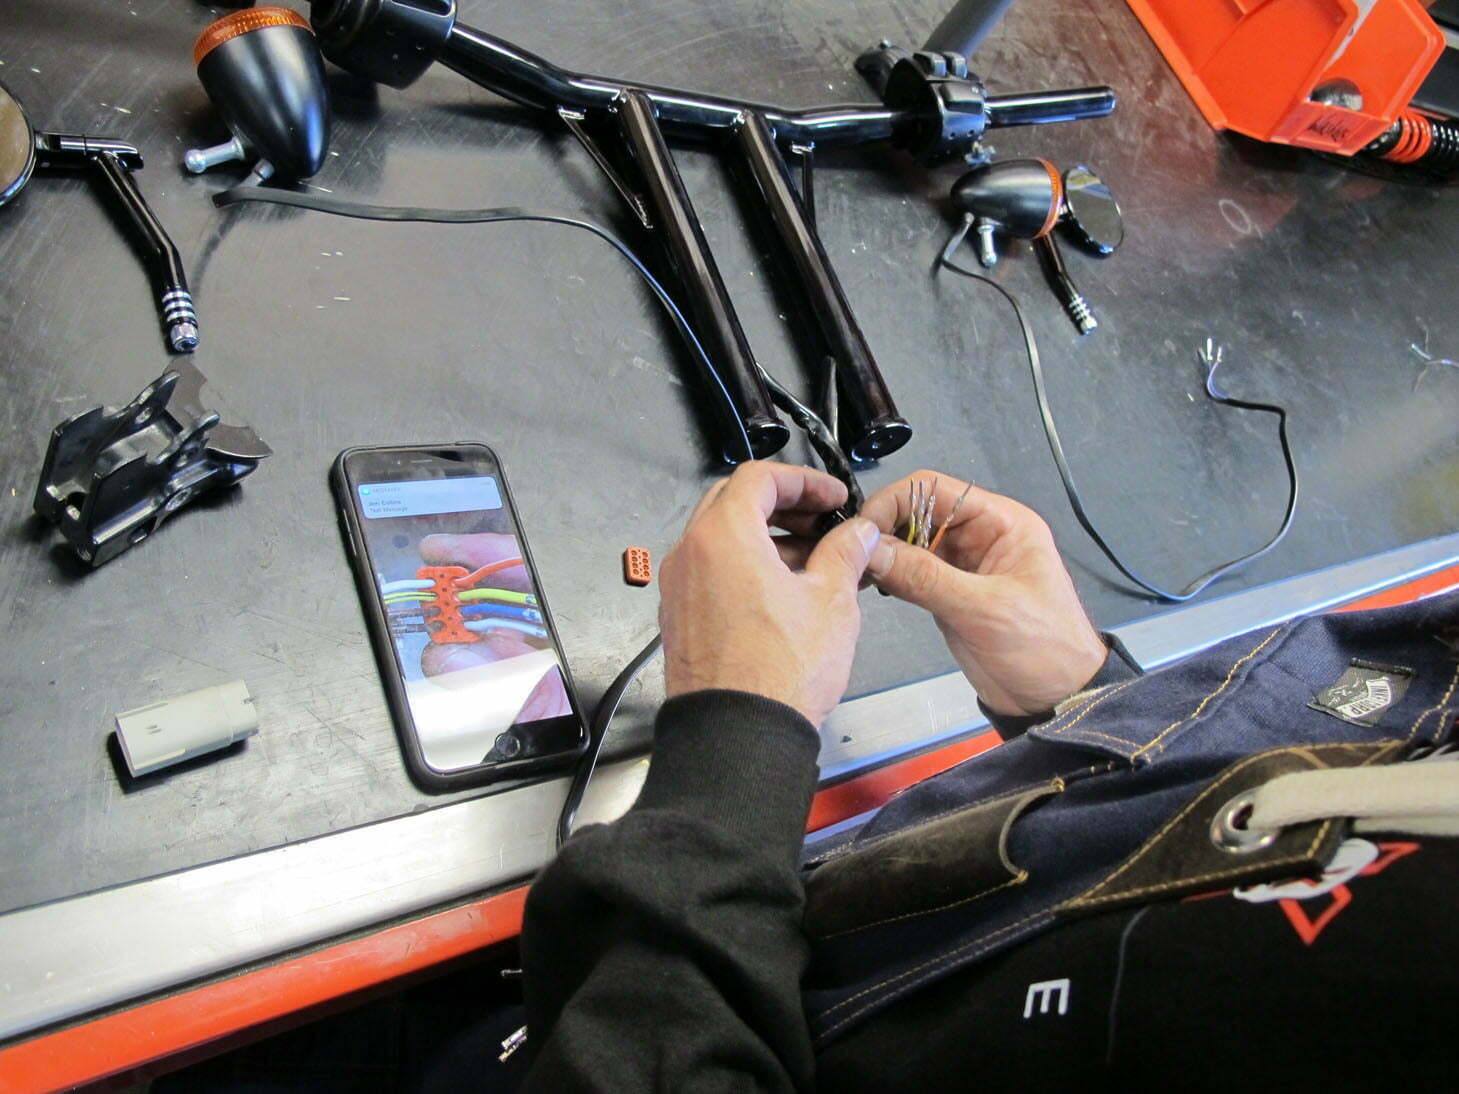
Use the diagram or photos to ensure the pins are in the correct positions.
Words: Sean Delshadi | Photos: Robert Martin
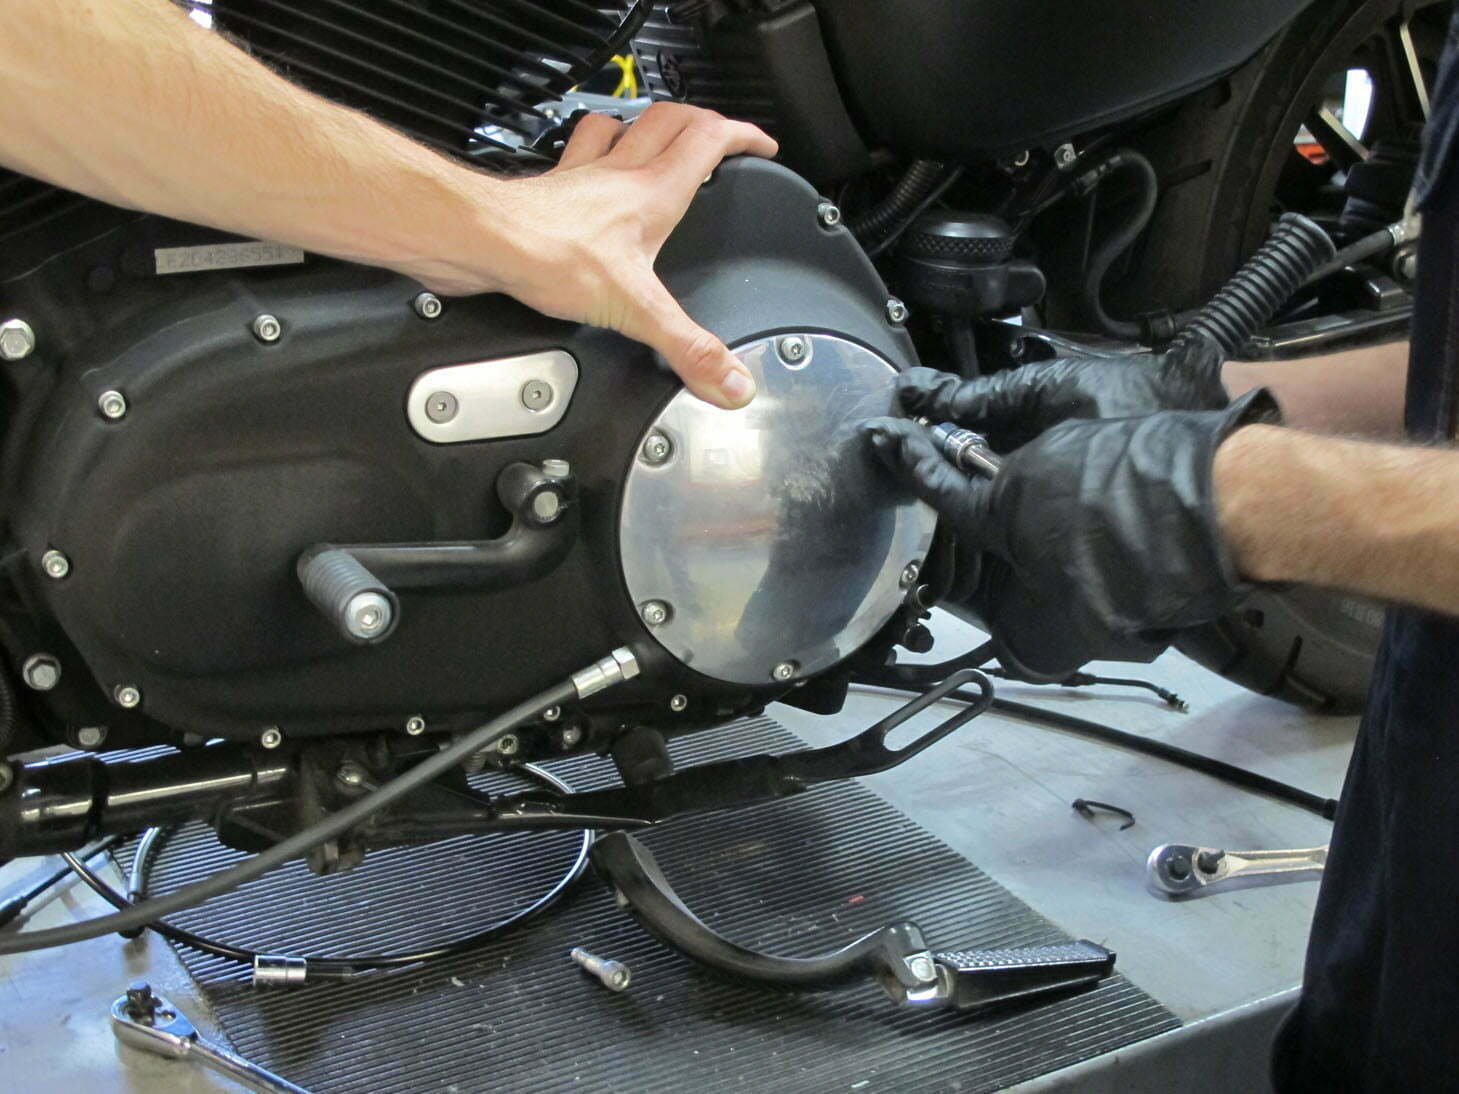
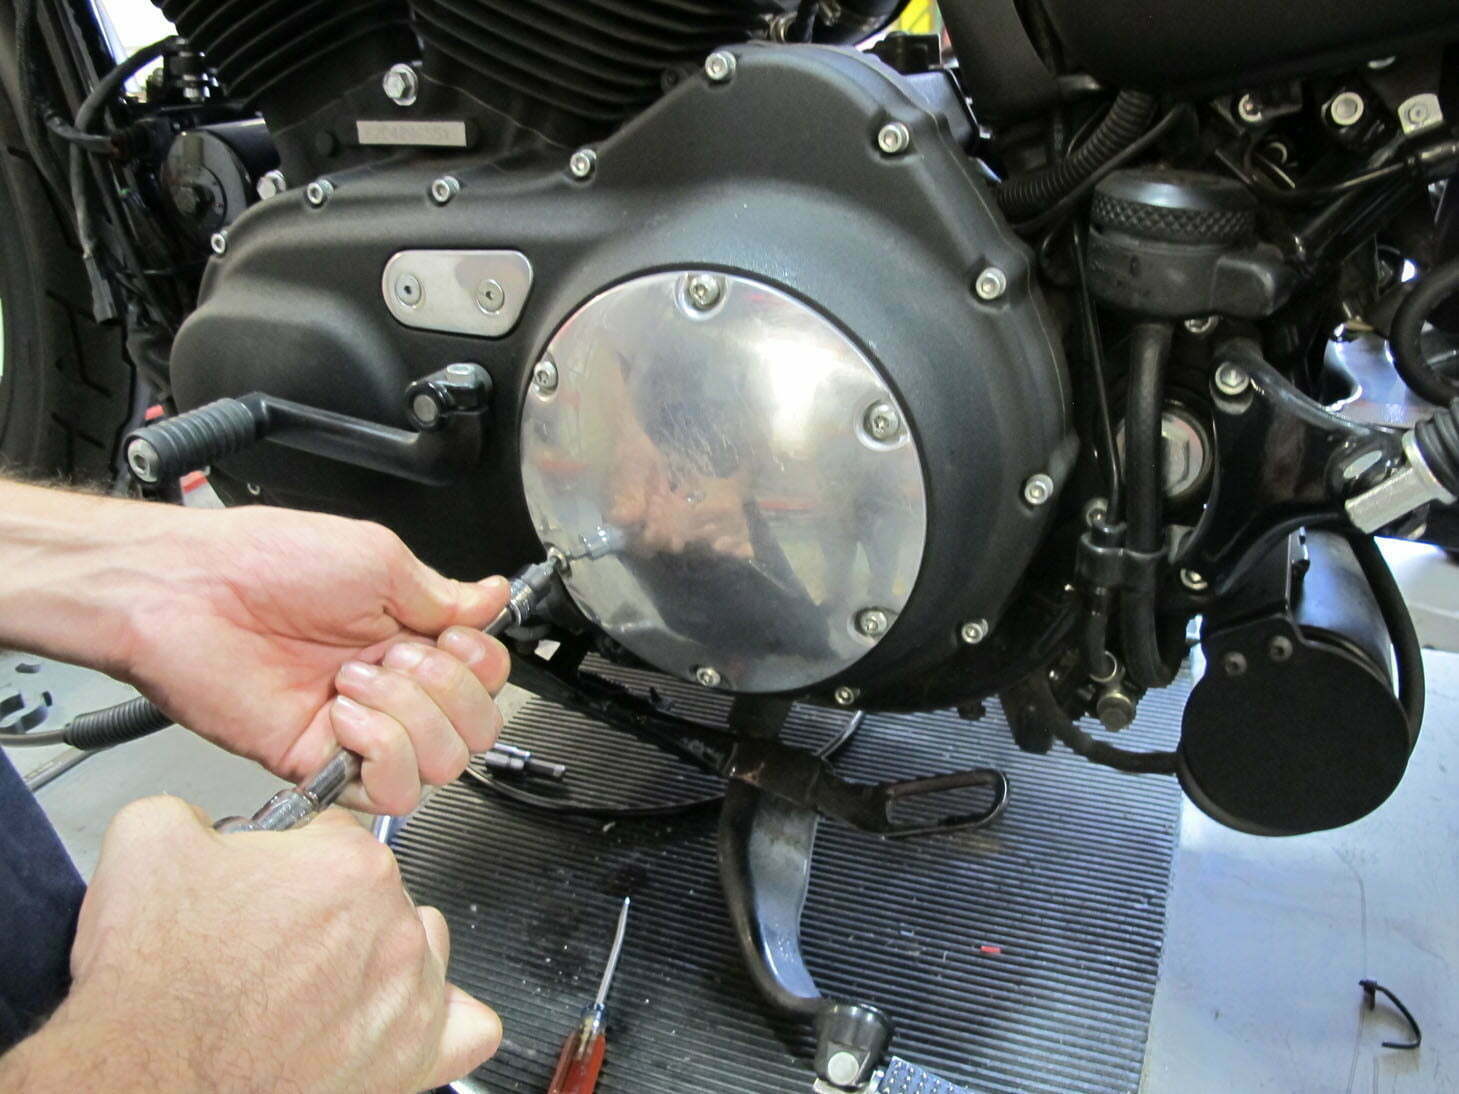
Remove the derby cover to expose the clutch assembly.
Words: Sean Delshadi | Photos: Robert Martin
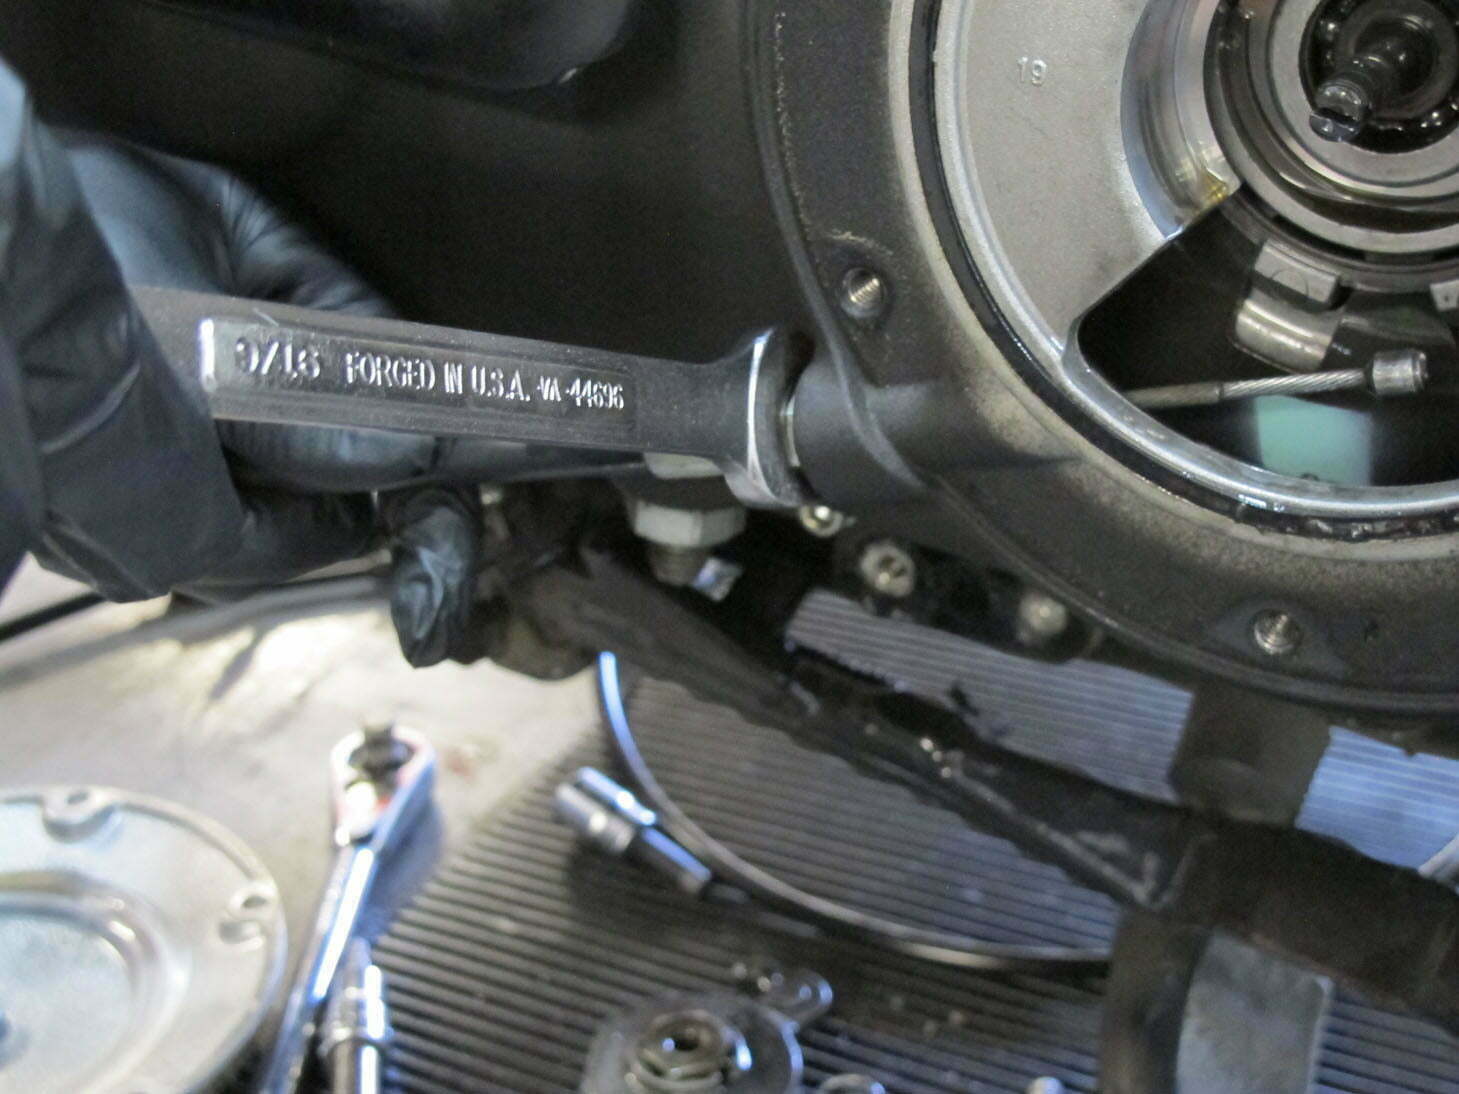
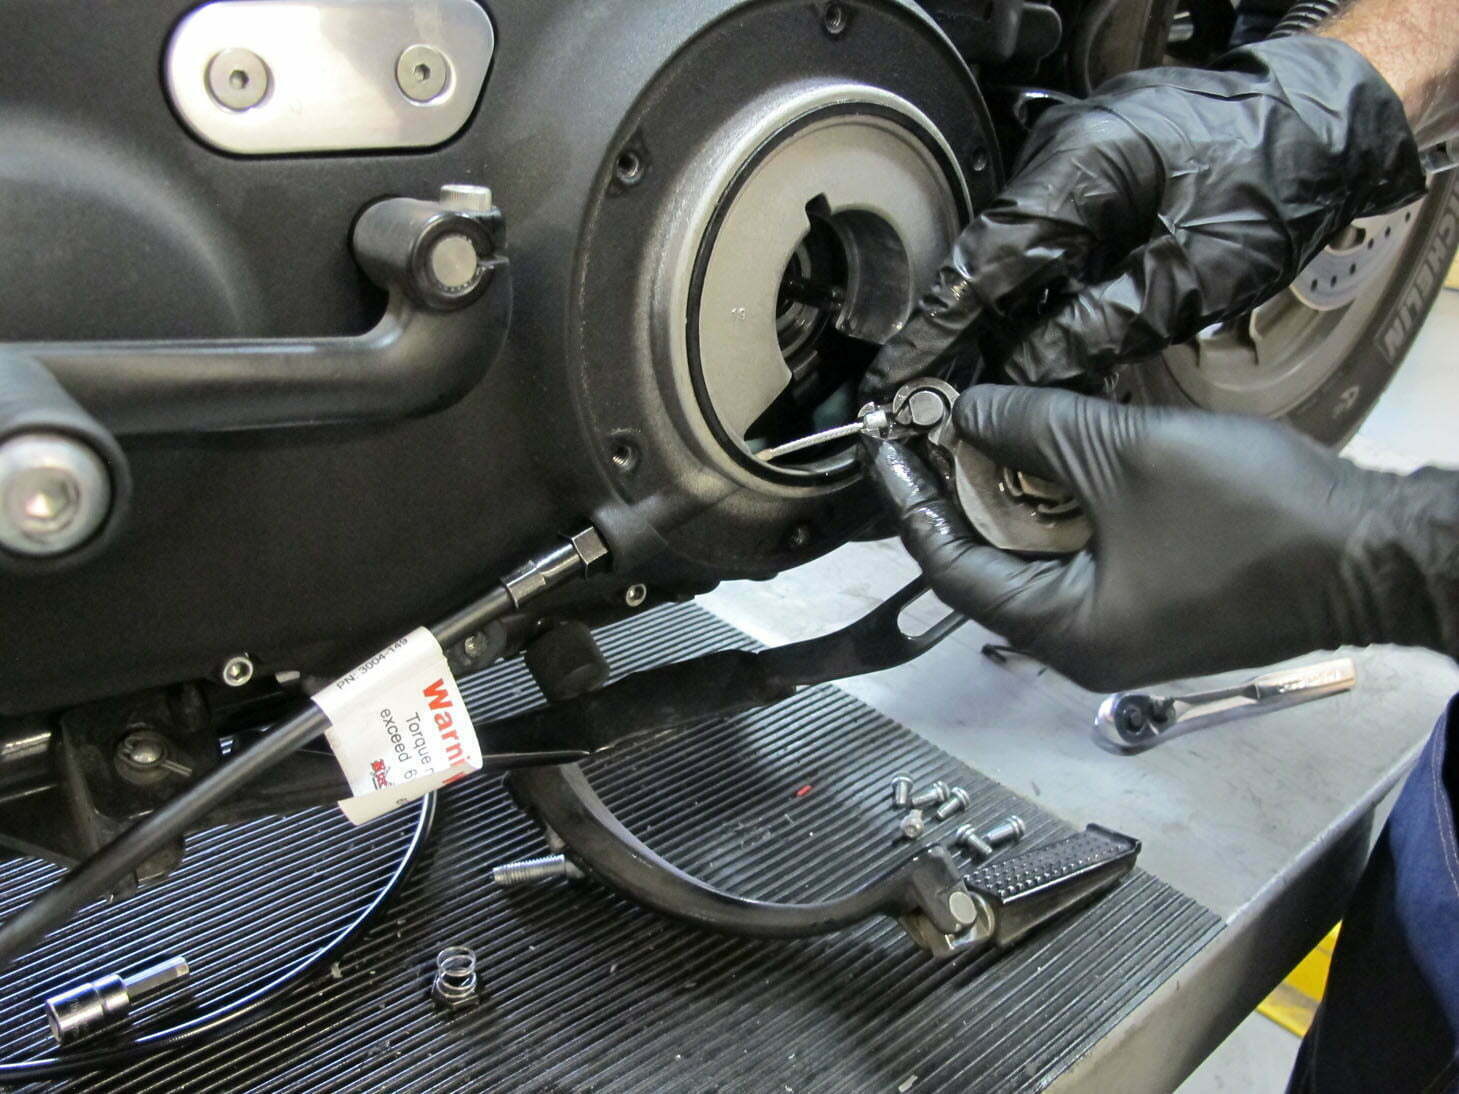
Remove the old clutch line via a 9/16 wrench.
Words: Sean Delshadi | Photos: Robert Martin
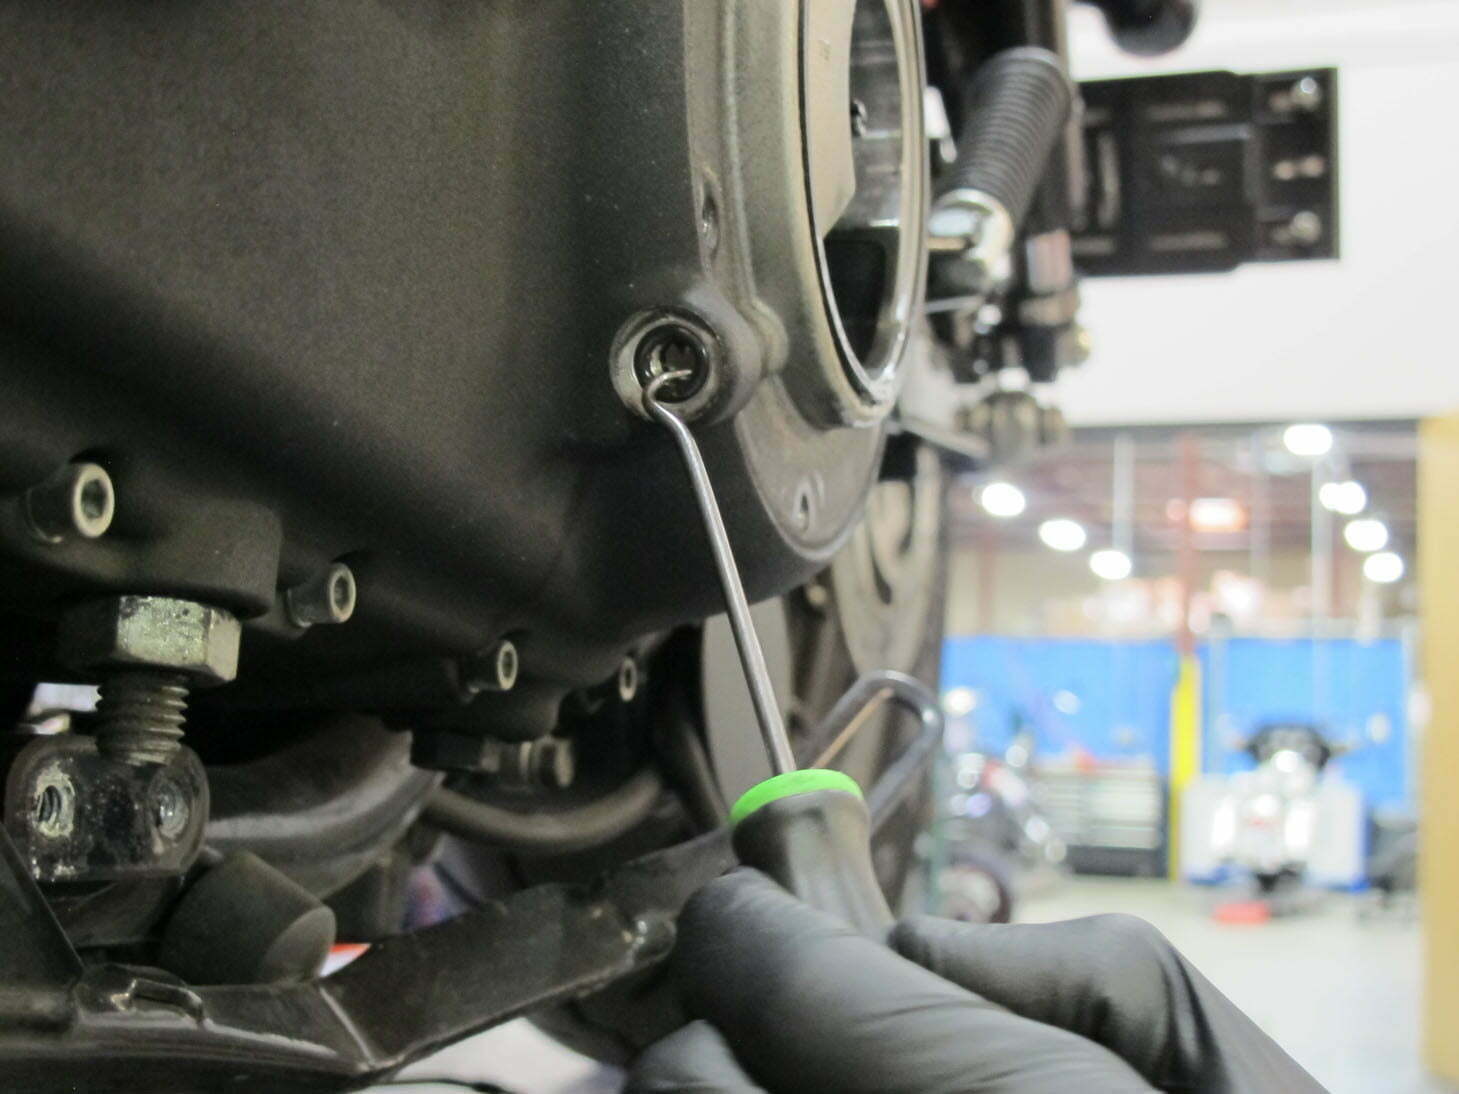
Pull that pesky O-ring.
Words: Sean Delshadi | Photos: Robert Martin
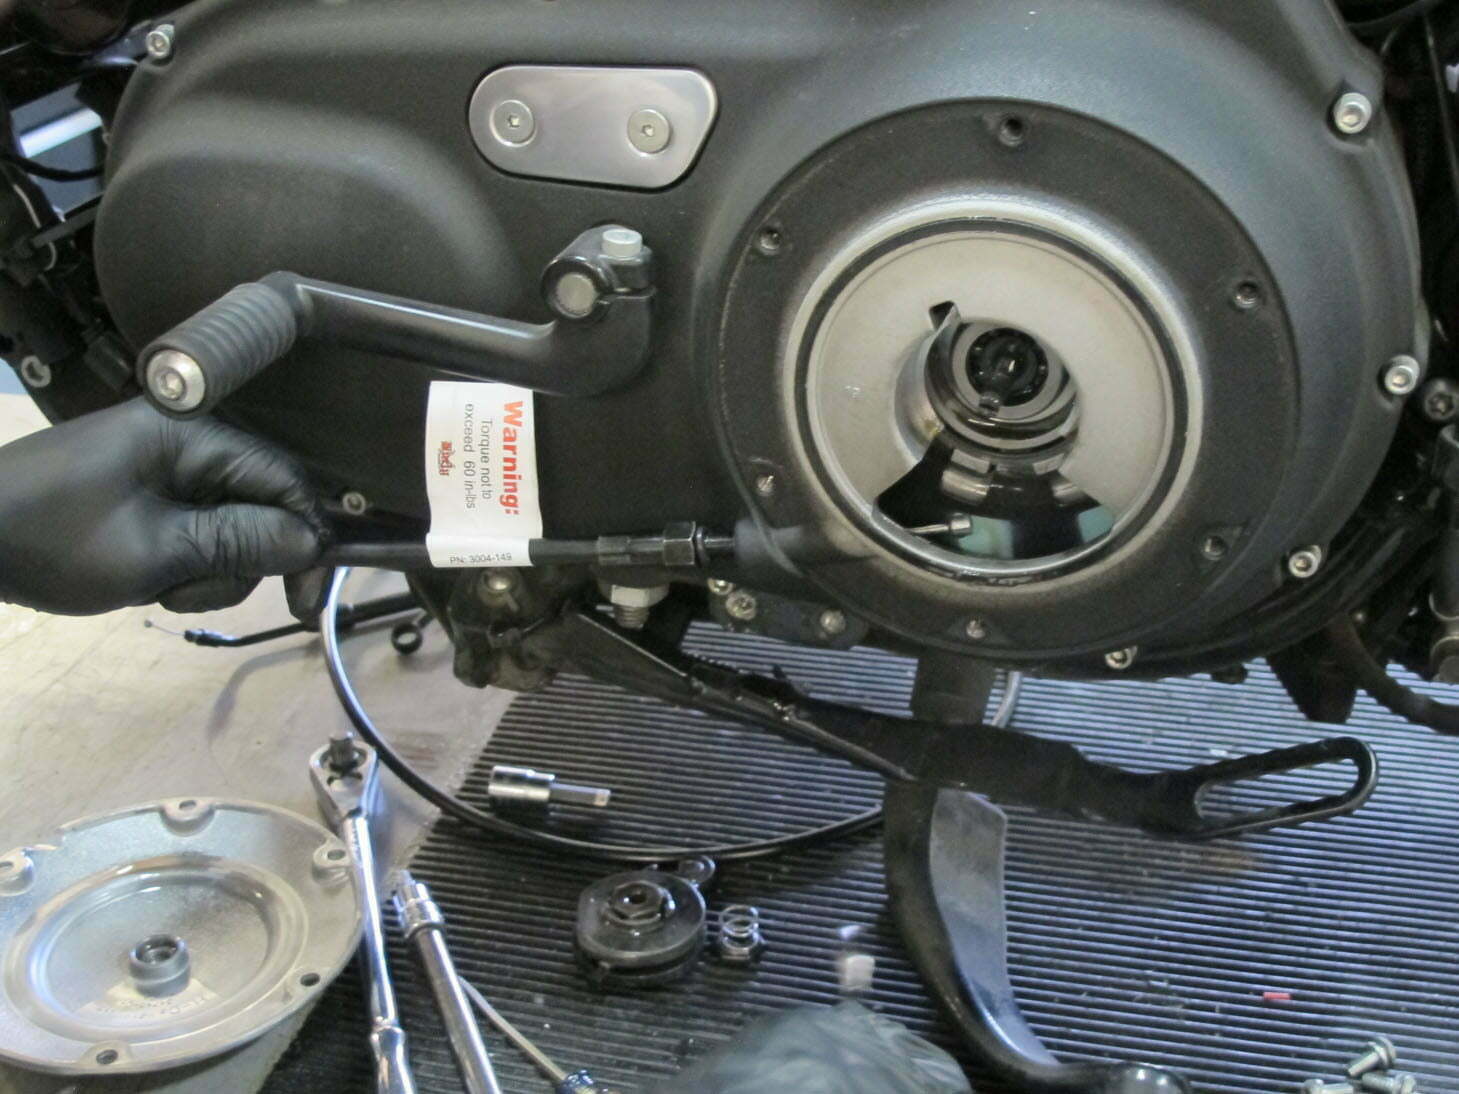
Install the new clutch cable.
Words: Sean Delshadi | Photos: Robert Martin
Reassemble the clutch line throw.
Words: Sean Delshadi | Photos: Robert Martin
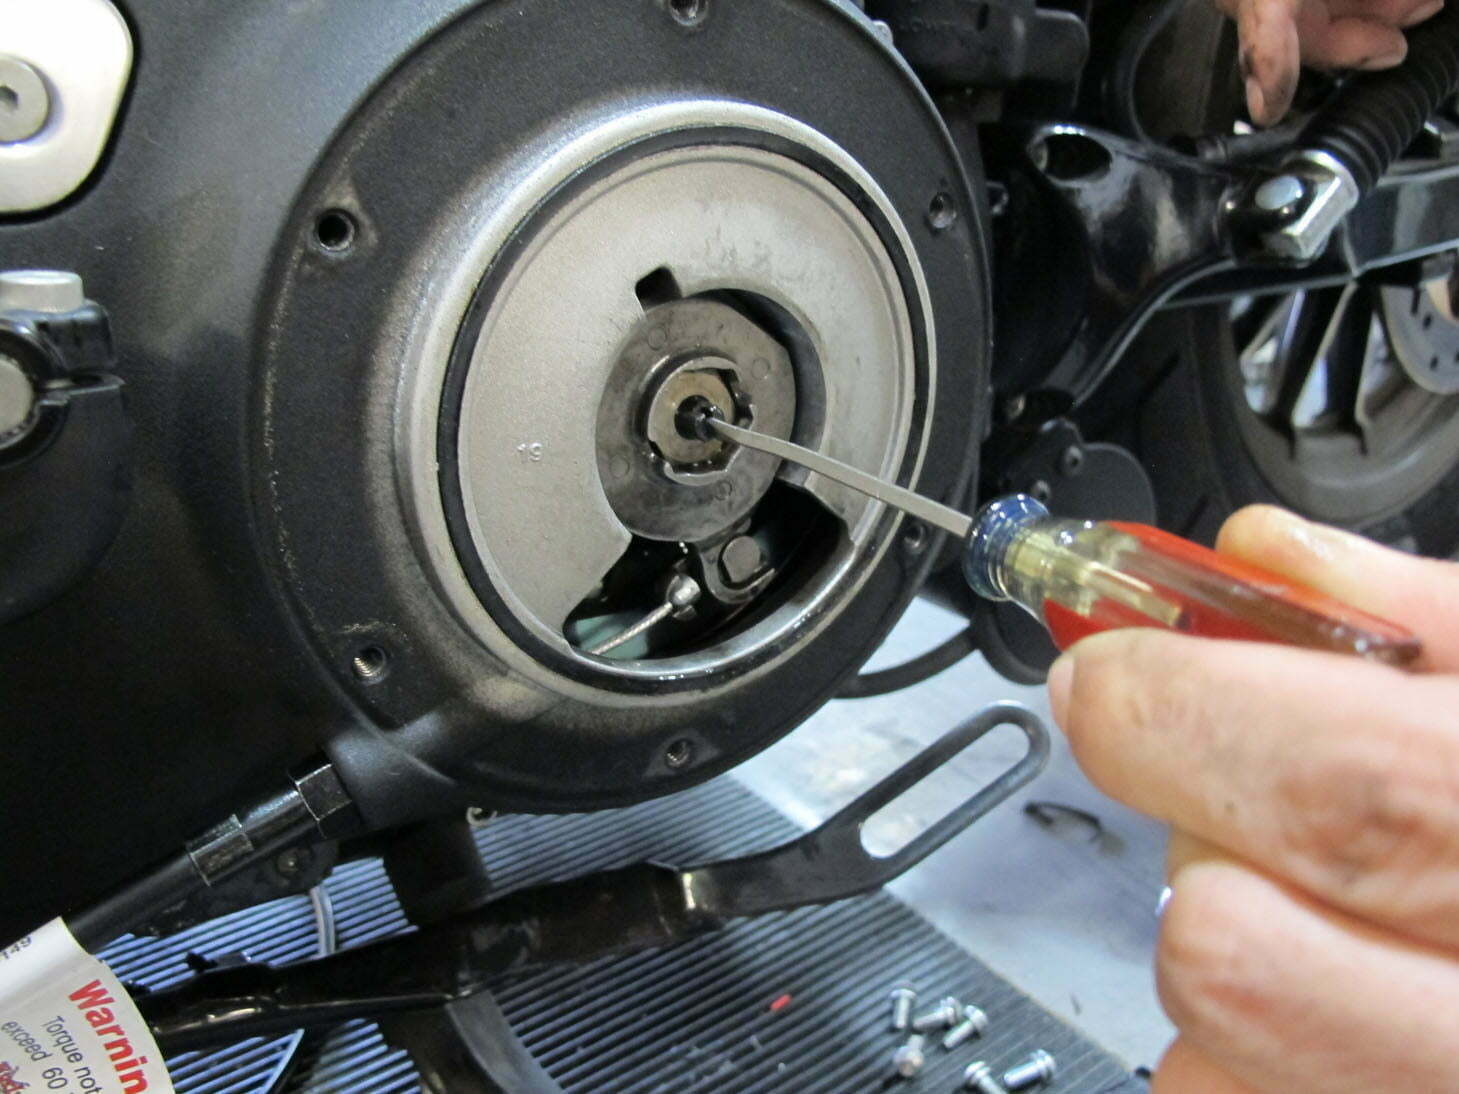
Adjust your clutch. Refer back to your manual for adjustment.
Words: Sean Delshadi | Photos: Robert Martin
Closeup on the clutch assemble. Be careful not to displace the clutch cover seal.
Words: Sean Delshadi | Photos: Robert Martin
Remove the throttle and idle cables.
Words: Sean Delshadi | Photos: Robert Martin
Reroute the cables the same way as stock.
Words: Sean Delshadi | Photos: Robert Martin
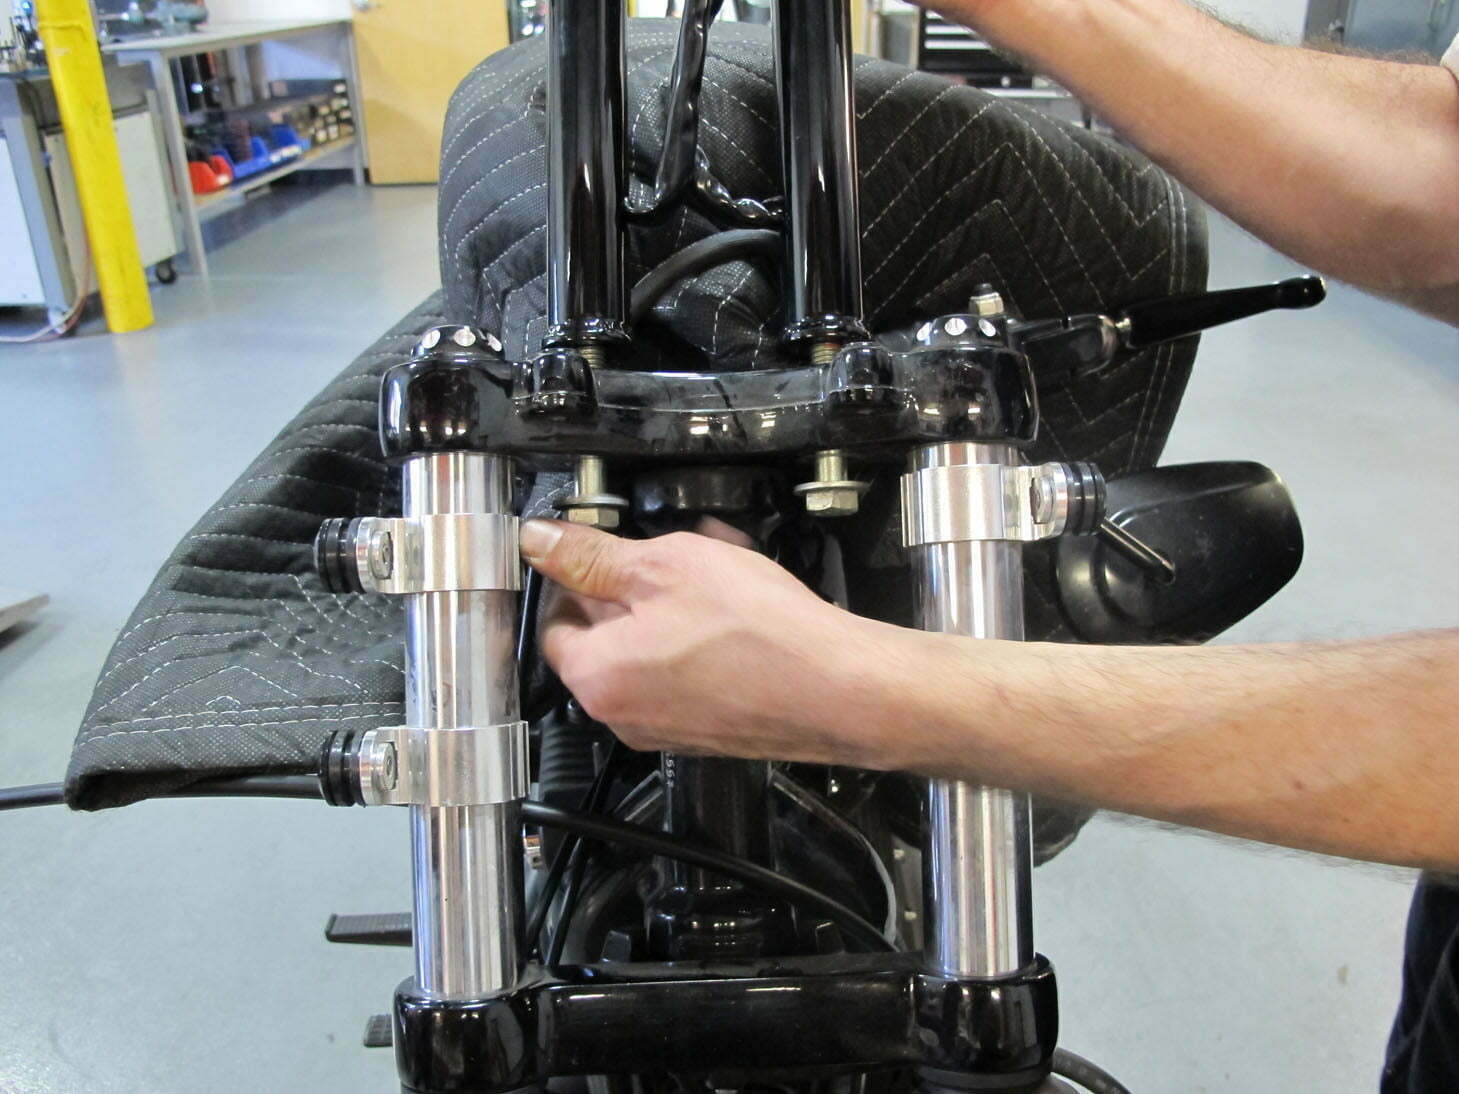
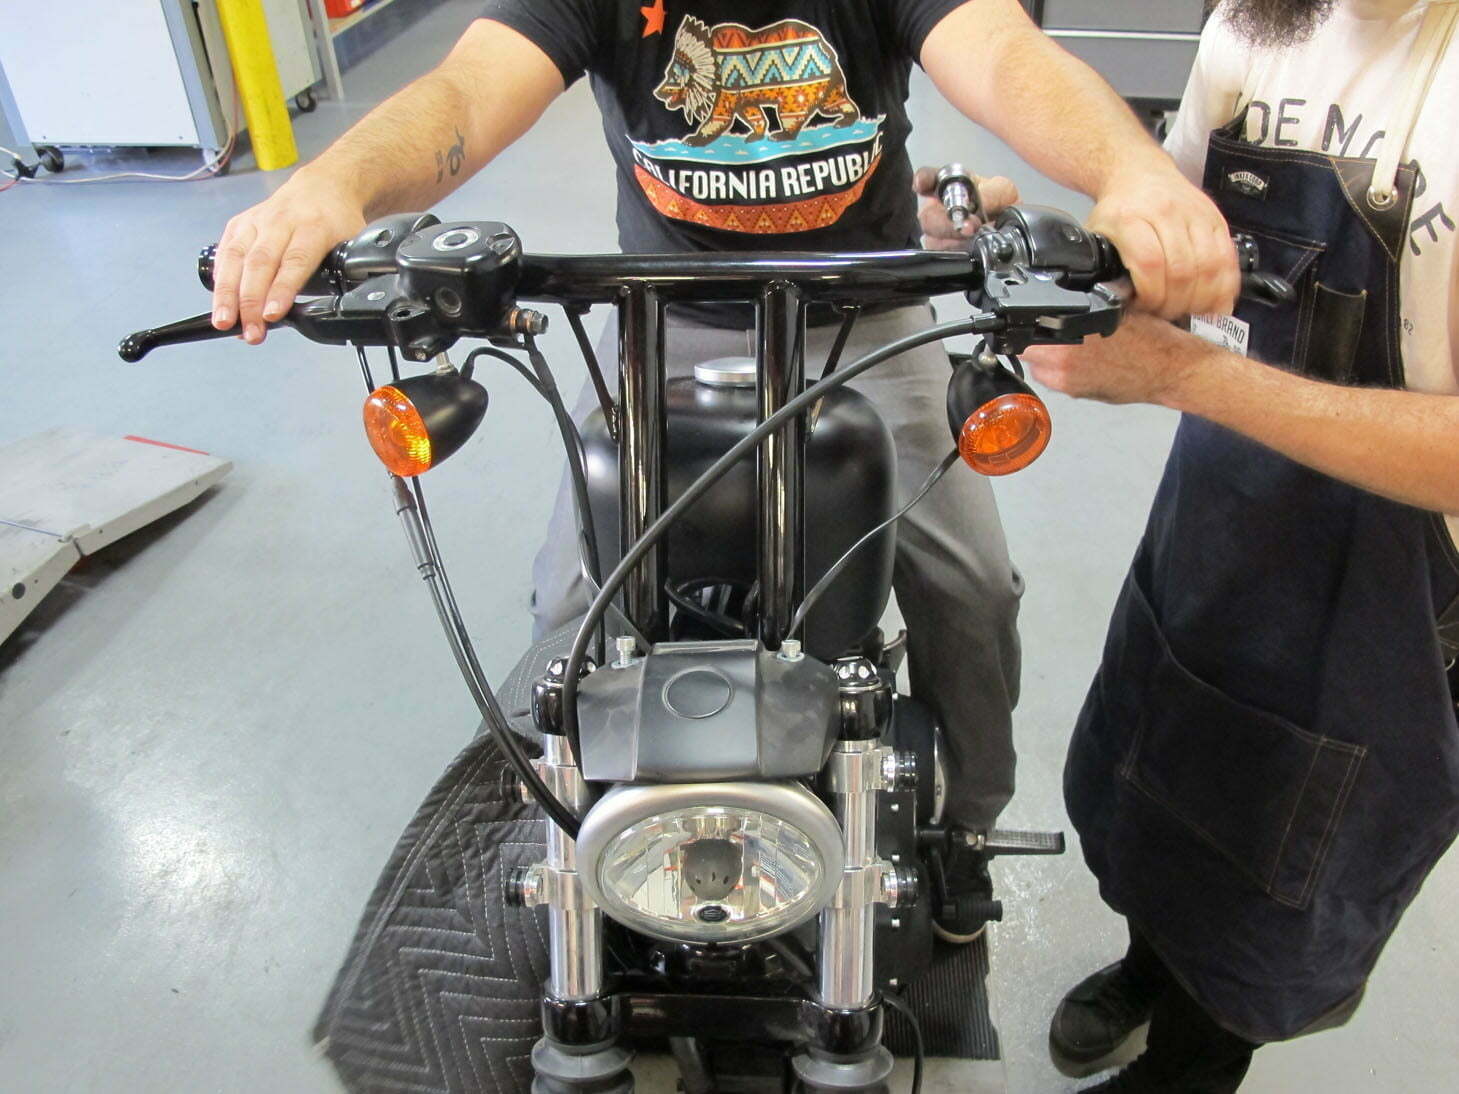
Direct mount the Jail Bars (T-bars) to the top triple tree.
Words: Sean Delshadi | Photos: Robert Martin
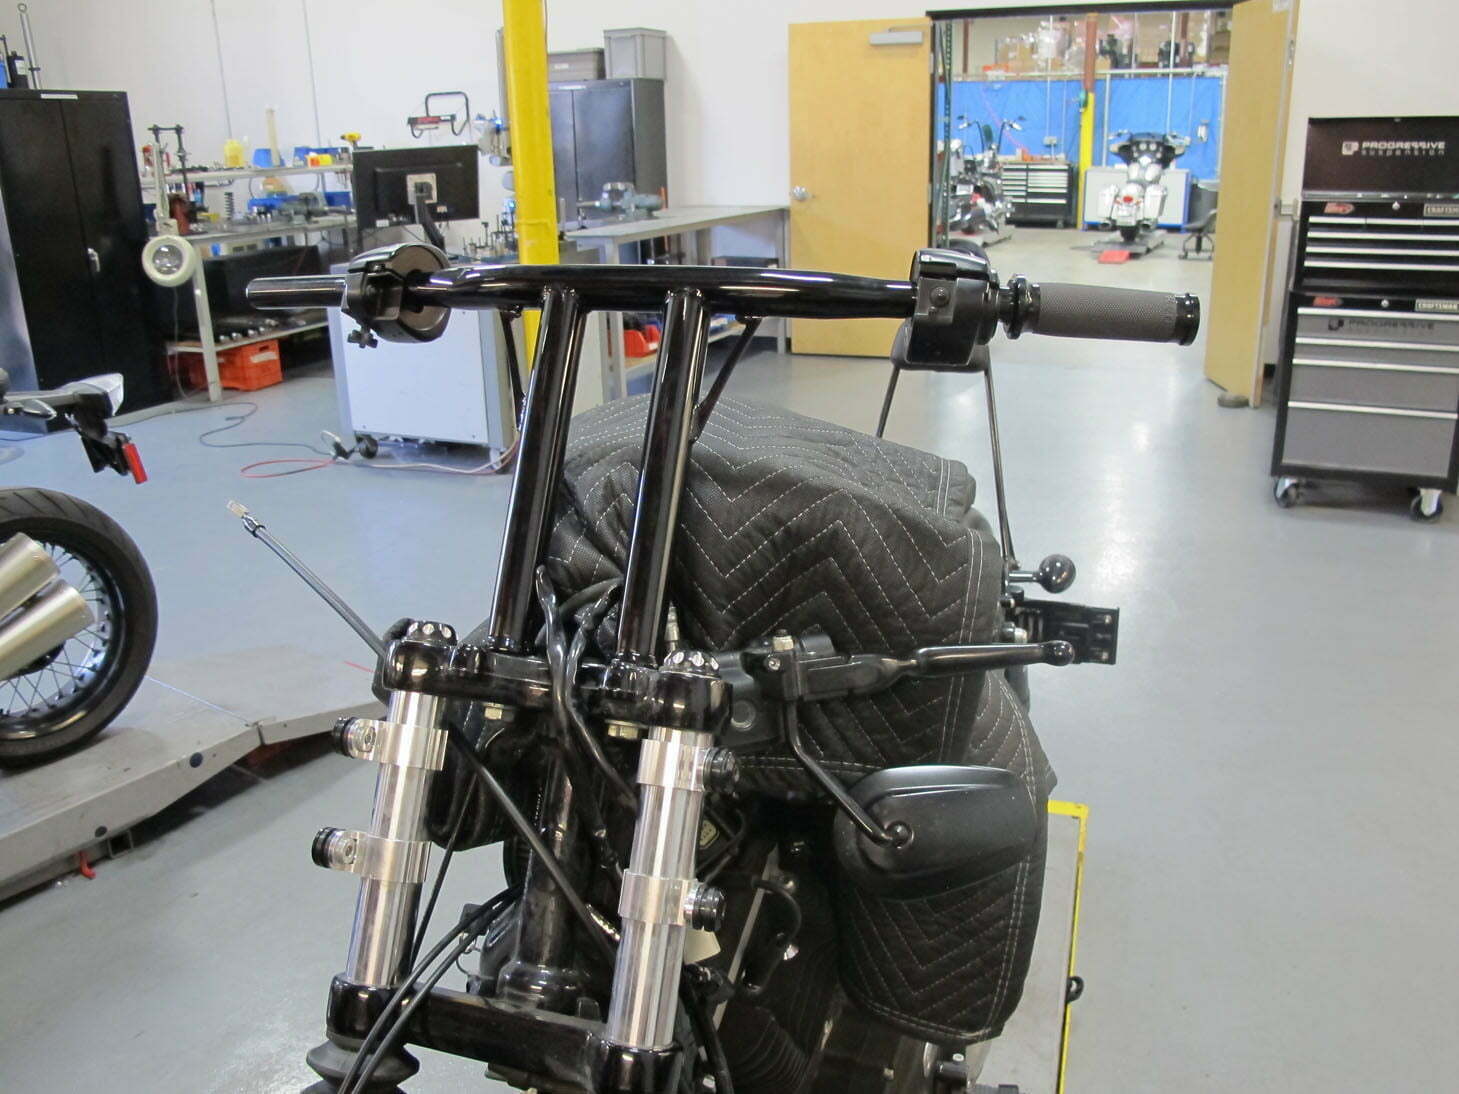
Bars are mounted.
Words: Sean Delshadi | Photos: Robert Martin
Utilize the stock cable/line guides.
Words: Sean Delshadi | Photos: Robert Martin
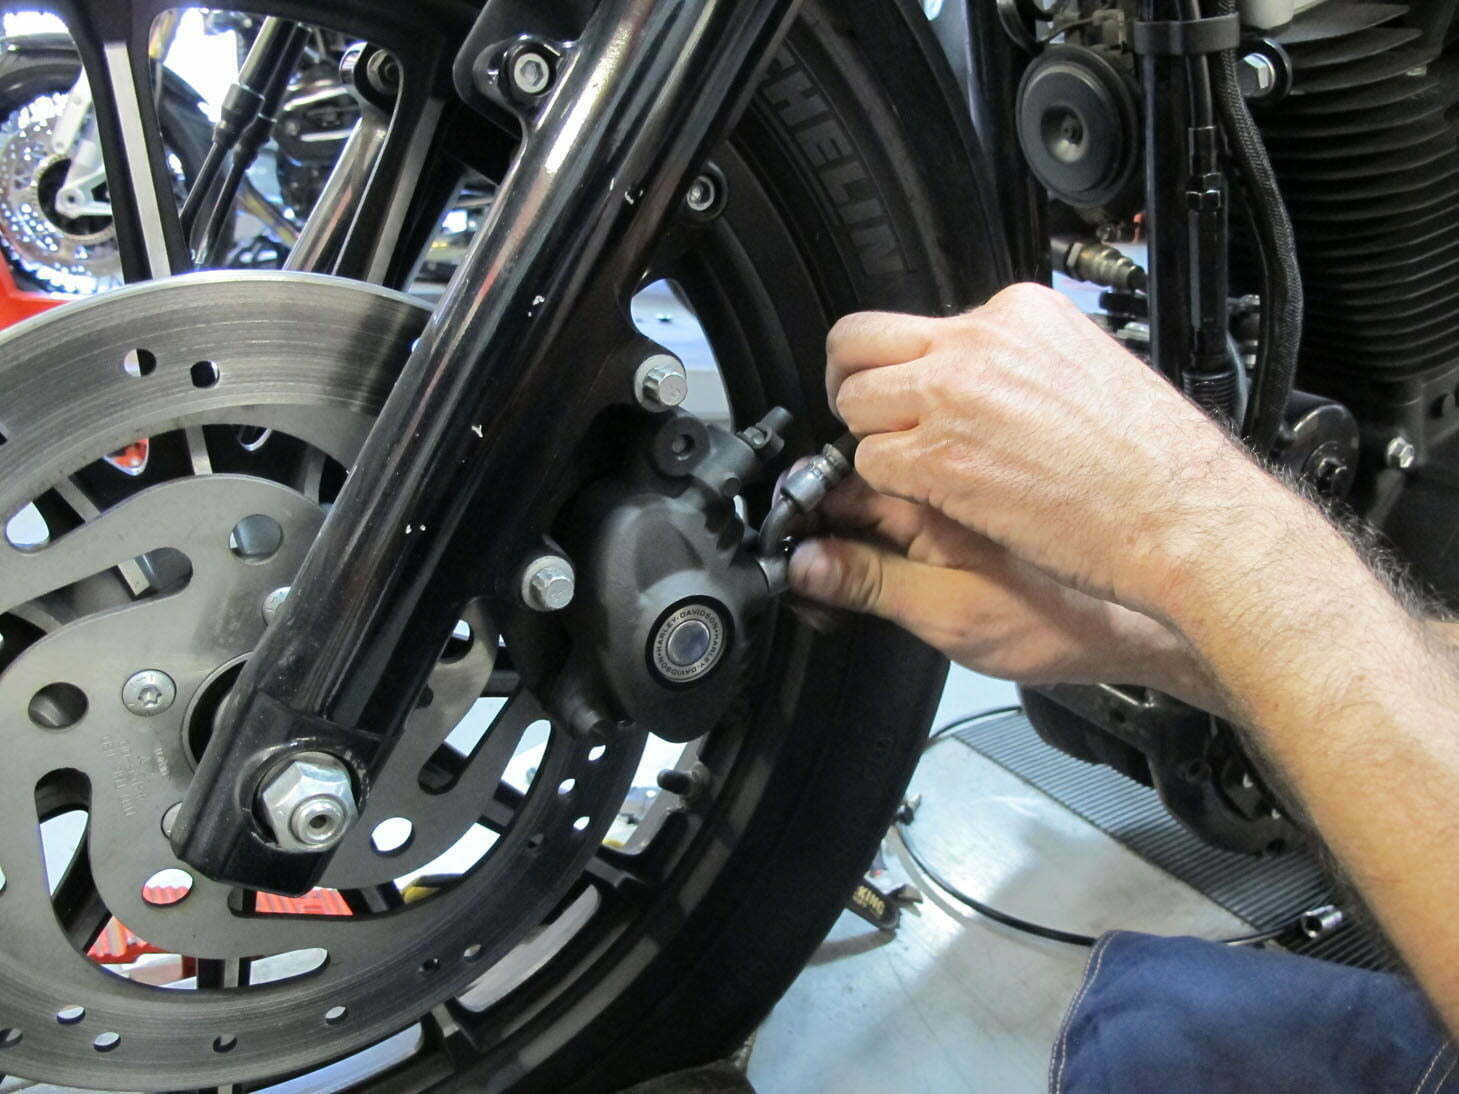
Time to remove the old hydraulic brake line.
Words: Sean Delshadi | Photos: Robert Martin
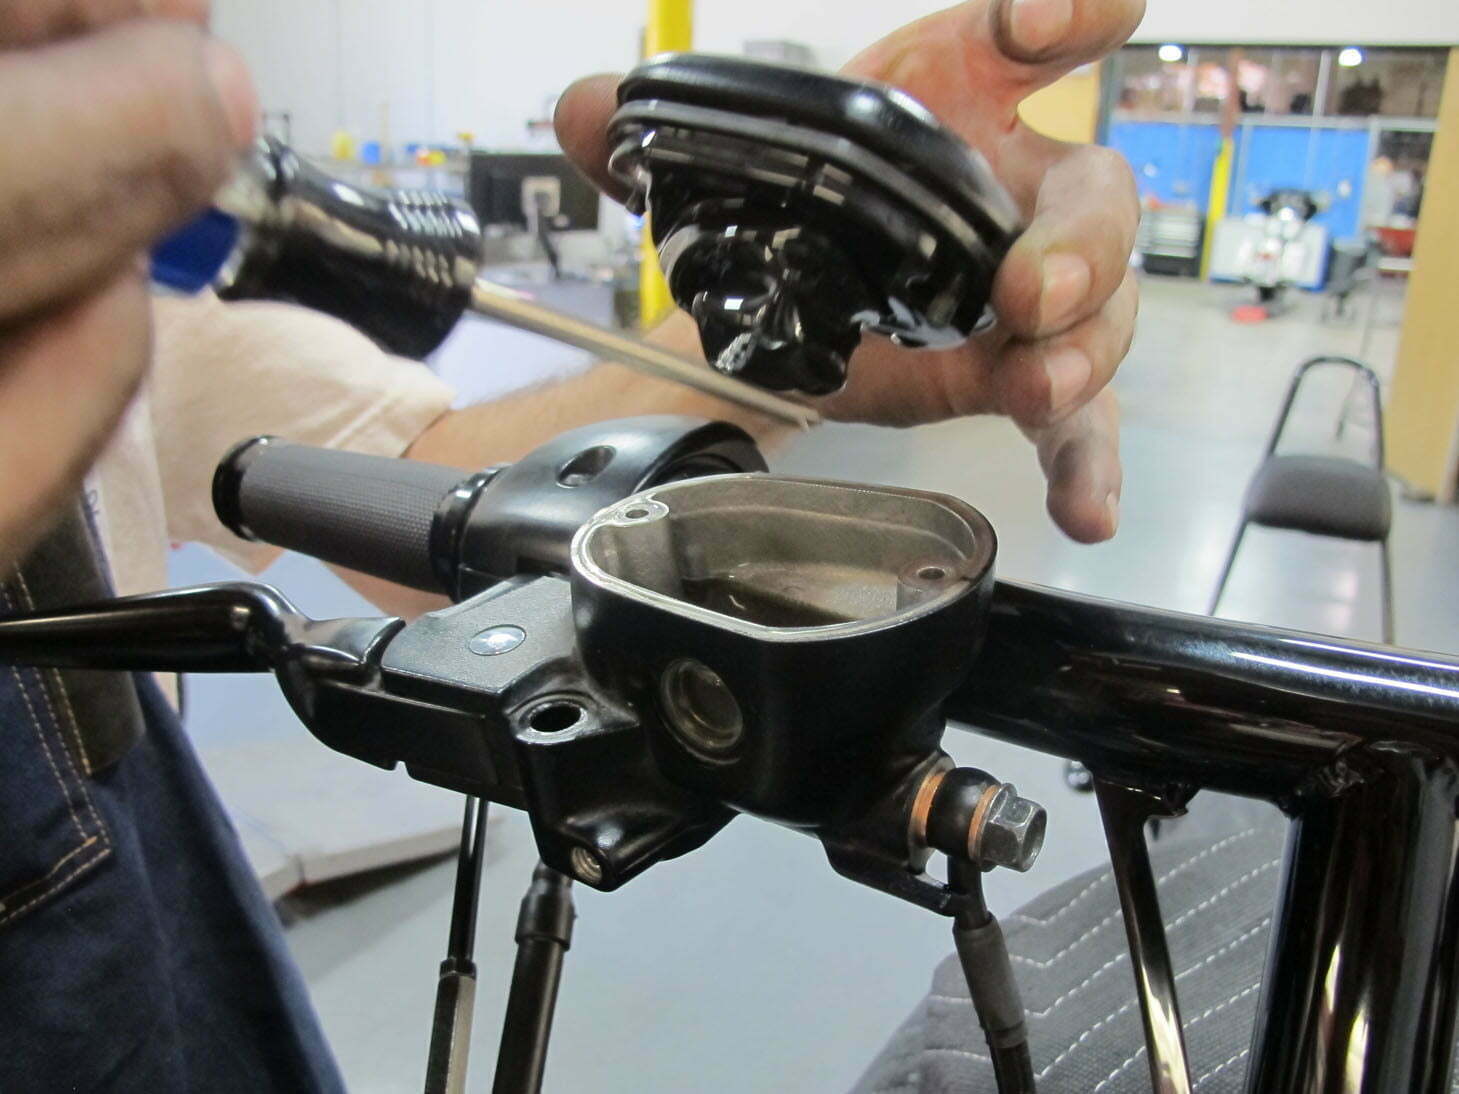
Remove the brake master cylinder cap.
Words: Sean Delshadi | Photos: Robert Martin
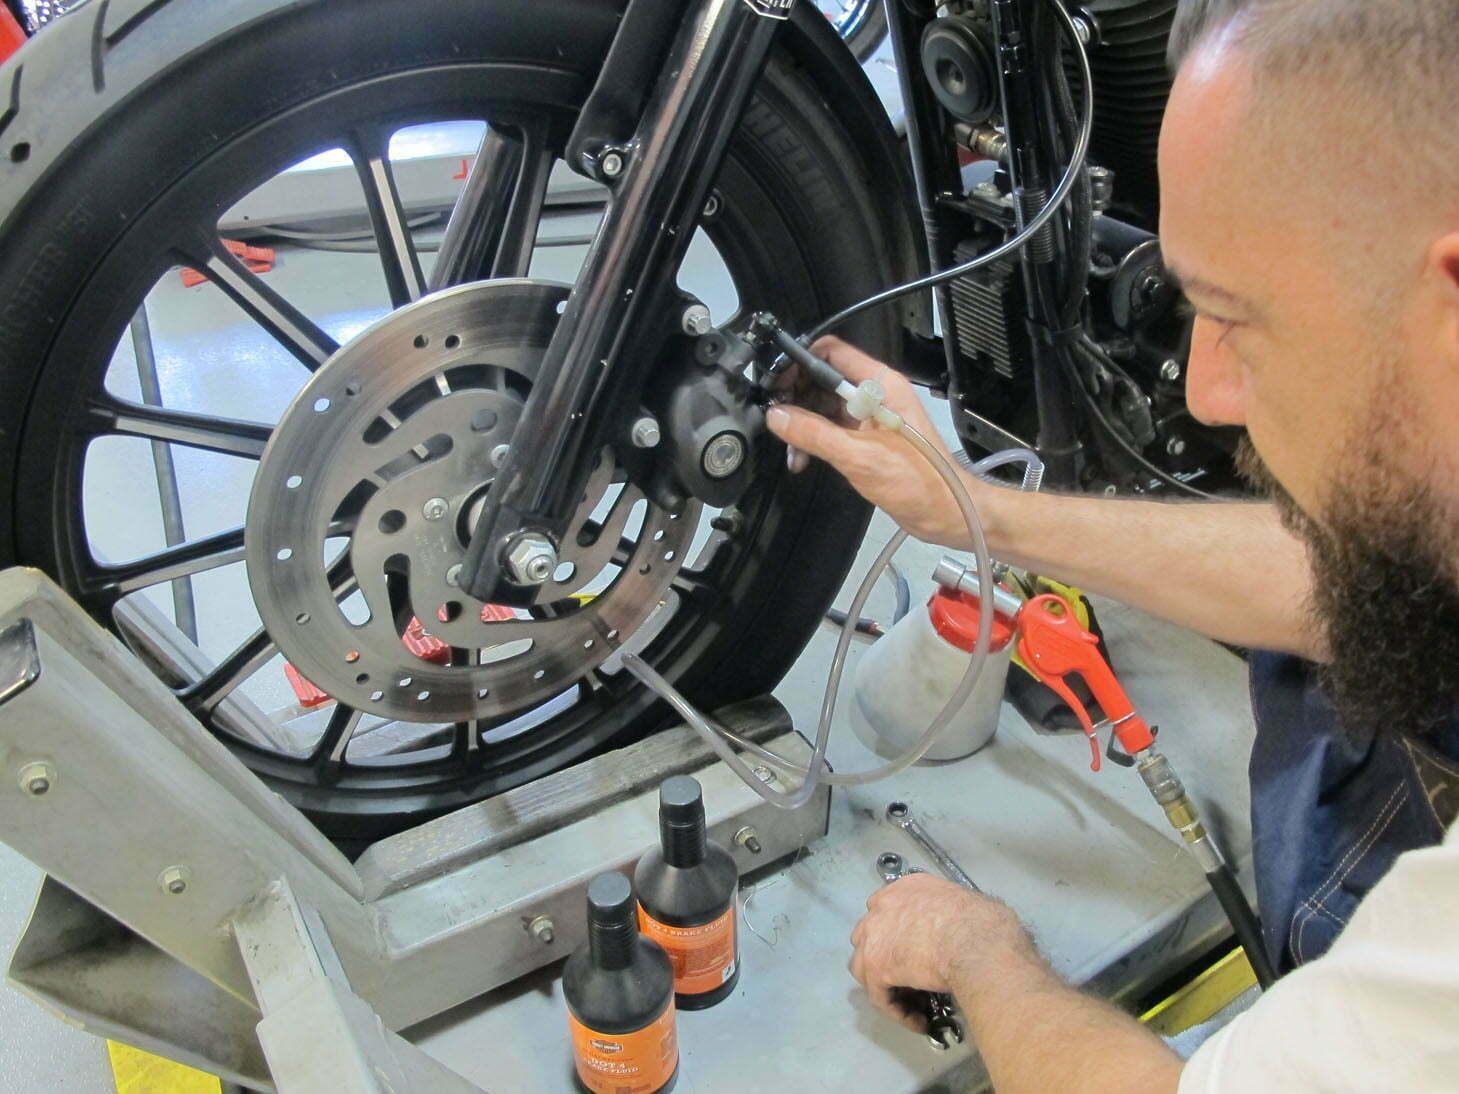
Install new brake line and bleed.
Words: Sean Delshadi | Photos: Robert Martin
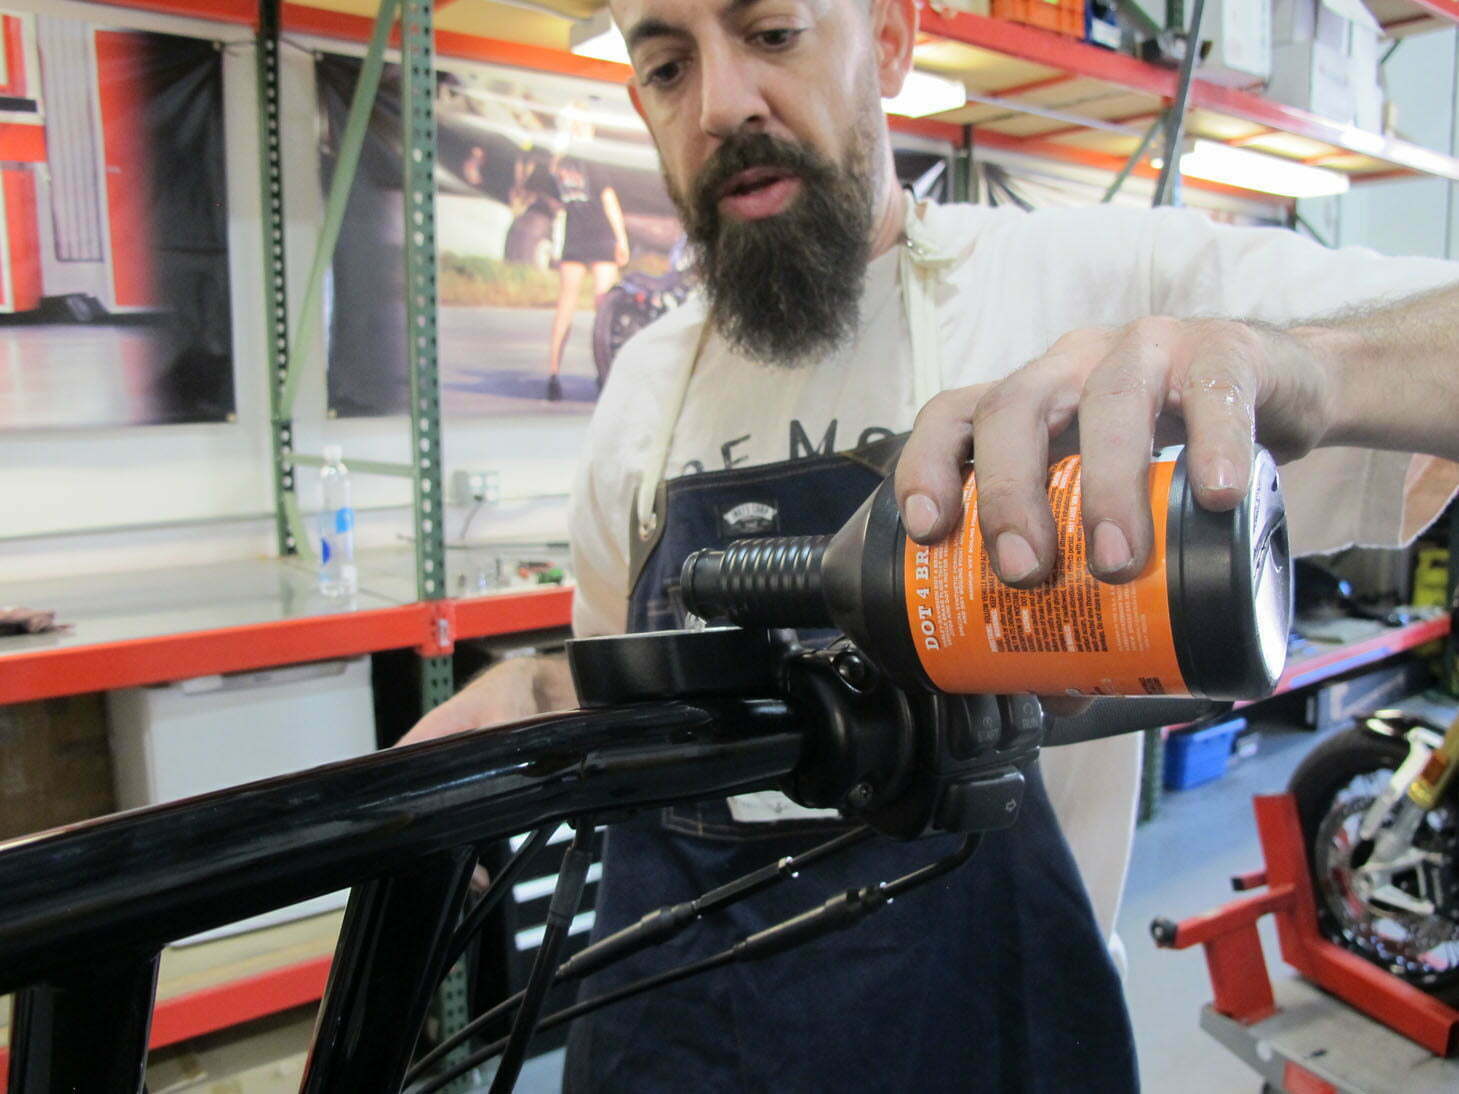
Add more fluid while bleeding.
Words: Sean Delshadi | Photos: Robert Martin
Throttle clamshell is installed.
Words: Sean Delshadi | Photos: Robert Martin
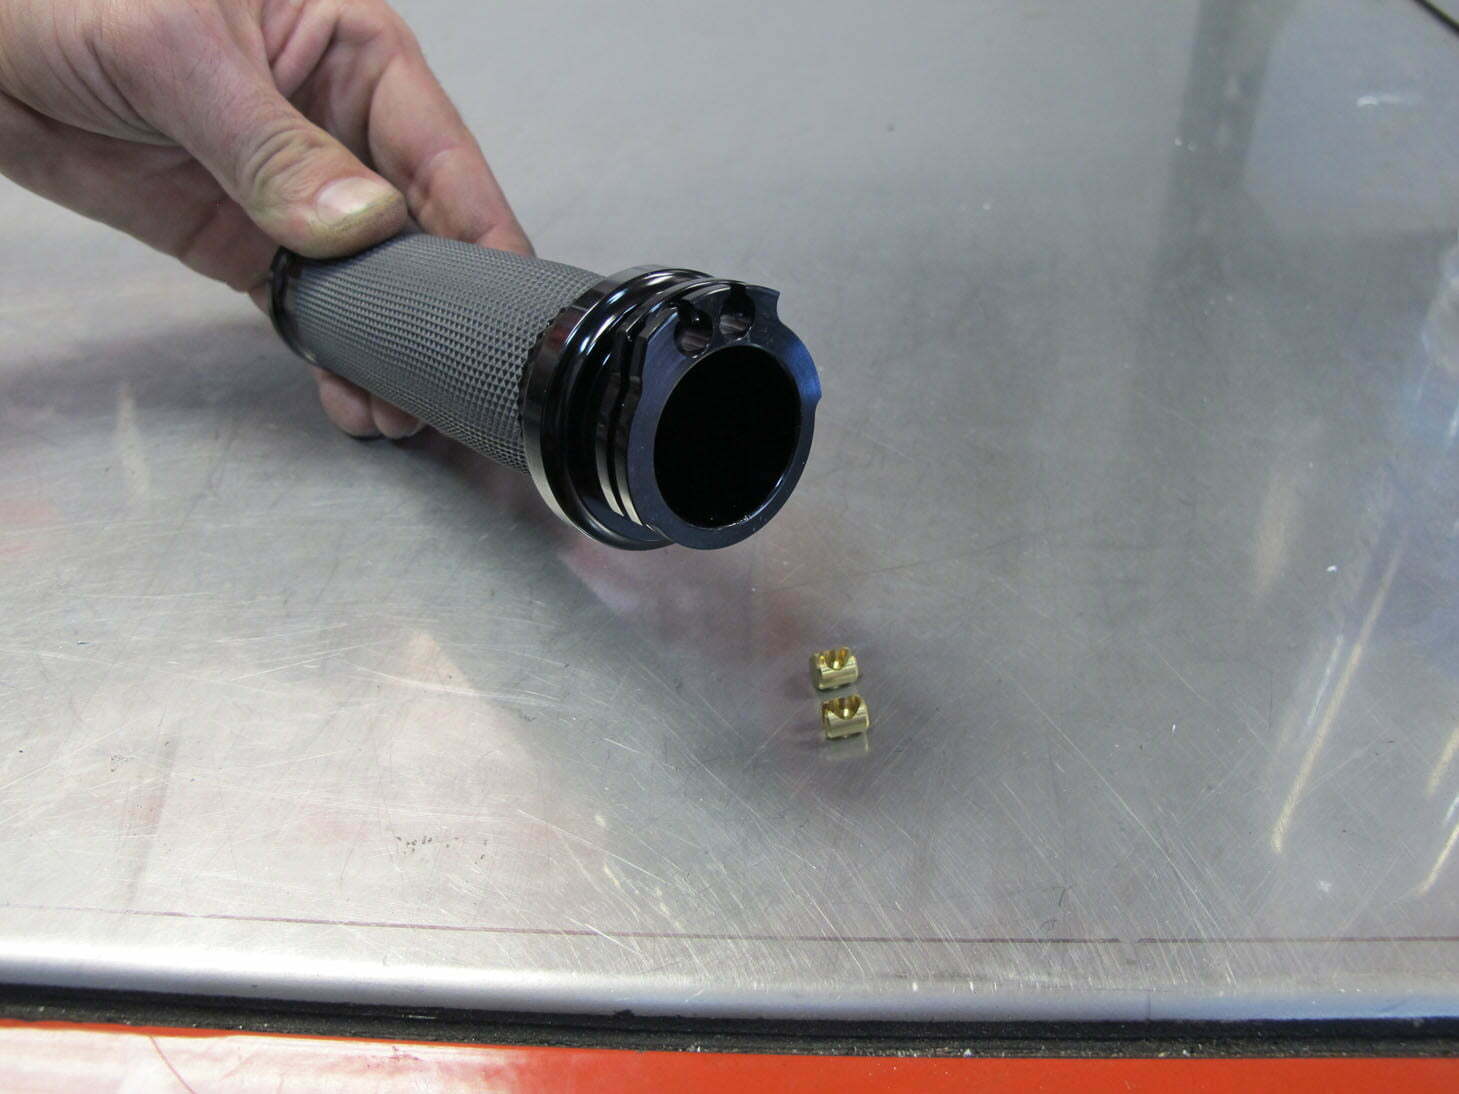
Use the supplied ferrules.
Words: Sean Delshadi | Photos: Robert Martin
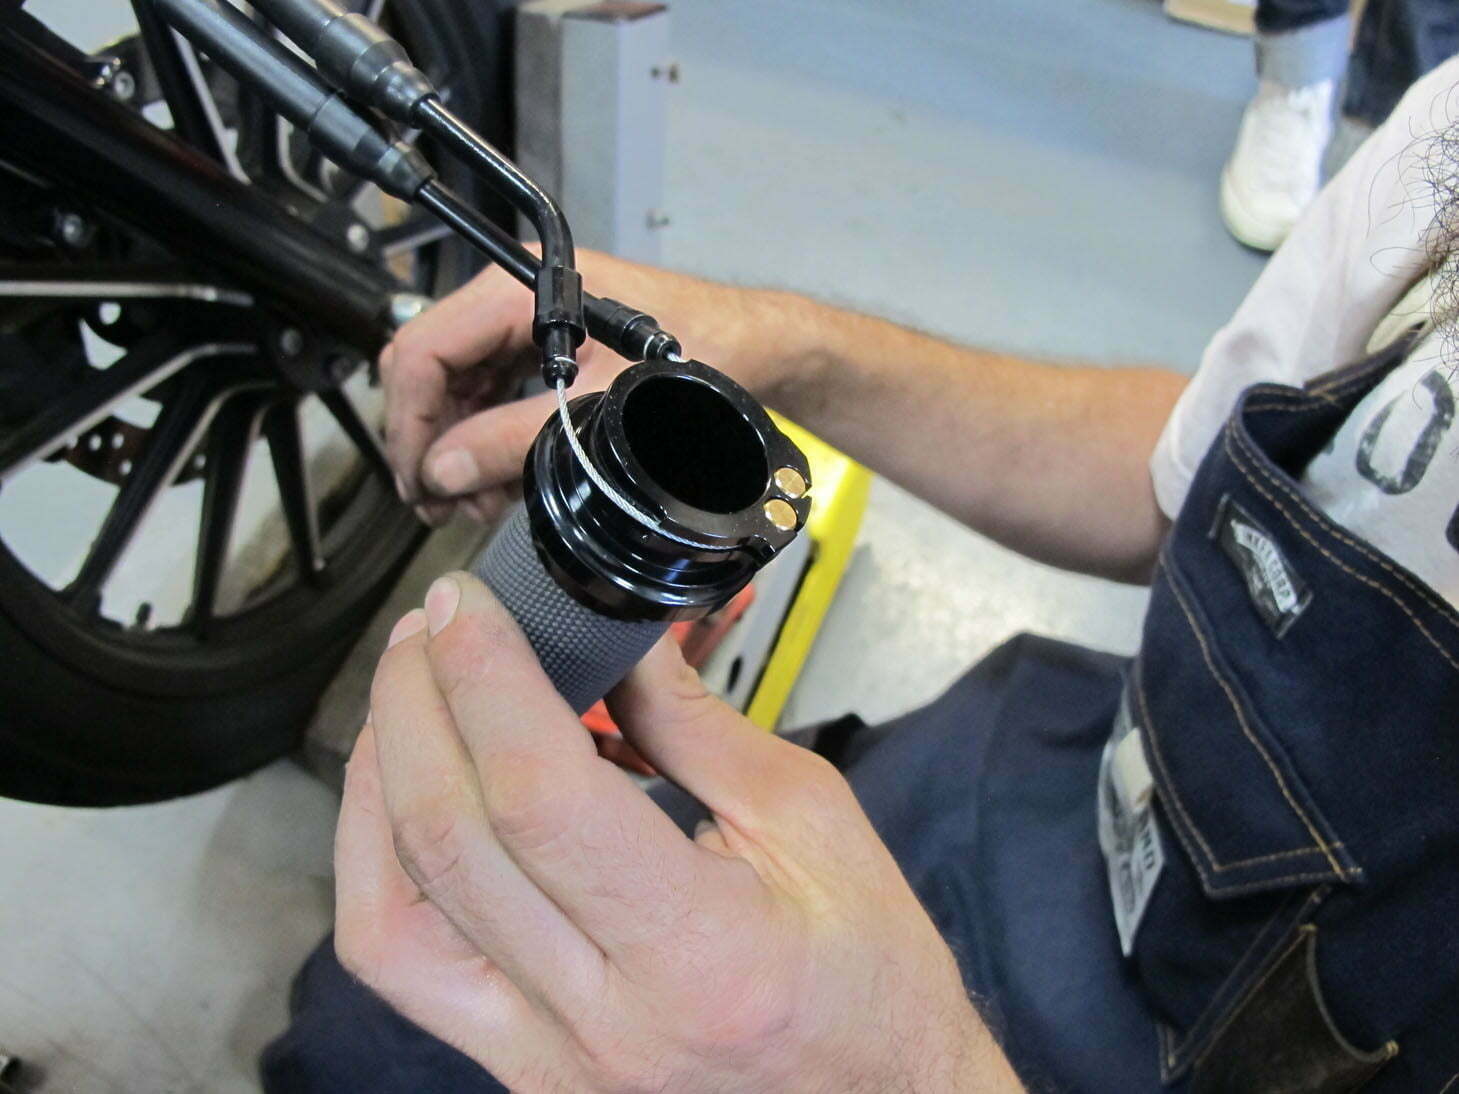
Install throttle/idle on the grip side.
Words: Sean Delshadi | Photos: Robert Martin

Install clutch line.
Words: Sean Delshadi | Photos: Robert Martin
RELATED | MORE TECH

Reattach wire loom and shroud.
Words: Sean Delshadi | Photos: Robert Martin
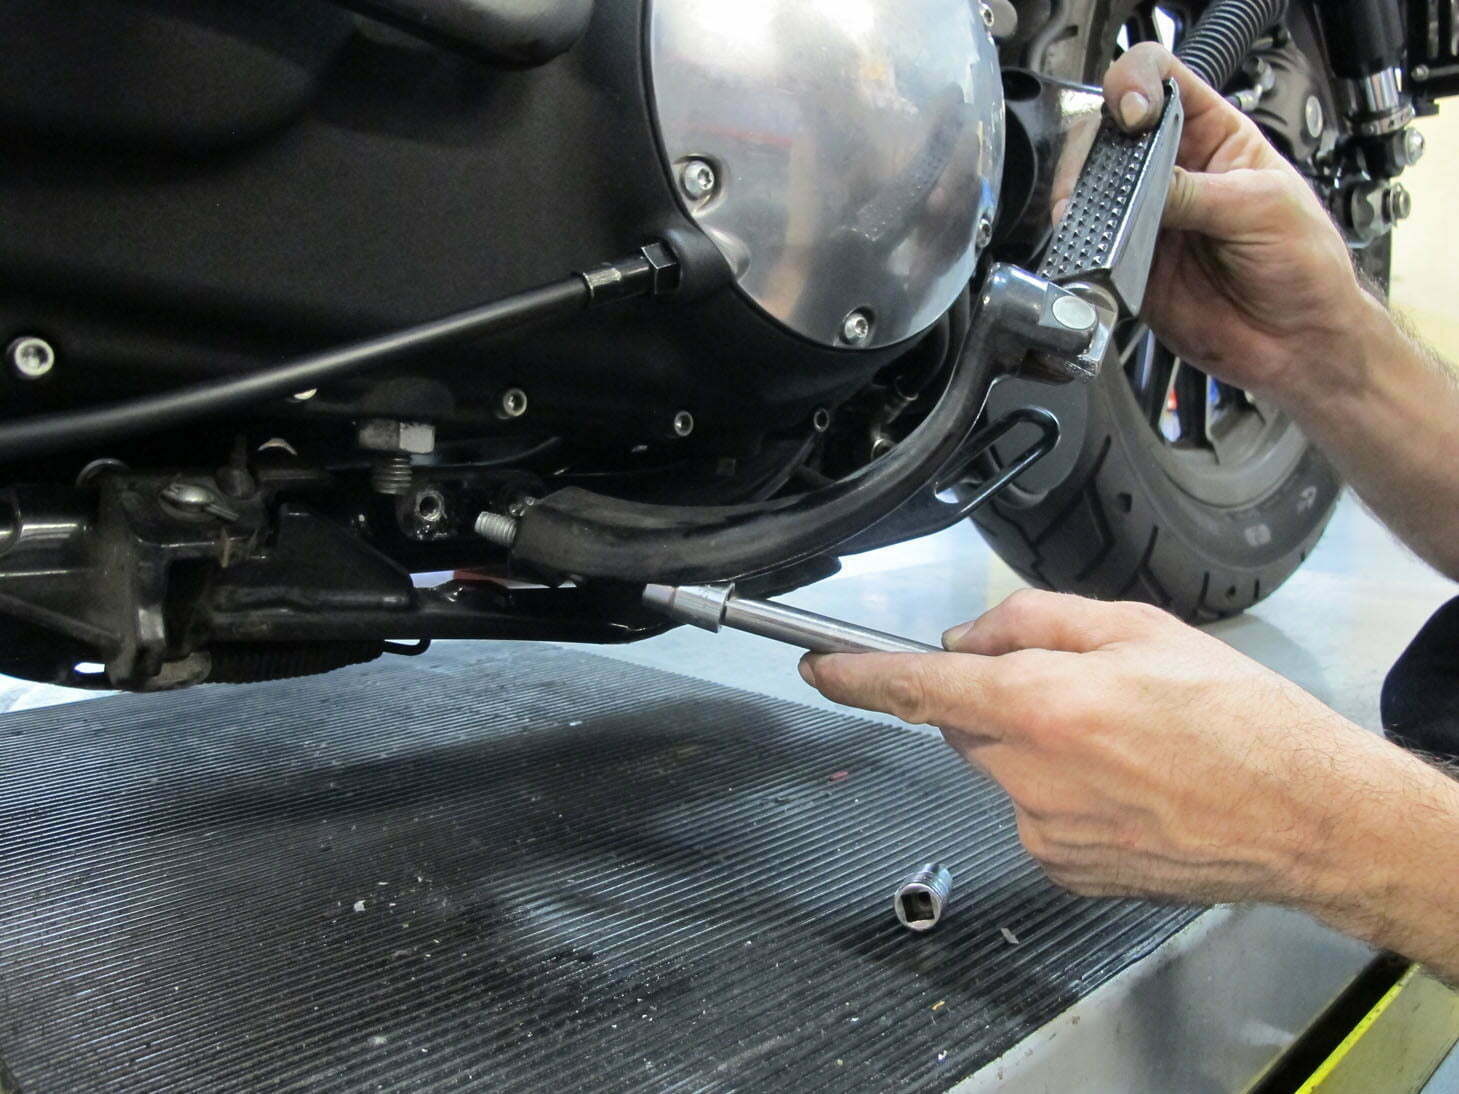
Reinstall the mid-control mounts.
Words: Sean Delshadi | Photos: Robert Martin

Reapply tension to the clutch line.
Words: Sean Delshadi | Photos: Robert Martin
Adjust controls before you lock down.
Words: Sean Delshadi | Photos: Robert Martin
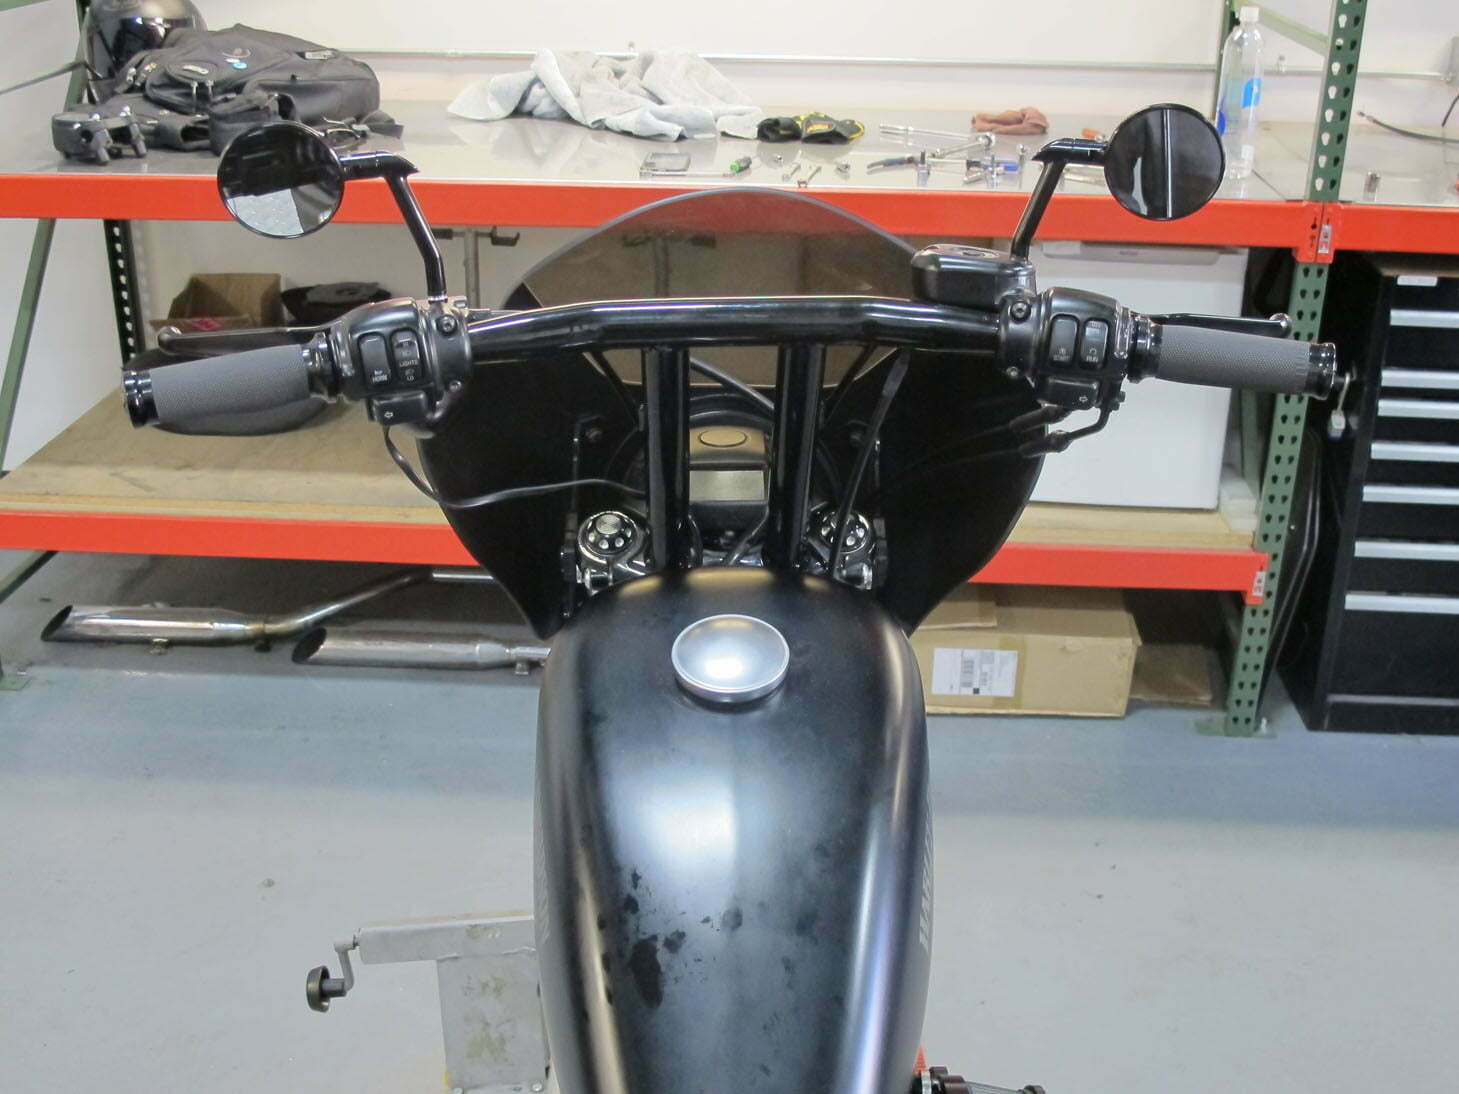
Installed and ready to ride!
Words: Sean Delshadi | Photos: Robert Martin
Sources:


