
Goin’ Big for More Power With H-D’s 110 Big Bore Kit, Part 2
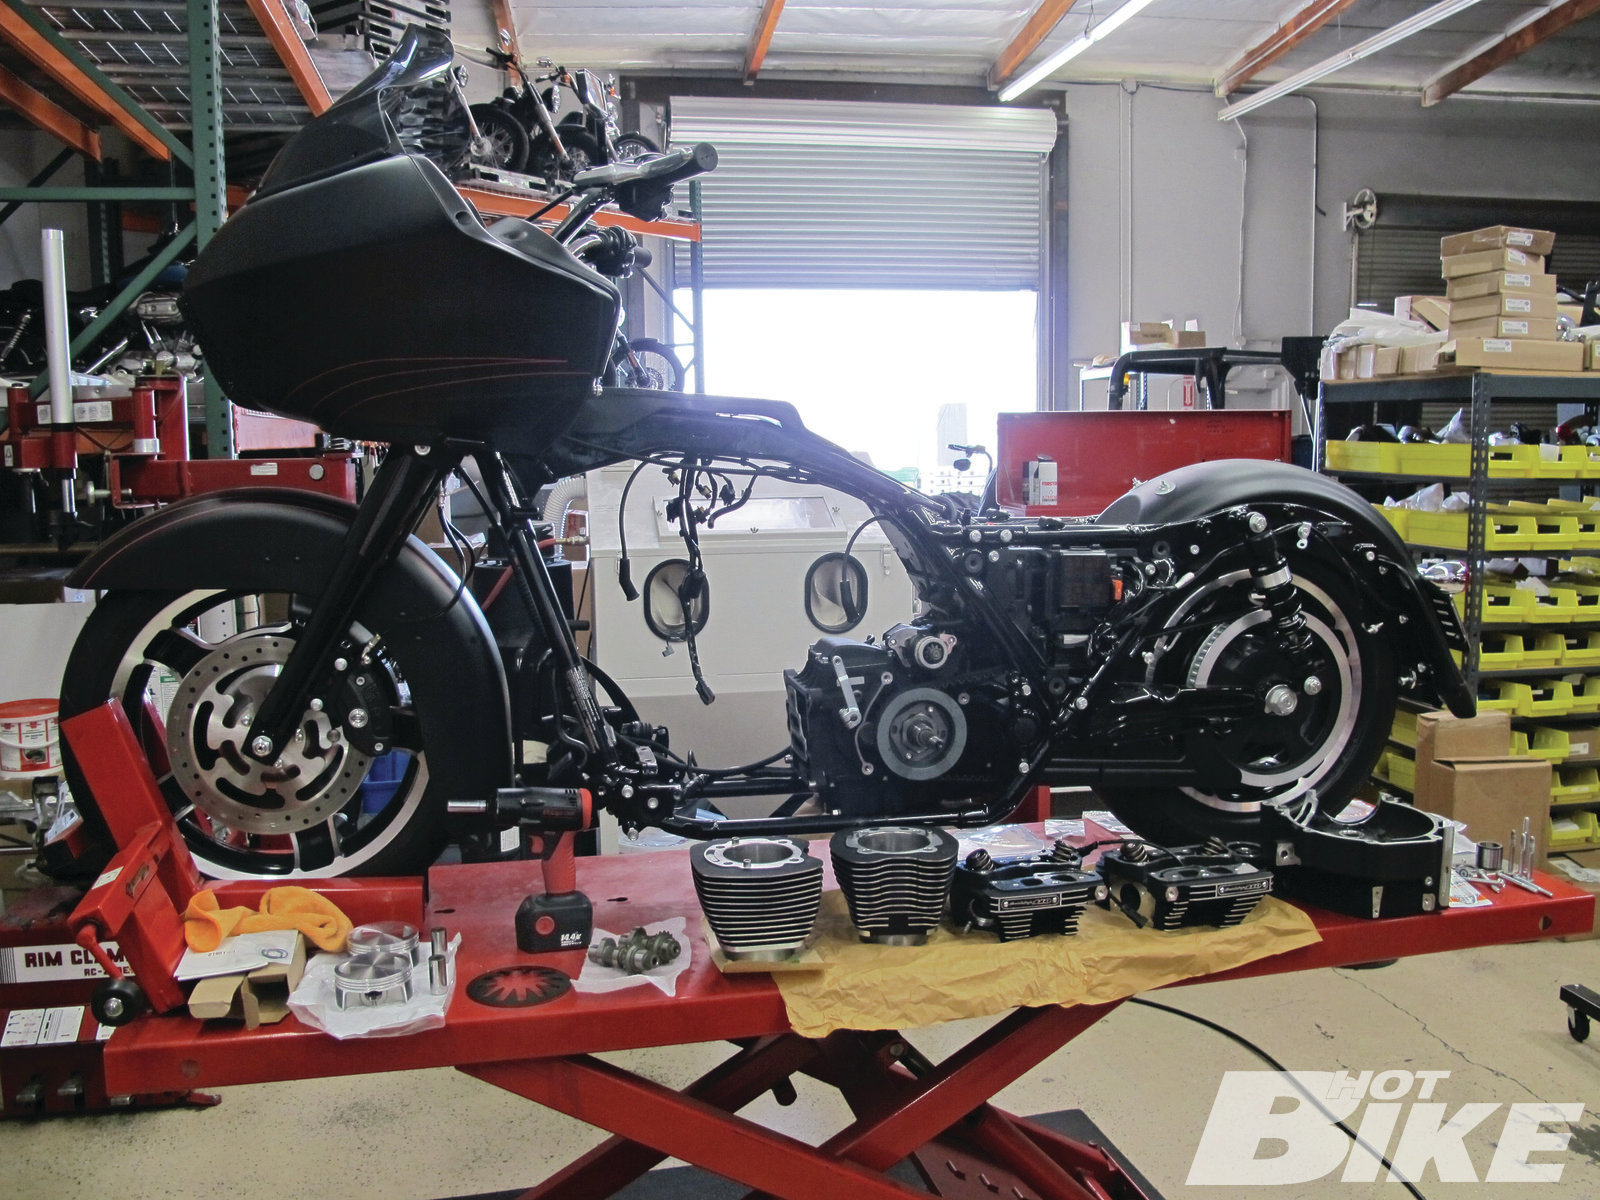
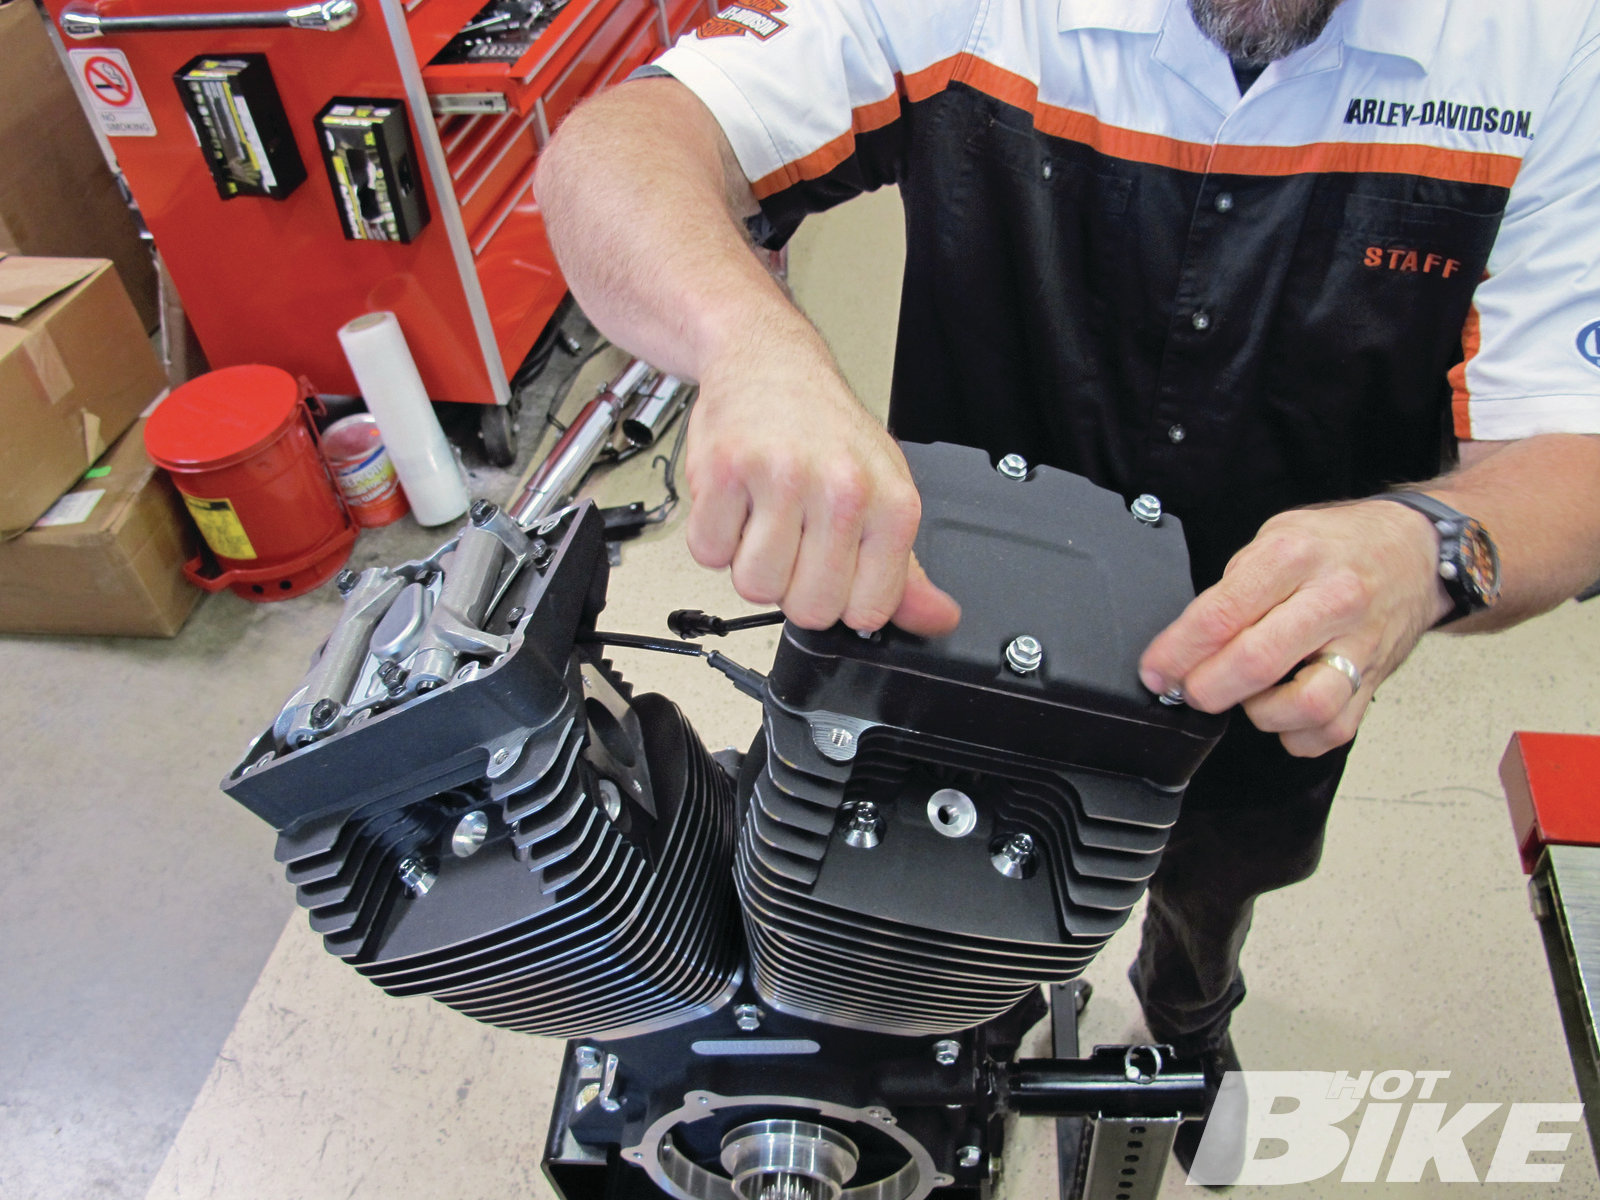
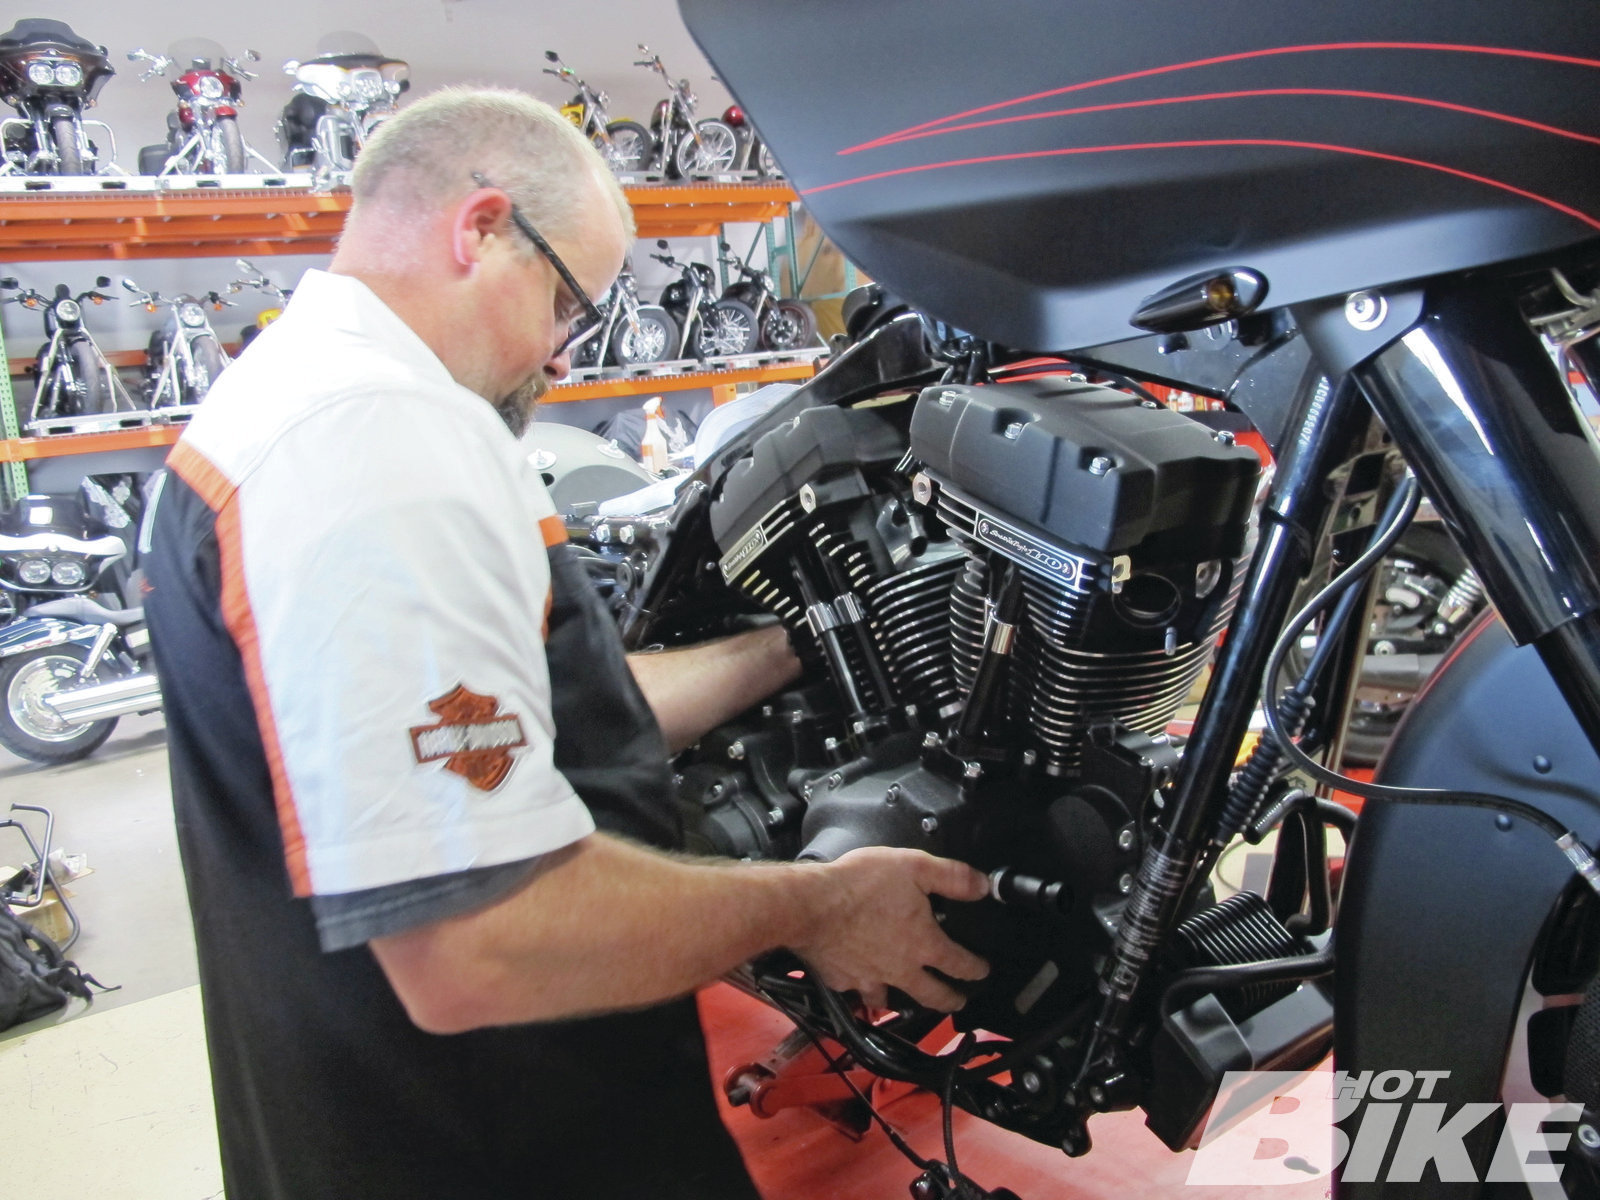
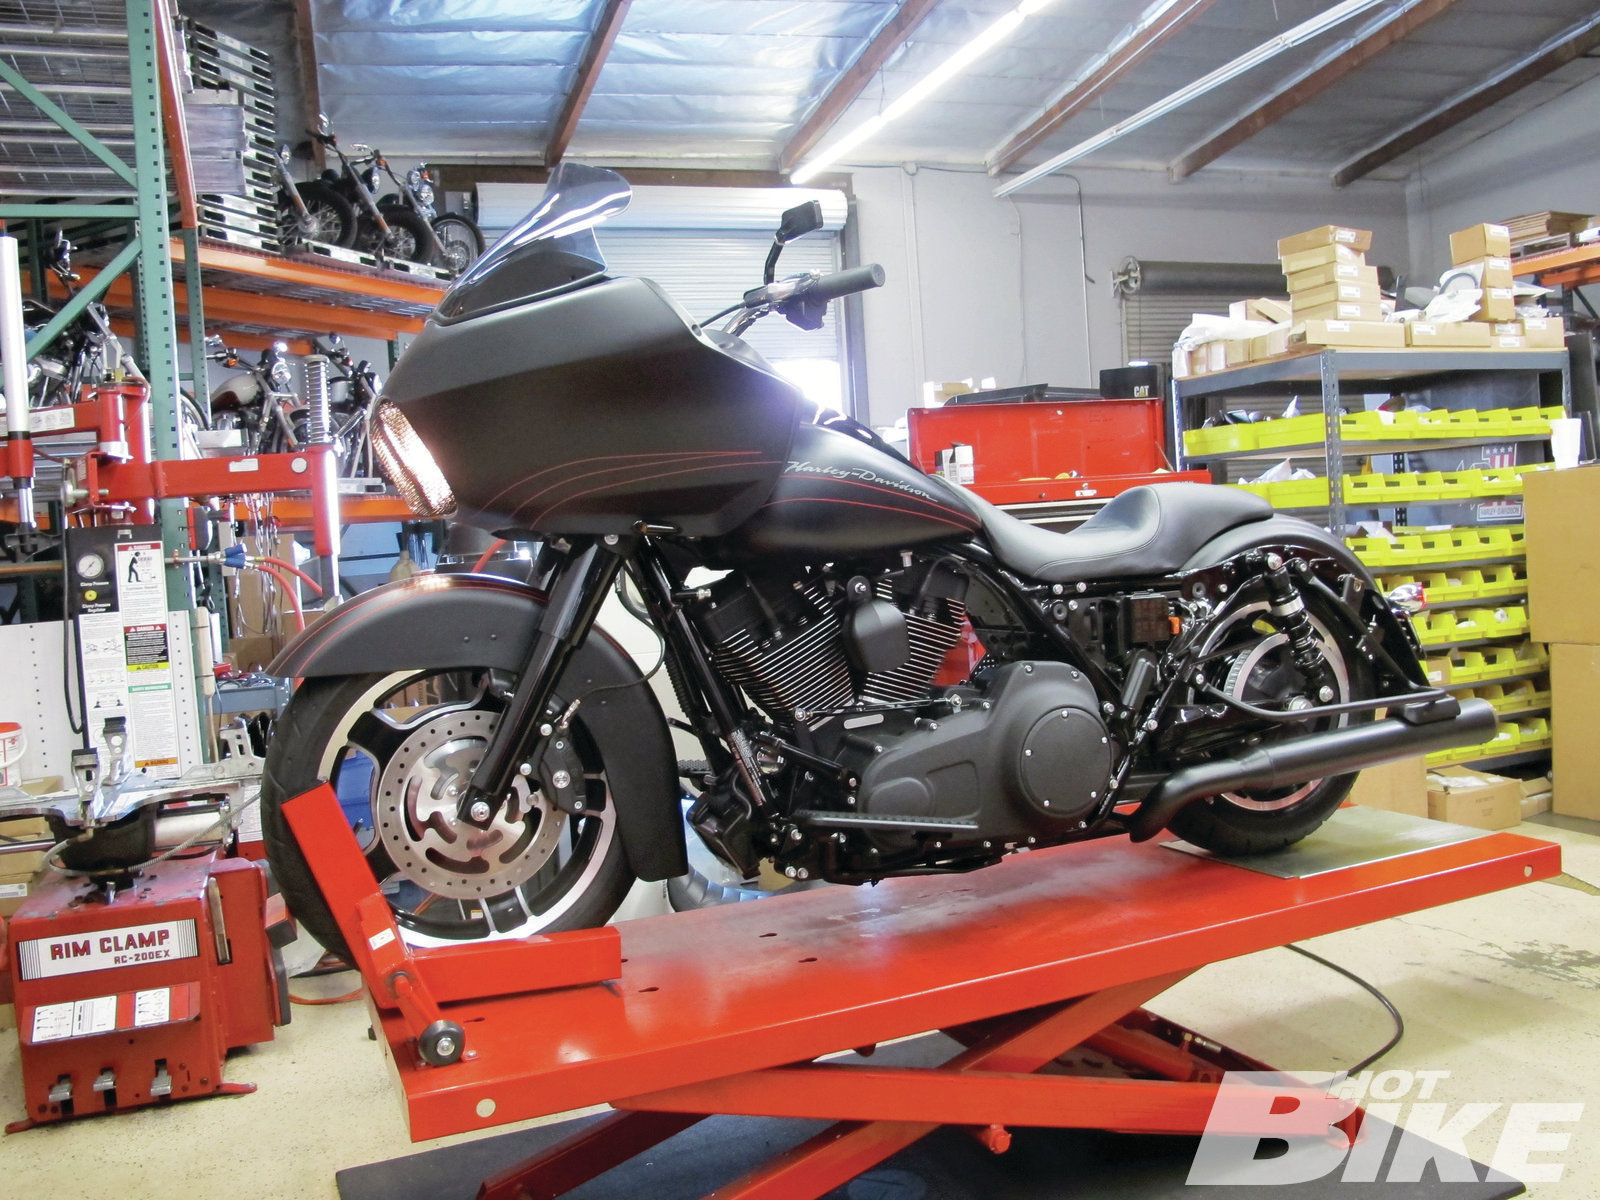
1 Here’s the bike with motor ready to be assembled and reinstalled.
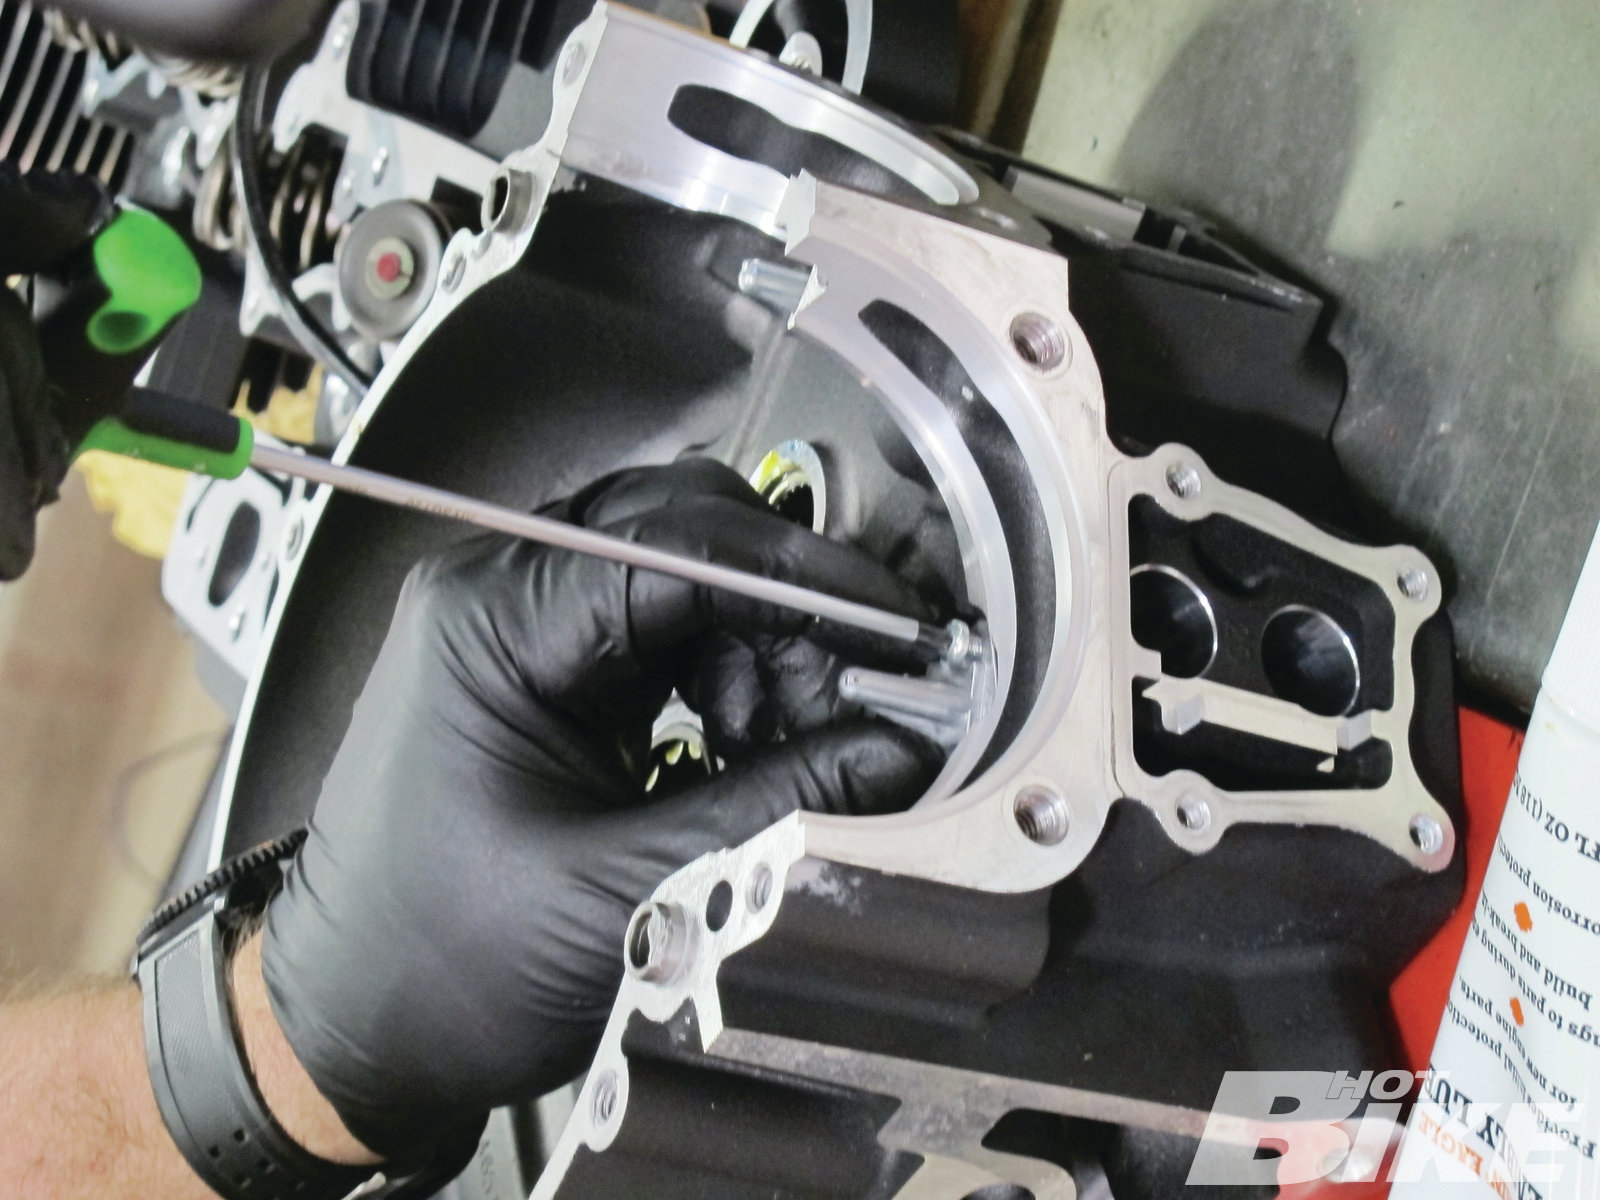
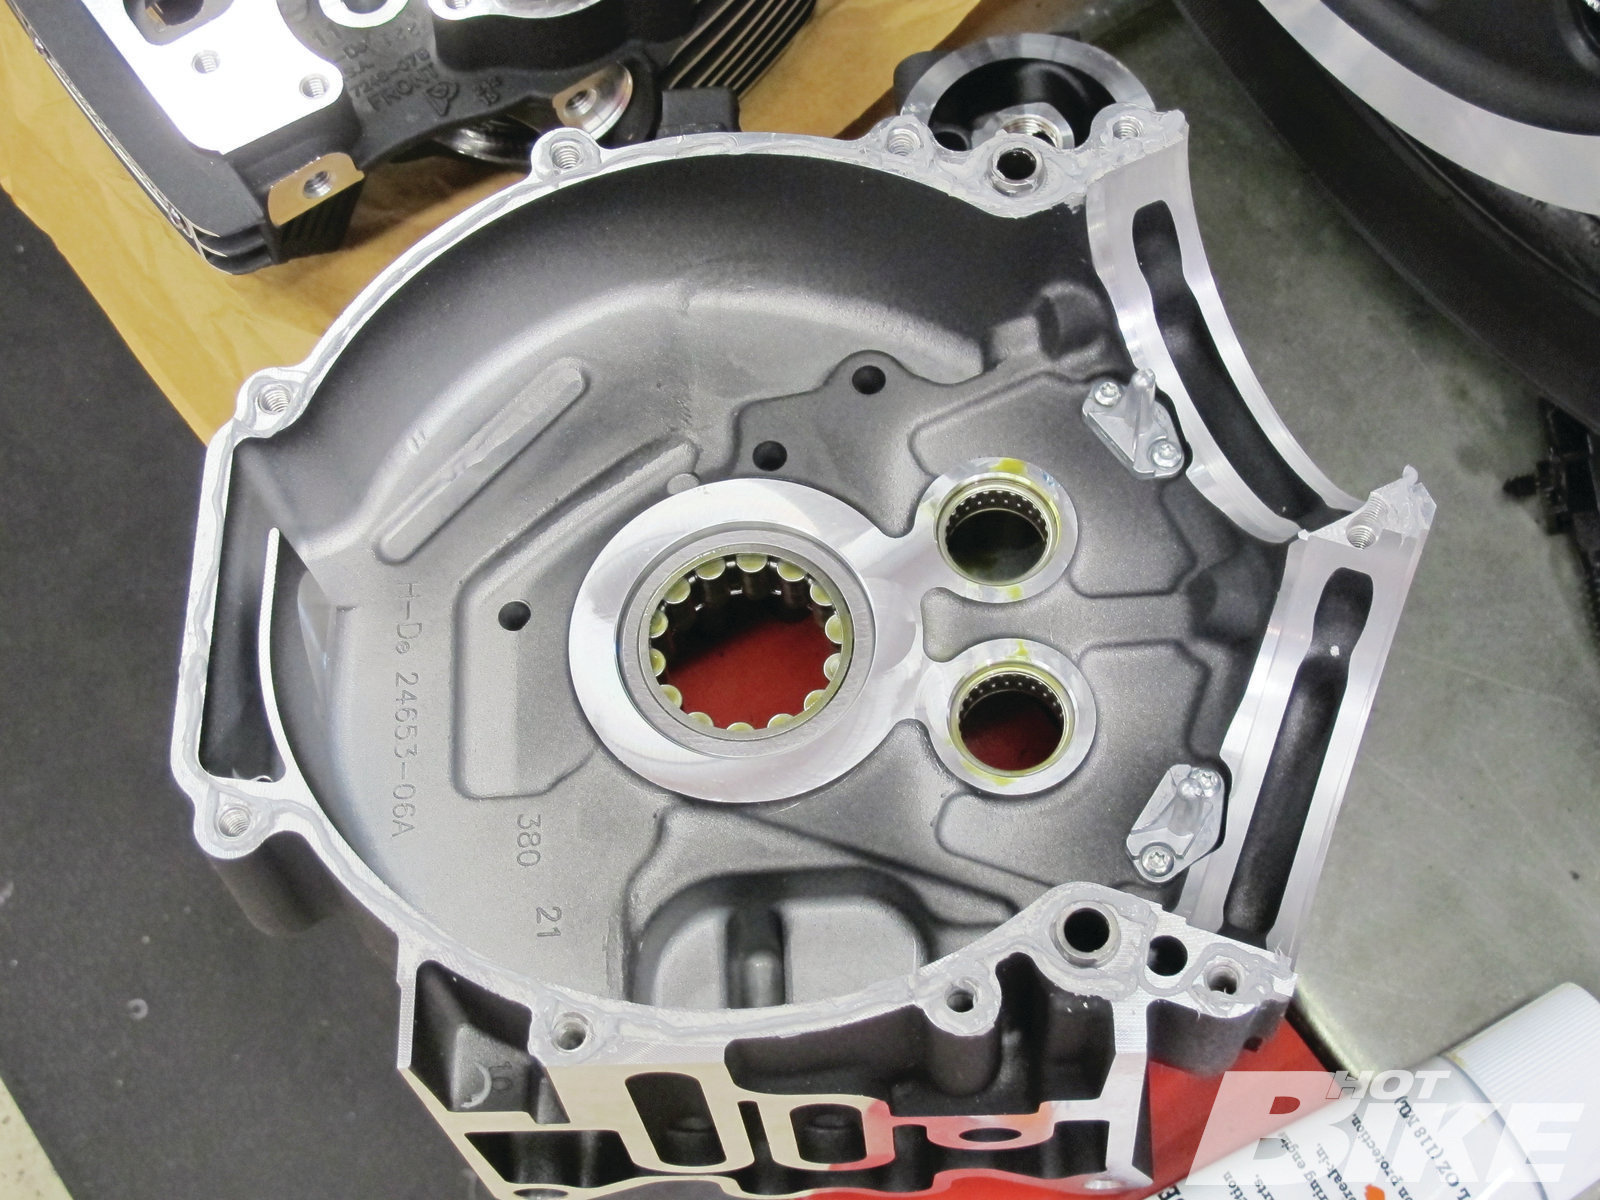
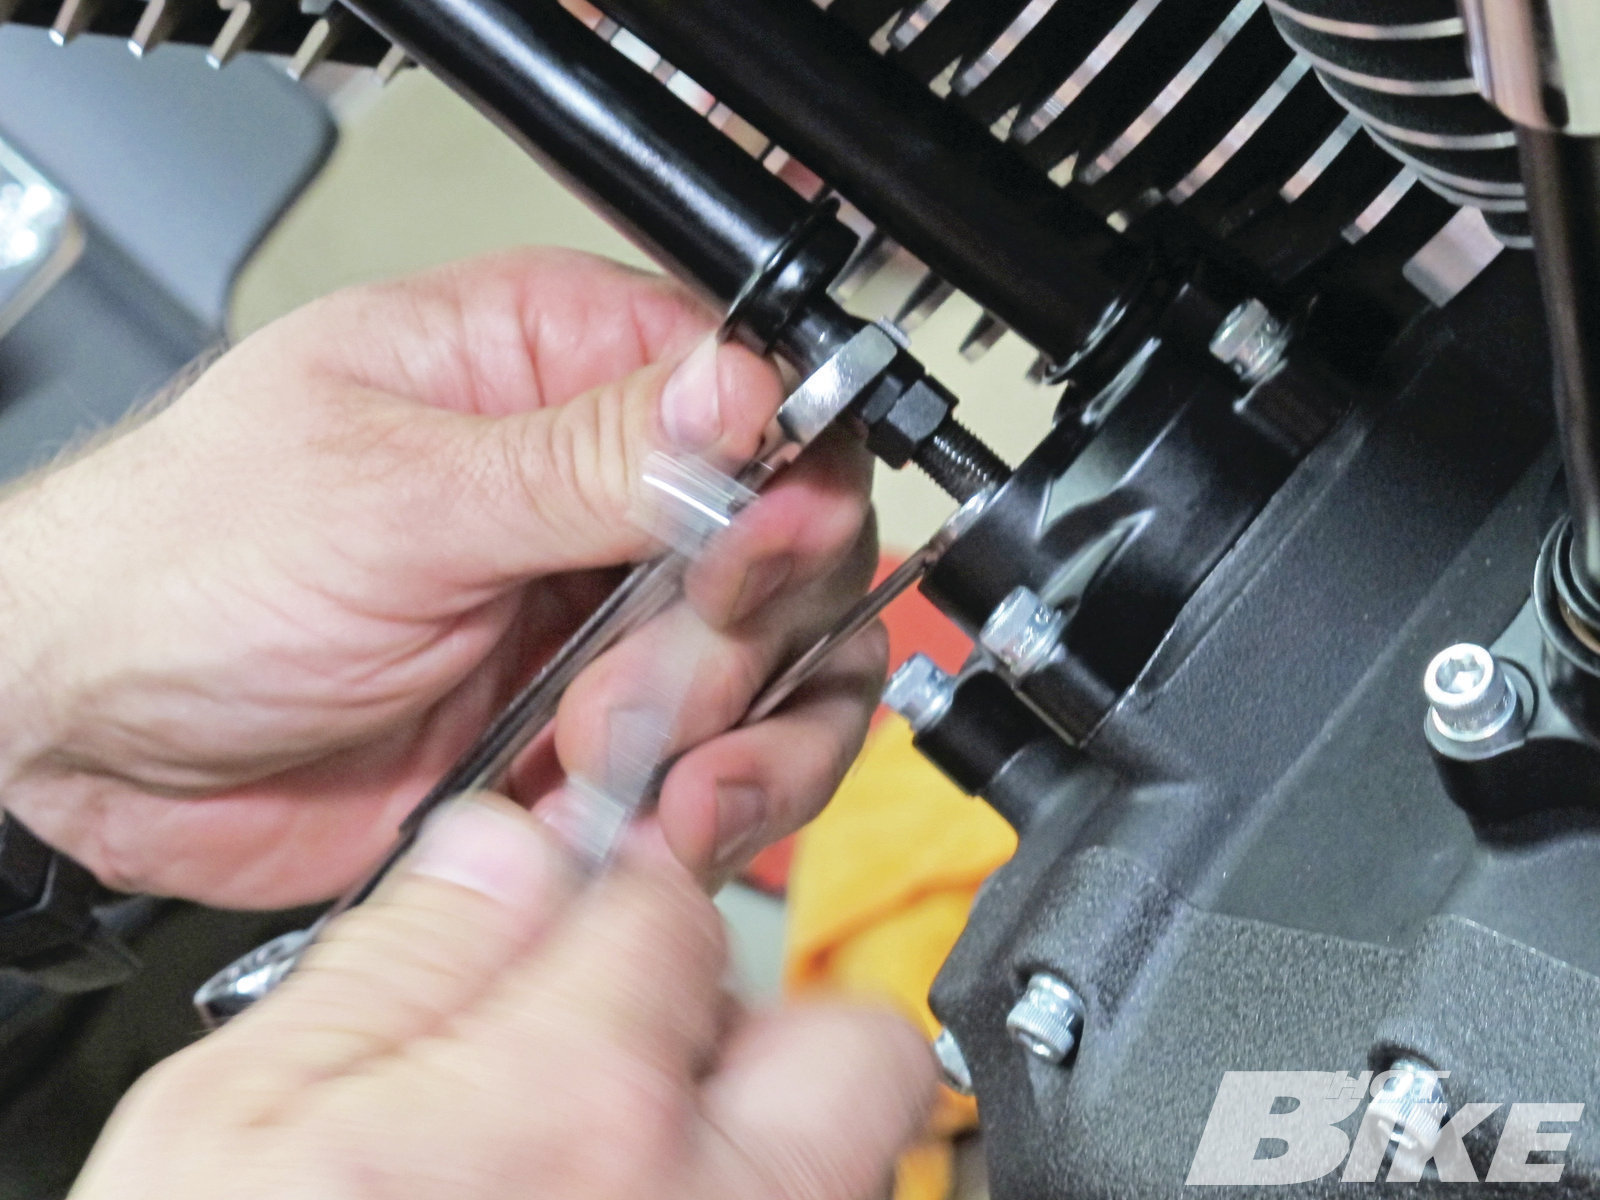
3 Next the piston cooling jets are screwed into place on the clutch side of the case.
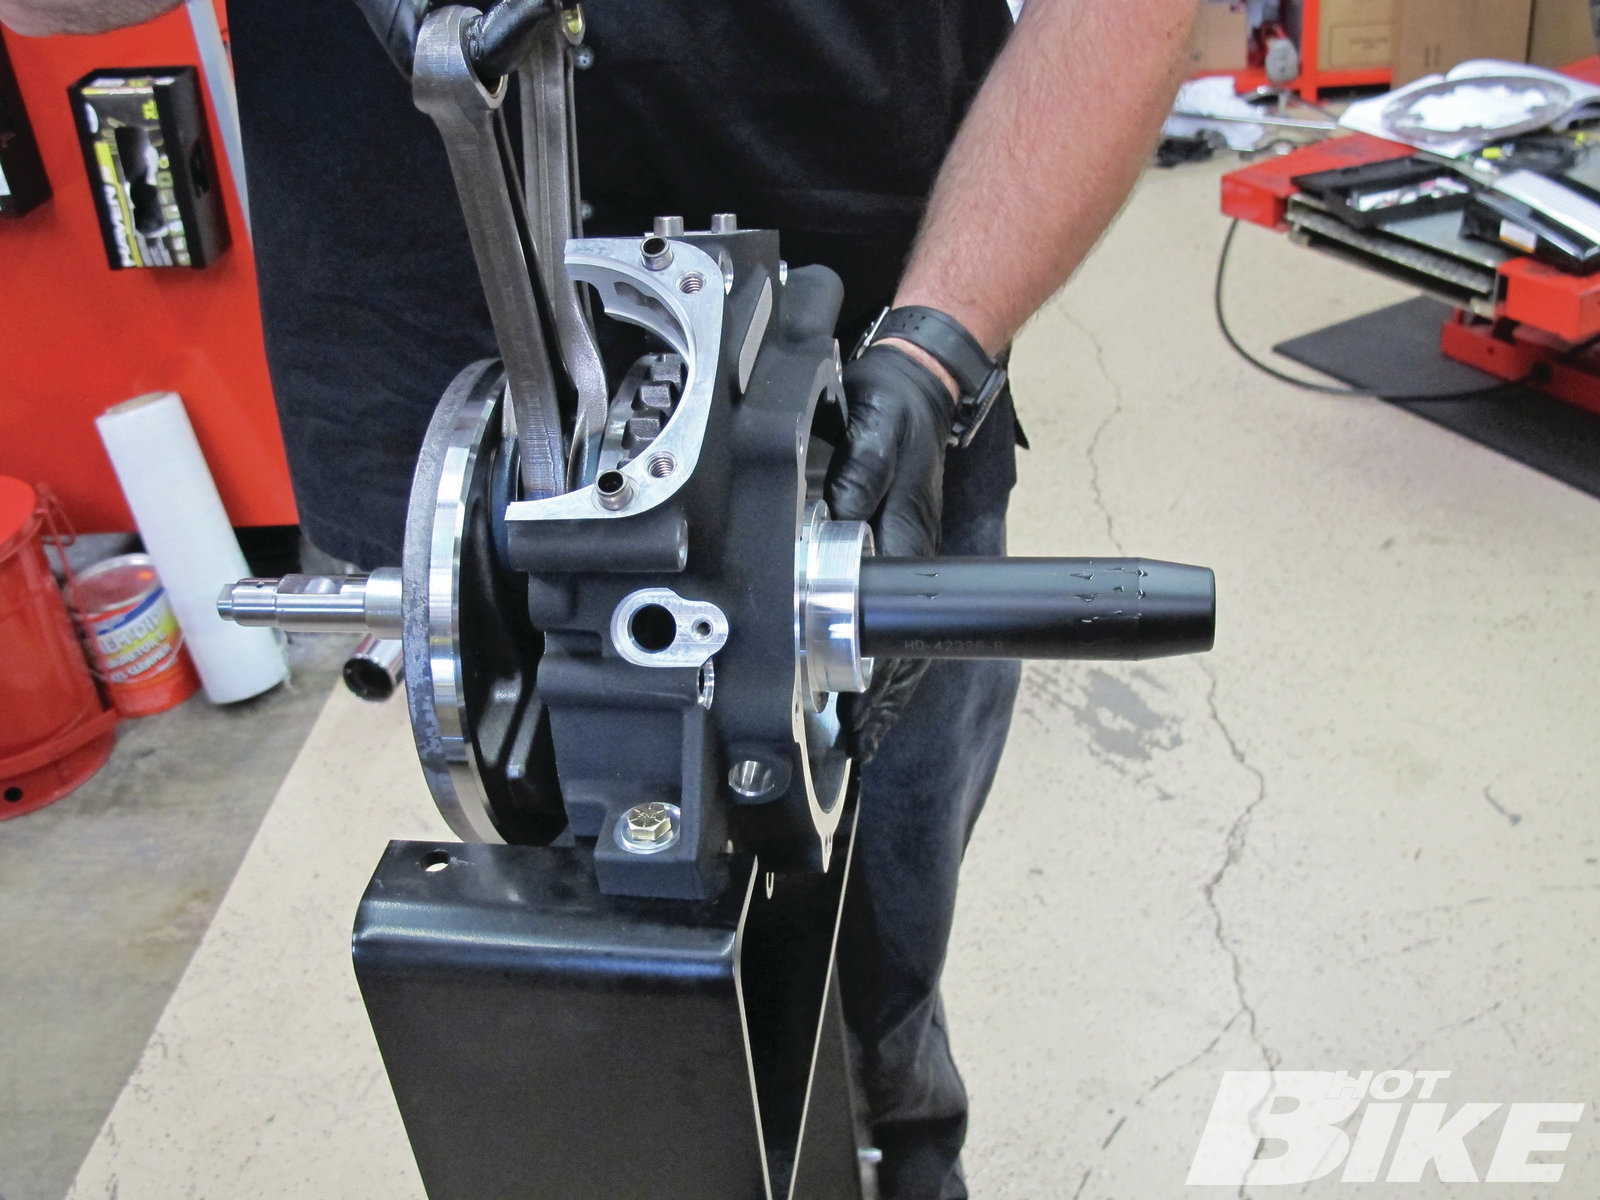
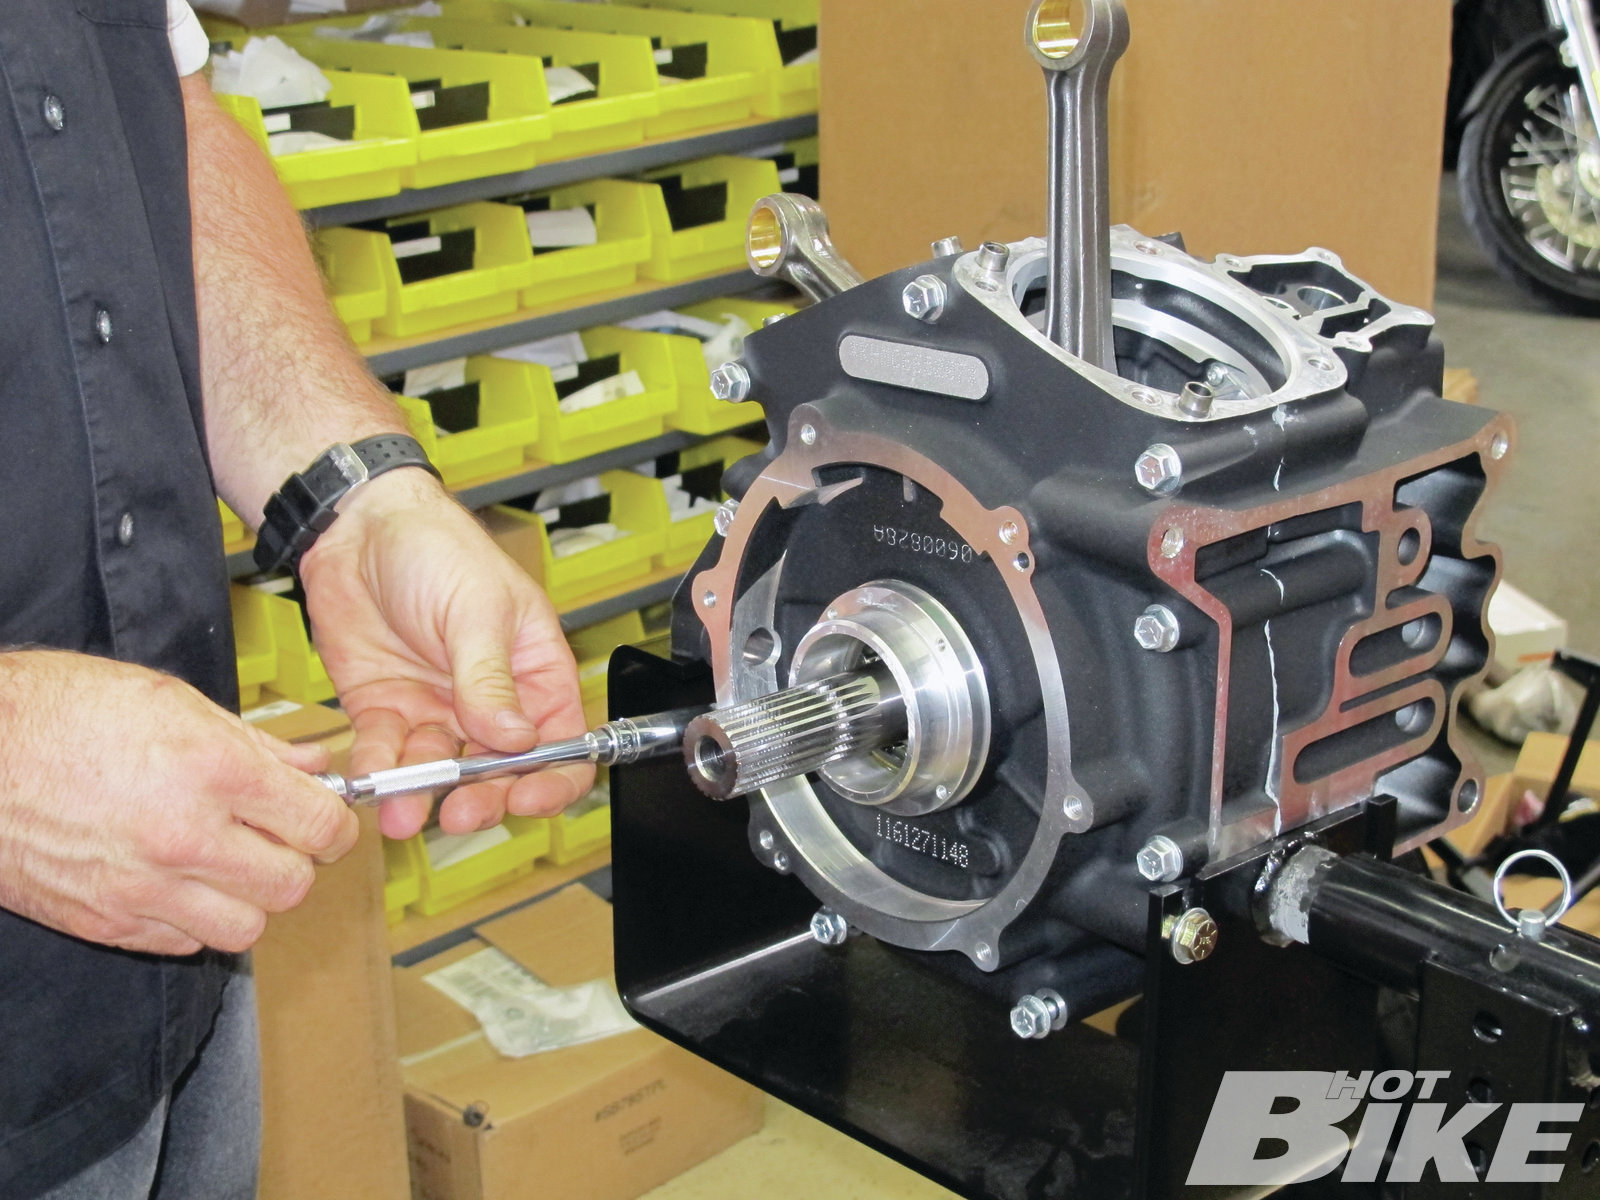
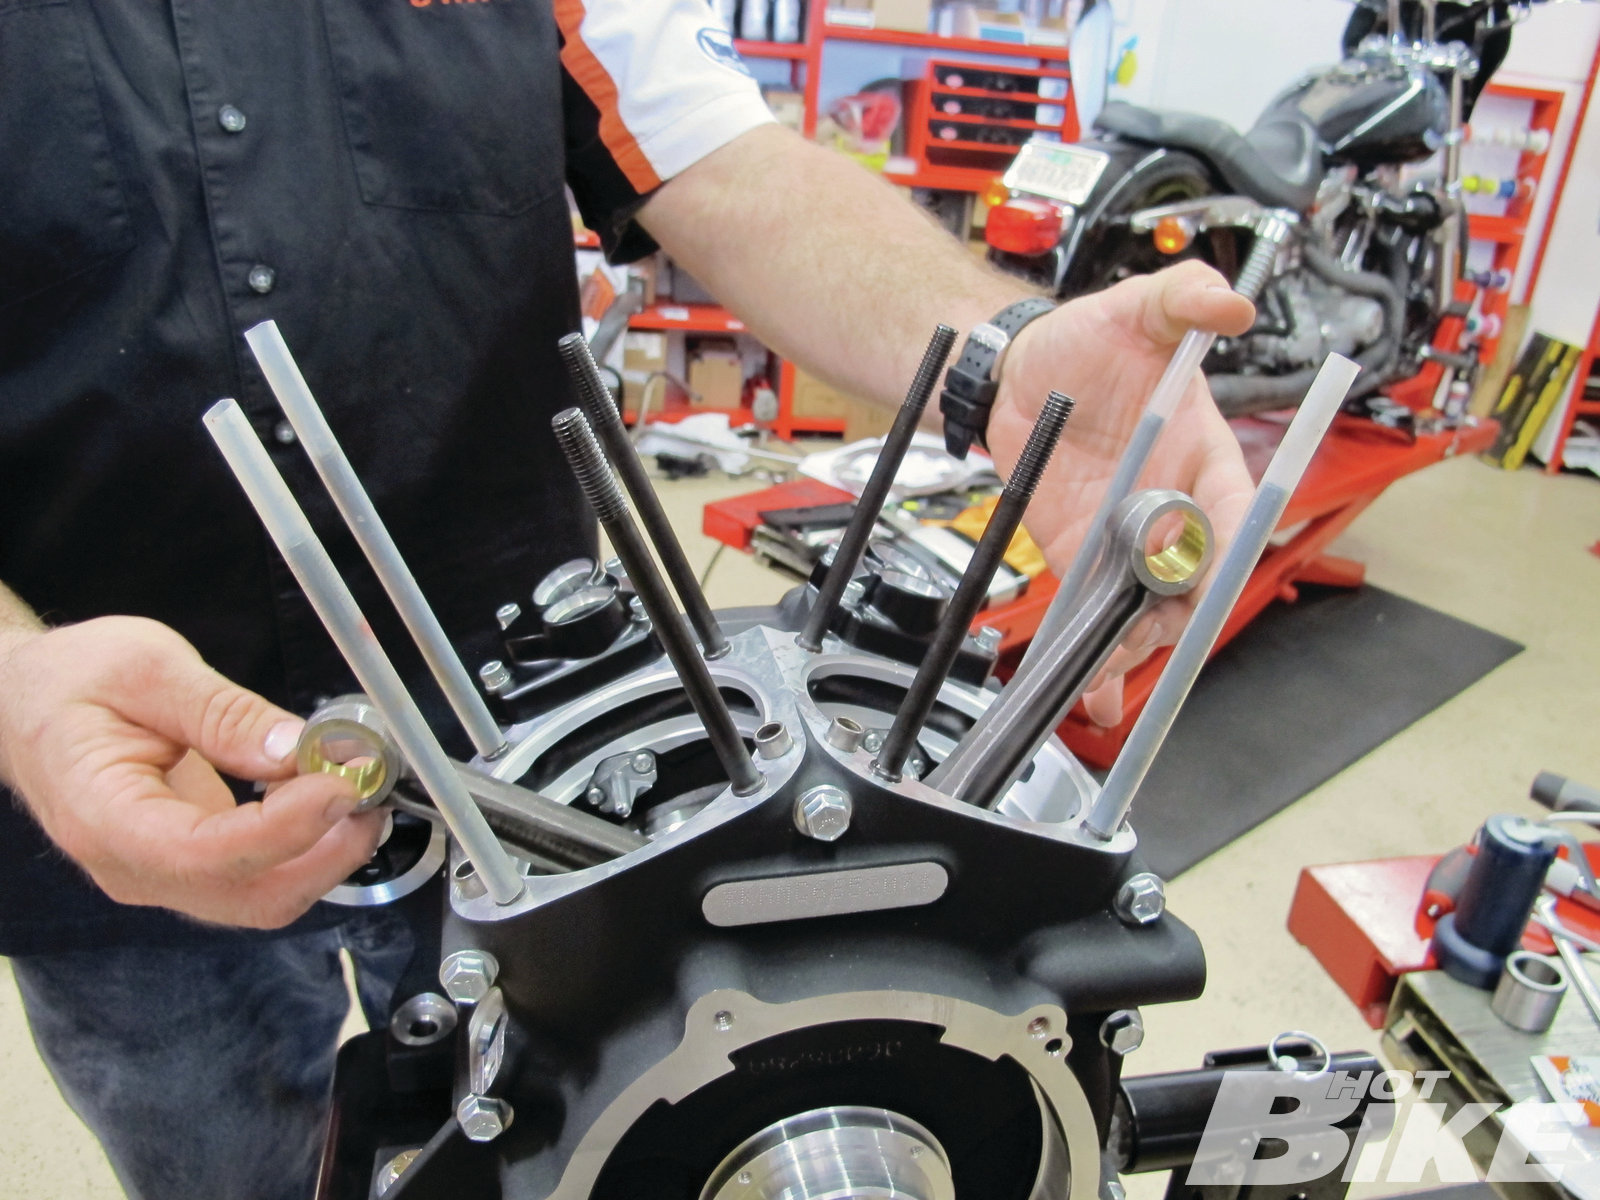
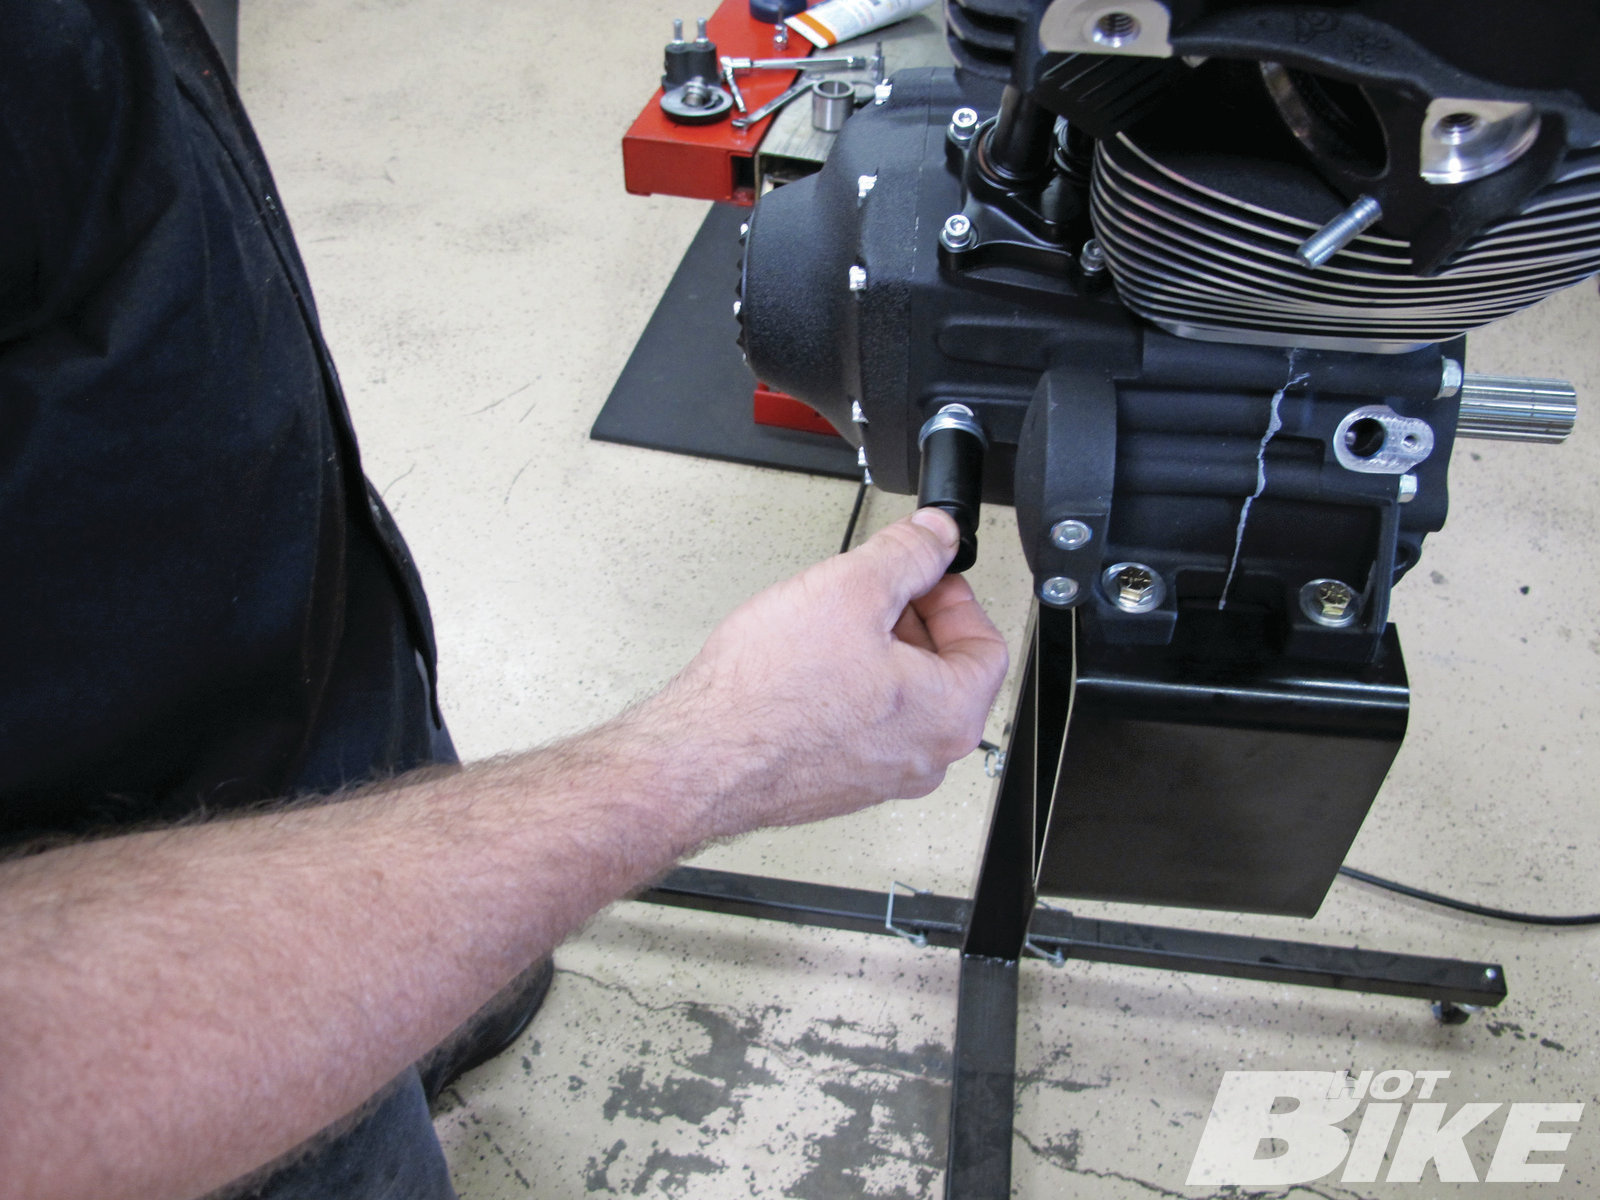
4 Using a plastic guide for protection, the crankshaft and rods are mated with the case.
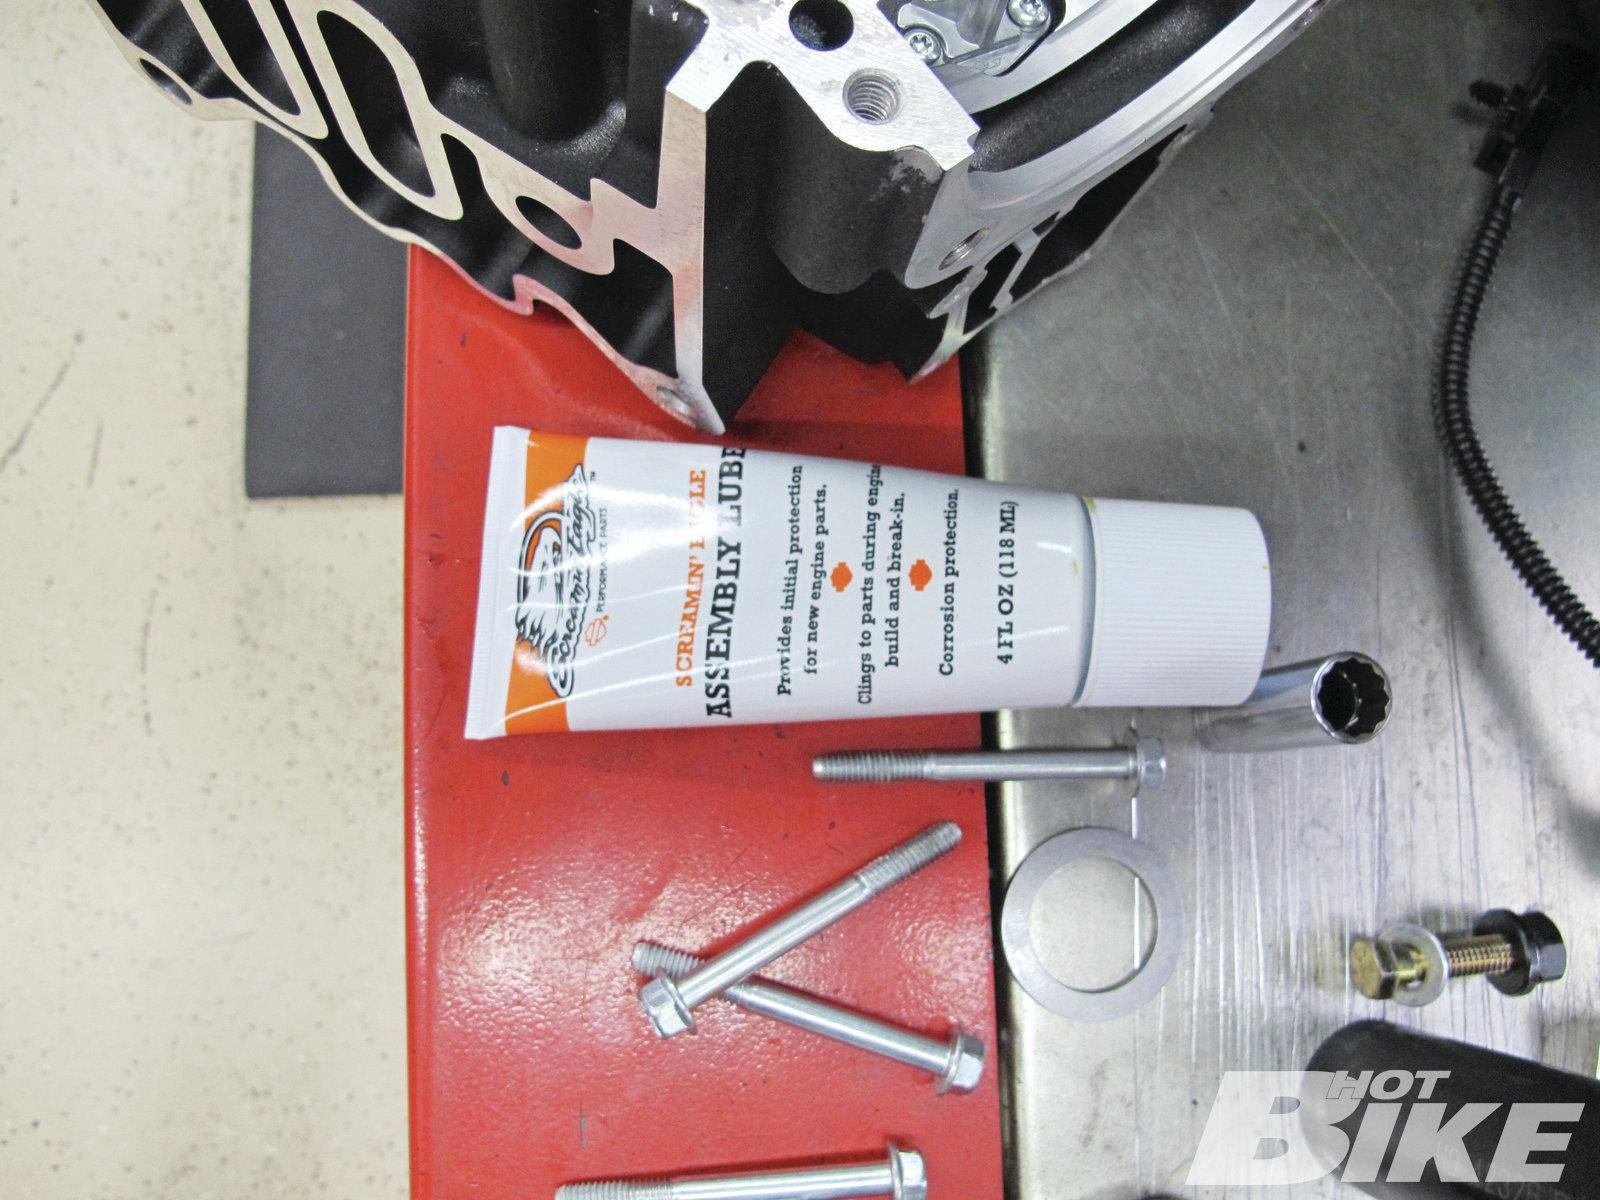
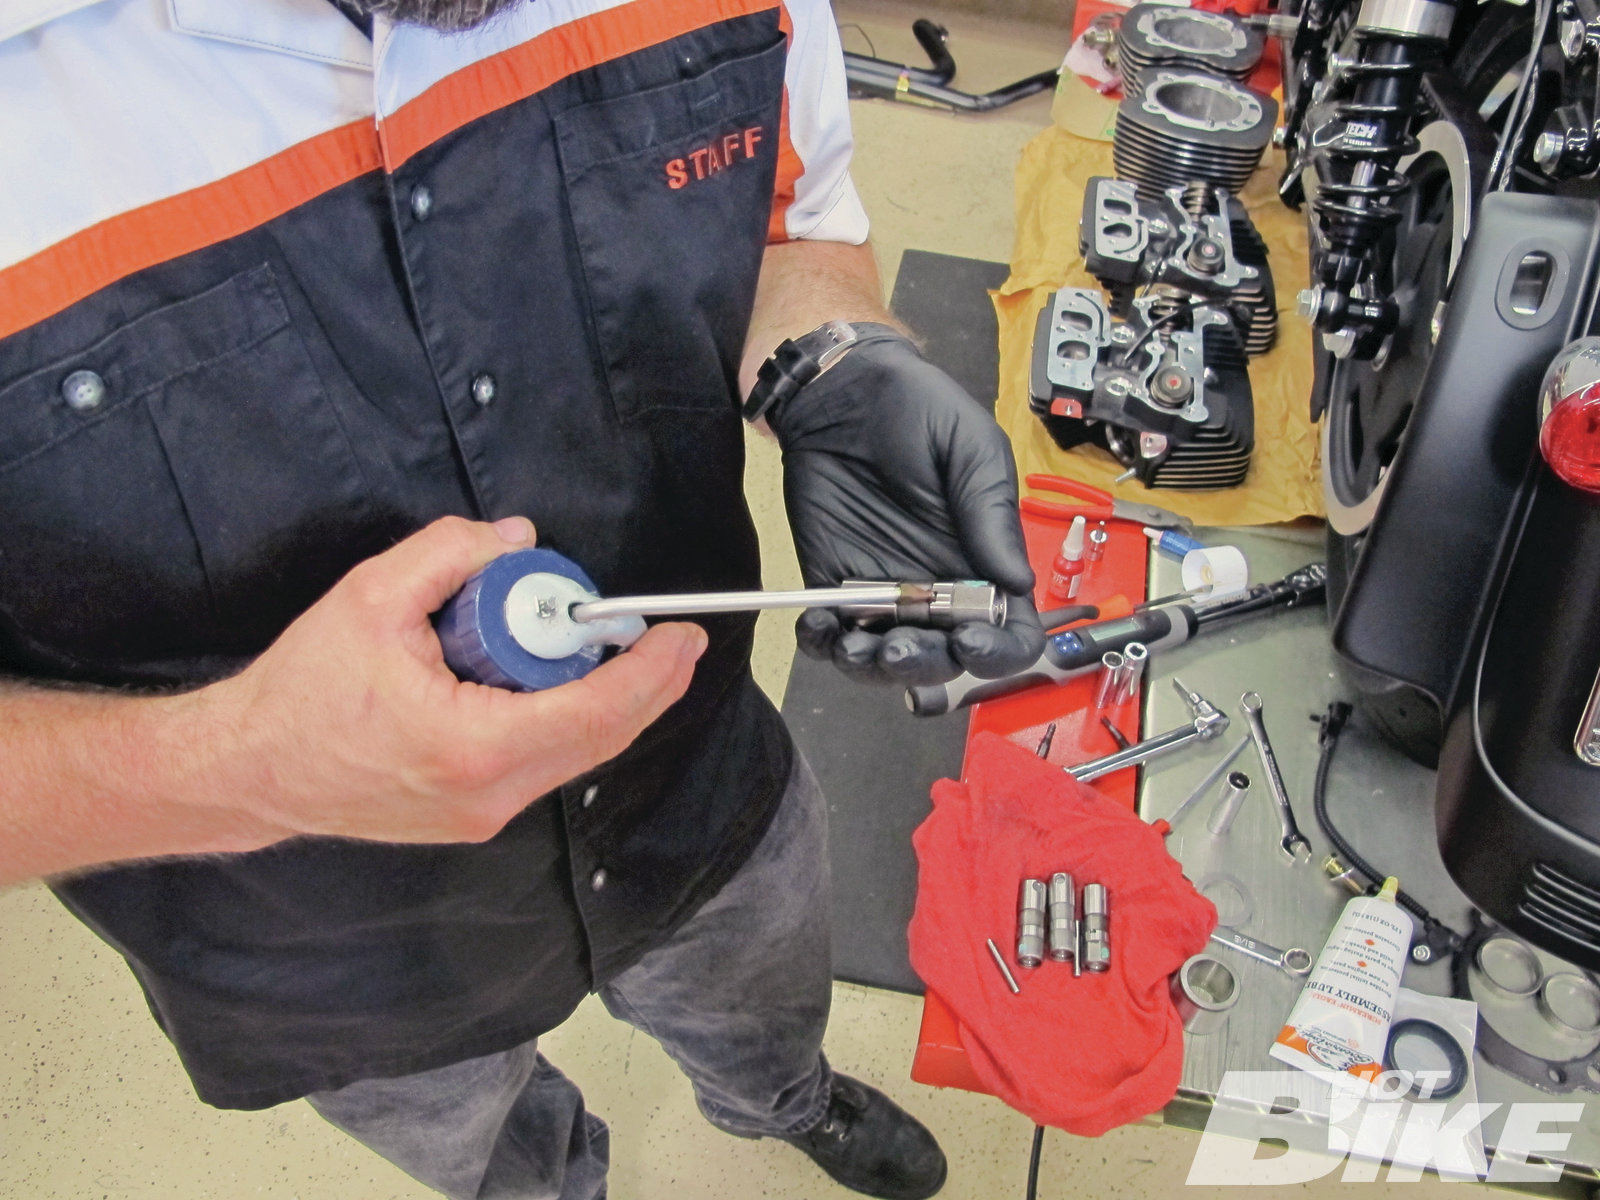
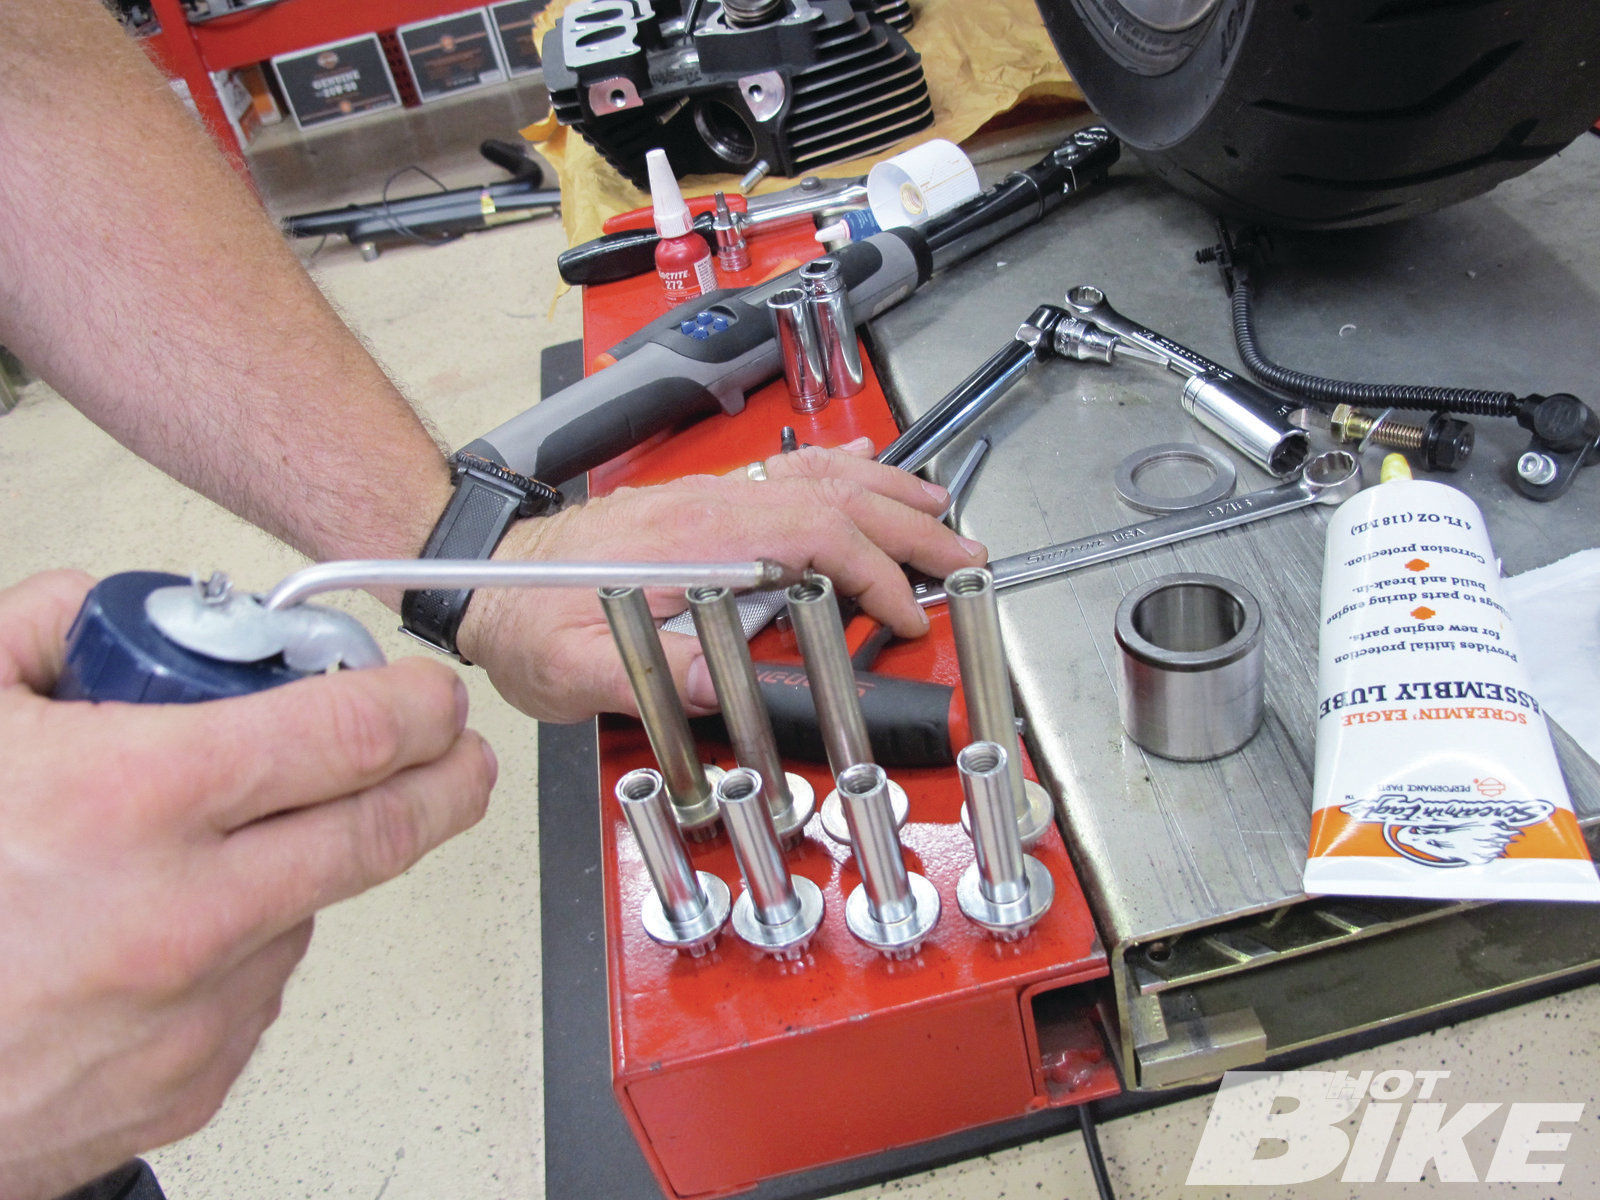
5 Assembly lube. Learn where it goes and use it liberally. It’s the only thing between metal on metal for that first fire up.
6 Run a thin, even bead of gasket along the case.
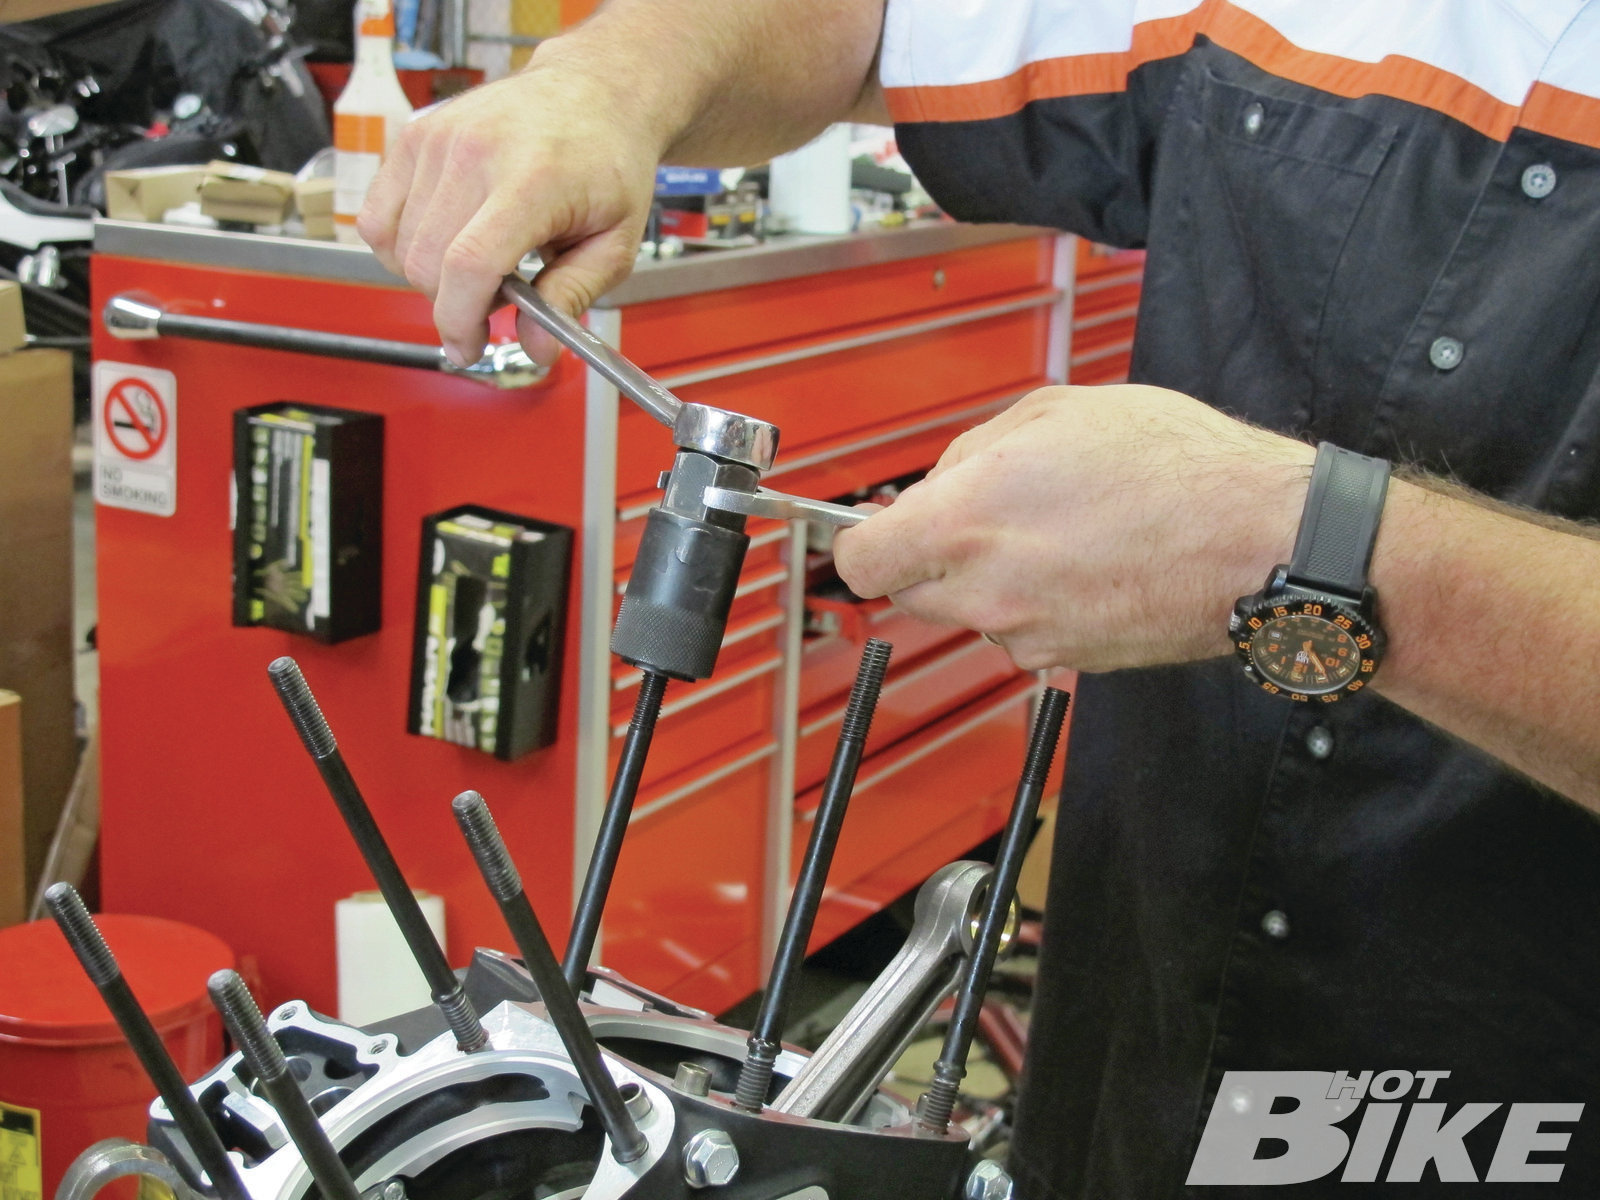
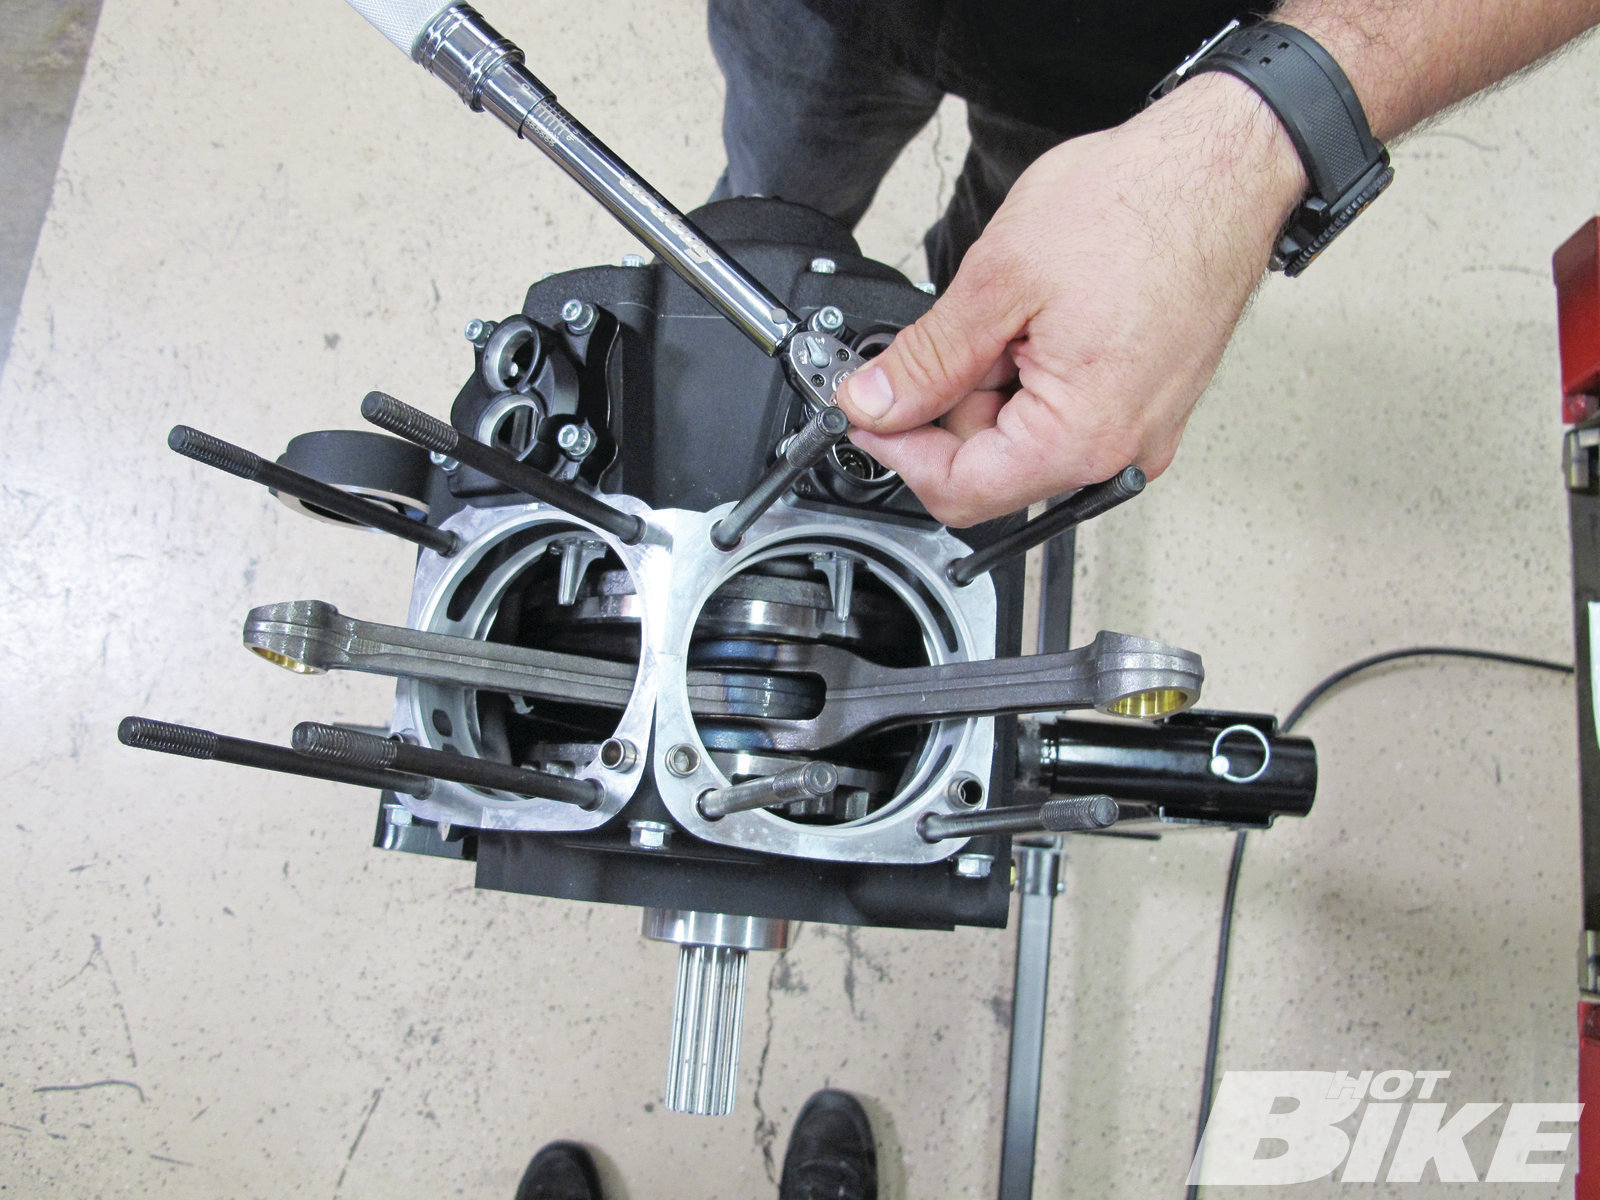
7 Mate the two sides of the cases together and torque to proper specs.

8 Proper torque specs are crucial. Even our expert, Alan, broke out the book to make sure he got it right.
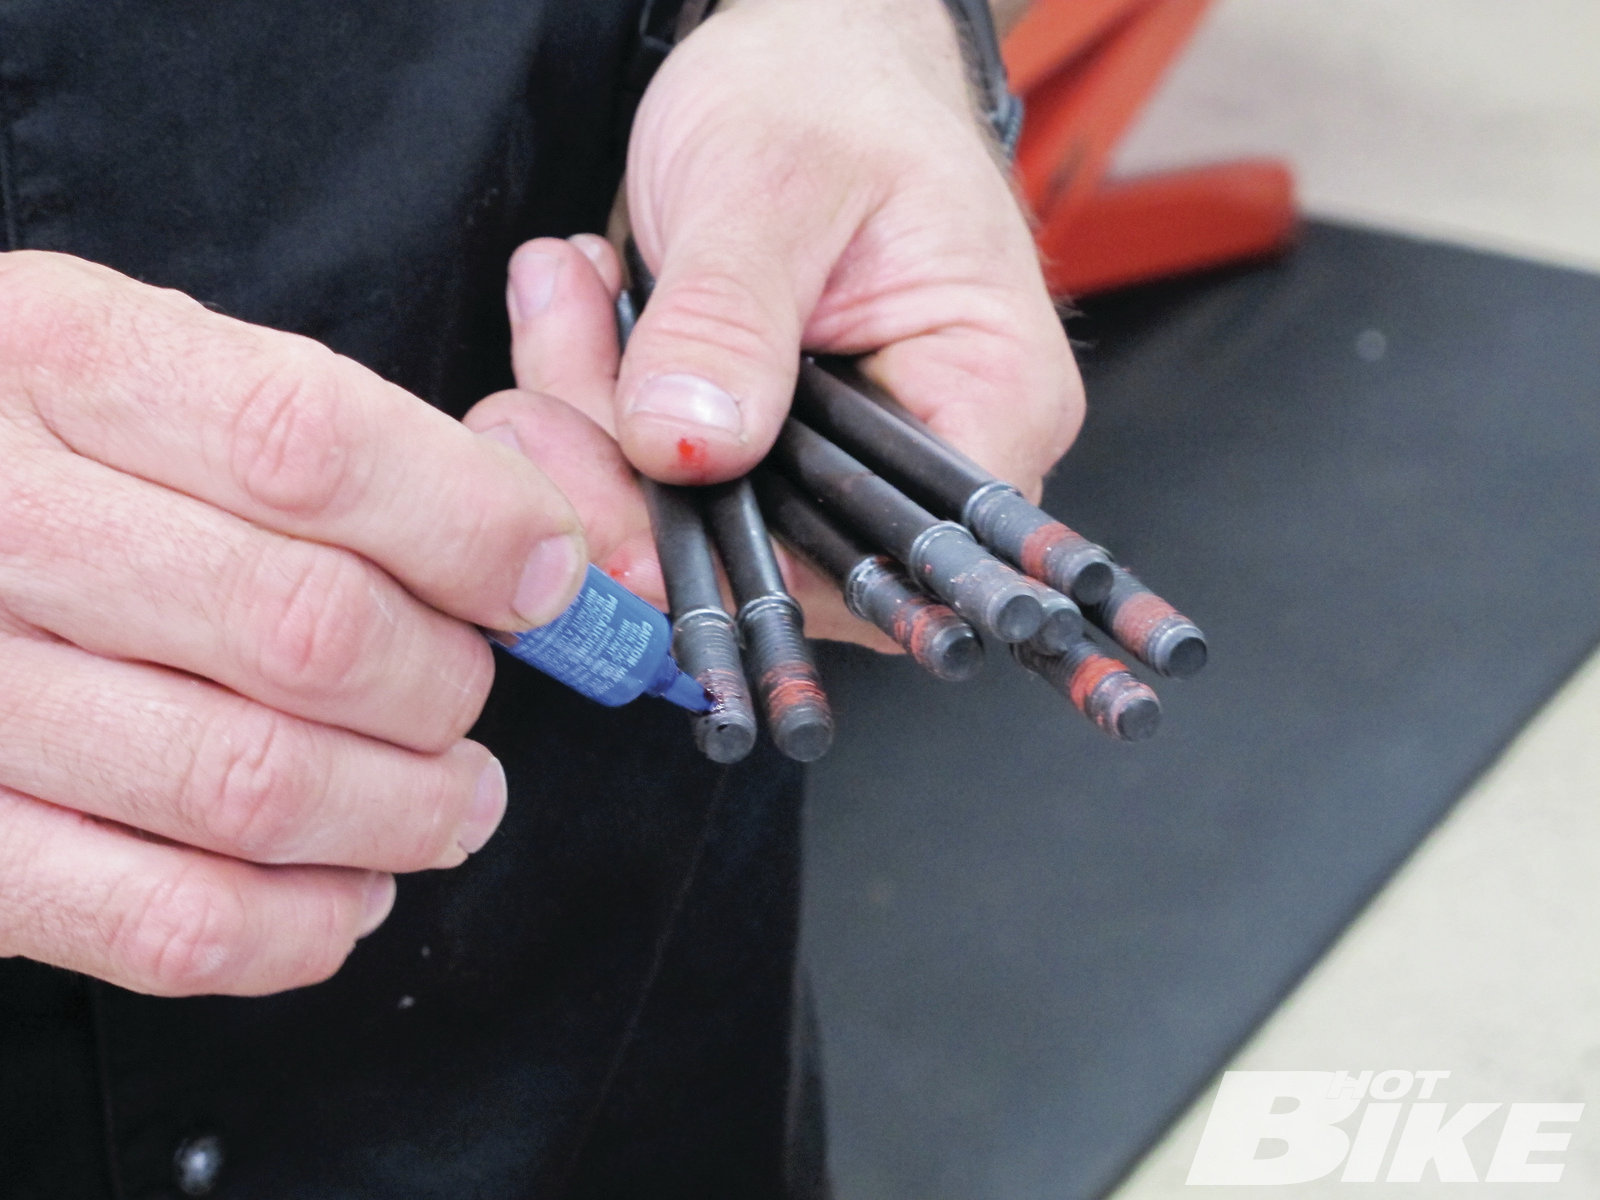
9 The right kind of thread-locking compound is also crucial. Consult your manual to ensure proper usage.
10 The head bolts are installed next.
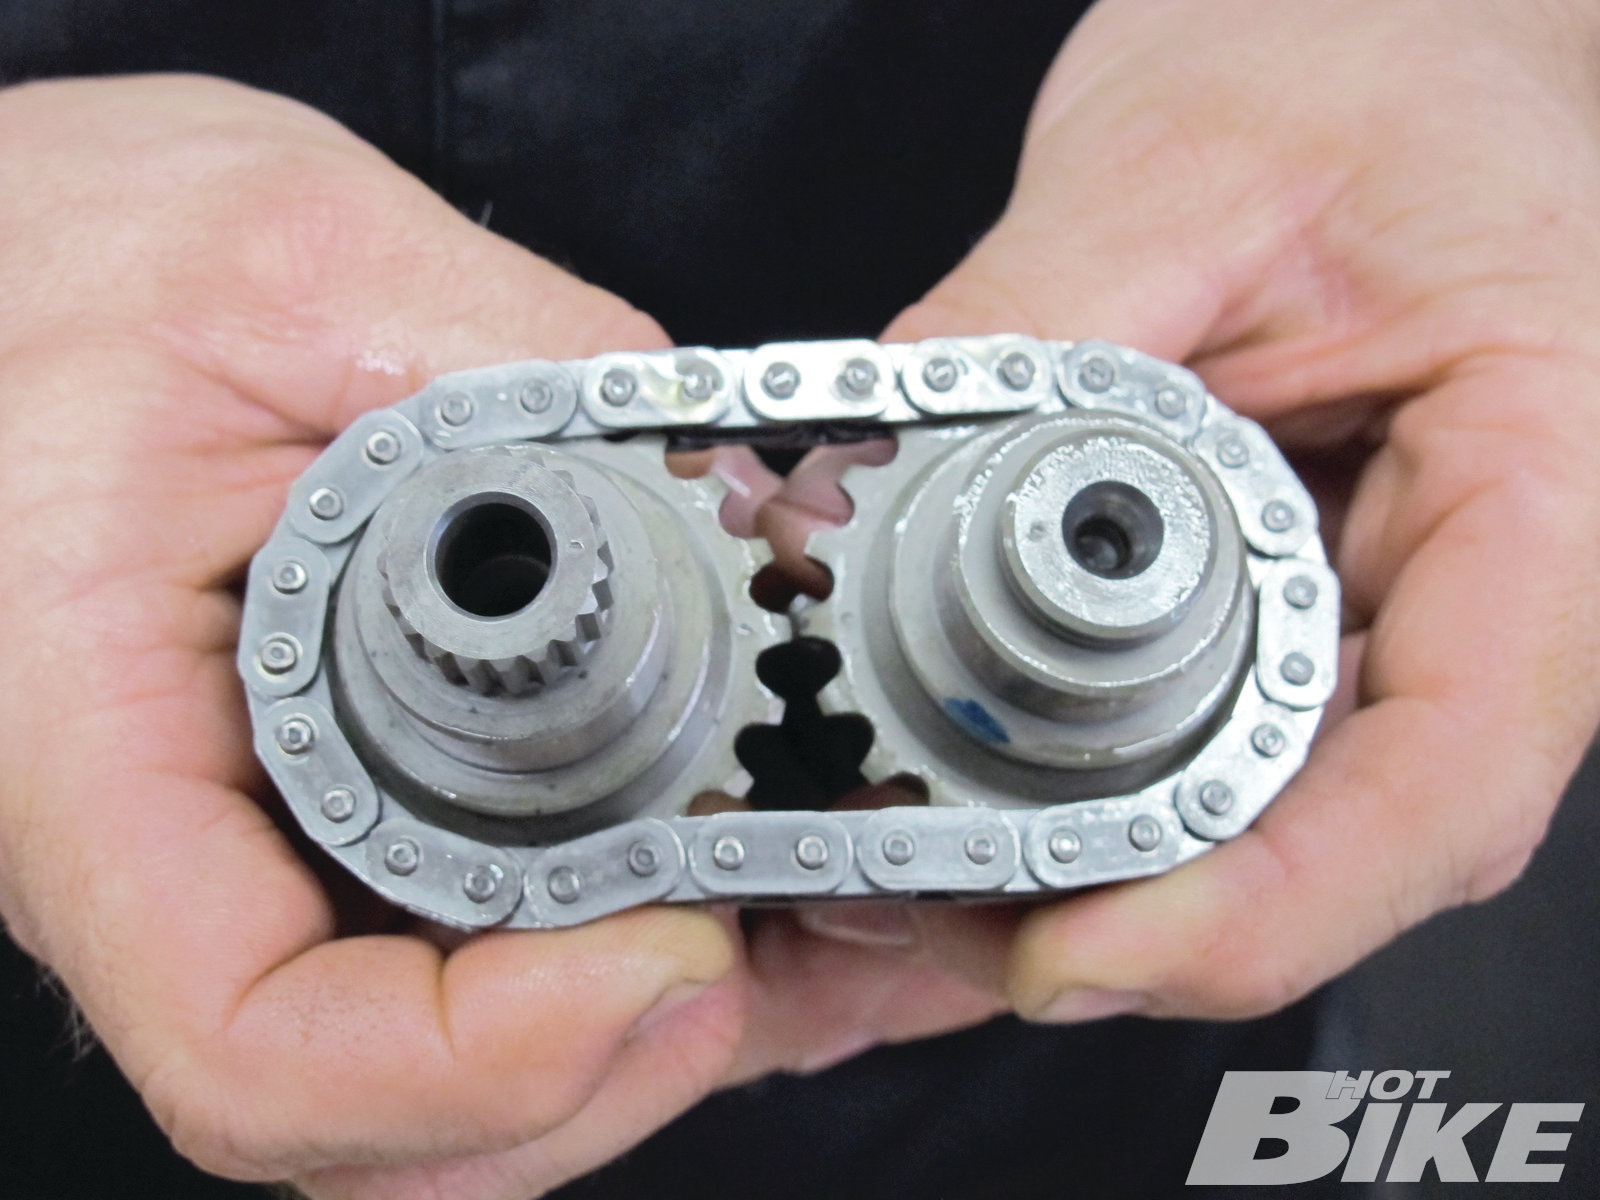
11 Look carefully and you see two small dots that are used to line up the cams.
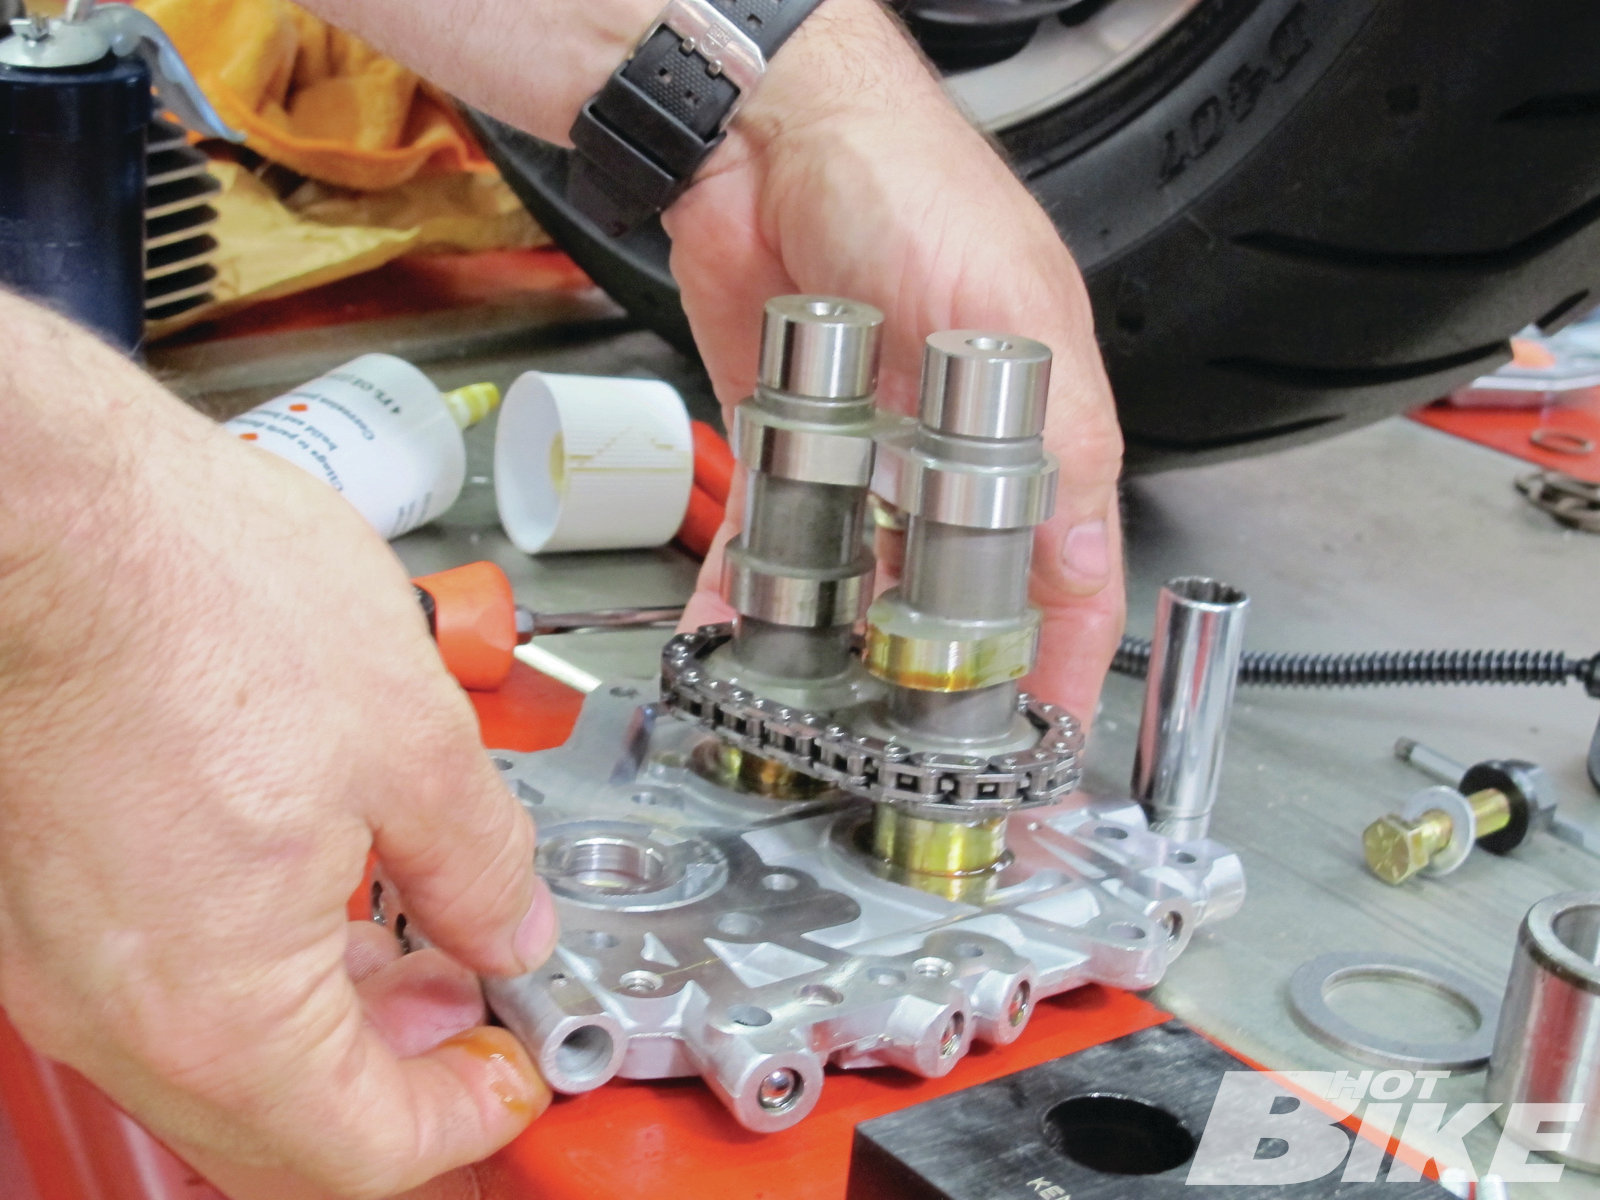
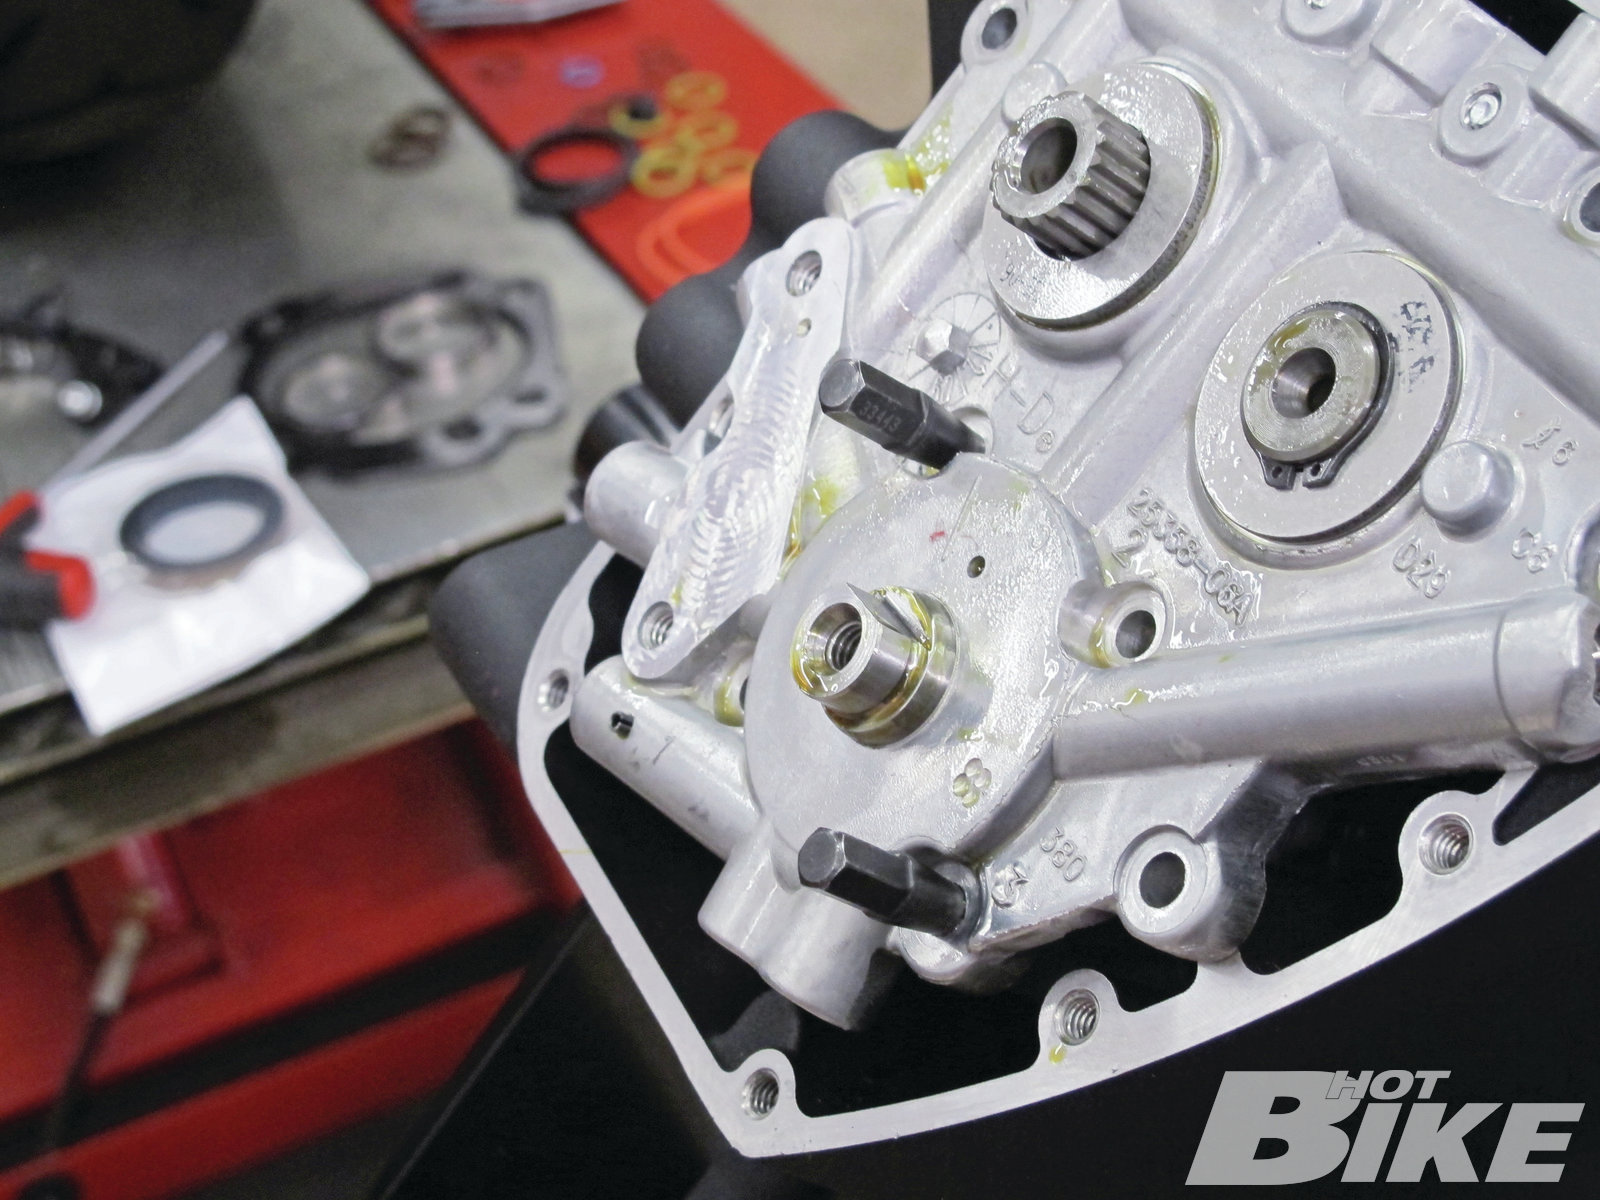
12 Reinstall the cams in the cam chest.
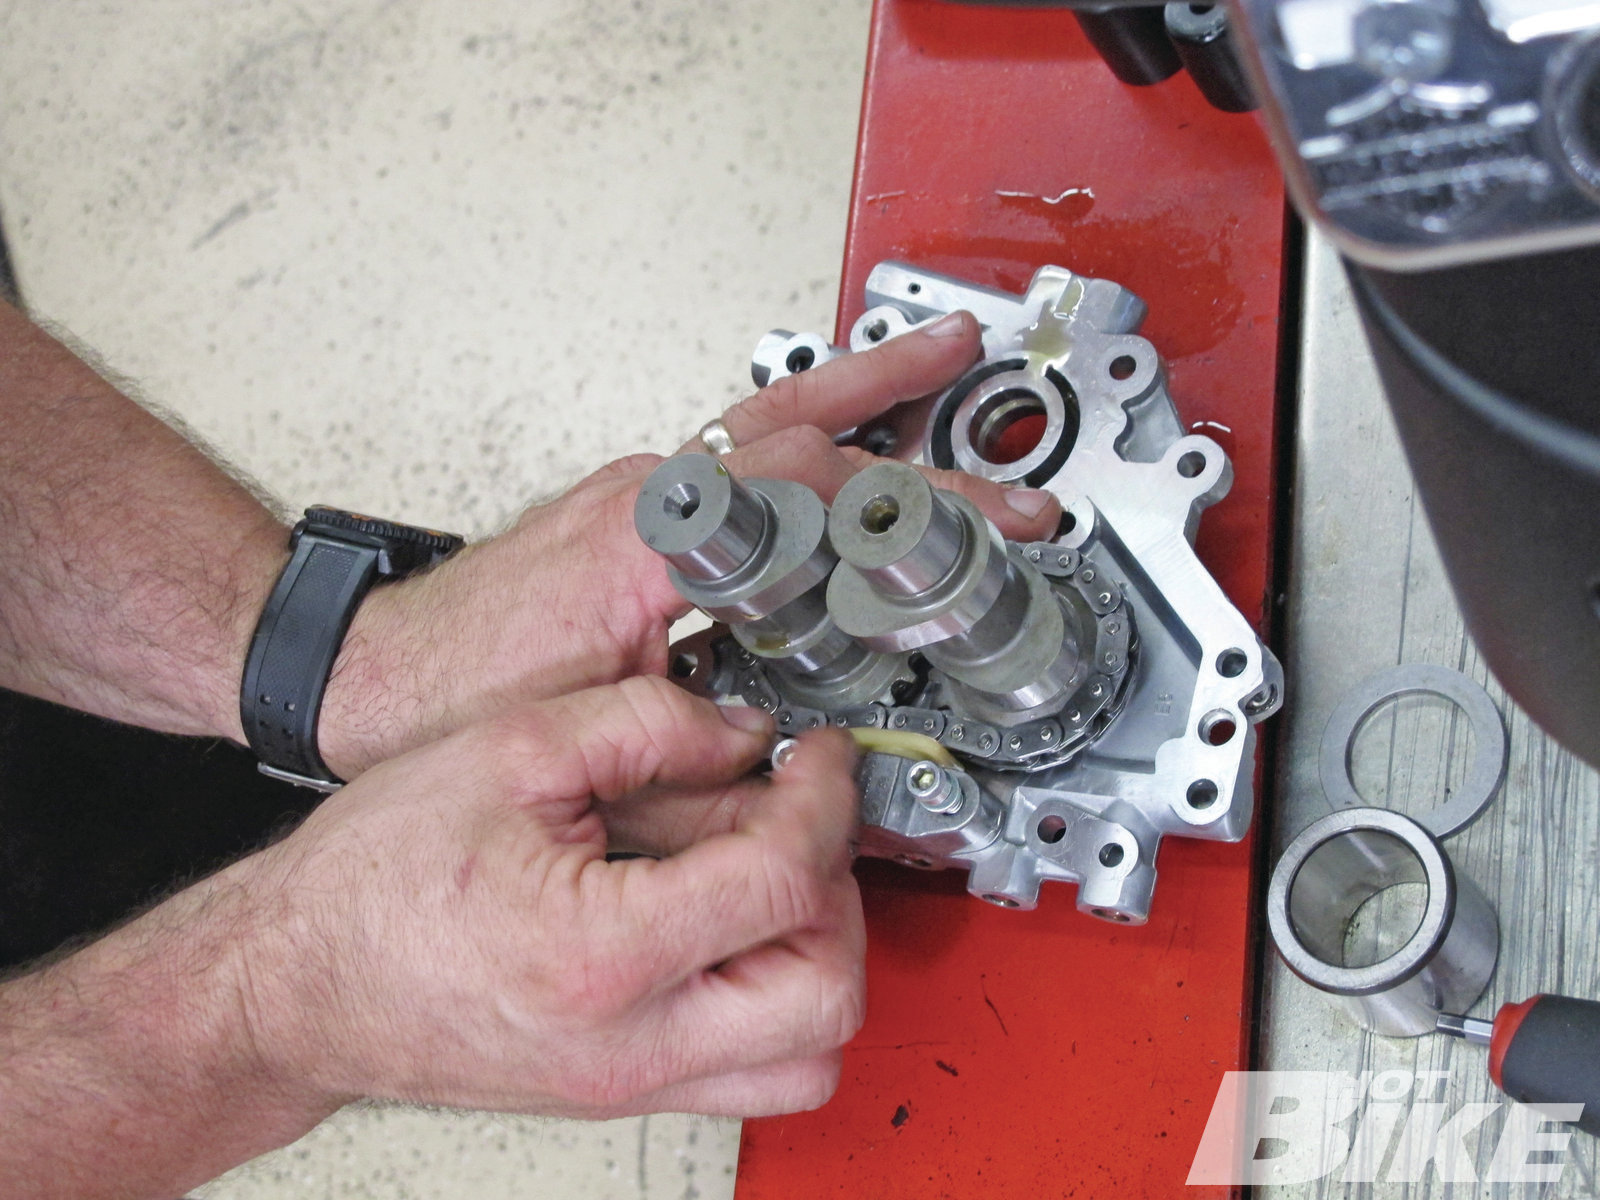
13 Carefully install the cam chain tensioner.
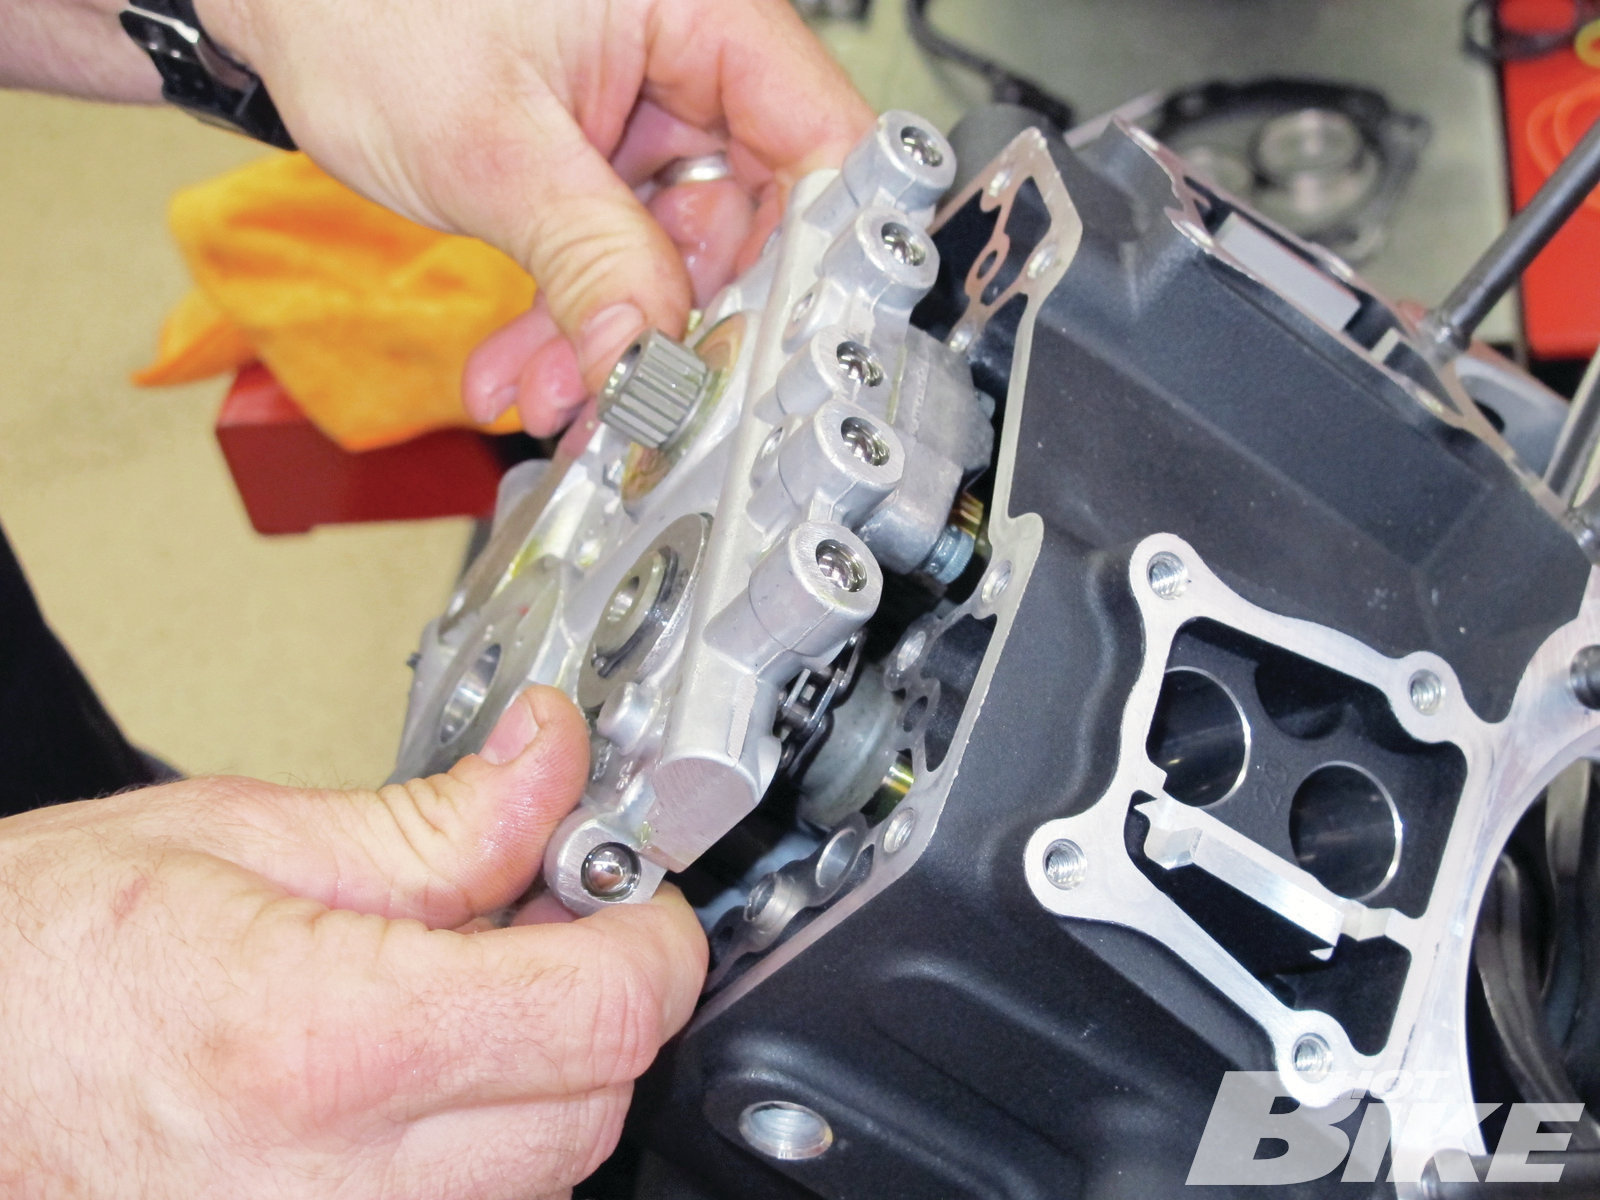
14 Mate the cam chest with the case.
15 The oil pump alignment tools make sure it all goes together correctly.
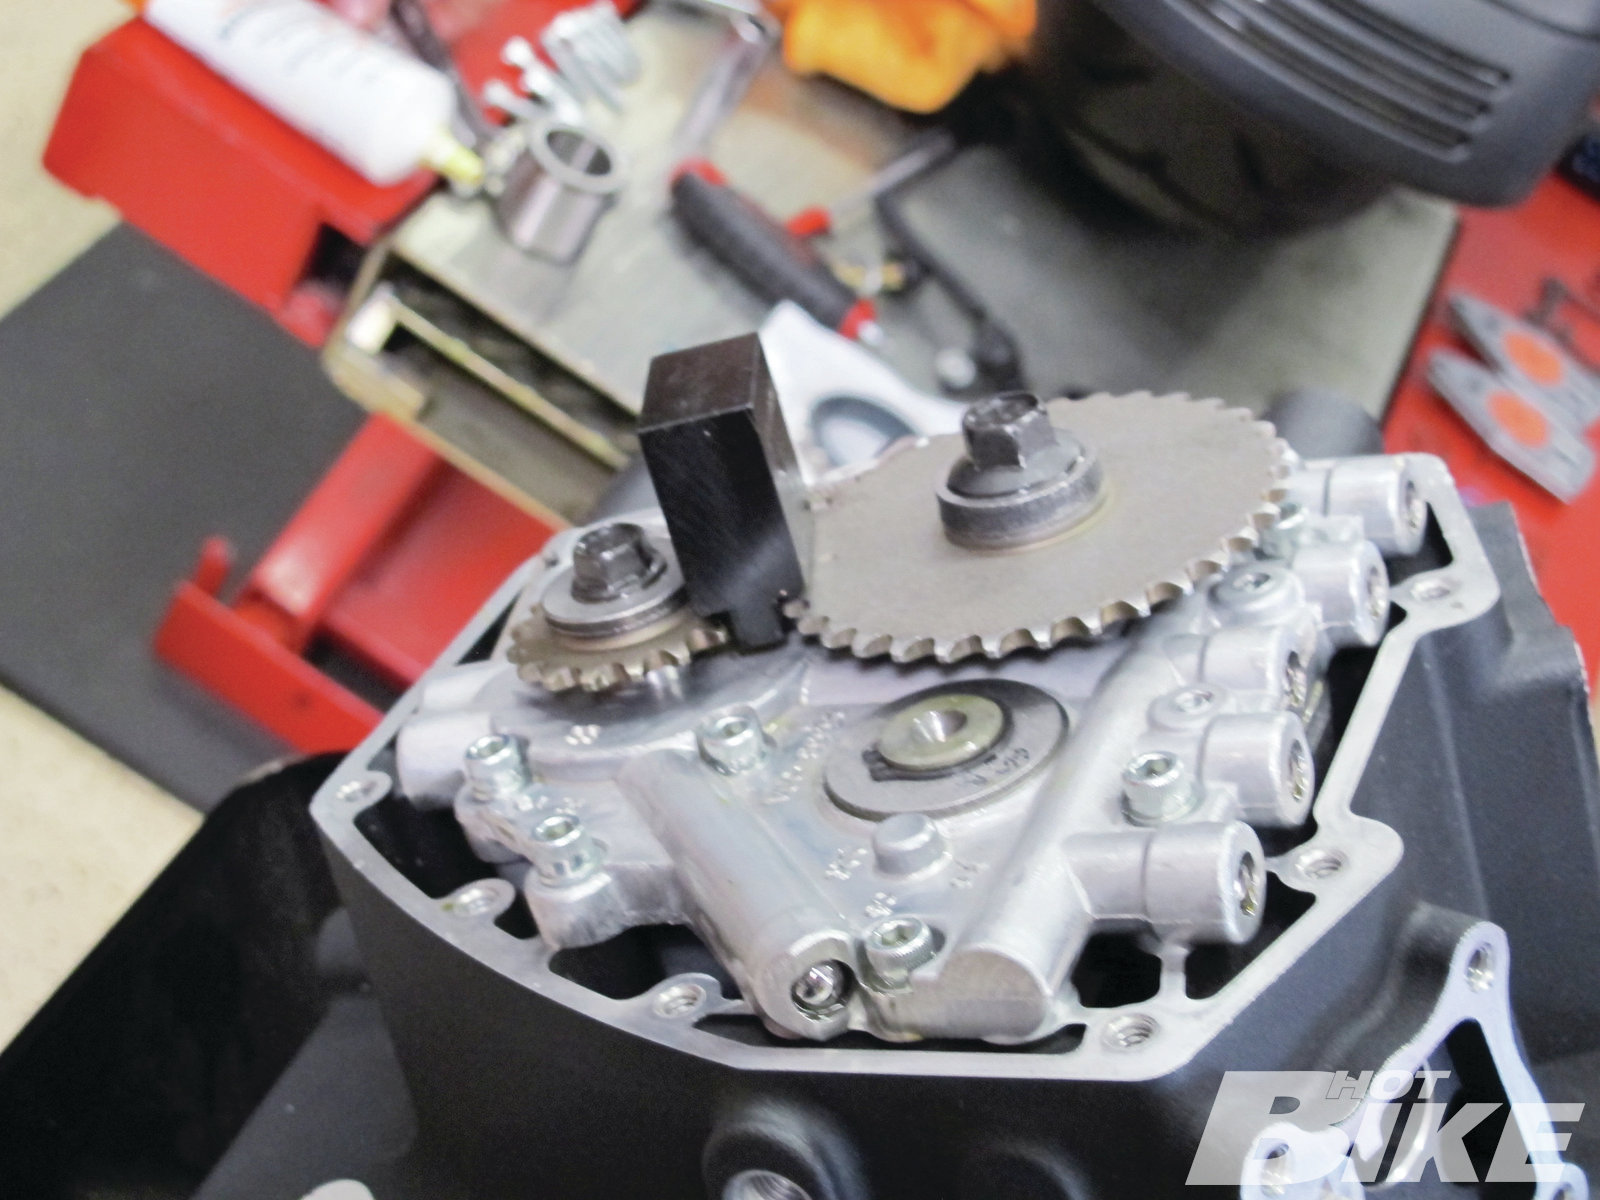
16 Reinstall the cam sprockets using the cam lock.

17 Check to ensure an even surface of the camshaft sprockets.
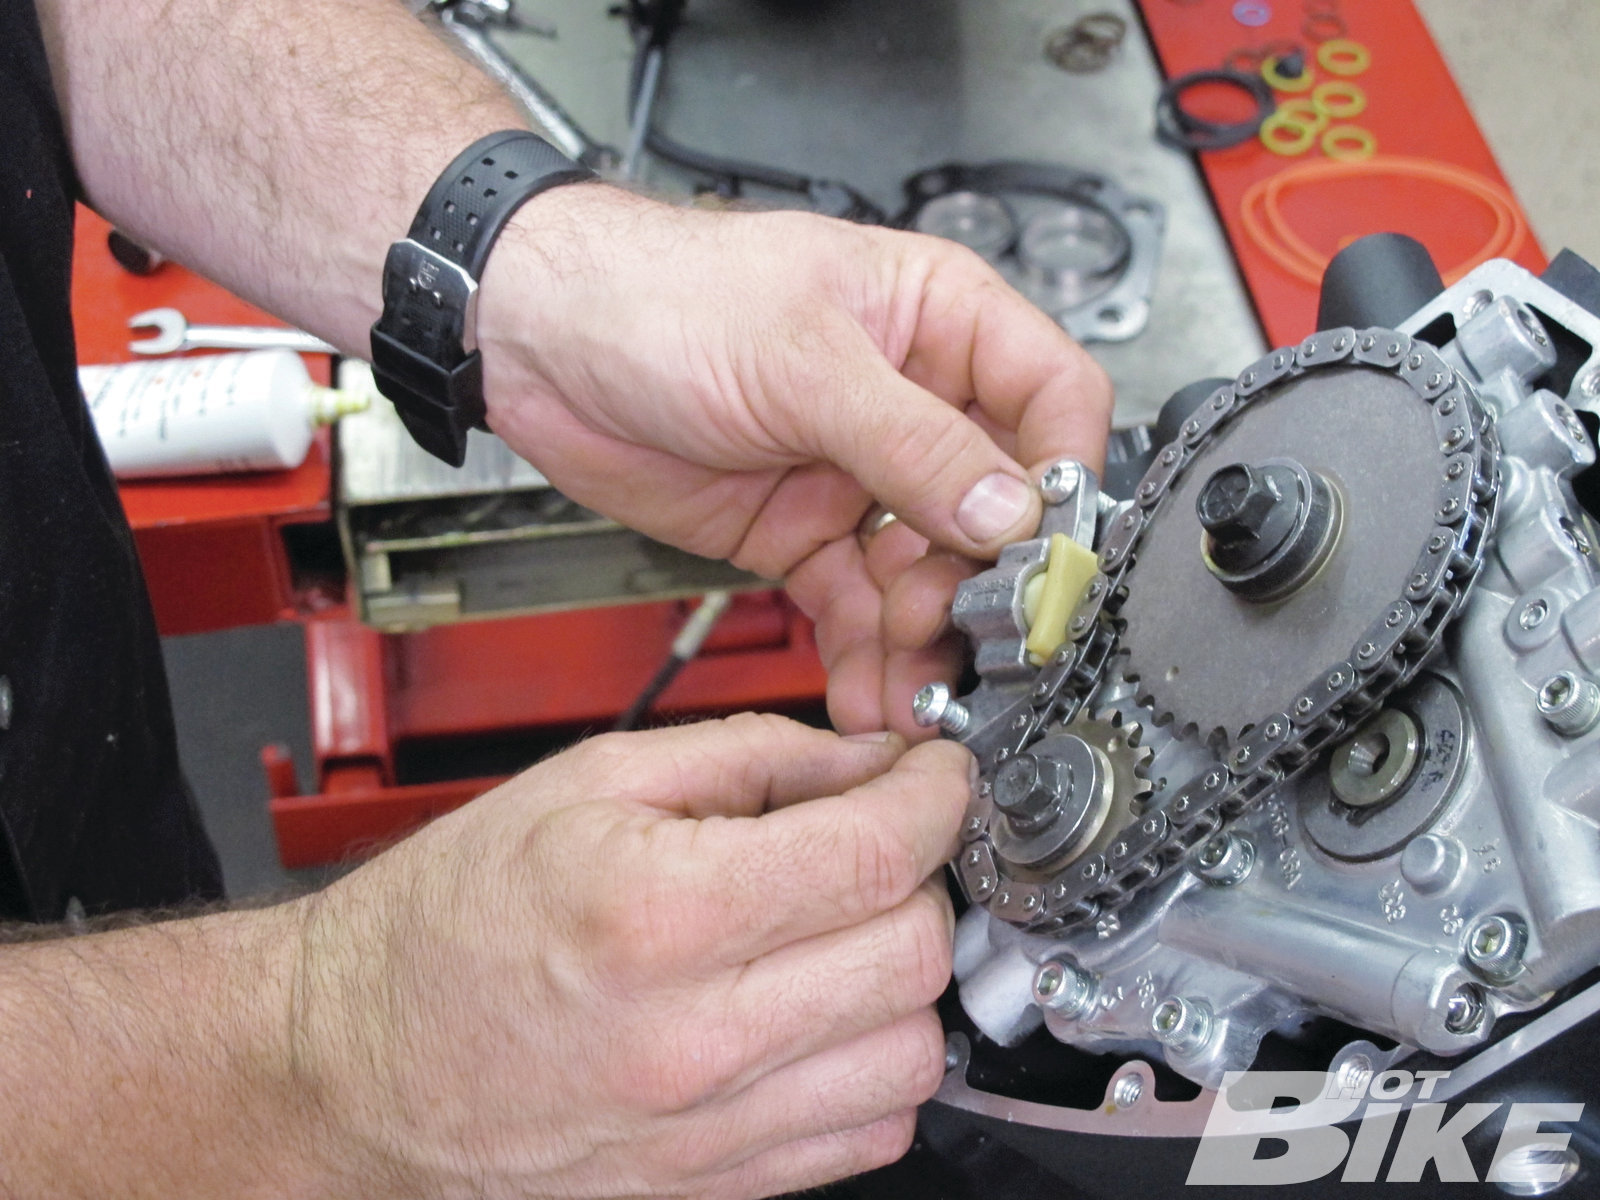
18 Next goes the cam chain tensioner.
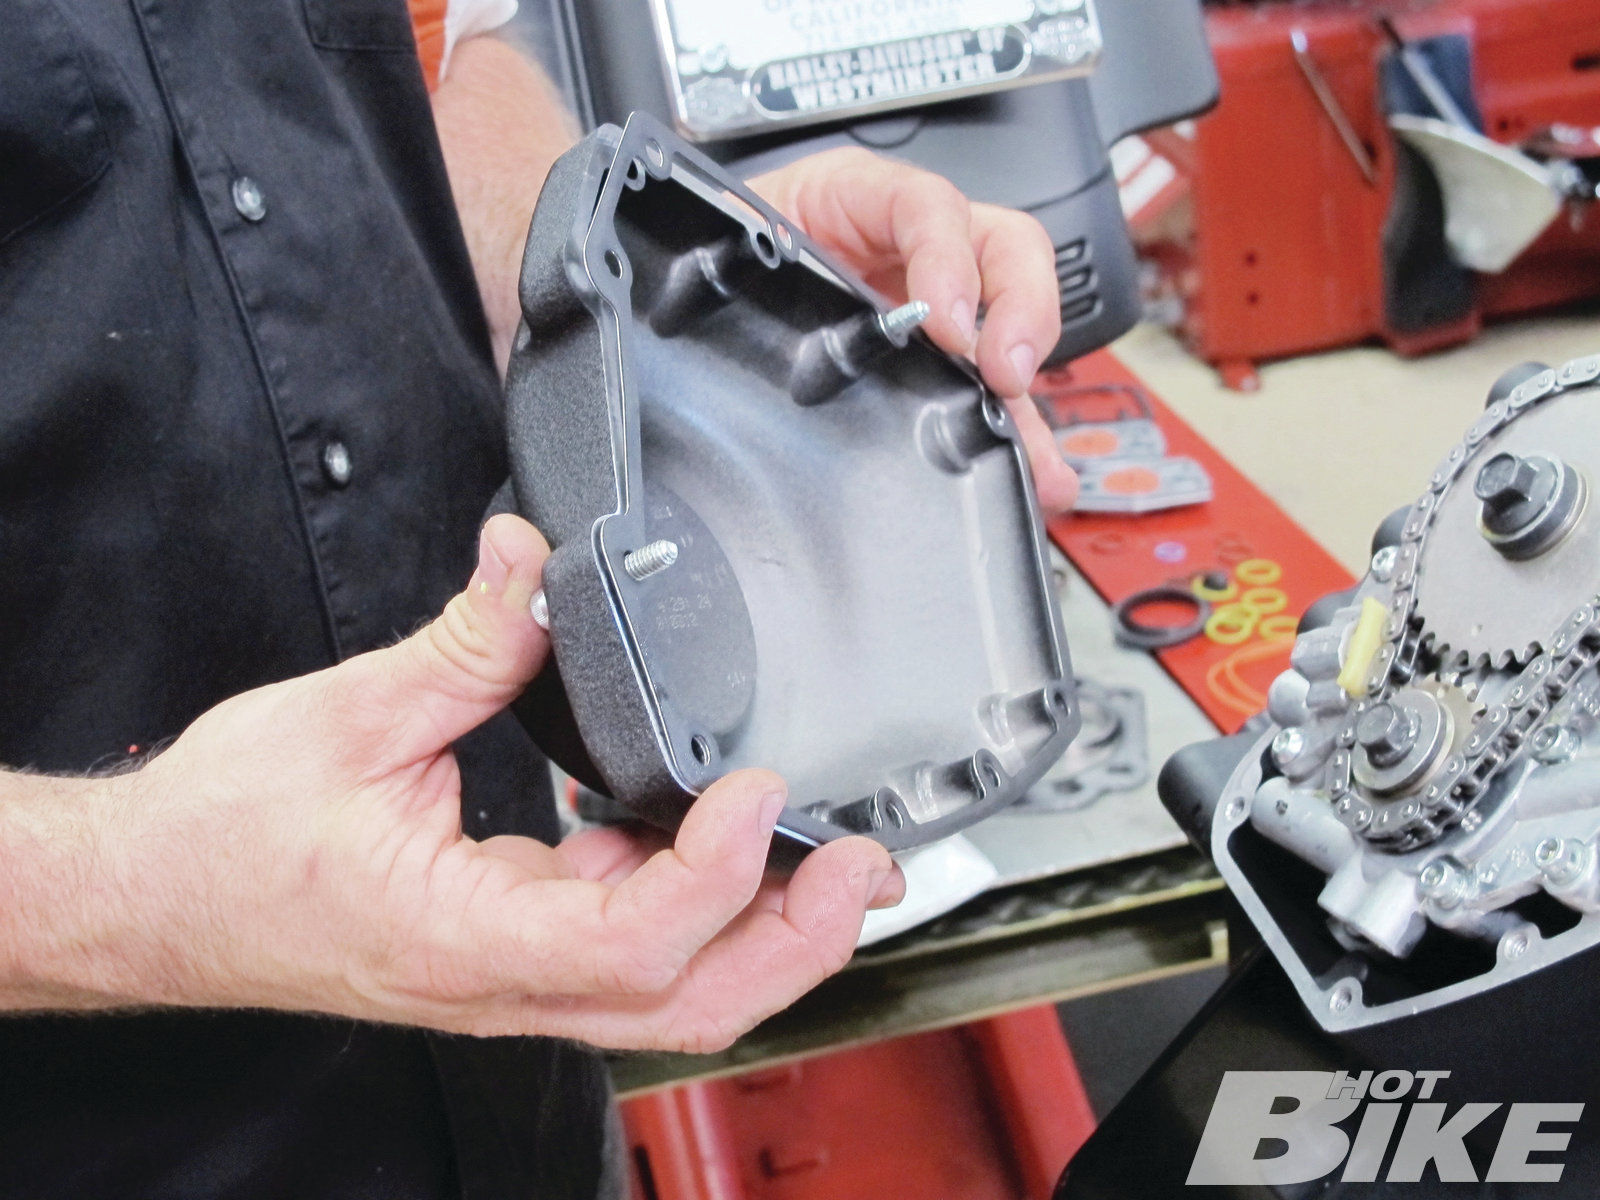
19 Use a new gasket to attach the cam cover.
20 Pre-lube the hydraulic lifters with assembly oil and set aside.
21 Next install the lower push rod covers.
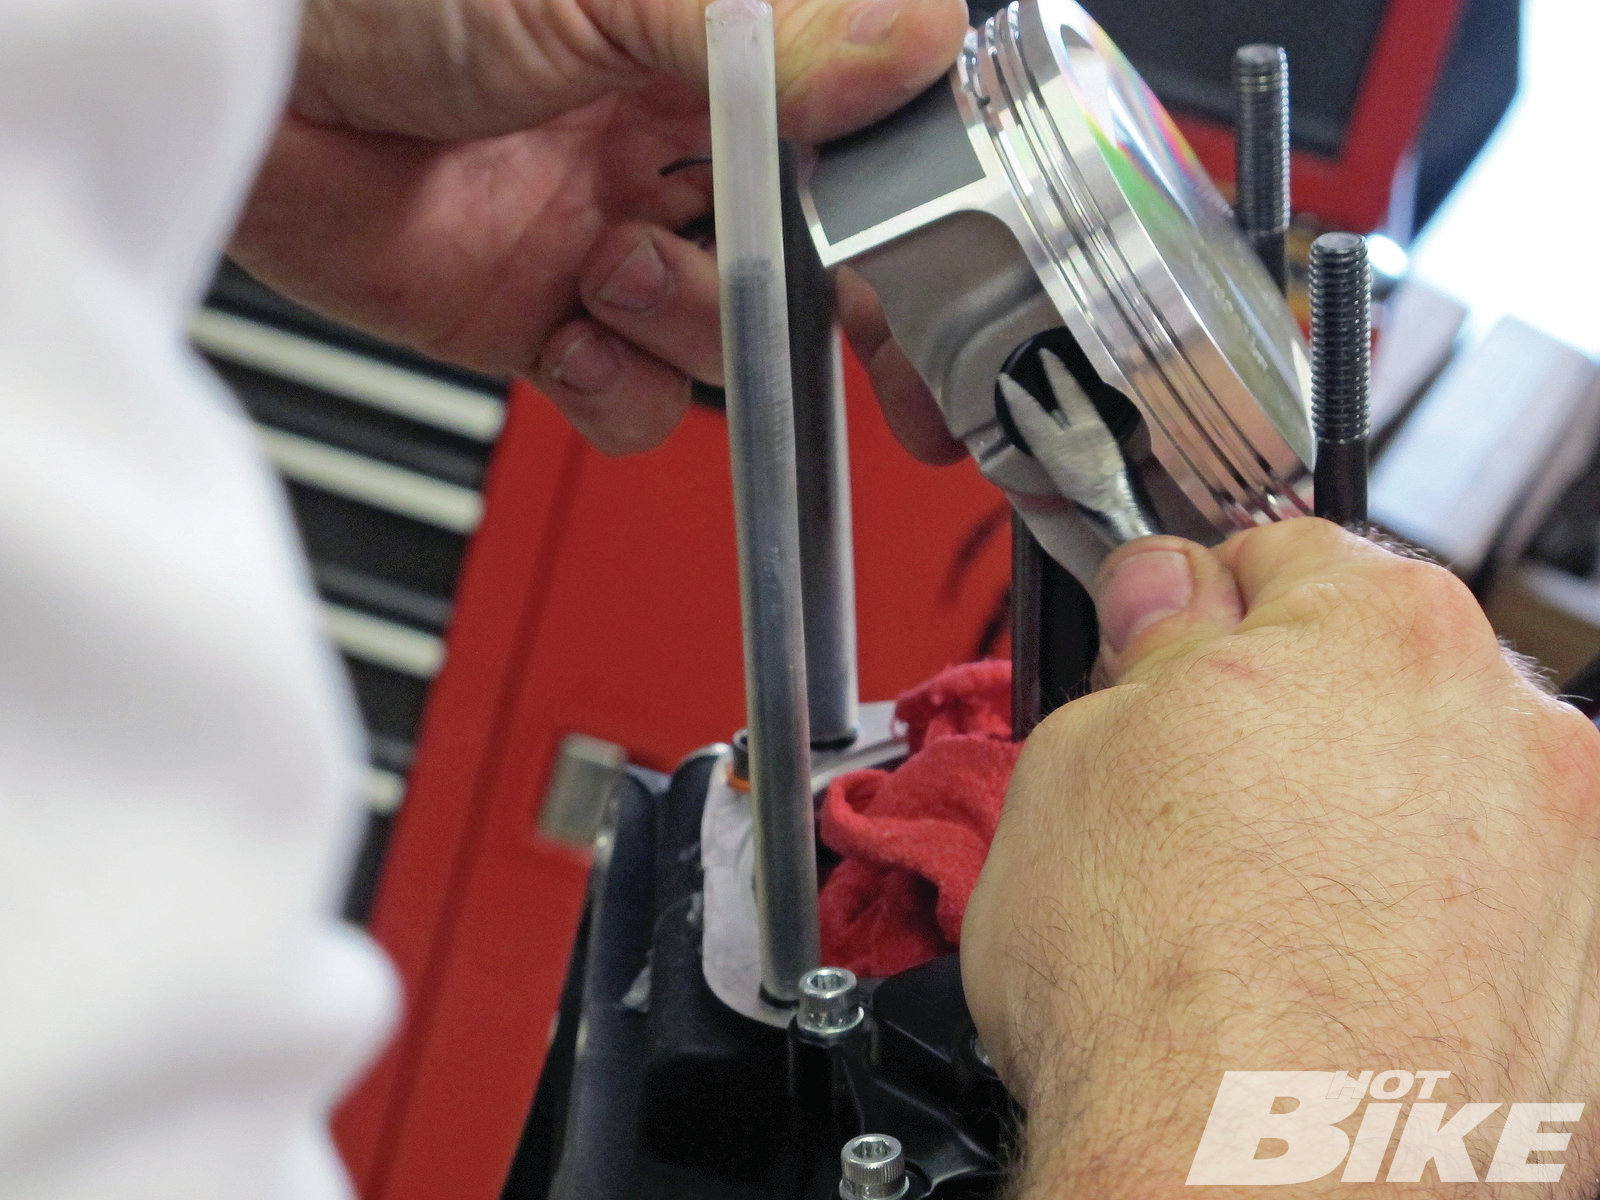
22 Shrink tube (unshrunk) works great to protect the rod bolts during assembly.
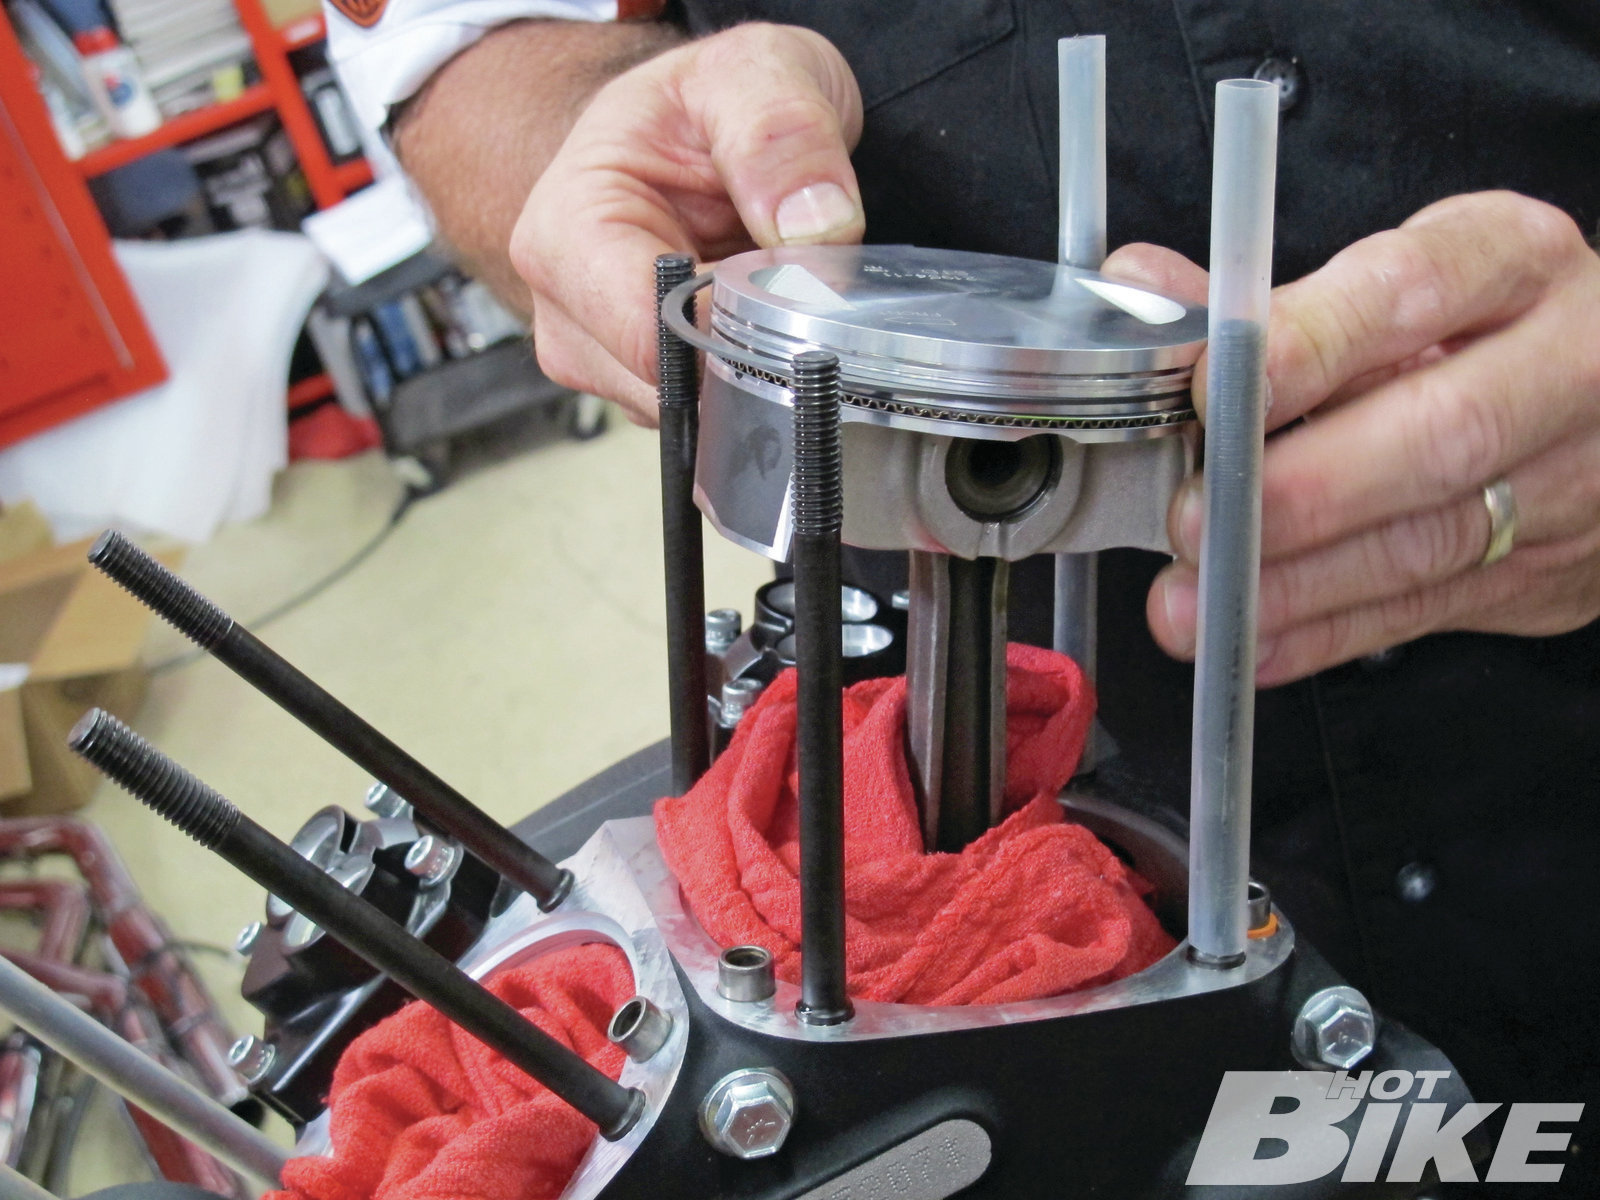
23 Carefully install the ring assembly by hand first.
24 Verify the ring assembly has the proper gaps.
25 Next install the rod pin with the supplied clip.
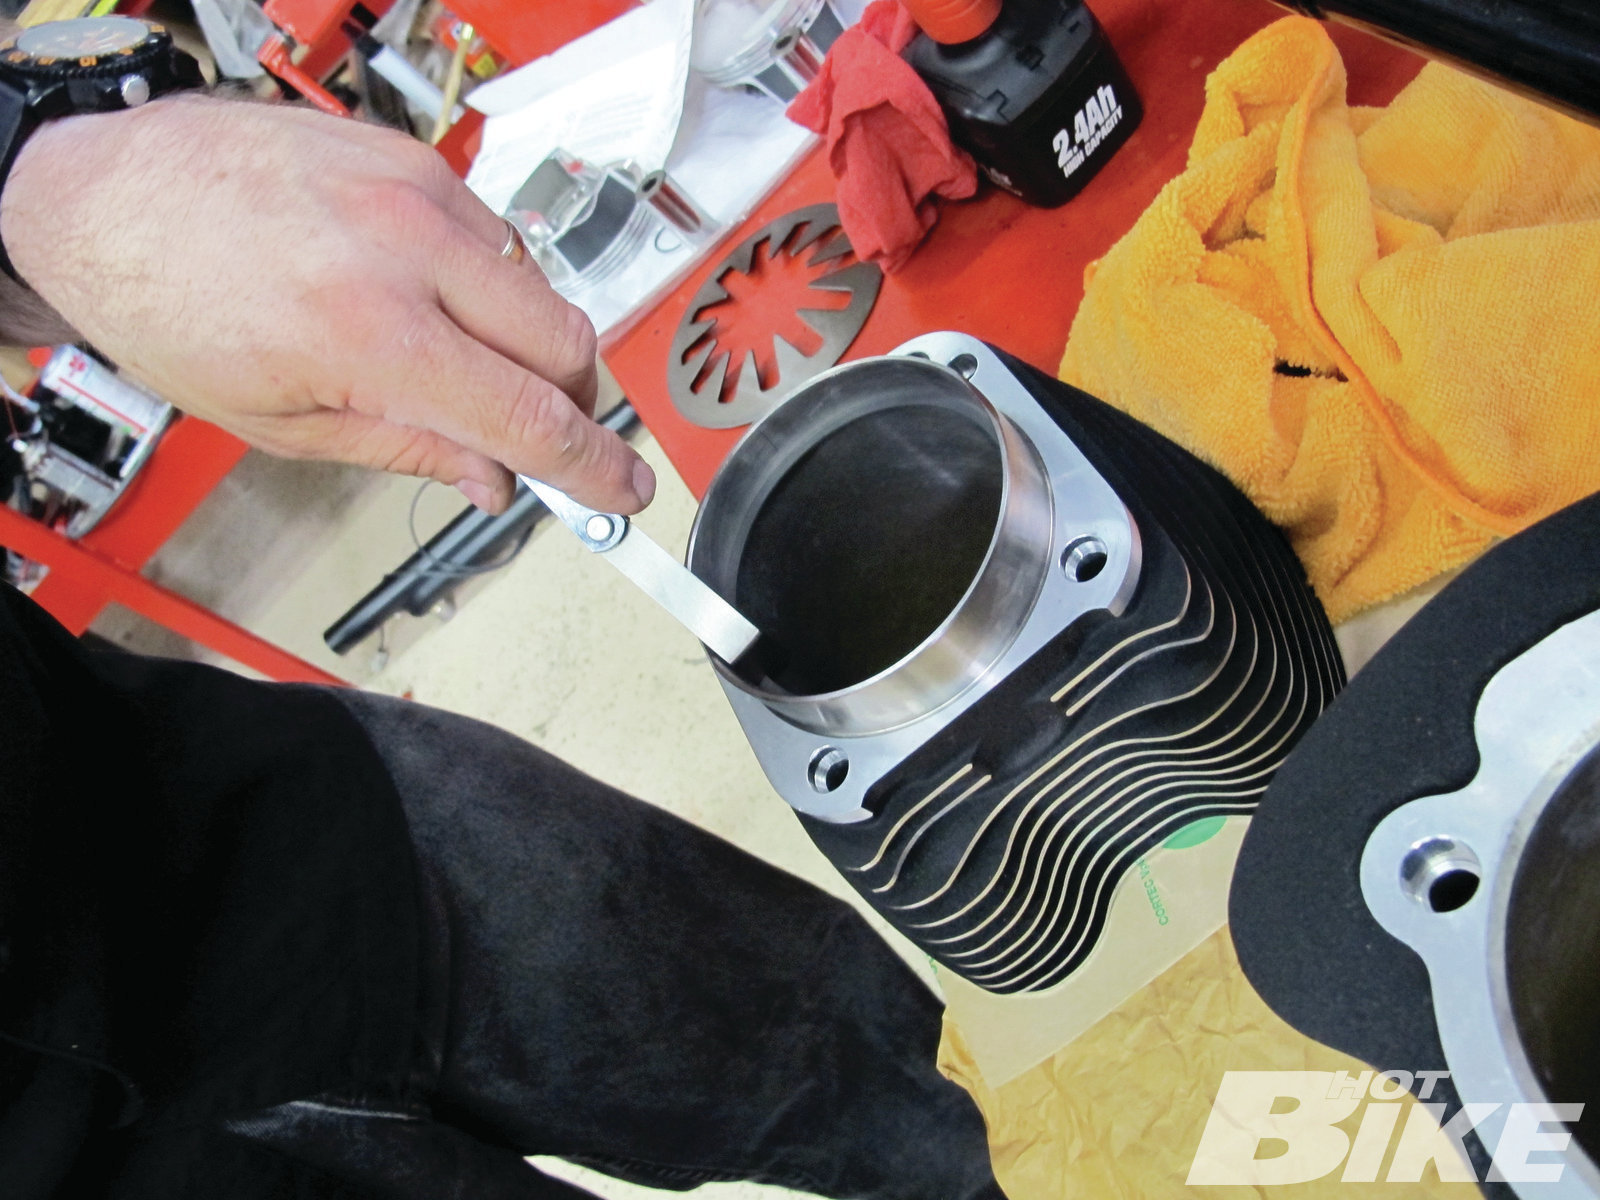
26 Stuffing clean rags inside the cylinders ensures that any dropped items won’t go inside the cases. Reinstall the rings in the correct order.
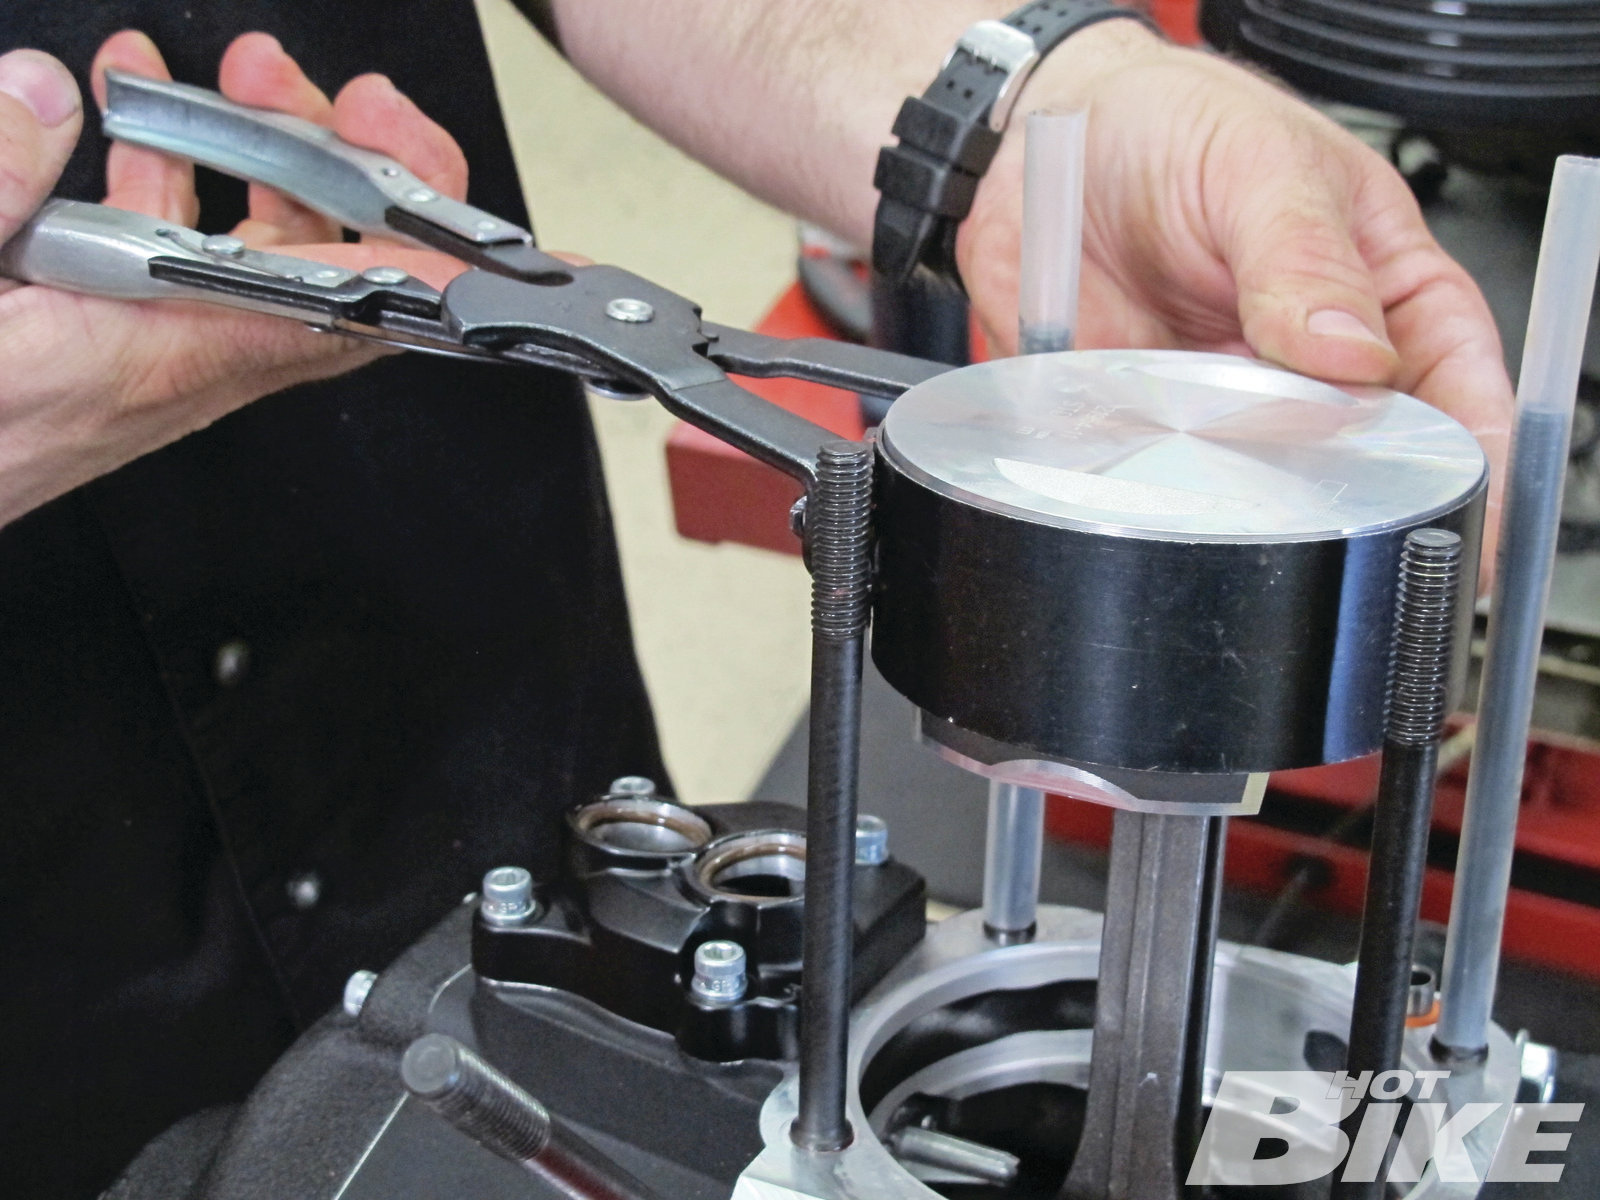
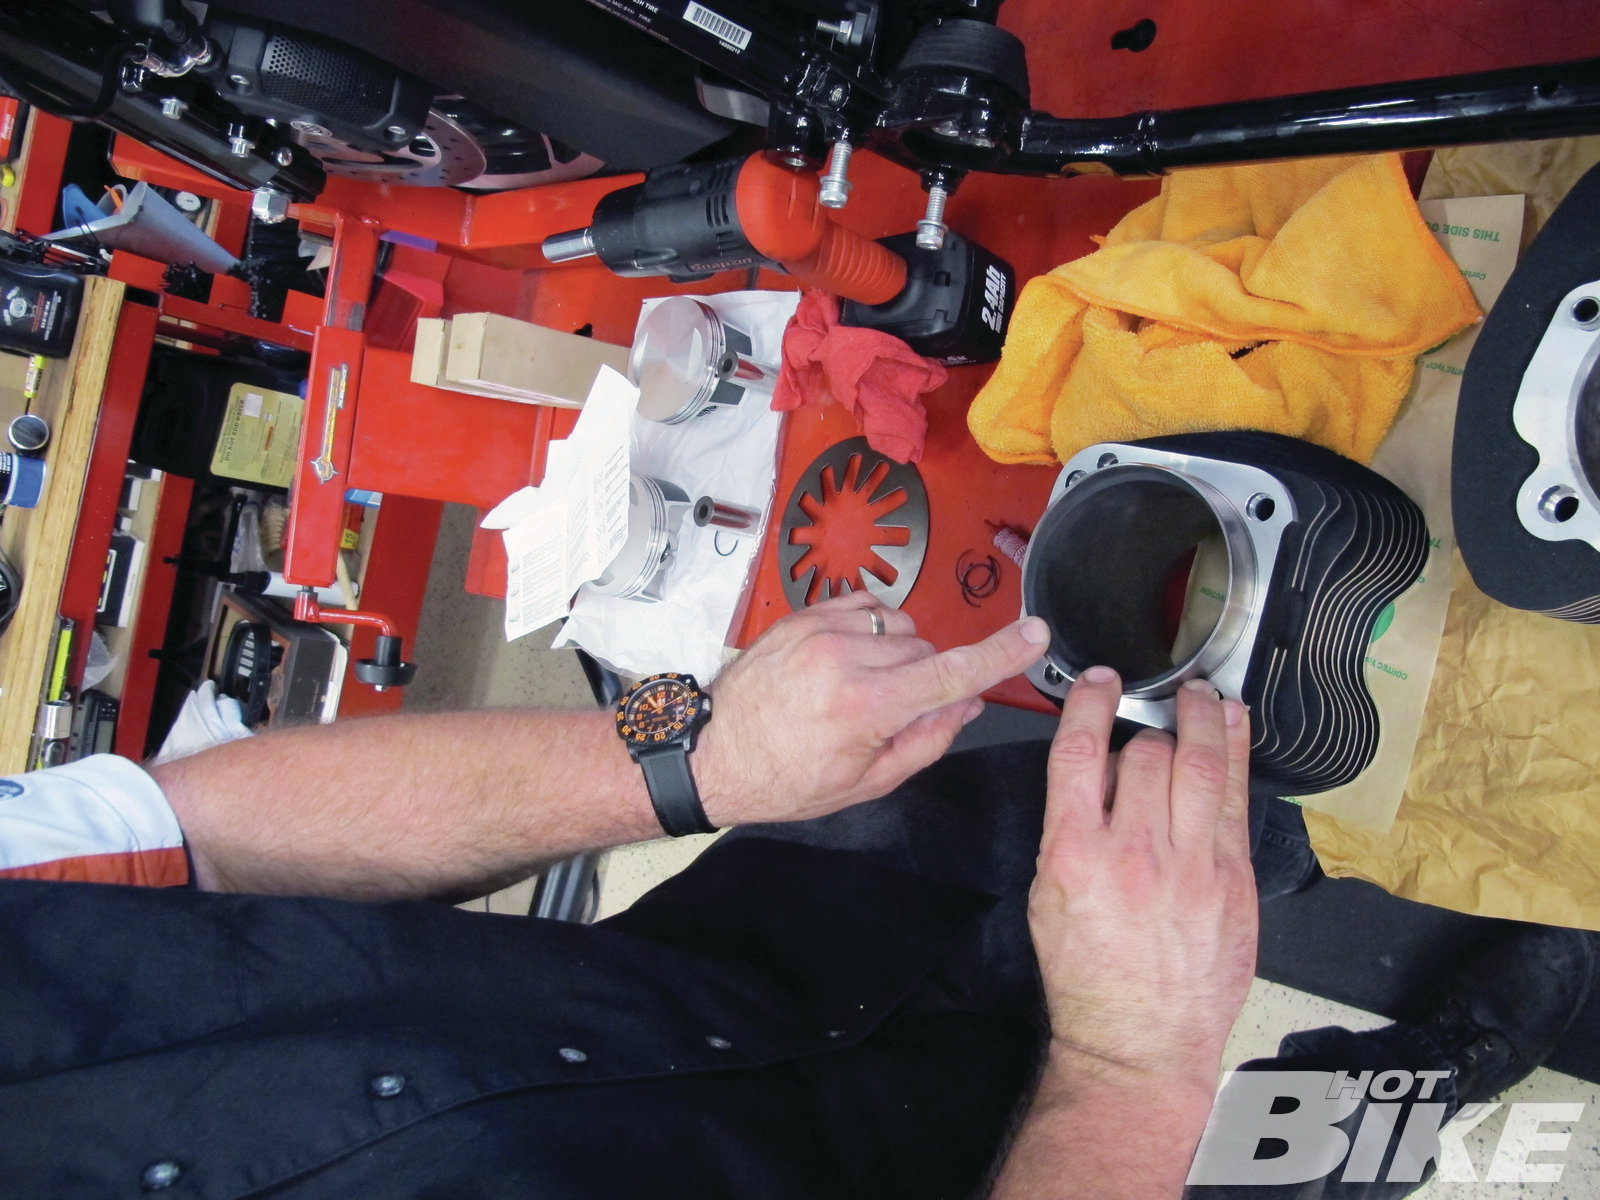
27 A ring compressor tool helps keep all the rings in place for lowering the cylinder head.
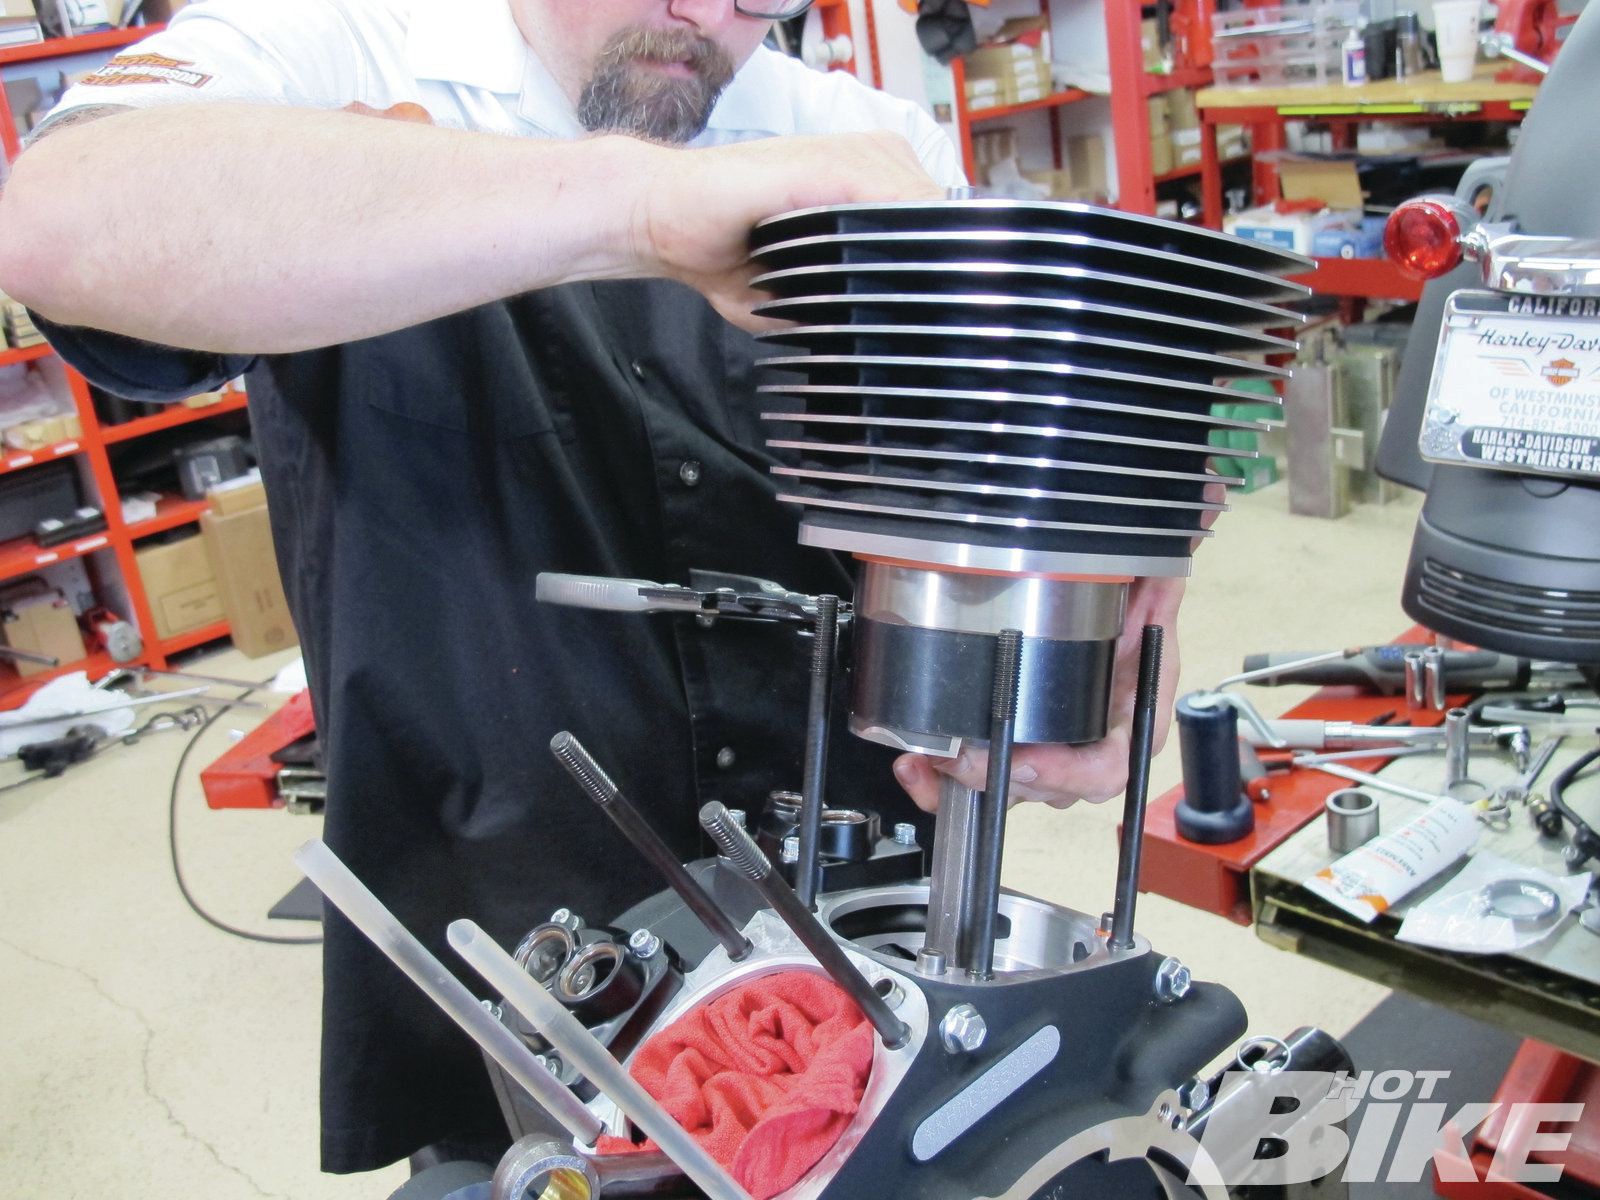
28 Next carefully lower the cylinder head over the piston. Use plenty of assembly lube in the process.
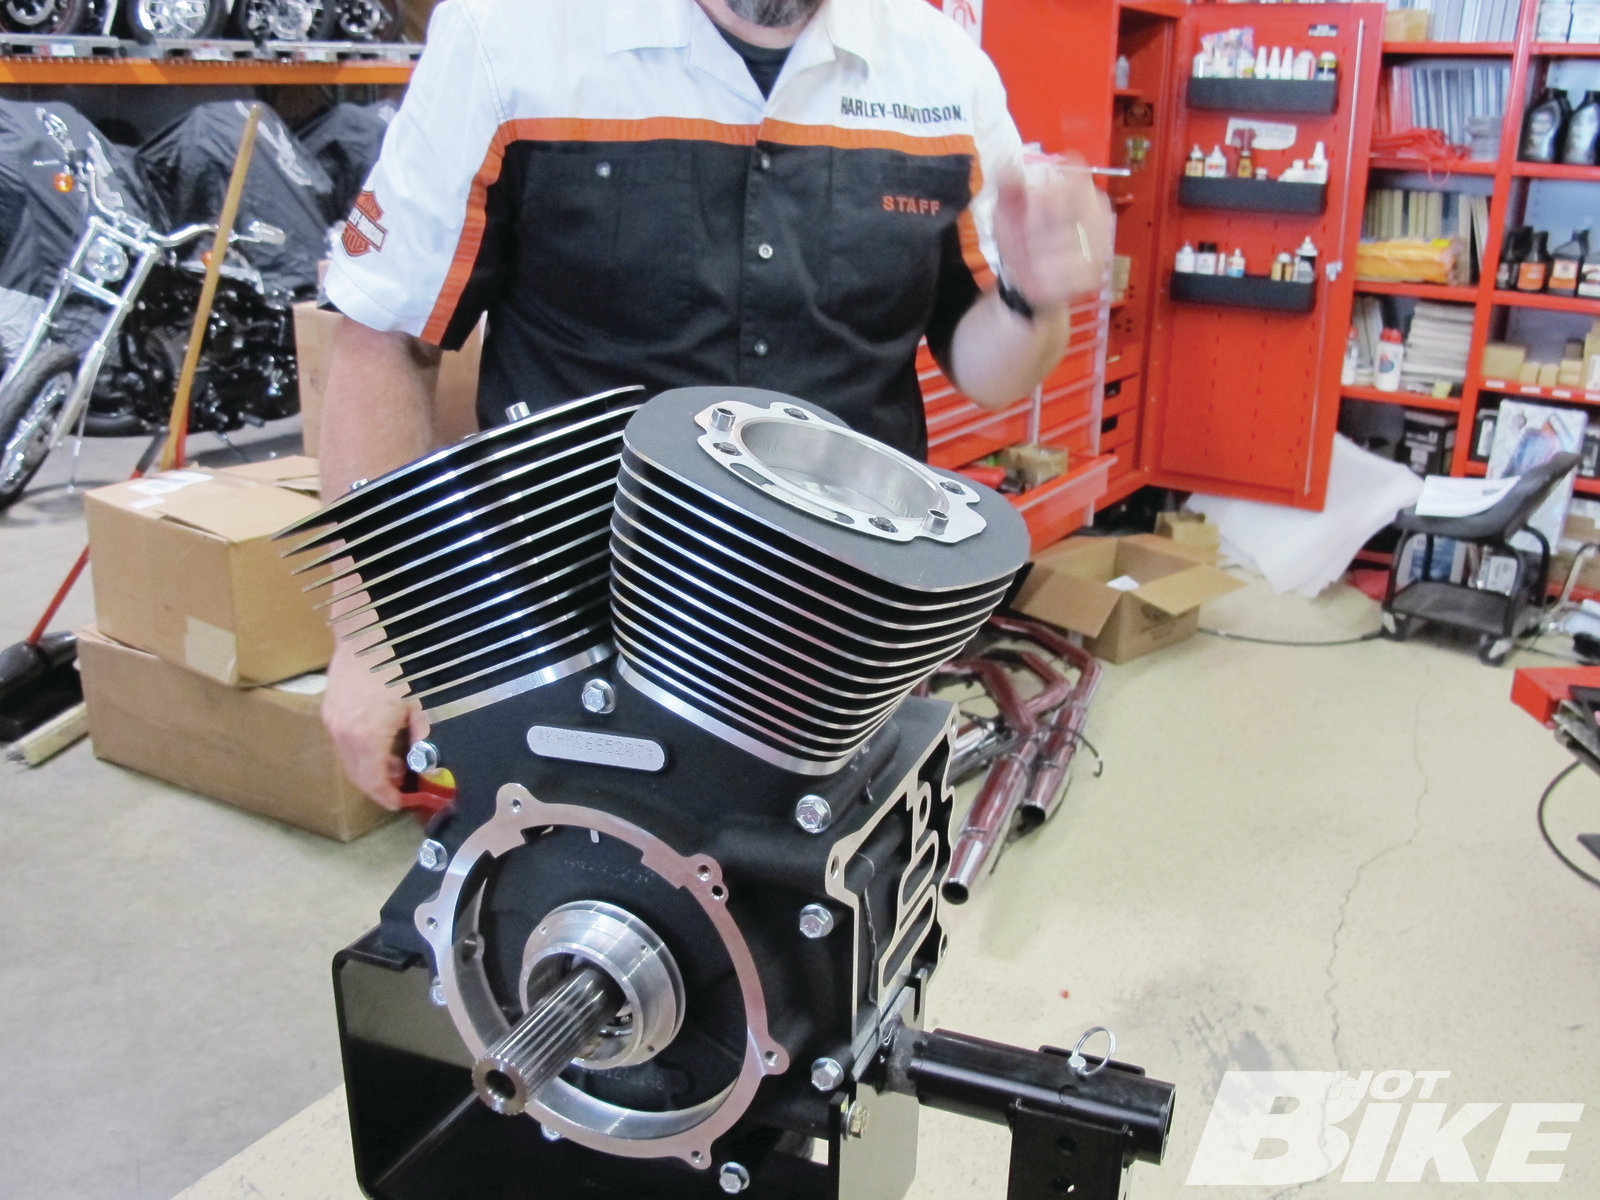
29 Repeat the process on the other cylinder.
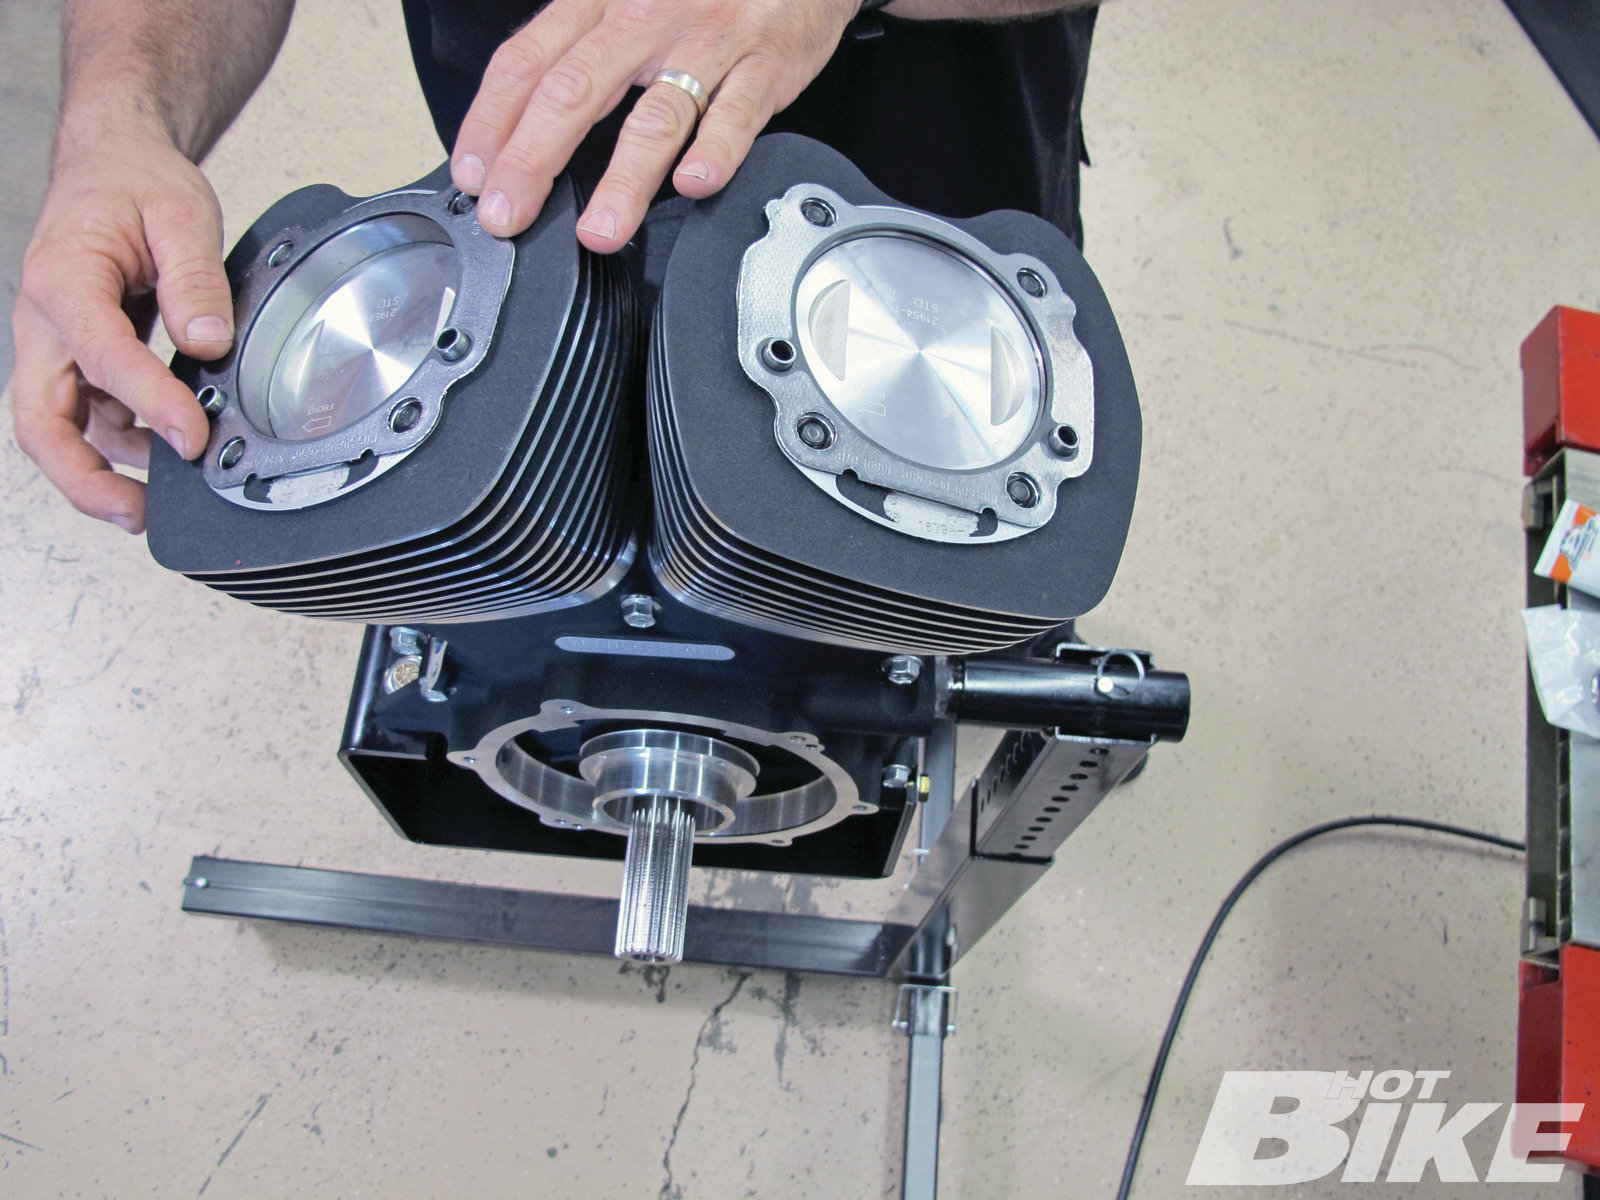
30 Install the gaskets on top of the cylinder heads.
31 Fill the push rod covers with oil to ensure proper lubrication on start-up.

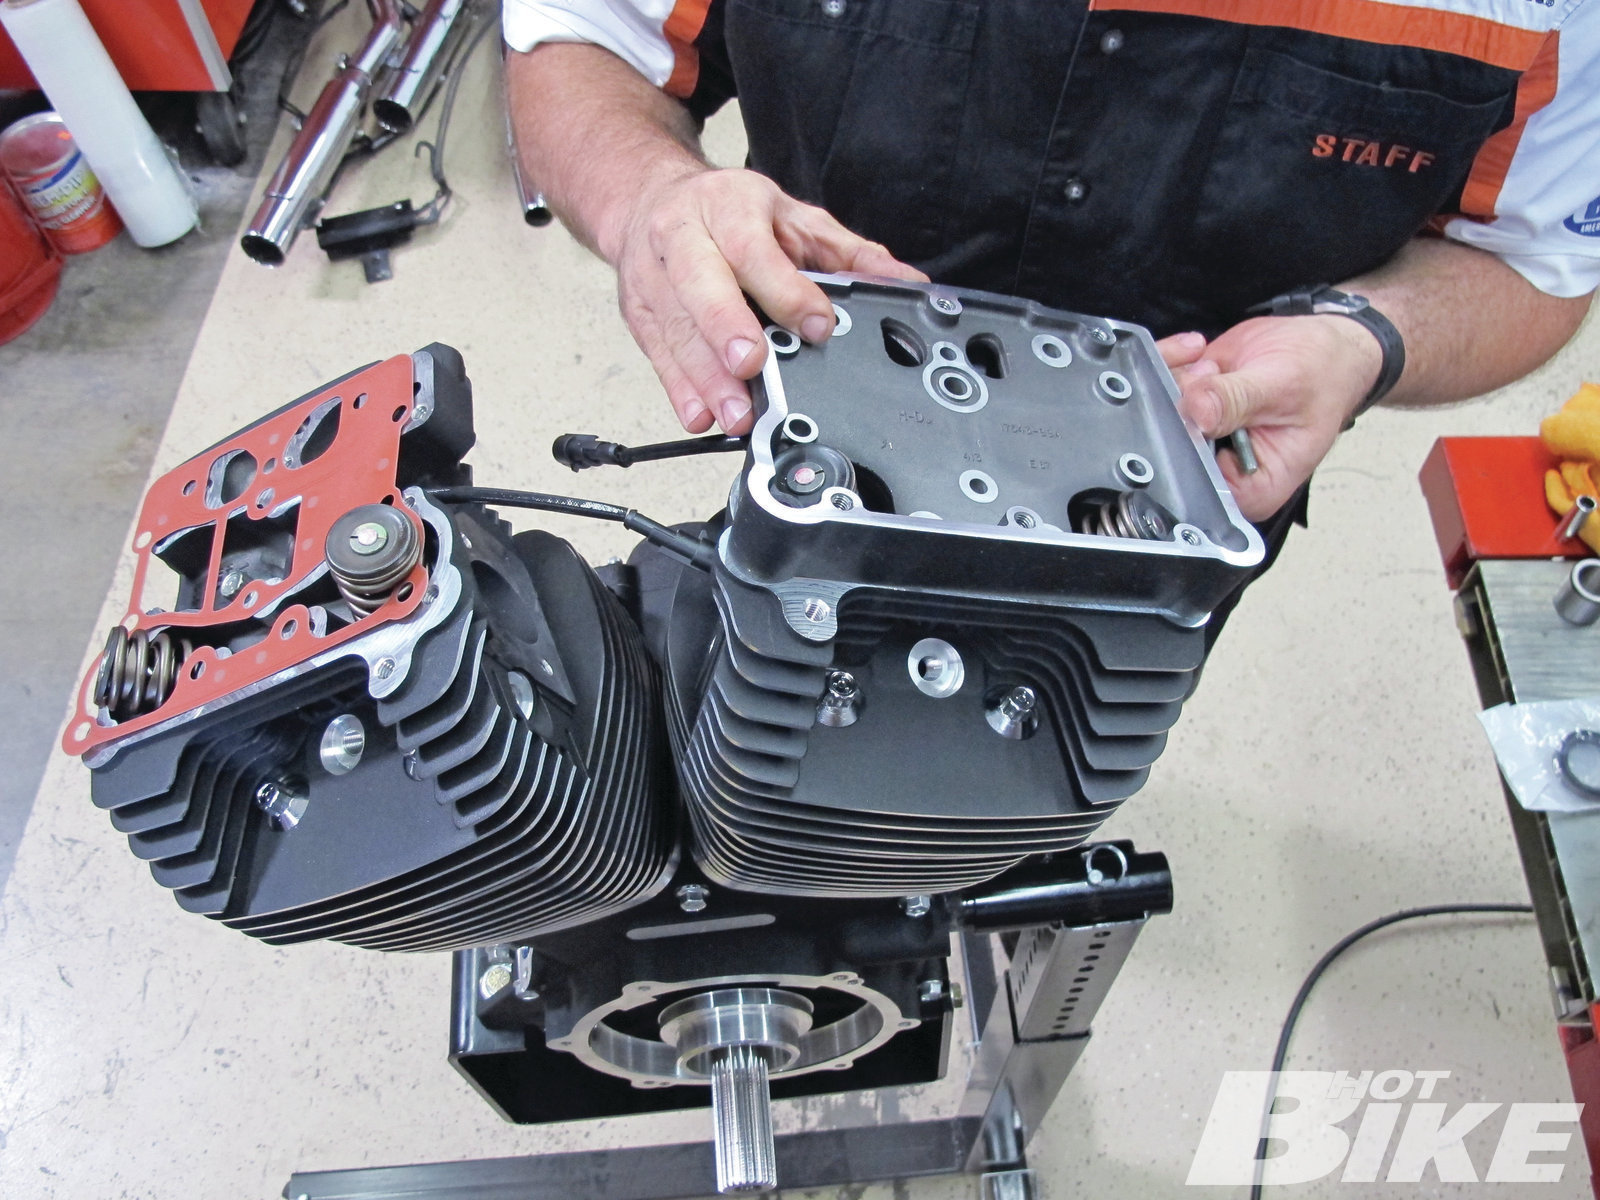
32 Next install the heads.
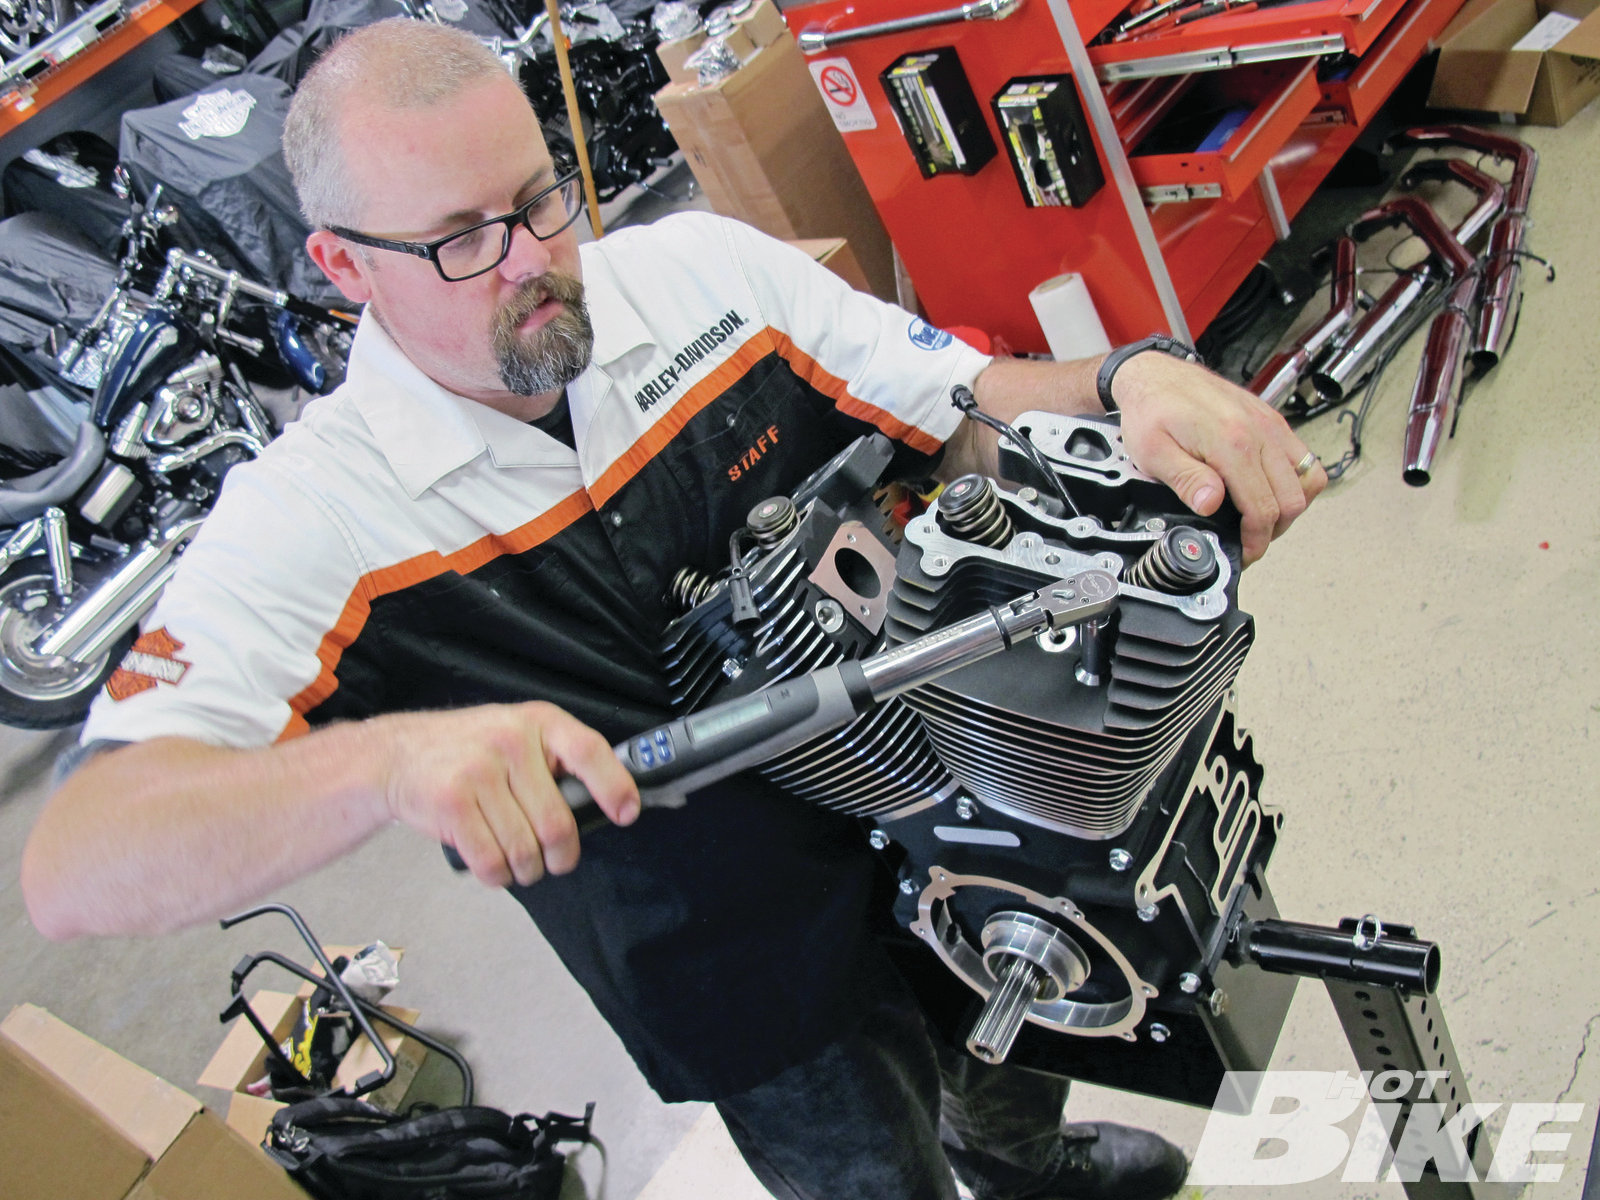
33 Carefully torque each head to the proper specs.
34 Next install the lower rocker boxes to the cylinders.
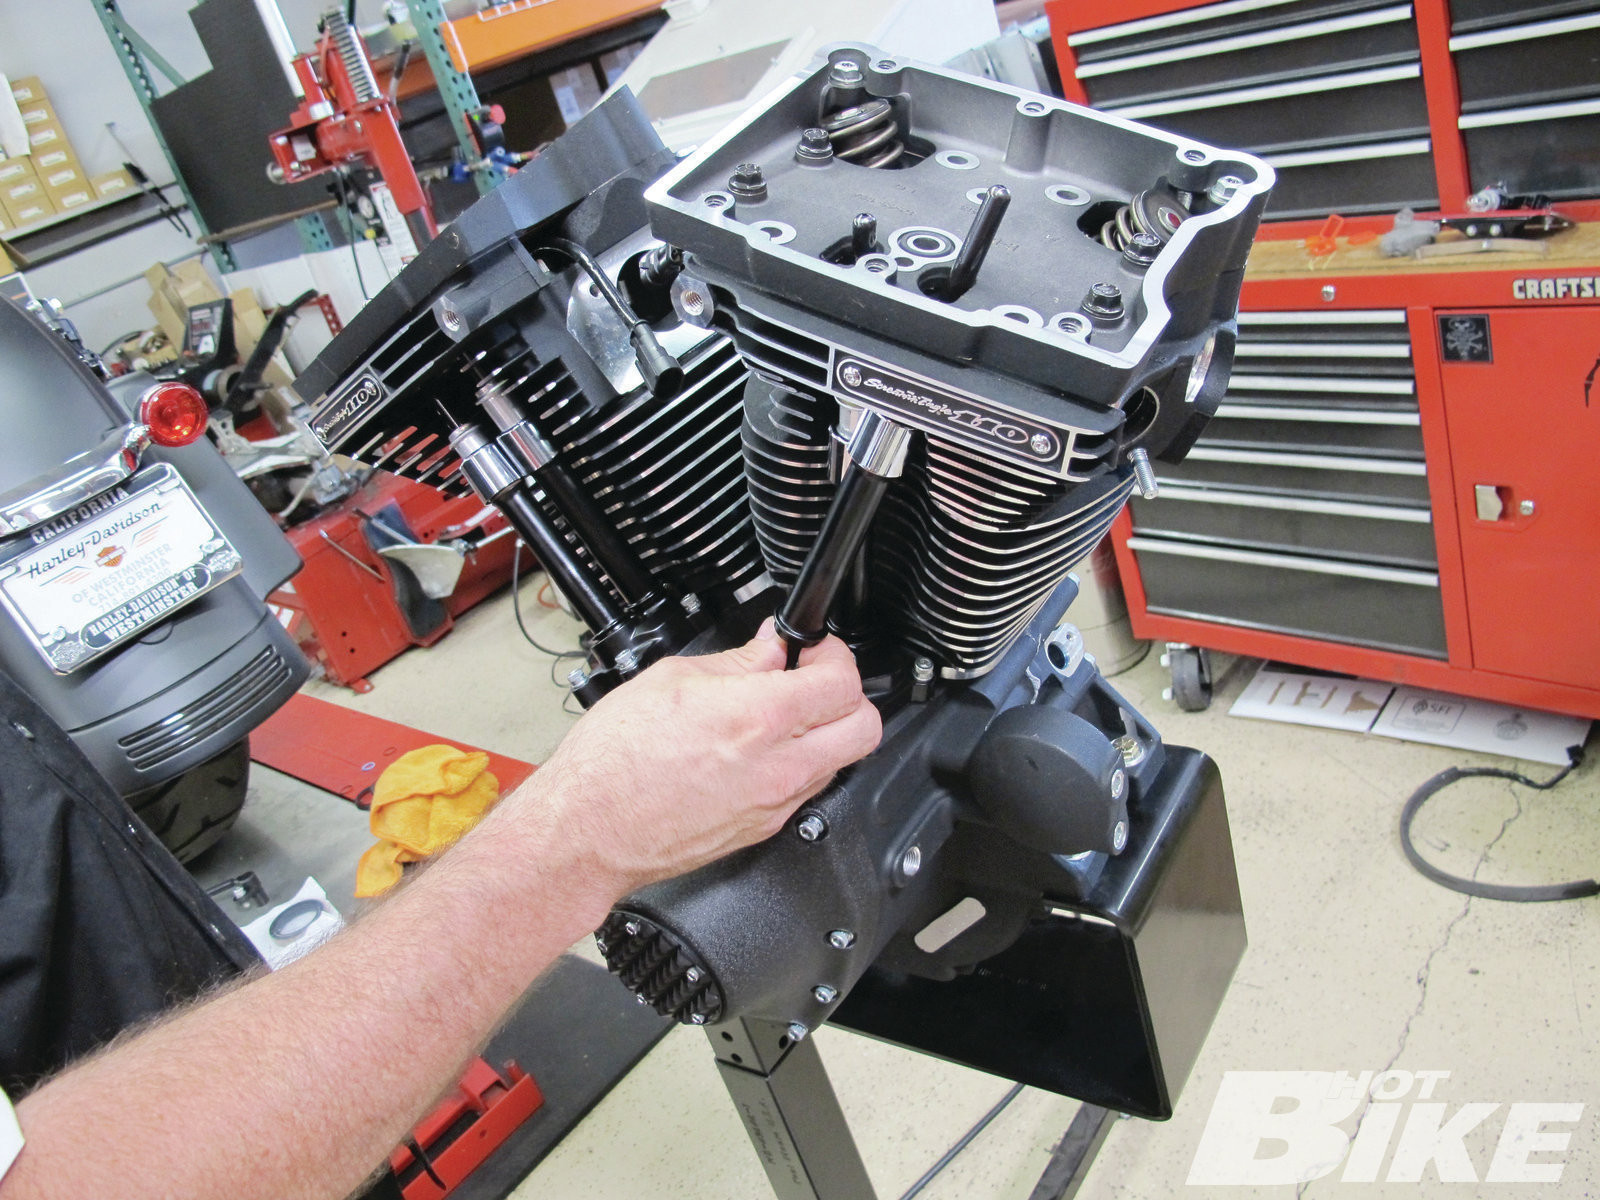
35 Install the rod tubes on both cylinders.
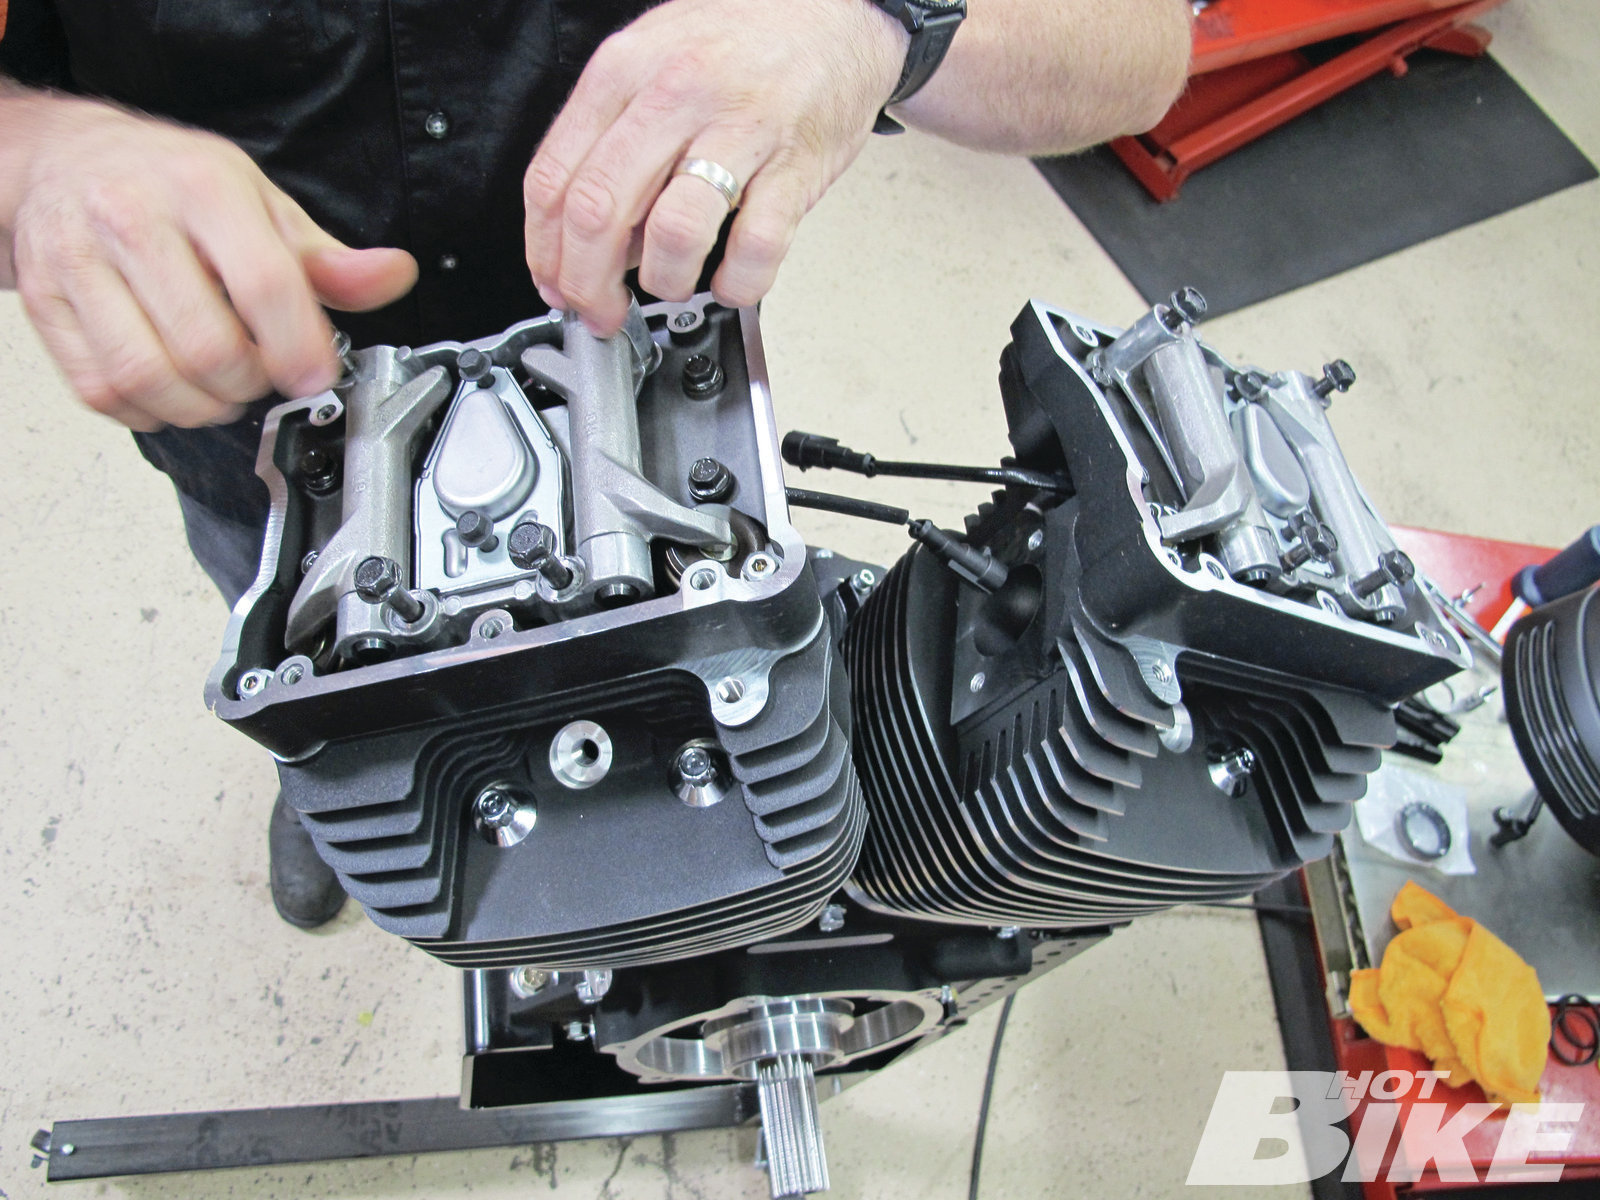
36 The rockers go on next. Make sure and use a few drops of lubrication on assembly.
37 Set the rod adjustments to the proper specifications.
38 Finally install the top rocker boxes to the heads.
39 Reconnect the sensor to the motor.
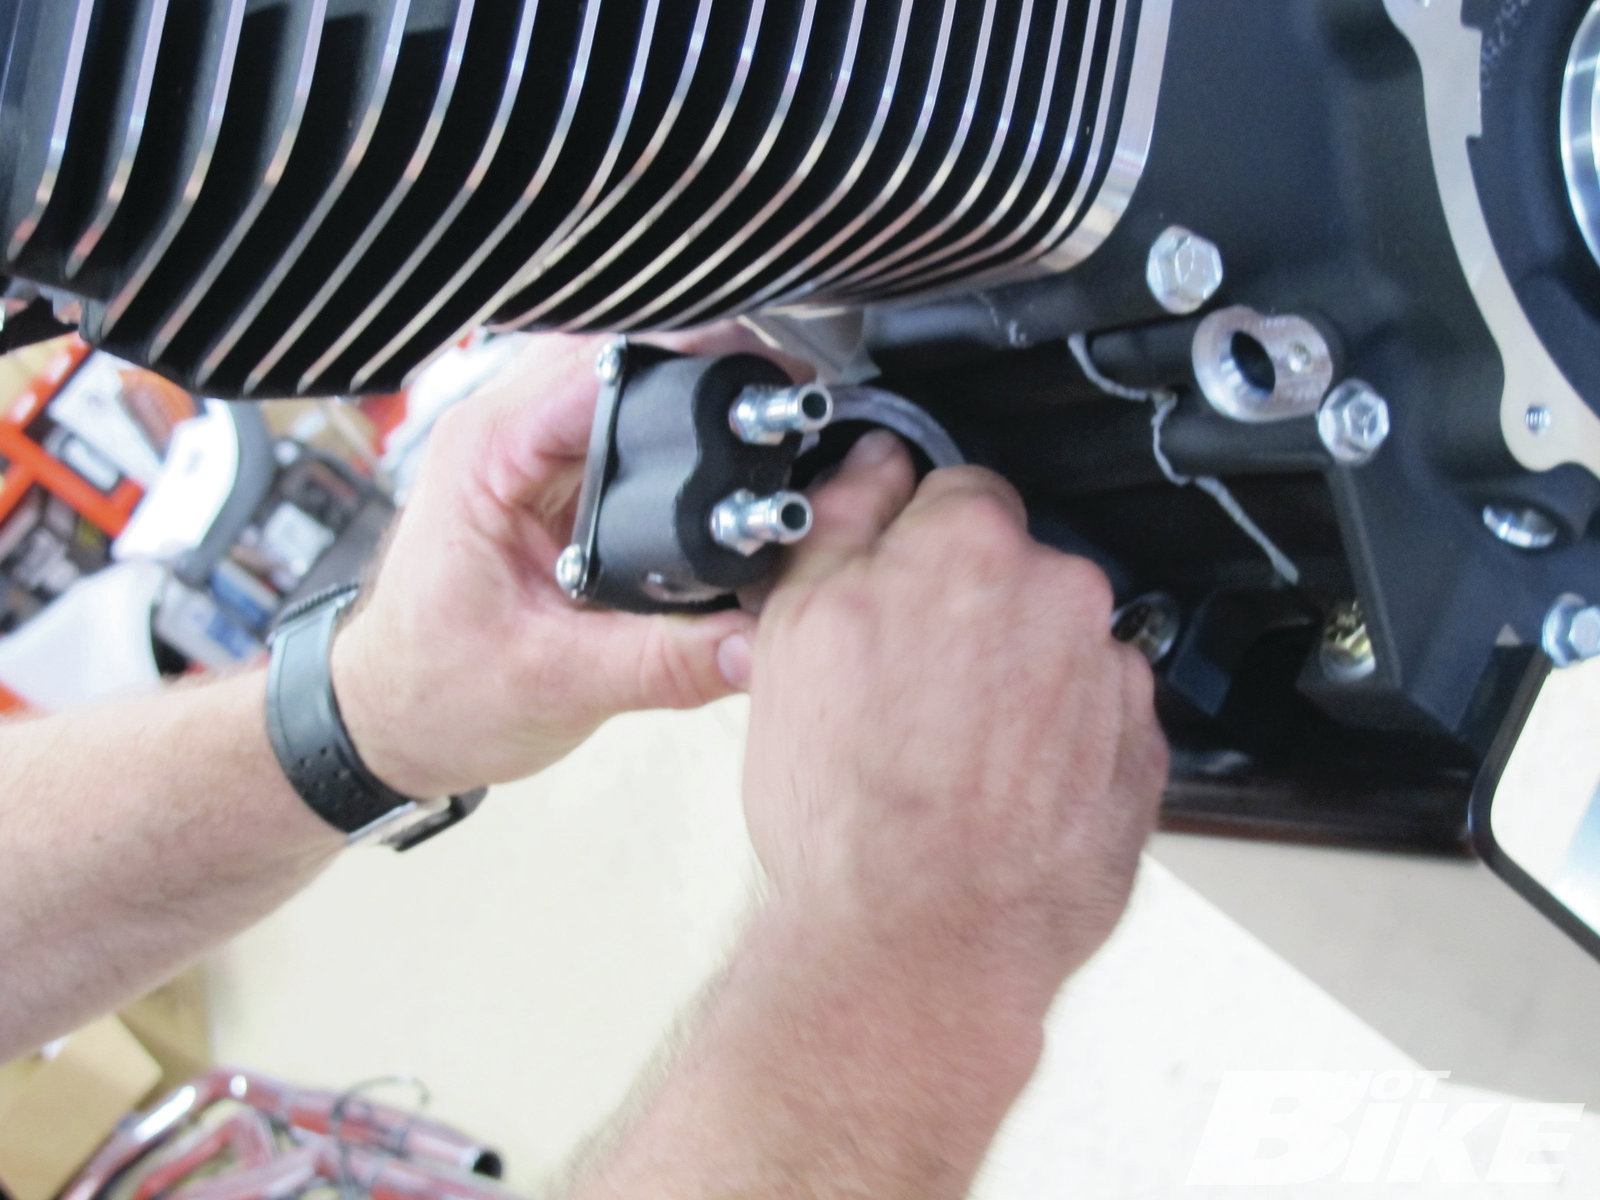
40 The oil line assembly comes on next.
41 Finally the motor is ready to be matted back to the transmission and motor mounts.
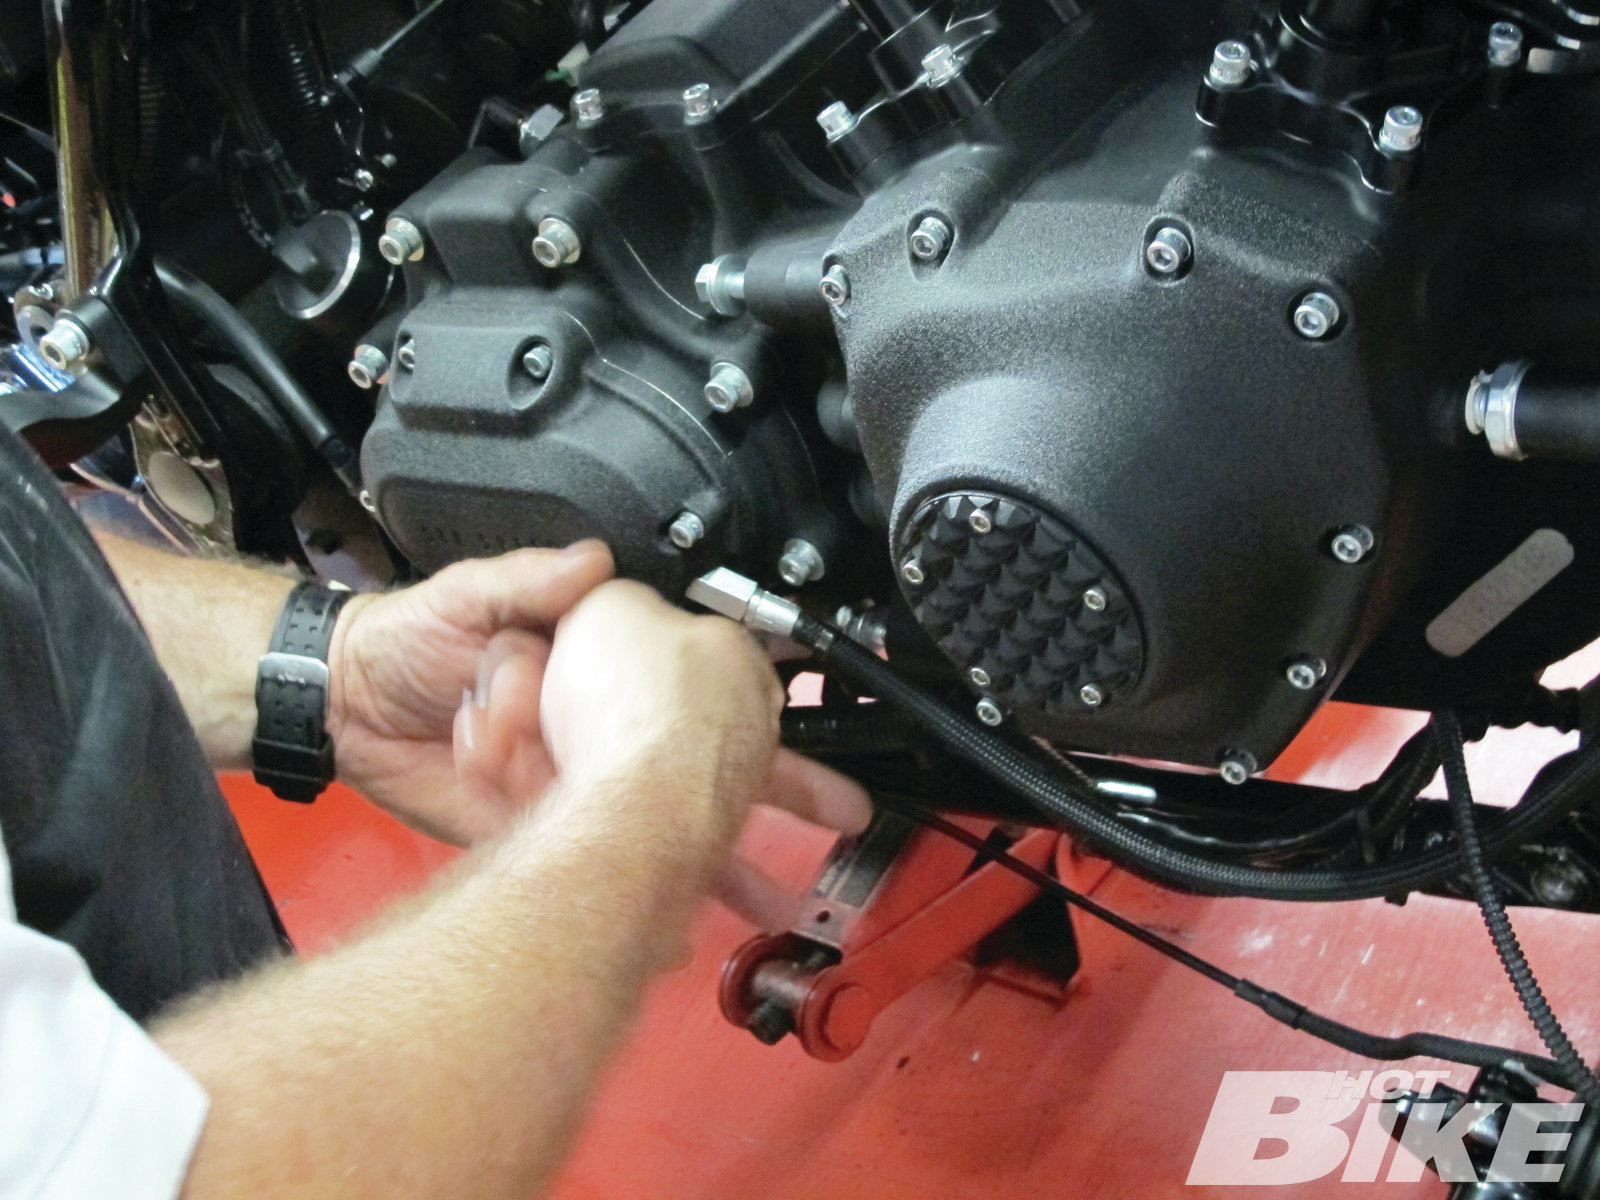
42 Install all the needed lines.
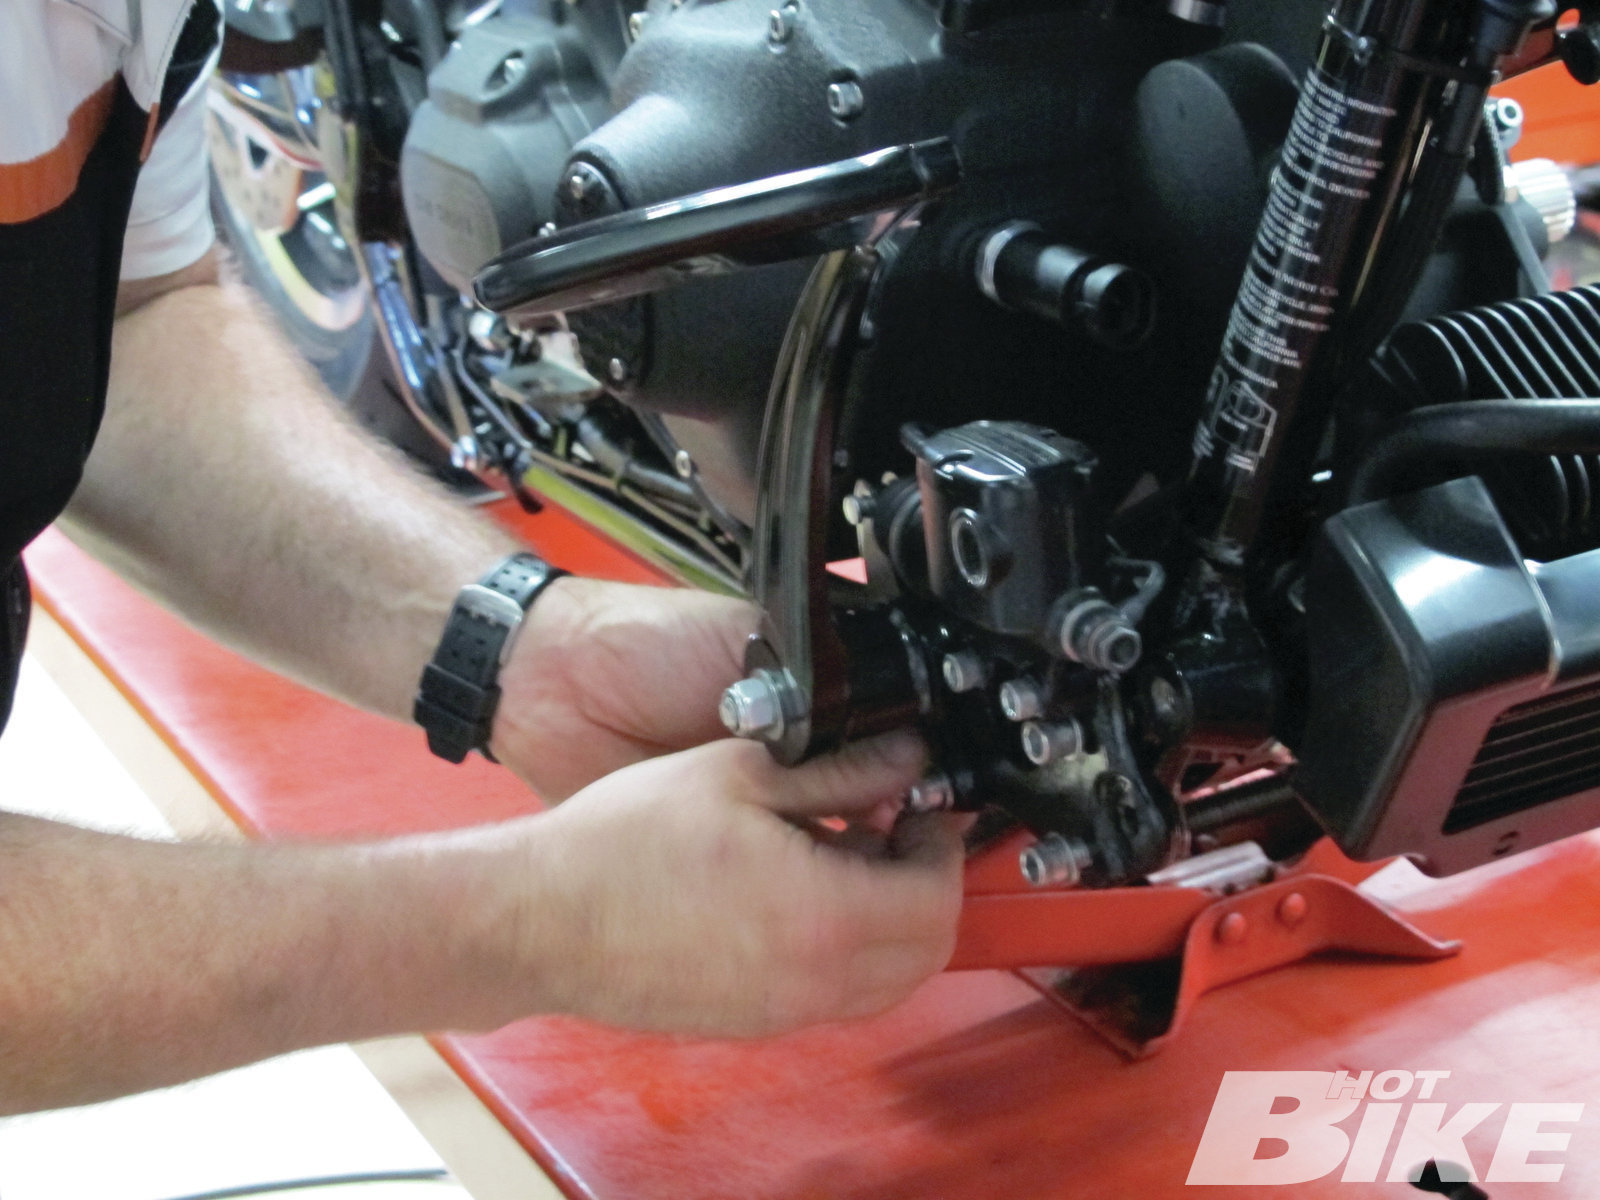
43 Reinstall the front brake assembly.
44 Reinstall the rotor/stator connector.
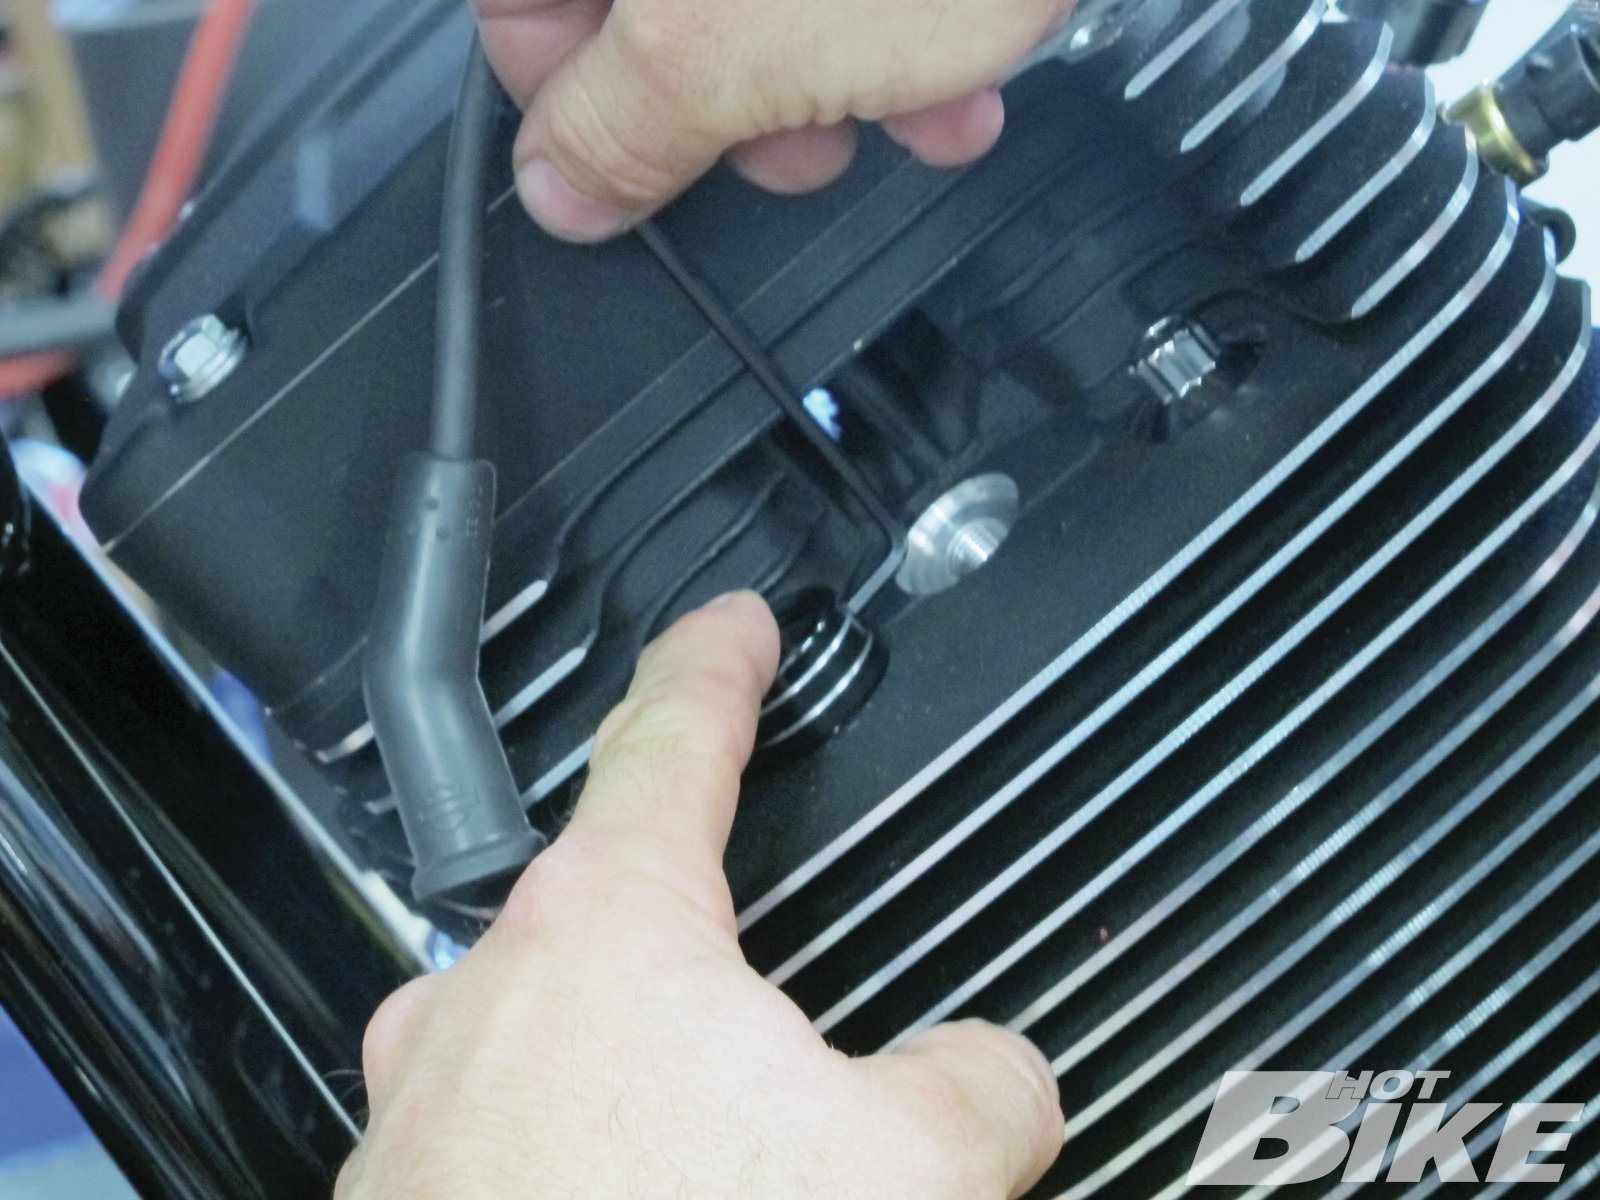
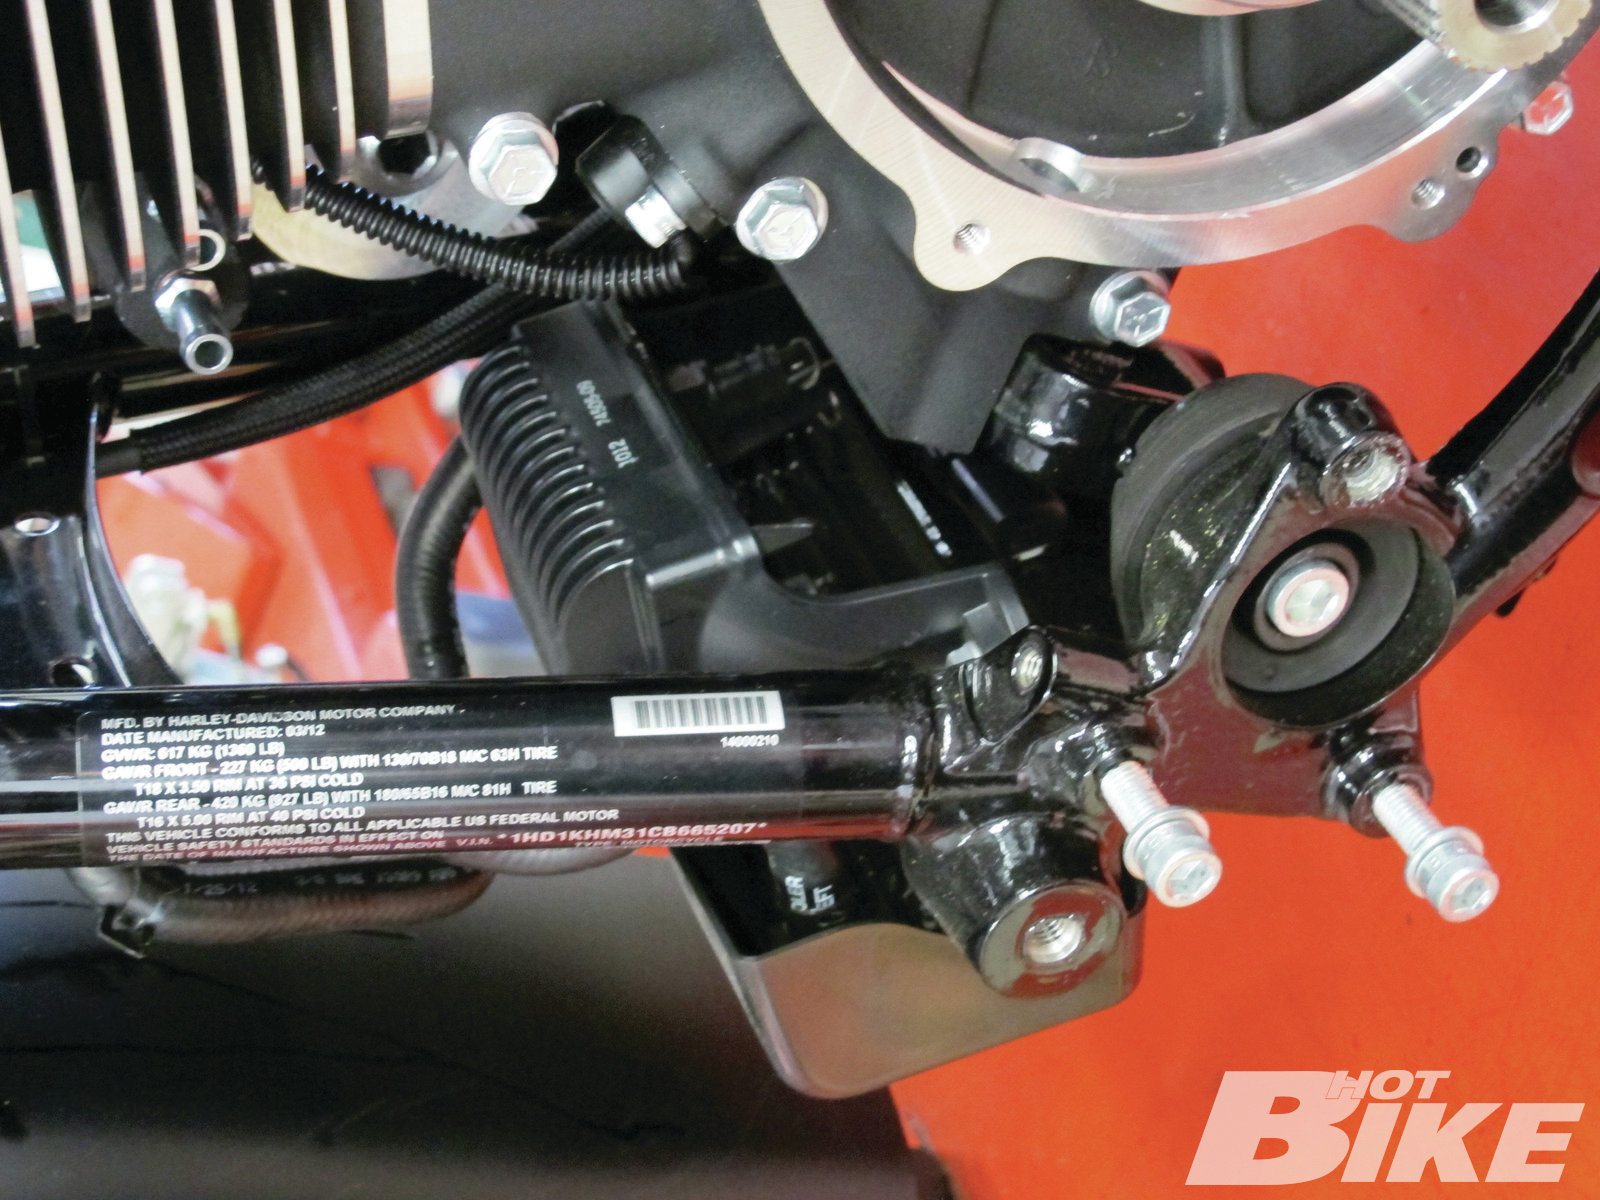
45 Don’t forget the little things like the head case bolt covers.
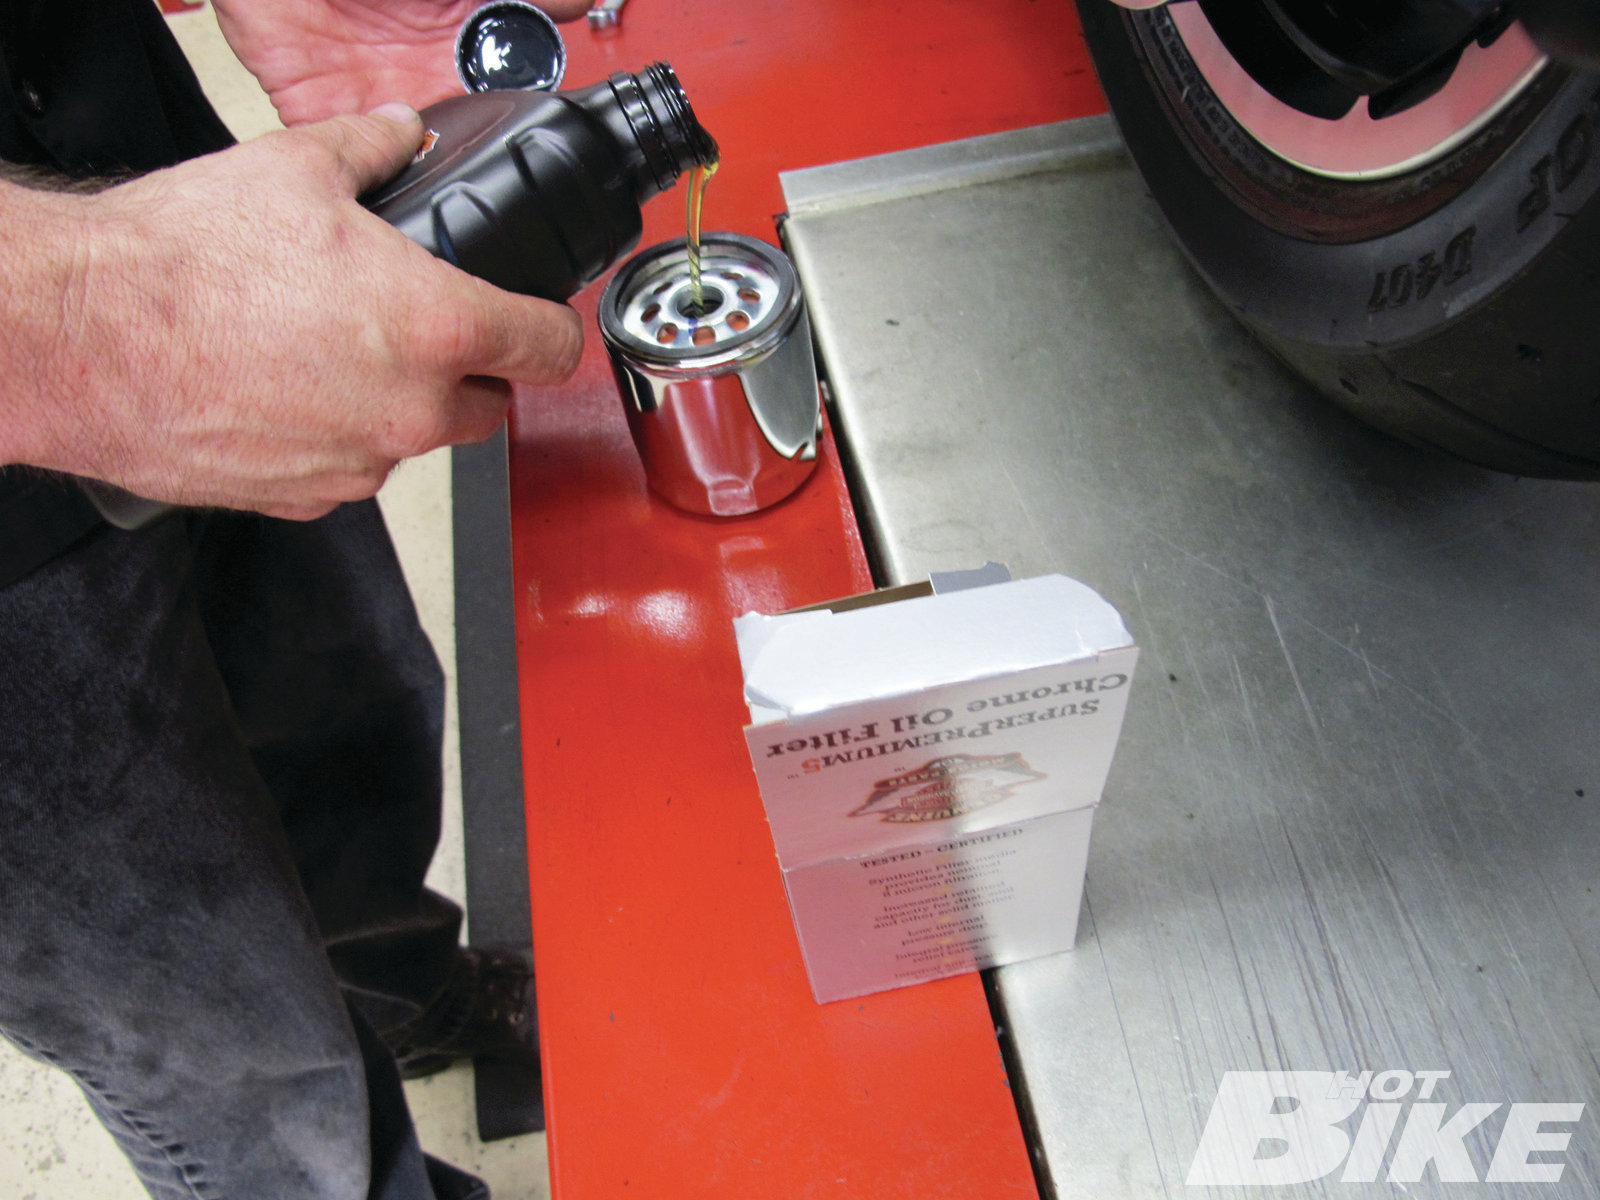
46 Prefill the oil filter to help avoid a dry start before installing.
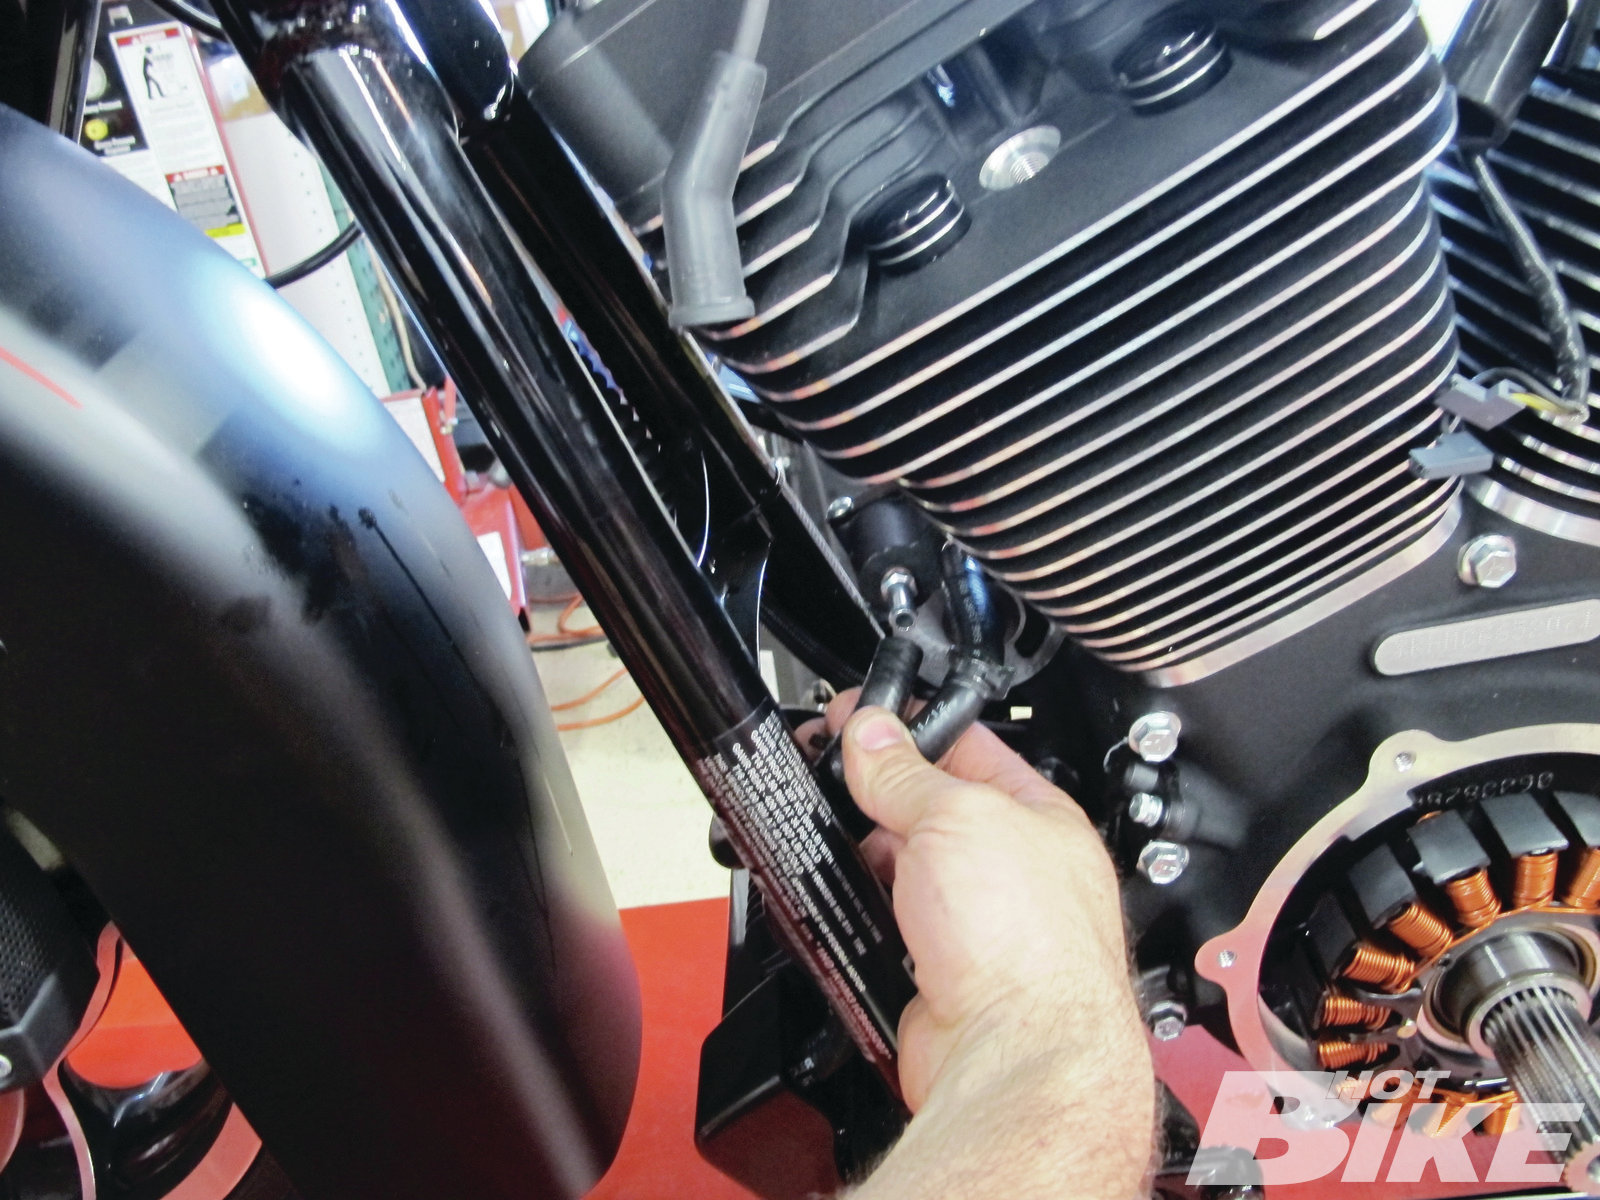
47 Reconnect the oil lines using clamps.
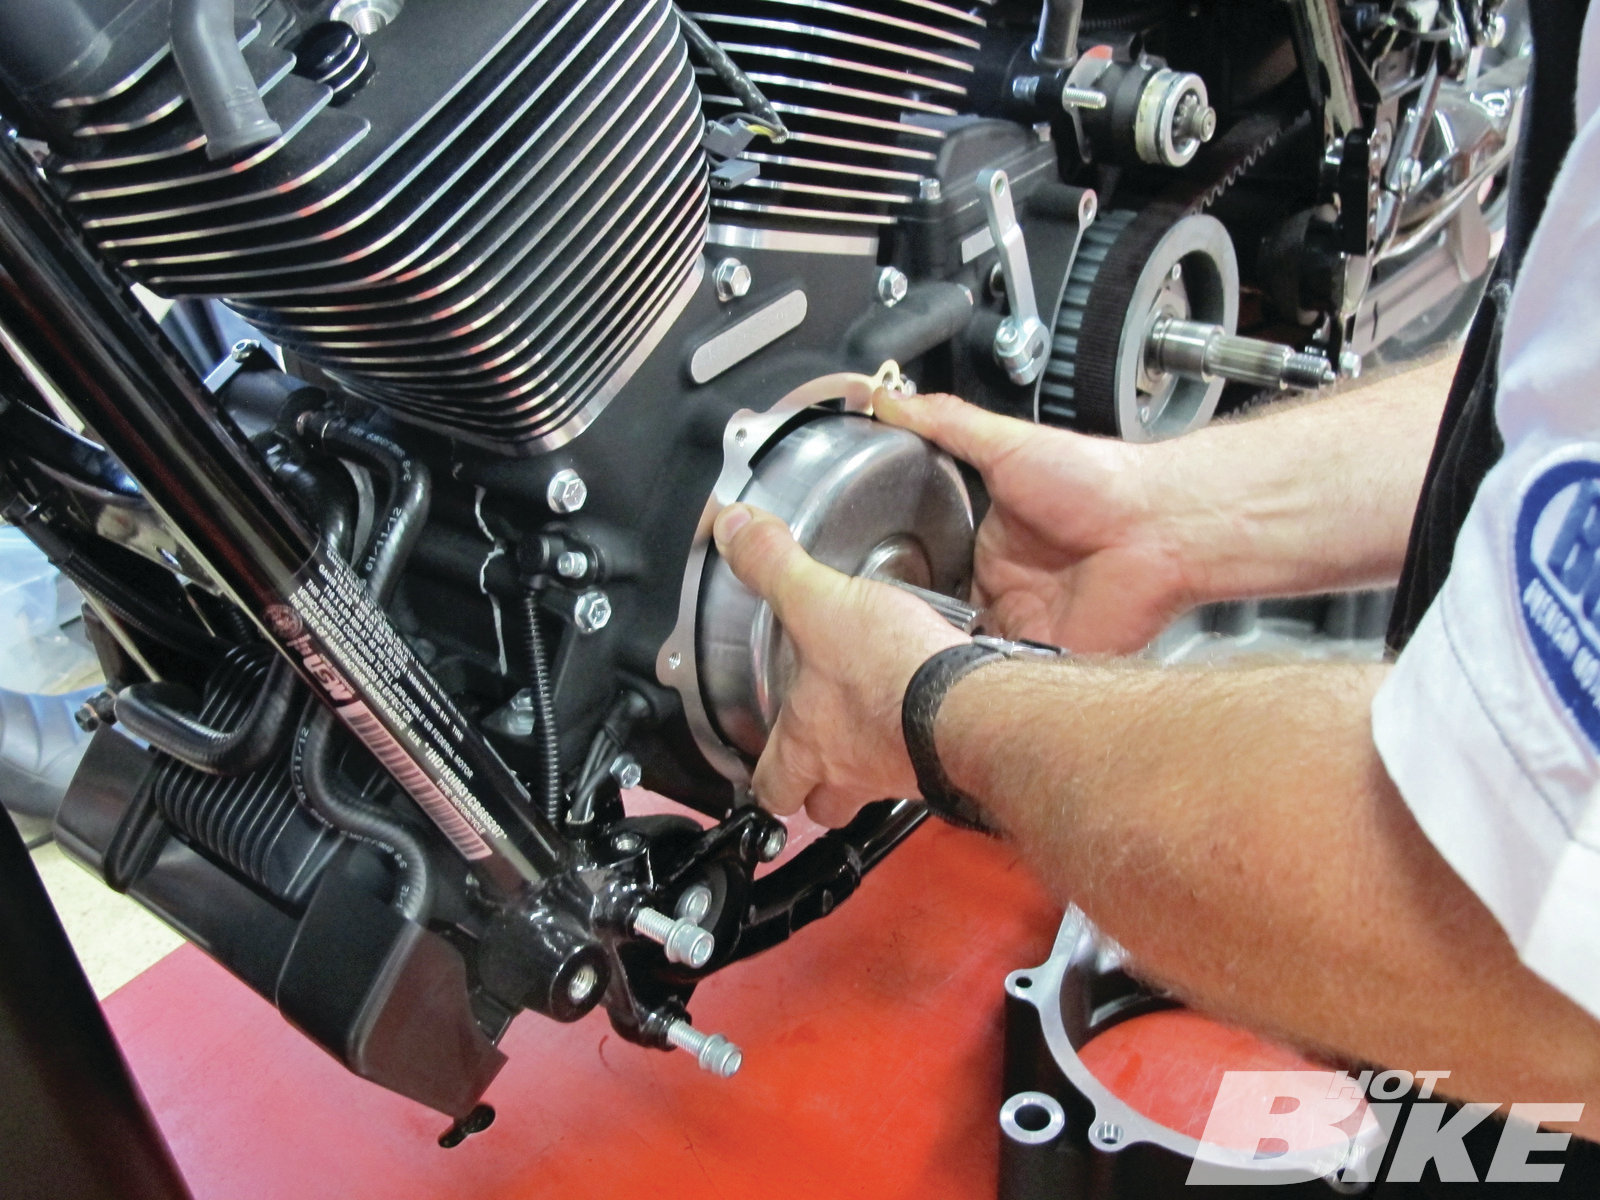
48 Put the rotor back on gently.
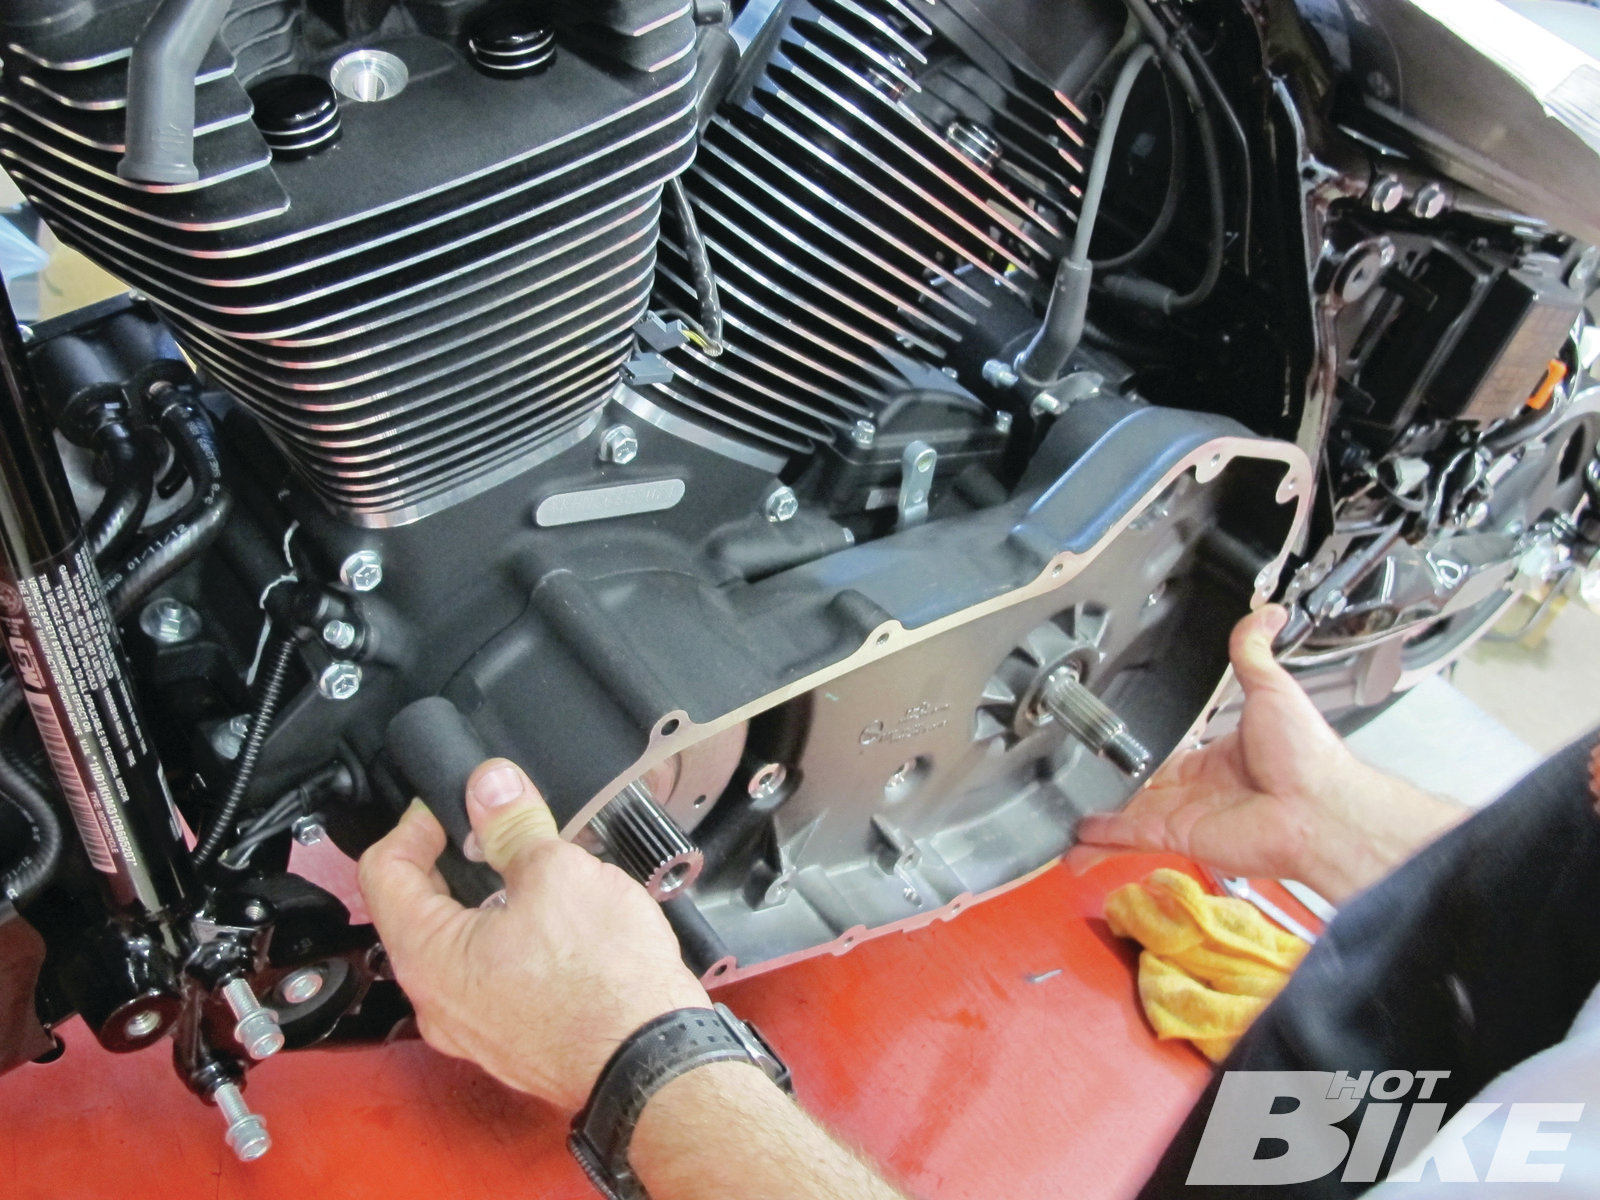
49 The inner case goes next.
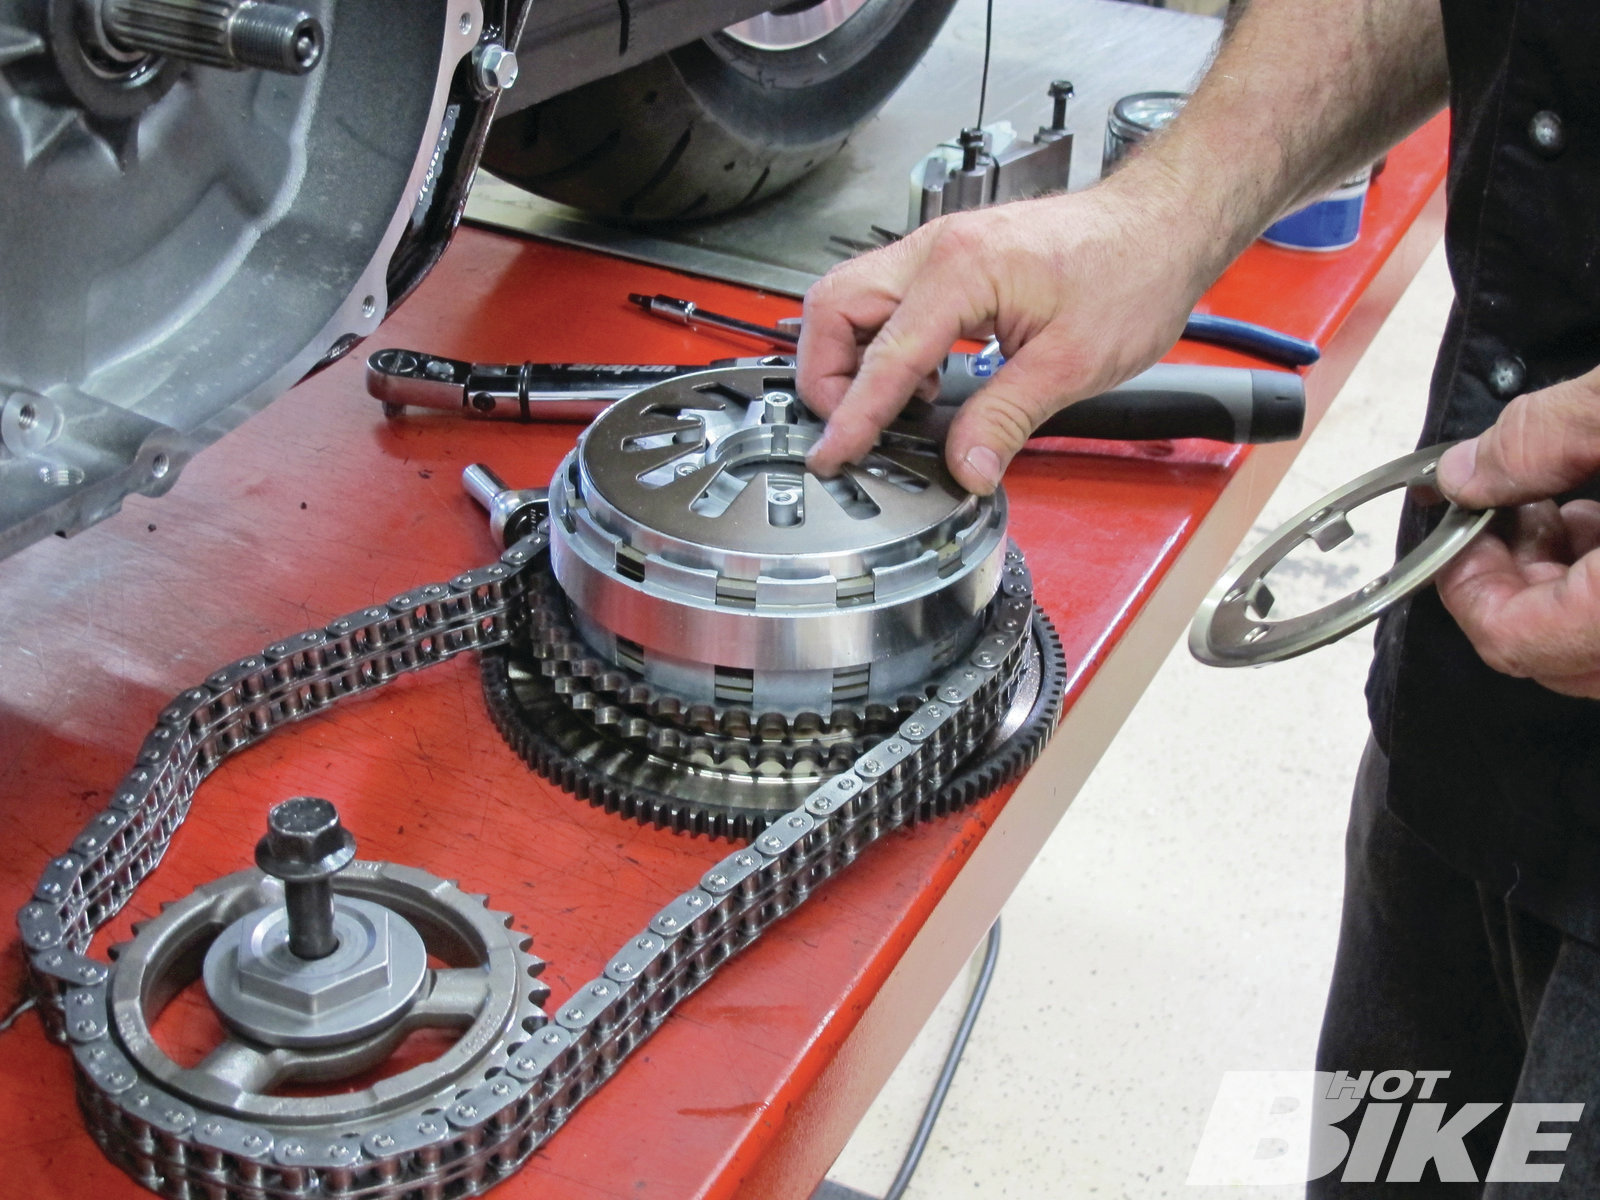
50 Before installing the clutch assembly, change out the spring with the stiffer one supplied with the kit.
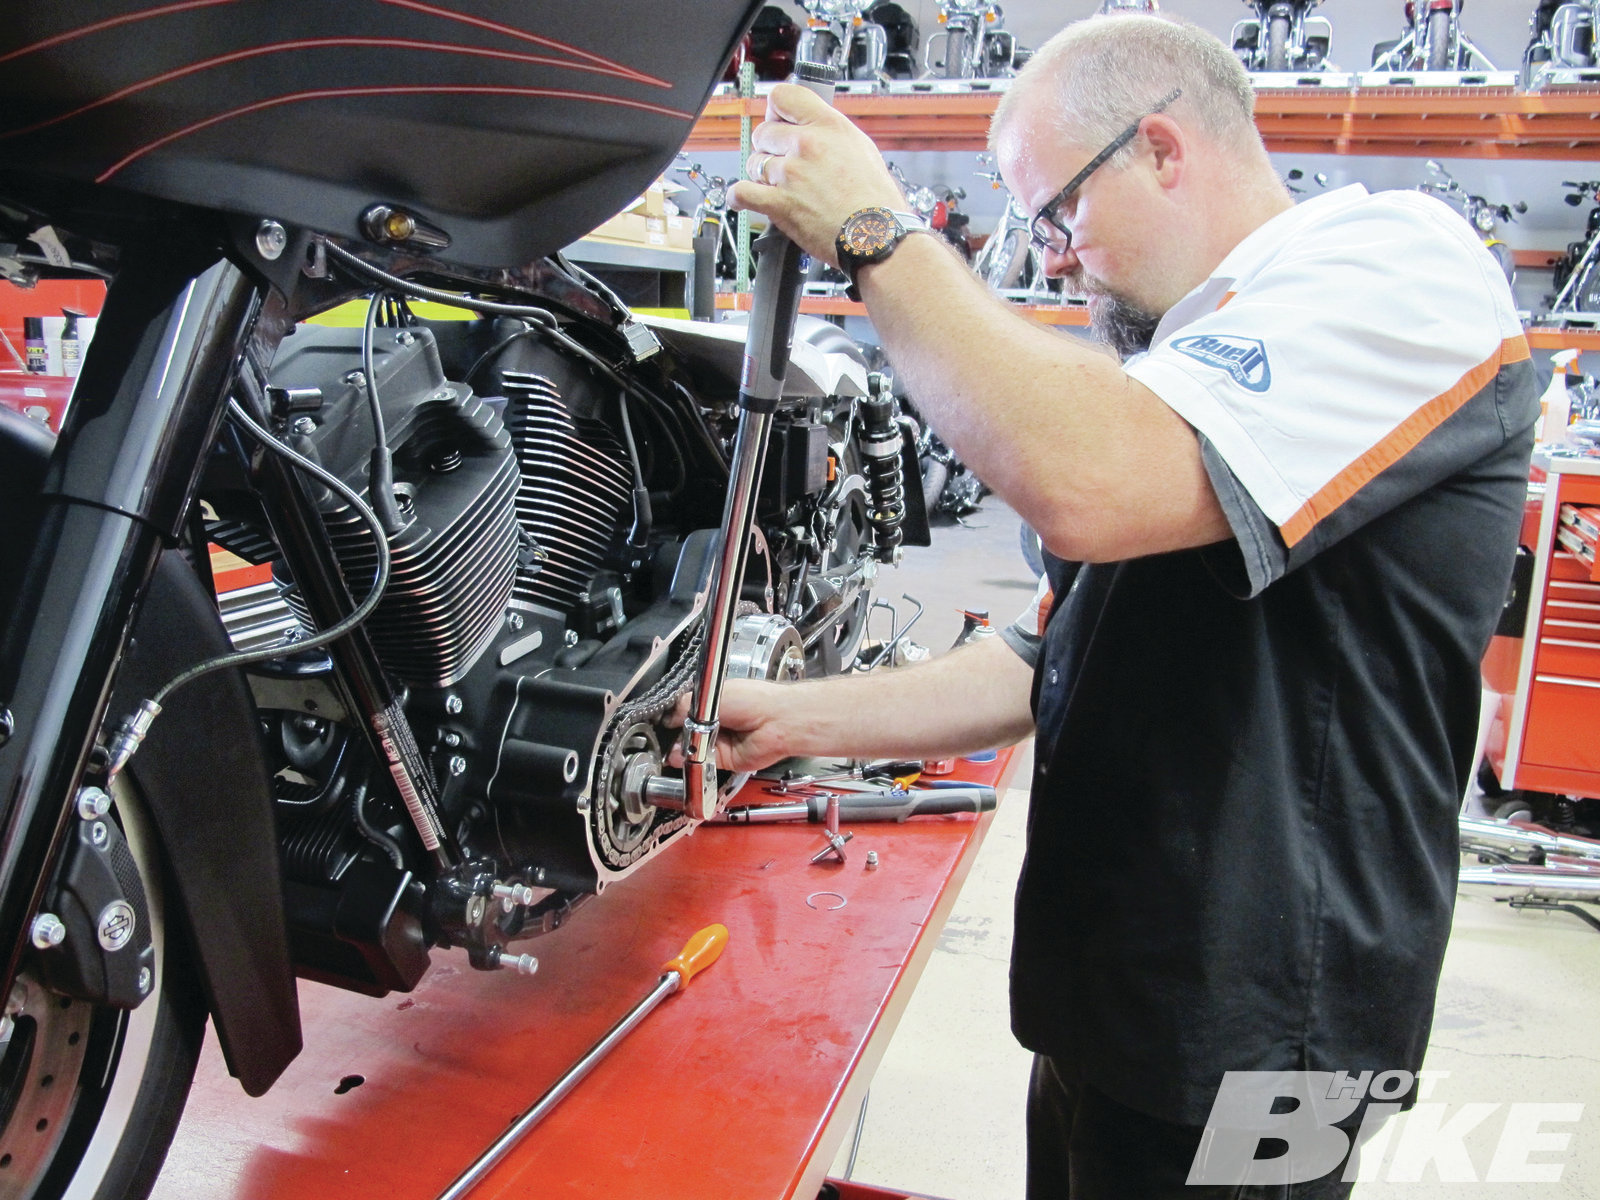
51 Torque everything to spec.
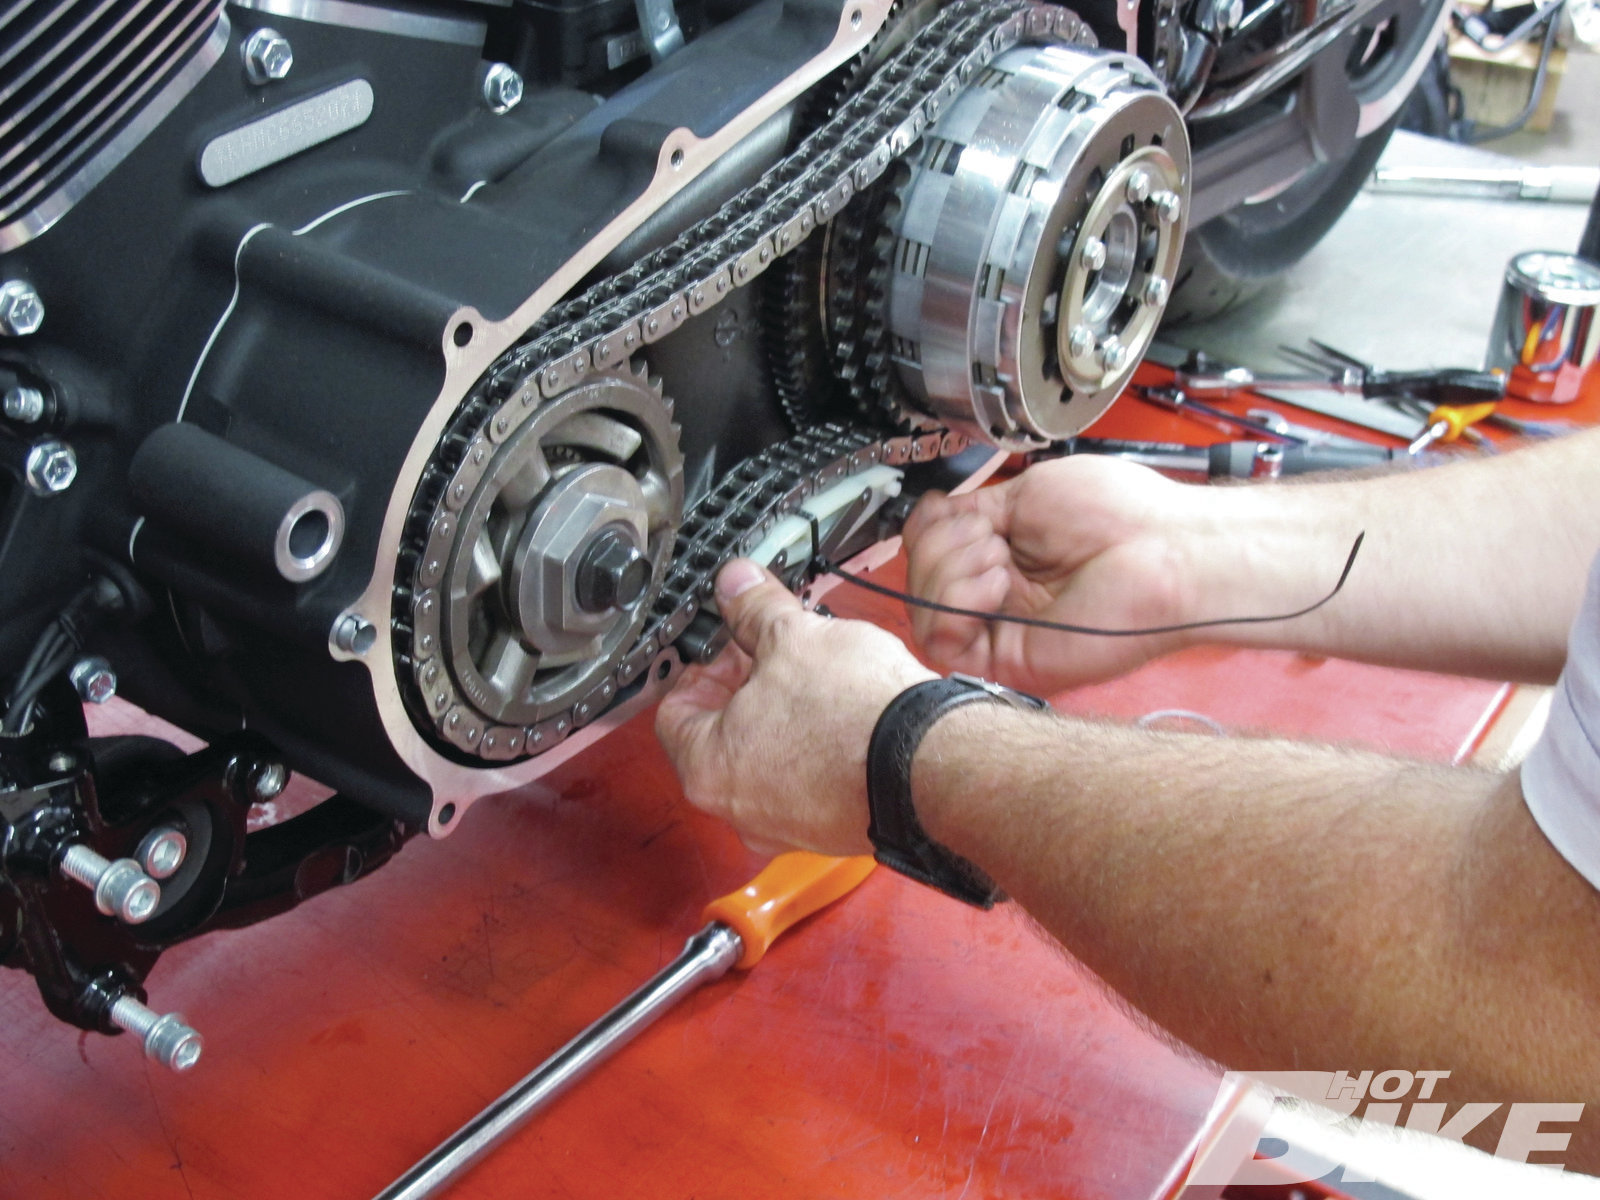
52 The primary chain tensioner goes next.
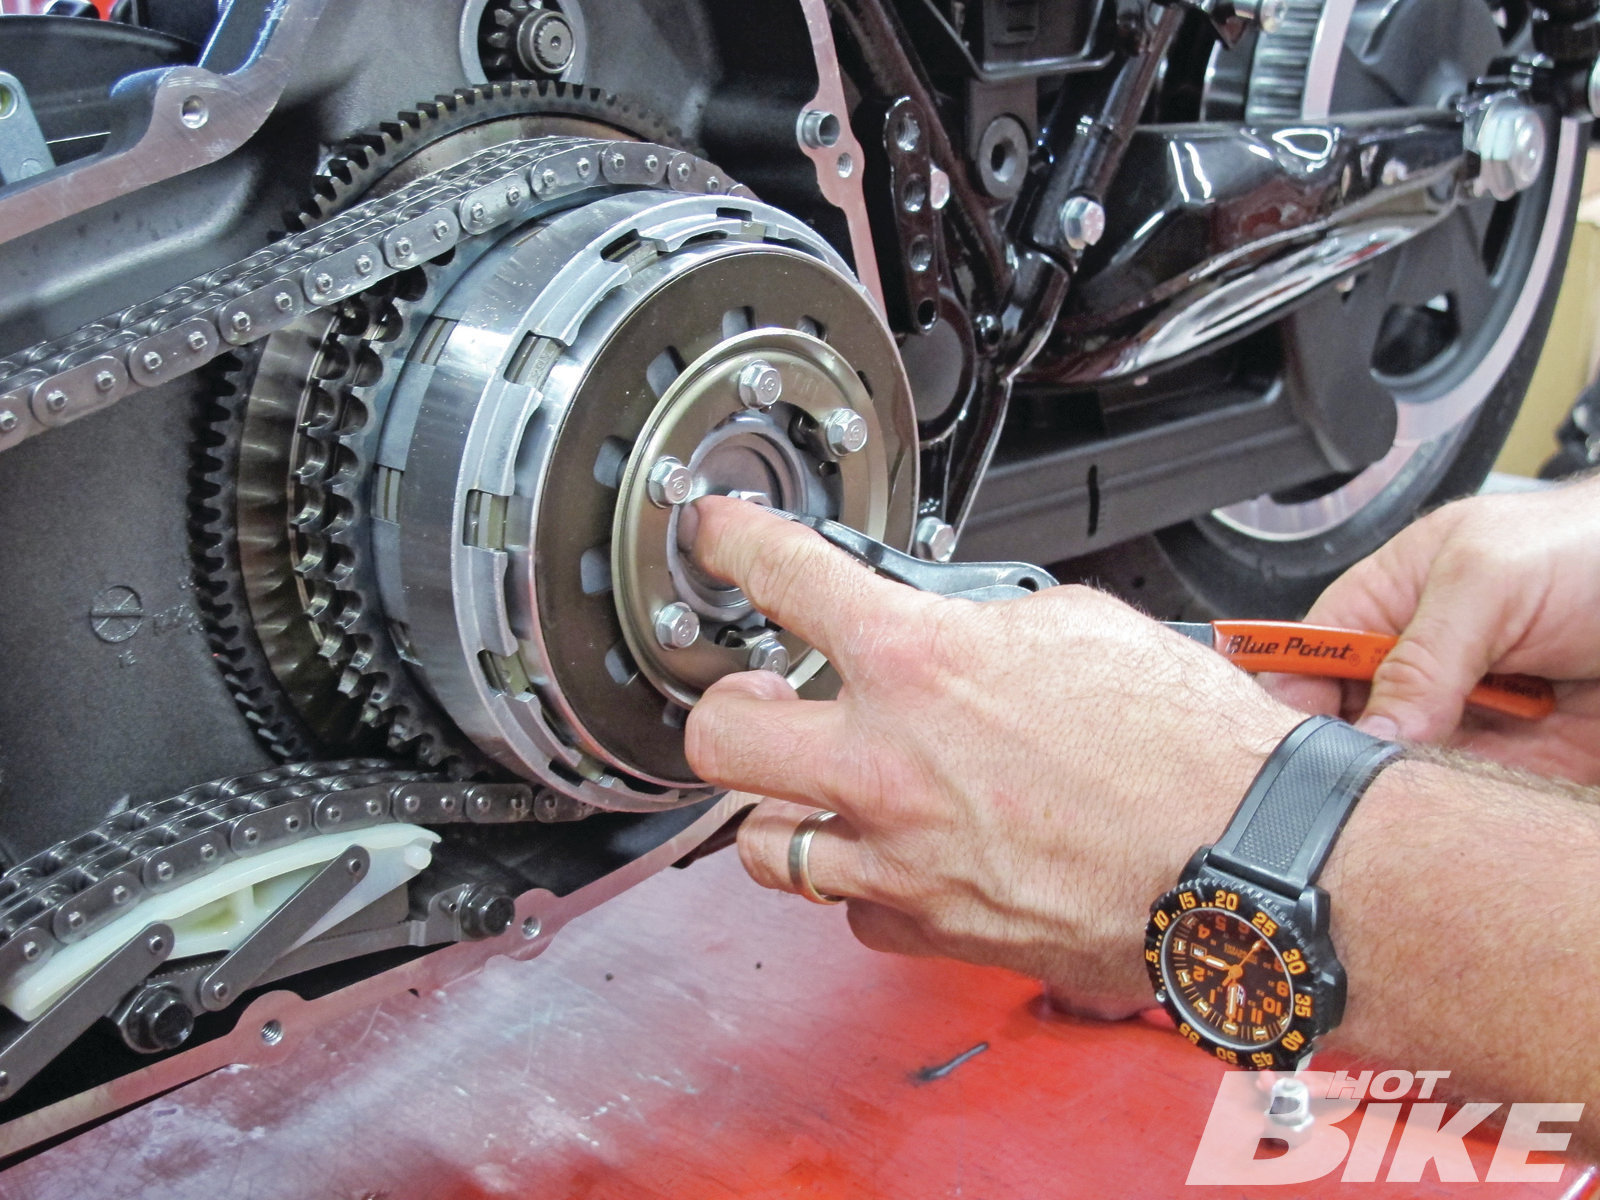
53 Secure the clutch assembly with the retainer clip.

54 Replace the O-ring on the derby cover.
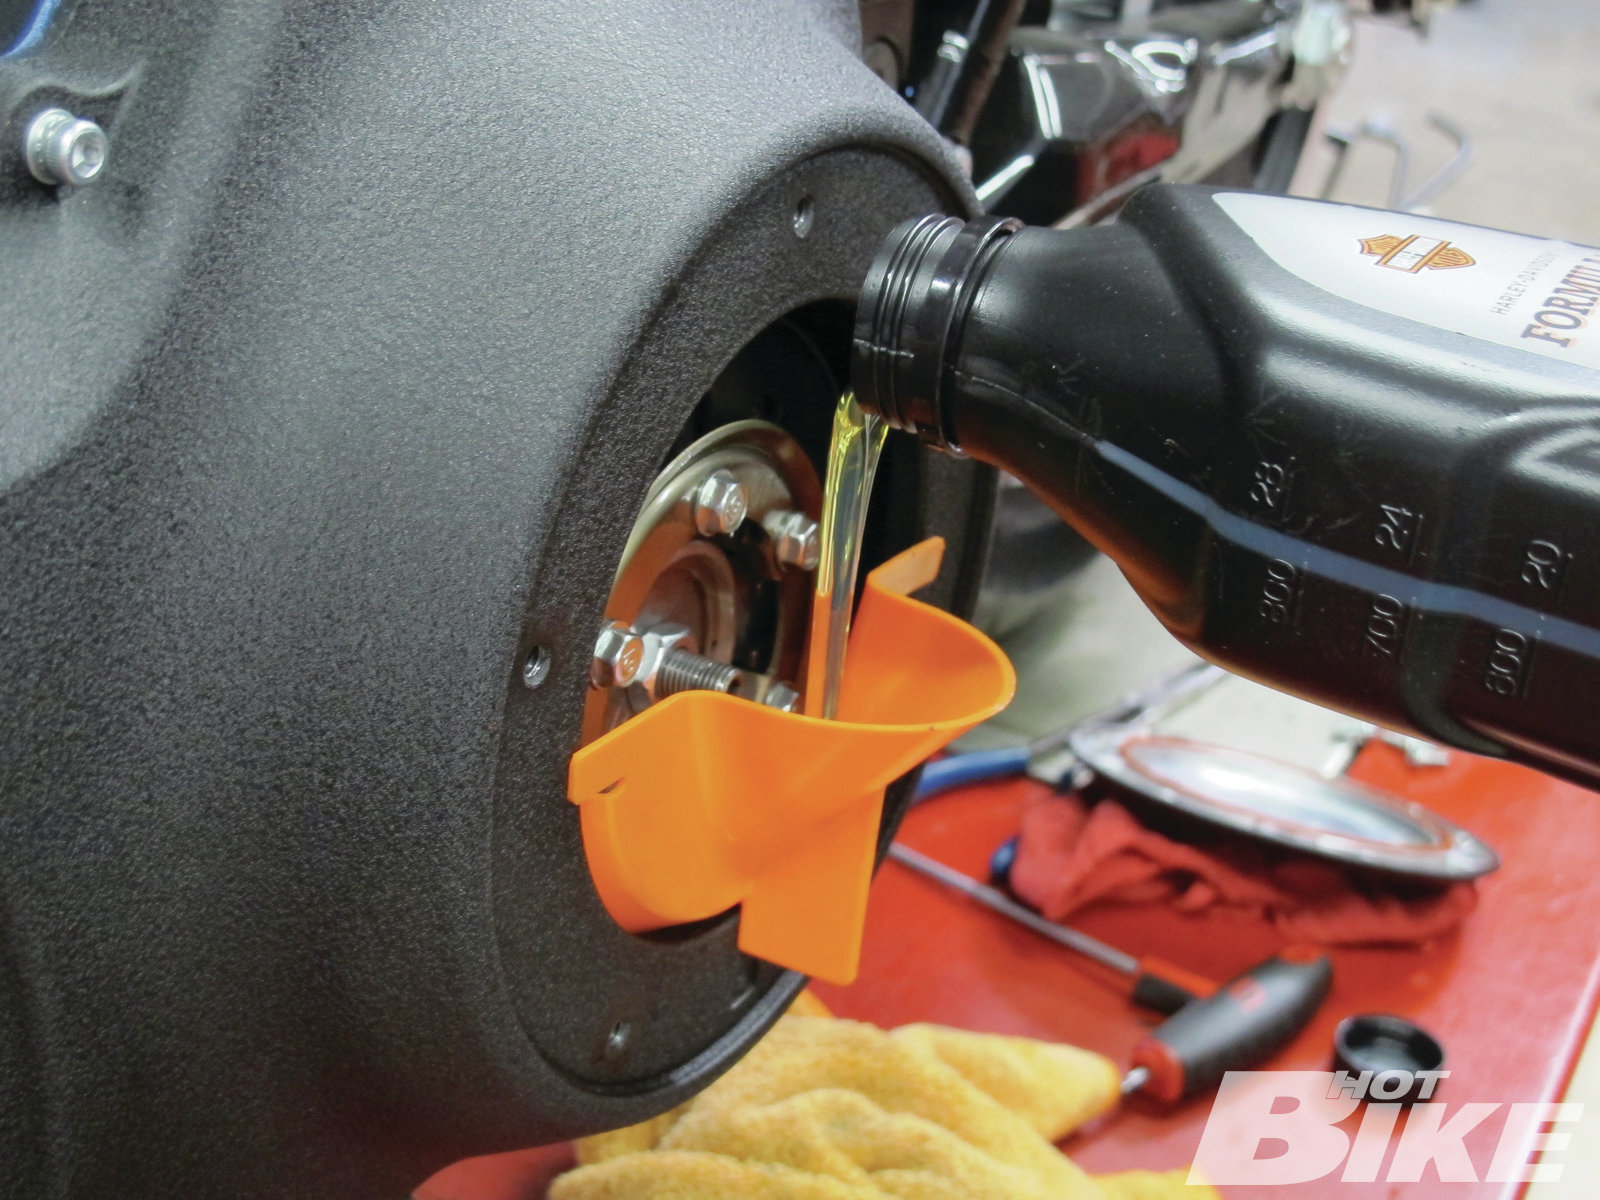
55 Prefill the motor with a quart of oil to help with start-up.
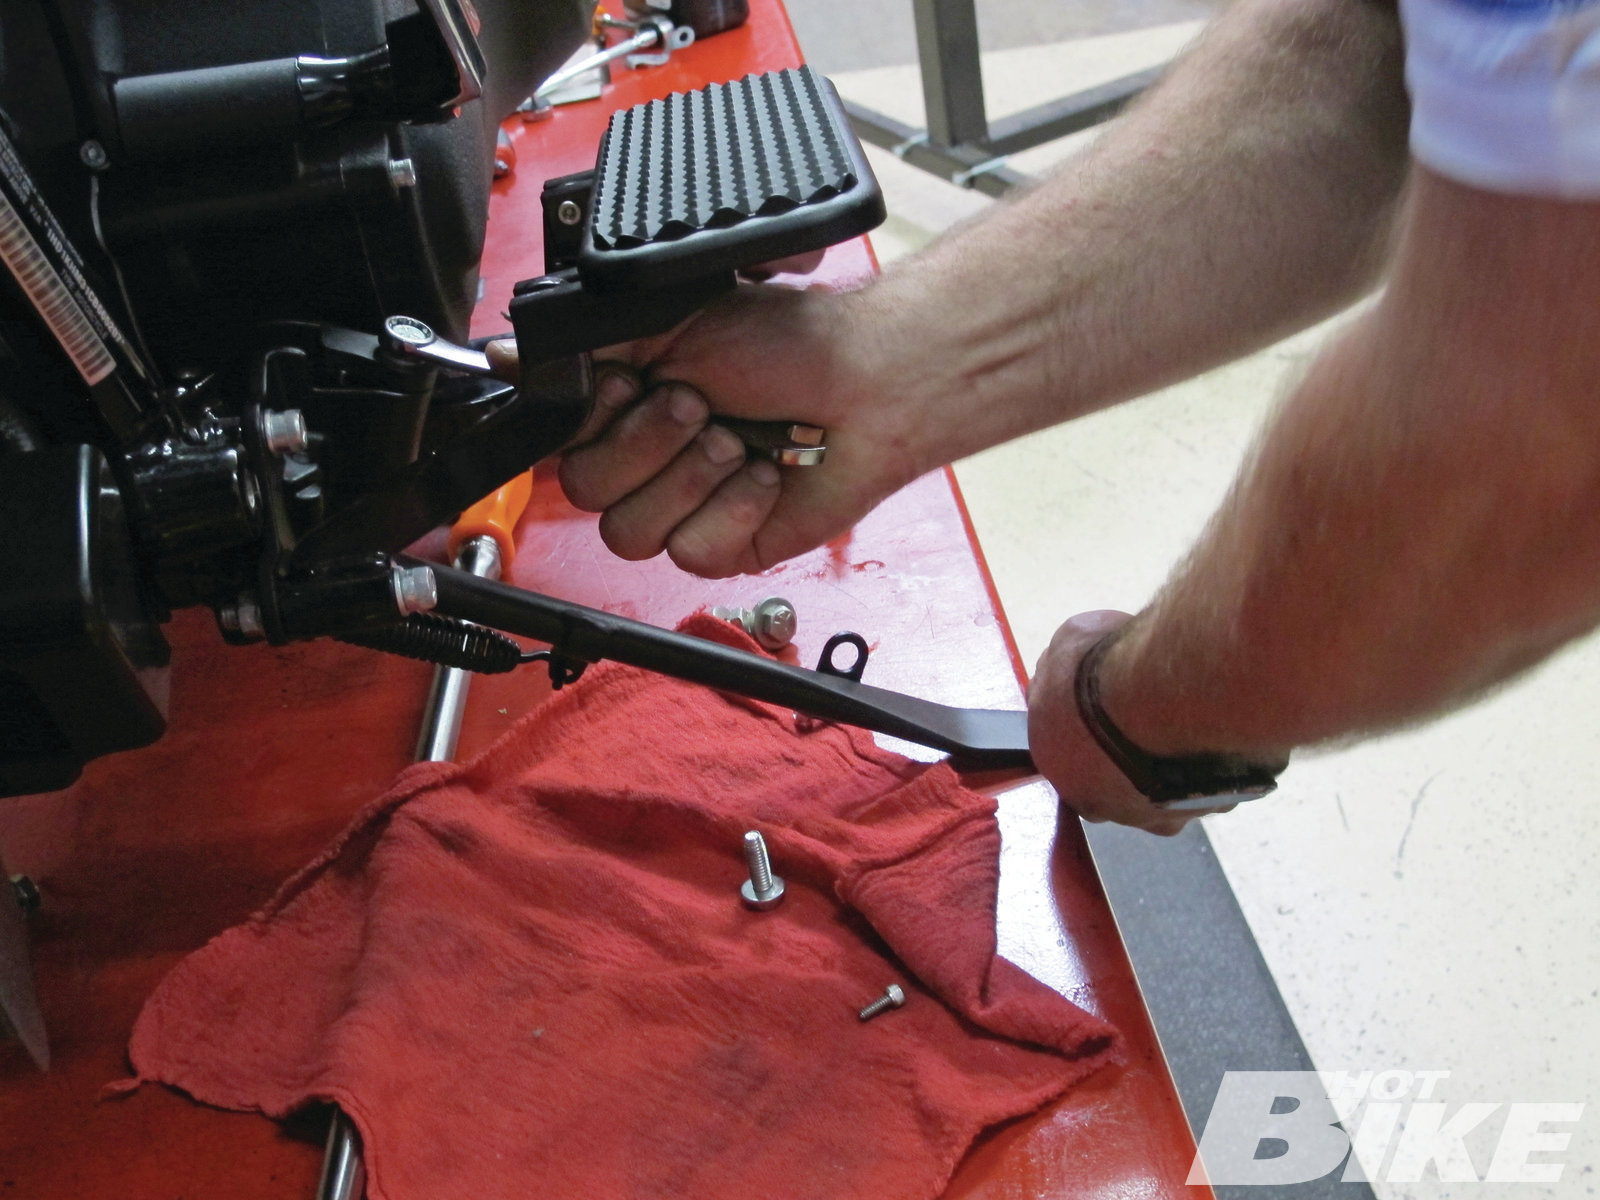
56 Reinstall the floorboard, kickstand, and shifting linkage.
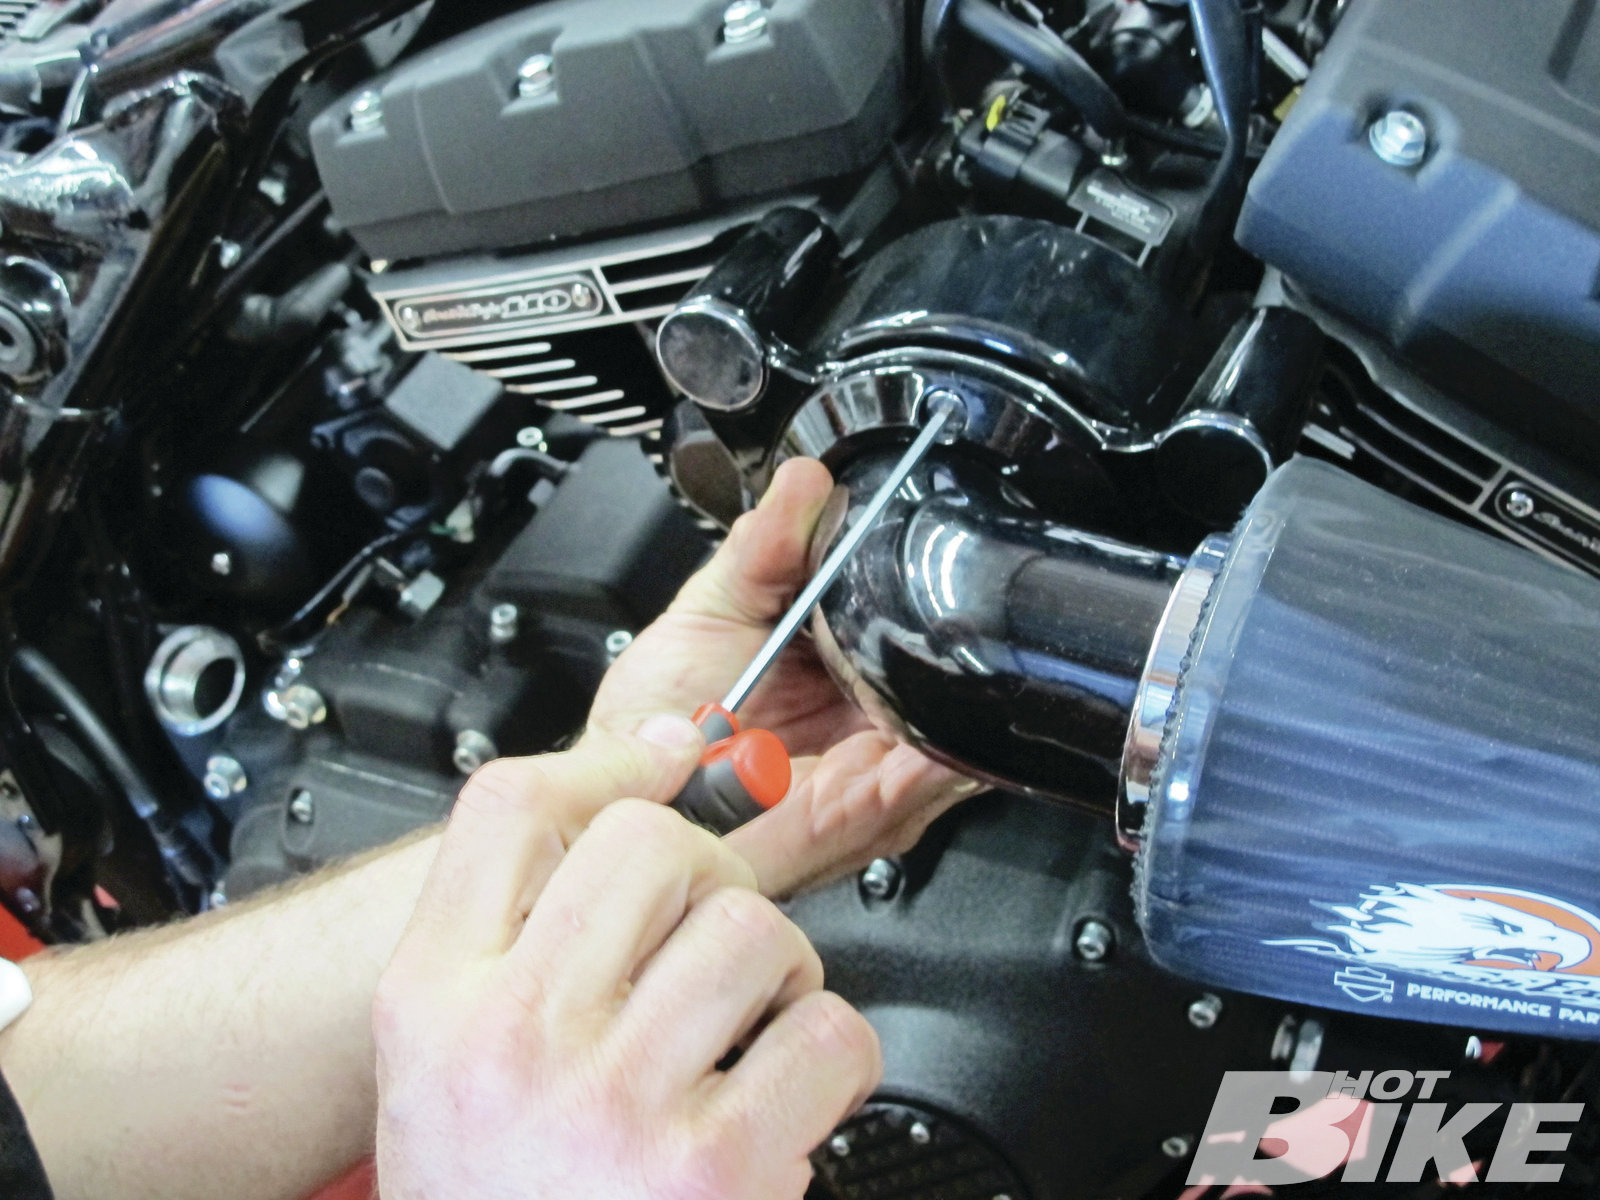
57 Next, the fuel injection assembly is reinstalled.
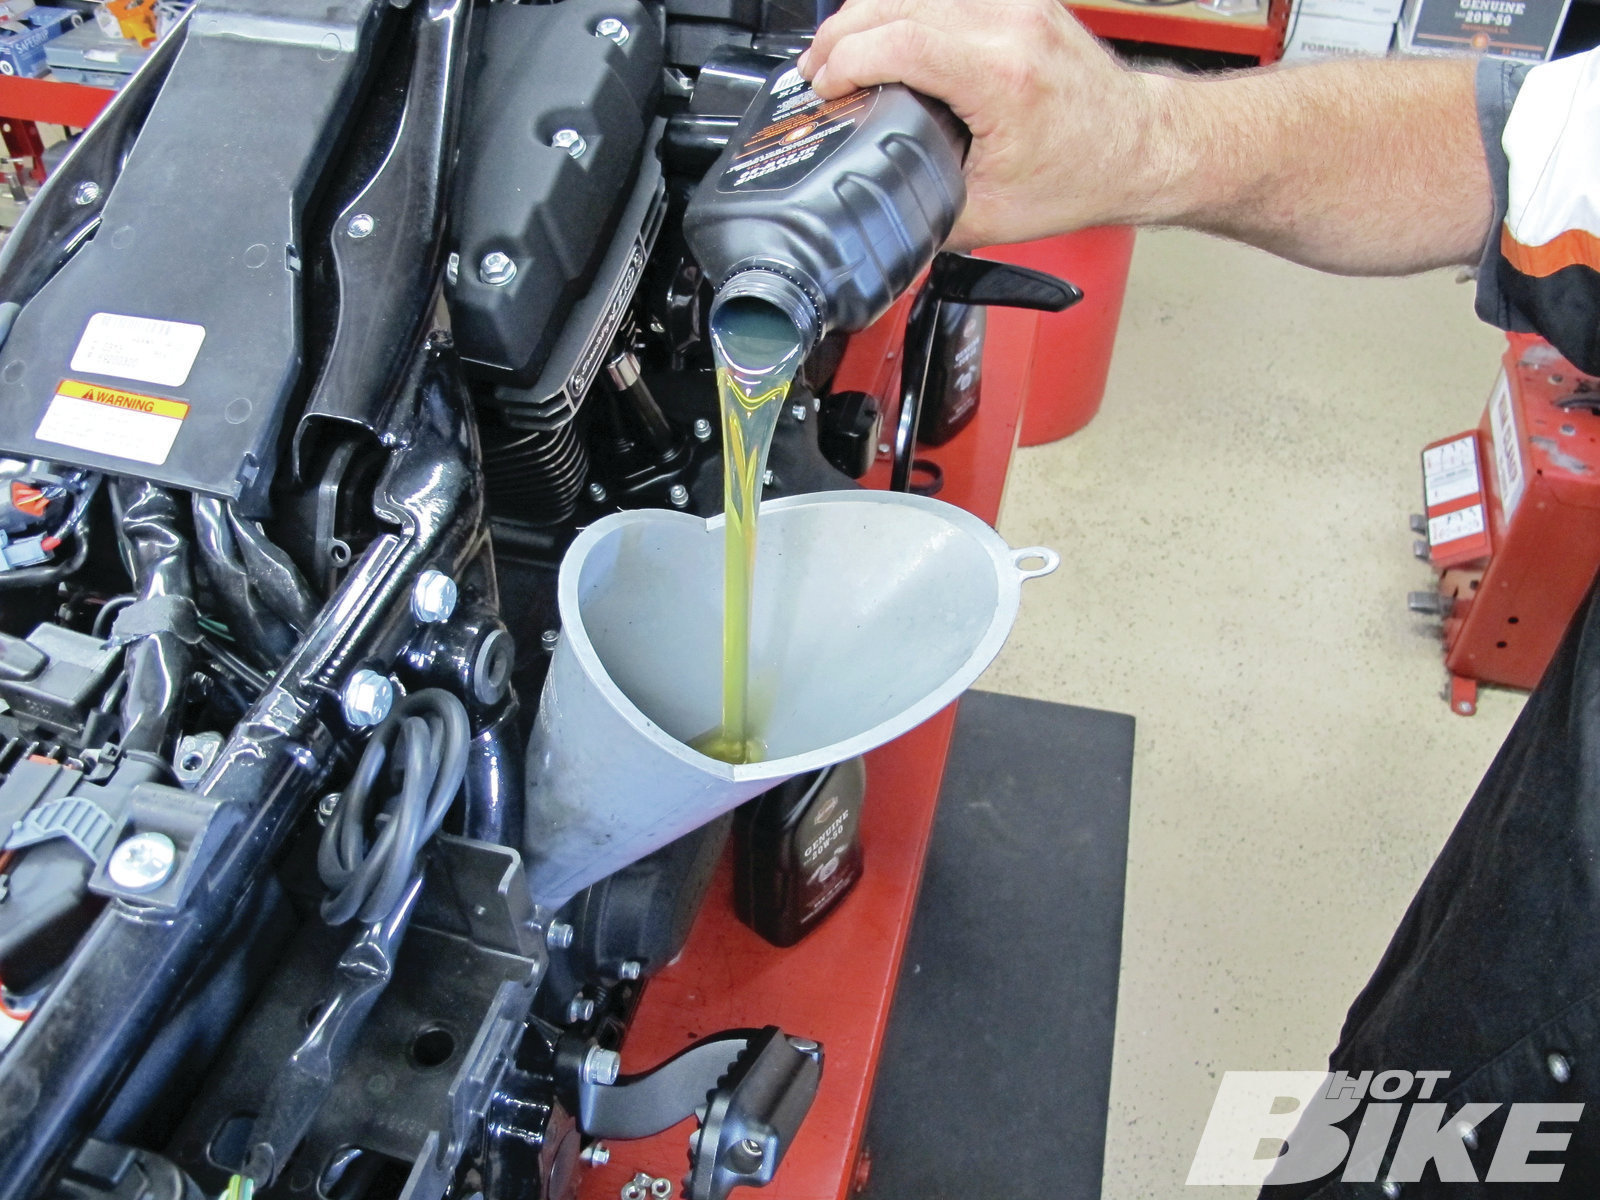
58 Fill the motor with oil to spec.
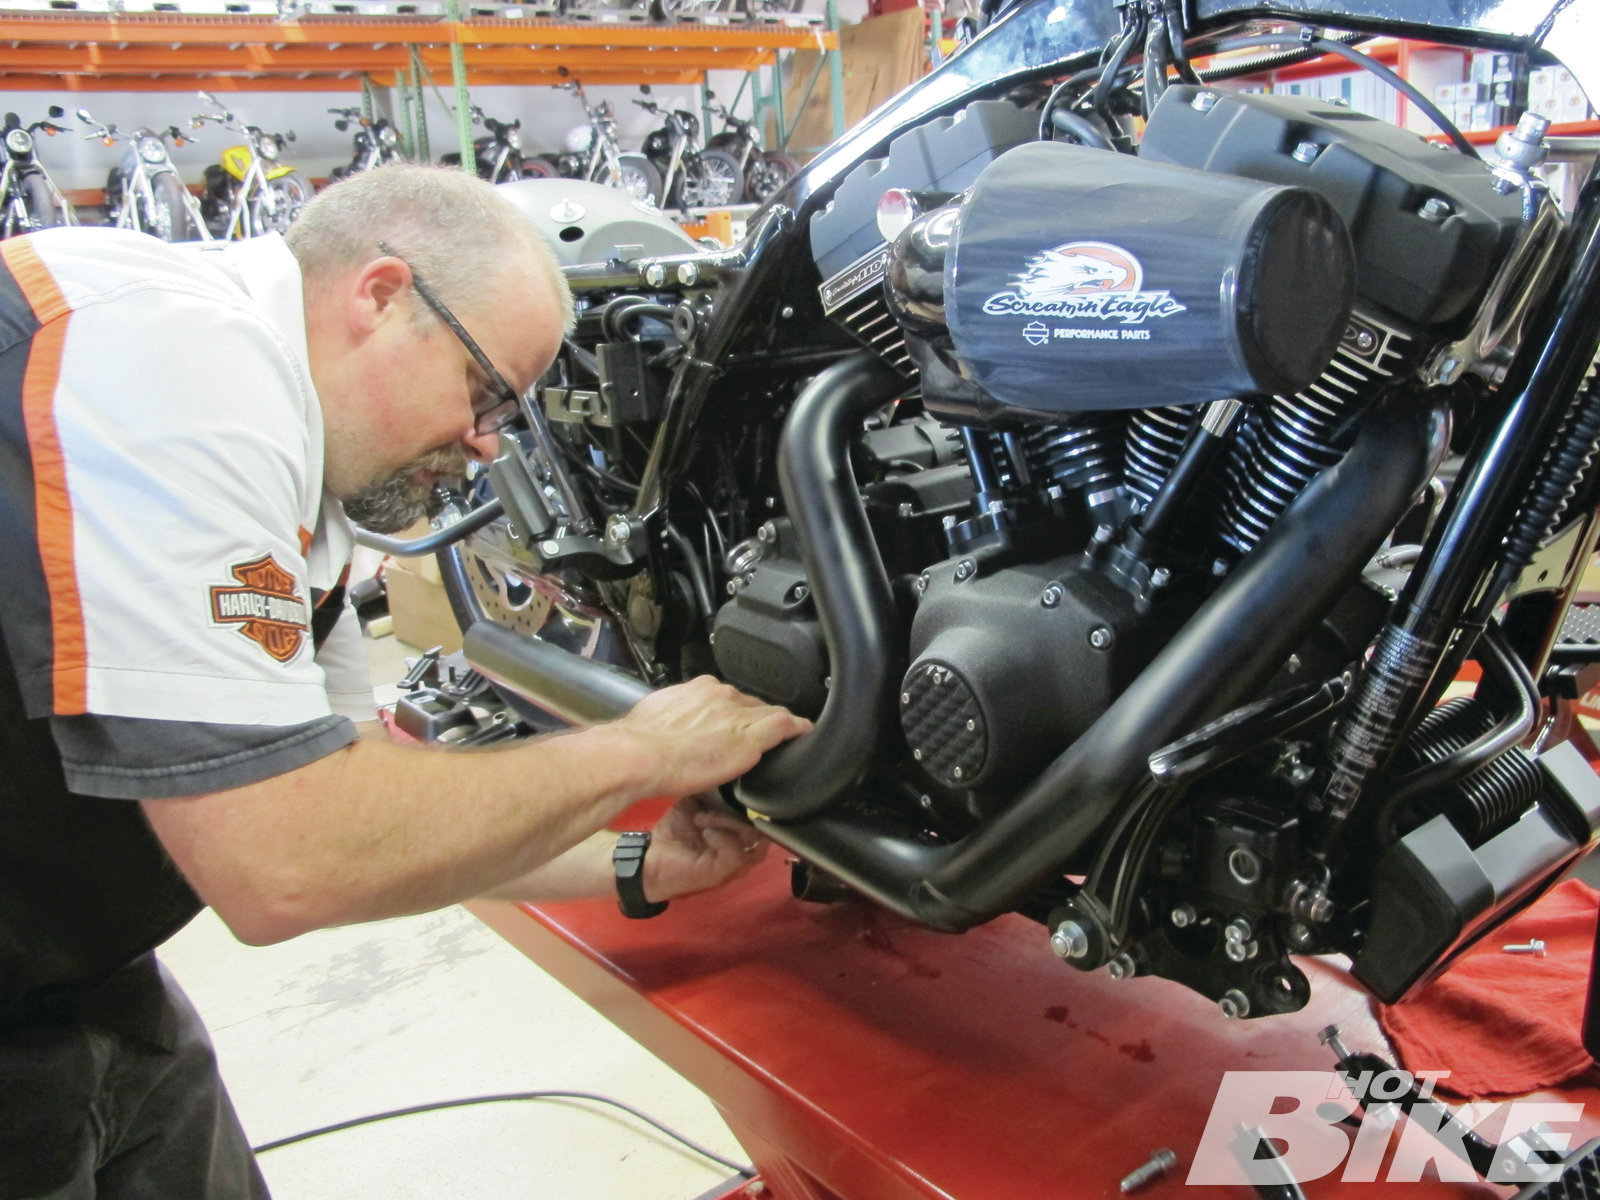
59 Reinstall the exhaust.
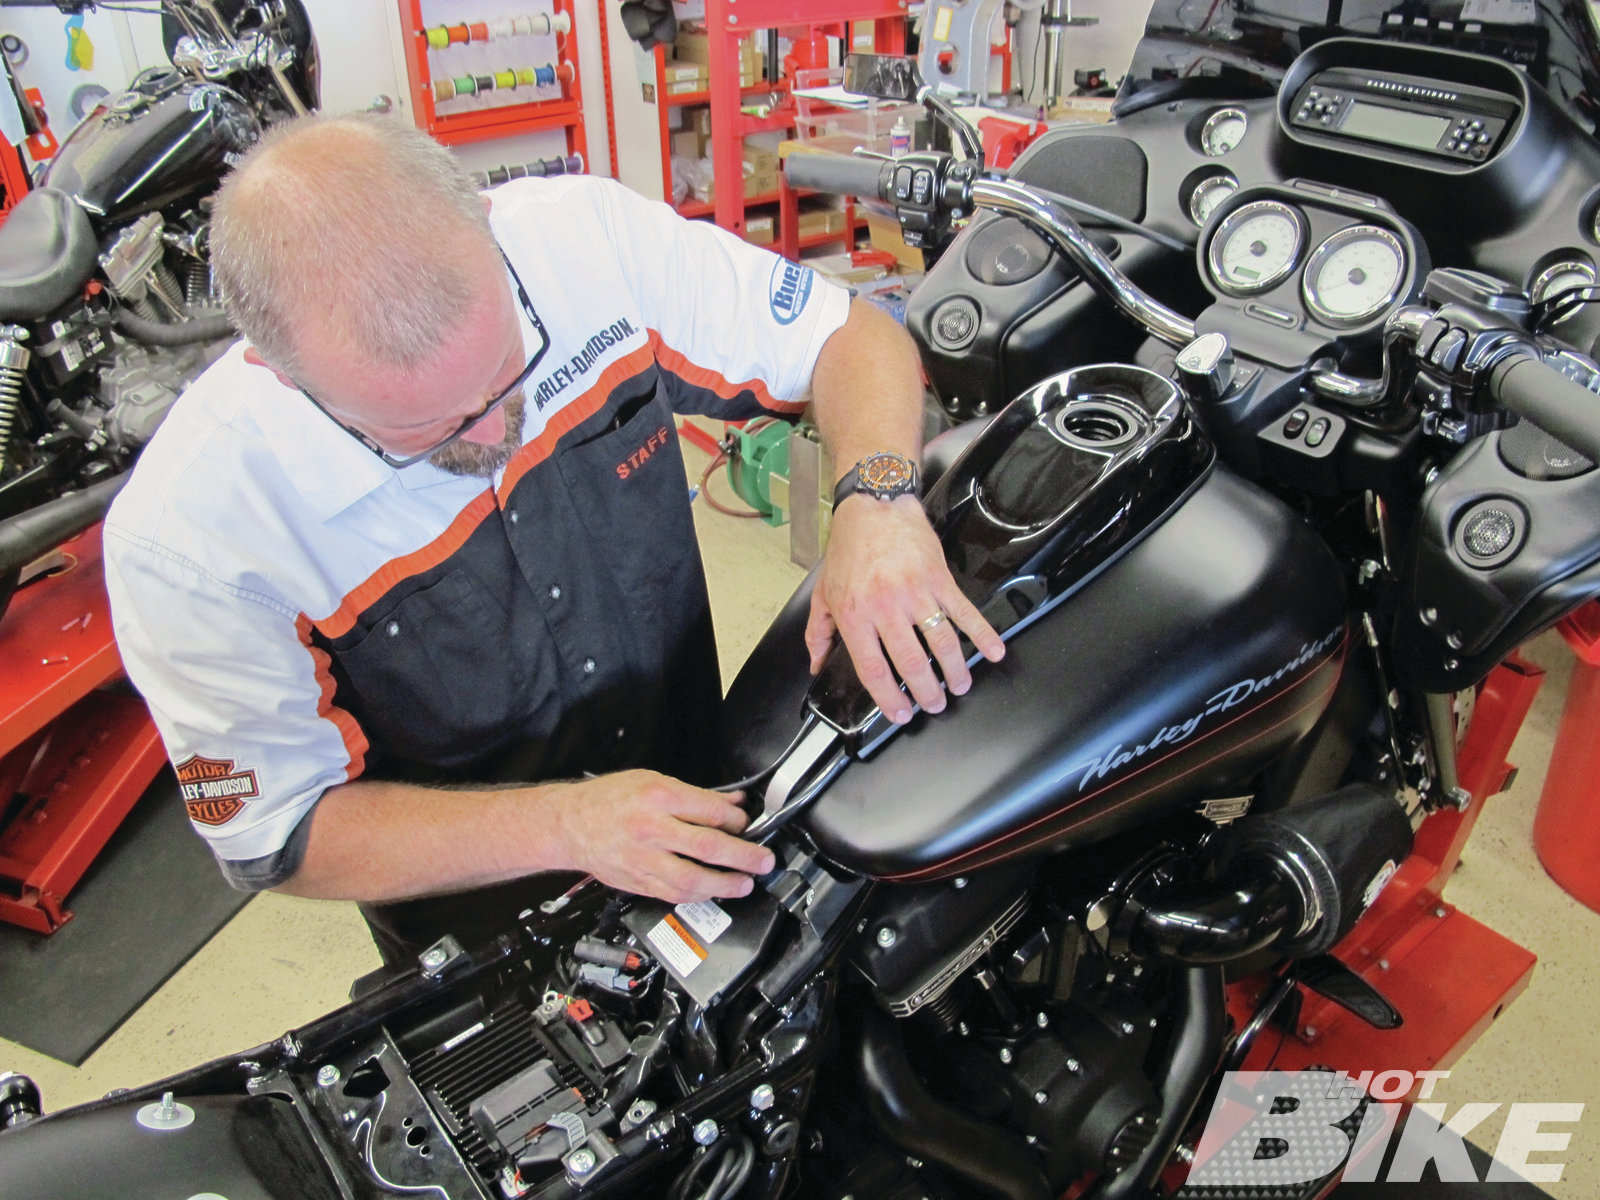
60 Next the gas tank gets bolted back in place.
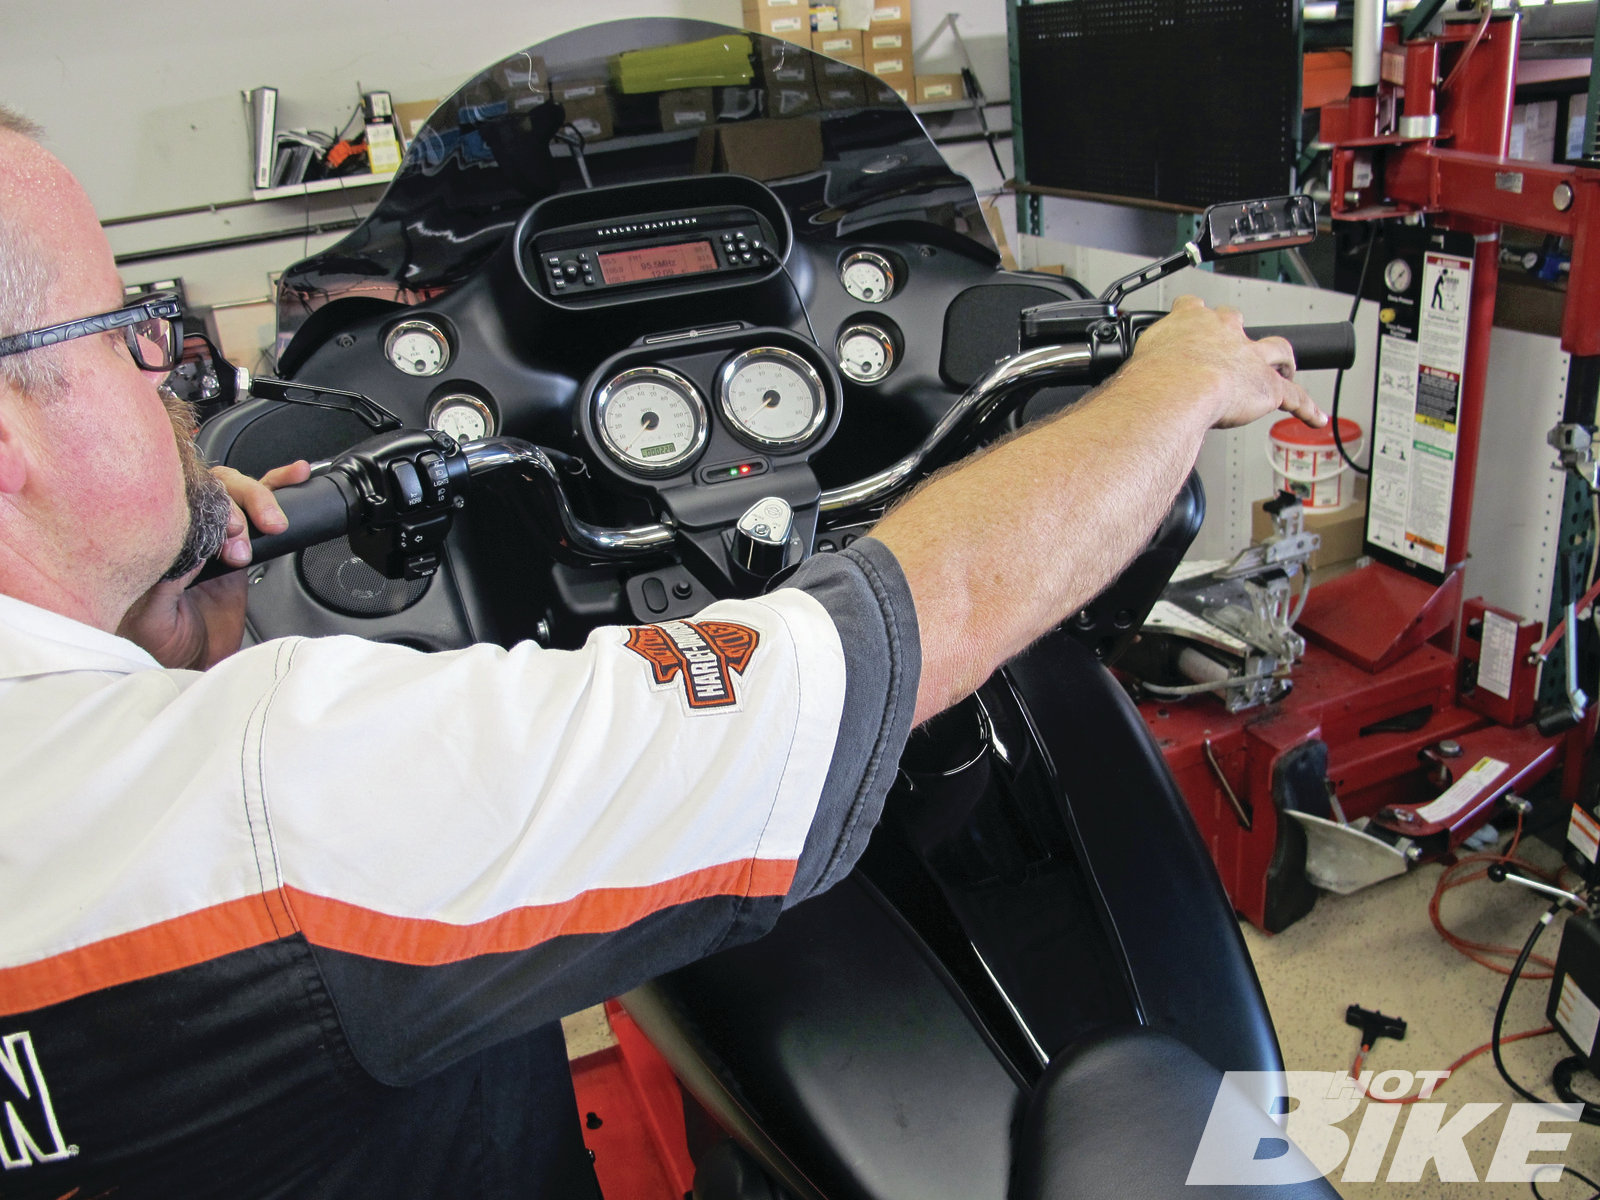
61 Before installing the spark plugs, crank the bike to build up oil pressure.
62 After checking for leaks, our 110 kit is ready to be broken in. Let’s ride!
Last month we took our 2012 Road Glide Custom and broke it down to its bare bones. We pulled the motor, disassembled every nut and bolt, and sent the heads out for machining. Now that our heads are back from the machine shop, we can start to reassemble the heart of the beast with the Screamin’ Eagle 110 Stage I Kit.
As a reminder, this job requires a keen sense of mechanical know how. We only plan on briefly covering the steps of assembling a motor to demonstrate some of the tricks of the trade. Always torque to factory specs and like in other things in life, lube is your friend.
We enlisted the help of the good folks over at the H-D fleet center to make sure our motor would go back the way it started.
Source:
Harley-Davidson


