
Happy Hour | Alloy Art Martini Headlight Install
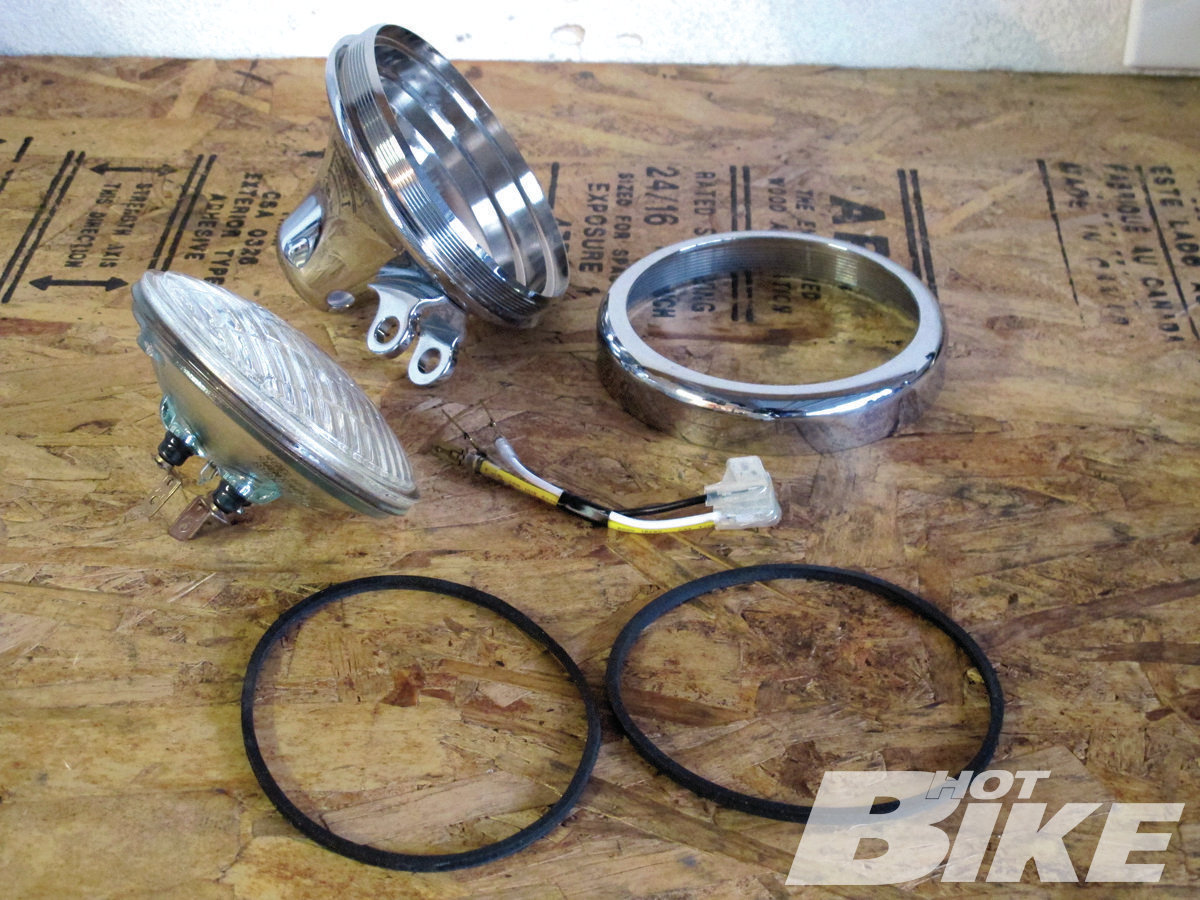
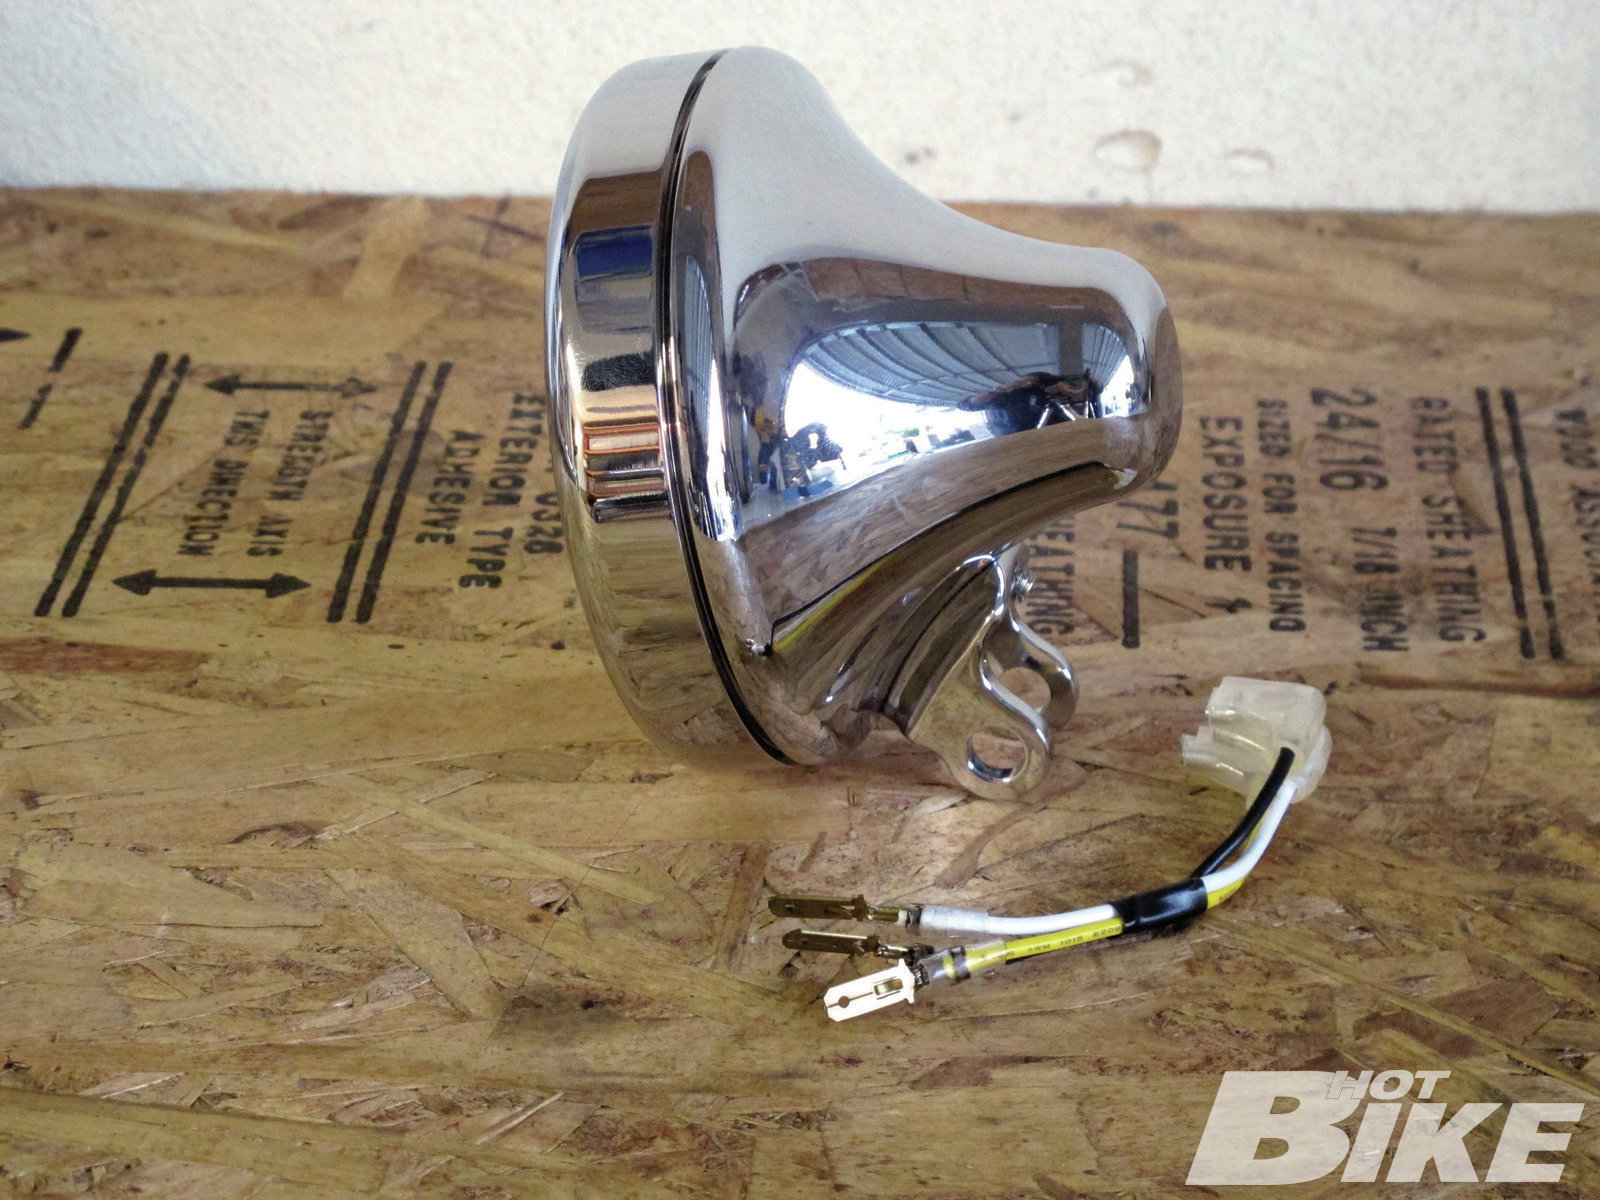
01. Since I was going for a compact look on my Springer, I went with the 4-1/2-inch Martini headlight in chrome ($379.95). The light comes pretty much ready to install. Included is a CNC-machined housing with mounting bracket and bezel, a 55/60-watt bulb, wire leads, and two rubber gaskets.
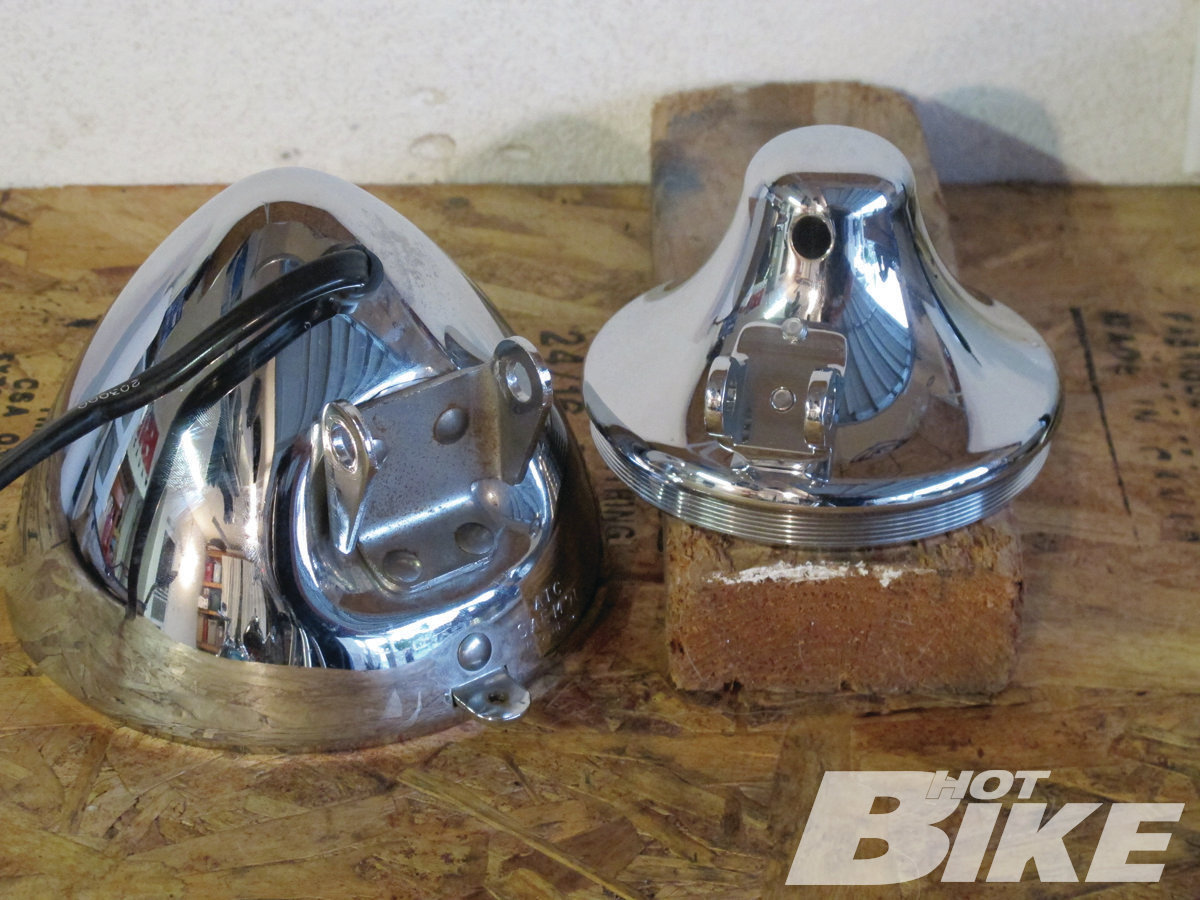
02. Here’s a comparison of my Springer’s stock 5-3/4-inch headlight compared to the 4-1/2-inch Martini light. Quite a difference not only in diameter but also in the housing size. The diameter of the front of the Martini light measures just less than 5 inches and about 3 1/2 inches from front to back. My stock headlight, on the other hand, measures about 6 1/2 inches in diameter and around 5 1/2 inches front to back.
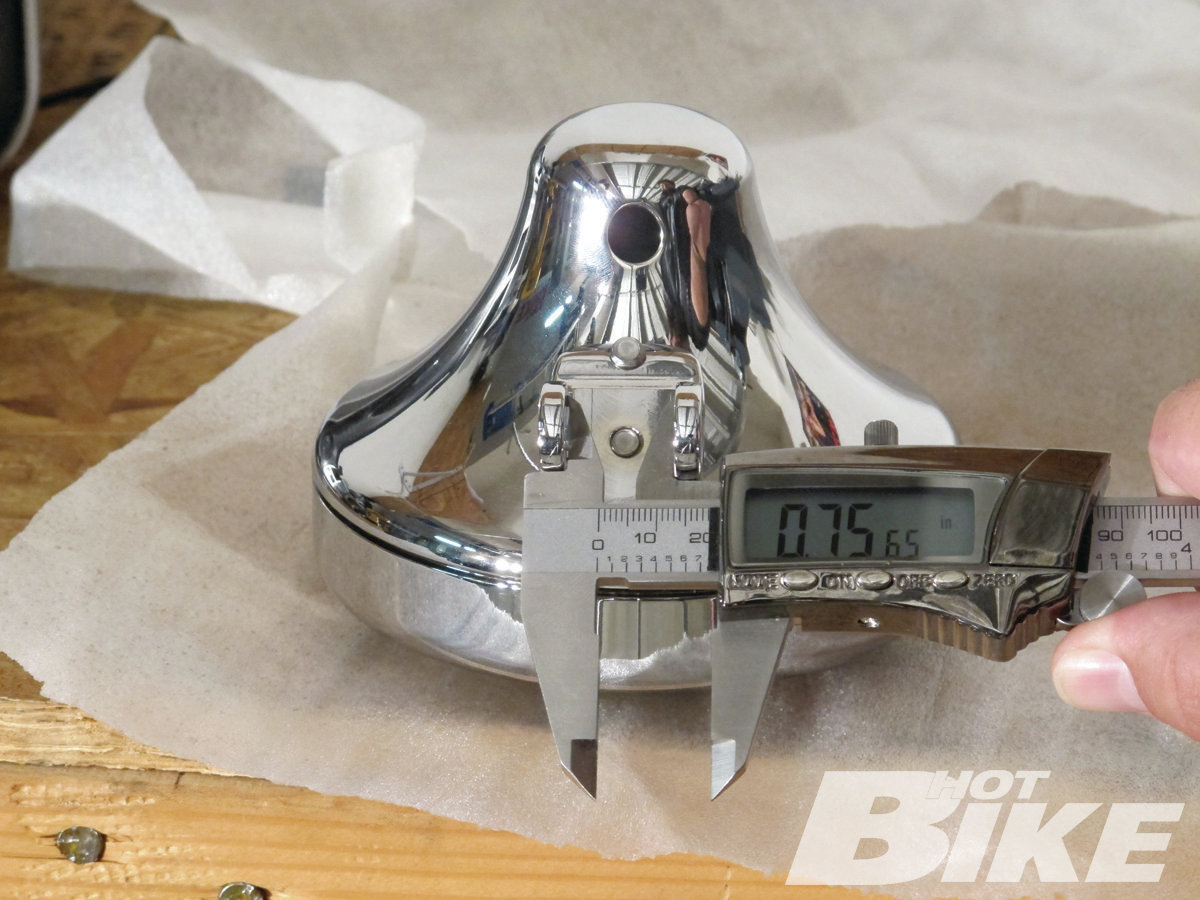
03. One cool thing I found with the Alloy Art headlight bracket was its offset design that can be mounted two different ways depending on the look you want or possible clearance issues. Mounting it one way will place the headlight down and out, then flipping the bracket around and mounting it the other way will place the headlight up and in. One thing I had to deal with before installing the light was the width of the bracket. The bracket for the Martini light is the standard 3/4-inch width, which fits the majority of Harley’s headlight mounts.
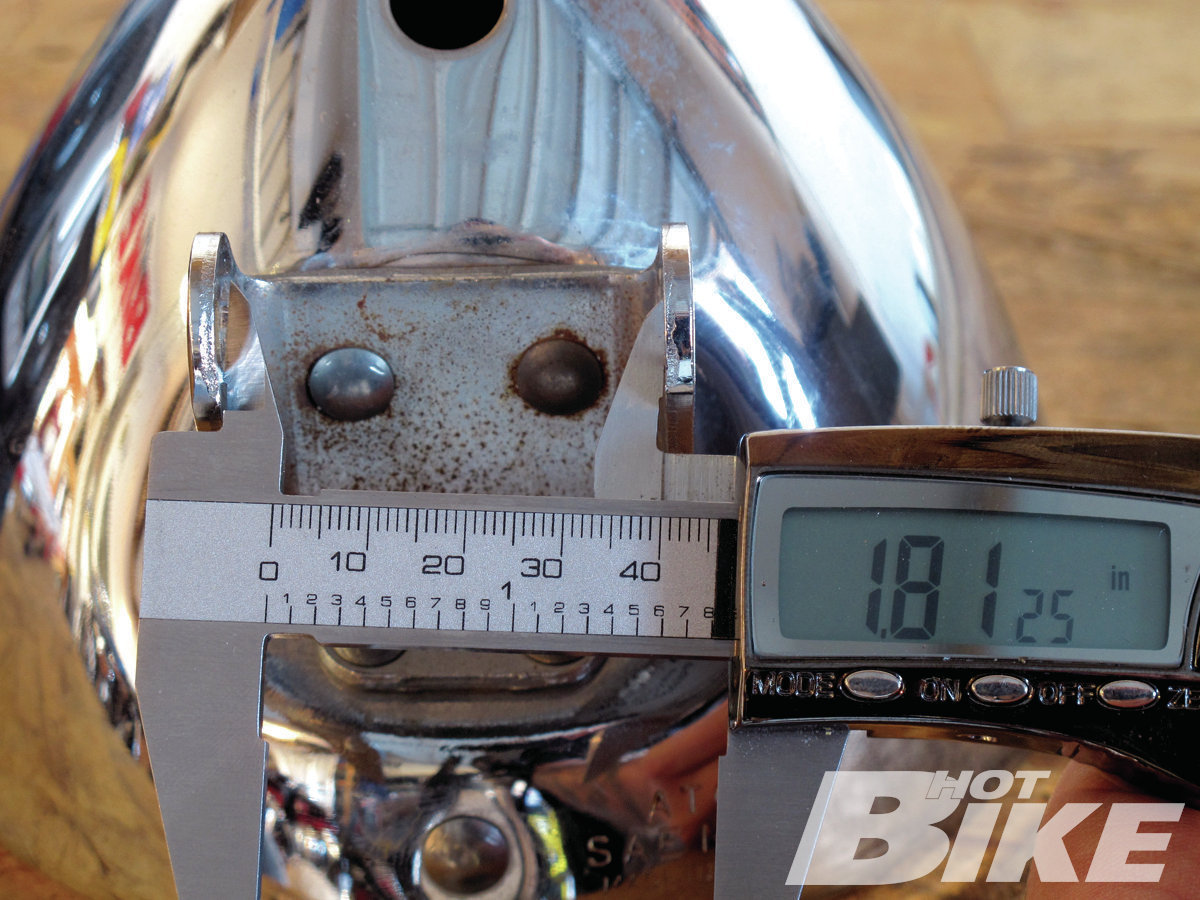
04. The stock mounting bracket on my Springer was a little more than an inch wider.
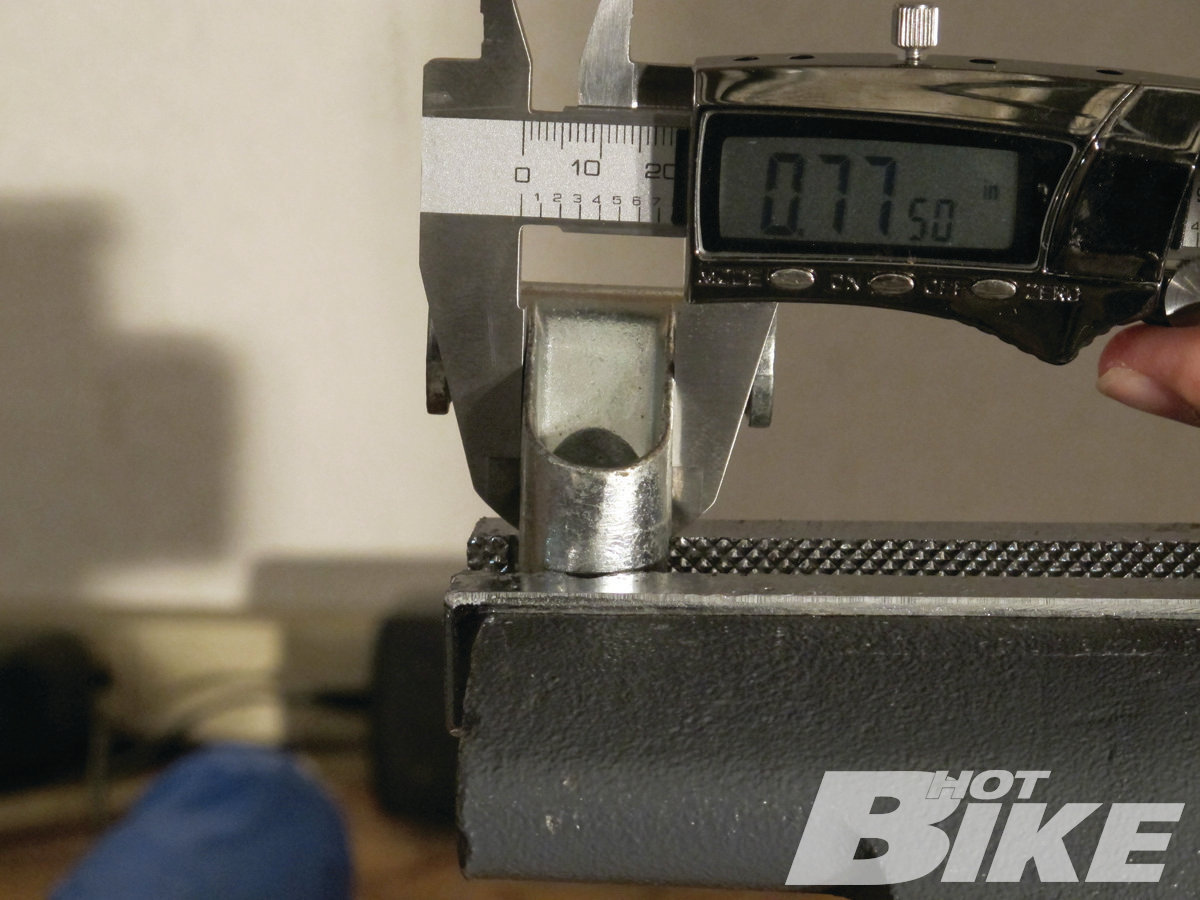
05. I took some measurements, andd found that if I were to knock off the ears on my stock mount, I would be pretty close to where I needed to be for the Alloy Art bracket.
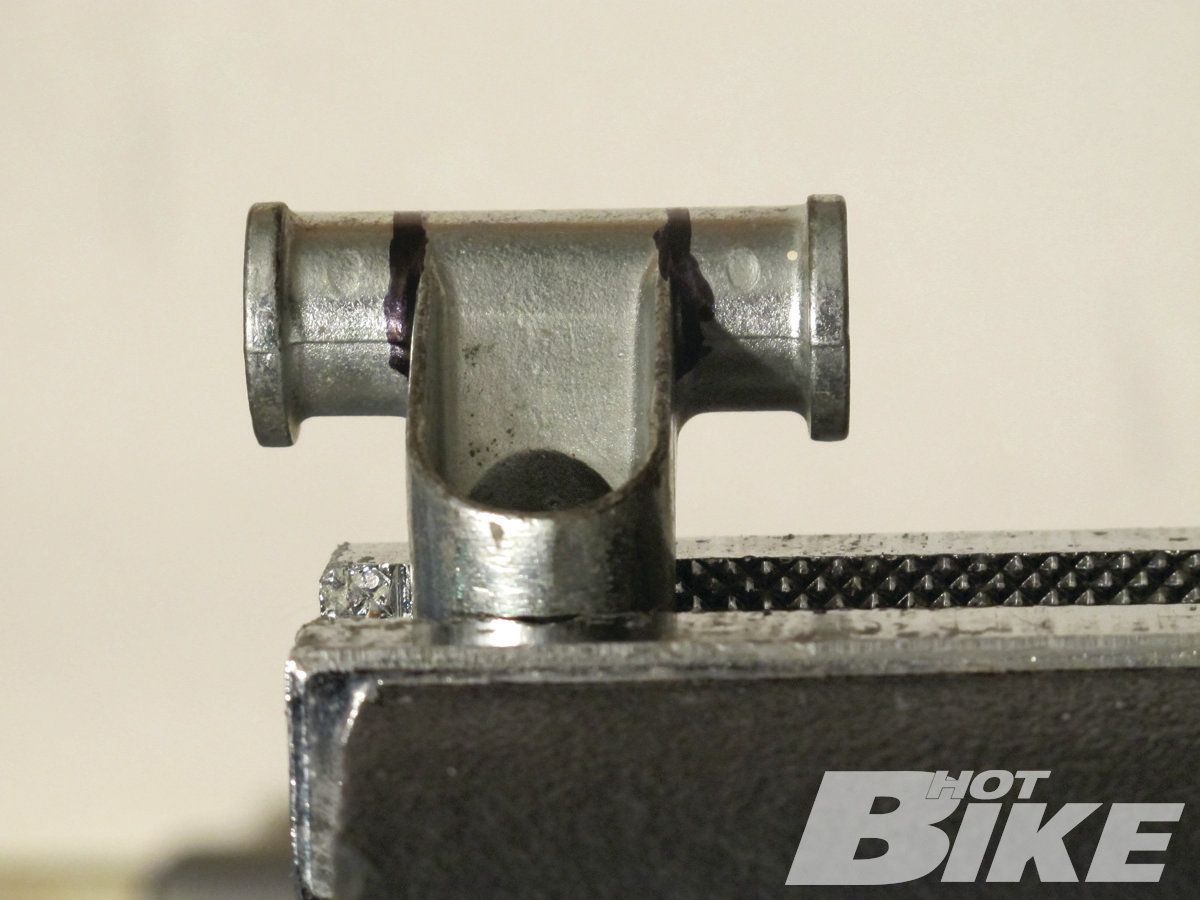
06. After marking where I wanted to make the cuts…
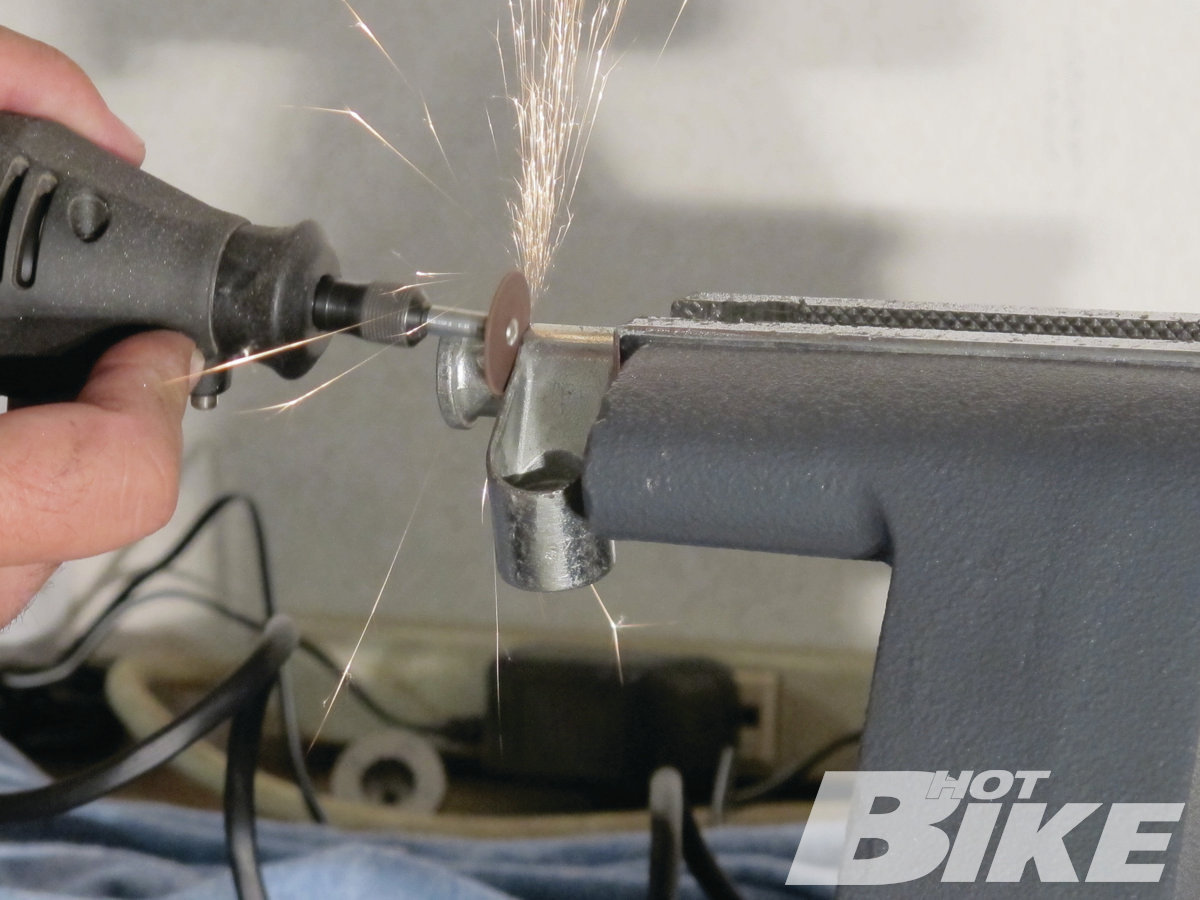
07. …I pulled out my variable-speed rotary tool with a cutoff wheel attached and removed the ears.
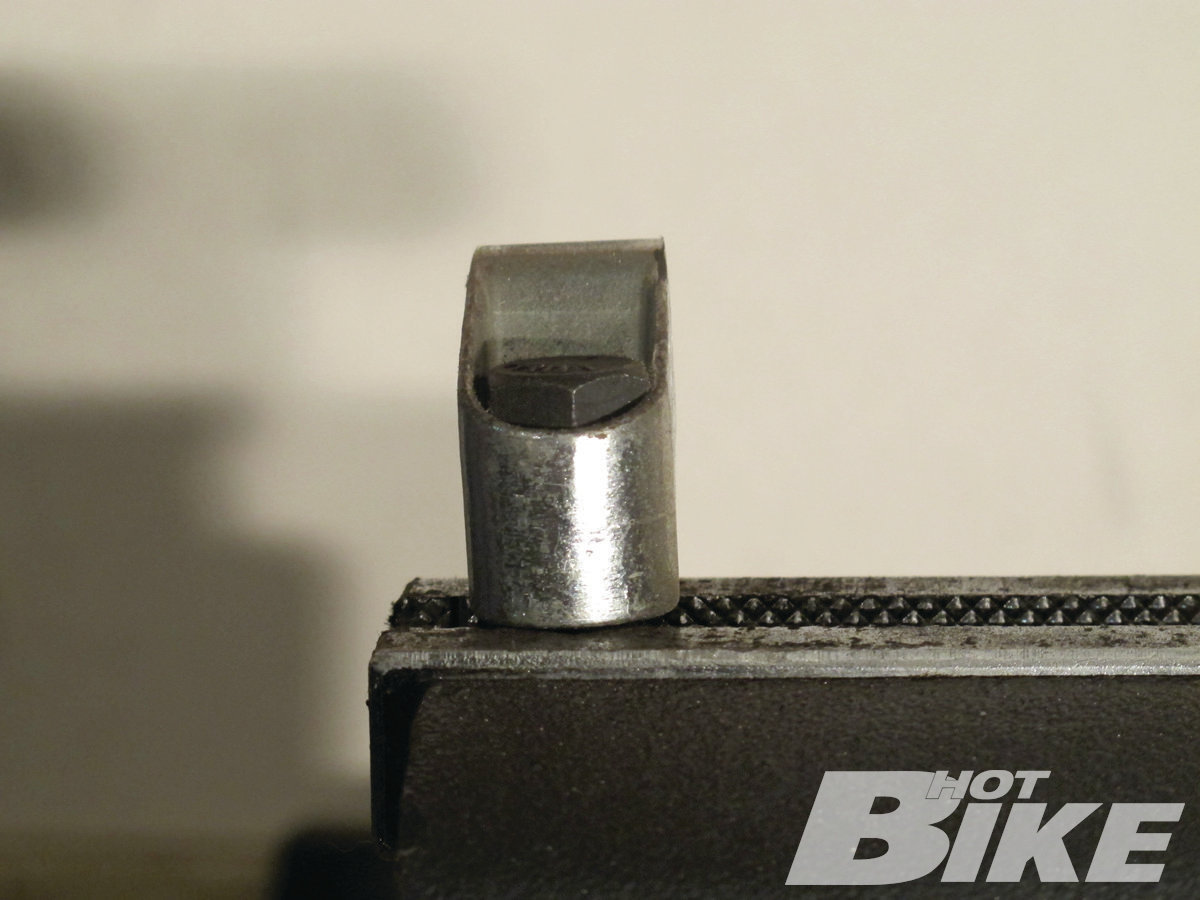
08. With a little fine-tuning with a hand file, I had the mount the perfect size for the bracket.
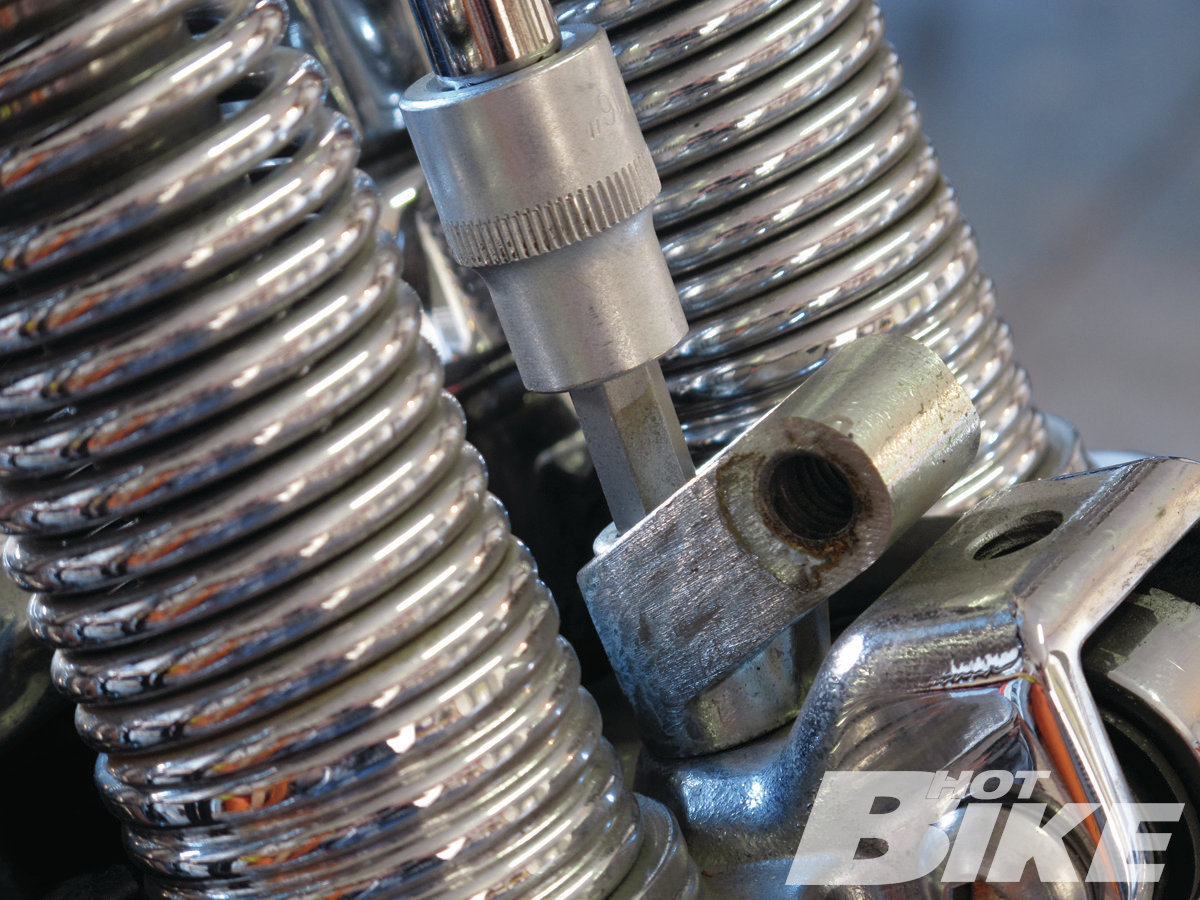
09. I then reinstalled the mount with some threadlocker…
10. …and bolted the Martini light housing to the mount. While the Martini light came with its own wiring, I found that I was able to simply plug in my stock headlight wiring. I added a ring terminal end to the ground wire and grounded it to one of the headlight bracket mount bolts.
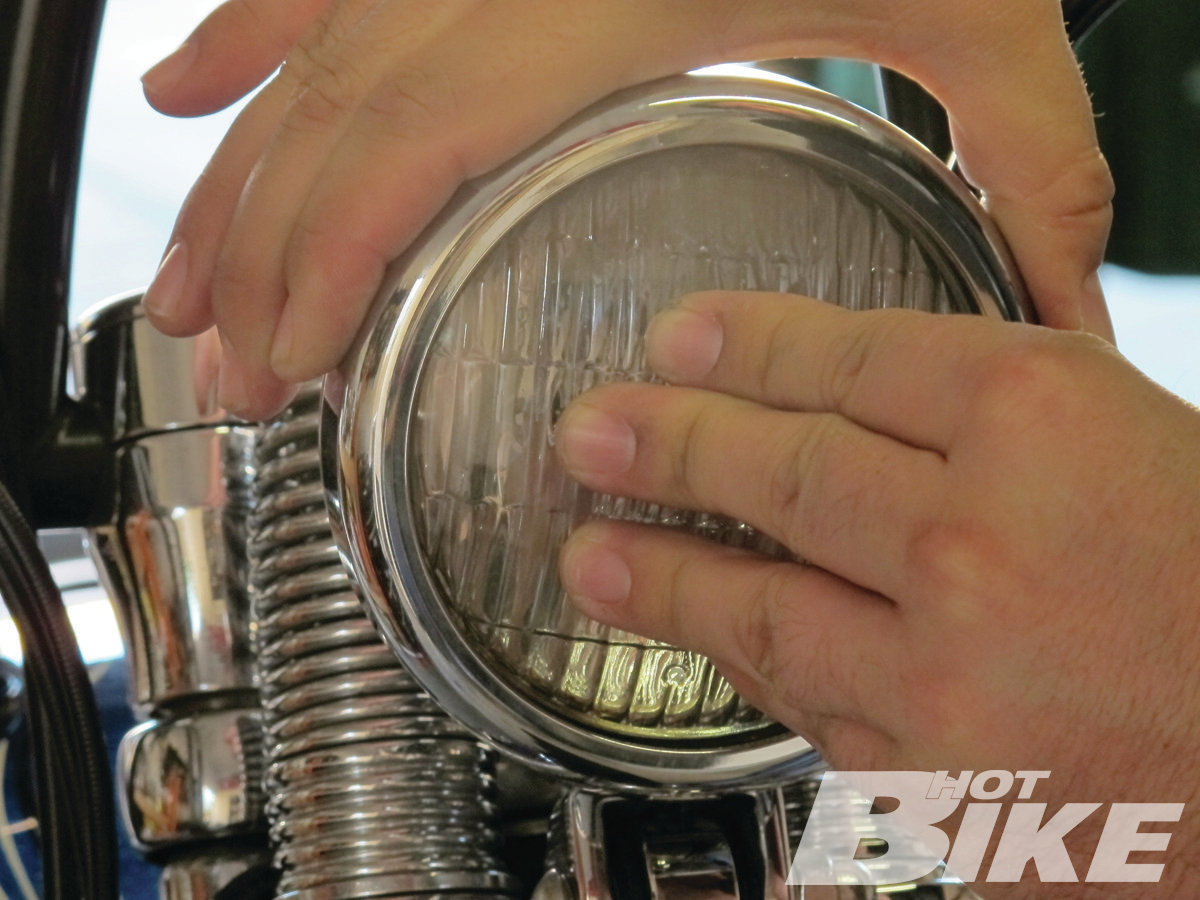
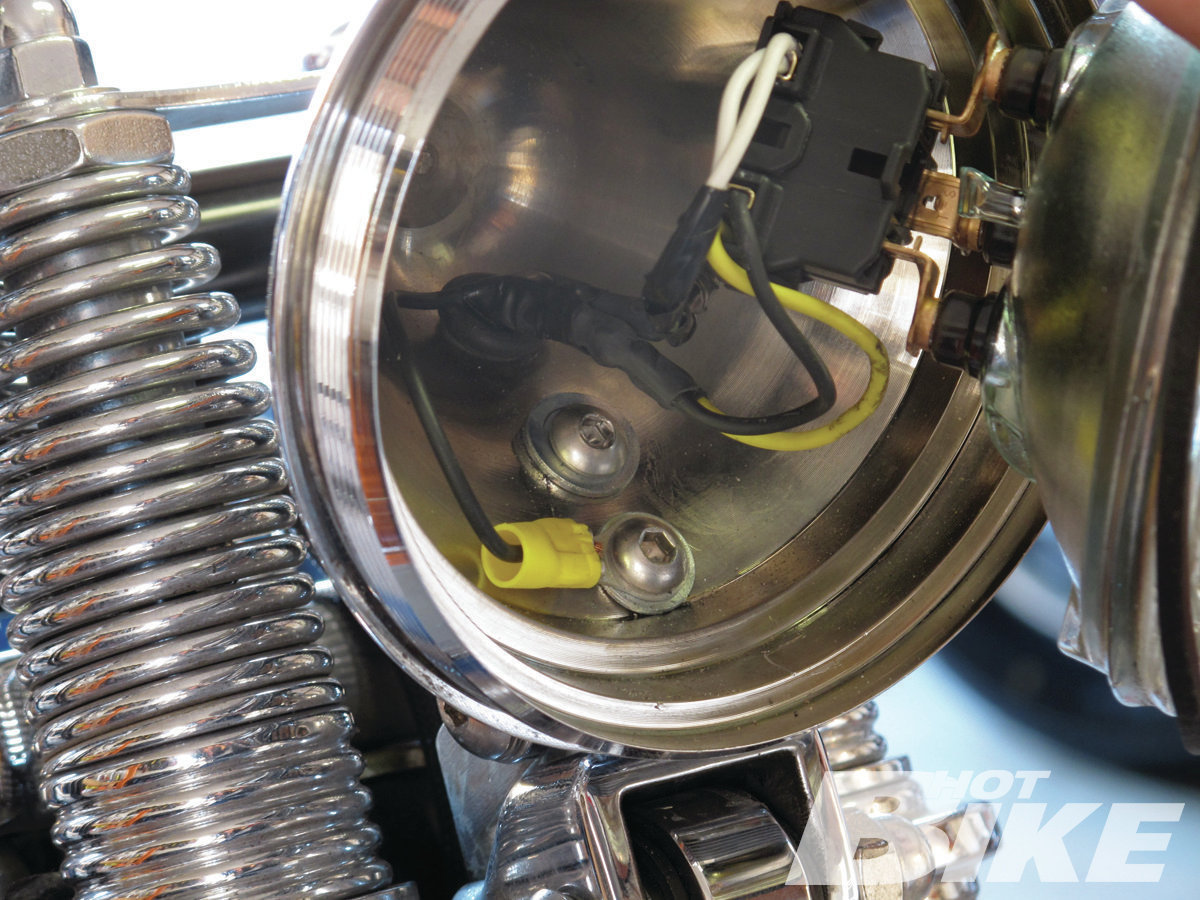
11. Next, I plugged in the bulb and installed the bezel. To help keep the assembly nice and sanitary Robbie and Todd designed the bezel to be a screw/press fit, where you use the two rubber gaskets to sandwich the outer edge of the bulb. As you screw the bezel on it compresses the gaskets. Once fully tightened the pressure and rubber surface of the outer gasket pushing against the inside of the bezel locks it in place like a retainer or tensioner. No need for set or lock screws. One tip before twisting the bezel on is to lube the outer surface of the gasket that faces the inside of the bezel. This will allow the bezel to slide against the gasket without the gasket getting bunched up. When the lube dries the bezel will essentially be locked in place. To unscrew, you simply apply some pressure to the center of the bulb and loosen the bezel.
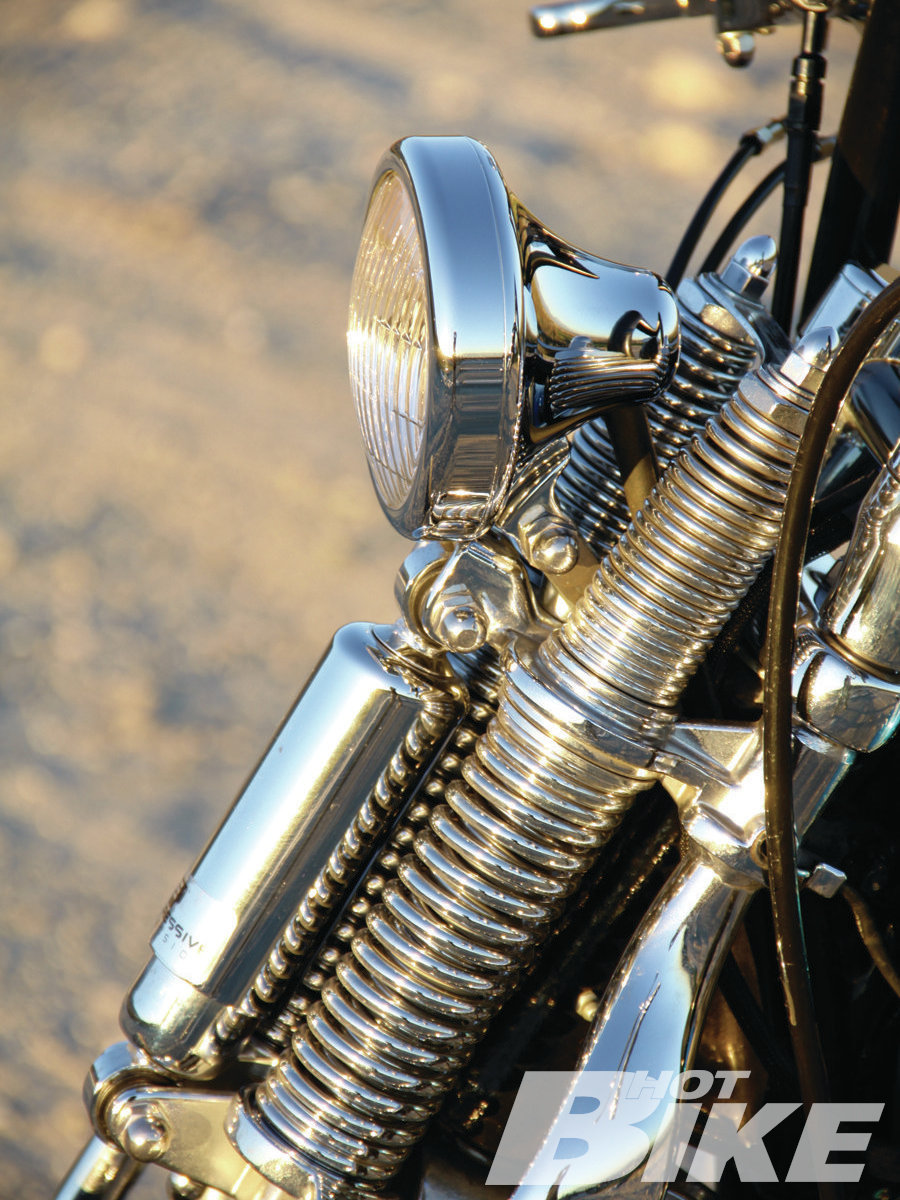
12. There it is, exactly what I wanted: a compact headlight that complements rather than overpowers the look of the Mini Z bars. I also like how the light tucks tight into the frontend and blends right in for a nice clean look.

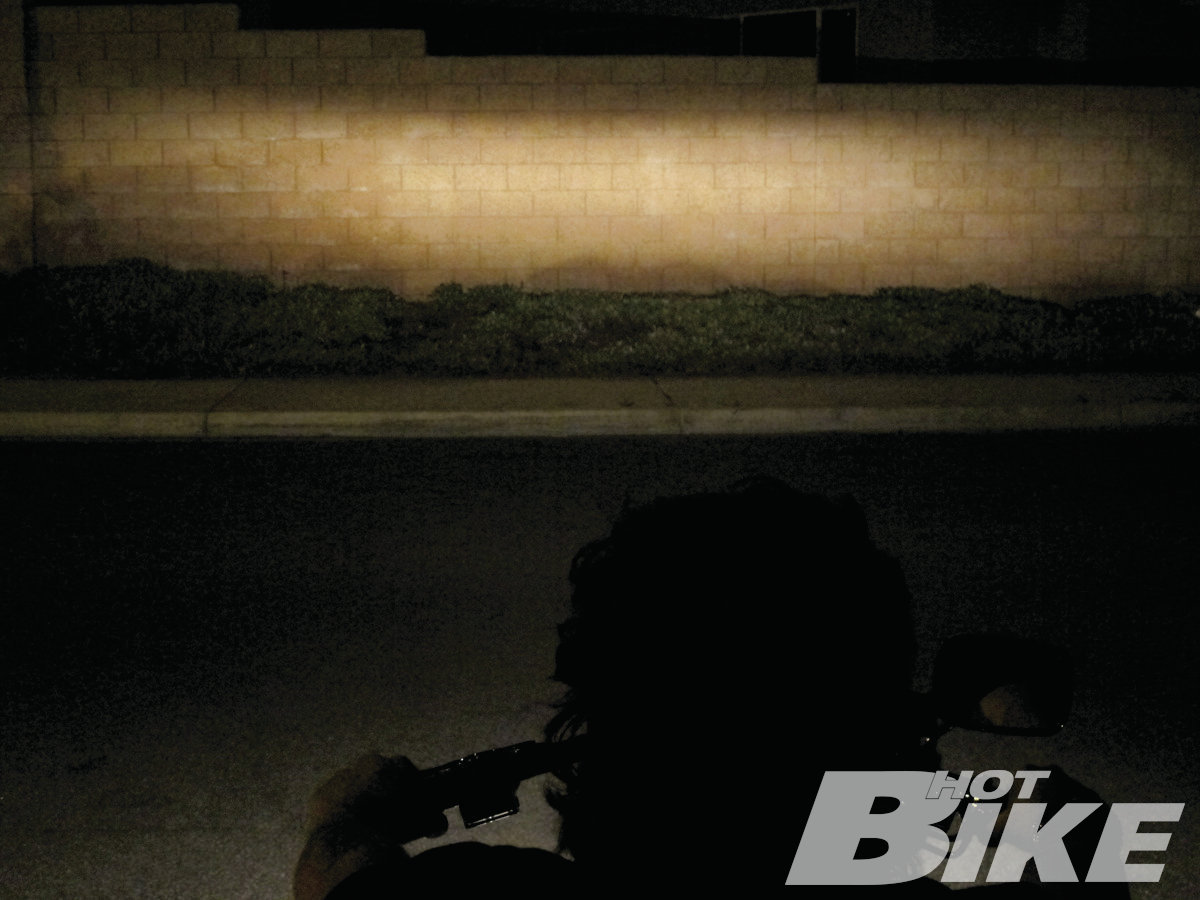
13. While the 4-1/2-inch light doesn’t put out quite as much light as the stock 5-3/4-inch light did, the Martini light provides an adequate beam and I haven’t had any problems riding at night.
If you read my editorial from the January 2011 issue titled Head-Light, you’ll remember the story of how the stock headlight on my ’96 Springer puked its guts out on the 60 freeway. Already heading for the recycling bin due to a stress crack where the mount was riveted to the shell, I was in the process of looking for a replacement headlight.
My quest for a new light had a few key priorities: 1) due to the amount of vibration and jolts my lowered Springer frontend puts up with while speeding down the SoCal freeway system, I needed a heavy-duty bucket; something comprised of more substance than the thin wall aluminum housing my stock headlight was made of. And 2) to go with the look of my bike and the Biltwell Mini Z bars I have, I wanted a headlight that was compact and minimal while still providing an adequate stream of light at night. Lastly, 3) I wanted an American-made headlight.
I found exactly what I was looking for through Robbie Lane of Alloy Art based in Glendora, California. Working with Todd Silicato of Todd’s Cycle in Huntington Beach, California, Robbie and Todd have been designing and machining American-made parts to make Harleys look and run better. Their collaboration on the Martini light is pretty self explanatory: a light housing shaped like a Martini glasses. Offered in 4-1/2- and 5-3/4-inch versions in either chrome, black, or raw finishes, the Martini headlights are completely unique in design. Aside from the cool look of the light, the other thing that drew me to it was the shape. Tapering from front to back, the martini shape eliminates unnecessary material providing a more minimalist look but still a much thicker and durable housing than my stock headlight. To go along with the headlights Robbie and Todd also offer matching marker lights to complete the look of your bike front to rear. HB
Source:
**Alloy Art **
(626) 963 5021 | alloyart.com
**Todd’s Cycle **
(714) 901-4516 | toddscycle.com


