
Homemade Filler Panels
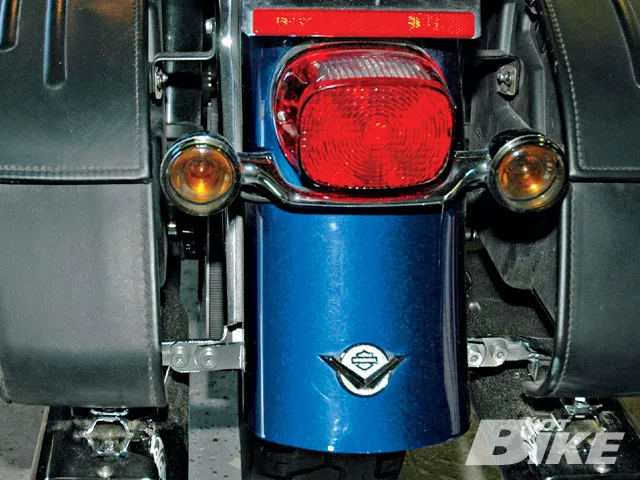
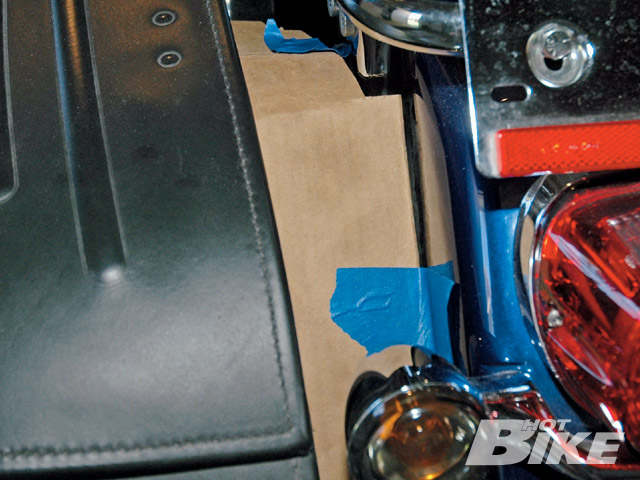
1. Here’s that ugly gap between the fender and saddlebag.
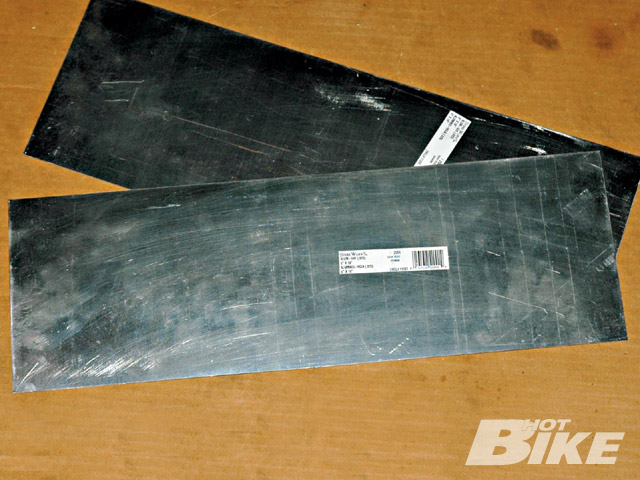
2. These soft 6×18 inch aluminum sheets are available at many hardware and home improvement stores. Ours cost $1.50 at Sears.
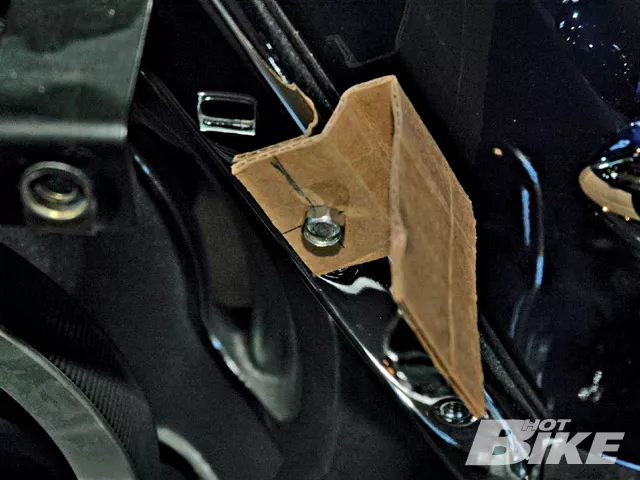
3. To begin, we removed the left saddlebags and cut a small cardboard template to determine the bends we would need for the final plate.
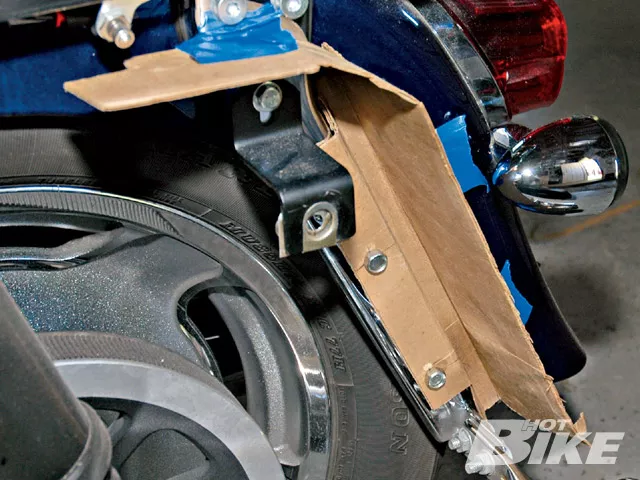
4. Next, we transferred the dimensions from our template to a piece of 6×18-inch piece of cardboard, made the bends to go around the fender strut, cut notches so the template would fit, and taped it in place.
5. We reinstalled the left saddlebag to check for clearance. And to get a preview of the final plate.
6. We transferred the dimensions from the cardboard to one of the aluminum sheets and sandwiched the sheet between two scraps of plywood. While the aluminum bends easily, we used a plastic hammer to carefully tap along the bend lines and shape each corner.
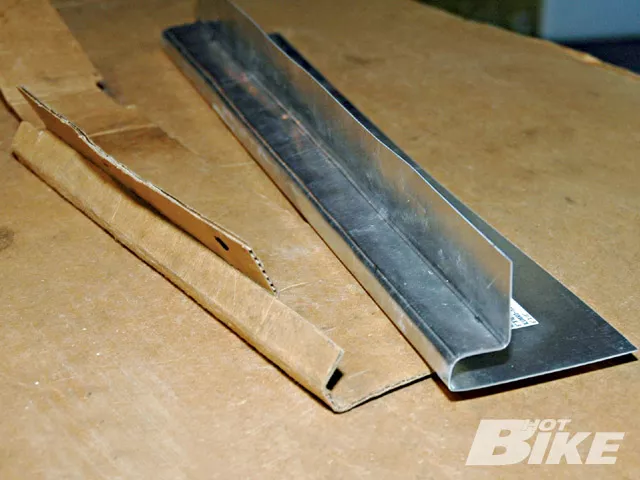
7. Here’s how our sheet looked after making three bends.
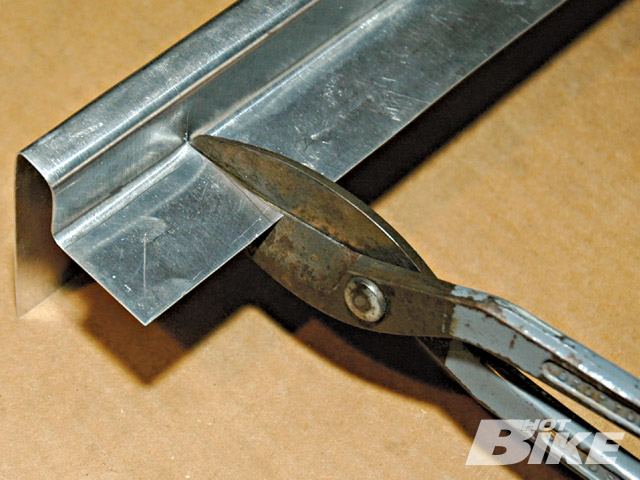
8. Next we transferred the notch locations to our sheet and used tin snips to cut them out. Be sure to keep the leftover pieces of the aluminum sheet-they make great shim stock.
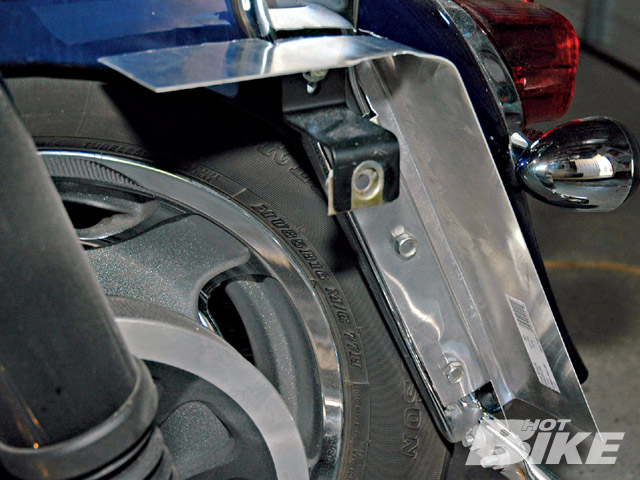
9. With the notches cut and bolt holes drilled, we installed the sheet to check fitment.
10. We again installed the saddlebag to check for binding. We had to trim out a bit more for the saddlebag hinge. Next we cleaned the sheet with degreaser, lightly sanded the outside, painted it black, and then installed it. We selected black because that’s the only spay can that worked from our box of half used paint cans. To finish, we made the right side plate using the same dimensions as the left. Remember the right is a mirror image of the left. Here’s a hint, reverse the bends on the cardboard template as a guide for the right side. Not bad for an hour of work and simple hand tools. Certainly cleaned up our rearend.
Occasionally we like to tinker in our shop to create low cost do-it-yourself parts. Sometimes these work well enough and look good enough to pass onto our readers. We decided to cover those ugly voids on either side of your rear fender between the saddlebags. A number of vendors offer high quality filler panels to close those gaps. They will look almost seamless so you can’t go wrong with one of those kits. However, we thought we’d see what we could do with a couple of $1.50 aluminum sheets from Sears Hardware, some simple shop tools, some leftover parts, and an hour of time.
Whether you’re appalled, disgusted, amused, or inspired by our antics, we present this little item for your consideration. Certainly our highly skilled fabricator friends will be aghast at our amateurish work. But really, isn’t this project in the same spirit as any custom part?


