
Not-So-Slippery When Wet | Barnett’s Scorpion Clutch Install
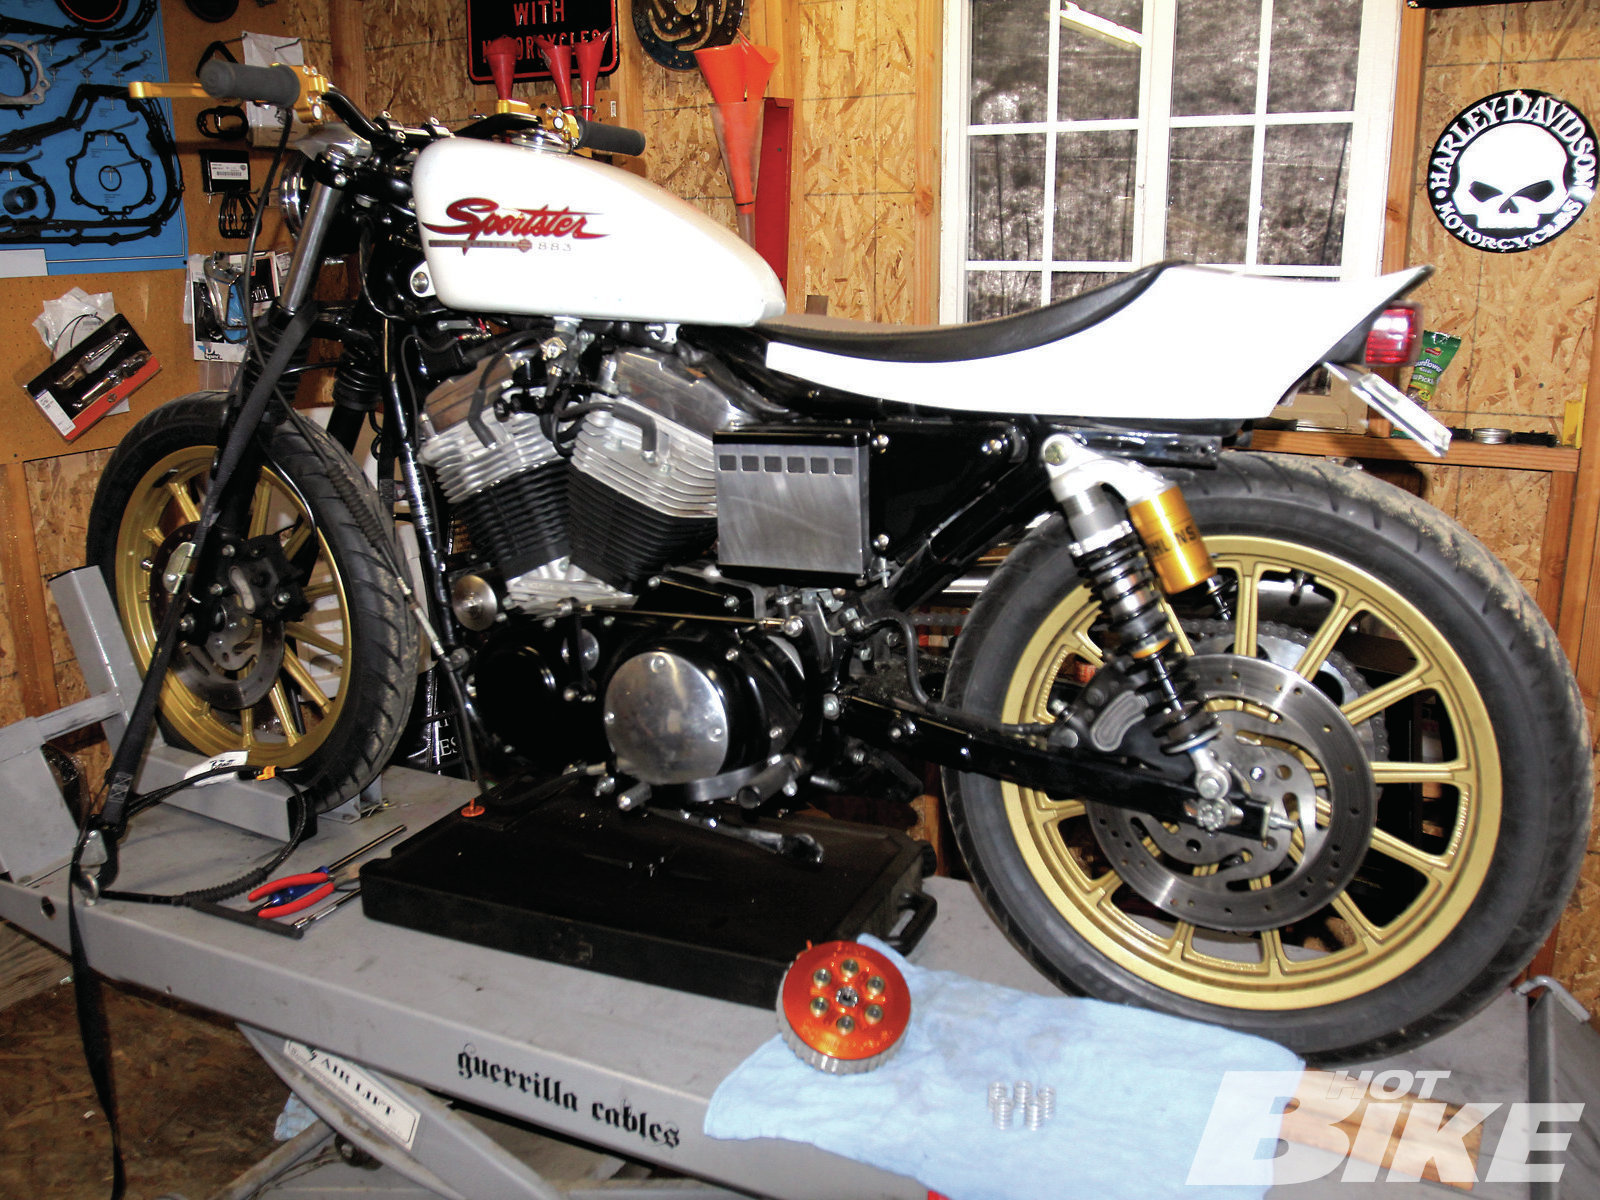
The Sweet Tracker was rolled onto the lift and primary f uid was drained.
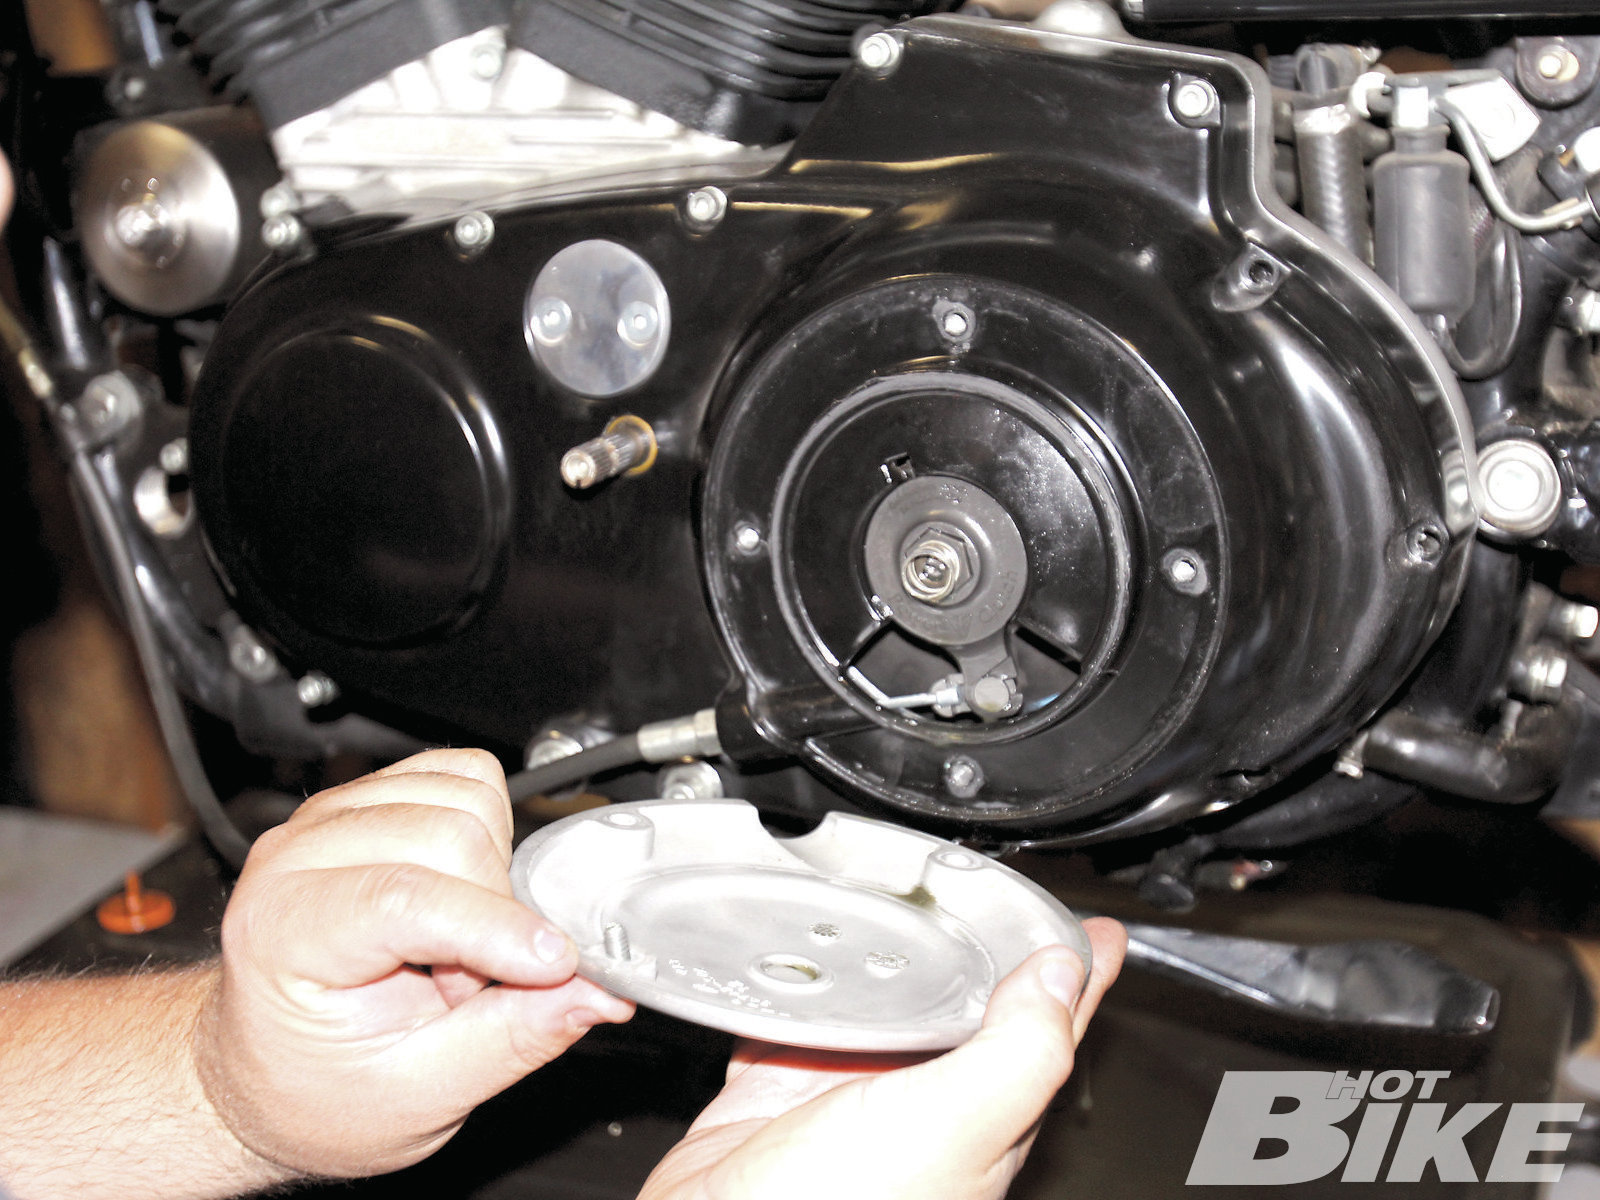
02. First off, the Chainsikle rearset controls were taken off to gain access to the primary cover, then the ball and ramp assembly and clutch cable (arrow) were removed from the adjuster screw.
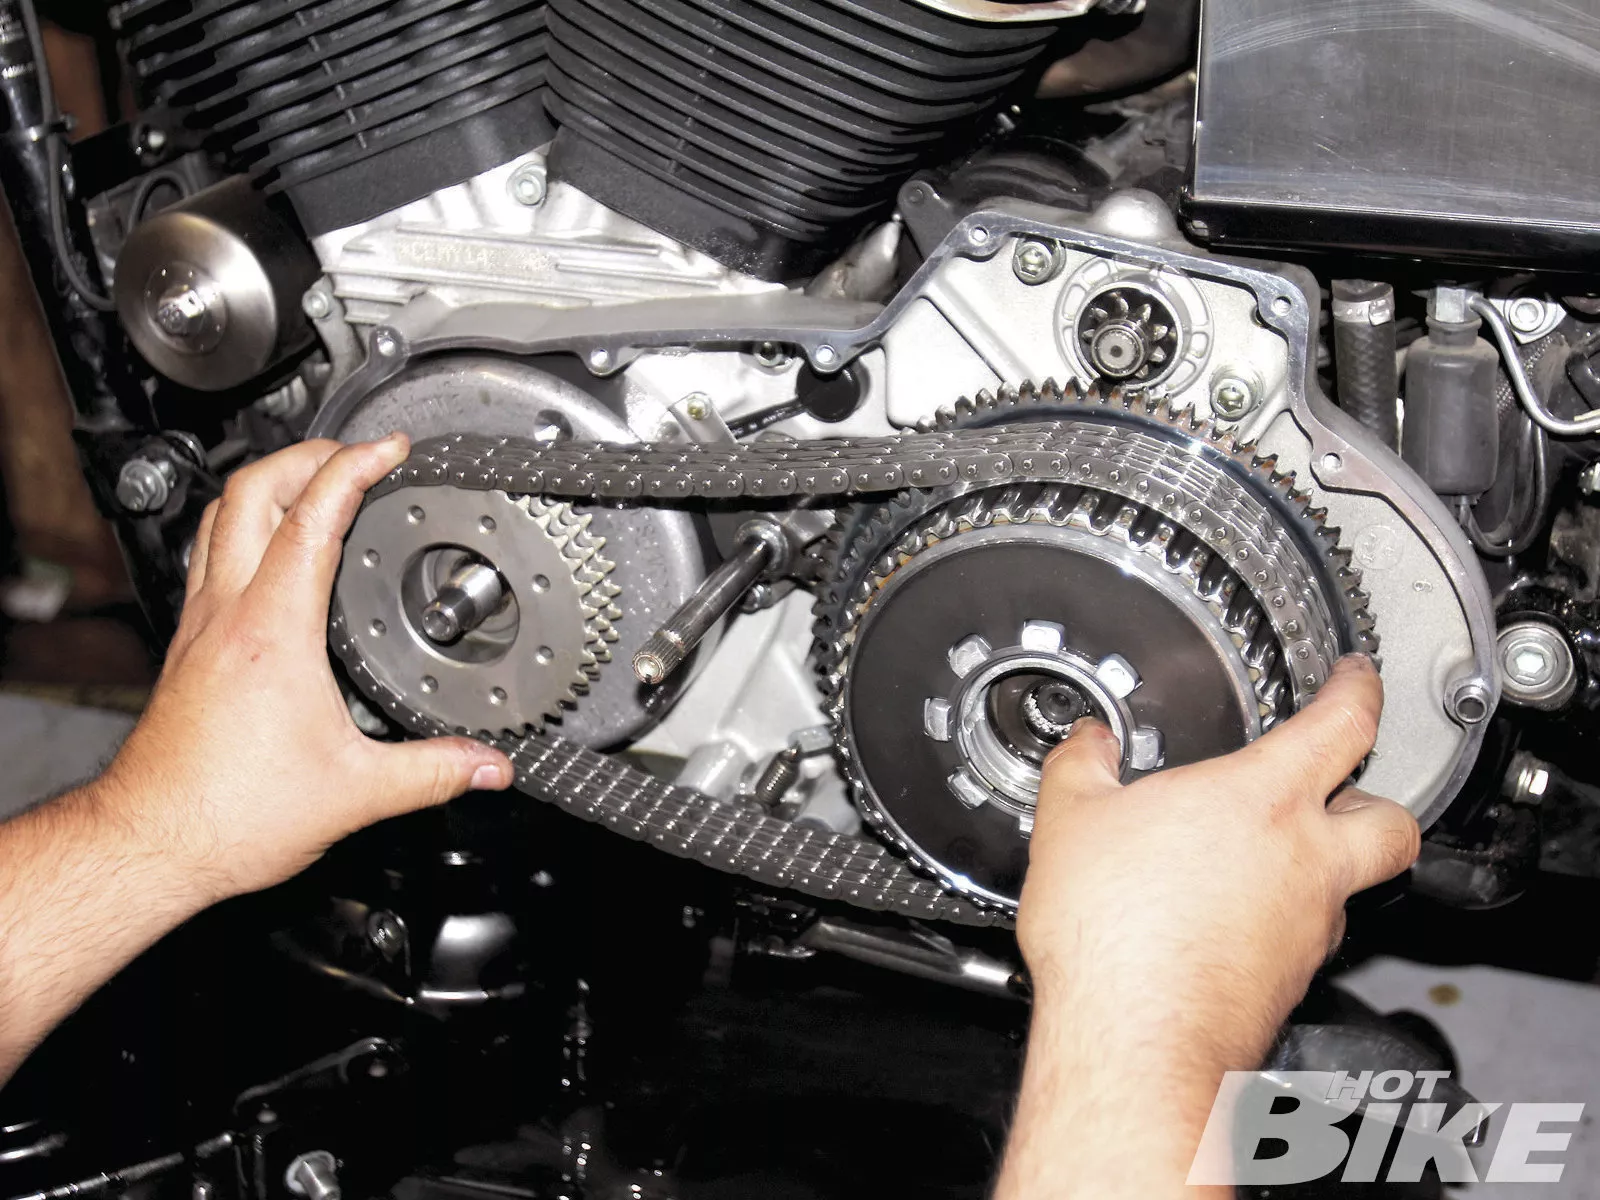
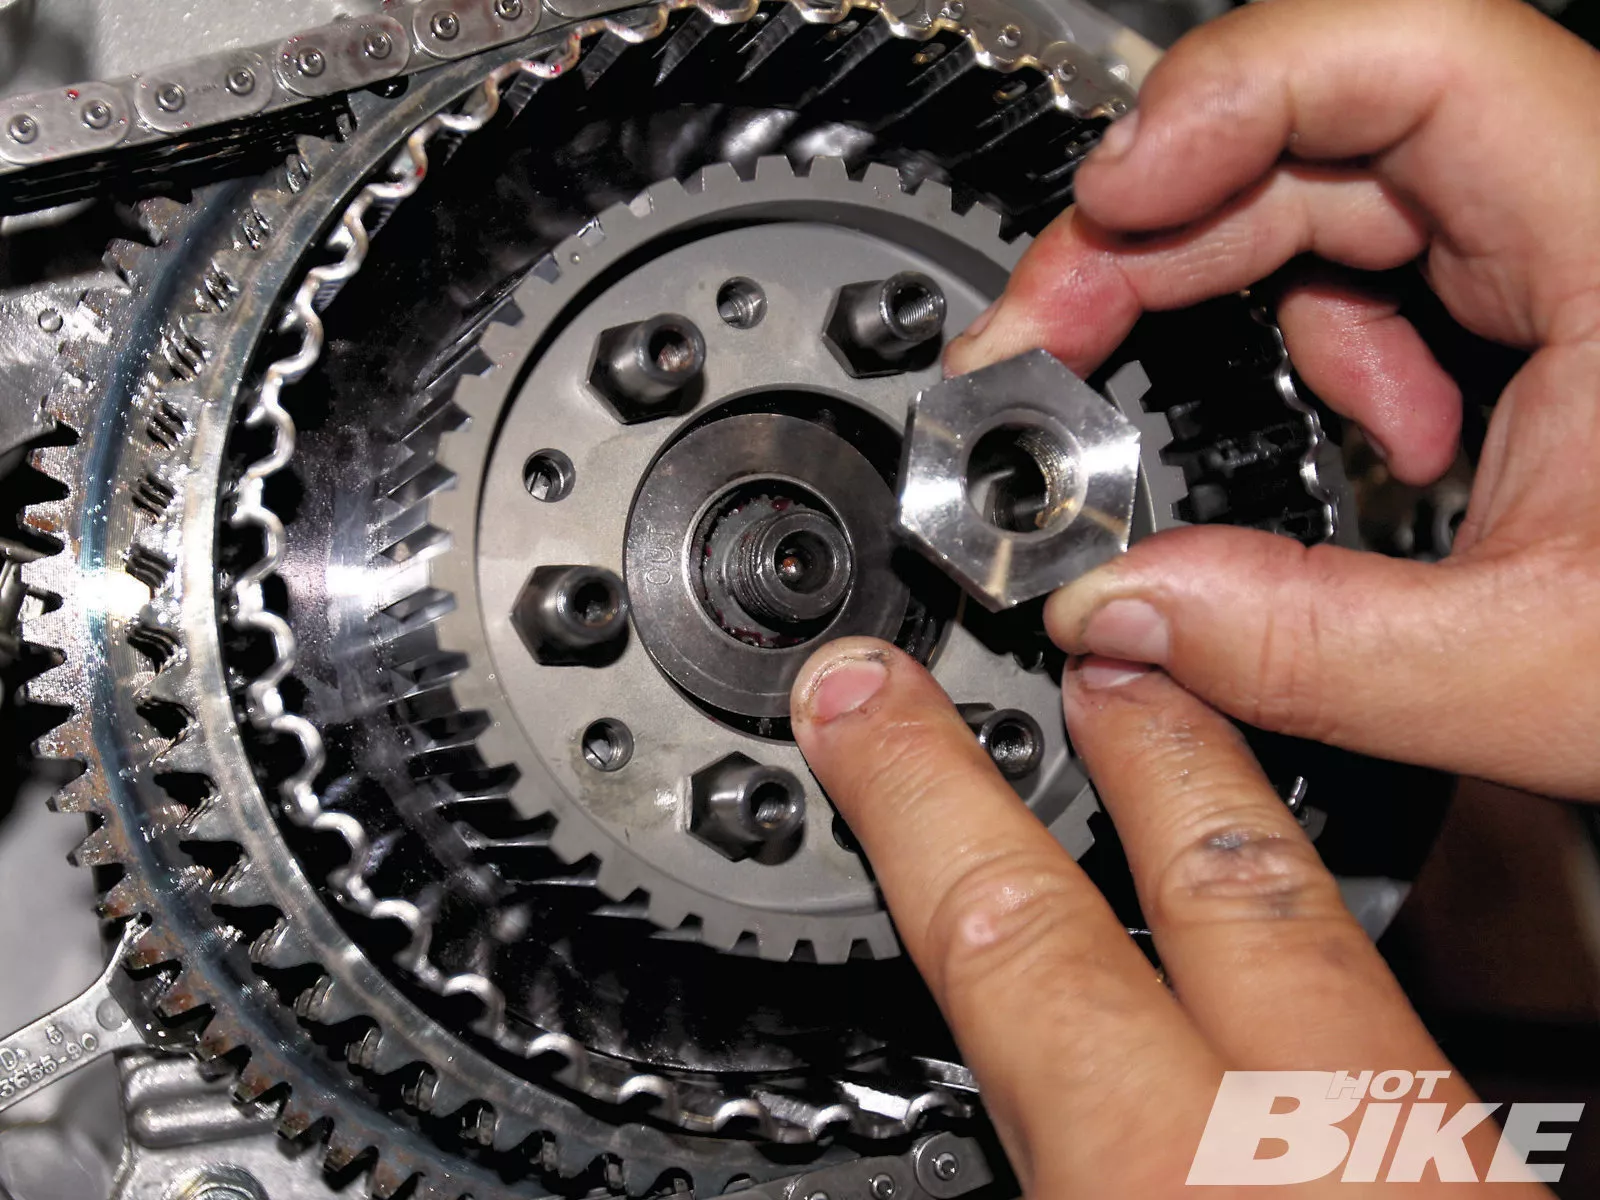
03. Once we removed the primary, the nuts were removed from the engine and transmission mainshafts. Since the Sportster alternator rotor houses the engine sprocket on the front side, some elbow grease was needed for removal due to the alternator rotor’s magnets. Use caution when removing this unit. We removed the primary drive assembly and chain as one unit.
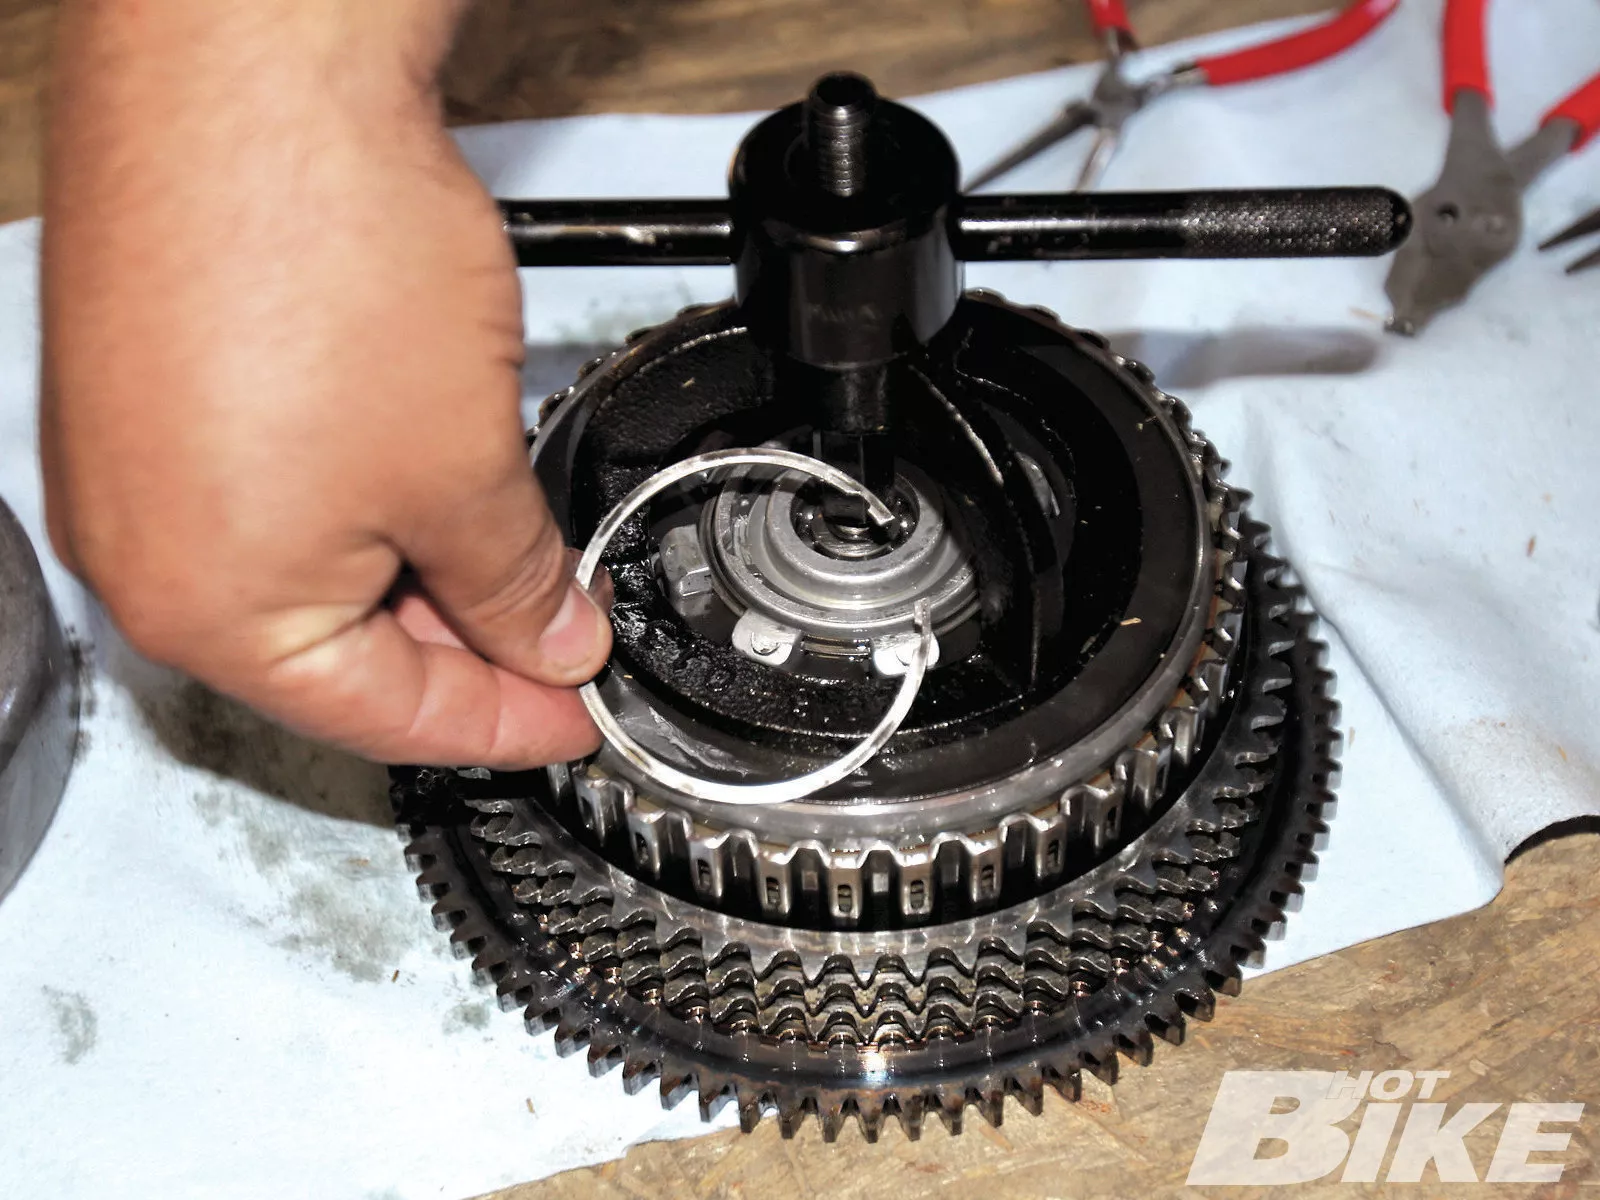
04. The Scorpion clutch installs into the factory clutch basket; however, we needed to remove the stock clutch hub with Harley’s Spring Compressing Tool pressed against the stock pressure plate threaded to the adjuster nut in order to get this retaining ring out.
05. We removed the stock friction and steel plates from the stock clutch assembly.
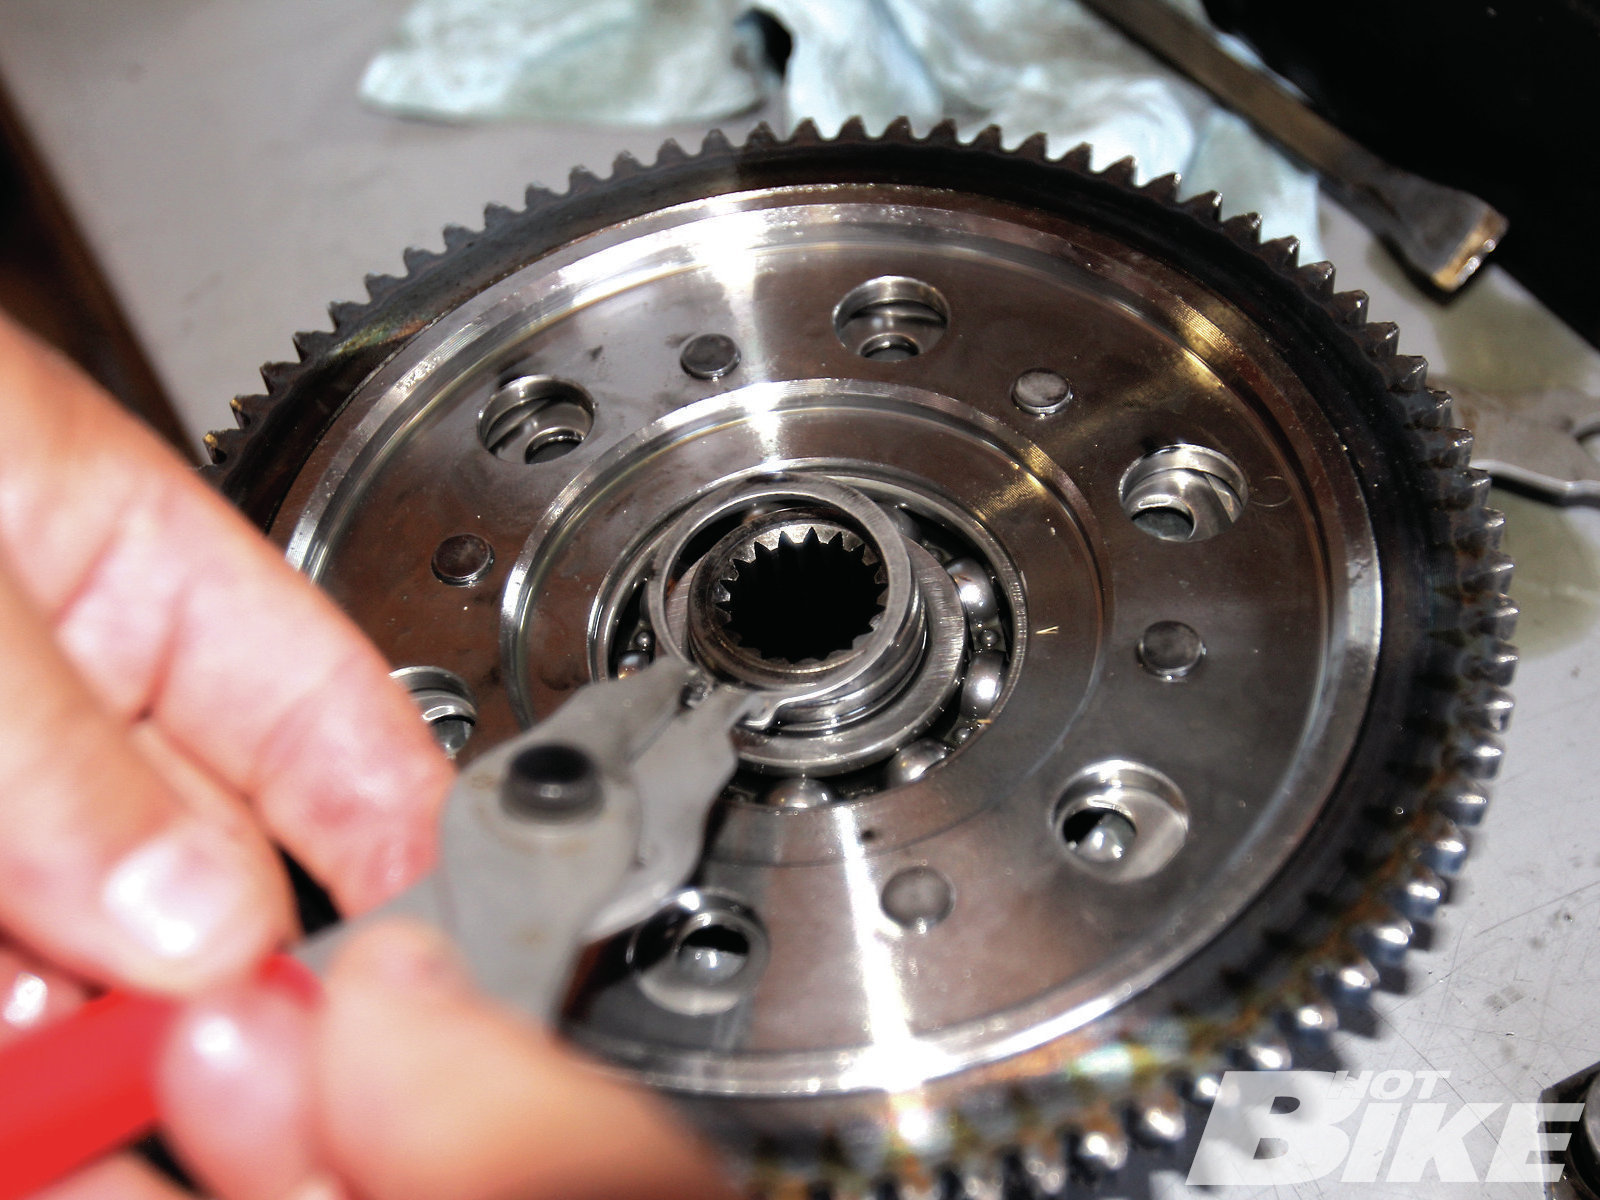
06. Next, we removed the retaining ring from the backside of the factory clutch hub in order to press the hub out with a hydraulic press.
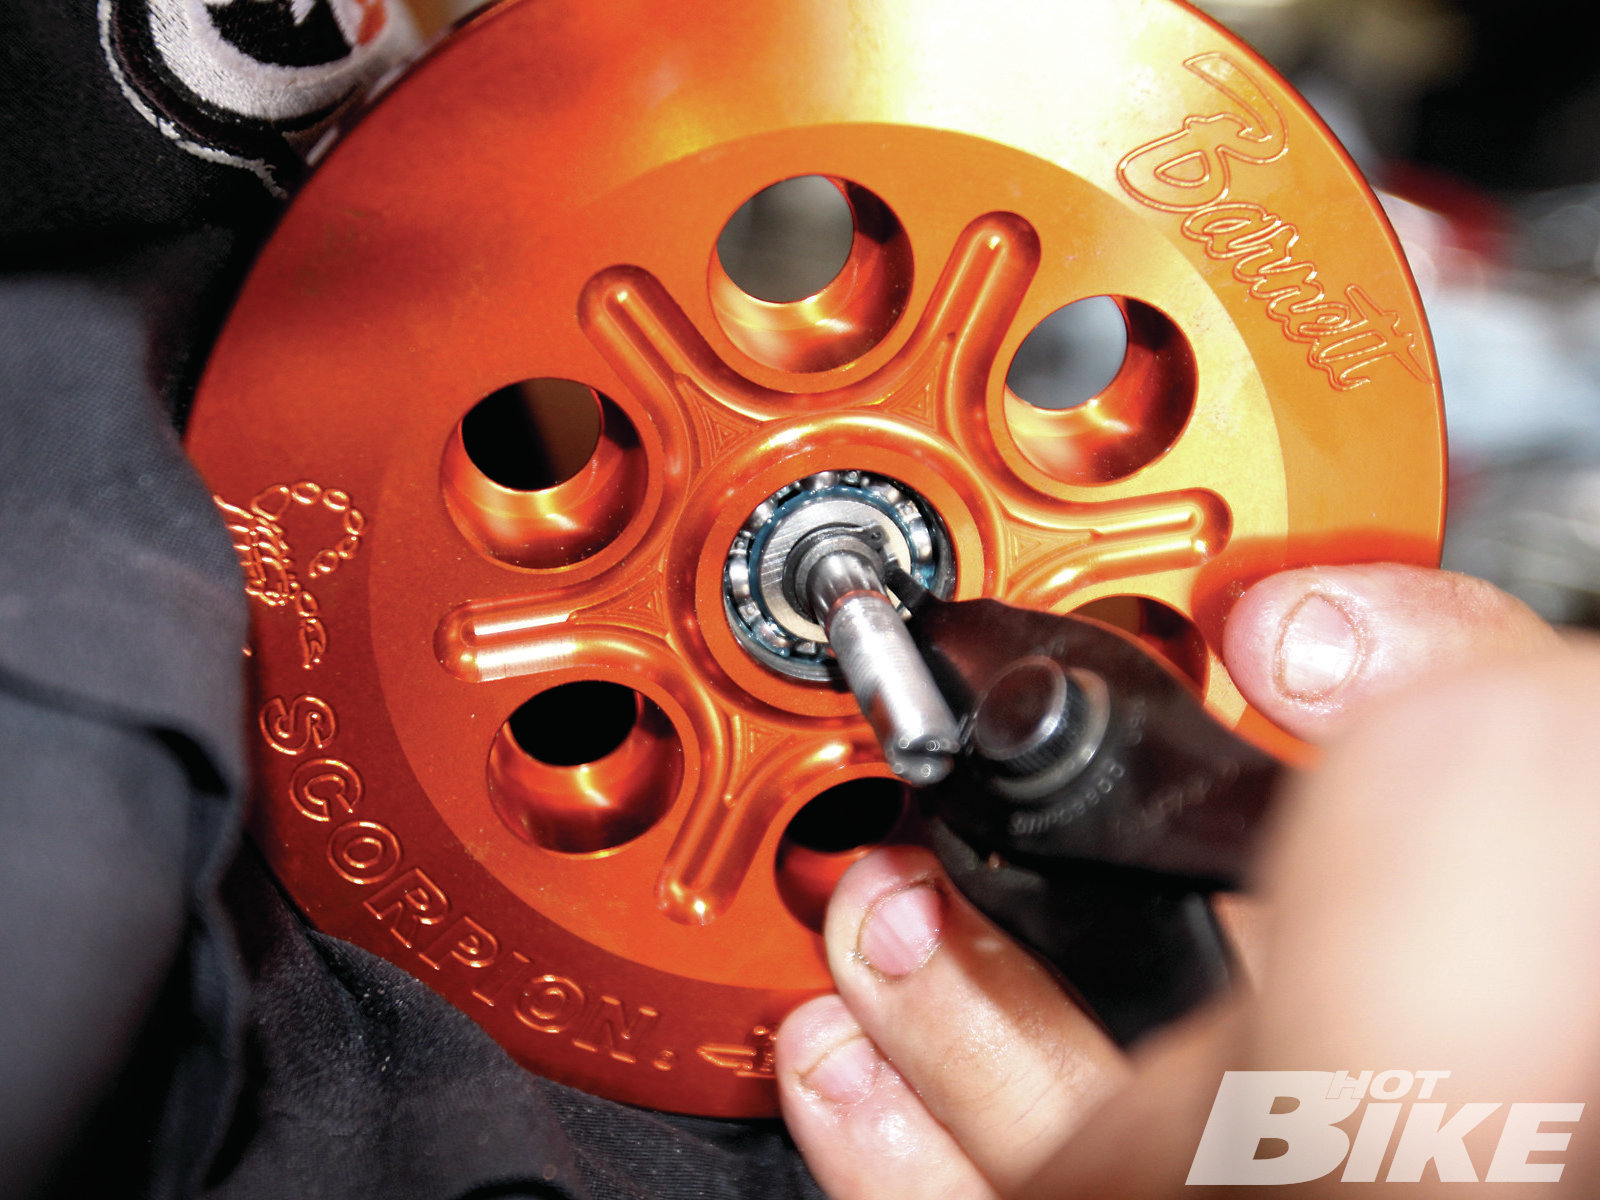
07. Once we pressed the factory clutch hub out with the hydraulic press, we inspected the bearing for wear. Since the bearing was smooth, we didn’t need to replace it.
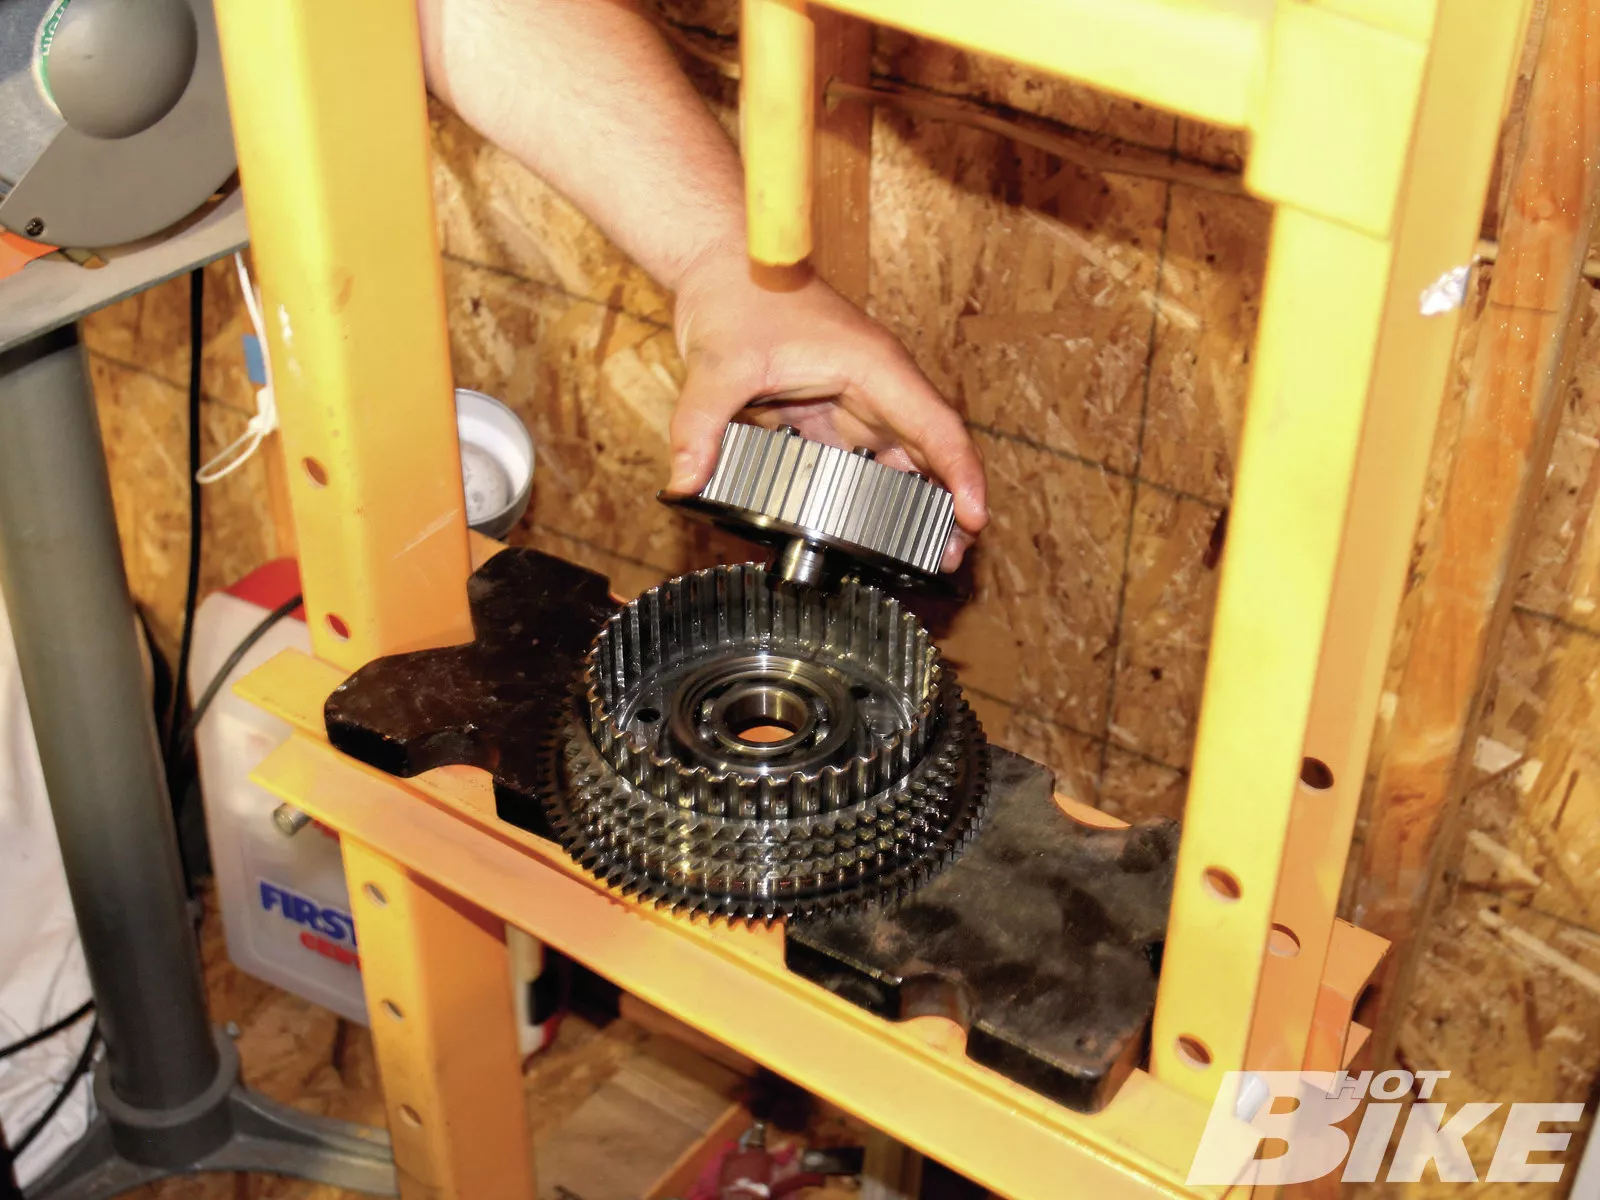
08. We installed the new Barnett clutch hub into the clutch basket with the hydraulic press. Be sure to do this carefully and make sure the new hub and basket are properly lined up.
08. We then installed the new clutch hub/ stock basket along with the front sprocket and chain assembly back onto the engine and transmission mainshafts. Note: The transmission mainshaft nut features a lefthanded thread.

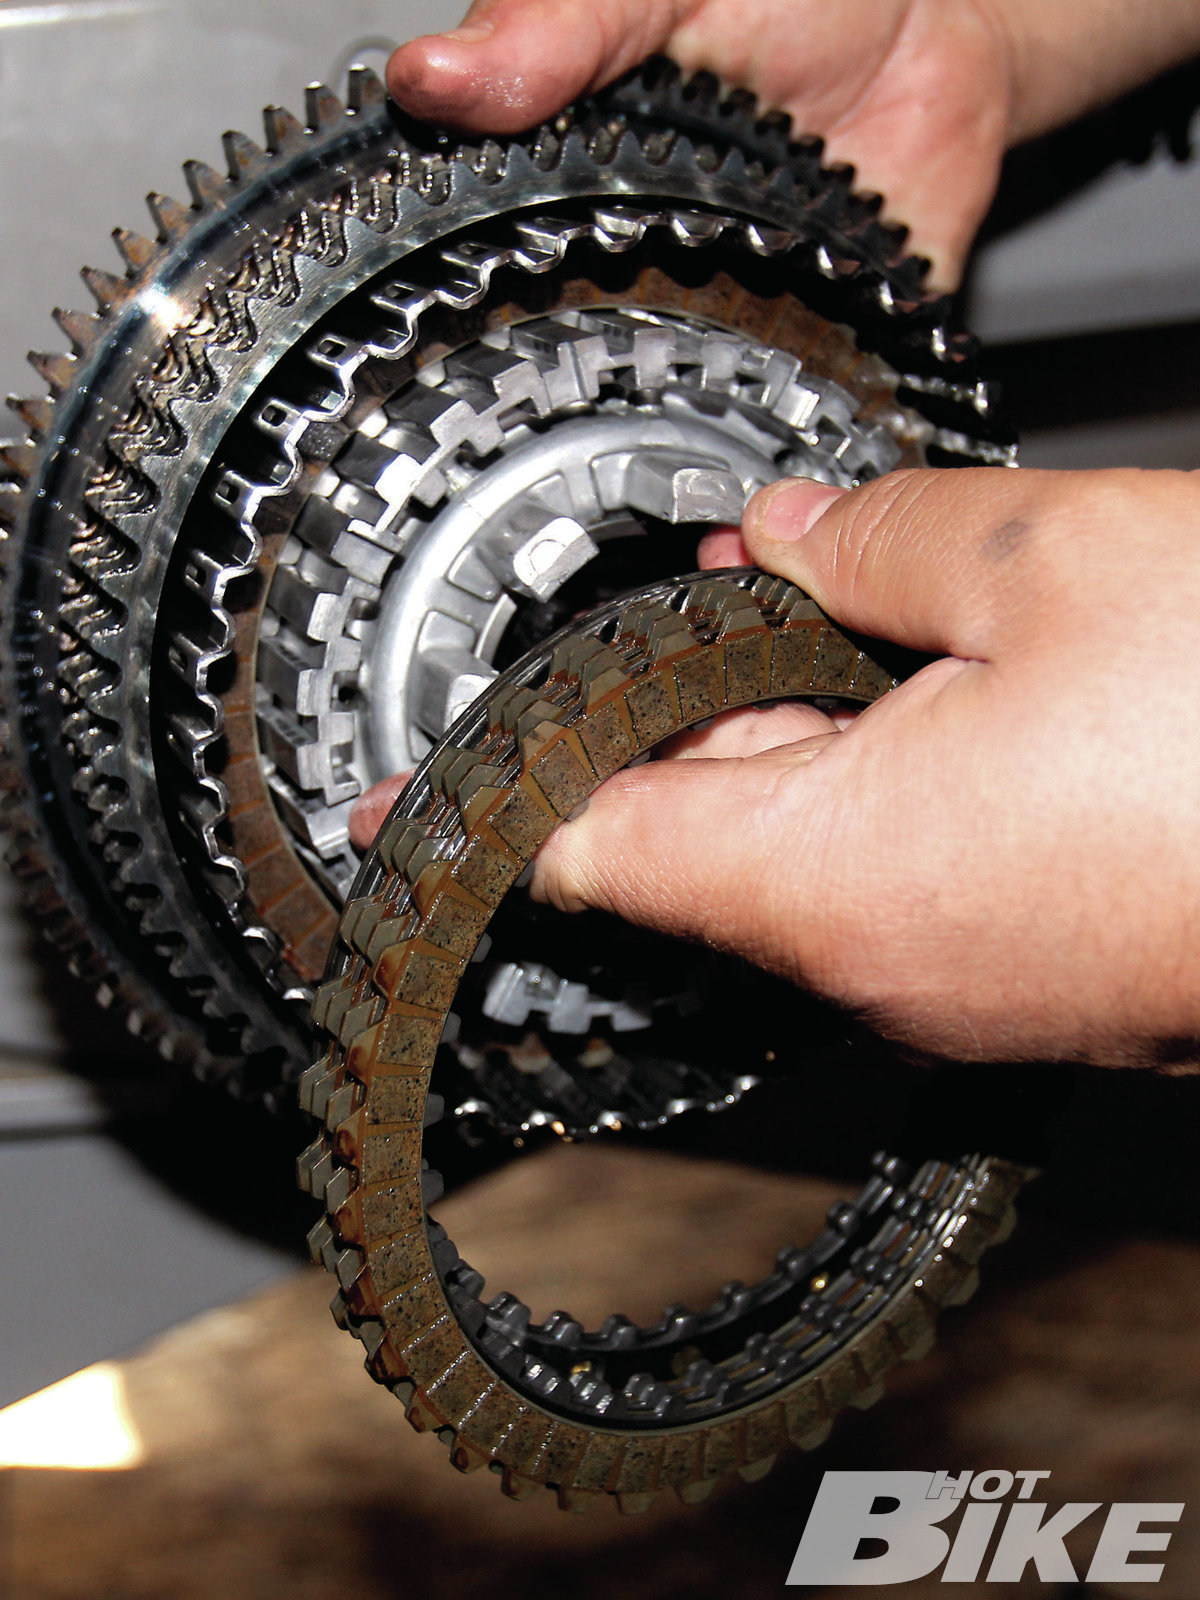
10. There are two rings that install f rst over the Barnett clutch hub, the f rst is a f at steel seat ring, and the second is a dished spring with white dot on the face (install with dot facing out). We installed said rings while the friction plates soaked in Screamin’ Eagle SYN3 lubricant. We then installed the f rst friction ring (which is half the width of the other friction rings) and followed that with a steel ring, alternating between friction and steel until we ended with a steel ring. As you can see the surface area on the friction plate (shown) is much larger than stock (see step 5).
11. We removed the stock adjuster nut from the OE clutch assembly and installed it into Barnett’s billet pressure plate with a retaining ring. We then slid the Barnett pressure plate onto the clutch assembly…
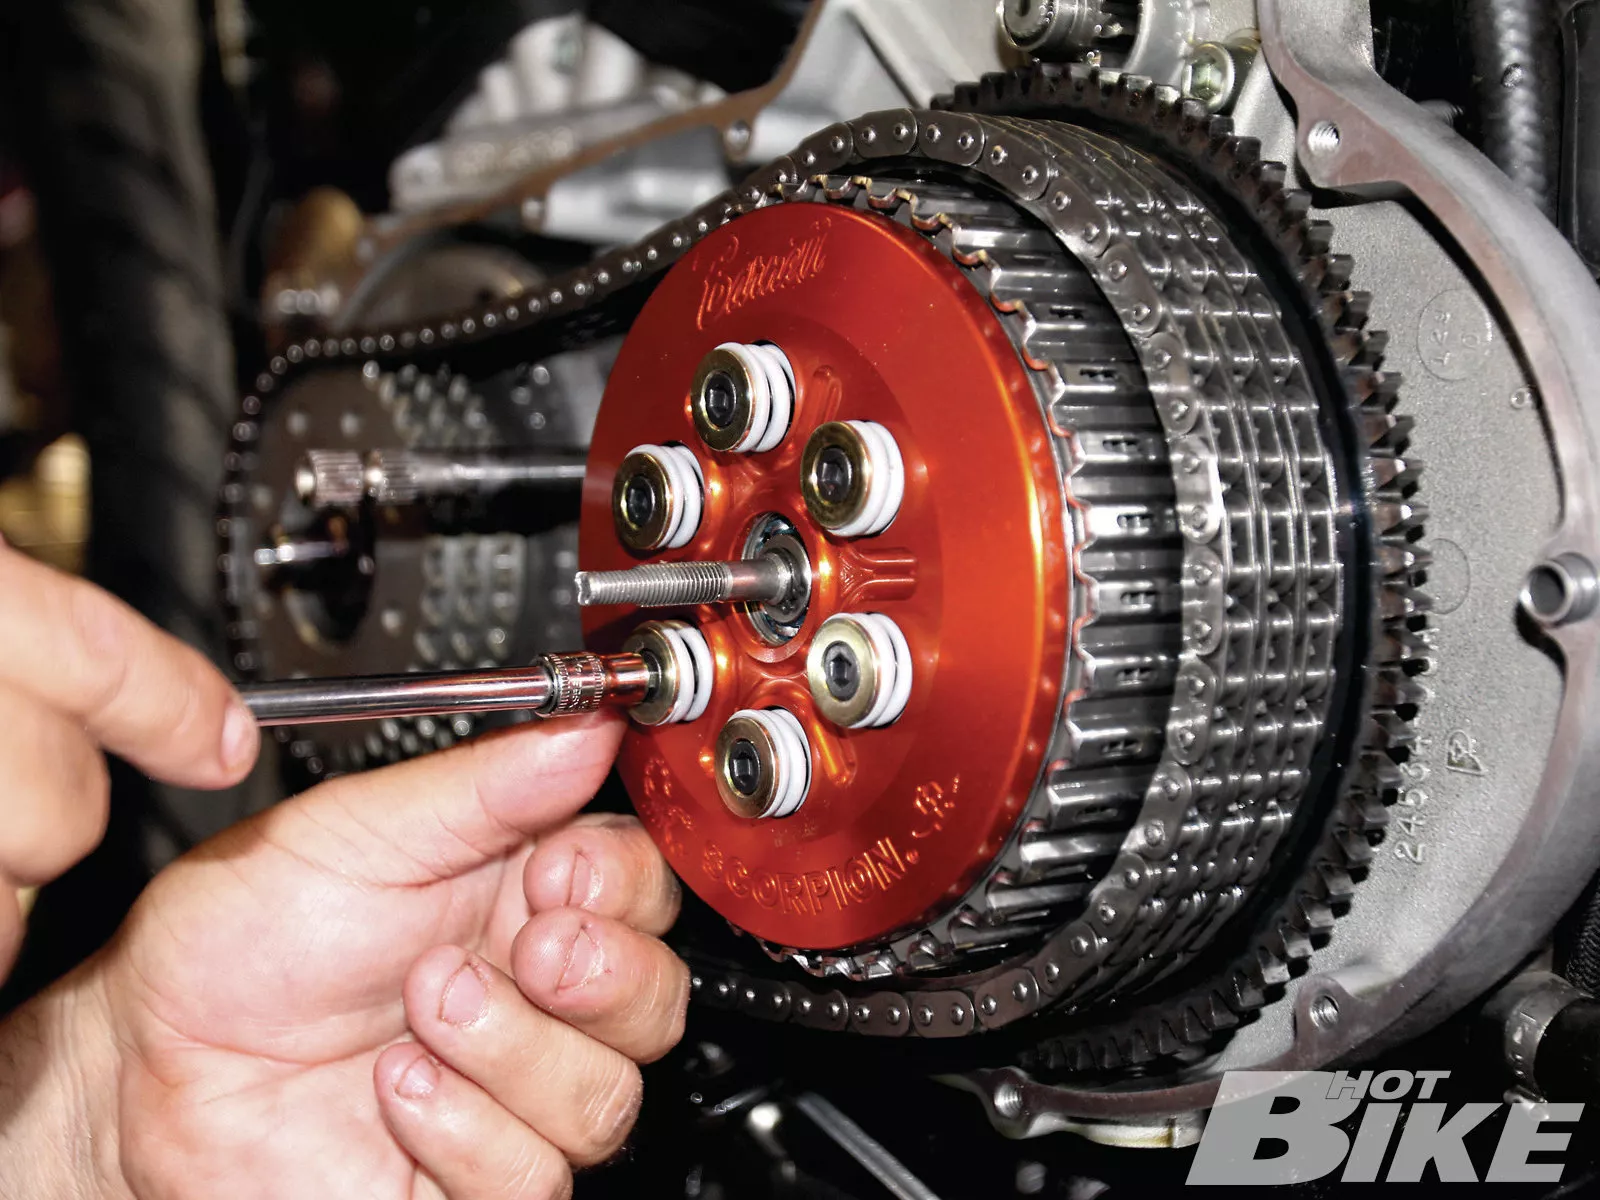
12. …and tightened it down with the silver (70-pound) springs with the provided collars and Allen bolts. There are three sets of six springs that come with the kit. The silver springs (which is what we used) are 70-pound springs, the dull gold springs are the lightest at 58 pounds, and the bright gold springs are rated at 80 pounds. Barnett recommended we use the silver springs based on our application but it varies by motorcycle.
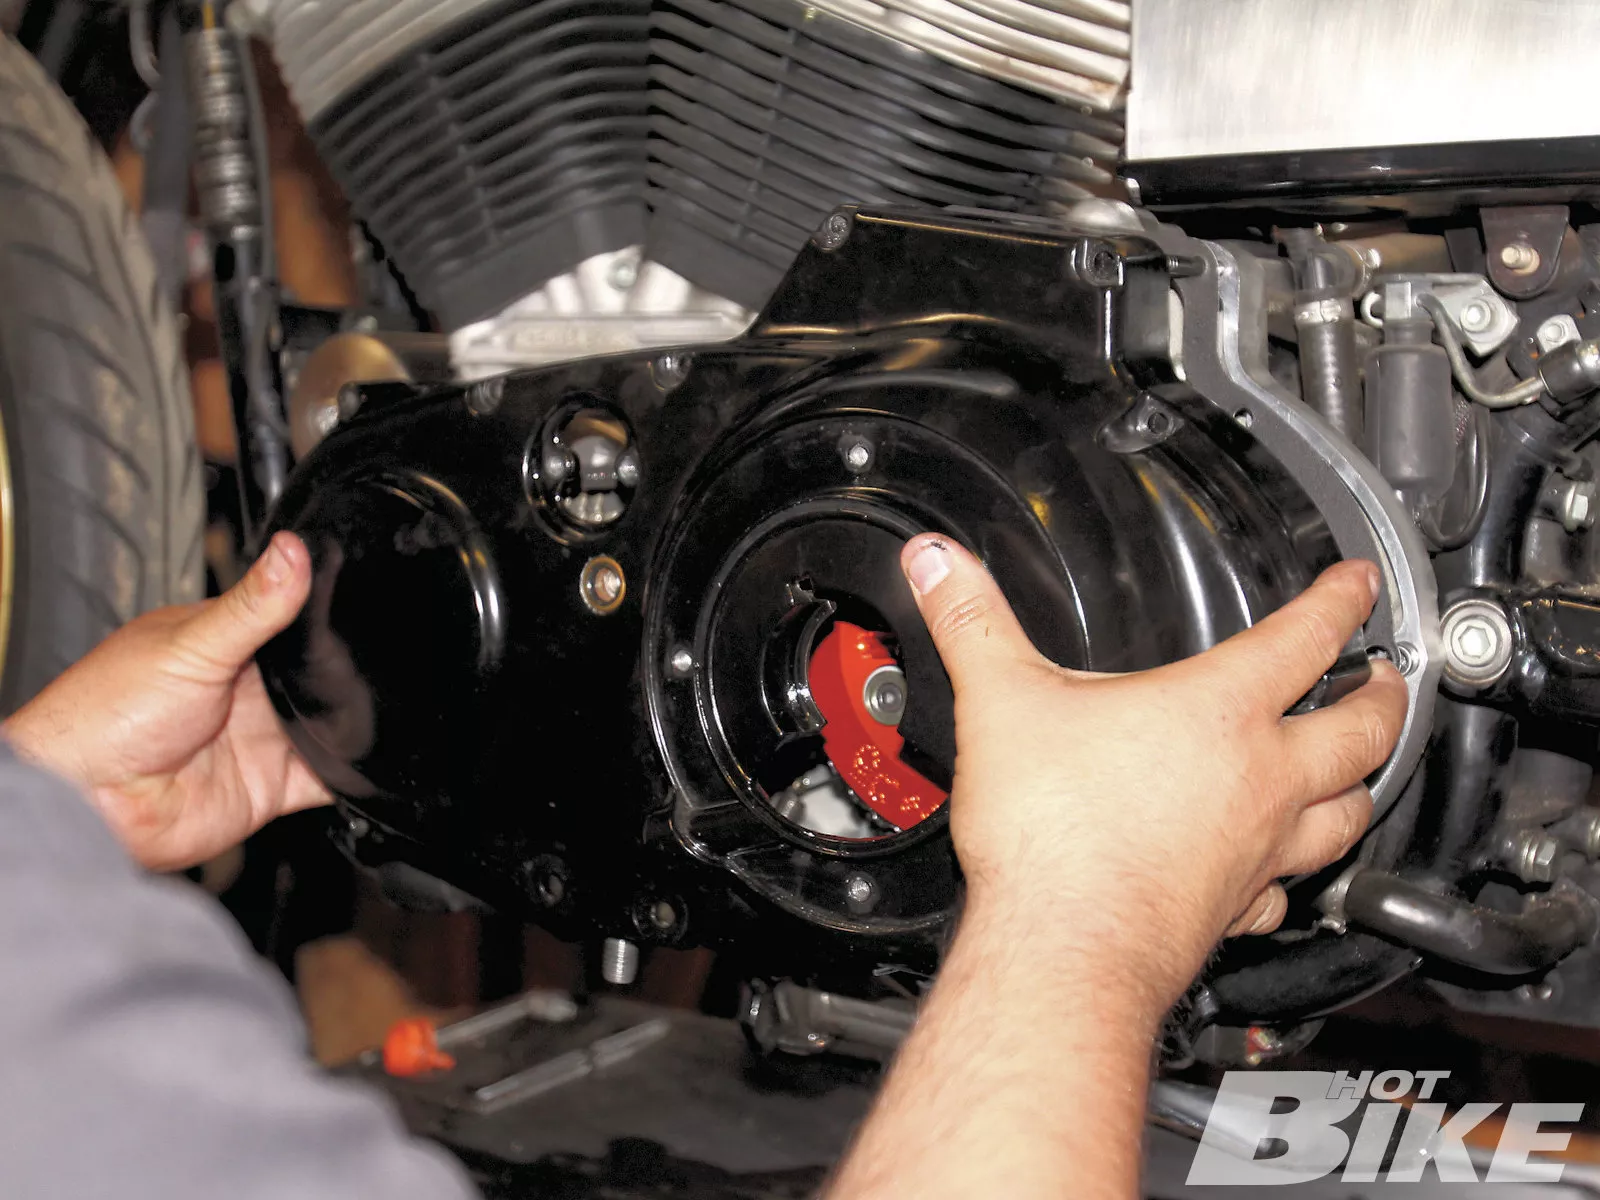
13. Once the billet pressure plate was secured with the silver springs, we reinstalled the primary cover with a new gasket and f lled it with Screamin’ Eagle SYN 3 f uid (always f ll the primary with the same lubricant you use to soak the friction plates). Barnett claims that Formula Plus lubricant is too thick for the Scorpion clutch unit and can cause gumming between the clutch plates. Once we had everything buttoned up, we took the Sweet Tracker for a spin and the power delivery was night-and-day better than stock. The installation was very straightforward, but make sure you have the proper pullers, and tools if performing the procedure on your own.
In last month’s installment of the Sweet Tracker build, we showed you the incredible performance gains thanks to Revolution Performance’s Big Bore Kit, SuperTrapp XR style 2-into-2 exhaust, Mikuni 42mm carb, and Daytona Twin Tec ignition. To take it one step further in the hi-po department, AMA hall of famer and Barnett Performance Products’ consigliore Larry Coleman suggested the Scorpion Clutch would be a great addition to the already-well-performing Sportster.
A factory clutch works just fine…with its factory components. When a motor hop-up is performed, the increase in power places more force on the OE clutch assembly and clutch plates. As a result, a clutch can start to slip (when the clutch plates don’t correctly mate so that the most amount of power that can be transferred to the transmission isn’t). Basically, if you release the clutch lever in gear and roll on the throttle and the revs increase but the bike doesn’t move, your clutch is slipping.
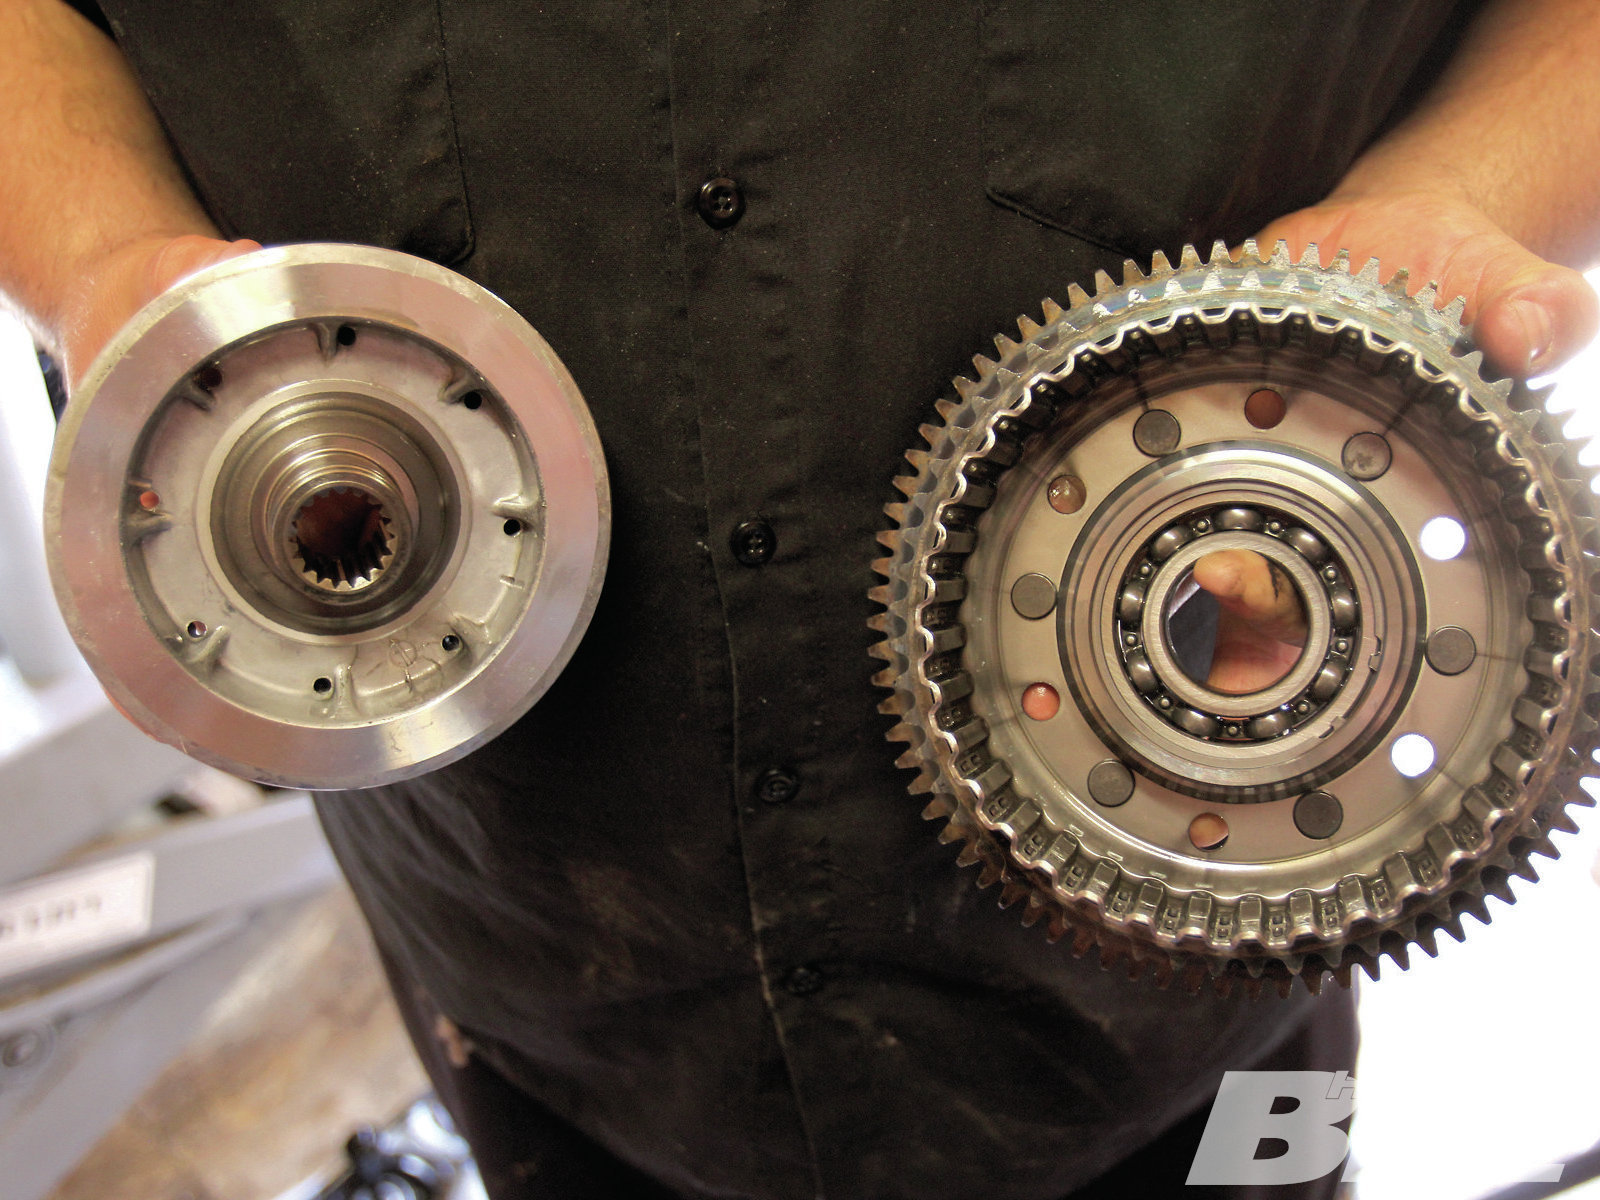
Barnett’s Billet Scorpion Clutch ($550) features a billet aluminum pressure plate, chromoly hub, organic friction rings, and steel rings that feature more surface area than stock, and a variety of clutch springs for fine-tuning clutch adjustment based on your preference and application. The Scorpion is a great way to compensate for engine performance mods to eliminate clutch slipping while still retaining a nice soft lever so you don’t pull a muscle in your hand like you may have during puberty.
Our good friend, Jose, helped us out with the install, serving as the hand model. He really doesn’t know shit about shit, but he’s entertaining (just kidding). Overall, Barnett’s instructions are very straightforward, but you’ll need some specific Harley tools and a hydraulic press to remove the factory clutch hub from the basket in order to fit Barnett’s clutch hub into the basket. Other than those items, this installation can easily be performed in your home garage in a few hours. Be sure to have your factory service manual on hand when performing this installation. HB
**Source:
Barnett Performance Products**
(805) 642-9435 | barnettclutches.com


