
Platinum Air Suspension

1. Platinum’s Bleed-Feed kit for Evo Softails comes with everything but the threadlocker.
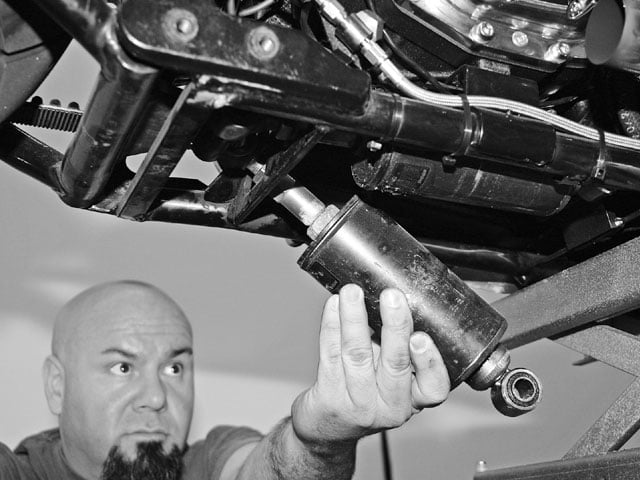
2. Since our bike had a custom rear fender that was mounted differently from the stock one, the guys wanted to check the system’s travel. This would ensure that at the shocks’ full extension the tire could not contact the inside of the fender. To do this the stock shocks were removed, and the rear tire was supported a quarter-inch from the fender. One of the Platinum air cylinders was then bolted in place. Edgar marked how far out the rod was extended from the cylinder. The air cylinder, rear tire, and stock splashguard were then removed. Note: We also removed the collector from the exhaust system in order to make the photography easier.
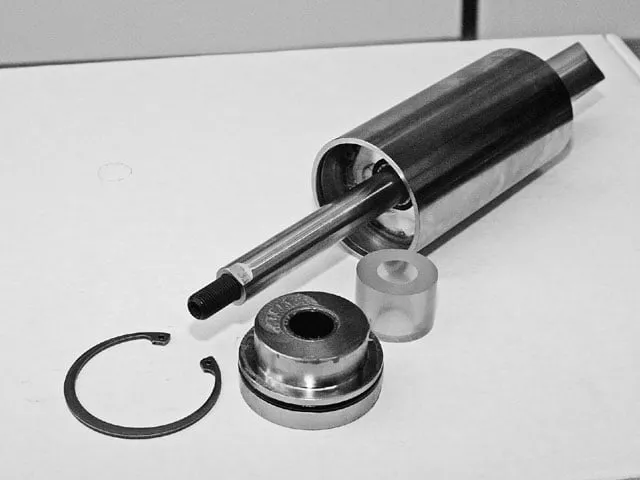
3. One of the unique features of the system is the ability to disassemble it and install a spacer (not included in the kit) that will limit the shocks’ travel (either up or down). Based on the mark Edgar made on the shaft, it was determined that a urethane spacer 1.070 inches long would keep the tire from making contact with the fender. Mike headed back to the shop to machine a pair (one for each shock) of spacers the proper size. While this is not a difficult task, care must be taken when making and installing the spacers, so consult the factory prior to taking this on yourself.
4. Here, Edgar slides the spacer into position.
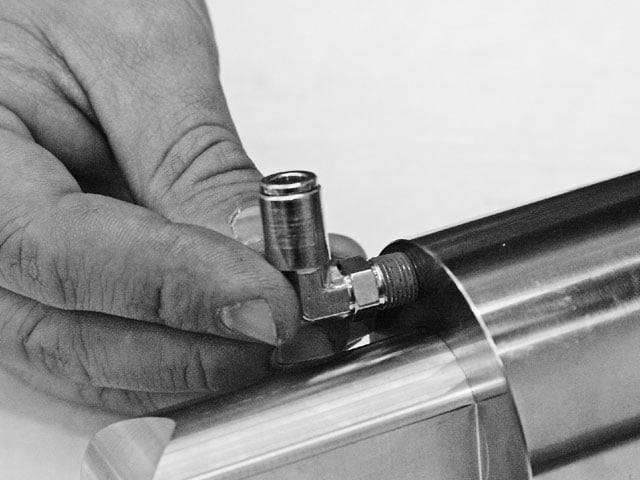
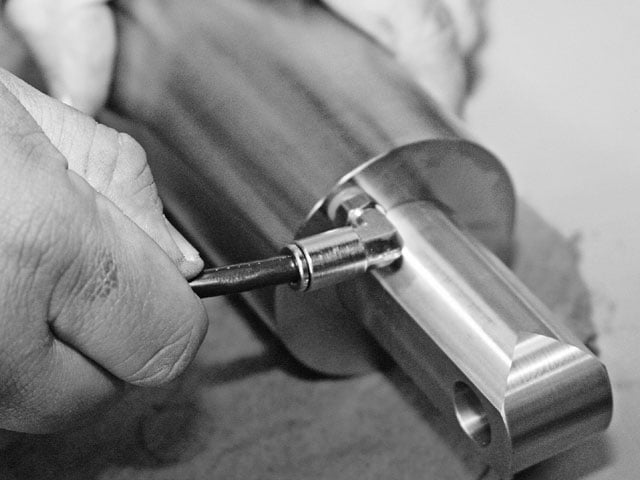
5. Next it was time to install the fittings on the air cylinders. The fittings come with thread sealant already applied to them. The 90s go on the stationary end of the air cylinder (front of bike)…
6. …while the straight ones go on the movable rod end (rear of bike).
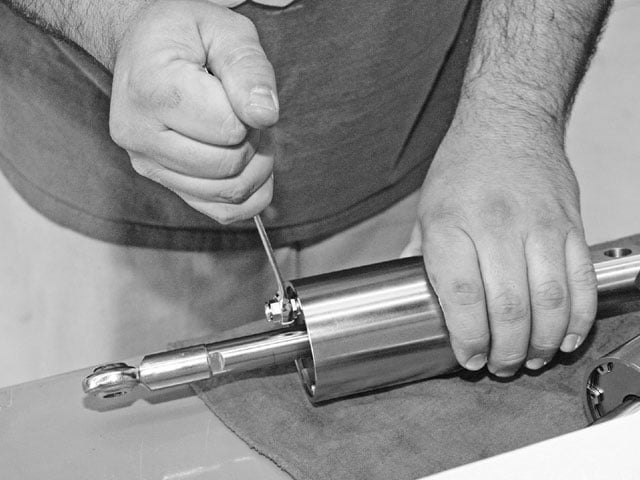
7. Installation of the front air lines is easier to perform prior to installing the air cylinders. To make the connection, you simply push the tubing directly into the fitting until you feel and hear two distinct clicks.

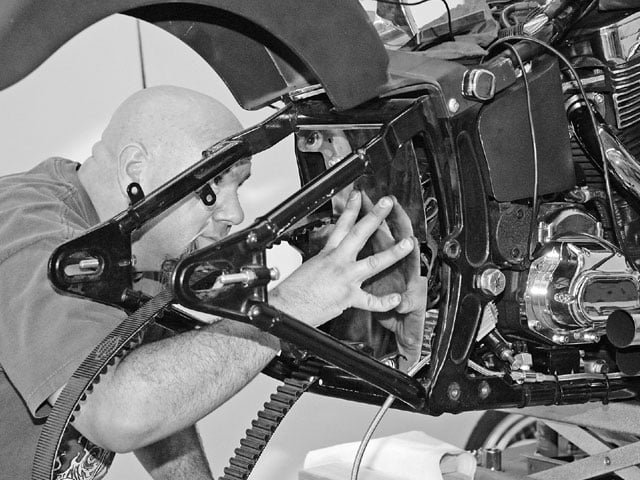
8. Positioning the air cylinders is made easy by lifting the back into place, then the front.
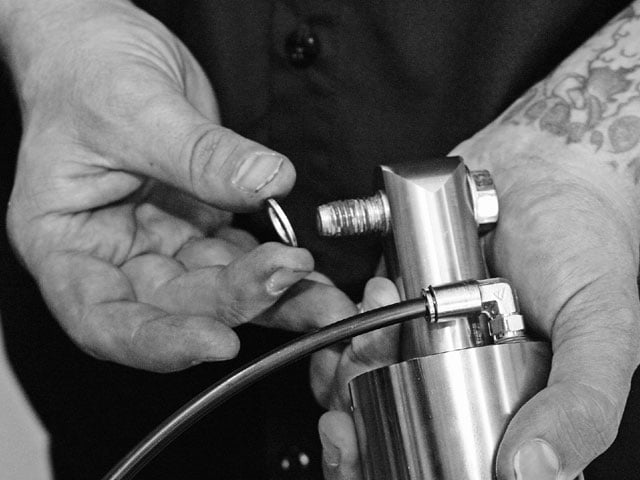
9. When installing the front shock bolts, it is necessary to place one washer between the frame member and the shock mounting lug.
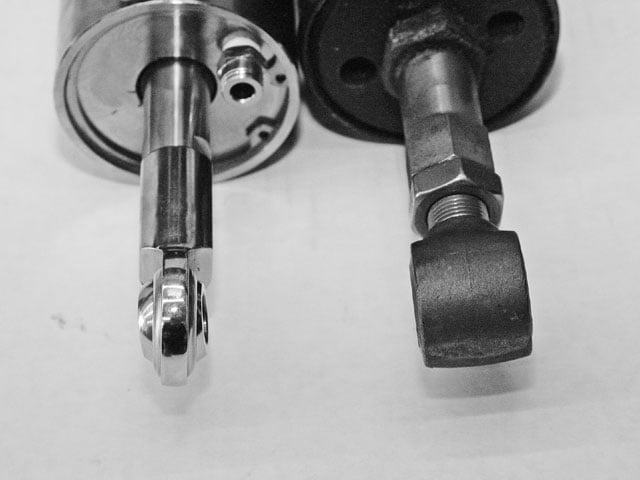
10. The rear mounting setup will be a bit different from stock. This is because the rod ends on the Platinum units are approximately 1-inch narrower than the one on the Harley shock.
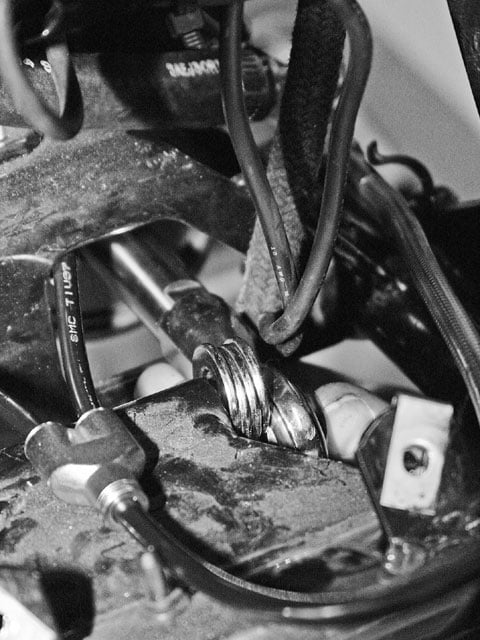
11. Included in the kit are washers designed to take up the space between the rod end and the frame mount. Here you can see we needed four washers to take up the space. This would ensure that the rod would move smoothly and not bind on the end cap.
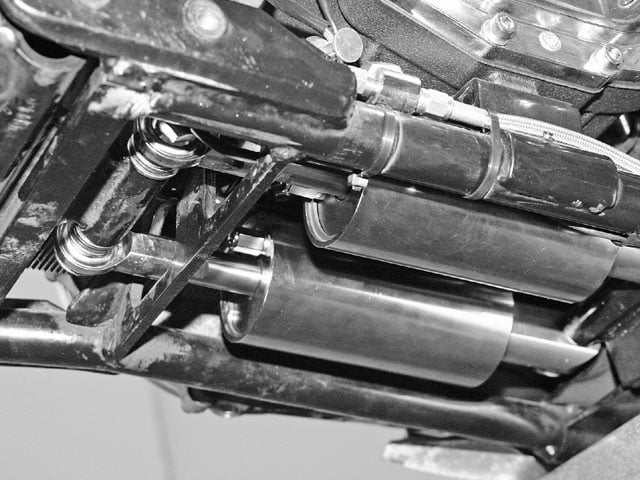
12. Here is a good look at the installed shocks complete with spacing washers.

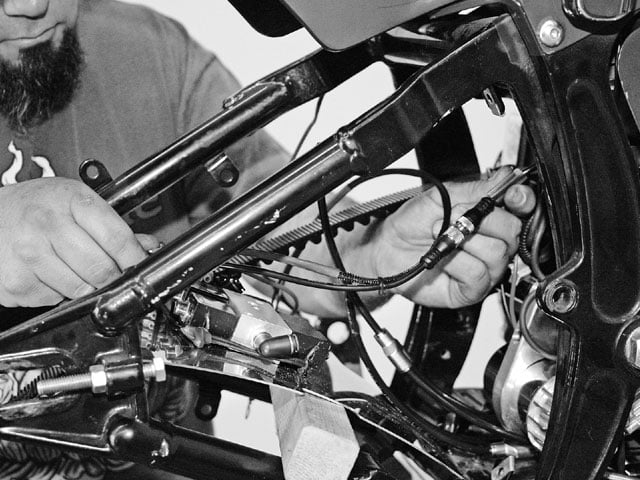
13. Next it was time to run the air lines from the rear of the shocks into the Y fitting and out the splashguard area.
14. At this point Edgar trimmed the lines to the approximate length.
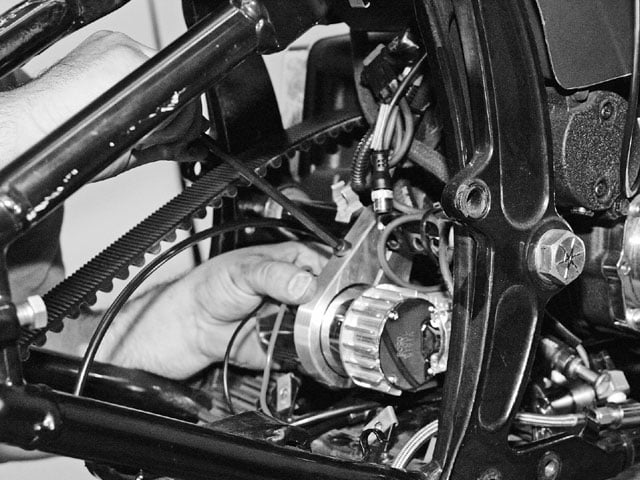
15. For stock Evo Softail applications, the compressor fits nicely behind the splashguard. Since the only nonstock part of the Fat Boy was the fender, we were able to use the billet mounting bracket to hang the 12-volt compressor from the pivot shaft. If your bike is equipped with a charcoal canister, you will need to relocate it in order to fit the compressor.
16. Next, Edgar laid the splashguard on a piece of wood supported by the swingarm. With the splashguard in this position, it was easy to trim the lines and make the connections. At this point Mike made the electrical connections (via a five-pin aircraft-style connector) between the compressor and control valve. He then routed the power wires and switch cable to the battery-box area.
17. After verifying there were no clearance issues between the air lines, wiring, and moving or hot parts, Edgar lifted the splashguard upright and used a little muscle to get it into position. If need be, slight tweaking of the splashguard is acceptable.
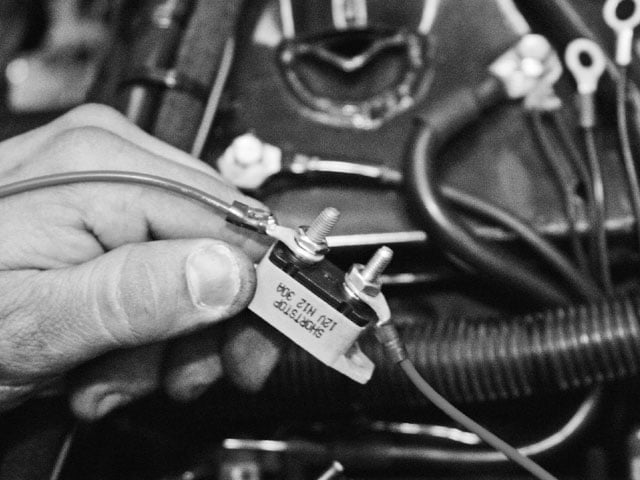
18. To ensure safety in case of an electrical failure, the kit comes with a 30-amp circuit breaker that gets wired between the compressor and the positive terminal of the battery.
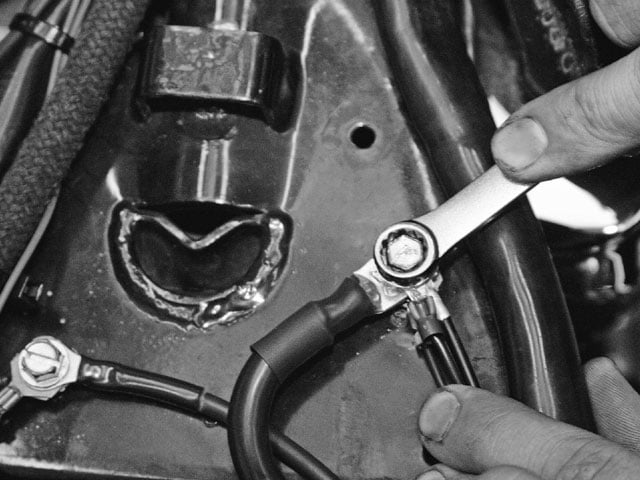
19. Two grounds, one from the compressor and one from the air-control valve, were then secured to the frame under the seat.
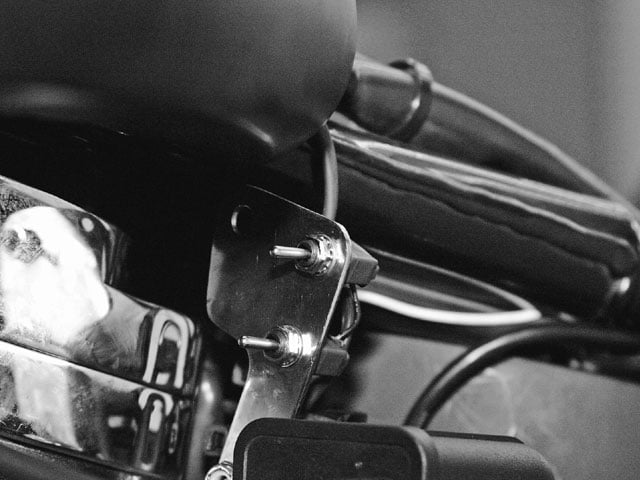
20. The operation of the system is dependent on these two switches. The top one controls the lift, and the bottom one controls ride height. We used the stainless-steel mounting plate that ships with the kit to hang the switches from the back of the coil bracket. These switches can be mounted most anywhere on the bike you like.
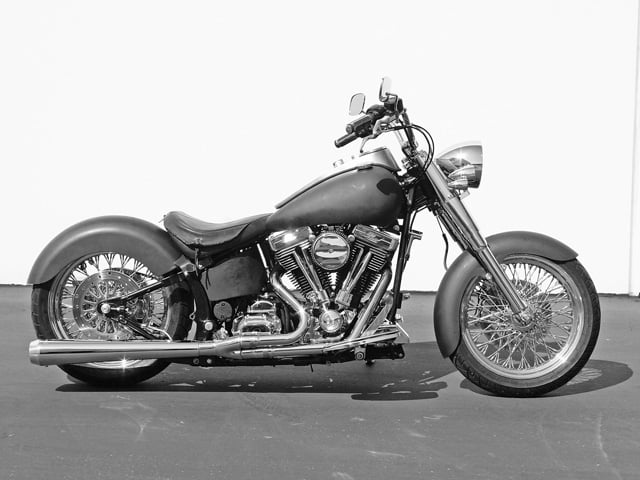
21. Here is the bike in the fully lowered position…
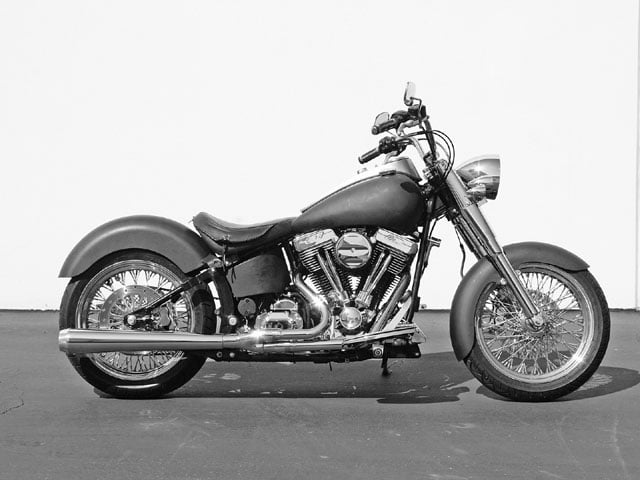
22. …and here it is in the fully raised position.
In our never-ending search for that ultimate Softail ride, we have looked far and wide, scanning the horizon for components that will satisfy our desires. We have successfully tried many different components, each with its own unique features and capabilities. This month we checked out a system manufactured by Platinum Air Suspension, located in Santa Fe Springs, CA. Platinum’s air-suspension kit is designed to fit both Evo and Twin Cam Softails, as well as many custom Softail-style applications. A kit is also available to fit Harley FL and V-Rod models. In addition, the folks at Platinum build a kit for ’00-and-newer Victorys and even a handful of metric bikes. The Evo and Twin Cam styles (for Softails) have an MSRP of $1,314, while the FL and V-Rod units go for $1,560.
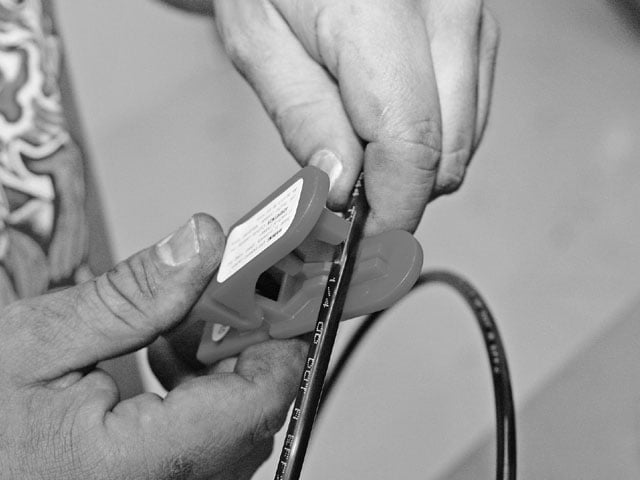
Platinum’s Softail setup consists of a simple design utilizing a single 12-volt compressor controlled by two toggle switches that vary the ride height and rebound dampening. The air cylinders are manufactured from 6061 aluminum, while the rods and end caps are machined from stainless steel. Also shipped with the kit is a stainless-steel splashguard complete with the air-control valve assembly fastened to it. Platinum’s system utilizes a DOT-approved quarter-inch air line coupled to nickel-plated air fittings. The air line is designed to slip into the fitting with a distinct two-click audible and tactile sensation, thus assuring you that the connection is sound. To assist in making up the air-line connections, the kit even includes a tubing cutter to ensure the ends of the tube are cut square for better sealing capabilities.
Once installed, operating the kit is a simple matter of filling the lift side of the air cylinder until the bike reaches full ride height, then holding the switch for an additional 10 seconds. Next, you flip the other switch, forcing the bike back downward. When the bike reaches the desired height, let the switch go, and it’s ready to ride. Unlike other systems, there is no air-pressure gauge plumbed in. While at first this may seem like a problem, in no time you will be able to easily make height and rebound adjustments on the fly. After riding around town with the system installed, we liked the way it felt. Having the ability to add or subtract rebound really is a great feature that allows you to set up the ride just the way you want it. Ride-height adjustability is just what you would expect: the ability to raise or lower the rear of the bike to any height within the shock’s range. Out on the road, the shocks do a good job insulating the rider from any irregularities in the pavement. We tried the system with it set to many different combinations (both height and rebound dampening), and found it was able to easily absorb bumps while still having the ability to dampen the ride without the bike pogoing down the road. Setting the system to its limits yielded good results as well, even at the hardest rebound setting or in the fully lowered position.
This month we invited a couple of the guys from Platinum, Mike Ferris and Edgar Araya, to come down to our shop and install one of their systems on a ’99 Fat Boy while we took a few photographs and jotted down some notes.


